|
| 1986 Fiero SE 3.4L pushrod build up (Page 17/24) |

|
justinchristie
|
JUL 21, 10:35 AM
|
|
|
|
|
justinchristie
|
JUL 27, 09:25 AM
|
|
|
|
|
CommanderKeen
|
JUL 27, 11:59 AM
|
|
| quote | Originally posted by justinchristie:
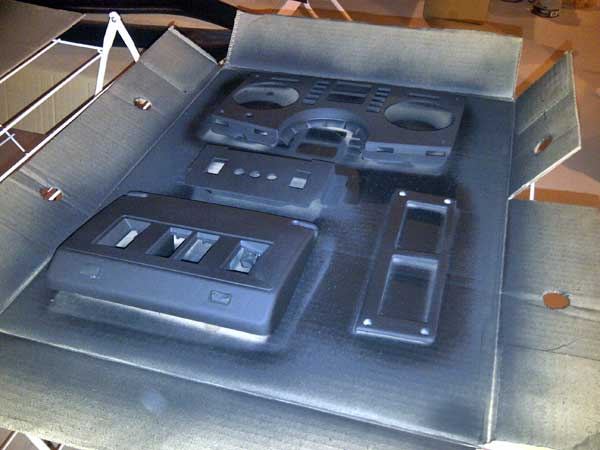
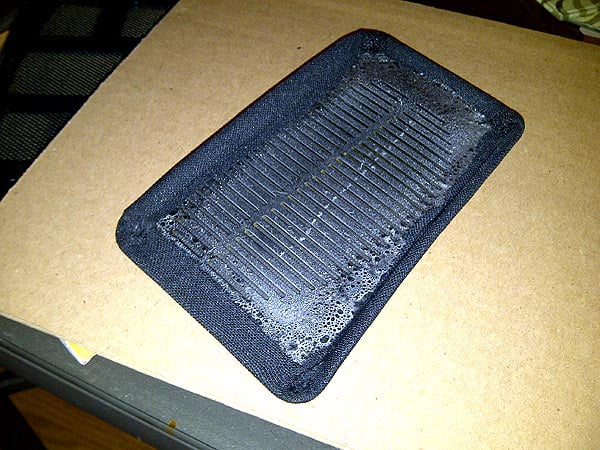
Painting, painting, and more painting.
It is really amazing how many pieces you have to paint when you are changing the colour of the interior.
|
|
What kindof paint did you use for all these pieces? What kinda prep do they need?[This message has been edited by CommanderKeen (edited 07-27-2011).]
|
|
|
|
justinchristie
|
JUL 27, 01:59 PM
|
|
| quote | Originally posted by justinchristie:
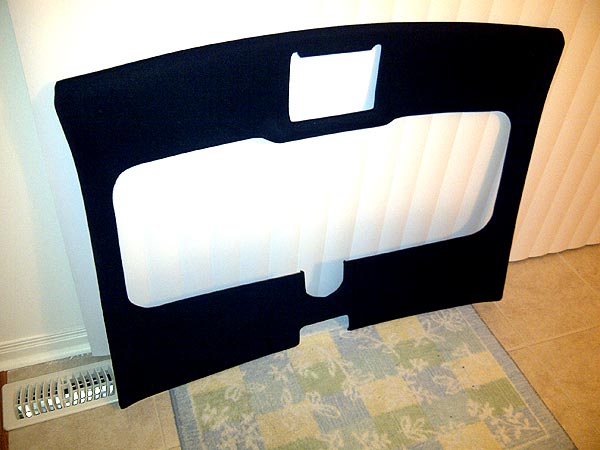
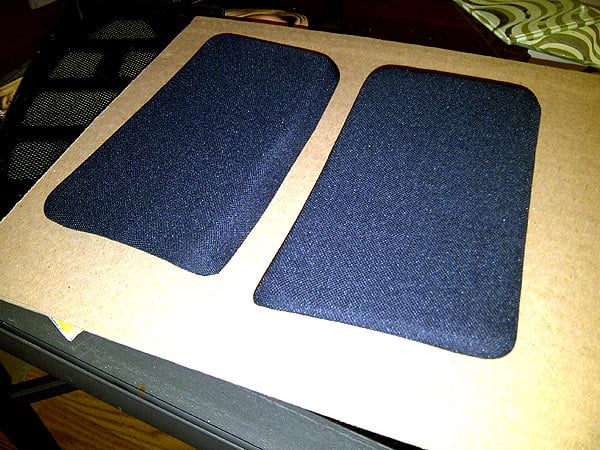
I did a paint test with one of the mock-up pillar pieces I have.
So far the best solution for interior paint is:
- Wipe down the piece with paint thinner;
- Scuff with 3M abrasive pad (lightly);
- One thin coat of clear primer (duplicolor) specifically made for plastic paint adhesion;
- Paint 3 thin layers of flat black; and
- Paint 2 layers of semi-gloss clear coat (must be UV protection paint).
The above recipe seems to produce a solid paint job that is scratch resistant.

|
|
The paint process above (listed on page #4) produces the best results. It takes about a week to paint a piece, if you allow it to dry 24hrs in-between each coat. I've done this, ....and remained patient throughout the process, ...and it has produced EXCELLENT results. DO NOT RUSH IT!!!!
I used TREMCLAD brand paint - matte black, and satin clear-coat.[This message has been edited by justinchristie (edited 07-27-2011).]
|
|
|
|
CommanderKeen
|
JUL 27, 10:51 PM
|
|
|
Oh yeah, I already have that page bookmarked too. Lol my bad. Looking great man!
|
|
|
|
justinchristie
|
AUG 02, 09:37 PM
|
|
|
|
|
justinchristie
|
AUG 04, 09:18 PM
|
|
|
|
|
justinchristie
|
AUG 08, 11:23 PM
|
|
The upholstery on the centre console/armrest is now complete.
The openings for the shifter and the window switches were created.
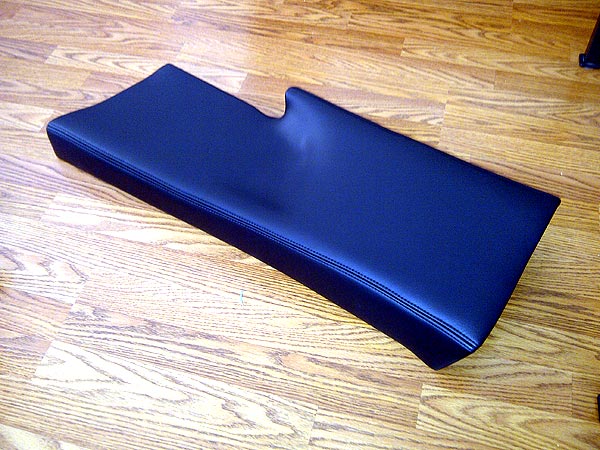
 [This message has been edited by justinchristie (edited 03-19-2015).]
|
|
|
|
justinchristie
|
AUG 10, 11:32 PM
|
|
The final coat of rubberized paint was applied to the floor pan (driver and passenger) before carpet installation.
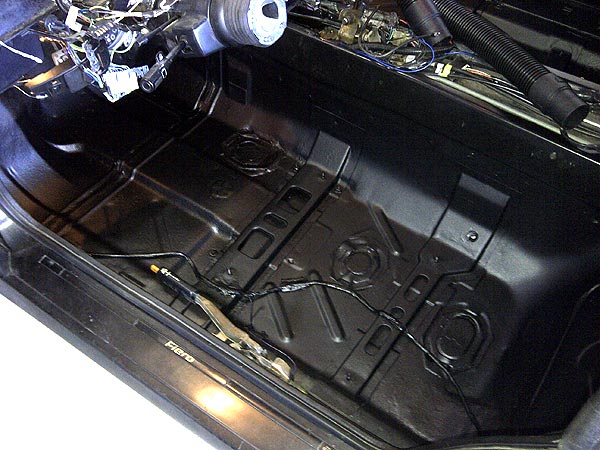
 [This message has been edited by justinchristie (edited 03-19-2015).]
|
|
|
|
justinchristie
|
AUG 15, 01:05 PM
|
|
|
|