
 
     |
| Fiero Argento Signora build thread w/lots 'o' pics (Page 16/21) |

|
Fieroseverywhere
|
NOV 08, 01:39 AM
|
|
Lets if I can finish catching up this thread to the actual progress. I will make an attempt but it is late and I can't promise anything. 
The next major work the car got was what should have been a couple simple gasket changes. Of course it didn't turn out to be all that simple. I had a stripped bolt hole for the water inlet. This gave me a slow coolant leak which ended up on the belt and made it squeal. It really bothered me but I knew it was a big job so it took me a while to get to it. It meant dropping the cradle and doing the work outside of the car. A few people have asked me to post my way of dropping the cradle so I took this as an opportunity to do just that. Lets see if I can explain...
***CRADLE DROP - FIEROSEVERYWHERE STYLE***
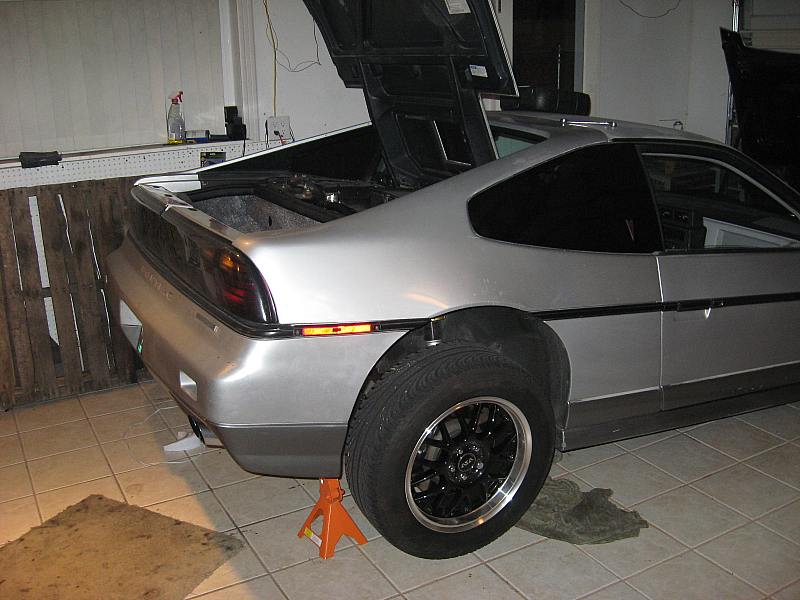
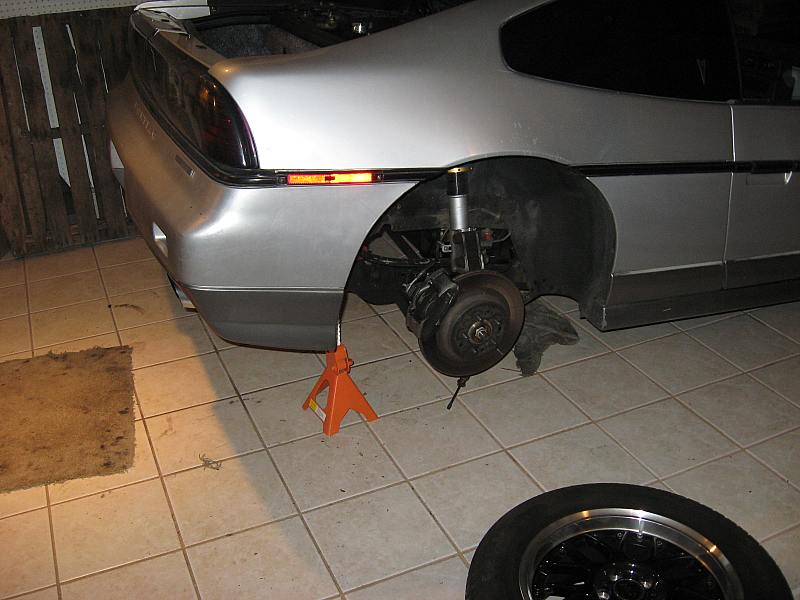
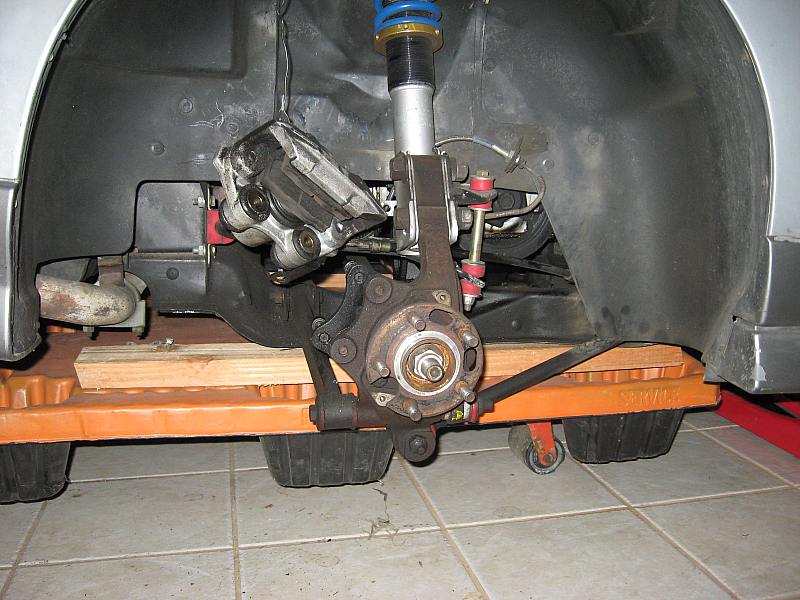
First thing I disconnect everything from the top. Drain oil and coolant, disconnect negative battery cable, fuel lines, wiring harness, top coolant outlet hose, heater core outlet, shift cables, oil cooler lines, slave cylinder, the two vapor canister hoses, decklid hinge and transmission grounds, brake booster vacume hose, and throttle cable all from the top. I have my wiring harness setup through a quick disconnect so there is no need to touch the interior. Once done I move to the bottom where I remove the wheels, get the lower coolant hose, heater core hose, starter power wire (from front mounted battery), hang the brake calipers out of the way, and disconnect the e-brake cables at the cradle. I also disconnect the struts from the towers. Don't forget to chock the front wheels. 
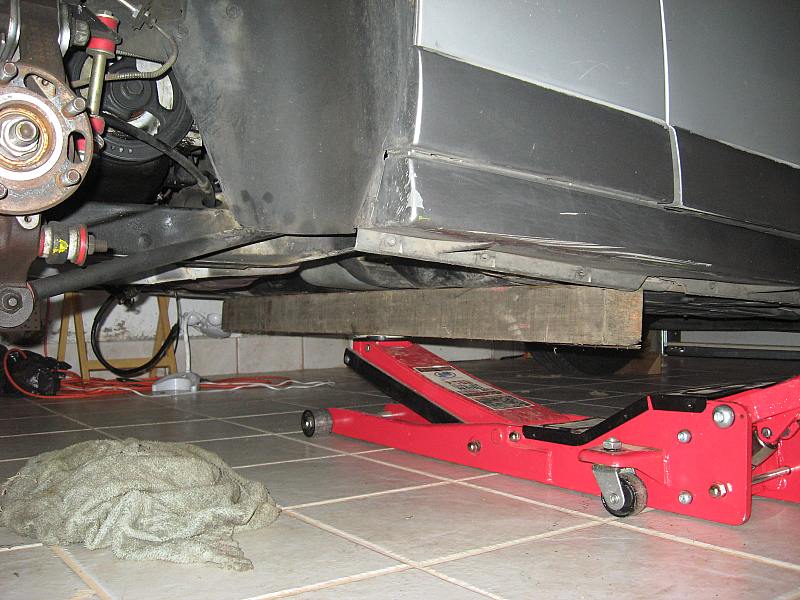
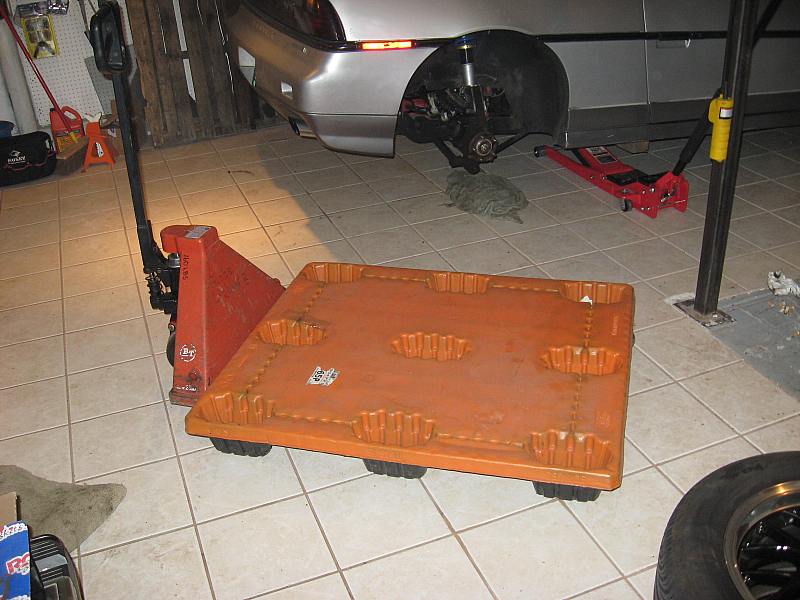
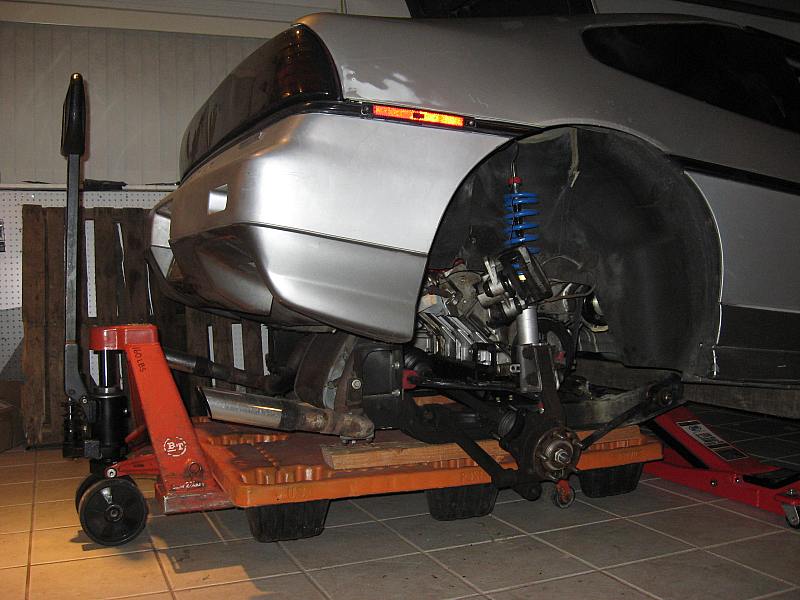
Next I move the jack into position. Now you see the reason why I was looking for this particular type of jack. The 4x4 is exactly 56" in case anyone is interested. With the jack in position I move over my pallet jack. This is what I use to pull out the cradle. Nothing I have found works better.
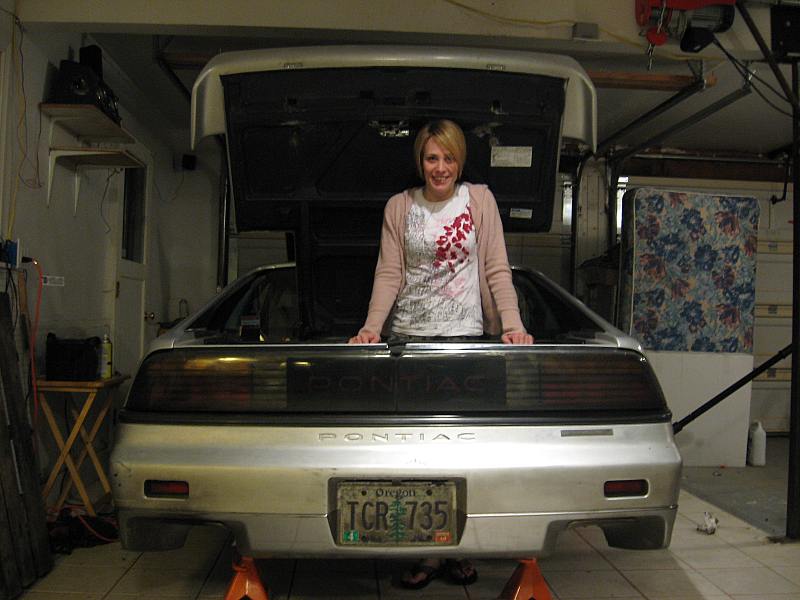
The lovely Marla assisted this time.
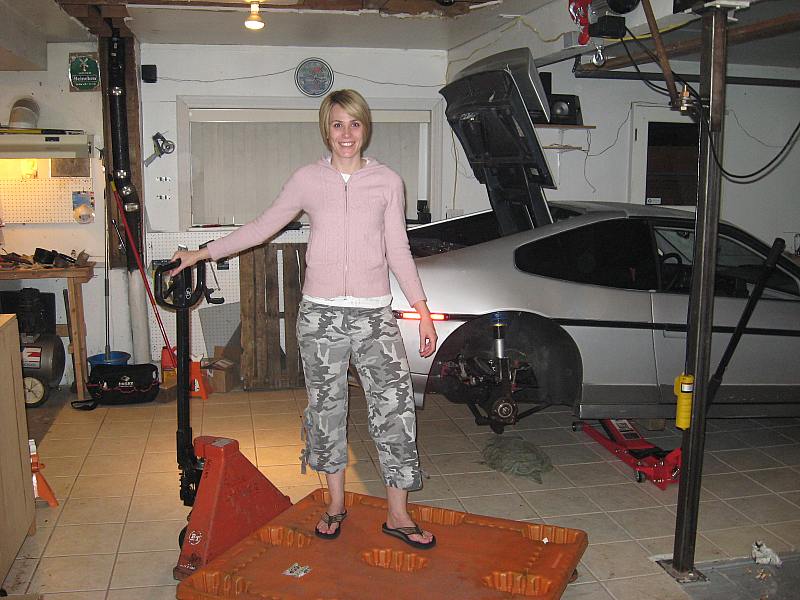
With the car resting fully on the pallet jack I unbolt the cradle and let it sit. Rear bolts first to level the cradle. Since you can adjust the floor jack and pallet jack independently getting the front cradle bolts out is a snap.
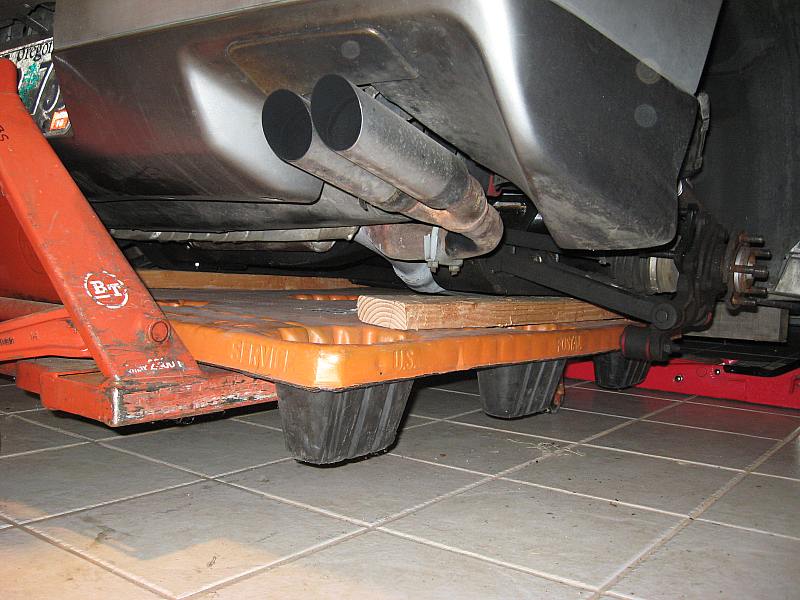
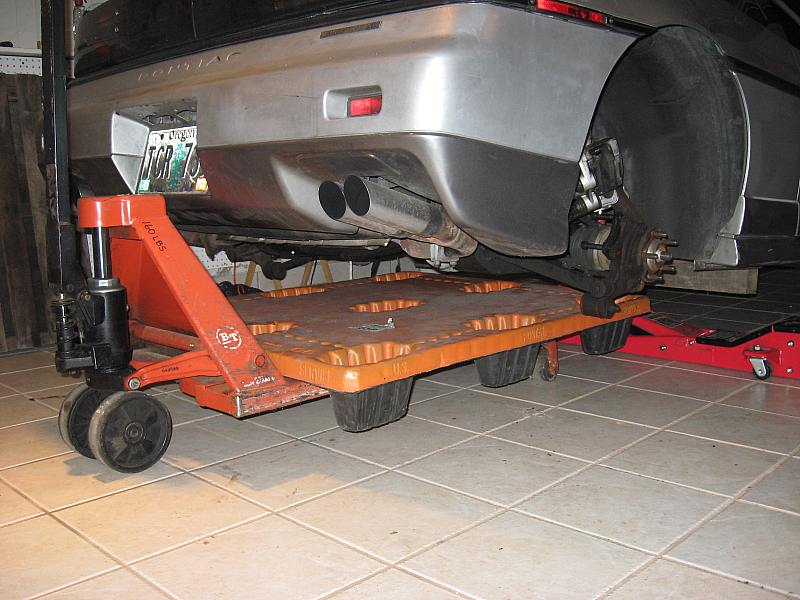
Now is the time to raise the car off of the cradle. Marla worked the jack while I continue to check everything and make sure nothing is catching (brake hoses mostly). The car tends to come towards the jack to you have to be pay extra attention to the passenger side strut (or whatever side the jack is on). Slowly but surely all it revealed.
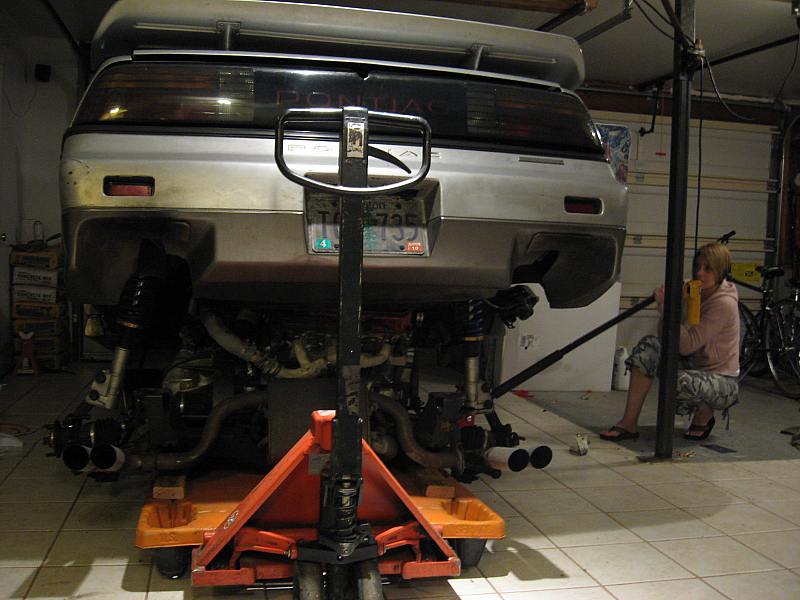
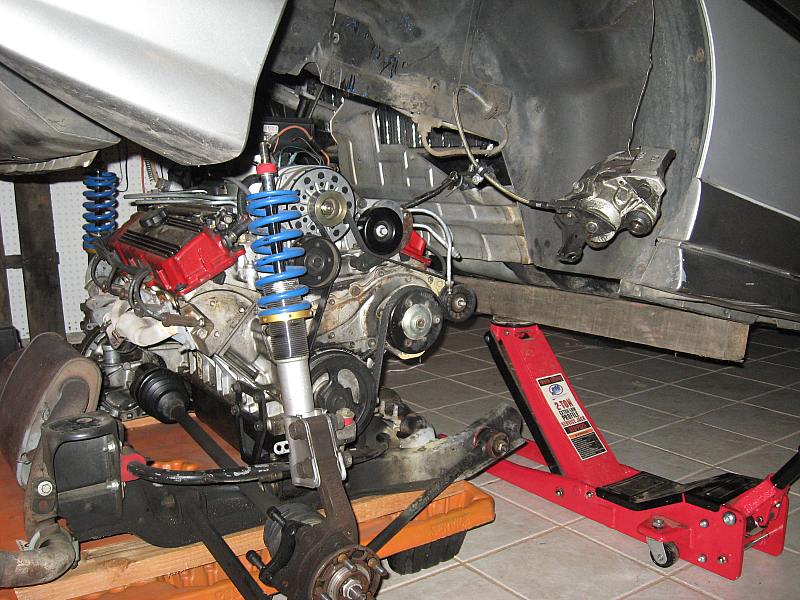
Once the car is high enough simply roll out the palletjack. Simple as pie. The car is then set back down on jack stands for safety.
That is a cradle drop Fieroseverywhere style. Total time by myself is ~2.5 hours. With a good helper 1.5 hours. It quick, efficiant, and quite safe.
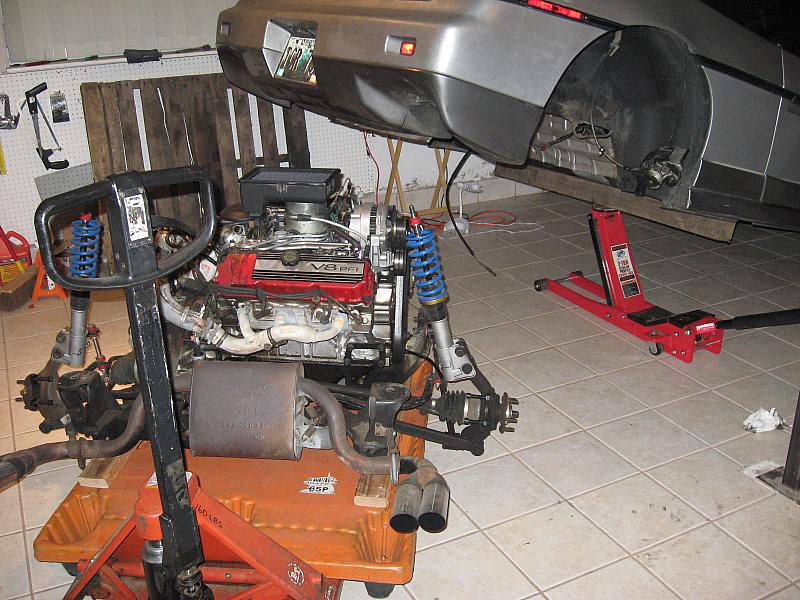
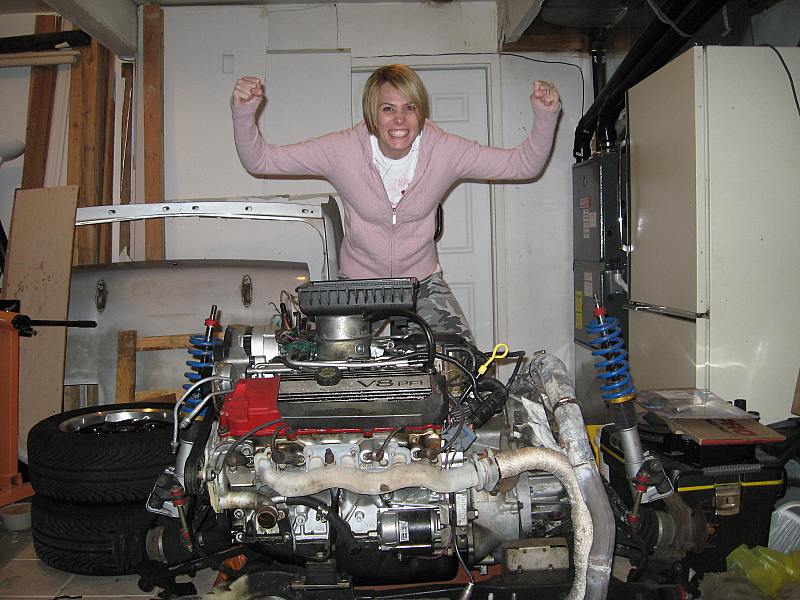
I just had to grab this pic.
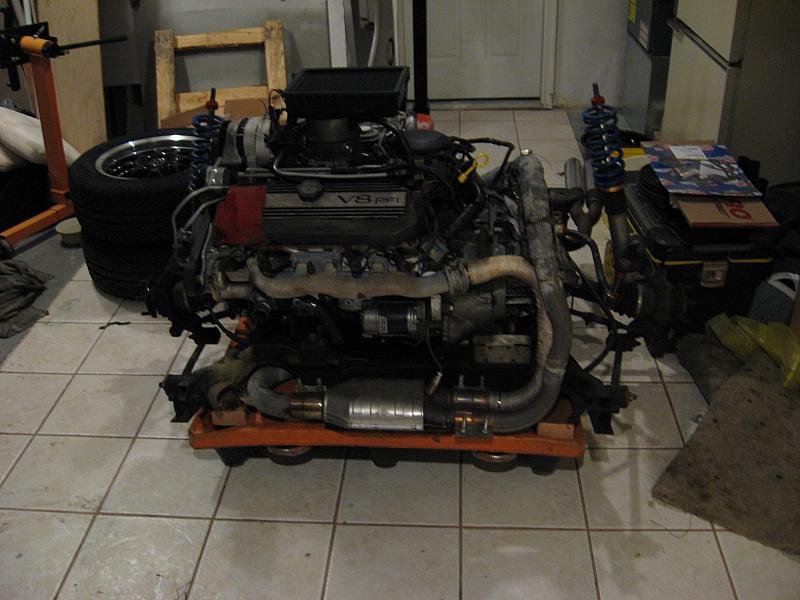
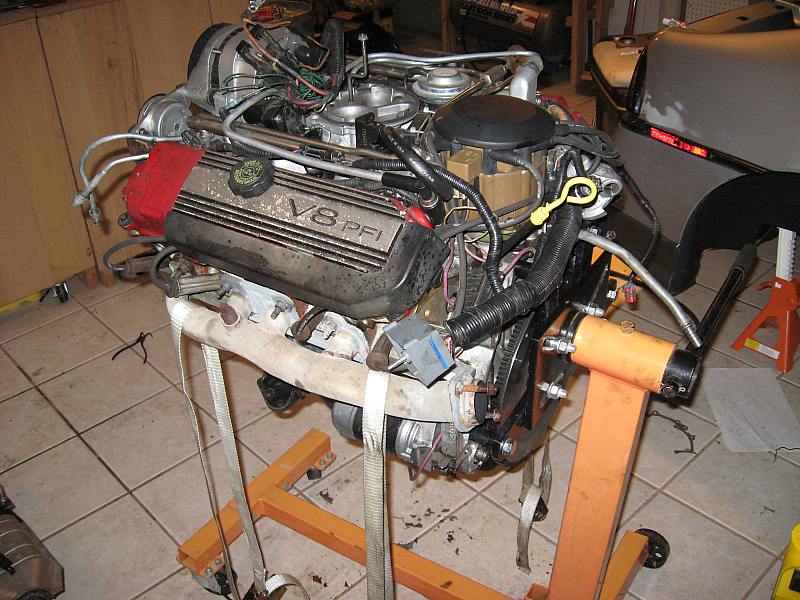
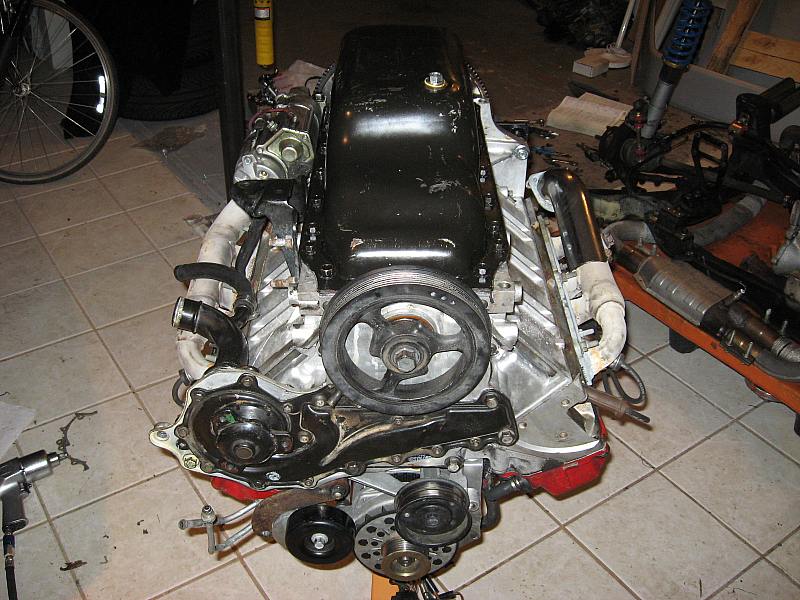
Next up it was time to start the actual work on the engine. It sits nicely on the now portable cradle.
Hehe. Forgot about this pic. Marla's funny! 
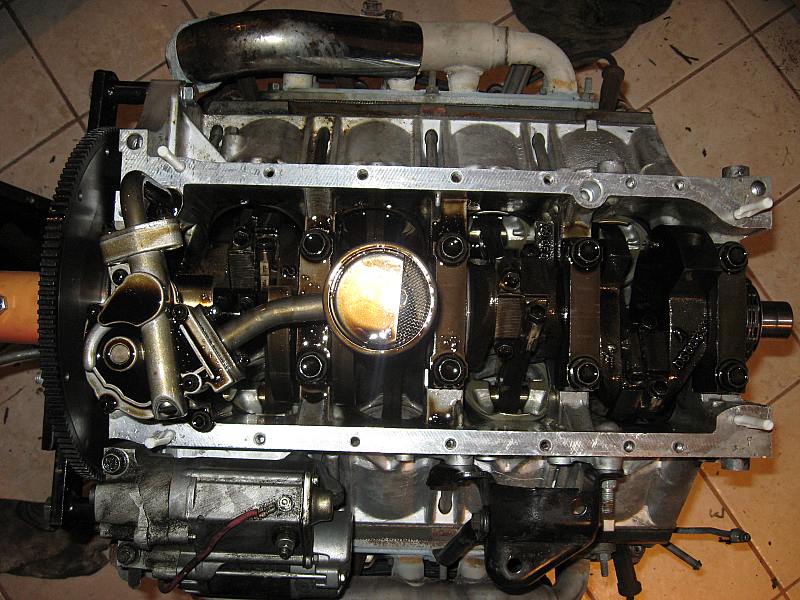
Next I removed the waterpump hoping to get to the water inlet. No such luck though. You can take off the inlet but you can't scrape the gasket area to clean it up. I ended up having the remove the whole timing cover. After cleanup it all went back together with new gaskets and some RTV.
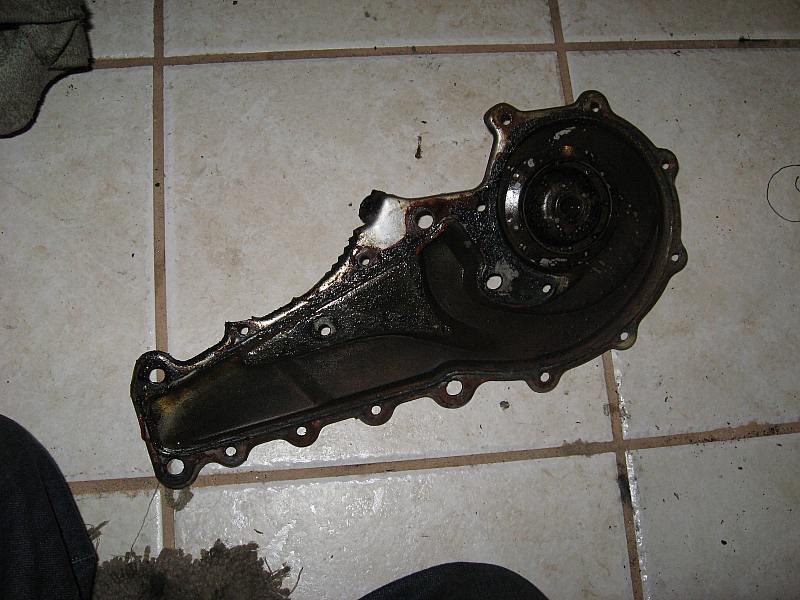
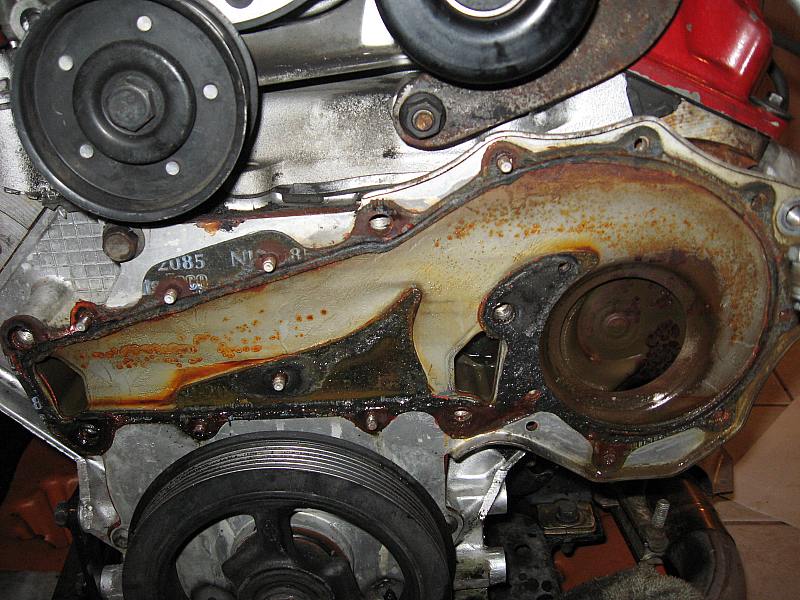
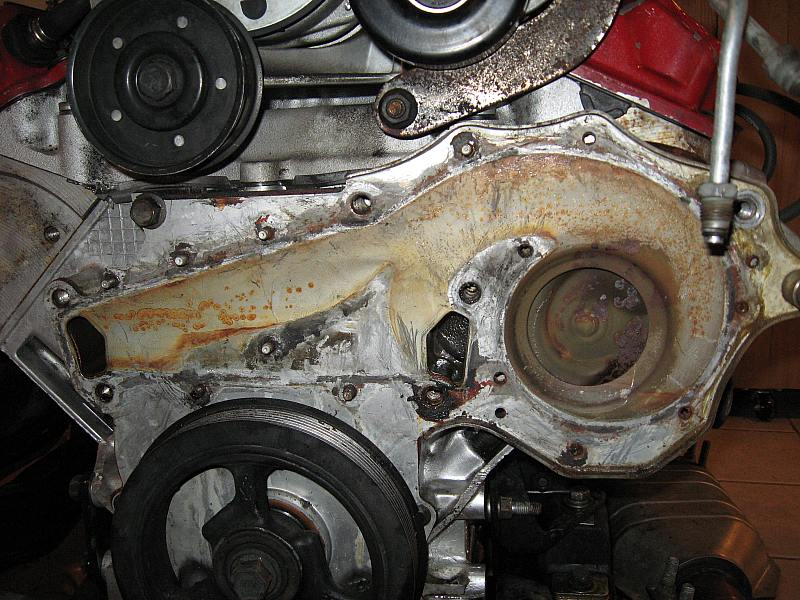
The waterpump and timing cover were starting to rust. The pump and water inlet were replaced. Timing cover straightened.
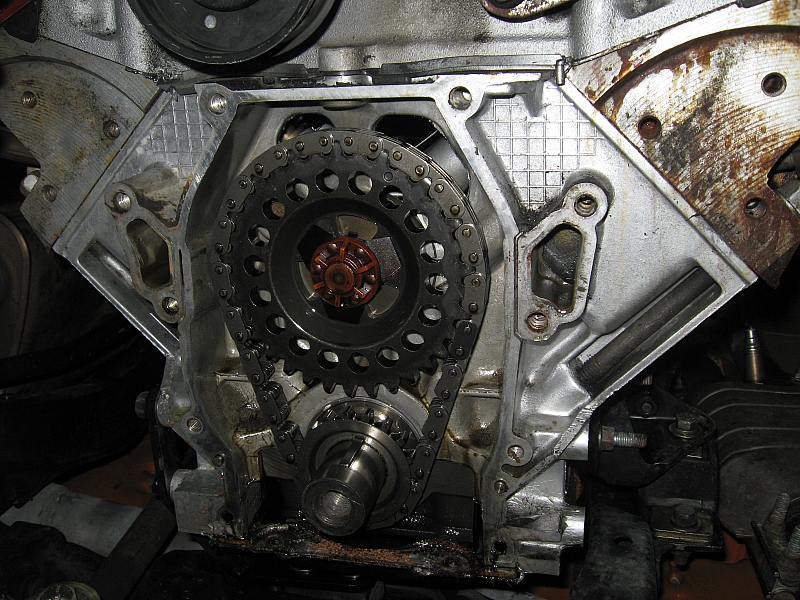
Under the timing cover looked great though.
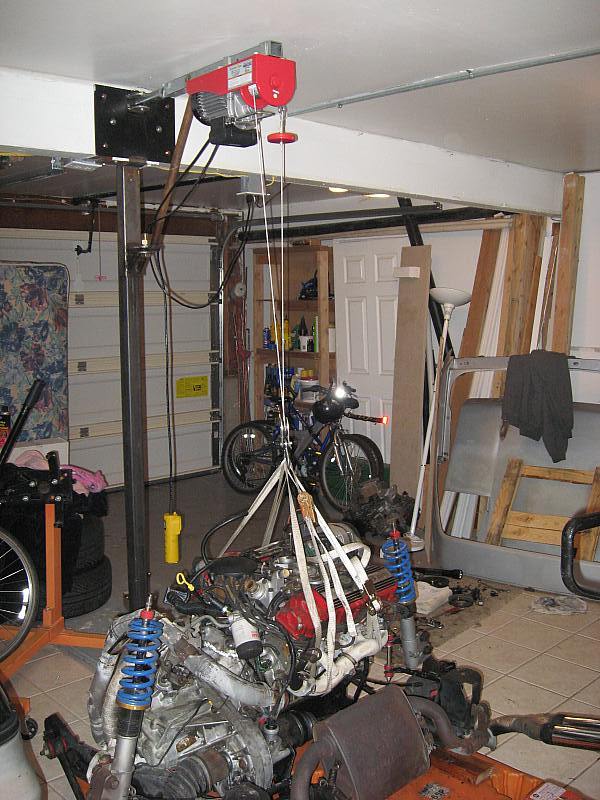
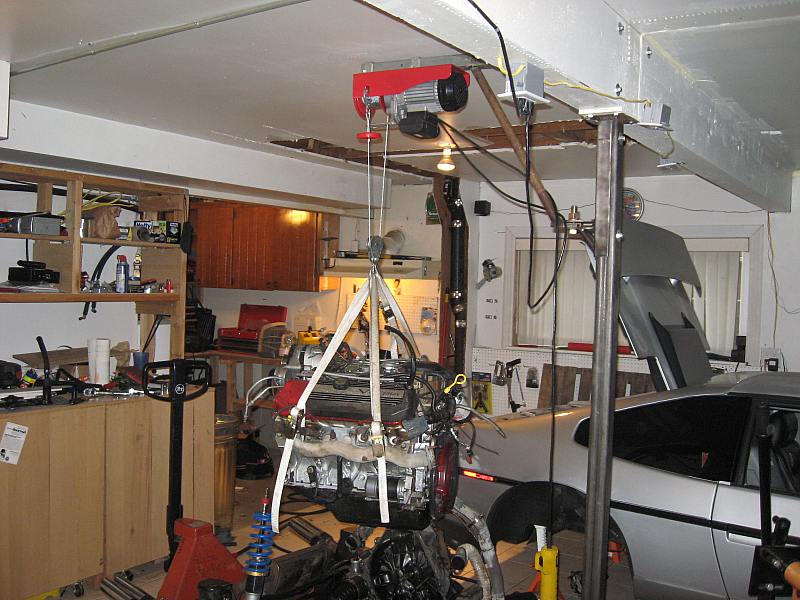
I also wanted to replace the oilpan gasket. There is not quite enough room to do this in the car. 
Remember that electric hoist I talked about earlier? The motor itself can lift a max of 880 lbs. The mount we made, which swivels , should be able to hold about 1000. It was able to lift the engine, trans, cradle and entire rear suspension. Thats all I will ever need it to do.
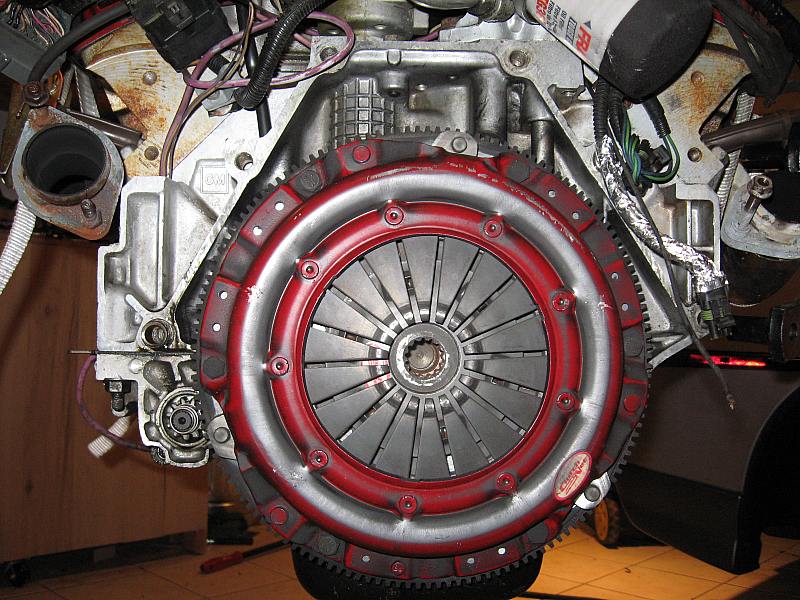
I was suprised at how dirty the clutch got in just a couple thousand miles. It did have a slow oil leak, new flywheel, and new clutch to break in.
Onto the engine stand.
Everything looks good here. The gasket was shot.
Back together with a fresh gasket. Much better quality gasket this time.
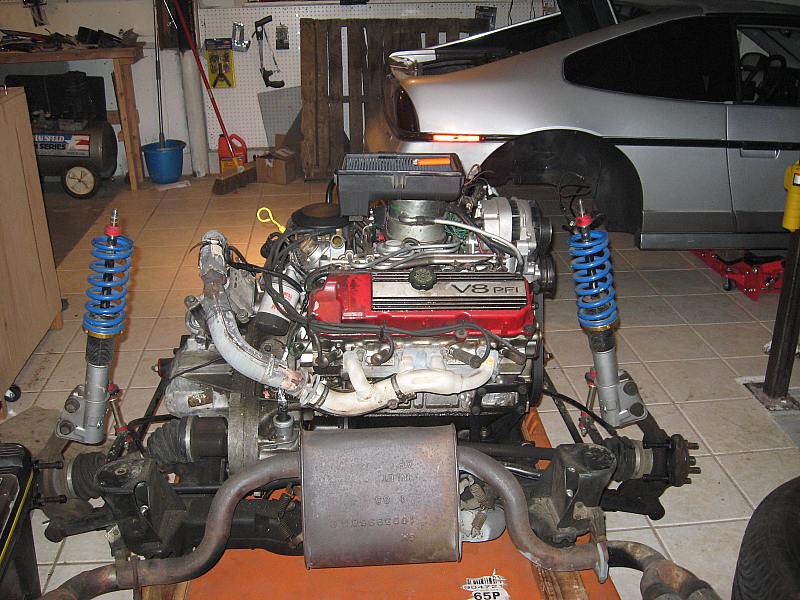
Back onto the cradle. At some point I also built this extremely simple torque strut. It works very well and even though its solid mounted I didn't notice any extra vibration. Sorry, only pic I have at the moment.
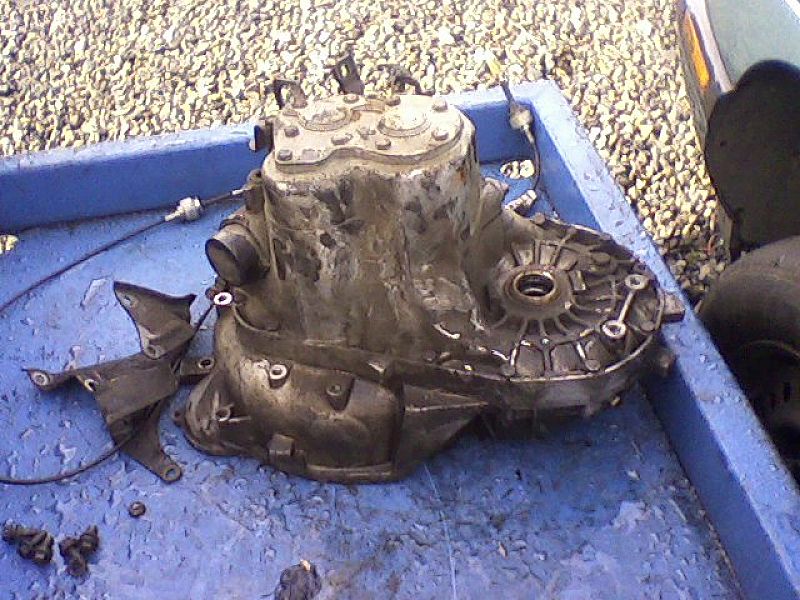
The car was put back together and driven for a few hundred more miles. At this exact moment the cradle is about 1/2 way out again. I recently got my hands on a getrag 5 speed. Should have it changed out shortly. But thats an update for another day. I'm pretty sure this will be the first 4.9 to run with 3 different fiero manual transmissions. I can't want for the getrag.
Possible future project? Hmmm..........
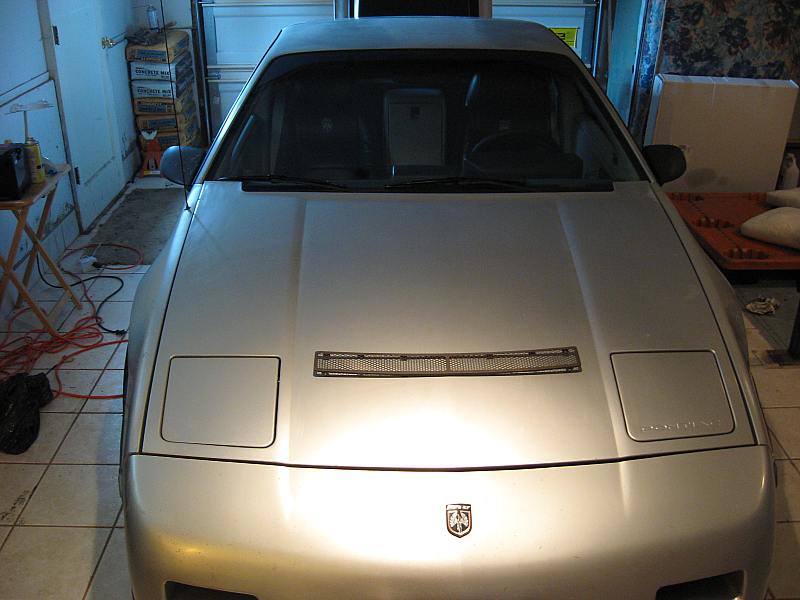
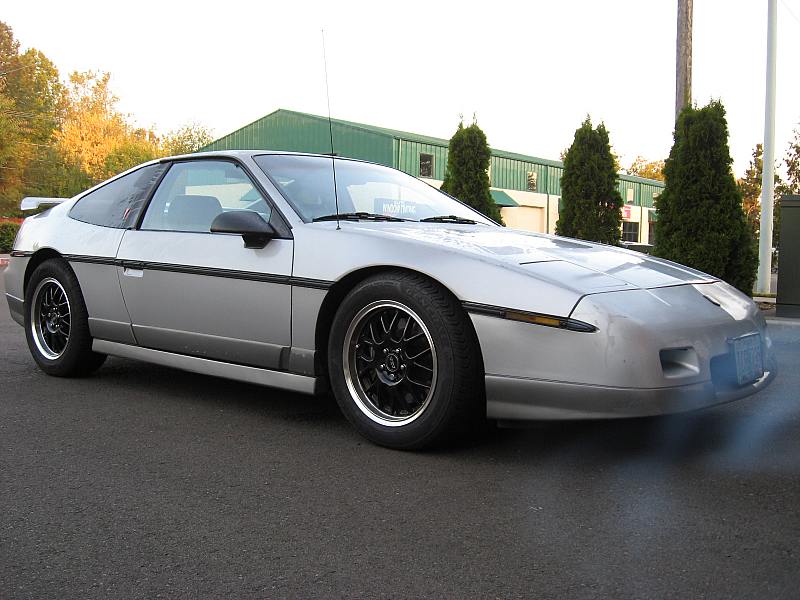
Some of my favorite pics...
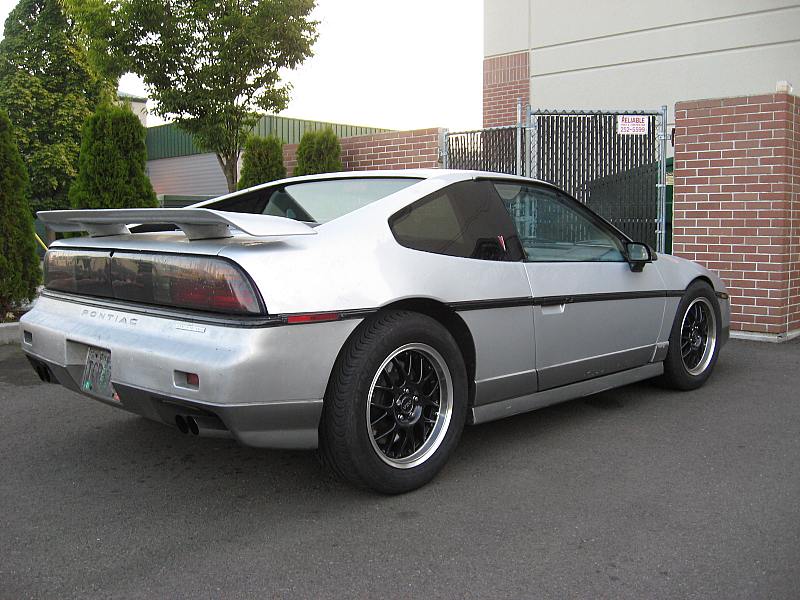
Before and after. Amazing how much can change in just a couple short years.

 [This message has been edited by Fieroseverywhere (edited 12-08-2009).]
|
|
|
|
fourpoint9
|
NOV 10, 03:32 PM
|
|
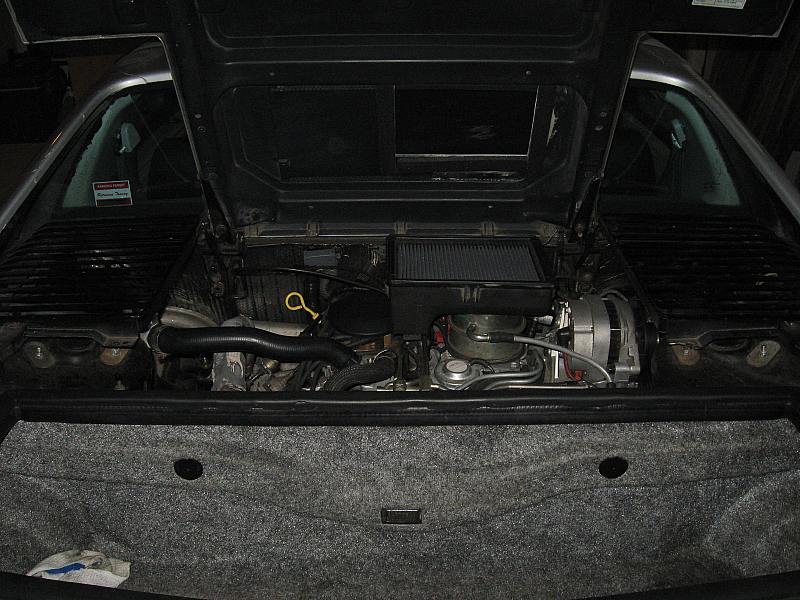
Very Nice Air Filter set up. So you will be adding a scoop to the decklid?
|
|
|
|
Fieroseverywhere
|
NOV 10, 06:27 PM
|
|
| quote | Originally posted by fourpoint9:
Very Nice Air Filter set up. So you will be adding a scoop to the decklid? |
|
Absolutely. We both know how much rain we get here in the NW. Without a scoop my engine would be dead in no time. I went without one for as long as I could. I really liked the look without a scoop. As soon as it started raining though I had to add something. Until I finish the rest of the body work and make the real scoop I am using an ABS Mustang scoop. Guess I haven't posted any pics. I don't like it much so I'm eager to fiberglass the new one.
So did you get that Tach modded yet? Just want to make sure that trim pot I sent you worked.
|
|
|
|
Carcenomy
|
NOV 10, 09:55 PM
|
|
|
That's a pretty awesome way of mounting your air cleaner, very classy! The wheels came out roughly how I was expecting them to look, and has definitely made up my mind on the rims for mine. Keep up the good work!
|
|
|
|
CC Rider
|
NOV 12, 06:39 PM
|
|
|
awesome work ------------------
Red 1988 GT 5 speed
Poly all around, Koni's & Lowered
LQ1 powered

|
|
|
|
Fieroseverywhere
|
NOV 17, 08:11 PM
|
|
I've had a few inquiries about the floor jack. So to keep from answering the same PM's several times I decided to put the info here for future reference...
| quote |
This jack was a tough find. I was looking for something extra long, very low rise, but still had a decent lift to it. This was literally the only thing on the market. It is built by one manufacturer, don't recall the name at the moment. This company does not sell them to the public. They only sell to three different distributors that I have found.
All three distributors list it under their own part number and paint it their own color. The particular one I got is an Advanced tool design ATD-7325. Red as you saw in the thread. They go on sale now and again and/or sometimes ship for free. They are heavy at ~120lbs so shipping is a killer if you don't get it free. I paid $247 with free shipping from amazon.com. A search through google shopping usually finds the lowest price the fastest.
It also lists under part number Omega 29023. They call it "magic lift". This one is supposedly black but same jack by same manufacturer.
The third I was able to find has the same part number as Omega above. Its sold by Northerntool.com. They call it the "blackhawk" 29023. Usually red but I've also seen it in blue from them.
Here is the best price I currently see... 261.10 + free shipping
http://www.etoolnet.com/buy...cks-at-etoolnet.html
Even at $247 I think it was worth every penny but thats still a lot of money for a floor jack. Hope this helps those who are interested. Later
|
|
[This message has been edited by Fieroseverywhere (edited 11-17-2009).]
|
|
|
|
Fieroseverywhere
|
NOV 17, 08:17 PM
|
|
| quote | Originally posted by Carcenomy:
That's a pretty awesome way of mounting your air cleaner, very classy! The wheels came out roughly how I was expecting them to look, and has definitely made up my mind on the rims for mine. Keep up the good work! |
|
Thanks! The air cleaner was an idea I had since I saw the first 4.9 swap. It just made sense with the throttle body being directly on top of the motor.
| quote | Originally posted by CC Rider:
awesome work
|
|
Thanks. So you have to tell me. Where did you get the center caps for your wheels?
|
|
|
|
Fieroseverywhere
|
DEC 08, 10:43 PM
|
|
Getrag installed. Actually, installed twice now. The first attempt ended up with a no 3rd or 4th gear. That problem ended up being the retaining pin for the 3/4 shift fork. It was all dropped back out again to replace the pin.
Got it all installed a second time only to find out the 3rd gear syncho is shot. I figure the previous owner drove it with a bad synchro and that eventually the vibration from grinding into 3rd shook the retaining pin out of place.
The trans will be getting a full rebuild in the near future. I'll post an update shortly after that. Someday I may just be able to get in a drive this car. So many problems to date I can't even keep track. The 3600 miles I've managed to get on it have made it all worth while though. Wish me luck on the rebuild... please.
|
|
|
|
bushman-65
|
DEC 15, 05:16 PM
|
|
|
When you lift the car up with the jack in the middle like that, does the nose get crushed on the ground?!
|
|
|
|
Fieroseverywhere
|
DEC 15, 05:44 PM
|
|
| quote | Originally posted by bushman-65:
When you lift the car up with the jack in the middle like that, does the nose get crushed on the ground?! |
|
Actually, it doesn't. The jack also lifts the front suspension slightly(takes the load off it) so the nose never actually touches the ground. My only experiance with the nose hitting the ground was from years ago when I used to lift from the back of the car. This left all the weight on the front suspension and compressed it further. Thats a really good question. I should add that to the post.  [This message has been edited by Fieroseverywhere (edited 01-30-2010).]
|
|
|
|