|
| Another Katatak Fiero Adventure! (Page 15/72) |

|
Sofa King
|
DEC 01, 04:22 PM
|
|
P,
First... LOL!!! Sorry to complicate things. I tend to do that. Look at my project
Second... no no no... just extend the shifter plate so it rests over top of the center stack console. That way you keep two pieces but a nice tight fit between the center console and the stack console. Make sense?
|
|

|
katatak
|
DEC 01, 04:31 PM
|
|
I follow you Greg. I like that idea too. I'll have to go out to the shop and do some visualization excercizes....... I was just outside and it's warming up - may get to do some more glass work this afternoon! Yipee.....
Pat
|
|
|
|
Sofa King
|
DEC 02, 08:00 PM
|
|
|
|
|
katatak
|
DEC 02, 09:49 PM
|
|
A little more progress this afternoon. I was really making progress till my oldest son called me to tell me there was "green stuff" running out of his Formula. I had to go check it out - water pump is gone. I know what I'll be doing this weekend. I just love putting a water pump on a Fiero! Great fun!
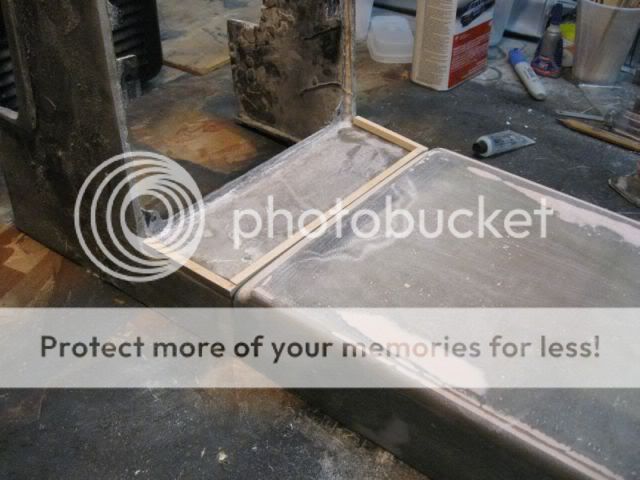
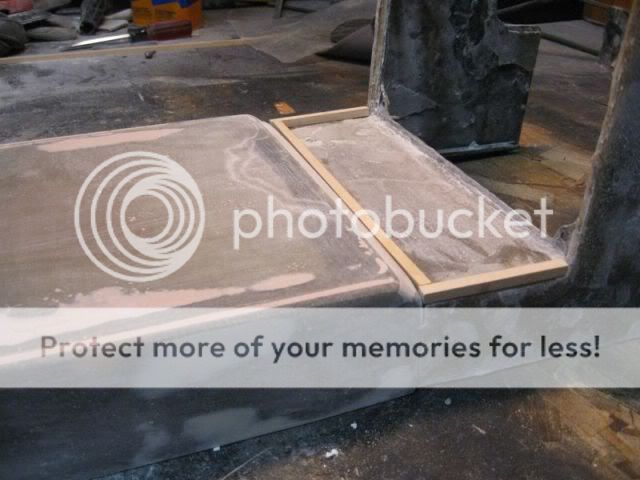
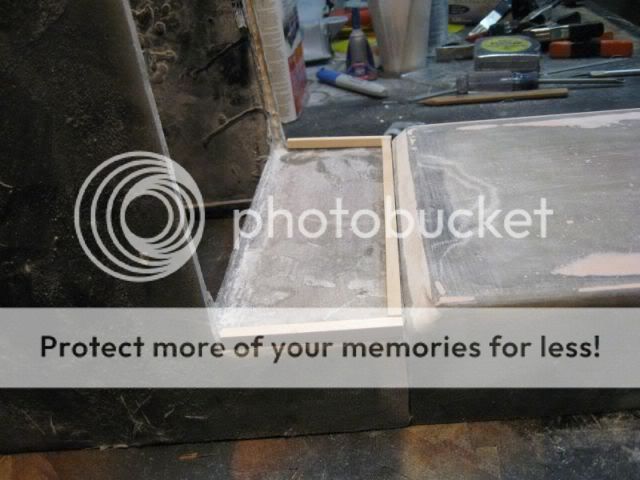
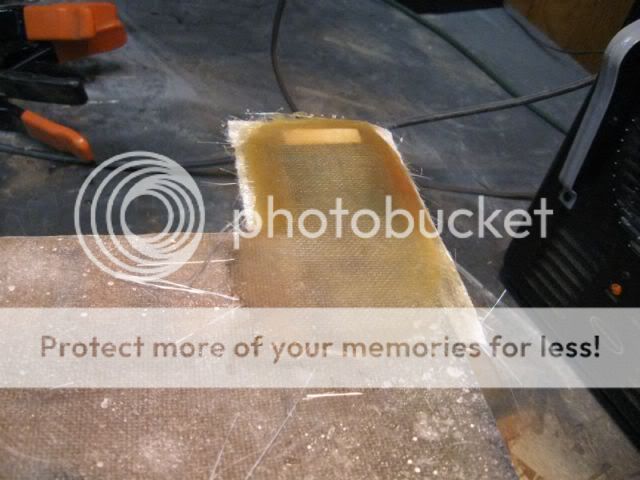
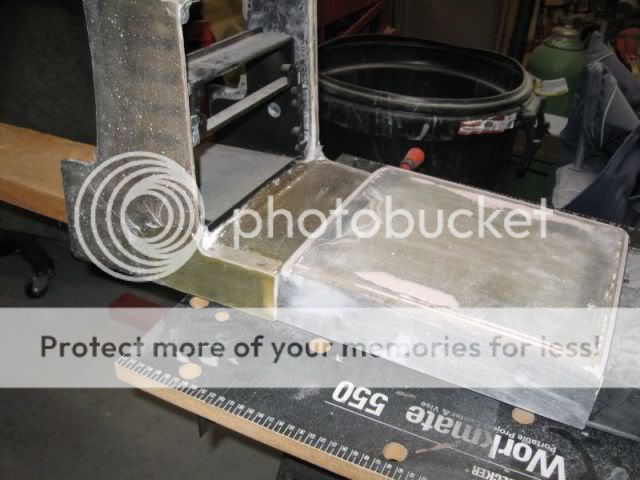
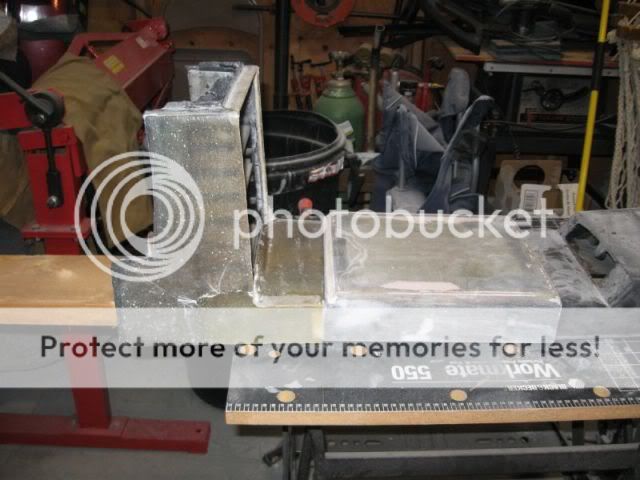
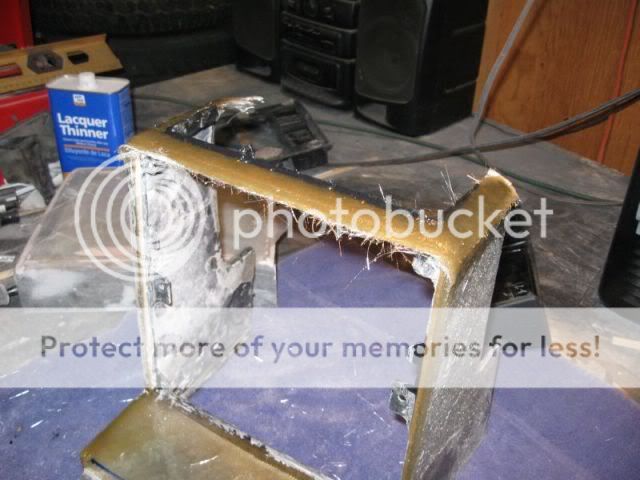
So anyway, last night and this afternoon, I did some more build up of the AC surround so I could get it to match up to the shift console. It was an experiment that turned out good. The bottom sides of the AC surround are tappered in and I needed to square it up to fit up to the shift console. So I went to the Hobby store and got some balsa wood and shaped up a couple of wedges to fill in the taper. I glued these to the surround and then layed several layers of "staggered" mat basically making a "wedged" shaped glass section on the lower part of the surround. I managed to get the top and one side layed last night and today I got the other side layed up. Once it was cured, I went after it with the Dremel and trimmed it up. I looked like a snow man when I was done - covered in fiberglass dust.
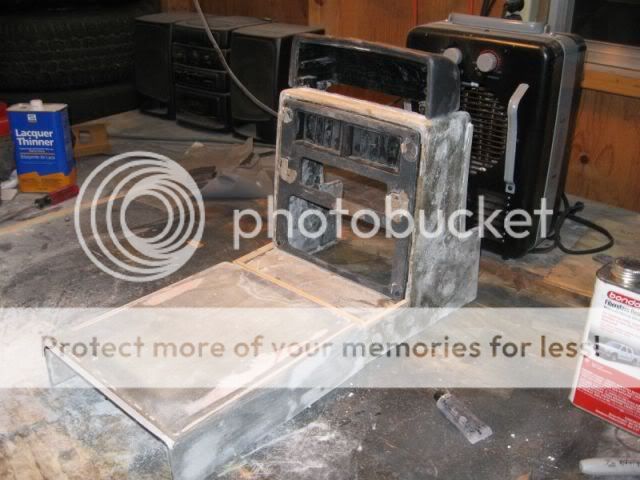
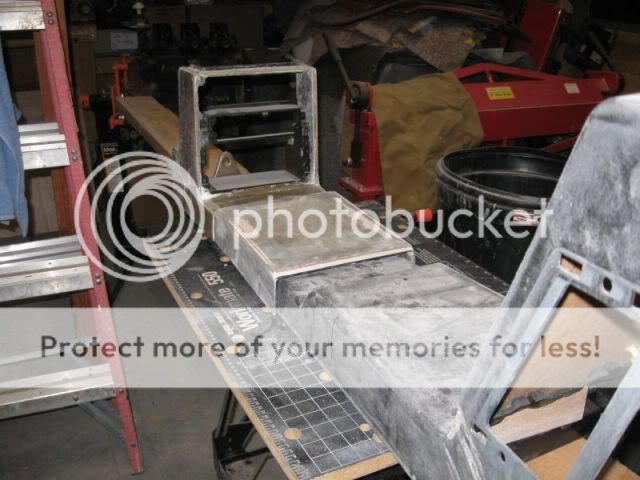
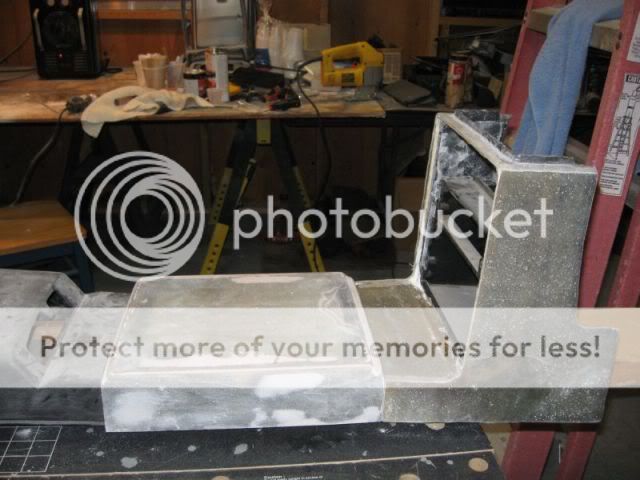
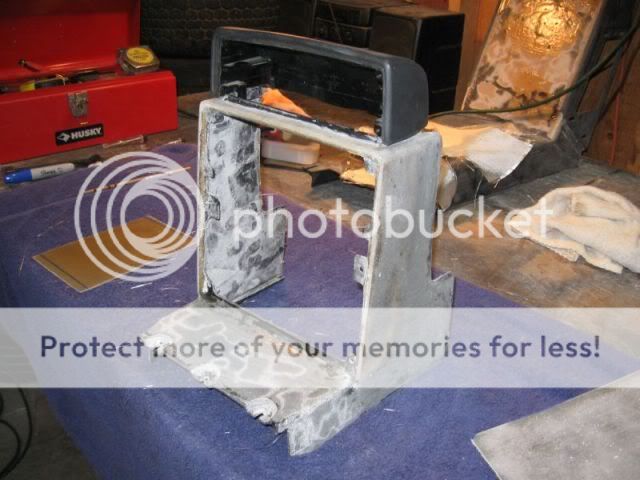
After I got the Surround trimmed up, I mounted the skeleton to a 2X6 so I could start mocking up the entire console. It's starting to come together but I still have a lot of work to do to the surround and the arm rest piece.
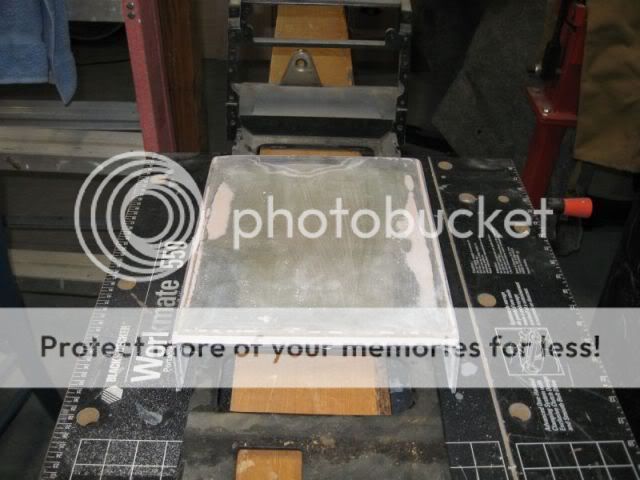
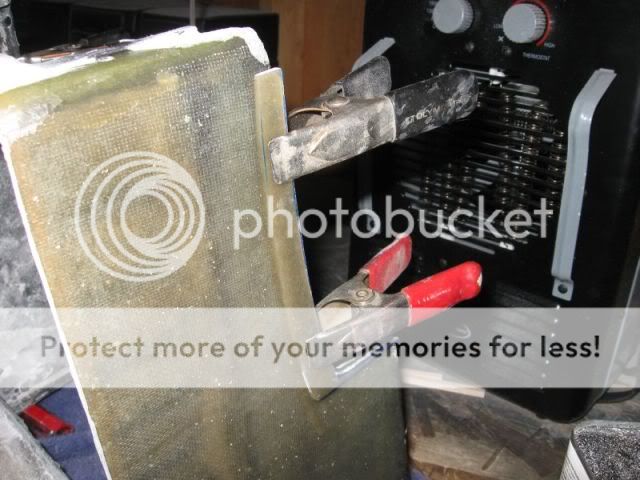
I did not get any pics from last night but here's one of the side I did today. Once I had the glass layed, I placed wax paper on top and rolled the air bubbles out. Then I put a piece of harwood veneered plywood on top of the wax paper and clamped it down with some spring clamps. After it sat for 15 minutes, I removed the clamps, wood and wax paper - the result is wonderful. Nice flat smooth with no air bubbes to fill.
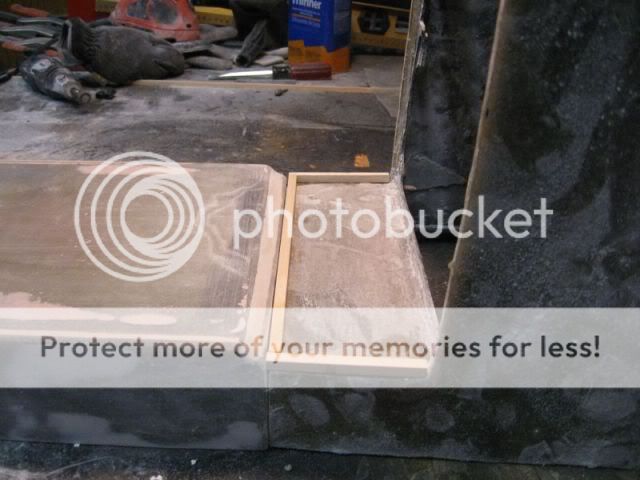
The fit I am going for:

The skeleton mounted to a 2X6 for mock up:
And all three pieces fit up:
More later!
Pat
|
|
|
|
katatak
|
DEC 02, 10:03 PM
|
|
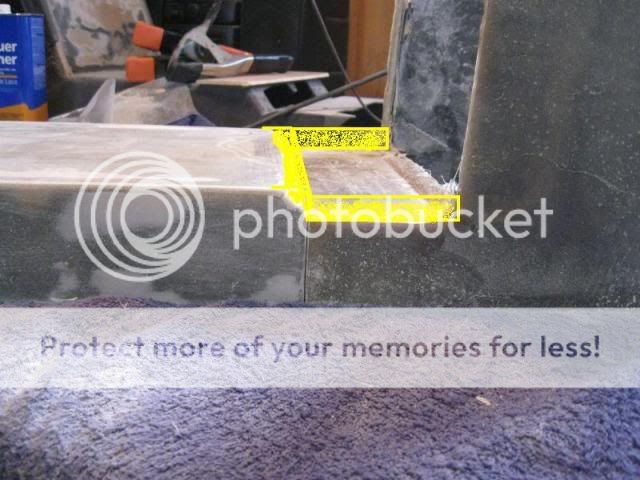
Need an opinion. I am thinking of building a lip around the bottom of the AC surround to create a recessed area. Then I woud "square" off the shift console to match it. I think it would give it a better - finished look? What do you think?
I'm no phot shop guy and I can barley use Paint but this may give you an idea of what I am thinking of:
Pat
|
|

|
Sofa King
|
DEC 03, 07:56 AM
|
|
| quote | Originally posted by katatak:
Need an opinion. I am thinking of building a lip around the bottom of the AC surround to create a recessed area. Then I woud "square" off the shift console to match it. I think it would give it a better - finished look? What do you think? |
|
Yes. Do it. I bought the little "cubby" holder from the Fiero Store and its wonderful. You have a place to put your glasses, spare change, etc...
Pat, your glass work is getting better and better - you sicken me. The console is looking really good - very clean and very professional - you sicken me.
|
|
|
|
katatak
|
DEC 03, 09:47 PM
|
|
| quote | Originally posted by Sofa King:
Yes. Do it. I bought the little "cubby" holder from the Fiero Store and its wonderful. You have a place to put your glasses, spare change, etc...
Pat, your glass work is getting better and better - you sicken me. The console is looking really good - very clean and very professional - you sicken me. |
|
Heehee...Not bad for a tired old fat man huh?.....ROFLMAO.....Crap now I can't get up off the floor..... Thanks Greg for the positive comments. I put off messing with fiberglass because I was scared to screw something up. I really needed to get after it though so I could do the body work needed on the XTC project. I figured I could screw up this console as much as possible and it would all be a learning experience. If it turned out bad, I could always put a socker in and not worry about it. there is no way a stocker is going in that car now. I'll lay glass and sand til the dust is neck deep but it will get done. There is so much that can be done with this stuff and it is very easy to work with - messy but easy. I've finally got to the point where I mix just enough resin for the work I'm going to do instead of wasting 2 or 3 ounces each time. I agree, it takes too long - I am not very patient and thats when I run into trouble. Right now with the weather being cold, it is forcing me to "pace" things out and it makes a big difference in quality. I just have to keep telling myself to go slow. I am really looking forward to starting the body work on the XTC now.......But first, I have to finish this console and build and extractor hood scoop! Now back to work!
Pat
|
|
|
|
katatak
|
DEC 05, 12:19 AM
|
|
I know, I know.....More boring "look what I did" fiberglass pictures! I apologize but it's part of my Fiero therapy. I had big plans to get alot done to day. Took half the day off, had all my stuff laid out...etc, etc. I met the local Fiero guys for lunch and pretty much shot the afternoon. It was a great time though - lots of Fiero discussions took place and we got to see "pics" of "Rick 88's" new Mera. It's a beautiful car and it's all there and correct. Very nice car and now I want one too! But that's another thread.
Anyway, after the excursion for lunch, I came home and helped my son get the 88 Formula up on jacks so we can tackle a water pump in the morning. After that, I finally got to work on the console some. I did not get a lot done becasue it is so cold here. Fiberglass takes forever to cure when it's cold. I have a small space heater and a heat lamp so small areas work out OK.
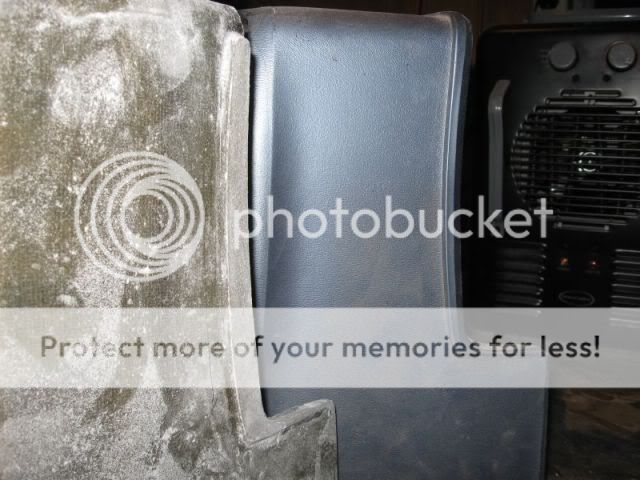
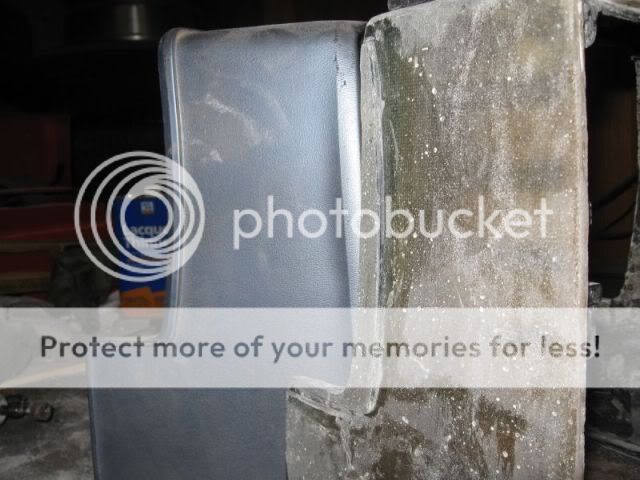
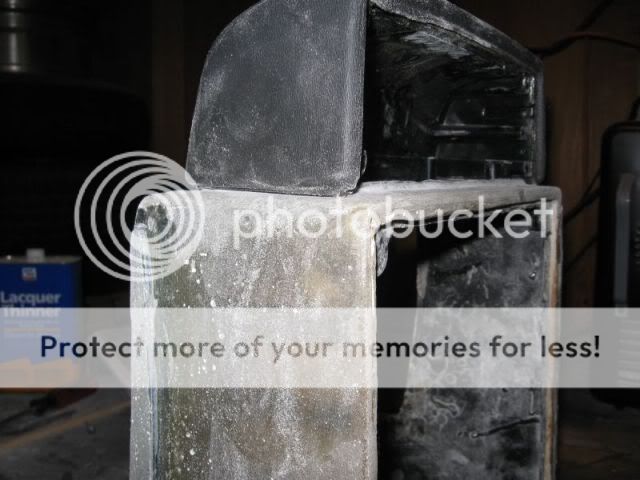
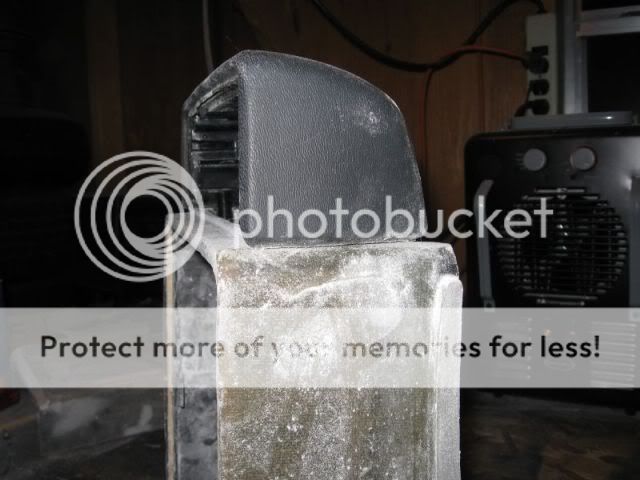
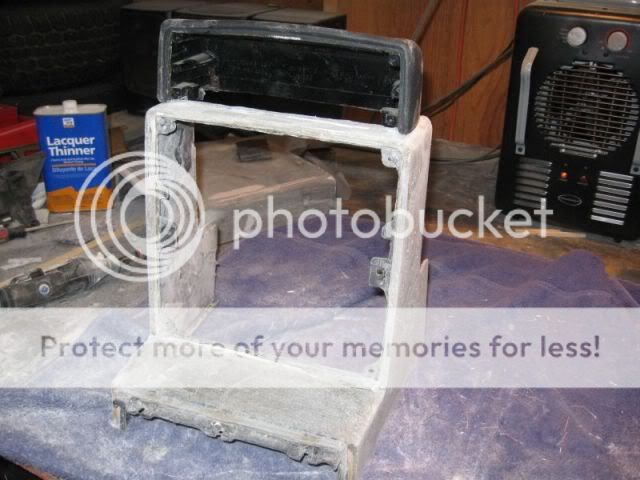
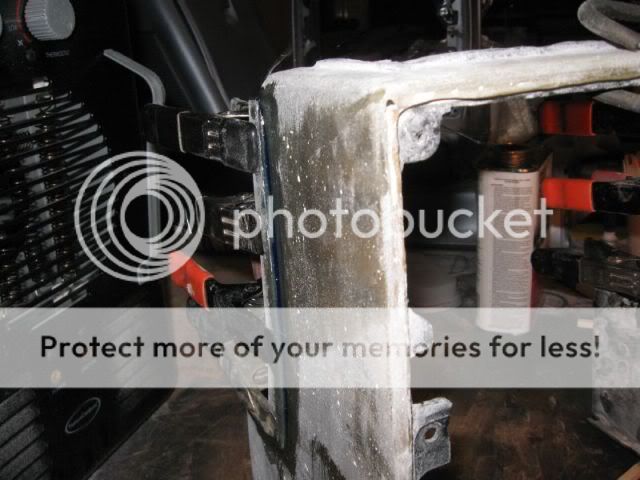
My goal is to get the AC surround finished before I start on the back piece. The shifter cover is nearly done but I need the front and rear piece finished before I can finish it. I needed to build up the top of the AC surround to get the gauge pod to fit right. I do not want any gap between the pod and the top of the surround. After I layed about 6 layers of mat and let it cure under the heat lamp, I filled the shop with dust again and roughed it out. The pod fits close to how I want it now. I am still trying to decide if I want to just mount the original pod on top or if I am going to fab a new one and glass it all into one piece. I will add my own aftermarket gauges in the pod - H20 temp, oil pressure and Voltage - and I want to fab up a guage face / mount that slightly angles each guage towards the driver. I have a few ideas how to accomplish this but I'll have to do some experiments first.
Rough sanded and ready to start work:
Several layers for the build up on top:
Pod on top before the build up:
And after:
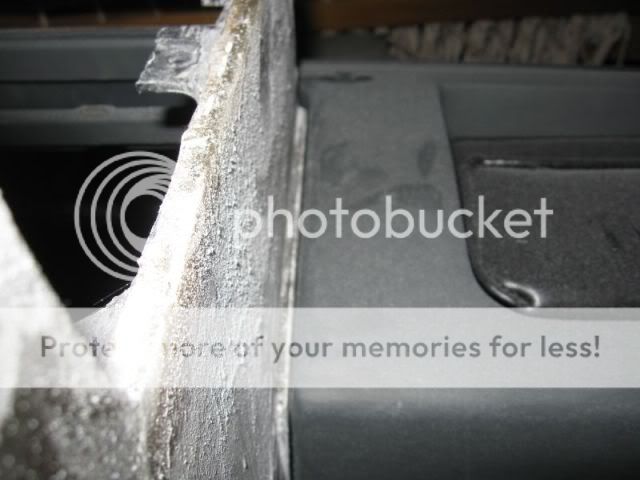
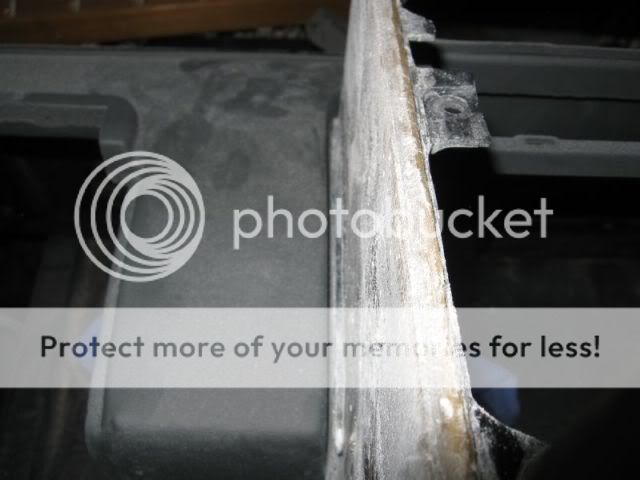
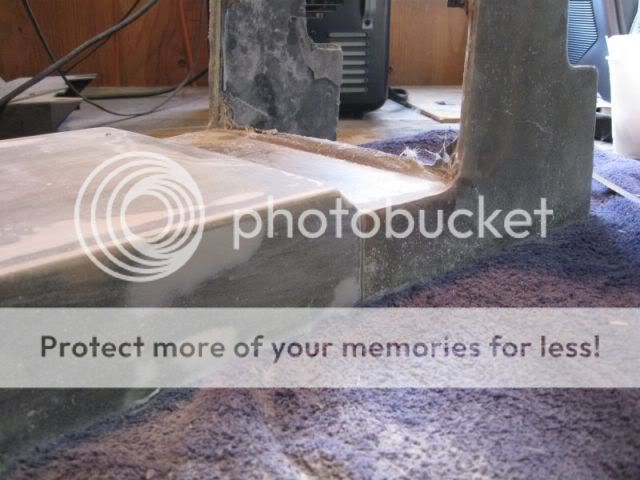
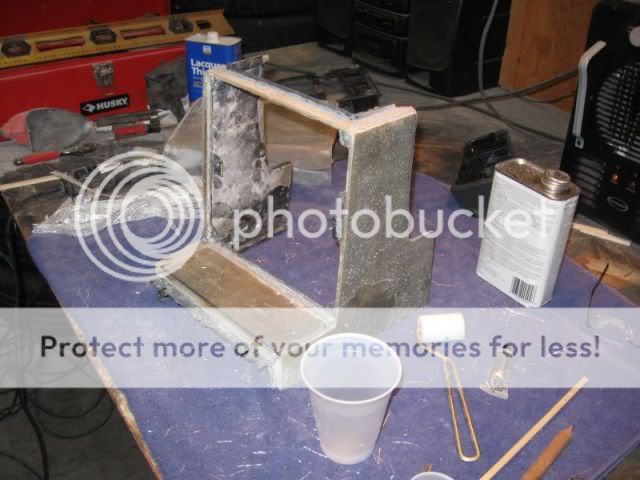
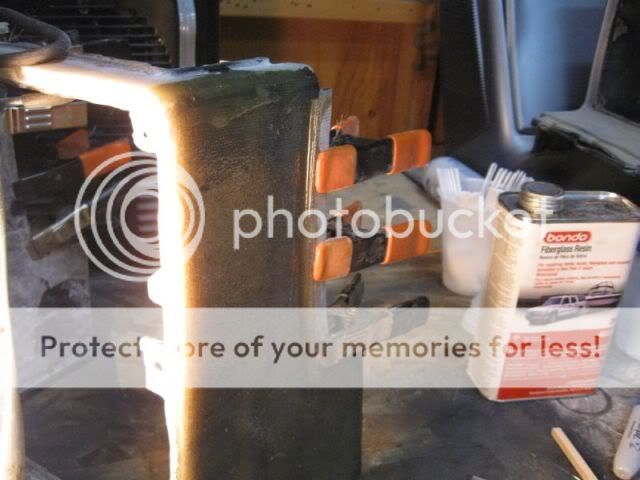
I also needed to add a flange on the front edges where the surround fits into the dash. The original has this flange to fill the gap between the surround and the dash and I am attempting to get the same look. I cut some parts out of a panel I had made and tonight I glassed them to the surround. I am not sure this will workout but I am going to try it. Once the resin cures, I will add a few layers of mat over top to give it some strength then sand it to fit.
Here's the flange on the original surround:
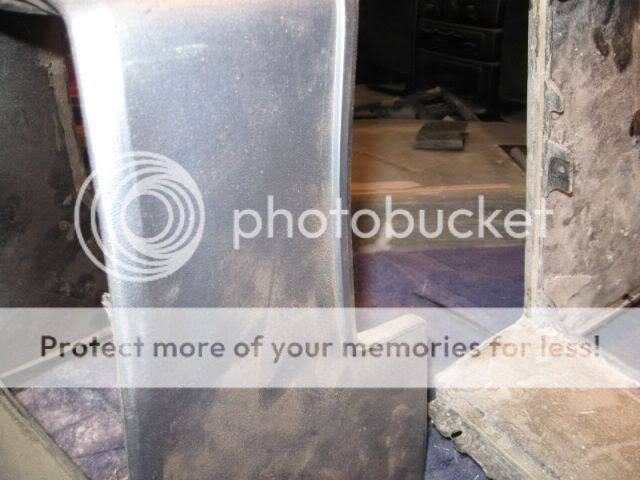
I had to add the parts in layers. Here is the start of the flange:

It's too cold out there for me now so I am done for the evening.
Pat
|
|
|
|
katatak
|
DEC 05, 01:29 AM
|
|
|
|
|
Sofa King
|
DEC 05, 07:18 PM
|
|
Pat Pat Pat...
Why do you keep raising the bar? Why? Your attention to details is making me mad and forcing me to work harder. STOP IT!
The console is really coming along. I have to admit I started to chuckle when you were all toasty warm and then just had to head out to the workshop. Cracked me up! The flange is an excellent touch. Bravo. After seeing what you've done, I'm considering putting something very similar on the sides on my console near the firewall. What you'll realize, as I did, when you begin work on your back console, was how thick the vinyl piece of the armrest was. There is an indent in the firewall carpet. The console I made is snug, but there is still that little play. A flange, similar to what you did, would fill in the gap perfectly.
I'm really excited for you. May I suggest raising the "walls" to the cubby area a little higher? If not... that's ok... LOL
Now get back out there![This message has been edited by Sofa King (edited 12-05-2009).]
|
|
|
|