|
| Another Katatak Fiero Adventure! (Page 14/72) |

|
Sofa King
|
NOV 28, 07:15 PM
|
|
| quote | Originally posted by katatak:
There will be not ashtray's - just a smooth cover with a nice shifter boot attached. |
|
Have you considered putting anything in its place? Grab handles?????
|
|
|
|
katatak
|
NOV 28, 11:54 PM
|
|
|
|
|
katatak
|
NOV 29, 12:13 AM
|
|
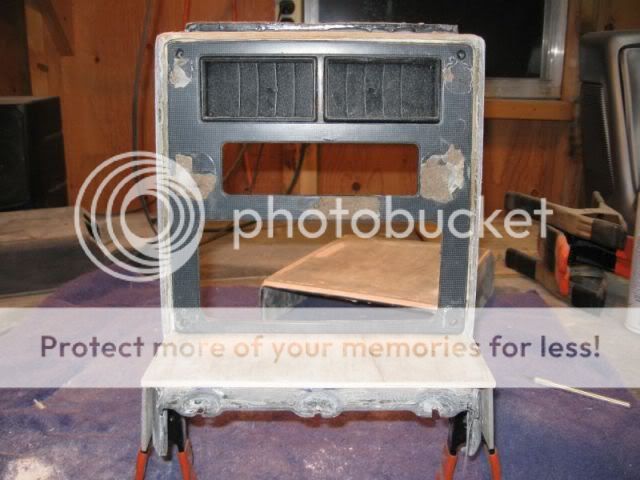
While I was waiting for he panel for the shifter console to cure, I worked on the AC surround some more. I fit it up to the dash and realied the the original has a "lip" around the back edge where it fits up to the dash. It fills the gap between the dash and the surround. When I placed my new one in there, the gap looked terrible. So, I fabbed up some "lip" pieces that I will glass in on the back edge of the surround to fill the gap. I also set the gauge pod on top to see what it looked like. I was thinking of building a pod out of glass and then mating it to the surround. I have yet to decide what to do here.
Sitting in the dash:
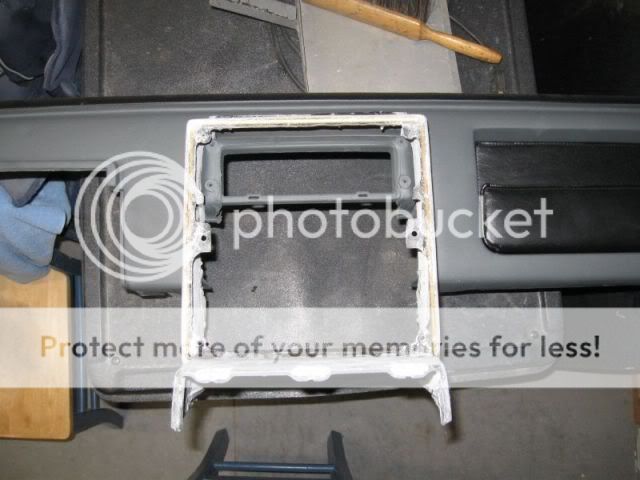
Here's the "lip":
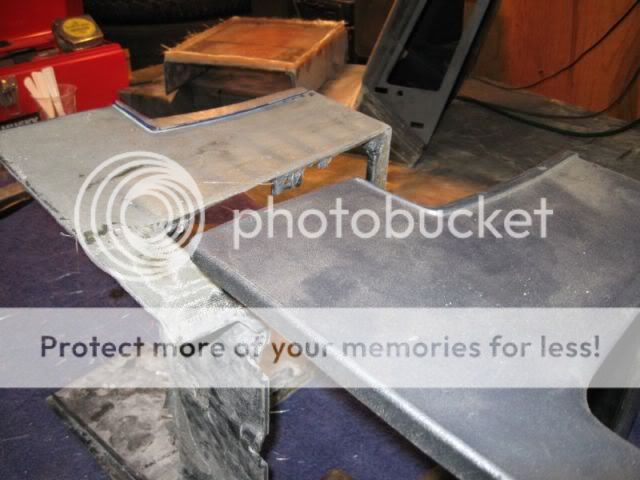
And the Guage Pod:
More to come!
Pat
|
|
|
|
Sofa King
|
NOV 29, 11:59 AM
|
|
| quote | Originally posted by Sofa King:
Have you considered putting anything in its place? Grab handles?????
|
|
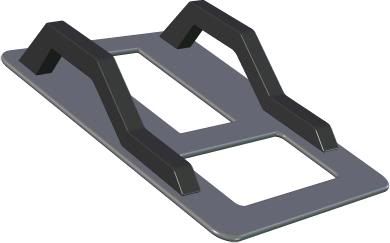
I forgot to post this VERY CRUDE 3D image of the grab handle idea I mentioned. The console looks really sharp! Can't wait to see it with a shot or primer. If I may, I would suggest sticking with your original plan to have a removable plate with chrome or silver hex bolts keeping them in place. And then replace / paint the rest of the bolts to match. You should be able to fabricate mounting holes in the glass. Just a thought. Pat, keep up the great work!
Grab Handle
 [This message has been edited by Sofa King (edited 11-29-2009).]
|
|
|
|
katatak
|
NOV 29, 11:26 PM
|
|
It was raining and cold here all day. A perfect day to close myself up in the shop and work on the console. I spent the whole day out there and nobody bothered me all day. It was very nice! My focus today was to get the shifter console closer to the finished product. Between the glass curing and the filler curing, I even found time to do some work on my 47 Chevy Rat Truck project. Since I was working with filler, I needed to do some "smoothing" on the dash in the truck so it was mix a batch for the console, spread it on, mix a batch for the truck, spread it on, sand on the console, sand on the truck and that's pretty much how it went all day. I also squeezed in some work on the AC surround and cleaned up the shop some.
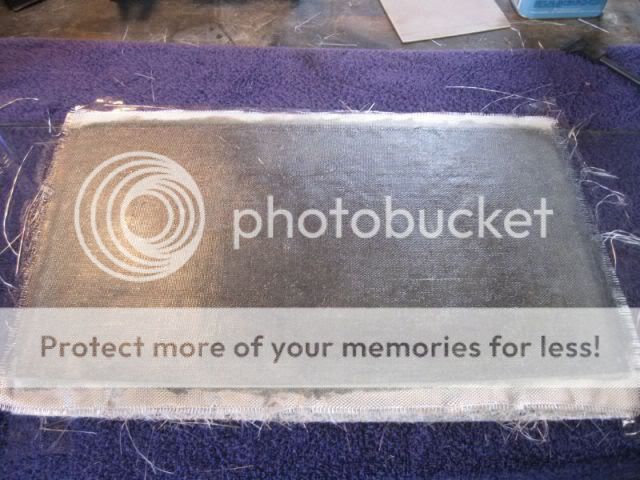
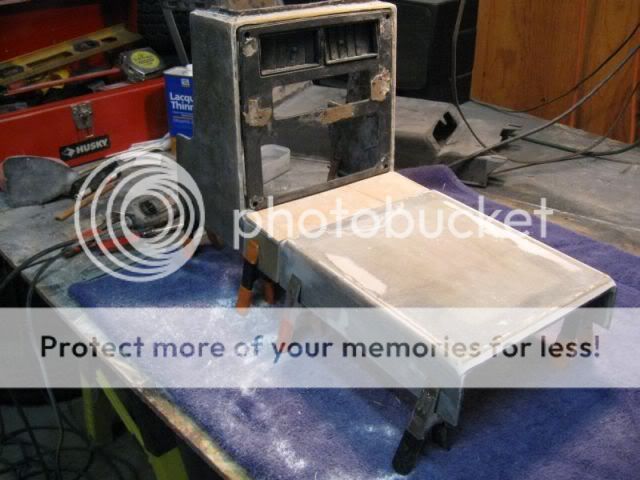
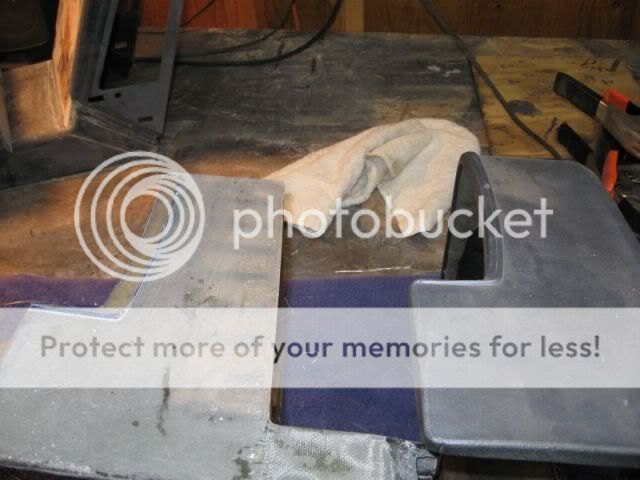
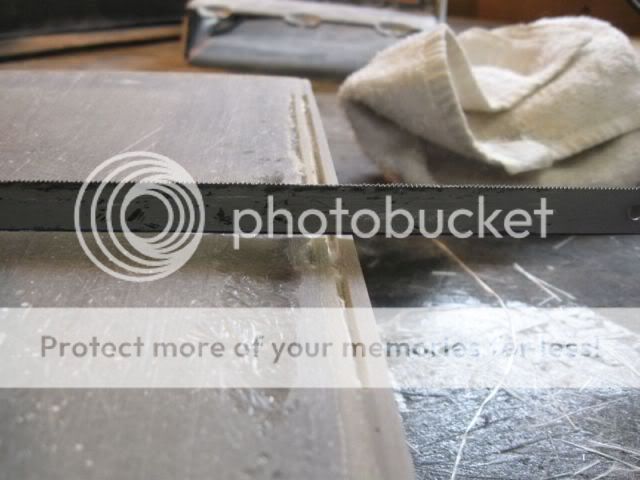
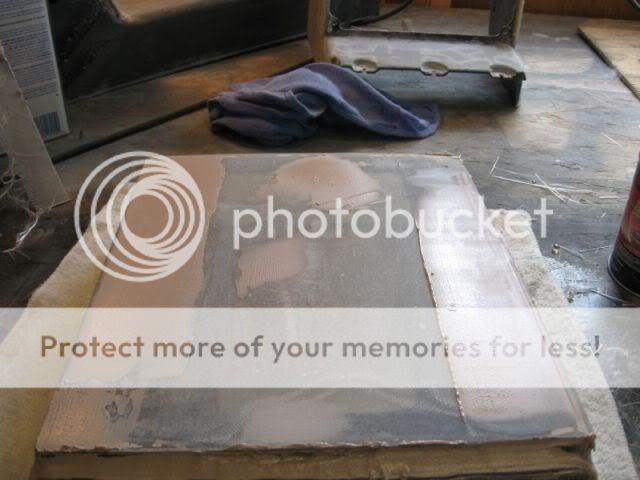
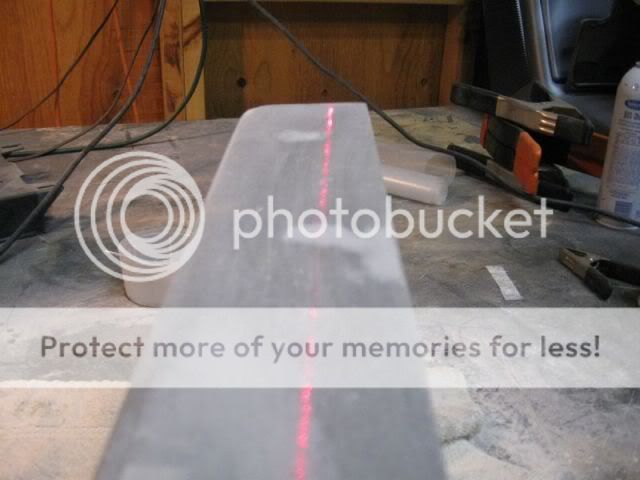
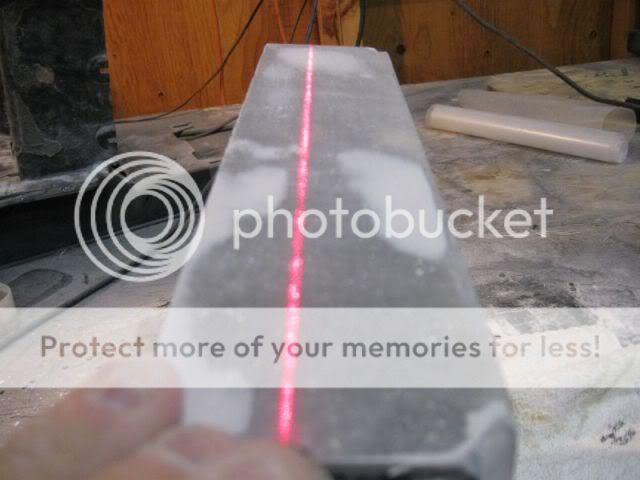
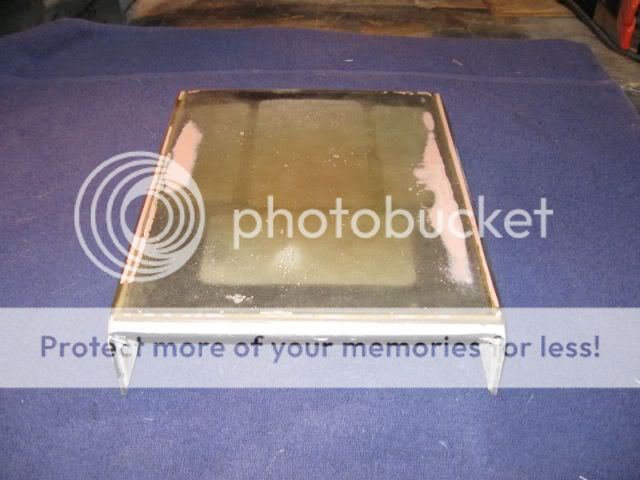
Last night, I layed in some cloth and mat on the shift console and this morning I took the sander to it.

I had a little "hump" in the center so I used my bench belt sander to flatten it out.

You can see that I had a few low spots. Time for filler!
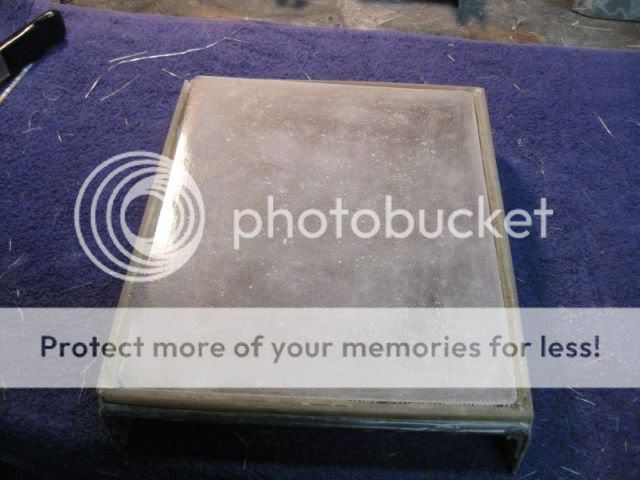
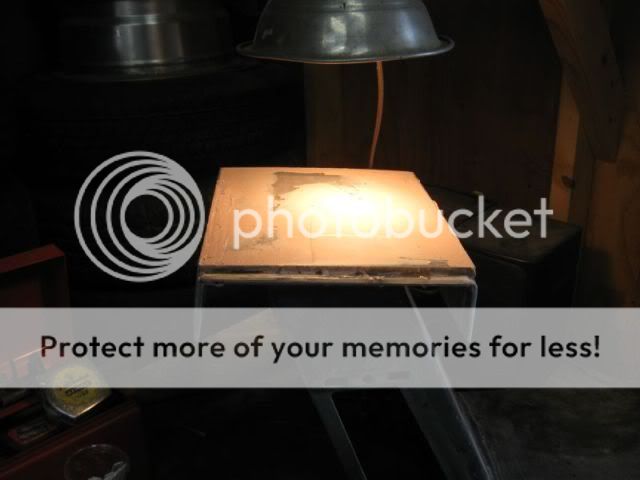
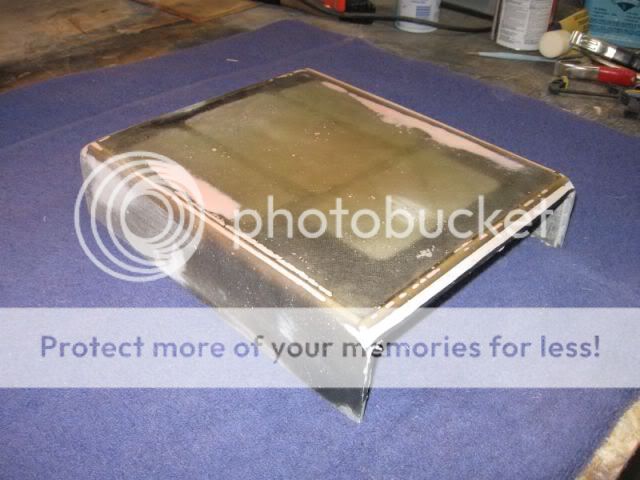
First skim coat of filler - along with the low spots, there were several air bubbles to fill. It was cold here today so I put the heat lamp on it to help it cure.
After the filler cured, I gave it a rough sanding - a little more filler needed.
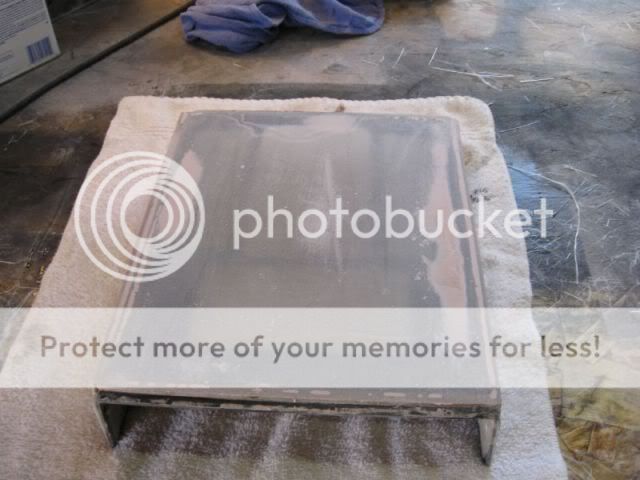
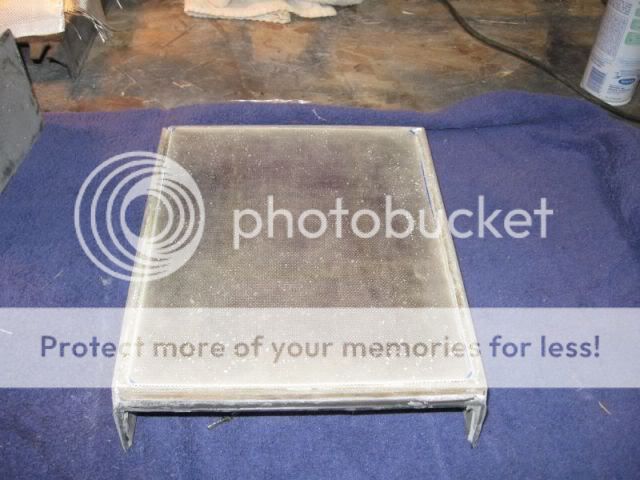
Second fill coat.
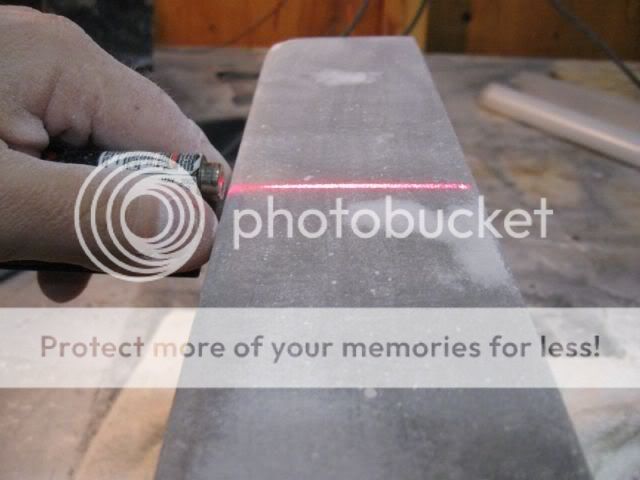
And lots of sanding.
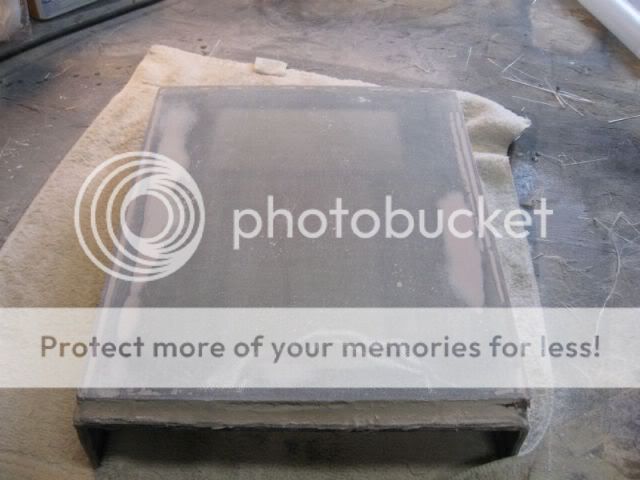
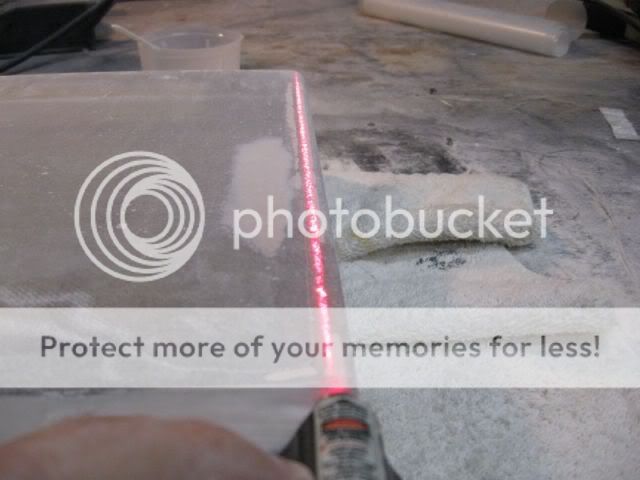
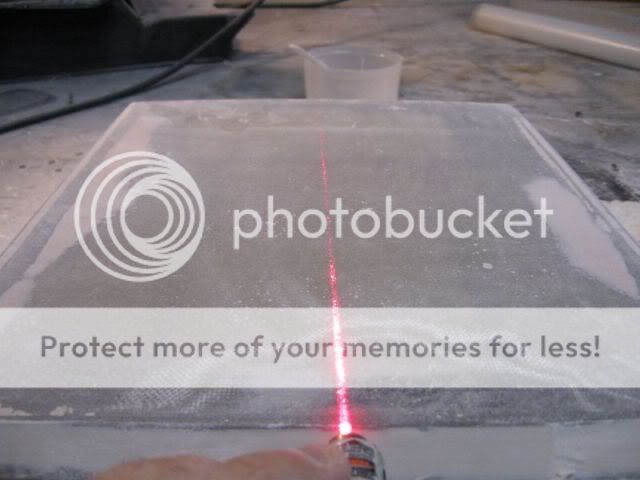
Getting fairly flat and square.

Still have a little hump on one end.
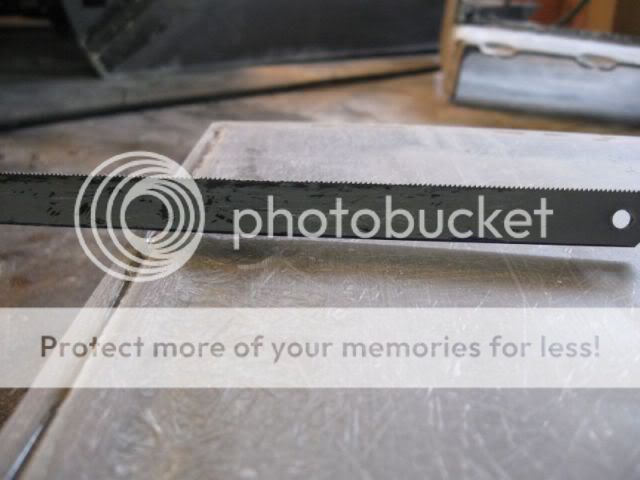
Also worked the sides
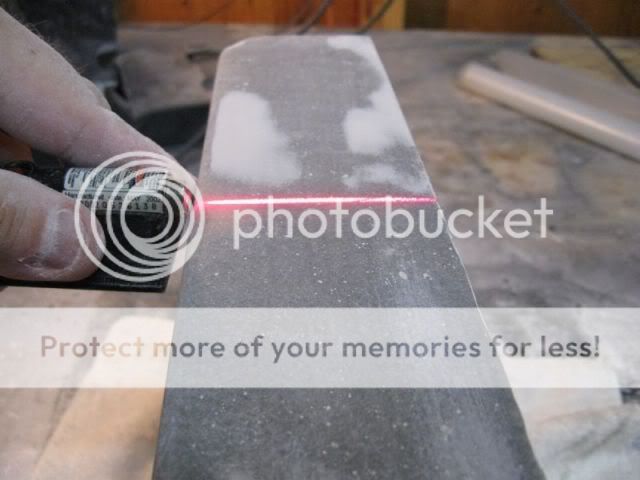
After alot more sanding and smoothing.

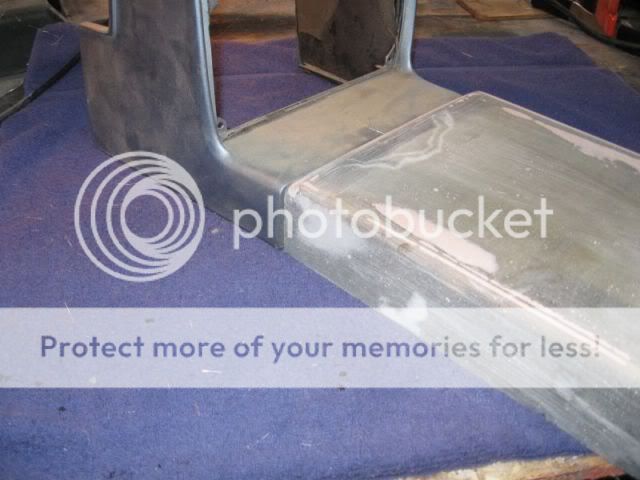
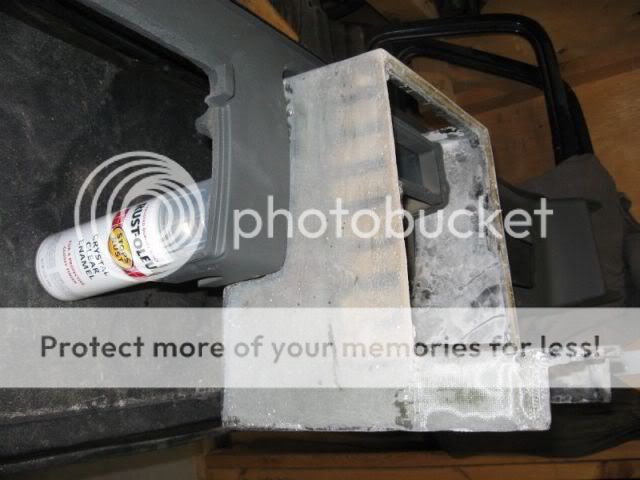
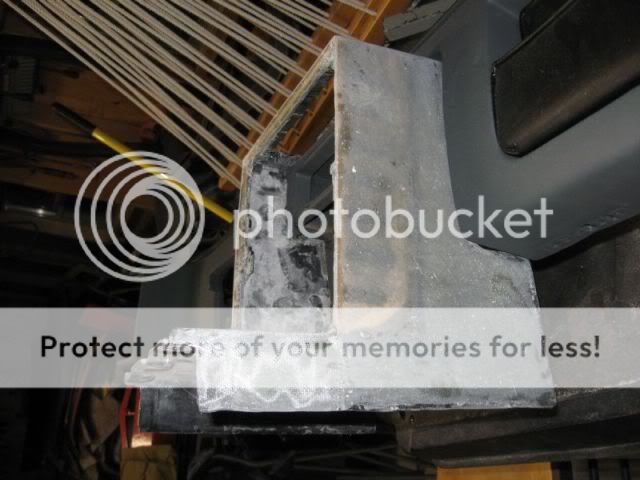
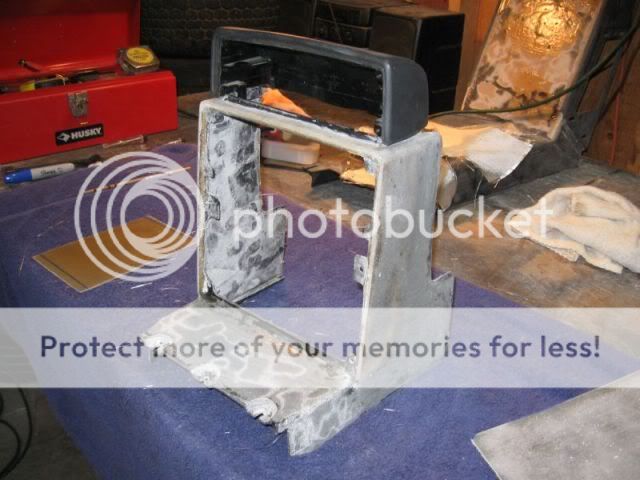
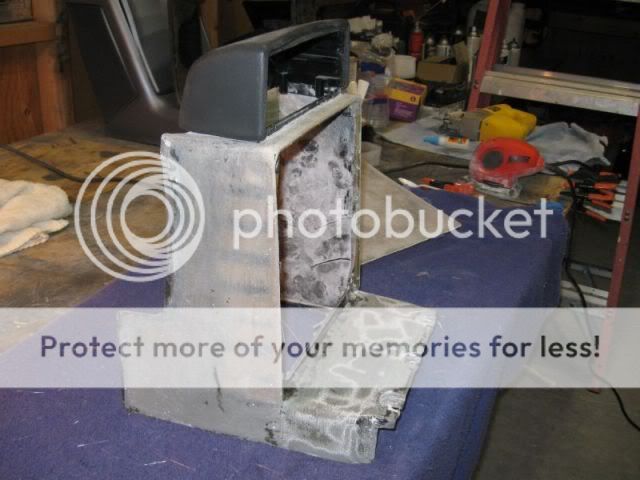
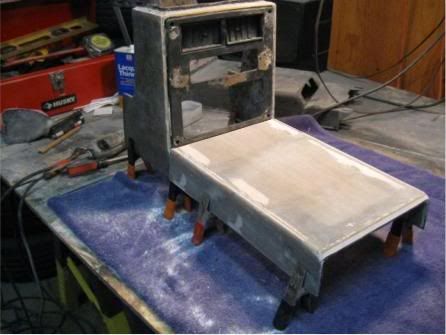
I did some fit up of the AC surround/shft cover today and realized that I need to build up the lower front edge of the surround quite a bit. Even though the AC surround is tappered in from the dash to the shift console, the taper is very subtle. With the vinyl covering removed, it did not occur to me until I put the shift console on the old original AC surround. When I set the shift console on the AC surround that I am working on, there is a big gap. When the AC surround and the shift console fit together, I want the seam to be very tight. It will take a lot more glass work to get it right. And I thought I was getting close.........
Pat
|
|
|
|
katatak
|
NOV 29, 11:54 PM
|
|
| quote | Originally posted by Sofa King:
I forgot to post this VERY CRUDE 3D image of the grab handle idea I mentioned. The console looks really sharp! Can't wait to see it with a shot or primer. If I may, I would suggest sticking with your original plan to have a removable plate with chrome or silver hex bolts keeping them in place. And then replace / paint the rest of the bolts to match. You should be able to fabricate mounting holes in the glass. Just a thought. Pat, keep up the great work!
Grab Handle
|
|
Thanks for the idea Greg. I started mocking up some grab handles this afternoon but did not get anywhere close to having a handle to set on the console for a visual. I really like this idea and will most likely incorporate it into the shift console. I was looking at your thread this evening and think that your arm rest concept is the way to go. I really like the idea of a retractable cup holder. I posted a couple ideas for you in your thread for the hinge and the mounting of the cup holder. I want to incorporate some cup holders in the V8 Coupe. Just not sure where to put them. I am thinking of 2 different ways. First is to follow your lead and build an arm rest with the retractable cup holder or, because the V8 Coupe will not have AC/heat/defrost, I was thinking of putting a similar retractable cup holder in the spot where the AC control is in the AC surround.
Now this has it's draw backs as sometime in the future, I will put an AC/Heat/ Defrost unit in. Right now it has an aftermarket unit in place that is kind of funky and the wiring is sketchy at best. The V8 has the compressor mounted and the belt installed. There are no lines run. So for now, the aftermarket unit is coming out. I will be getting the AC/heater box unit out of another Fiero at the junk yard later on. For now, it is just a hot rod that will spend more time at the Friday night drags than cruising down the Interstate. Maybe later if I get around to a 6 spd swap, I may set up the AC so I can take it on some runs but that's a ways off.
After a lot of thought, I went forward with making the shift console one piece. Mainly because it was easier but it also made it stronger and it will have that smooth - seamless look I am after. Once it is all done, if I dont like the look, I can take my router and put a shallow groove around the top, add some "faux" stainless screws and paint the center panel silver to give it the appearance of a removeable cover. There are just too many different ways to go. I have decided to go with the simple plain direction and if it does not look right installed, I can adjust for it.
Pat
|
|
|
|
Sofa King
|
NOV 30, 09:18 AM
|
|
| quote | Originally posted by katatak:
Thanks for the idea Greg. I started mocking up some grab handles this afternoon but did not get anywhere close to having a handle to set on the console for a visual. I really like this idea and will most likely incorporate it into the shift console. |
|
You're very welcome. I'm looking forward to seeing the mocked up version. More so once you splash some primer - hint hint
| quote | Originally posted by katatak:
I really like the idea of a retractable cup holder... First is to follow your lead and build an arm rest with the retractable cup holder or, because the V8 Coupe will not have AC/heat/defrost, I was thinking of putting a similar retractable cup holder in the spot where the AC control is in the AC surround. |
|
Remember, the 91 Firebird has the door mounted cup holders with integrated map pockets. I found those on EBay last week and they stay true to original design of the car. I lost out on a bid for 25 bucks for the pair. This might be an easier solution if you choose not to build the integrated cup holder. However, putting the cup holder into the dash console might be the best option. If this was a short term plan I would say go with the door mounted cup holder / map pockets. But it sounds like this is more of a long term plan. I can give you all the dimensions for the Toyota 4Runner cup holder if you like that particular unit. It was perfect for what I wanted. There are others on EBay.
| quote | Originally posted by katatak:
There are just too many different ways to go. I have decided to go with the simple plain direction and if it does not look right installed, I can adjust for it. |
|
UGH... Tell me about it. The lid hinge has been driving me crazy and I have tons of ideas for the glovebox. There are too many directions... We just gotta nail down a design and move forward... or sideways...
As always, the console is looking really nice. Your attention to detail - especially the flat panels - is driving me crazy! LOL Your use of the laser has made me look at my console and go "...hmmmmmm..." THANKS! LOL
OH! I did run into another problem. When I cut the lid from the console, the console itself lost a lot of structural integrity. When the bottom of the lid meets up the console when in the closed position, the console is beginning to bow inward. There is a gap forming and I'm not sure how to fix it at this point.[This message has been edited by Sofa King (edited 11-30-2009).]
|
|
|
|
katatak
|
NOV 30, 09:50 PM
|
|
|

|
Sofa King
|
DEC 01, 08:38 AM
|
|
P,
There are 2 possible solutions... The idea is to extend the shifter plate level all the way to the radio "plate". What do you think of these ideas:
1) Tightly wrap the shifter console in waxpaper / packing tape (whatever you think is best) and then lay glass over the center of the shifter console going side to side. You'll want to lay several layers of glass to build up the structural integrity. Once the resin cures pop this mold off and then wrap the inside of the mold you just took with either waxpaper or a mold release in prep to accept the fiberglass. The idea is to get an exact "plug" of the shifter plate. Again, when the resin cures, you pop out out the plug and then trim and sand to fit.
2) The other and more simple - take the appropriate measurements and create a top and 2 sides that will be glassed together and adhere to the shifter console. Then you'll have sand, sand, sand to ensure an even smooth fit and finish (but you probably already knew that).
I think this is what you're ultimately going for?
I'm working a few other ideas for the console plate[This message has been edited by Sofa King (edited 12-01-2009).]
|
|

|
katatak
|
DEC 01, 04:09 PM
|
|
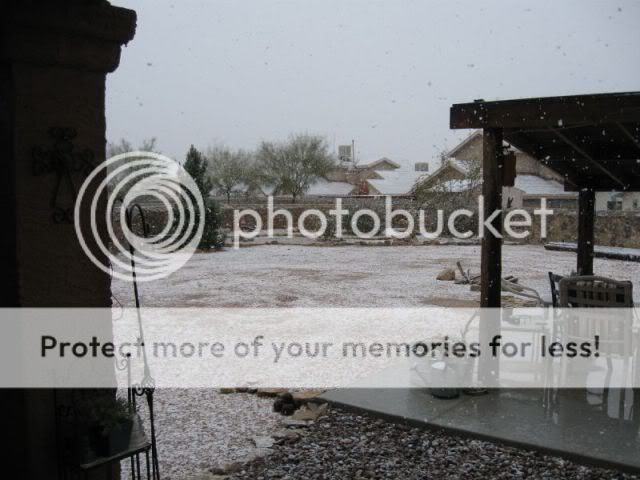
Greg, I hate you! I was not even thinking in that direction. Crap! Now I have to change directions again. Or, maybe, I could screw the shift console and the AC surround together, fill and smooth out all the gaps and holes then make a mold of the entire piece, then build a complete glass piece. This would take the console from 3 pieces to 2 with the seam being between the seats and less noticeable. If I were to go ths route, I would have to make the shifter cover plate removable again - it would not be too hard to do - the structure is still there. Just means more sanding and grinding. It's a good thing it's snowing today. Gives me some time to think about my next move............... I'll never get this done! Anyone got a decent stock grey console setup - front to back? J/K, I can't quit now.
Pat
|
|
|
|