
 
     |
| Project XTC - The Rehabilitation! (Page 14/47) |

|
katatak
|
JUL 11, 10:30 PM
|
|
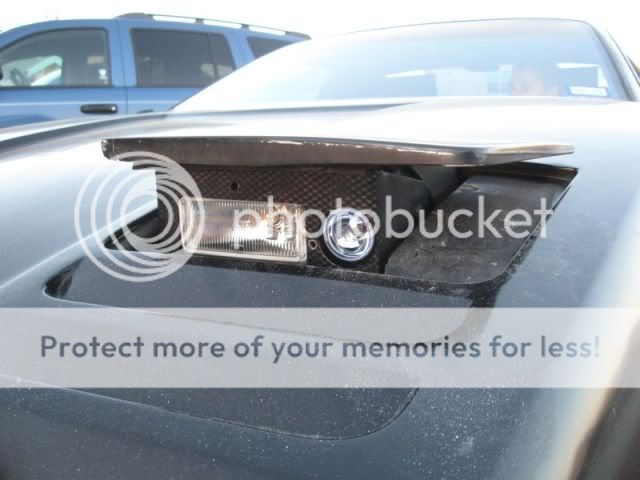
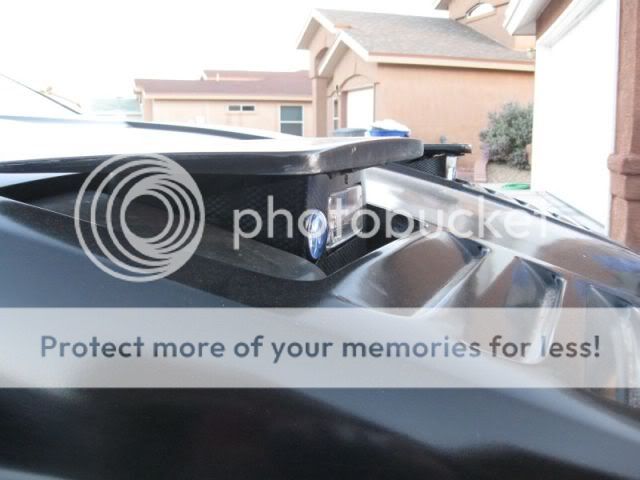
The plan for the day was to get the AC going on the XTC but all the parts did not show up. Got everything but the 2 new switch connectors. I decided that it was too hot anyway - 105 in my driveway today.
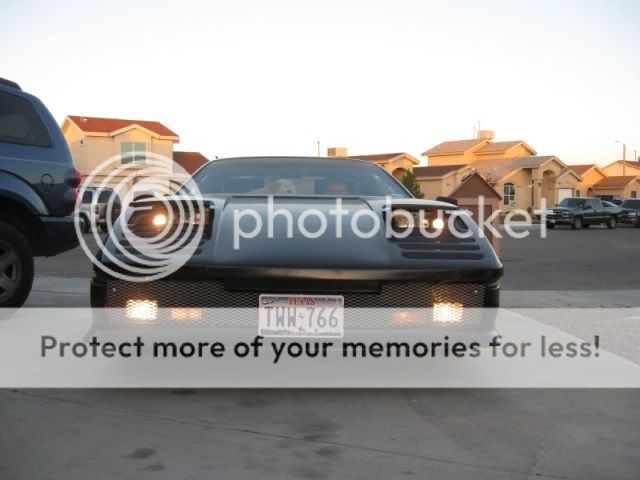
I needed to finish up some of the wiring for the headlight project and finish the assembly of the buckets. So off to the parts store I went. I needed to build some headlight connectors and run some wire for the driving lights. I sat in the living room in the AC and built the connectors and the wiring harness. Then I "rebuilt" the buckets - they were put together with some sheet metal screws so I removed the screws and drilled out the holes then installed some #10 bolts & nuts with locktite and double nutted. When I got shade in the driveway, I went to work. I could last about 30 - 45 minutes in the shade then I had to go in and cool off. It took most the day to get the lights finished up.
Now that I'v done this once, there are a few things I would do different (cheaper and quicker) but I guess if I did not learn something in the process, it was not worth doing. Got them done for now but I will fab some new covers. I used 18ga aluminum and it is too flimsy. I will use 18 or 16ga steel for the new ones. I also learned some tricks for the "carbon fiber" paint. I have a few more plans for this process on some interior parts. I also was able to do some measuring so I can build an insert for the grill to direct the air into the rad. This is where I will learn to do fiberglass?

|
|
|
|
katatak
|
JUL 18, 07:13 PM
|
|
Today was the big day. The plan was to rebuild the AC system on the XTC. Here's a list of all the parts:
Remanned V5 compressor - 47.95 off E Bay
R134 control valve - 78.00 from Rock Auto
Normal Service - Variable Orifice tube - 19.99 - Autozone
New Accumulator - 19.99 - Autozone
New high pressure switch w/new connector - 35.00 - Autozone
New low pressure switch w/new connector - 24.99 - Autozone
16oz PAG 100 oil - system uses 11oz - 15.00 - Autozone
3 12 oz cans of R134 freon - 24.00 - Autozone
Nice Cold AC in a black car = Priceless!
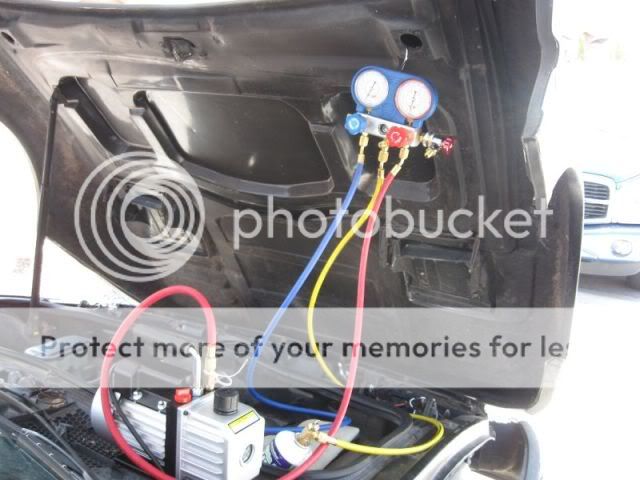
I also bought a electric 2.5 CFM vacuum pump from Harbor Freight. It was the floor model so the Manager gave it to me for 40.00 - regular 90.00. I had been using the 10.00 air compressor version but thet electric one works so much better. I am always messing with AC so it will pay for itself. So without the vac pump, I got about 250.00 in parts and goodies.
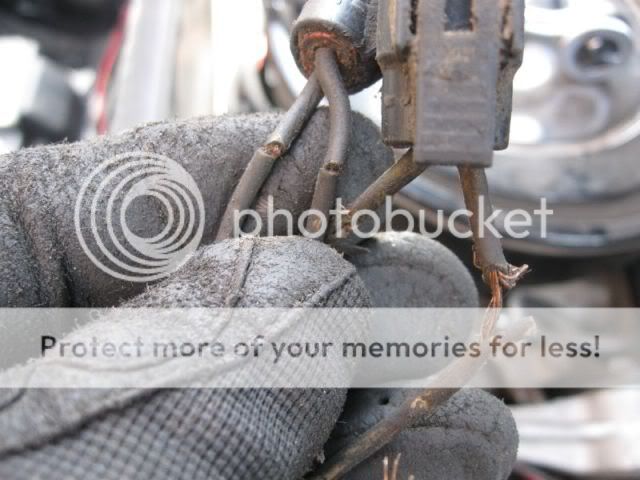
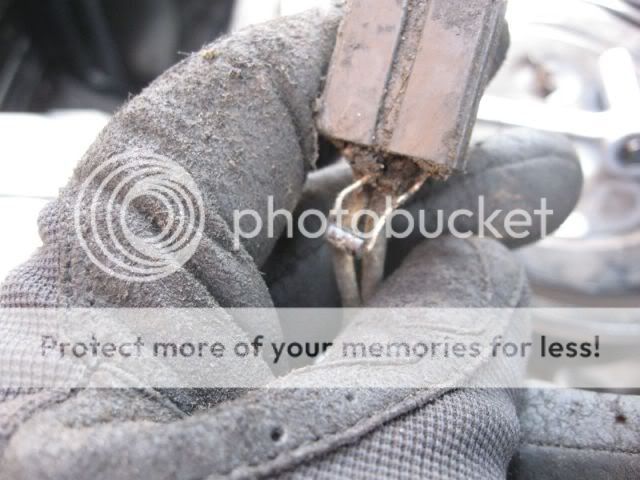
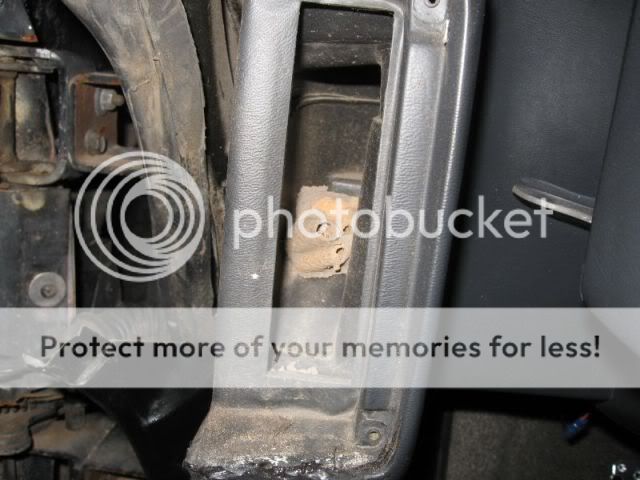
I removed the old compressor, removed the old accumulator and orifice tube, flushed the lines and blew them out with a lot of air. I found several bad spots in the wiing for both the hi and lo switch's. The majority of the time spent was fixing the electrical issues. After looking at it, I noticed that where the wires come down behind the water pump (duke), they are fairly close to the exhaust manifold - probably why all the wires and the plastic loom was so hard and brittle. I replaced all the wires, installed new plastic loom and used "Simmons" High heat spark plug boots made from nomex to cover the lower end where it runs close to the exhaust. They come in sets of 2 so I put the other one on the starter cables to protect them. They work very well. I installed the new switches and the control valve in the compressor and filled the comp with oil. I put half in the compressor and the other half in the "suction" side of the accumulator. I buttoned everything up and put the new vac pump to work.
I let the vacuum pump run for a few hours then I closed the valves and let it sit for an hour. The cool thing about the electric vac pump is that you can see it pull the moisture out of the system. Once I new it would hold good vacuum, I opened the valve on the first can (1st one I put in has dye in it). I let the system take as much of the can as it will without starting the car. Then I check for leaks around the fittings up front and at the compressor. When I'm sure there is no leaks, I start the car and feed the rest of the 1st can into the system. With the 1st can in, I was already getting 75* air at the vents. Toward the end of the 3rd can, my pressures were around 30 on the low and 230 on the high. I put a large fan in front of the car to get some air moving over the condensor and I was able to get 46.7* air out of the center vents. Good enough for me!
Bad Wires!


And my new vac pump & setup ready to charge:
I took it for a little drive and going down the highway @ 70 mph I am gettin 46* air out of the center vents. Sitting at a traffic light it blows 50* air. I have an air flow issue in the front of the XTC right now. I can't wait to get that issue fixed to force more air into the radiator. One other thing I found was that where the 2 tubes go into the firewall, they were leaking cold air. The factory goop that is there to seal it off was hard and crumbly. I used some silicone sealer to seal them up and it made a noticable difference inside the car. It was like getting one higher speed on the fan!
I also think I broke my wrist getting the old compressor out but that's another story.........
More later!
Pat
|
|
|
|
Amida
|
JUL 20, 12:43 AM
|
|
|
|
|
katatak
|
JUL 25, 12:28 AM
|
|
| quote | Originally posted by Amida:
Nice work. |
|
Thanks for the reply..... Been out of town for a few days and will be back on the project this weekend. Next project is to install a set of doors with power windows and locks. Also will install new outer & inner dew wipes and install a remote keyless entry thingy..... I did do some more "carbon fiber" paint on the gauge cluster plate and the AC ducts on the dash. They turned out ok but need to be redone. I get better each time but not where I want them to be. The plan is to do the center console cover and the radio surround with the carbon fiber paint too. When I was changing the AC ducts, I found a nice wasps nest in the left hand duct...The wasps were dead though.
Some progress:

|
|

|
RWDPLZ
|
AUG 15, 10:34 PM
|
|
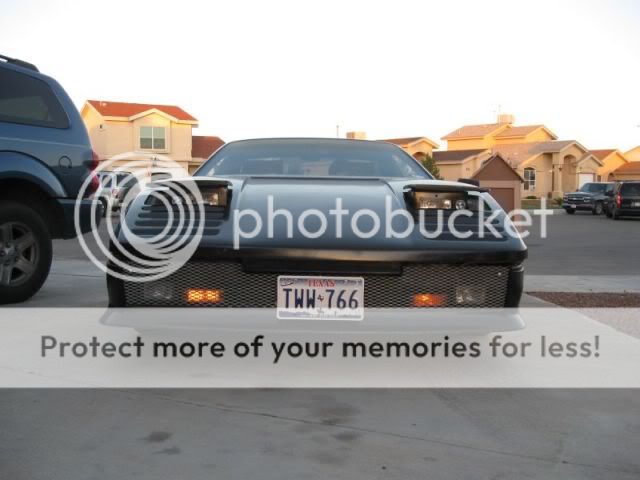
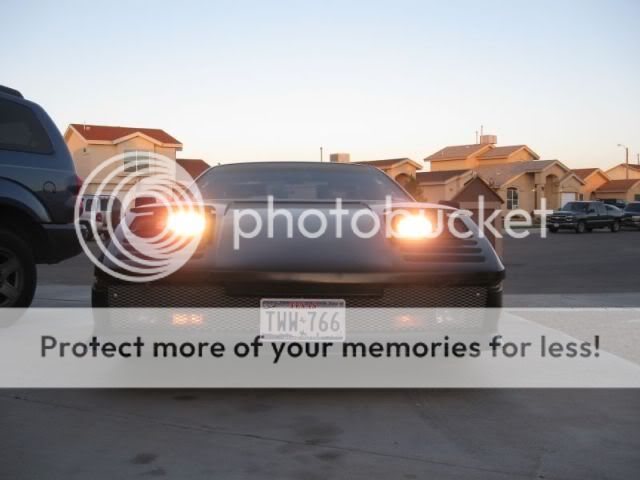
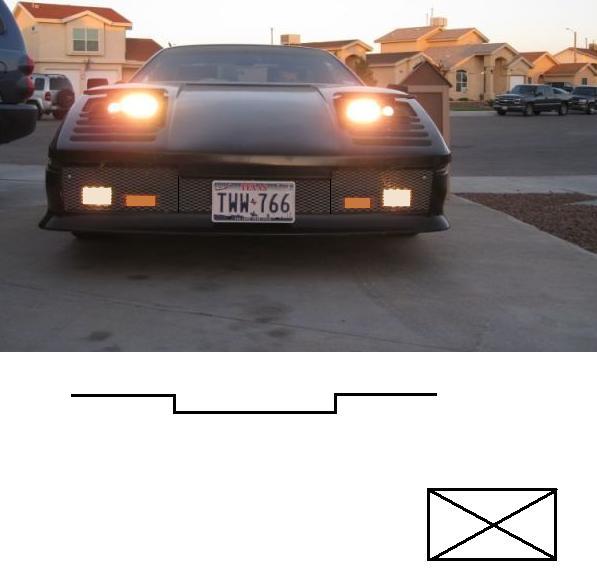
I had an idea looking at the front end: What if you took a piece of mesh like it has now, and bend it so the front area comes slightly in front of the two back areas, to meet the front part where it sticks out further? I drew a picture below of the bends as a top view. Also, if you cut X-shaped lines the size of the foglights/turn signals, you could bend the triangular shapes back, and have the lights recessed slightly into them, instead of being covered up partially?
I like the carbon fiber effect painting so far. I've always wondered what a Fiero interior would look like if you replaced the brushed aluminum looking trim with carbon fiber...------------------

1984 Fiero SE
|
|
|
|
katatak
|
AUG 22, 07:04 PM
|
|
Thanks for the reply. You have some good ideas for the grill. I have not had much time lately to work on the car but I am planning on rebuilding the doors and installing power windows and locks over he next week. Stay tuned.
Pat
|
|
|
|
matthewc
|
AUG 22, 11:28 PM
|
|
Pat,
This is a very cool project you have there! This winter I started a rehab/overhaul on a F40 replica that was completed in the early 90's and then stolen, car was found in a warehouse many years later and passed through an owner or two before I picked her up. You are making some great progress on your project I will be following along can't wait to see how she turns out.
Matt
|
|
|
|
katatak
|
AUG 24, 08:05 PM
|
|
| quote | Originally posted by matthewc:
Pat,
This is a very cool project you have there! This winter I started a rehab/overhaul on a F40 replica that was completed in the early 90's and then stolen, car was found in a warehouse many years later and passed through an owner or two before I picked her up. You are making some great progress on your project I will be following along can't wait to see how she turns out.
Matt |
|
Hey Matt,
Thanks for the encouragement. Post some pics of your project / rehab of that F40. I was not a big fan of the rebodies till I got this one. They kind of grow on you. For me, I think it's mainly because it is so unique. This is the only one of it's kind in El Paso!
I do not have too much more planned for this one. I am going to rebuild the doors / hinges and install new door glass with power windows and locks/remote entry. I have some "duct" work to do up front to direct the air to the rad and put an extractor hood scoop in. Then it's off to paint. Hope to have it done by December. Maybe looking at a 4.9 swap next winter?
Pat
|
|
|
|
katatak
|
AUG 27, 04:23 PM
|
|
Ok, I started sorting out all the stuff I need to install the power windows and locks. Awhile back I picked up some doors off of an 85 with 30k on the clock. I was going to swap out the guts and door glass into the existing doors on the XTC but after looking it over the last few days, I think it will be quicker and easier to just install the doors off the 85. There is some metal fab required on the doors for the modified XTC hinge assembly but it's pretty simple. I am going to order a some hinge rebuld kits from RD along with the new rollers/pins and rebuild the hinges before I install the doors (just because it is easy). The dew wipes are not cracked or broke on the 85 doors but they are hard. I think I will install some new dew wipes prior as well. I have all the wrinig harness out of the 85 along with the window switchs and door locks. Just not sure if it will be a plug and play in the 88. Pics of progress to follow as I will be starting this project tomorrow. Just wish it would start to cool off around here.......
Pat
|
|
|
|
Tony Kania
|
AUG 28, 11:36 AM
|
|
Just a thought about the door removal. Of the four bolts holding the door on, take out the three outside bolts first. Then remove the last bolt at the inside bottom of the A pillar. Less chance of one pinching their fingers. The doors are heavy, but I found that they were not as heavy as I have always heard. A jack underneath the door is a major help to relieve pressure on the bolts. A helper to steady the door helps, but is not completely necessary. The three outside ones are 13mm. The inside bottom one is 15mm.
Tony
|
|
|
|