|
| And now for something completely different (Page 13/21) |

|
artworks
|
FEB 24, 06:50 PM
|
|
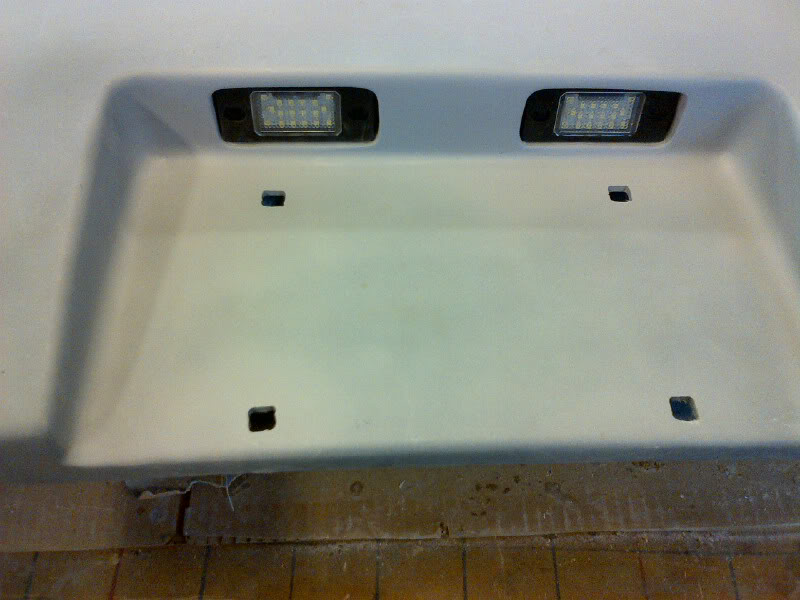
These are the license plate lights - from a Porsche Cayenne via China for LED versions. Another eBay special. I didn't want the lights to show so They're recessed in about 1/4"[This message has been edited by artworks (edited 07-15-2017).]
|
|
|
|
artworks
|
MAR 23, 04:11 PM
|
|
|
|
|
artworks
|
MAR 23, 04:18 PM
|
|
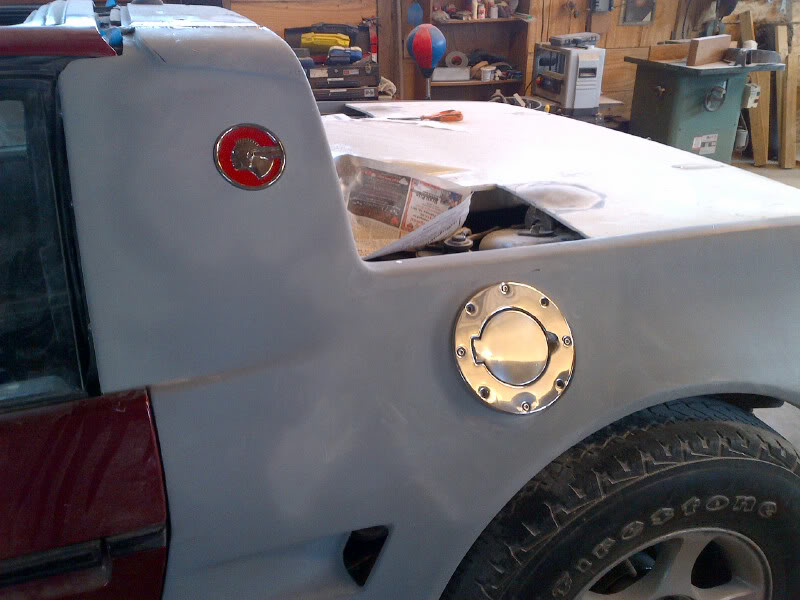
Chief Pontiac emblem and the filler cover mounted. There's a fair amount of work in making the filler cover fit, since the body panel doesn't have much flat surface to start with.

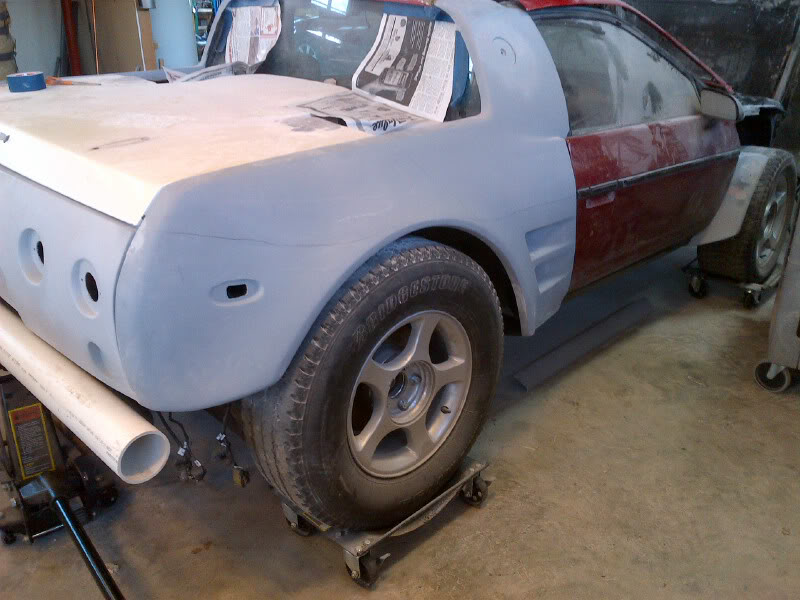
Mockup of the rear bumper. Eventually this wil be a 4" aluminum or stainless tube bumper holding about 5 gallons of compressed air (for the air bags)[This message has been edited by artworks (edited 07-15-2017).]
|
|
|
|
artworks
|
MAR 23, 04:22 PM
|
|
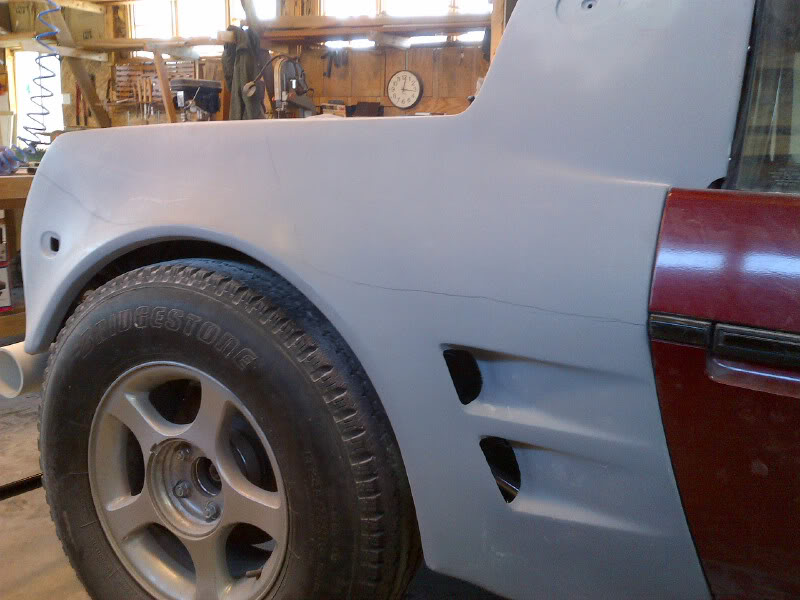 
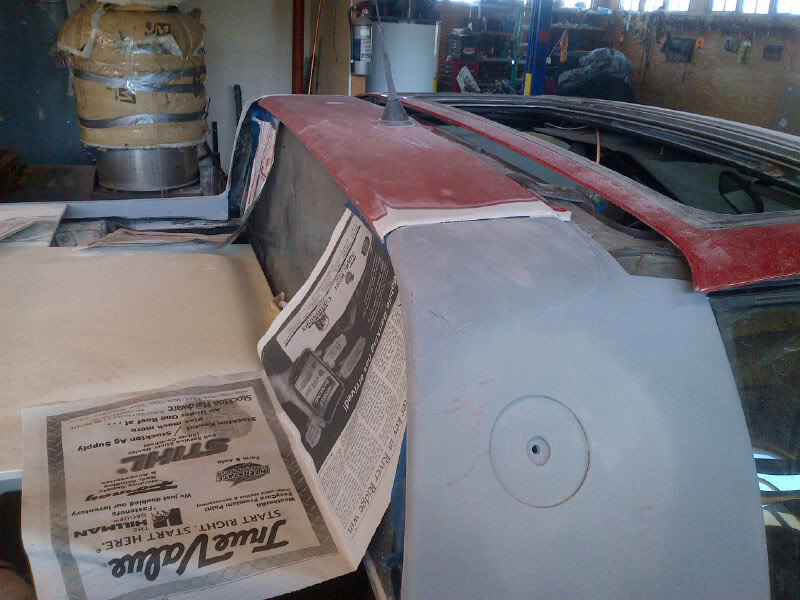
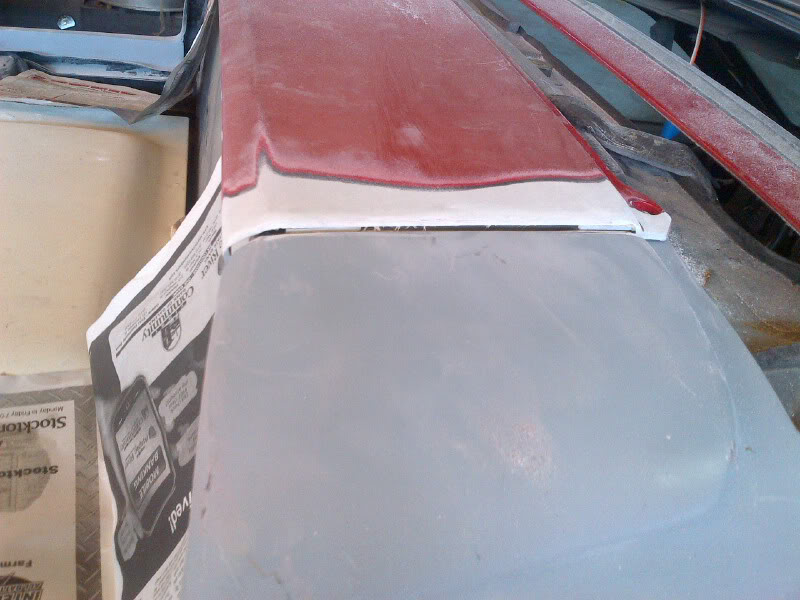
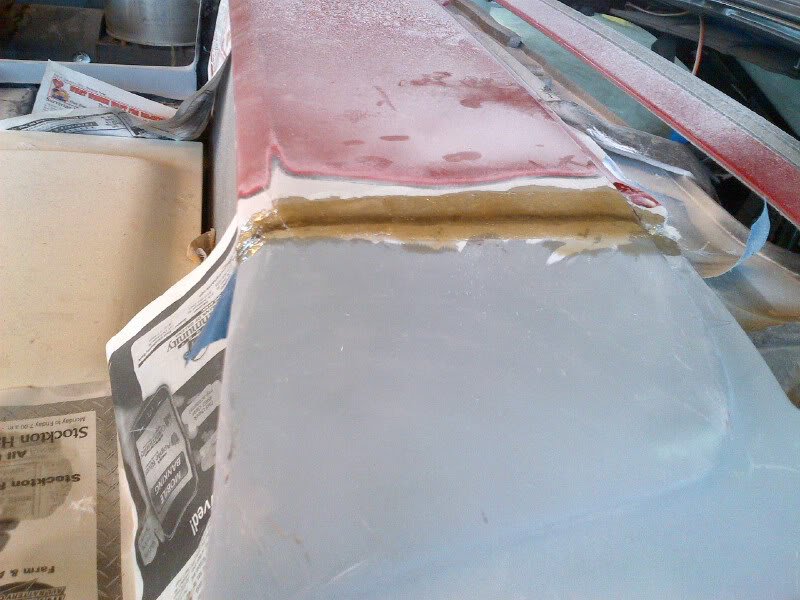
The lines don't show very well on these photos, but I'm trying to decide where to separate the gloss paint (upper) from the Line-X rough texture (lower). On the hood and doors it's easy, since there's a body line to follow. For the rear quarter I'm not yet sure if the line should sweep up to the rear panel or step up just ahead of the rear wheel flare. Opinions appreciated.[This message has been edited by artworks (edited 07-15-2017).]
|
|
|
|
FieroMaster88
|
APR 06, 08:25 AM
|
|
|
It would look cool sweeping up at the rear like that. It's coming along nicely.
|
|
|
|
Ry86GT
|
APR 17, 03:26 PM
|
|
I love your build. For me it's a cross betweena a little sports car and a buggy. Reminds me of my old tracker a little bit in proprtions/size. It really appeals to me.
Why not try following the arch of the wheel flare with the line-x around the wheel, and either carrying on with your existing line from there or even bringing it down around the back to between the tail lights and reverse lights? Or even through the lights? That might show a little more body colour from the rear view. Here's a quick paint edit I did of your photo with how I imagine it. I personally prefer one of the two lower lines, but that's just me. To finish it at the front I'd just wrap it all the way around the fender flare like the back and leave it at that.

Question about the winch, how is it usable being that far back into the body?[This message has been edited by Ry86GT (edited 04-17-2013).]
|
|
|
|
artworks
|
APR 21, 08:15 AM
|
|
Thanks for the ideas on the paint line - it helps to see it from your perspective.
The winch cable will feed below the radiator, through two nylon rollers. The rollers are mounted on the sway bar and a piece of cold rolled steel, so I don't think they're going anywhere. Most likely, the design will have the effect of lifting up the front of the car when the winch is pulling - not a bad thing when I'm stuck.[This message has been edited by artworks (edited 07-15-2017).]
|
|
|
|
FieroMaster88
|
MAY 25, 04:01 PM
|
|
|
|
|
Gokart Mozart
|
MAY 26, 09:32 AM
|
|
| quote | Originally posted by artworks:
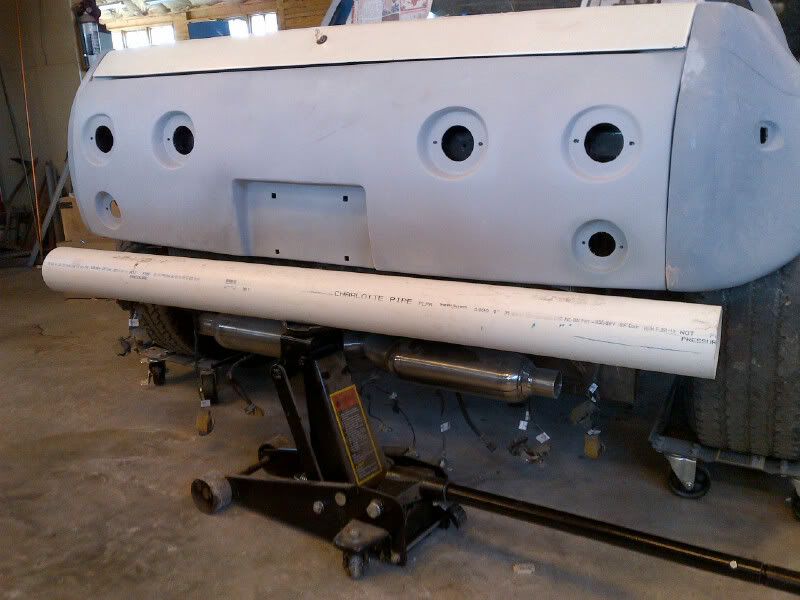
Mockup of the rear bumper. Eventually this wil be a 4" aluminum or stainless tube bumper holding about 5 gallons of compressed air (for the air bags)
|
|
What about two air tanks? http://image.jpmagazine.com...a_light_air_pack.jpg[This message has been edited by Gokart Mozart (edited 05-26-2013).]
|
|
|
|
PatrickTRoof
|
MAY 31, 12:48 AM
|
|
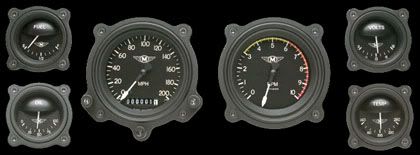
| quote | Originally posted by artworks:
I think I've found the gauges I want to install in the car. I want to go with the cockpit look. I don't know if they'll fit in the stock pods. I need to do some "ciphering"
|
|
I think it would be cool to fit the new gauges in the original pod, like the Volvo R-sport gauges: http://volvo2.homestead.com/files/r-sport5.jpg
|
|
|