|
| Another Katatak Fiero Adventure! (Page 13/72) |

|
Sofa King
|
NOV 24, 10:23 PM
|
|
P,
Those panels look fantastic! Nice and smooth. Great work
|
|
|
|
katatak
|
NOV 24, 10:51 PM
|
|
| quote | Originally posted by Sofa King:
P,
Those panels look fantastic! Nice and smooth. Great work |
|
Aw man Greg, you own page 4..... I knew it was going to roll anytime......I was busy in the shop making parts and missed it.
I'm learning to use that roller to squeeze out the air. I think it's a lot harder to get the air ot of the cloth versus the mat but the mat tends to start "wading" up if you brush it too much. It's a balance.
|
|
|
|
katatak
|
NOV 24, 11:33 PM
|
|
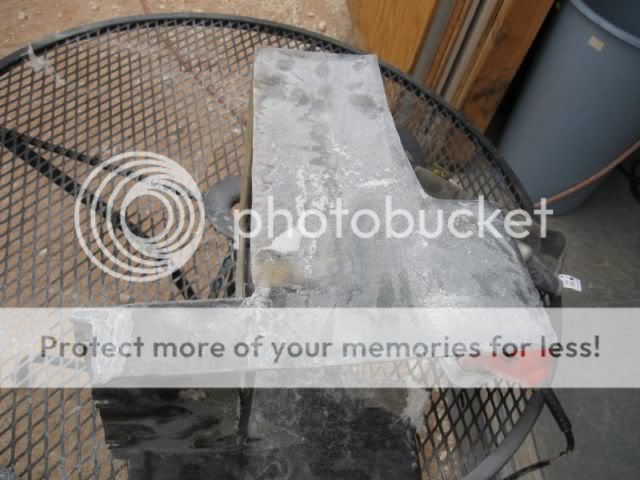
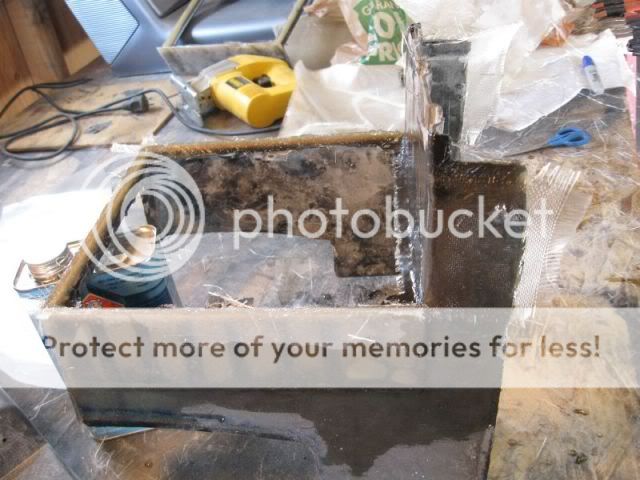
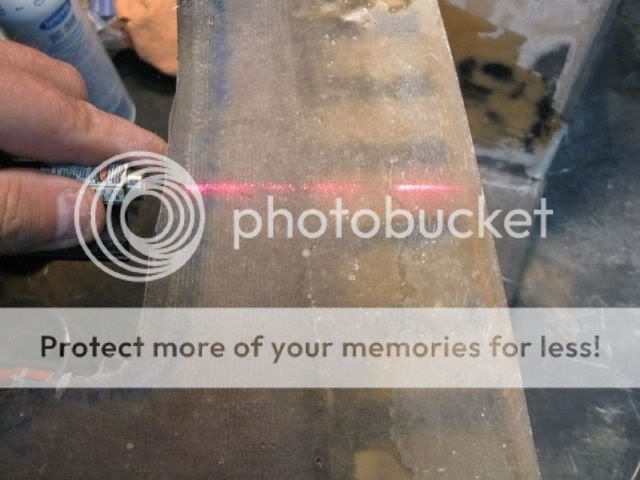
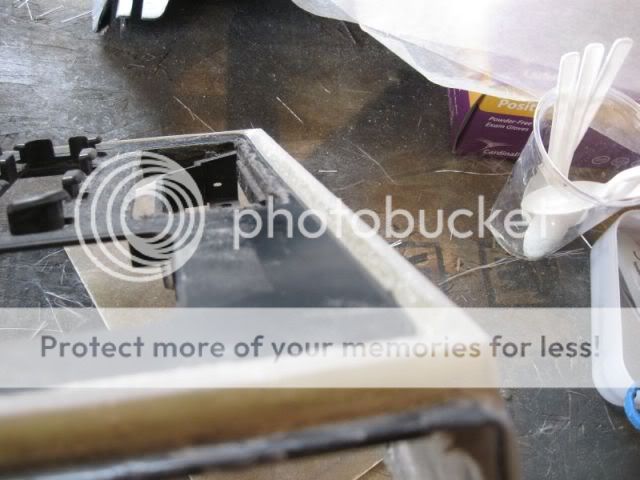
A little more progress this afternoon. After working on the AC suround, I had a low spoton each side so I decided it needed to be built up some more. I cut two pieces of mat that would fit in the low spot on each side then glassed them in.
The low spot - it's hard to see in the pic:
Cutting the mat to fit: one layer!
Two layers:
Rolled out the air bubbles:
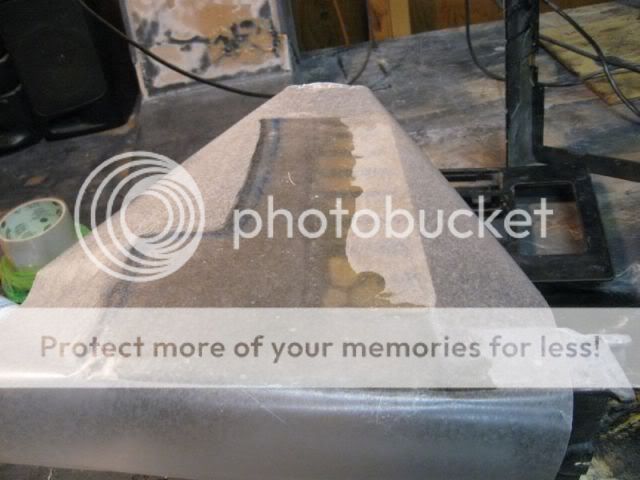
Tada:
Now it is a little high: I can work with this!
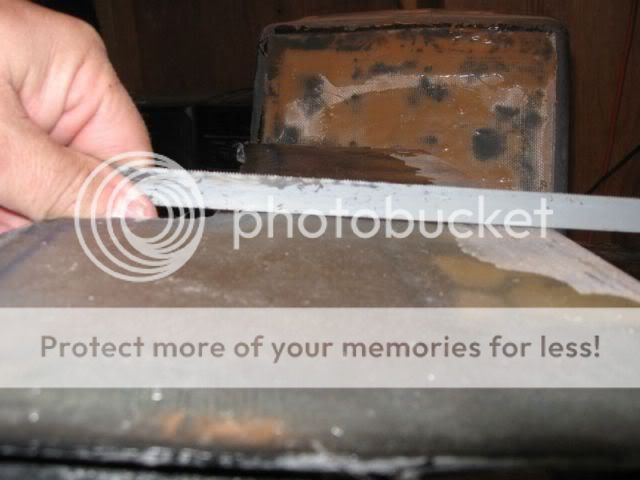
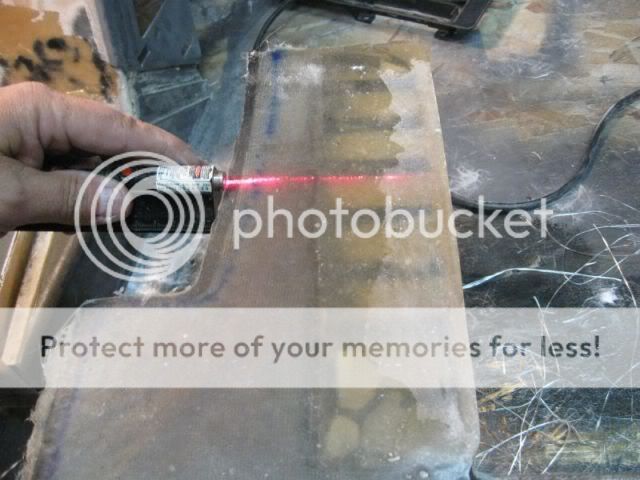
Let's see what the laser says:
Now it's out under the heat lamp cause it's cold here in El Paso tonight.
More later.
Pat
|
|
|
|
Sofa King
|
NOV 25, 07:50 AM
|
|
| quote | Originally posted by katatak:
Let's see what the laser says: |
|
UH OH! Pat just uped the ante... He's now using lasers? Oh man!
The glass looks great! Now get back to work
|
|

|
Sofa King
|
NOV 25, 10:55 AM
|
|
|
|
|
katatak
|
NOV 25, 08:20 PM
|
|
| quote | Originally posted by Sofa King:
UH OH! Pat just uped the ante... He's now using lasers? Oh man!
The glass looks great! Now get back to work
|
|
I guess that's where we get "Laser" straight from....lol Actually, I could not find my straight edge and the laser was laying right there so...... Now I found a new toy. It really shows where all my mistakes are.
|
|
|
|
katatak
|
NOV 25, 11:50 PM
|
|
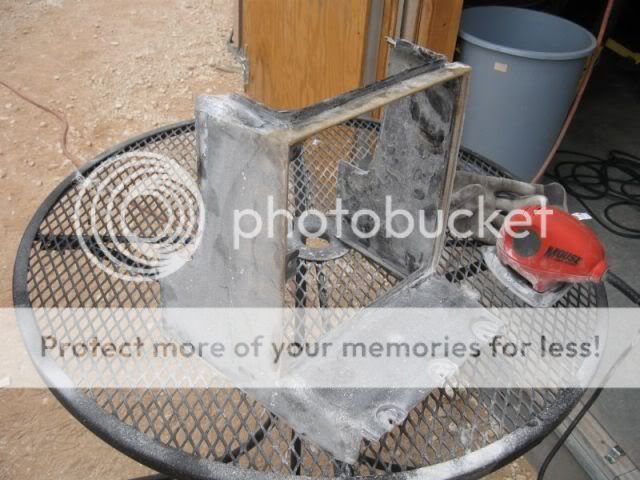
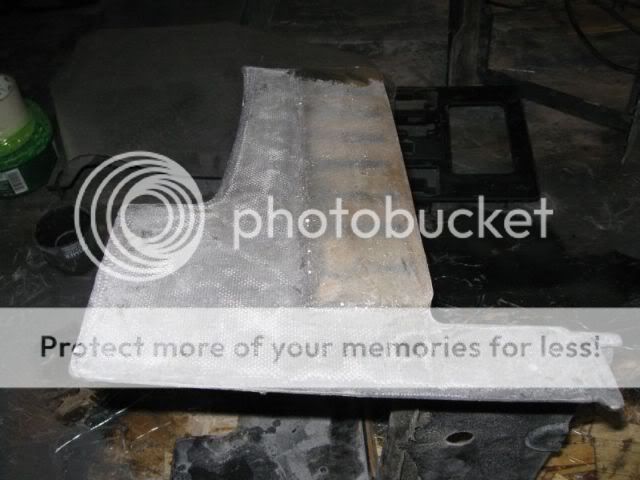
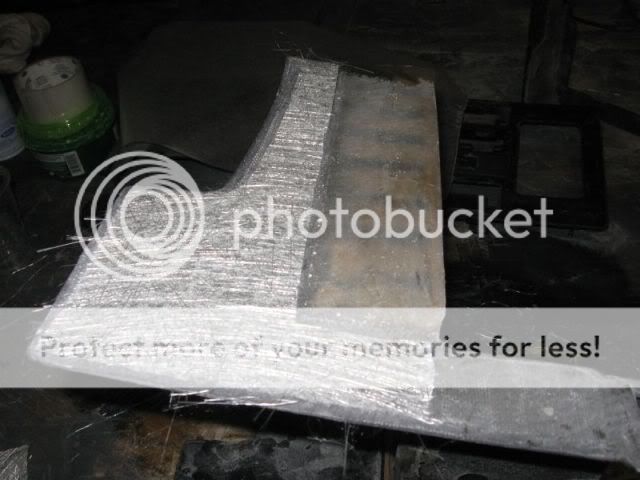
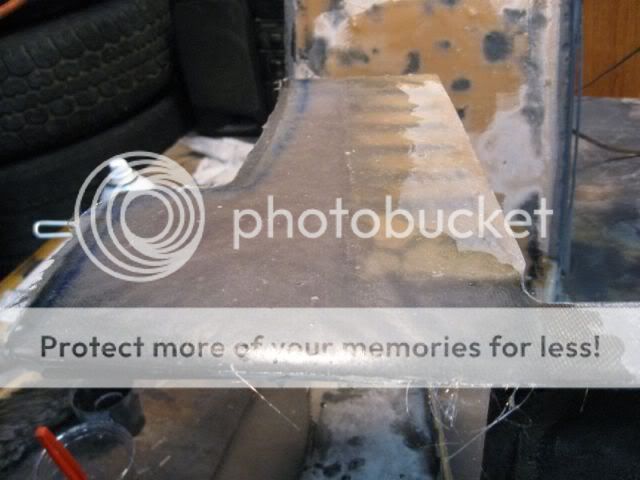
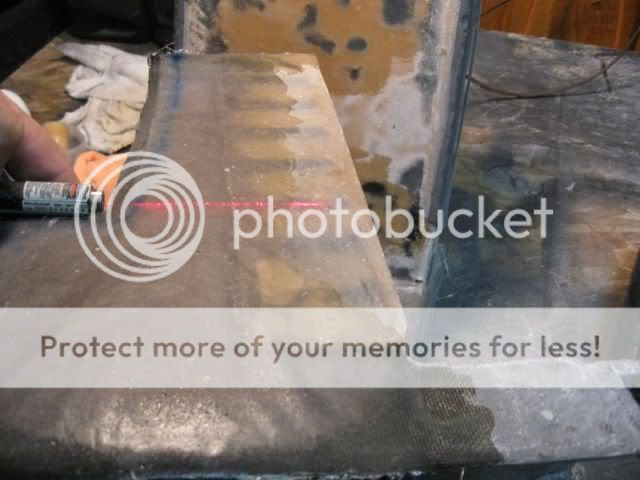
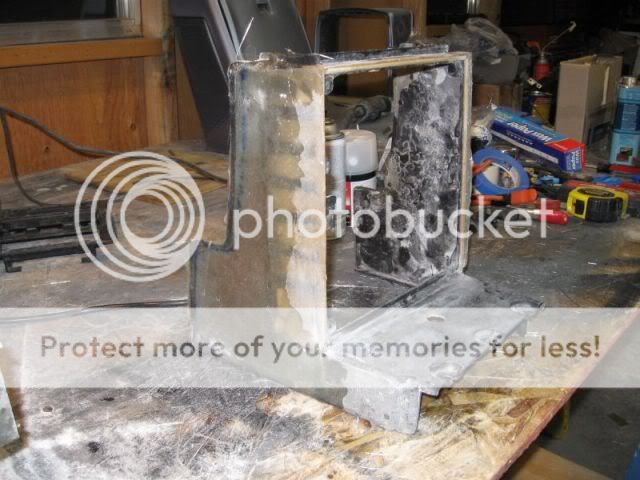
A little more progress this evening. Got the sides of the AC surround leveled out. Now I need to sand smooth and lay a couple more layers of glass to finish it. I also staterd working on the "lip" for the shifter surround. Not sure this is going to work. I may have to burn up the dremel to fix it? That's the swwet thing about glass work, you can always grind it back off!
Some more "laser" level for you Greg........
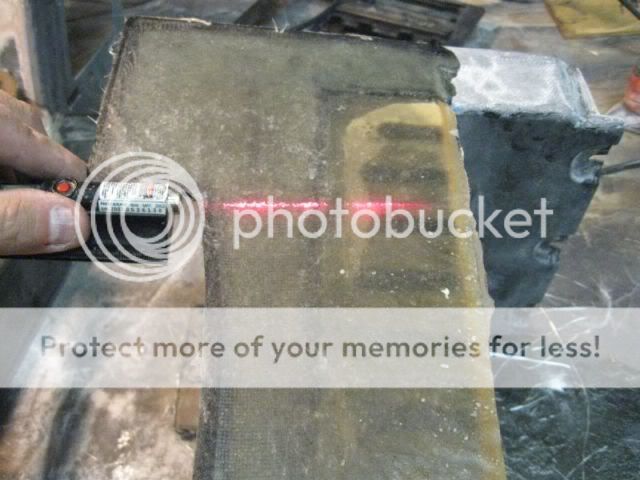
The low spot is now the high spot
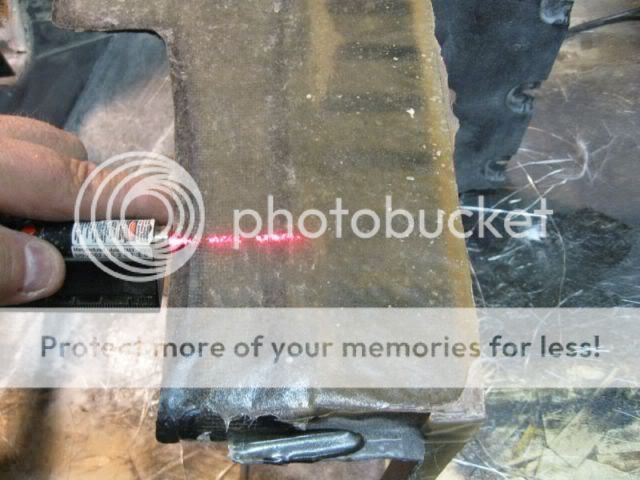
Getting better
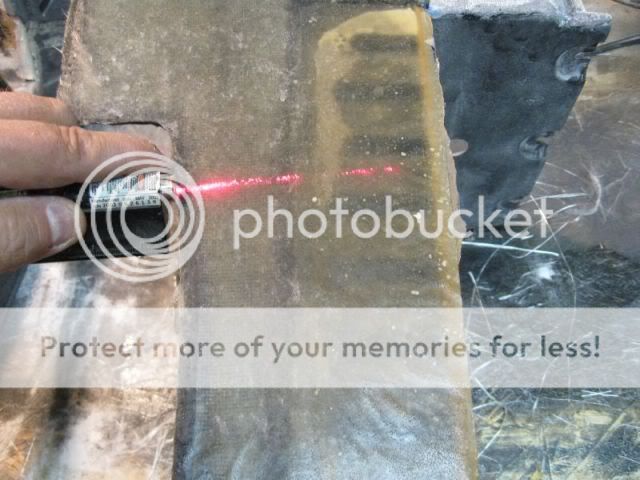
This is more what I'm looking for
Side to side view

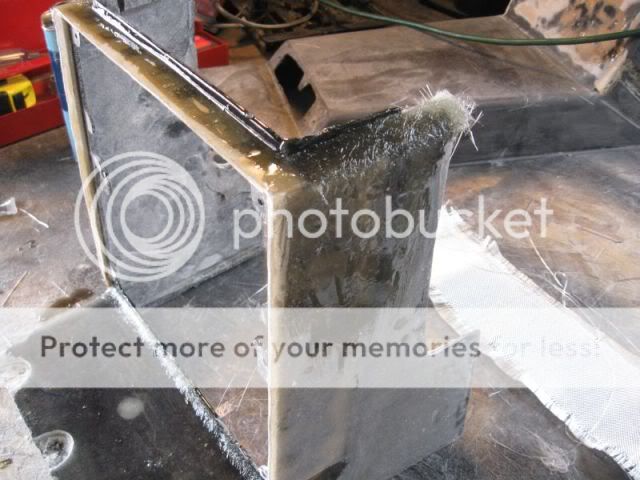
And some shots of the "lip" build up:
There will be no Fiero project work tomorrow - Eat a lot of Turkey tomorrow. Happy Thanksgiving!
Pat
|
|
|
|
katatak
|
NOV 28, 02:43 PM
|
|
|
|
|
katatak
|
NOV 28, 02:53 PM
|
|
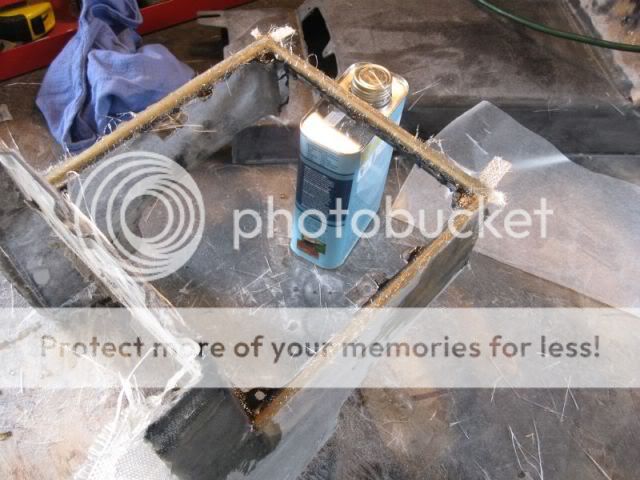
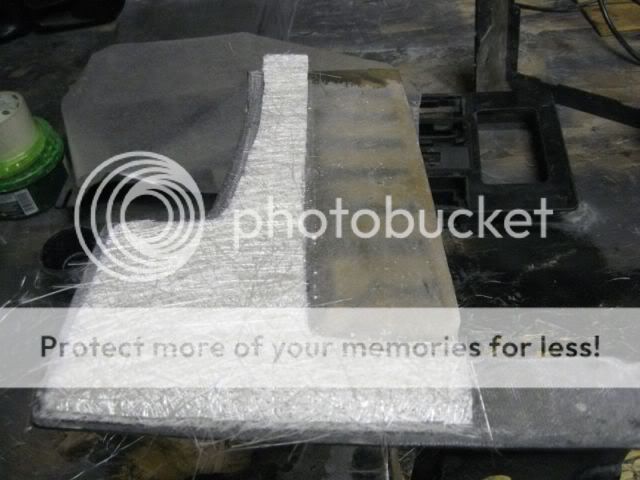
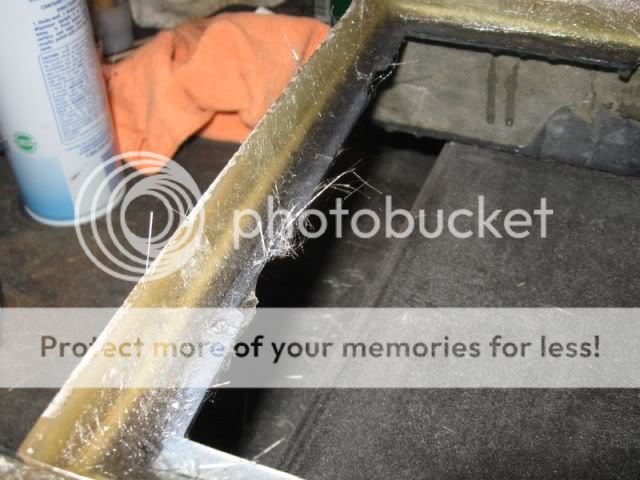
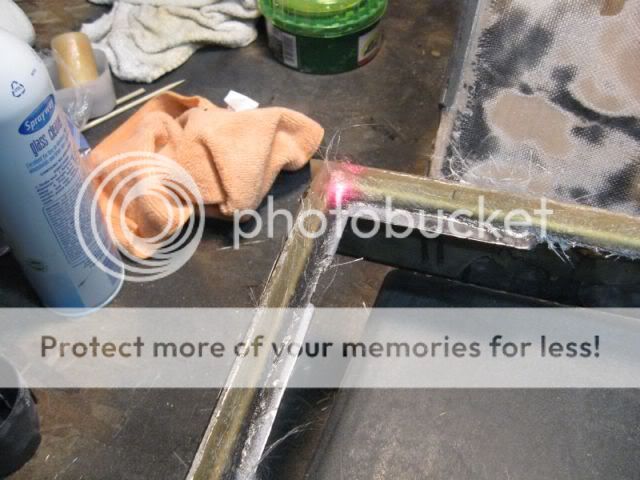
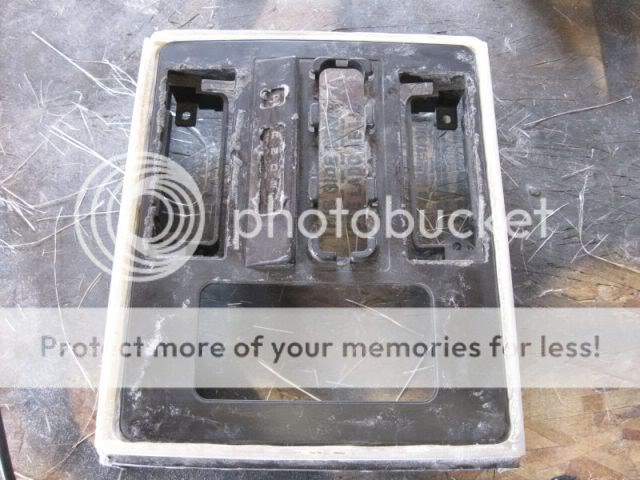
After I got back from the machine shop, I decided to do some work on the shifter cover. Lots of sanding and trimming here but it's strating to look better. I have a ways to go on this part too. I will be making a shifter cover plate ou of glass once I get this part finished. There will be not ashtray's - just a smooth cover with a nice shifter boot attached. I still want this to be revovable so I can service the shifter. The more I look at it, I may end up making this all one piece. Just have to figure out a way to fasten it to the skeleton. It's a work in progress.
Forming the lip with lots of sanding:

Getting there:
More later!
Pat
|
|

|
Sofa King
|
NOV 28, 07:13 PM
|
|
P,
Those edges look great! You're putting good work time into the project. If you haven't already figured it out... Sanding is a blast! And it only gets worse from here! Be sure to invest in a few dozen spray cans of primer / filler for the the little holes.
Again, looks great! I never would have tackled rounded edges my first time out of the gate. Kudos!
Now get back to work!
|
|
|