|
| LS4 / F40 swap - fieroguru (Page 117/216) |

|
fieroguru
|
MAY 22, 08:53 PM
|
|
It has been a productive vacation...
Relocated the cruise servo to the center console area ahead of the shifter
Remade cruise harness for new location and enable the On/Off control on the stalk to control power to the clutch/brake pedal relays
Fabricated cell phone mounting stand for my cell phone for GPS use
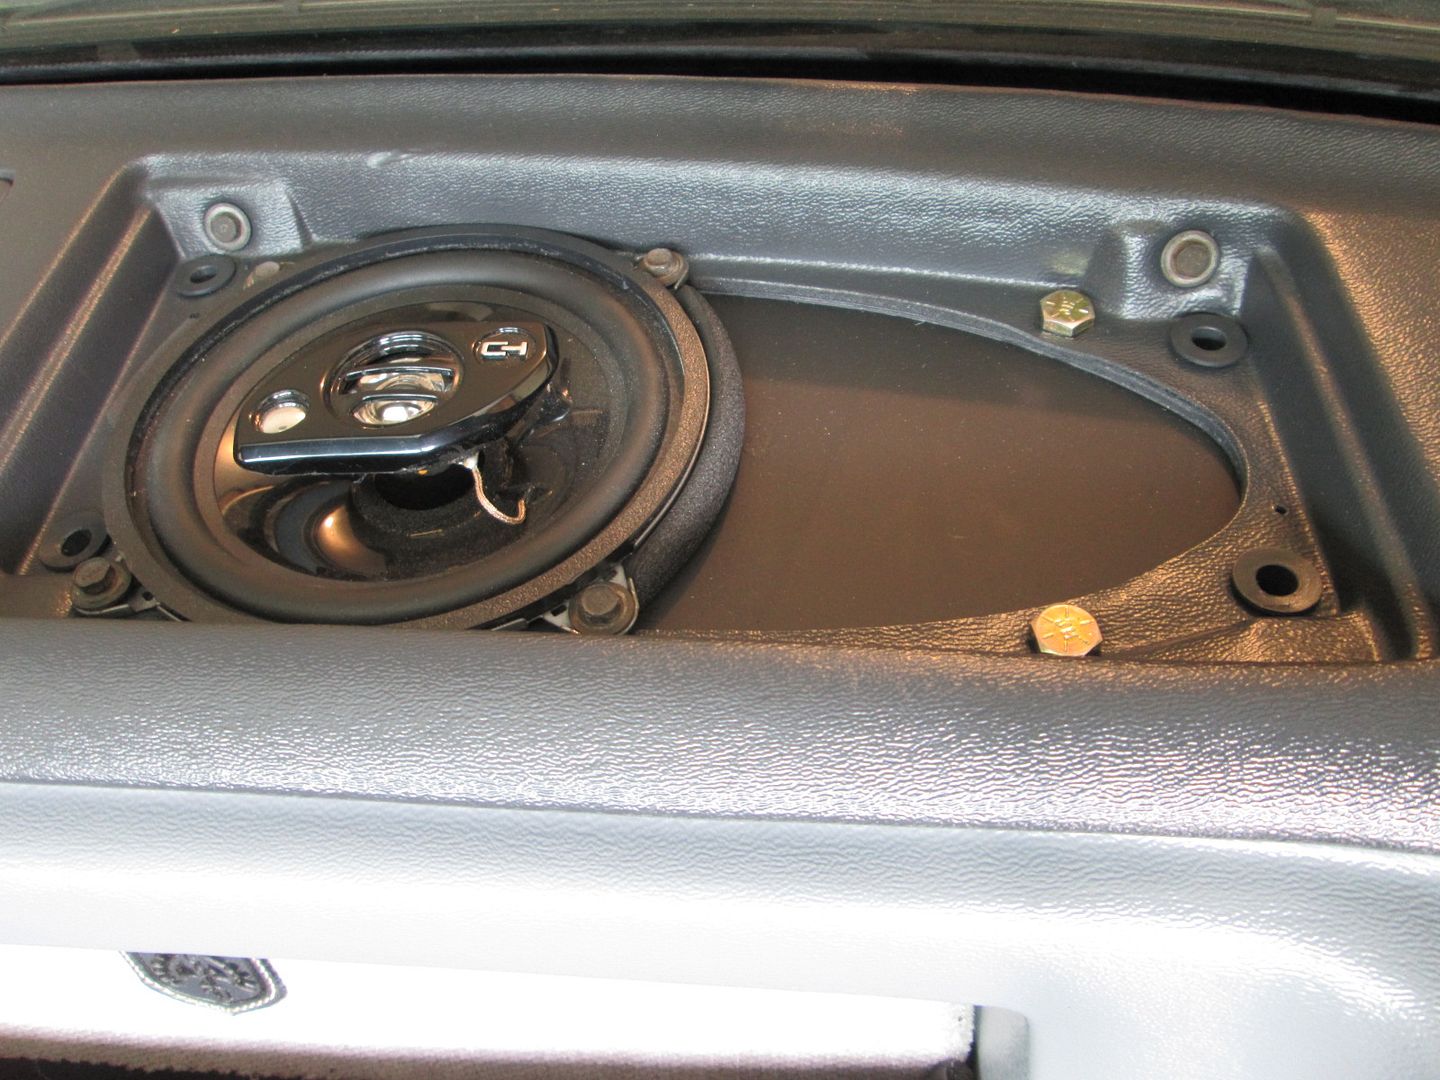
Fabricated new 5 1/4" speaker plates out of metal for dash (and modify new dash for them)
Fabricated metal Tang Band mounting rig for factory subwoofer housing
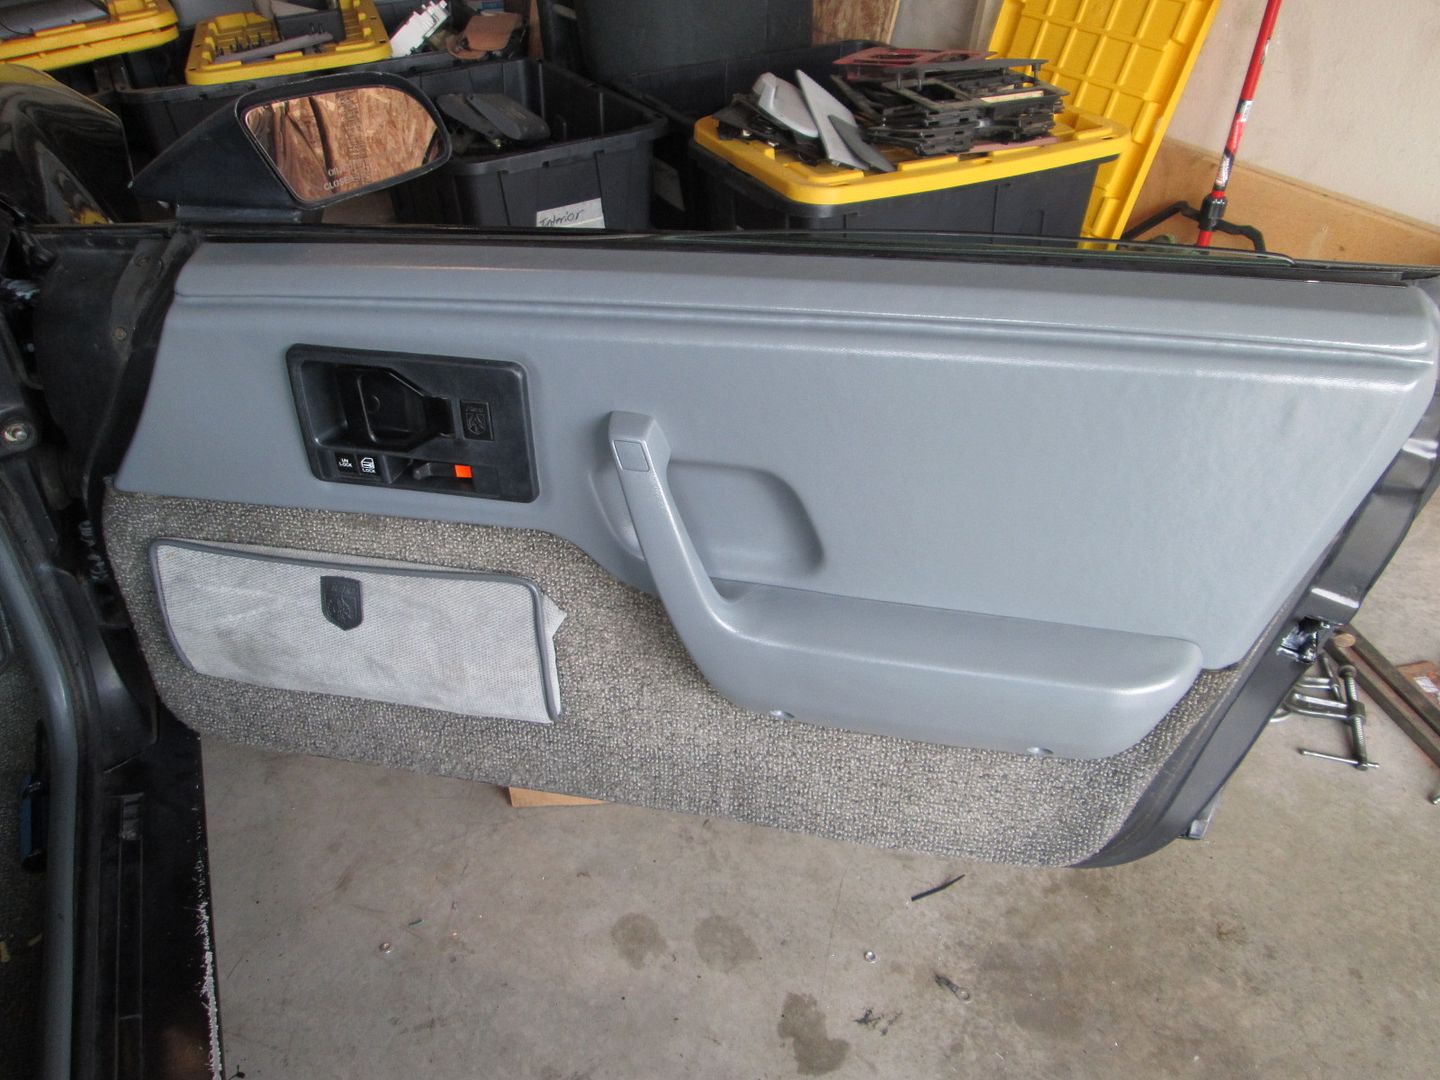
Converted both doors to have PW and PL and upgraded to the 97 Chevy truck window motors (much, much faster)
Installed PW/PL harness in chassis
Performed the "always on" modification so the power windows work w/o the key on
Rebuilt both DS door hinges and replaced the striker with a new one
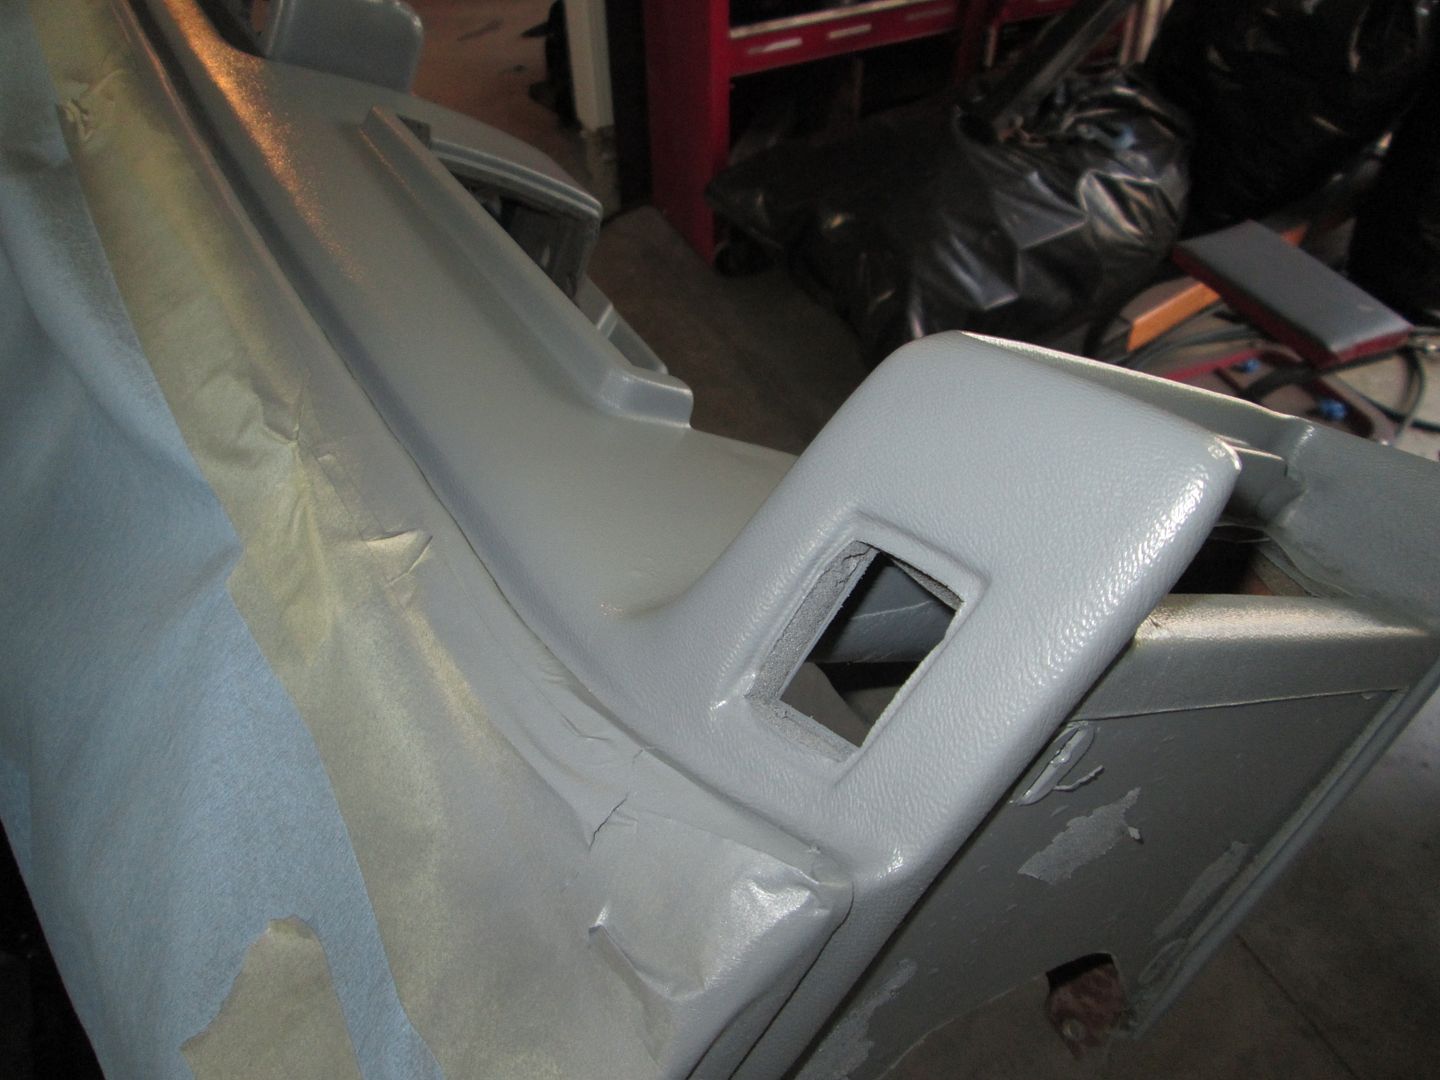
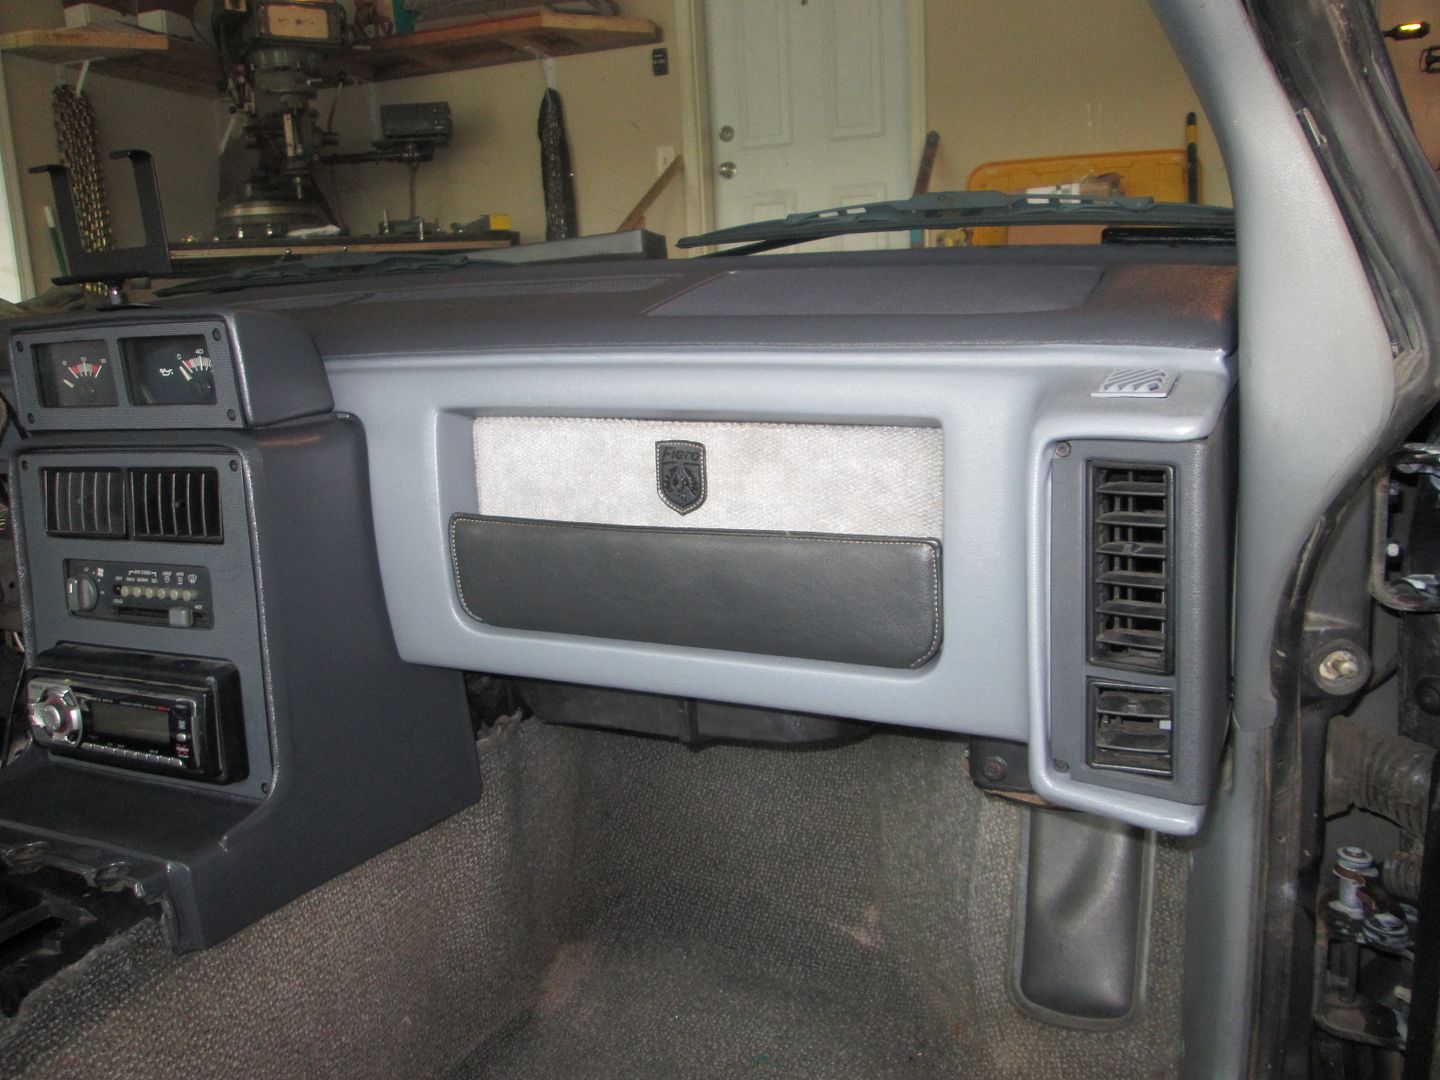
Repaired the warping on the aux gauge panel, HVAC surround, and both door handles/arm rests
Fabricated a support plate for the manual mirror control so it won't distort the door panel
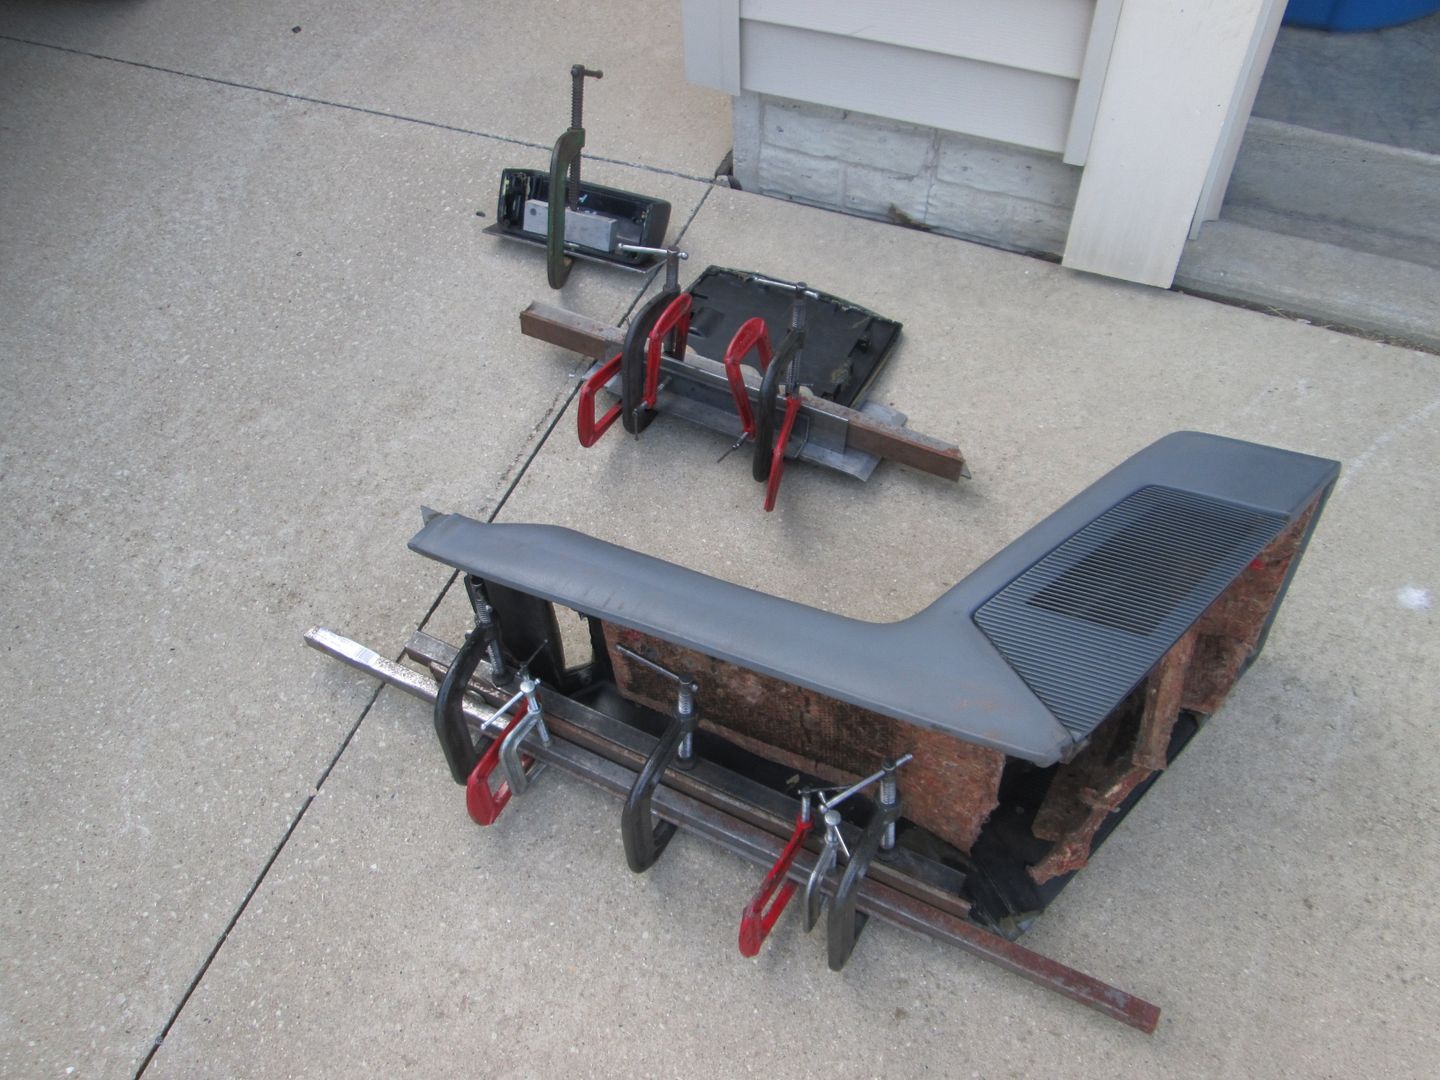
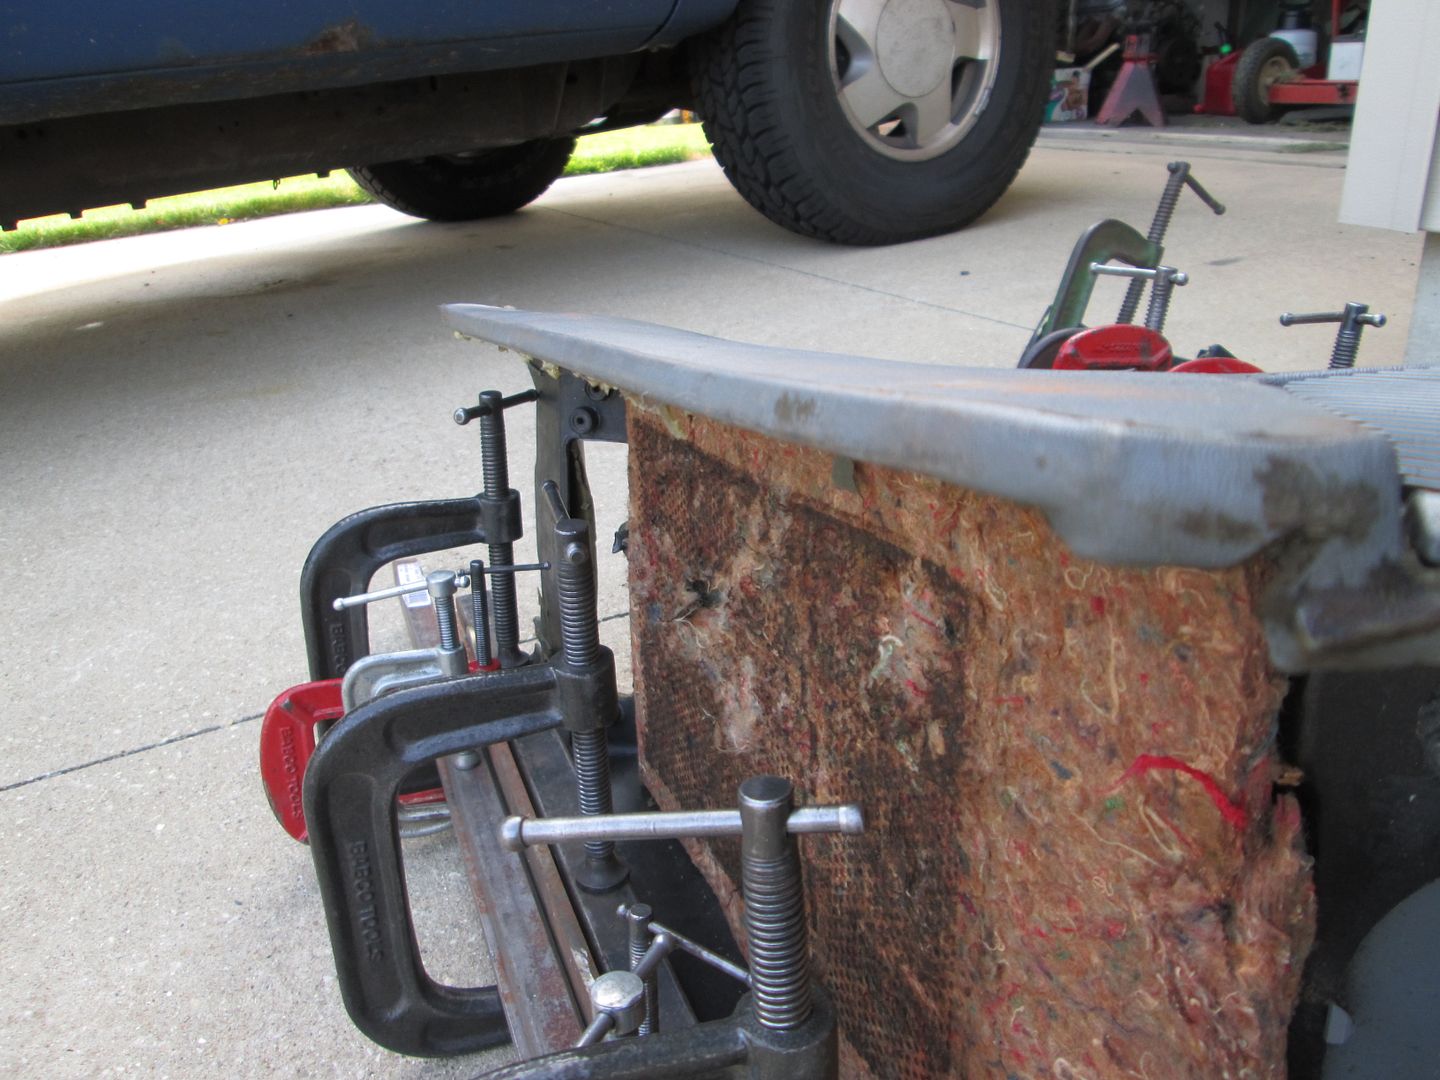
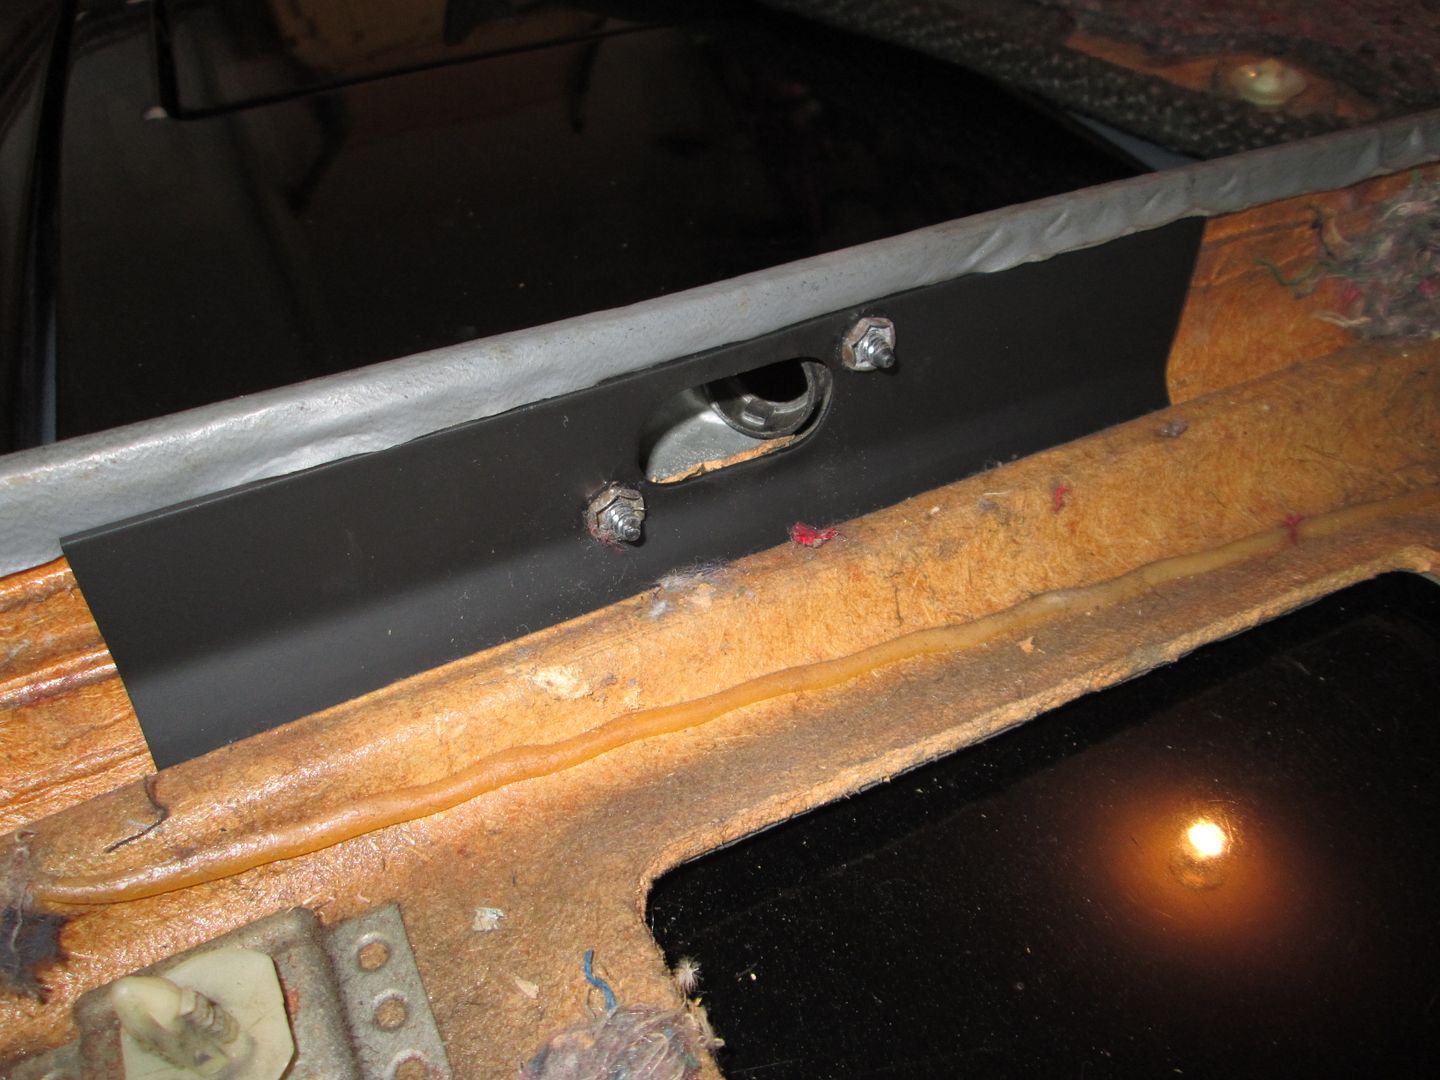
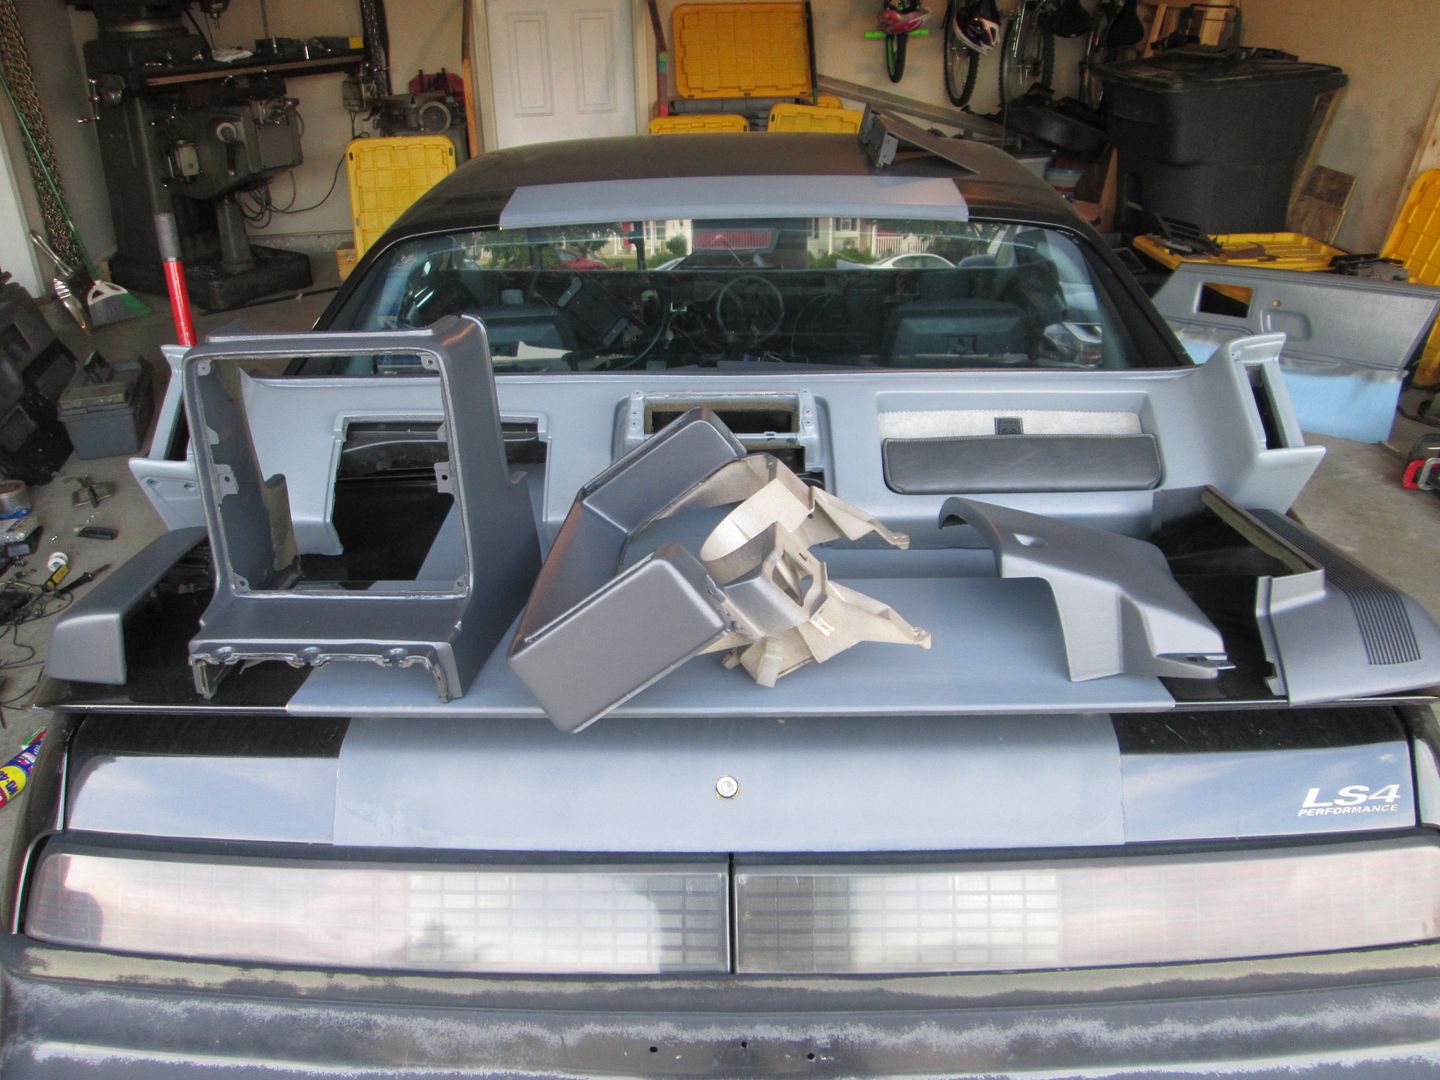
The exterior is all back together, but the dash, center console, and door panels are still out of the car and need more work. I am waiting on some paint to freshen up the new dash, new power lock solenoids, PL switches, and PW switches are all on order, the door panels need cleaned and some TLC, and I want to address the warping on the center console glovebox area... I am hoping to make progress on these items during the evenings this week.
The three other main projects I want to have done before the HRPT are:
Fabricate new tensioner arm for accessory drive
AC system - make new chassis to engine hose, replace all o-rings in the system, and recharge
Clean engine bay and buff the paint
Good thing next weekend is a 4 day weekend![This message has been edited by fieroguru (edited 05-22-2016).]
|
|
|
|
fieroguru
|
MAY 23, 09:59 PM
|
|
|
|
|
fieroguru
|
MAY 24, 08:35 PM
|
|
Painted the top side of the dash this evening and I think it came out pretty decent!
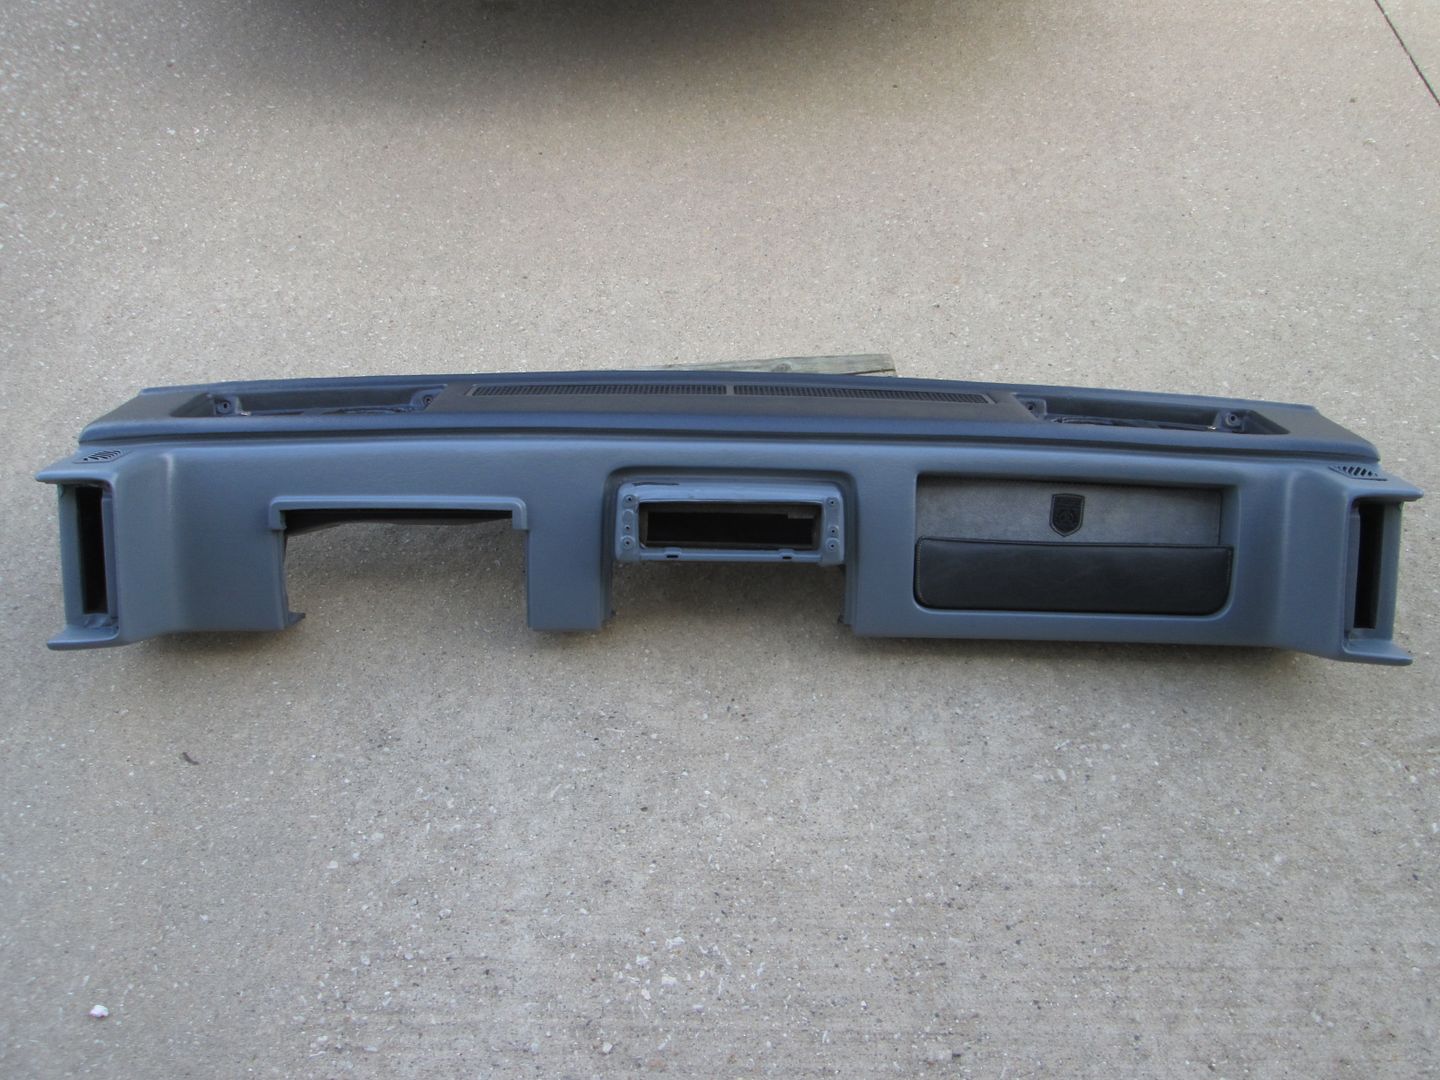
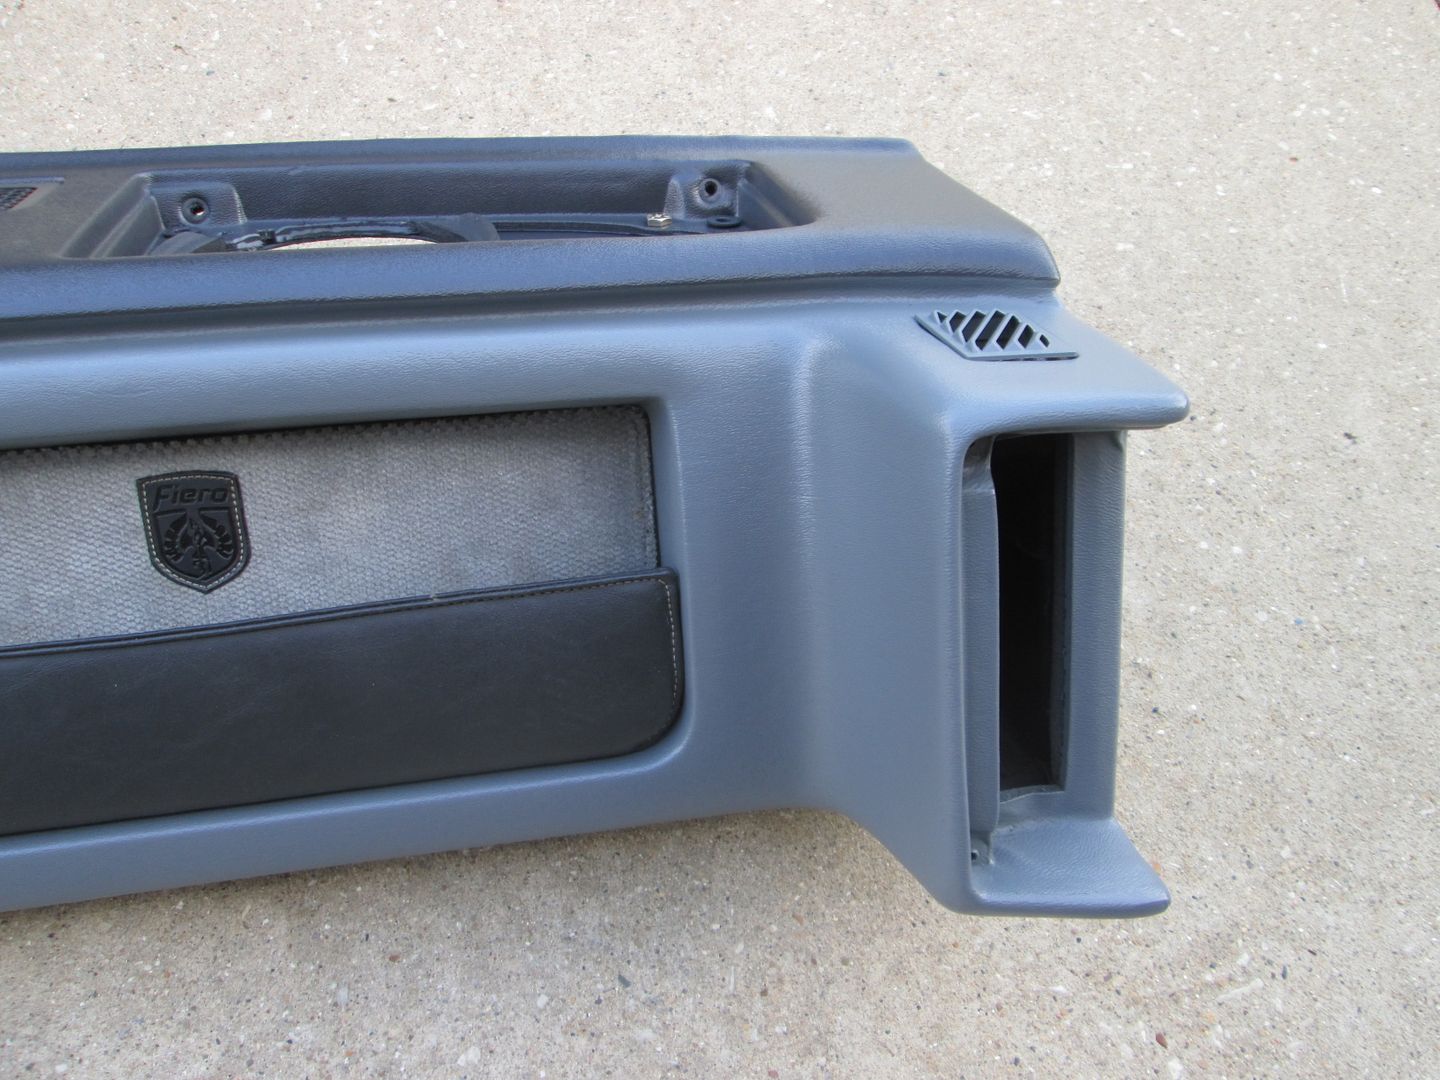
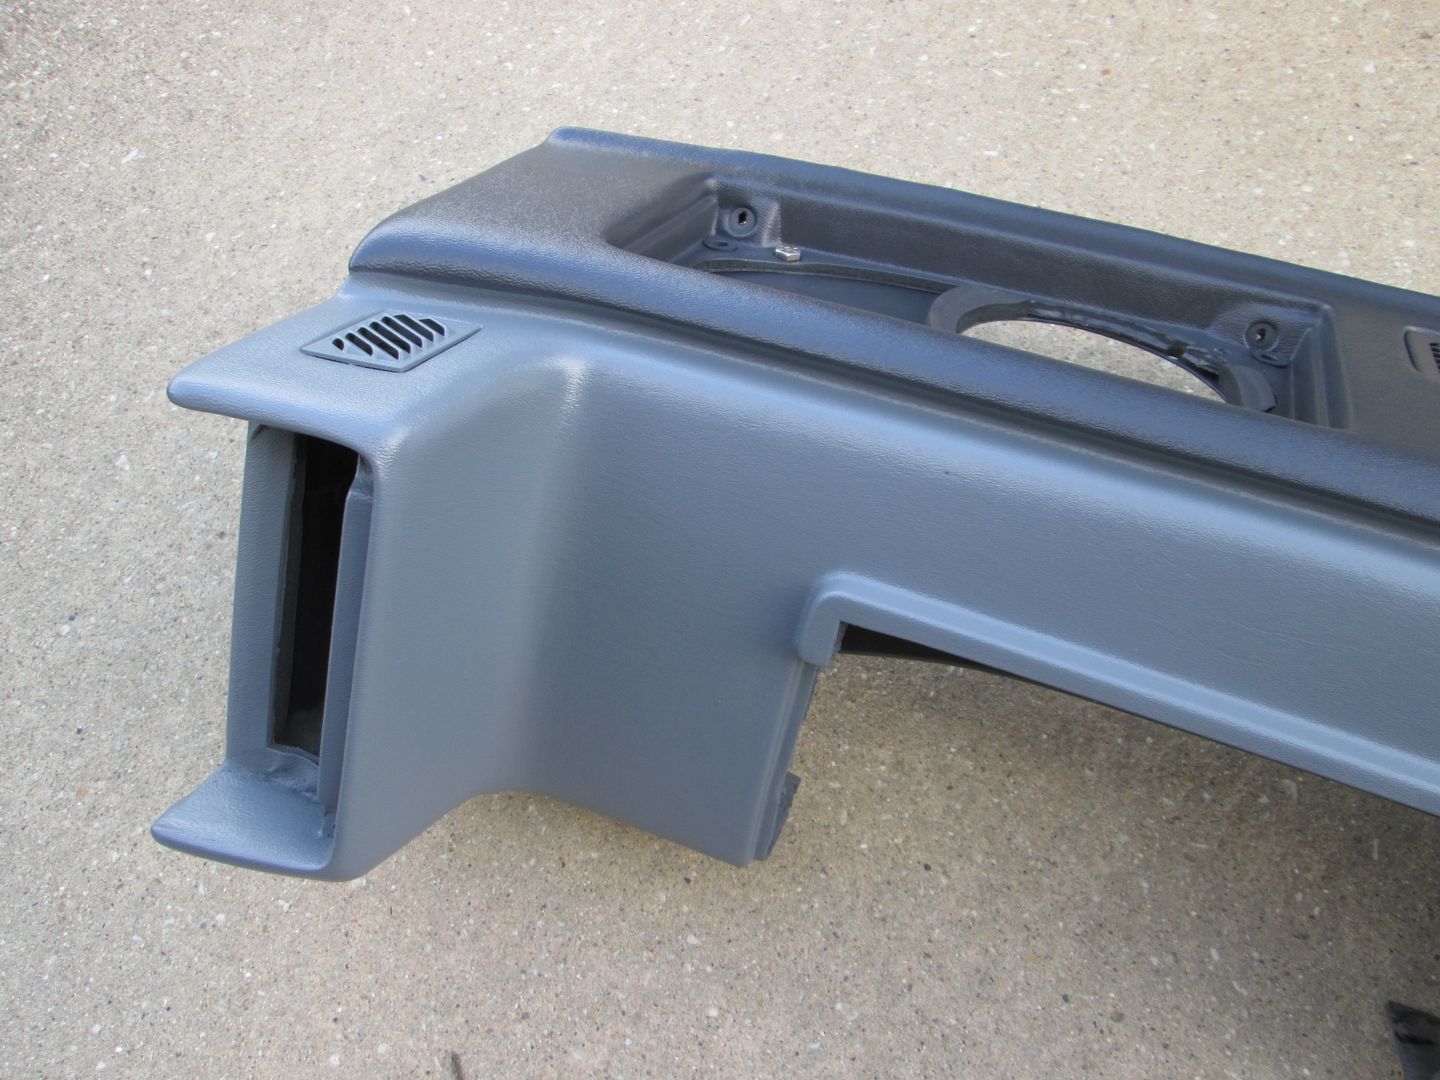
Then I painted several other parts... this car started out as a $500 purchase and will never be a show car, but I would like it to be less of a disaster from and interior (and eventual exterior) perspective.
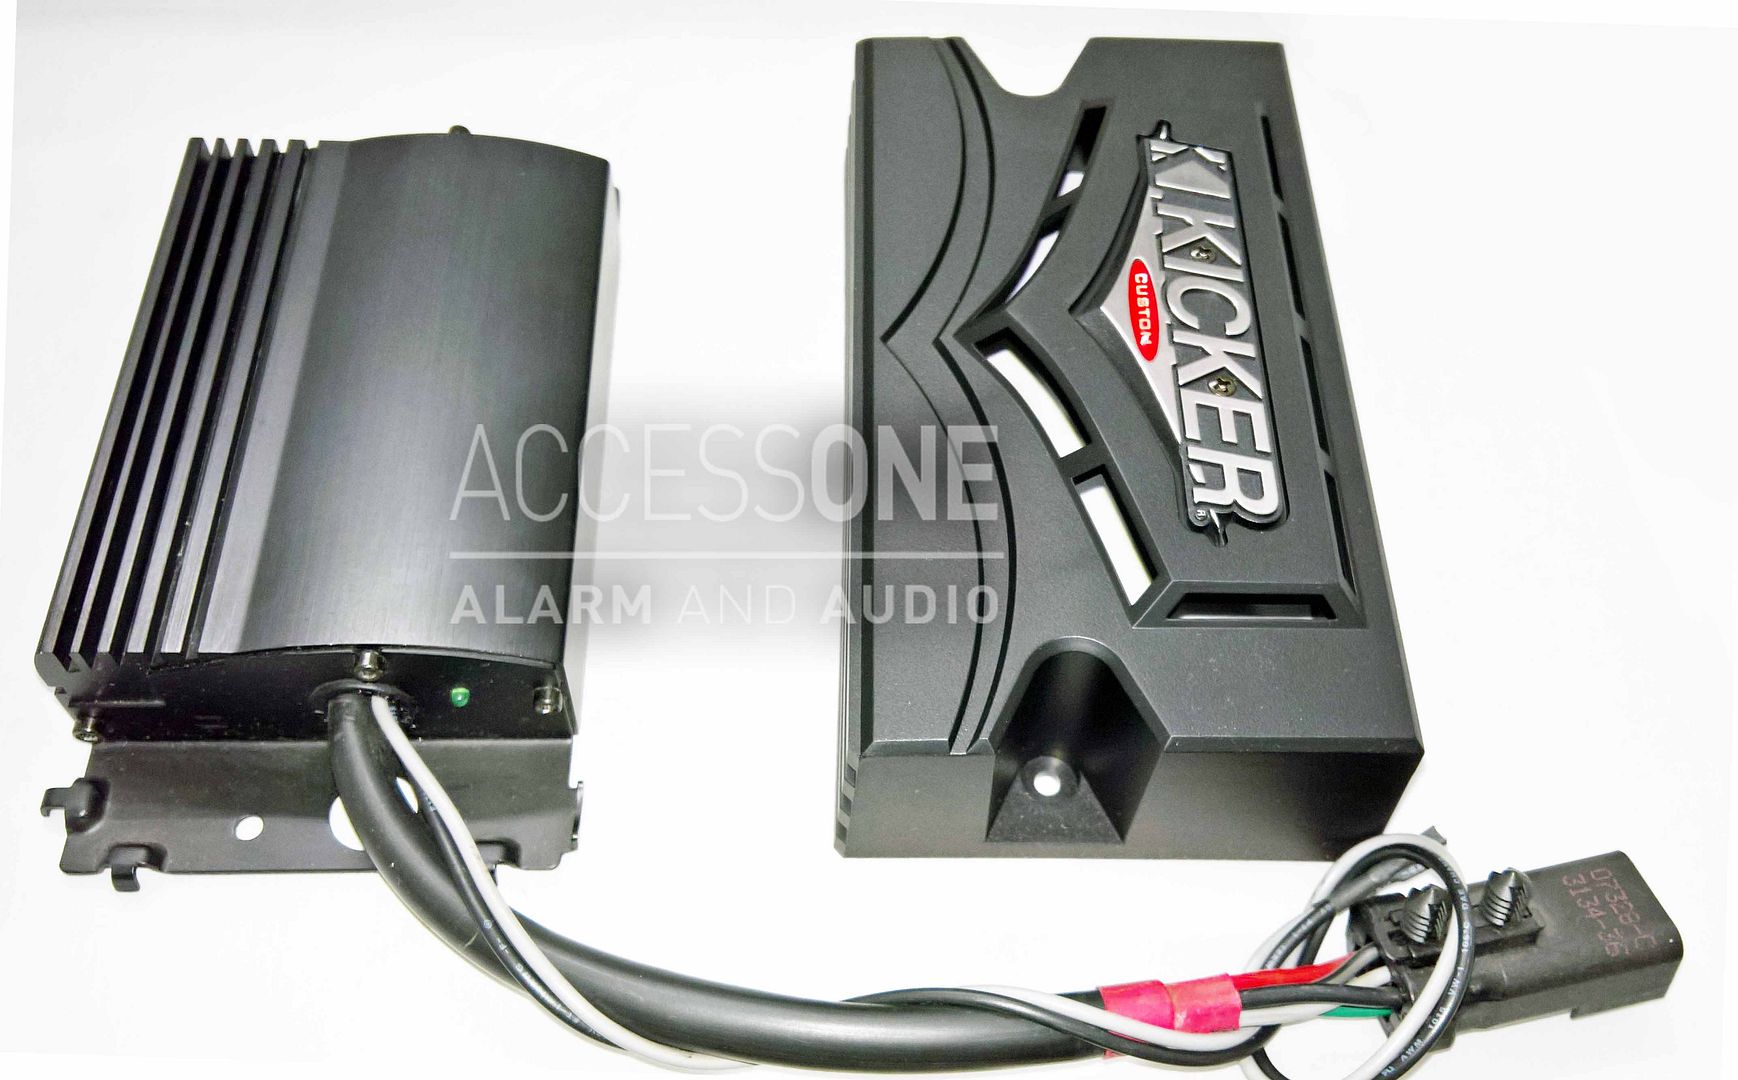
I also ordered a "dealer option" kicker 100W amplifier that drives the subwoofer in the Jeep SRT8. It is a small amp with a built in low pass filter I will use it to drive the Tang Band sub.
|
|
|
|
fieroguru
|
MAY 27, 06:47 PM
|
|
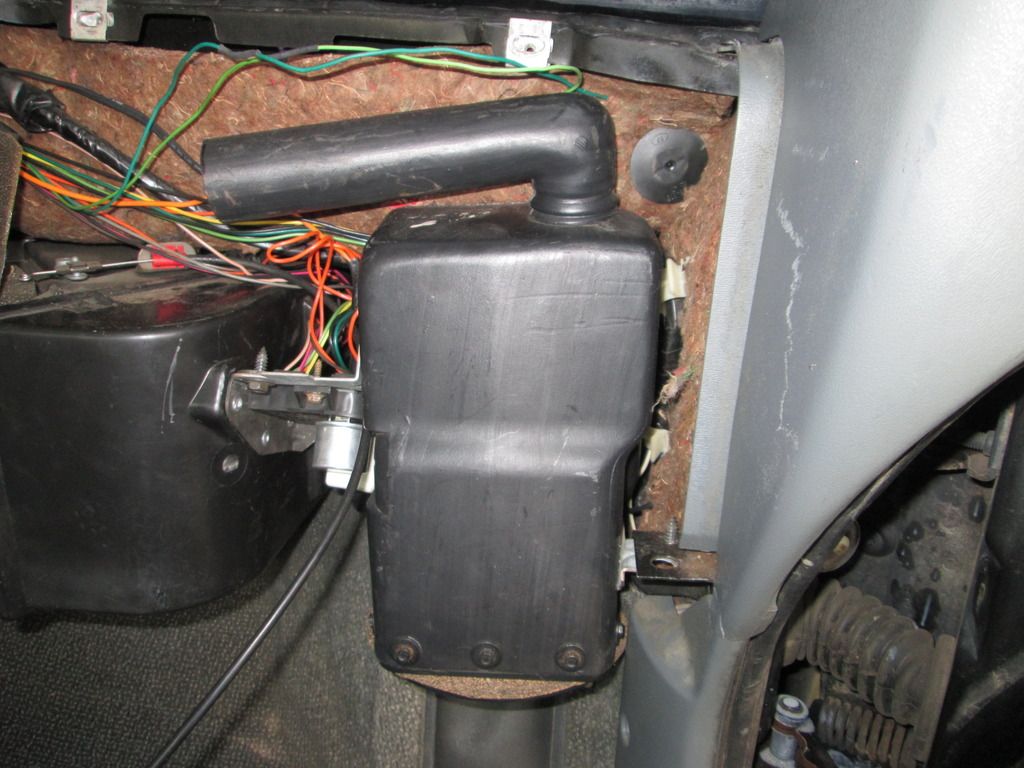
I wired up the amp for the sub and mounted it up under the DS front speaker:

Inputs:
RED wire: +12V ignition switched with 15 amp fuse
Black wire: ground
GREY wire: right rear + speaker wire
GRY/BK wire: right rear - speaker wire
GREEN wire: left rear + speaker wire
GRN/BK wire: left rear - speaker wire
Outputs:
GREY wire: + sub wire
BLACK wire: - sub wire
Tang Band sub:
Passenger speaker (nothing special...):
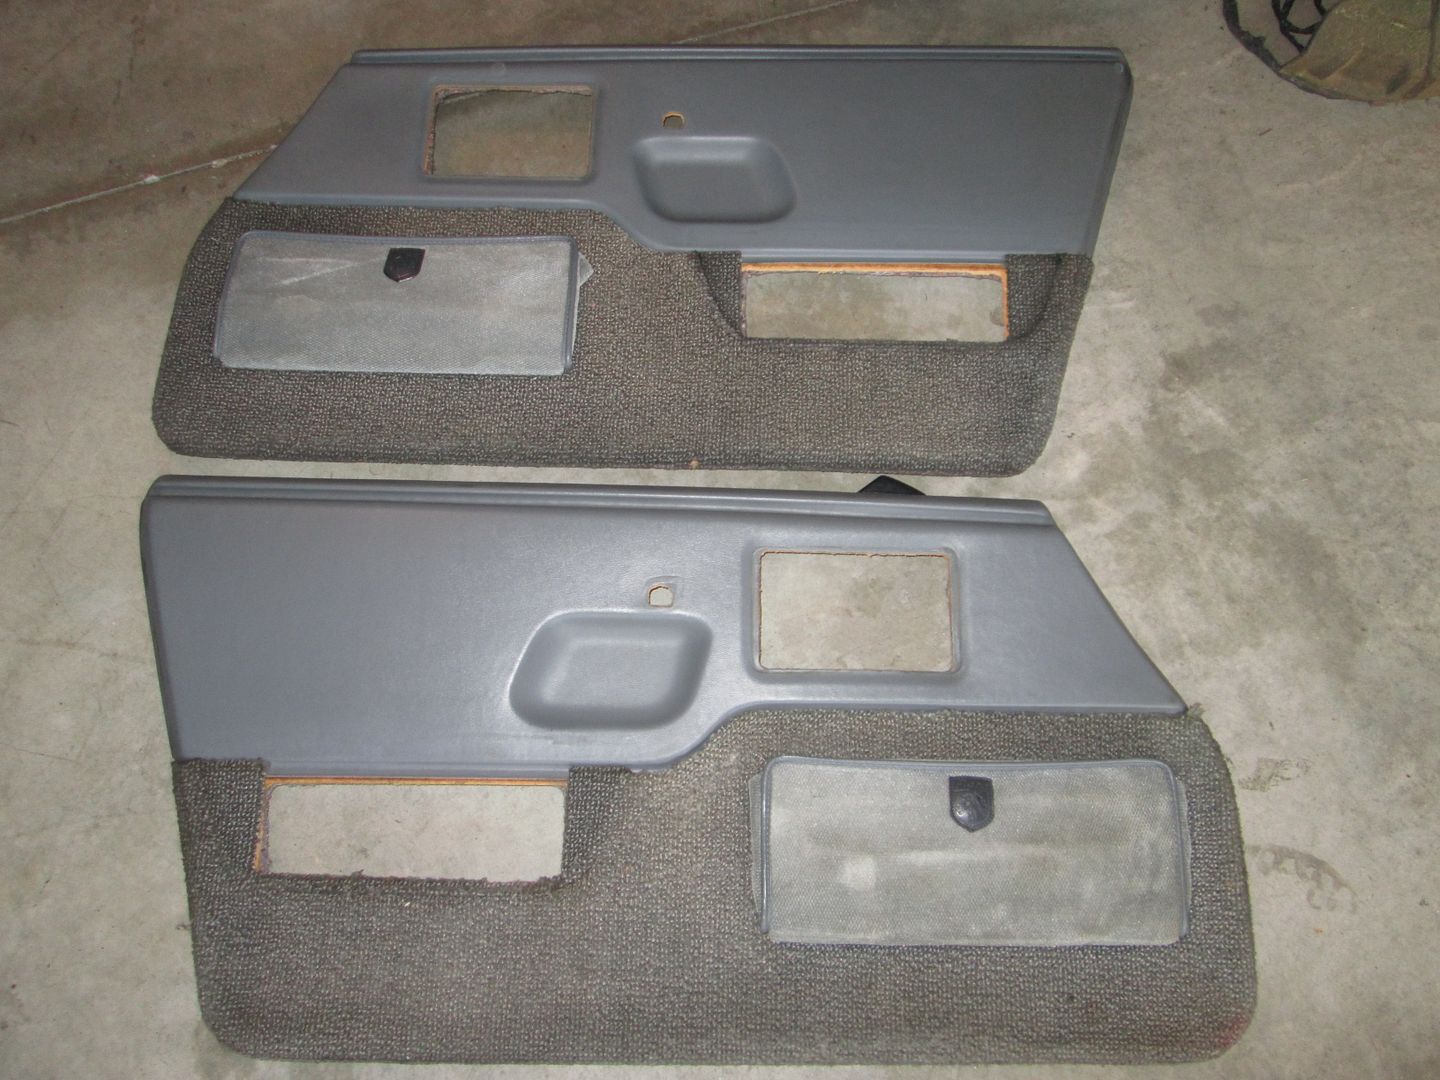
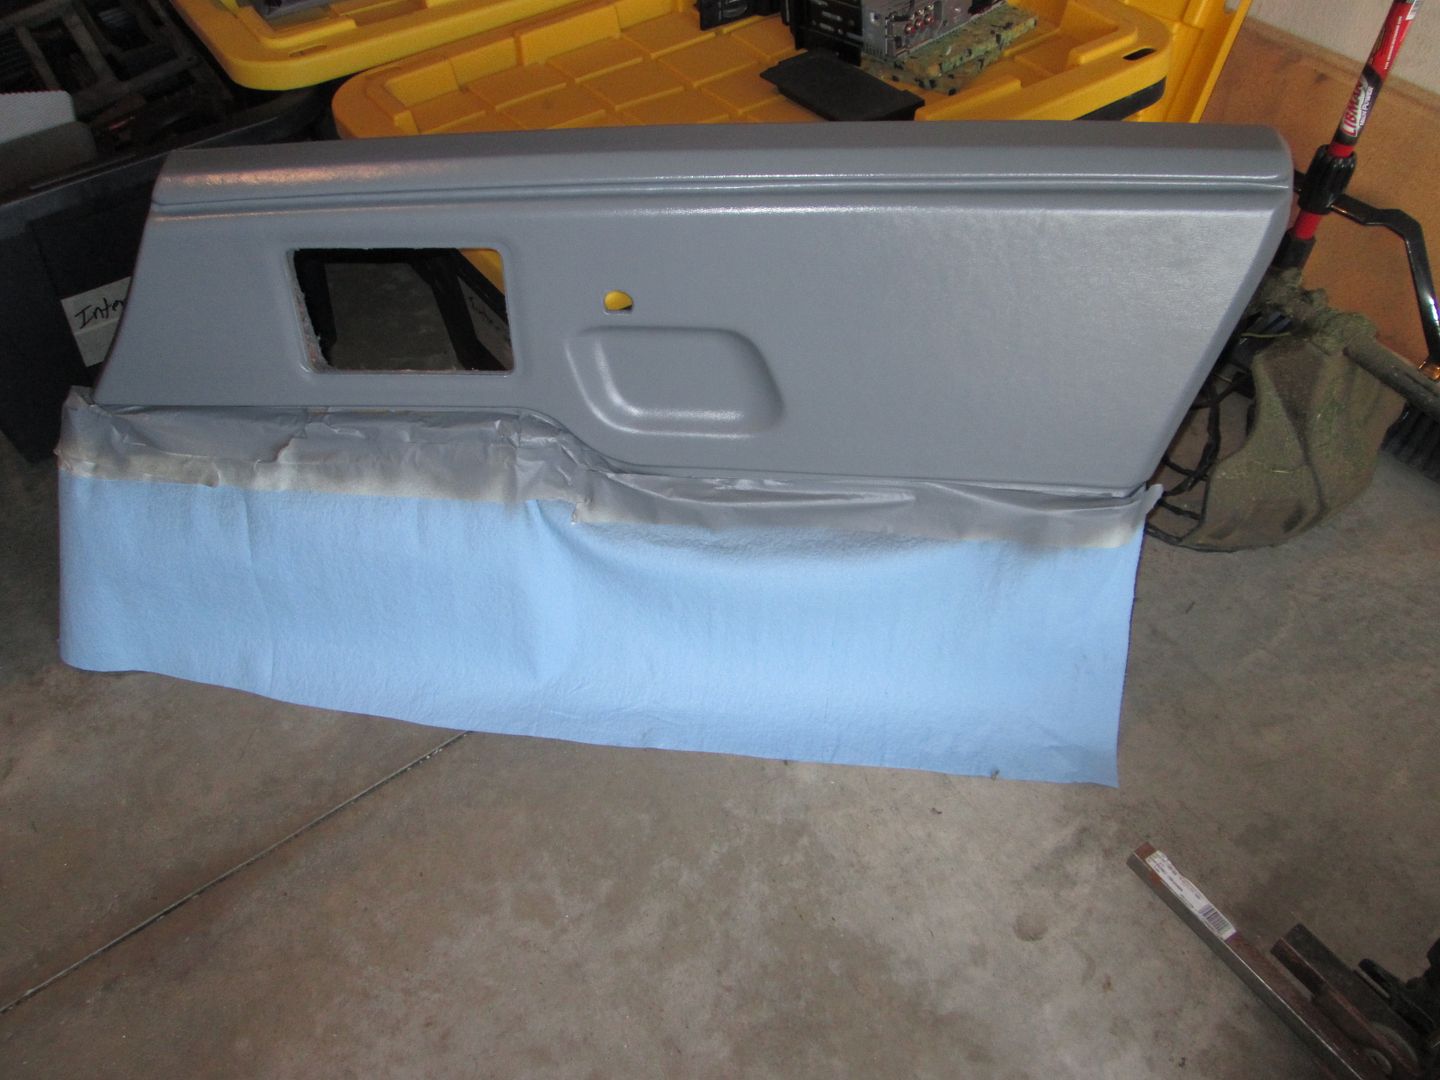
Then I started putting everything back together. Again the goal isn't perfection, just less of a disaster:
Passenger door:
Passenger dash:
Driver door:

|
|
|
|
fieroguru
|
MAY 29, 09:12 PM
|
|
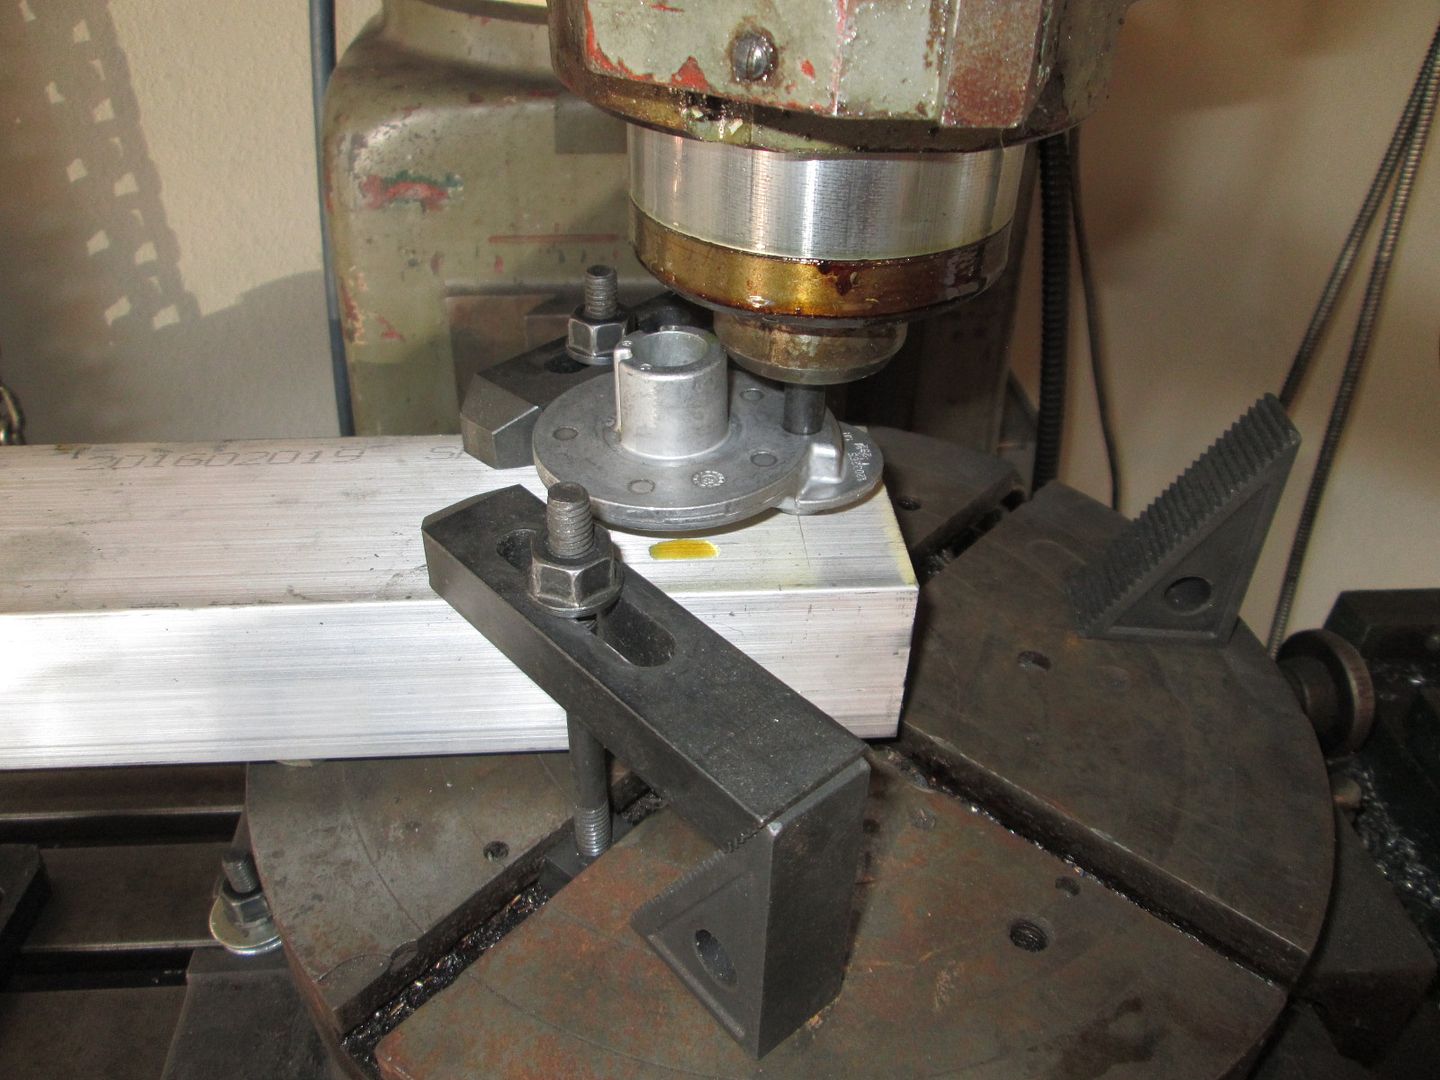
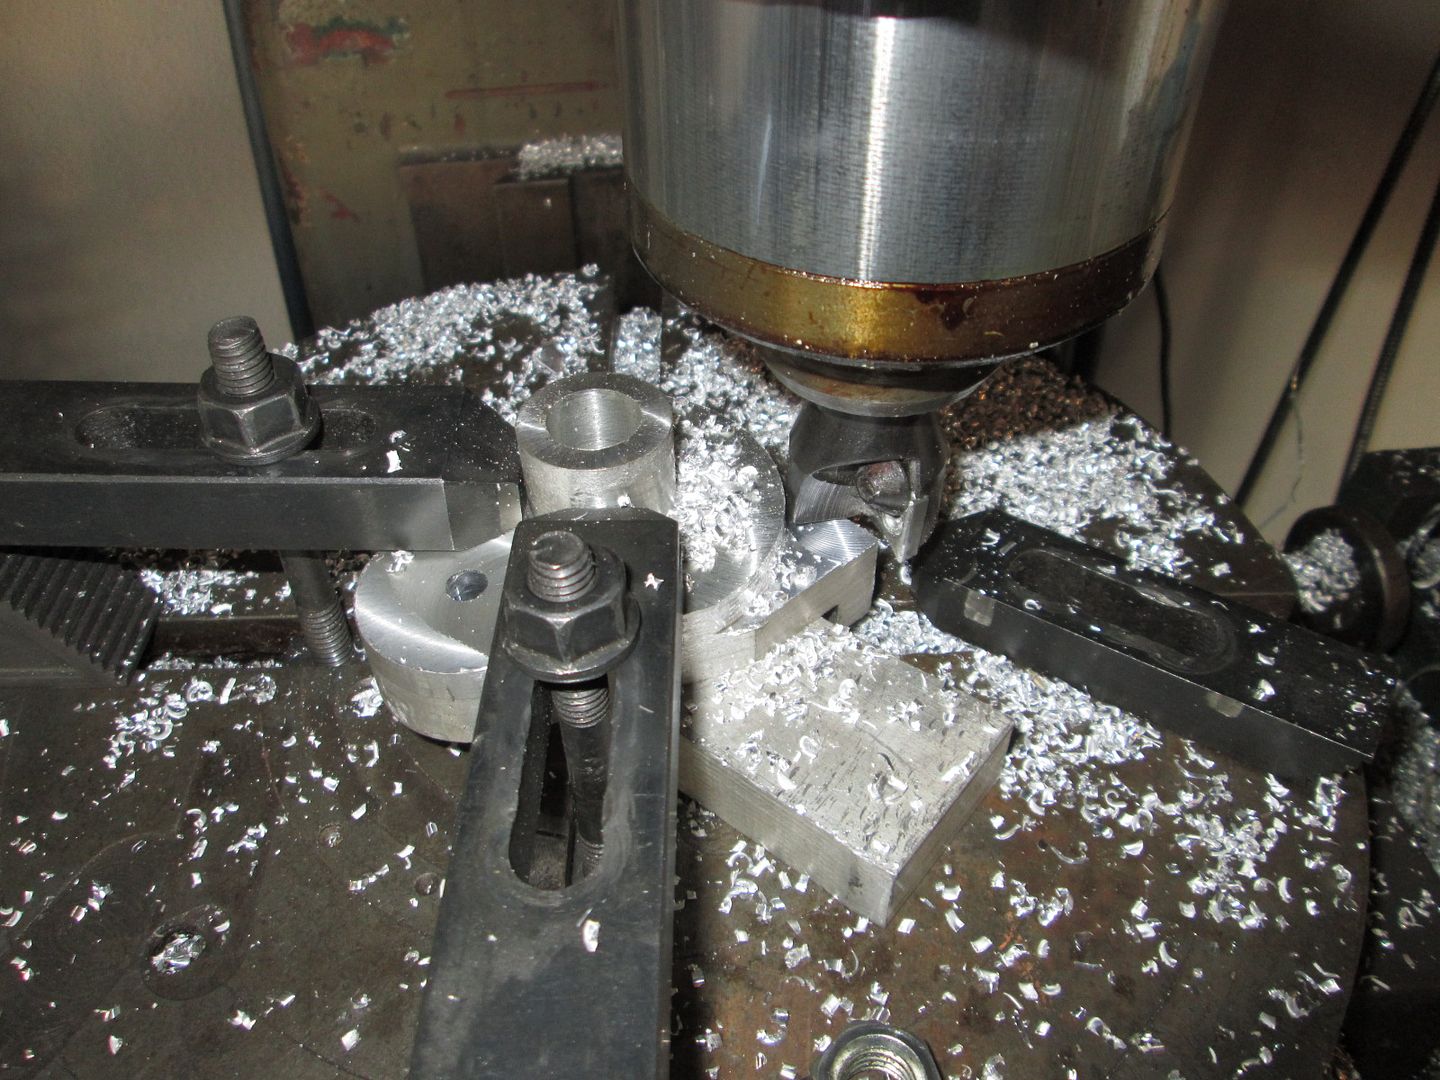
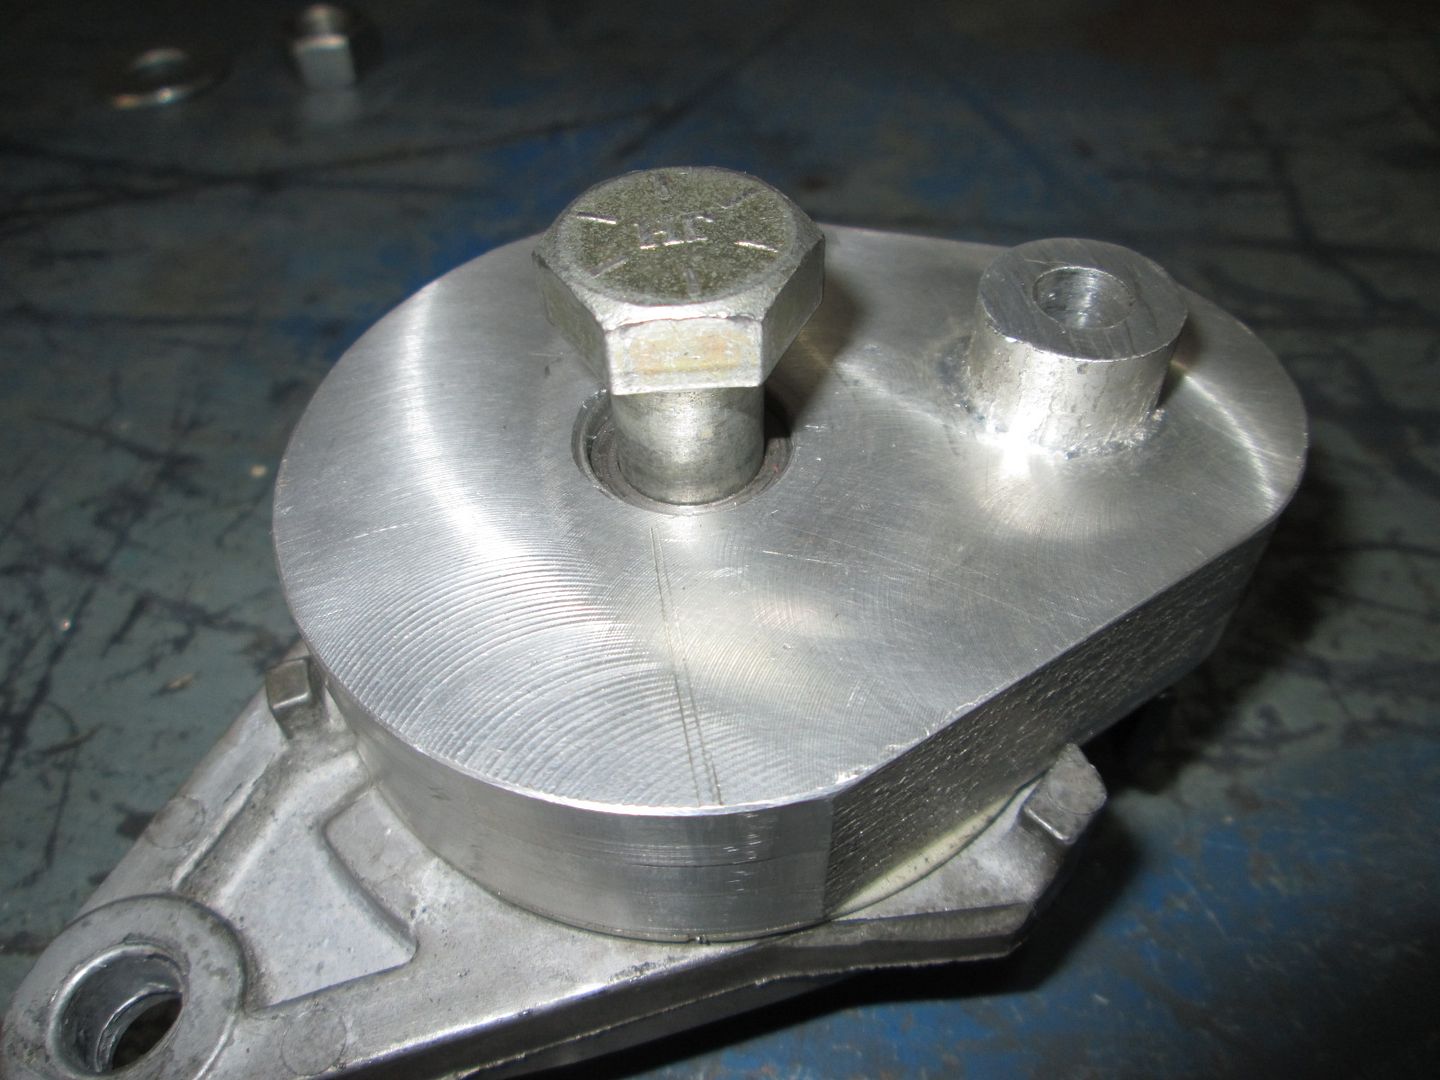
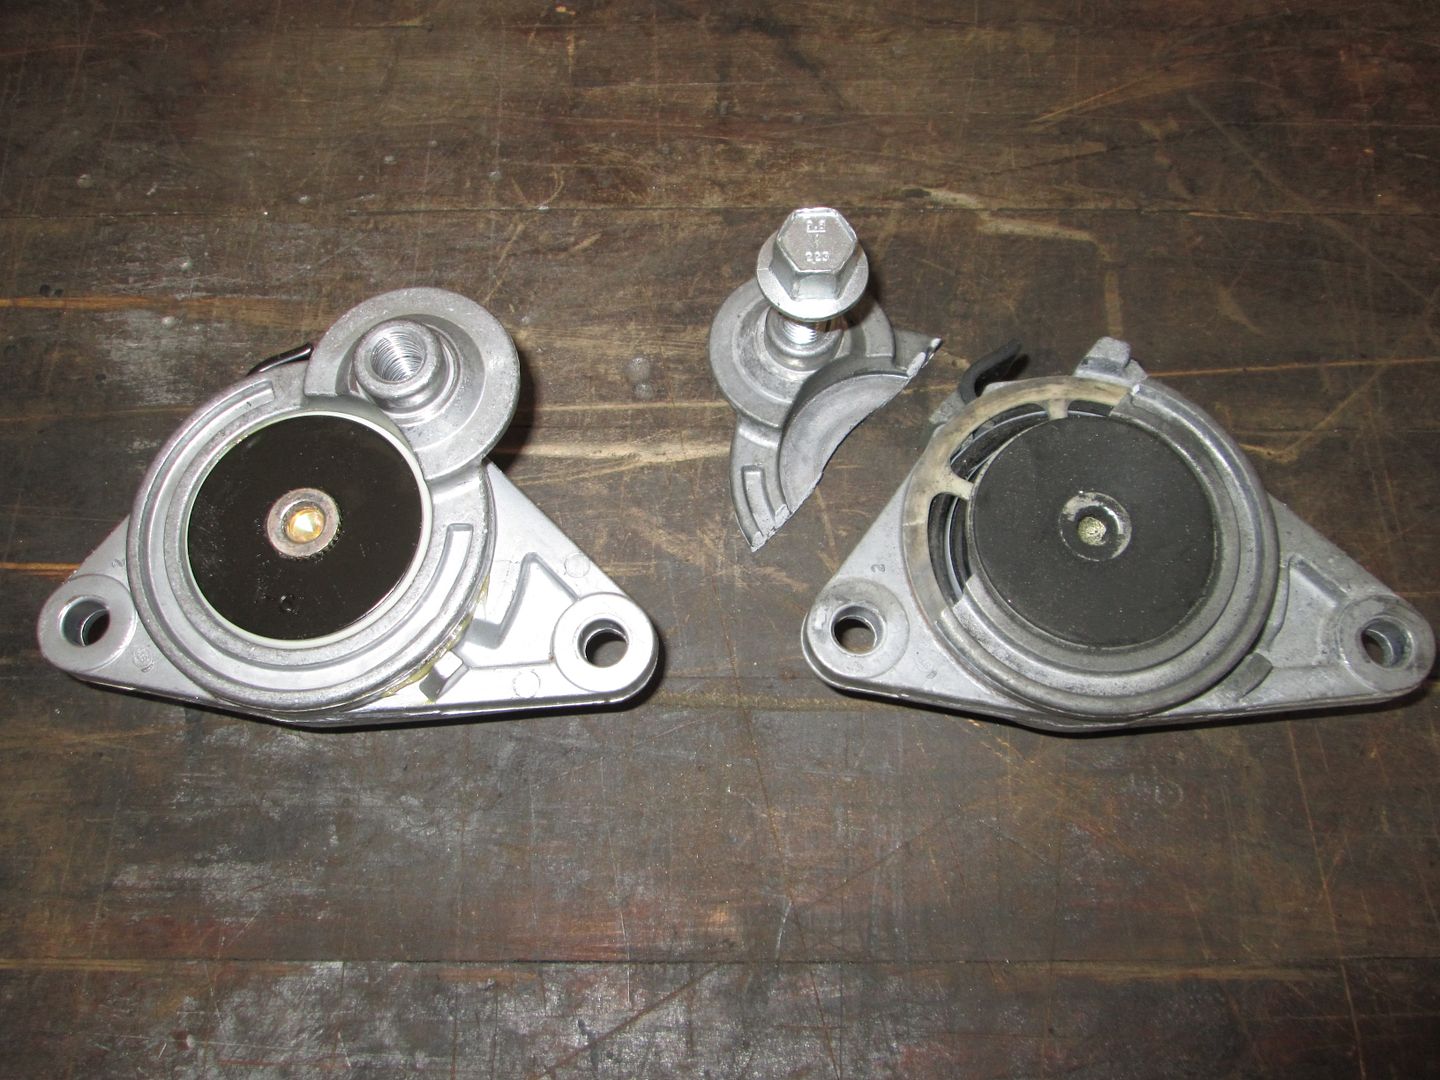
Spent most of the day in front of the mill and lathe, and have another hour or two of work, but the tensioner arm is nearing completion. Lots of individual setups with the mill and rotary table, but it is nearly done!

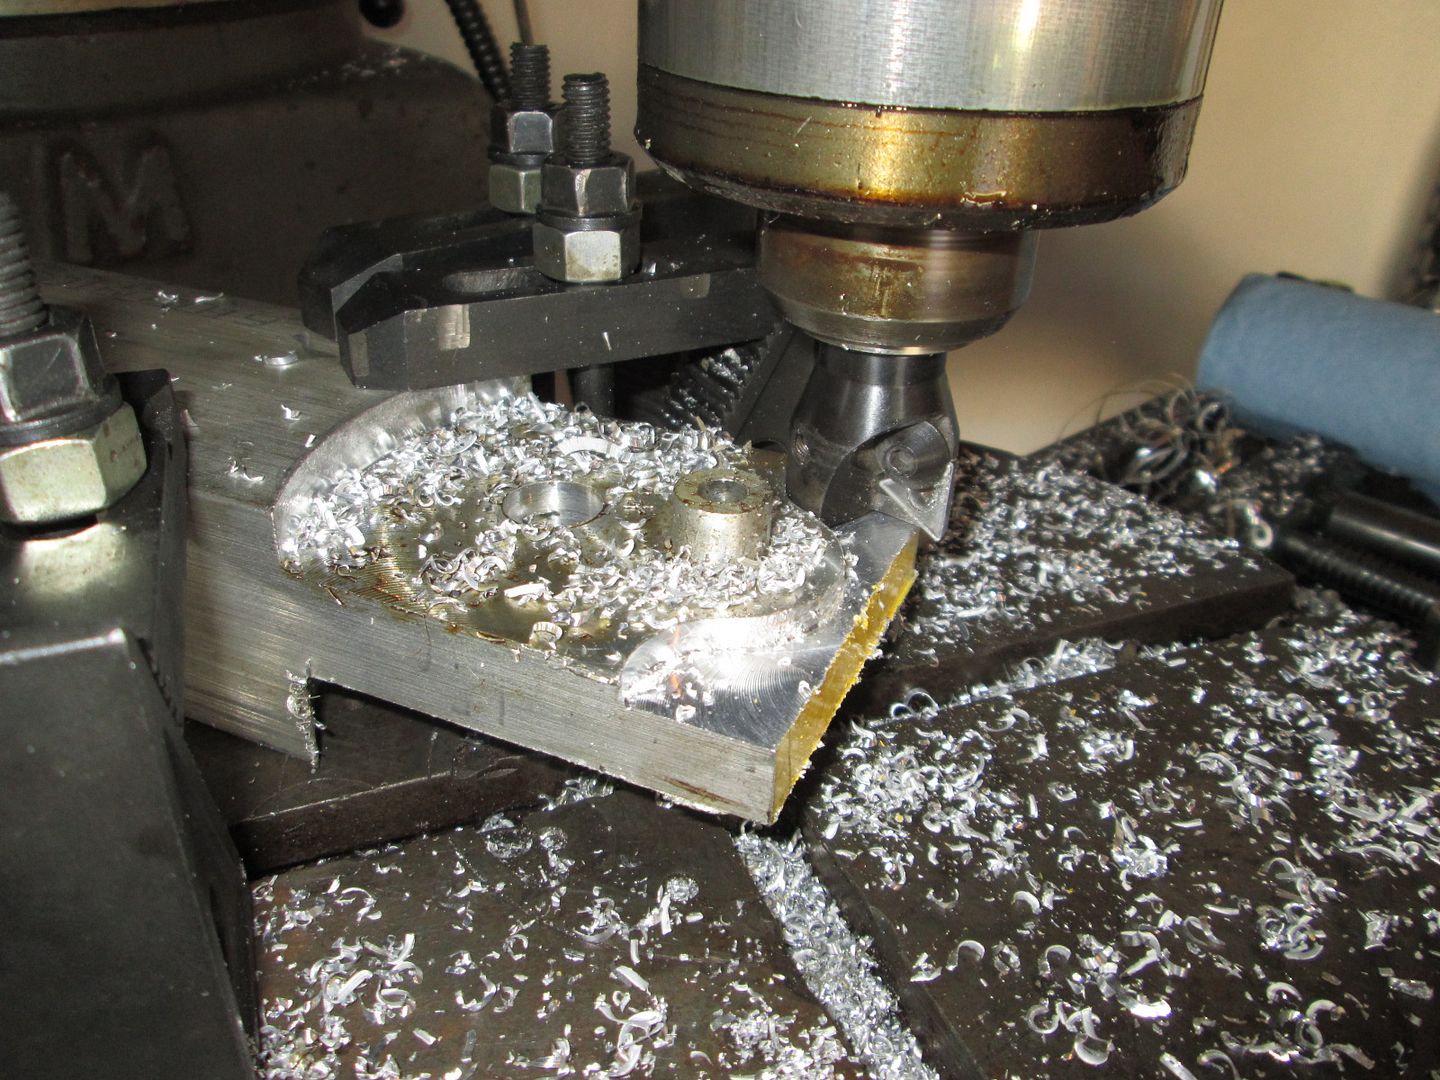

New tensioner next to OEM one:

The new tensioner will be held together by a 1/2" bolt. I make a stepped steel sleeve that will be the primary support for the tensioner arm. The back of the tension housing has a flat area a little larger than 1" in diameter, which is what the stepped portion of the sleeve is. The backside of the housing is about 1/4" thick and I tapped it for 1/2-13 and will have a jam nut on the backside. With the proper clearance between all the parts, I will be able to torque down the bolt to stabilize the sleeve, while allowing the tensioner to move freely.
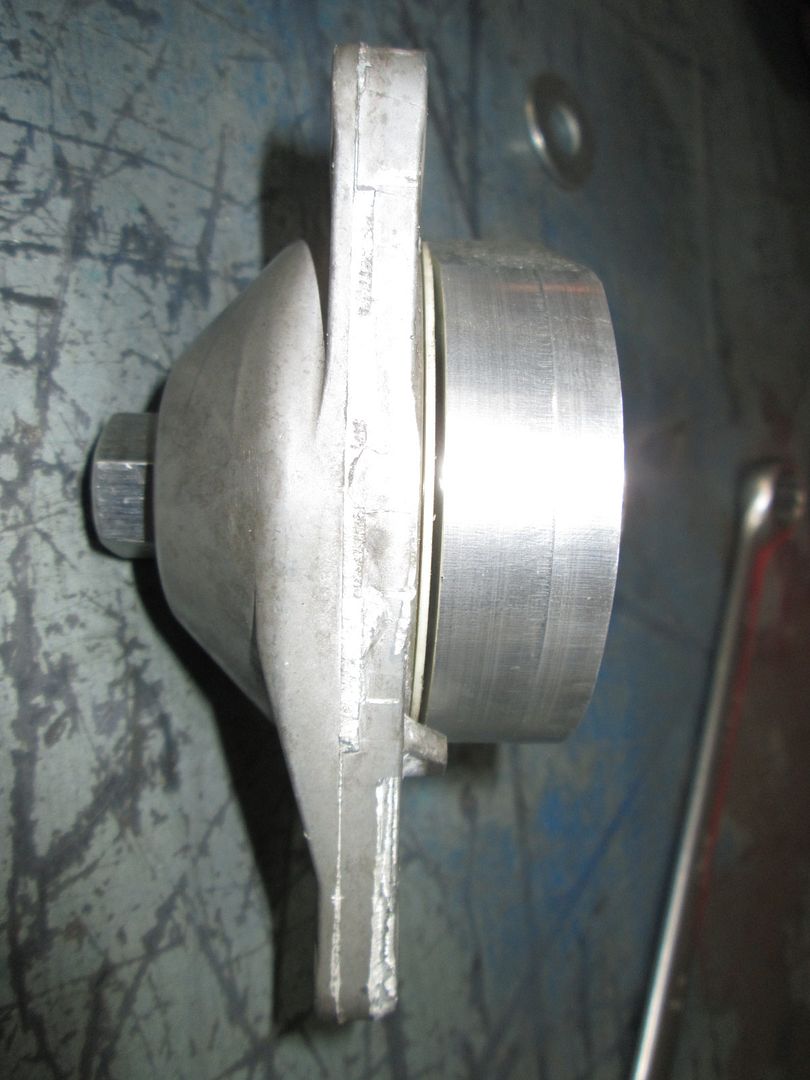
I am reusing the stock wear strip to avoid aluminum to aluminum rubbing:

Here is a pic with the range of motion stops. I need to take the tensioner arm and set it back up in the mill and cut the clearance slot on the backside so these can be used. You can also see the steel sleeve slightly recessed below the tensioner arm. I need to counter bore the tensioner body so the bolt head will be flush, then turn down the sleeve the account for the counter bore. There will be a bronze washer at the bottom of the counter bore. The bolt with tighten the washer to the sleeve, and the sleeve the reach housing, all while keeping a few thousandths clearance between the bronze washer and the arm as well as the plastic wear strip... or at least that is the plan...
The bolt will be a stainless socket head bolt and like I said it will be recessed to be flush with the surface:
Here is the jam nut on the backside. The 1/2-13 threads in the body are not that deep, so this nut will really the primary clamping nut. It will be stainless as well.
As you can see I need to put the sleeve in the lathe and reduce the thickness of the stepped seat to reduce this clearance.
|
|
|
|
fieroguru
|
MAY 30, 04:47 PM
|
|
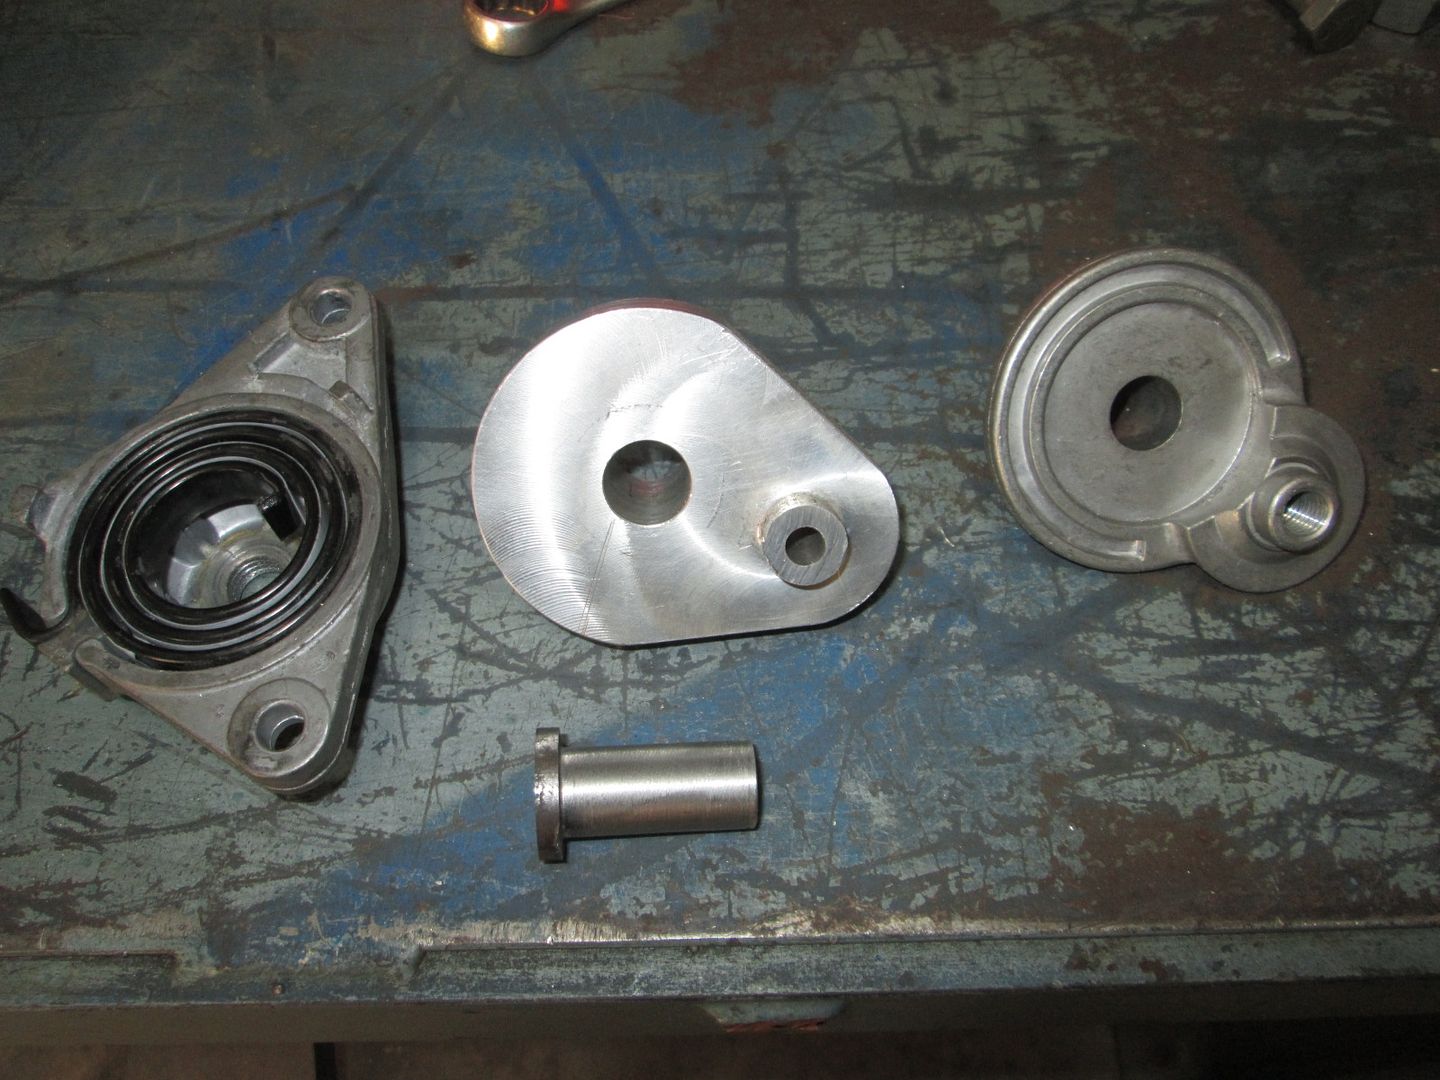
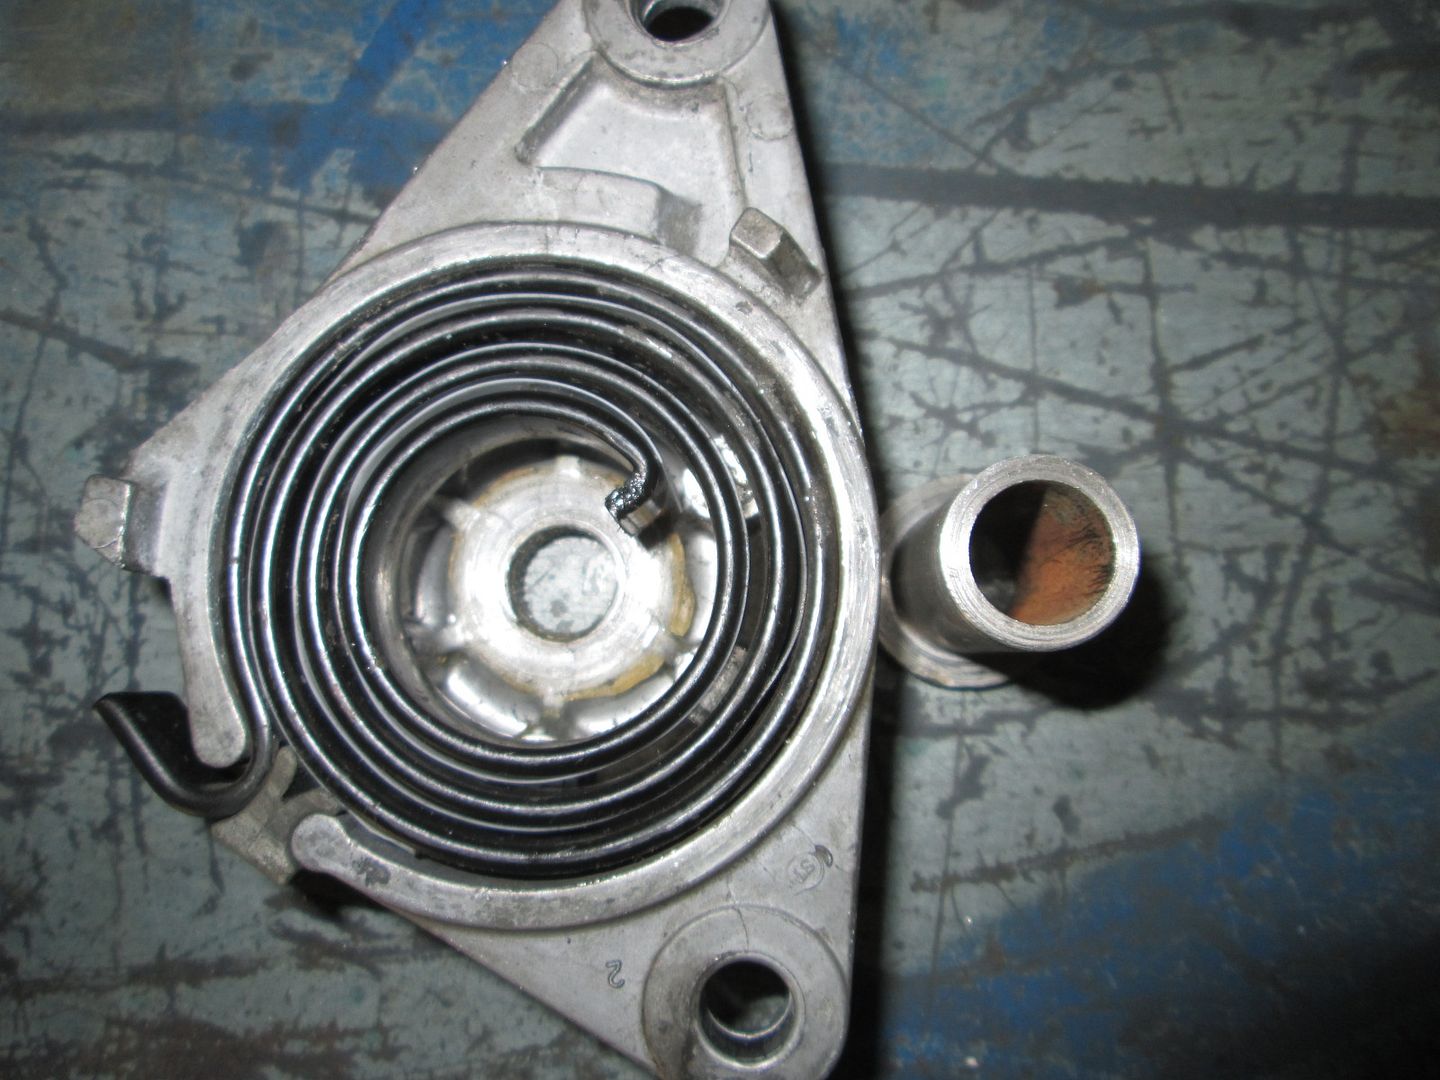
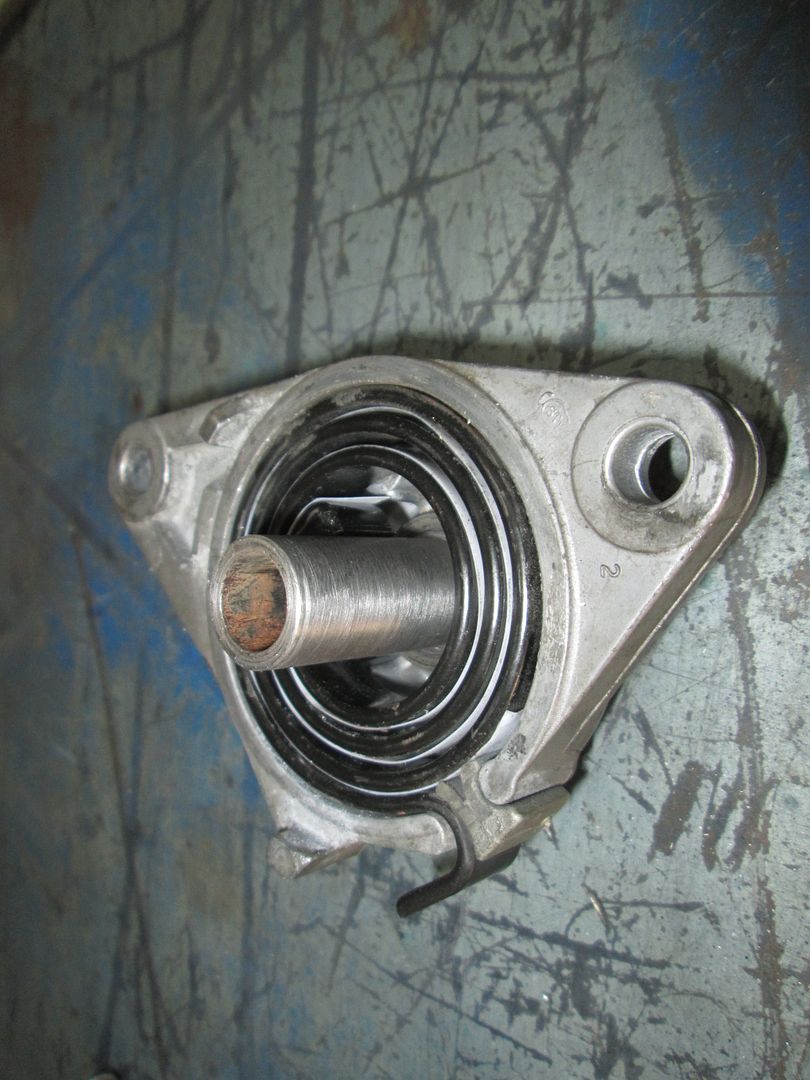
I took the old tensioner off today so I could mockup the new one and check for full range of motion.
Here is a side by side picture of old vs. new. Notice the new mock up one doesn't have the wrap spring installed. This was so I could cycle it by hand to verify proper clearance. Also notice the raised pulley stand off. That is a 2nd part and is pressed onto the smaller stand on the arm. I would have liked to make it all 1 piece, but the aluminum was only 2" x 3" and needed to be about 3" x 3". The pressed on standoff did help keep the tap perpendicular during the threading process.
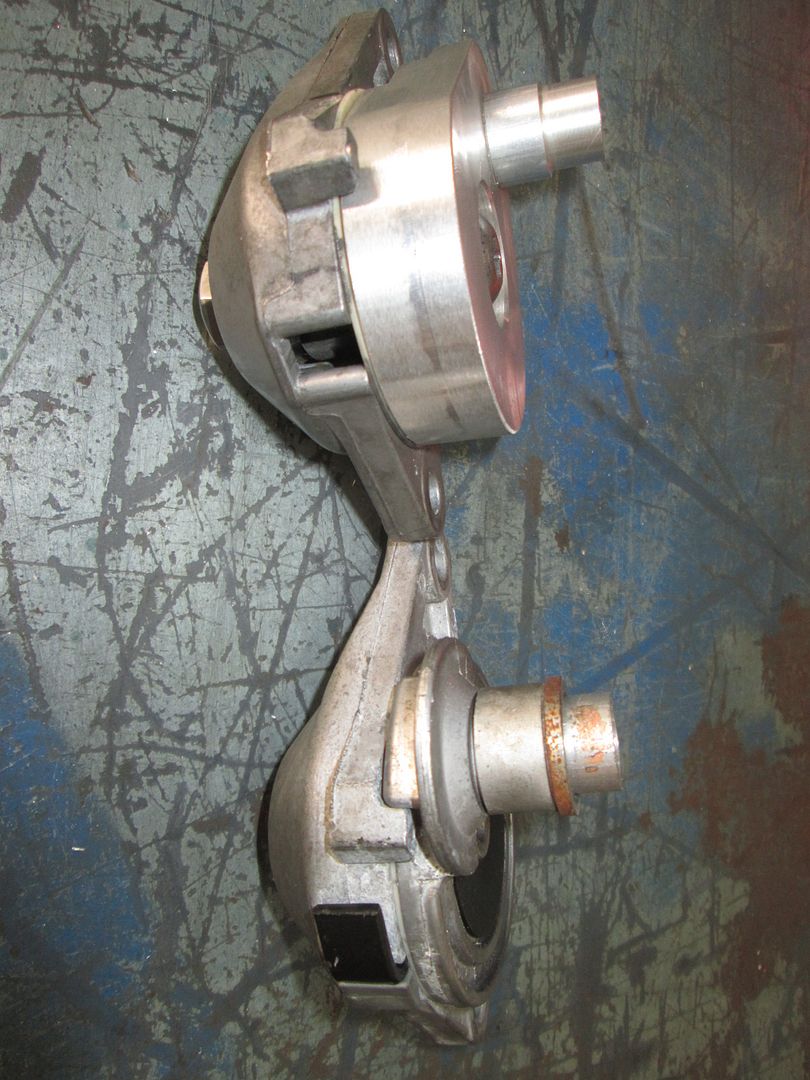
Here are a couple of other pics:

Now I am just waiting for a longer stainless bolt and a larger OD bronze bushing... and then it will be put back together 1 last time.
|
|
|
|
fieroguru
|
JUN 01, 10:04 PM
|
|
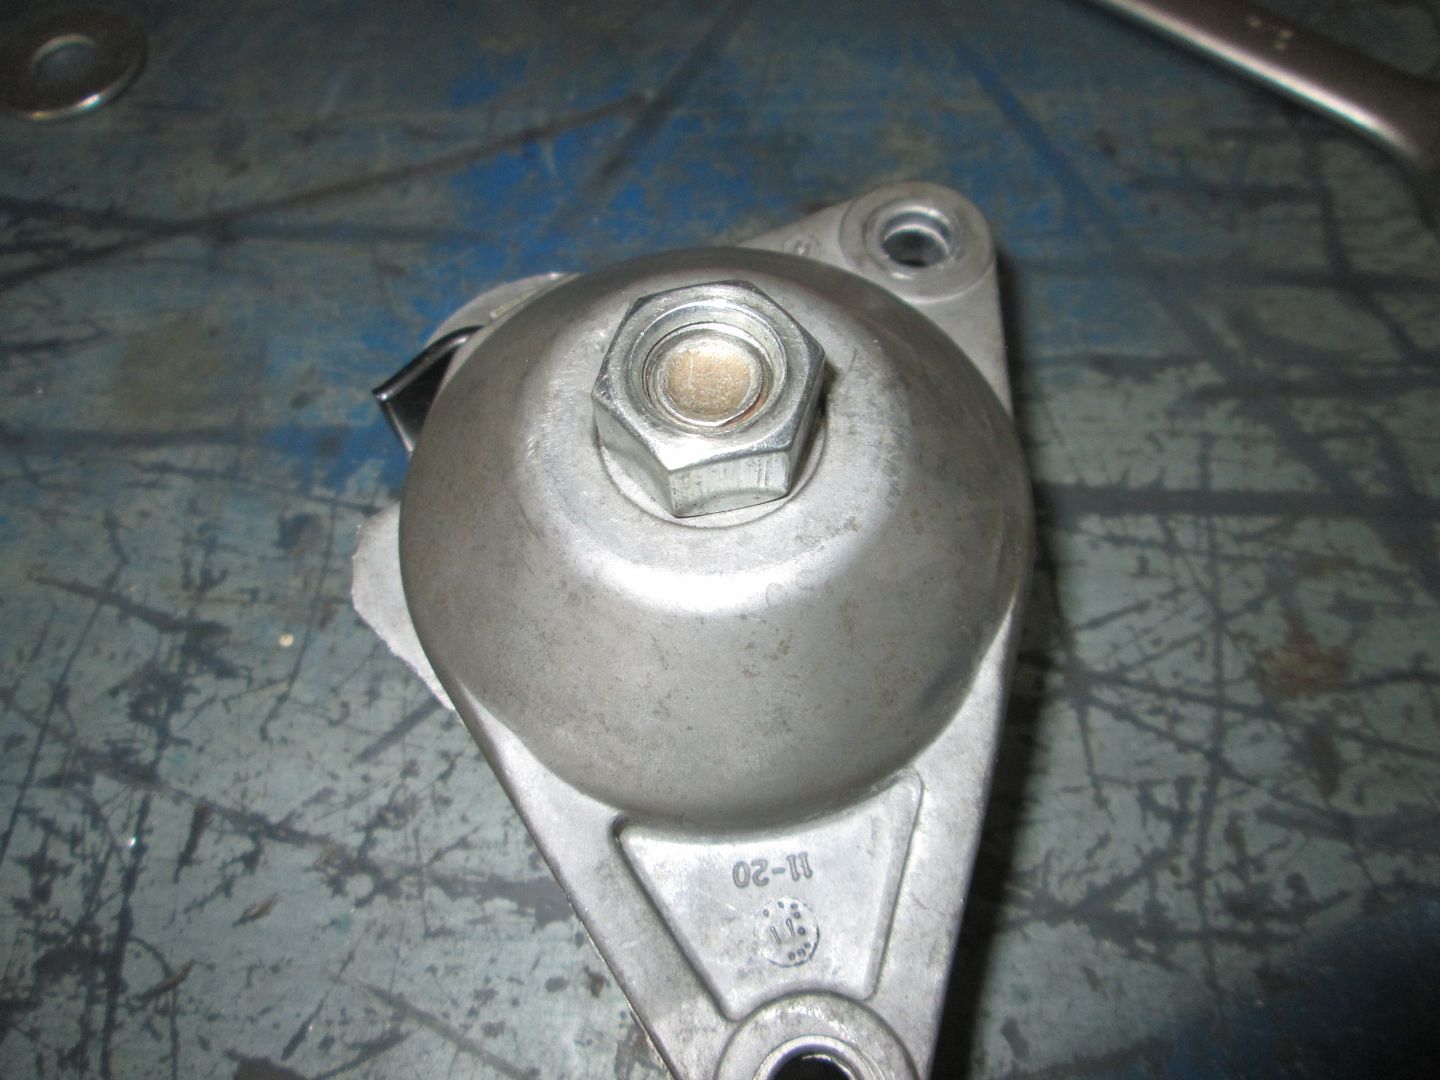
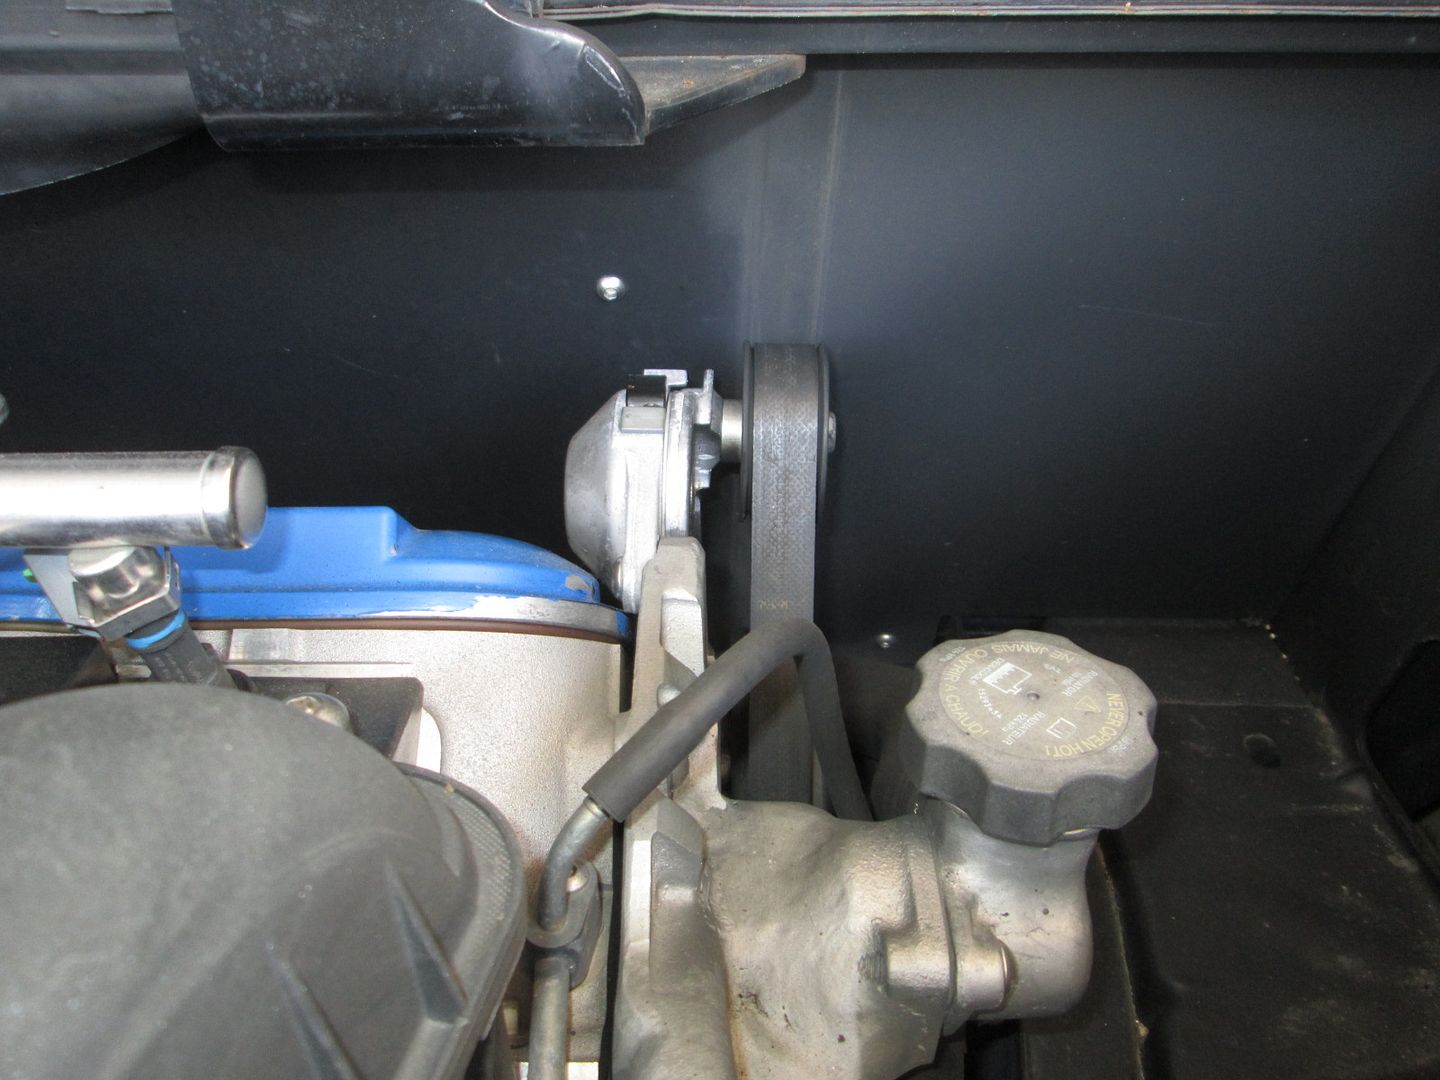
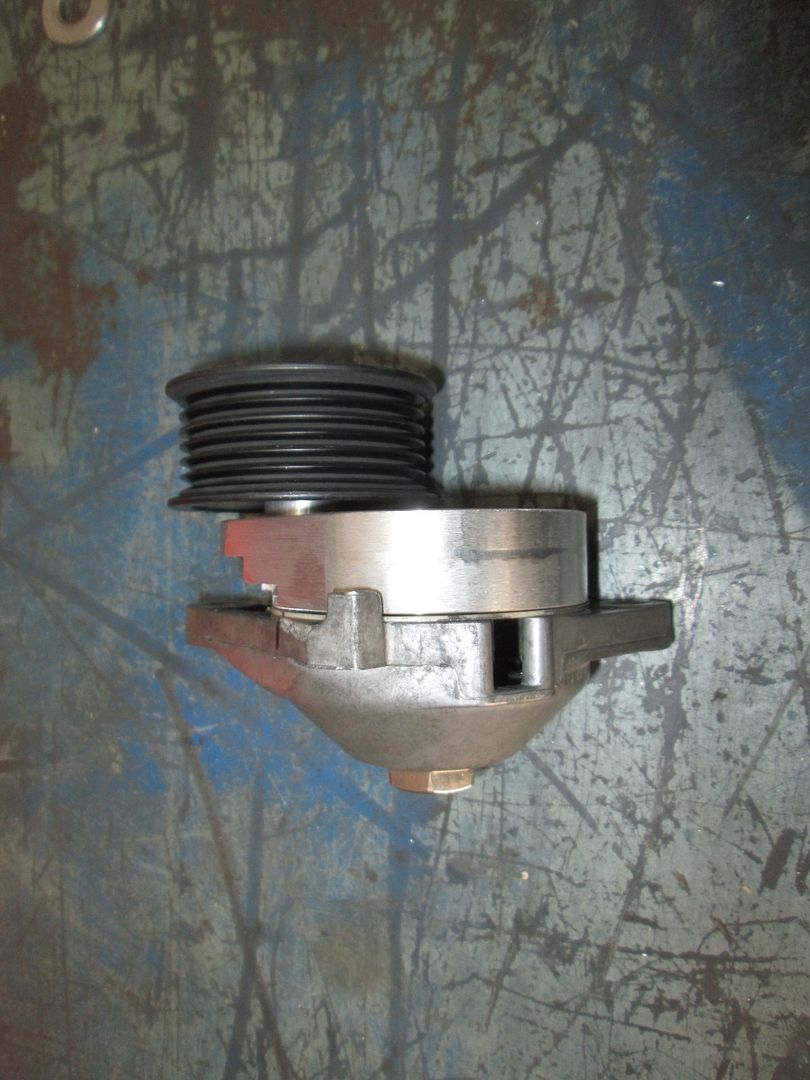
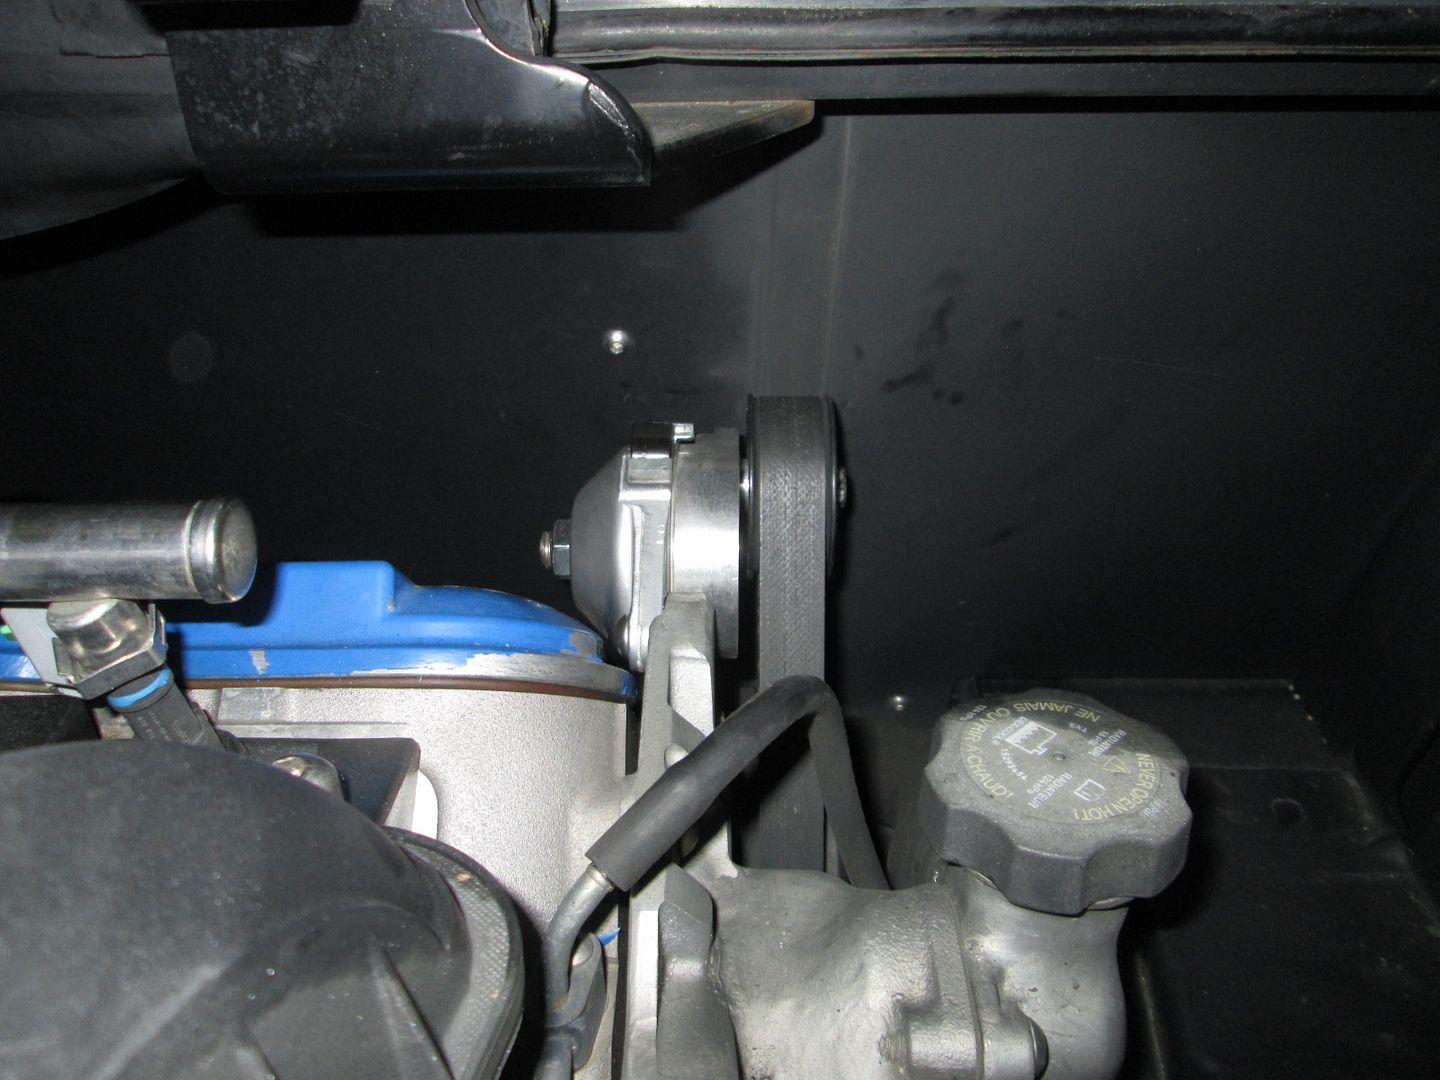
Tensioner is done and installed!
New:
Old:
Whole reason for the effort... no more of these!
|
|

|
motoracer838
|
JUN 03, 08:45 AM
|
|
As always, nice work, the revised tensioner should be more than up to the job. Have fun on the Power Tour, at the rate they are moving back west they should be in my neck of the woods in oh about another 3 or 4 years, the first two Power Tours came through Colorado, I did the Colorado leg in my V-8 S10 pu, had a great time.
Cheers Beers n Gearz. Joe
|
|
|
|
Syn
|
JUN 09, 10:26 AM
|
|
|
If you made a post about just machining parts. I'd follow it. Just saying. Great work as always.
|
|
|
|
Trinten
|
JUN 09, 11:02 PM
|
|
What I think would be super lucrative for him is if he setup a deal to teach a fabrication course at a community college. How to think about stuff like this, how to figure out how to take them apart (safely), figure out what's failing, how to make it better, crank it out, then put the damn thing back together.
I didn't even know idler arms could be rebuilt. I figured they were a "If you take it apart, it's broken" kind of thing.
|
|
|
|