|
| LS4 / F40 swap - fieroguru (Page 116/216) |

|
Lunatic
|
MAY 03, 09:28 PM
|
|
Hey Paul,
The wheels and tires look great and suit the car as does the offset. But man, couldn't you clean the bird crap off your car first? Lol.
|
|
|
|
fieroguru
|
MAY 14, 10:25 PM
|
|
|
|
|
fieroguru
|
MAY 16, 02:26 PM
|
|
|
|
|
fieroguru
|
MAY 17, 01:42 PM
|
|
|
|
|
davylong86
|
MAY 18, 04:09 PM
|
|
|
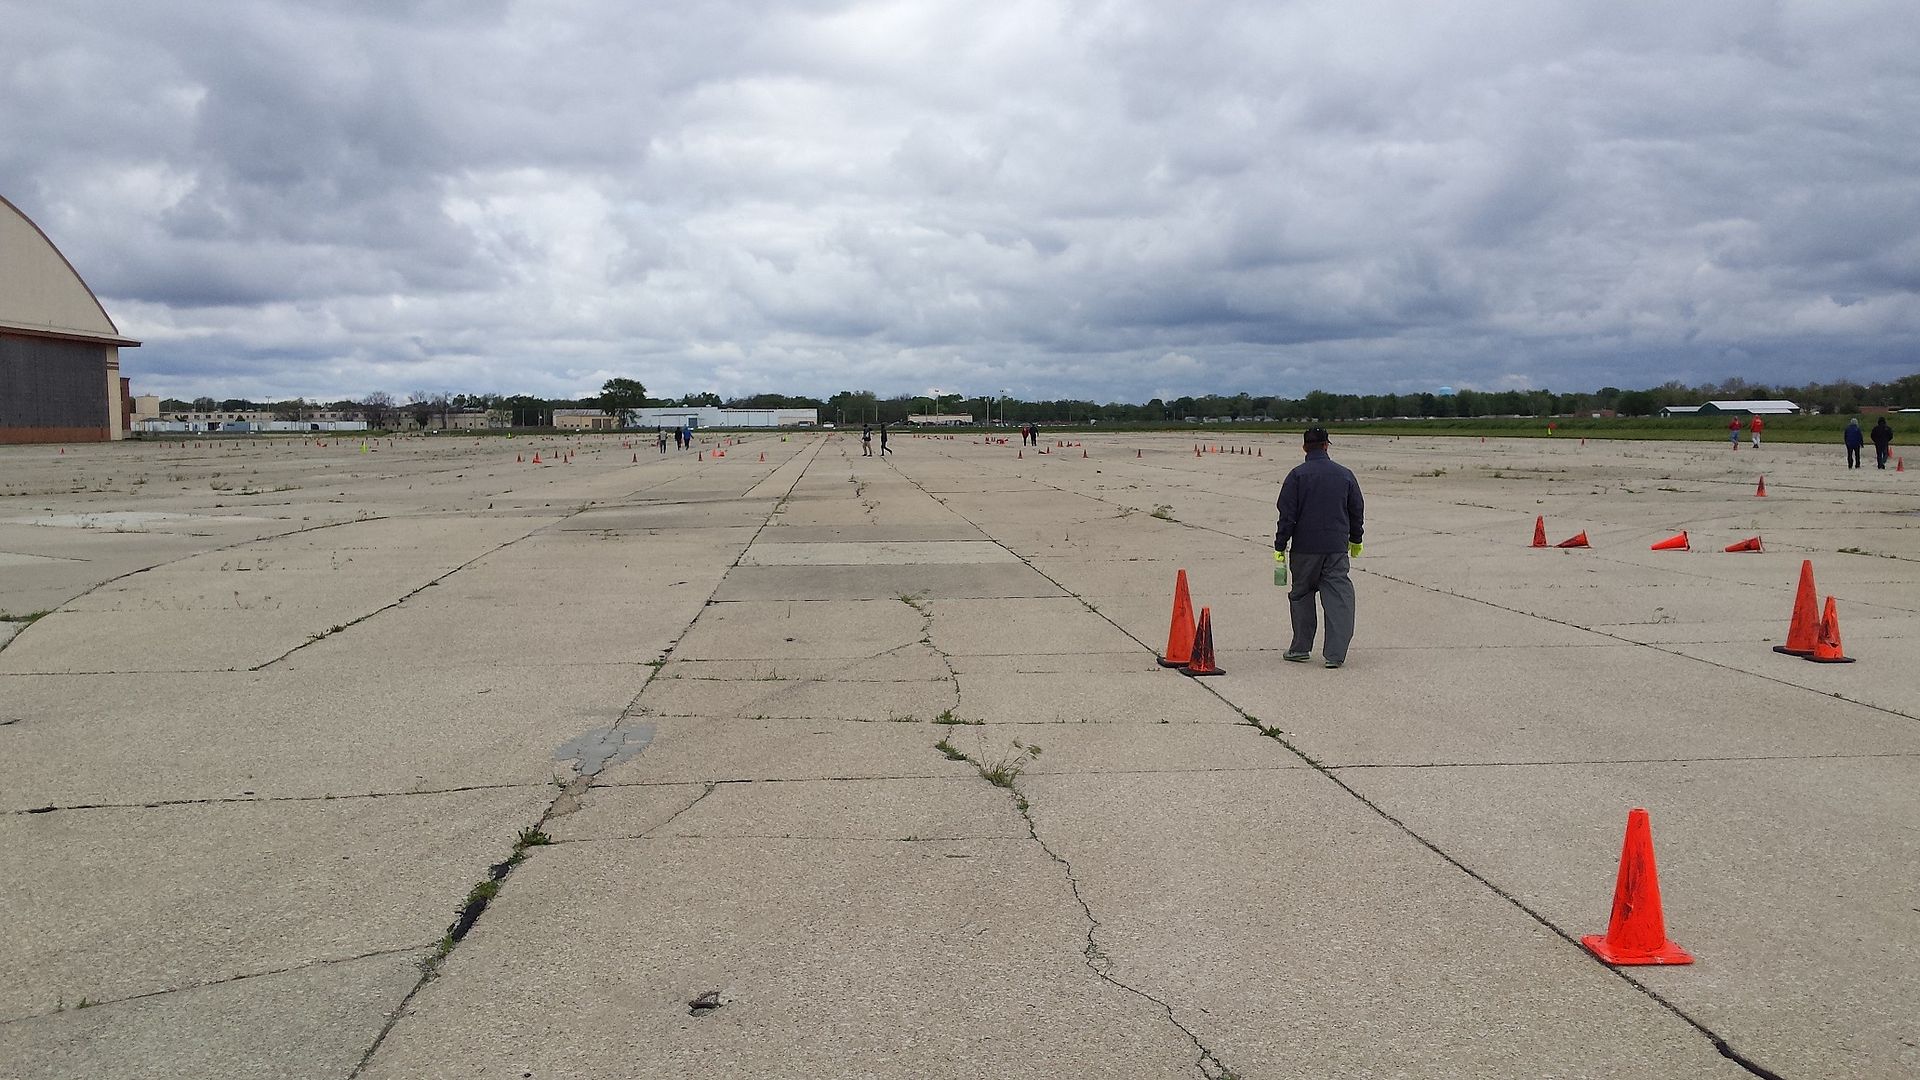
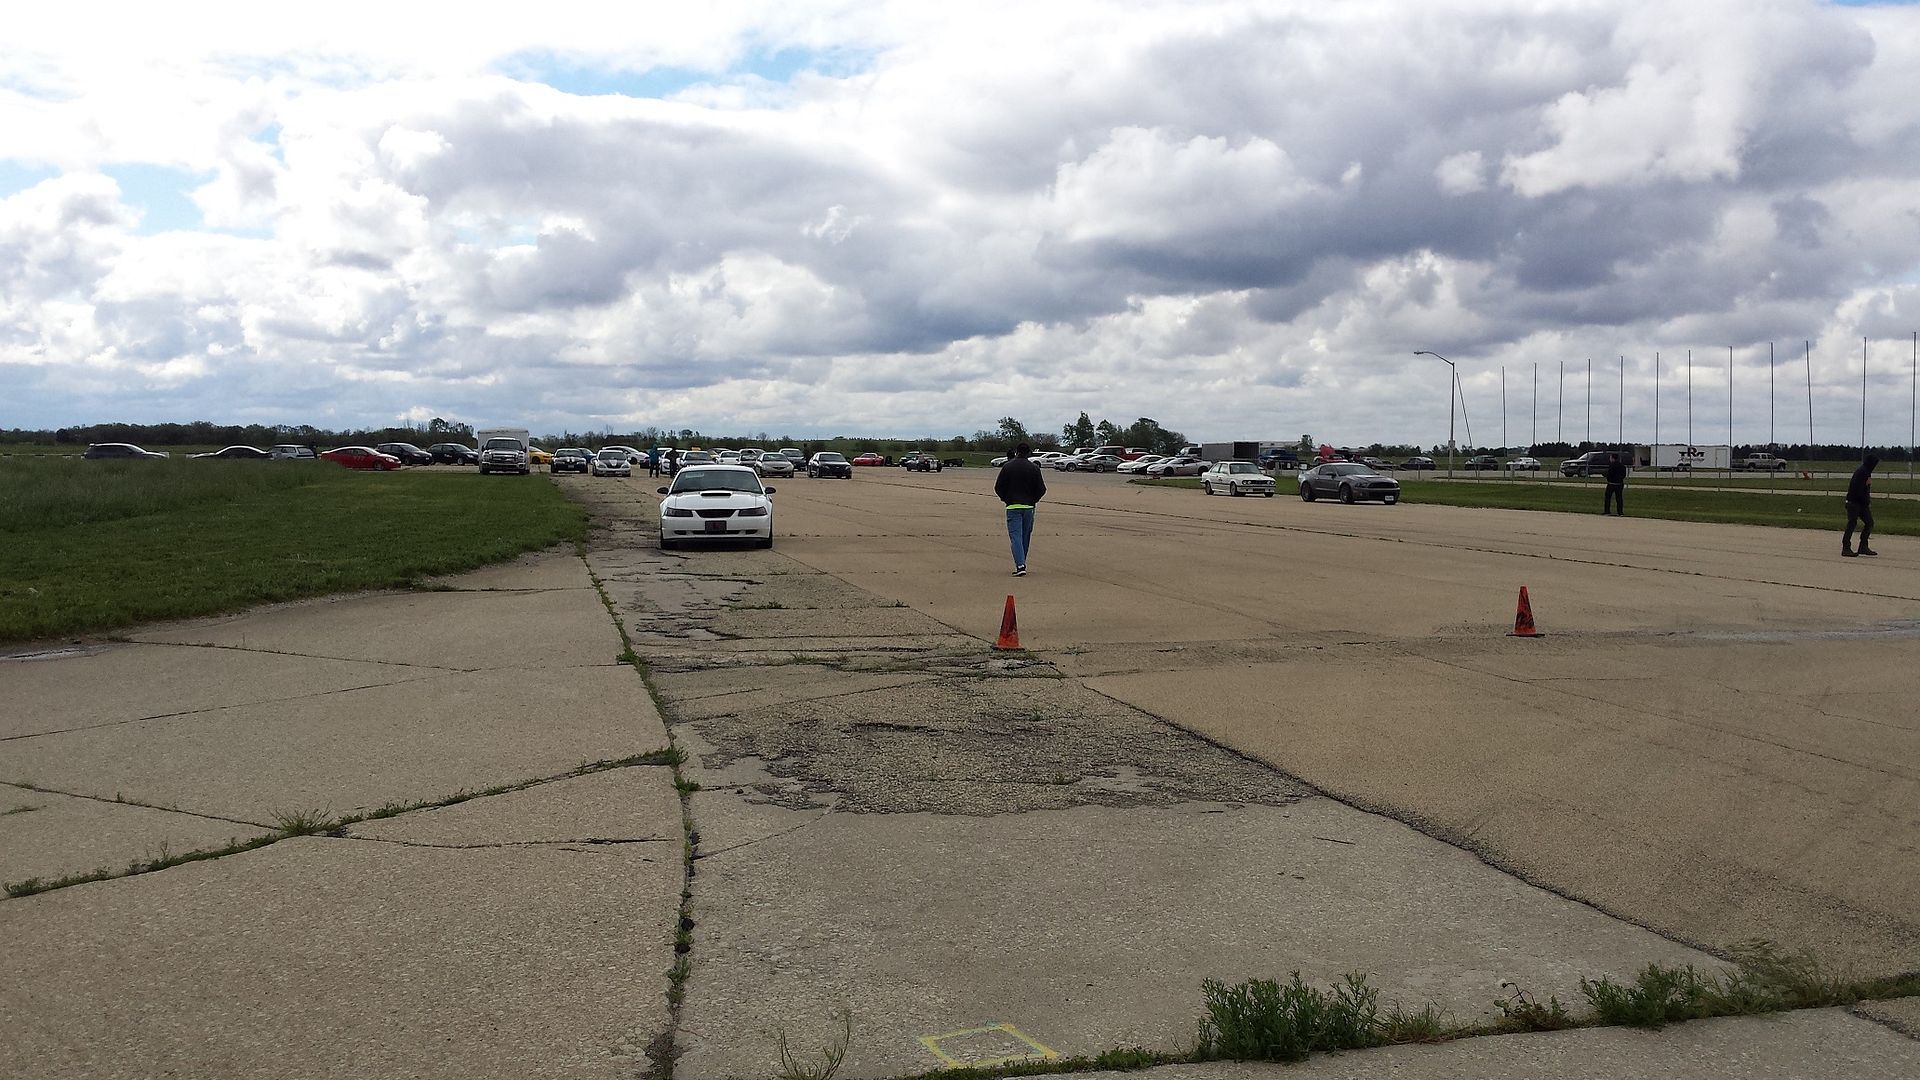
The Autocross video was awesome! I need to take a ride up north one weekend to check this out. The wheels and tires definitely sets that car off.
|
|
|
|
fieroguru
|
MAY 18, 08:37 PM
|
|
| quote | Originally posted by davylong86:
The Autocross video was awesome! I need to take a ride up north one weekend to check this out. The wheels and tires definitely sets that car off. |
|
Sounds good, just let me know when you want to come up! If you schedule it right, you can ride with me for the autocross!
|
|
|
|
fieroguru
|
MAY 18, 09:00 PM
|
|
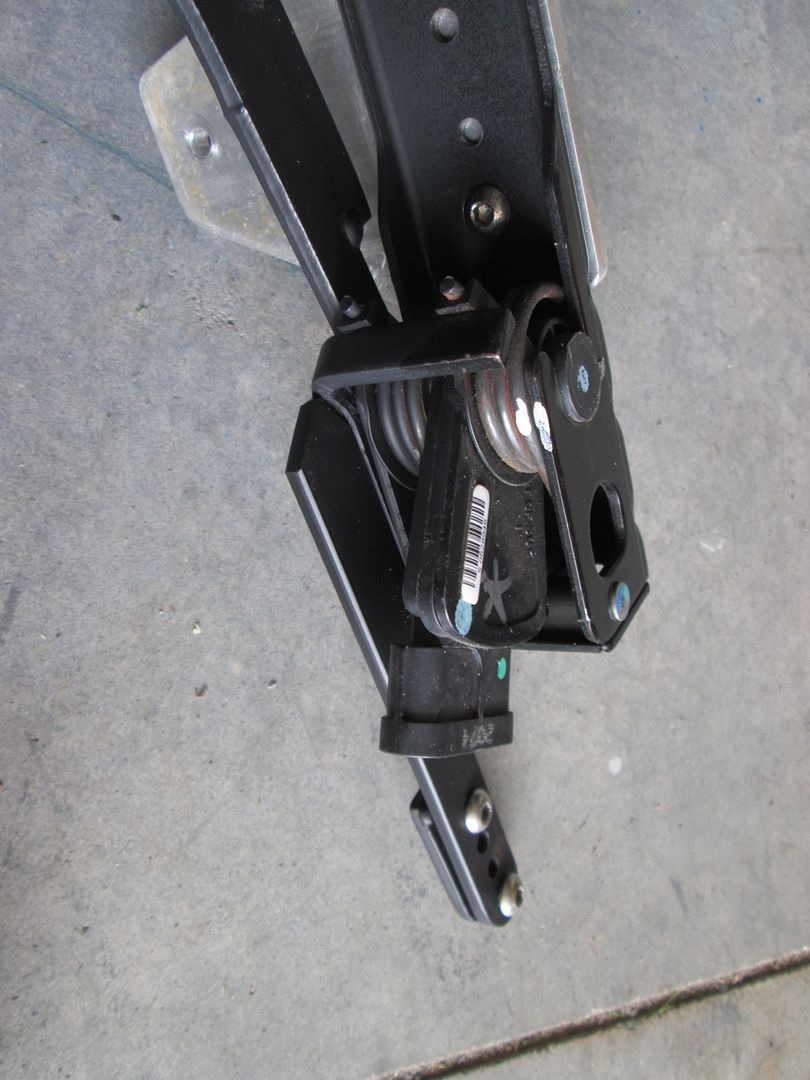
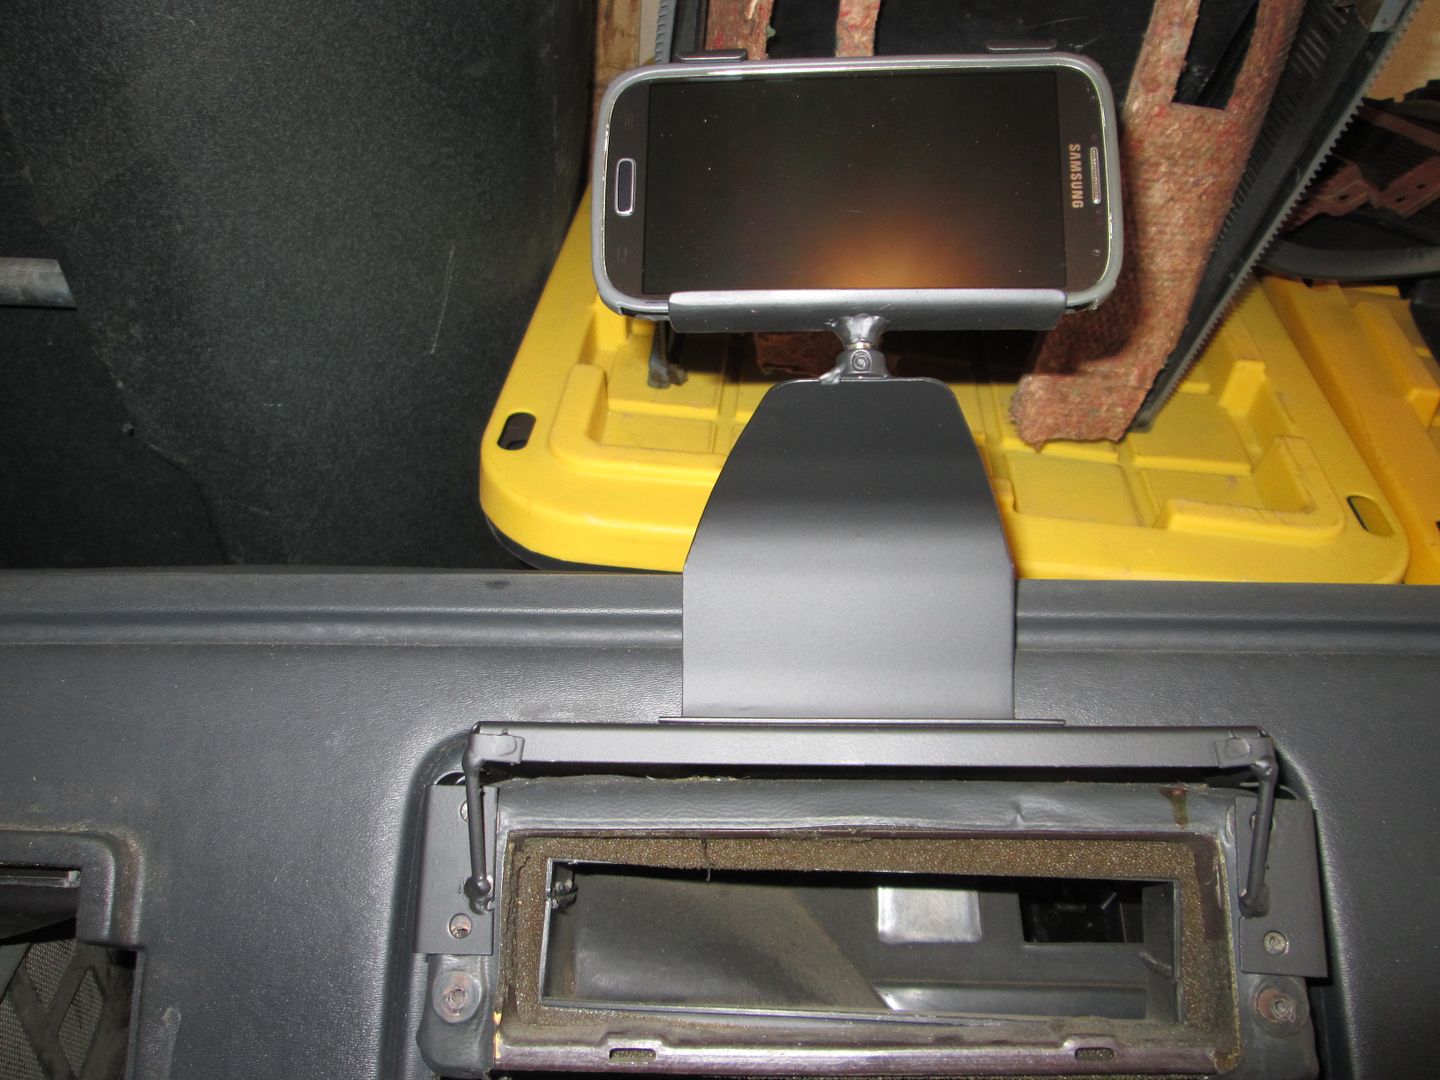
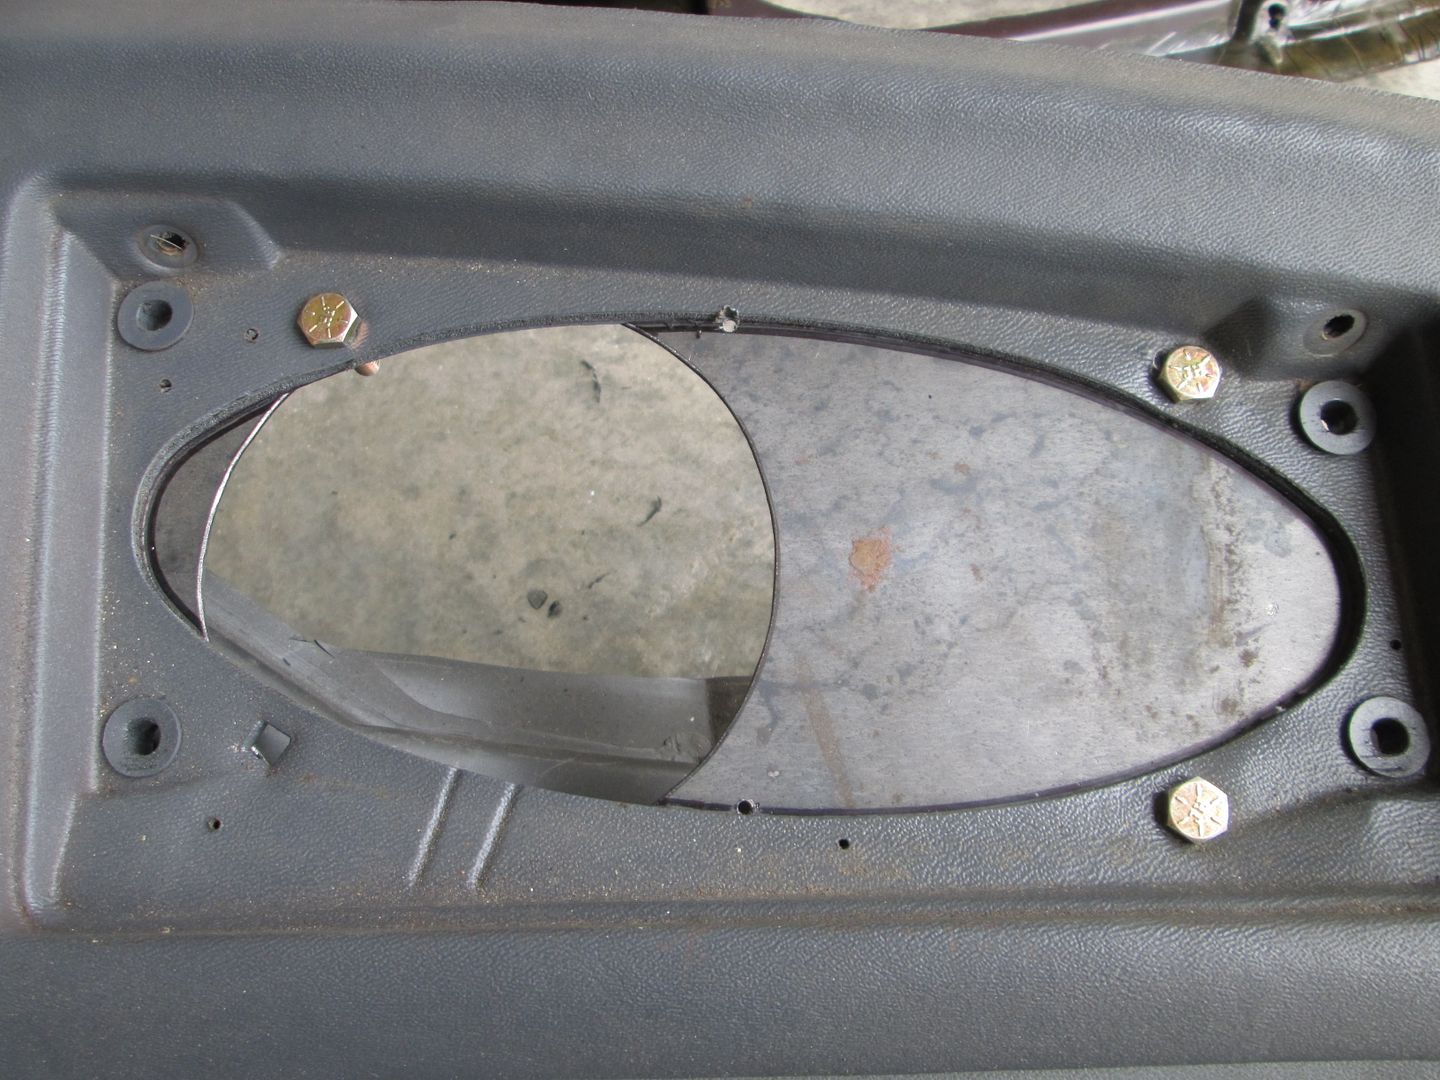
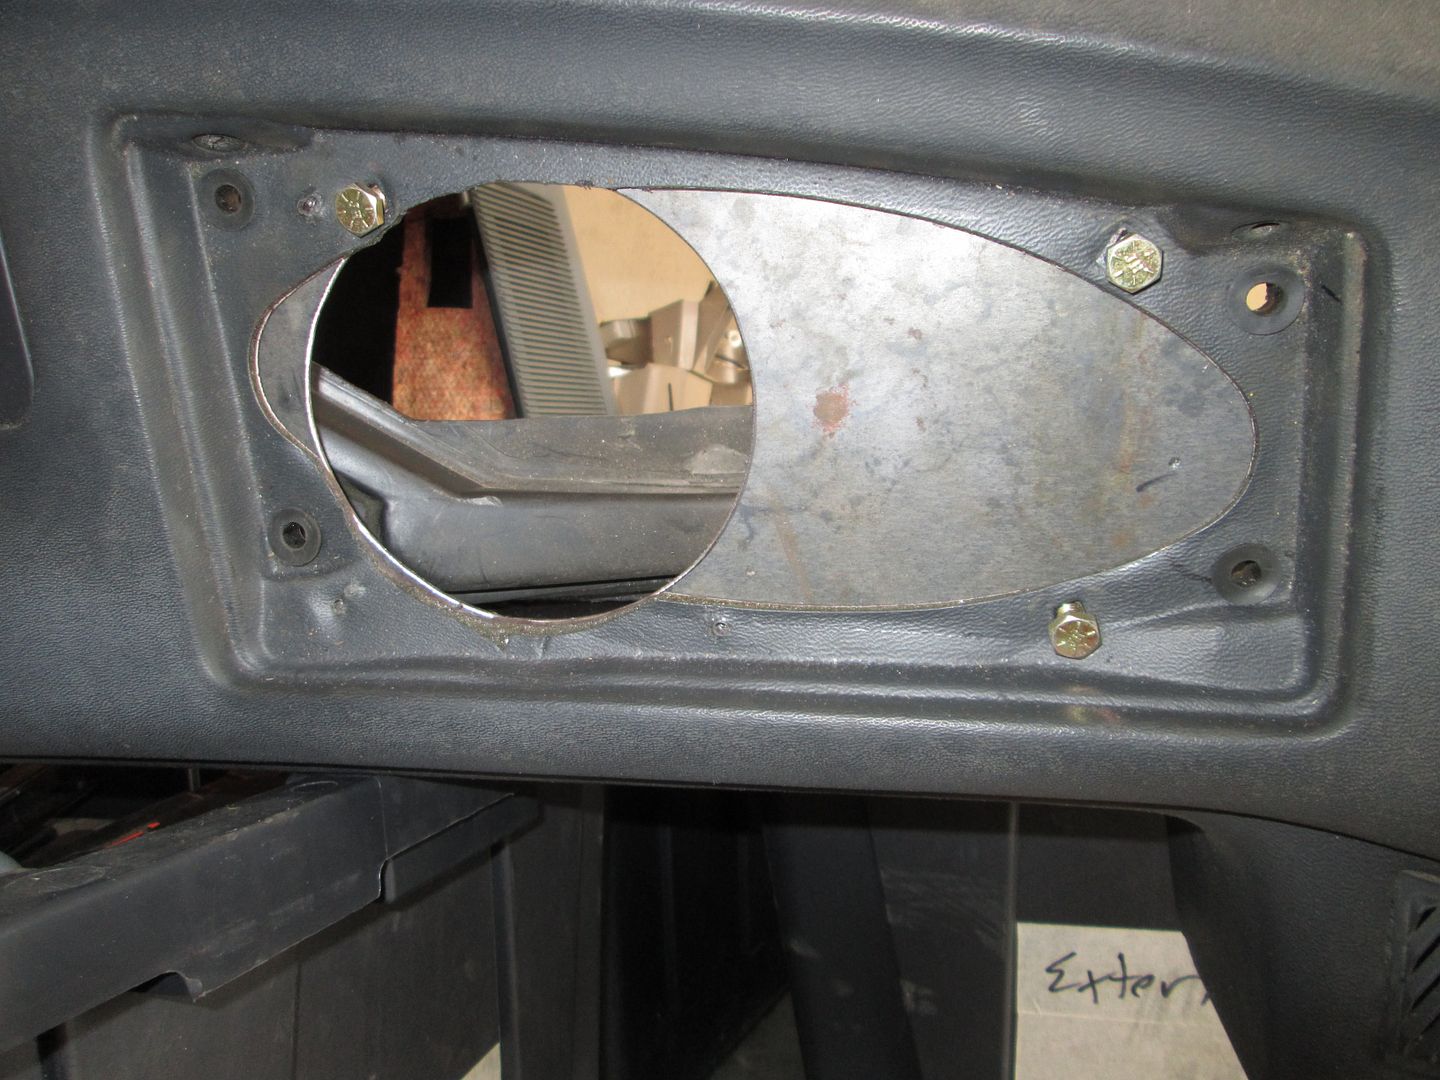
Today, I started tearing into the passenger door to install power windows and locks.
Here is the donor door from an 86 GT:
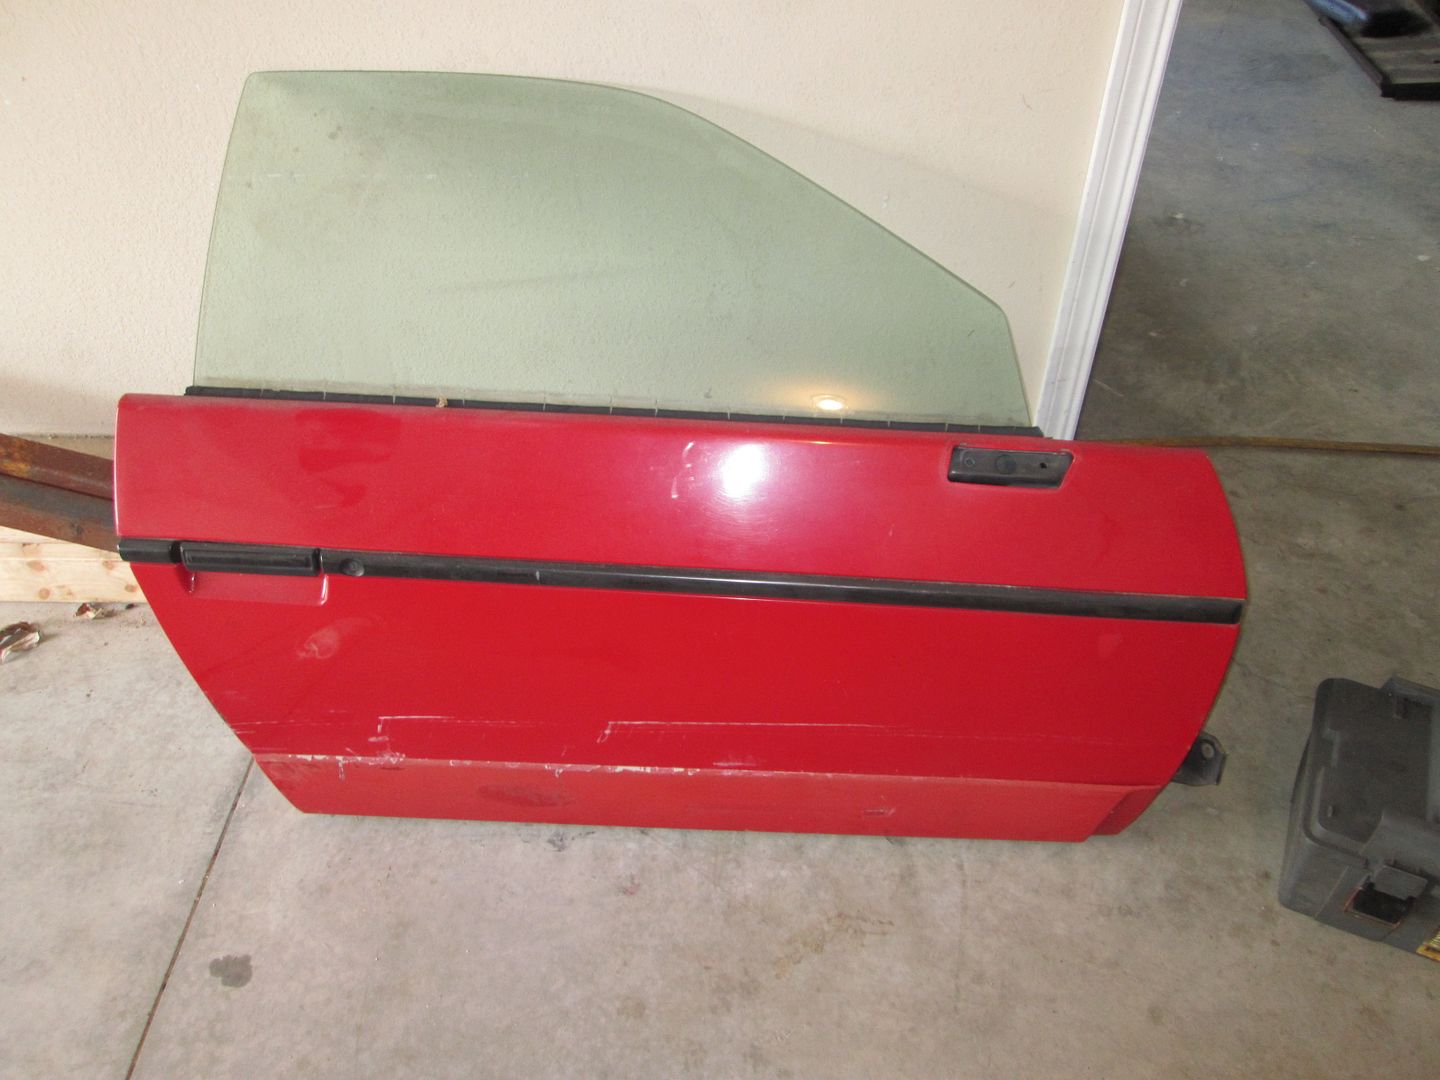
From experimenting on the driver GT door in the past several weeks, I decided it was much, much easier to do the work with the outer door skin off, so off it came.
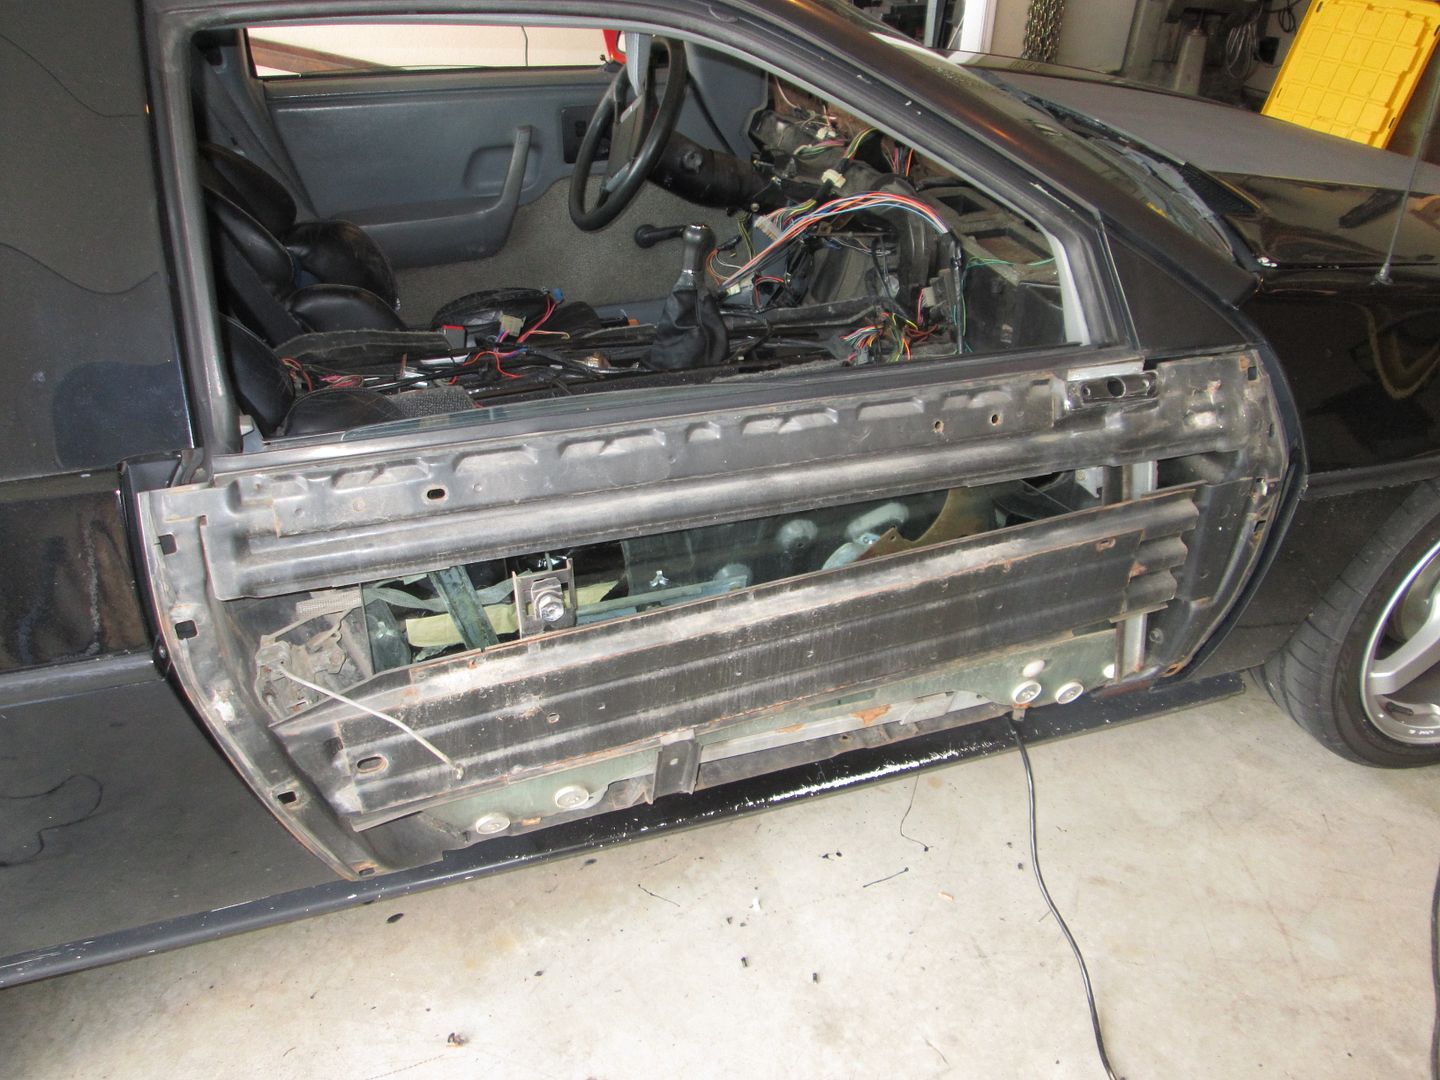
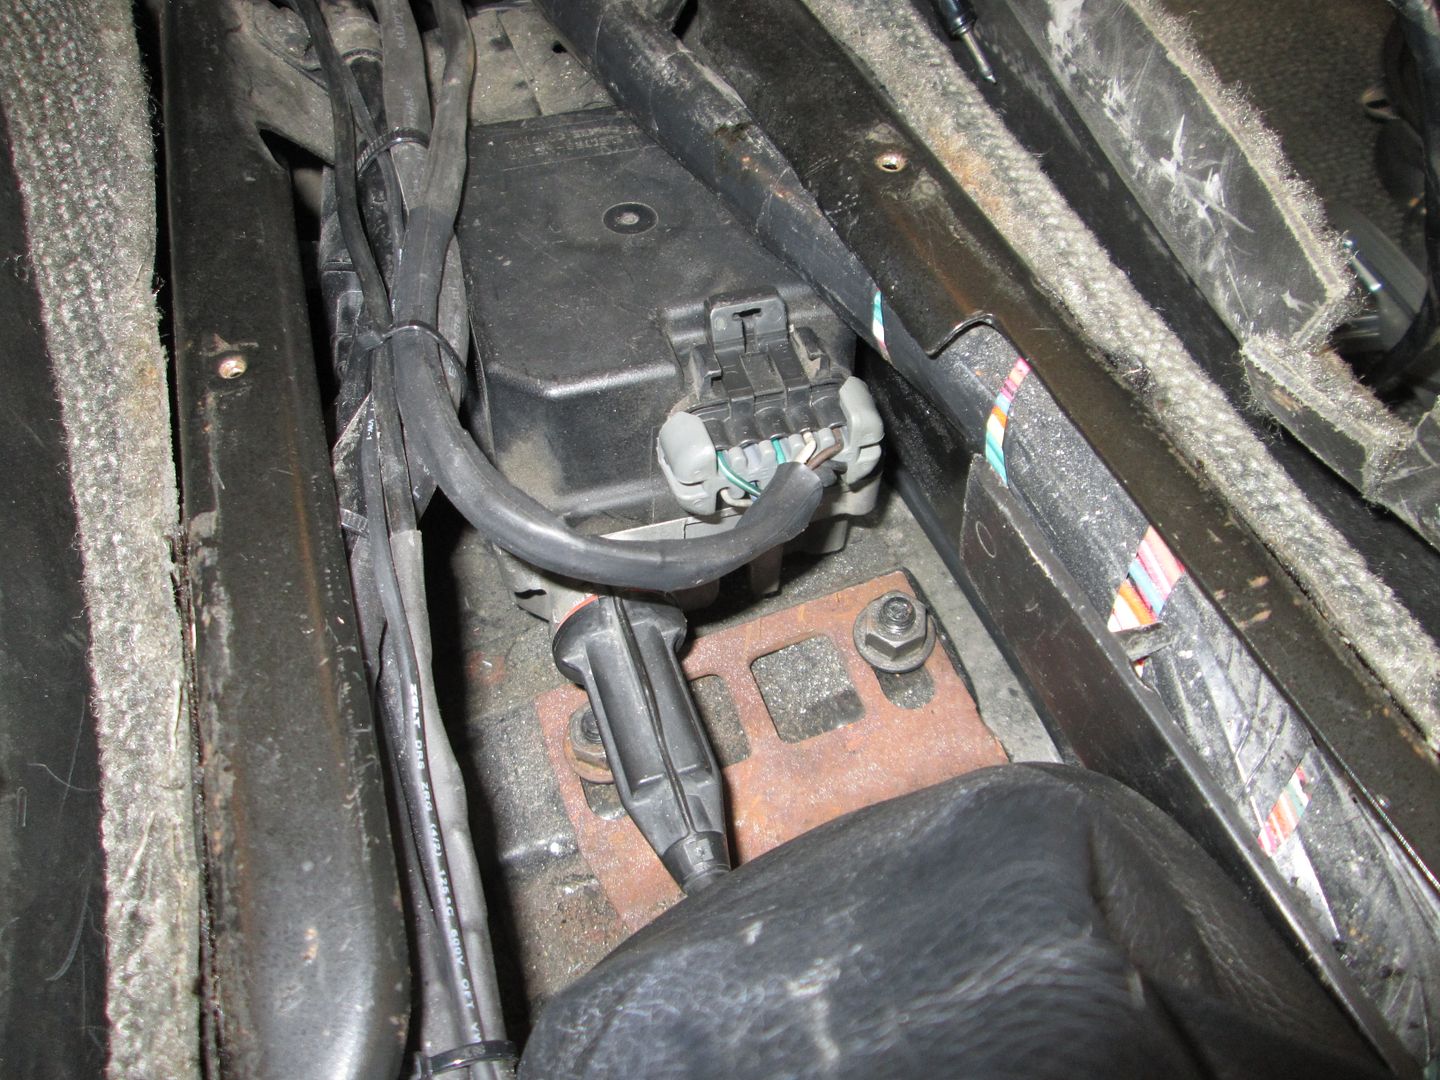
Out with the old motor... (it was also a good time to clean the tracks). The new motor is a later model GM motor used in this thread: http://www.fiero.nl/forum/Forum2/HTML/000317.html. Since the 97 Chevy truck is one of the many applications for the motor and I have a 97 Chevy truck as my non-fiero daily driver, I call it the 97 Chevy Truck motor...
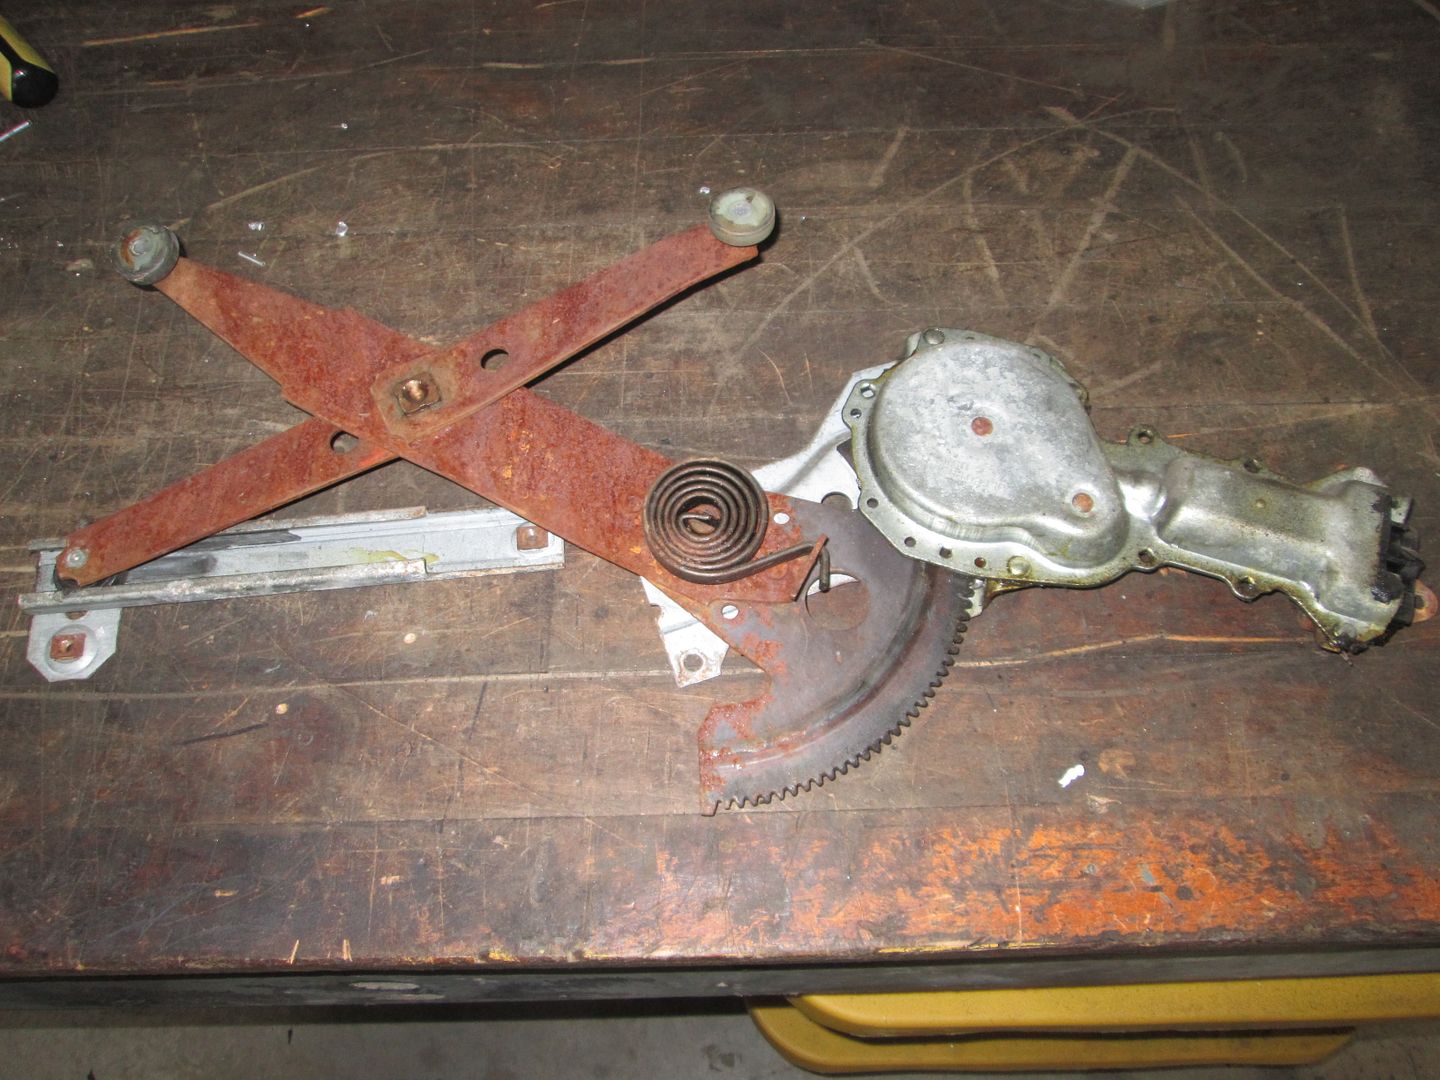
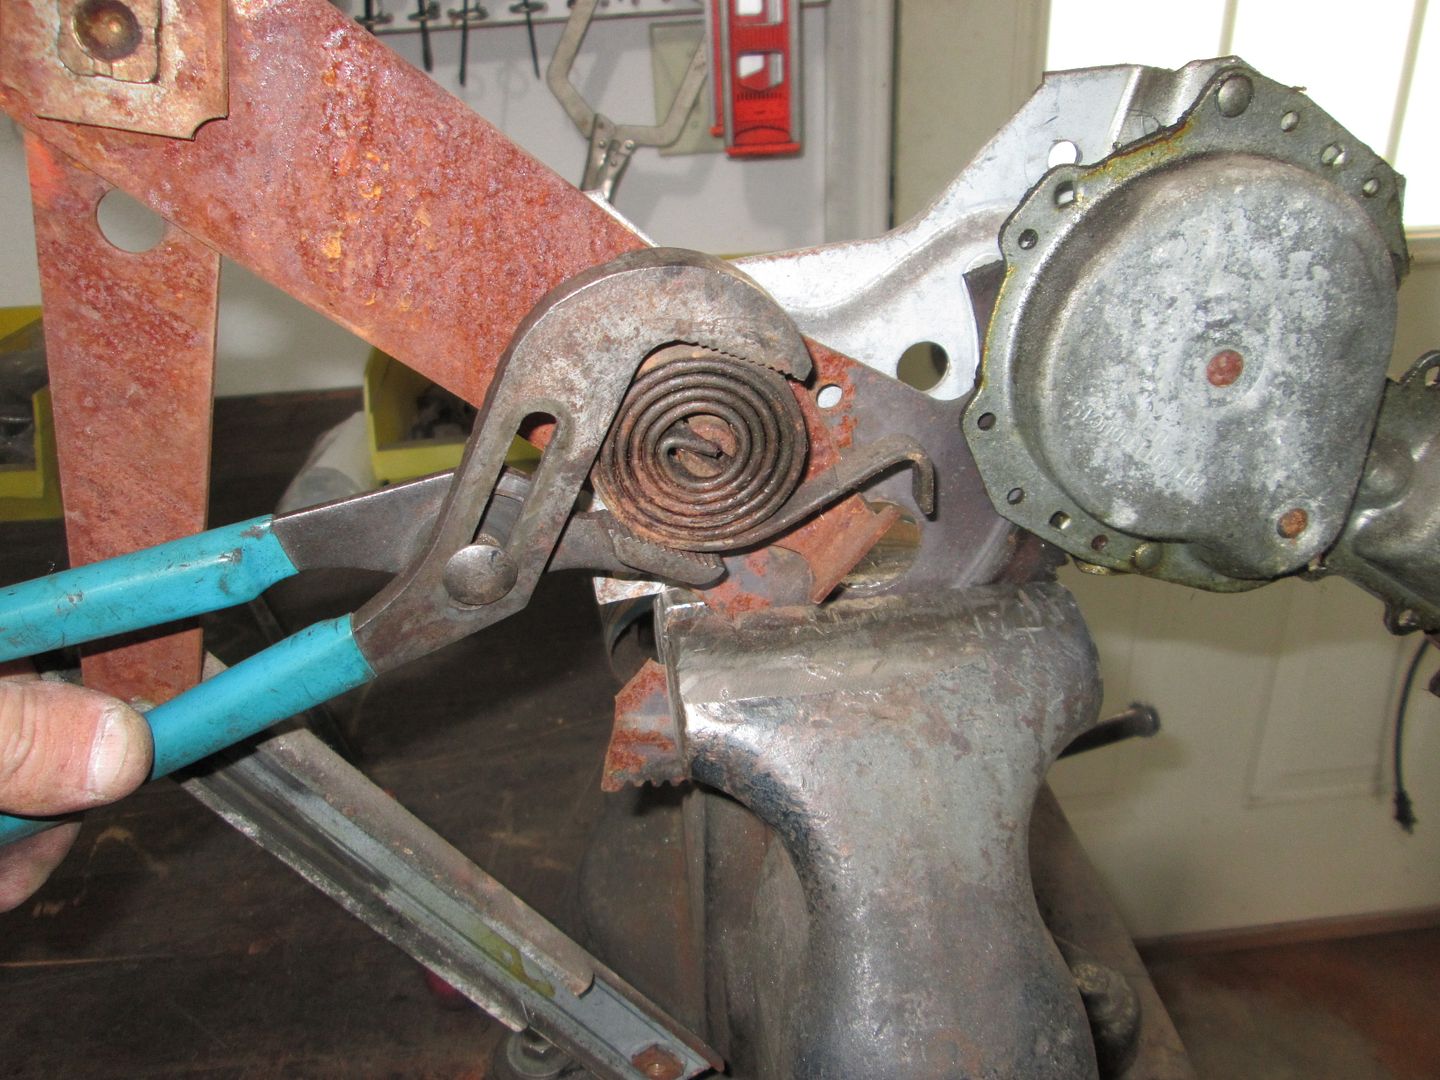
To remove the wrap spring, I just gripped it with the channel locks and moved the end from the stop. Its good to take a picture so you know how it goes back on:
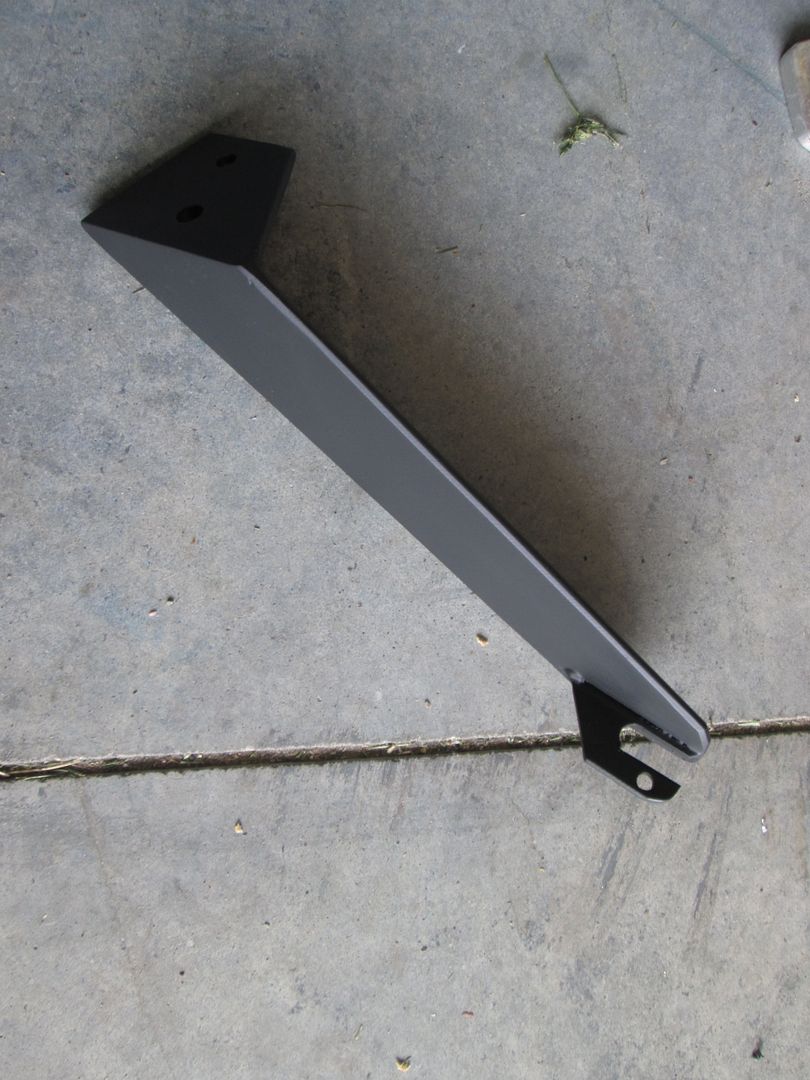
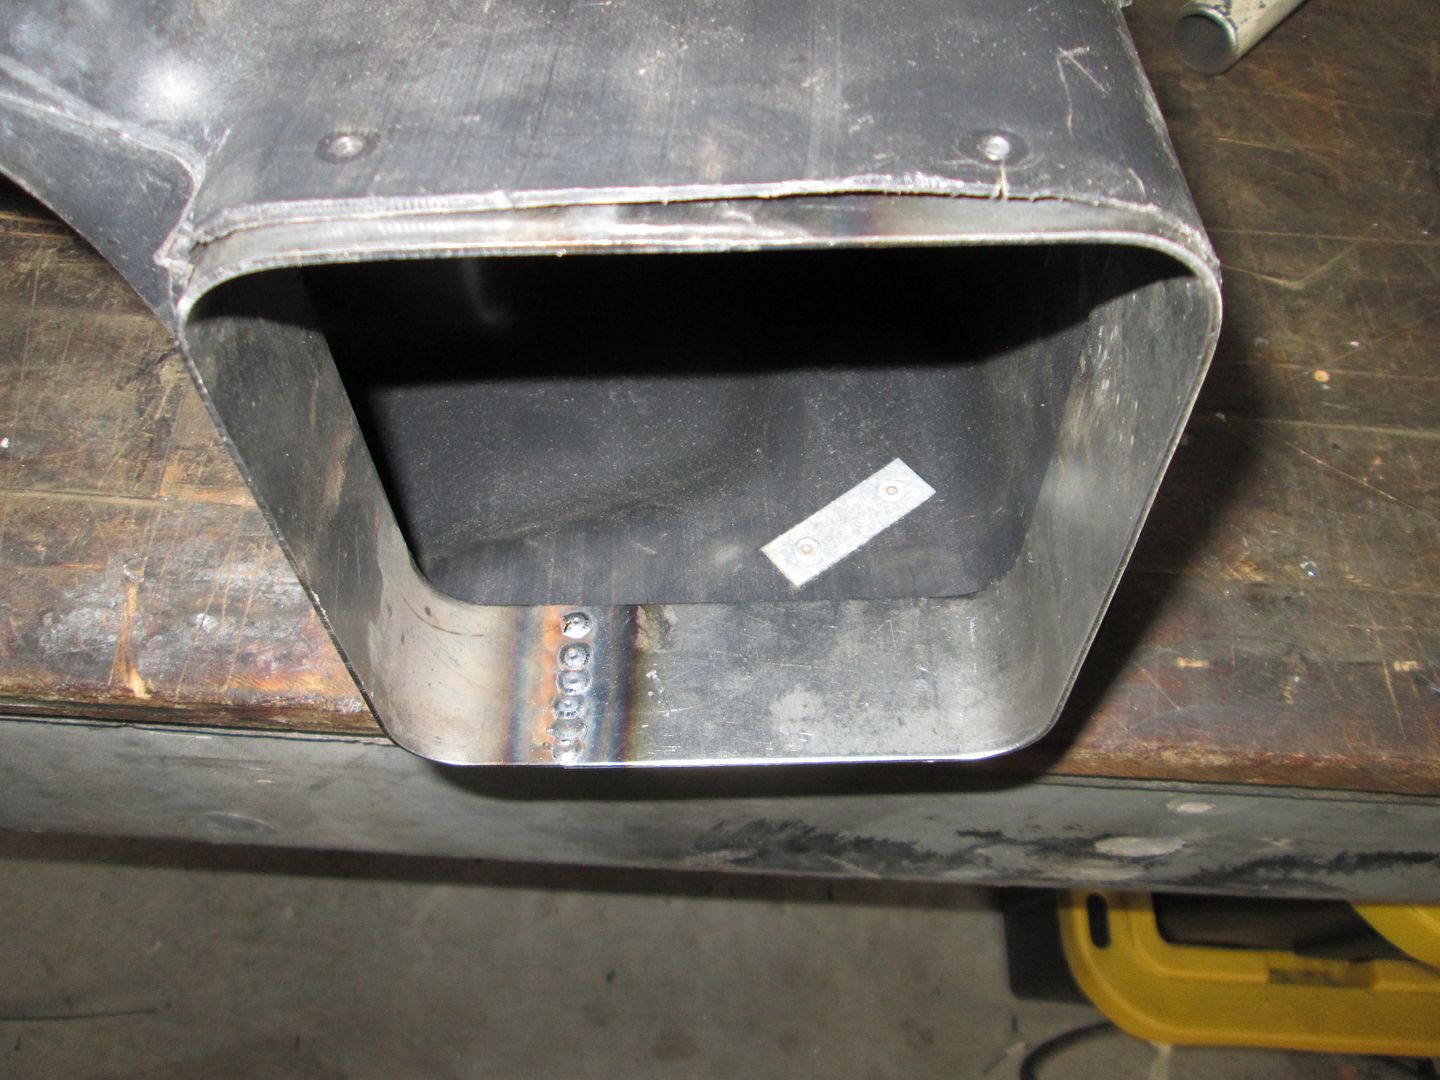
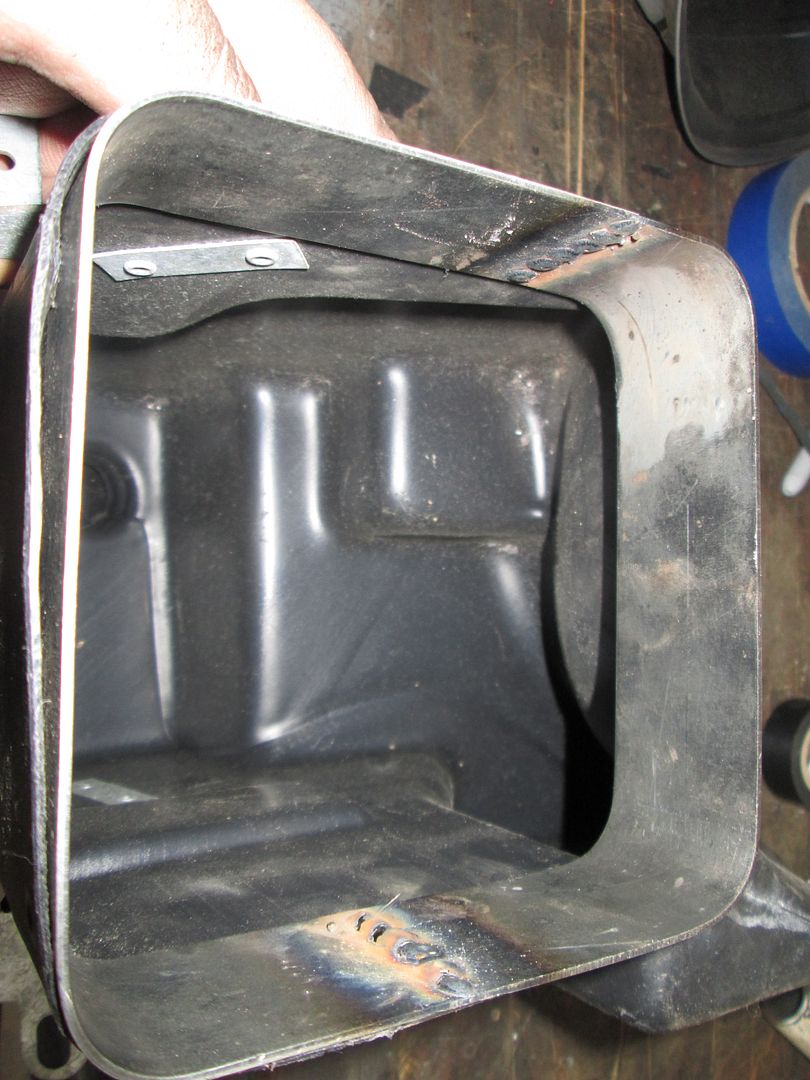
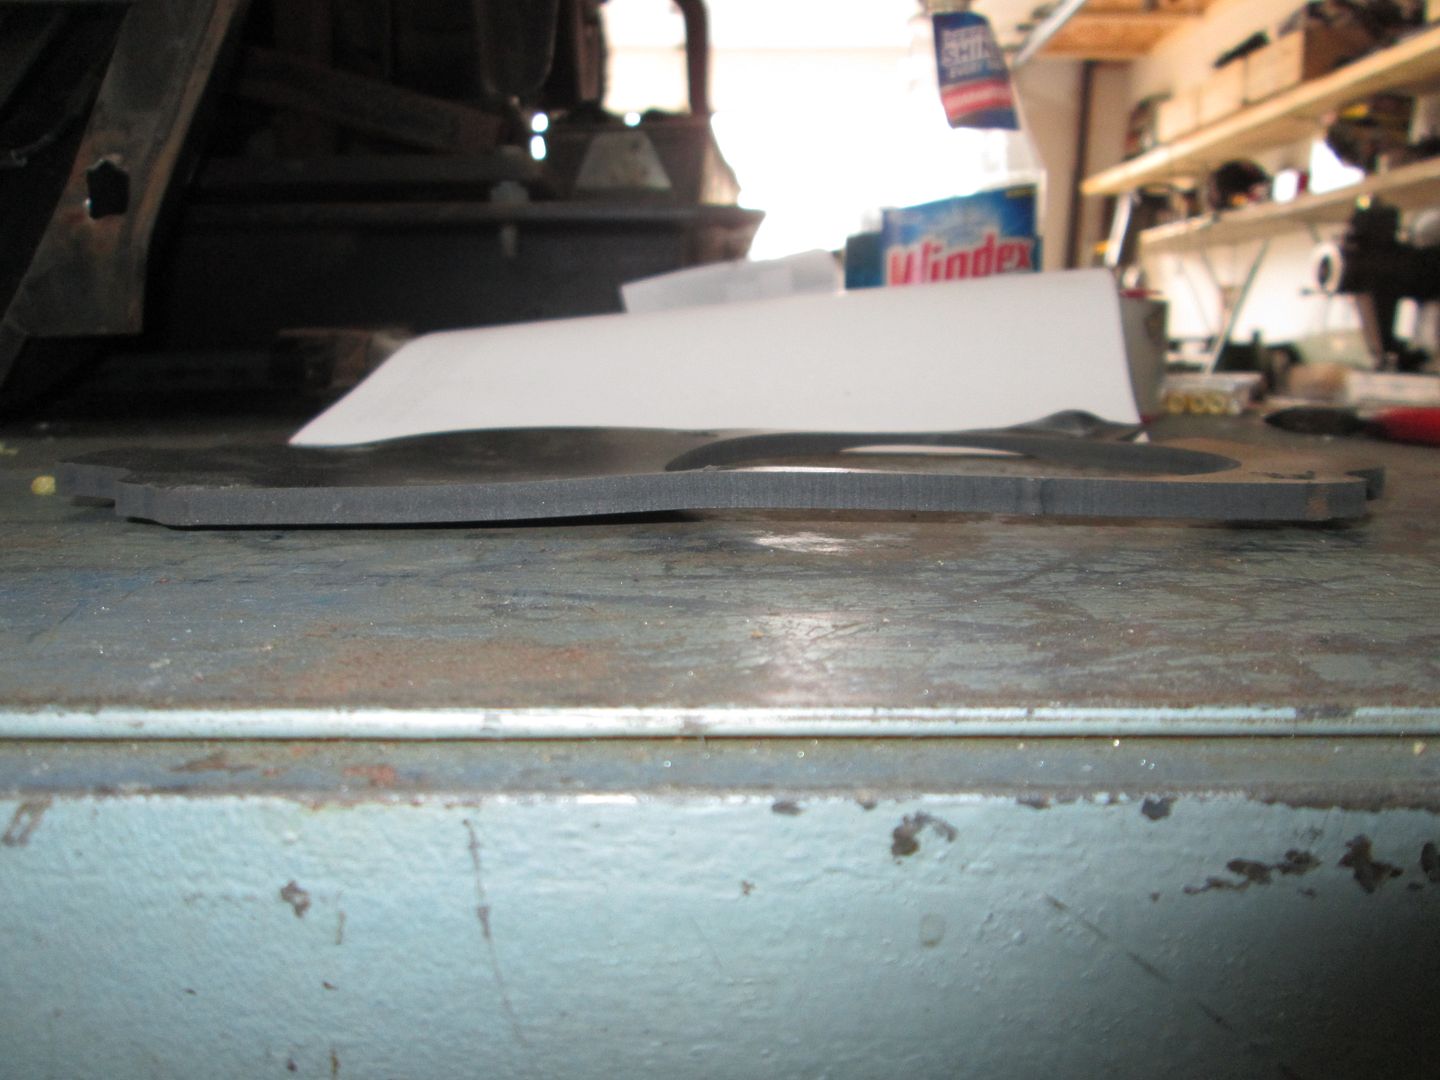
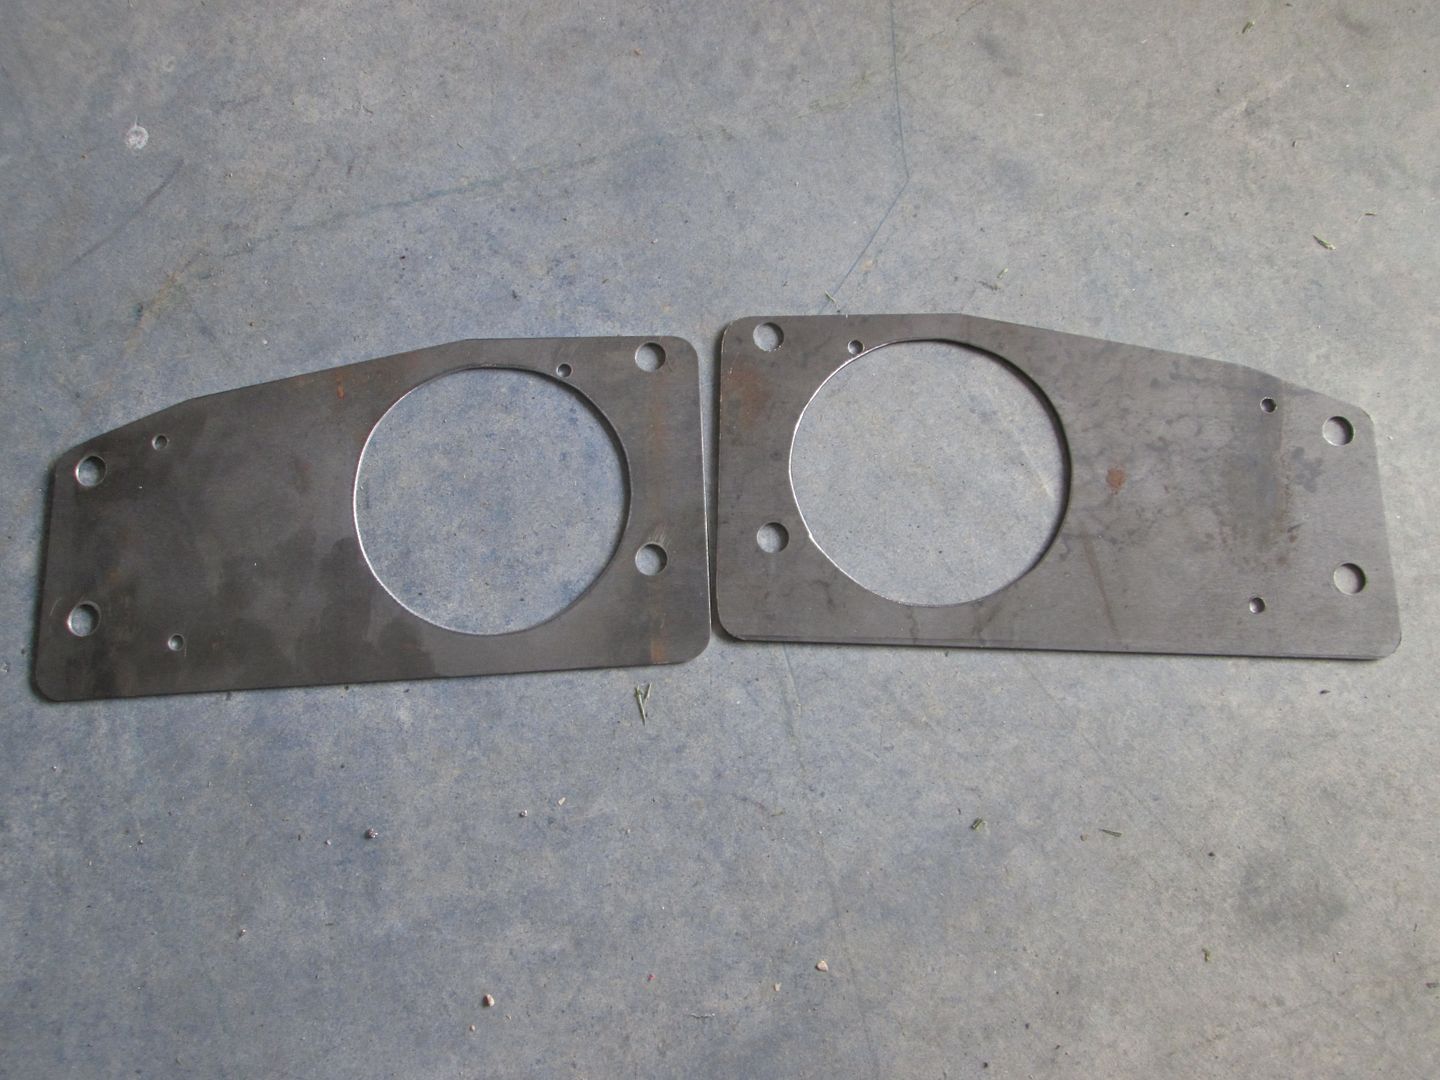
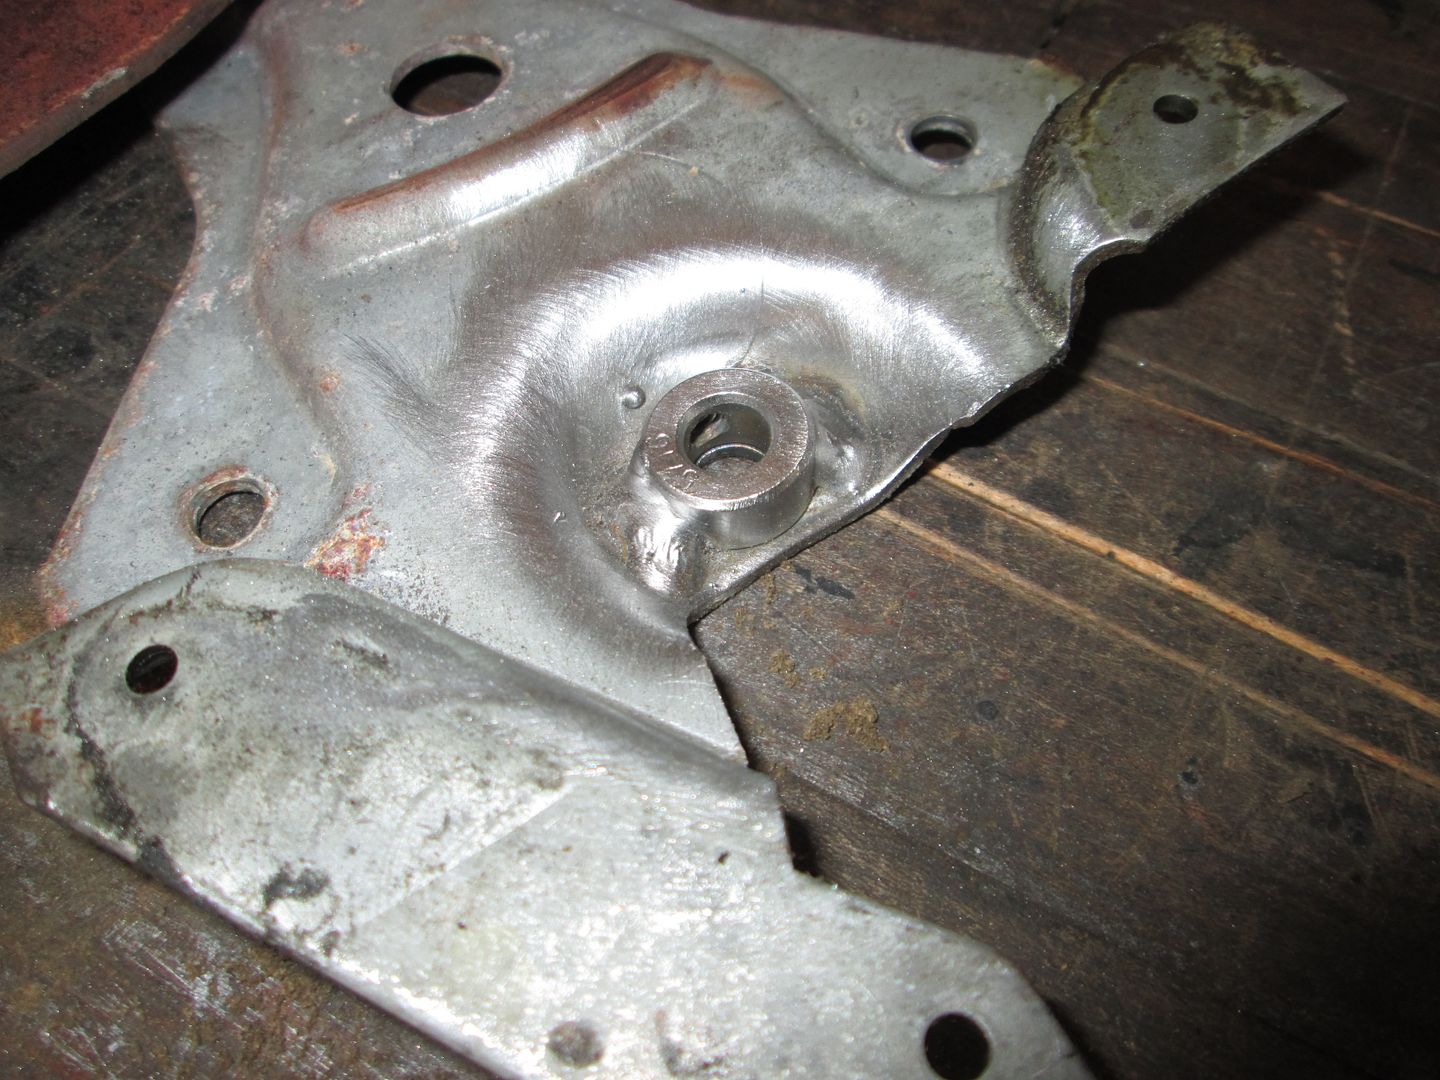
To support the shaft, I welded a 5/16" shaft collar to the mounting bracket. If you use an adapter plate, there is plenty of room for it, with the setup I am using, I needed to make it about .065" thinner.
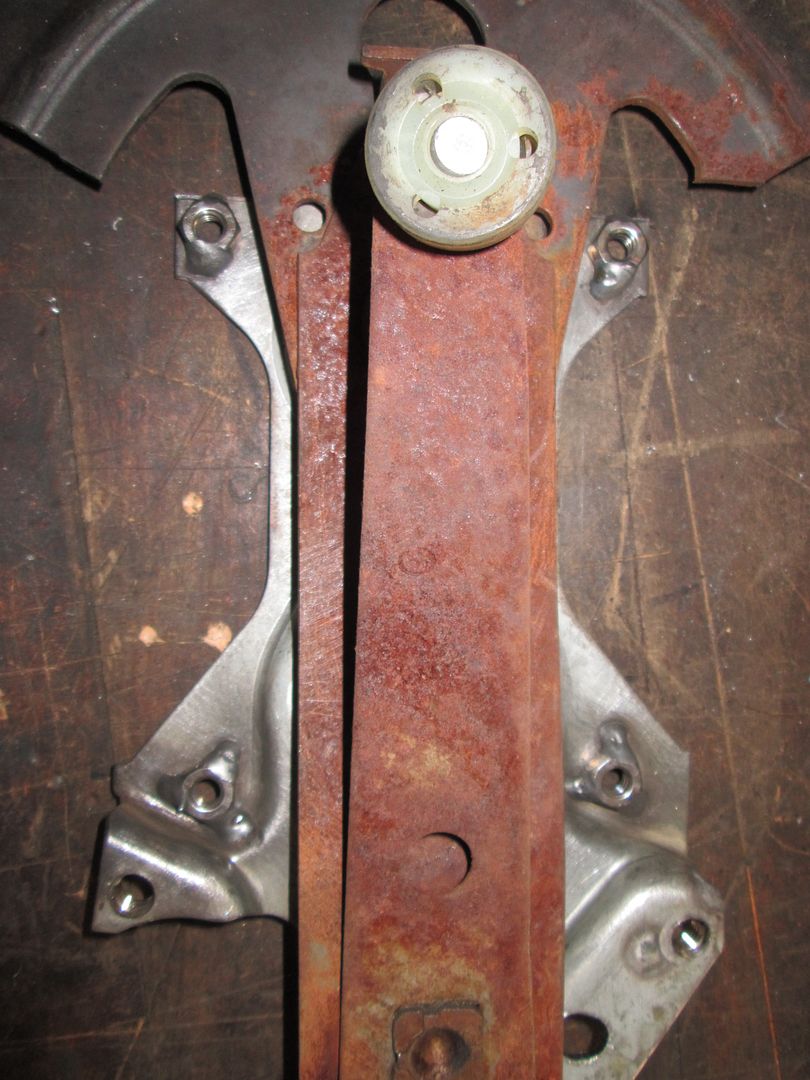
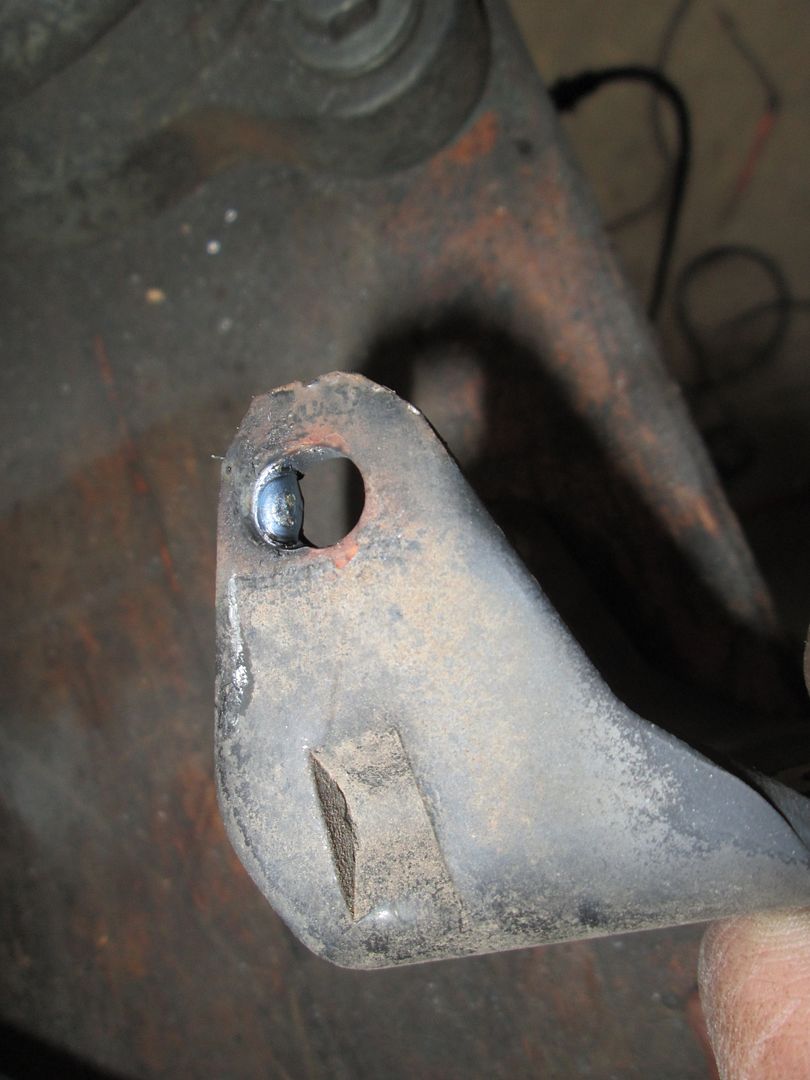
To make it easier to reinstall the bracket (and not use 4 rivets), I welded some 1/4" nuts to the backside of the bracket. The bolts need to be 1/2" or less to clear the motion of the scissor cam.
I still need to install the interior harness, but with some jumper wires you get to see the window in motion!
Going down!
Going up!
|
|
|
|
Trinten
|
MAY 19, 07:49 PM
|
|
Of all the things to be jealous of...
I am jealous of your much faster windows.
It might be a sad statement, but I'm honest.
|
|

|
motoracer838
|
MAY 20, 07:21 AM
|
|
| quote | Originally posted by Trinten:
Of all the things to be jealous of...
I am jealous of your much faster windows.
It might be a sad statement, but I'm honest.
|
|
I have to agree with Trinten, those are faster than my '01 Silverado... I can see I have more work ahead of me.
Joe
|
|
|
|
fieroguru
|
MAY 20, 05:11 PM
|
|
I have been dropping off and picking up the girls for school the past couple of days, but still making some progress. The interior harness is installed and the driver door disassembled and ready for cleaning and installation of the new motor assembly.
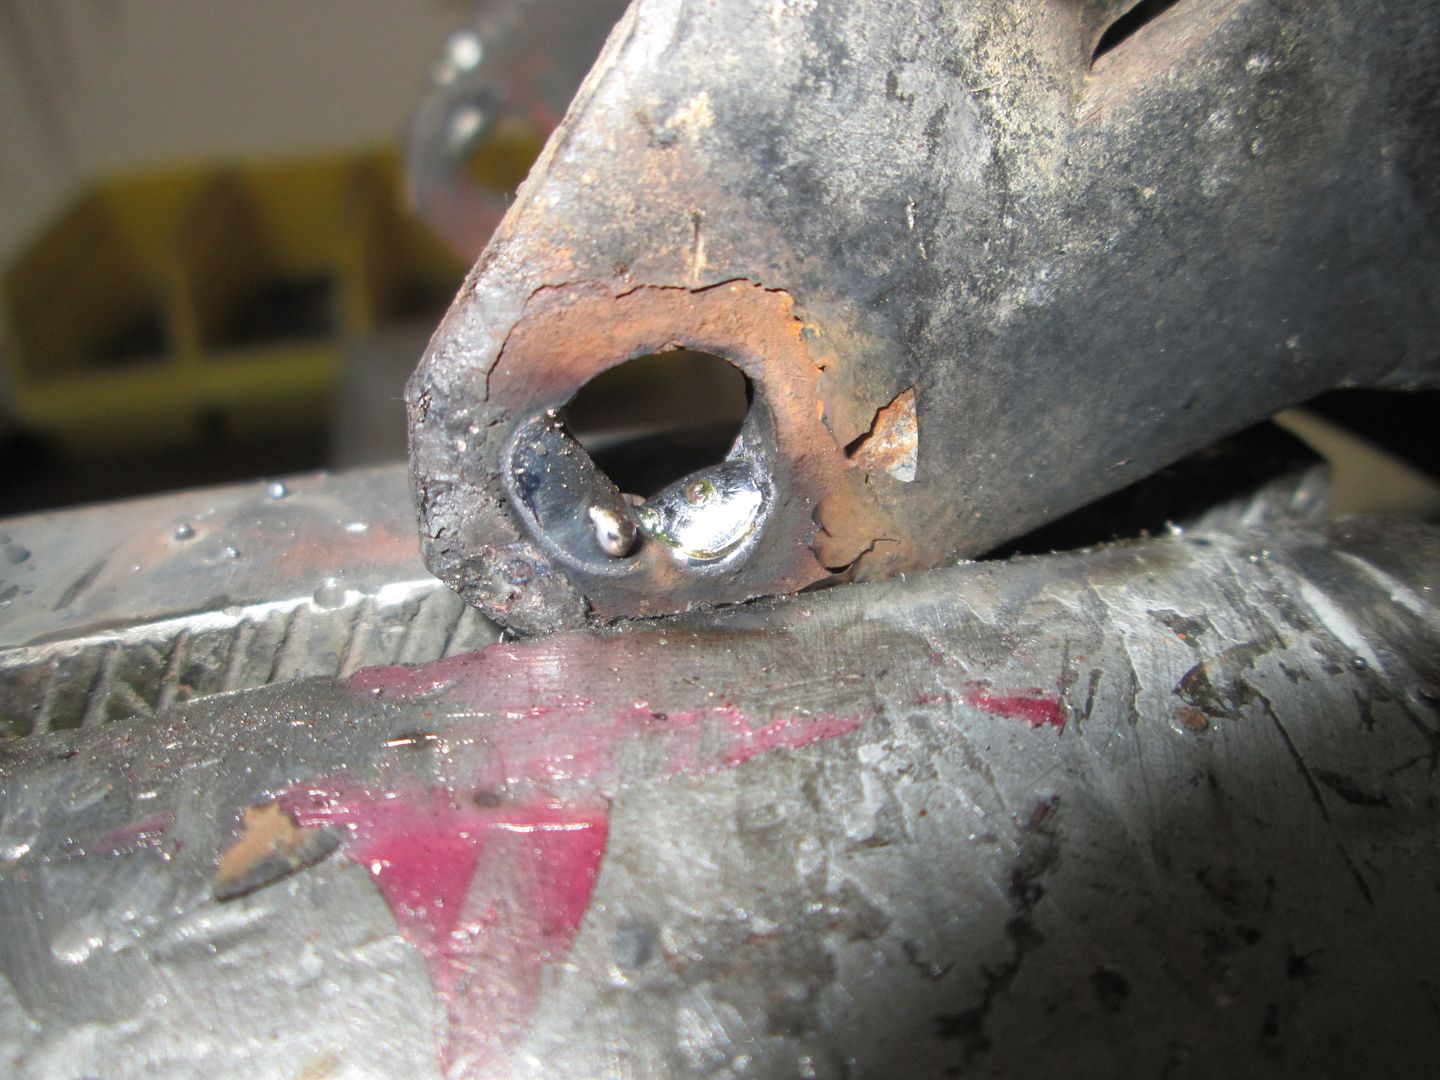
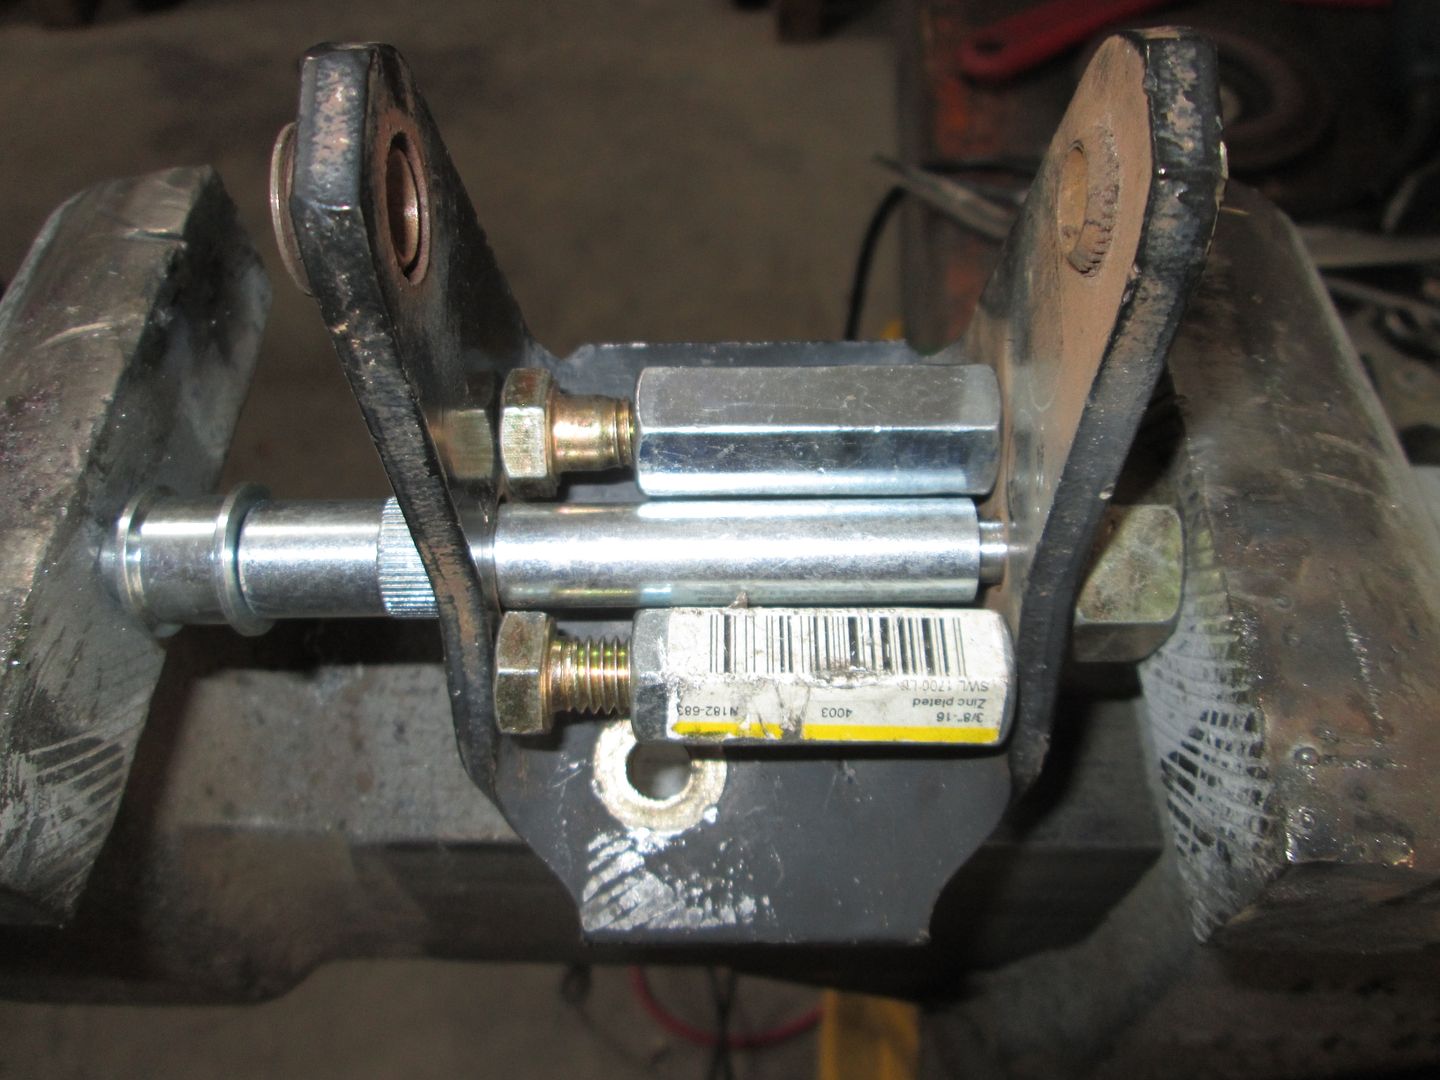
I got side tracked today fixing another issue with the DS door... door hinges. They were severely worn and the detent mechanism snapped off a few months ago. So i decided to just pull the whole door and remove the hinges to make the work easier.
Replacing the pins and bushings wasn't enough, I had to weld up the elongated holes in the half of the hinge w/o the bushings. Once welded, then I used a round file to open it back up so the pin barely fits through.
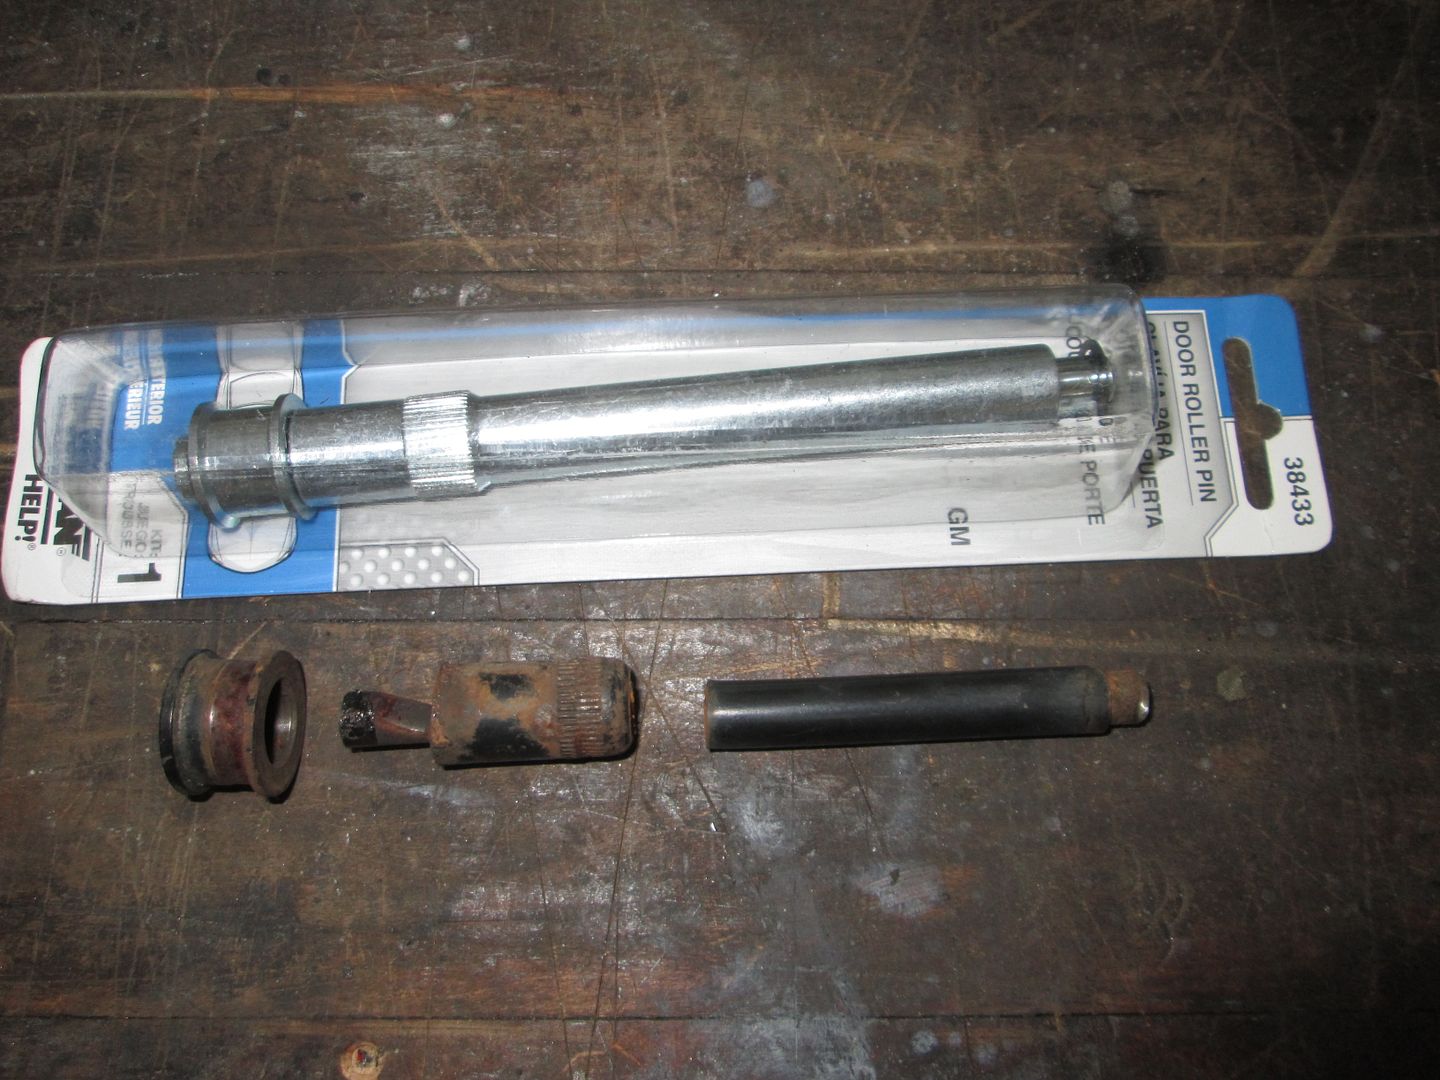
Here is the busted detent pin next the the closest match the local parts store had in stock. It is clearly too long, but the top portion is the right size:
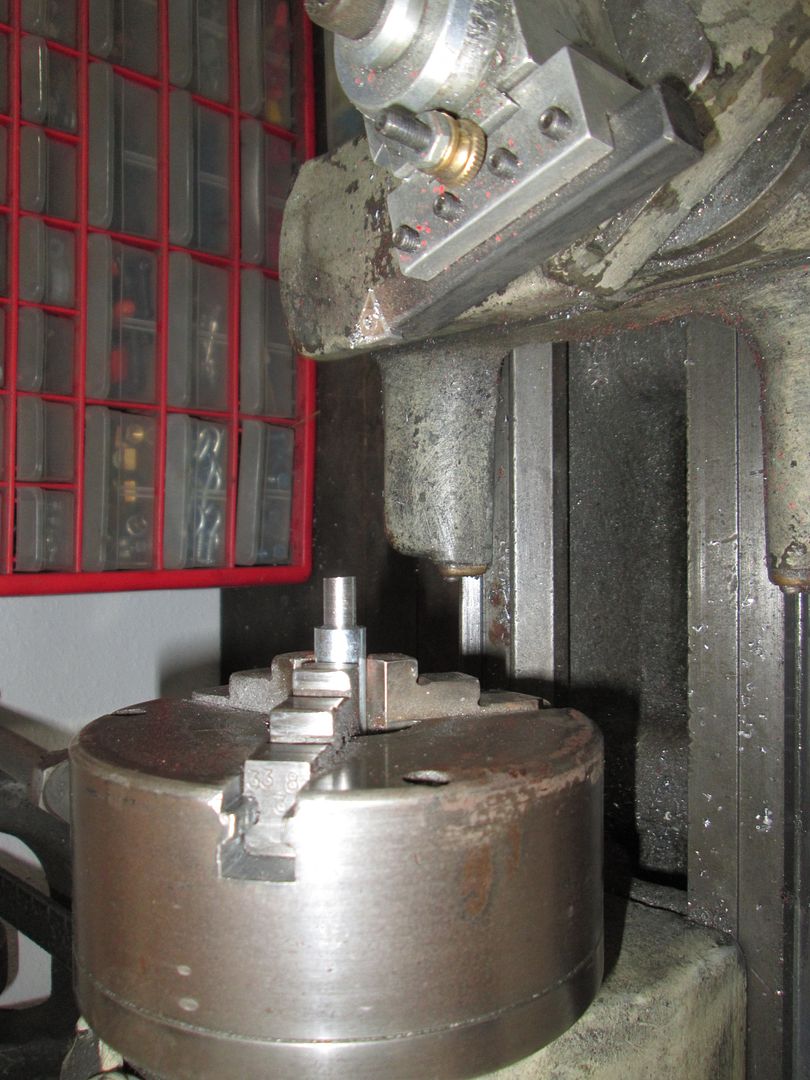
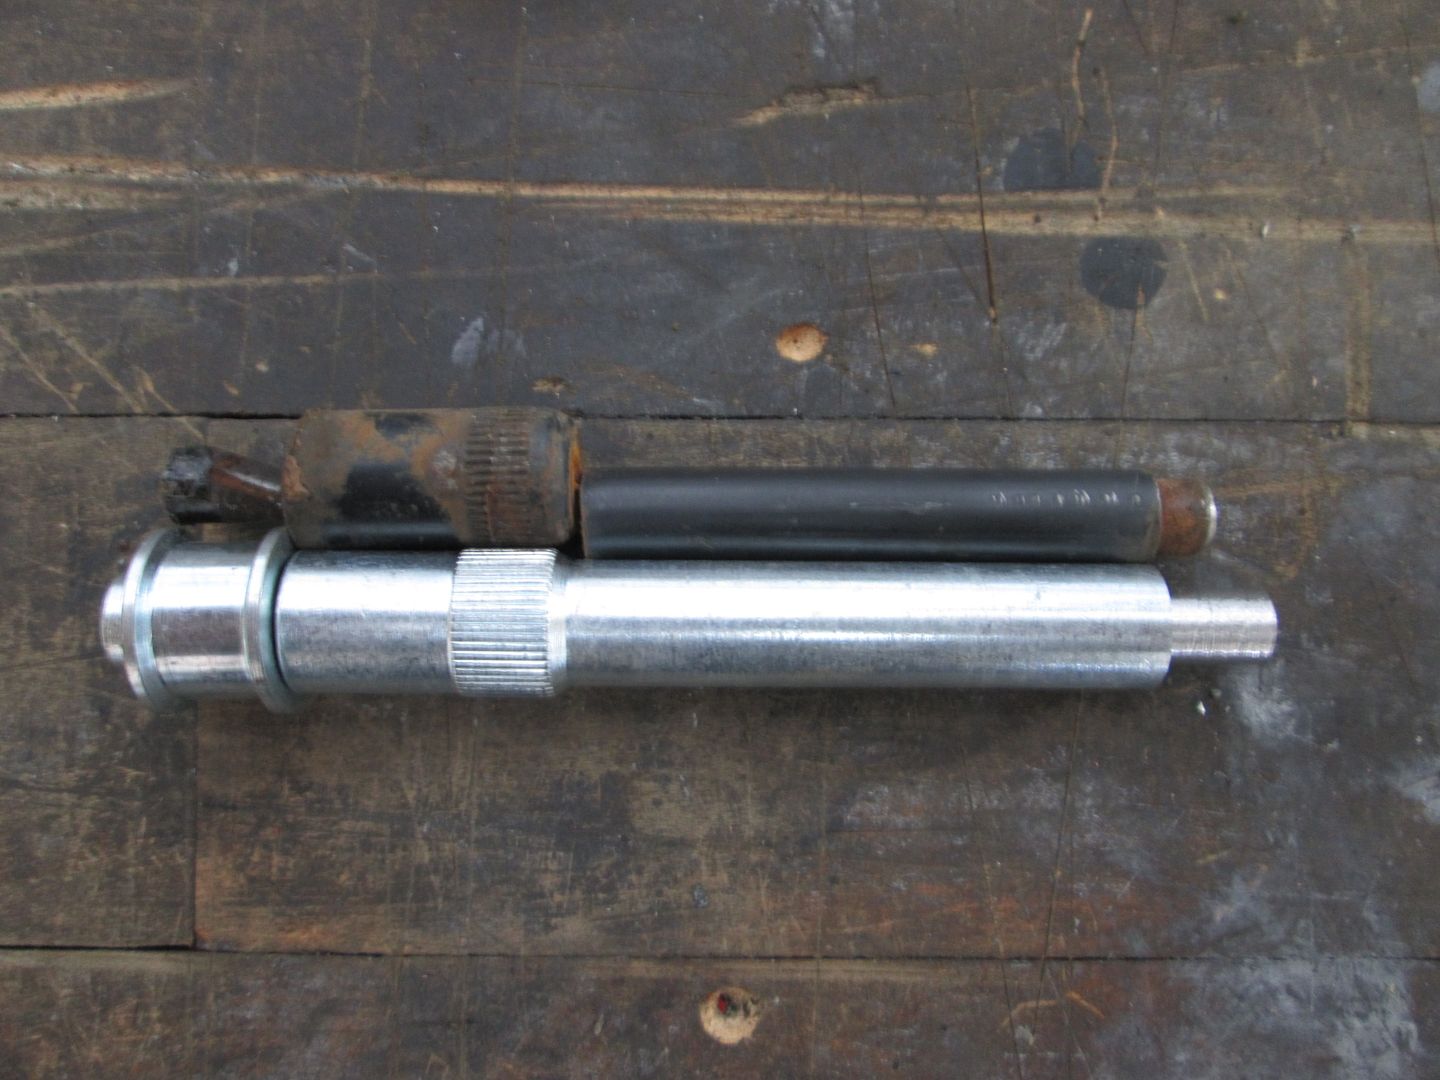
So I cut the new one to be about 3/8" longer than the old one, marked where the stepped profile needed to be, then chucked it in the lathe:
The end result:
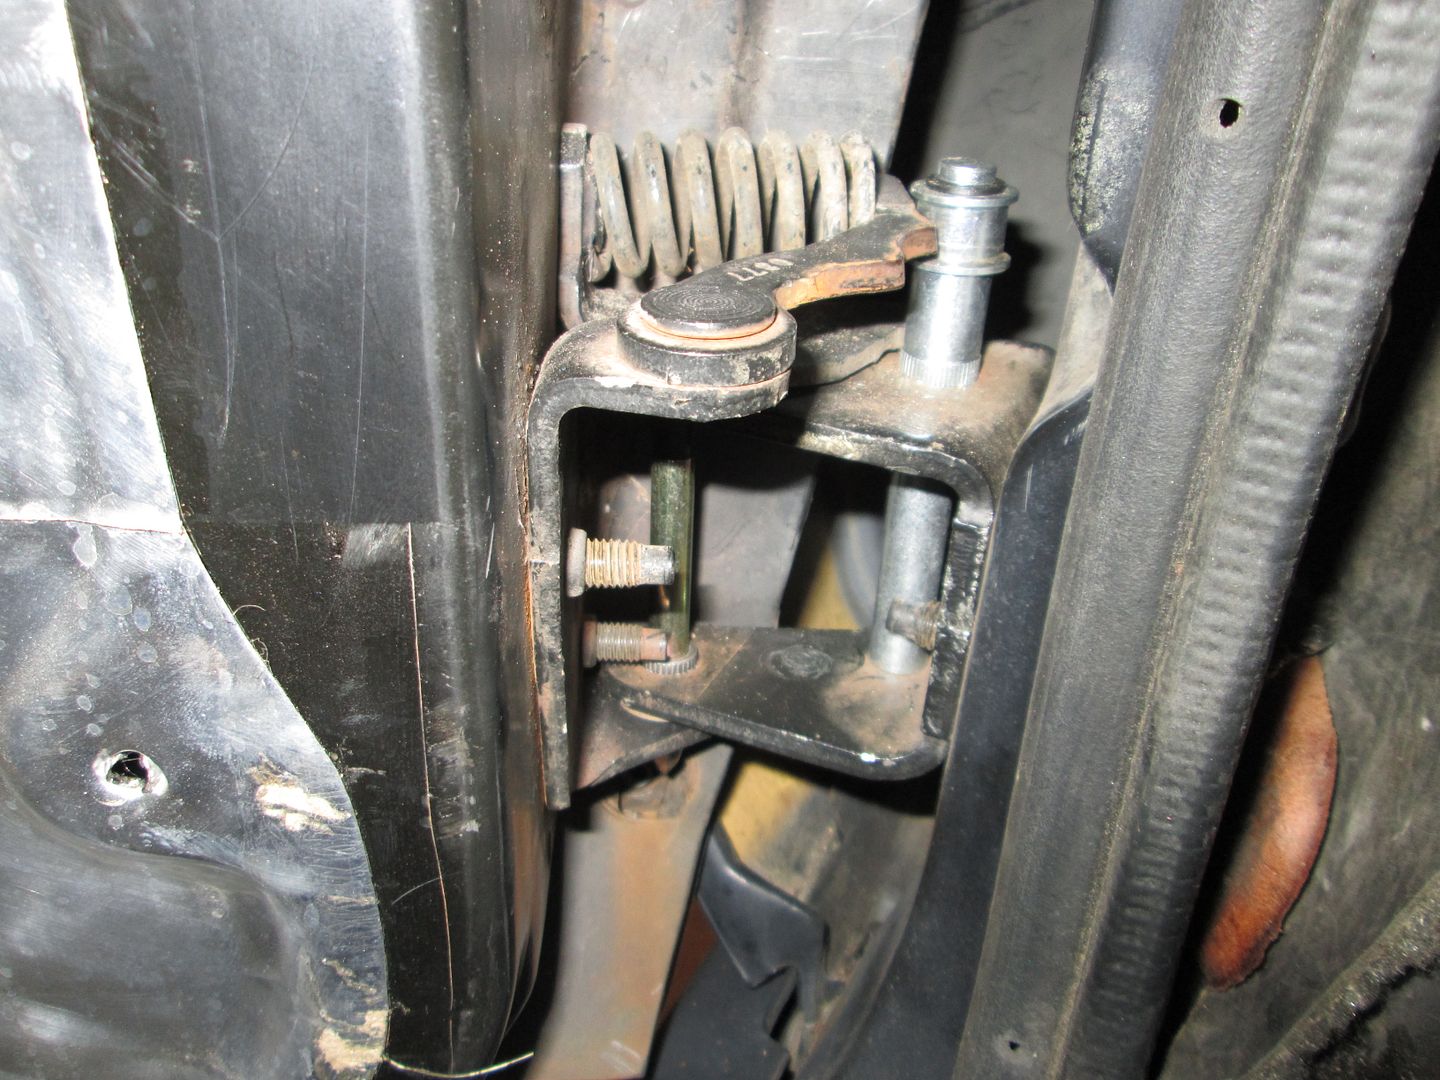
Pressing it back into place. Notice I added some adjustable spacers to support the ears of the bracket during this process. Once it was pressed into place, I used a grinder the shorten the stub shaft so it only sticks out about 1/8" and then used a cold chisel to "X" the bottom like the factory install.
Door installed to the chassis once more:
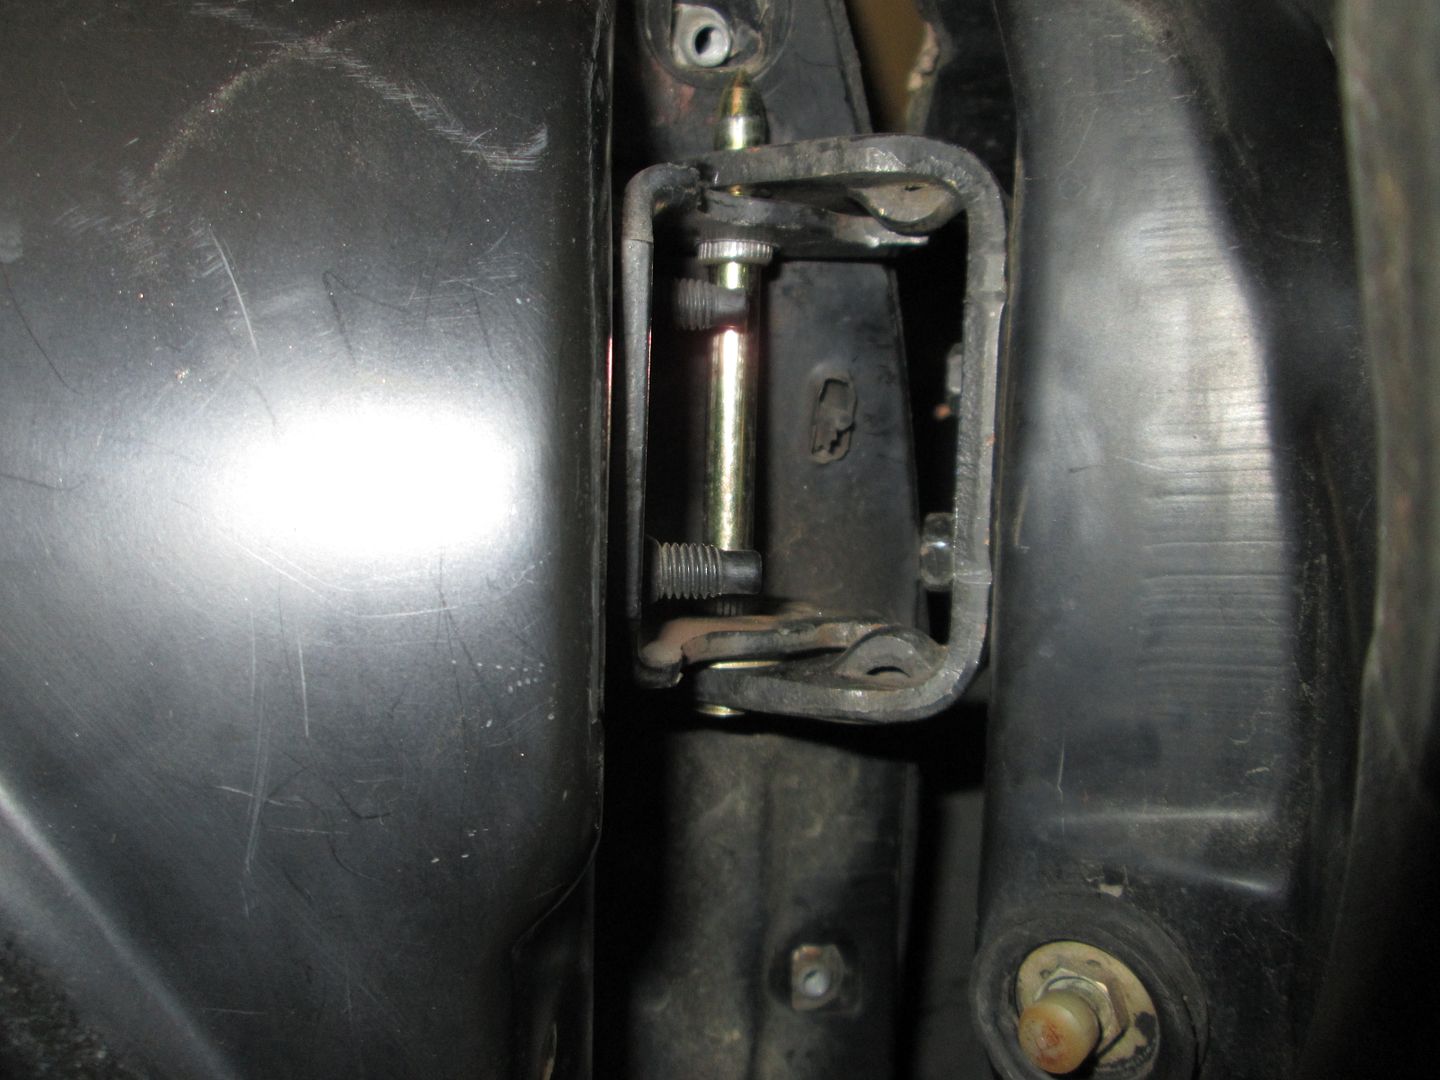
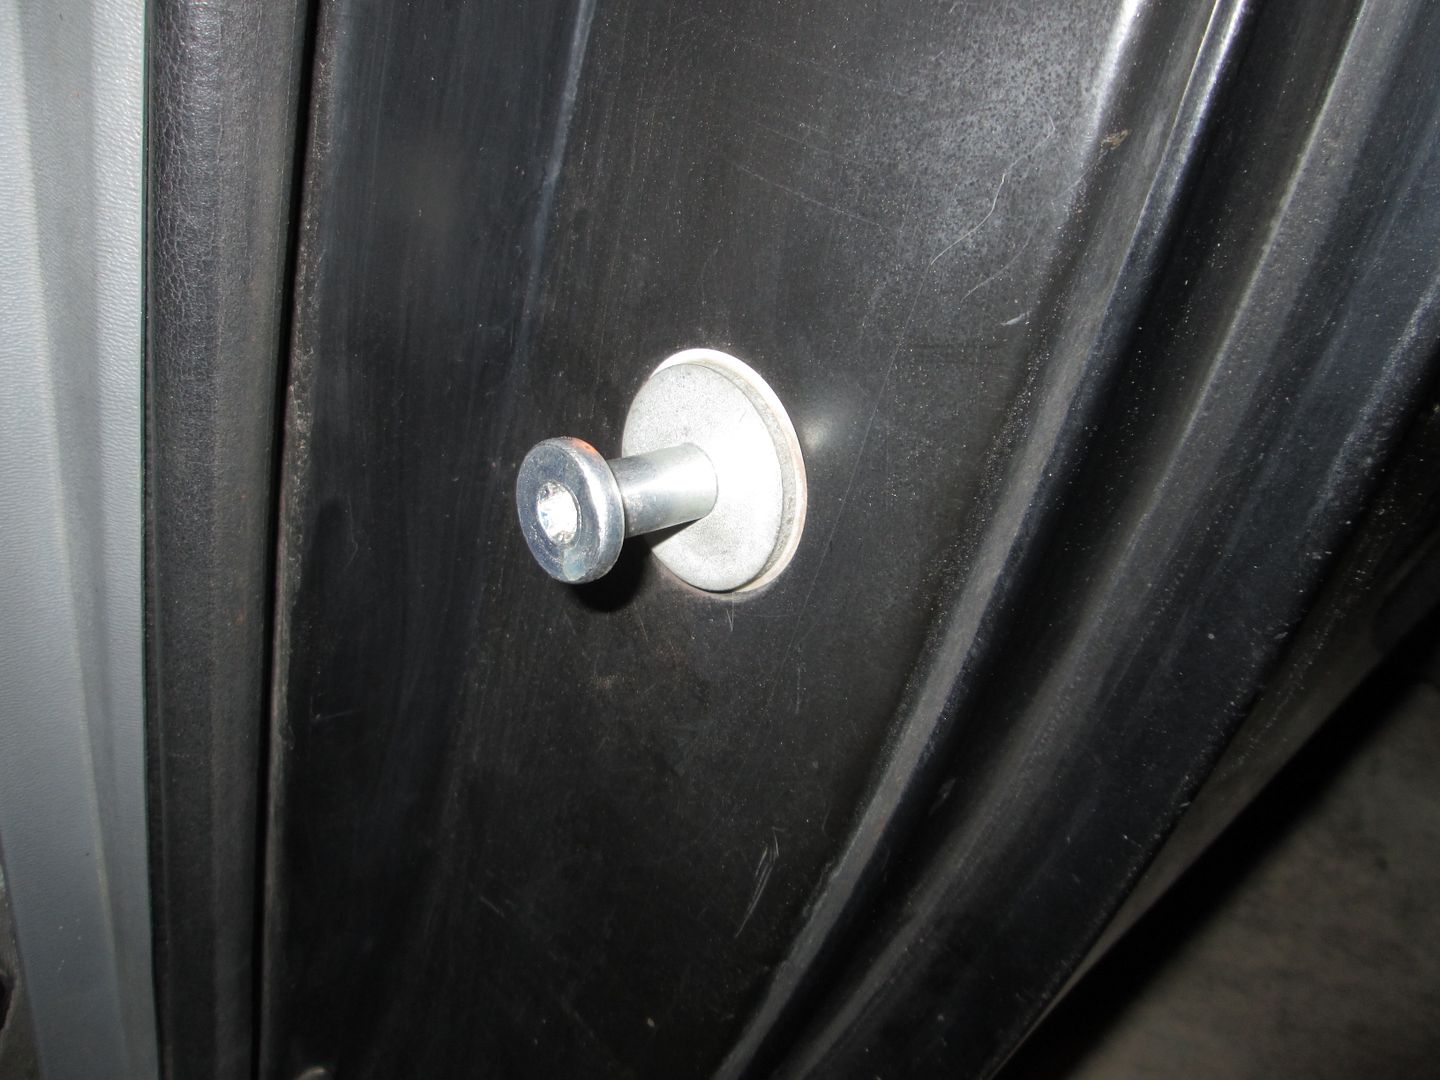
Then a new striker was installed to finish the install:
The DS door shouldn't rattle any more!
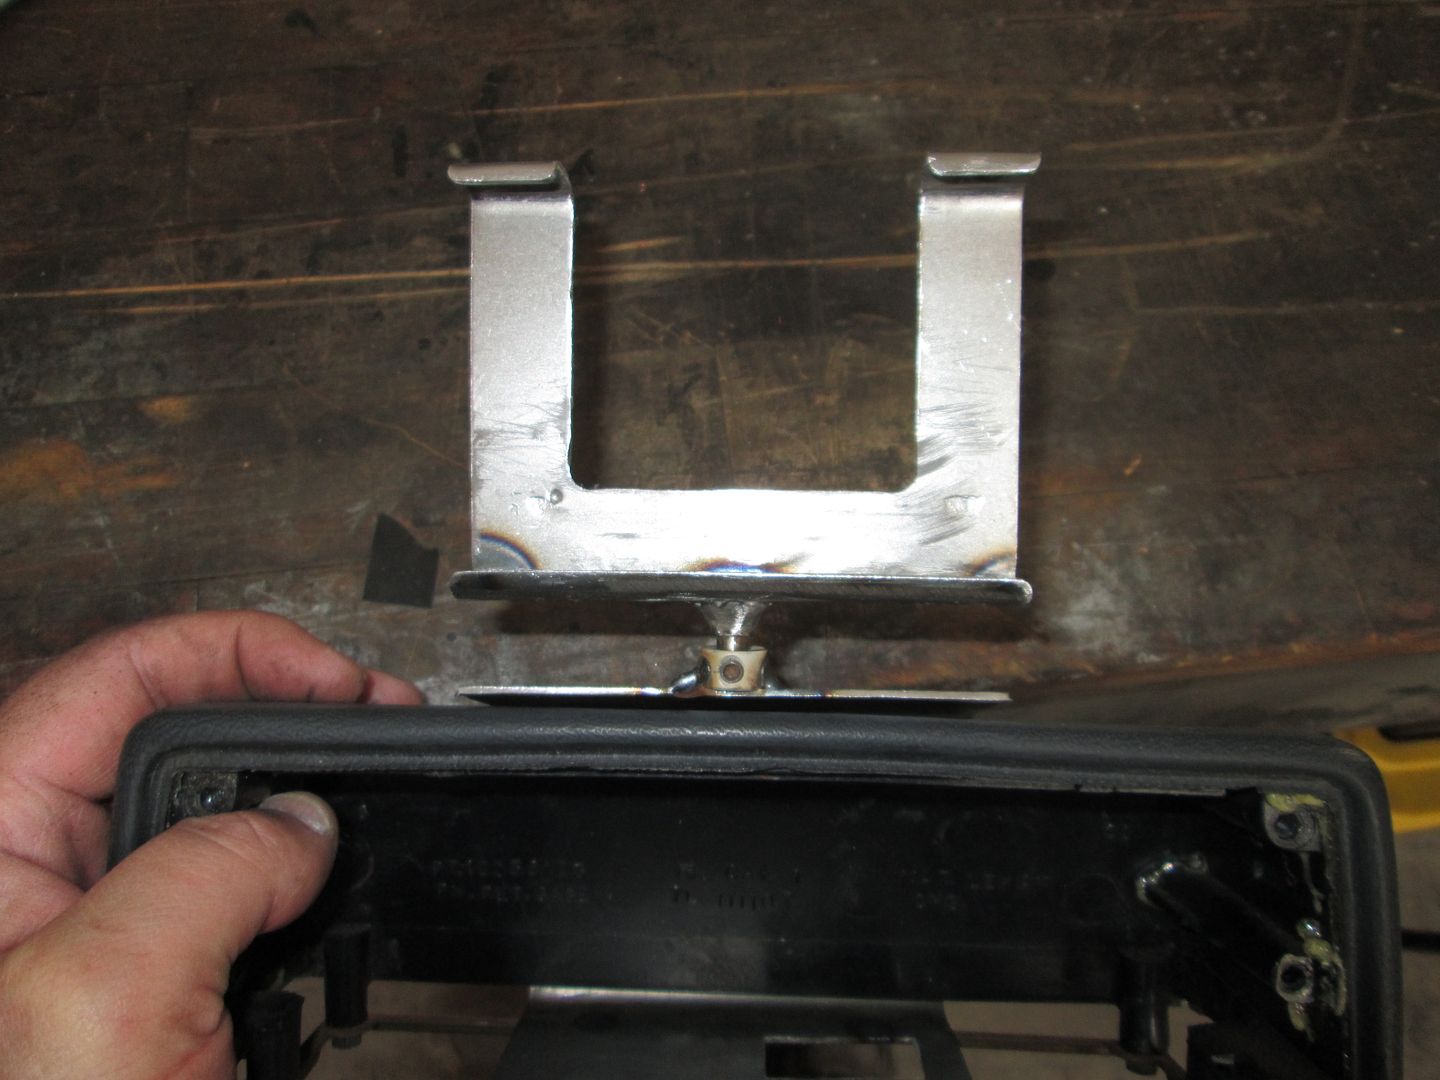
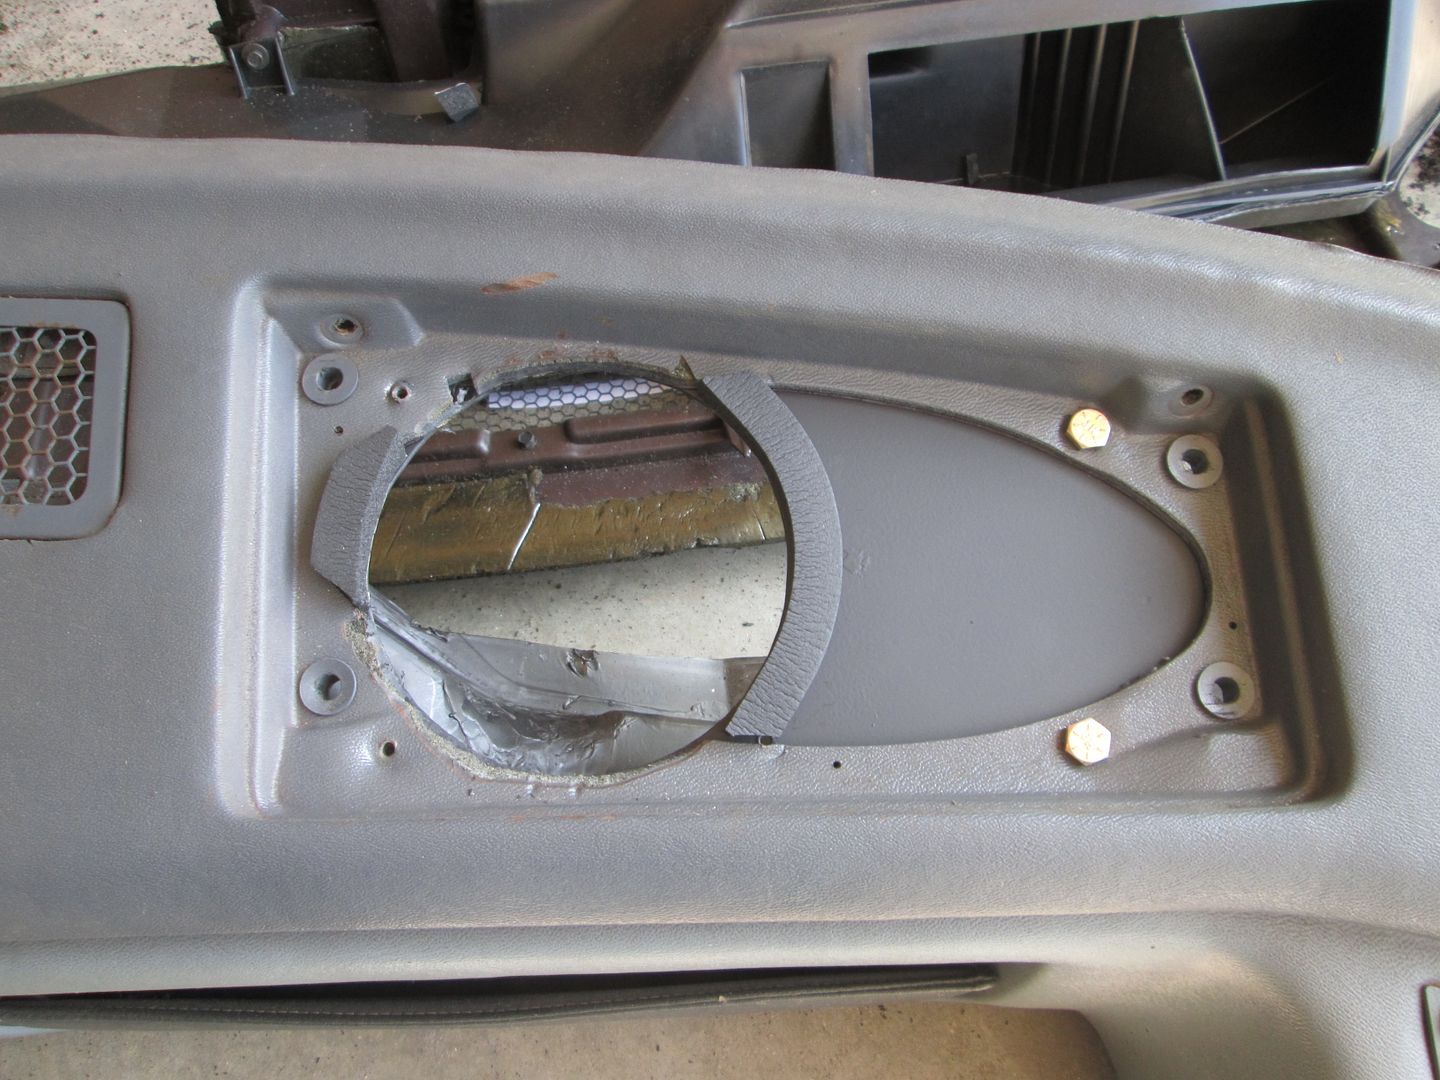
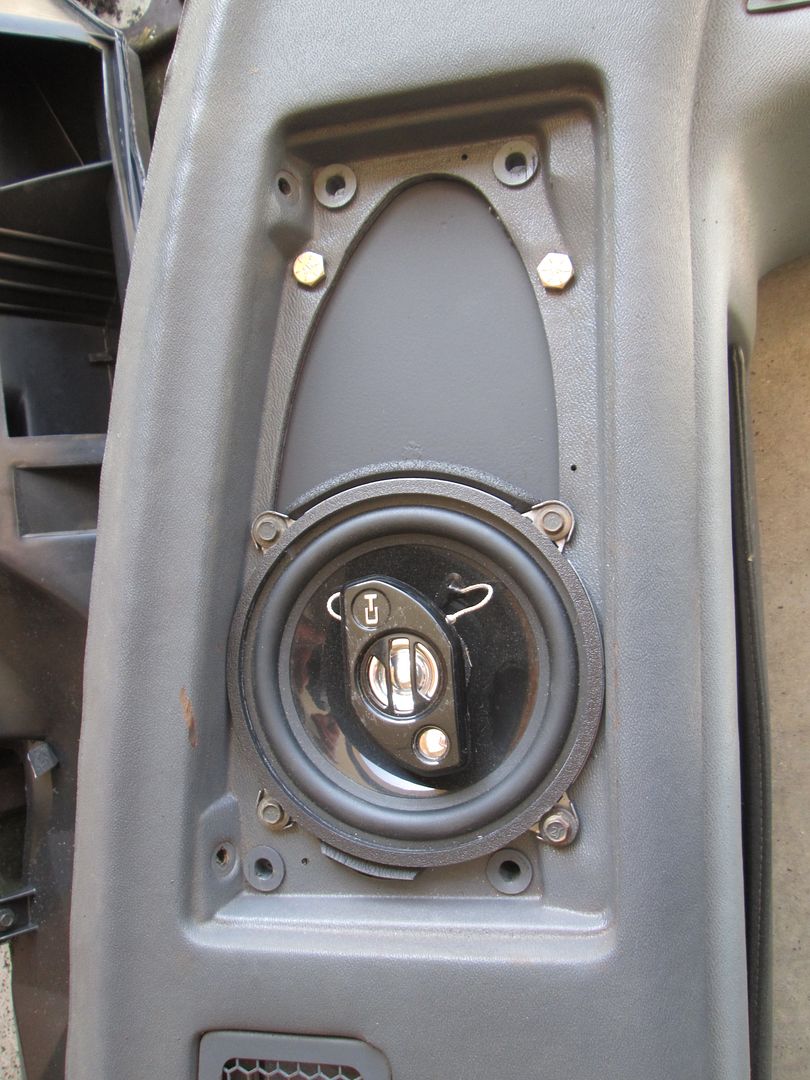
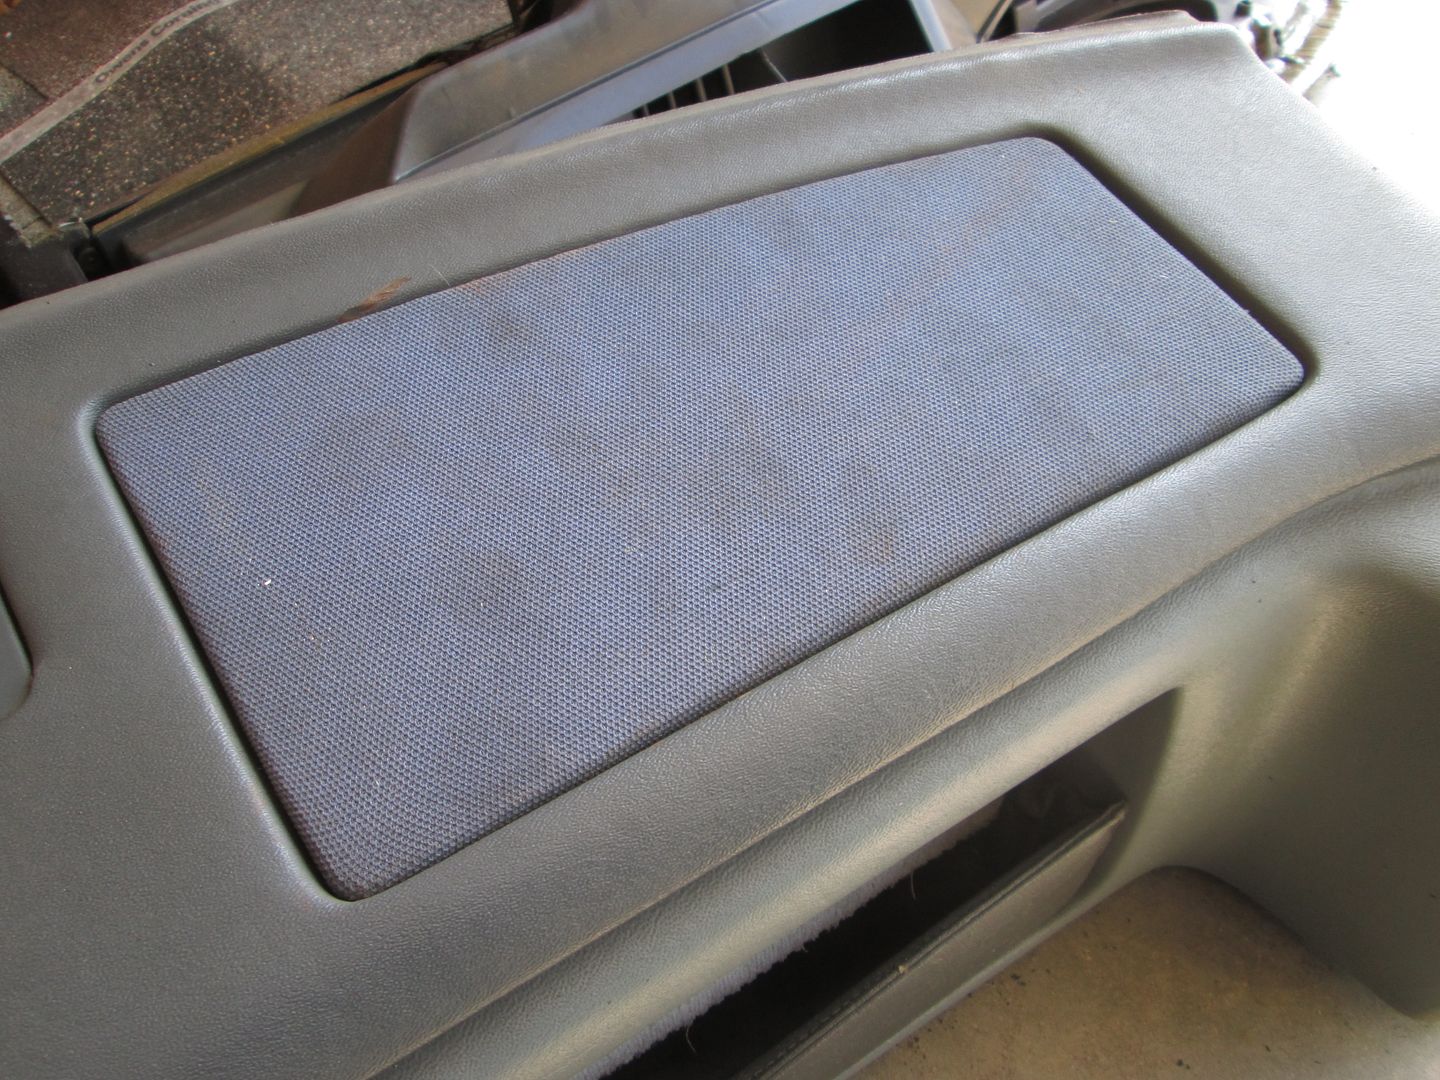
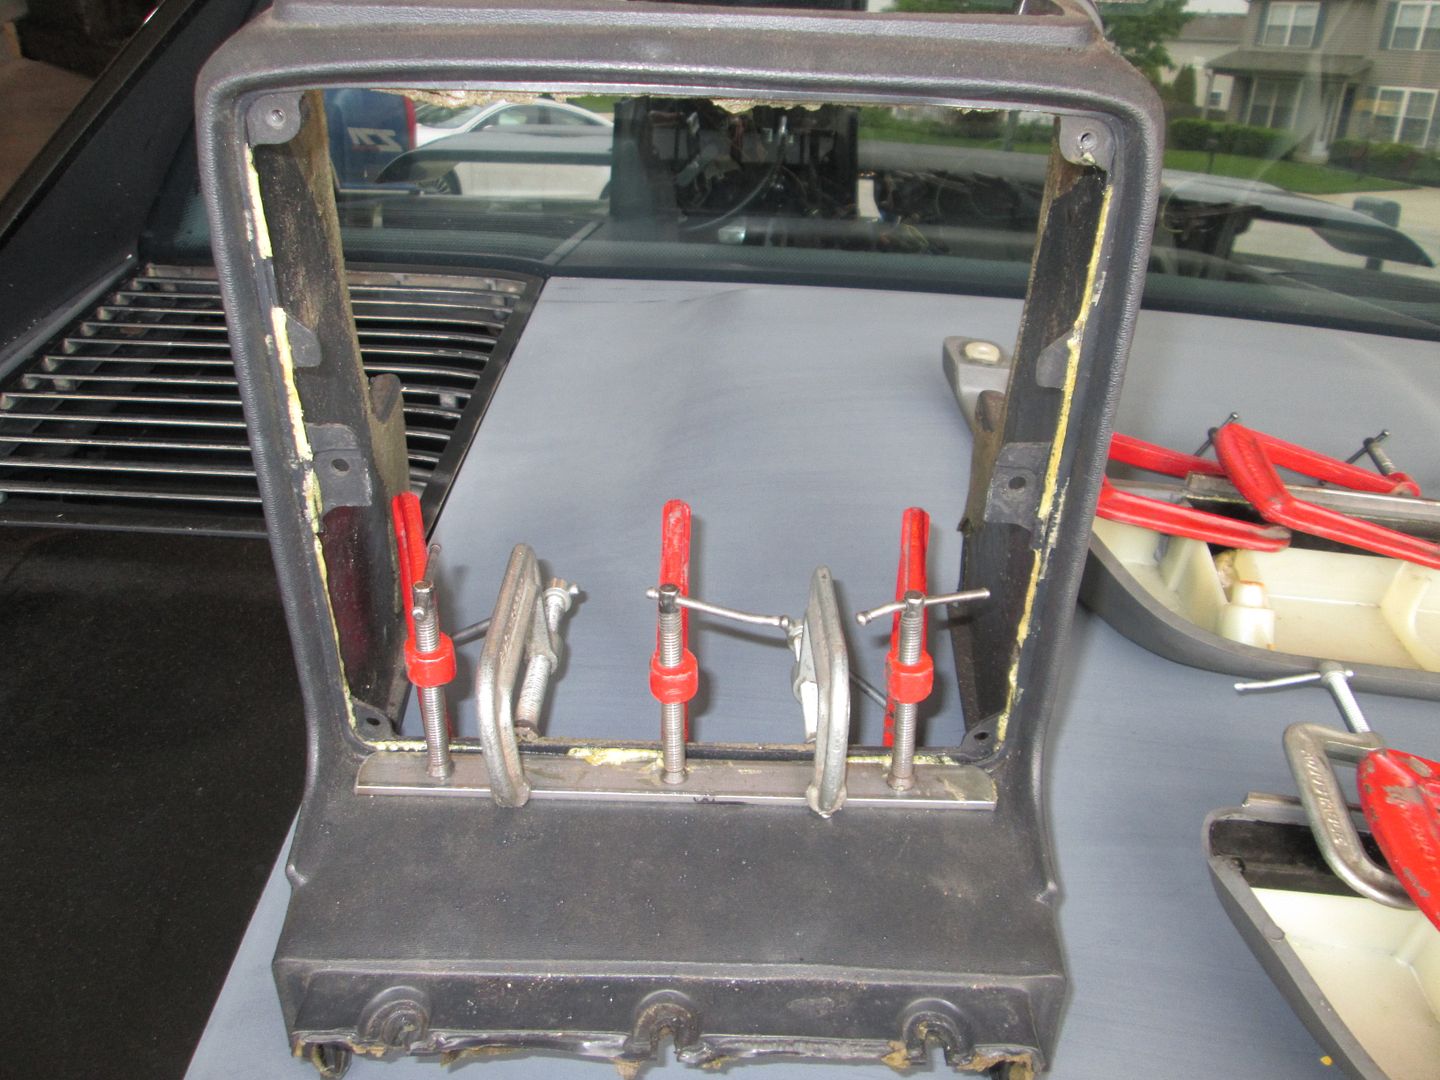
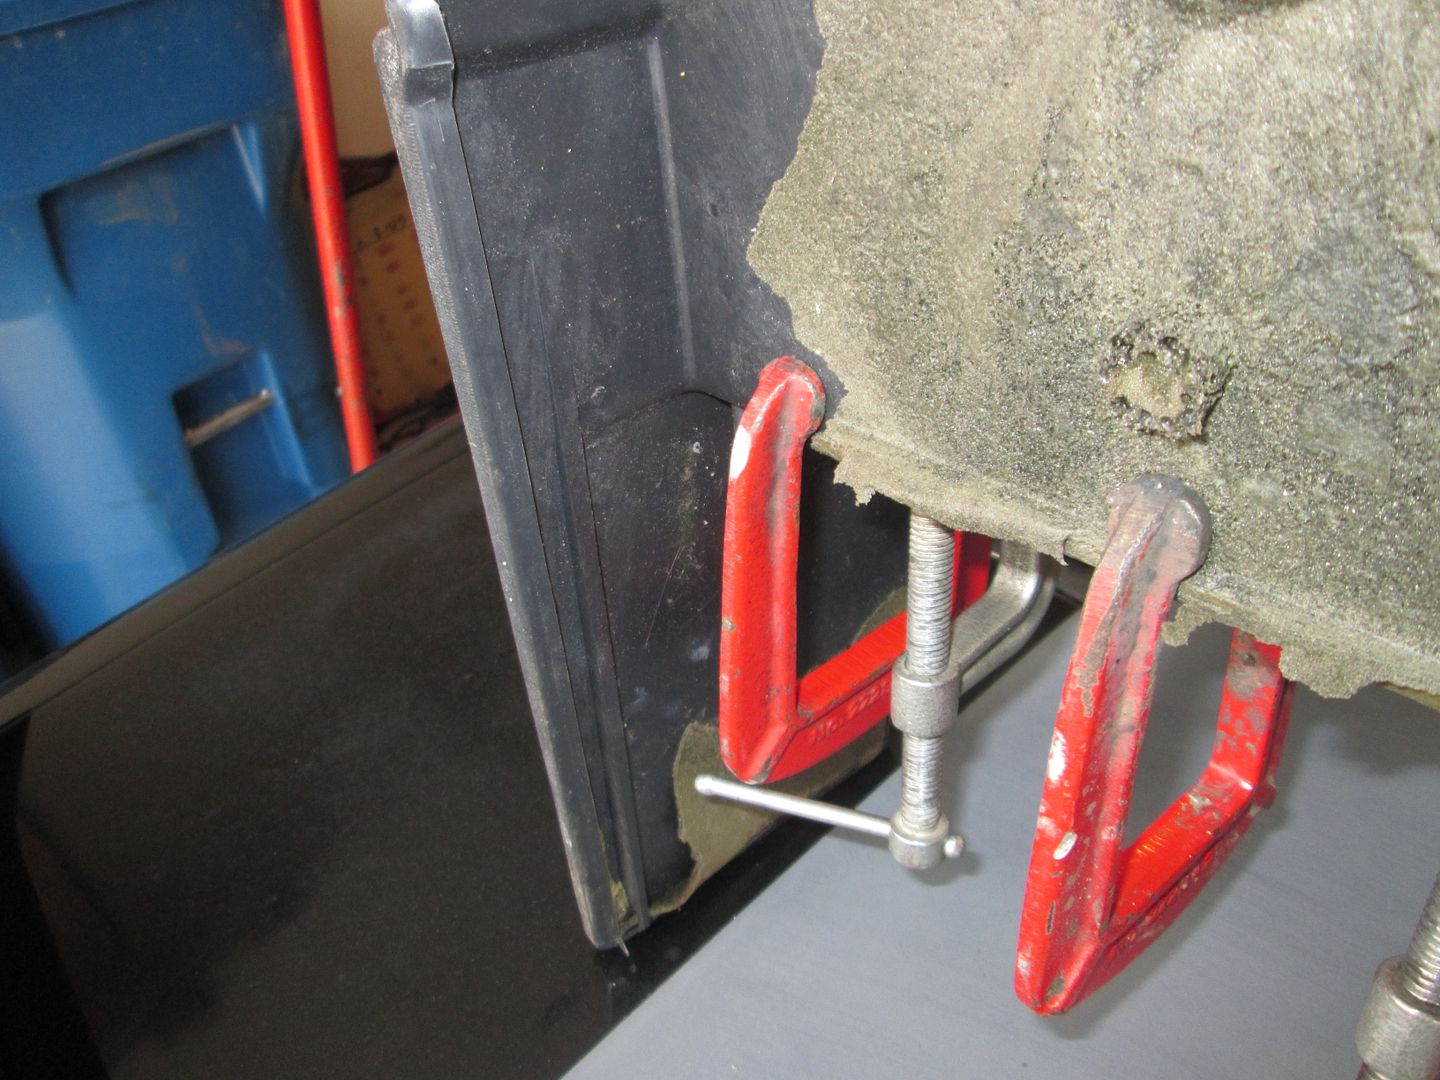
Also still plugging away at ridding the interior of warped/peeling surfaces. Here is the HVAC/radio surround. The sides are done except removing the excess glue. The only surface not started it the top one. This is a tedious process and I let the glue take set for 24 hrs before removing the clamps to ensure it is fully cured and done expanding.
The bottom surfaces have been done as well:
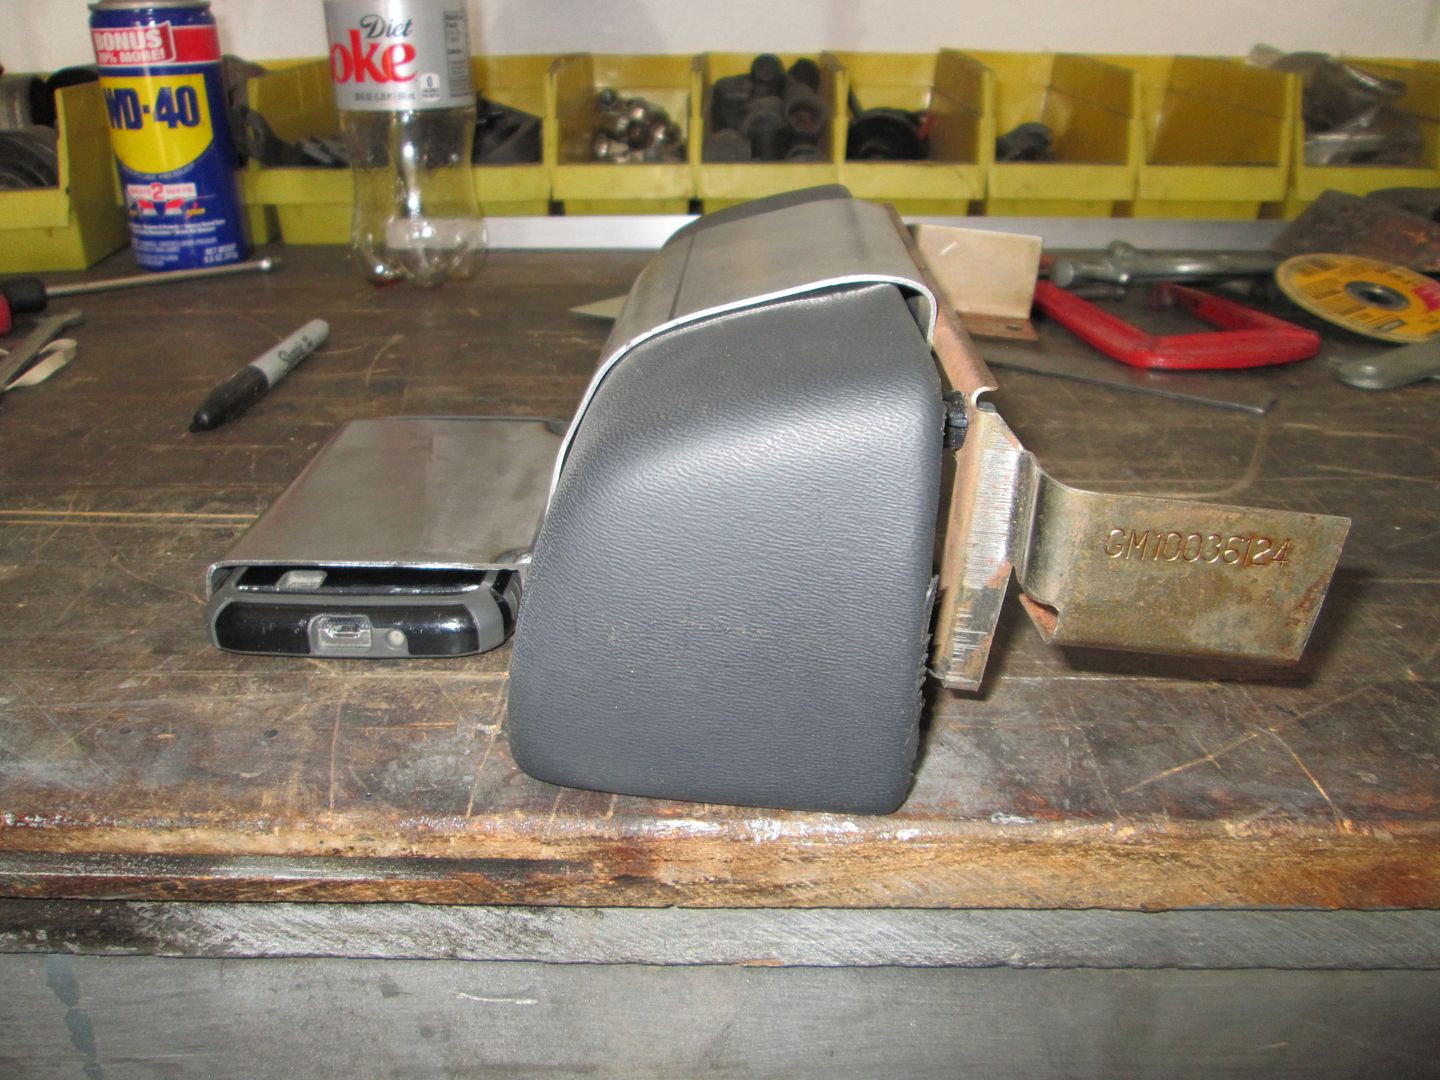
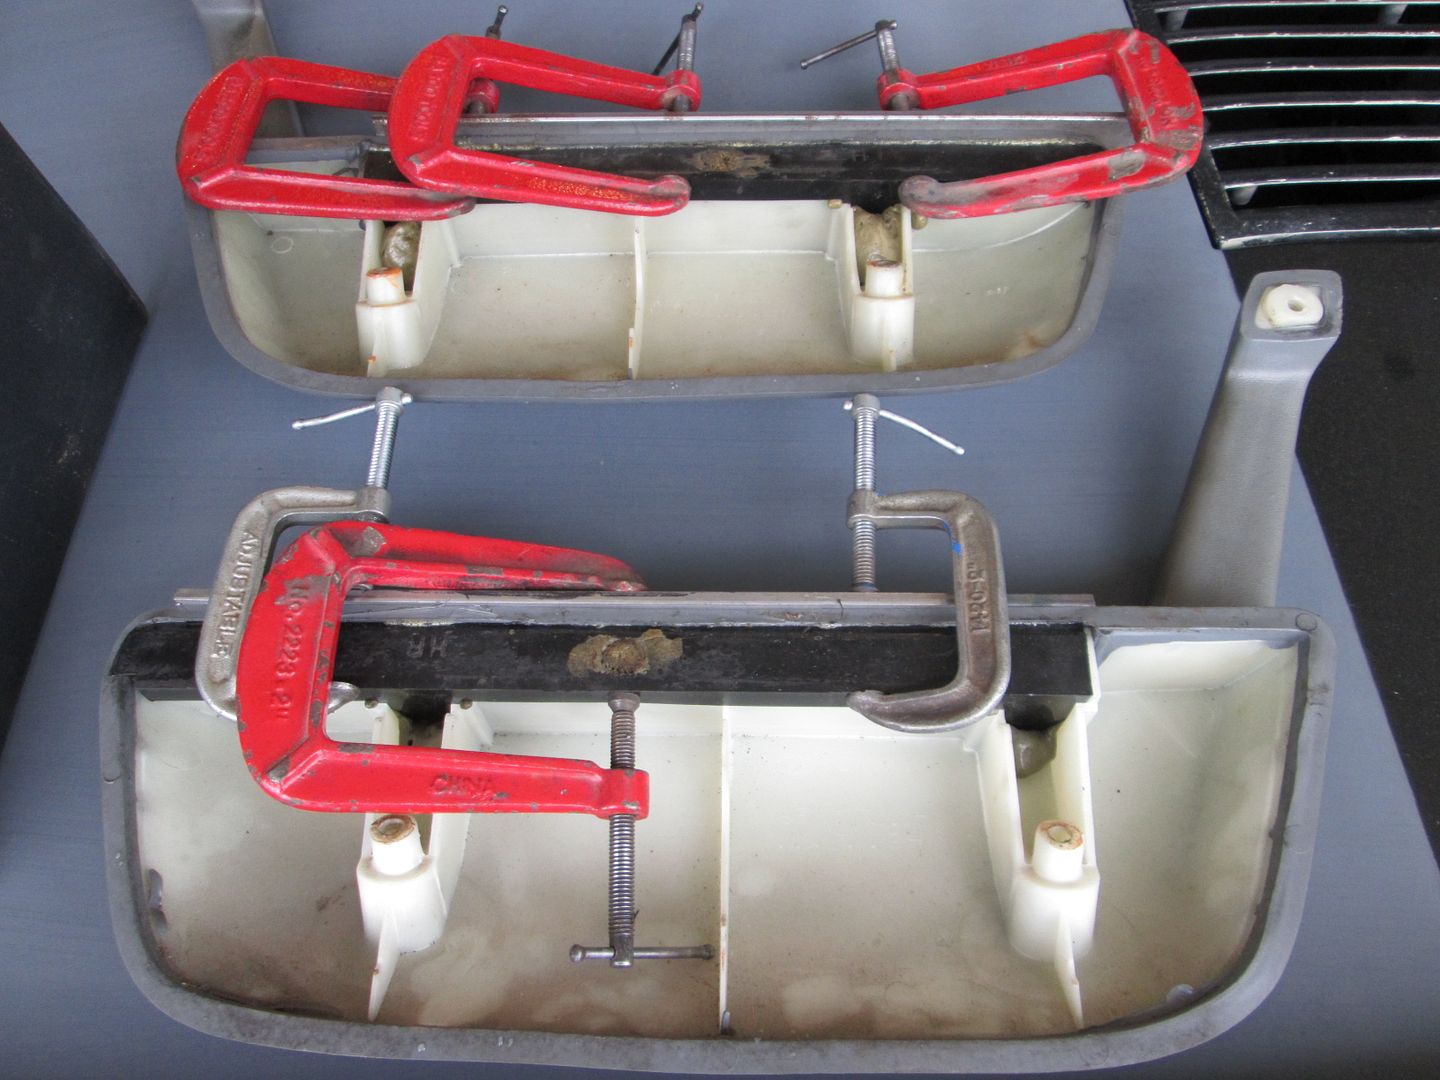
Also have the two arm rests taking set:
On Saturday I should clamp the last surface of the HVAC/Radio surround as well as get started on the center console/glove box area.
|
|
|
|