 
     |
| OPIE's Fiero GTX Build (Page 11/129) |

|
TXOPIE
|
FEB 19, 05:47 PM
|
|
UPDATE: US Mail just arrived!
One of my E-Bay scores....GM LS1 VORTEC PCM MOUNTING BRACKET

And after doing some reading, I decide to go with C-West voltage stabilizer over the NRG unit:

Also Tsunami battery ends:

The box truck e-brake lever also showed:

It is going to work perfect:

And last, but definitely not least...Tom's Digital Aux gauges showed up as well:

|
|
|
|
deloreanant
|
FEB 19, 06:27 PM
|
|
|
I keep stocking your page, but never commenting. I guess I probably should. I'm pretty excited to see what you are planning. Looks like you have a lot of goodies up your sleeve. Every time I buy something new for my car my wife sighs and tells me how it's going to be "too full of gadgets." I'm not sure that's possible. I need to show her your page. I can't wait to see it all come together. Keep it up, you're going at a great pace.
|
|
|
|
TXOPIE
|
FEB 19, 06:50 PM
|
|
Thanks...not sure if this will help. Told my wife that I could put this amount and more into another new car like her Infiniti G37s...instead I will spend less than what we spent on her car and I get exactly what I want! When I am done, I want someone to walk over to my car in a parking lot and be very confused. What I mean by that is that I want it to look like...inside and out like a new 2013 vehicle created by Ponitac with all the correct badges... 
|
|
|
|
TXOPIE
|
FEB 19, 07:08 PM
|
|
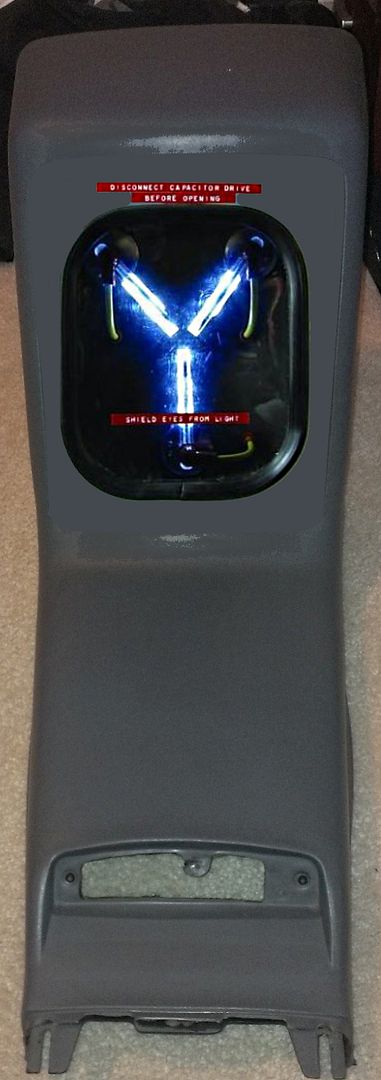
Would this be going too far with the "Gadgets"?
|
|
|
|
TXOPIE
|
FEB 19, 09:41 PM
|
|
UPDATE:
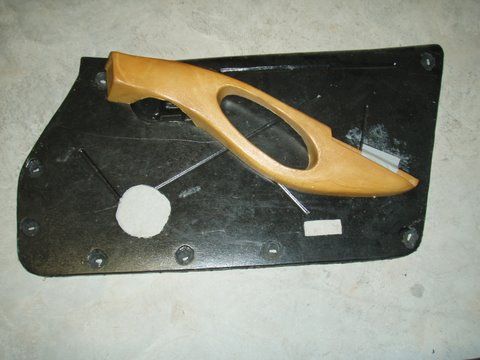
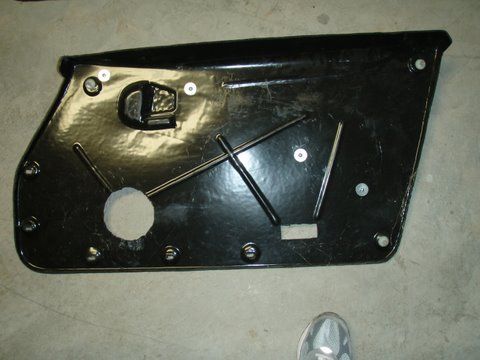
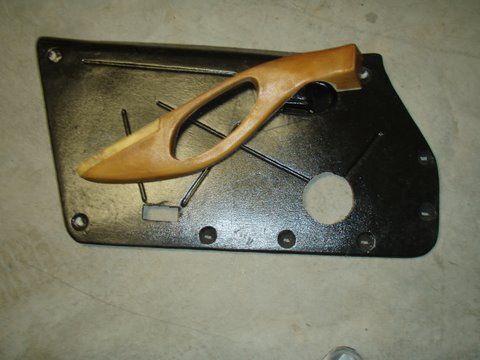
I just located my Pisa Euro door panels from another member:
|
|
|
|
deloreanant
|
FEB 20, 02:03 AM
|
|
| quote | Originally posted by TXOPIE:
Would this be going too far with the "Gadgets"?
|
|
I say that goes not too far enough!
|
|
|
|
TXOPIE
|
FEB 20, 03:44 PM
|
|
UPDATE: Mail showed up again!
Received my new Finned Chrome Aluminum Brake Master Cylinder

I received my corvette sun visors and already modified them and prepping them to be shipped to RW for re-covering.
 [This message has been edited by TXOPIE (edited 02-20-2013).]
|
|
|
|
amflyer
|
FEB 20, 04:23 PM
|
|
|
Would be nice to actually see these parts on a car instead of just pictures off of web sites. Do you have any actual build pictures?
|
|
|
|
TXOPIE
|
FEB 20, 04:51 PM
|
|
I thought I would share $30 dollars of learning with everyone to make this a very easy endeavor for everyone.
Here is part I...Taking apart the box e-brake lever:
Understand that I broke back the bottom edges of the aluminum button to make it easier to show yall a better shot...no needed...so don't
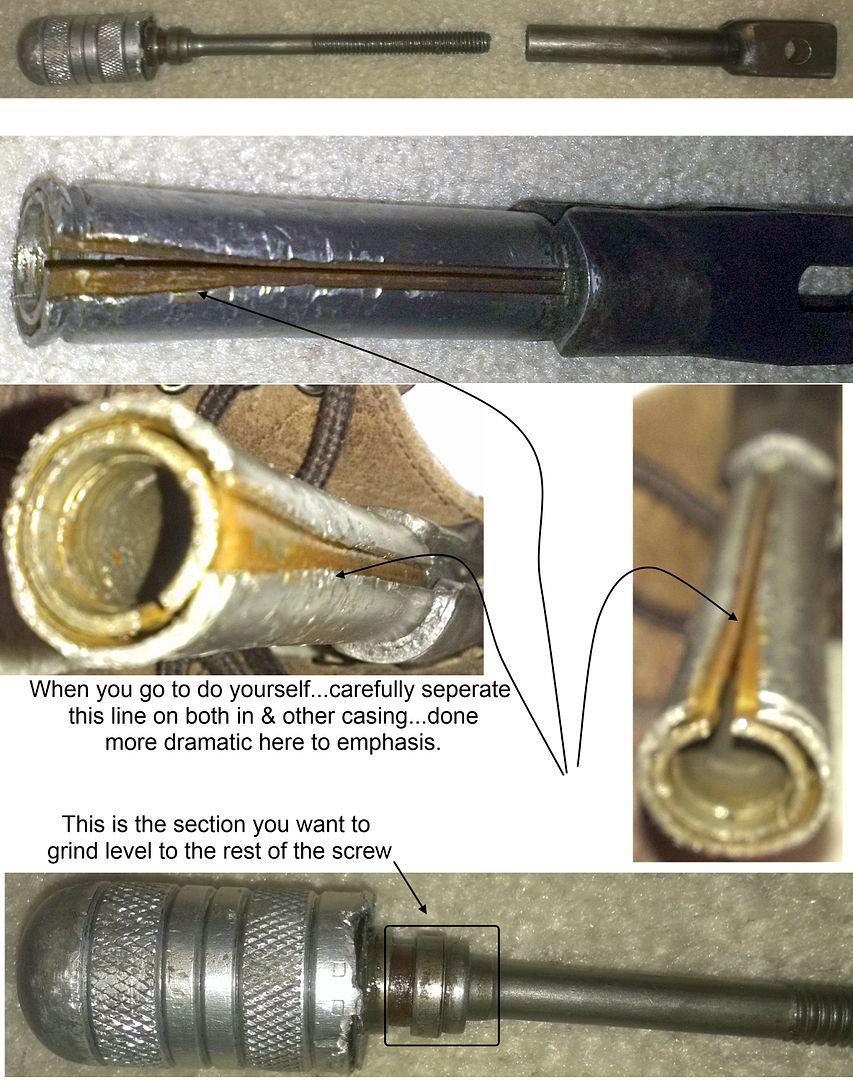
Once you get a little separation in first the outer and then the inner housing (side closest to the button)
Then place a metal bar to the bottom (opposite button) and strike with a hammer a few times to knock the button and screw assembly up through the shaft and free....not damaging the button ...which cosmetically the only piece we don't want to mess up...the remainder of the finished product will be covered by a leather boot!
Part II will follow shortly!
|
|
|
|
TXOPIE
|
FEB 20, 07:02 PM
|
|
|
|


