1986 Fiero SE 3.4L pushrod build up (Page 10/24)
justinchristie AUG 01, 08:01 PM
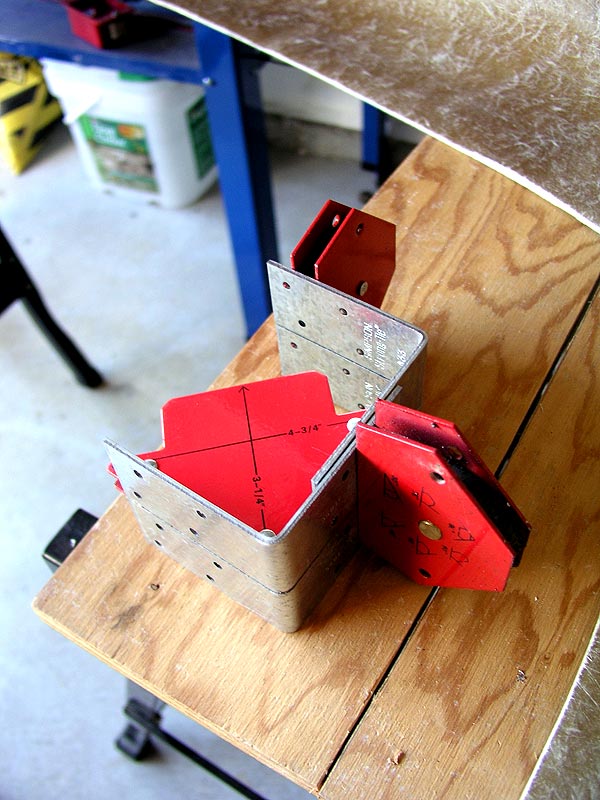
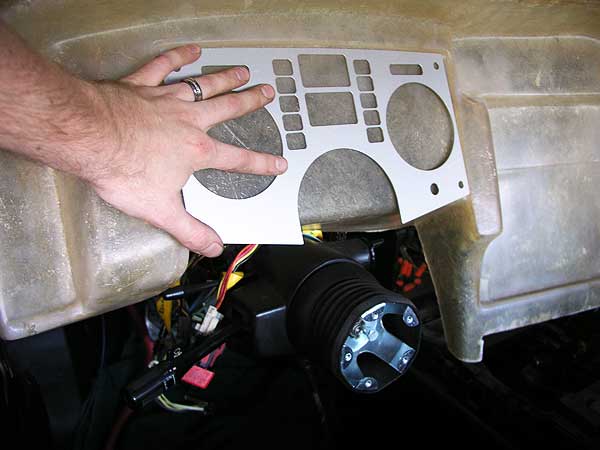
I finished adding all the new bolts, and then I re-attached the honey-comb support.

Next step is to re-install the battery box, and then I can add the Ferrari front bumper


------------------
1986 Pontiac Fiero SE 3.4L | The Fiero Blog (Since April 2000)
-----------------------------------------------------------
My Portfolio site | JustinChristie.ca

[This message has been edited by justinchristie (edited 03-18-2015).]

gh0st AUG 01, 08:18 PM
Awsome, keep us updated!
justinchristie AUG 03, 11:21 PM
completed the battery box installation tonight. The only problem is that the battery I was using doesn't fit inside it anymore. The rubber sheets I used shrank the inner dimension by a 1/4". I'm using a piece of wood to prop it up for the time being.

It NEVER ends.

So now i need a smaller battery.....


------------------
1986 Pontiac Fiero SE 3.4L | The Fiero Blog (Since April 2000)
-----------------------------------------------------------
My Portfolio site | JustinChristie.ca

[This message has been edited by justinchristie (edited 03-18-2015).]

justinchristie AUG 16, 06:14 PM
I had a chance to test fit the bumper tonight. It slides on quite nicely. There are a few fitment issues, but they are easy fixes.

It completely transforms the look of the car.

[This message has been edited by justinchristie (edited 03-18-2015).]

justinchristie SEP 08, 08:44 PM
Marker light, halo, and fog light installation on the front bumper – mostly electrical and metal work:


[This message has been edited by justinchristie (edited 03-18-2015).]

justinchristie SEP 12, 06:22 PM
I have completed the electrical work on the front bumper, and it is now FULLY installed. Everything is detachable as well - hence the connectors. If anything burns out, or need replacing, ...I don't have to cut anything because it is not "hard-wired". I'm a fan of keeping thing neat-and-tidy, hence all the black wire looms for looks and protection.

The HALOs look HOT, btw.


[This message has been edited by justinchristie (edited 03-18-2015).]

justinchristie SEP 14, 10:21 PM
I’m getting ready to attach the mustang scoop to the rear deck-lid. I came up with an idea using cardboard – the cardboard would act as a template for drilling holes.

It seems to be turning out well. I’ll wait until the morning for better light to verify that the scoop is centered properly - seems to be right on center in the last pic.

If all the measurements are good, I will commence drilling tomorrow.


[This message has been edited by justinchristie (edited 03-18-2015).]

justinchristie SEP 18, 12:22 PM
I have completed the installation of the rear deck-lid scoop. By using the cardboard template, …it made drilling the holes an easy process.

After it was mounted, I needed to make this scoop functional so it would help reduce the temperatures under the hood.

I re-purposed the old metal heat shield (where the vent is now), and used that metal to make a cover for the section that was cut out of the deck-lid. The previous owner of this deck-lid had a 3800 engine, and needed to notch out a section so the lid would close.

Pretty straight forward process if you take your time. Although my heart skipped a beat when I was drilling and cutting the deck-lid - I've only got one of them and it's very hard to find ones in good shape. I hate cutting into good Fiero parts

Turned out well though...


[This message has been edited by justinchristie (edited 03-18-2015).]

fieromatty SEP 18, 08:08 PM
Great buildup... Watching closely!
justinchristie SEP 24, 09:05 AM
Ok, here is (where I think) a lot more people will chime in - custom dash. This is the PISA wrap-around dash.

I began to test fit it. As expected from some of the other members that have this, it will require some specific cuts and custom brackets to fit properly.


[This message has been edited by justinchristie (edited 03-18-2015).]