|
| Fiero GTS (GT Streched) Build thread Fast Back plus Nochie (Page 2/15) |

|
Nebraska
|
NOV 11, 07:43 PM
|
|
|
|
|
Nebraska
|
NOV 11, 08:03 PM
|
|
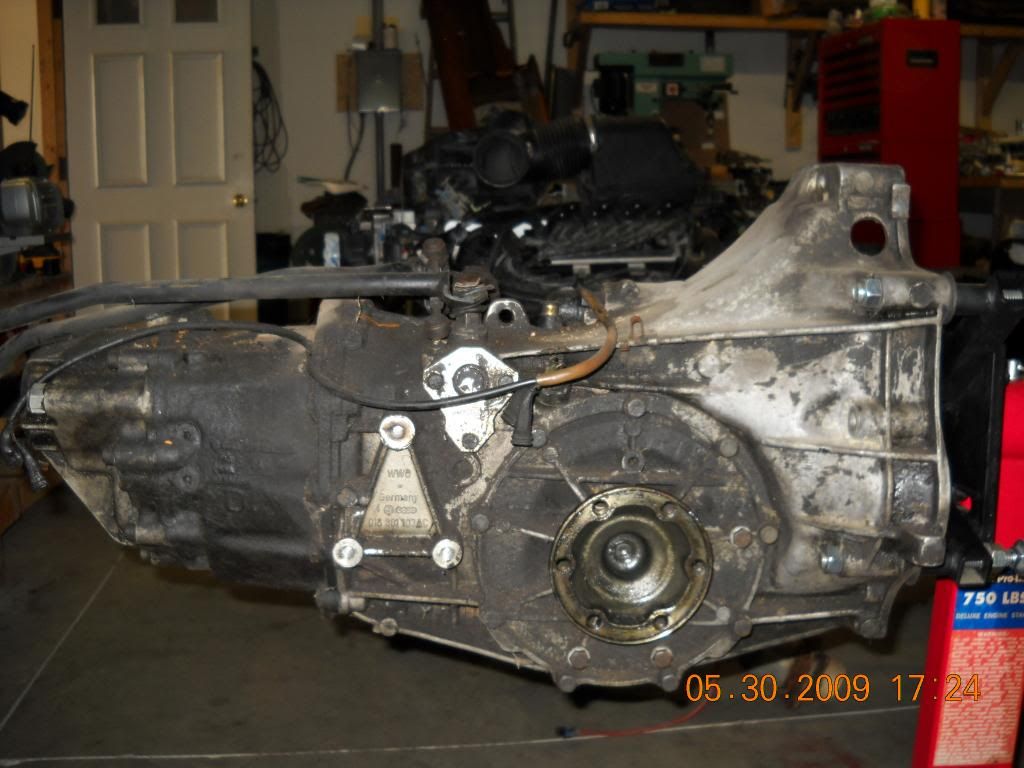
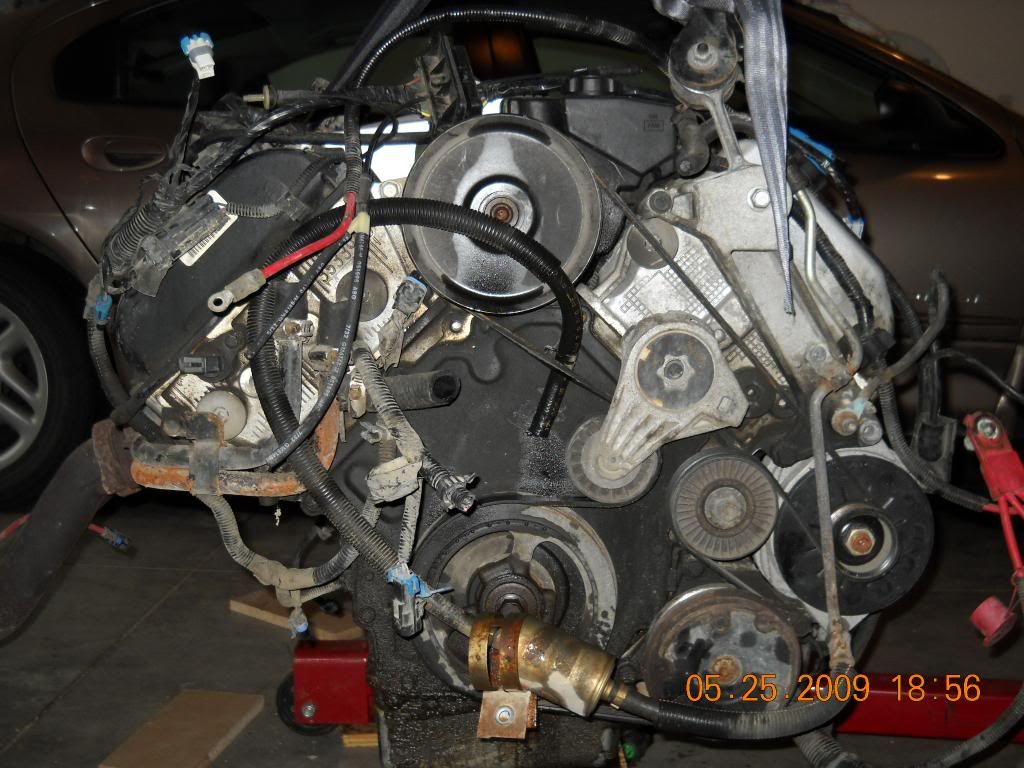
The next thing was the engine. I almost bought a Cadi with a 4.9, but I really wanted a all aluminum NorthStar 4.6. I passed on that car and continued searching. I found one in a U Pull junkyard. I wanted to keep the computer and wiring harness intact and didn't want a hack job in removing the engine from the car by the yard crew so I did it myself. It took two days, about 6 hours total. Here is the engine.


|
|
|
|
Nebraska
|
NOV 11, 08:42 PM
|
|
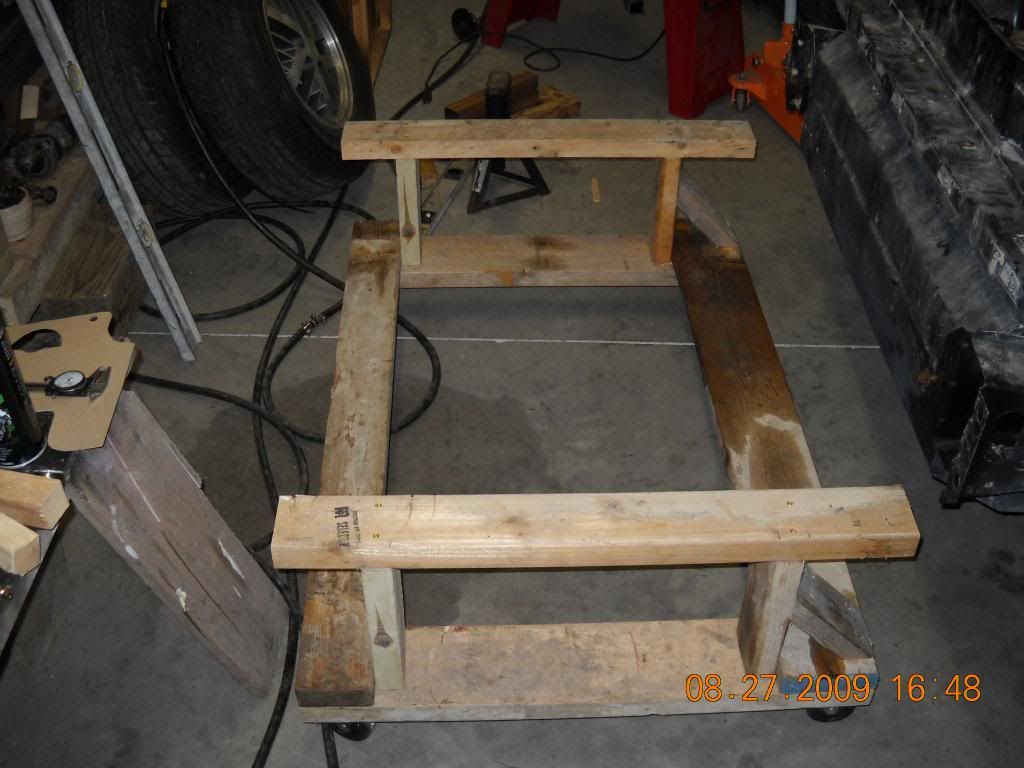
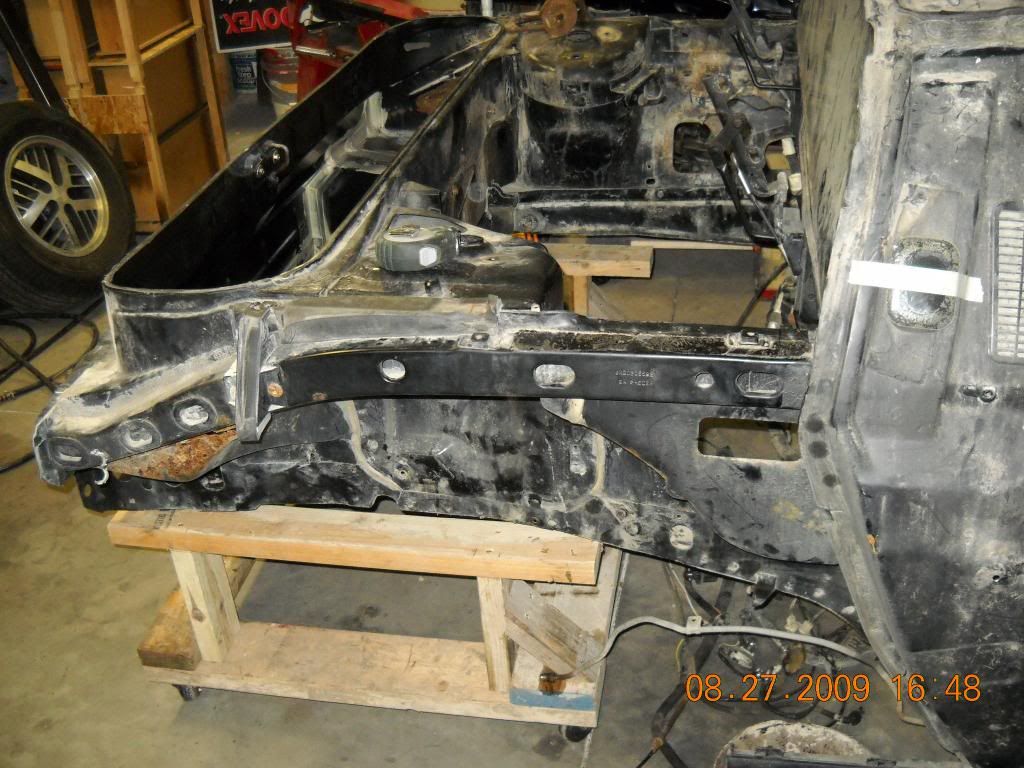
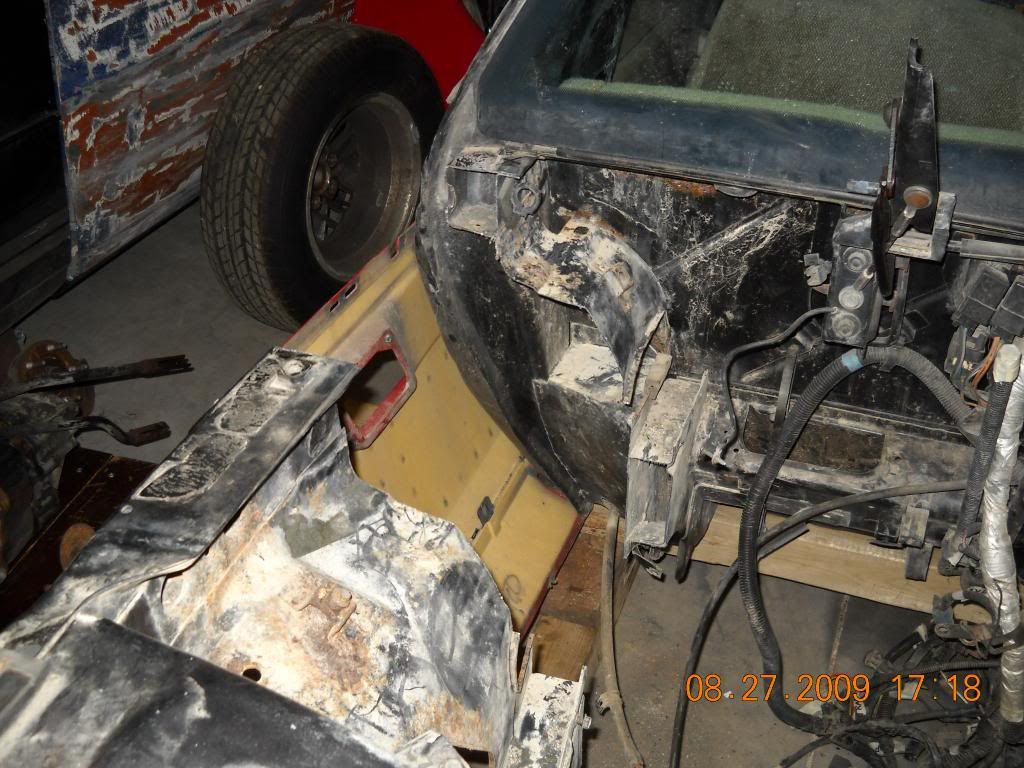
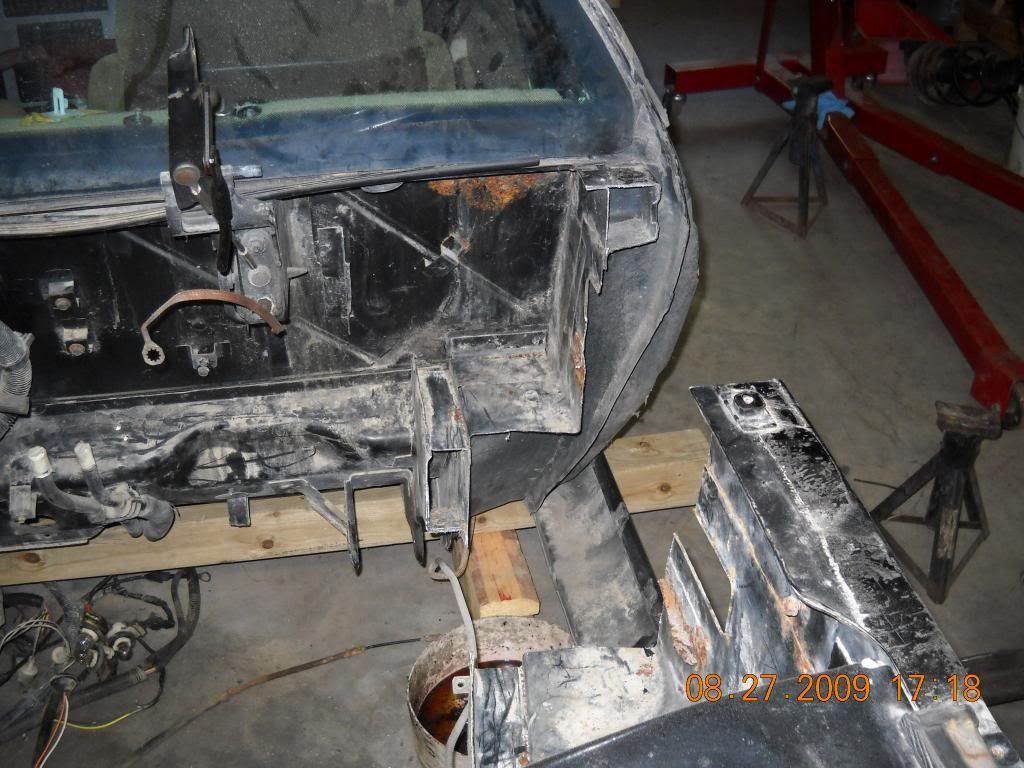
The next thing was to take lot of measurements to determine how much a strech I would need to fit the engine and trans. I figured that I only needed 10 inches of strech but rounded it up to foot (12 inches). I removed the old Iron Duke 4 banger, then blocked the car up and made a frame cradle to keep the back half car from falling to the ground. I marked the top frame rail 4 inches from the firewall and the bottom frame rail 6 inches from the firewall. With a new blade in the trusty swazall and the car on blocks and the frame cradle it was time to cut it apart. Here are pics of the results.
|
|
|
|
Nebraska
|
NOV 11, 09:25 PM
|
|
|
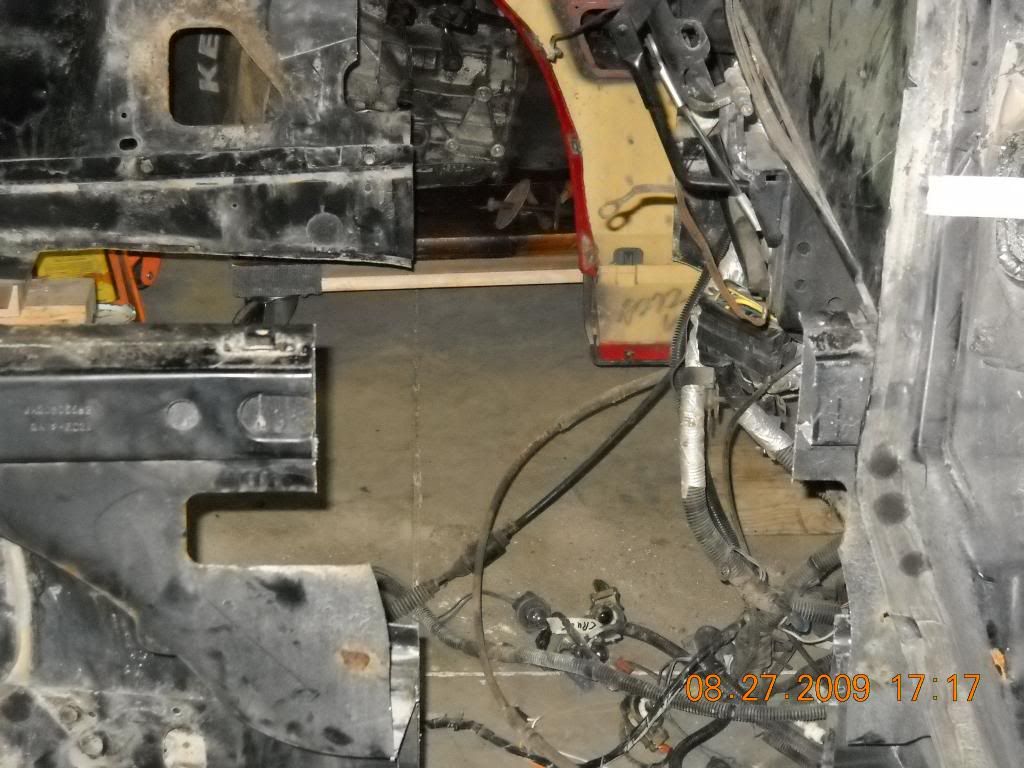
As I was cutting it I expected after the last cut the back half would shift or drop compared to the front half. It did not move a millimeter. After the cuts the frame rails were still lined up with only a sawzall blade space between them. I first thought i missed cutting something until I nudged the back half and it moved away freely. WOW that was EASY. The back half was on the frame cradle that had casters. All I had to do was to pull it back 12 inches and it was streched. I welded on 1/2 x 1/8 steel strapping on each frame rail leaving exactly 12 inch gap in the rails. These were strong enough to keep the spacing correct but flexableenough to adjust for squareness. The next thing was to see what steel I needed to put it back together.
|
|
|
|
Nebraska
|
NOV 11, 09:44 PM
|
|
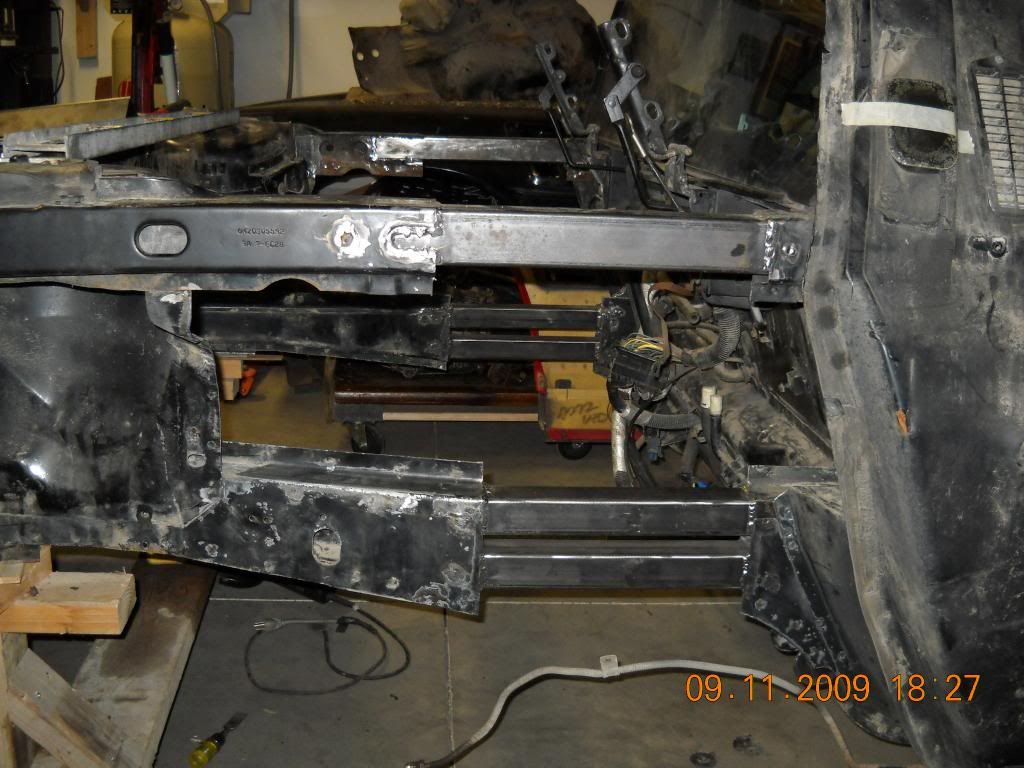
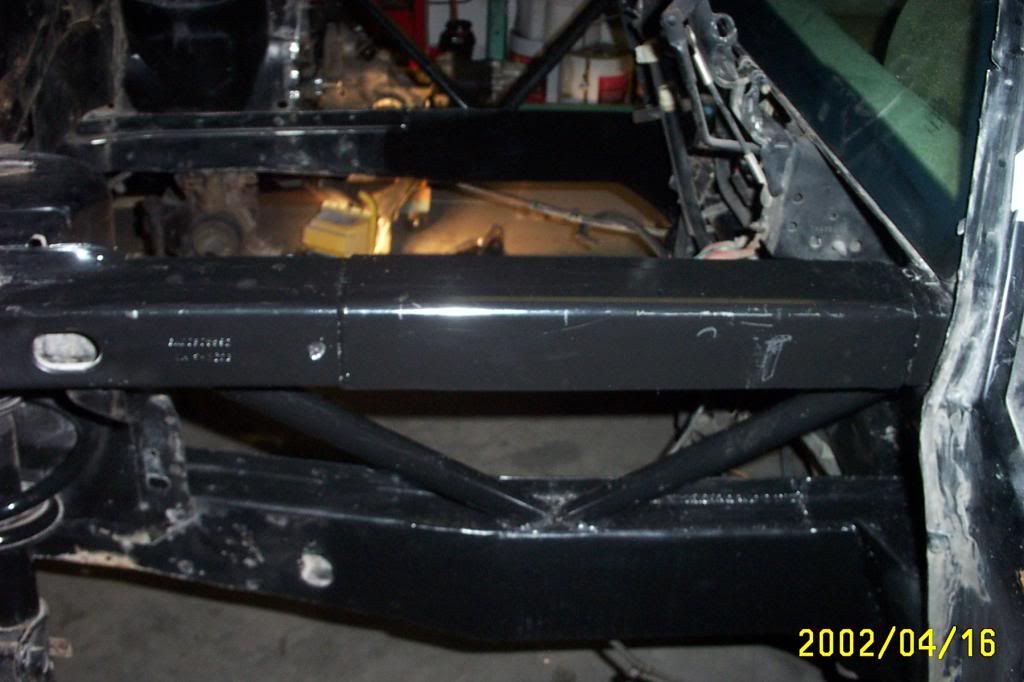
After taking a few measurements and reading what other people used I decided to use 2" x 2" x 18" for the top rails and two - 1 3/4" x 1 3/4" x 16 for the bottom rail. On the top rail the 2 x 2 extended 2" in the front of the top rail and 4" into the rear part of the top rail. I cut a notch in the inside of the top rail and added plug welds to the top, bottom, and outside of the rail. See pics.


|
|
|
|
IVANNATINKLE
|
NOV 12, 12:57 AM
|
|
|
Great looking build man!!
|
|
|
|
Nebraska
|
NOV 24, 05:13 PM
|
|
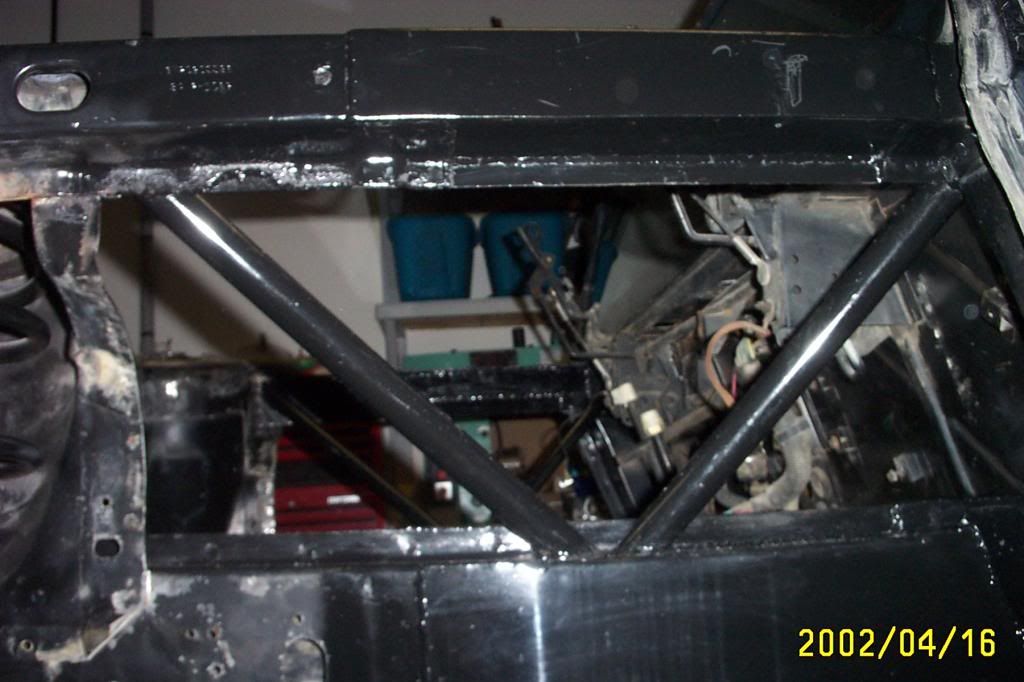
More Updates,
I boxed in the frame rails with heavy sheet metal to give it a more factory look. I added some round tubes for more strength. Next will be streching the cradle

|
|
|
|
Nebraska
|
NOV 24, 05:17 PM
|
|
A little child labor helping out cleaning the engine compartment with baby wipes.

|
|
|
|
Nebraska
|
NOV 25, 04:31 PM
|
|
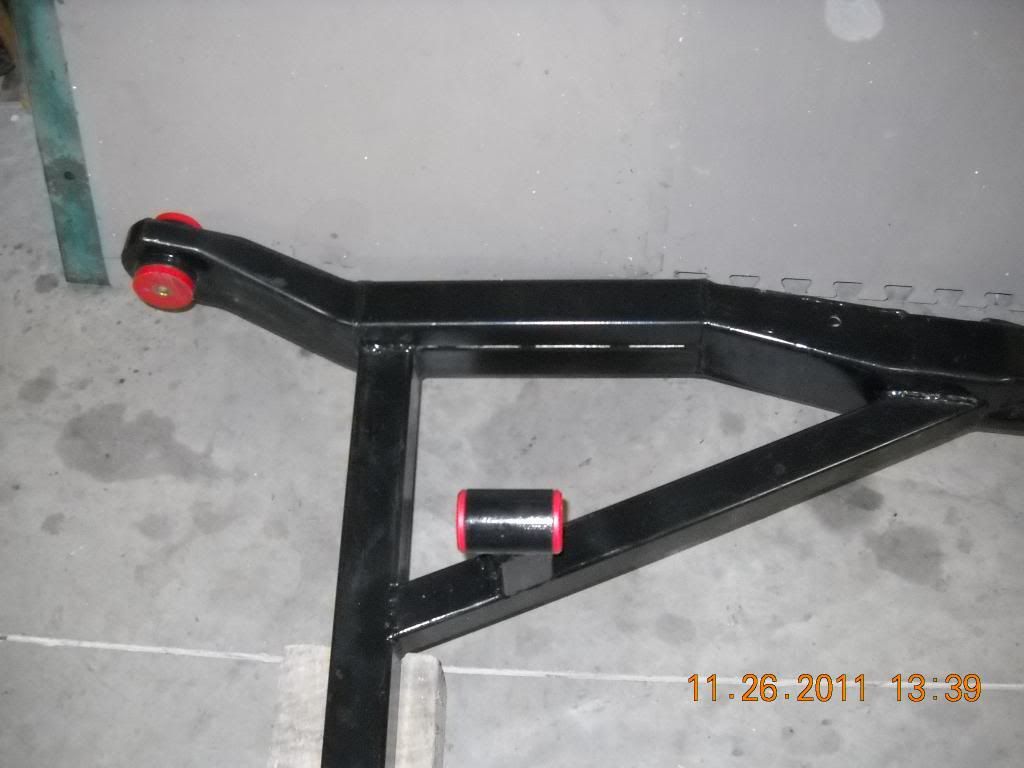
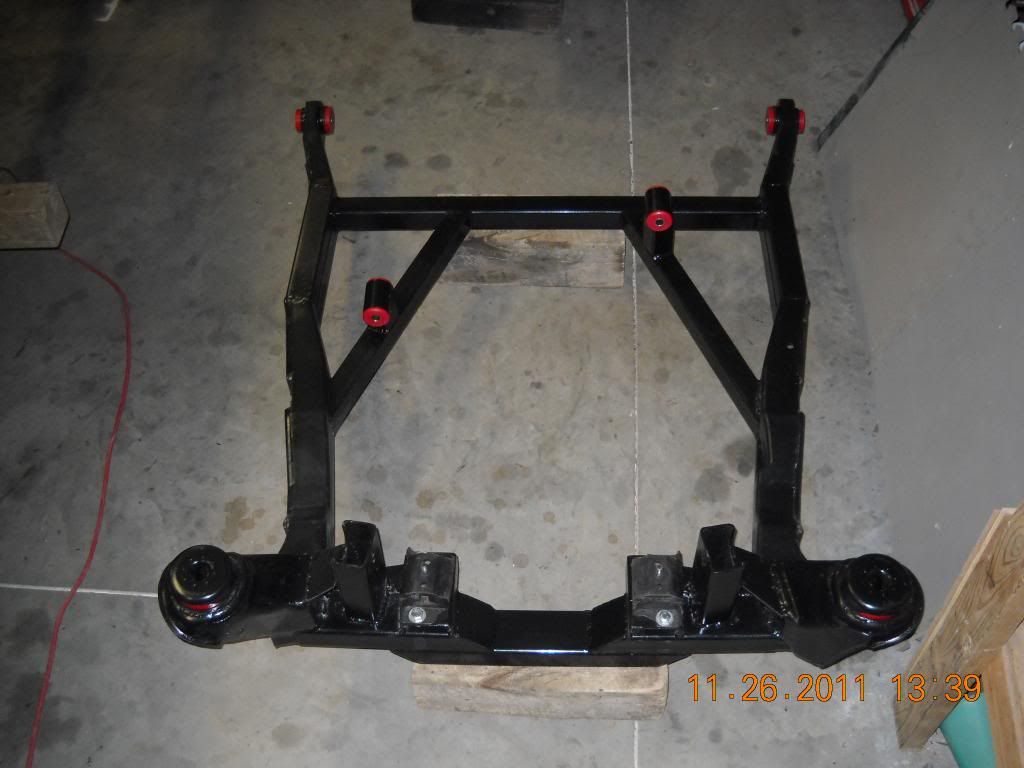
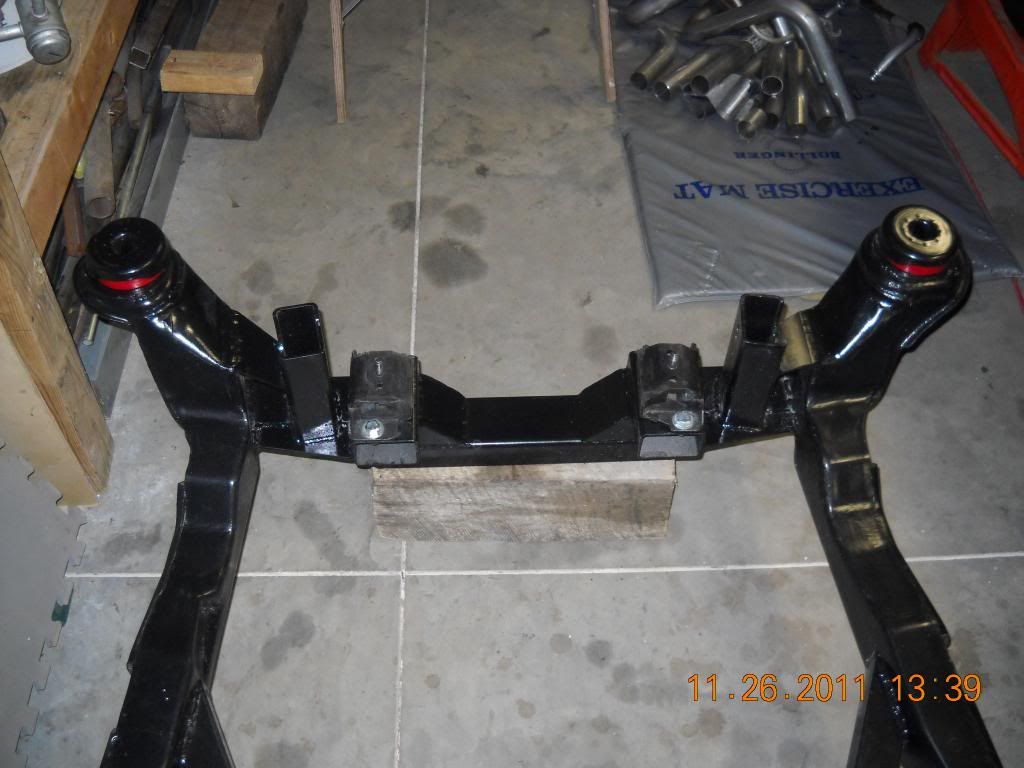
I also streched the cradle 12 inches. I cut it about 6 inches behind the front bushing. At that point the cross section was 2 x 3 1/2. I could not find any square tube that dimension locally so I used a 2 x 1 1/2 on top of a 2 x 2. I butt welded it in and added 1/8 plates at the seams. I had to totally rebuilt the back section to make the transmission fit. Here are the pics of the cradle.

|
|
|
|
Nebraska
|
NOV 25, 04:43 PM
|
|
|
I do have a question for anyone who has a opinion. The way the A/C and Alternator are mounted to the Northstar the easiest way to mount the motor was to use the existing mount on the drivers side and to fab up a mount on the pass side. This makes the engine mounts stagggered. I was NOT planning on using any type of torque dogbone. I could add one if I really need it. Once I get the mounts finnished I will post more pics. Does anyone see any problems with the staggered mounts without a torque dogbone ??
|
|
|