 
     |
| Neil's Aventador build (Page 63/74) |

|
RCR
|
JAN 06, 01:28 PM
|
|
|
|
|
Neils88
|
JAN 08, 10:10 PM
|
|
Thanks Shem, Bob! 
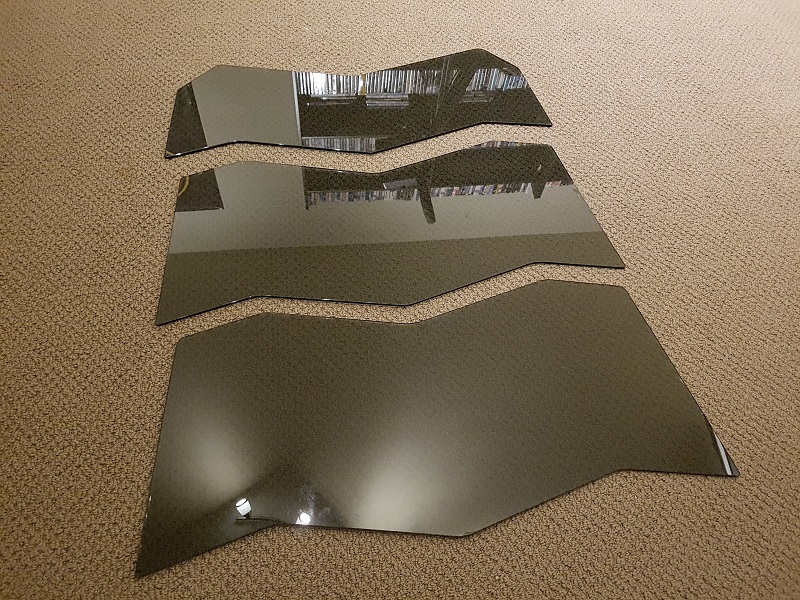
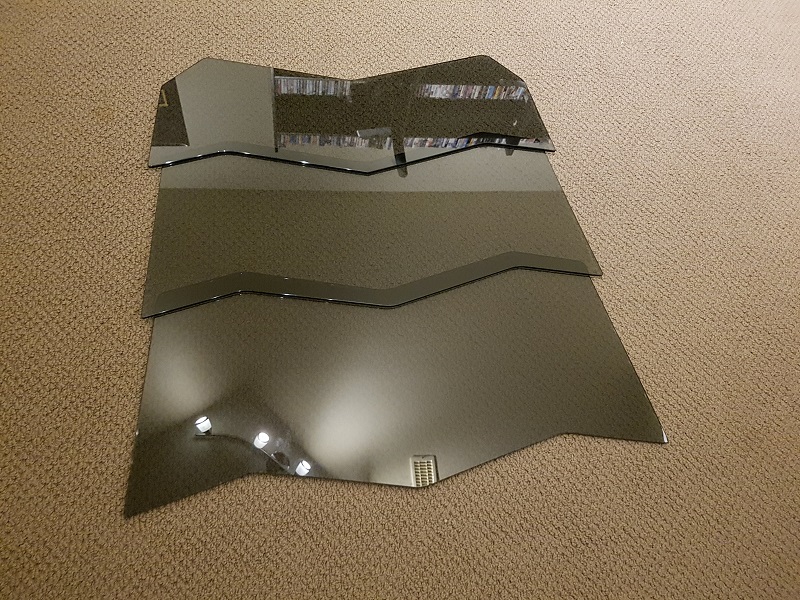
I picked up the new custom glass panels for the rear hatch (thanks to Peter and the guys at Centennial Glass in Ottawa!!) These are close replicas to the oem pieces, just cut specifically for my rear hatch dimensions. They are 1/4" tempered glass panels, with a 50% grey tint. Can't wait to install them...though it'll be a little longer for me to finish the rear hatch. I will also need to get some "frit paint" to paint the edges where the glass mounts to the hatch.
|
|
|
|
Neils88
|
JAN 13, 05:17 PM
|
|
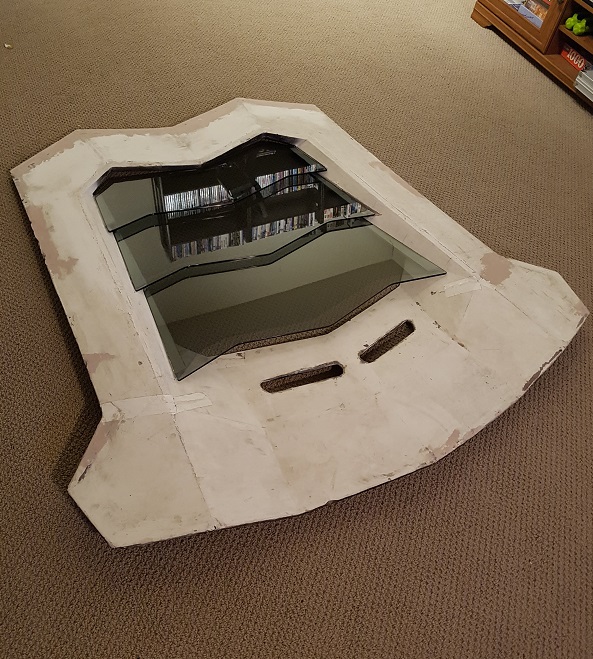
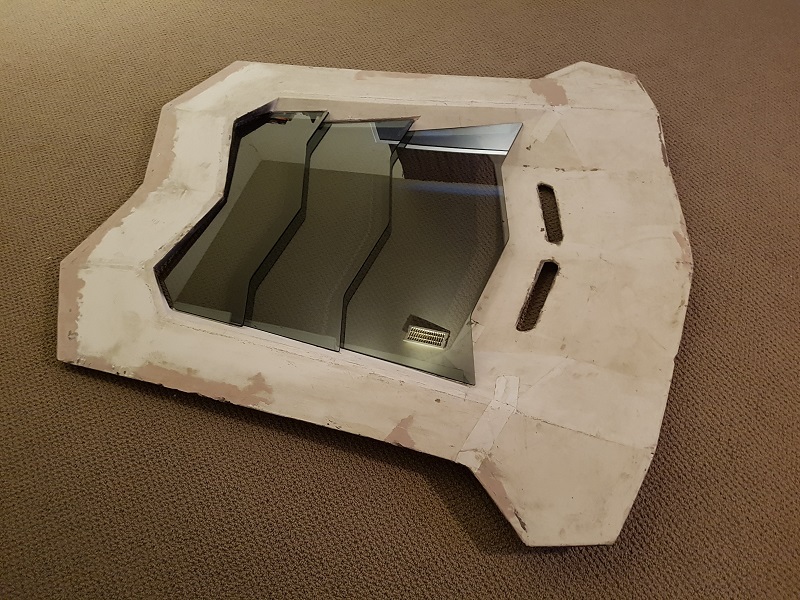
Here's a couple pics of the glass sitting on the hatch. The pieces fit really well for a first try. I'll still need to sand away a couple of interference points and then the glass can be properly aligned so the overhangs are correct. I'll do all the hatch bodywork before securing the glass.
|
|
|
|
Neils88
|
JAN 20, 09:52 PM
|
|
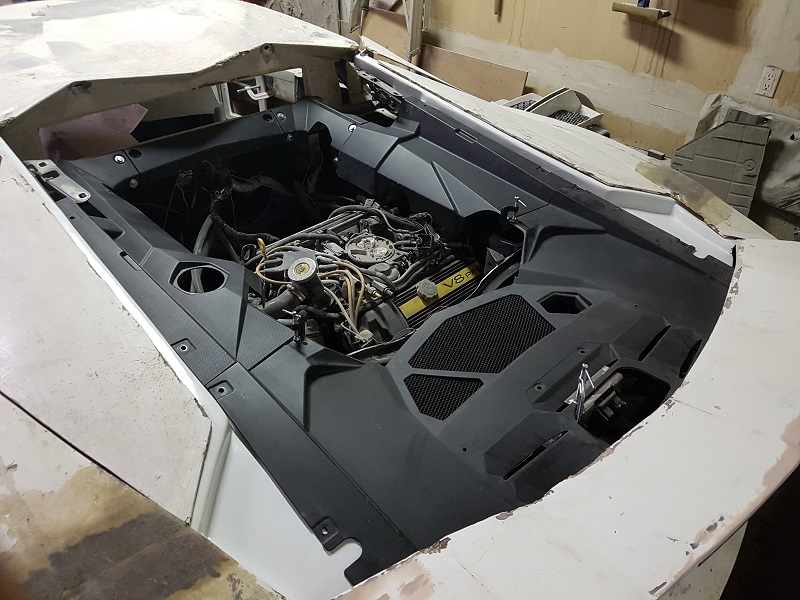
The full engine bay trim is now lined up and ready to be bolted in place. Unfortunately the plastic clips I was planning on using don't seem to work. The oem cam-lock screws and hardware are great, but they are quite expensive so I'll have to find another option. You'd think it would be easy to find simple black screws/bolts that fit.... 
|
|
|
|
pcgold
|
JAN 21, 11:34 AM
|
|
|
|
|
RUNDLC
|
JAN 21, 04:46 PM
|
|
|
Just read this thread front to back, wow my friend you've got some serious skilzz
|
|
|
|
Neils88
|
JAN 21, 07:03 PM
|
|
Thanks pcgold! I originally tried to use plastic clips similar to ones in the kit you referenced. Unfortunately, they didn't work well on all points and I'll need something that does a better job of clamping. I'll either use black button head bolts or be forced to break down and buy the oem cam-locks.
| quote | Originally posted by RUNDLC:
Just read this thread front to back, wow my friend you've got some serious skilzz |
|
Thanks RUNDLC!
|
|
|
|
Neils88
|
JAN 27, 10:28 PM
|
|
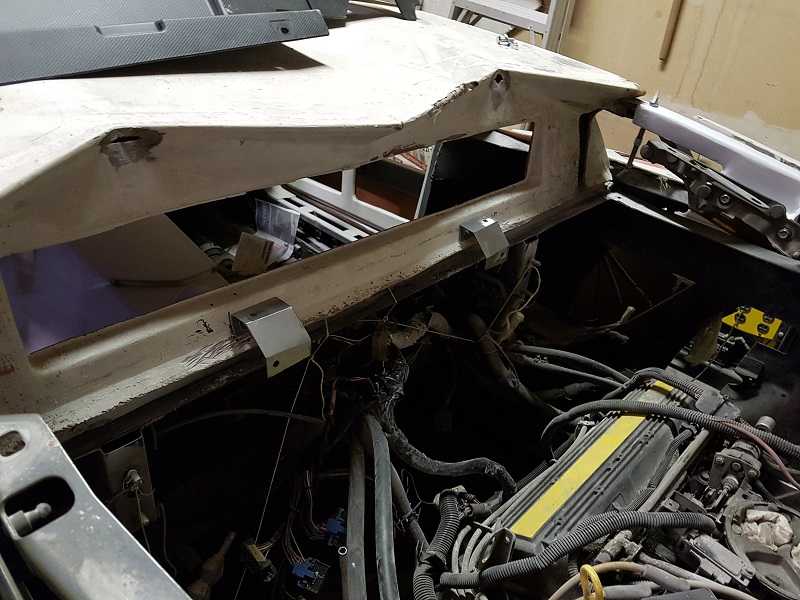
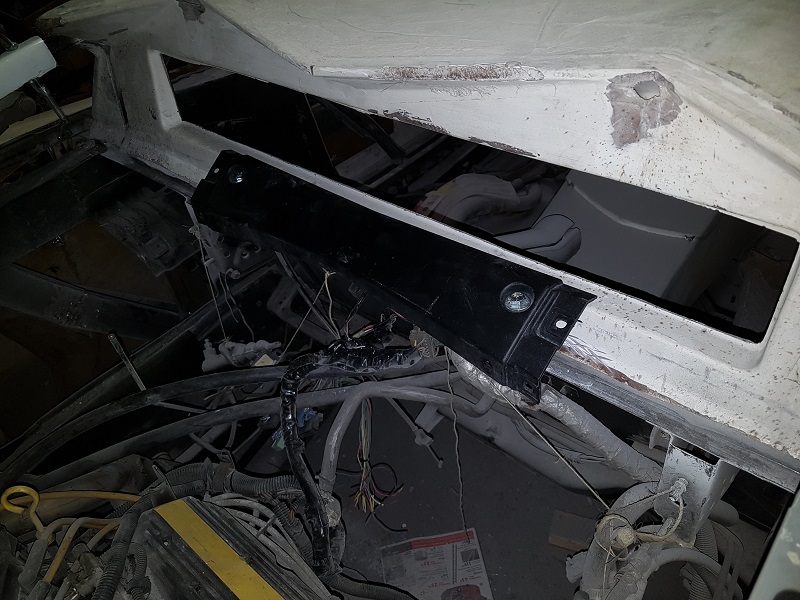
The engine trim looked good sitting in place, but it still required a couple of brackets to be attached below the rear window to mount the center trim piece. It's amazing how simple brackets can end up taking half a day to build and put in place... 
|
|
|
|
Neils88
|
FEB 03, 08:48 PM
|
|
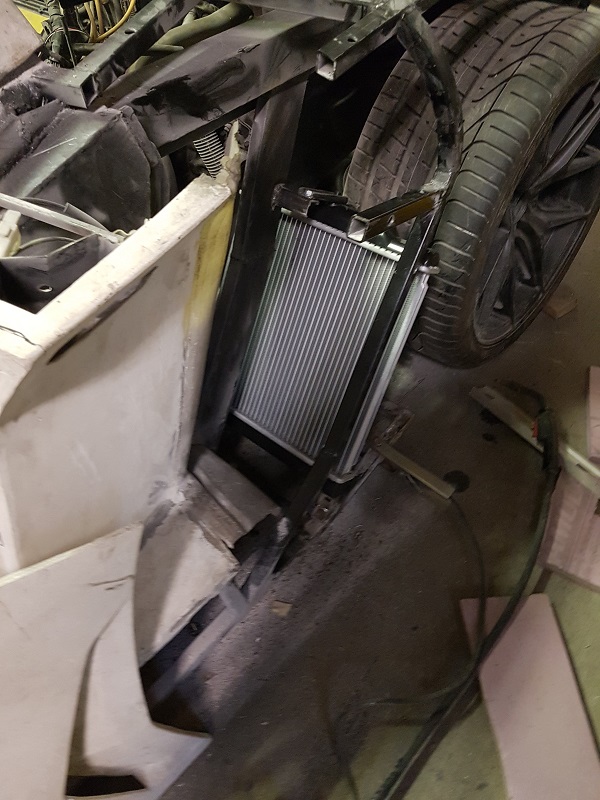
I have decided to use a different radiator than I had originally planned (shown earlier in the build thread). The spacing was just too tight above and below the radiator, and I would have had to make a large notch in the frame rail on the passenger side. So, instead of those ones, I picked up a couple of smaller Honda civic radiators to use as "disposable" templates (the stock ones are really cheap). Once everything is finished I will swap them out for some high performance radiators (with shrouds and fans). In the meantime, I need the radiators in place to finish everything in the area and guaranteed they'll end up beaten and bashed.
I finished the mounting brackets and installed both radiators (driver's side shown in picture below). I still need to add a little rubber on the mounting points.
|
|
|
|
Neils88
|
FEB 10, 09:38 PM
|
|
Quick update...no pics...
I built a center support bracket that sits just forward of the rear hatch latch. This bracket holds the middle of the large engine bay trim piece in place and eliminates the sagging. I've also put together some additional brackets that serve to adjust the taillight alignment and lock the taillights in place. However, while putting those together, I found the right rear taillight needed to be shifted out about 1/2". This was a tougher alignment adjustment since the taillight sits in a fiberglass pocket that is bonded to the bumper. Unfortunately, the only way to adjust it was to cut the pocket off and re-fiberglass it back to the bumper.
|
|
|


