|
| Neil's Aventador build (Page 62/74) |

|
Neils88
|
DEC 03, 07:50 PM
|
|
Getting a little closer with the rear hatch. I've finished with installing the core, the inner fiberglass layers and an initial Bondo layer. I've also ordered custom cut glass panels for the hatch. They have a complex profile so it took a while for me to find a shop that could cut and temper them from the MDF templates I made up.
|
|

|
motoracer838
|
DEC 04, 05:30 PM
|
|
|
|
|
Neils88
|
DEC 04, 06:15 PM
|
|
| quote | Originally posted by motoracer838:
Lookin' good.
Joe |
|
Thanks Joe! 
|
|
|
|
wftb
|
DEC 05, 09:52 AM
|
|
|
Great work I have been following a long time. But that spoiler is amazing!
|
|
|
|
Neils88
|
DEC 06, 08:58 PM
|
|
| quote | Originally posted by wftb:
Great work I have been following a long time. But that spoiler is amazing! |
|
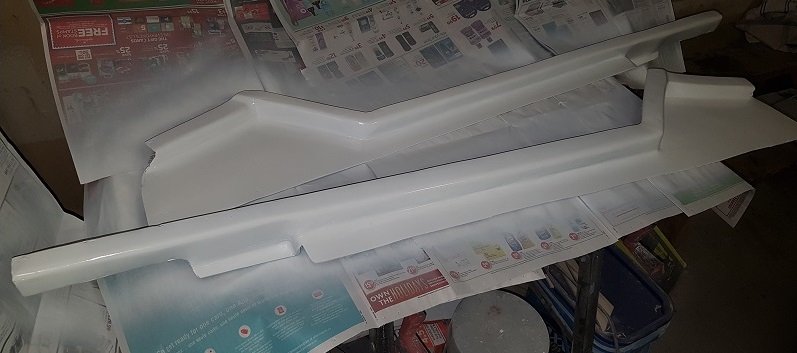
Thanks!! I'm really happy with how the spoiler came out in the end. I must remember to take a better video of it though.
|
|
|
|
Neils88
|
DEC 09, 05:05 PM
|
|
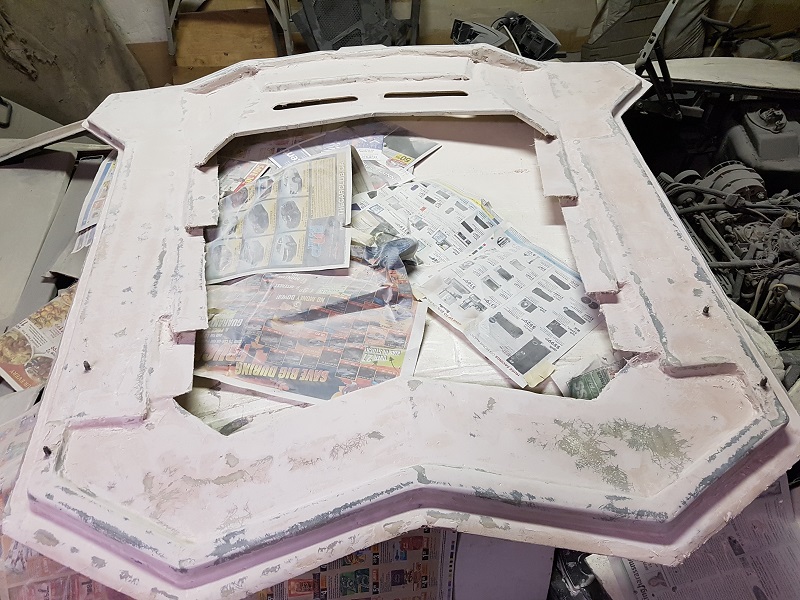
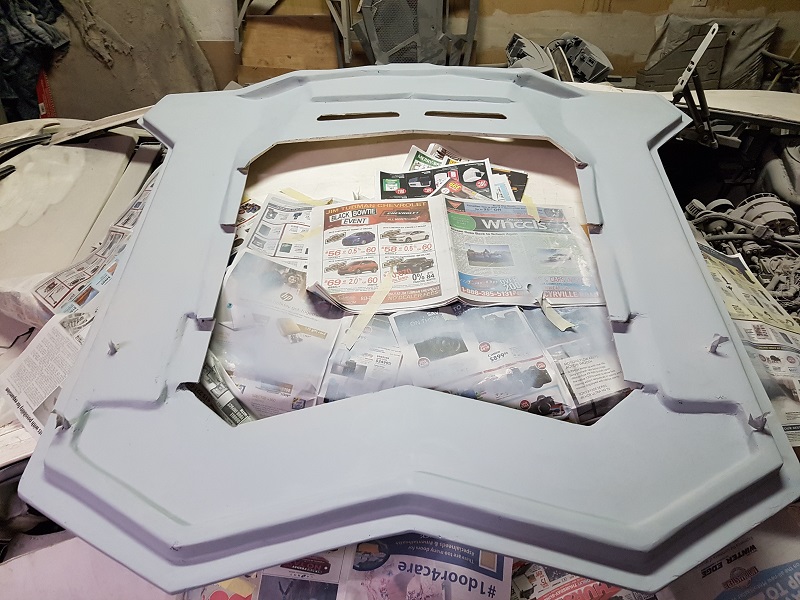
The hatch is almost ready now. Of course there are still lots of minor imperfections that will need to be filled. The ledges are cut straight and to the correct thickness.
|
|
|
|
Neils88
|
DEC 16, 08:11 PM
|
|
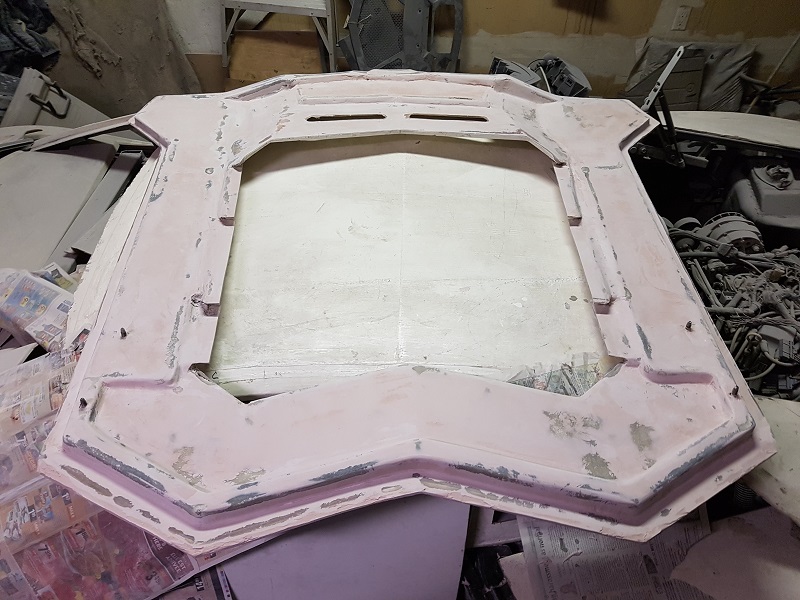
I sanded down the hatch's inside surface and gave it a quick coat of primer. I still have a number of imperfections that will need some attention.
|
|
|
|
Neils88
|
DEC 26, 08:45 PM
|
|
Happy holidays to everyone!!
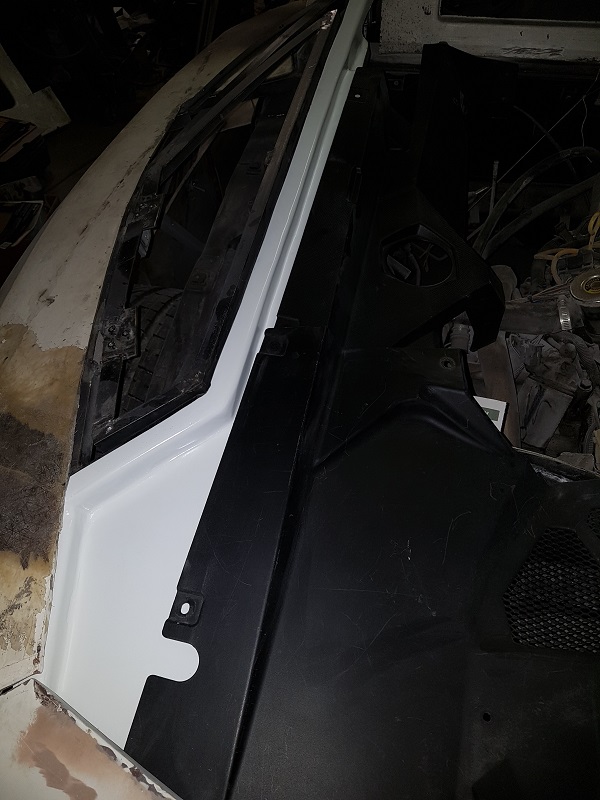
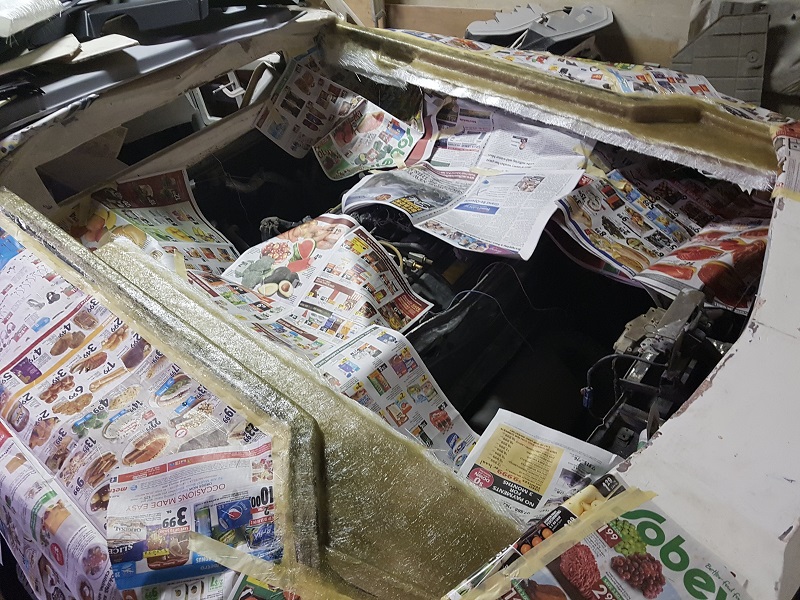
I started to do some interesting fiberglassing work around the engine bay. These two pieces are used to cover the framing and also become a mounting point for the engine bay trim pieces. These two pieces still need to be finished (trimmed and smoothed out with a little bondo). I had to remove the alternator and belt tensioner since they interfered with everything. I'll need to find a new spot to mount the items I removed. Of course I'll have to pull the engine to do that...damn. Think I'll procrastinate on that for a while, lol. When I do finally get around to pulling the engine again, I'll also mount the AC compressor.

|
|
|
|
Neils88
|
JAN 03, 11:18 PM
|
|
|
|
|
shemdogg
|
JAN 05, 12:43 PM
|
|
bro that looks awesome!
shem
|
|
|