|
| HELP -1988 GT V8 Swap - Oil Pressure, Water Temperature, and Gas Gauges Not Working (Page 5/5) |

|
V8Steve
|
JAN 25, 05:44 PM
|
|
All bulbs from Rodney plus all other bulbs replaced. Correct temperature sensors installed and wired correctly. Will reconnect dash from my kitchen table to the car and then start the car to verify the water temperature works correctly. Thanks to Joe and Jack.
Then I will check all lights, dimmer, etc. to make sure EVERYTHING works before I reinstall the cluster for hopefully the last time. After that comes the new clutch banjo from Rodney to adjust the new F40. Finally will be the handbrake adjustment and the solution to the serpentine walking off.
|
|
|
|
olejoedad
|
JAN 25, 06:19 PM
|
|
|
Great news, hope it all works as it should!
|
|
|
|
V8Steve
|
JAN 26, 05:13 PM
|
|
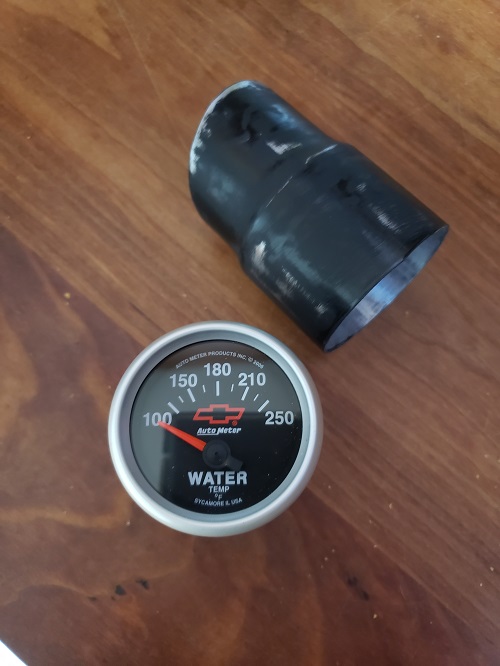
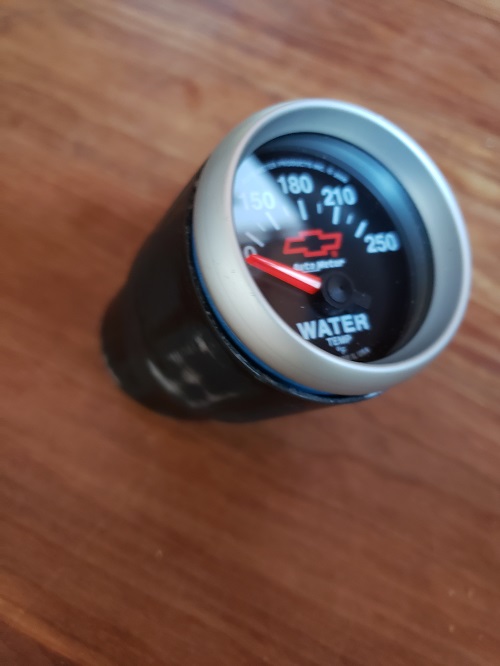
Today I reconnected the cluster and started the car. The temperature gauge was showing around 230/240 and the fan was running. I connected a laptop to the Holley multiport and it said the coolant temperature was around 190. The Holley controls the fan and it's set to turn on at 195F and off at 185F. I could watch the rpm, manifold air temperature, and coolant temperature while the car was running.
I tend to believe what the laptop is telling me more than the old Fiero dash gauge. Both the Holley and the Fiero sending units are new and both are placed nearby in the V8 intake manifold. The chassis dyno shop told me the car never ran over 190 during their testing so, again, I believe that more than the dash gauge.
So, is it possible or worthwhile to recalibrate the dash gauge?
All other bulbs, directional, etc. seem to be working. Headlights work but struggle to lift and then give up and flop down. Another thing to learn and fix.
|
|
|
|
Gall757
|
JAN 26, 05:29 PM
|
|
|
not sure how the sensors work on your V8, but you can just re-set the needle on the gauge. Sometimes it slips. [This message has been edited by Gall757 (edited 01-26-2020).]
|
|
|
|
V8Steve
|
JAN 28, 08:36 PM
|
|
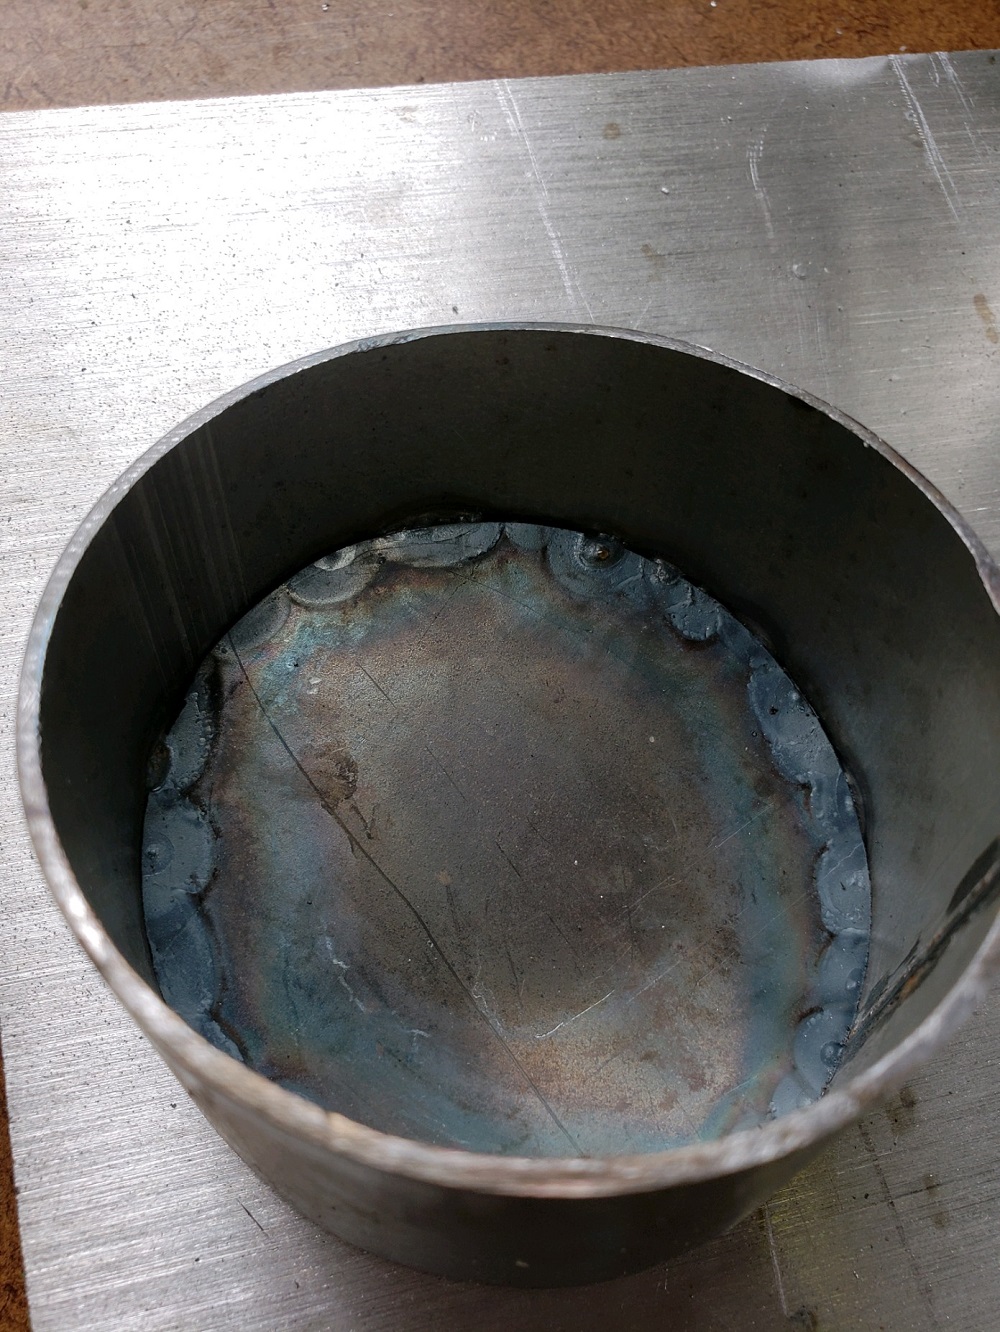
Today I removed the cluster AGAIN and removed the temperature and fuel gage unit to send out to another PFF member for checking and calibration. It's not easy to remove the cluster in a cold shop when your breath clouds up the windshield!
New dash cluster bulbs arrived from Rodney and made huge difference. Night time display was perfect. Six speed sticker arrived from Rodney, too.
Meanwhile this thread seems to contain unrelated but maybe helpful topics like this: In another thread during the initial powering up of the resurrection of this project, the heater blower resistor ignited a fire and I thought the whole barn and car would go up in smoke due to mouse nests. So now I need source a new blower motor and wheel as well as disassemble/clean that front hood panel.
Calipers are all rebuilt along with new e-brake cables but I have trouble adjusting the e-brake. I bought a cheap door spring compressor tool and for under $10 and it's a real time saver. Next step is to check and re-clock the actuator screws.
F40 - The master cylinder is extended out with spacers to the limit but chassis dyno shop thinks maybe over extended TOB in F40. Am not sure, so I ordered an adjustable clutch banjo rod from Rodney and take of that issue too. I think the chassis dyno shop was overly cautious but when you consider the labor to remove the drive train again to replace the TOB, now is the time to pay attention.
One headlight motor cannot sustain the erect position or reach it without flopping around. Ordered two kits from Rodney.
Once all the lights and gauges work along with e-brake, I'll be ready to register the car and drive it, BUT....in MA we need a front plate. I will weld/fabricate a mounting device that will extend from under the car to the nose, possibly offset like my daily driver/company car. Maybe a new thread for the front plate mount.
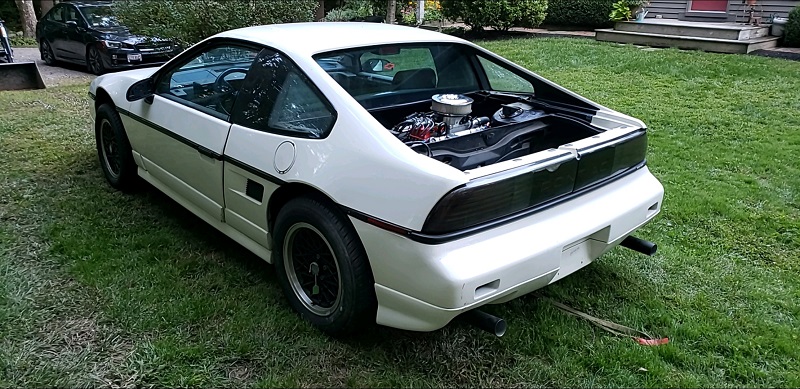
The good news is that the 355 with Holley multiport runs great, 320WHP, starts at 20F, smooth idle, etc. The custom motor was delivered roughly 2 years before the December startup. During that time the cylinders were injected with extra oil for protection and the motor was manually turned over during the course of the build on the bench. It's got some blow by coming from the valve cover vents and both the motor builder and the chassis dyno shop are confident the ring seating will resolve itself with more hours on the motor. They both have experience with blow by after storage. No smoke from pipes. The car is really awesome and will have no decals of any kind. I tried to mate the OEM twin tip outlets to the 2.5" diameter exhaust but a simple area calculation shows there's not enough flow area. So for now, it's just one simple pipe on each side.
Here's the car:
 [This message has been edited by V8Steve (edited 01-28-2020).]
|
|
|
|
V8Steve
|
MAY 10, 12:07 PM
|
|
|
|
|
V8Steve
|
MAY 25, 11:59 AM
|
|
Gas Gauge:
I finally pulled the tank and removed the entire sending unit. It has a new sending unit assembly from the Fiero Store. This is the one with the stainless steel tubes, float assembly, locking ring, rubber seal, etc.
I checked the ohms while moving the float up and down on the bench and all was OK. I noticed the pressed on retainer on the float shaft was pushed on too tight, not allowing the oblong shaped float to rotate freely. So, I thought I was all set. Put it back together and had a really difficult time with the rubber seal. It refuses to stay on center. Anyway, I did the best I could and then turned the tank upside down and gas was running right out. So, I started over again, recleaned the sealing surface with 220 grit until it was totally clean, tried to be sure the wandering rubber seal would stay in place, etc. The ohms were OK when upright with around a 1/2" of gas in the bottom. This time I put a pan under it and flipped over to watch it leak again. But ohms were still showing empty.
After researching this forum I became aware of 88 sender binding and note in box from FS, but I installed this in 2016 only got the car running a few months ago. All this time, the tank top was surely not sealed. After all, how many bother to turn the tank upside down to check for leaks?
I found a tip on the forum to tie fishing line to the float arm and install with no rubber seal. Yep, the float was binding so I bent the arm back little by little and kept reinstalling with no seal until it moved up and down freely and the ohms all checked out. Then I removed the fishing line and put the wandering rubber seal back in. It still leaks and the float is still hanging up. Even when I'd shake the upside down tank, no change in ohms, and no arm movement.
After more research, I discovered the correct rubber seal has three alignment tabs to keep it centered. FS store and others sell them. The correct seal is coming tomorrow. Am not sure why the correct seal was not included in the entire kit.
Meanwhile, maybe someone can help me figure out how far to bend the arm and figure out what's wrong here? I have a spare 88 tank and had both of them on the bench and they are both the same inside.[This message has been edited by V8Steve (edited 06-02-2020).]
|
|
|
|
V8Steve
|
JUN 02, 09:53 AM
|
|
|
|
|
V8Steve
|
JUN 05, 09:15 AM
|
|
|
This project is now closed out. All gauges are working. Thanks to everyone for helping me out. The final outcome of the factory temperature gauge was to take the face off the cluster, bring the car up to a stable operating temperature, and then put the needle on the corresponding temperature. I shut the car off, cooled it down, and checked again later.....all OK. Everything is now buttoned up.
|
|
|
|