|
| 88 GT 3800 L67 Swap and Restoration (Page 4/5) |

|
MichiganReefer
|
MAY 29, 10:59 AM
|
|
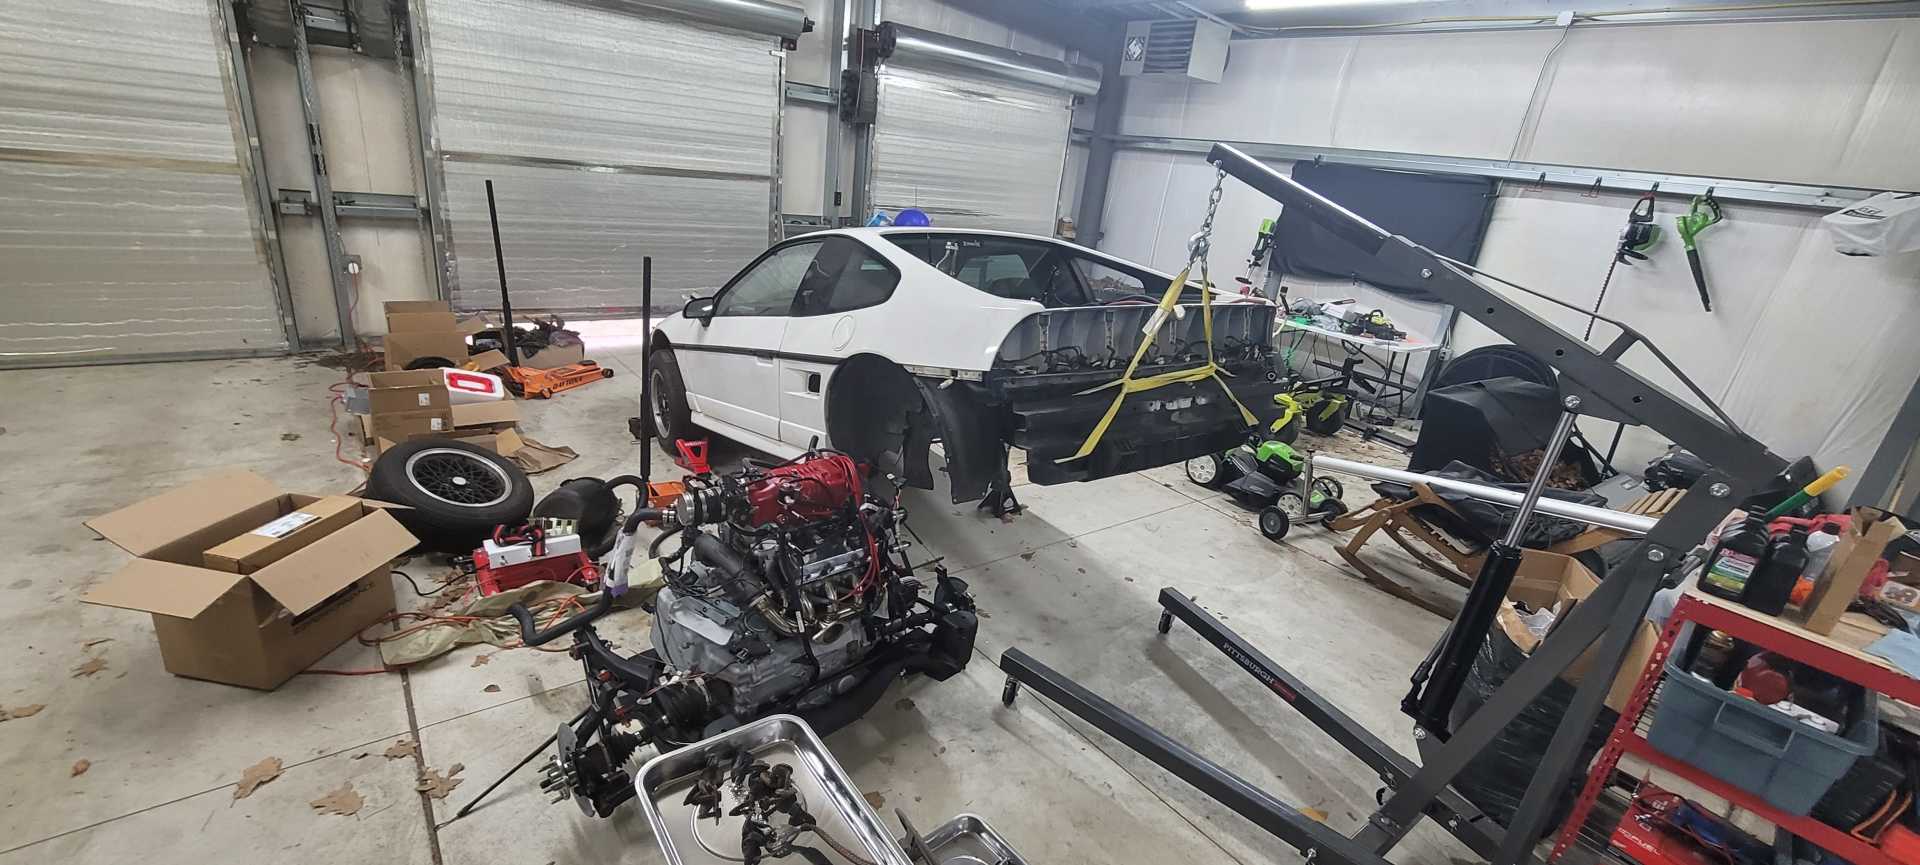
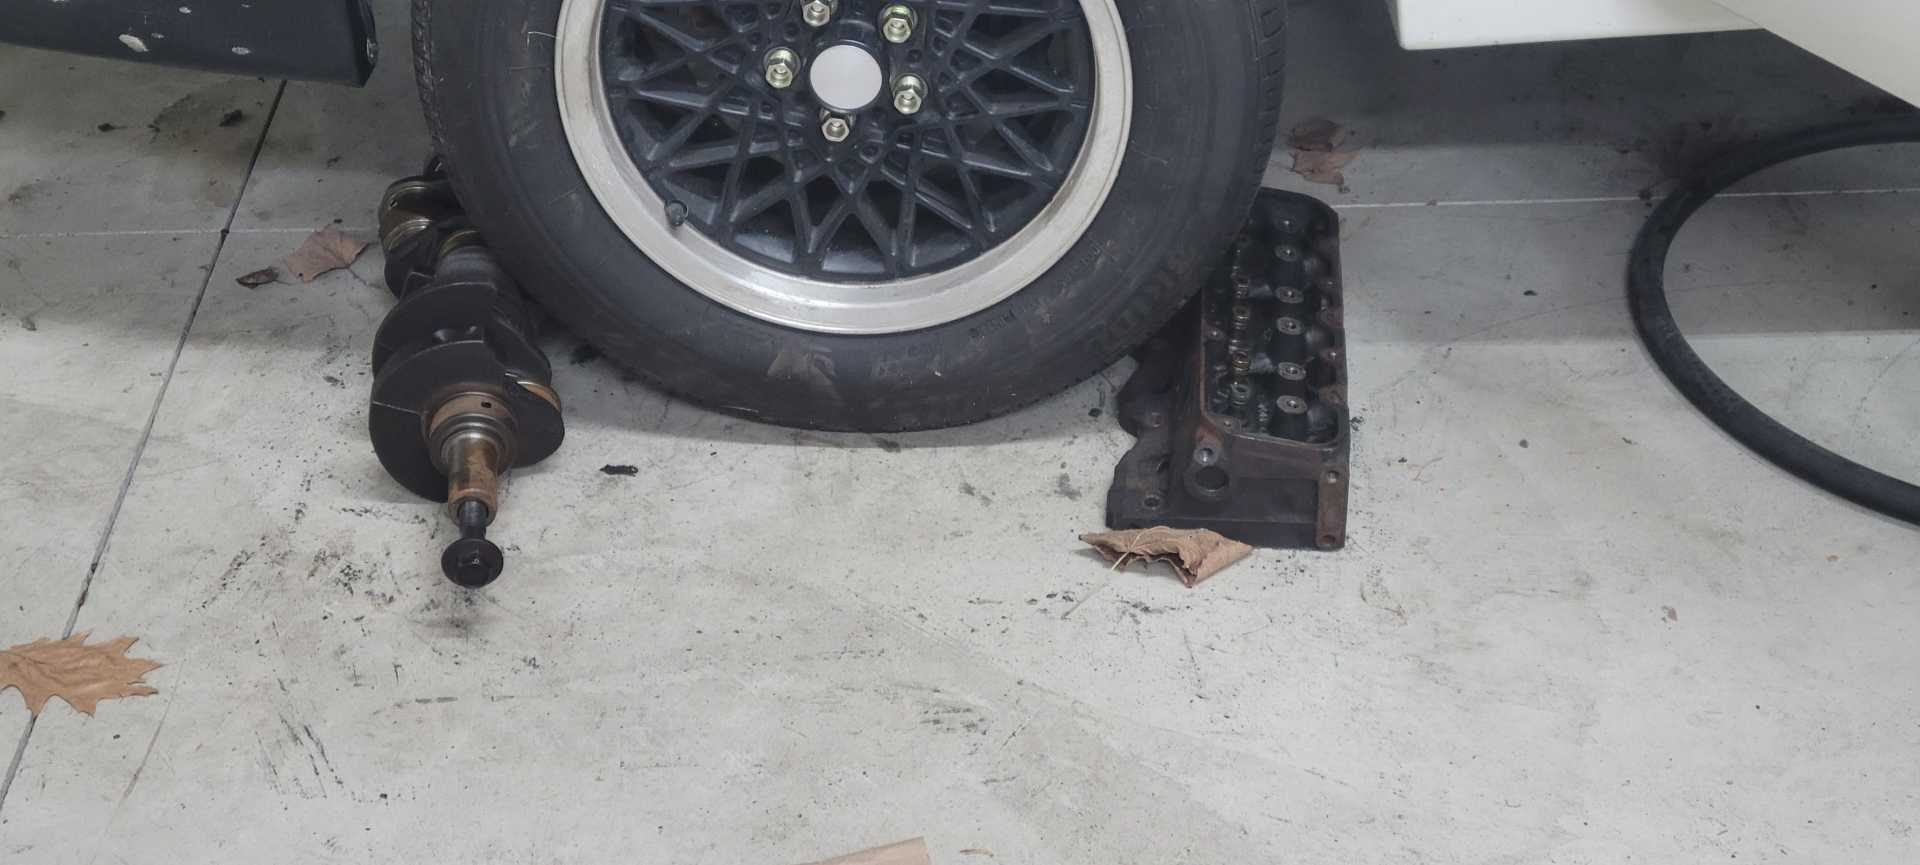
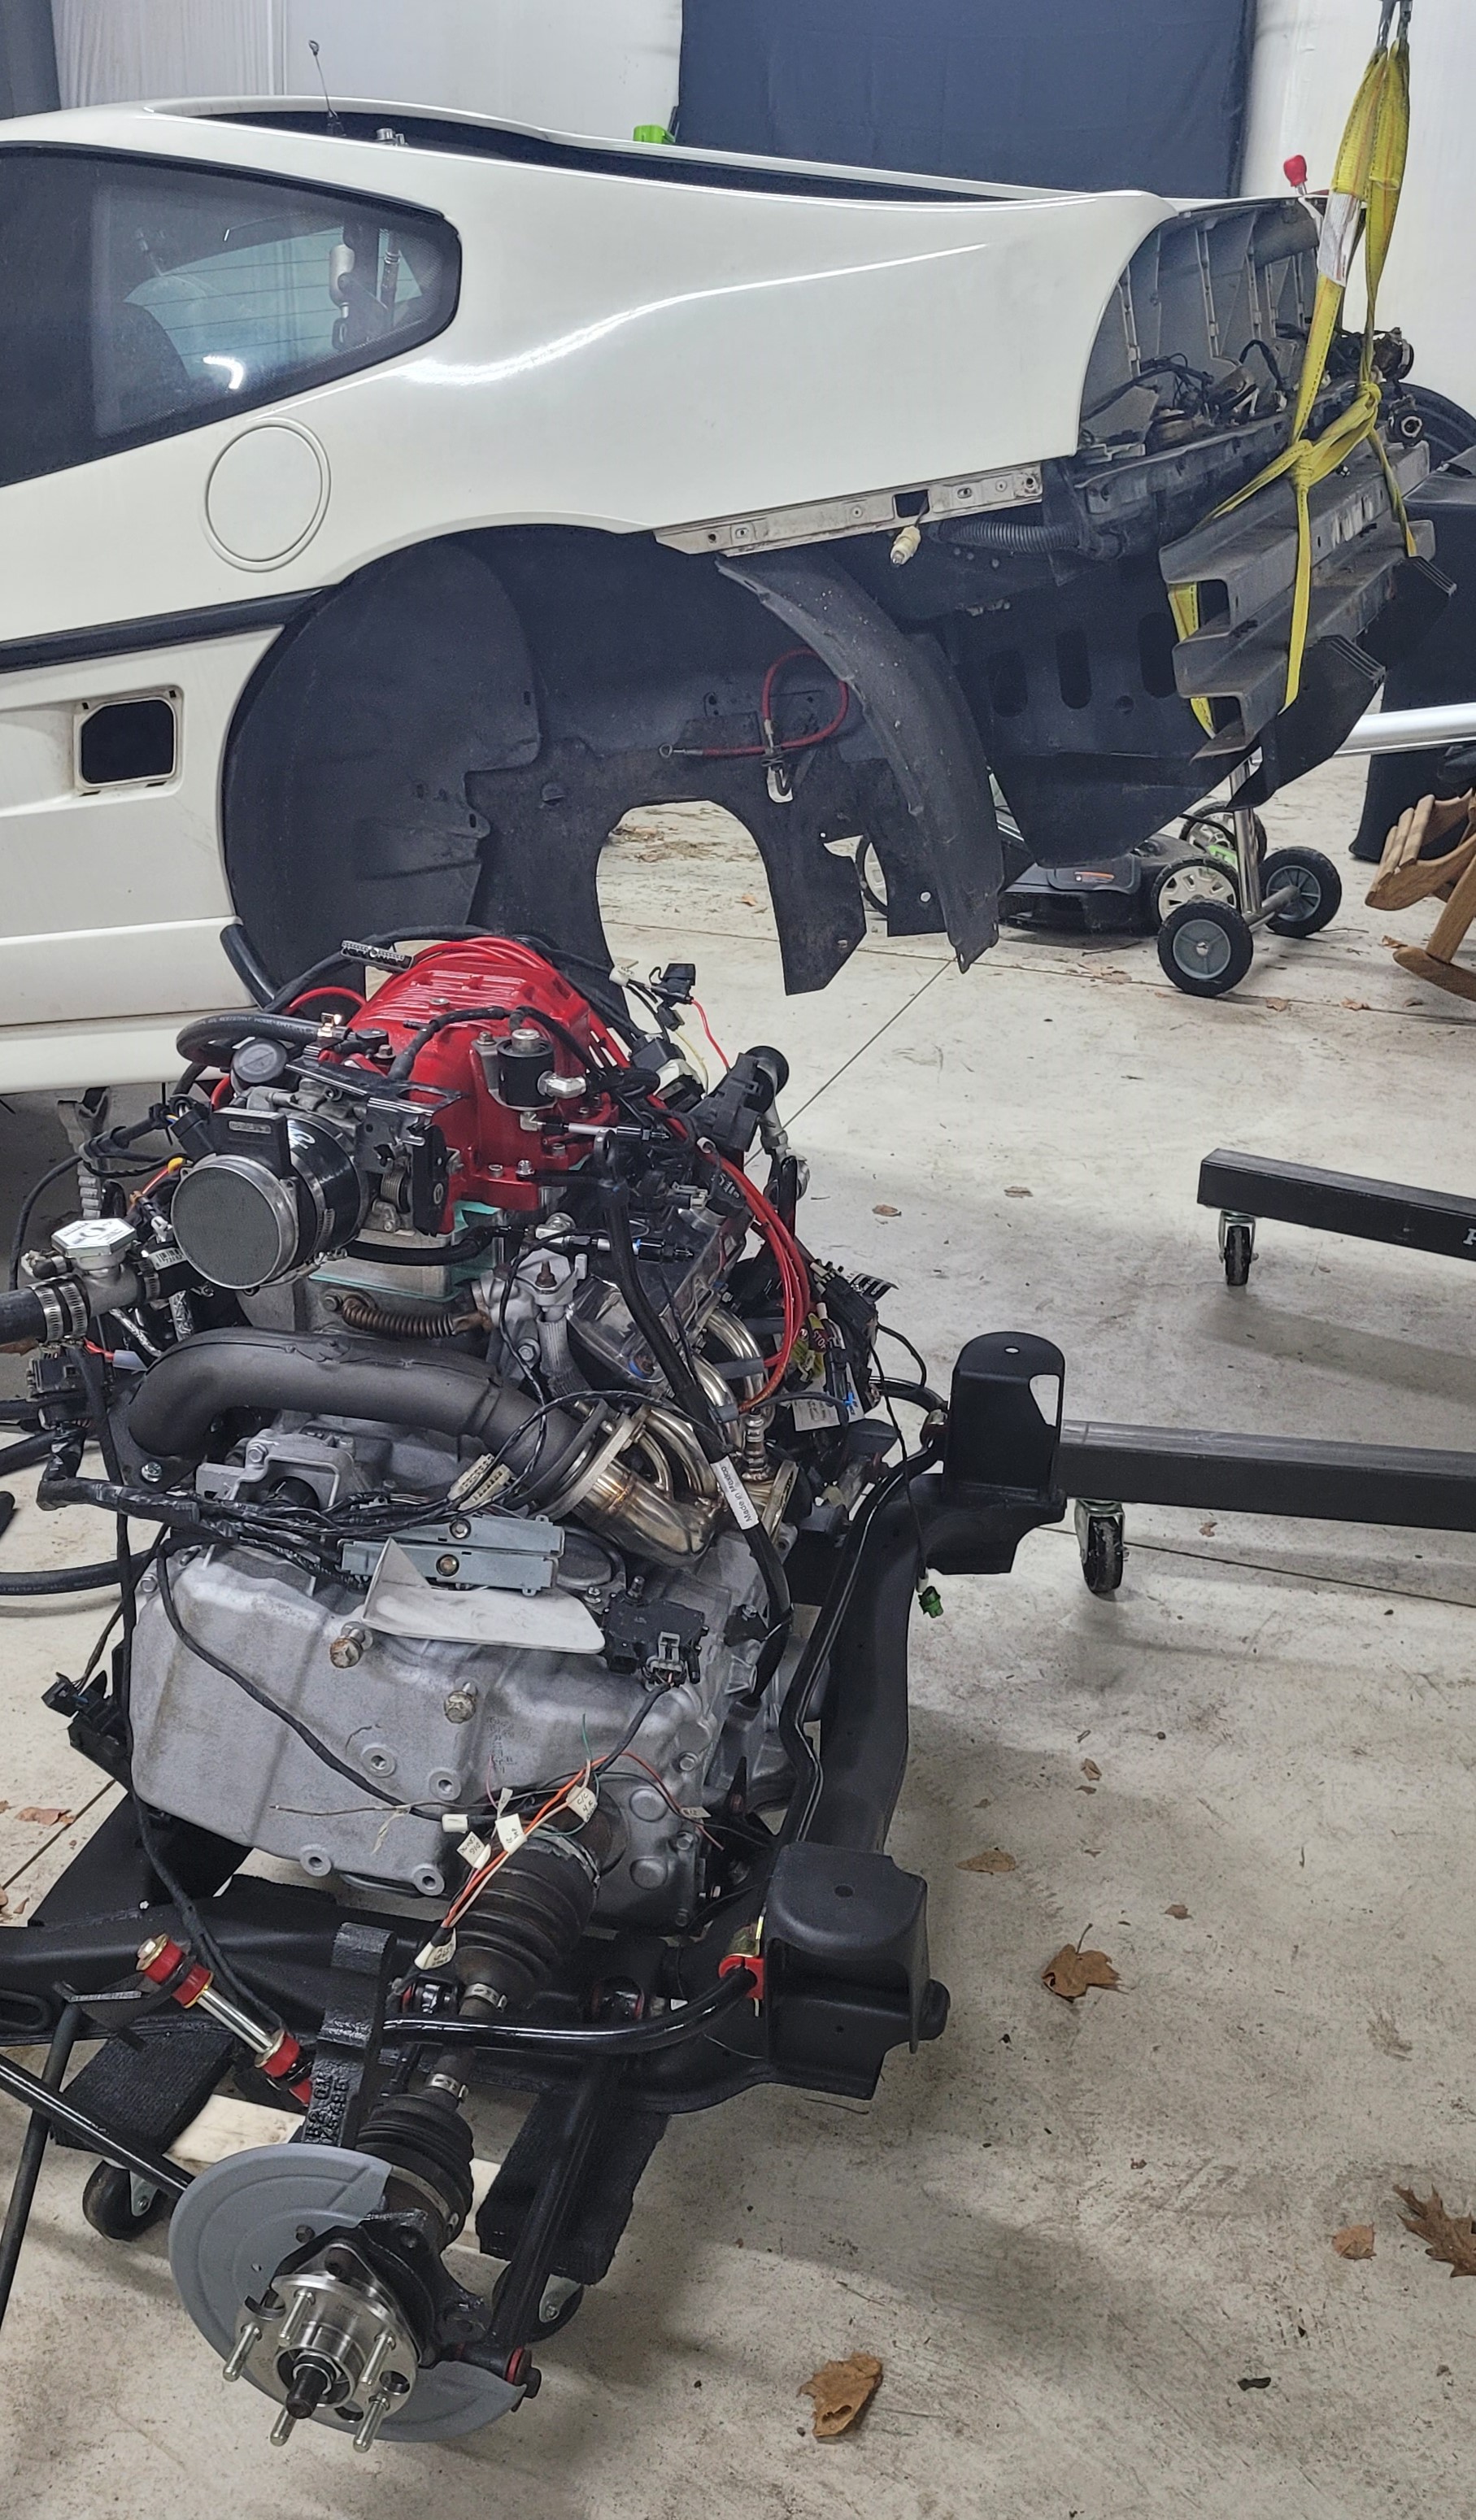
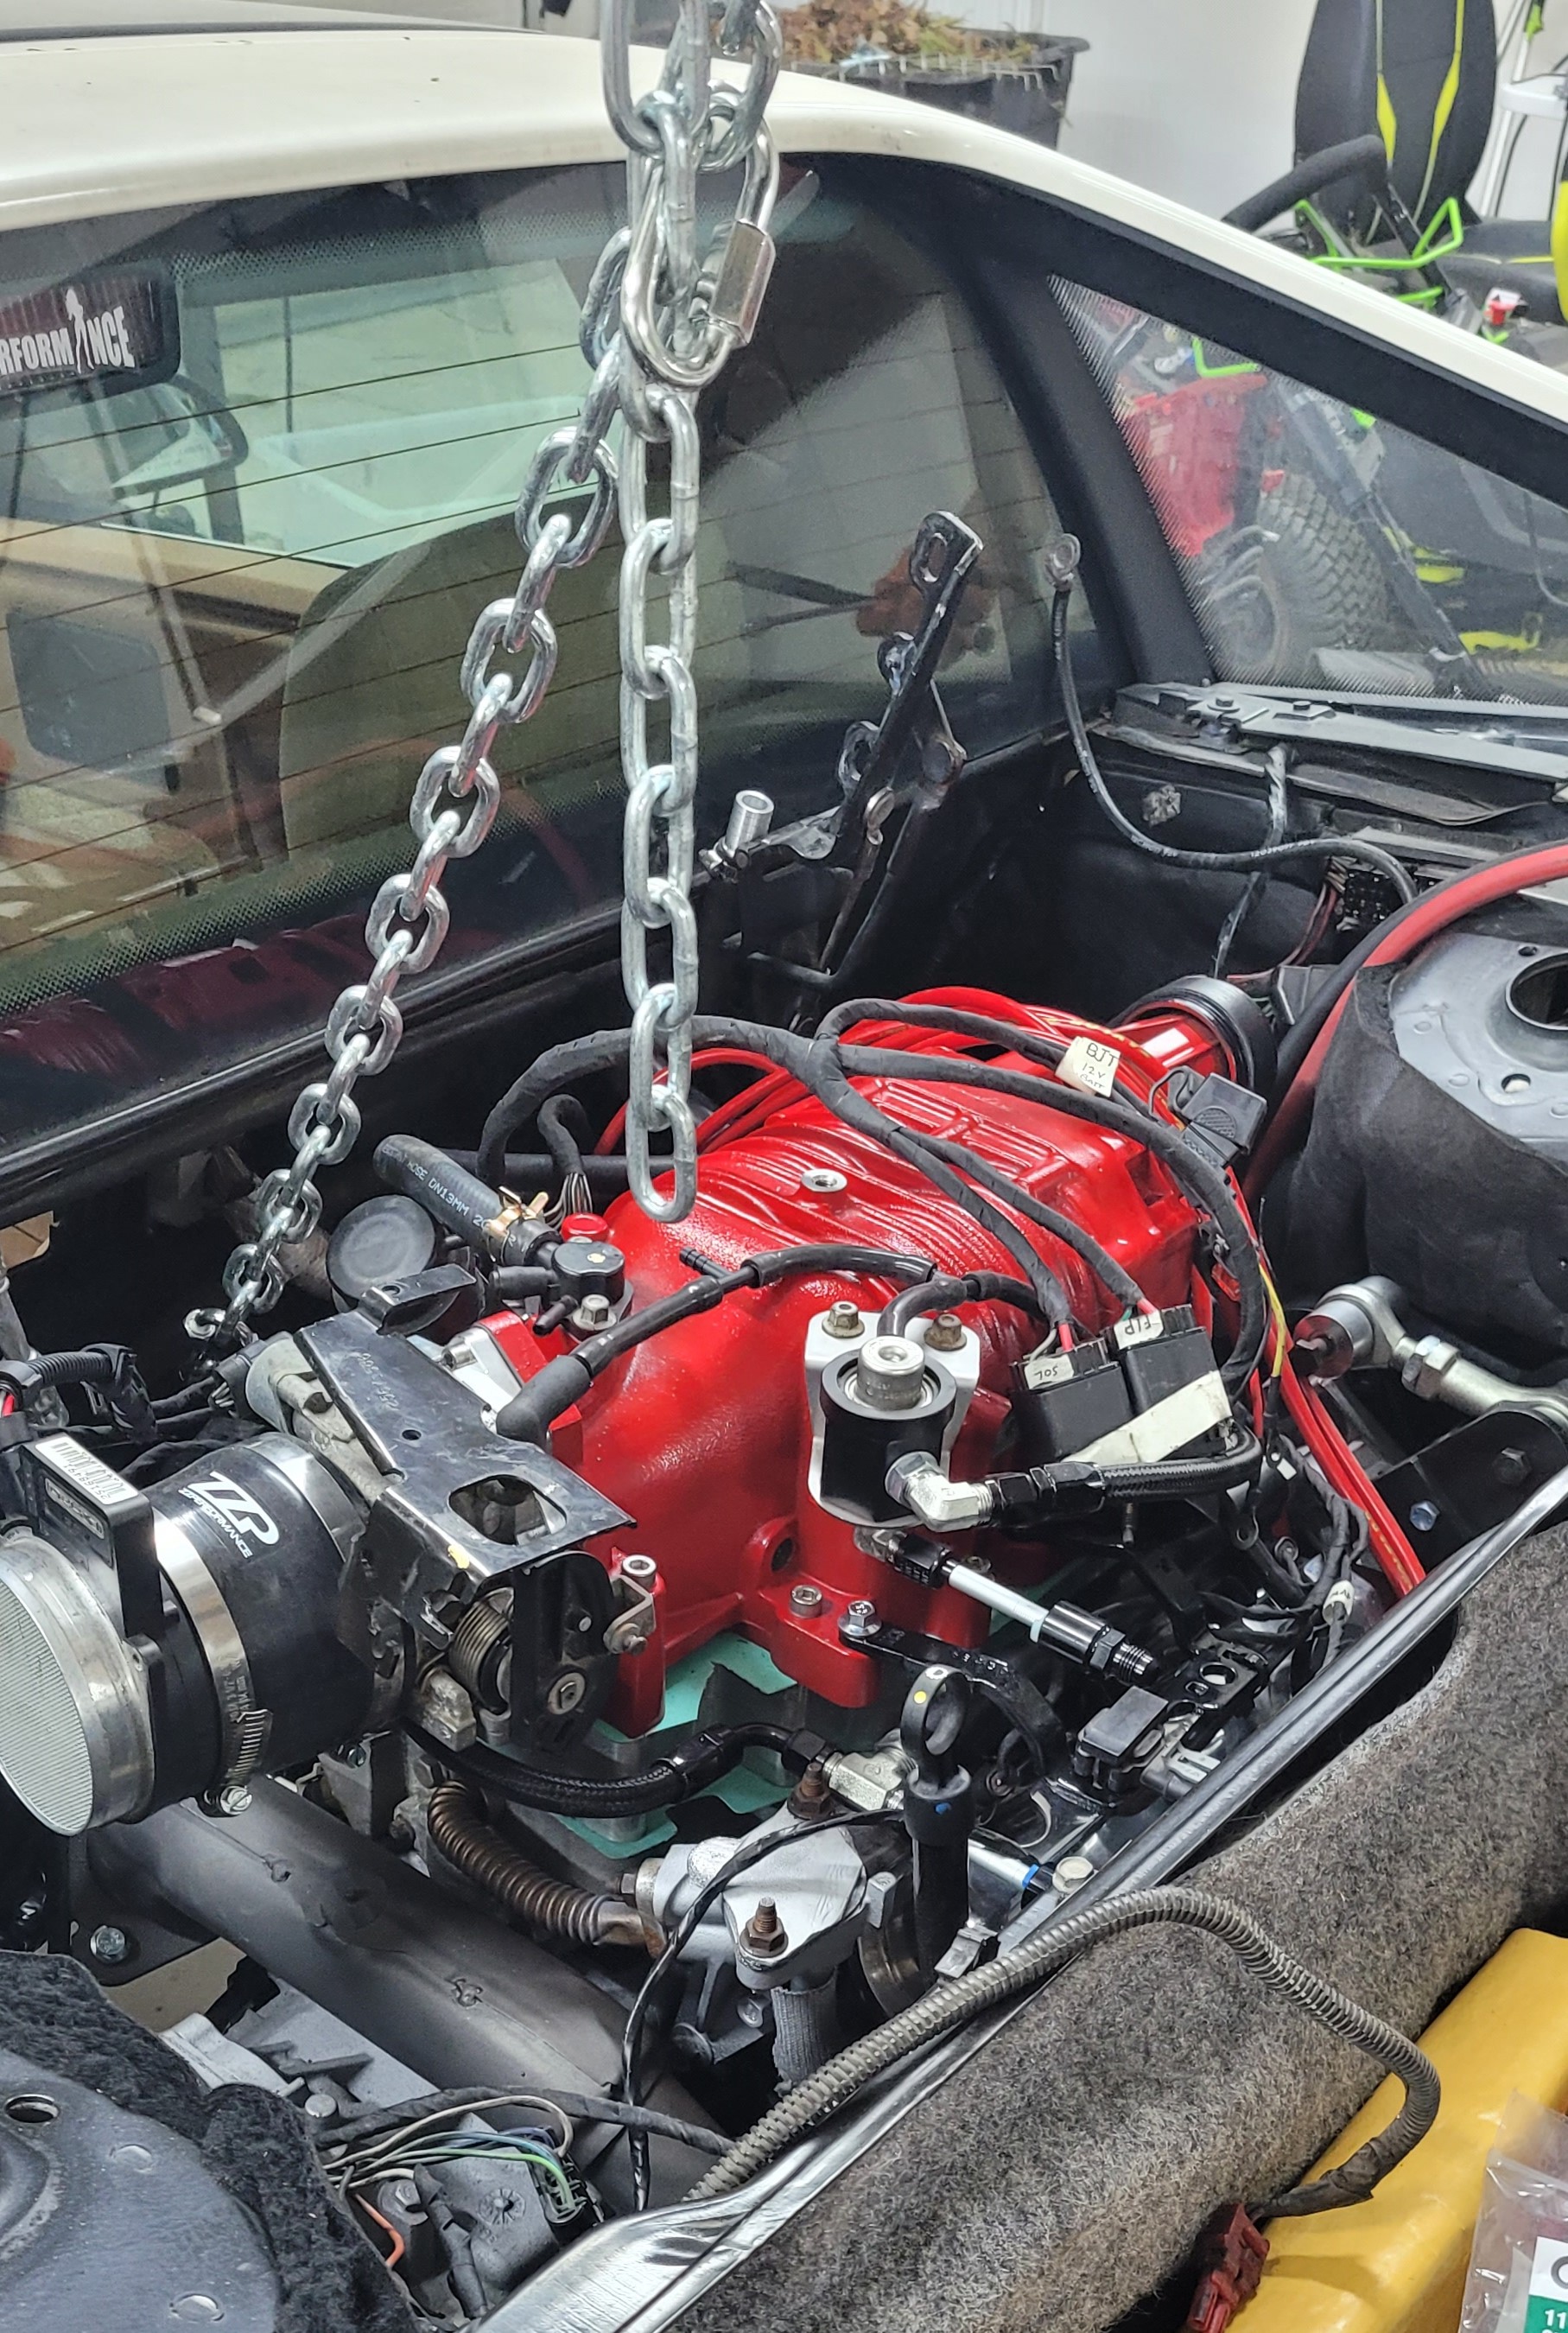
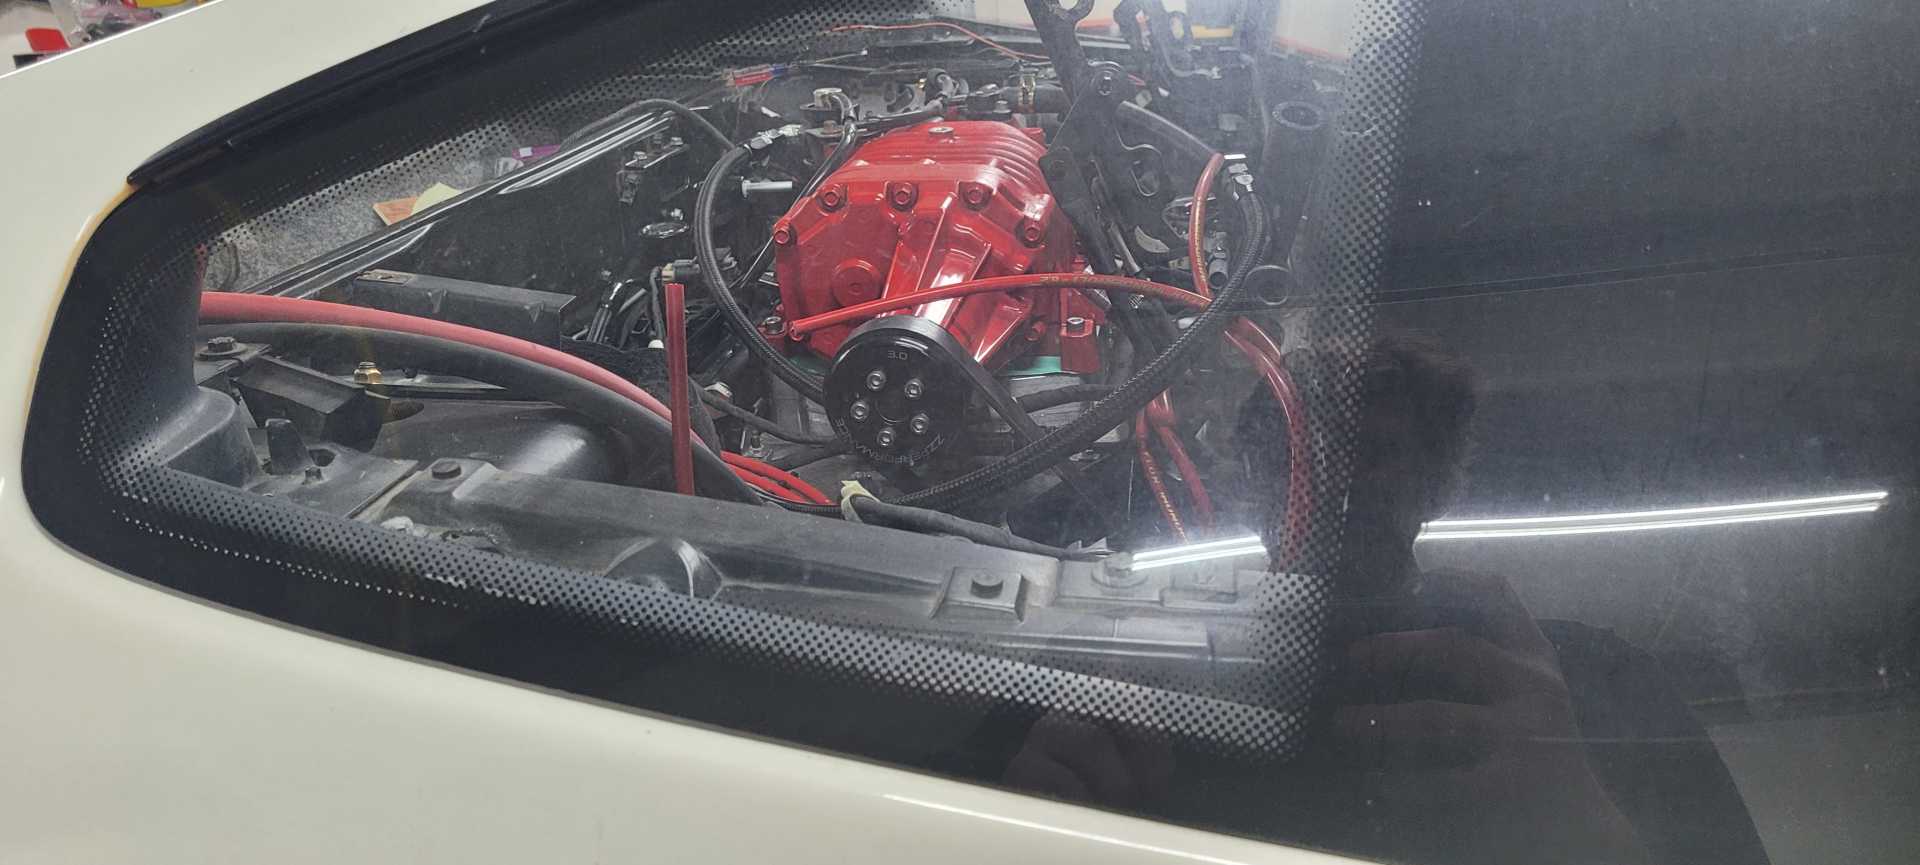
Well here we are a month past my expected completion date, and the cradle isn't yet in the car. First thing since the last update was getting the engine and transmission mated together and getting it all torqued to the rear cradle. We had to do some aligning with prybars to match the angles of the two going together, but it only took about 10 minutes to do. It went without a hitch and I'm very happy to have them together.
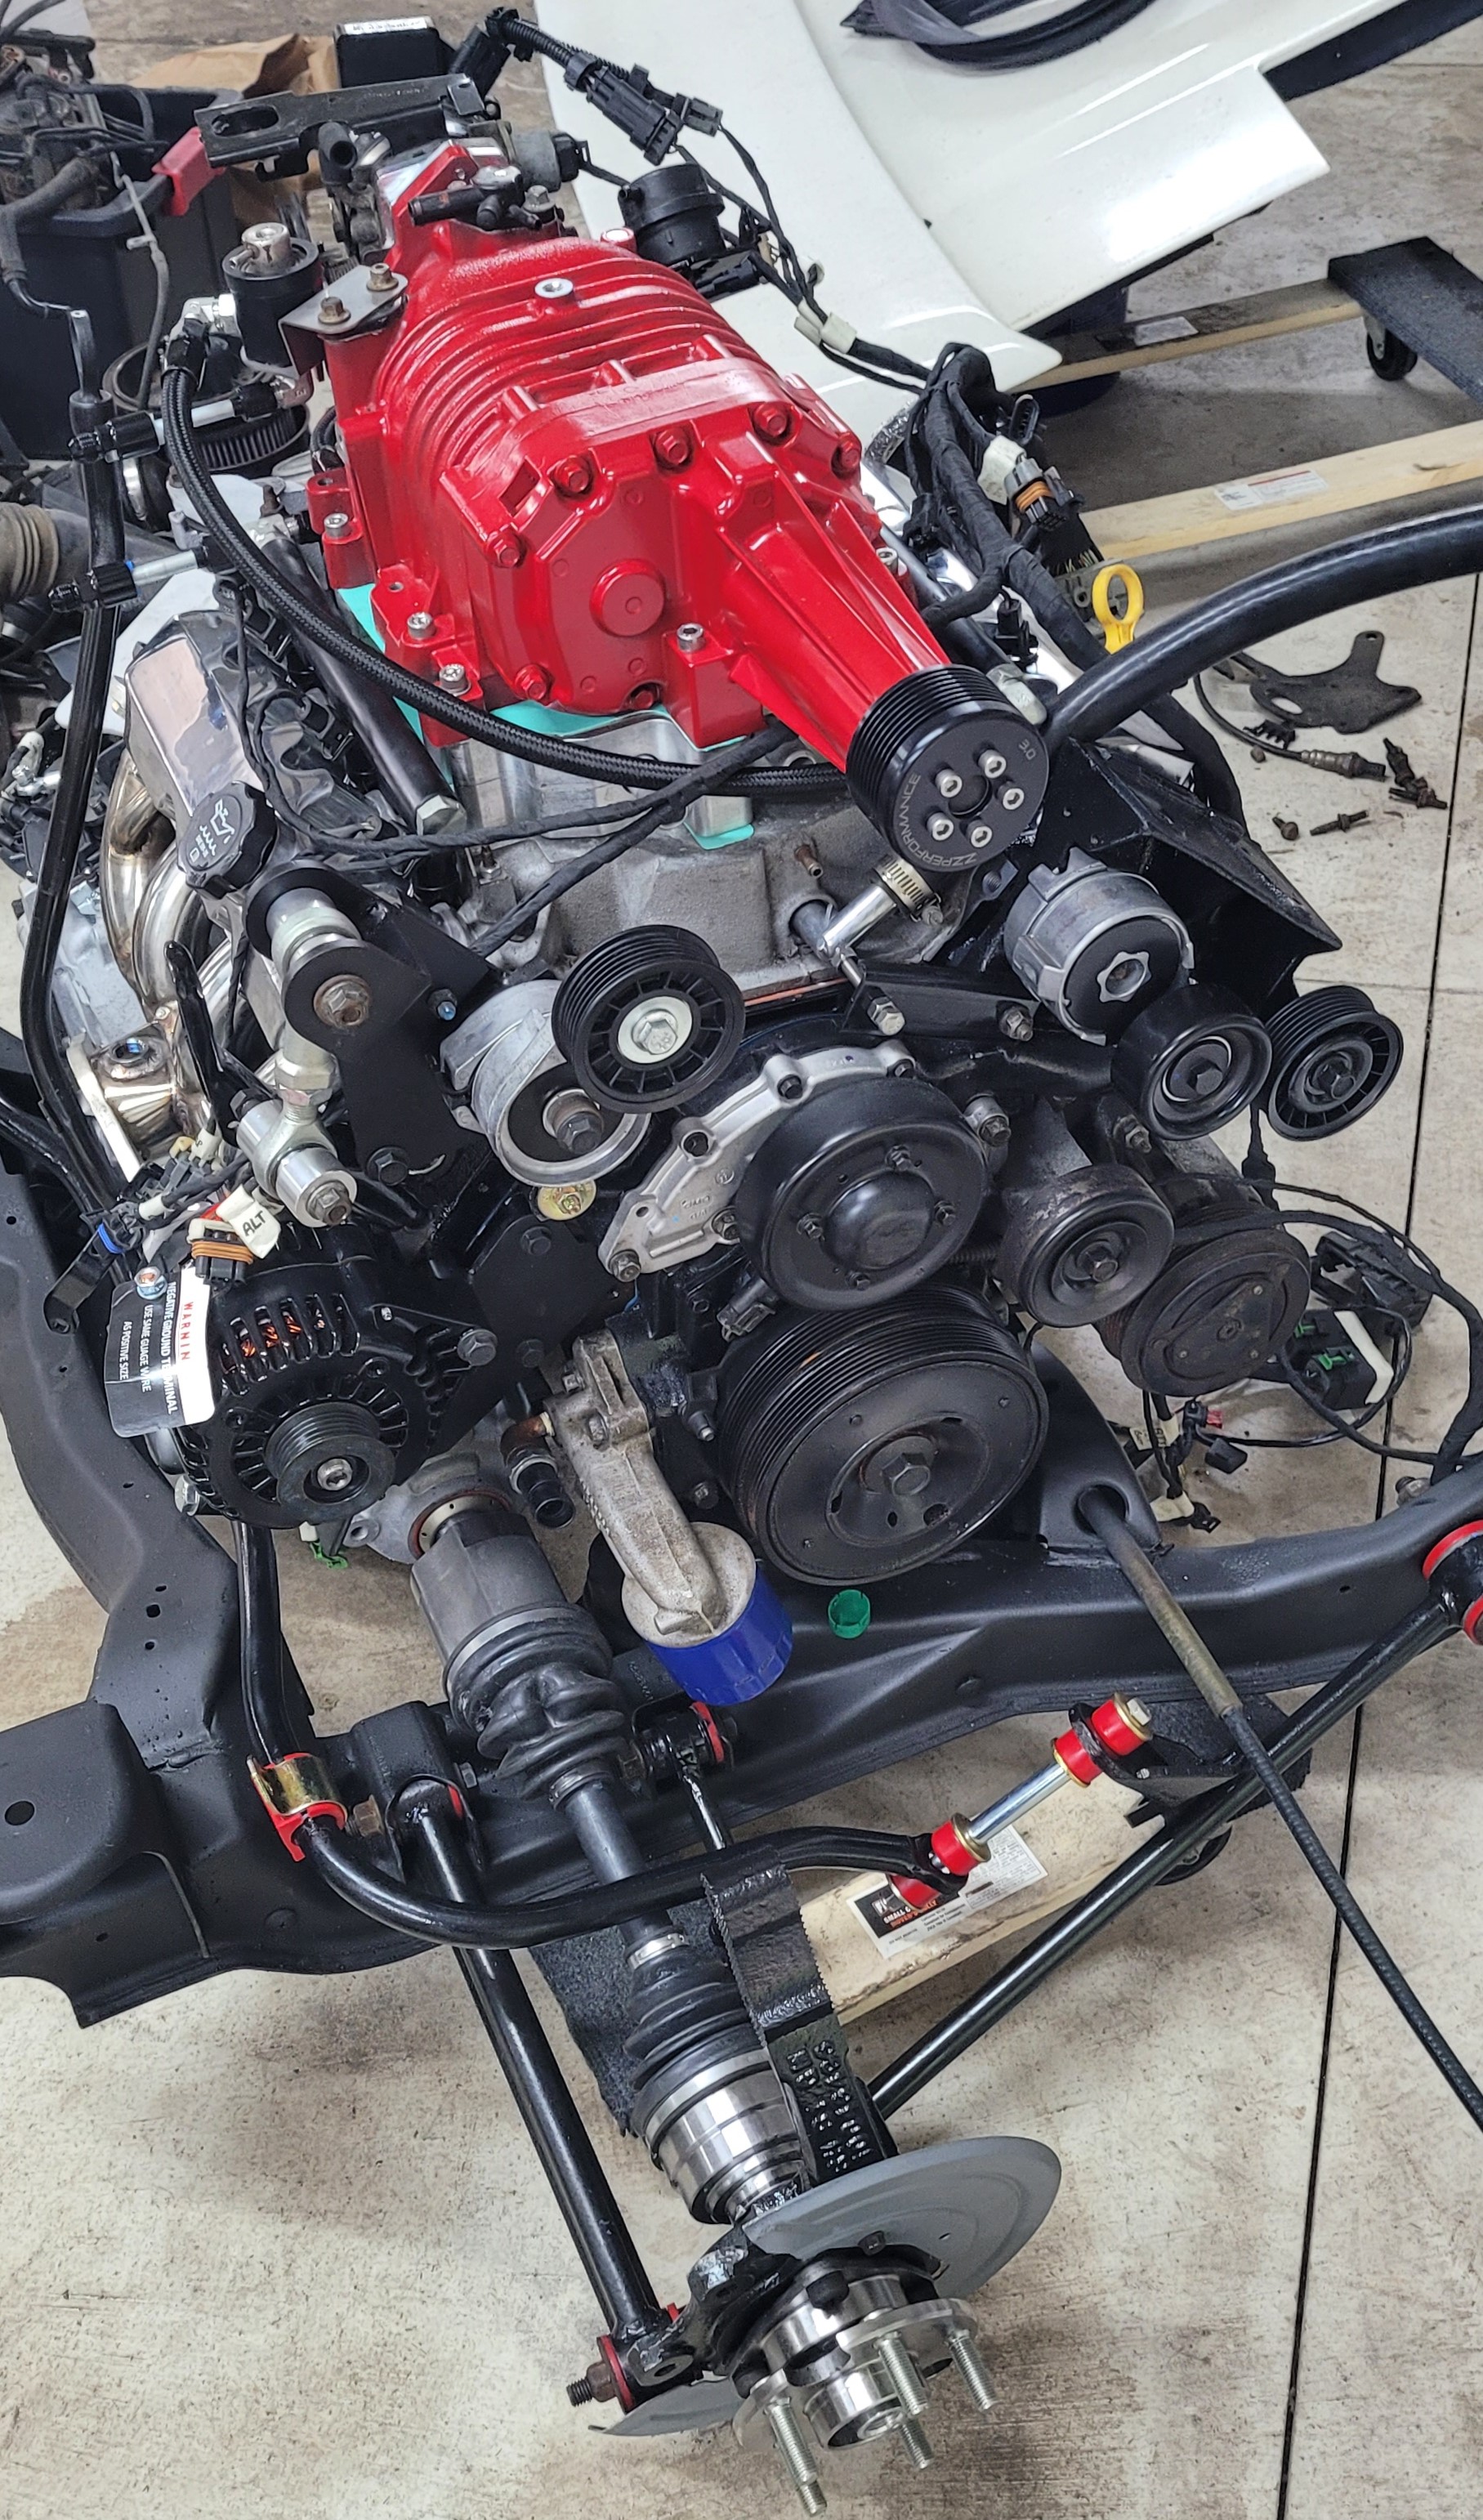
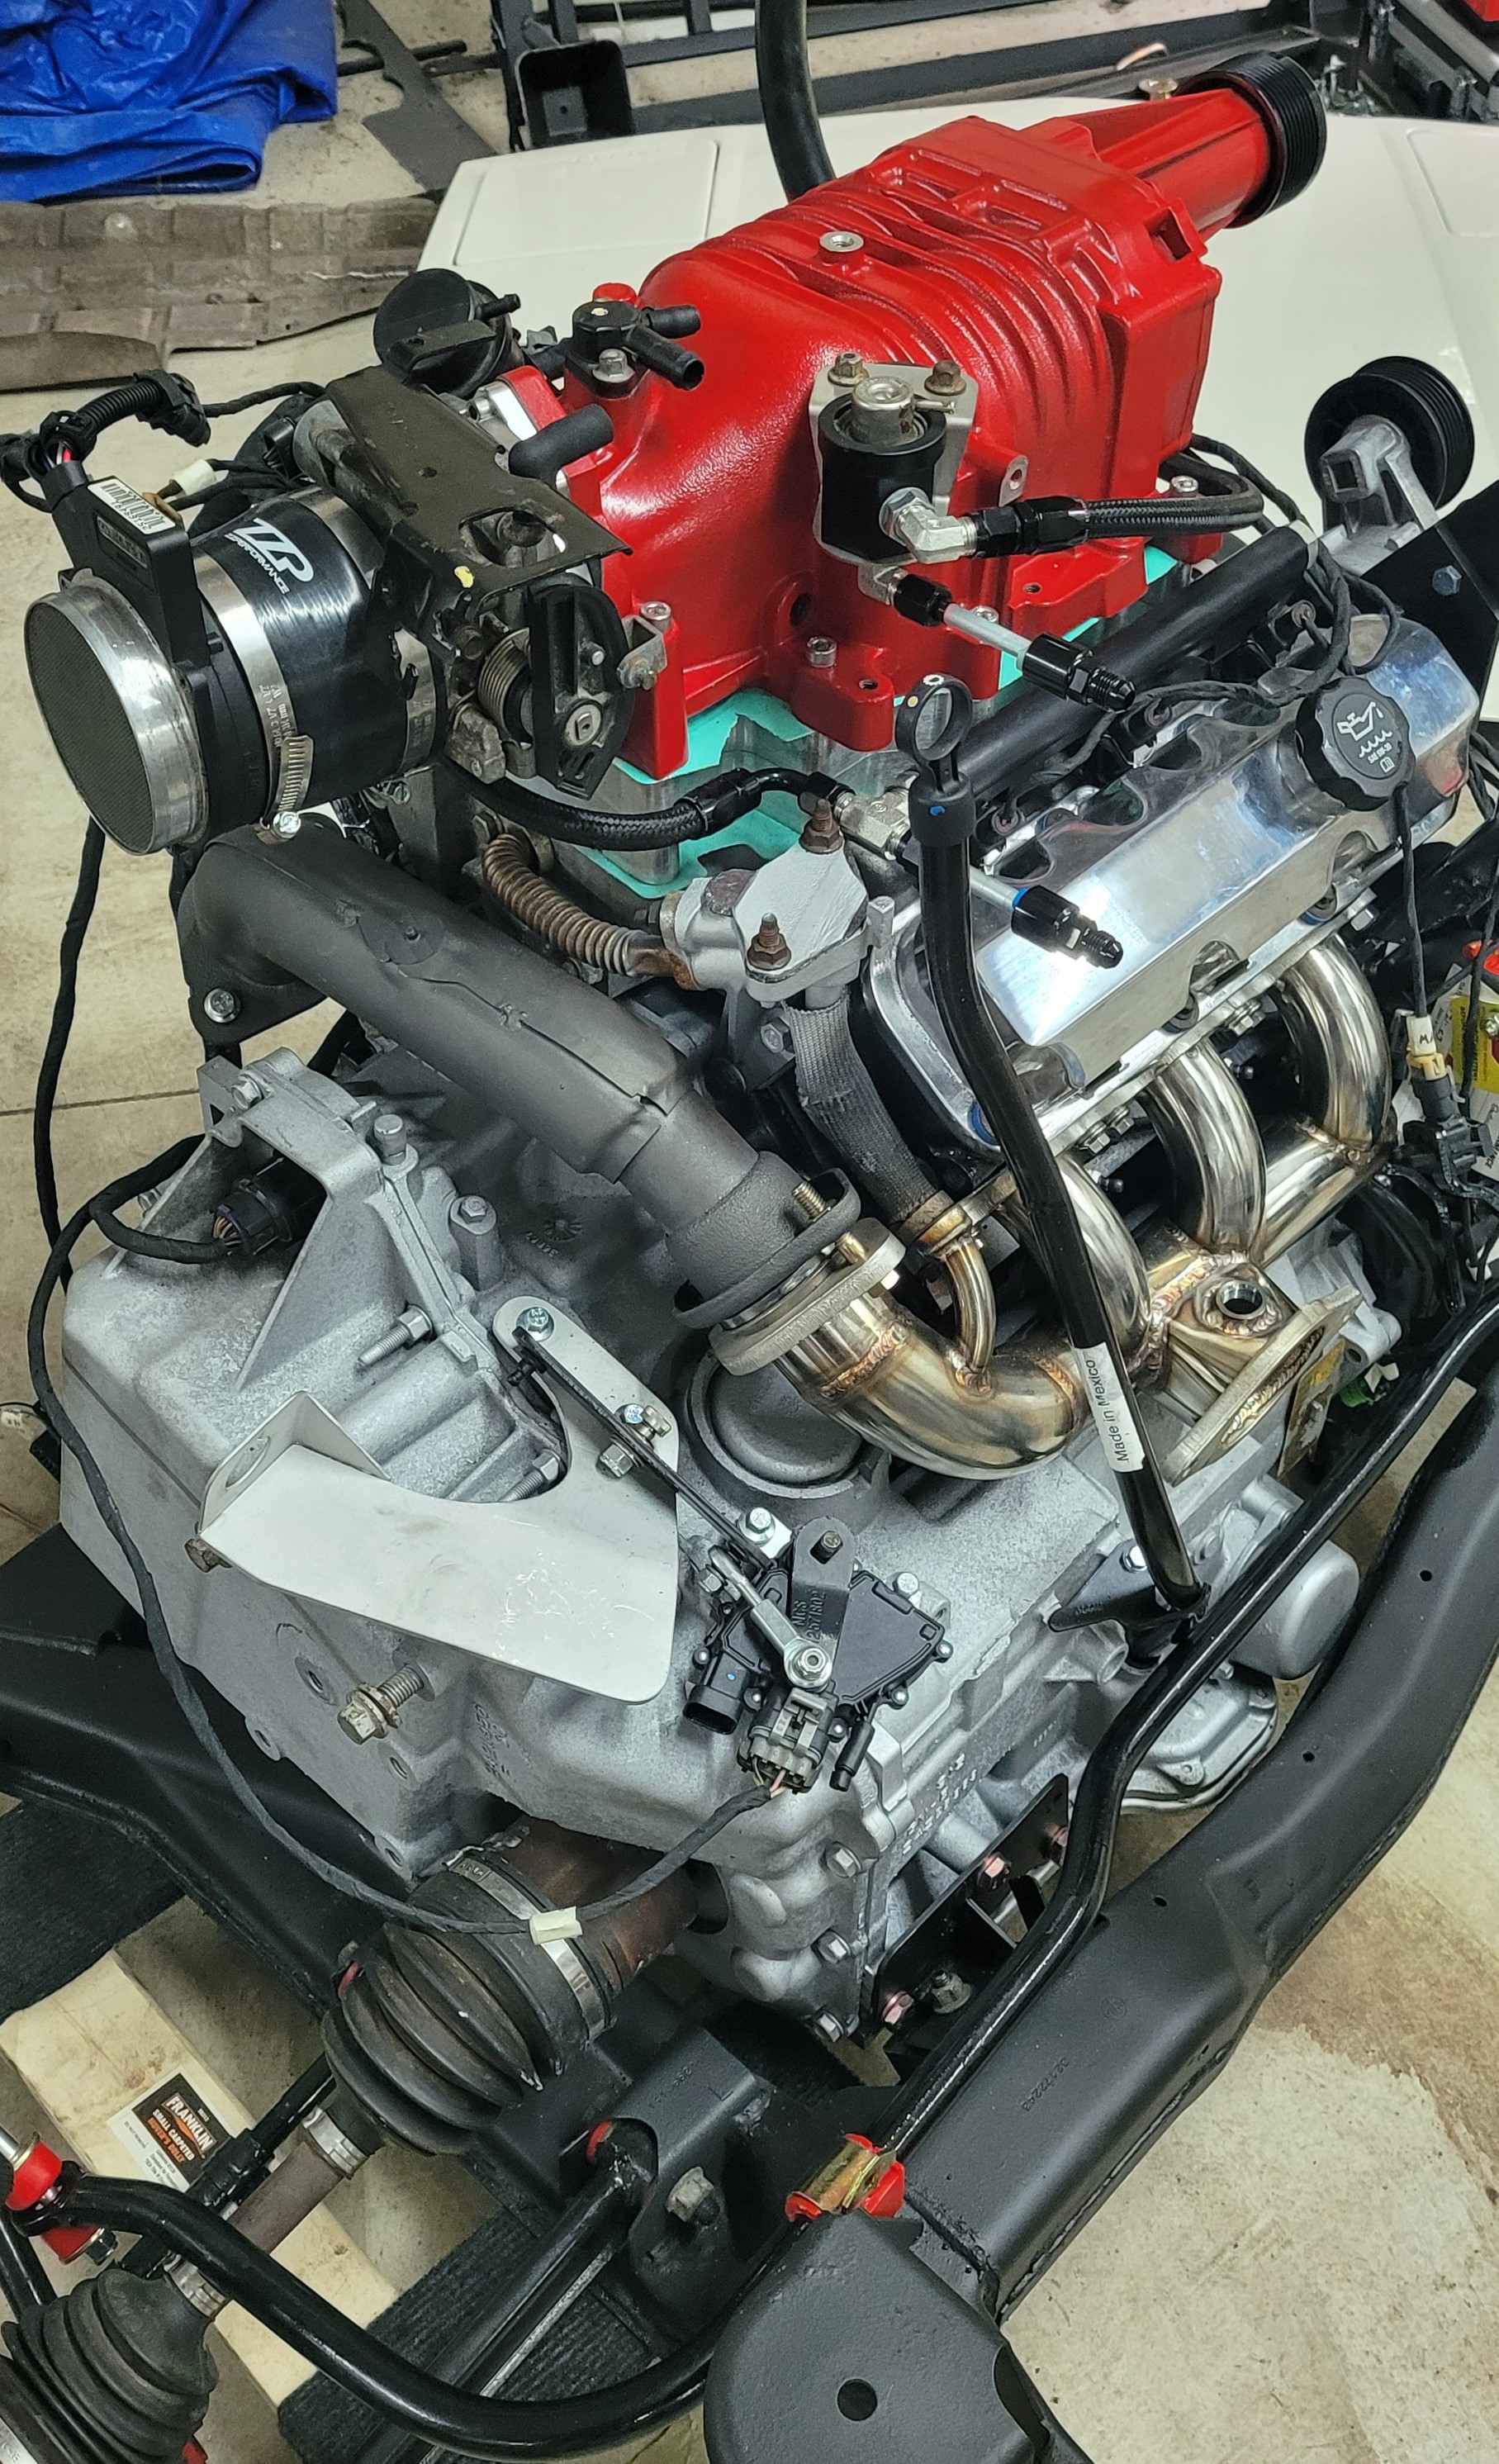
I did have custom AC lines made to join the 3800 compressor to the Fiero's hard lines, I worked with Auto Cooling Solutions in Flint, MI and they were really great and had it done in 5 days. I would highly recommend them, for me it cost 170 without shipping anything. I worked up in the front of the car a bit to swap in the Fiero Store's full aluminum upgraded radiator. I struggled on this for the entirety of the afternoon because it wouldn't seat properly. The stock Fiero radiator has cutouts in the bottom flange that allow it to seat over some bolts on the bottom radiator support, but this new one was completely absent of them. Rather than cut notches out of my new radiator- I cut down the excess length of the bolts that was causing the issue with my angle grinder and that allowed it to sit in there at the agle it needed to. I also cut down the height on the rubber isolators that others have done.


I have put in Archie's front battery relocation tray, couldn't watch the instructions because I don't own a DVD player- so I probably made it harder on myself than it needed to be. It really was a tight fit. I needed to cut a little more than I would've liked because it was running into the steering rack's damper bracket on the drivers side and the stainless coolant pipe on the passenger side. Was barely able to get the radiator hose and clamp on, hopefully I can get them off in the future. Because I had to cut more than I wanted to- I had to smother it with JB weld. I'll paint it all black eventually to cover my sins.
Most recently, I've been hooking up the electrical harness olejoedad made for me. It's been a little struggle figuring out the exact routing needed for each cable, but he's been amazing with the support and everything is labeled!! I've asked plenty of questions and very appreciative that he's been able to answer them all. I do have to make an extension to my alternator plug, I believe the fact that I'm using FieroRog's low mount alternator brackets and a Powermaster alternator- those both moved the plug about 3-4 inches away from where it is on the alternator. Not a huge deal- I have the two ends of the 4 pin Metri-pack 150 series on the way and I'll make a small plug in extender rather than cutting into the lines and having to seal
that up well.
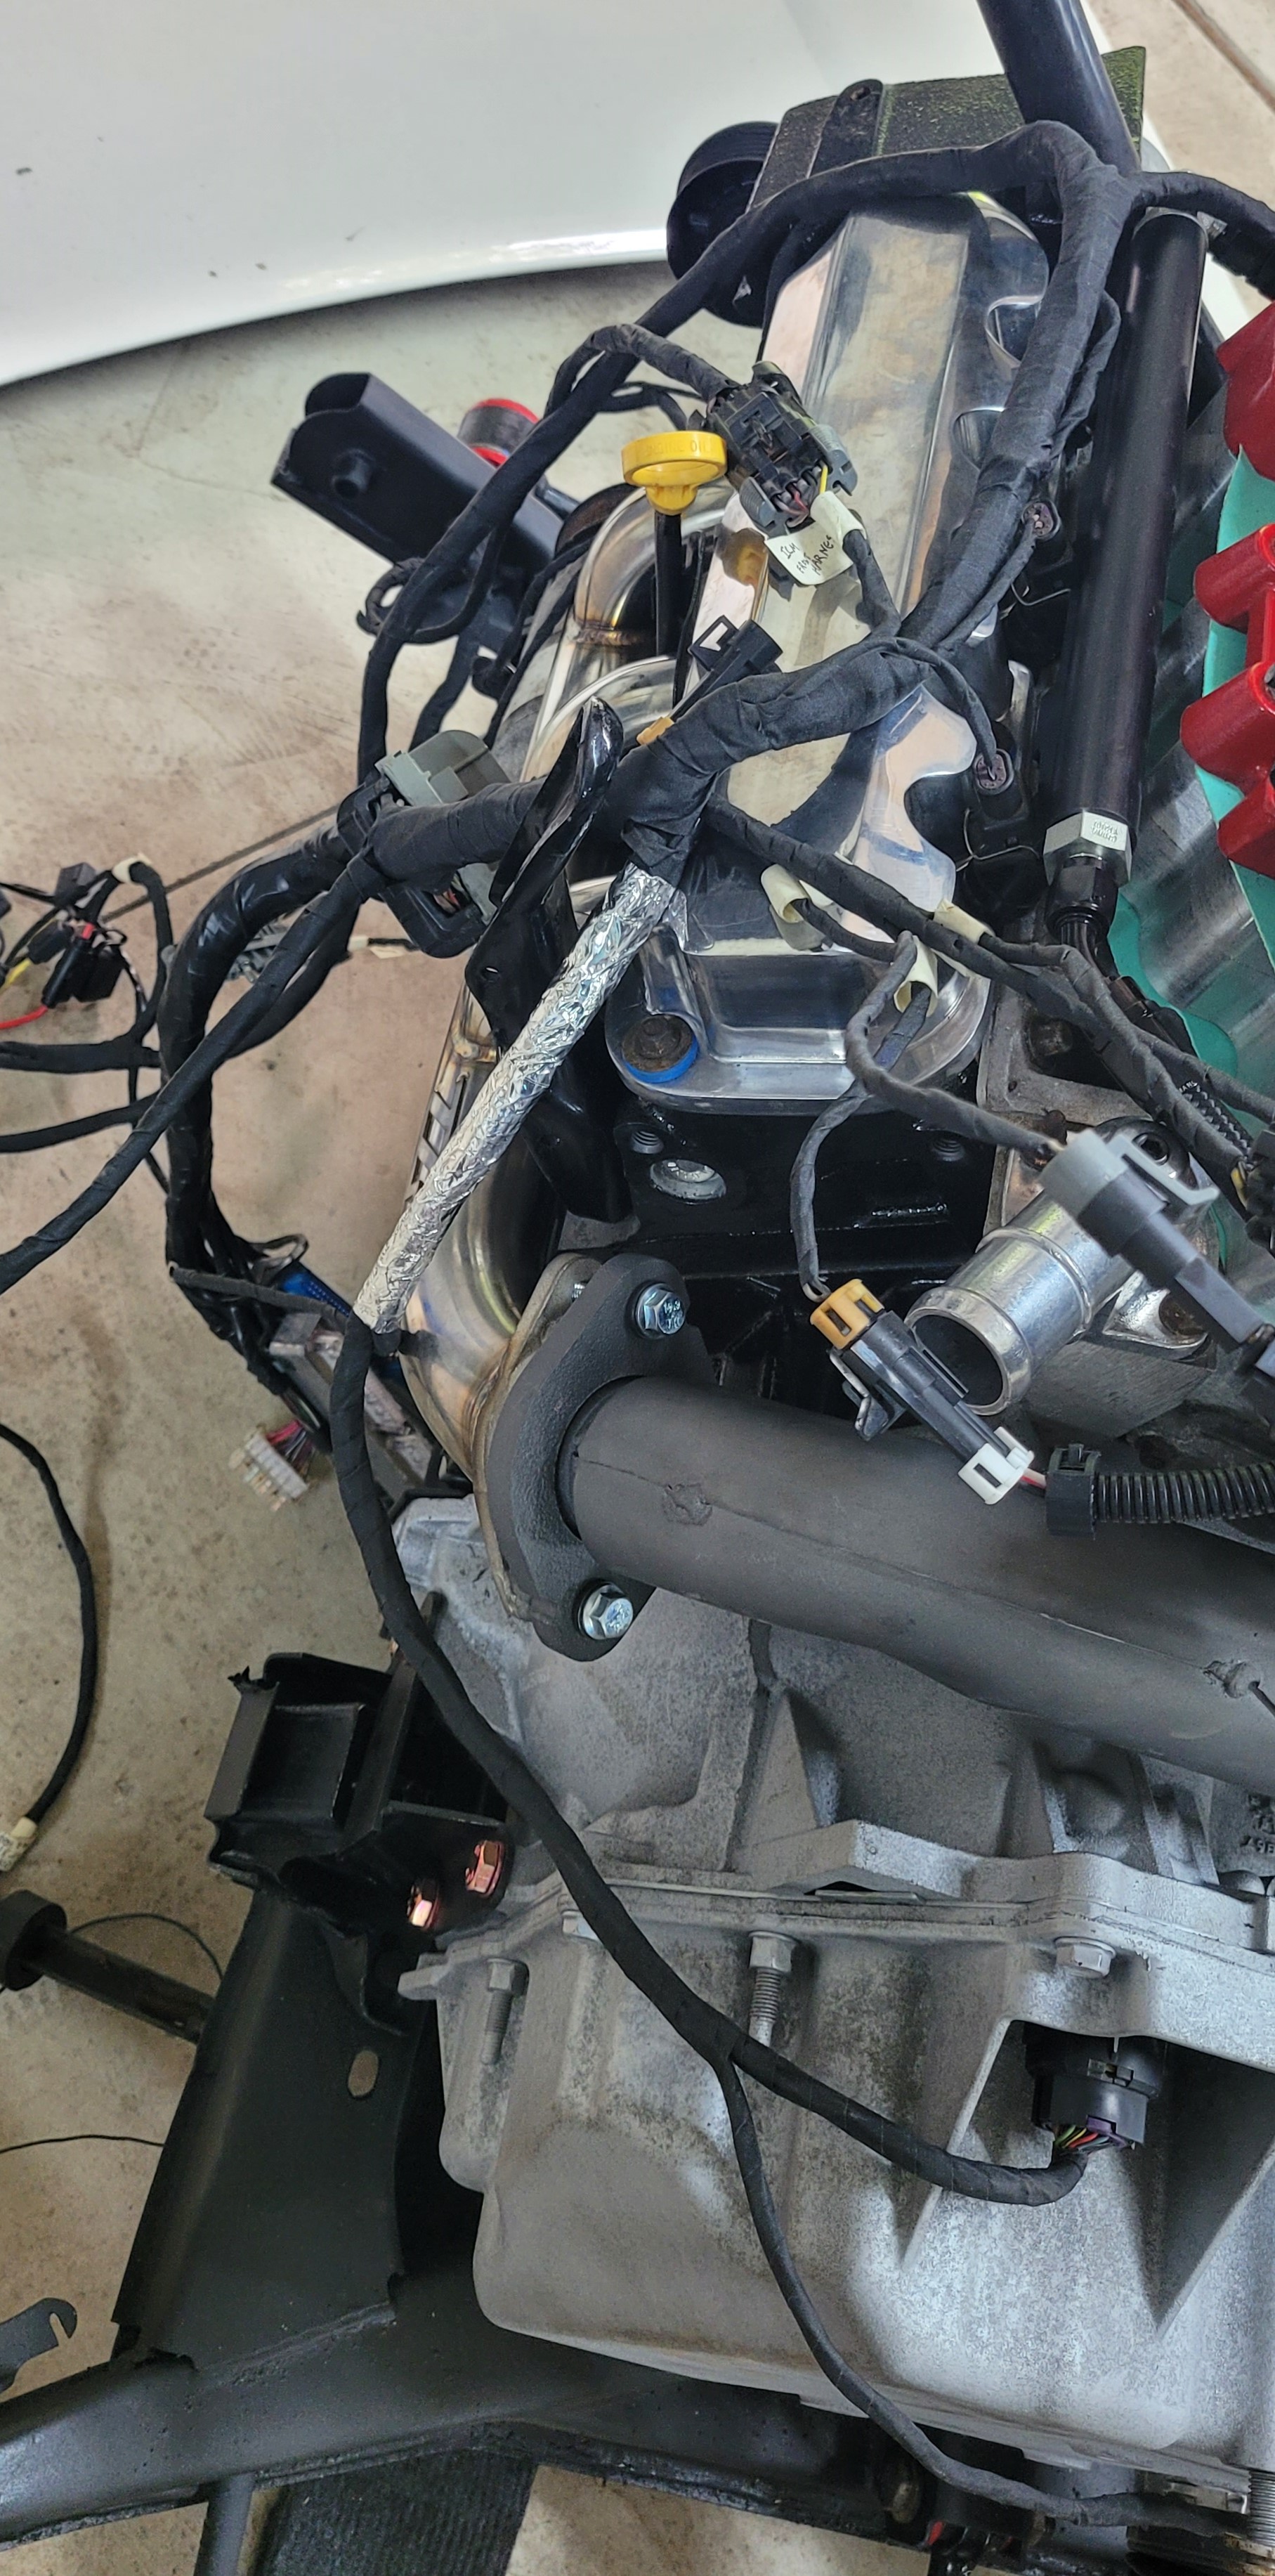

Also in my case, the EGR is deleted so I need to make a block off plate. I decided to use some of the angle iron I had around and cut up a plate to mount where the EGR valve sat with the gasket. Doesn't look too bad if you ask me.

Next step is to finish the electrical hookup as much as possible, put on the belts to the pulley system, get the rest of the rear suspension put on, and get this thing into the car.....[This message has been edited by MichiganReefer (edited 05-29-2023).]
|
|
|
|
Trinten
|
MAY 29, 12:13 PM
|
|
Awesome progress man!
I hope it'll go smoothly enough for you to roll it up to the 40th!
|
|
|
|
MichiganReefer
|
MAY 29, 12:30 PM
|
|
|
I'm hoping so too! It's only a 30ish minute drive for me to M1 Concourse, I'll definitely be attending.
|
|
|
|
MichiganReefer
|
JUN 15, 06:38 PM
|
|
|
|
|
jelly2m8
|
JUN 16, 07:54 PM
|
|
| quote | Originally posted by MichiganReefer:
How have people historically been able to have a decklid hood work with a full stack intercooler? Have you all been able to use a large hood scoop? I will probably bring it to a body shop for a consulation, but would like to hear/see how other people have handled the supercharger sitting so high. Are the hinges or torsion springs a problem?
|
|
I did a Full Intercooler swap for a guy back in the day, We did get it to sit under the decklid without a vent or scoop, but it required lowering the drive train a fair bit, we actually had to notch the end of the oil pan so that the exhaust didn't have to hang under it even closer to the ground ( ZZP headers and conventional exhaust layout )
I did have to slightly notch the underside decklid supporting frame and rework that hinge to clear the drive end of the supercharger.
Yes his basepan was the lowest point, but it was a tradeoff he accepted because we both agreed that Hood scoops are stupid looking on a Fiero.[This message has been edited by jelly2m8 (edited 06-16-2023).]
|
|
|
|
Dennis LaGrua
|
JUN 17, 09:55 PM
|
|
| quote | Originally posted by jelly2m8:
I did a Full Intercooler swap for a guy back in the day, We did get it to sit under the decklid without a vent or scoop, but it required lowering the drive train a fair bit, we actually had to notch the end of the oil pan so that the exhaust didn't have to hang under it even closer to the ground ( ZZP headers and conventional exhaust layout )
I did have to slightly notch the underside decklid supporting frame and rework that hinge to clear the drive end of the supercharger.
Yes his basepan was the lowest point, but it was a tradeoff he accepted because we both agreed that Hood scoops are stupid looking on a Fiero.
|
|
That was the procedure that I heard a while back from Dave who was one of the early guys to fit a full stack. I didn't want to go through that much trouble and used the short stack that fits with no mods. Car is running 11 psi of boost (3.4" pulley on a Gen V supercharger) , a 180* stat, a high flow fuel pump, a non restrictive exhaust and 93 octane (now 94 octane) gasoline. There are no KR's but I often wonder how far the SS intercooler will go on a heavily modified 3800.
------------------
" THE BLACK PARALYZER" -87GT 3800SC Series III engine, custom ZZP /Frozen Boost Intercooler setup, 3.4" Pulley, Northstar TB, LS1 MAF, 3" Spintech/Hedman Exhaust, P-log Manifold, Autolite 104's, MSD wires, Custom CAI, 4T65eHD w. custom axles, Champion Radiator, S10 Brake Booster, HP Tuners VCM Suite.
"THE COLUSSUS"
87GT - ALL OUT 3.4L Turbocharged engine, Garrett Hybrid Turbo, MSD ign., modified TH125H
" ON THE LOOSE WITHOUT THE JUICE "
|
|
|
|
jelly2m8
|
JUN 18, 01:58 AM
|
|
| quote | Originally posted by Dennis LaGrua:
That was the procedure that I heard a while back from Dave who was one of the early guys to fit a full stack. I didn't want to go through that much trouble and used the short stack that fits with no mods. Car is running 11 psi of boost (3.4" pulley on a Gen V supercharger) , a 180* stat, a high flow fuel pump, a non restrictive exhaust and 93 octane (now 94 octane) gasoline. There are no KR's but I often wonder how far the SS intercooler will go on a heavily modified 3800.
|
|
Yep bud, Dave also got it all under a decklid without a scoop 
|
|
|
|
olejoedad
|
JUN 18, 12:24 PM
|
|
Most aftermarket and OEM mounts set the drivetrain too high on the cradle.
We have no clearance issues on the decklid with a full stack I/C.[This message has been edited by olejoedad (edited 06-19-2023).]
|
|
|
|
GodSend
|
JUN 22, 01:49 PM
|
|
|
Those splash guards look minty. Are those brand new or just in real goof shape after a sandblasting?
|
|
|
|
Fie Ro
|
JUN 22, 06:27 PM
|
|
Mine sits at what looks a similar height and I had to put a notch in both sides of the decklid (TB and SC pulley side). Also had to remove a part of the hinge and the torsion springs.
| quote | Originally posted by olejoedad:
Most aftermarket and OEM mounts set the drivetrain too high on the cradle.
|
|
Yeah I guess so, I was unaware of that at the time. My oilpan could be 2 inches lower without sticking out under the subframe. And I do not see a way of modifying the mounts or brackets I have.
|
|
|
|