
 
     |
| The White Bug (Page 35/46) |

|
La fiera
|
MAY 20, 10:43 PM
|
|
| quote | Originally posted by pmbrunelle:
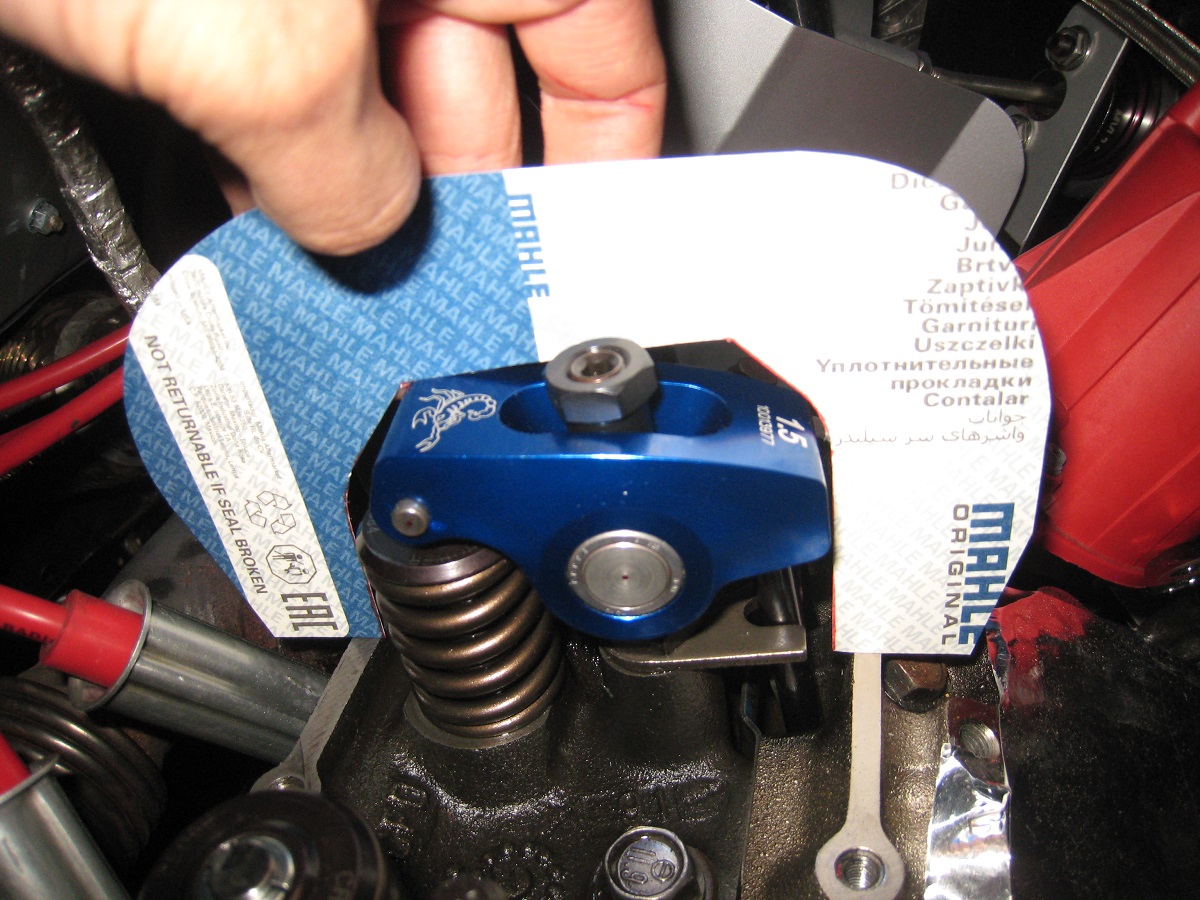
Here I checked the installed height of the spring of the failed rocker.

1.609" installed height. Coil bind height is 1.130".
Here is the remaining travel before coil bind for different rocker ratios:
Stock "1.5" ratio, estimated 1.45 ratio (because stamped rockers often don't deliver on their specified ratio). 0.434" valve lift. 0.045" remaining.
Scorpion 1.5 ratio. 0.448" valve lift. 0.031" remaining.
Comp Magnum 1.52 ratio. 0.454" valve lift. 0.025" remaining.
With the stock rocker arm, there is enough remaining travel to avoid coil bind. Not a lot, but at the low end of what is considered acceptable. 0.060" clearance is a common guideline. I may have had coil bind issues with the Magnum rockers.
Even though I don't believe I ran into coil bind with the failed rocker, I still consider the short installed height to be a contributing factor. When the spring is working closer to the coil bind region, the spring force is greater than it would be with a taller installed height.
And now, the human factor behind this contributing factor...
There was no record of checking for coil bind, because I didn't.
Now I remember what happened. I saw this in the Crower catalog:
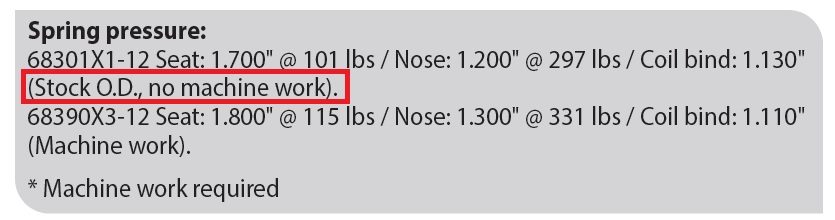
And then I thought, oh cool, the springs are supposed to work as-is, I don't have to check the springs.
Lesson: In engine assembly, check everything.
Today, I ordered a set of +0.050" offset valve keepers that will raise the spring retainers. I'll have a more comfortable margin with respect to coil bind, especially with the Scorpion rockers. I also ordered a stud-mounted valve spring compressor (works with 7/16-20 or 3/8-24 rocker arm studs). With the spring compressor, I should be able to swap valve keepers without removing the engine from the car.
|
|

|
|
|
|
pmbrunelle
|
JUN 07, 09:00 AM
|
|
I have commenced the fit and futz cycle with the Scorpion rocker arms.
With a stud-mount rocker arm, changing the pushrod length changes the height of the trunnion, and the angle the rocker arm makes with the valve.
Here is a cardboard alignment tool I made. If I set the roller-tip axis and trunnion axis coincident with the edge of the tool, then I know the rocker arm will be perpendicular with the valve at 2/3 max lift. Some people optimize for 1/2 lift, but there is some logic to optimizing for perpendicularity closer to the open valve, when the spring force is highest.
The roller-tip to trunnion distance is a bit too long with these rocker arms. The roller tips touch the valves somewhat out towards the exhaust manifold side, but they still do land sufficiently on the valves.
If I shorten the pushrod length, I can have a better centering of the contact pattern on the valve, at the expense of a wider contact pattern. Seems like it's more important to prioritize perpendicularity.
Stock Fieros have 6.163" pushrods. With this method, I found that I need 6.53" pushrods. Not sure if there's a problem, or if this amount of change is normal with aftermarket parts that never seem to fit out-of-the-box.
With the longer pushrod length, there's no longer enough thread engagement for the adjusting nut:
That can be addressed by raising the studs with washers (ARP for good quality and parallelism).
Yes, it's a Crower stud, even though it's stamped ARP on the end. Nobody seems to make anything anymore in automotive. Everything is subcontracted!
The CAD model (cardboard aided design) of the valve cover shows that I definitely need to raise the valve covers:
 [This message has been edited by pmbrunelle (edited 06-07-2022).]
|
|
|
|
La fiera
|
JUN 08, 09:17 PM
|
|

I just installed a set of 1.6 rockers to optimize the cam timing and I got plenty of thread. Maybe those studs are too short or your pusrods are too long. I'm using 6.250 pushrod length and I can switch between 1.7, 1.6 and 1.5 with the same pushrods and get the exact lift, duration and LSA expected on the different ratios. I have .019 shaved off the deckheight to meet my compression target on this specific short block. PM me if you need help.
|
|
|
|
pmbrunelle
|
JUN 09, 11:34 PM
|
|
I decided on 6.400" pushrods. Not quite the 6.500" I would like to keep the rocker arm more perpendicular to the valve (for minimizing valve guide wear), but it will give a more comfortable amount of thread engagement for the polylock.
Can't be too focused on copying other people when it's my project! Anyway, unless you're in mass production where everything is the same, engines/setups will be different.
********************************************************************************
What procedure do you use to tighten the polylock nuts to keep them from loosening?
Do you first tighten the set screw, and then tighten the nut body afterwards?
Since I have hydraulic lifters, it's OK if the polylock nuts turn a bit after my initial adjustment.
|
|
|
|
ericjon262
|
JUN 11, 10:10 PM
|
|
| quote | Originally posted by pmbrunelle:
What procedure do you use to tighten the polylock nuts to keep them from loosening?
Do you first tighten the set screw, and then tighten the nut body afterwards?
Since I have hydraulic lifters, it's OK if the polylock nuts turn a bit after my initial adjustment. |
|
I've always seen:
1.Set lash, then go back 1/8-1/4 turn
2.tighten set screw
3.Simultaneously tighten setscrew and nut the 1/8-1/4 turn loosened in step 1
4. Recheck lash
------------------
"I am not what you so glibly call to be a civilized man. I have broken with society for reasons which I alone am able to appreciate. I am therefore not subject to it's stupid laws, and I ask you to never allude to them in my presence again."
cognita semper
|
|
|
|
pmbrunelle
|
JUN 12, 05:54 PM
|
|
| quote | Originally posted by ericjon262:
3.Simultaneously tighten setscrew and nut the 1/8-1/4 turn loosened in step 1
|
|
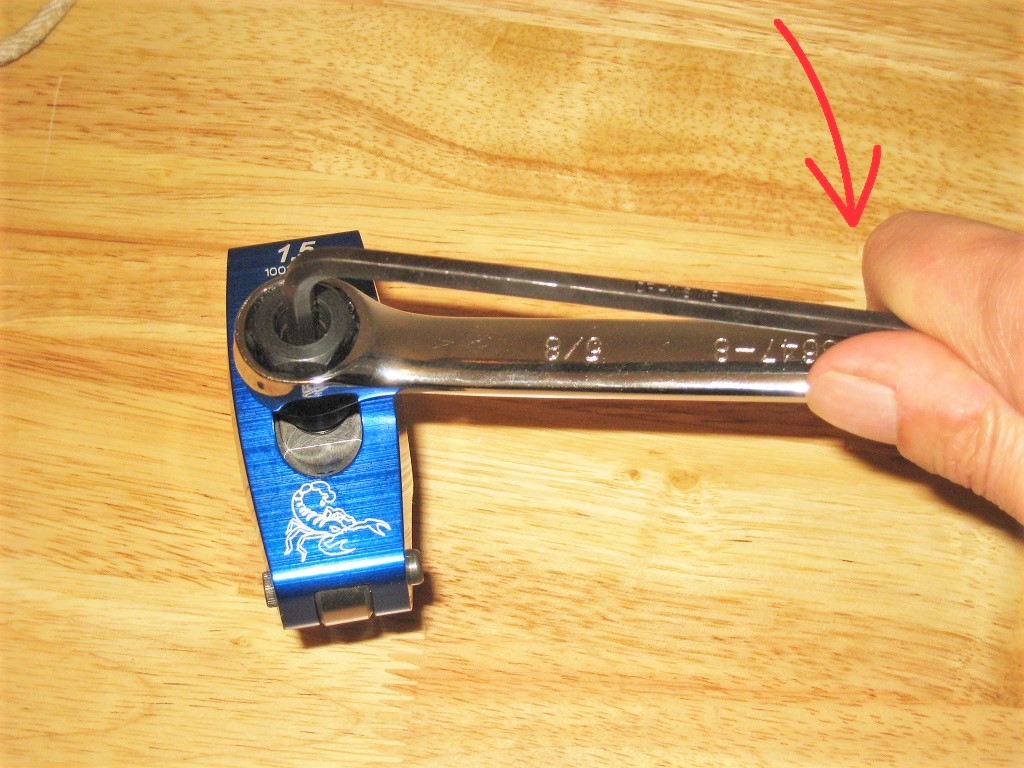
Some people say they torque the polylock with a torque wrench, but I don't see how the setscrew and nut can be simultaneously tightened with a socket.
I'm imagining it like this with an Allen key and closed-end wrench, grabbing both tools with the hand:
|
|
|
|
ericjon262
|
JUN 12, 05:59 PM
|
|
| quote | Originally posted by pmbrunelle:
Some people say they torque the polylock with a torque wrench, but I don't see how the setscrew and nut can be simultaneously tightened with a socket.
I'm imagining it like this with an Allen key and closed-end wrench, grabbing both tools with the hand:
|
|
just like your picture is the only way I've seen or done it. ------------------
"I am not what you so glibly call to be a civilized man. I have broken with society for reasons which I alone am able to appreciate. I am therefore not subject to it's stupid laws, and I ask you to never allude to them in my presence again."
cognita semper
|
|
|
|
pmbrunelle
|
JUN 17, 09:10 PM
|
|
I cut four valve covers in order to make two tall ones. I targeted a 0.42" height increase.
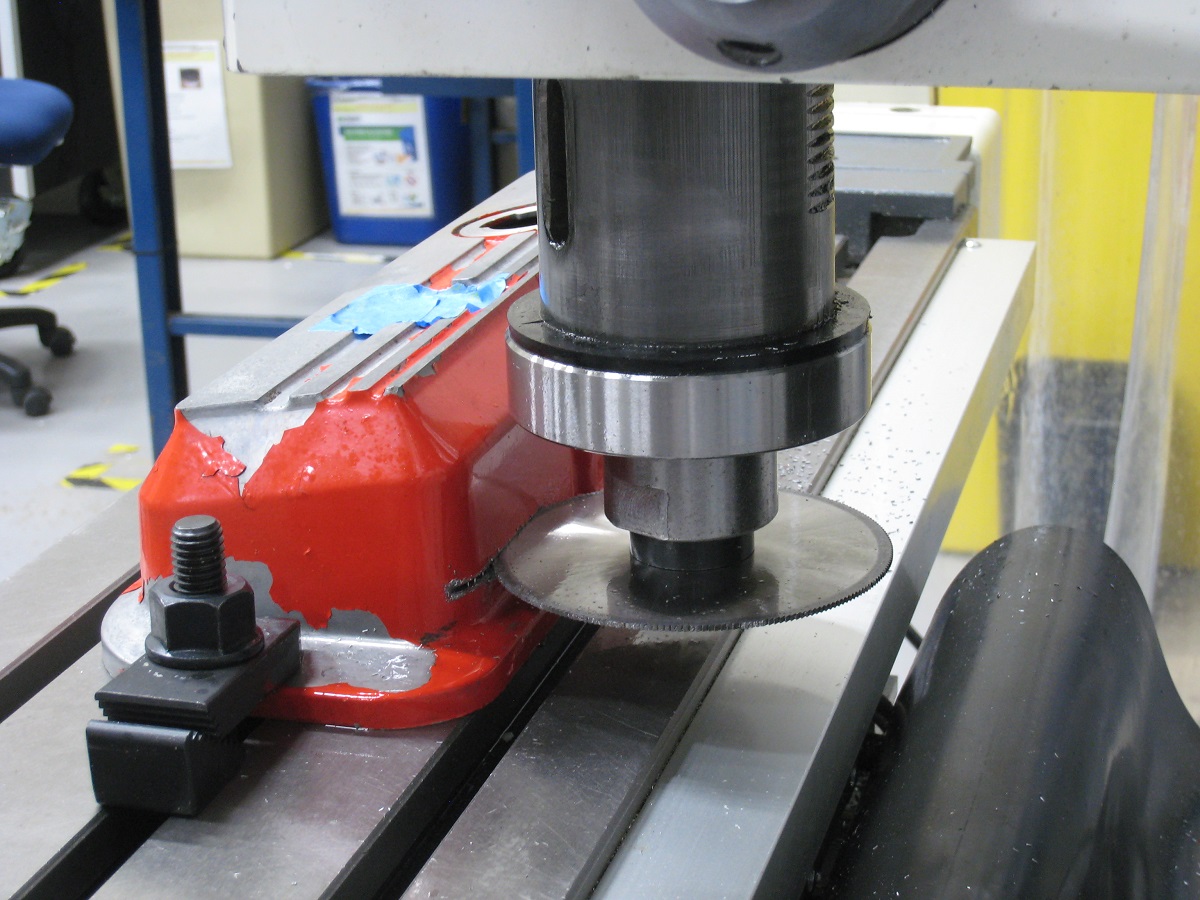
Next step is to get the pieces welded together.[This message has been edited by pmbrunelle (edited 06-17-2022).]
|
|
|
|
ericjon262
|
JUN 18, 12:01 AM
|
|
|
how did you continue your cut up to the clamp? change clamp positions? cut as close as you can and finish by hand? ------------------
"I am not what you so glibly call to be a civilized man. I have broken with society for reasons which I alone am able to appreciate. I am therefore not subject to it's stupid laws, and I ask you to never allude to them in my presence again."
cognita semper
|
|
|
|
pmbrunelle
|
JUN 18, 01:56 AM
|
|
I moved the clamps around as needed to stay out of the way of the saw.
The Z height of the valve covers changed a bit when I undid and retightened the clamps, which created minor steps between the different cuts. I was able to use a file to blend the different cuts into one continuous surface.
It would have been better to make a drilled+tapped flat plate jig on which the valve cover could bolt, but that would have required more time/effort/materials.
The way I cut the valve covers was "good enough" with satisfactory results.
|
|
|
|