|
| My DIY rear Coil-over conversion (84 model)... play by play (Warning many pics) (Page 3/11) |

|
redraif
|
SEP 14, 08:02 AM
|
|
|
I keep a towel nearby and use an old camera. Lol... my jobs would go faster though if I gave up the camera, but it has helped me many times over to go back and look later. Not to mention its habit now after writing tech articles for the Mustang forums
|
|
|
|
Tinkrr
|
SEP 14, 09:41 AM
|
|
Great Presentation!
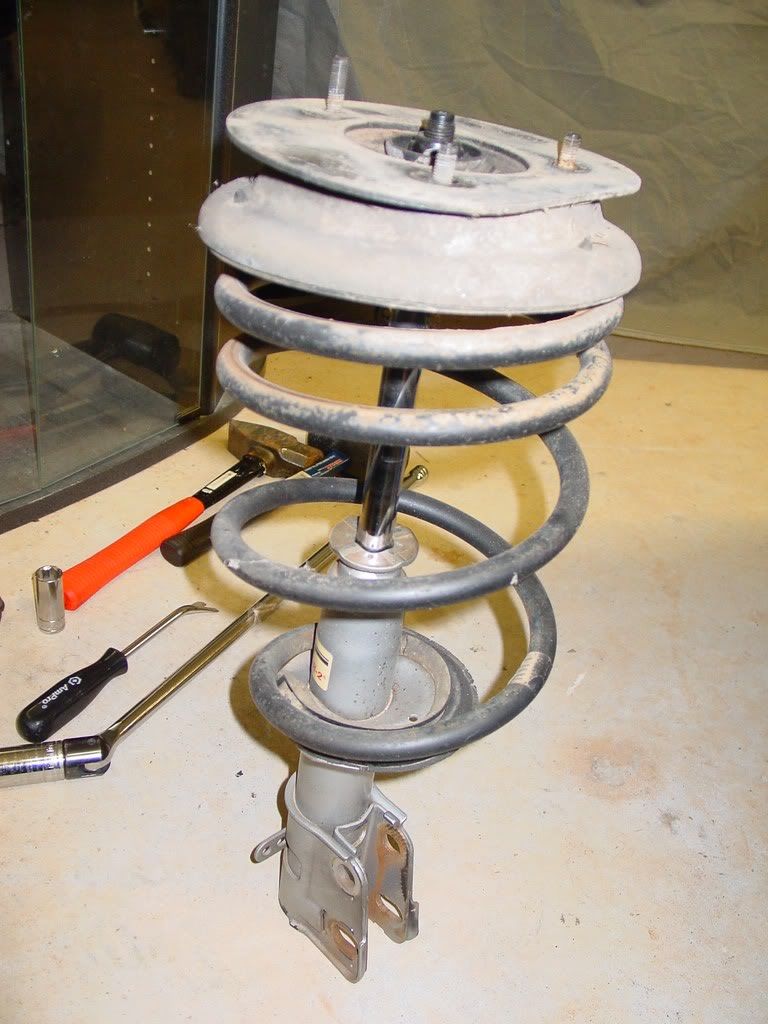
When I installed KYB struts on my 85GT more than ten years ago, the instructions that came with them indicated that the STRUT MOUNTS should be inverted, to provide an additional 1 inch of travel.
I did so, there was a mild interfernce between the decklid and the shafts, otherwise I've have never had a problem with them, except for some Fiero Experts saying "did you know your strut mounts are installed upside down?"
Here's a quick Pic 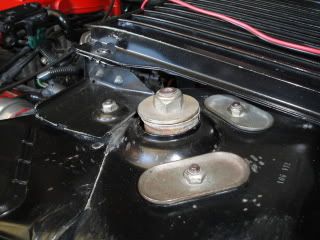 [This message has been edited by Tinkrr (edited 09-15-2011).]
|
|
|
|
redraif
|
SEP 14, 10:01 AM
|
|
| quote | Originally posted by Tinkrr:
When I installed KYB struts on my 85GT more than ten years ago, the instructions that came with them indicated that the STRUT MOUNTS should be inverted, to provide an additional 1 inch of travel.
I did so, there was a mild interfernce between the decklid and the shafts, otherwise I've have never had a problem with them, other than some Fiero Experts saying "did you know your strut mounts are installed upside down?"
|
|
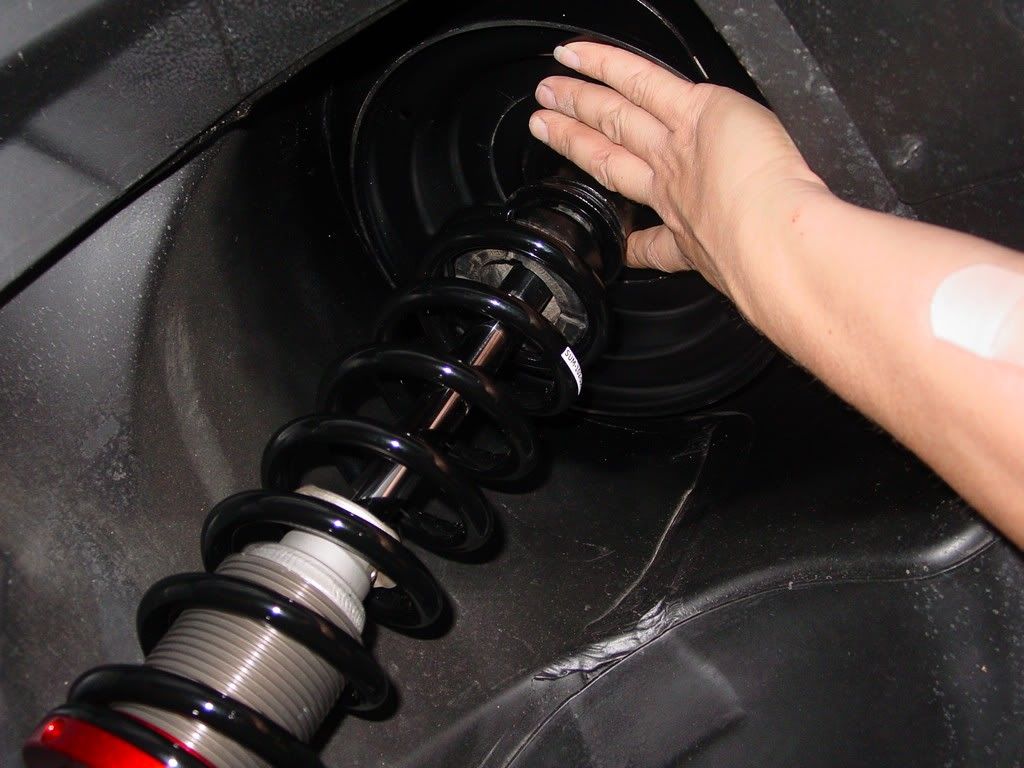
hmmm... I wish I could remember if we even got instructions with mine. At the time the install was done it was my x- best friend and I doing various things at once. He tackled the strut install. The inverting would help with travel, but with it facing opposite I would have nothing to keep the spring centered. I have no welder to make my own retainer. But I had the kybs on there for this long with them facing like stock and have had no travel issues.... But then again I was at stock ride height... Time will tell I guess
|
|
|
|
Austrian Import
|
SEP 14, 07:45 PM
|
|
Wow, thanks for the detail. Don't worry. There ain't a thing as "too many pics" 
-Max
|
|
|
|
Greenmeansgo
|
SEP 14, 08:12 PM
|
|
|
I just got me springs and kyb's today. good timing on the write up
|
|
|
|
redraif
|
SEP 14, 11:44 PM
|
|
|
|
|
Greenmeansgo
|
SEP 14, 11:58 PM
|
|
|
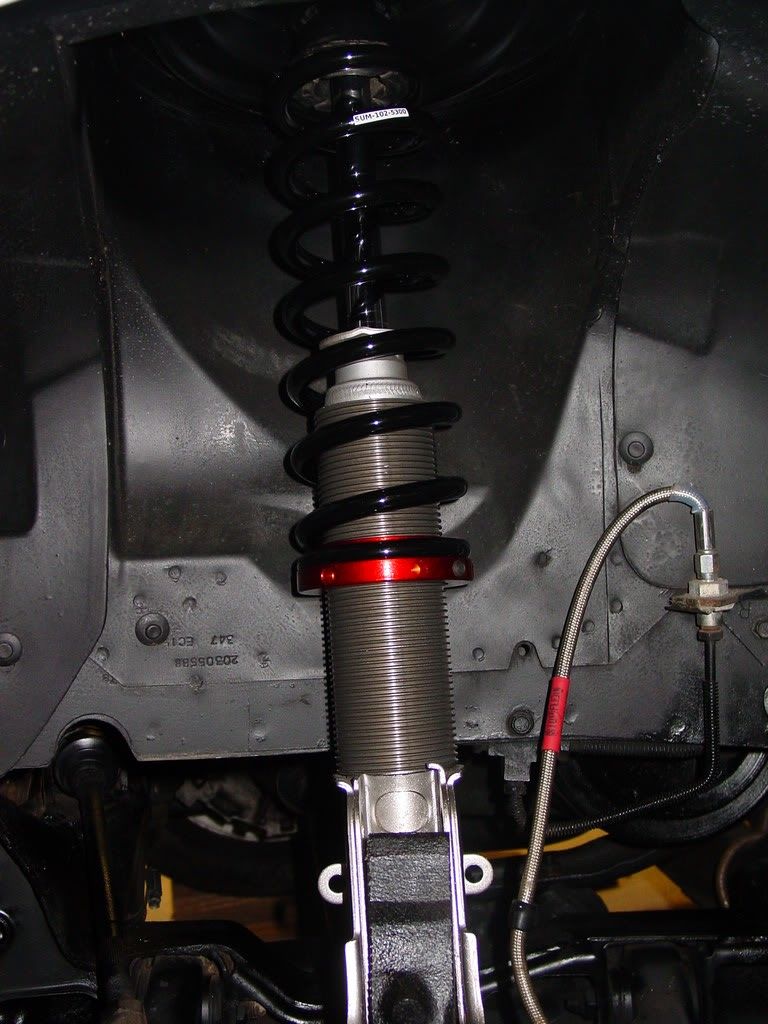
All of your parts are black so I can tell what order you put it all back together and which side is up on them
|
|
|
|
pmbrunelle
|
SEP 15, 12:40 AM
|
|
| quote | Originally posted by Tinkrr:
When I installed KYB struts on my 85GT more than ten years ago, the instructions that came with them indicated that the STRUT MOUNTS should be inverted, to provide an additional 1 inch of travel.
I did so, there was a mild interfernce between the decklid and the shafts, otherwise I've have never had a problem with them, other than some Fiero Experts saying "did you know your strut mounts are installed upside down?"
|
|
That trick works on fastbacks.
The fastback decklid is higher than the notchback decklid.
|
|
|
|
redraif
|
SEP 15, 12:28 PM
|
|
| quote | Originally posted by Greenmeansgo:
All of your parts are black so I can tell what order you put it all back together and which side is up on them |
|
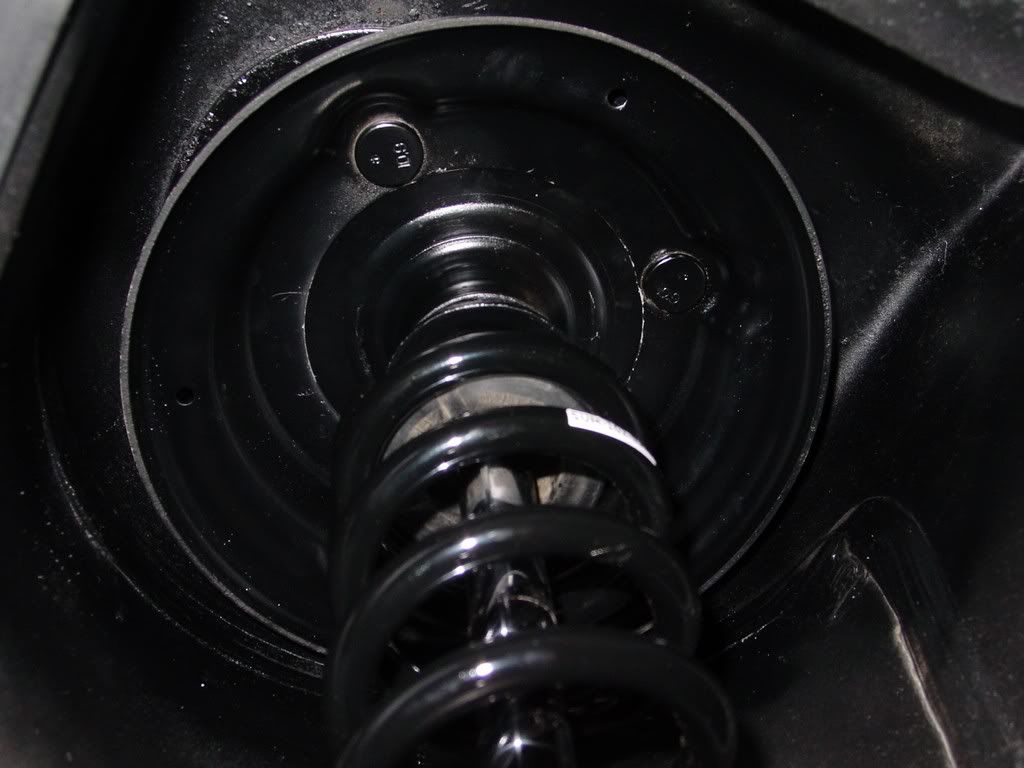
I will take clearer pics tonight as I assemble # 2... Sorry about that. I will update the earlier pics with clearer how-to-details as well and insert clearer pics where needed. I will post when updates made.
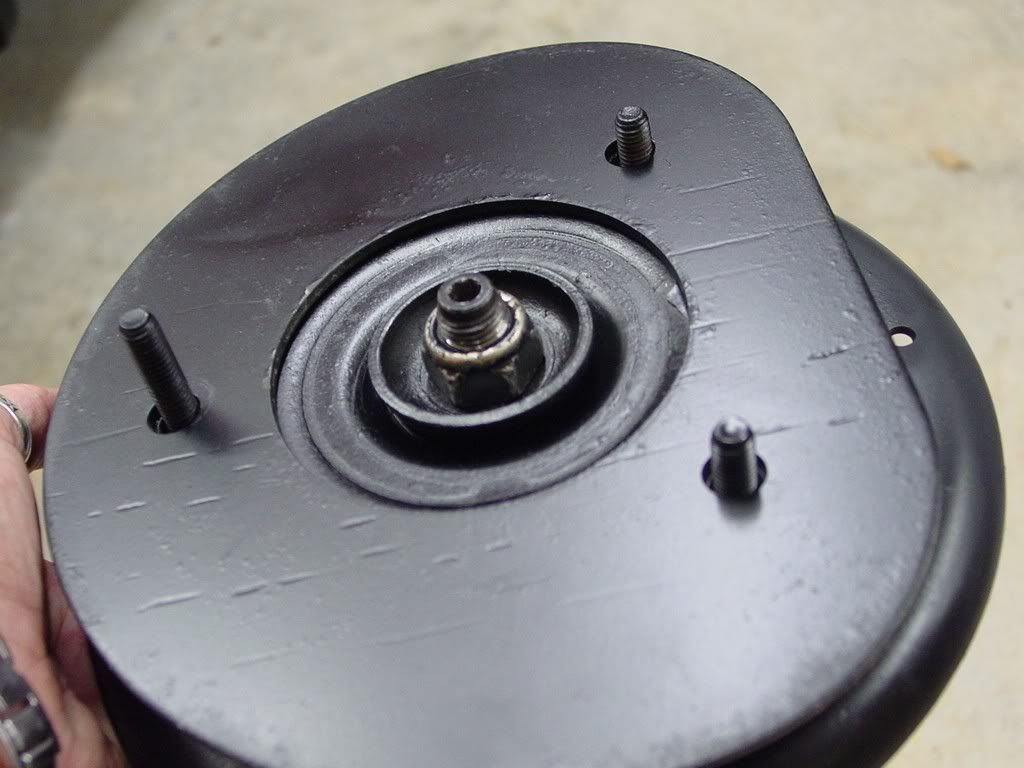
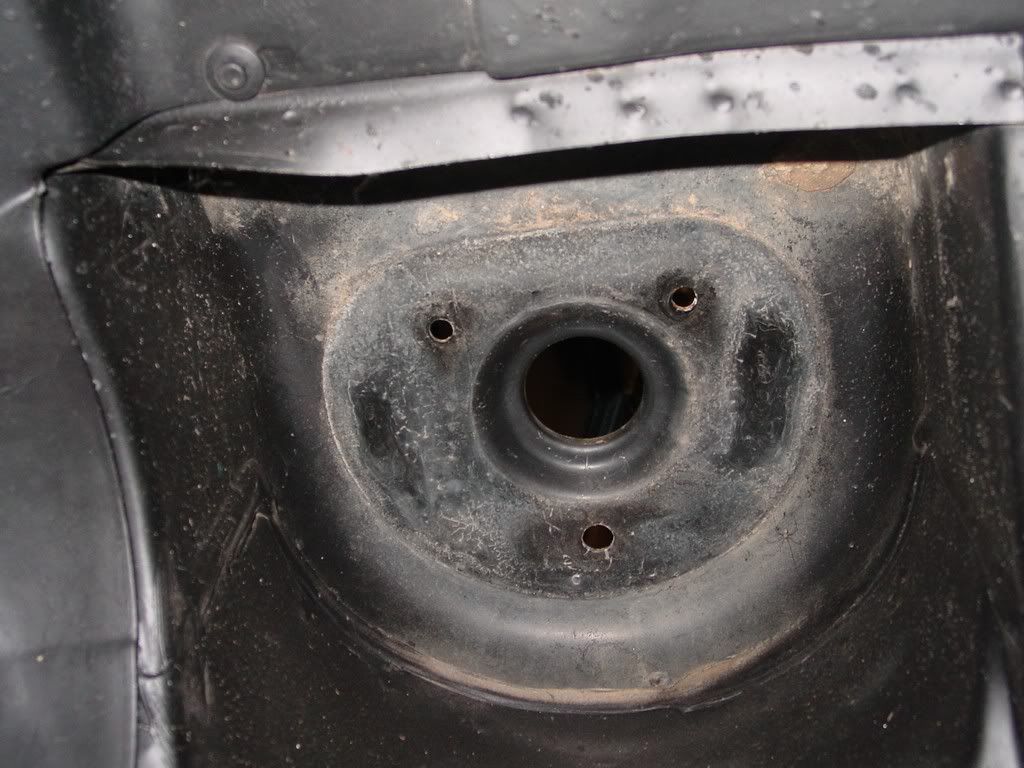
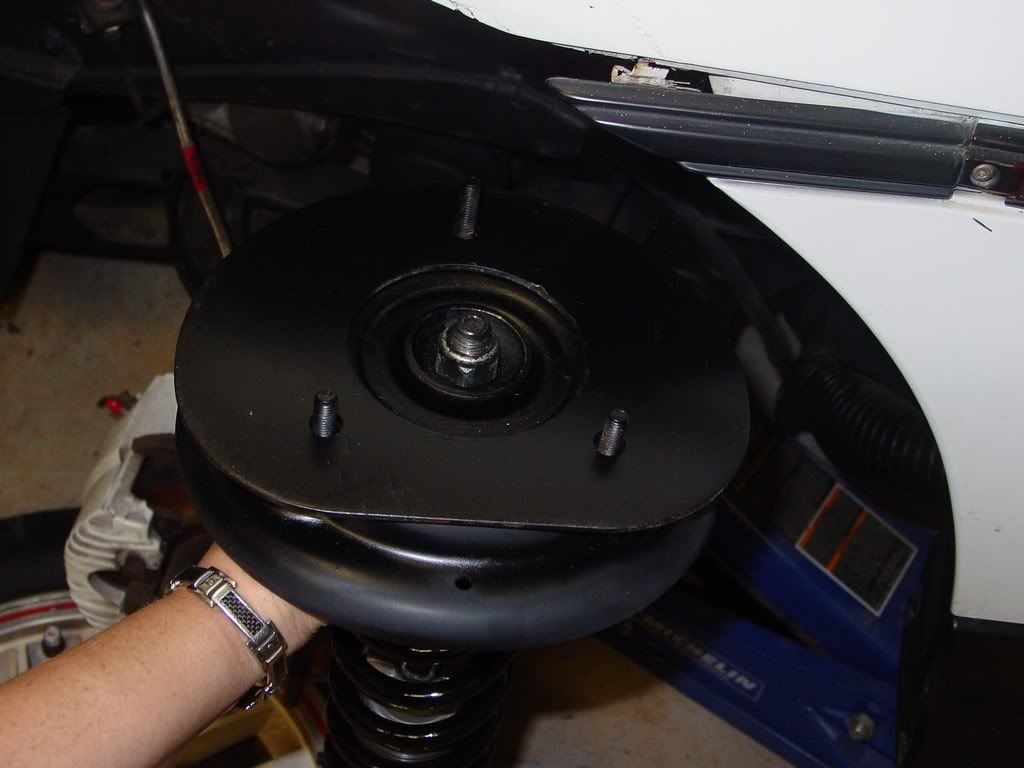
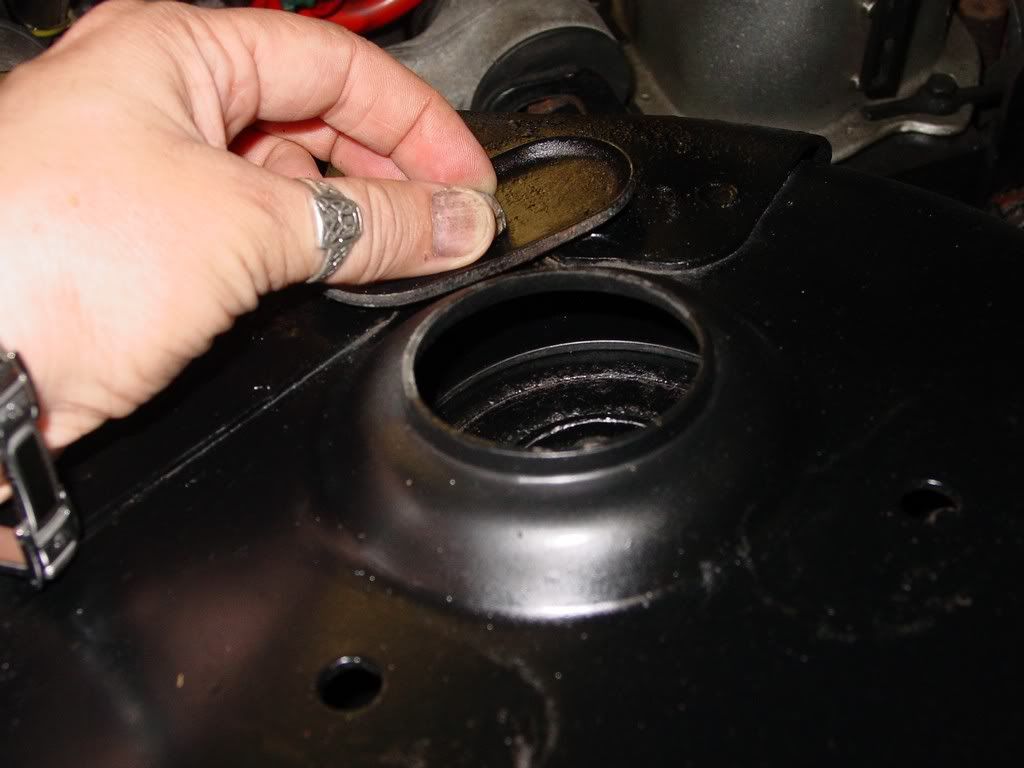
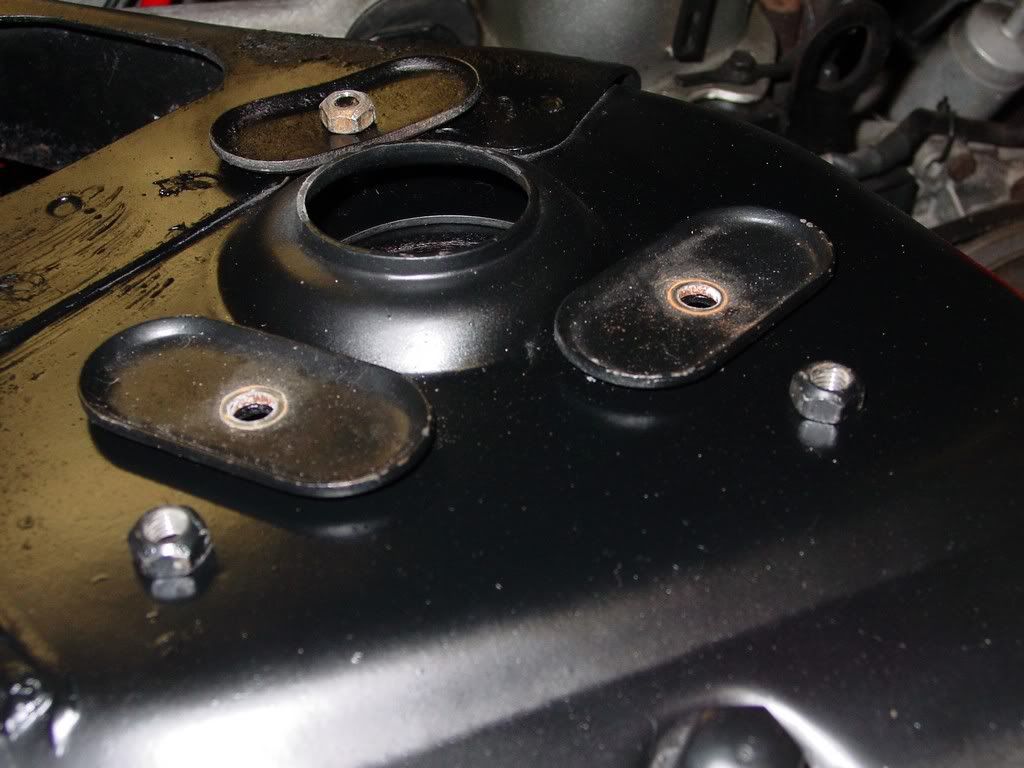
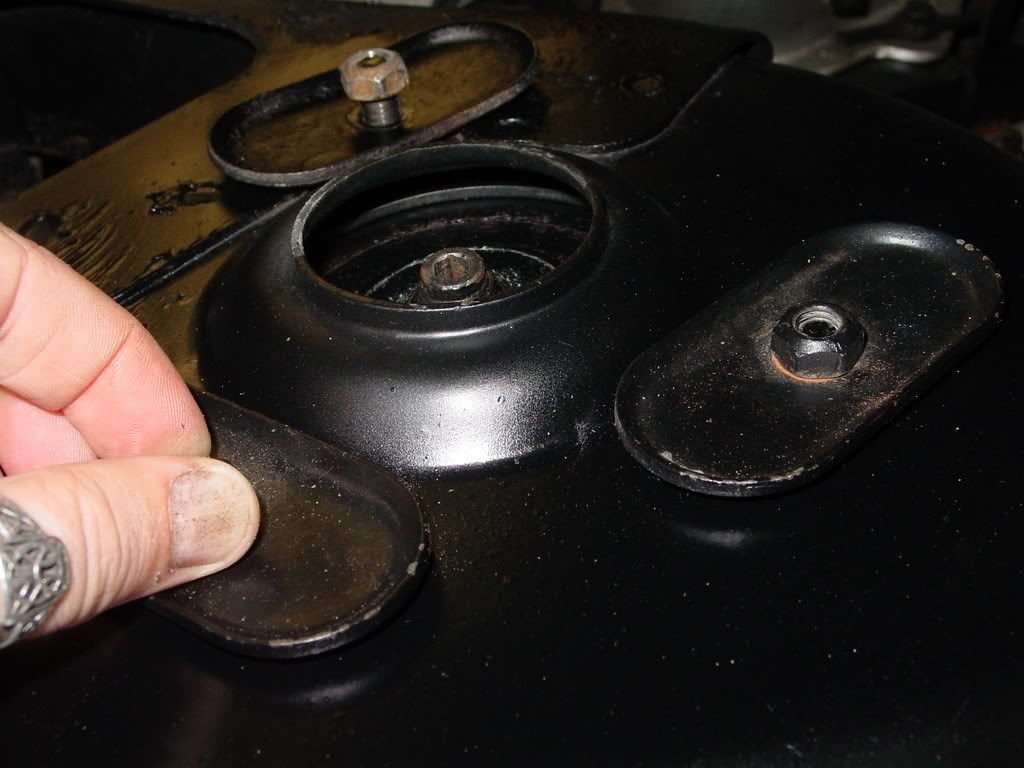
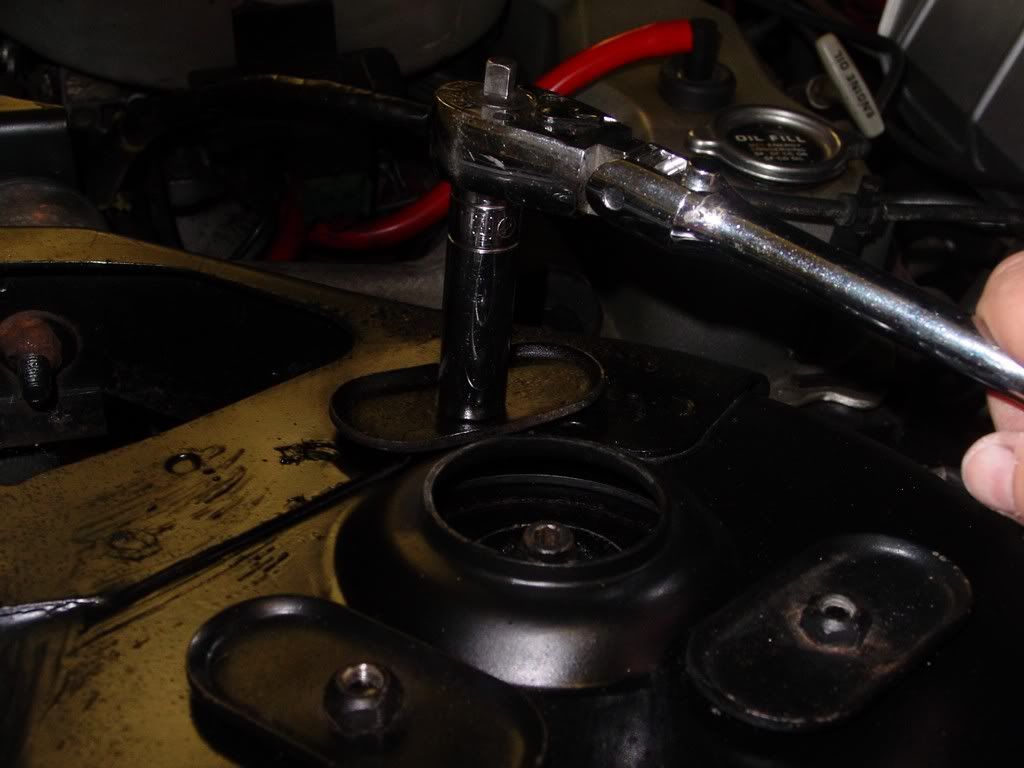
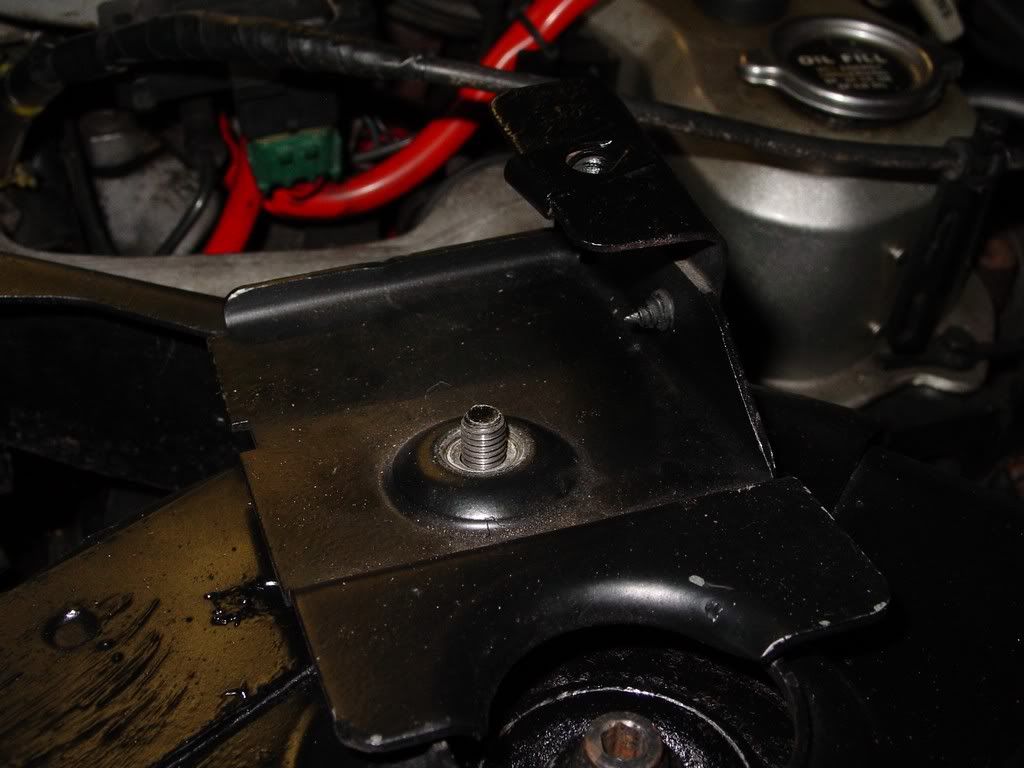
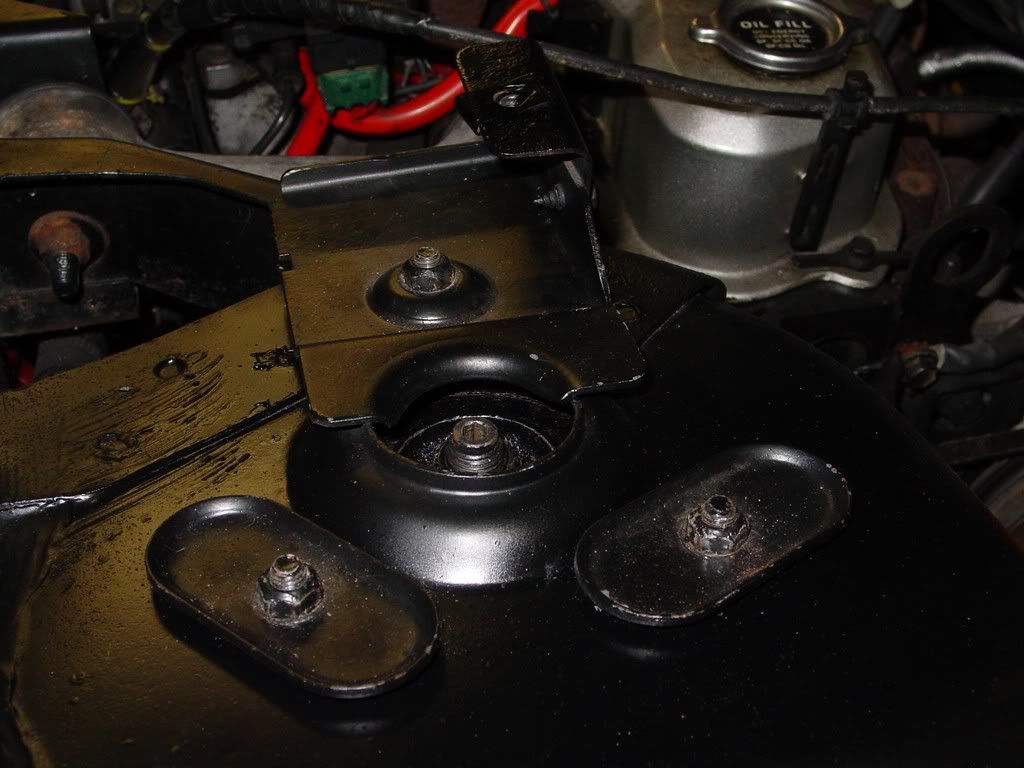
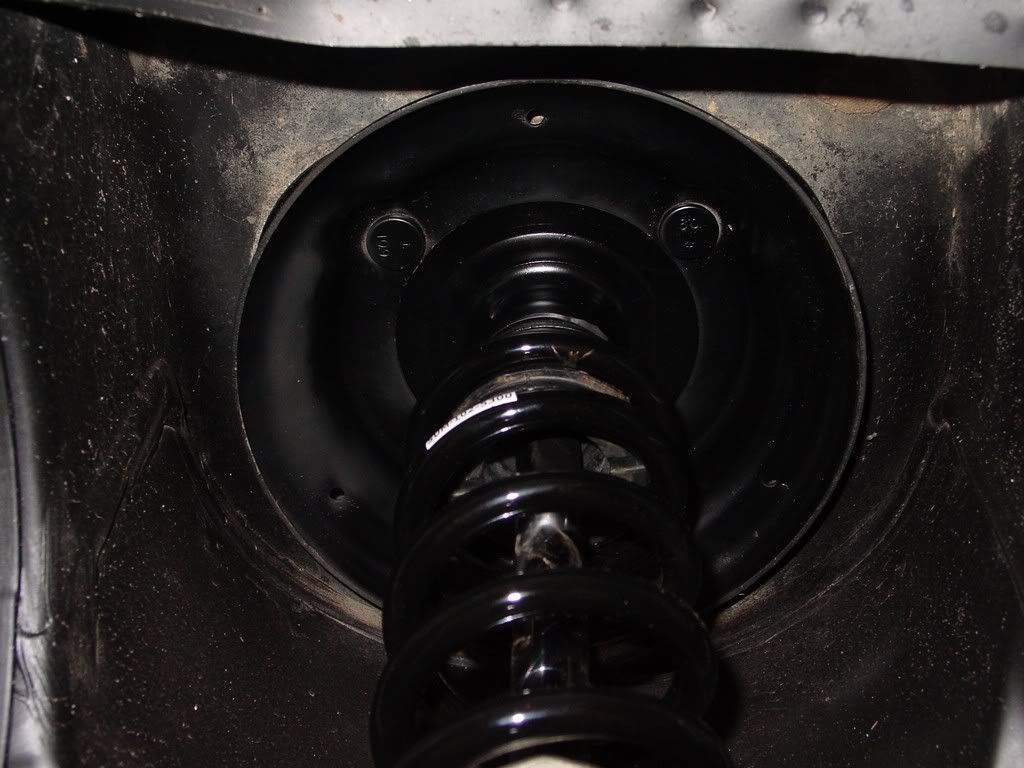
FYI: The parts go back in the same orientation that they came off! So watch close as you take things apart and mark things if you need to to keep up with it!
for now
basic order I assembled the parts in
strut
sleeve
snap ring
perch
spring
top of strut boot dome side up(dust cover bottom portion removed retain metal inner snubbed if it has separated)
larger washer dome side up
big factory coil perch with studs facing up drapped around strut base
now ad the coil retaining plate with the flat side up. The center helps keep the coil spring centered
now and the smaller washer cupped side up
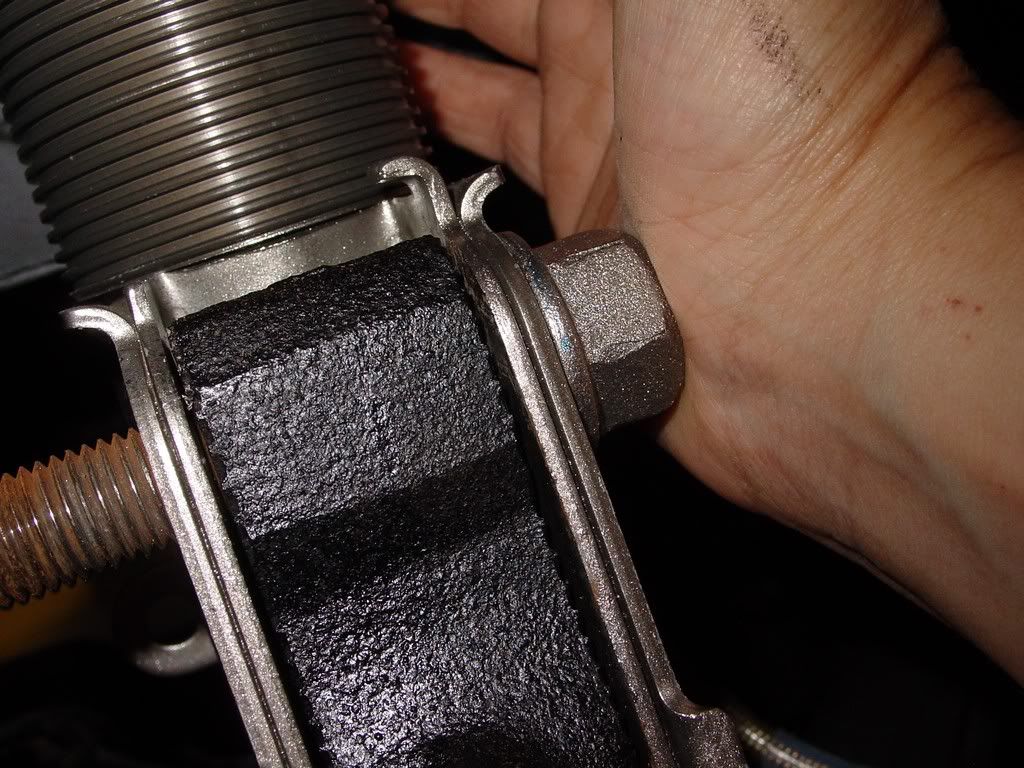
now your strut bolt
tighten.....
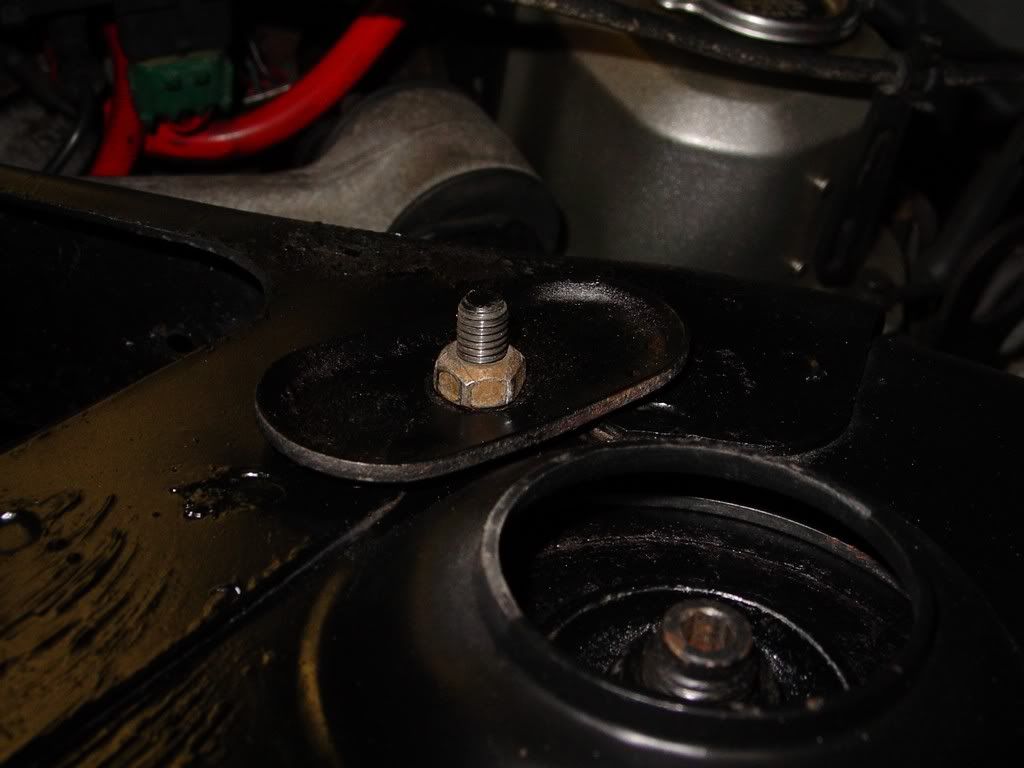
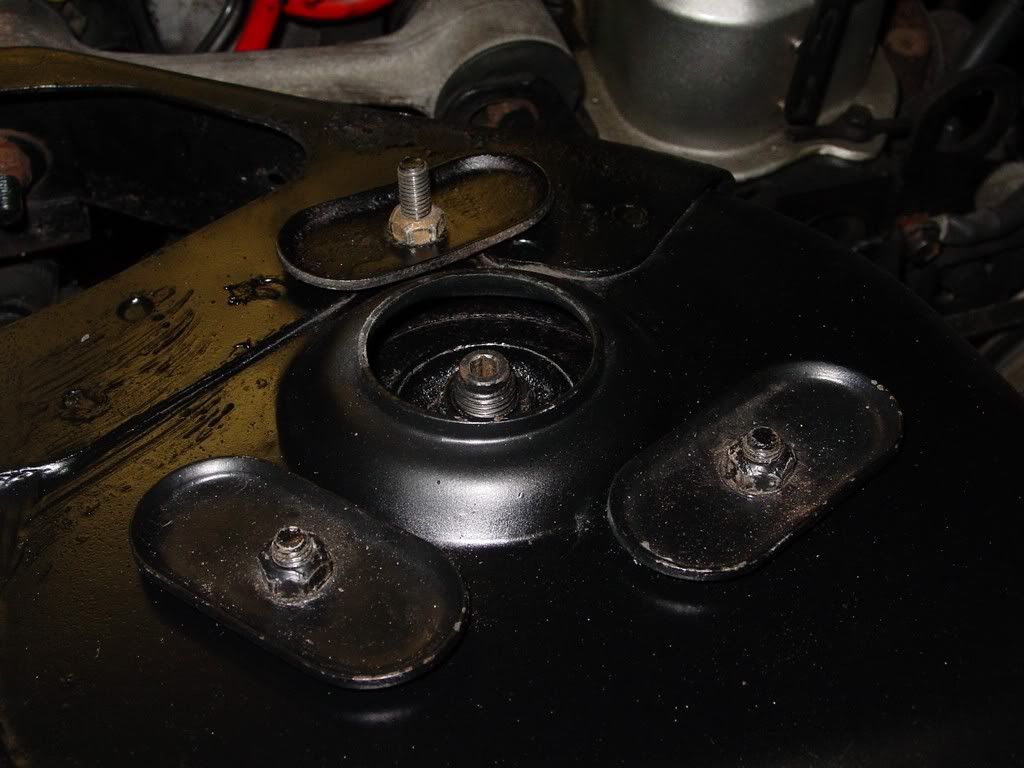
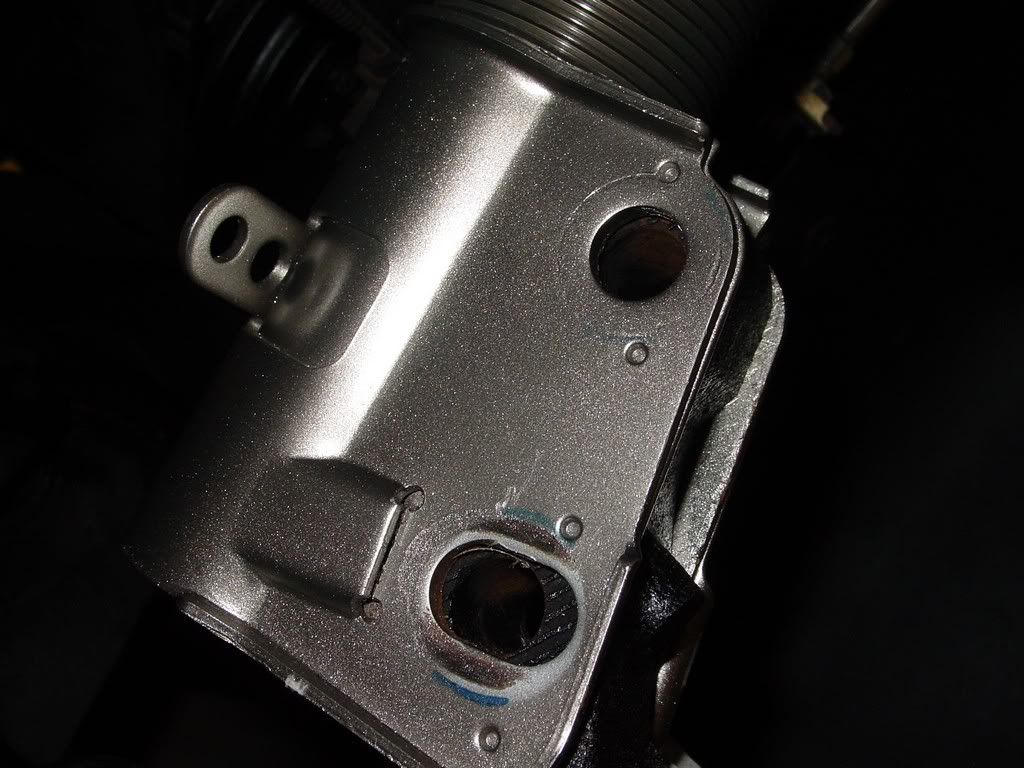
once secure slide the upper factory coil perch up and slide studs through coil retainer plate
then add flat plate over studs.
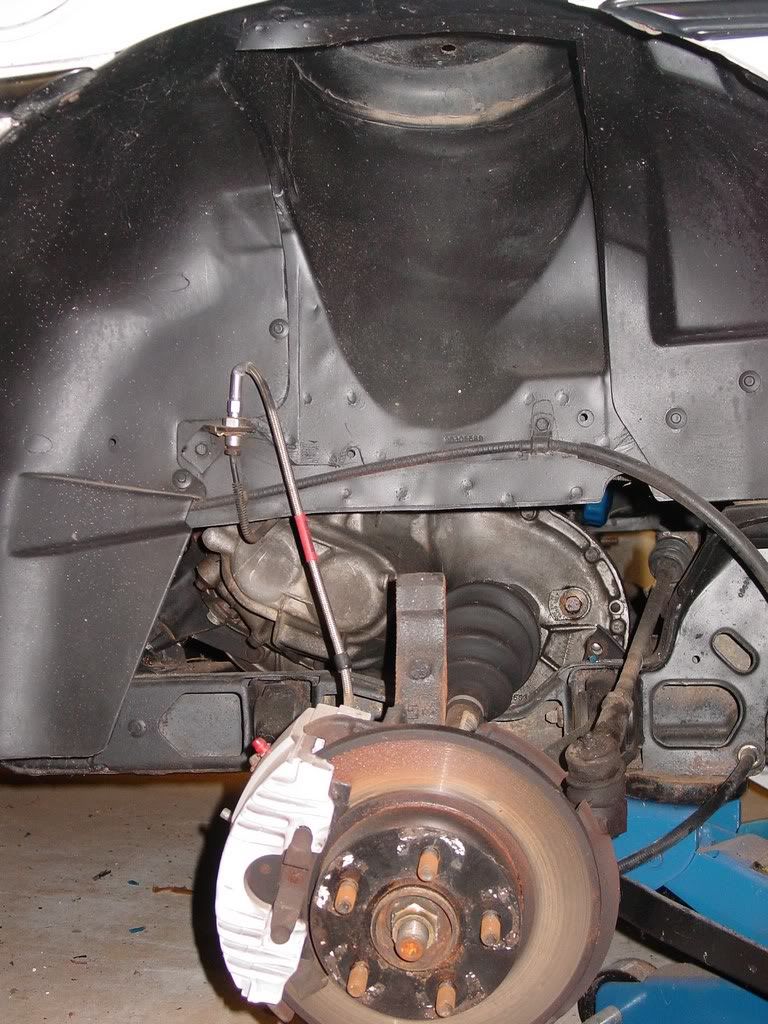
somehow lift balance and carry assembly to car and slide into tower and get the studs to surface thru their corresponding hole.... Lol. Not easy alone ;-)[This message has been edited by redraif (edited 09-15-2014).]
|
|
|
|
redraif
|
SEP 15, 05:19 PM
|
|
|
Did some edits and added last night's install pics a few posts up! Hope things are explained clearer with my edits. Clearer more illustrative pics coming as well! [This message has been edited by redraif (edited 09-15-2011).]
|
|
|