|
| First Fiero experiences and what lead me to start a 3800sc swap (Page 2/4) |

|
Gunganking
|
JUN 30, 10:08 AM
|
|
|
|
|
Gunganking
|
JUN 30, 10:10 AM
|
|
|
And Dennis I do plan on going through the trans when I pull this stock unit out again. Thinking of using the LSD that someone makes, I can’t remember off the top of my head. Just need to source bearings and synchros
|
|
|
|
theogre
|
JUN 30, 03:51 PM
|
|
Is an asphalt surface? seems to be.
Jacks and stands on asphalt can fail too and often doesn't need high heat to weaken it. Asphalt will move some to a lot just from Pressure under jack wheel, stand feet, etc. in hours to days. Many driveways and parking lots have asphalt that's barely holding itself together to start w/ so no-one can guess if your case is better or worse.
So Having car low while working on the cradle is good thing. Set to lowest point as possible. Even then keep kids pets etc. out.
| quote | Originally posted by sourmash:
You can use wood instead. |
|
Many times Wood can have problems too but depends on Many issues. Too many to post easy here.
Is why there are rules for wood cribbing etc.
Wood Doesn't have to be rotten to be weak. More so when have Point Loads like stand feet above and so on.
Worse when dealing w/ plywood etc and outside use because many glues used to make them aren't "water proof."
Don't use MDF, "Chip" Board, and related at anytime.
|
|
|
|
sourmash
|
JUN 30, 05:35 PM
|
|
Oh, I know. There are plenty of dumb people in the world who need someone (anyone) to teach them to proper use of wood.
Don't forget that steel is often problematic as well. Nobody can tell the stresses, tolerances or even failure points. Unless your chosen material has been recently submitted to a qualified lab with peer reviewed, calibrated test equipment that's accepted, UL listed, professionally recognized, taxed and licensed by a regulatory organization, you're just thumbing your nose at safety. Next thing you know there's money missing off the dresser and your daughter's knocked up. I've seen it a hundred times.
|
|
|
|
Spoon
|
JUN 30, 06:36 PM
|
|
OMG...that driveway appears to be on an incline plus everything else everybody else has mentioned. At lease here (see pic) the guy has half a chance of the vehicle rolling away from him or onto him.
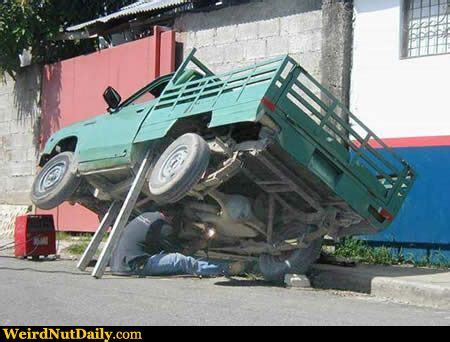
Spoon
------------------
"Kilgore Trout once wrote a short story which was a dialogue between two pieces of yeast. They were discussing the possible purposes of life as they ate sugar and suffocated in their own excrement. Because of their limited intelligence, they never came close to guessing that they were making champagne." - Kurt Vonnegut
|
|
|
|
Gunganking
|
JUL 05, 12:30 PM
|
|
It’s been a few days but I can finally update the story while I wait for a bunch of 3800sc swap parts to arrive.
As stated before I just replaced the brake lines and installed braided steel hoses. I reinstalled the fuel tank (for the first time at this point) and started to convert the A/C to R-134.
This was actually a relatively easy job. Especially after I figured out how easy the spare tire tub was to remove. Made access to the fitting on the drivers front frame rail much easier. This discovery would have shaved probably an hour and a half off the time it took me to replace the brake lines
Along with replacing the O rings. I did the due diligence of replacing the accumulator because the system was open for so long. While there. I took the blower motor and resistor out to take a gander inside. Wow that was absolutely disgusting and packed with mouse nest. Thank god it got cleaned out.
After that job was completed I changed out the two switches mounted in the compressor. The Fiero Store sells one of the new style switches for $50... I actually did some research on the forum to find the part numbers and was able to find them both for ~$35 shipped to my house! Not bad. Fingerprints Workshop on YouTube has a video of him converting the compressor switches for clarification. I wired the switches up slightly different than him but either way does the job
(I also installed new front radiator hoses during this point that I got from the Fiero Store. I had to shorten the hoses to have them fit)
Now most of my parts arrived to start on the engine. Decided to tackle the most time consuming part, the broken exhaust manifold bolts. I had 2 initially, but one broke upon removal on the rear of the engine. I ordered Rodney Dickman’s Exhaust manifold bolt Jig to help. 
Review time:
Rodney’s jig lined up perfect, and the various inserts used in junction with the drill bits worked amazing. Only issues I ran into were with the drill bits and thread tap themselves. I burnt through the two bits not even halfway through the first bolts. BUT I went out and bought more bits the same size and I burnt through them very quick as well. And I tried everything, lube, no lube, more pressure, less pressure, more speed, less speed. I guess I can’t use a drill correctly 
As for the tap, which I do know how to use haha, it broke the first hole as well. I replaced with an Irwin tap that I had and had no trouble.
Overall 10/10 recommend Rodney’s jig. Just make sure you know how to drill metal haha
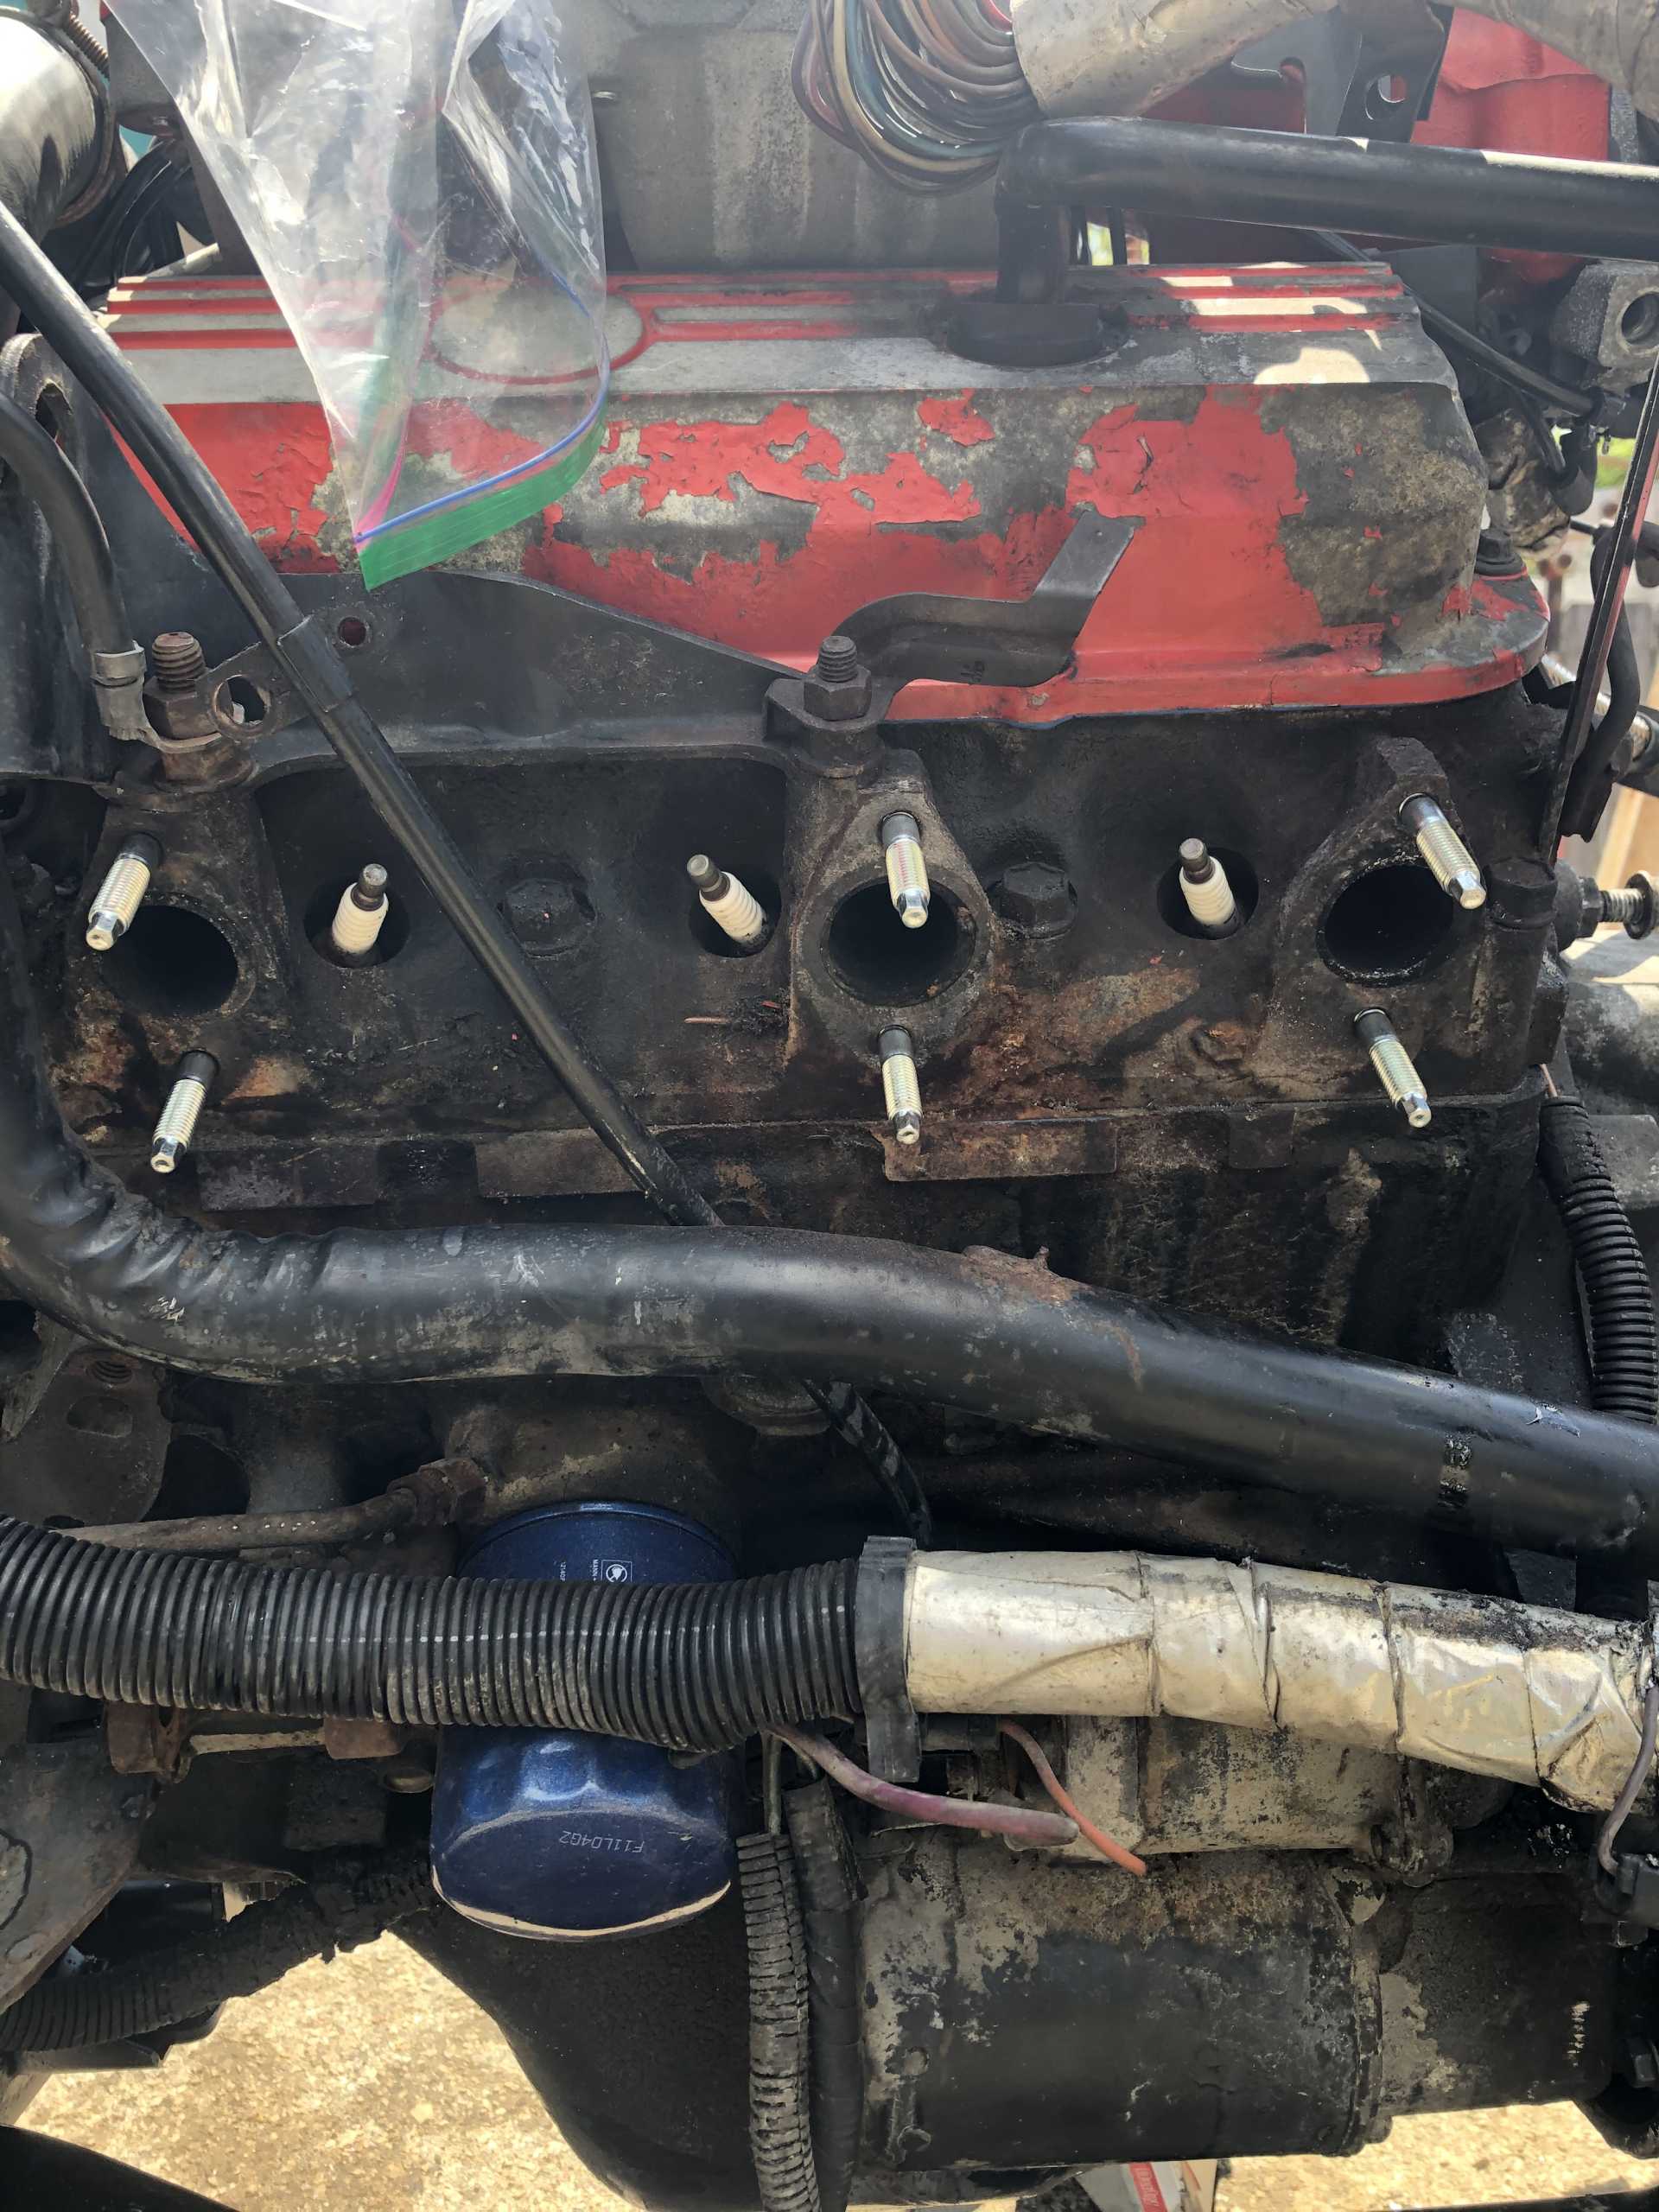
Reinstalled the exhaust manifolds and started with the intake manifold. I removed the upper intake manifold and of course, a lot of the vacuum lines cracked. I replaced those later with Dorman lines later. With the upper intake removed. The coolant lines to the throttle body were deleted, with the inlet and outlets just capped off with rubber caps and hose clamps for now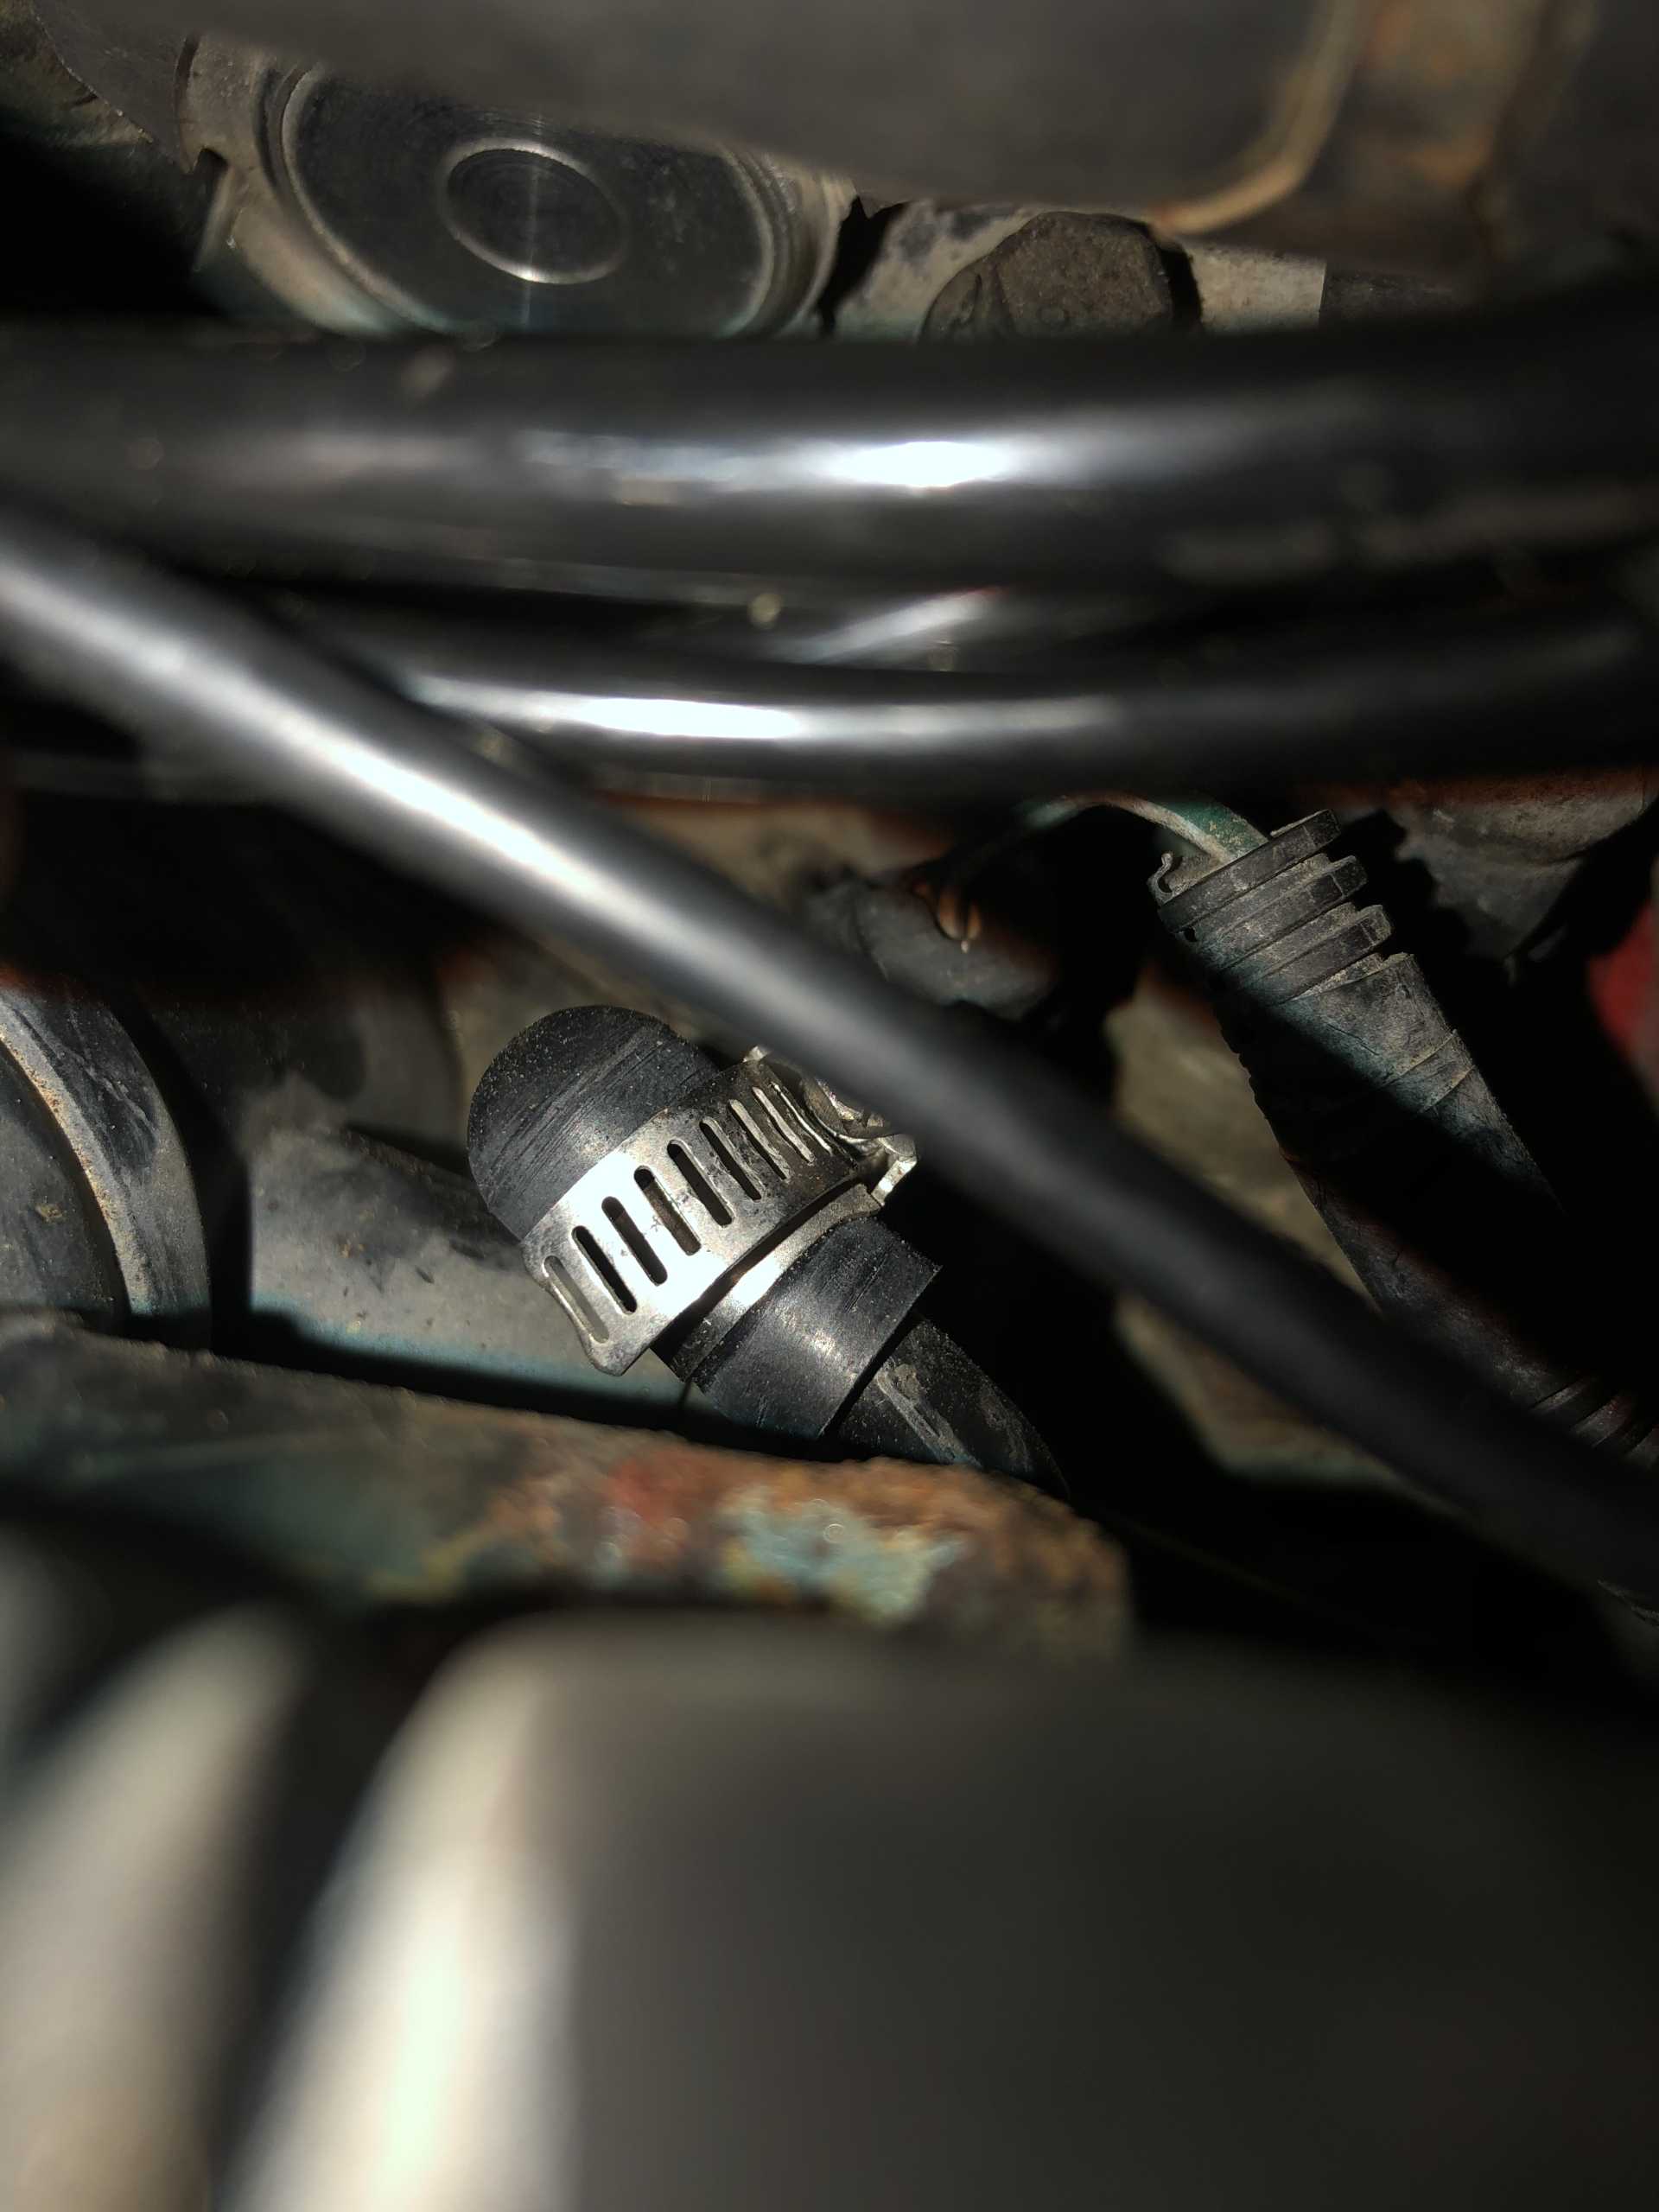
I proceeded to remove the fuel rail and injectors to clean.
Went the route of deleting the cold start injector, just because of all the problems I’ve heard, and because I didn’t want to wait for a rebuild kit. I plugged the fuel rail with a drain plug of the same thread pitch and plugged the hole on the lower intake with a freeze plug mentioned in another thread I read on here. Later on I made the decision that I was going to reverse that and reinstall the cold start injector. I didn’t like the crank times later on being in the solid 6-7 second range just for the car the sputter the first time it fired after sitting. Once it started, it would fire up quickly.
I removed the fuel rail and injectors, injectors “Appeared fine” at this point in time, and found no traces of rust from the tank accumulated in the rail. That’s great! I still replaced the fuel pressure regulator, and cleaned the injectors in an ultrasonic cleaner. Took care not to completely submerge the injectors to prevent solvent from entering the injectors through the connector face.
Removed the middle intake plenum and replaced the valve cover gasket and PCV grommets. Reinstalled the middle plenum with new gaskets. Installed the fuel rail and injectors
Side note: 5/6 injector retaining clips were destroyed upon removal. I was able to reinstall the injectors without the retaining clips successfully without fuel leaks in the future. So a +1 to saying you don’t “need” them that there were a few discussions on the forum that I read on when my clips were destroyed.
Replaced all of the broken vacuum lines that ran under the intake and replaced the leaking EGR feed tube. And finally reinstalled the upper intake plenum. ( I also replaced the EGR valve stand off due to the feed tube nuts and studs being so rotted away so I got that from the Fiero Store as well)
This point it’s time to install the few little things left.
Replaced the broken alternator bracket, (but kept he same alternator for now) installed new belts for the a/c and alternator. Replaced the spark plugs, wires, cap, and rotor. Now time for the exhaust
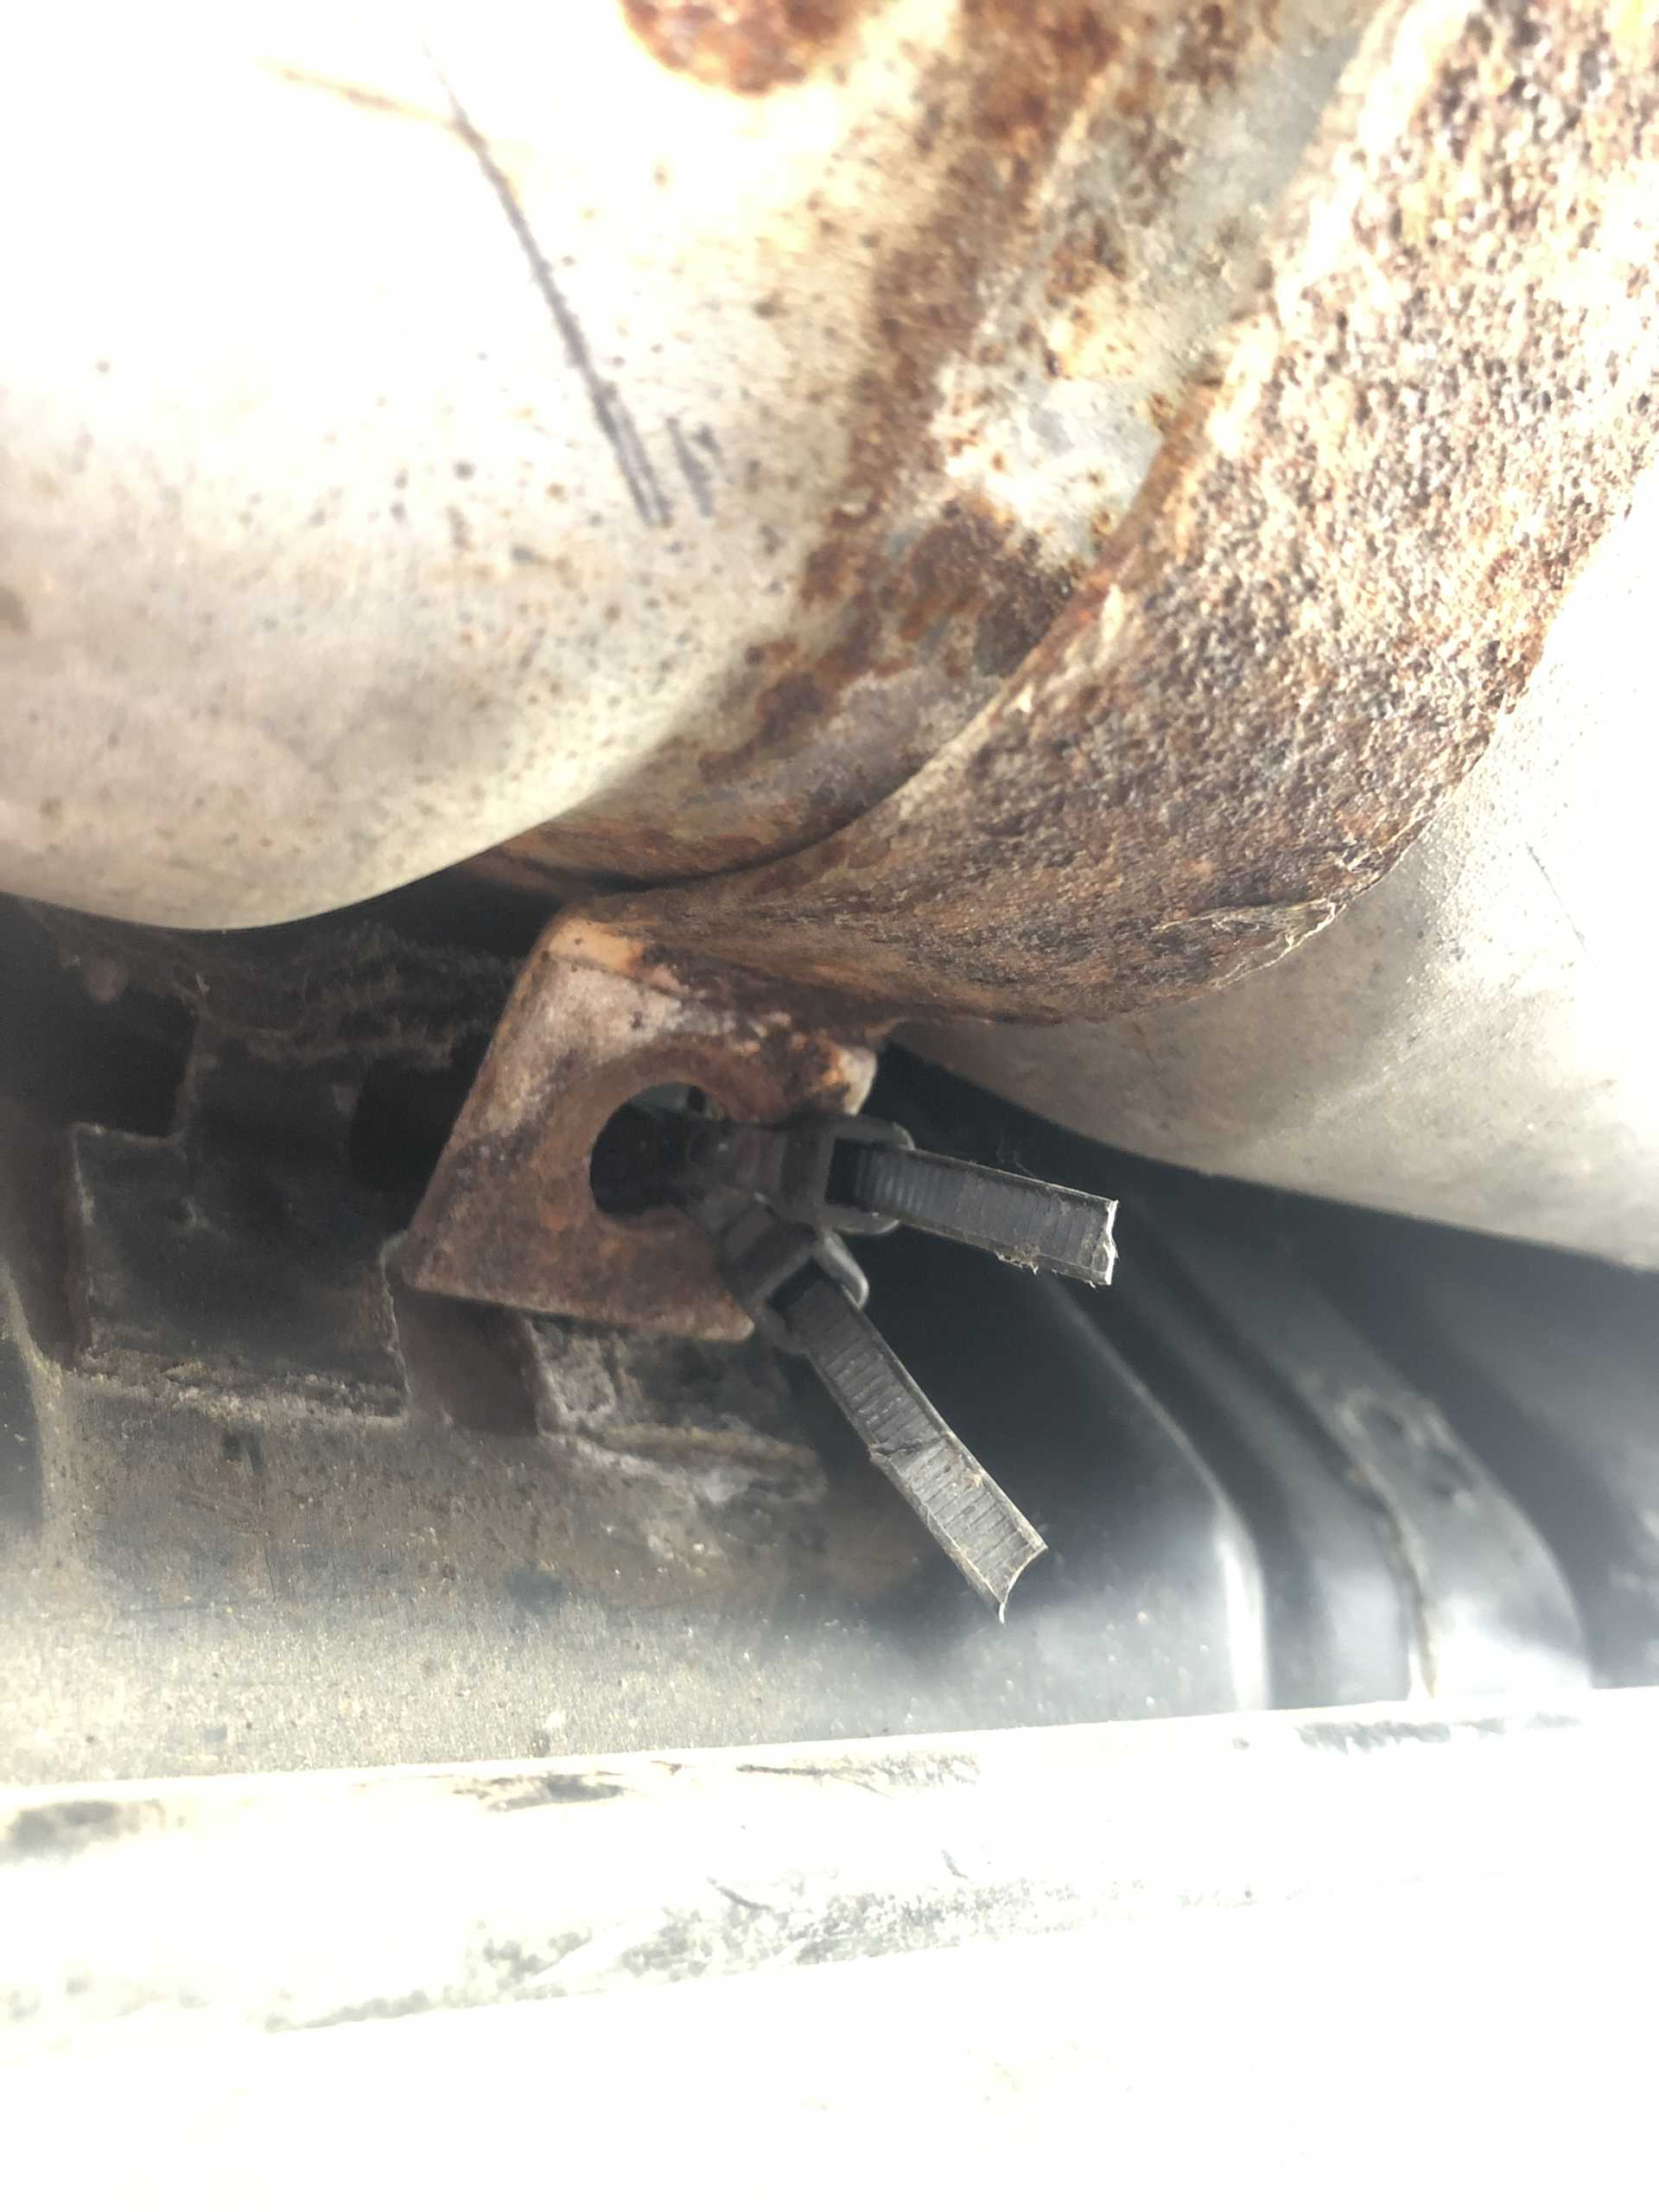
Y Pipe was reinstalled with a New O2 sensor for good measure.
I also bought The Fiero Stores catalytic converter delete pipe due to my Cat being rotted out, and where I live you don’t have to do emissions testing on vehicles build before ‘96. And I gotta say. I either didn’t do enough research but the pipe didn’t fit well. The flange side that connects to the Y pipe is a different size, and didn’t like the stock doughnut gasket. I had to actually shave down the gasket to it to somewhat seal. Also the bends of the pipe didn’t match up well. It took a lot of man handling for it to fit
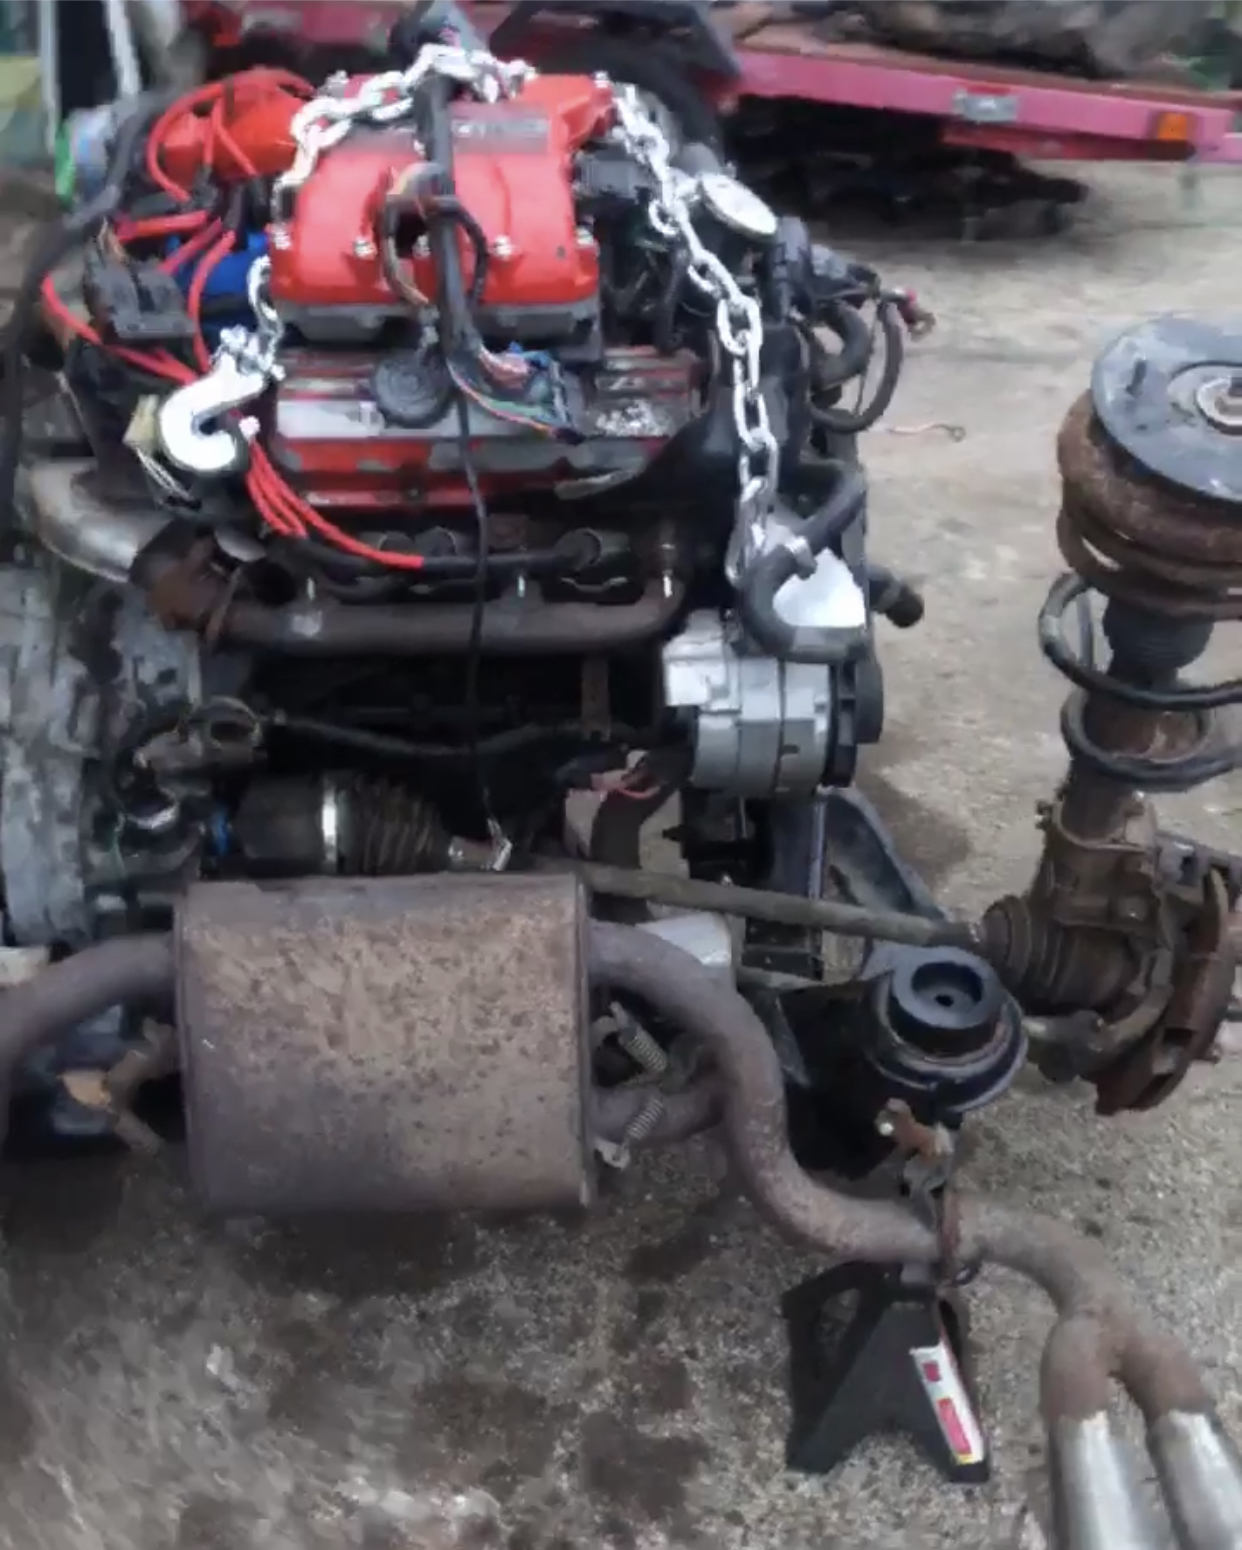 
At this point the engine was ready to be reinstalled into the car![This message has been edited by Gunganking (edited 07-05-2020).]
|
|
|
|
Gunganking
|
JUL 06, 10:11 PM
|
|
On to the next one!
I got the engine installed pretty quickly. The only headache was the slave cylinder decided to seize while bleeding it. I had to order one but it didn’t stop me from firing it up!
Well. Needless to say she ran...... but not very well. Easing into the throttle helped her rev better, but wasn’t great. At this time it was getting late and would decide to mess with it the next day.
Next day came..... car decided that it didn’t even want to start that day  I got really aggravated and let it sit for 2 days. Guess what? It fired right up that day I decided to mess with it again I got really aggravated and let it sit for 2 days. Guess what? It fired right up that day I decided to mess with it again  but one thing I did notice, it would die after about 5 minutes of running. Sometimes more. Sometimes less. I didn’t Check that out till later. First I decided to take care of the misfire it had. but one thing I did notice, it would die after about 5 minutes of running. Sometimes more. Sometimes less. I didn’t Check that out till later. First I decided to take care of the misfire it had.
I followed the service manual procedure for figuring out misfires. Disconnected the IAC and started unplugging spark plug wires one by one to notice a change. Boom. Found a dead miss on cylinder 4
I started to get worried at this point. Knew I had new plugs and wires, gapped correctly. With strong spark as well. So I ran a compression test on that cylinder to make sure everything was kosher, 135psi dry compression. Well. There’s only three things needed for fireworks Air, Fuel and Spark, so I went with fuel is my culprit. Even though I cleaned the injectors, I had one not working properly. Ordered 6 Bosch injectors off RockAuto for $100 shipped.
Popped in the new injectors, oh man! What a night and day difference! She ran great! When she ran.....
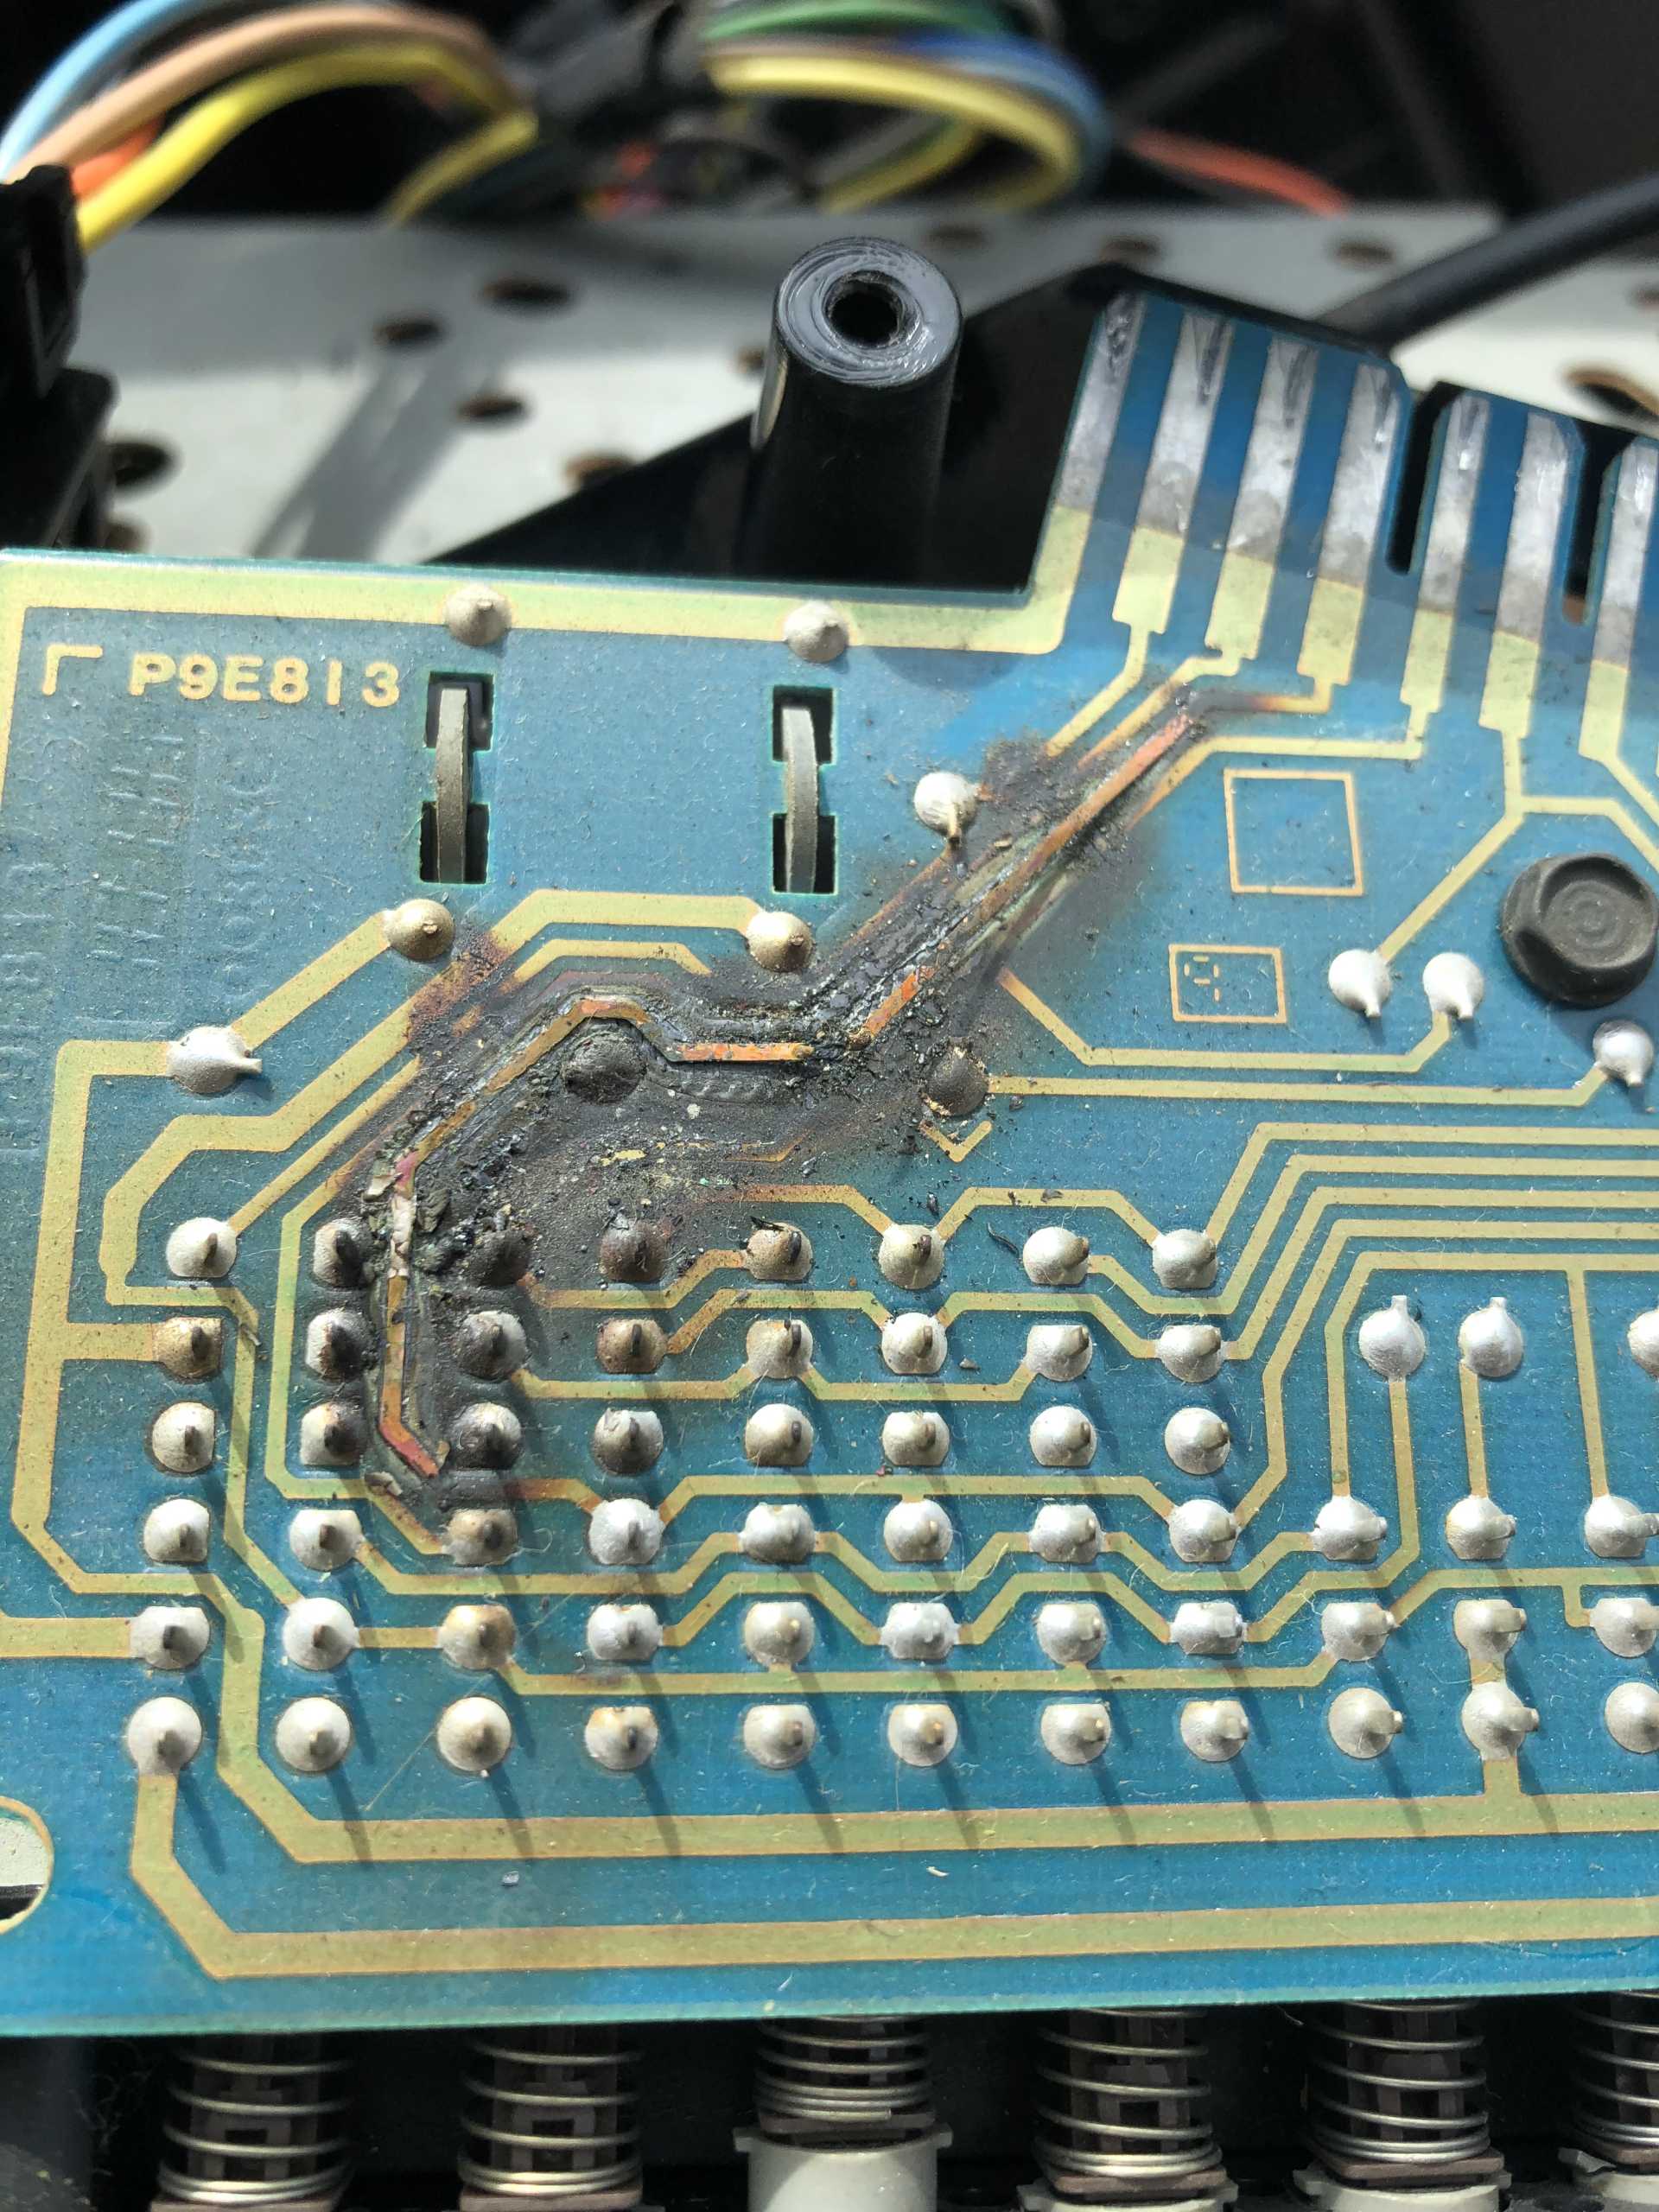
Once again she would start when she wanted. This time I noticed the fuel pump wasn’t turning on with the key.a buddy of mine was helping out with this as well. Checked the fuse, good. Checked for voltage at the test port on the diagnostic connector. Nothing. Applied 12v at the test port, fuel pump fired right up. I have a problem with the control system. Checked for power at the fuel pump relay pump side, 12v. Jumped the two terminals, fuel pump fired up. Okay. Checked power at the ECU side of the relay. 12v huh? Okay if everything has power when it needs to, and the pump works when supplied power, why doesn’t it work? I even Ohmed the relay to make sure it didn’t have excessive resistance when turned on. .5ohms. Swapped relays with the A/C. STILL THE SAME THING THE PUMP WOULD WORK WHEN IT WANTED TO!! I’m aggravated at this point. But managed to catch it in the act. I tugged on the wires at the relay and boom the pump would cycle demon the way the wires were moved, took it apart and found spread pins. Replaced the relay with a new updated style from Autozone and everything on the fuel pump side worked great.
Until she didn’t want to start again.....[This message has been edited by Gunganking (edited 07-13-2020).]
|
|
|
|
Franked
|
JUL 10, 02:47 PM
|
|
Any updates?
I will be bringing home a car that supposedly runs, but I have never seen it run, I have known the owner of it for a long time,(10yrs) he has never had it on the road since I have known him, but has moved it a couple times in the last 4-5 years.
I expect to have to deal with probably every issue you are dealing with, plus a new master for brakes(any old, "bin settin a lil while" car) I ever get needs a master, for some reason..
You are getting quite a bit done quickly, I am impressed, I cant seem to move that fast on projects anymore.
Frank
|
|
|
|
Gunganking
|
JUL 11, 04:40 PM
|
|
|
Franked, I have plenty of updates coming. Currently spacing out the story right now. Pretty much recapping what has happed up until the point I am at now (which is currently waiting for my 3800 swap parts to arrive)
|
|
|
|
Gunganking
|
JUL 11, 05:38 PM
|
|
|
|
|