
 
     |
| 85 Notchie Build (Page 2/23) |

|
87FieroSport
|
AUG 07, 11:03 PM
|
|
If you need some help at some point with anything that I might be able to do, I'd be willing to take a drive up there with my 'Ro.
I only live in Pawtucket, RI.
Going to MTTI in Seekonk, MA in October, good luck on the project though! I think my buddy Tim saw your Fiero outside one day, he has a black 86 GT with red fenders and hood.
|
|
|
|
zkhennings
|
AUG 08, 08:45 AM
|
|
Thanks a lot, I might if it gets down to the wire!
Yesterday I installed the new crankshaft in the new block and I checked bearing clearances. I also painted 3/4s of my cradle with por 15 and hopefully the rest gets done today and I can install the pistons in the block today and paint the distributor and maybe por some of my floor pan as well.
I took pictures with my familys SLR and they are huge so I have to resize them before posting.
Camshaft has shipped and will arrive on 8/13[This message has been edited by zkhennings (edited 08-08-2012).]
|
|
|
|
Reallybig
|
AUG 08, 08:24 PM
|
|
Looks like you're having fun! Keep up the good work and the good posting. I always enjoy watching others progress on their cars...keeps me motivated. Just don't let it become a burden. Are you gonna give her a build name or would that make it too personal?
I reused my flywheel bolts with blue thread locker (removable where red is usually considered permanent). Technically you are supposed to use white thread locker; high temp stuff. A mechanic friend of mine usually just torques them back in w/o any thread locker. I'm not for sure if it's considered ok to re-use the flywheel bolts though.[This message has been edited by Reallybig (edited 08-08-2012).]
|
|
|
|
zkhennings
|
AUG 09, 11:30 AM
|
|
Yea I think blue threadlocker will be the way to go.
Yesterday I painted the distributer, finished por 15ing the cradle, rubber undercoated most of it, painted the lower intake, checked all piston rings for clearance after squaring them in the cylinder with a piston. 3 of the rings had a gap of a little under .010 so I used sandpaper glued to a piece of flat steel stock to take a little material off the rings. I installed all the rings on the pistons and then I got too tired to go on so I went to bed. A few pistons had some dings on them on the sides, probably from shipping, so I used some 400 grit and sanded them down to flush with the sides so they dont score the cylinder walls.
I hope to get all the pistons installed and get the oil pan and oil pump installedtoday and paint the block, maybe get the new heads dissasembled to start porting
Edit: At lunch time I went out and bought this. It will go where my cat was for the time being and I will be running side exhaust out the right side in front of the rear wheel FOR NOW. I am really dedicated on going turbocharged which means new crossover and totally different exhaust so I am not investing time or effort into making my exhaust go out the rear for now, but it will in the future, the side exhaust is temporary  [This message has been edited by zkhennings (edited 08-09-2012).]
|
|
|
|
zkhennings
|
AUG 10, 11:00 AM
|
|
finished painting cradle finally
cleaned and painted water pump, timing cover, alternator bracket (they were all rediculously dirty)
Any tips for polishing the throttle body? I want to polish and clearcoat it. It has a ton of that white oxide on it.
|
|
|
|
zkhennings
|
AUG 13, 11:50 AM
|
|
Ordered a new oil pickup tube/screen from the fierostore because my screen is broken, also bought a 180 degree thermostat and a new O2 sensor. My EGR deleted PROM came in from Phonedawgz as well and I finished welding the exhaust manifolds and they can start to get ported. Also I took apart the front right suspension to cut the spring and install poly bushings. I also started wiring my house up for my own welder.
Still to do:
Cut springs
Install poly
Reinstall suspension
Install rear suspension and transmission on cradle
Finish Por 15ing the chassis
Weld in seat track nuts to the floor once welder is installed
Finish engine
Finish porting heads and manifolds. I might only port the lower intake manifold because I can port the other ones once I am at school. Same thing with Y pipe.
Reinstall engine and reroute coolant lines
Replace brake line
Replace Gas Lines with rubber
Put all Body Panels back on
Install Dew Wipes
Install Windows
So I have to do all this by the end of next tuesday... while working 40 hours a week this week... I have sat, sun, mon, tues to do the majority of work. I need to get some significant progress done this week so I can finish everything. I might be pulling some 20 hour days unfortunately. If I can get everything done to the car this week, I think I will be in good shape (dew wipes and all the fuel and coolant lines and brake line and por 15 and weld in the seat bolts and the front suspension). I think I can do it. It just sucks to go go go all the time from when I wake up at 530 till I get home from work at 6, eat, then work on my car till I need to sleep at like 1. But whatever I know I am going to be very happy when it is all complete.
I am looking forward to a couple simple things:
Having a car that doesnt vibrate because of the correct flywheel
HP increase from new engine/perf cam/porting work
No longer worrying my engine is going to start detonating now that I have the EGR codes deleted
Ride Height fixed since gas charged kyb bumped the front end up
No longer rusting cradle
Tighter front end from bushings
Nicer looking engine and engine bay
Also it should sound great with a thrush turbo muffler, no cat, and a super short exhaust plus ported manifolds and the camshaft.
|
|
|
|
zkhennings
|
OCT 07, 03:23 PM
|
|
Heres a whole bunch of pictures I never posted

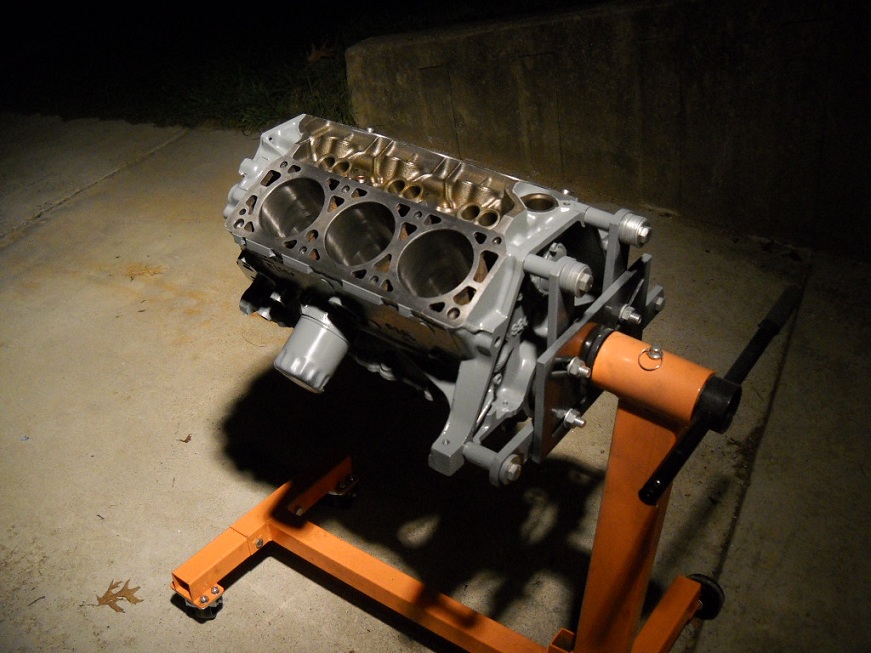
New Block on the stand
Honed
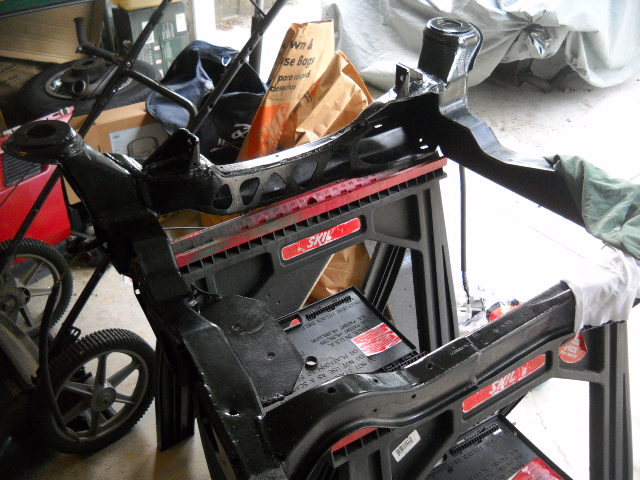
Cradle POR-15ed
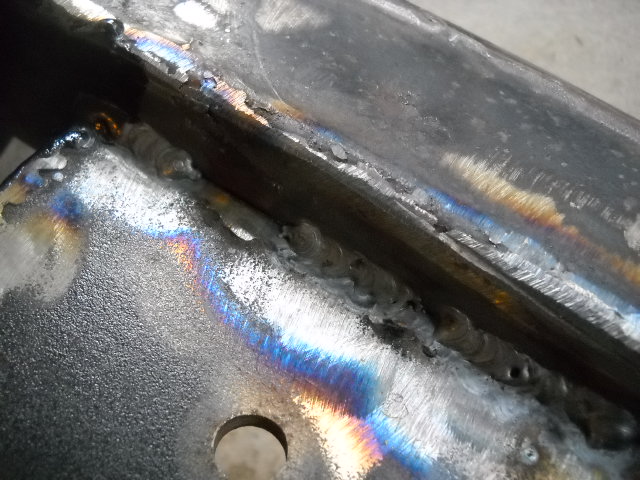
Tig Welded Mount back on
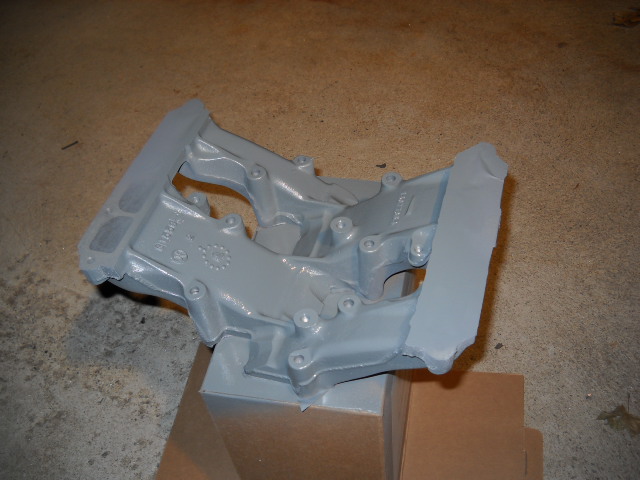
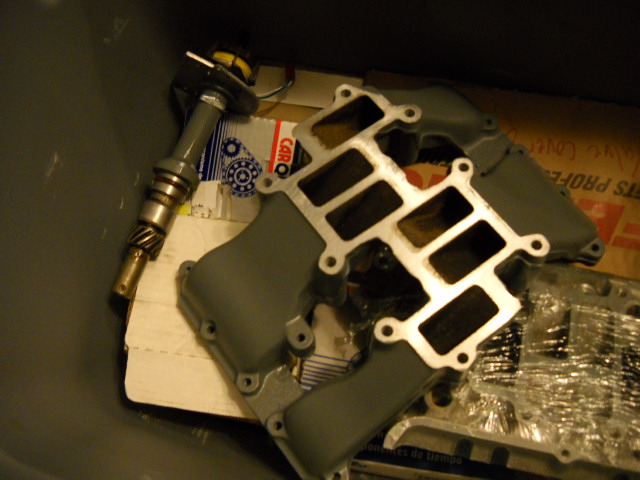
Painted Intake and other engine parts, paint is ford engine gray engine enamel first primered with an engine enamel

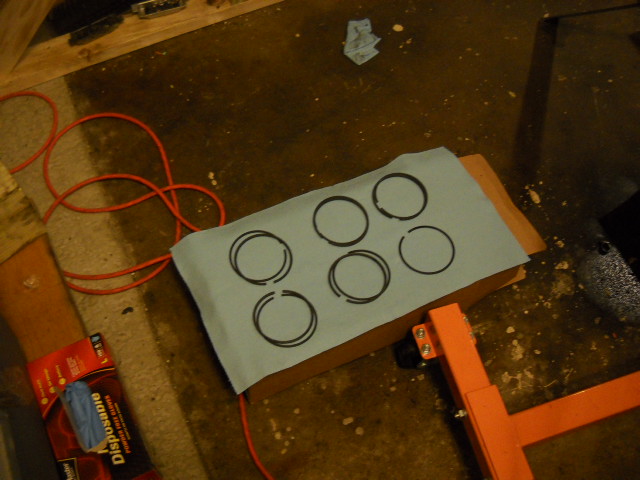
Piston rings organized as I checked them in the cylinders. A few had too small of a gap so I mounted some sandpaper to a piece of flat stock and sanded them down ever so slightly.
Checking the ring gap with a feeler gauge
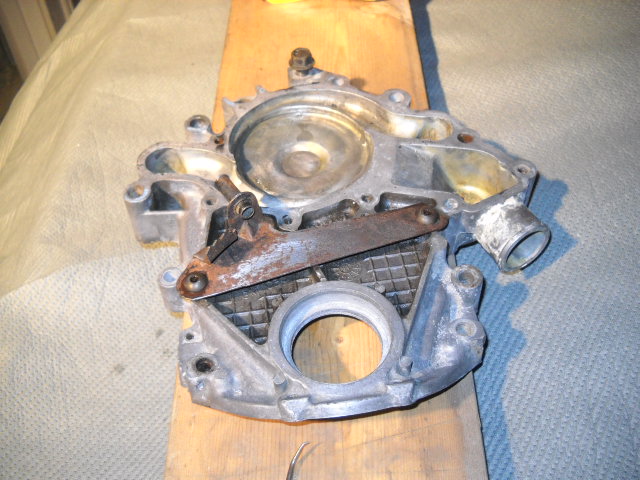
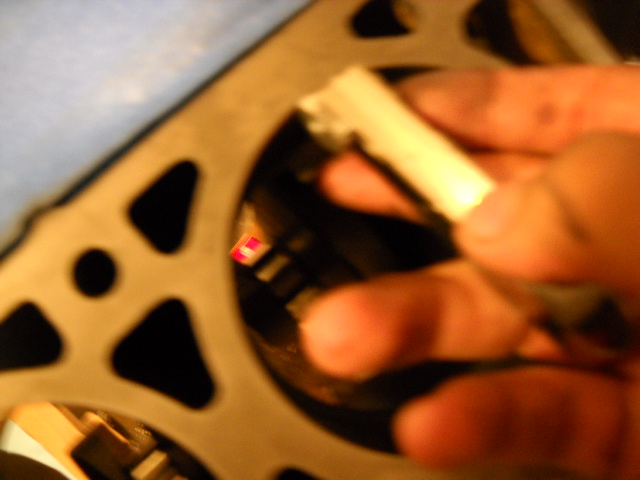
Cleaned timing cover. If you look back at the old engine on the stand you will see how dirty the cover was when I started.

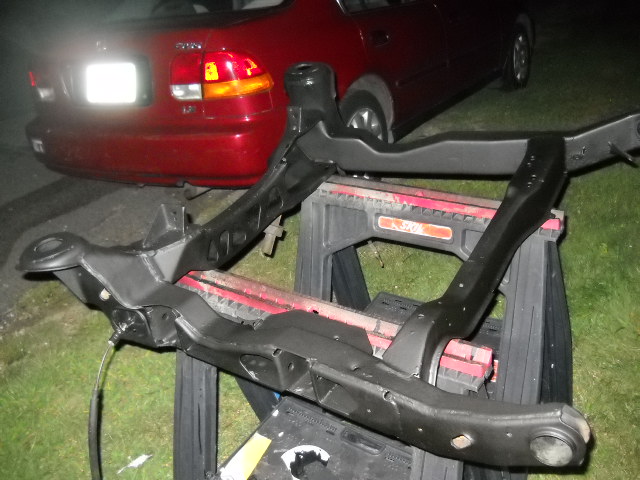
Cradle now rubberized undercoated
Box of parts
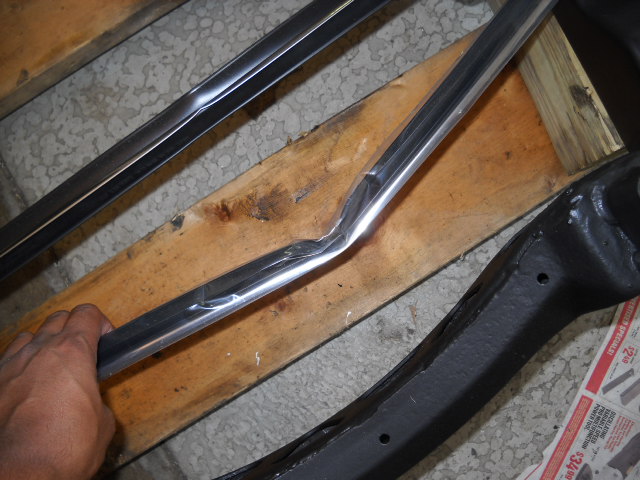
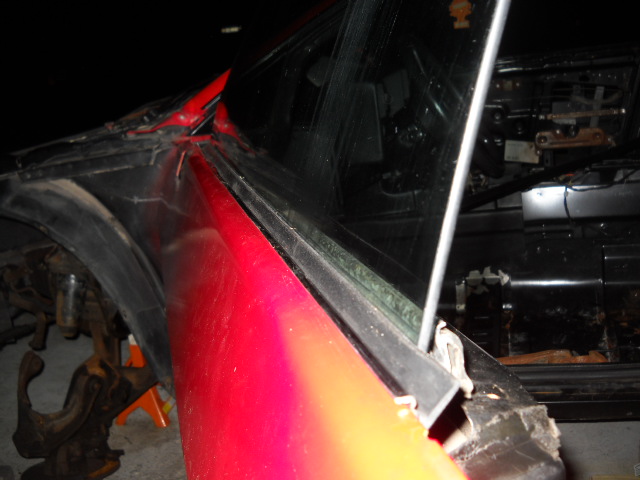
Pretty angry JCwhitney packaged my weatherstripping so poorly. I bent if back but the kink cant be 100 percent removed unfortunately.
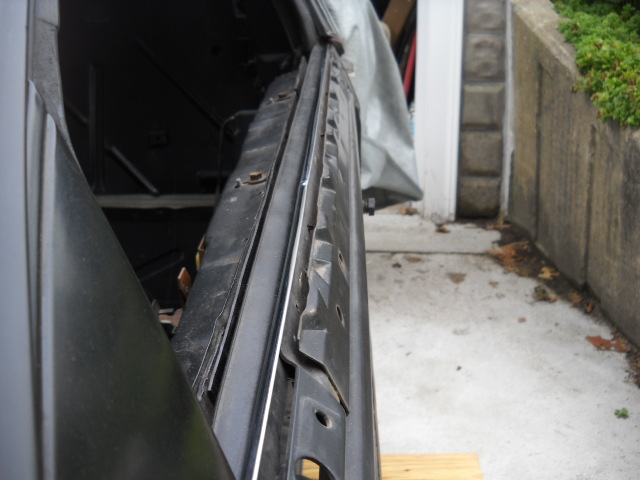
Weather stripping in place
I riveted the original hardware to the new weather stripping, then I put the doors back together and the windows back in with some quarter inch stainless hardware. It is really easy to access the hardware for the window from under the door. This is how I will take out the windows in the future, very easy. Also my inner door panels will be velcroed on.
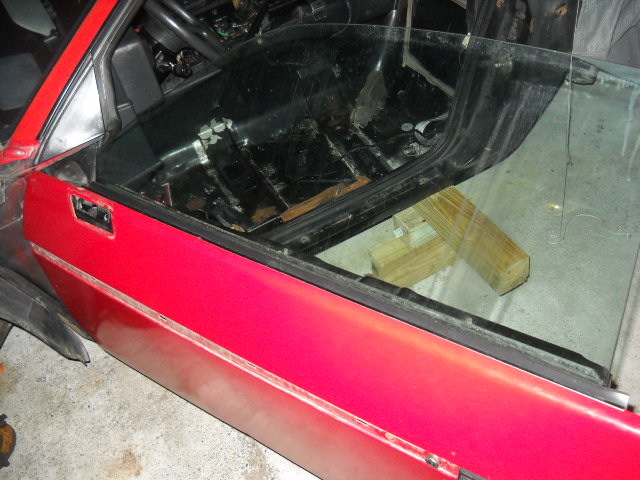
The window installed, looks pretty good I think.
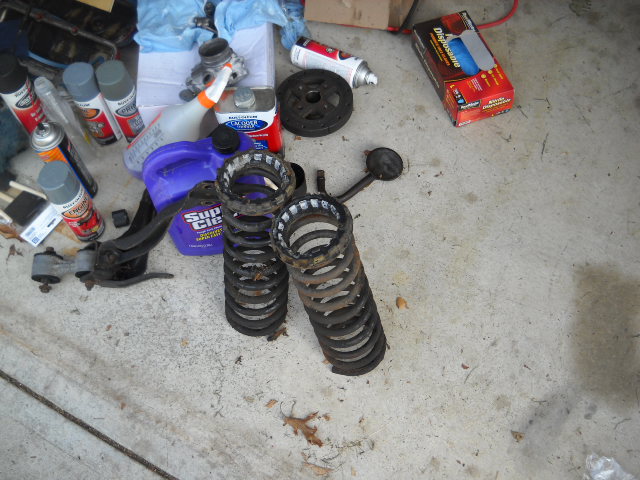
Front Springs removed.
|
|
|
|
zkhennings
|
OCT 07, 03:46 PM
|
|
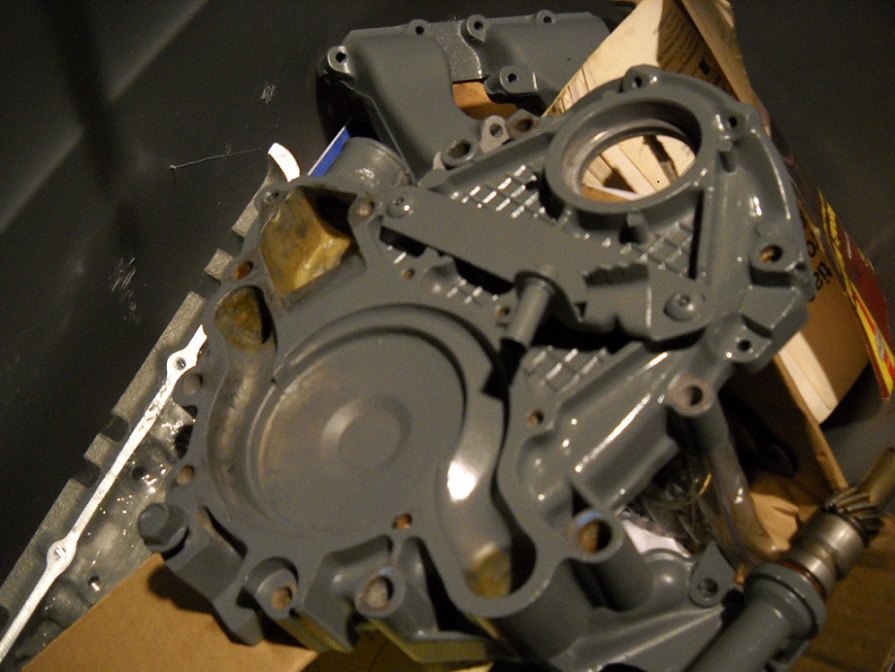
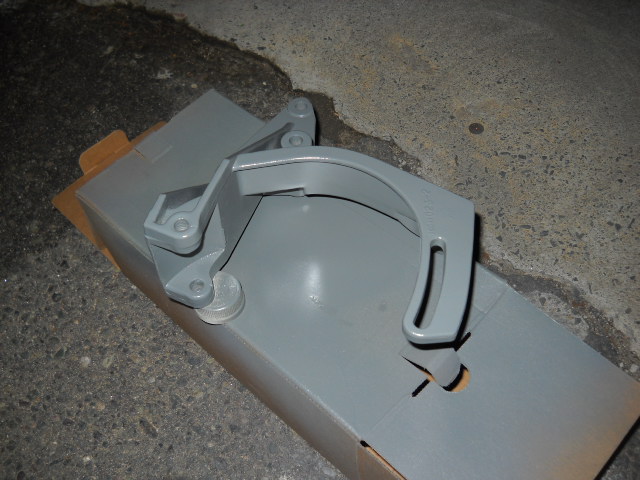
Timing Cover Painted
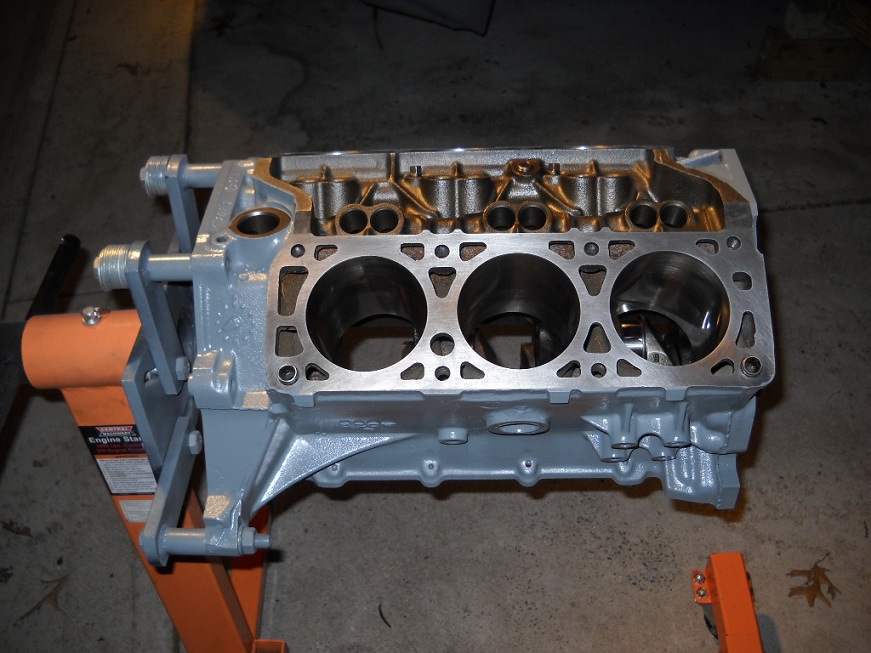
Block Painted
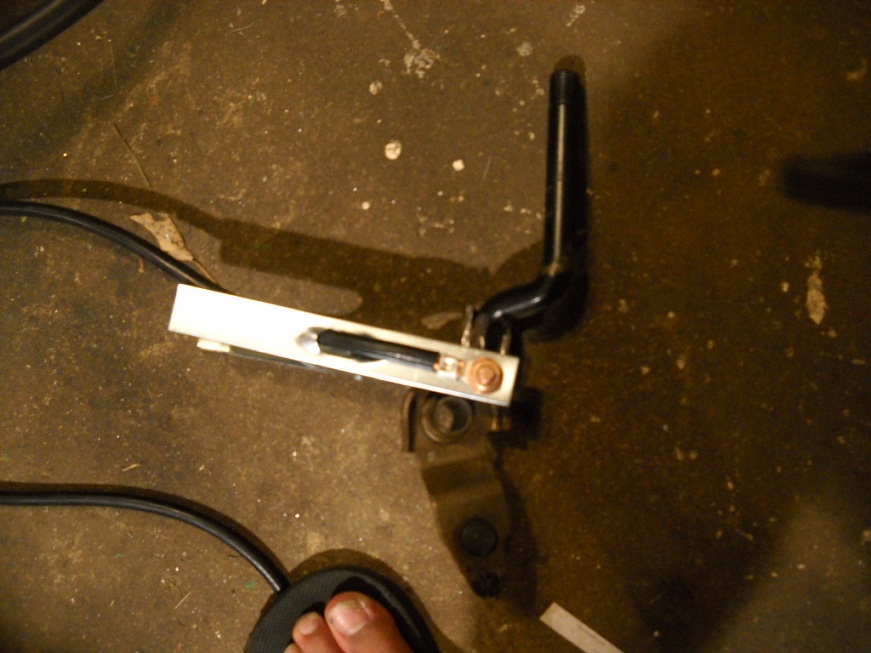
Cut shifter and welded it down lower to shorten it. Still have to cut the threaded section off then rethread. I like the bend.
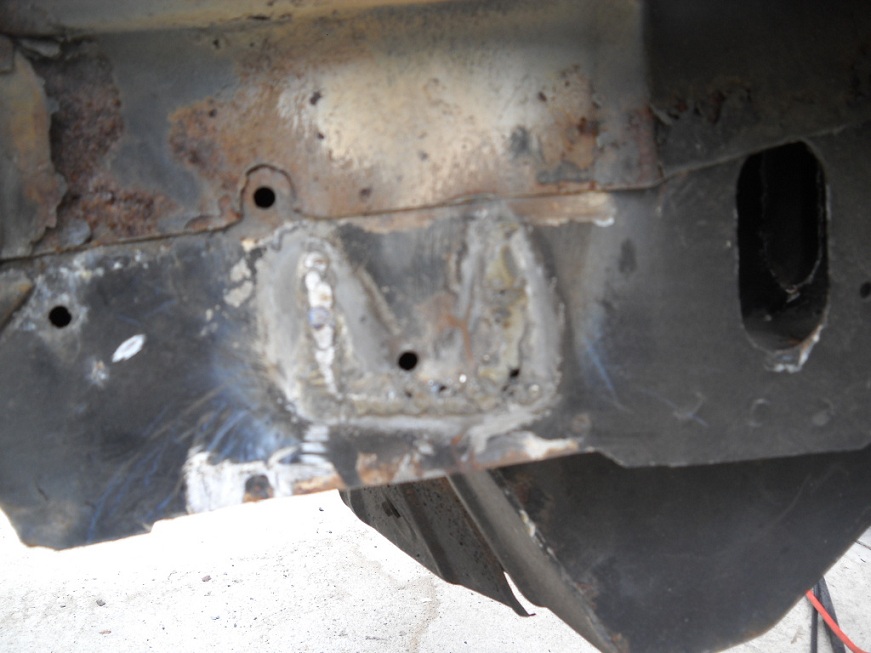
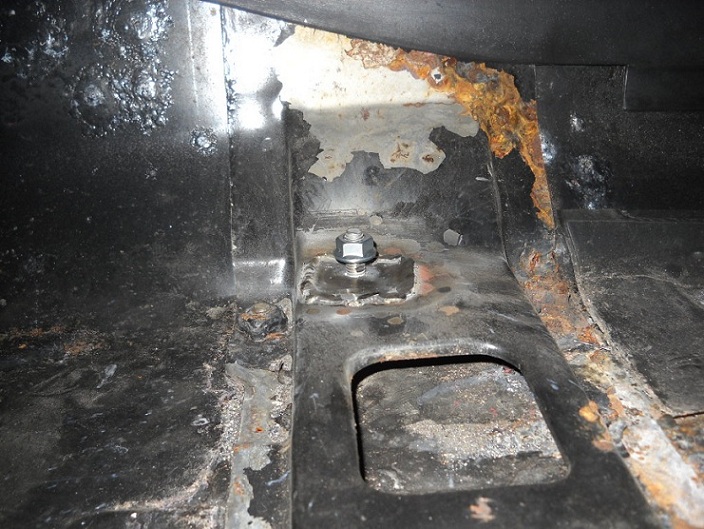
That section on the lower rear frame rail welded back up. Needs to be ground down fully Or I might just leave it because no one is going to see it.

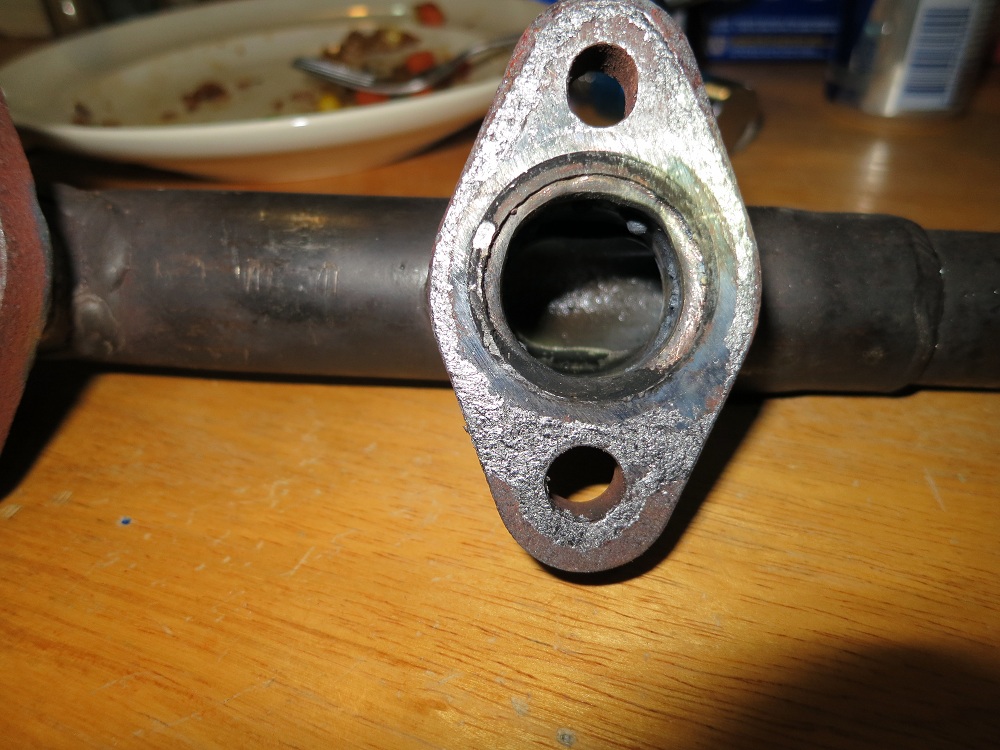
New brake line. It is a dark dark green and has to couple with another shorter section because it was no long enough on its own and I didnt want to spend the money for flaring and stuff. I figure in the future if need to replace either piece now I can just get a premade one.
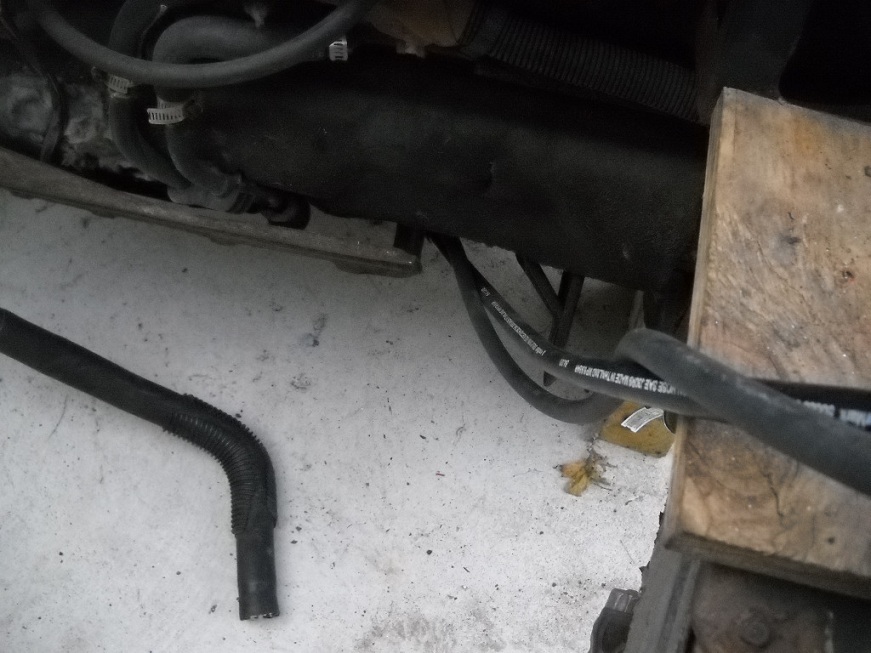
I rerouted the fuel lines opposite of how they were. They were still routed for a 4 cyl. I chopped them right after the 90 degree bend out of the tank, then used rubber line and fuel hose clamps to attach high pressure fuel line and route it the opposite way. It will clean up the engine bay a lot. they are routed behind the heat shield, and there is no longer a Cat there to get super hot.

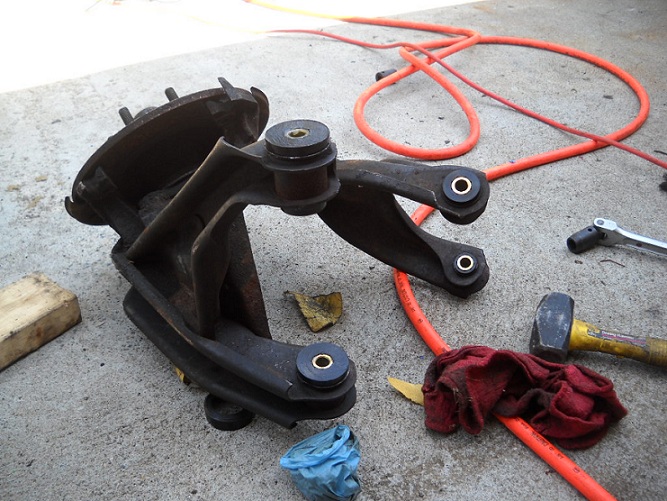
Front suspension off, windows in. I fought the front suspension for a while. Bolts were fused to sleeves. I used a dremel and a pneumatic hammer.
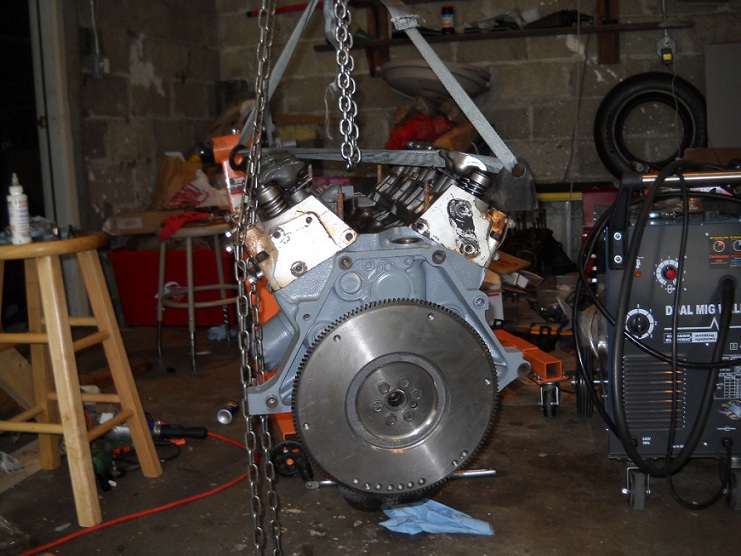
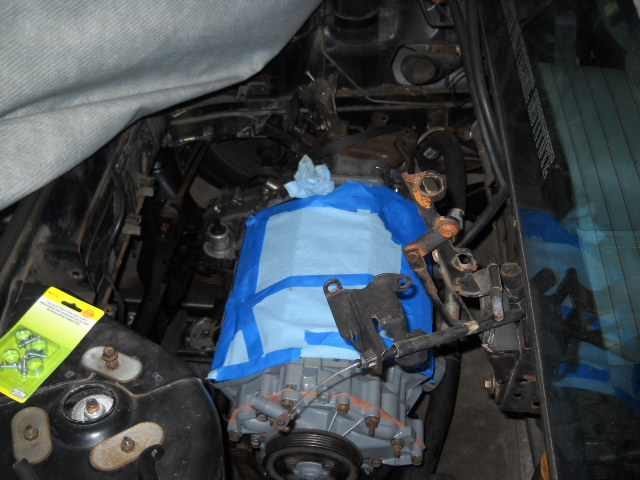
I thought I got more pictures of the actual engine assembly, I plastigauged everything to make sure it was in tolerance, got a new oil pump and pickup tube. I am stupid however and just did not do a great job installing the pickup tube so I am going to take the engine back out to redo that, and redo putting on the timing cover with a sealer instead of just a gasket, and I am annoyed but whatever I am going to make a brand new engine assembly perfect and nothing less. Anyways, new flywheel and heads mounted, heads came back off for porting, I just used them to pick up the engine.
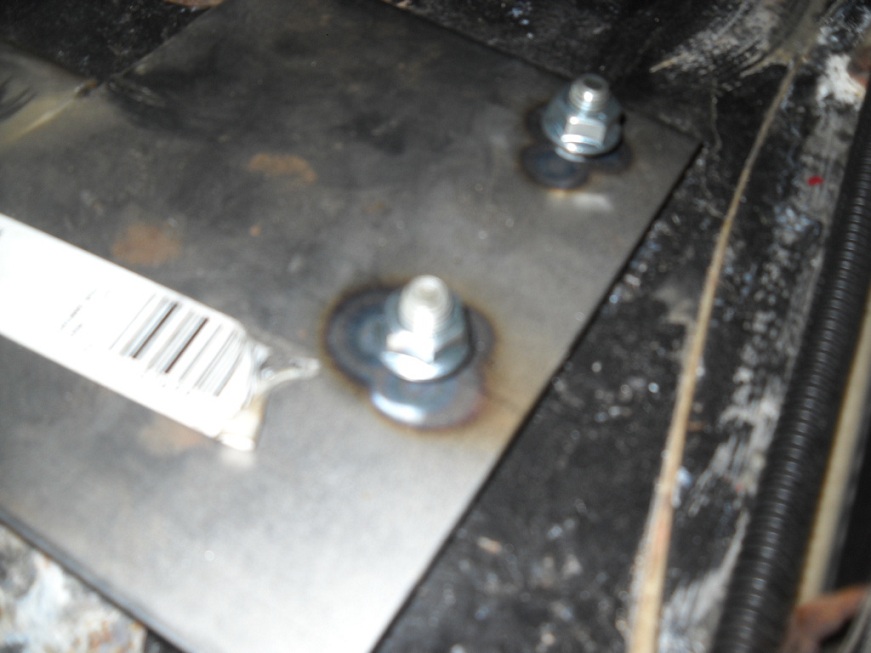
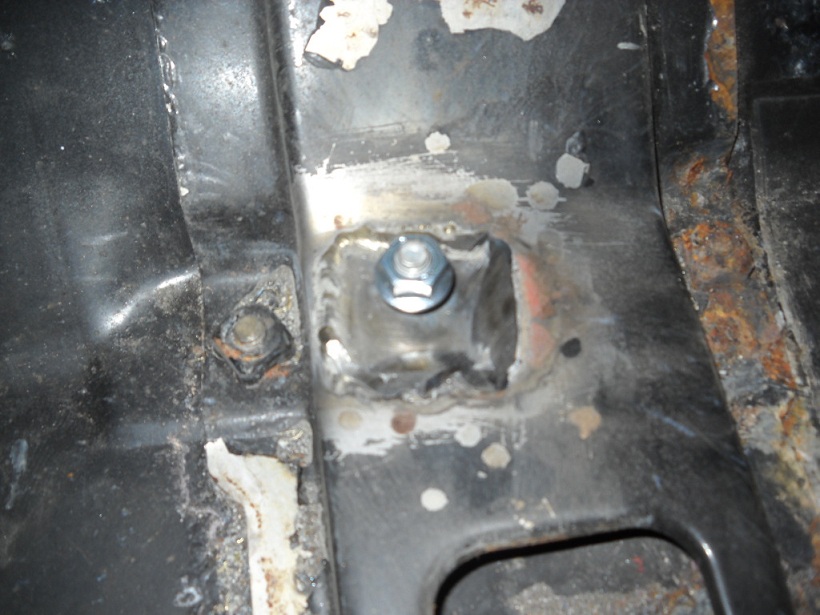
My solution for the seat bolts I ruined. I drilled holes then welded from the bottom bolts ( I forget what size I just brought the old ones with me) They are grade 10.9. The steel is 16 gauge plate.
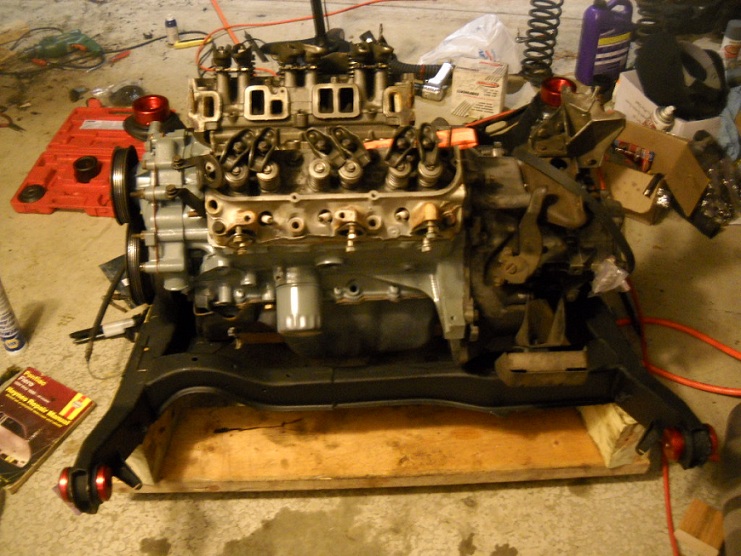
Engine and tranny mounted on the cradle[This message has been edited by zkhennings (edited 03-20-2014).]
|
|
|
|
zkhennings
|
OCT 07, 03:58 PM
|
|
So I did not get a ton of pictures of the reassembly because I was working very long days as fast as I could go. But here is what I do have. I am in School right now but I get a break soon and I will work on my car a little, but then I go to South Africa for a term for my junior year project, and I will not get to continue working on my car until this winter 
OK so QUESTION, Do I need those second set of poly pieces for the lower bushings? I just could not see how they would fit because I had to hammer the arms into their locations as is. I would like to leave them out but if I need them I will put them in I guess.
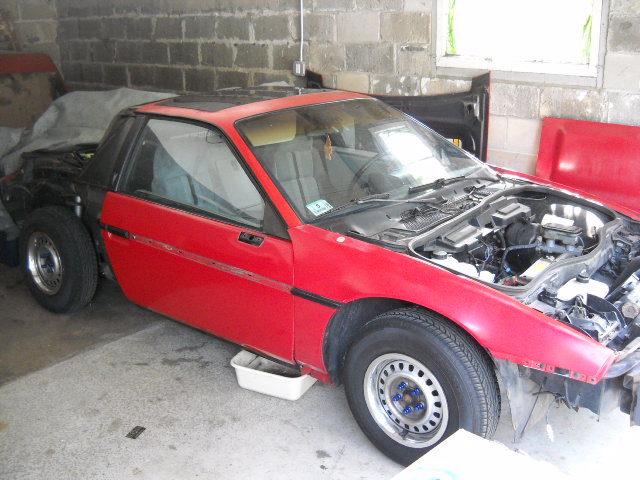
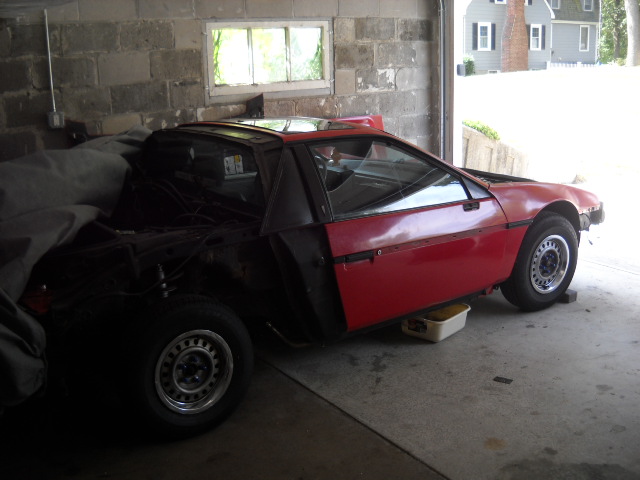
Here is how she looks right now
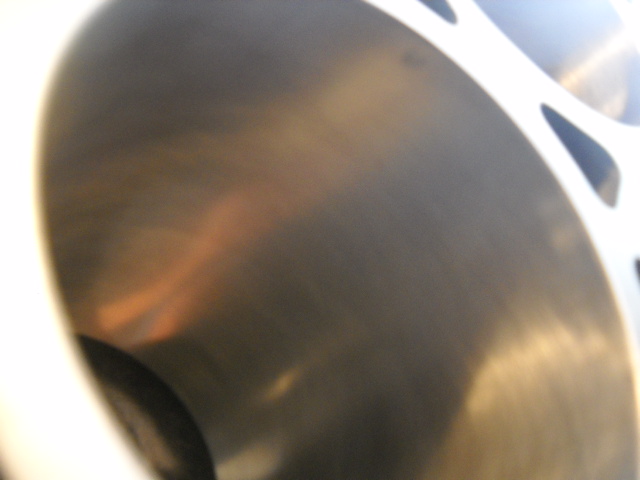
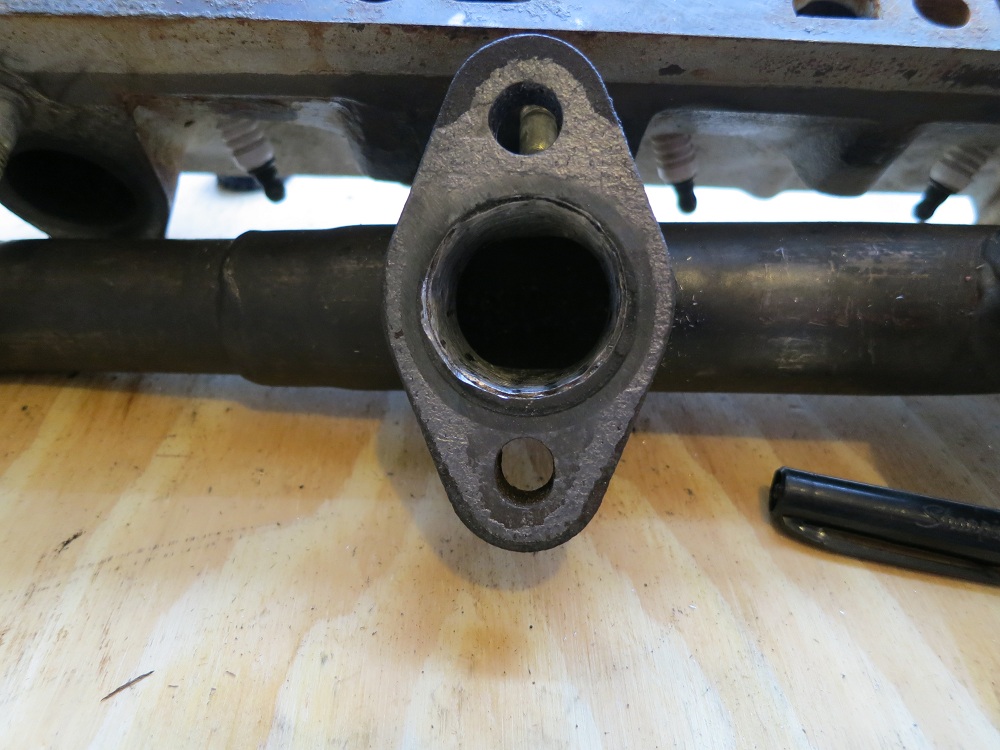
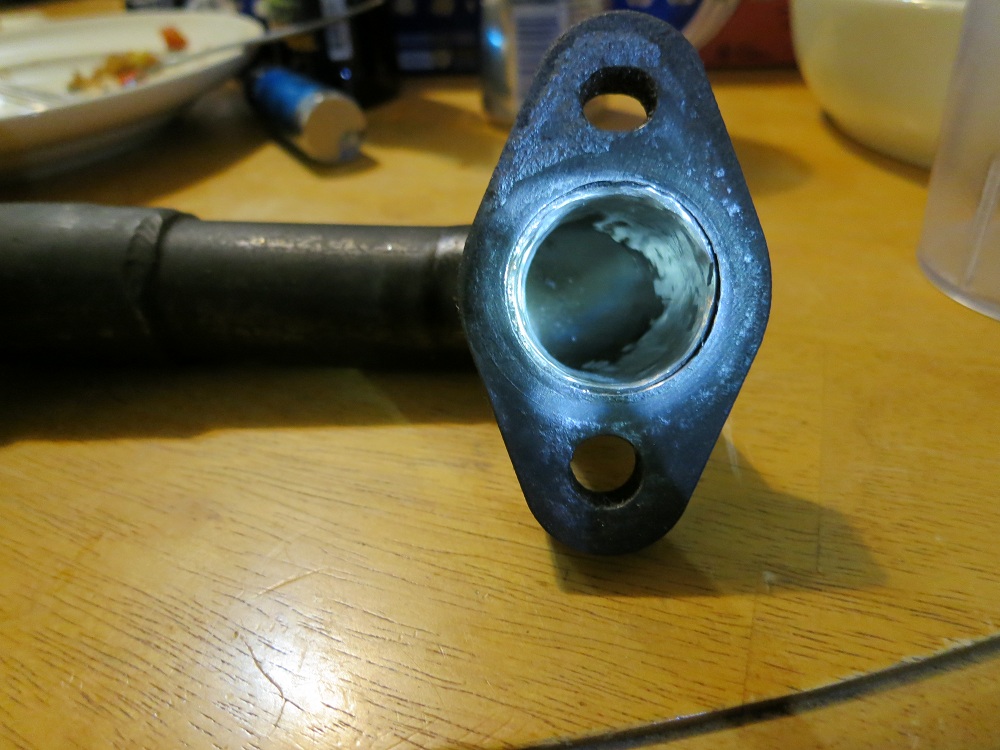
Heres some porting work I have been doing,
Unported
Ported
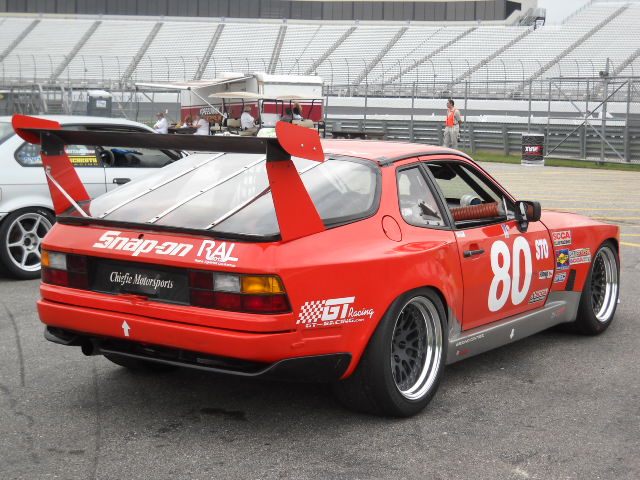
And on another note, here are some pictures from NH Speedway a few weekends ago, my roommate Ralle, he races all sorts of things but at the moment it is cars and he is racing Miatas. Here he is in his Miata. He did really well that weekend, 3 firsts and 3 second places.

And here was an awesome 944 that was driven by a very fast driver
|
|
|
|
zkhennings
|
OCT 07, 05:32 PM
|
|
|
What do you guys think? Open to any suggestions
|
|
|
|