|
| 85 Notchie Build (Page 17/23) |

|
zkhennings
|
JUL 14, 02:15 PM
|
|
Thanks!
Page 5?
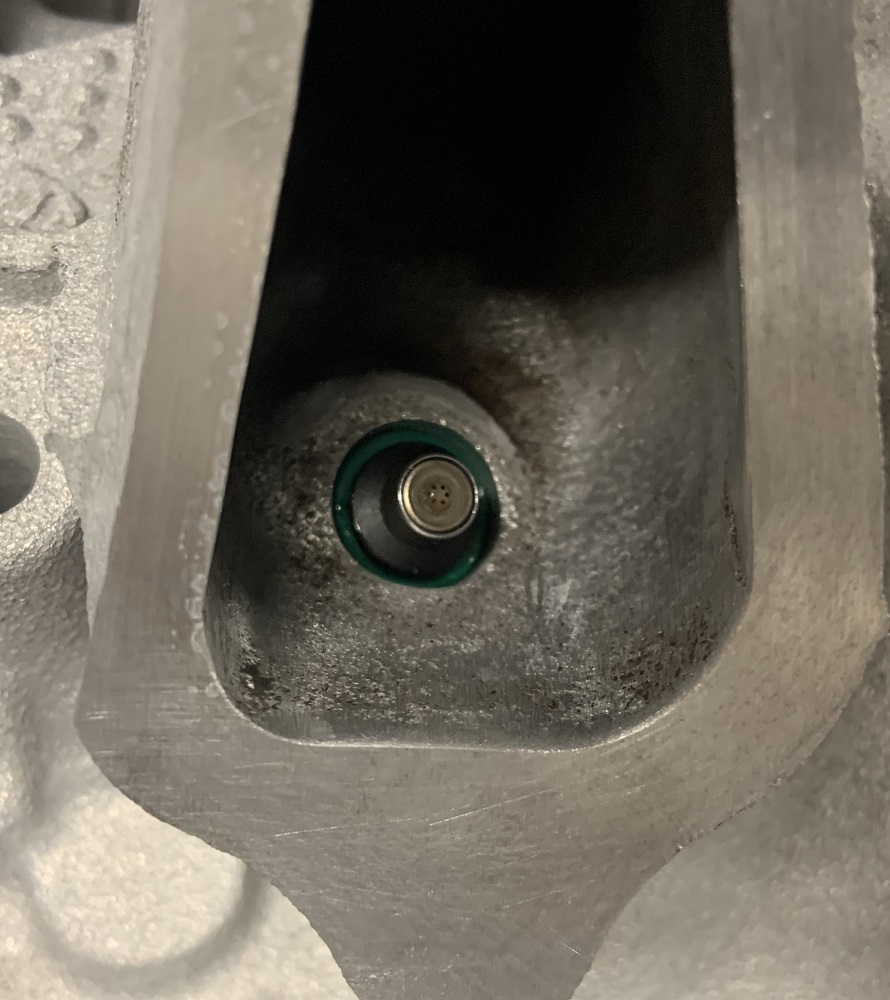
Test fit the Audi injectors, they are longer than the stock injectors and the nozzle sticks into the intake tract. I do not think it should be an issue, the O-ring is fully in the bore.
I am debating flipping the fuel rail so that the fuel enters the rail on the front of the motor instead of the rear just to keep the fuel away from the headers and exhaust crossover over the trans, but I think it will look and function fine with the braided fuel hose running over the rear top of the plenum. Even if the fuel line was on the front of the engine it still always has the risk of spraying fuel on the exhaust if it fails. I may still choose to flip it but it will require some minor fab to the mounting brackets and I have to keep everything low profile as the upper intake is pretty close to the fuel rail. The easiest way to do that would be to tig weld some additional metal to the fuel rail, and I don't love the idea of welding the fuel rail as there are little drops of fuel in it still. Maybe I can leave it in the sun to bake if it comes down to that.
Note: the UIM gaskets are not installed in the following pics and will add a little additional spacing.
After confirming that the injectors will work, I went ahead and torqued the LIM. The 3900 LIM has 2 fasteners that are impossible to get to with any kind of swivel joint or wobble extension that I had, I even took a poor 10mm socket to the grinder to make it as short as physically possible to try and get something to work. Nope.
Had a 10mm crows foot that I could put on the torque wrench but it was threatening to round the bolt head.
My buddy Chris was with me and suggested seeing if a 10mm wrench would fit over the 3/8" square of the torque wrench. Bingo, it fit beautifully, 3/8" = 0.375" and 10mm = 0.394", which is plenty close to put the open end of a wrench around a square without it slipping at all. Being a 10mm gear wrench it also still ratcheted which made it even easier. Calculated the required torque to get 18ftlbs at the end of the gear wrench, came out to around 13.5ftlbs at the end of the torque wrench.
The long intake manifold bolts that are TTY needed to be retorqued over and over and over to finally all remain at 18ftlbs. I am going to do a final pass after the gasket material settles the next time I work on the motor. The shorter bolts were happy after their initial torqueing.
Since I am planning to trim the unused coolant crossover features, I installed it without the gaskets. I need to get my belt routings and dog bone solution figured out before I take the grinder to it, my initial plan is to use the original lower two alternator mounting threaded holes to mount to a dog bone bracket as they are in the right location. I also may end up using all of the idlers, I have a new solution for belt routing that utilizes the stock tensioner in stock location, the belt will be a lot longer than it could be, but it might be nice to have the automatic tensioner. I can always change it in the future if it proves inconvenient.
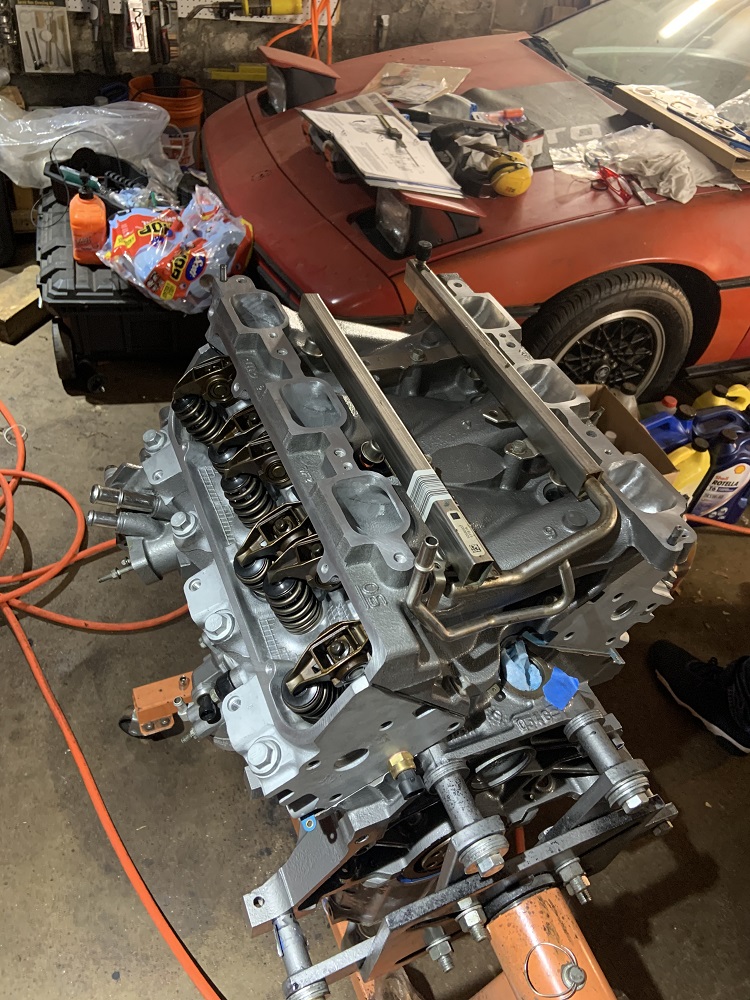
And then I put the UIM and N* TB on the motor to see how it is going to look.
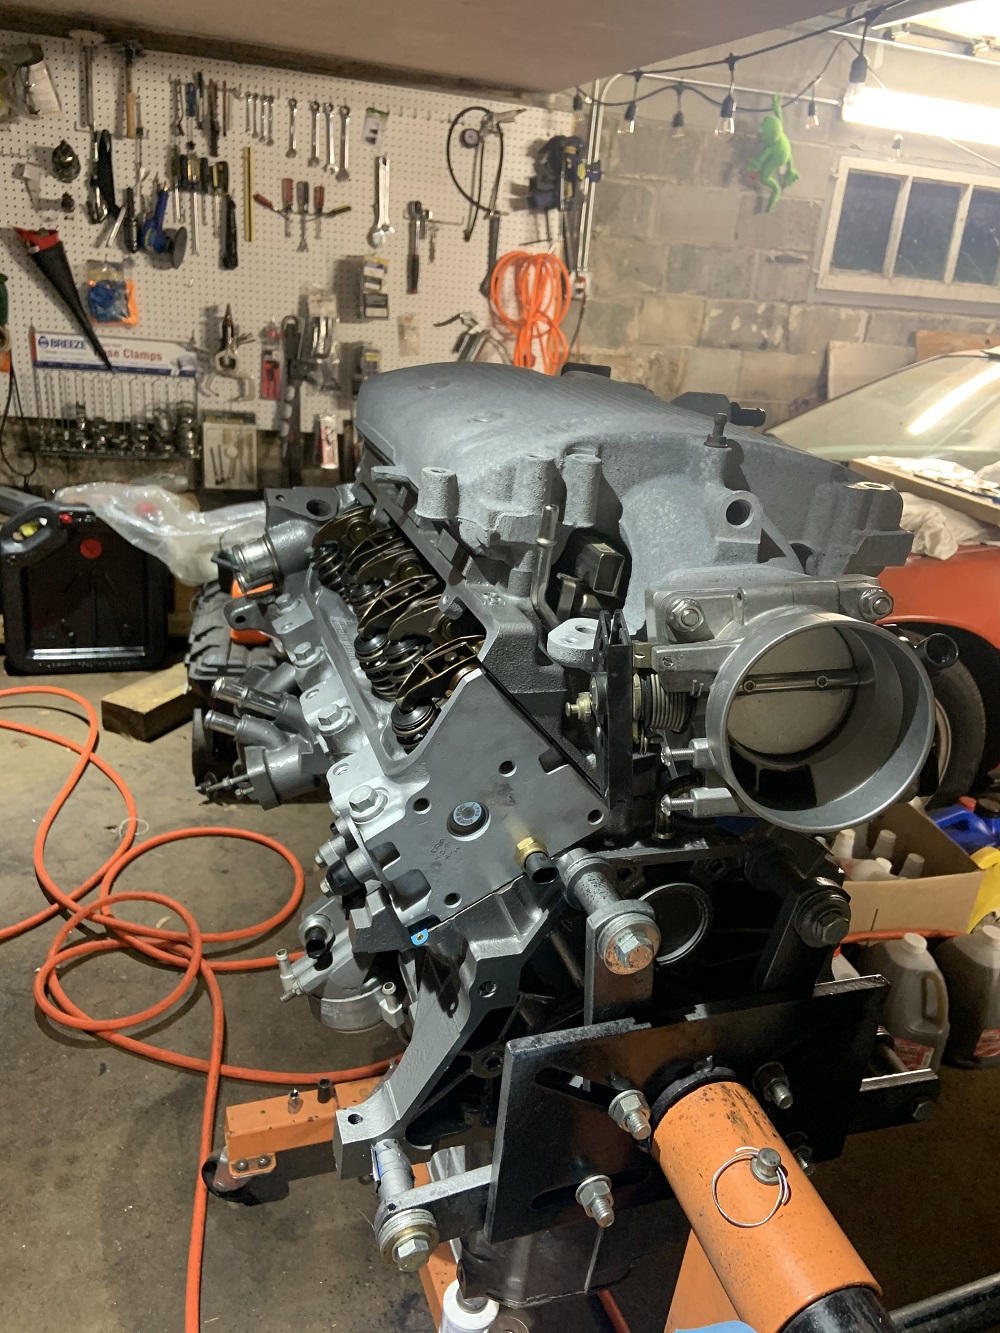
Pretty mean looking.
Also debating making the headers with mild steel and the rest of the exhaust with 304ss, the reason being I may get the headers jet hot coated if the price is right, comes with a lifetime warranty against any chipping flaking etc, and Jet Hot themselves recommend using mild steel since the coating does such a good job. I have had bad luck with DEI titanium wrap causing corrosion issues, and I need a thermal management solution. I am pricing it all out so see what makes sense. It would also look sweet as uncovered headers with the ceramic coating. I am glad I got the flanges made with 304ss regardless to avoid any corrosion at sealing surfaces. The mild steel is right around a little less than half the cost of the stainless, but it might not be enough to offset the price of the Jet Hot coating, I am waiting on a quote.
Just about time to get it mounted on the cradle now, stay tuned.
|
|
|
|
Matthew_Fiero
|
JUL 14, 08:15 PM
|
|
|
This has been such an interesting read and journey. Keep up the good work! I look forward to the next update!
|
|
|
|
zkhennings
|
JUL 26, 11:51 AM
|
|
Thanks for checking it out Matthew.
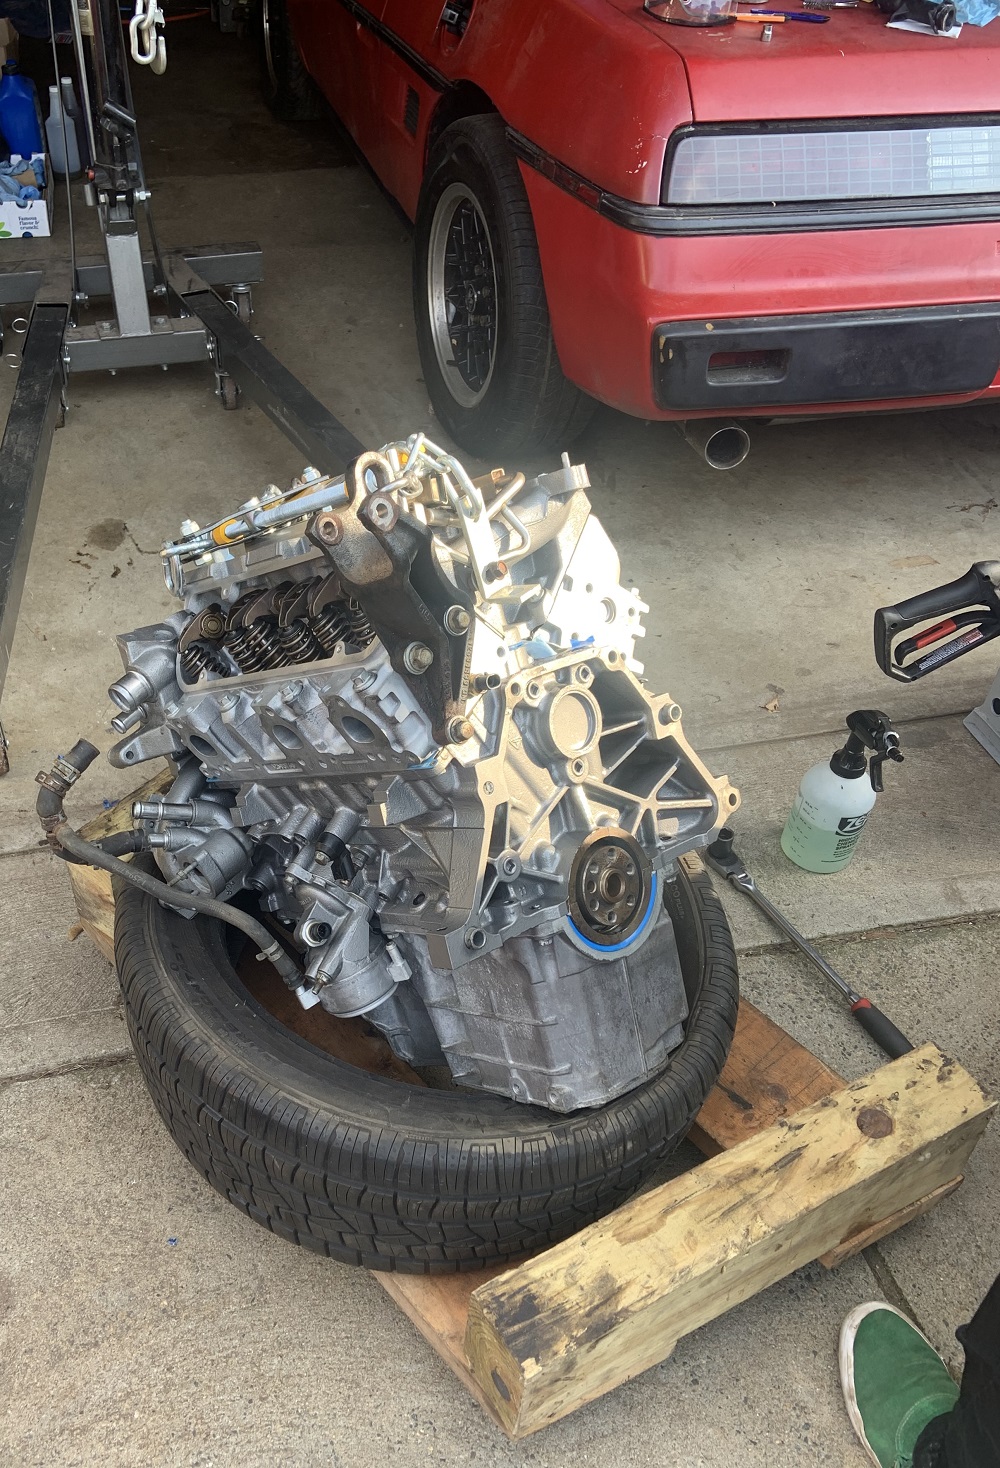
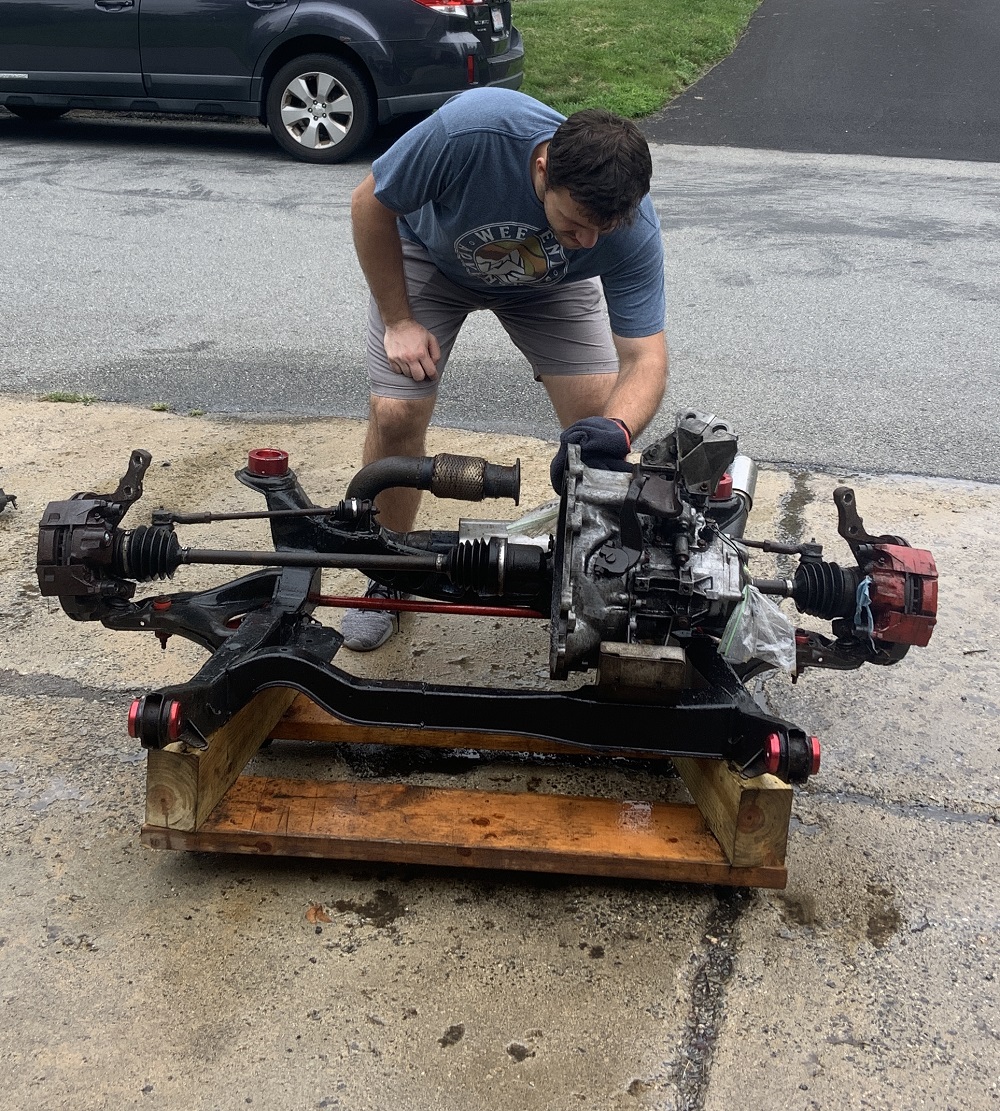
My next steps were taking subframe out of the Fiero and getting the motor mocked up on it. The garage and basement needed some serious cleaning up to fit the subframe in it as well. Ended up giving away a bunch of old toys (RC planes, helicopters, bunch of Estes rockets, etc) to make space since I never used those things anymore. I spent about 8 hours total over a few days doing nothing but cleaning and organizing and getting rid of crap.
But I finished and could finally get around to this.
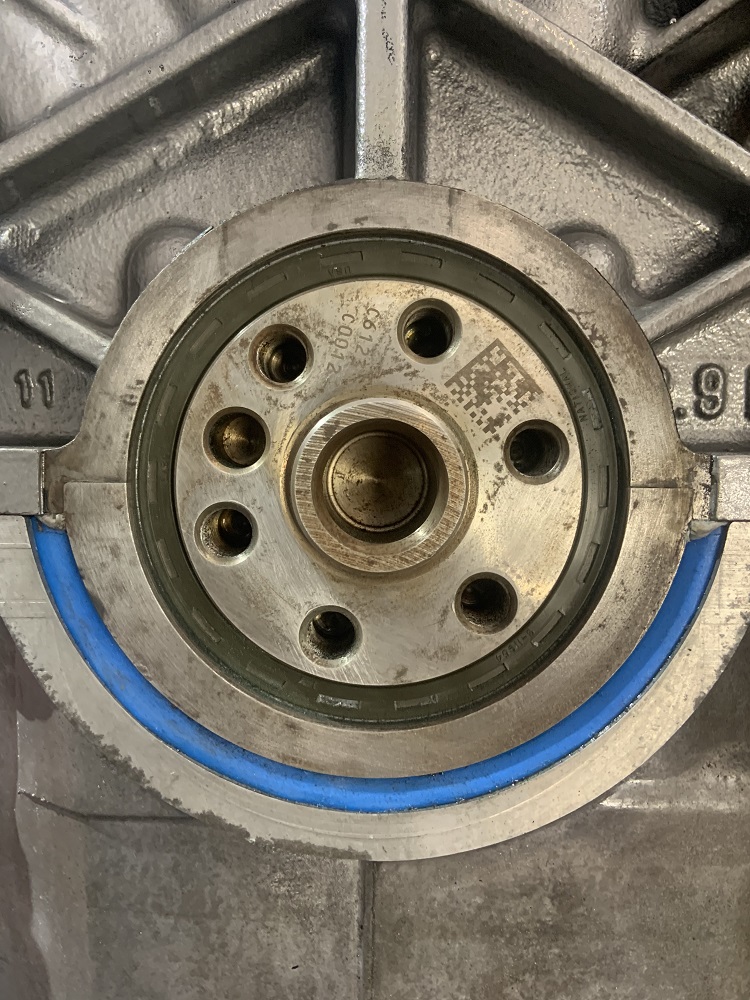
I had installed the crank pulley prior to taking it off the stand. I used the crank pulley bolt to pull it on, I know you aren't supposed to yada yada but if it is nice and clean, greased, and it goes on without a fuss, then I don't think there's much risk of it pulling threads.
Installed the main seal with a piece of pipe. I think it probably isn't supposed to be installed this deep. There is a lip all the way around that this seal is up against, and the crank snout is the same diameter so it should not effect the seal wear negatively. But looking at the factory installation tool it seems to install it flush.
I got these ARP flywheel bolts for a Nissan, they were the perfect length.
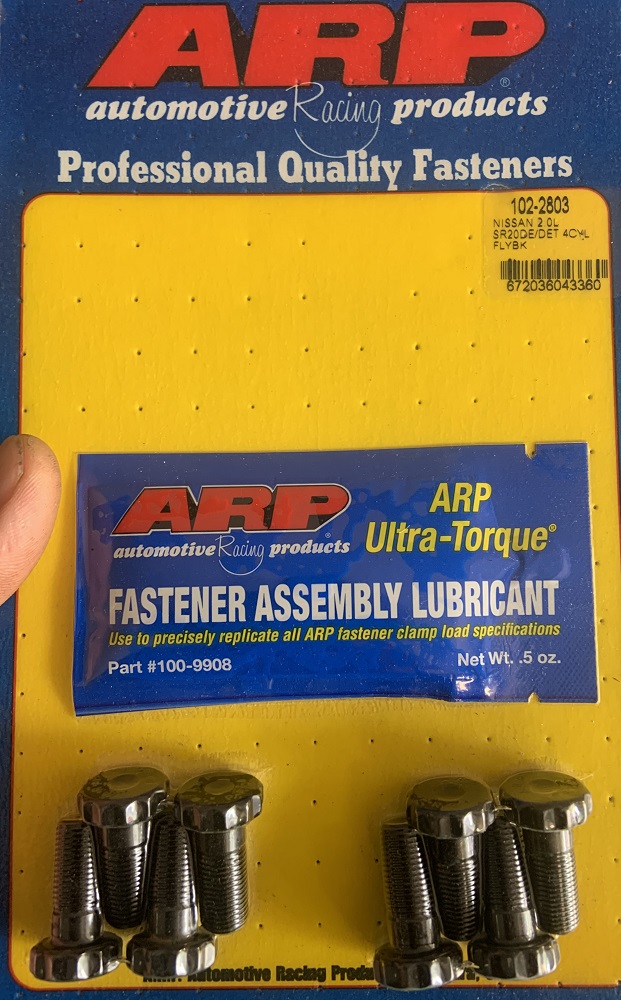
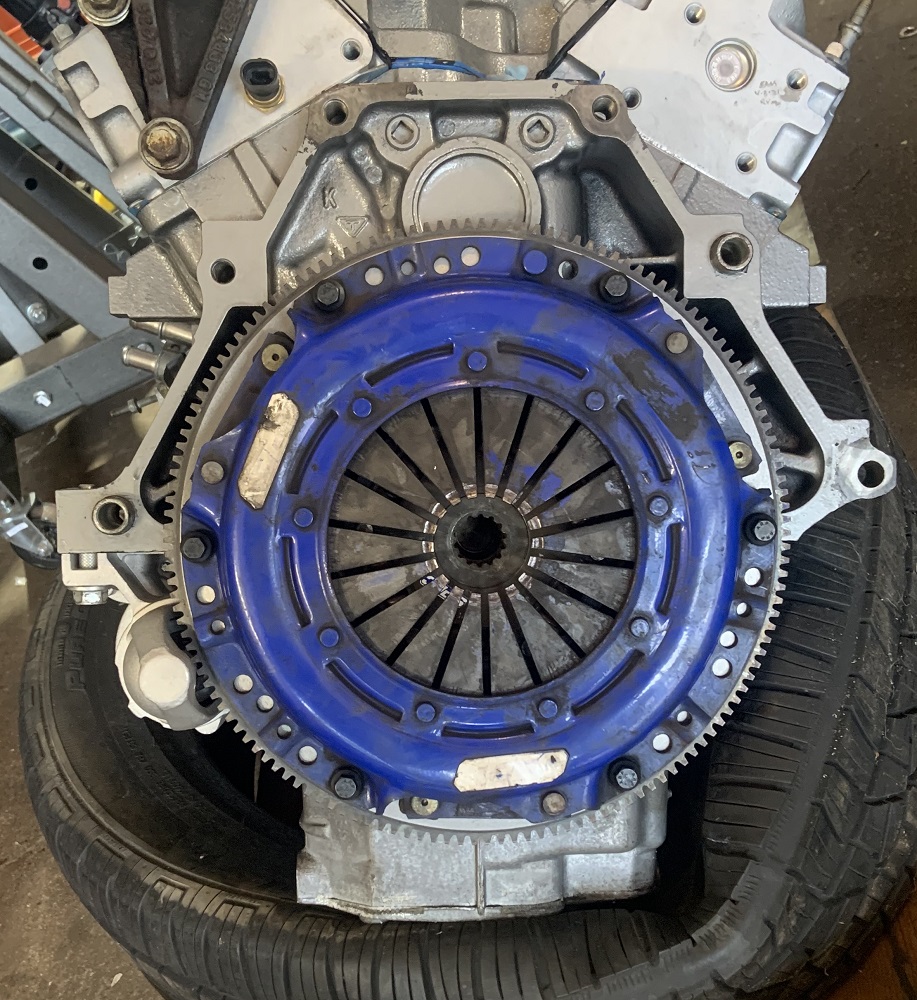
Installed the new flywheel. I torqued them to the ARP spec for the Nissan. At 70ftlbs they seemed perfect.
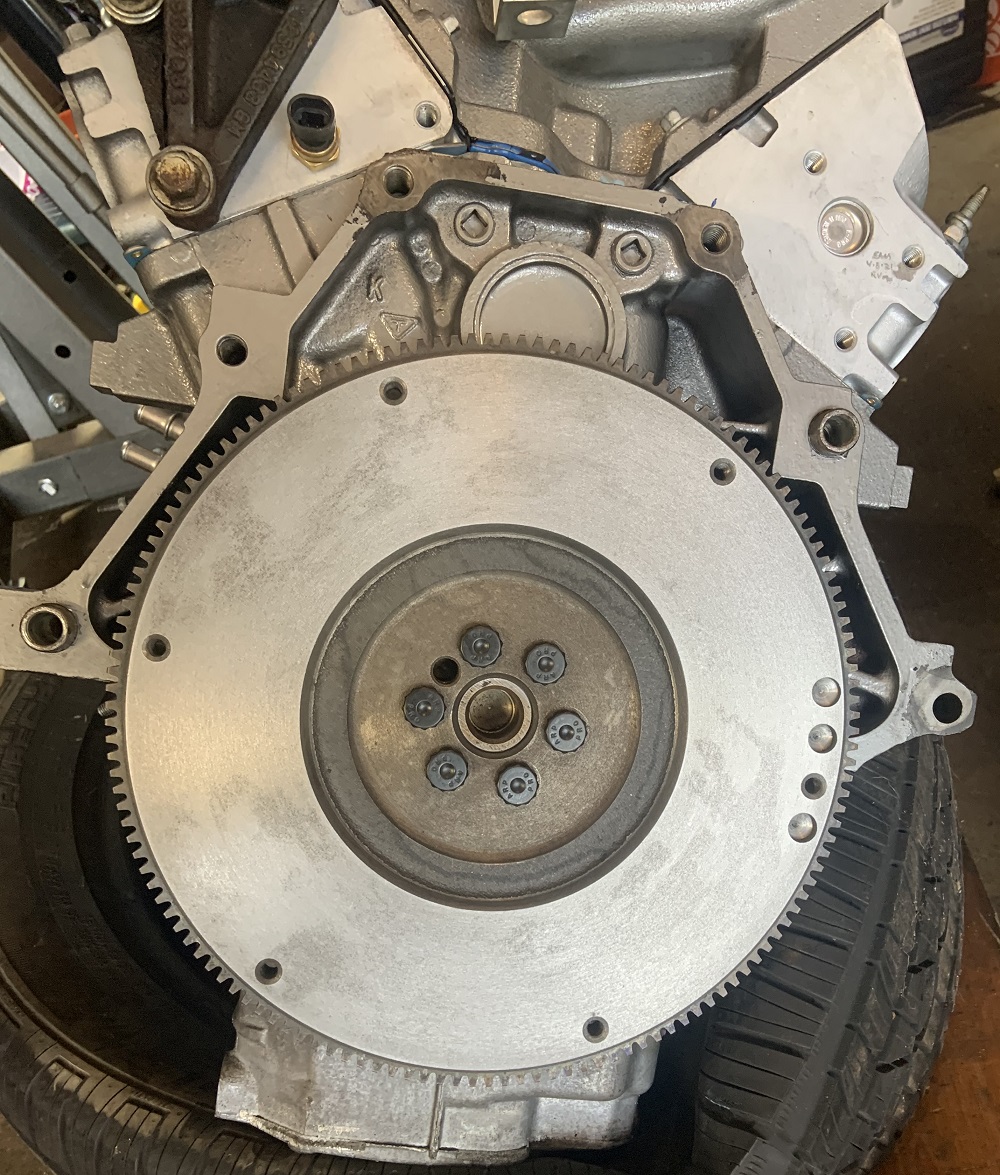
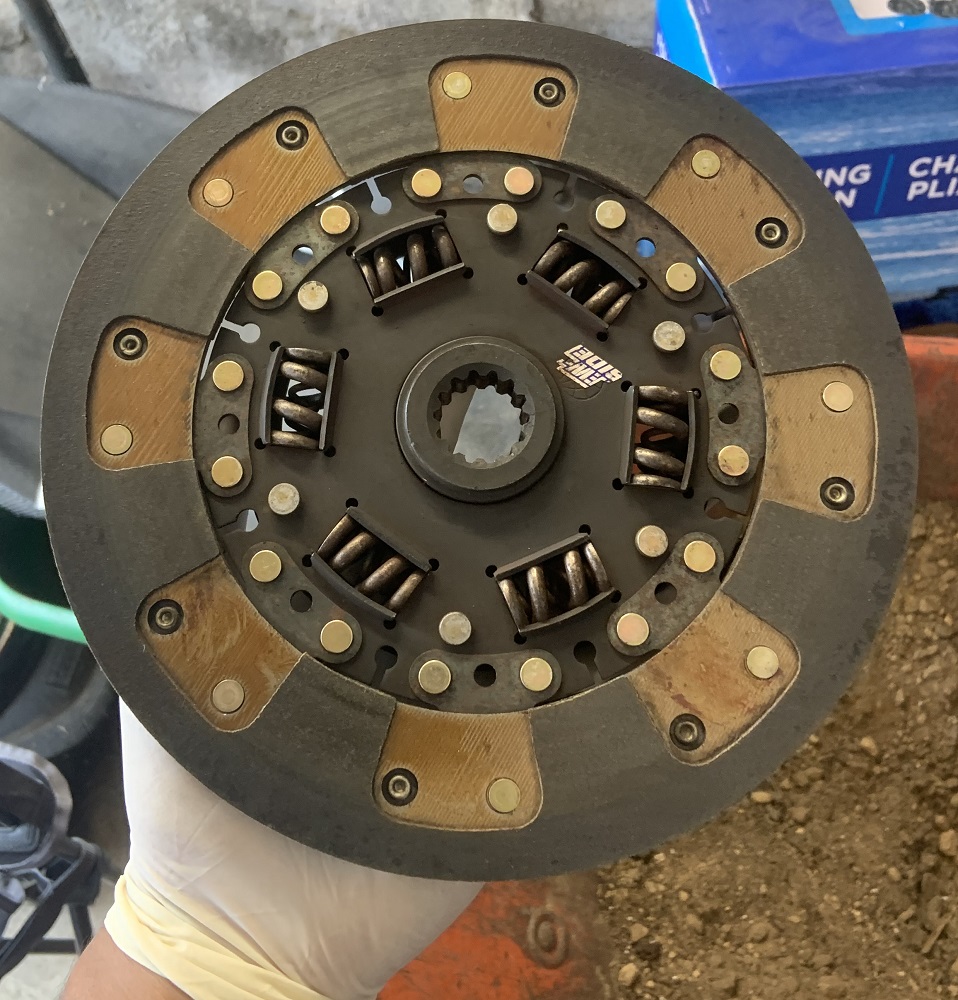
Cleaned up my Spec clutch that I had on the 2.8, it doesn't have a lot of miles, it held well, and it looked good still. I brakecleaned the friction disc excessively.
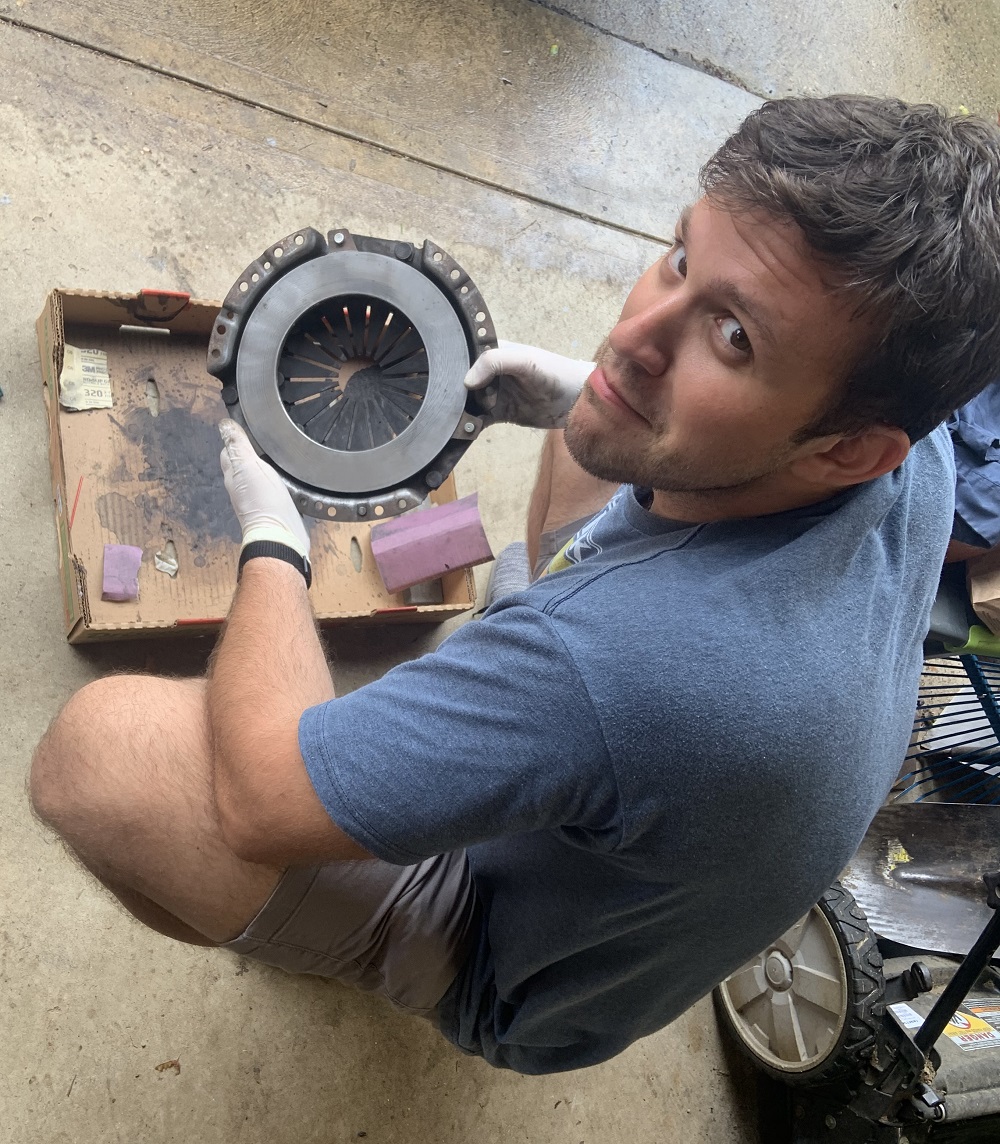
My buddy Roman was helping me out and he cleaned up the pressure plate with some scotchbrite and sandpaper on a block.
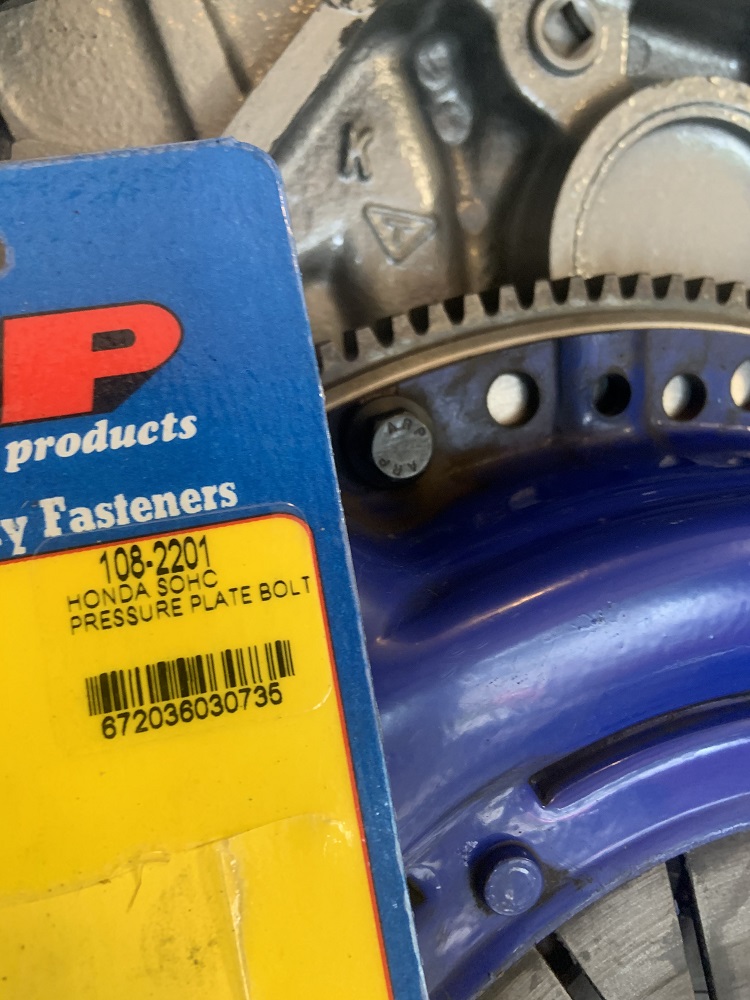
ARP bolts for an SOHC Honda for pressure plate. They were a couple millimeters longer than stock, but I installed the starter and spun the assembly around and it cleared everything fine.
Installed the clutch with clutch alignment tool, I still had it.
Got the cradle out of the car pretty easily, not too much to disconnect. Hit it with degreaser and pressure washed it. Roman was getting some of the more stuck grime off.
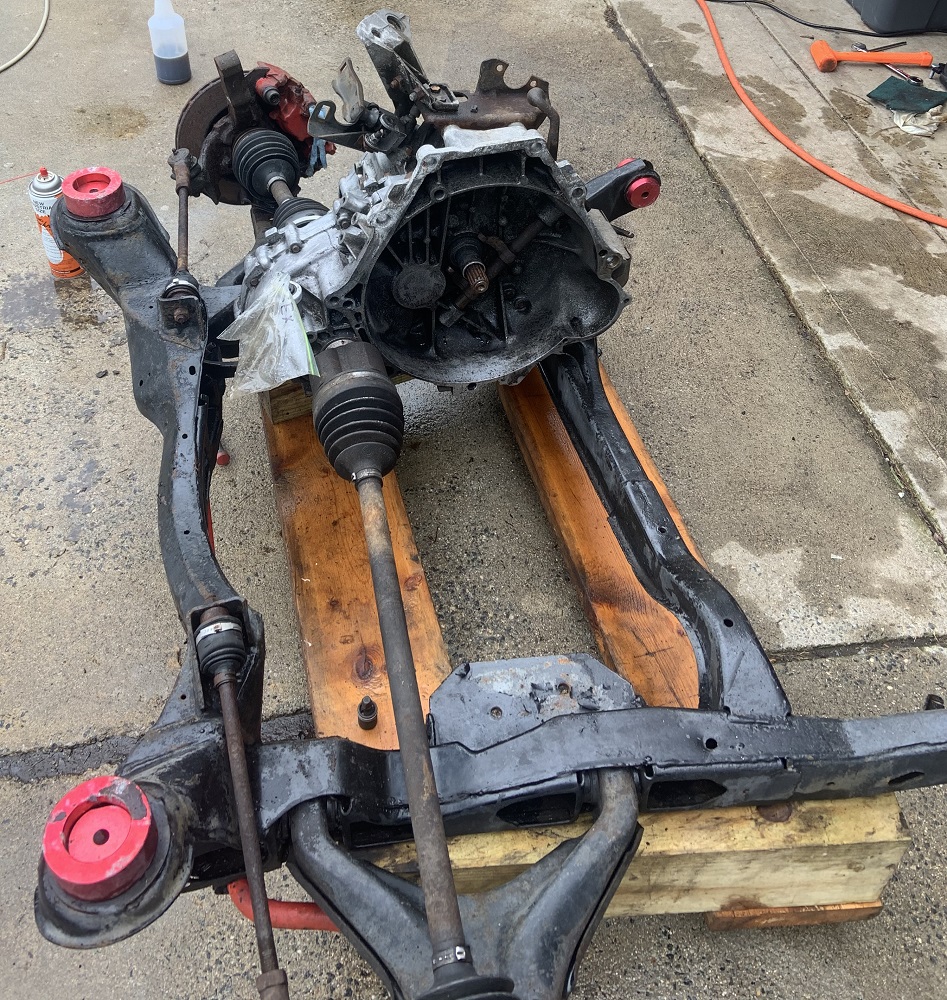
This transmission is definitely leaking from somewhere that is not the axle seals as they are pretty new. I intend to put an F23 in this with a LSD so I am going to not care for now.
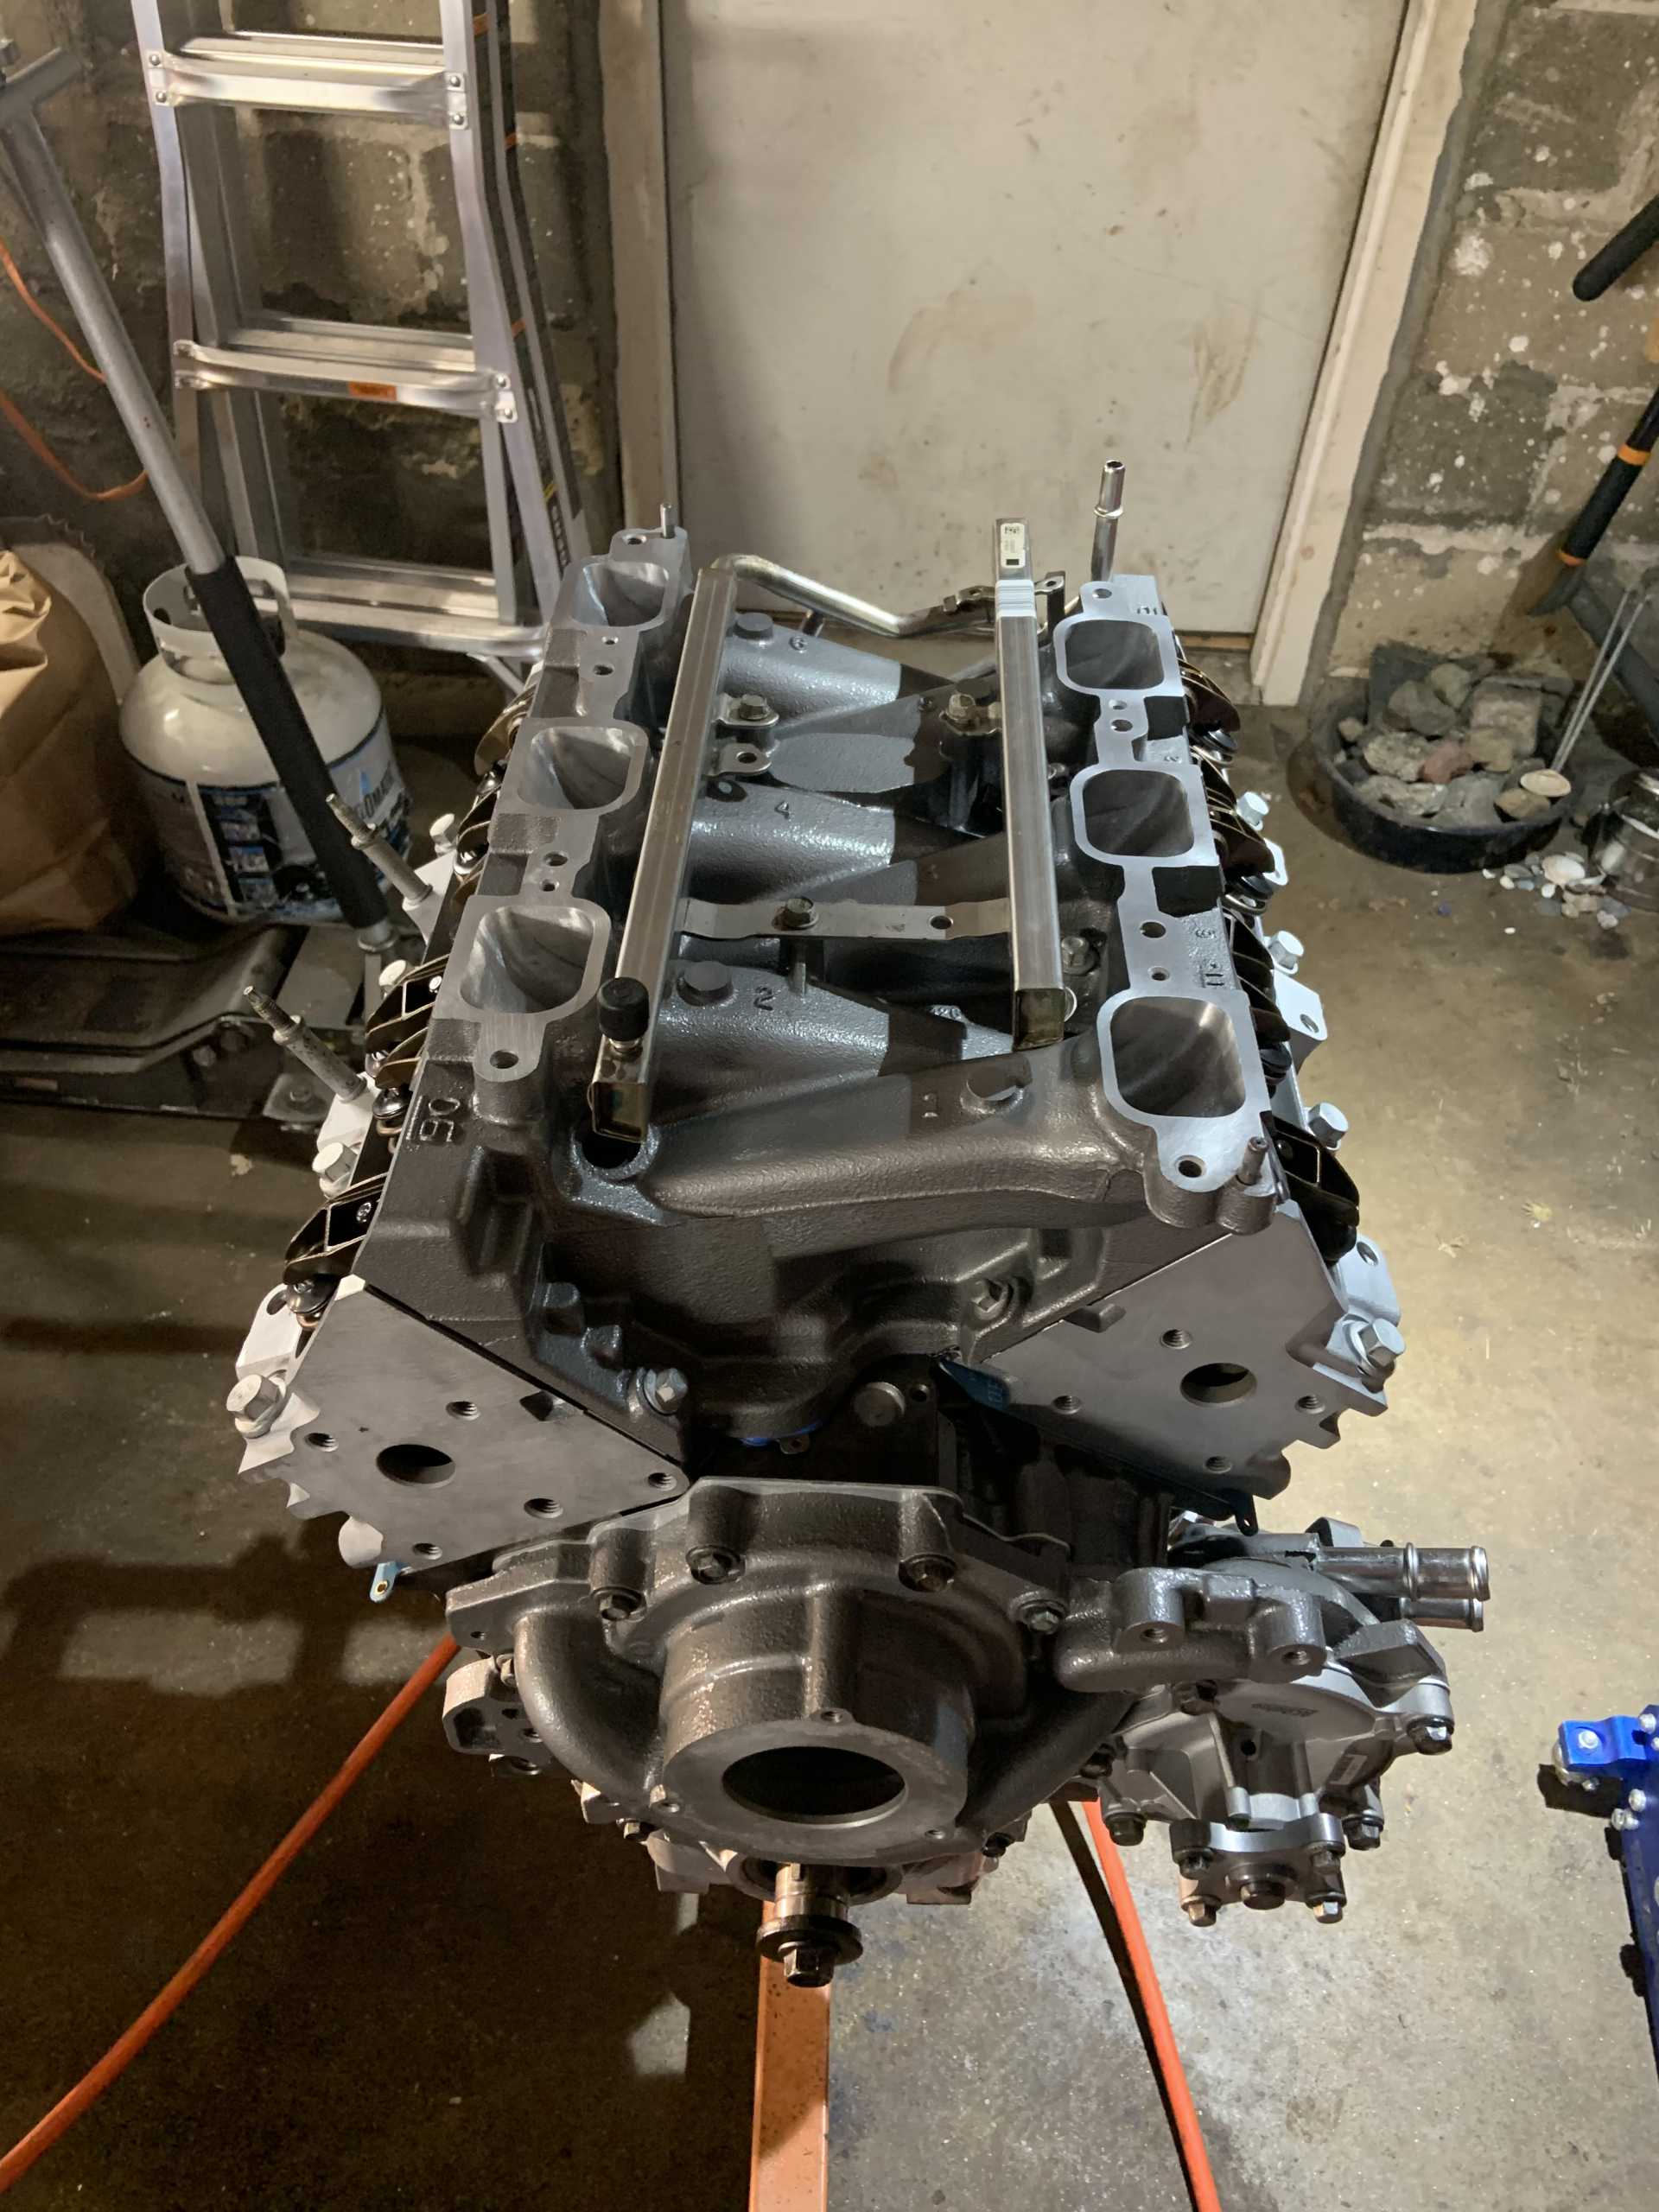
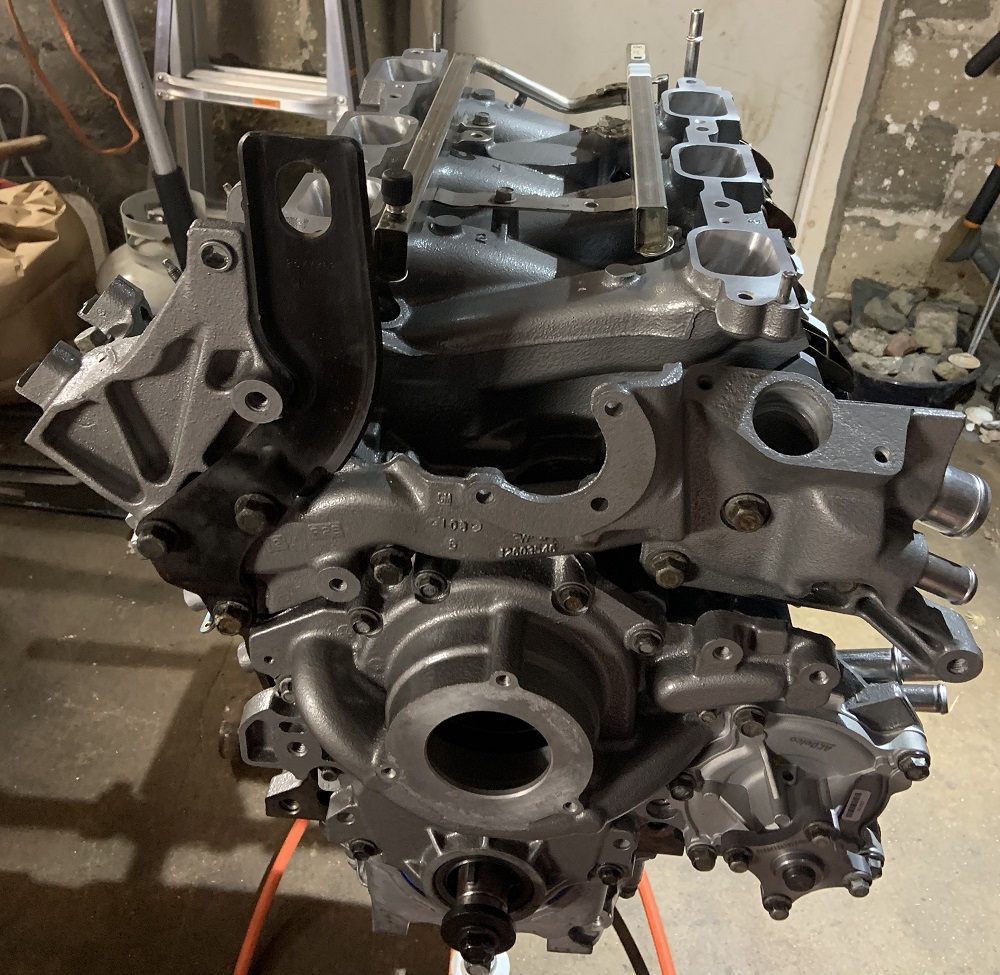
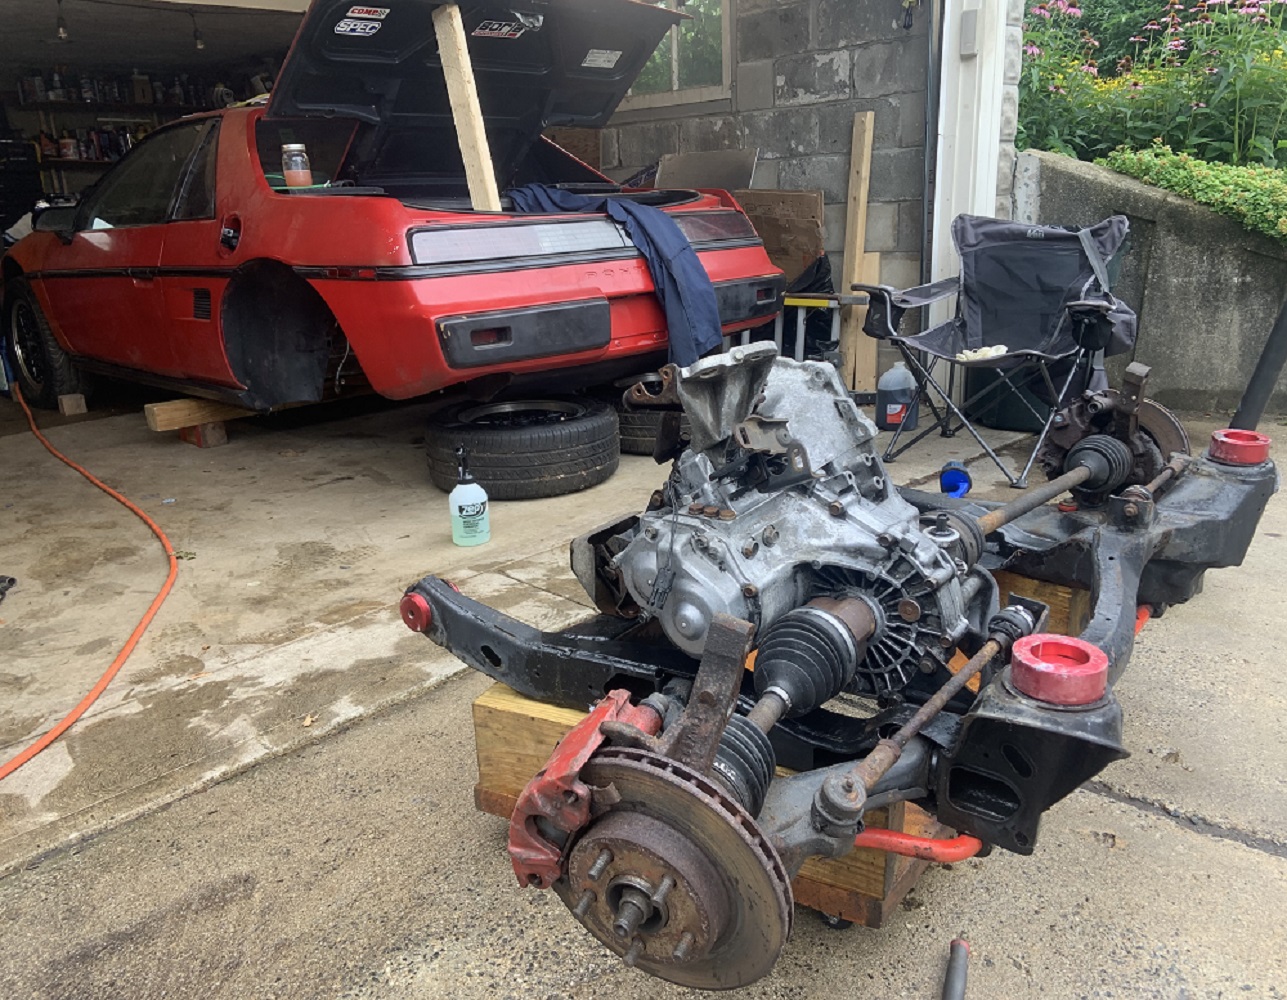
Installed the new motor mount on the oil pan to see how the stock mount location lines up. Had to trim the cradle dolly so it fit deeper into the engine crane as it was interfering with the crane's legs. Took a little trial and error, but got it done.
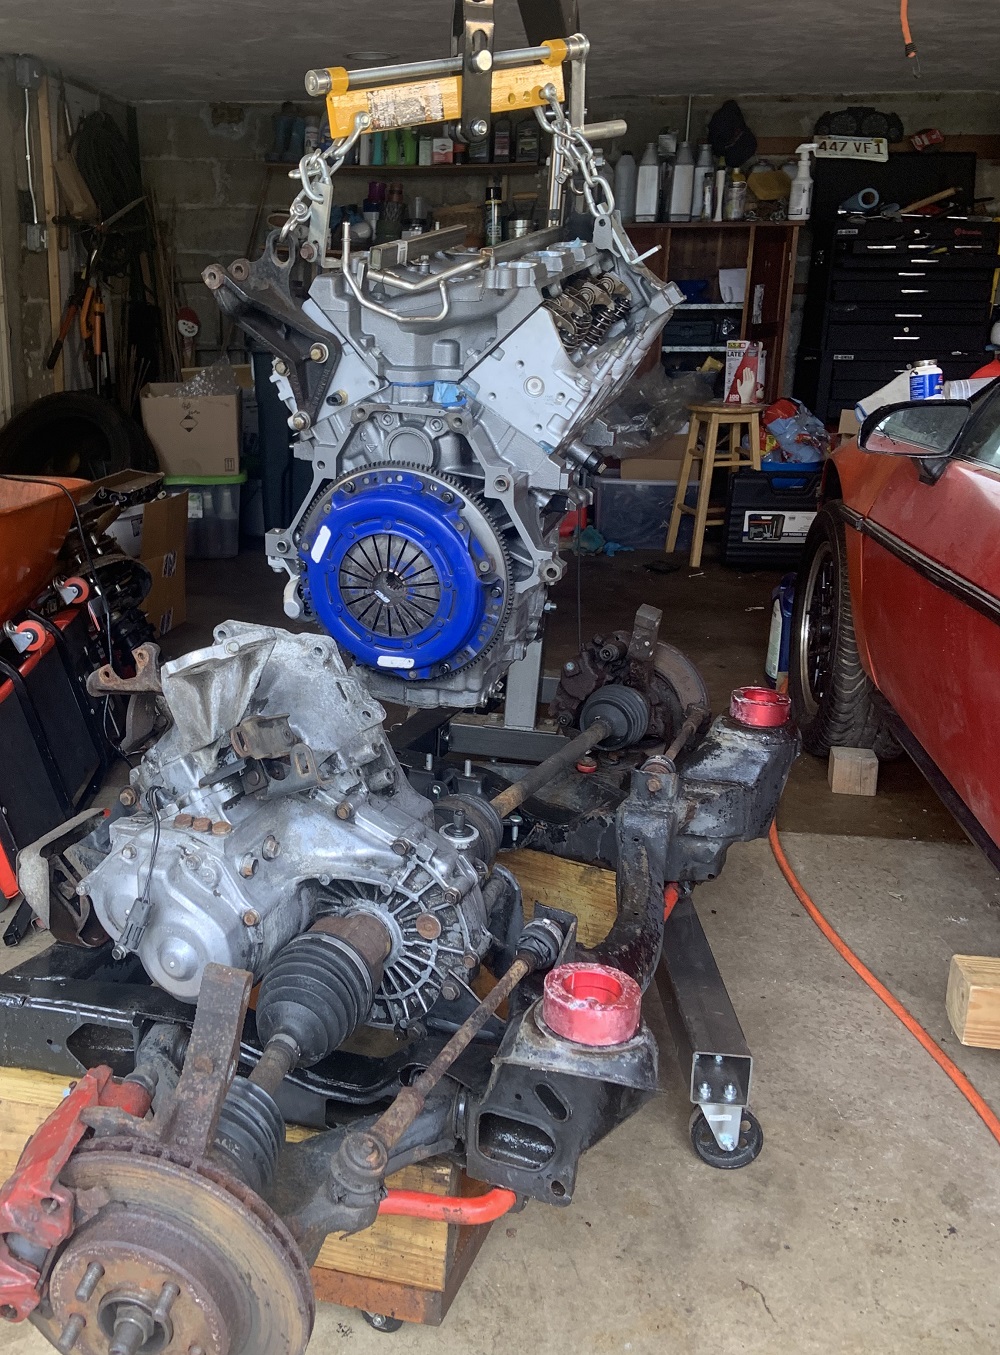

The LZ9 motor mount (3800 as well) needs a step in the mount welded to the cradle. Mine is flat quarter inch steel so the mount was not sitting at the height it wants to be at and the engine is tilted at an angle. I think I may just use this stock mount setup and make a new mount on the cradle that it will work with. I am going to do a bunch of welding on the cradle anyways to reinforce it.
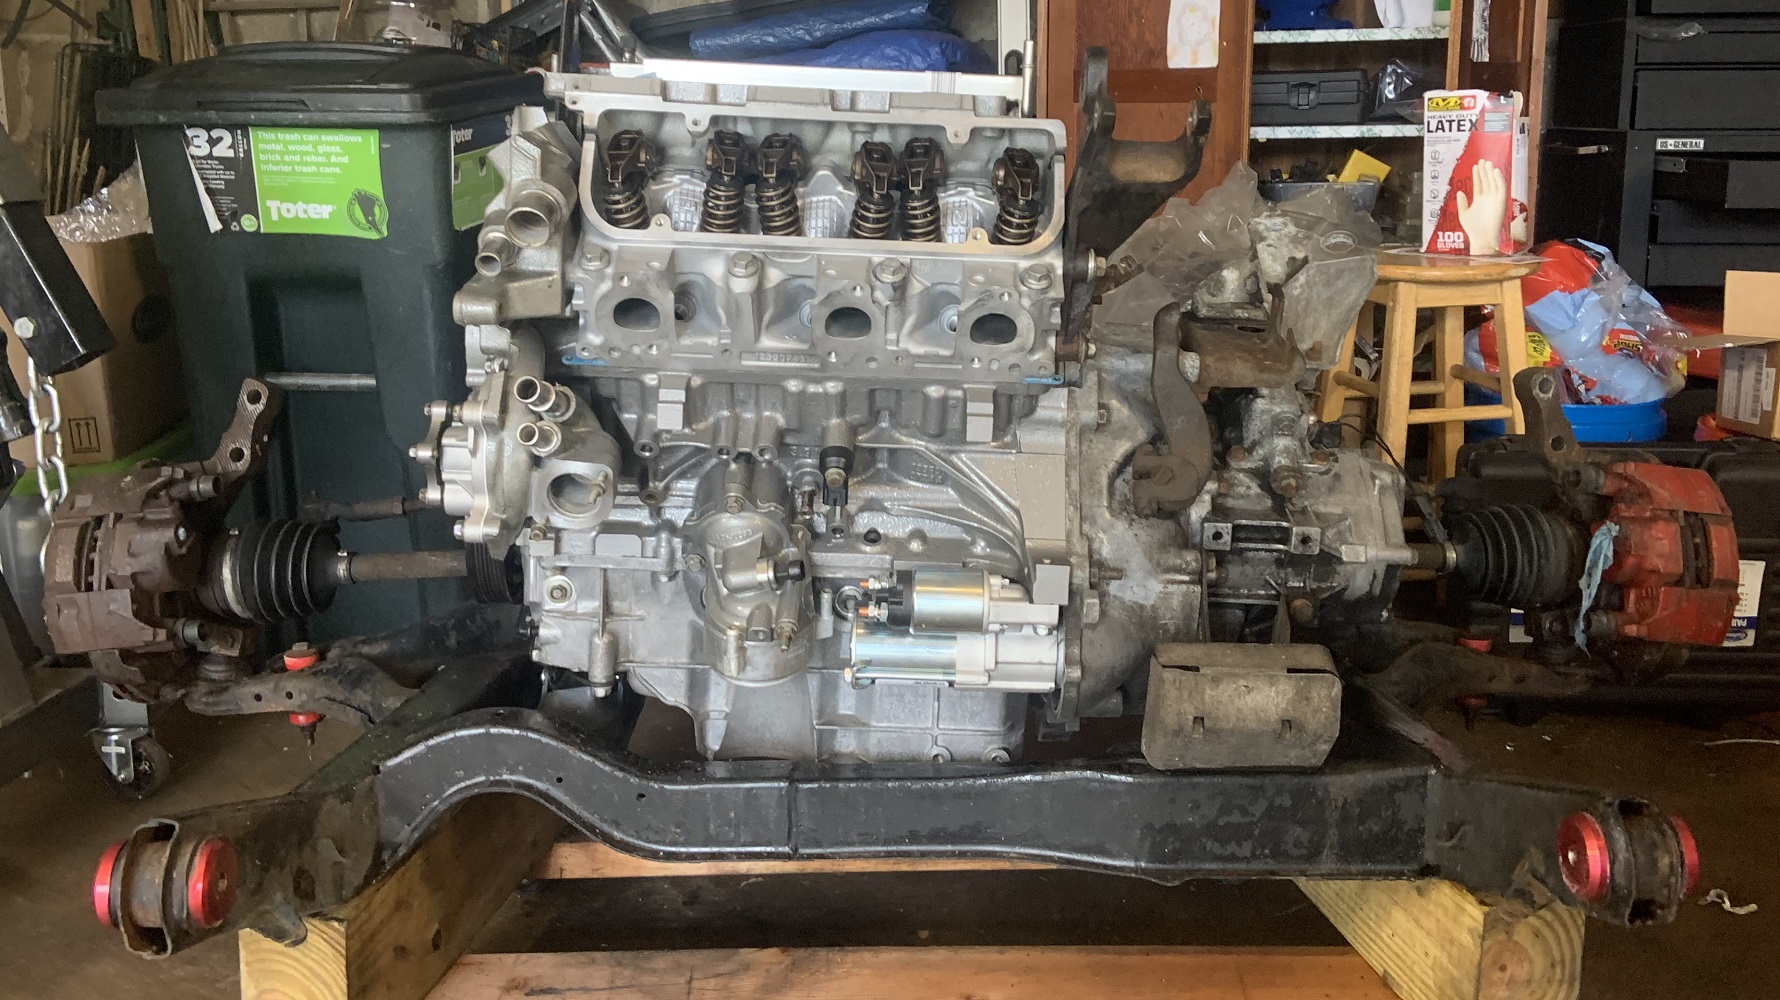
And here is the misalignment to the stock mounting location for the 2.8. Red circle to highlight the bolt hole.

Next steps will be to fabricate a new motor mount and weld it in. Might fab a little alternator mount before installing it all in the car to figure out my clearances and routings for things.
|
|
|
|
zkhennings
|
JUL 27, 02:11 PM
|
|
|
|
|
pmbrunelle
|
JUL 27, 07:27 PM
|
|
When you do your exhaust, it will likely have to be routed around your transmission's shift cables, so unless you want to redo your exhaust pipes a second time, probably you should get your final transmission installed first.
Apparently, the Isuzu trans can actually be a good one, provided that you replace the cheap GM-spec guts with Japanese parts:
https://www.j-body.org/foru...12246&t=12241&arch=1
|
|
|
|
zkhennings
|
JUL 28, 10:41 AM
|
|
Thanks for the tip, I was thinking I would do custom cables or a partial linkage system with the F23 which might give me some flexibility. I also have a set of Getrag and Isuzu cables I can mix and match with customization to the shift assembly on the trans.
In regards to exhaust I intend to keep it close to the motor and tuck the crossover as close as possible to leave as much space for the cables and intake piping as possible. I also may run out of time and money and be forced to temporarily run the stock headers, and the new trans and headers could be a simultaneous winter project.
But I could also buy another Isuzu as this one has around 200,000 miles on it already and get that one all cryo treated and done up nice and ready to swap in, but I do want to have a limited slip and I haven't come across any true LSDs for the Isuzu. So I am back to F23.
Hopefully this is all down the road and the Isuzu will last me a while, everyone says the 02 WRX transmission is like glass, but mine has lasted 280,000 miles now, and I like to believe it is because I drive smoothly. Hopefully the Isuzu lasts me too.
I will say I beat the crap out of the Isuzu with the 2.8, I did burnouts every single day with it, and generally drove it very hard. It has held up just fine. The cam in the LZ9 should make it less torquey down low, another factor that may help the Isuzu survive.
|
|
|
|
zkhennings
|
JUL 29, 03:09 PM
|
|
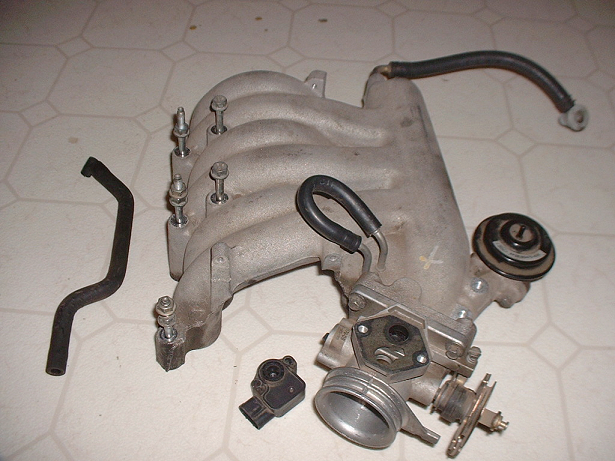
I have been reading through all the Mega/Microsquirt literature and came across the suggestion to use this EGR valve as a simple on/off idle valve. It is only $25 which is nothing compared to the manufacturer's non stepper idle valves (Microsquirt cannot run a stepper motor without an add-on).
I plan to keep it simple and just get the car running and idling without any idle valve, but as it gets colder in Fall (hopefully the car will be driving by then) I can implement the idle valve as it becomes necessary on those colder New England mornings.
|
|
|
|
pmbrunelle
|
JUL 29, 08:00 PM
|
|
That valve looks like it is meant for two small vacuum lines. Idle air is more like a 3/8" - 1/2" air passage...
You might be able to find a throttle body with a TPS and PWM idle valve.
Older Ford for instance has a PWM valve mounting right on the throttle body, along with a TPS:
Source: https://www.therangerstatio...-3-0l-ranger-intake/
The Vulcan Taurus/Ranger stuff might be too small in bore diameter, but older Mustang might work (notice the 2-pin idle valve connector):
https://www.ebay.com/itm/233906414956
Edit to add something cheaper with a nicer mounting flange:
https://www.ebay.com/itm/164982479456
I would suggest walking the junkyard row-by-row; I found a few parts that way.[This message has been edited by pmbrunelle (edited 07-29-2021).]
|
|
|
|
zkhennings
|
AUG 03, 03:31 PM
|
|
Thanks for the input, when doing research the Foxbody idle valve looked like it would work as well as some VWs have a similar setup. Both valves are pricey though, so a walk around a junkyard would be in order if I need to find one. I think the VW ones have nipples on them and would be easy to get hooked up. I am going to stick the N* throttle body due to its size and the fact that I already machined an adapter for it. I was planning to plug the hole for the stock IAC and just have a nipple in the plug that I would use to hook up to a solenoid valve. I could also just machine a pathway though the side of the adapter I machined and just plug the stepper motor mounting hole, and thread a nipple right into the adapter. The EGR valve is maybe more of a recommendation for a motorcycle install since that is the more intended use of the Microsquirt.
If anyone has any recommendations for a suitable on/off solenoid valve from an industrial supplier that would be great. I could also hit up some of the valve suppliers that my company uses and see if I can get any free samples of a larger valve.
I am not too worried though as I can always just hold the throttle open a little in the meantime.
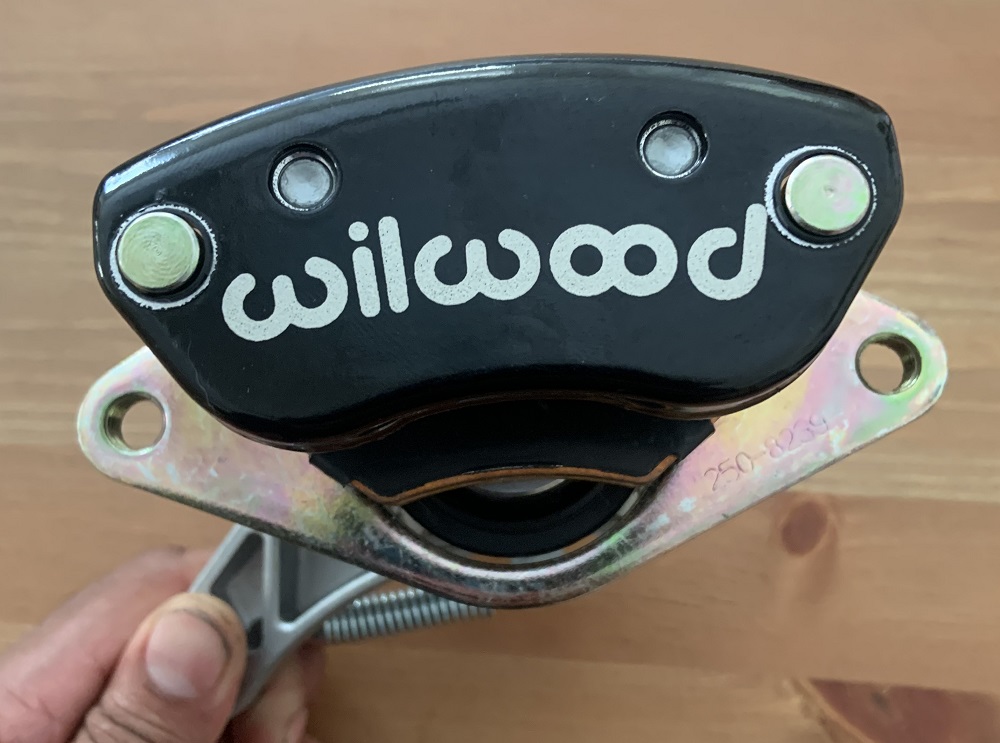
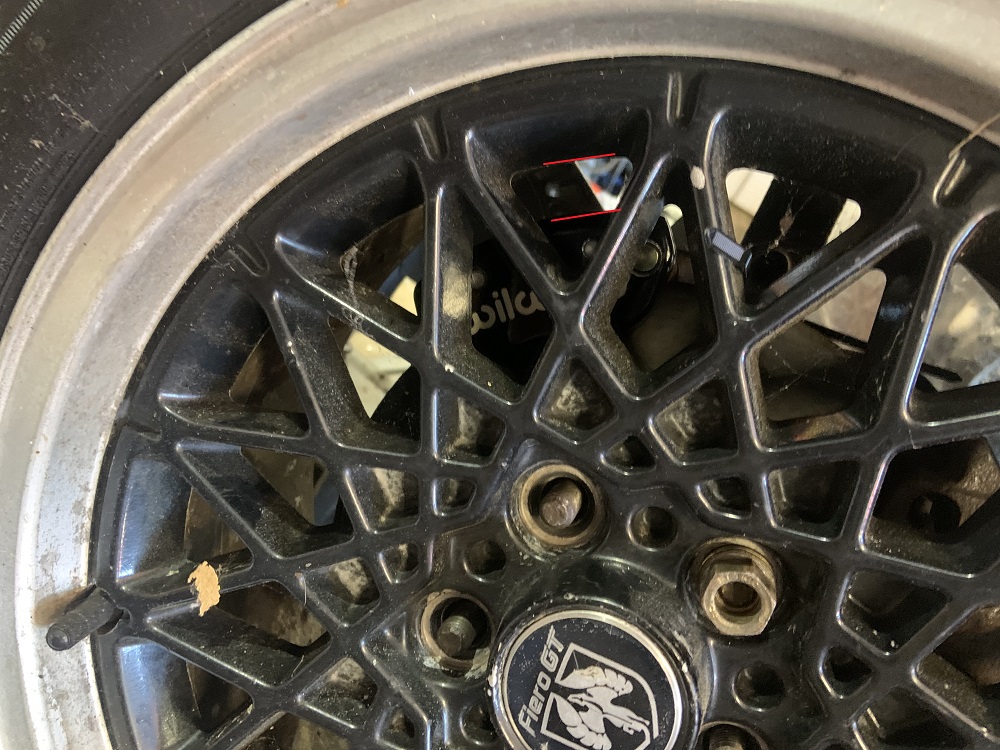
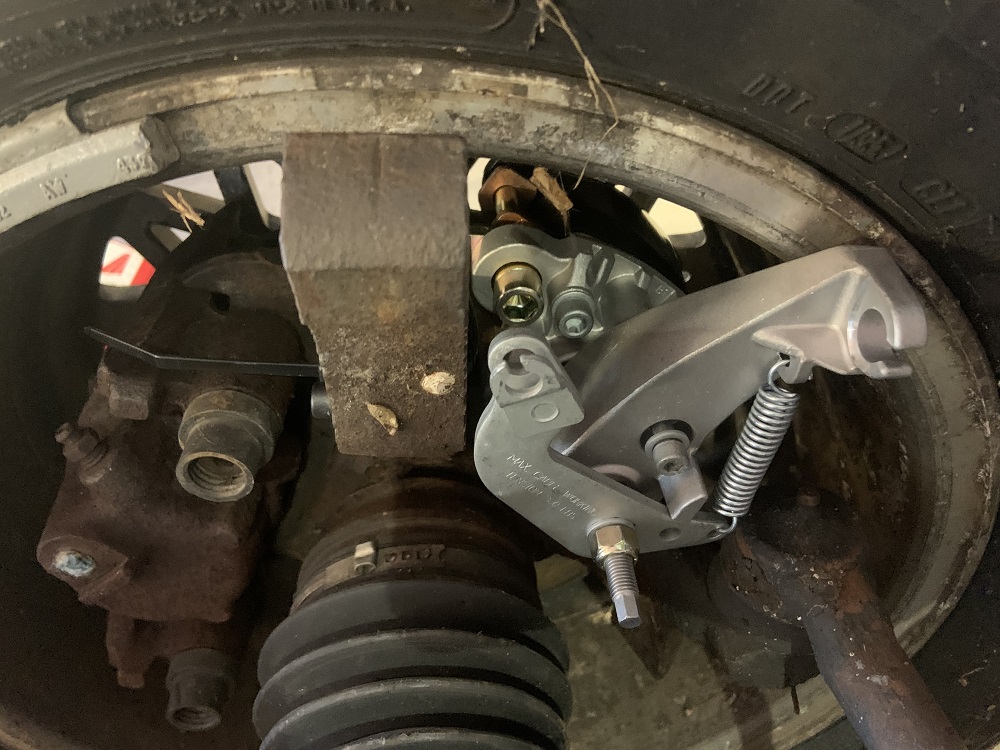
I checked out how the MC4 calipers will fit, I had to take off the arm assembly and rotate it 120* for it to fit. I think I will have to make a few modifications to make it work, but it should work. Mounting it is going to be a little tricky, I thought I would be able to pickup on the bolts used for mounting the bearing hub assembly, but it might be a little too tight to the inside of the rotor. I am also debating replacing the toe link with a rod end assembly so that I can use the steering arm as a mounting location. Mounting to the top strut bolt would be a possible second mounting location. There is a lot of space between the outside of the caliper and the inside face of the wheel, so the mounting bracket will go over the caliper. It will replace the stock gold mounting bracket, the slider pins thread into it, and I will use the same thread and hole spacing on the bracket I make. I gotta do some CAD (the cardboard kind) to figure some of these details out.
Red lines to show space between caliper and wheel.
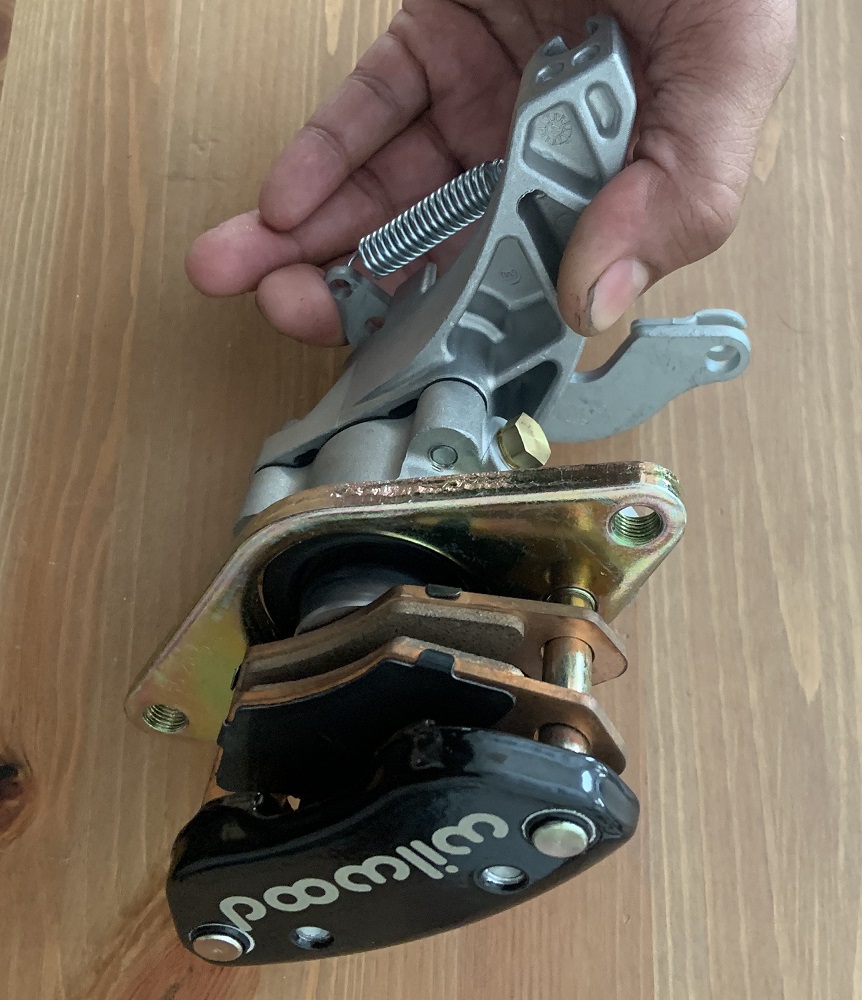
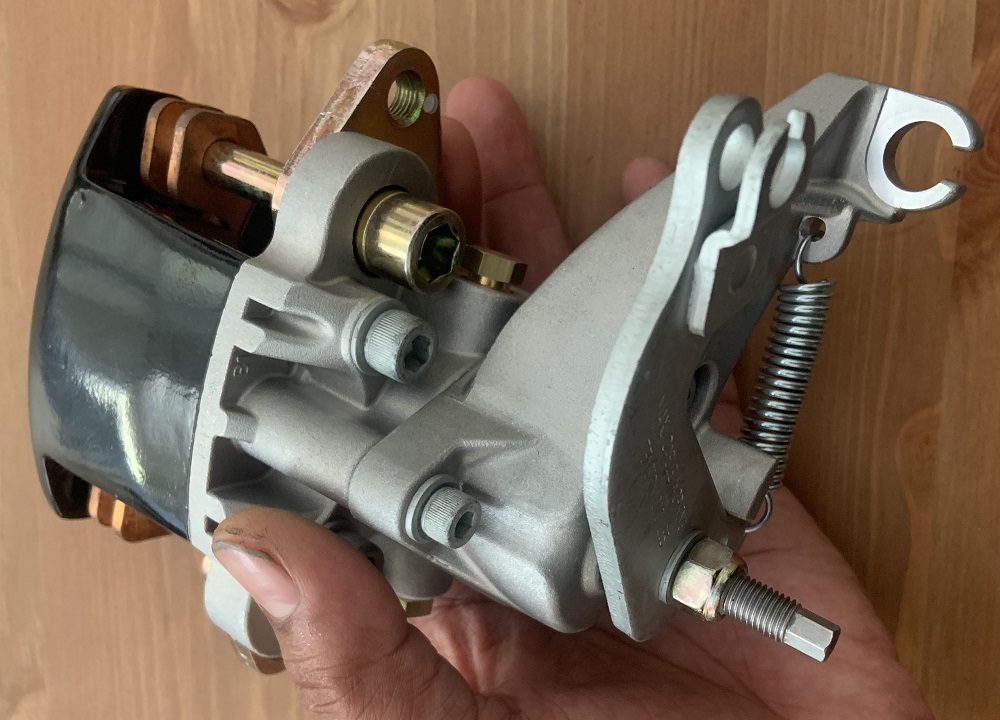
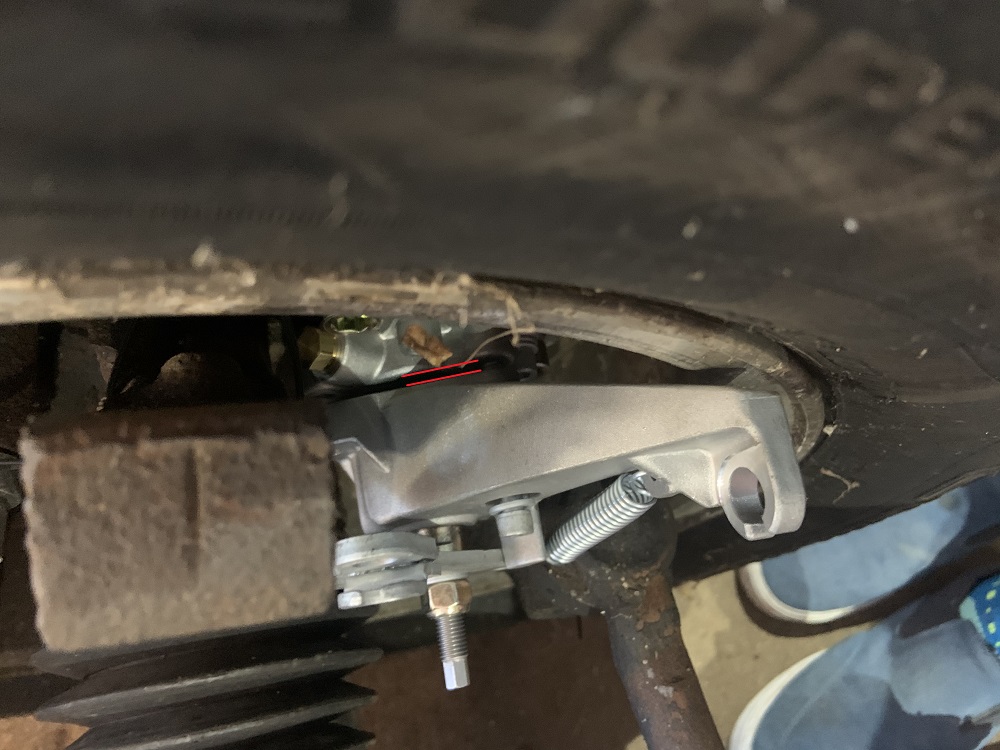
Red lines to show the minimum sized spacer I will have to machine to get the arm assembly to clear the rim. It will not affect the function as the depth of the mechanism is easily adjustable. The spacer does give me the ability to rotate the mechanism to any angle I want and I may utilize this. I will most likely have to cut the portion of the cast aluminum arm that holds the parking brake cable and make a bracket for the Fiero parking brake cables to get them away from the back of the tire. But we will see.
Wish I took a better pic, I just have the caliper held in place with some zip ties. Looks close to the strut mount, but it can be shifted away with plenty of clearance, I ended up putting the strut in place to make sure there was clearance and all was well.
Went to a car show after taking my GF to the motocross track (this picture was taken after the show ended), that Foxbody is my friend Matt's, it's awesome, about as modified as it gets including all later model knuckles for disc brakes and 5 bolt pattern, full tubular subframe and suspension, welded frame stiffeners, and a Ford racing short block with Trick Flow heads and intake and lots of other goodies. My friend with the 944 that burned down has a really nice E39 540i that you can catch a glimpse of, and hidden is a really nice Fiesta ST running over 20 pounds of boost. People liked the WRX pulling the dirtbike.
 [This message has been edited by zkhennings (edited 08-03-2021).]
|
|
|
|
zkhennings
|
AUG 09, 06:51 PM
|
|
I have been working on the motor mount doing some "CAD" I got a piece of 1/4" steel plate, going to try cutting it today with a jigsaw, I have heard this works.
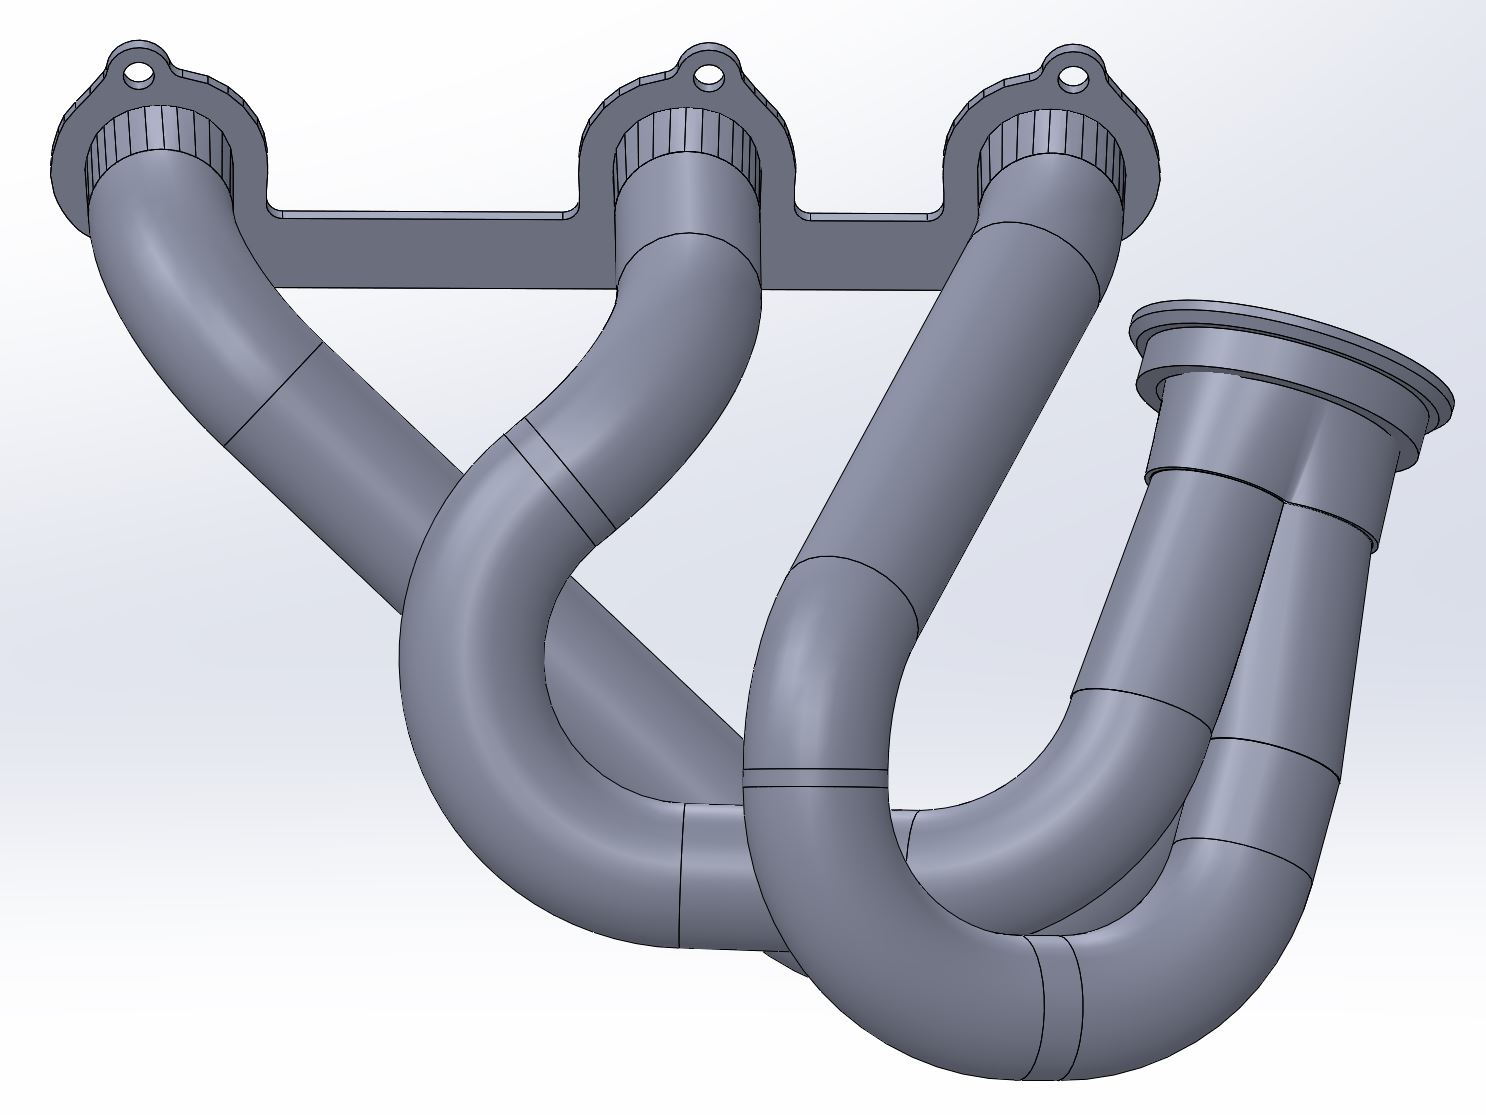
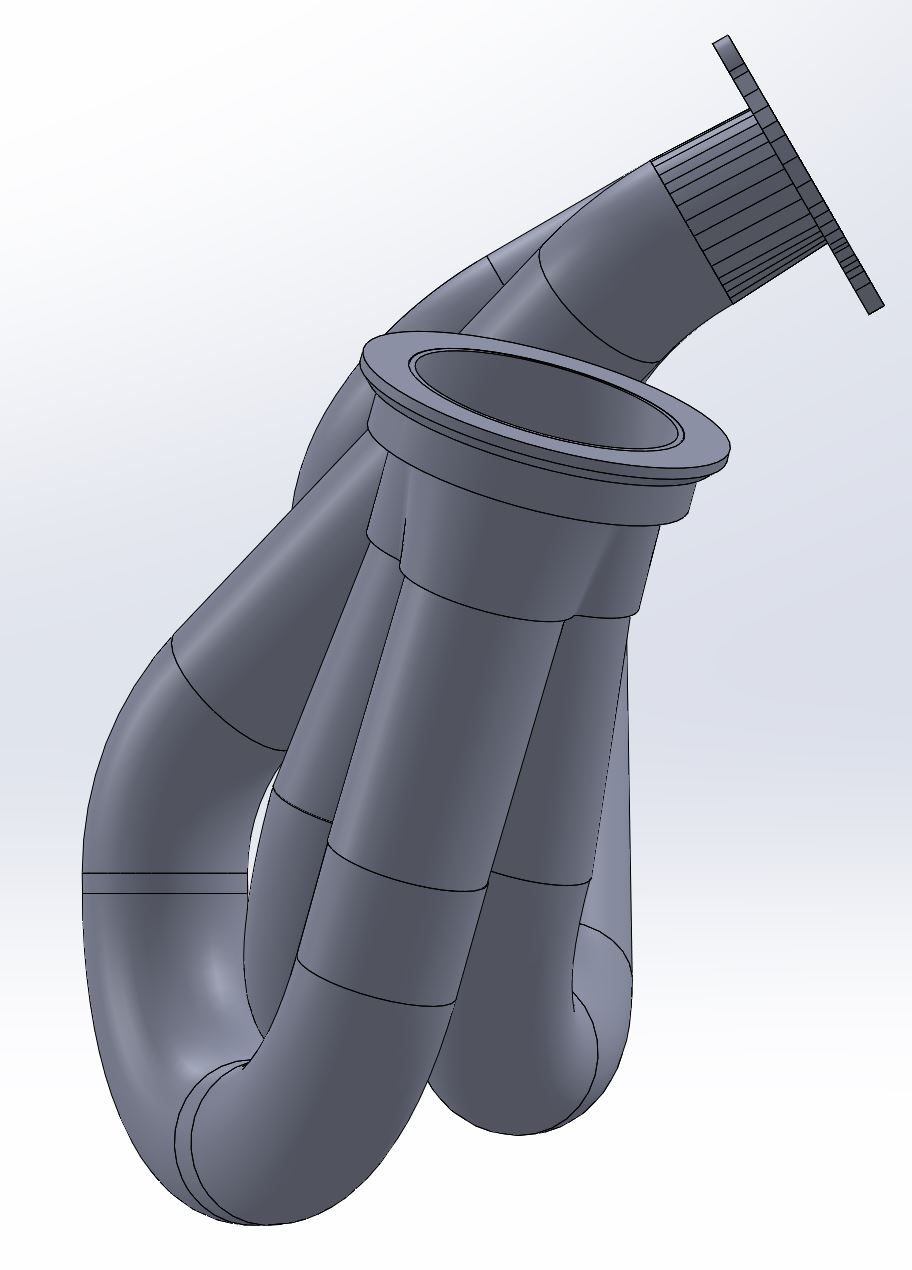
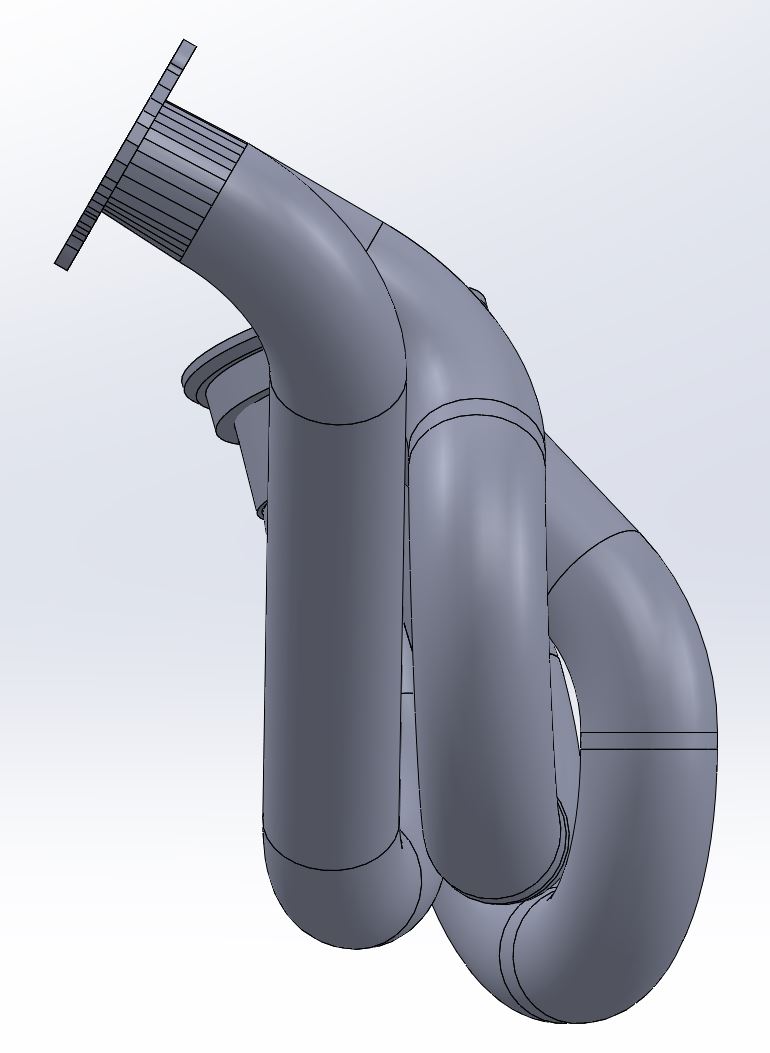
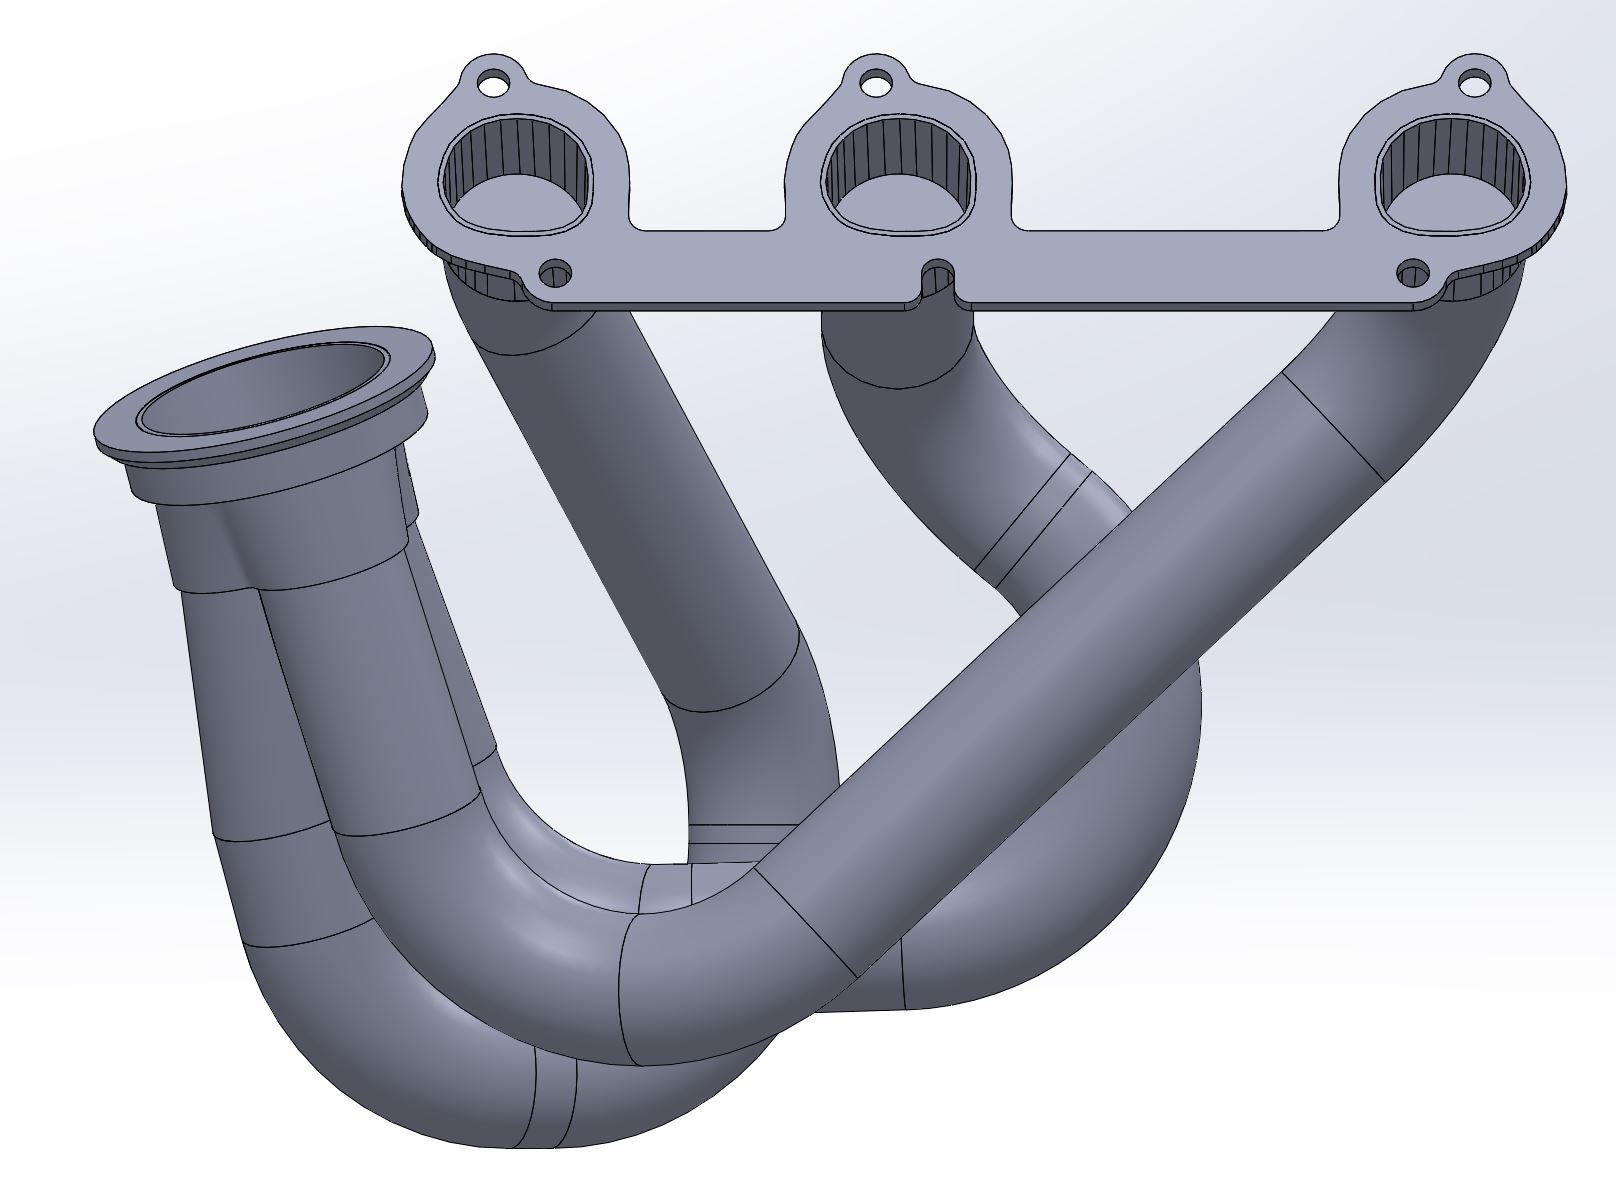
But in the meantime I have been working on some actual CAD. I have been debating just using the stock headers, but with the rest of the work that has gone into the motor it seems like such a waste. My original header design was good practice, but the CAD model was lacking. The headers would have been tucked right against the block and interfered with some components, the collectors would have been way over/in the transmission, and they needed to get redone. I was shooting for 30" primaries for the original headers, but it is a lot of exhaust to have in the Fiero's bay.
This time I worked backwards with my collector placement guiding the routing. I made the collector a little shorter as it was excessively long. I made sure to leave clearance for the oil filter and starter. I have only completed the firewall side but I am happy with it, I need to get the engine in the car to confirm that they will fit with the transmission cables and whatnot. The way the CAD has been done I can easily edit the angle of the header flange if I do have the room to tuck it closer to the block. The primaries are all within an inch around 24" long, so not too much shorter than what I intended.
Here are some pics of the side I completed. Compare with the image of the engine on the cradle in an above post to visualize the clearances and placement of collector required.
|
|
|
|