
 
     |
| 4.6 Northstar Swap Project (Page 16/22) |

|
copperhens
|
JUL 24, 02:18 PM
|
|
6/4/21
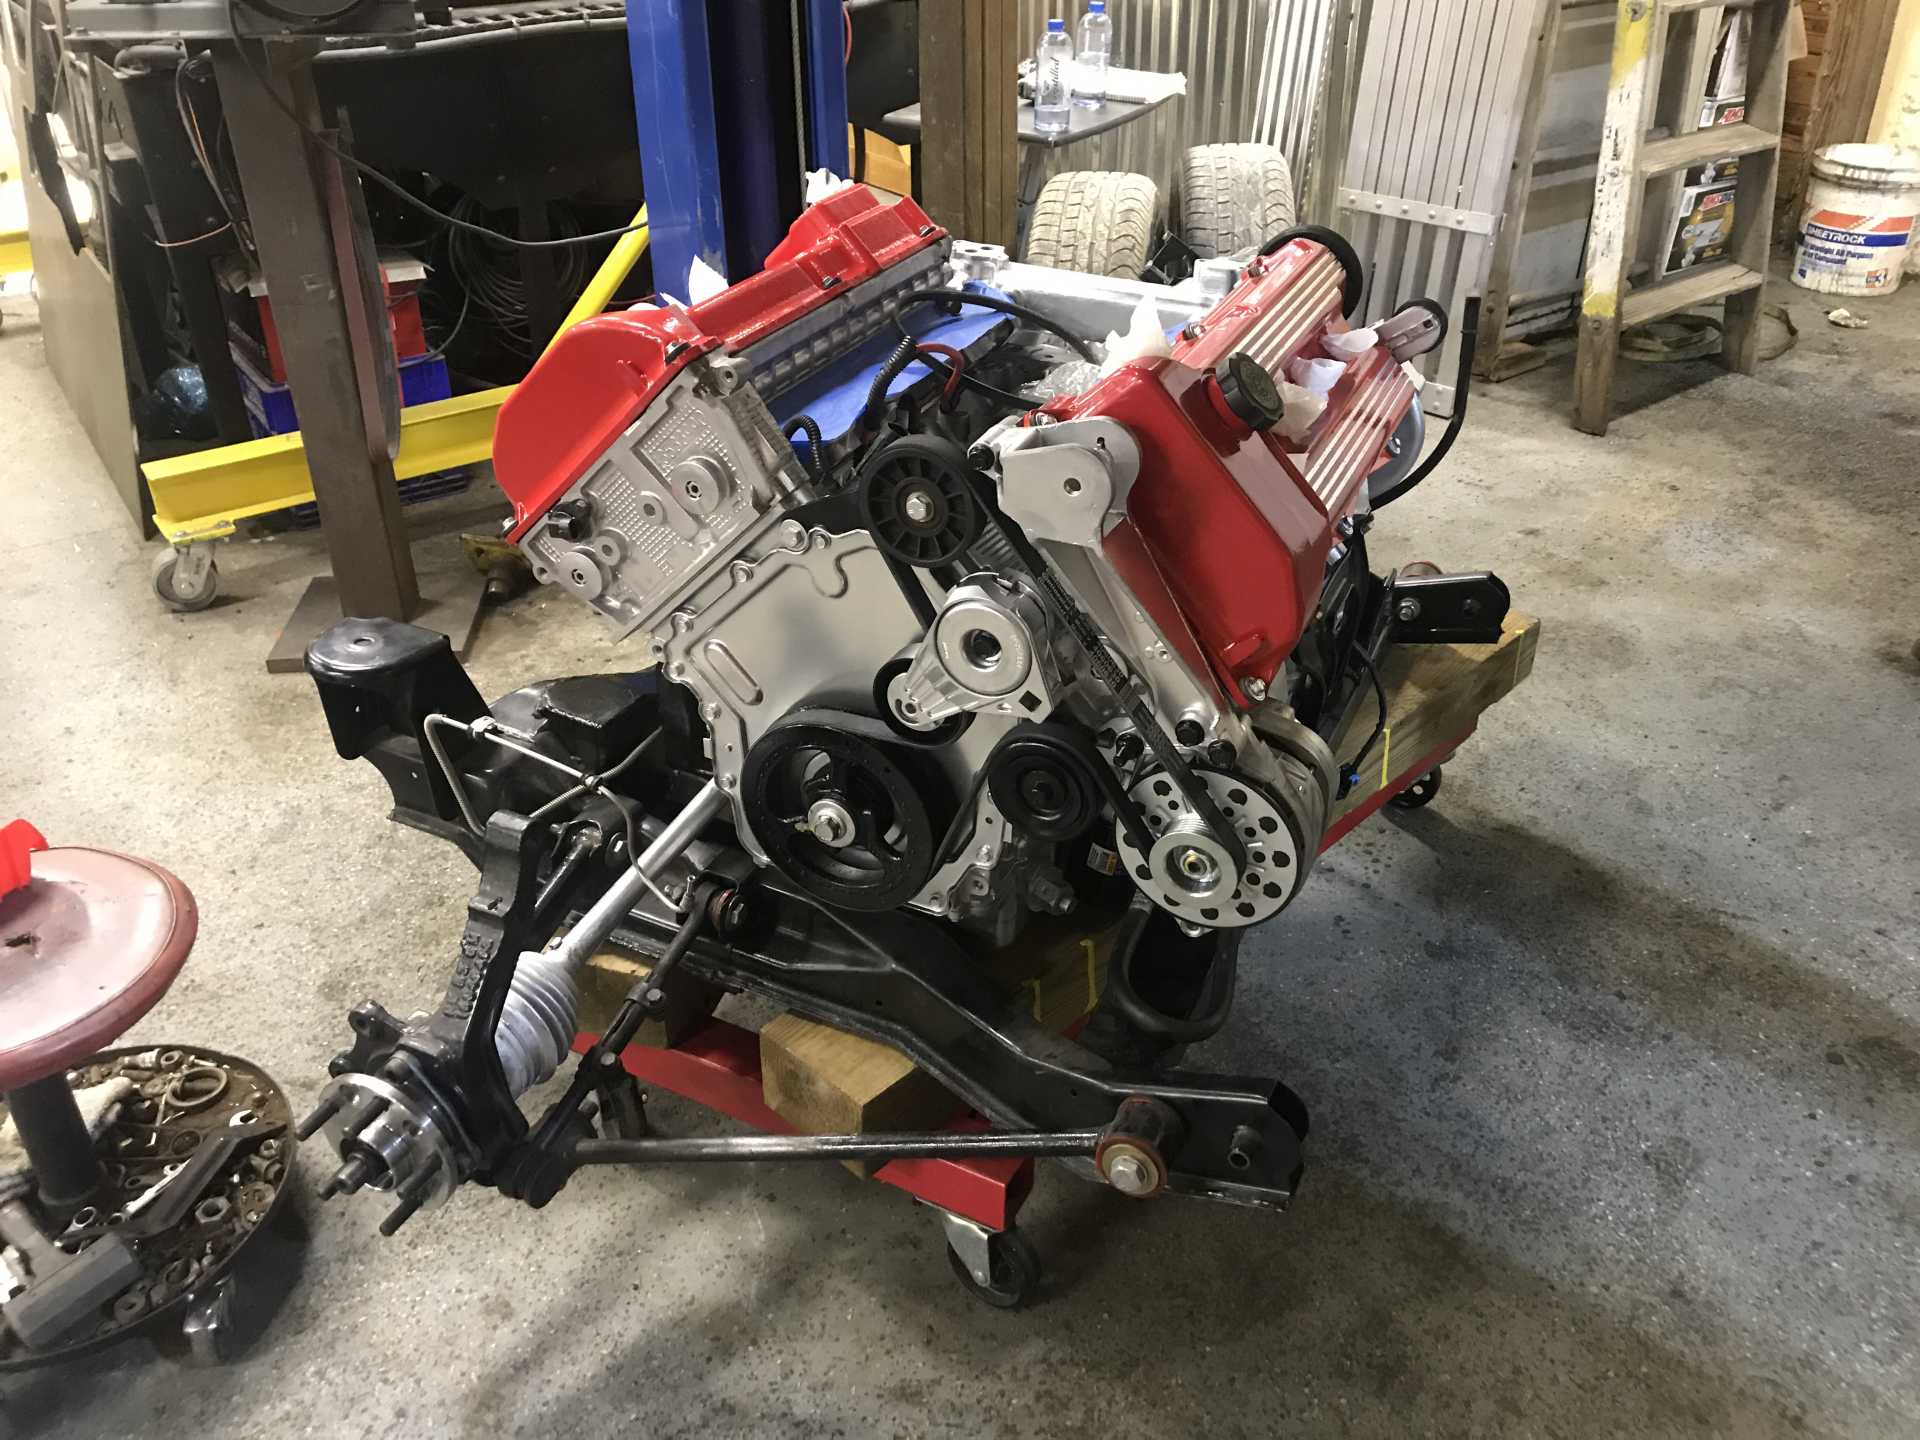
A big day for the Northstar. It’s going back on the cradle! However, we first wanted to test for oil pressure. We did this buy putting a drill on the harmonic balancer and turning the engine over. It is a brand new engine. It seemed to take forever for any oil to come up. We took the filter off. It took a second, but oil started pouring out. We put it back on. Still no oil to the heads. We took off the oil cooler bypass tube. Took a second and those poured oil. Eventually, the drill method worked and oil started coming up through the cams. If it made pressure now, surely it would under real power.
I will attach a video of the oil flow here at some point.

My dad helped me get it on the cradle. It was a bit tricky to line on the trans, and my dad wanted to take the trans off, but with some fineness I got it lined up and on by some miracle.
It’s looking good. Notice anything? Mr. Eric machined the silver striping back on. The lines are not raised, so sanding would have not been easy to make look clean,

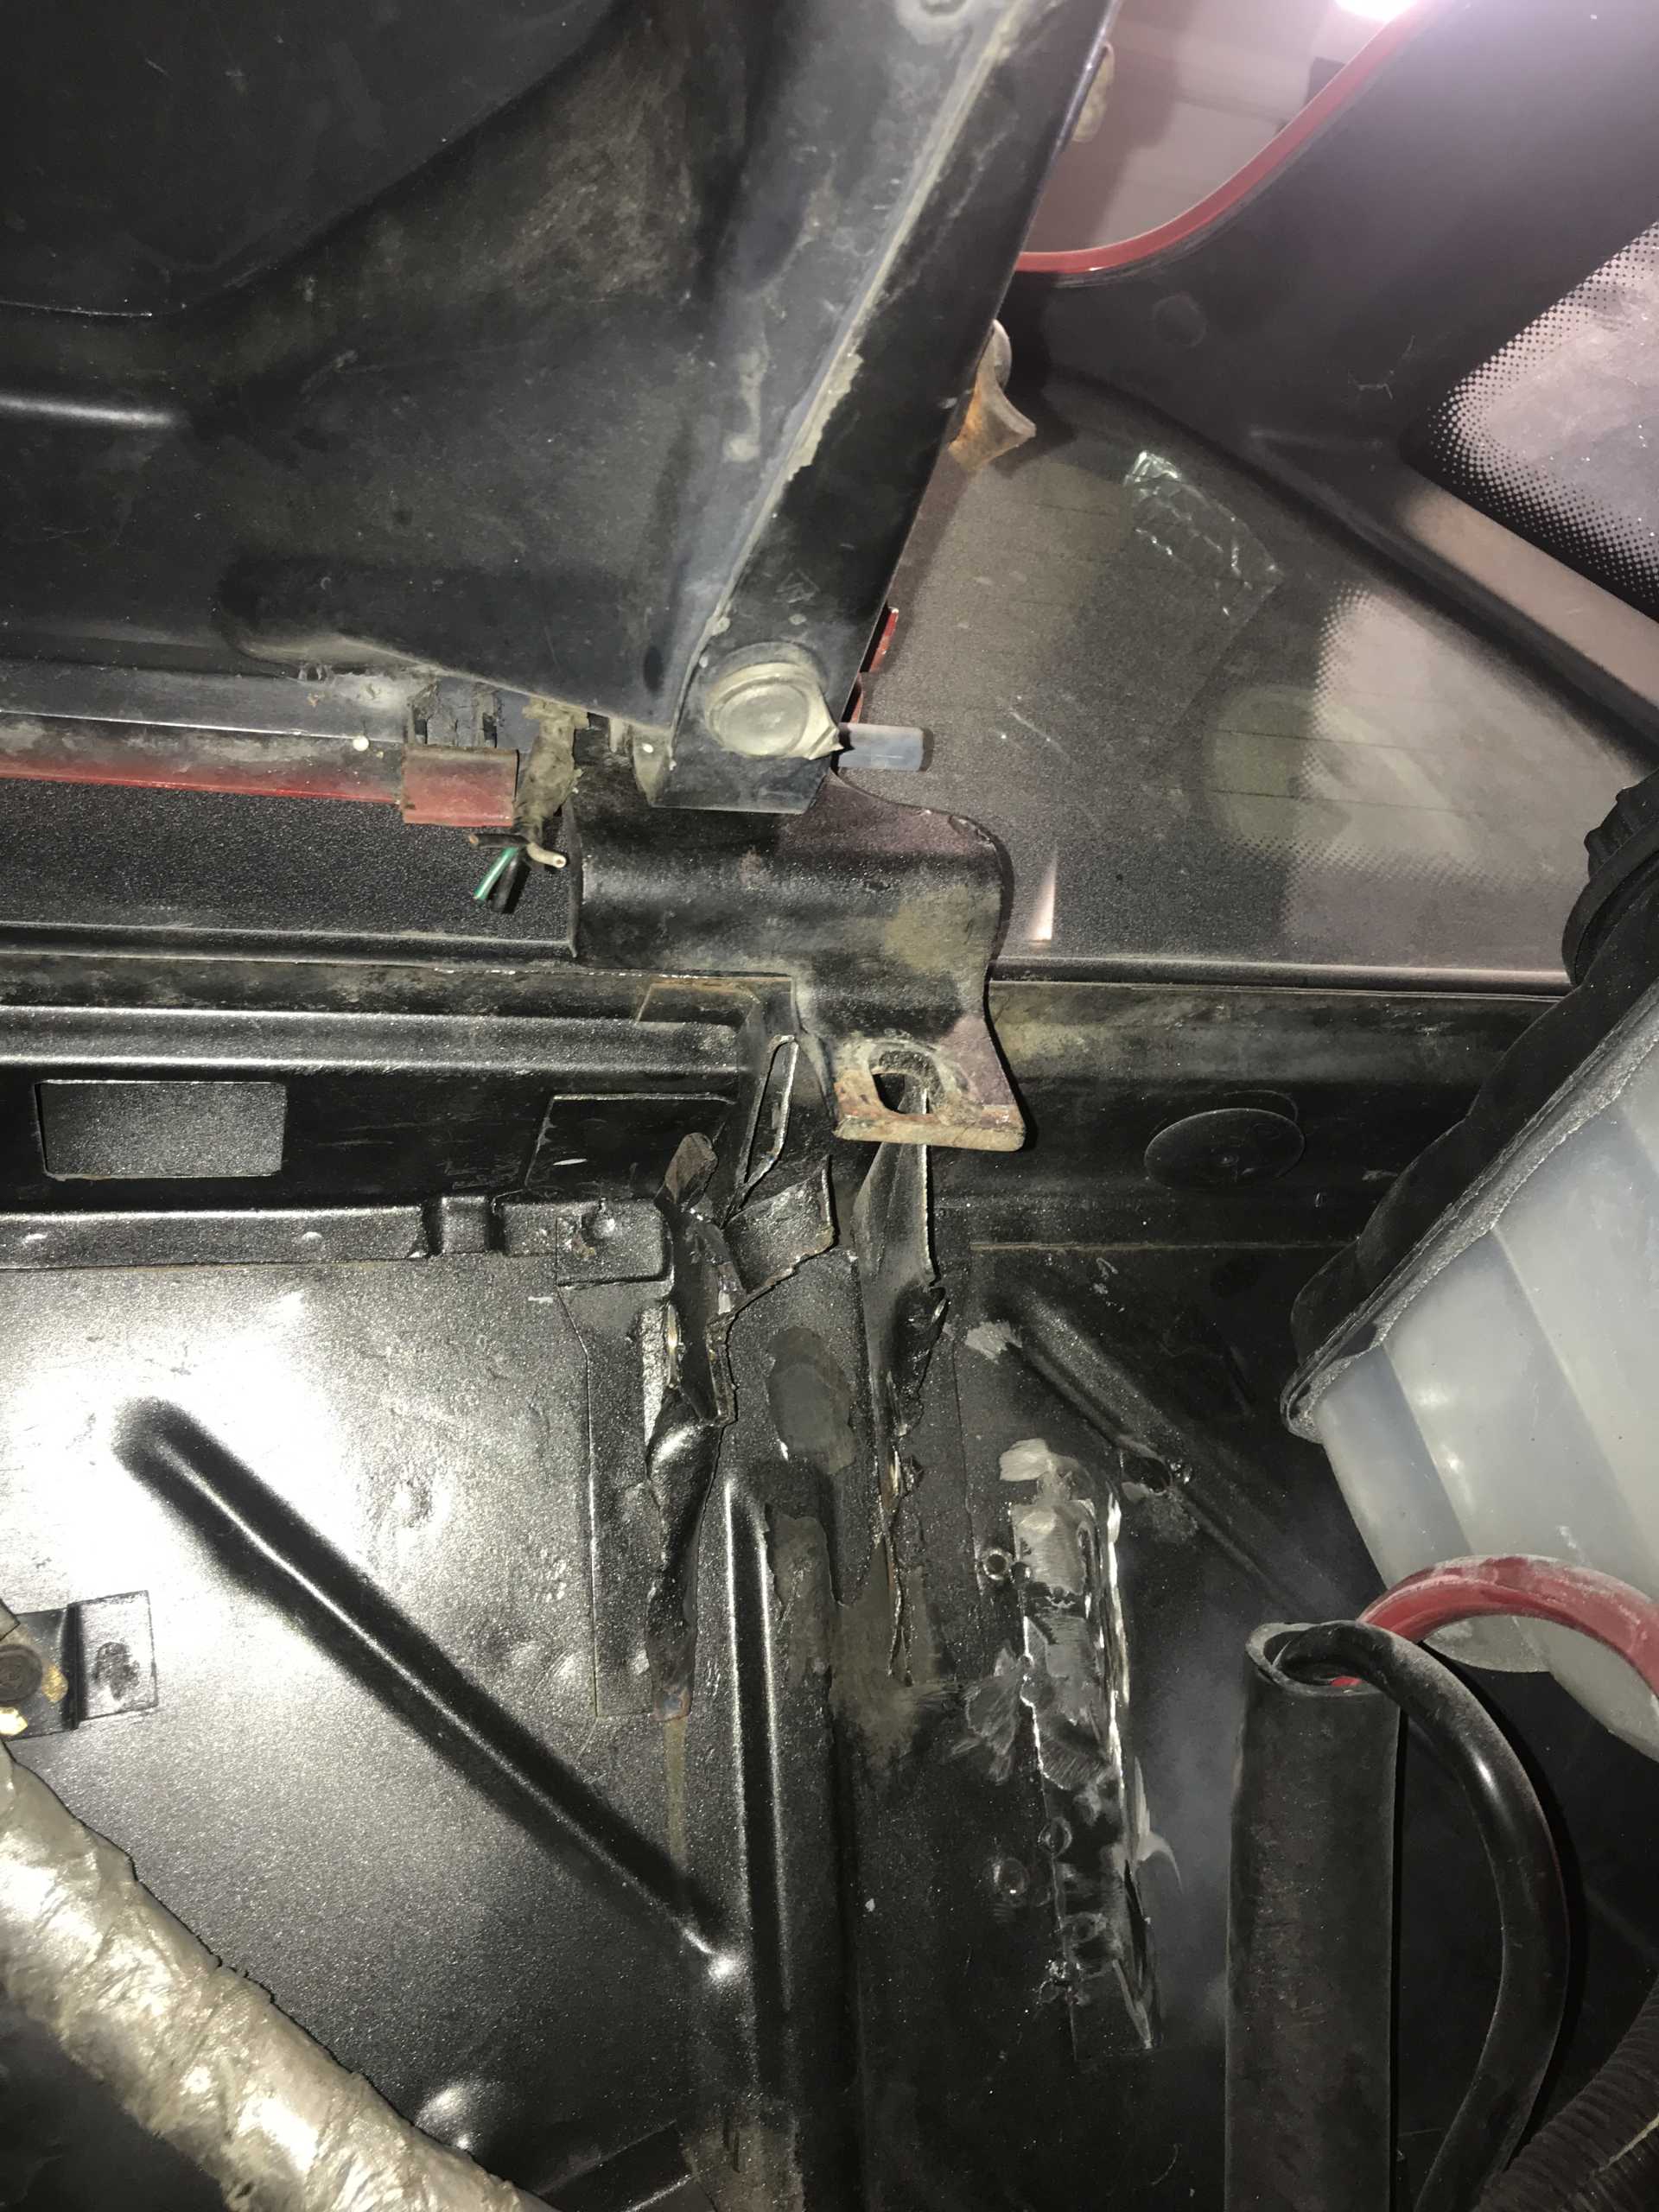
The next big engine bay project… fixing this mess.
|
|
|
|
Will
|
JUL 25, 07:47 PM
|
|
| quote | Originally posted by copperhens:
5/16/21
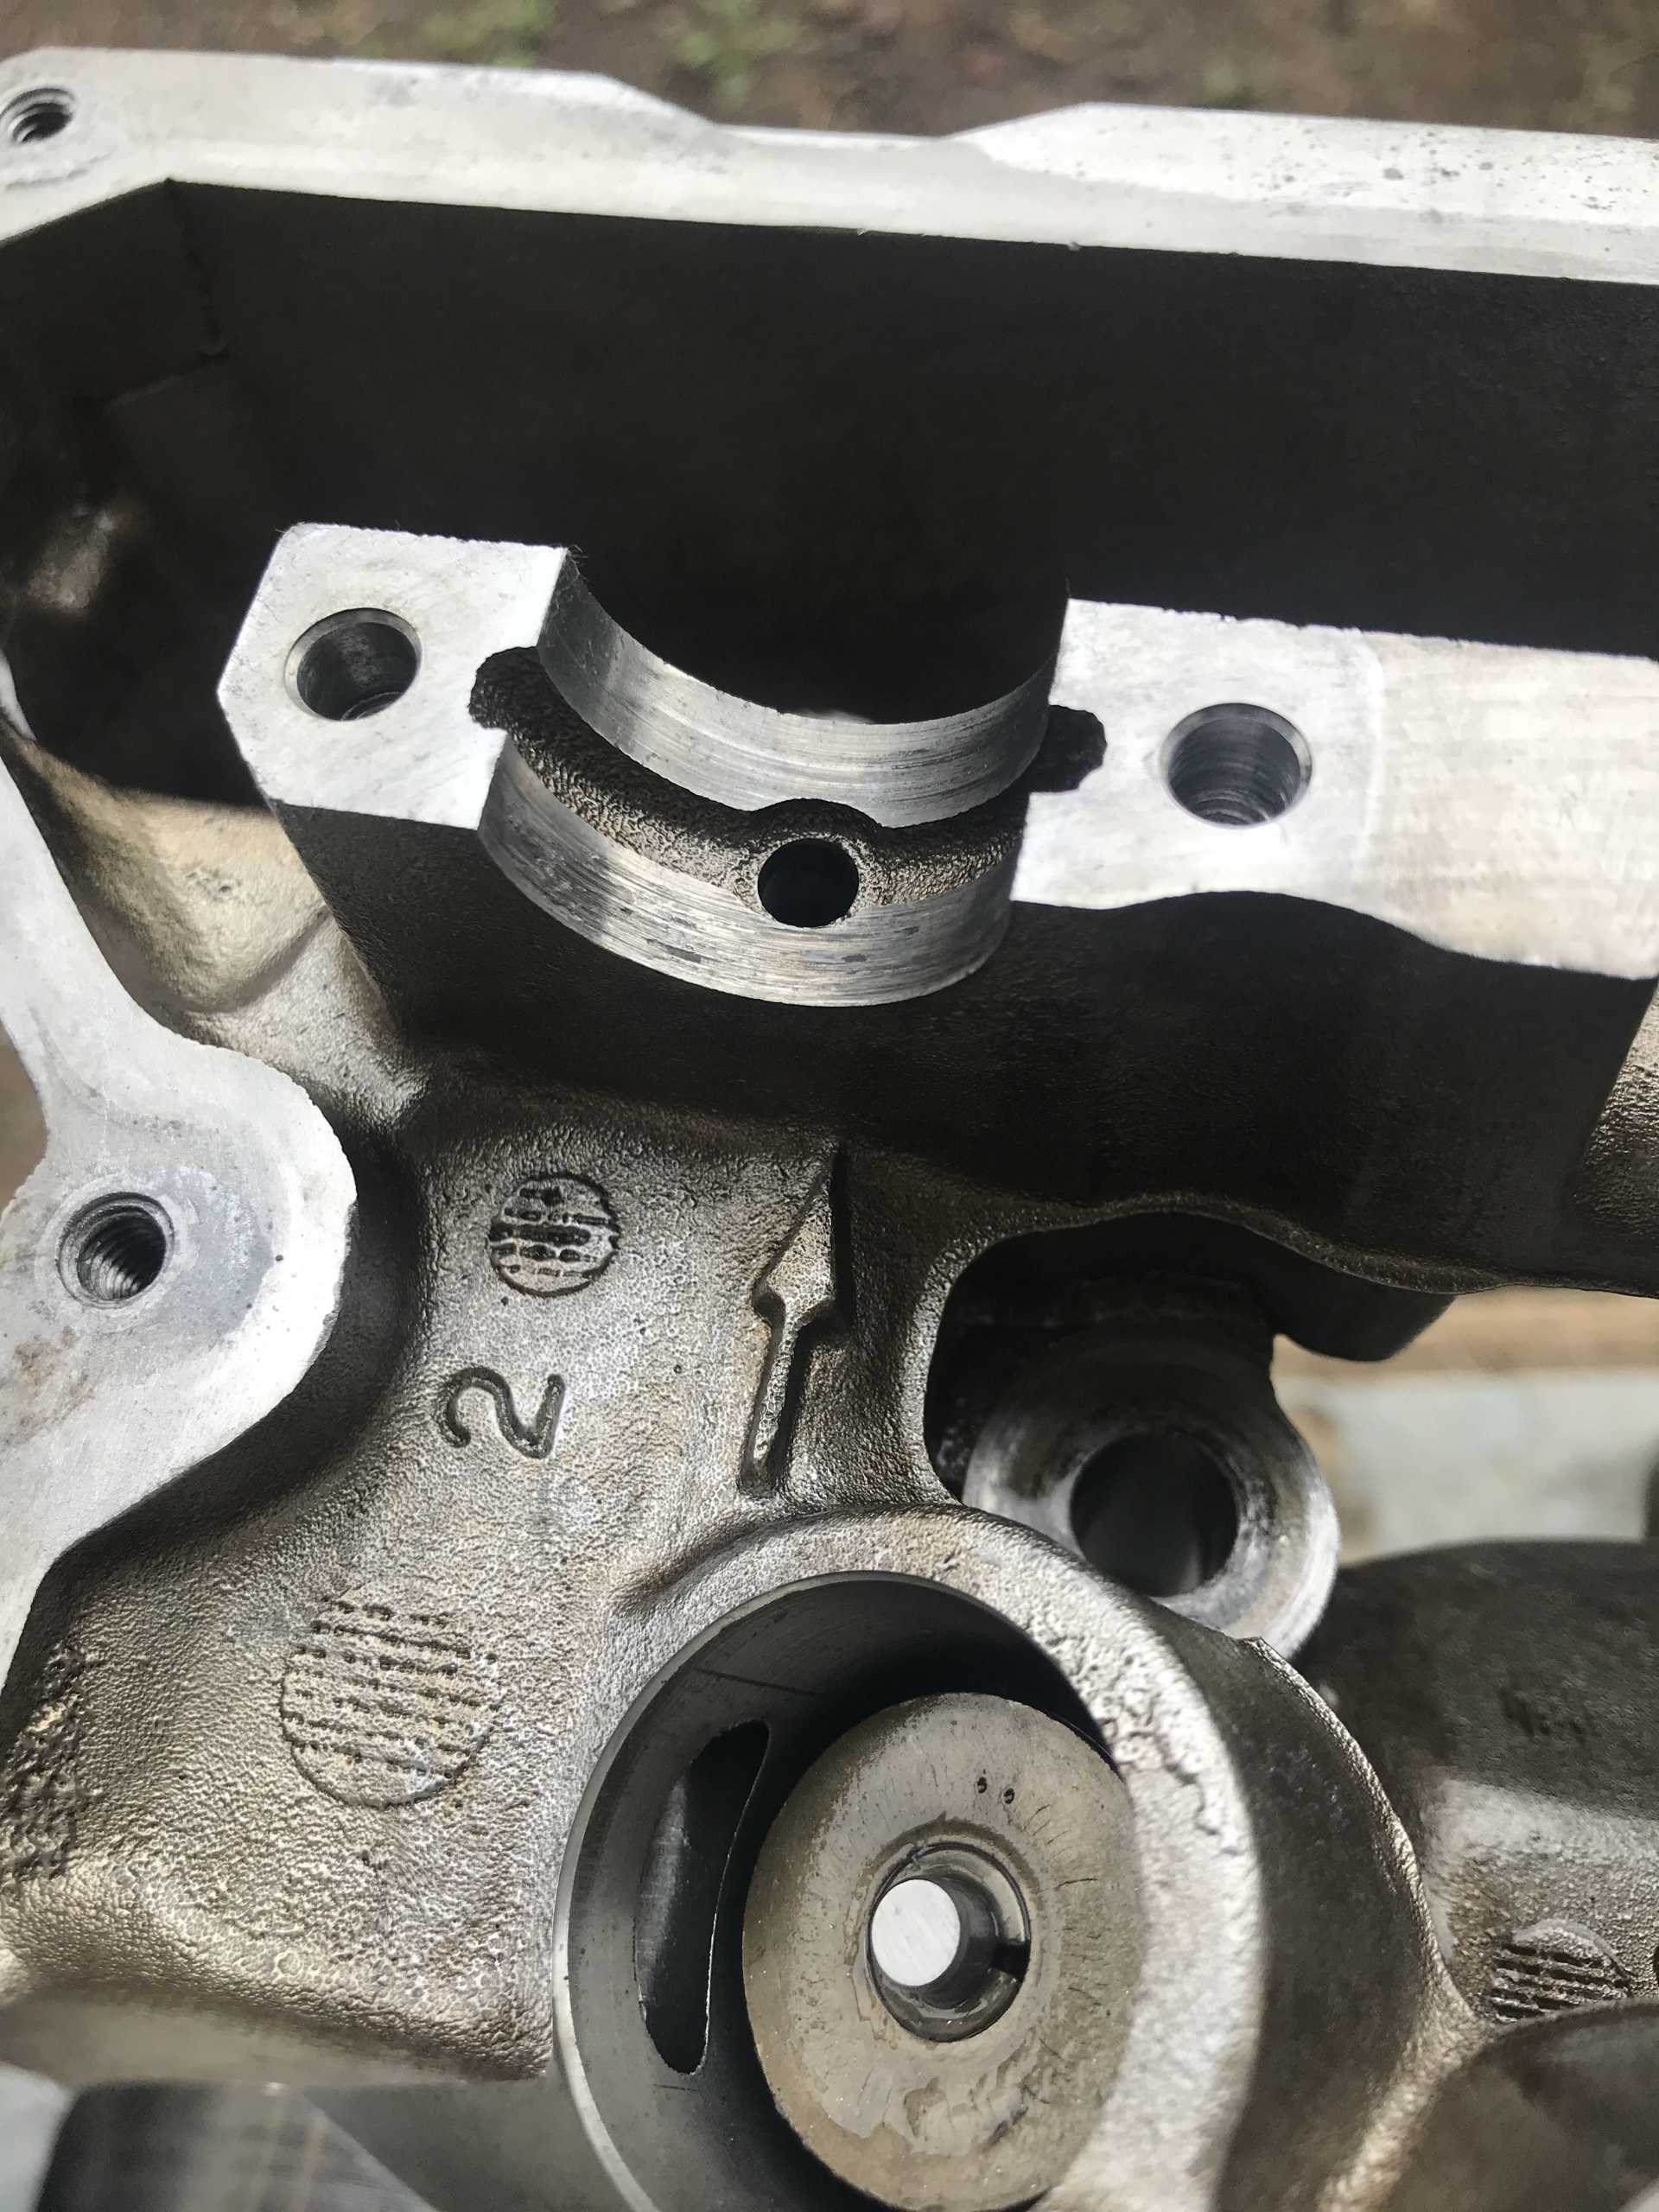
Head rebuild day! As a recap, lack of oil pressure ruined some of the cam caps. You can’t just buy new ones because they are machined for each cap. So, Mr. Eric made a program to remachine the caps. All the program did was cut mere thousandths of an inch off the cap, and to compensate, cut the same amount off the mounting points so it would sit flush again.
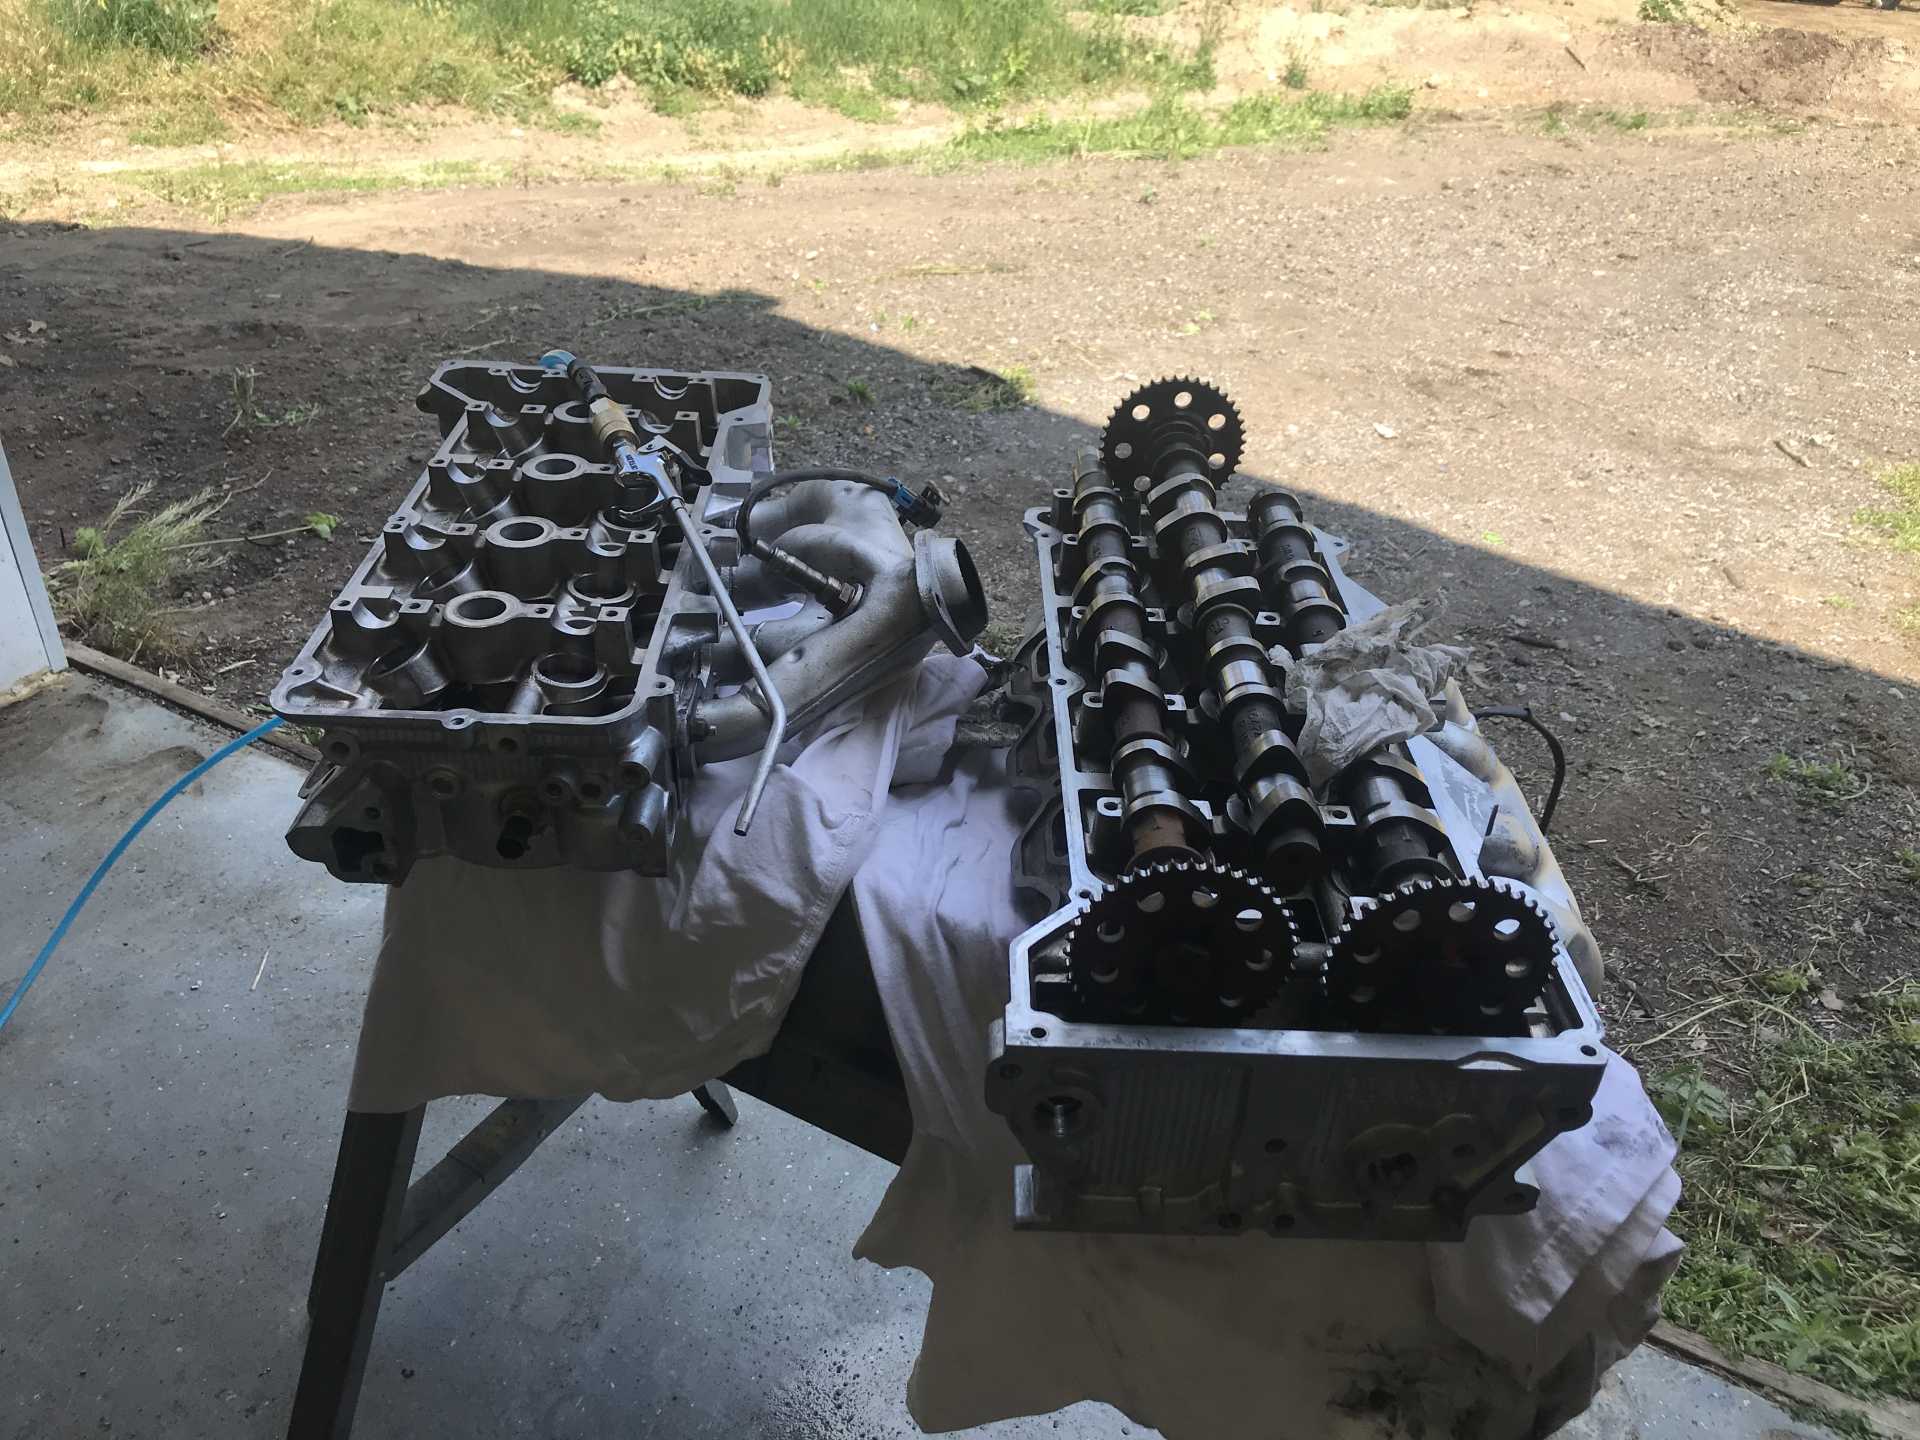
Here is a picture of the damage on the head that sanded out. I thought I had a picture of the caps. There were 3 that needed to be remachined. The cams on the rear head were polished as well as all the cam surfaces. Clearances were measured and were good.
I did not take apart the front head. There was no damage to any of the caps. I did clean it out really good though. Both heads were cleaned in the parts washer and blown out to dry.
 |
|
You pulled the pipe plugs on the outside and blew the oil galleries out, right?[This message has been edited by Will (edited 07-25-2021).]
|
|
|
|
copperhens
|
JUL 26, 10:29 AM
|
|
| quote | Originally posted by Will:
You pulled the pipe plugs on the outside and blew the oil galleries out, right?
|
|
Yes, I did. 😁
|
|
|
|
copperhens
|
JUL 26, 12:08 PM
|
|
6/5/21
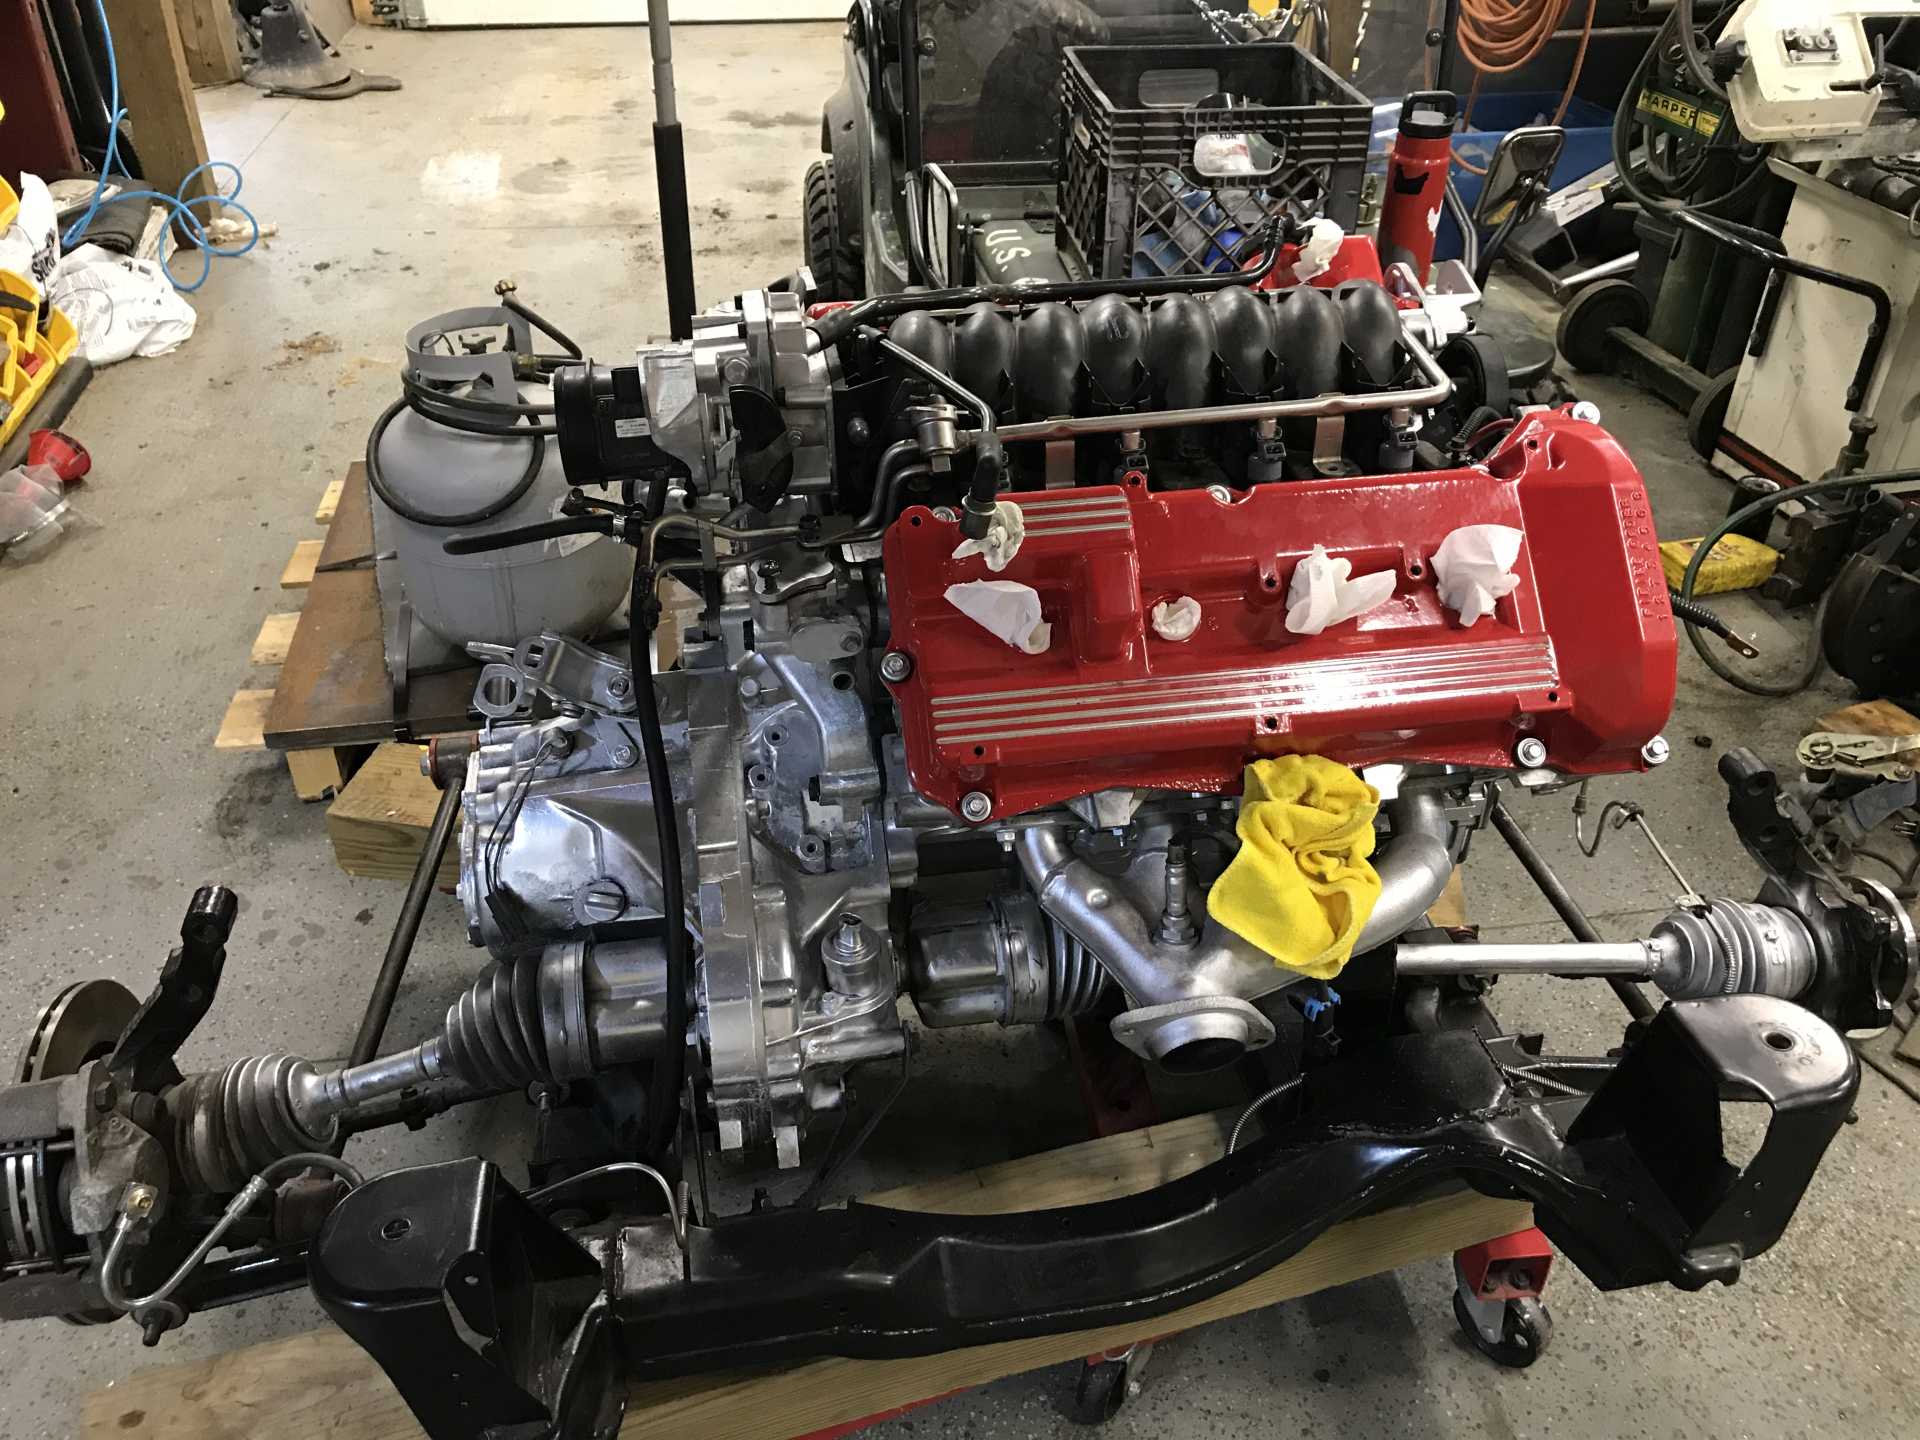
With my old setup I left my AC compressor on in case I were to put AC back on. The POs ripped out everything, including the blower motor. At this point, AC is a long way off if I ever do it, so I decided to delete the compressor. After doing some internet research, I could either get an idler pulley or a shorter belt. The idler had bad reviews, so it seemed better to get a shorter belt. After making several runs back and forth to AutoZone, I finally got one that would be the right tension.
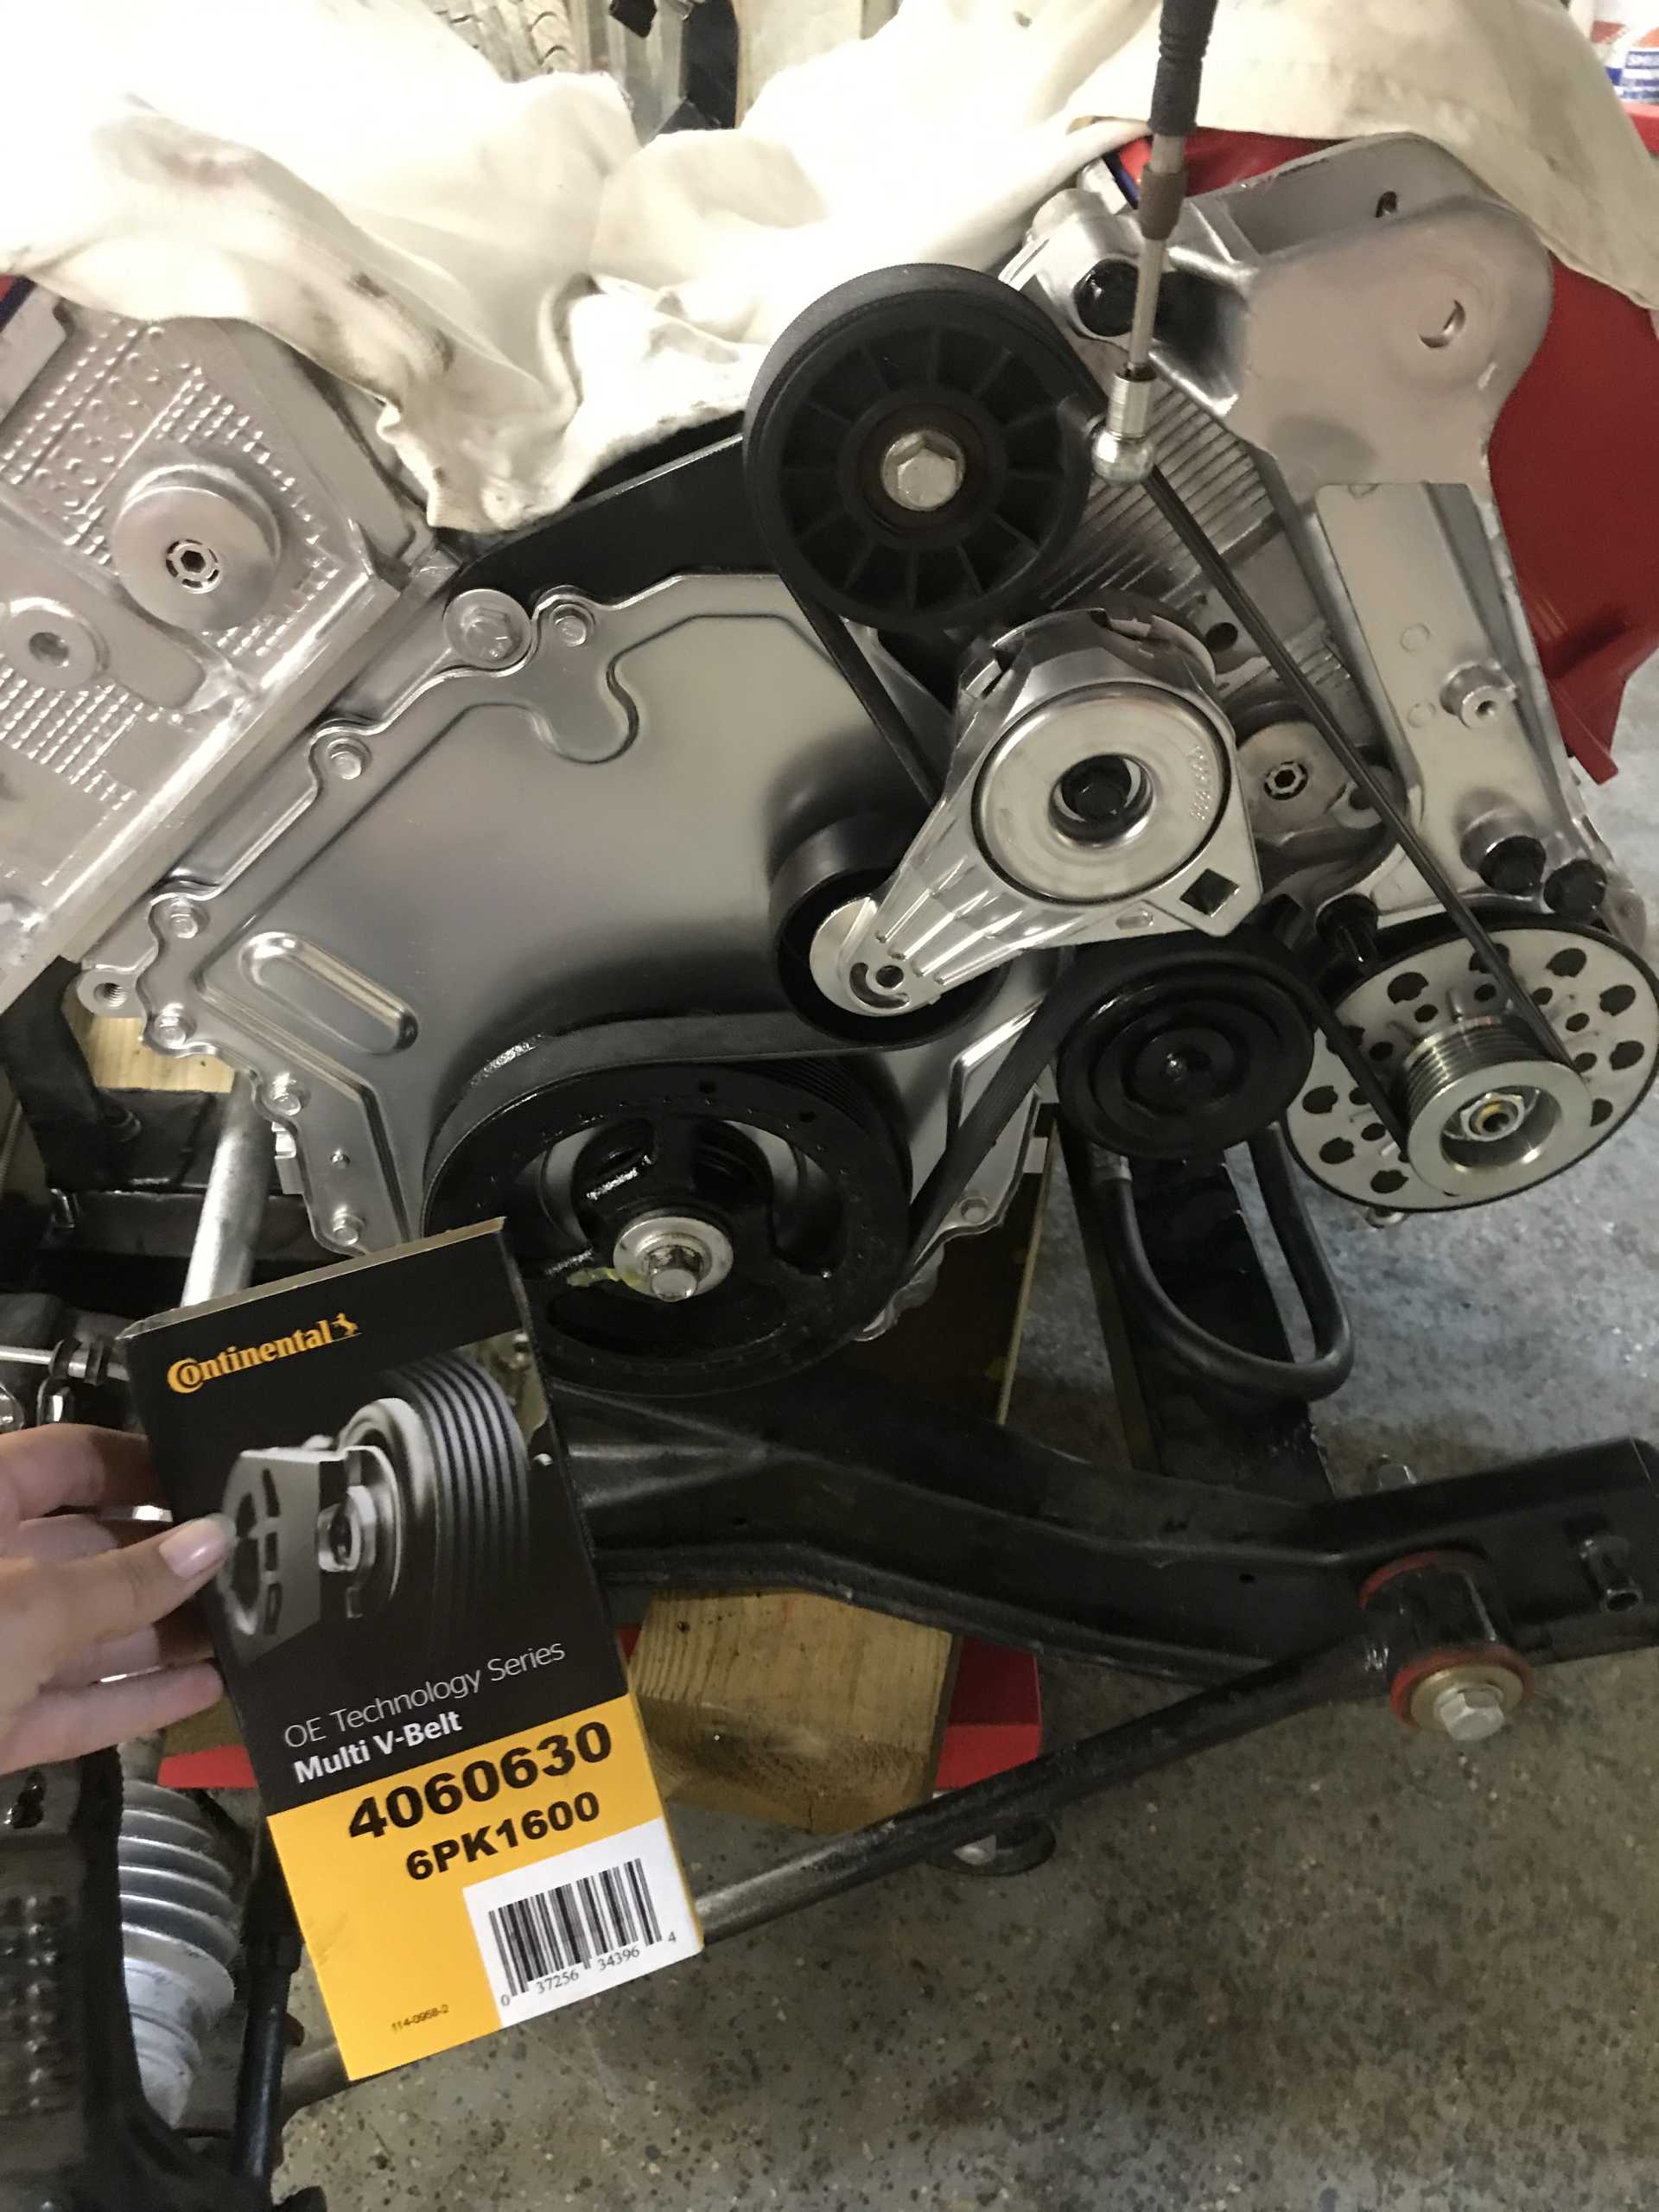
Another picture of the Northstar
|
|
|
|
copperhens
|
JUL 26, 02:25 PM
|
|
6/6/21
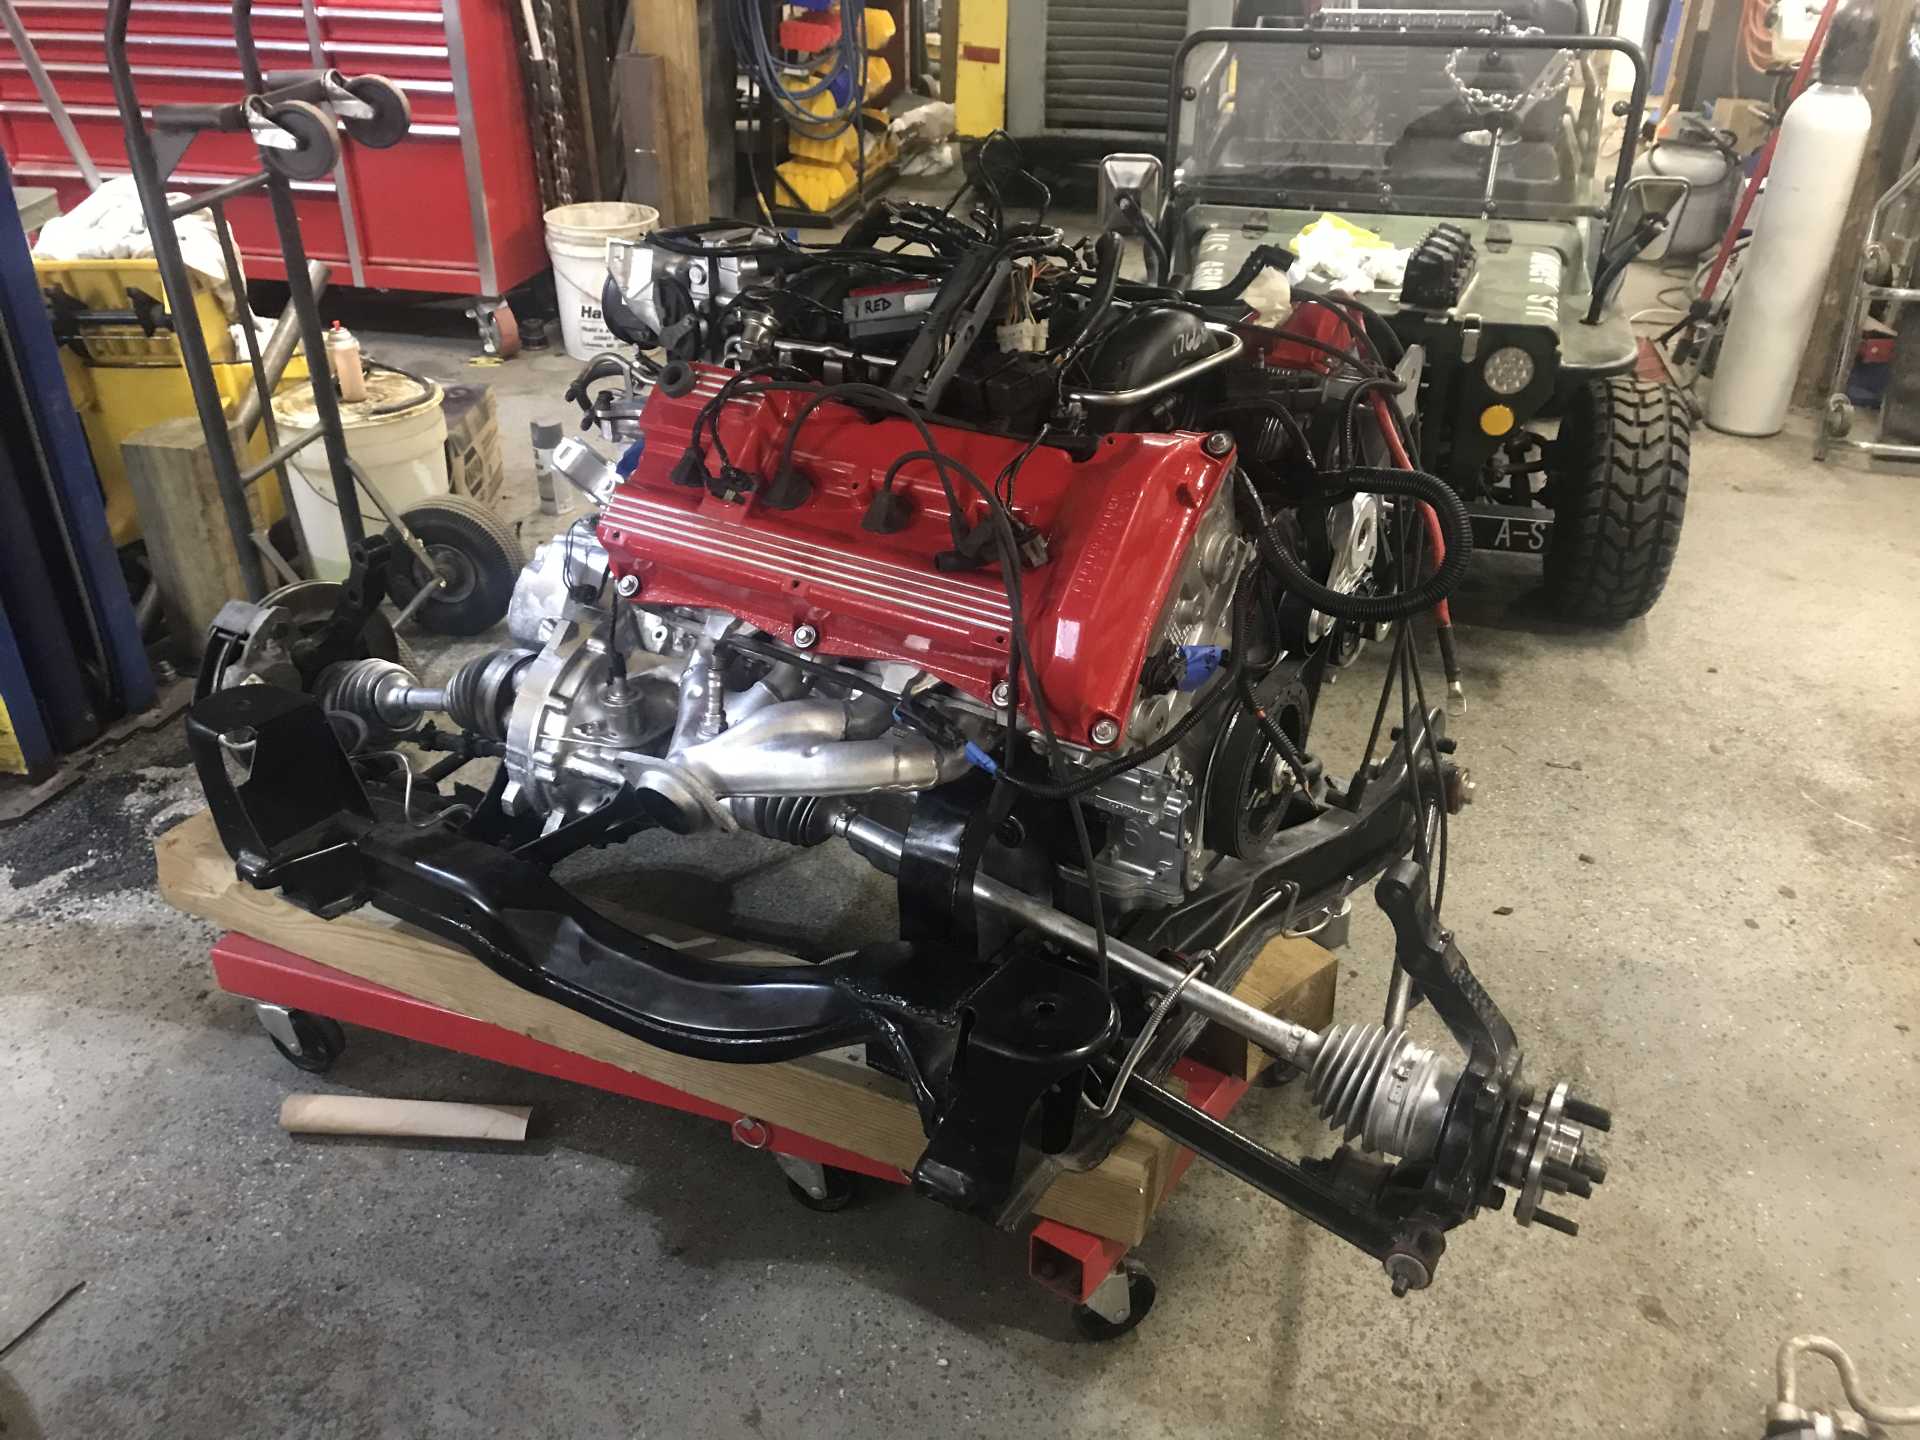
I got the valve covers bolted on.
And the trunk bracket is cut off too. What a mess.
|
|
|
|
copperhens
|
JUL 26, 02:50 PM
|
|
6/15/21
I started putting the harness back on.
|
|
|
|
copperhens
|
JUL 26, 02:51 PM
|
|
6/20/21
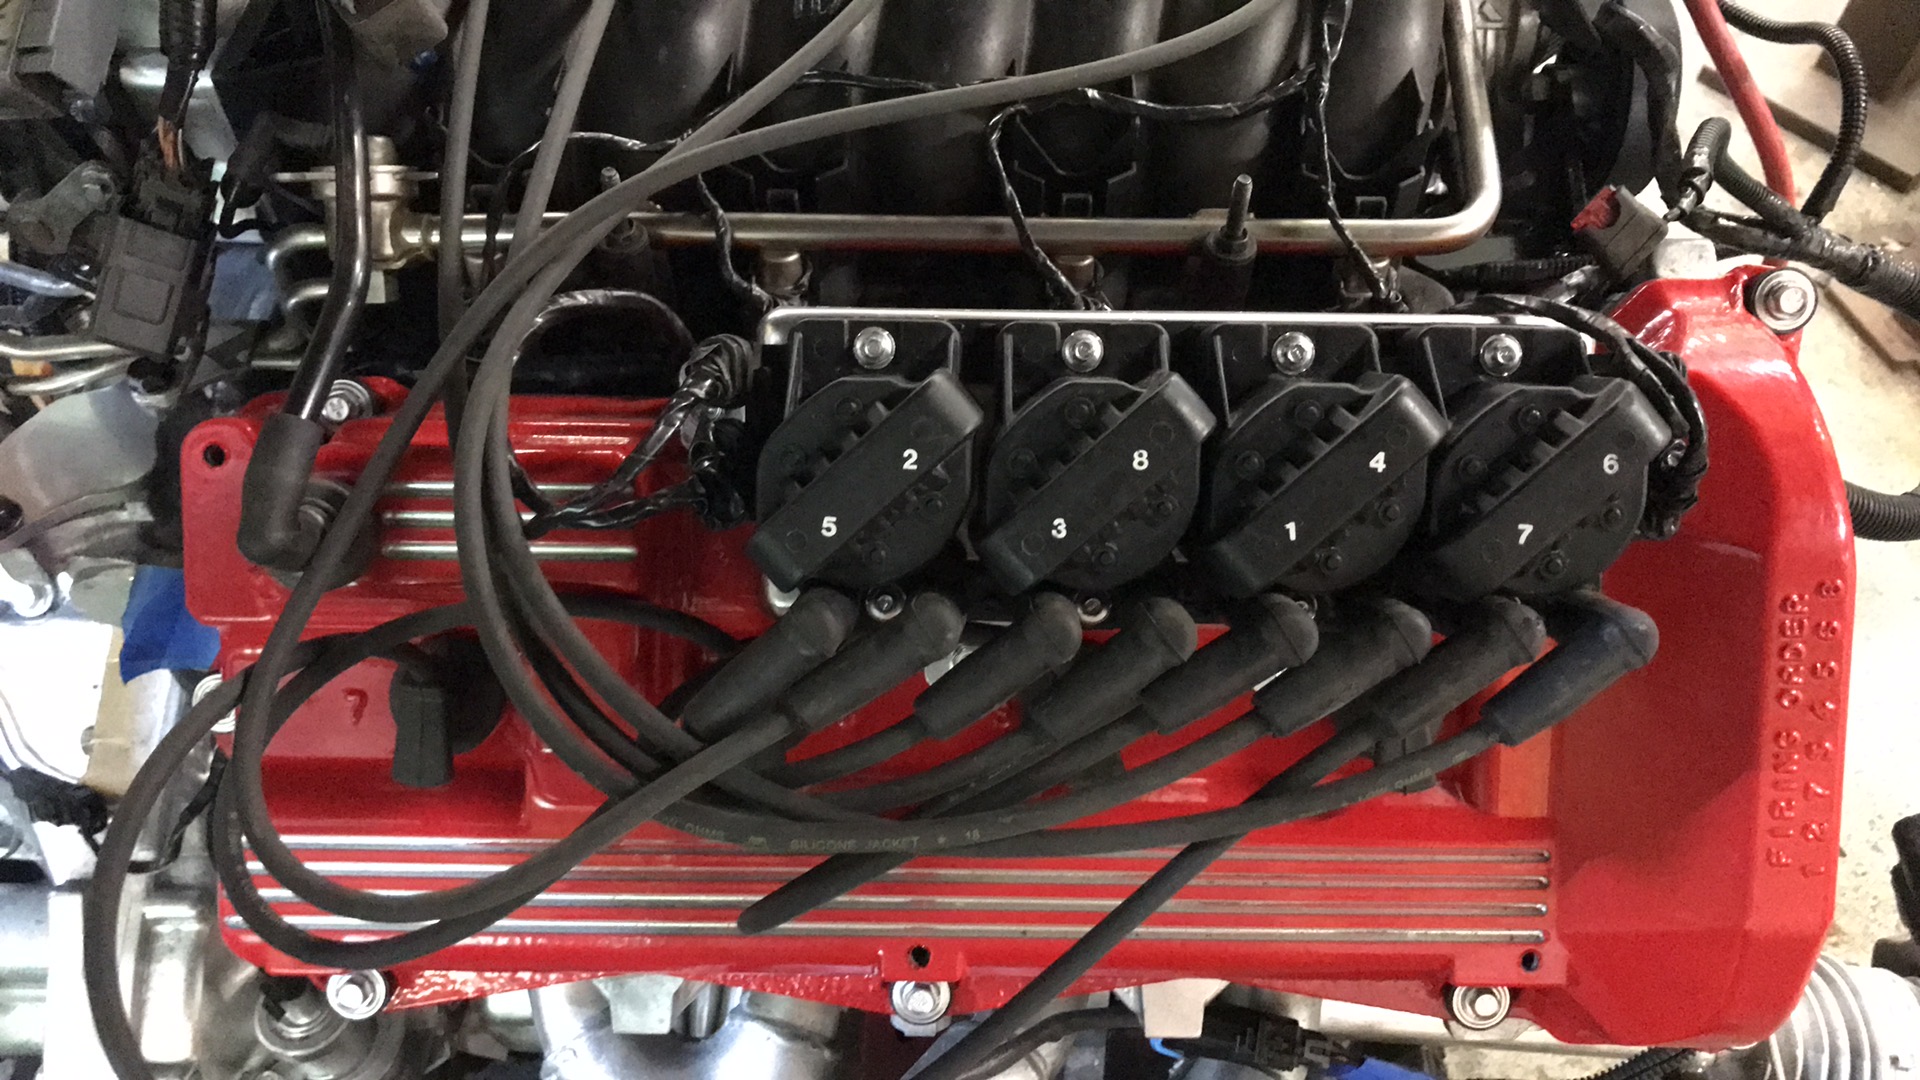
My coil packs were crusty.
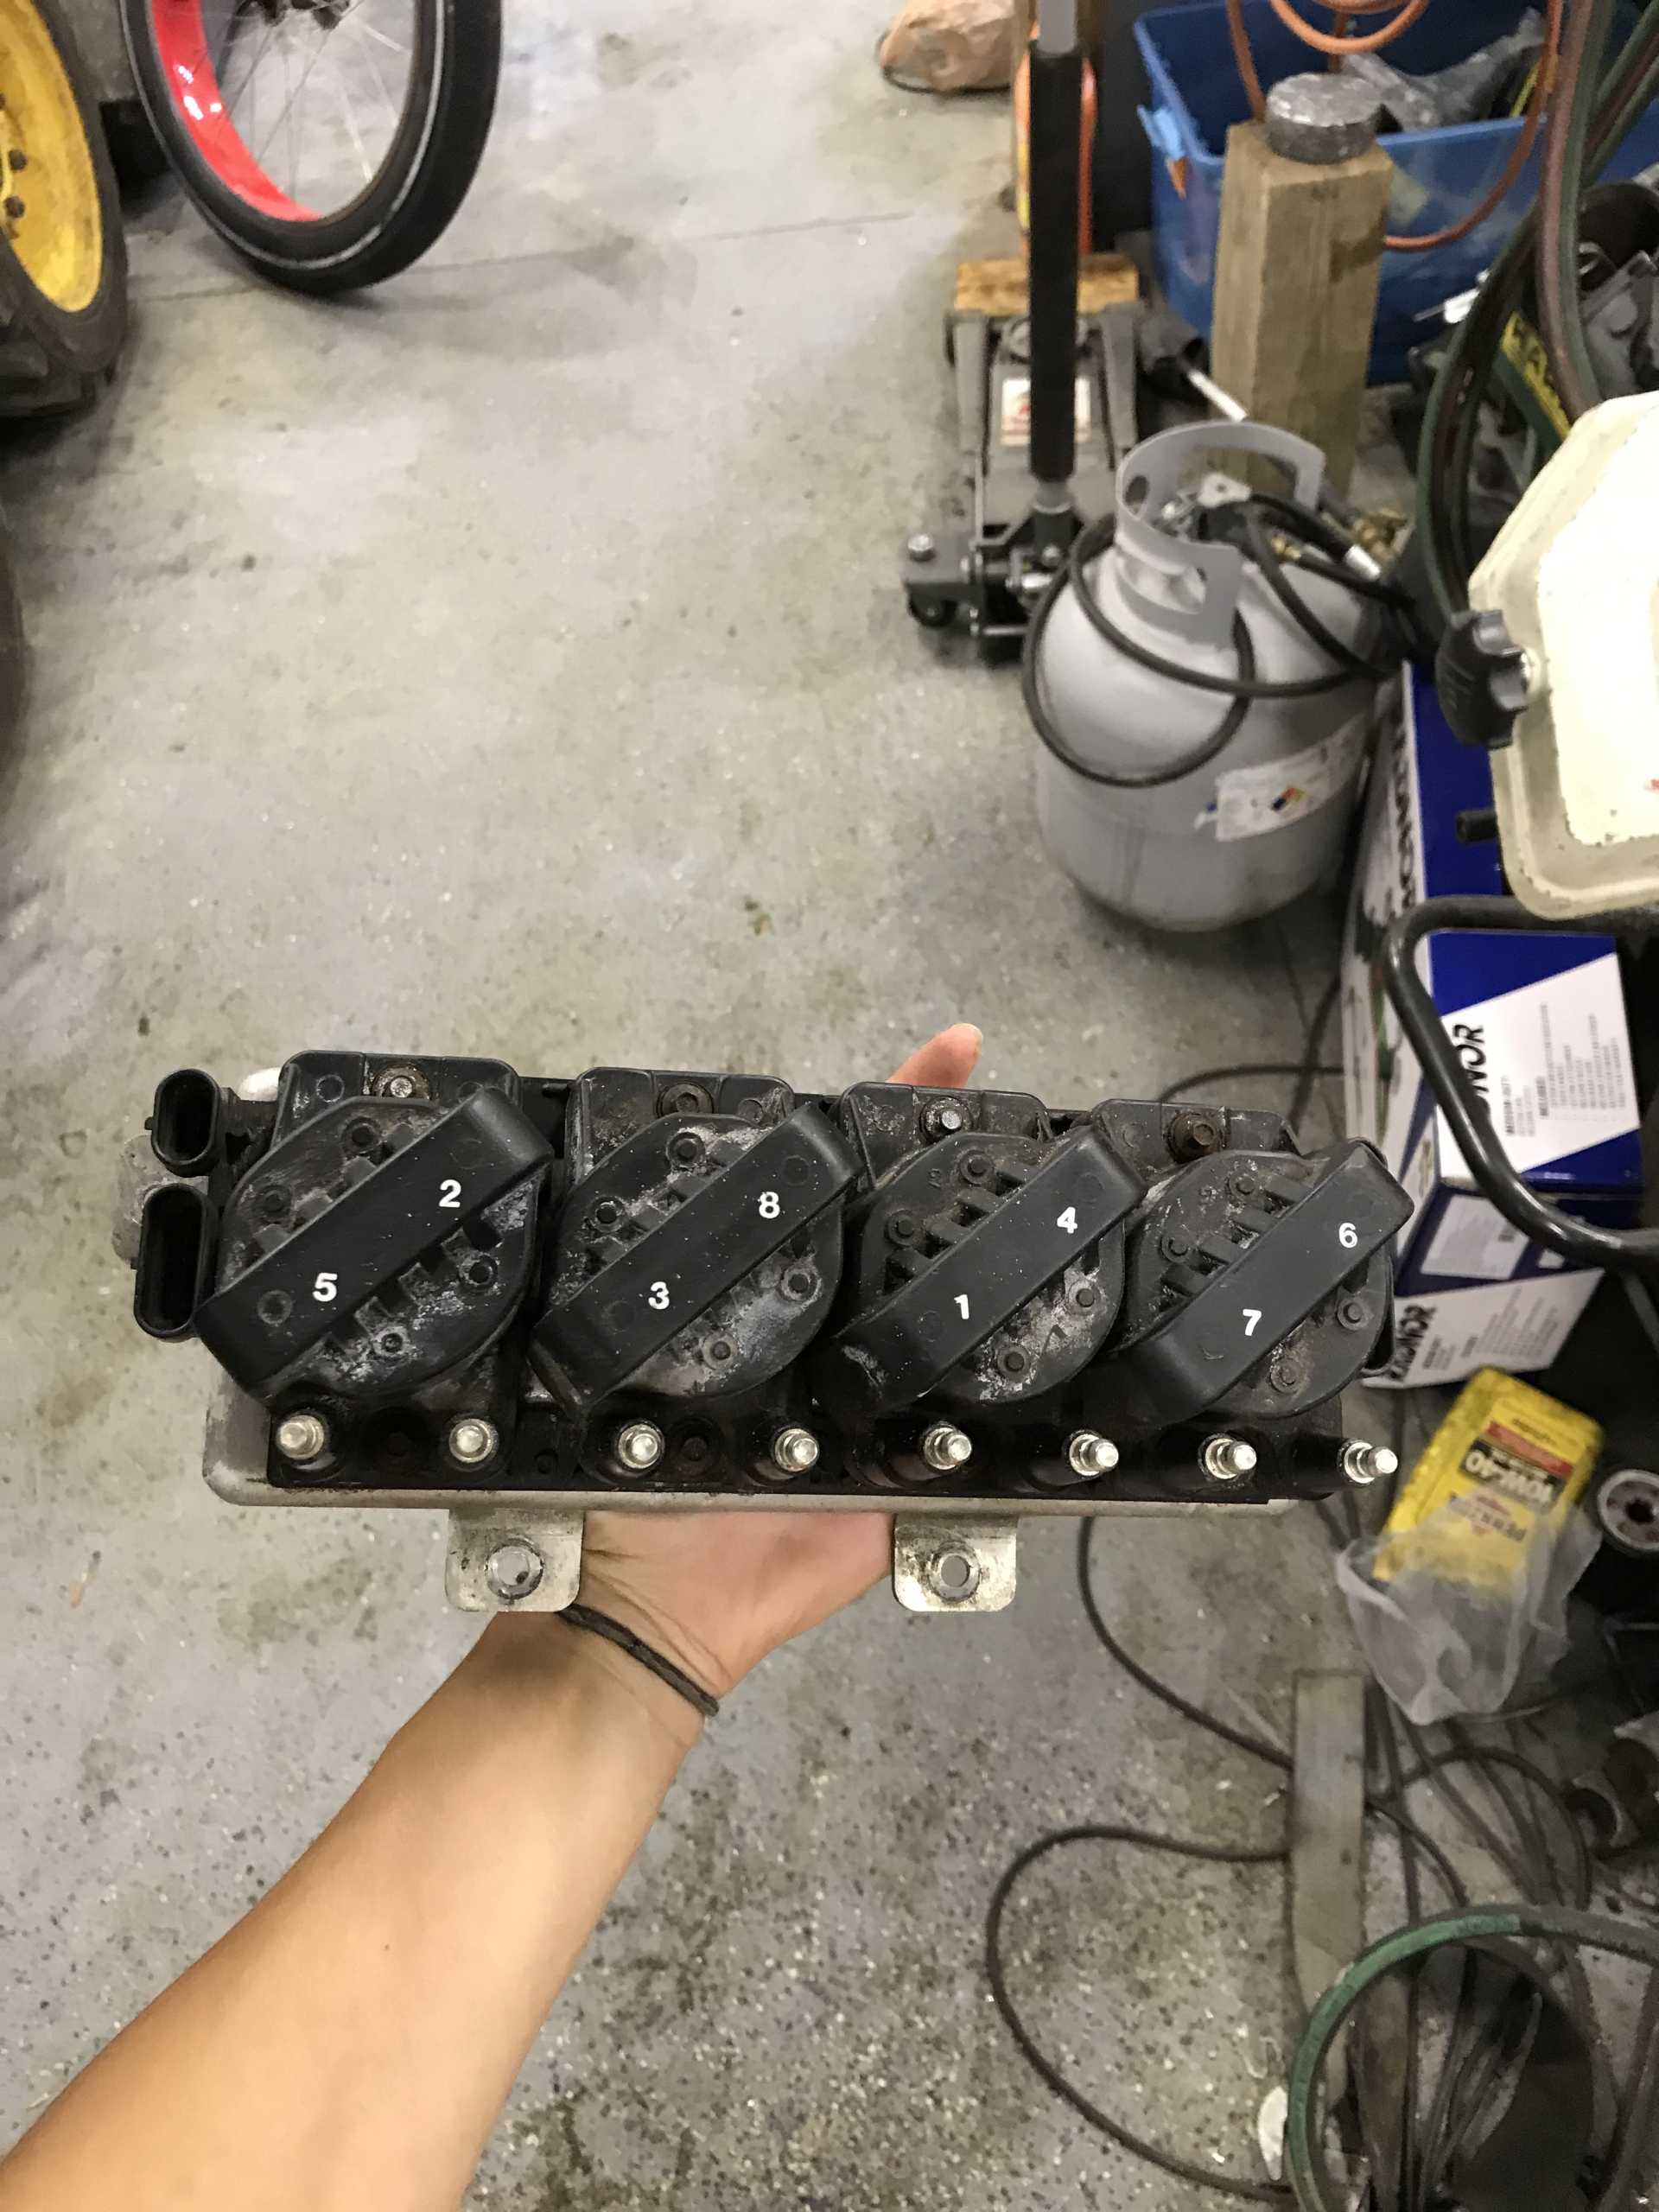
I took them apart, blasted and painted the bottom plate and bolts. I cleaned the packs off too. A later project will be shortening the spark plug wires, they are all over.
|
|
|
|
copperhens
|
JUL 26, 02:53 PM
|
|
6/21/21
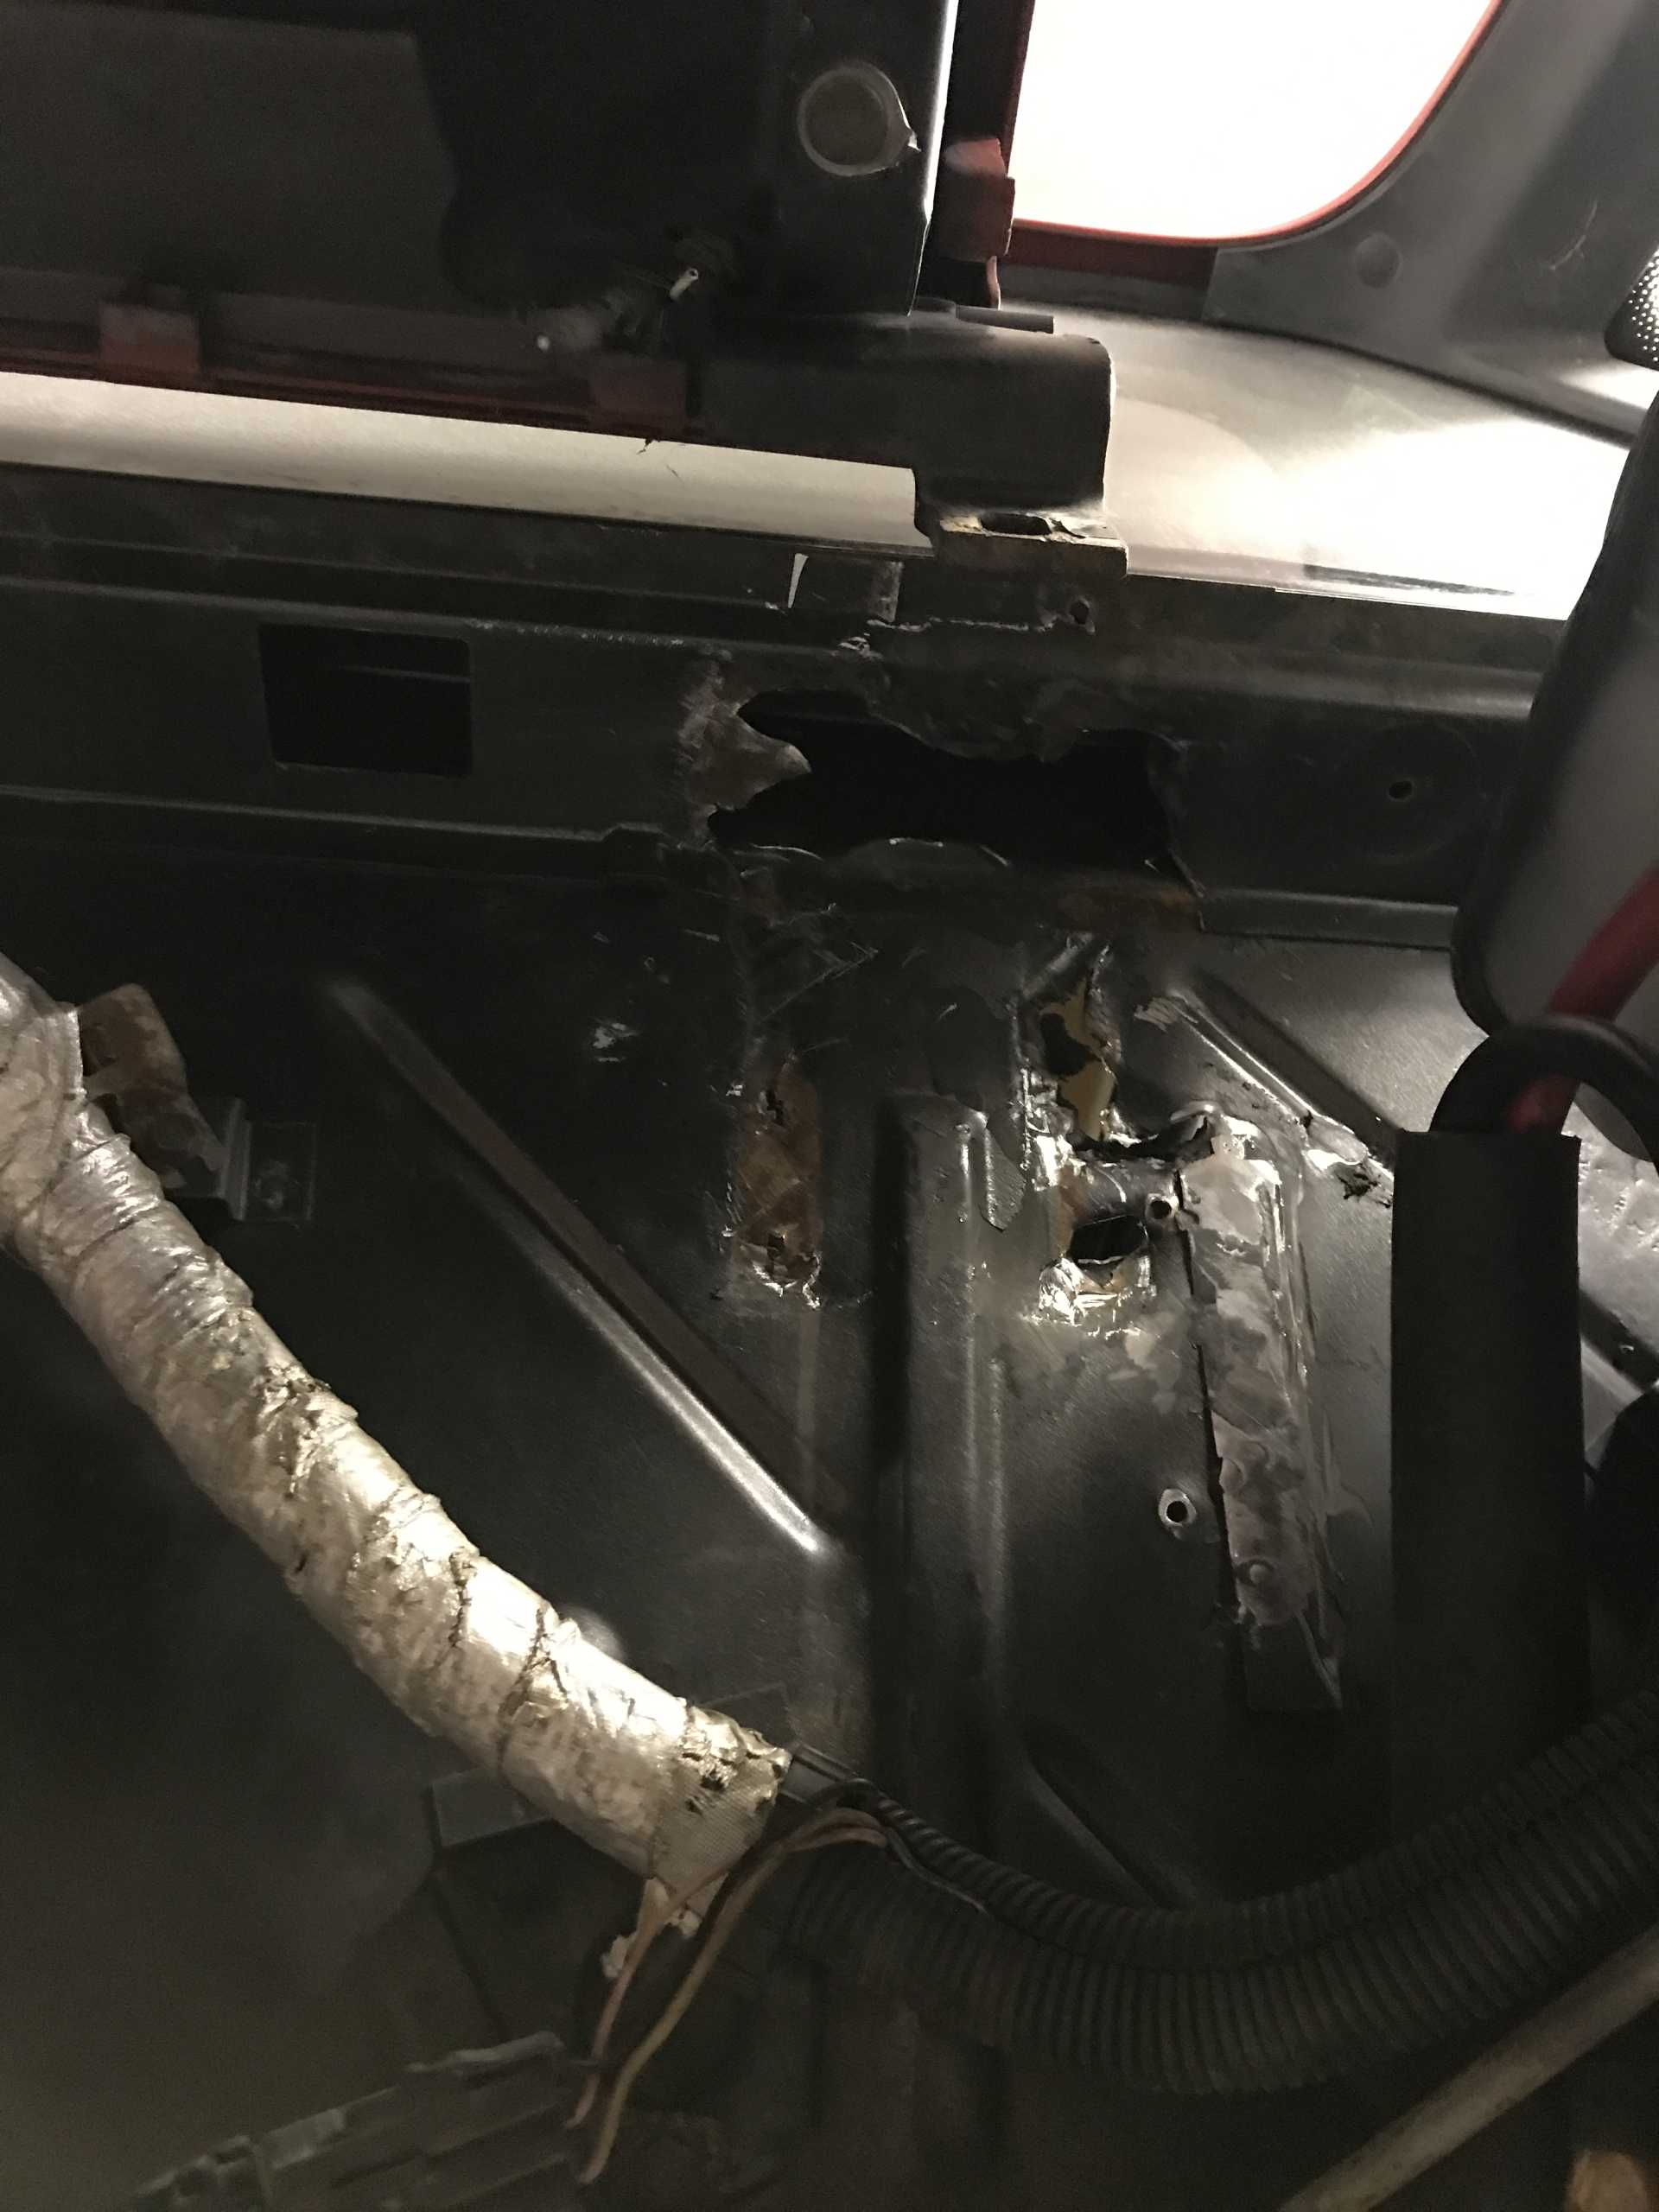
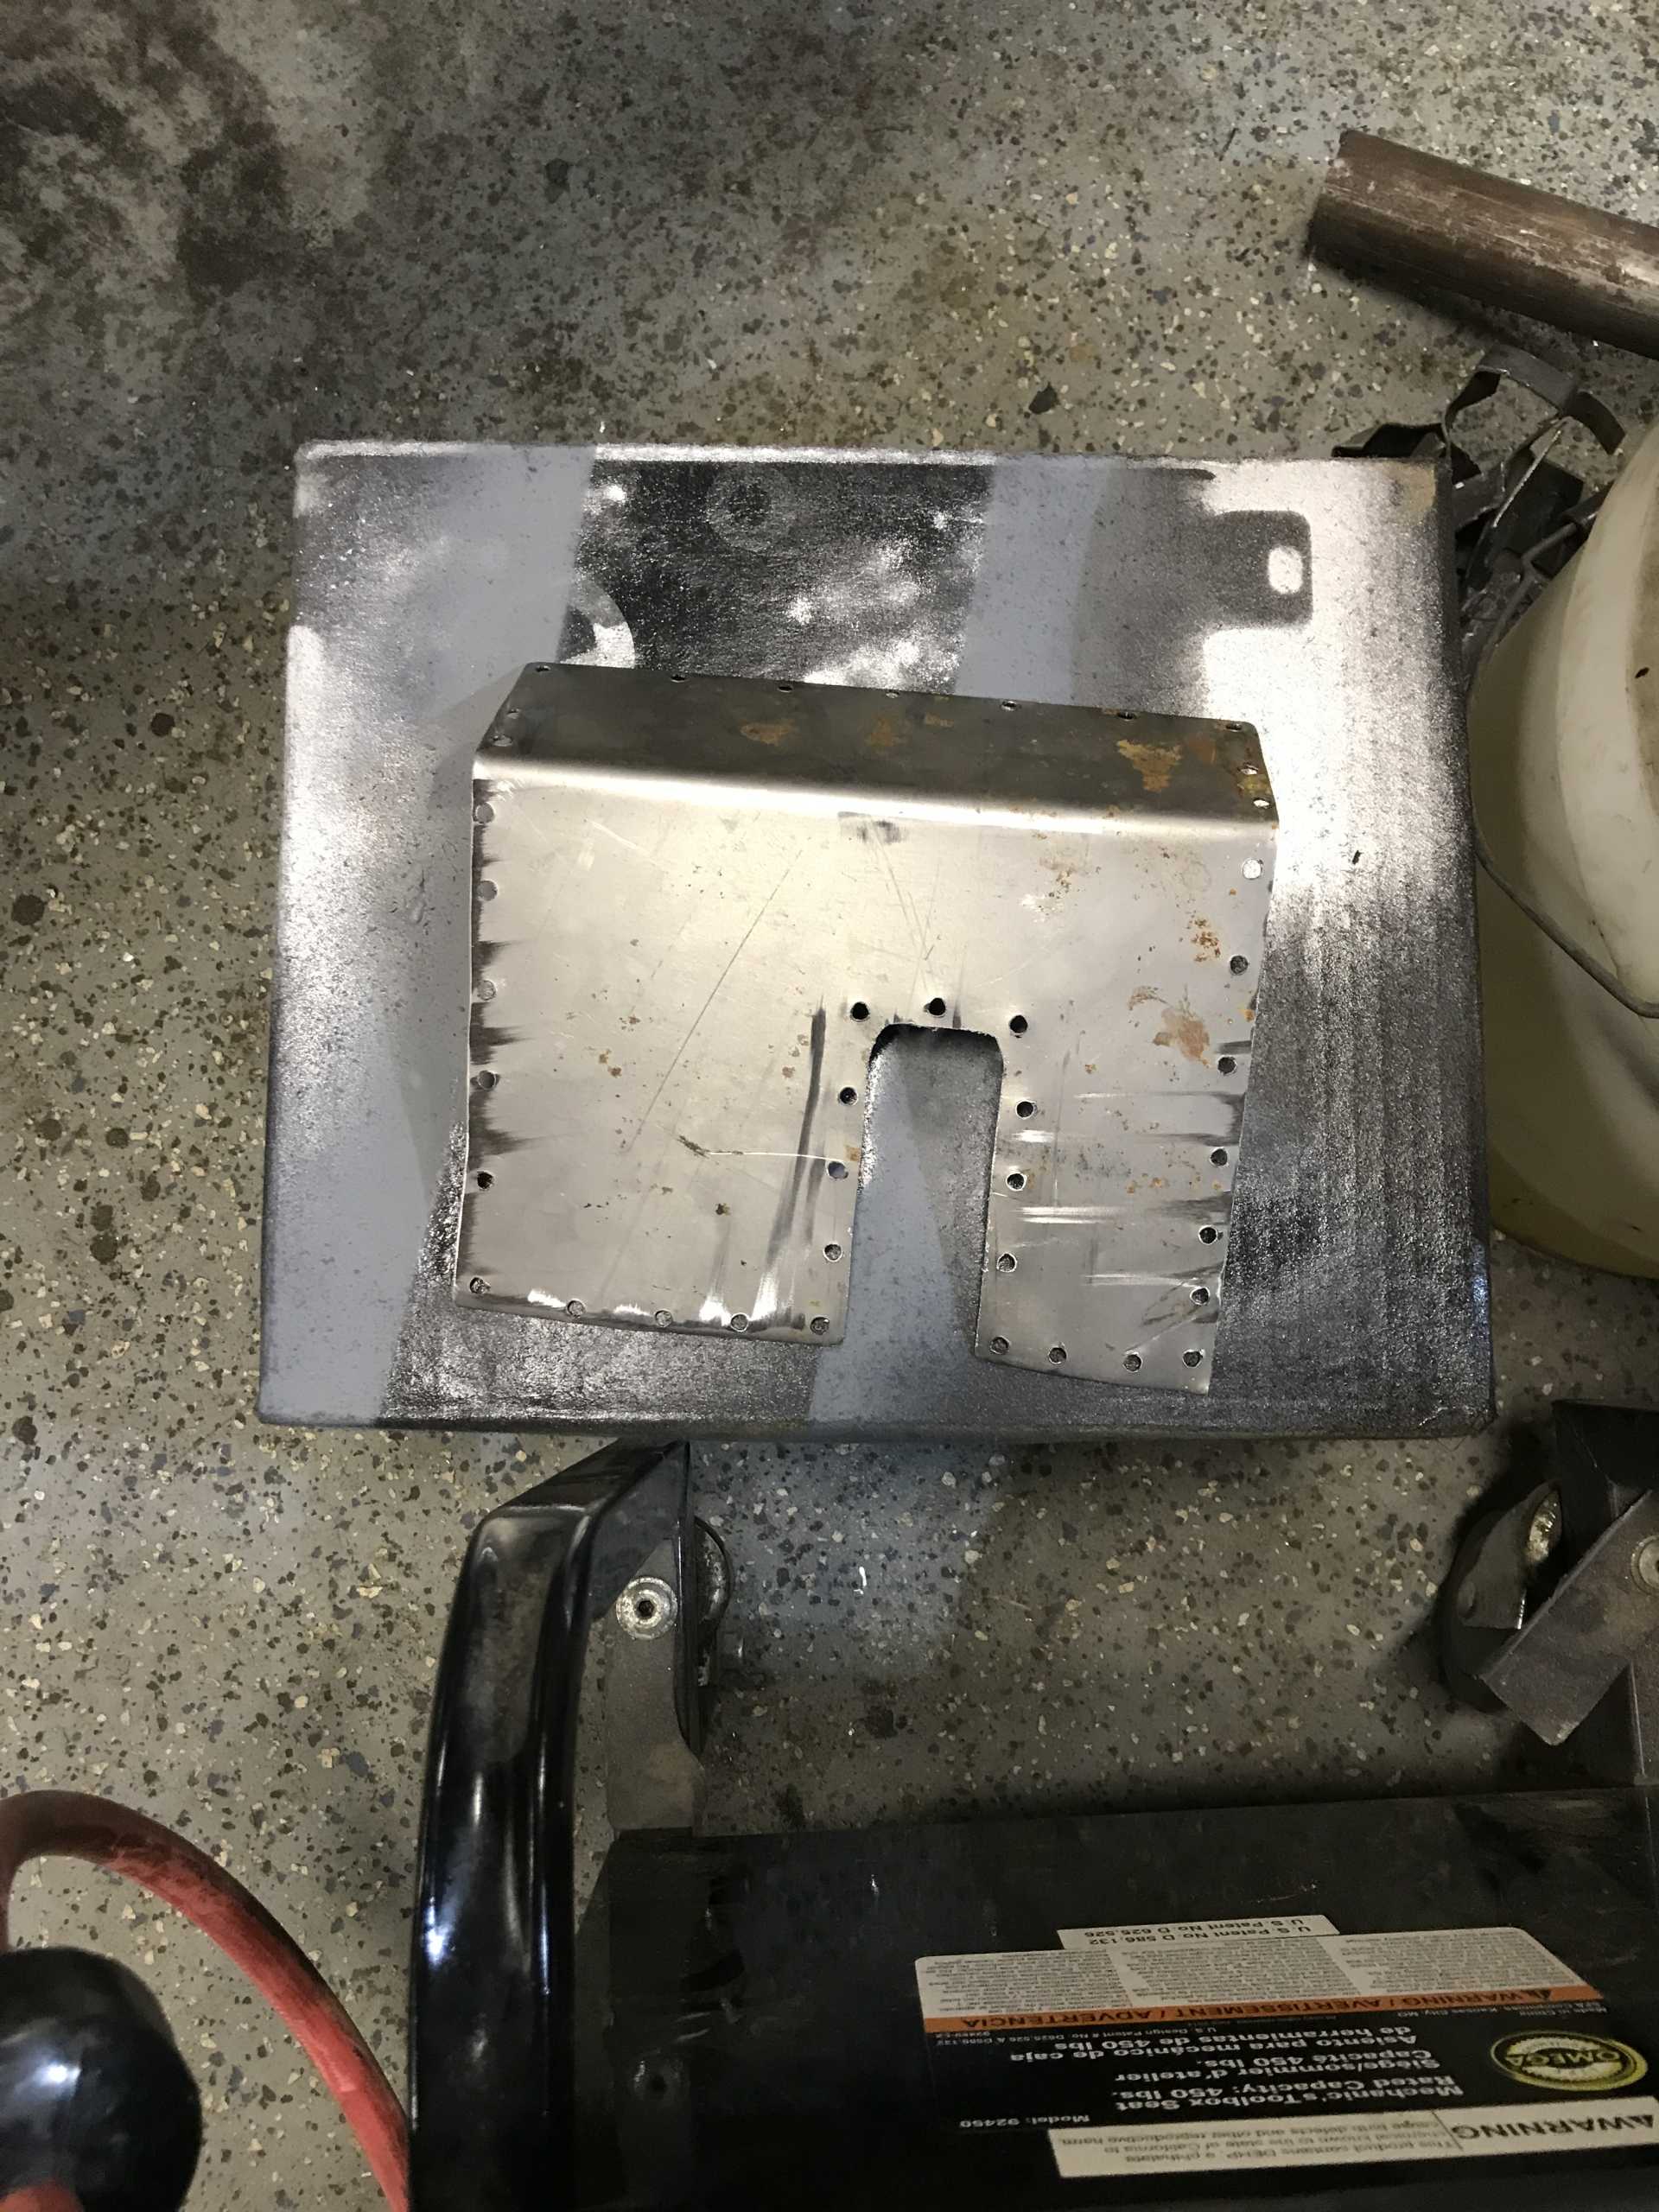
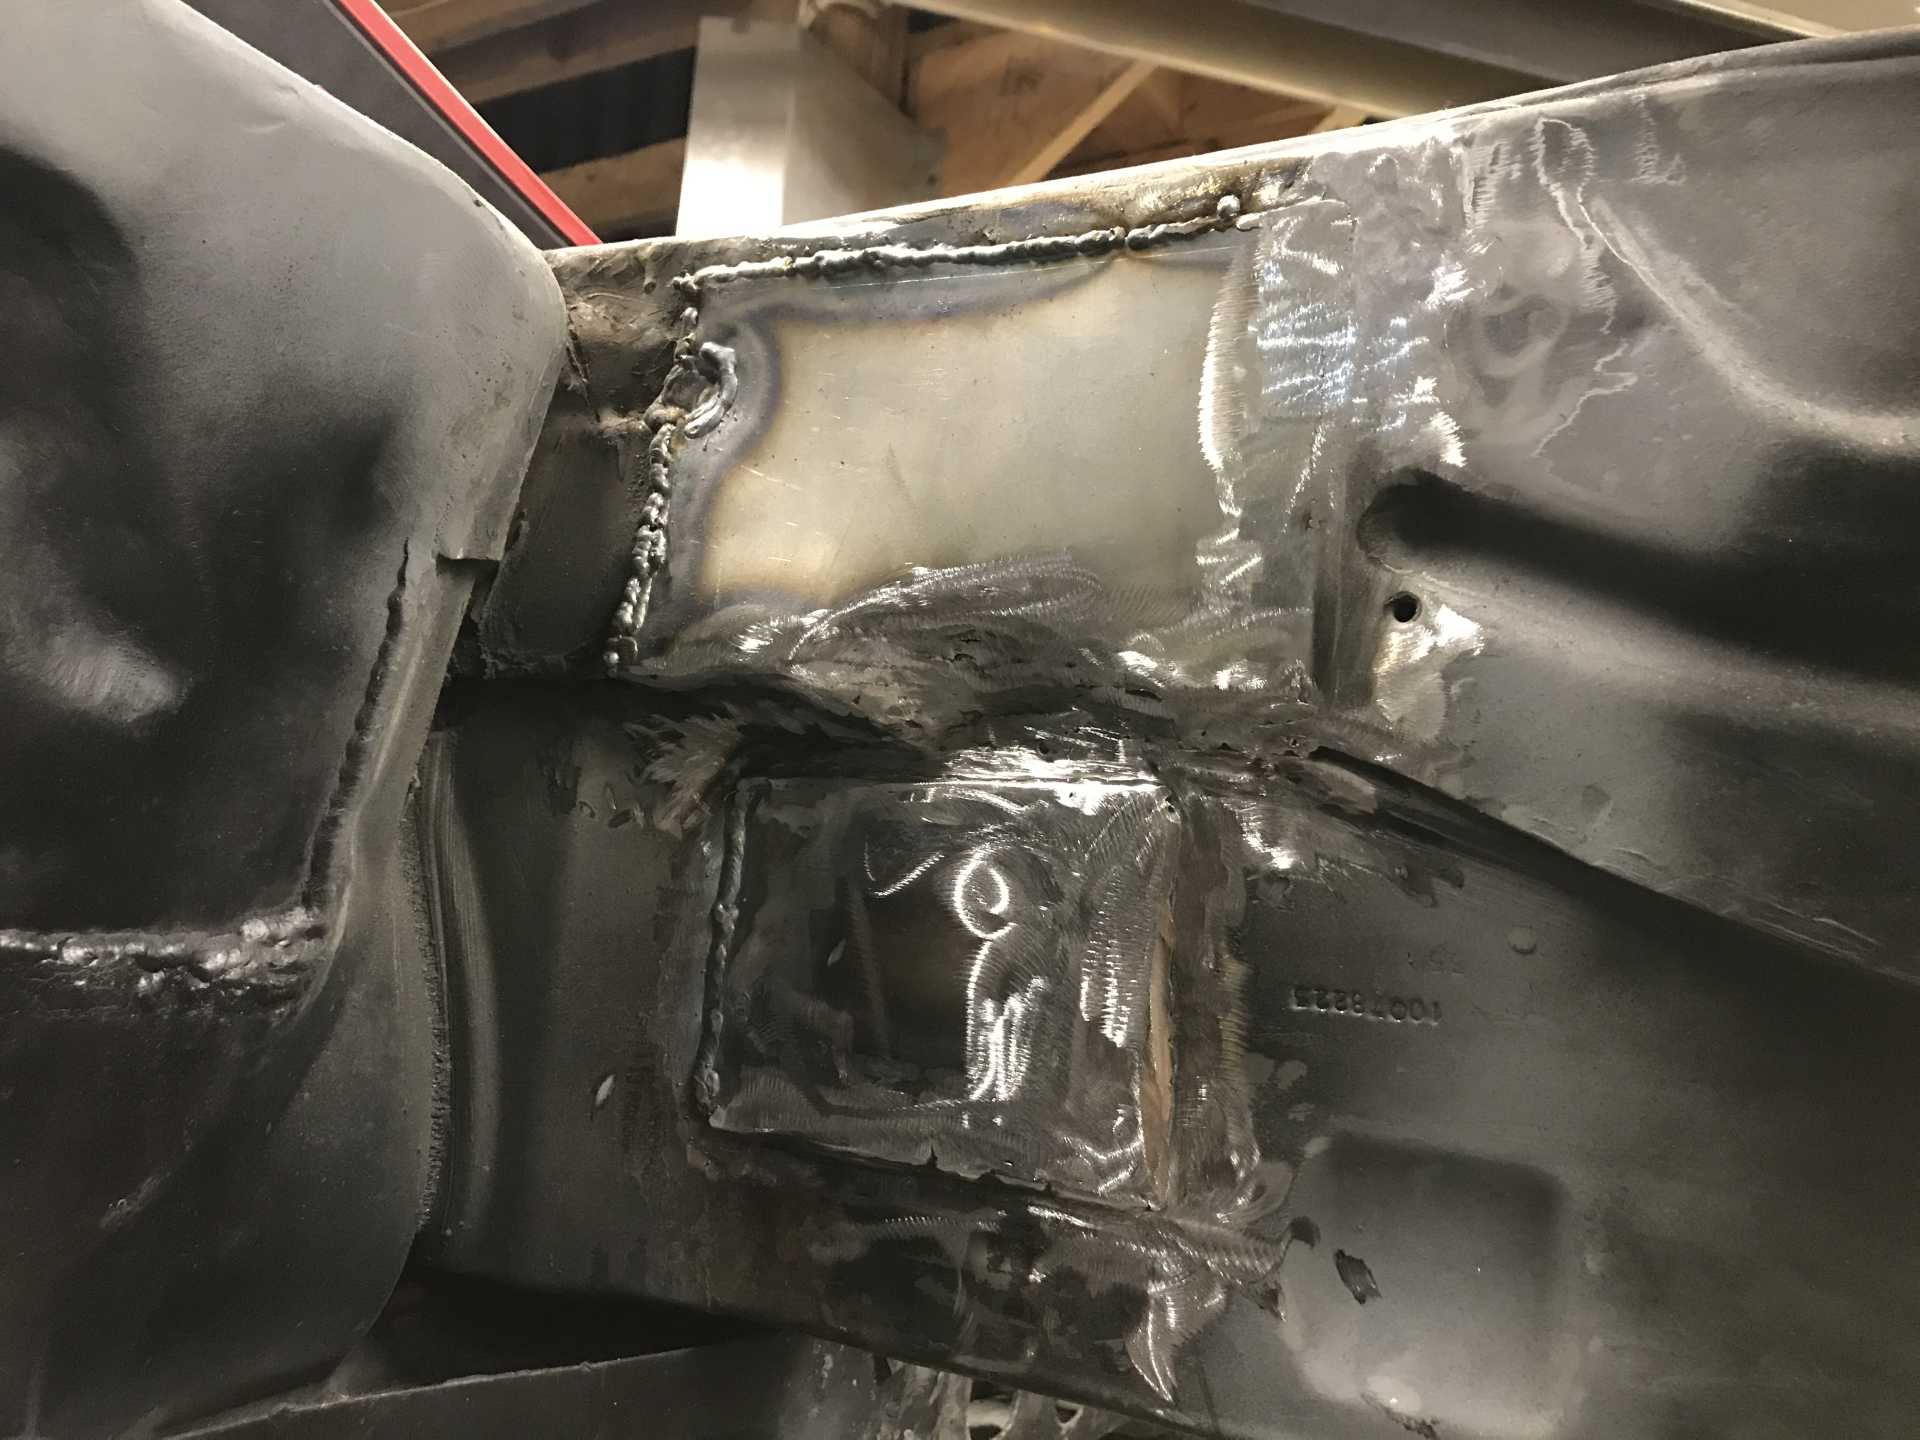
Working on the firewall. Here is the replacement plate to reinforce the wall and patch the holes.
Here is the plate spot welded in to resemble the other side. The hinge mounting point got moved over too. While the studs are what was available around the shop and don’t match the other side’s thread, it looks pretty darn good. Mr. Eric had trailer frame laying around that was the same look of the stock hinge mounting point, and with the right angle cut off it fit perfect. Obviously the deck lid hinge needs to be modified, but that can be done later when the engine is in.
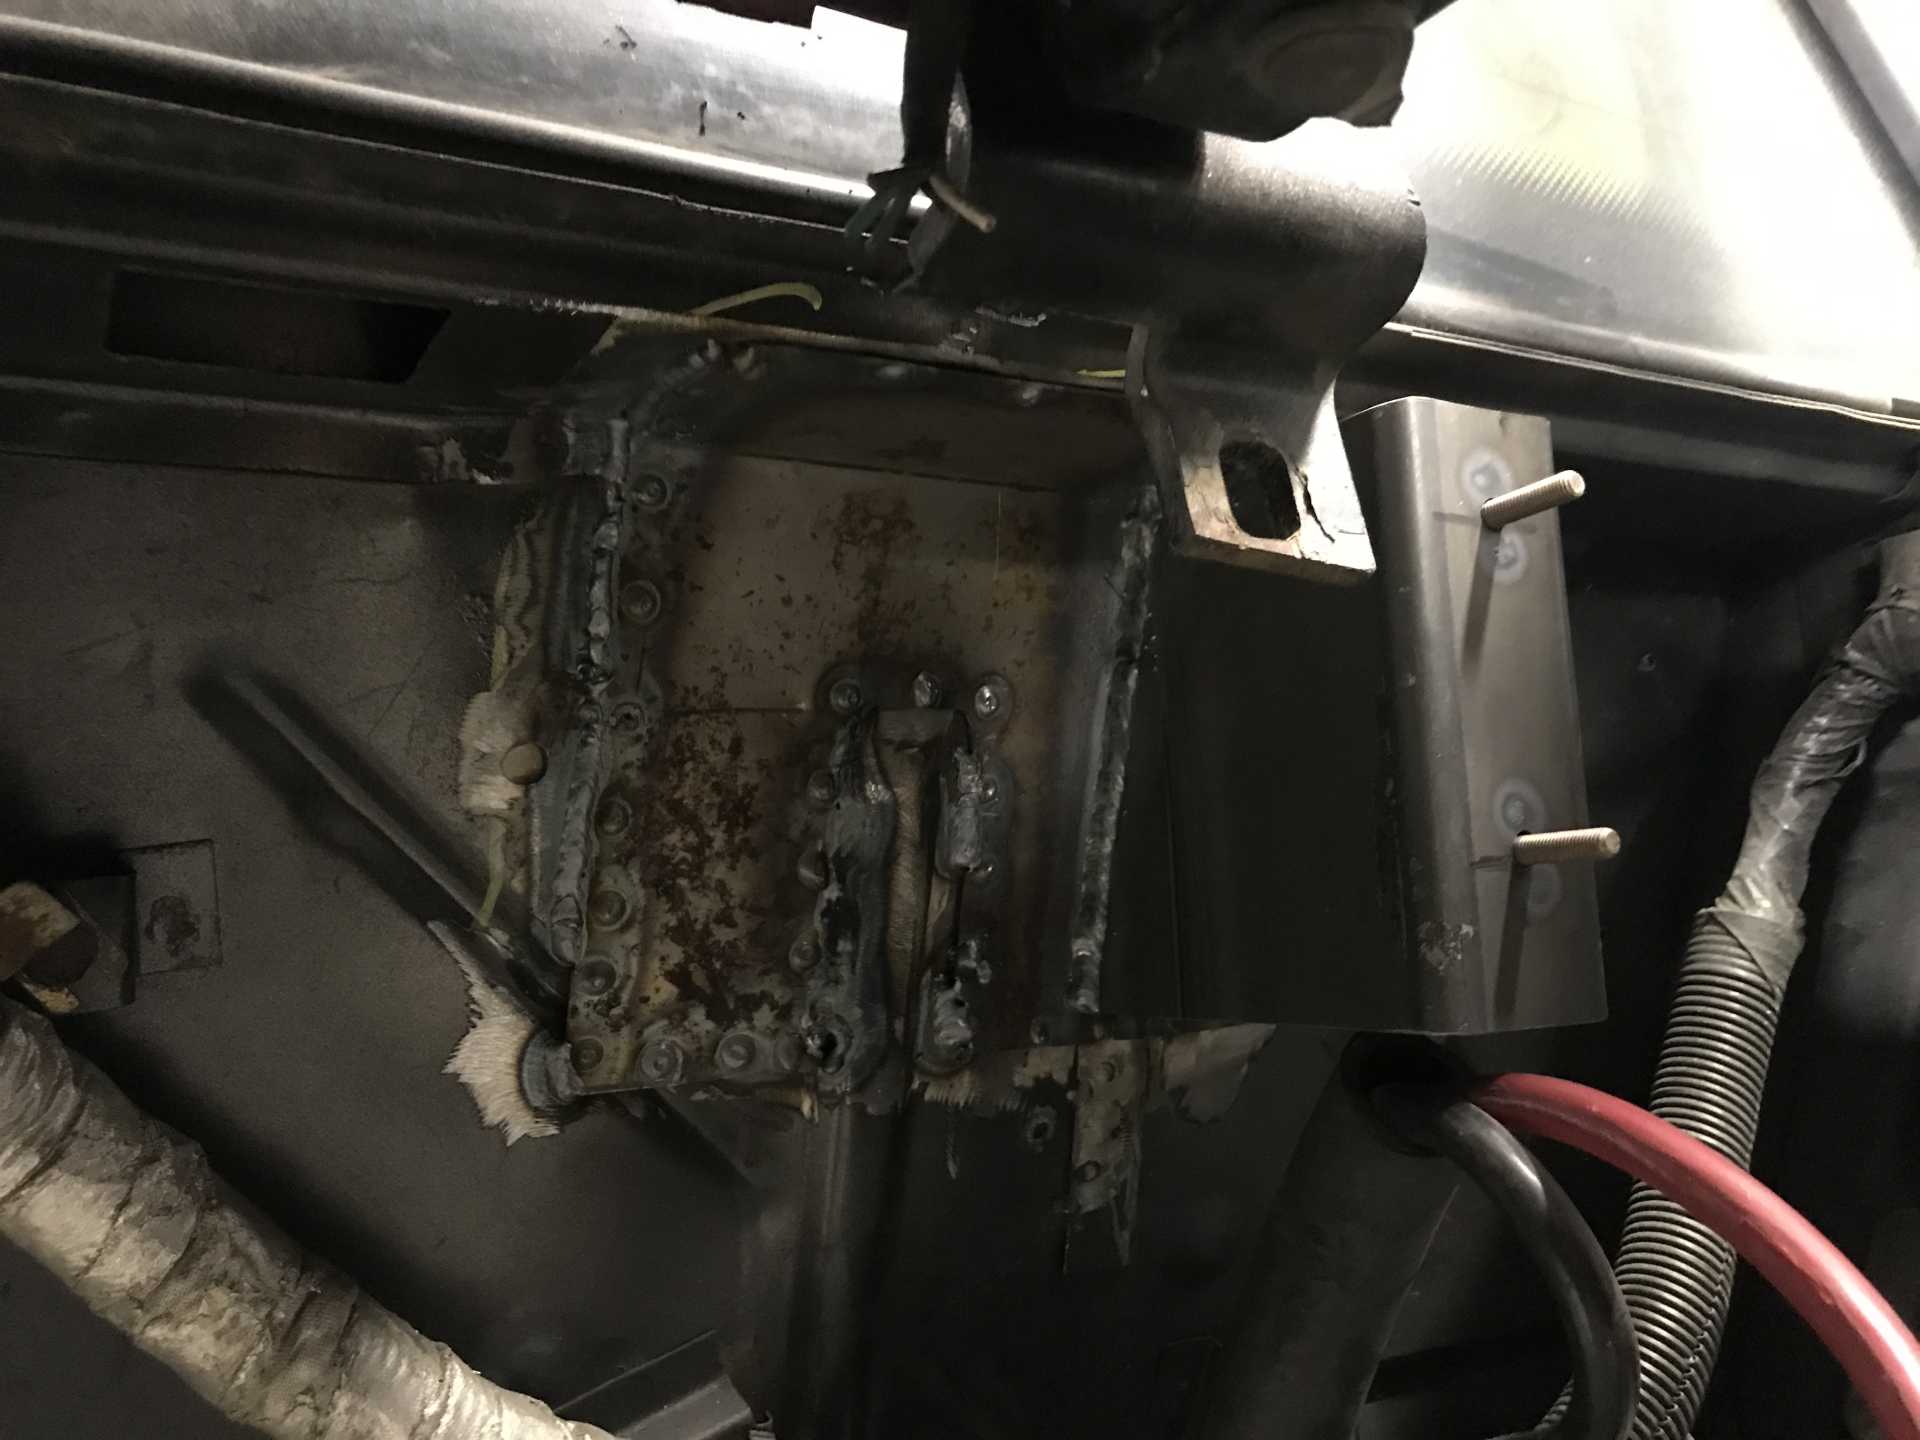
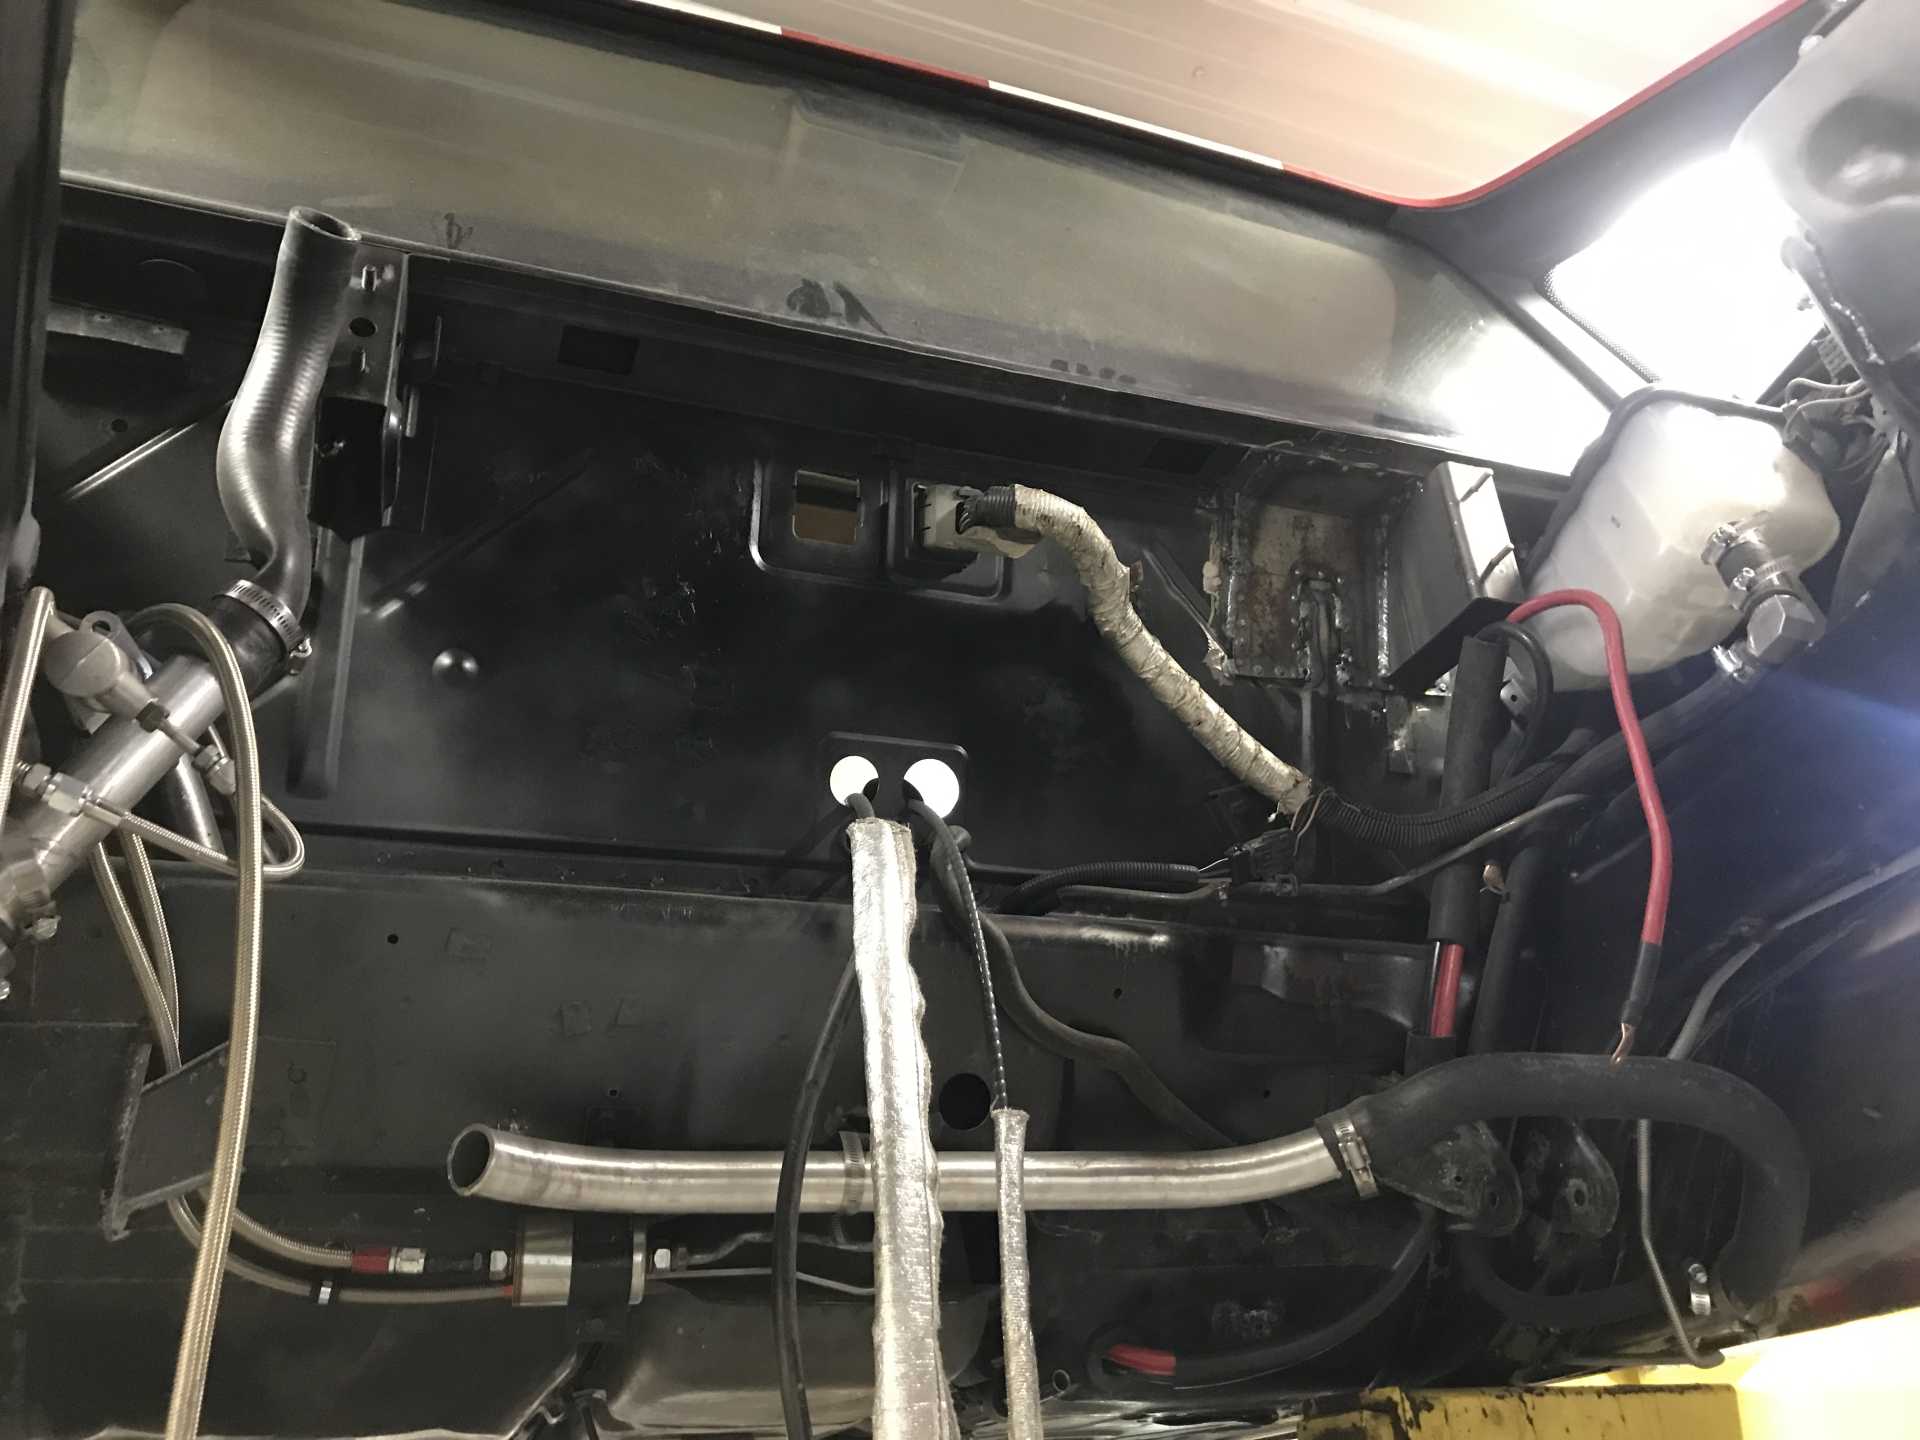
Here is the rear wall welded in. The welds are half ground smooth.
Picture of the front firewall that needs a bit more preparation.
|
|
|
|
Will
|
JUL 26, 04:31 PM
|
|
| quote | Originally posted by copperhens:
6/20/21
My coil packs were crusty.
I took them apart, blasted and painted the bottom plate and bolts. I cleaned the packs off too. A later project will be shortening the spark plug wires, they are all over.
|
|
You can still ground the baseplate, right?
An extremely solid ground connection on the baseplate is vitally important to the coil pack for correct operation... Note that GM has a 8-10ga jumper from the baseplate to the cylinder head. The baseplate does NOT ground through the cam cover because the cam cover is rubber-isolated from the cylinder head.
The ignition will NEVER run right without that ground connection on the baseplate.
|
|
|
|
Trinten
|
JUL 26, 06:32 PM
|
|
Sorry if you mentioned this and I missed it -- is that header wrap around the wires? Did you put it on just to protect them during the welding, or is that going to be a permanent thing to help protect them from heat in the engine bad?
It's a neat idea. I had picked up some high temp insulating wire loom, but it's meant to be put on wires that are being build, it's not a wrap (and it will be used on new wires going in). I might adopt this idea!
Very nice work!
|
|
|
|