
 
     |
| 85 Notchie Build (Page 16/23) |

|
zkhennings
|
JUN 11, 11:51 AM
|
|
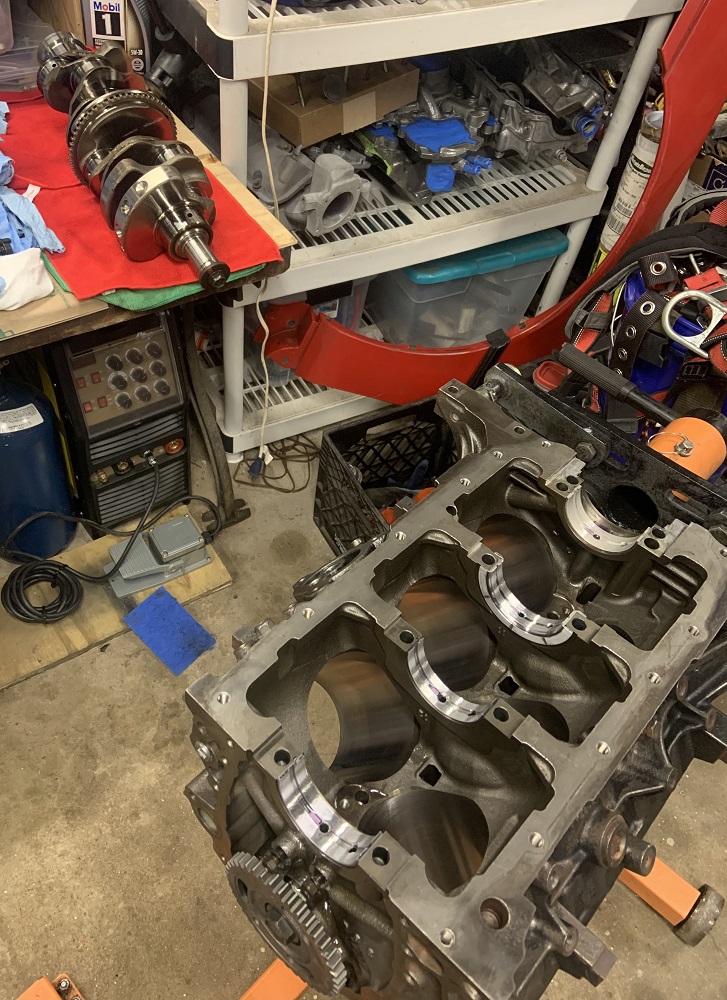
I had been holding out to update until the heads were installed, but my backlog of pictures was getting too long so here we go.
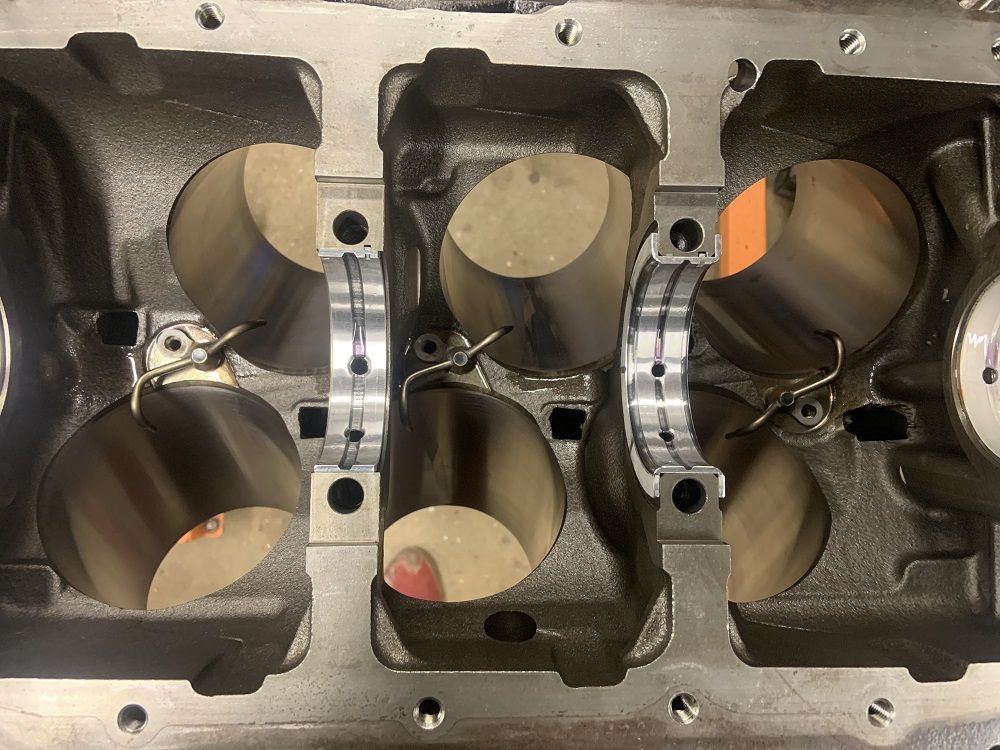
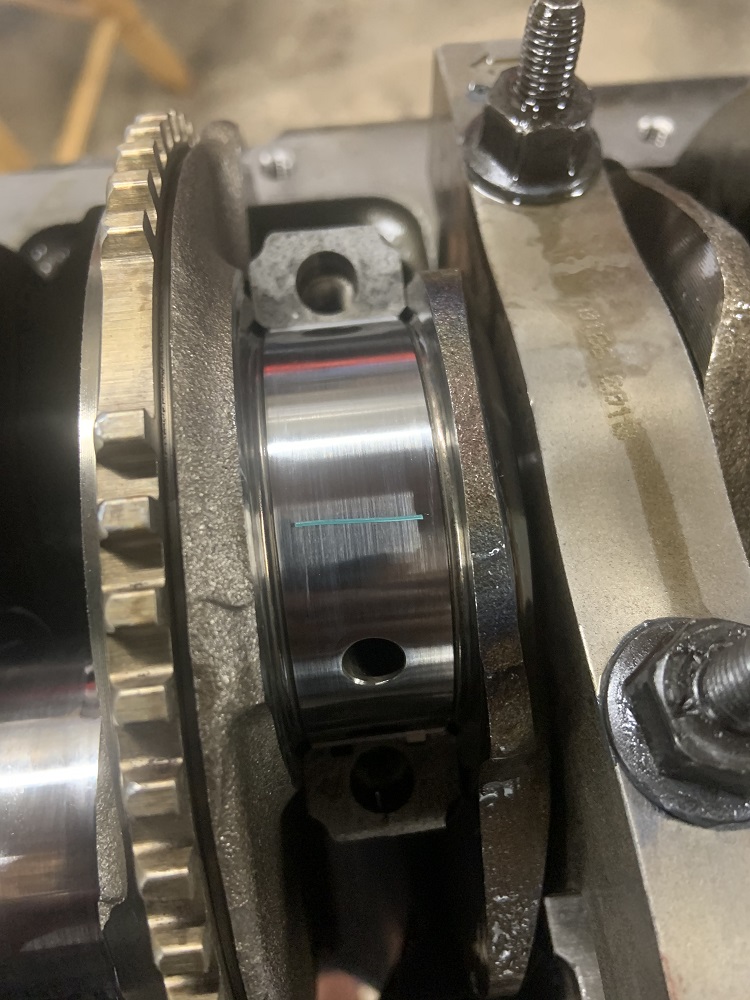
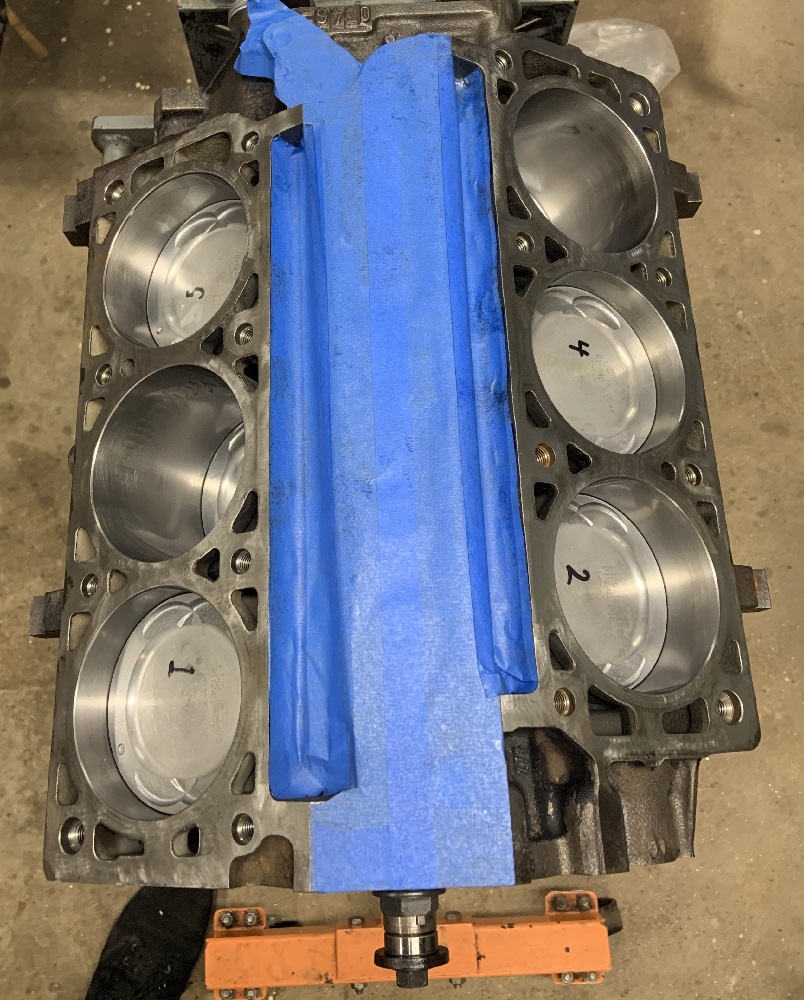
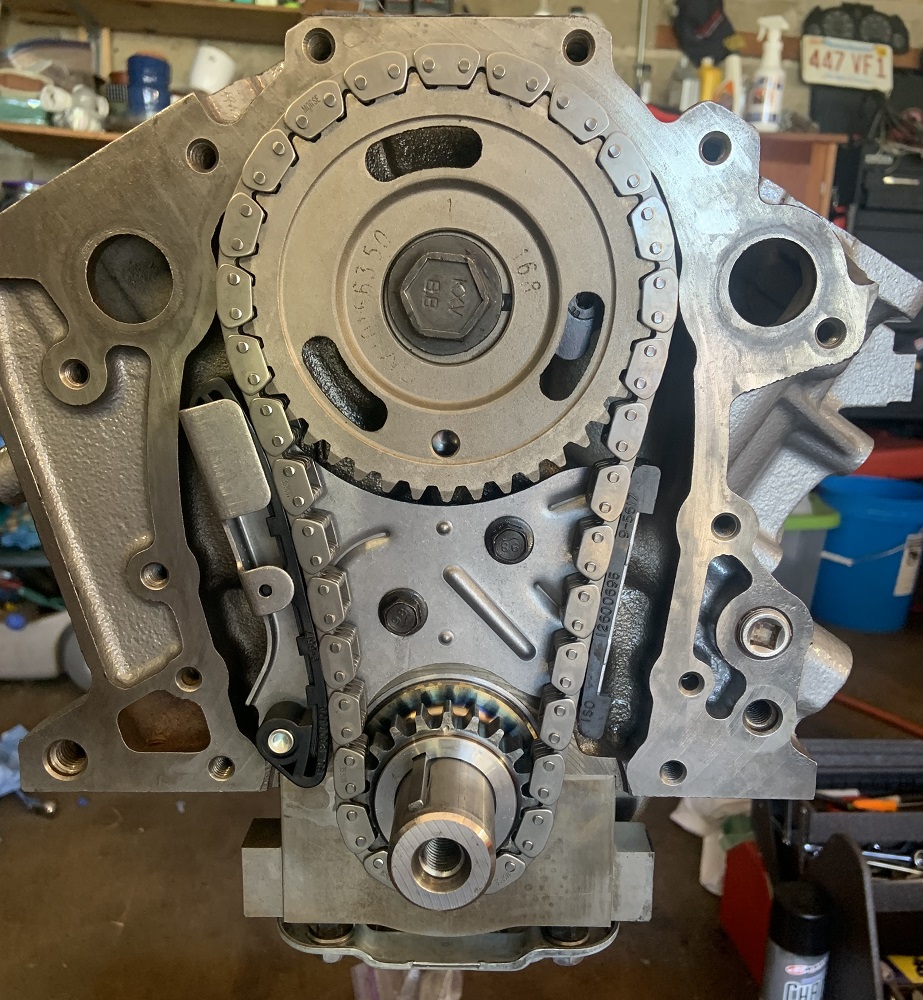
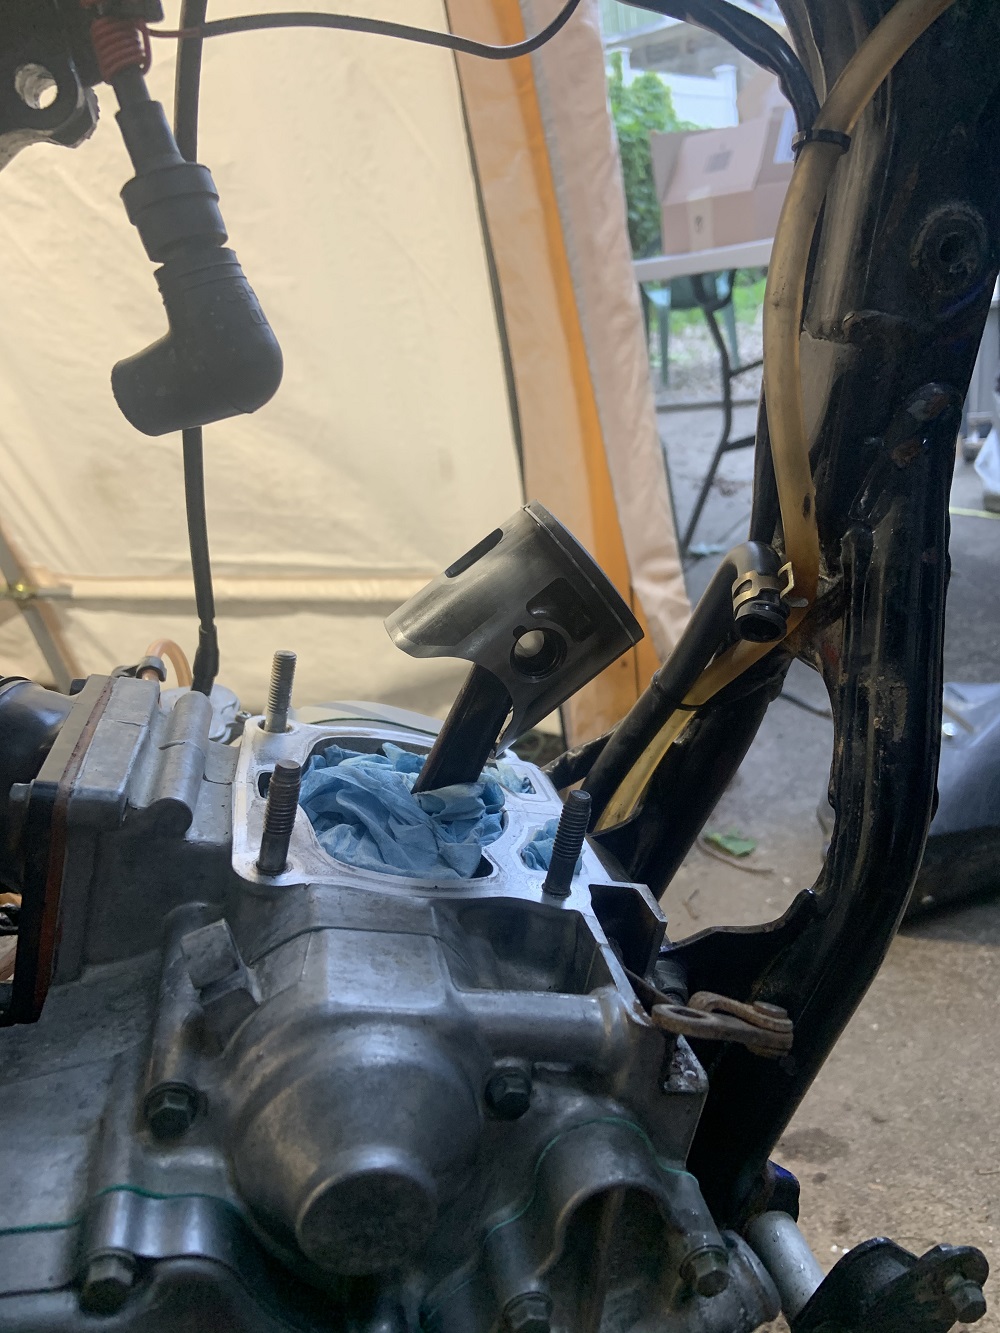
I did not realize the piston squirters needed to be installed prior to the crank, it appears doable but there is no good angle to tighten the bolts with the crank installed so out it comes.
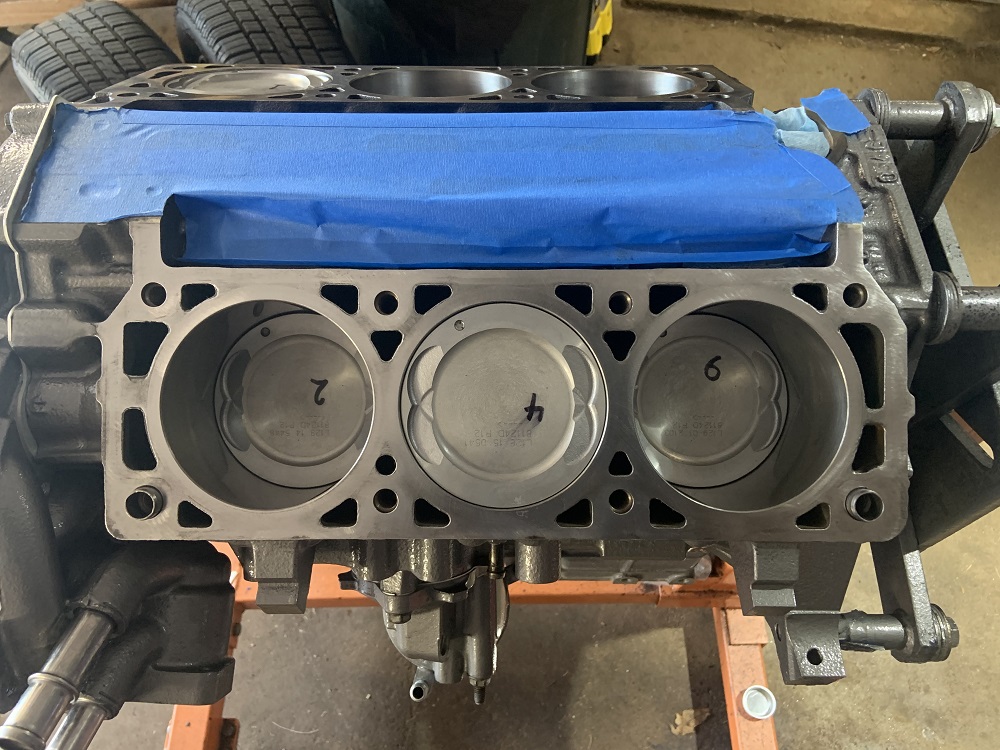
Assembled the pistons and rods and checked the gap on all the rings including oil scraper rings. Rings were all installed with any markings facing up. Factory manual gave a wide range for ring gap spacing so I set them all on opposite corners.
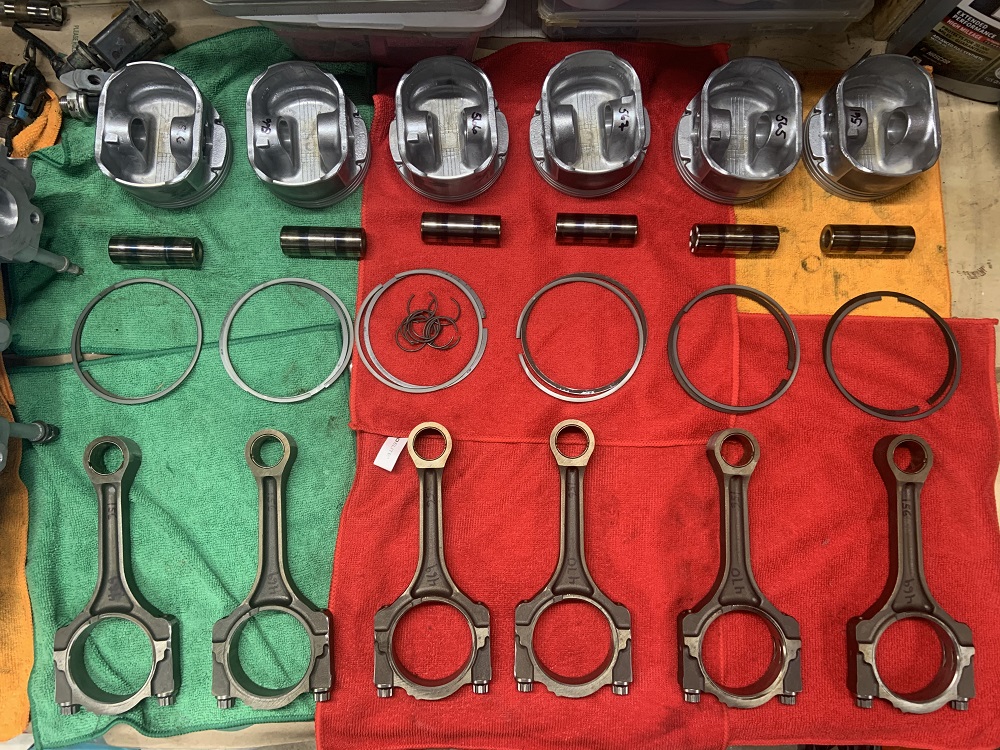
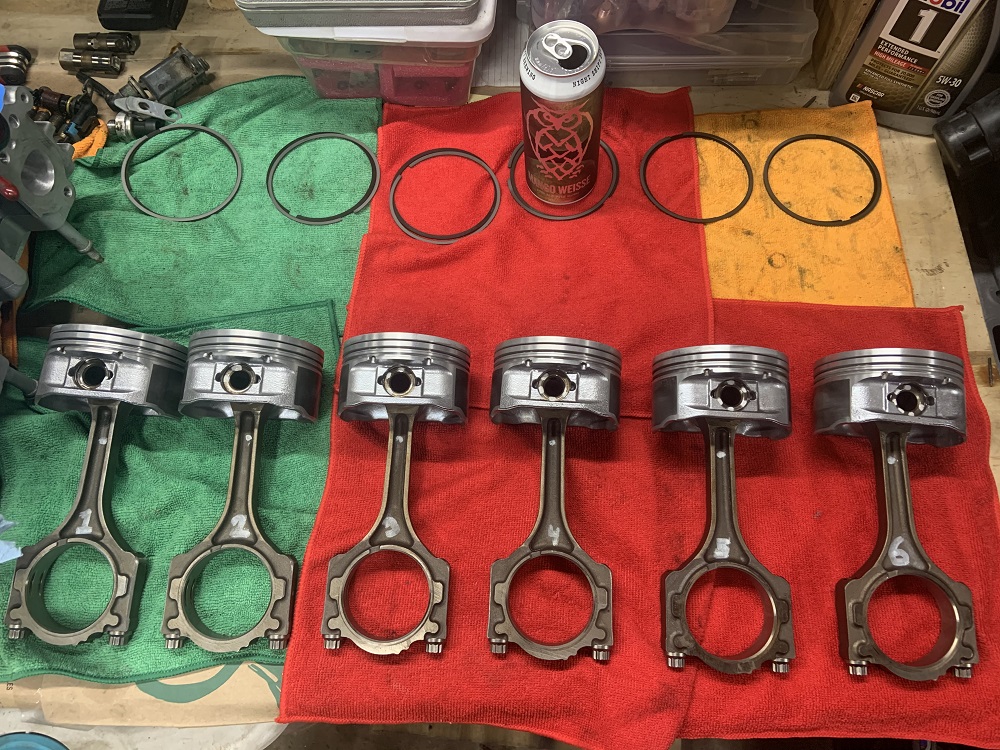
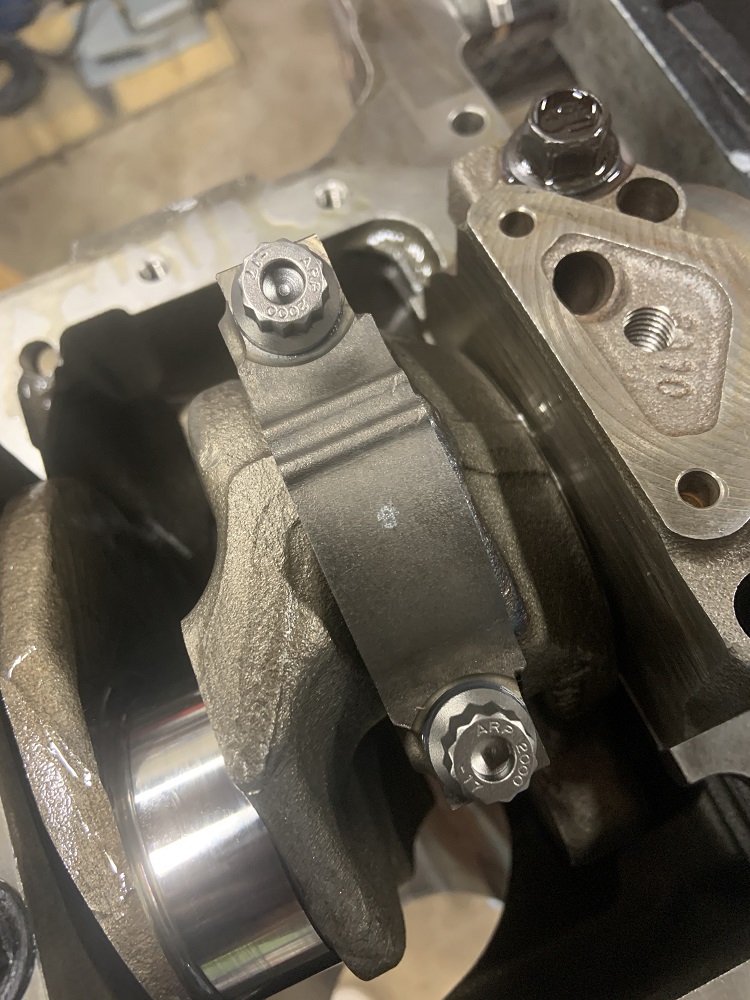
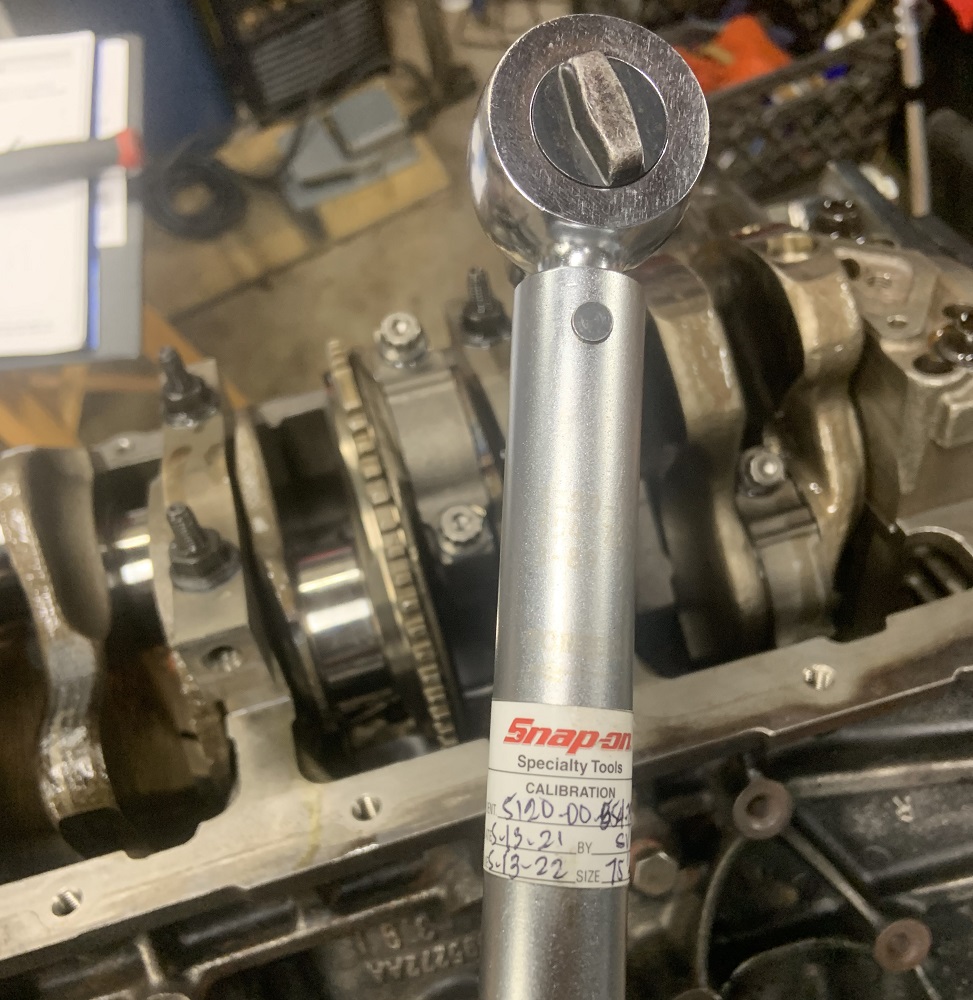
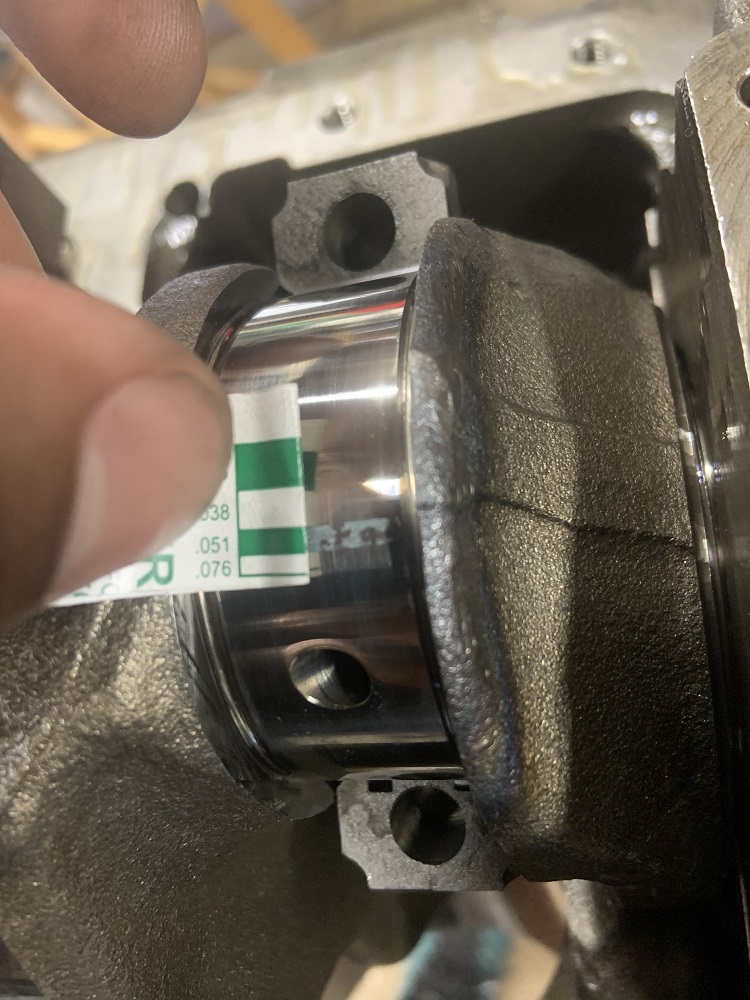
I plastigaged all the rod bolts, I think the 40ftlbs with ARP fasteners and ARP install lube puts them around where the factory bolts would be compressing the caps as all of the rods were in spec at the larger end of the clearances.
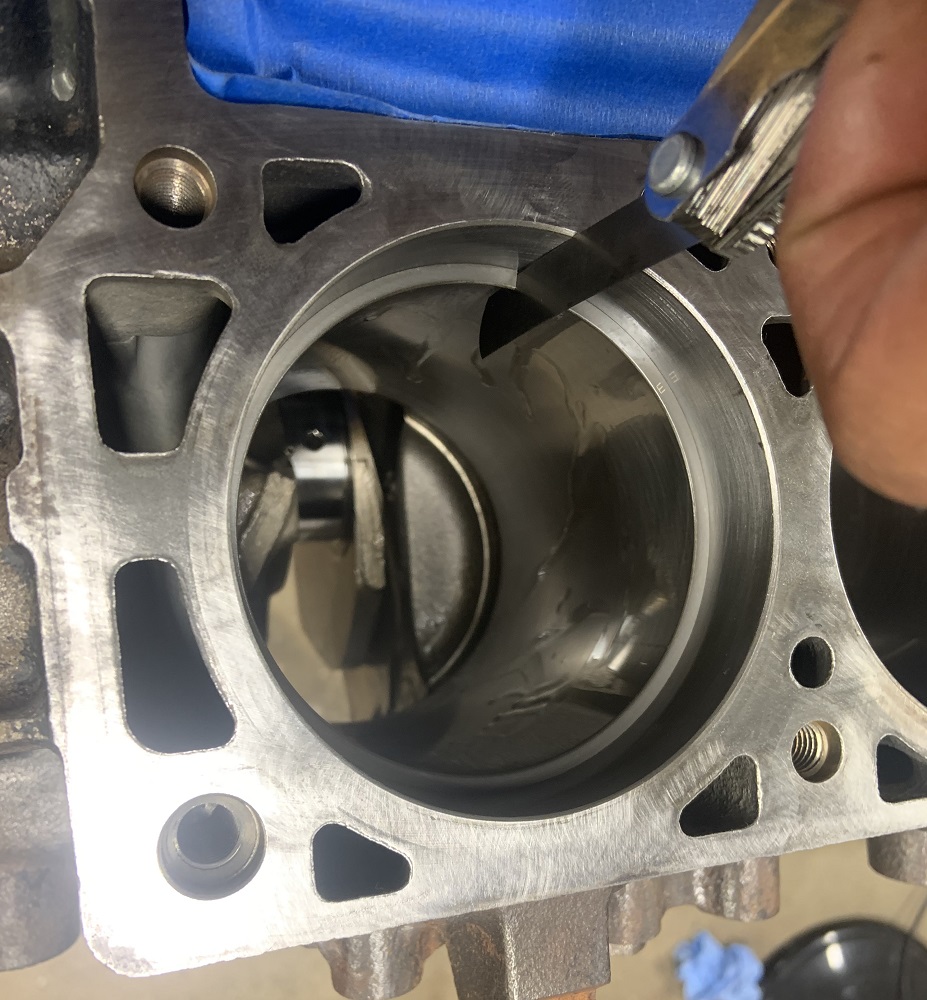
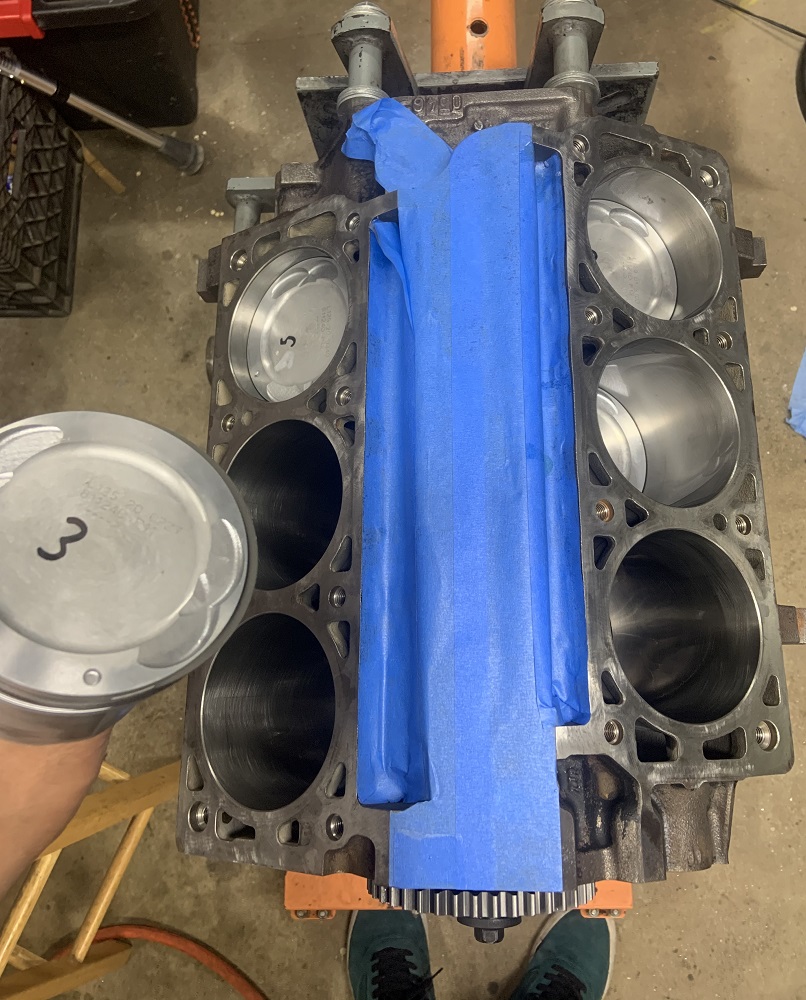
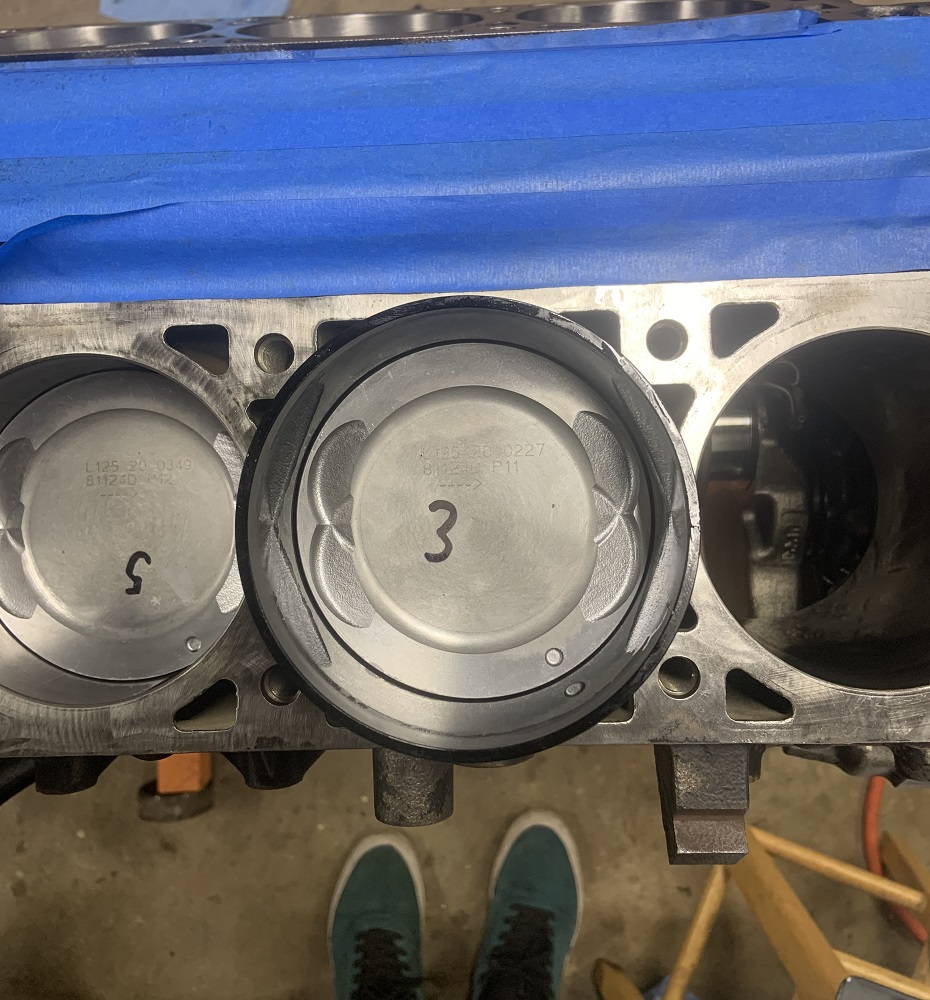
I installed the pistons with the tapered ring compressor and some 5w30 oil, the tapered ring compressor is well worth the $39 it cost me.
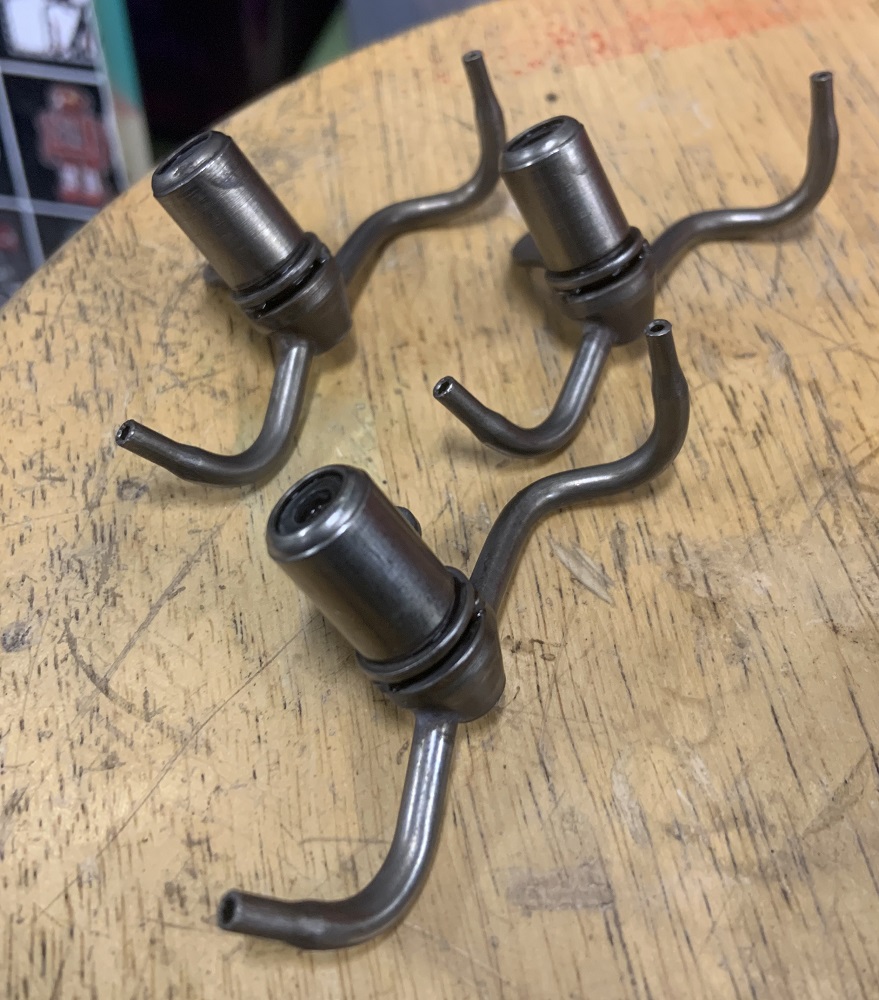
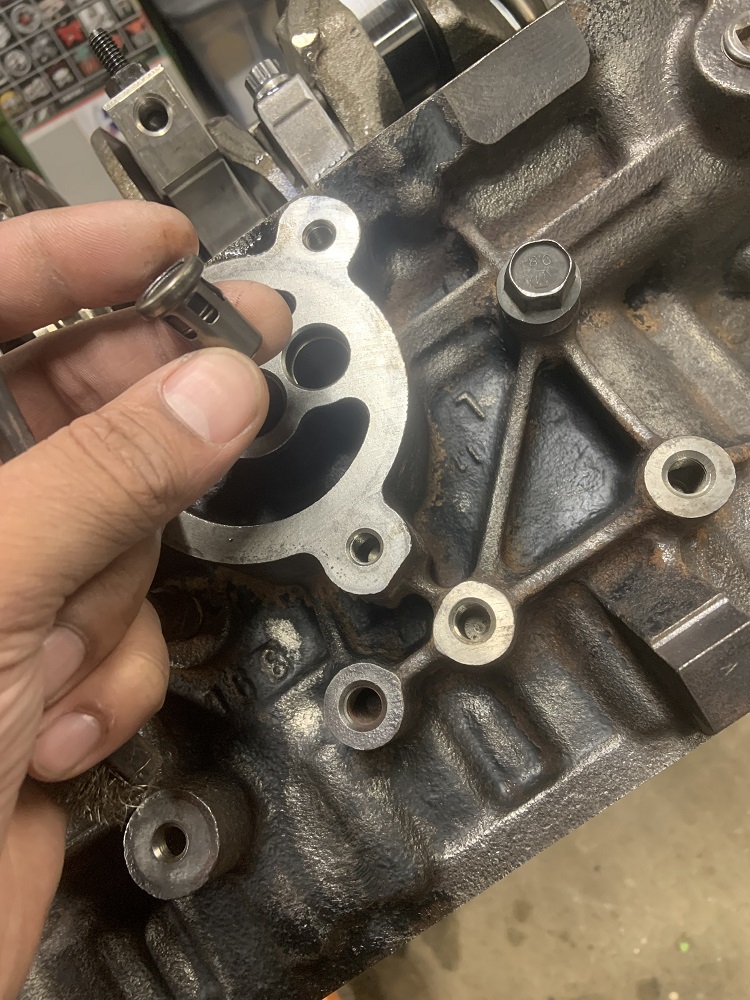
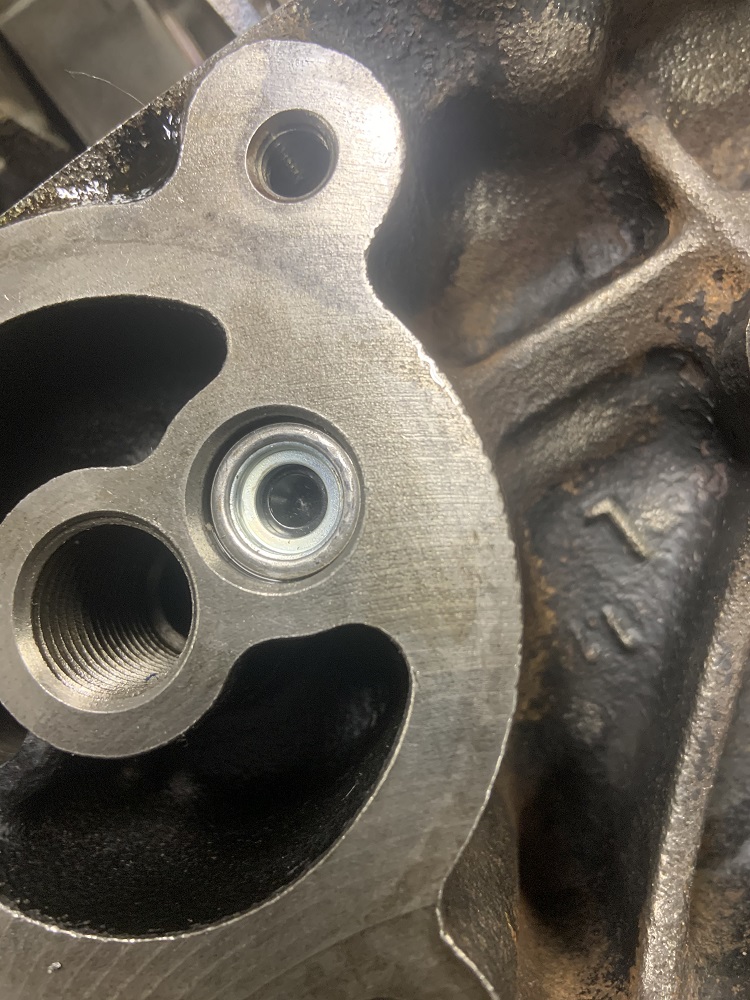
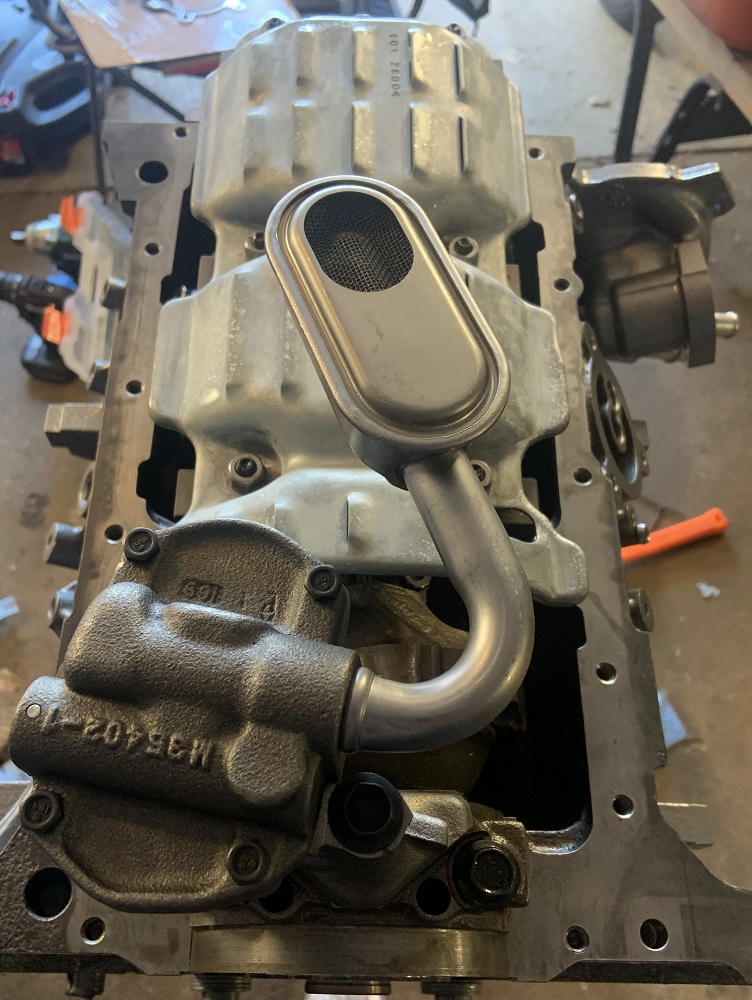
I installed a new oil bypass valve into the block
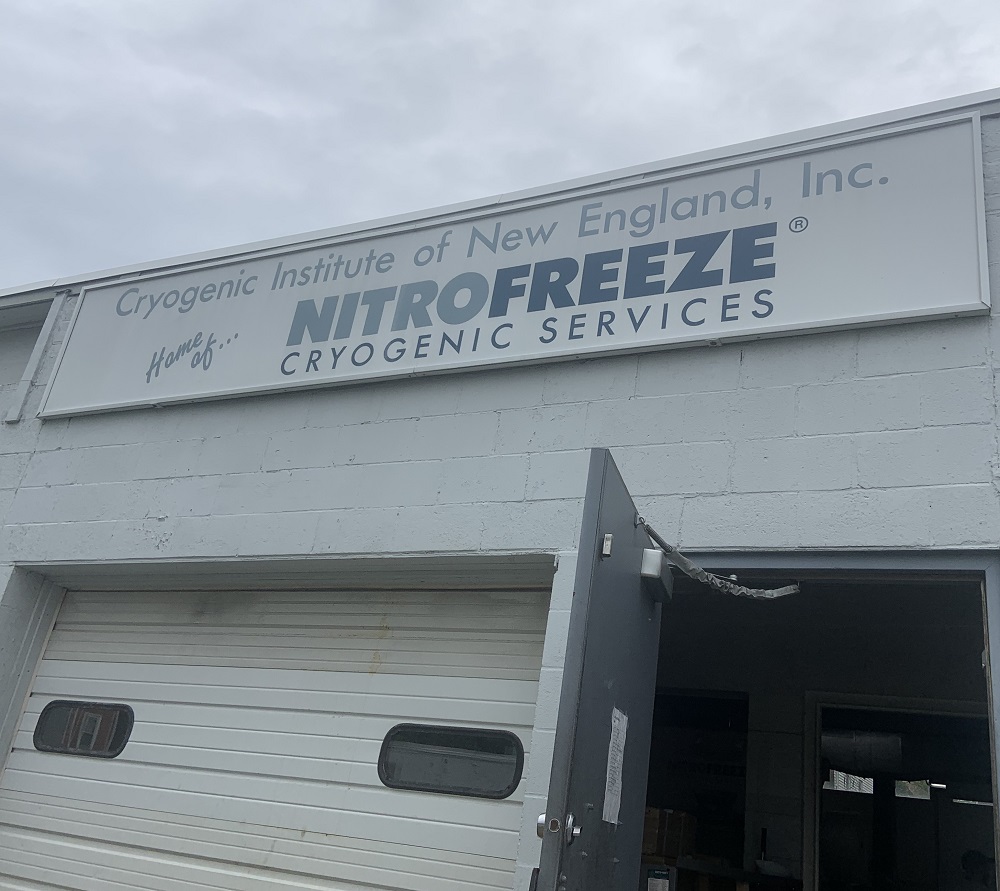
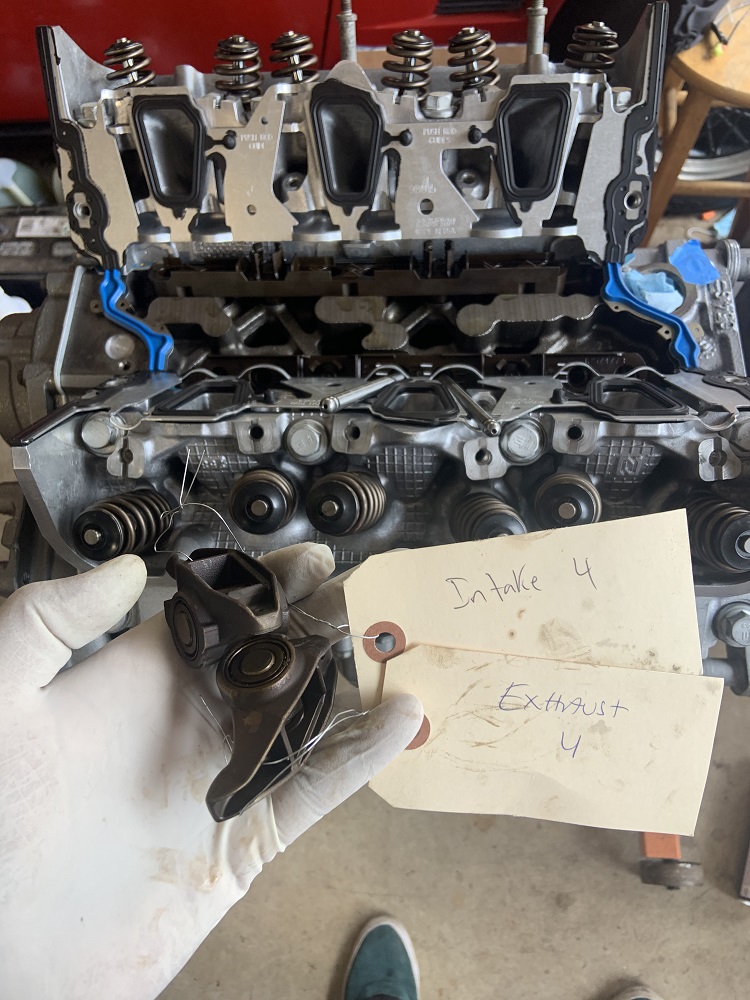
I took the timing chain, sprockets, and the rocker arms to the Cryogenic Institute of New England in Worcester, it was well priced at $75 for everything, the process ran for three full days. I will be going back with possibly some transmission parts in the future.
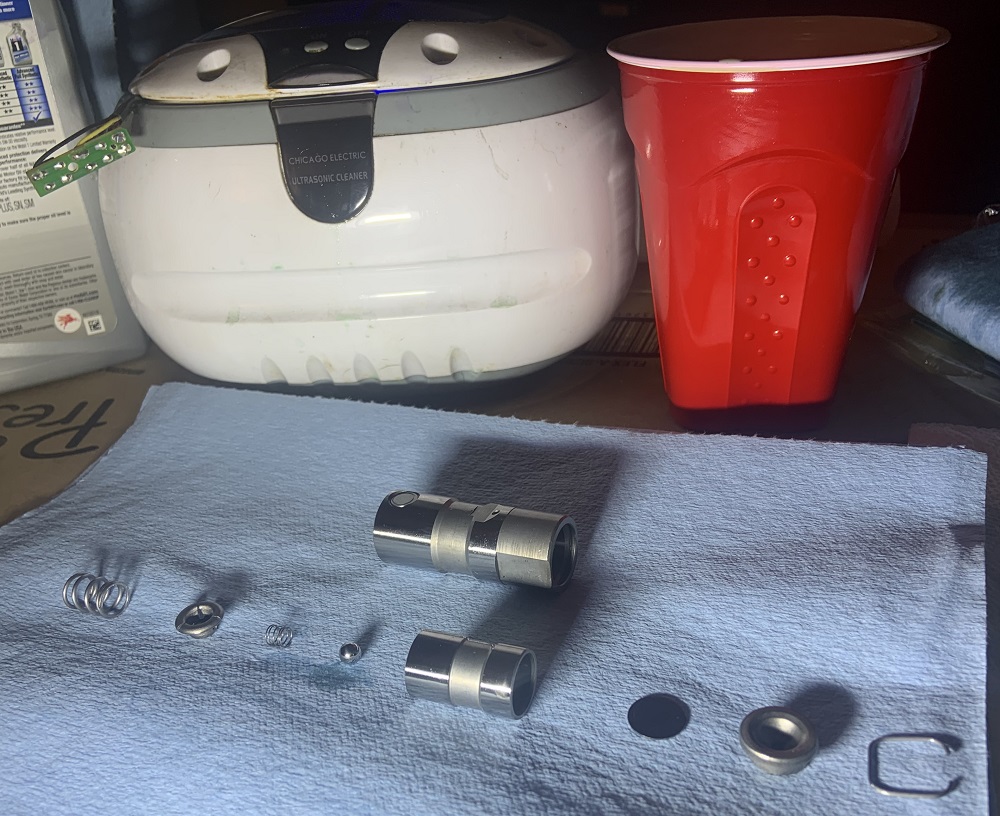
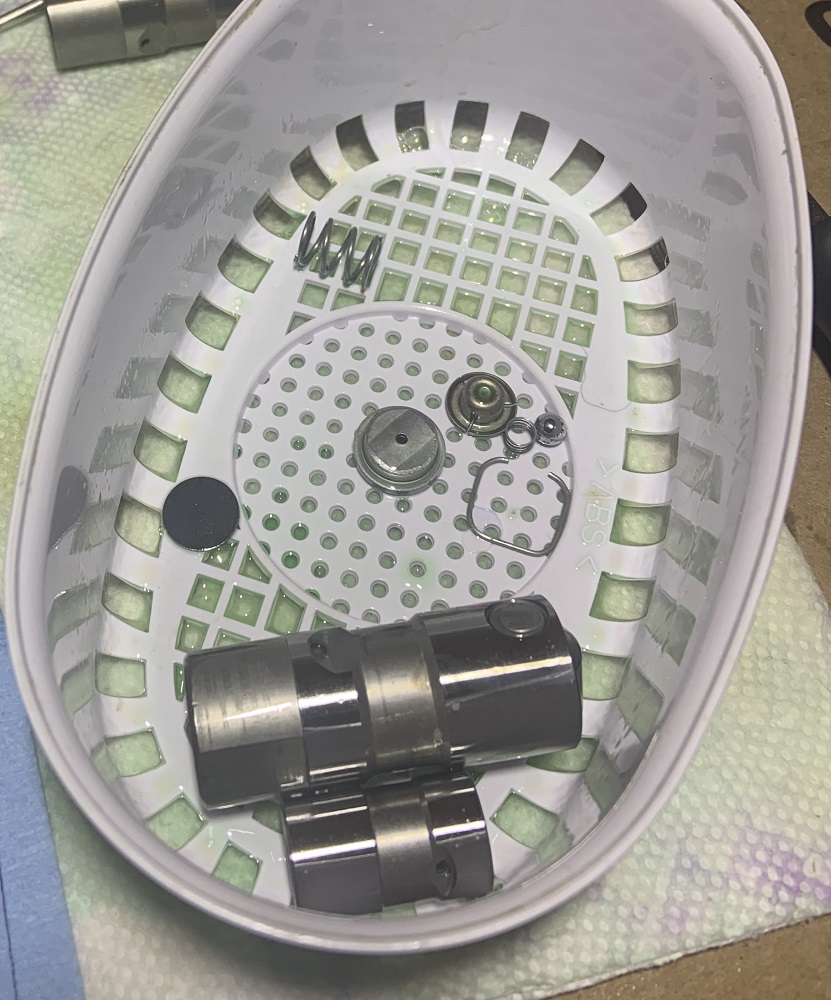
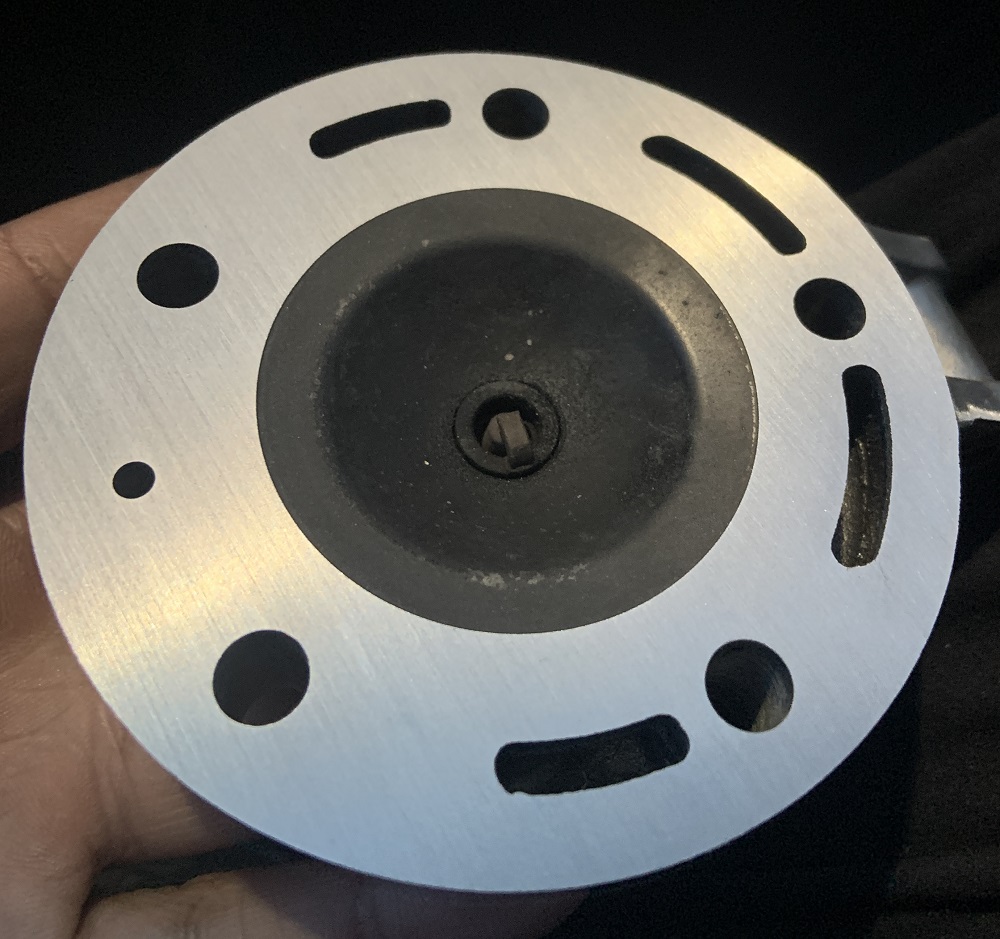
I spent some time disassembling all the new lifters that I bought, they were a little dirty so I figured I would take them apart one by one, run them through the ultrasonic parts cleaner a few times in some Simple Green, then oil them and put them back together. They have been sitting submerged in a container of oil for days. A lot of particulate came off in the ultrasonic parts cleaner, I am glad I spent the time to do this, it took many hours. A good tip for taking them apart and reassembling is to use an allen key or drill bit etc to depress the little ball check valve, it allows the body to slide out of the housing easily, and same thing when assembling and trying to get the clip into place, depressing the check valve allows the body to slide fully into the housing.
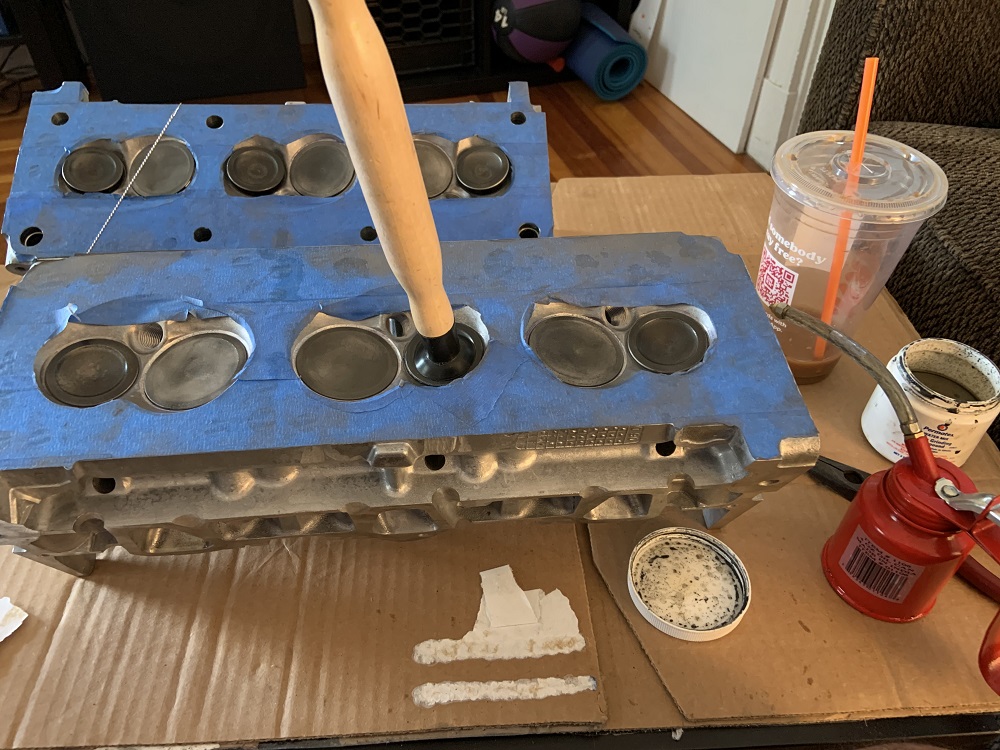
I also ported the second cylinder head and then spent a while getting all the ports in all the heads the same. I then hand polished all of the exhaust runners to help prevent carbon build up. It always builds up where the heads meet the headers, probably because there is a step in size that causes some turbulent flow and deposits carbon. The polishing will help prevent the carbon from being able to stick.
An unpolished but ported exhaust runner.
A polished exhaust runner. I started with 400 grit and worked up to 2500 grit sandpaper.
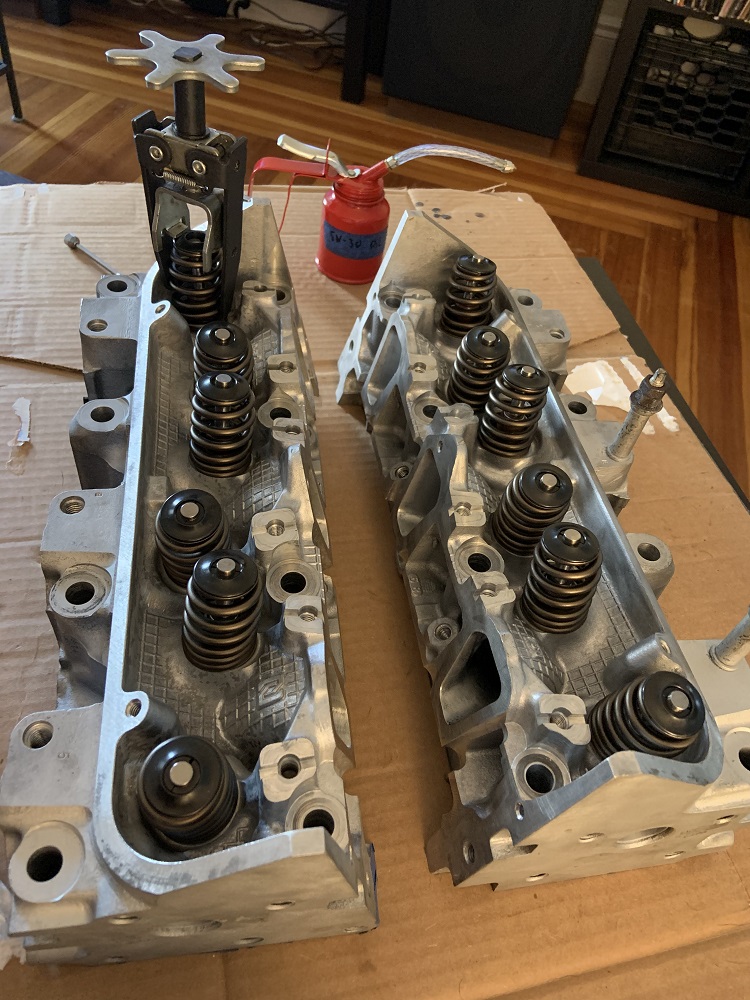
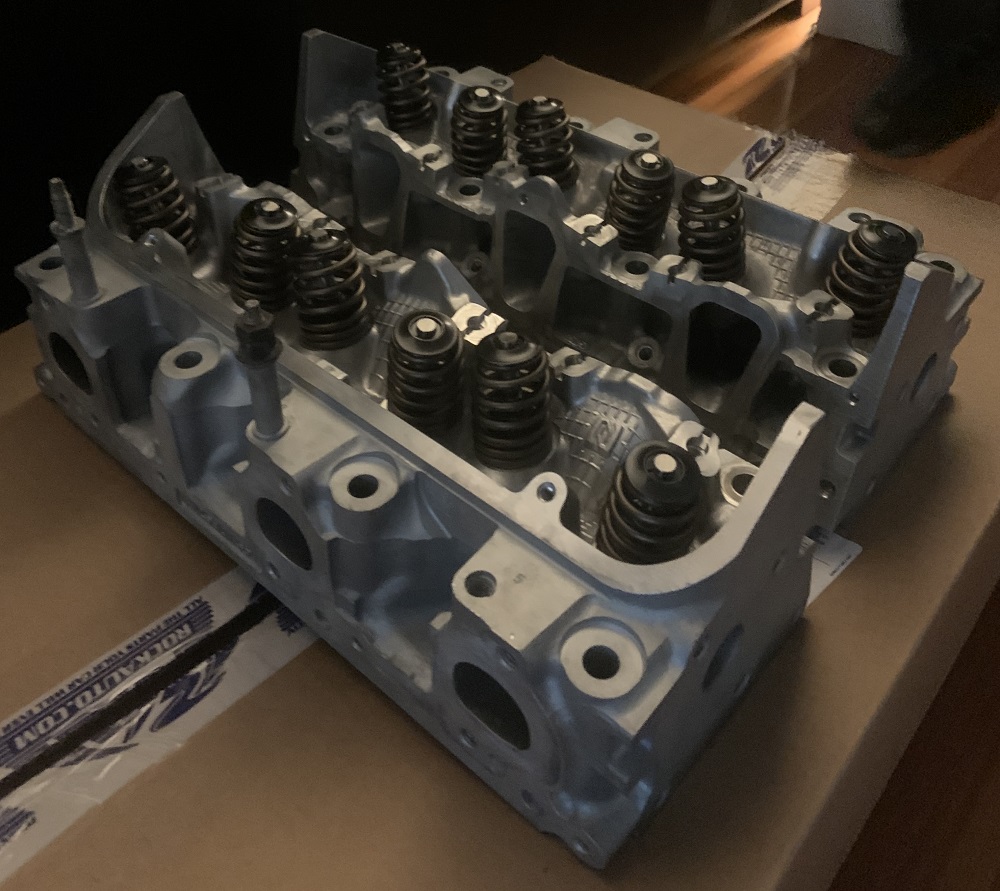
I washed the heads thoroughly, and cleaned out the valve guides with a little cylindrical brush and rubbing alcohol. I tossed them in the oven on the lowest setting with the door cracked until they were nice and hot to the touch to make sure all the water evaporated from the cleaning process. Then I decided to re-lap all the valves as all the porting, metal dust, and sandpapering probably affected the sealing surface of the valves. I assembled the heads with the PAC spring, keepers, and retainers.


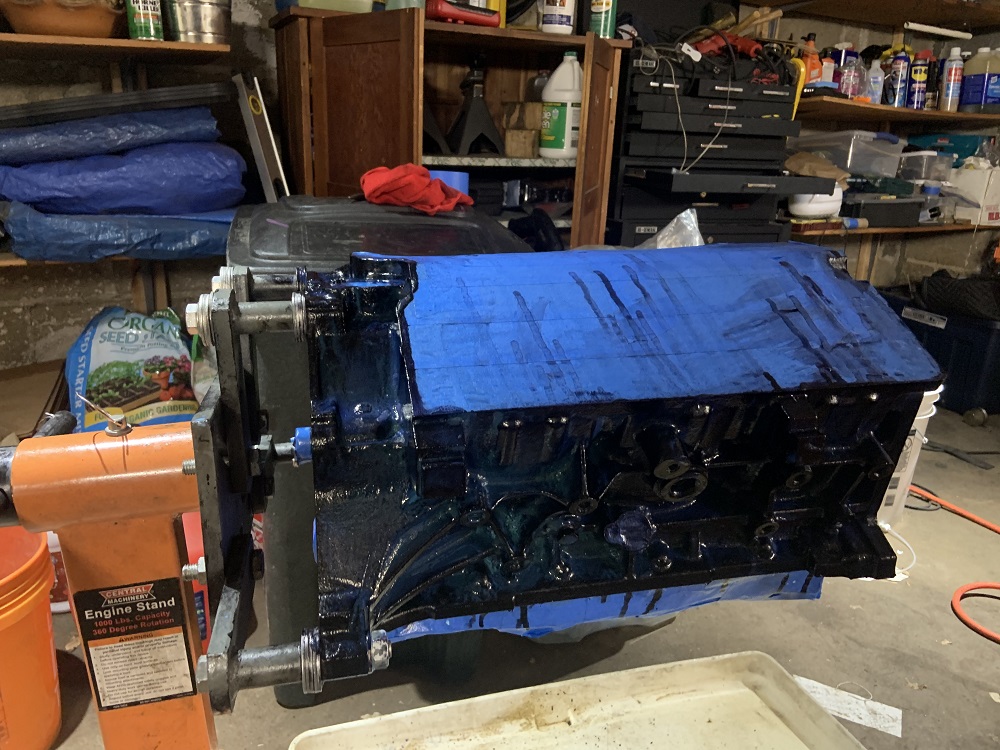
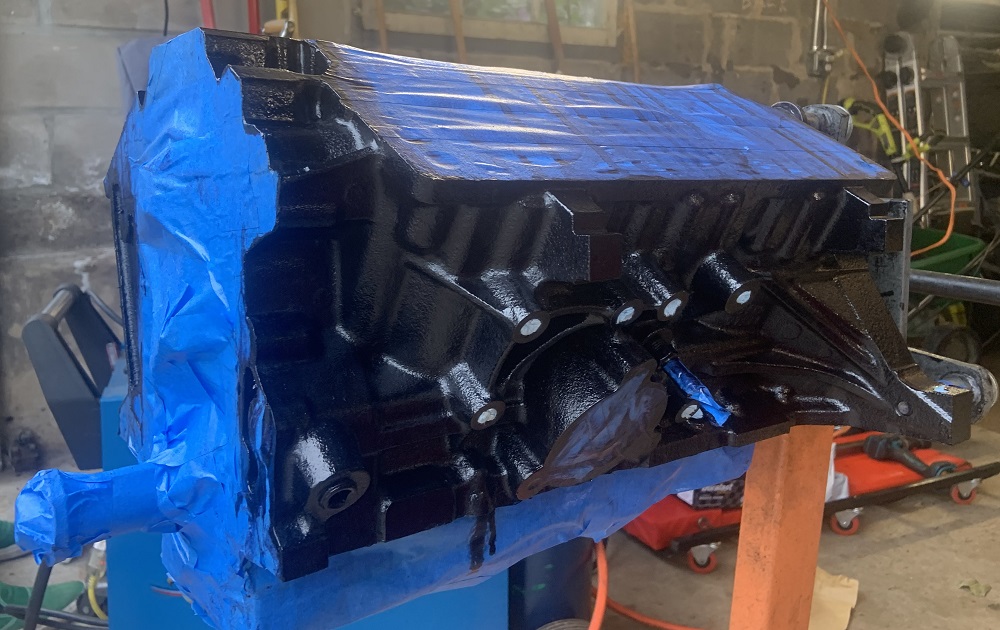
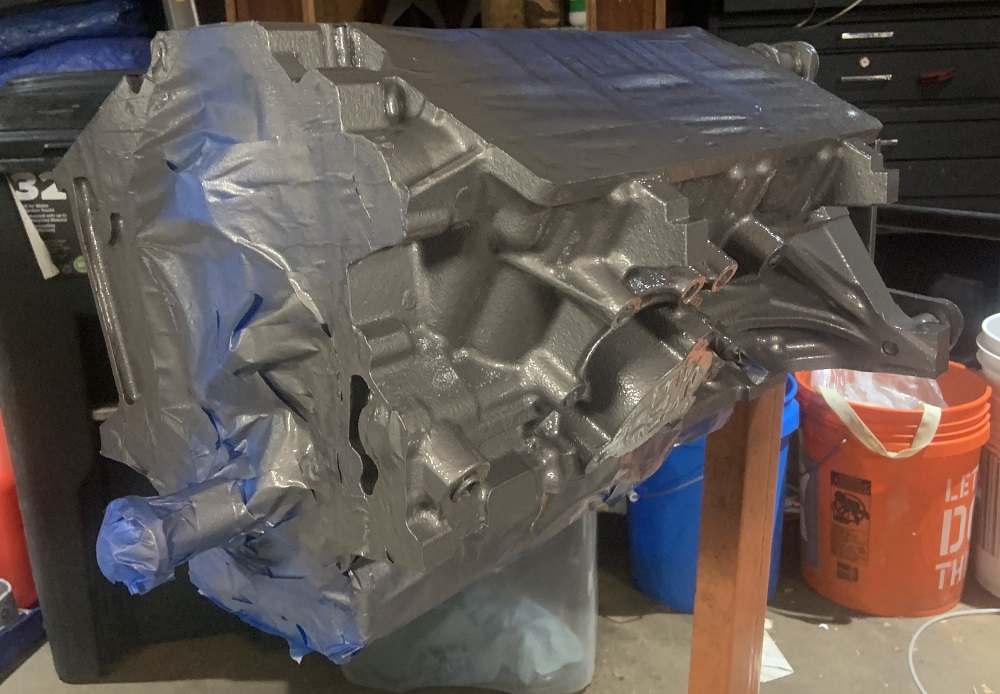
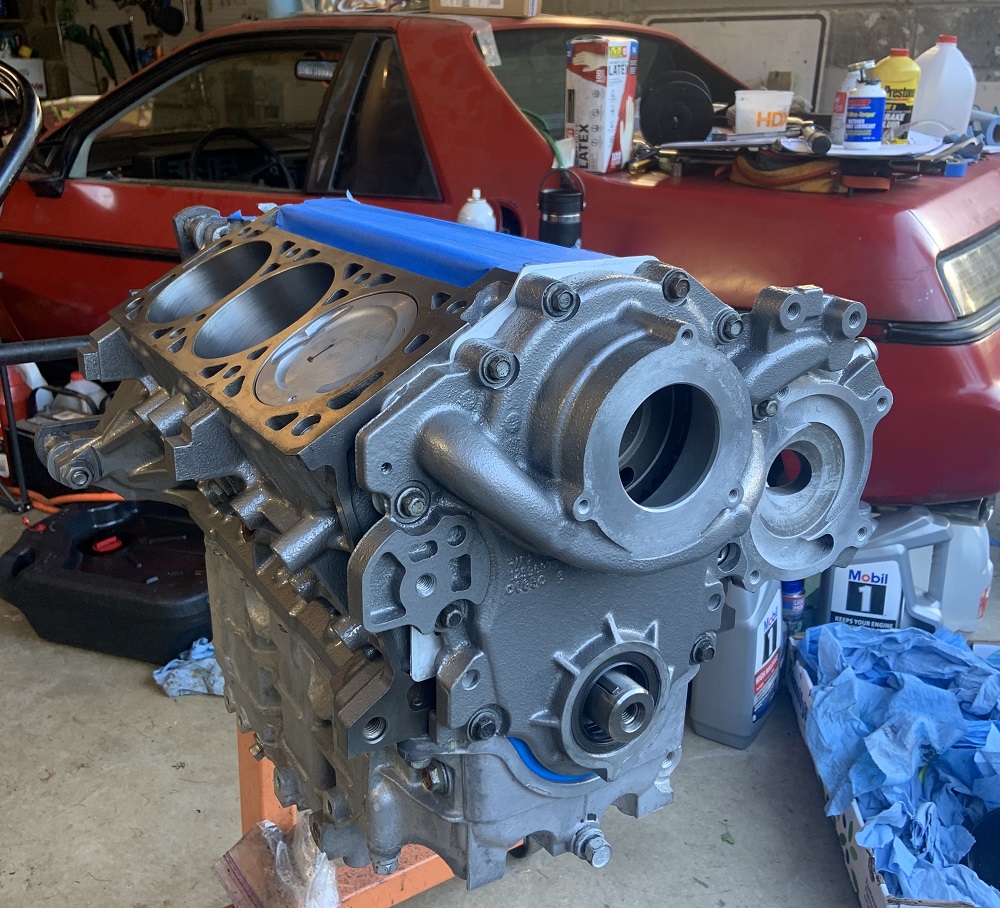
And finally I wanted to spray the block to paint it instead of brush the paint on, and I wanted to give a final sprayed coating to all of the parts I had already painted to get a more metallic finish. I was going to assemble everything and paint it all together instead of masking things off, but I still had to prep the block with an Eastwood rust converter so I had to end up taping the block off anyways for that. It was weird, it was sprayed out of a regular spray bottle where the trigger pumps the contents, but it was basically paint. It came out blue and dried black on the block. I sprayed one coat on the block and did not like the finish so I brushed it smooth, and then did a light second coat that I brushed on. It dried black but I have to wait 48 hours before I can top coat it, hopefully this weekend. My brother used to work at an autobody shop in highschool and he gave me a good tip for masking parts, which was to use a breakaway style razor blade so that when it dulls quickly and starts to tear the tape instead of slice it, you can just break the tip off and have a fresh razor again. Taping went much faster than when I taped all the other engine components.
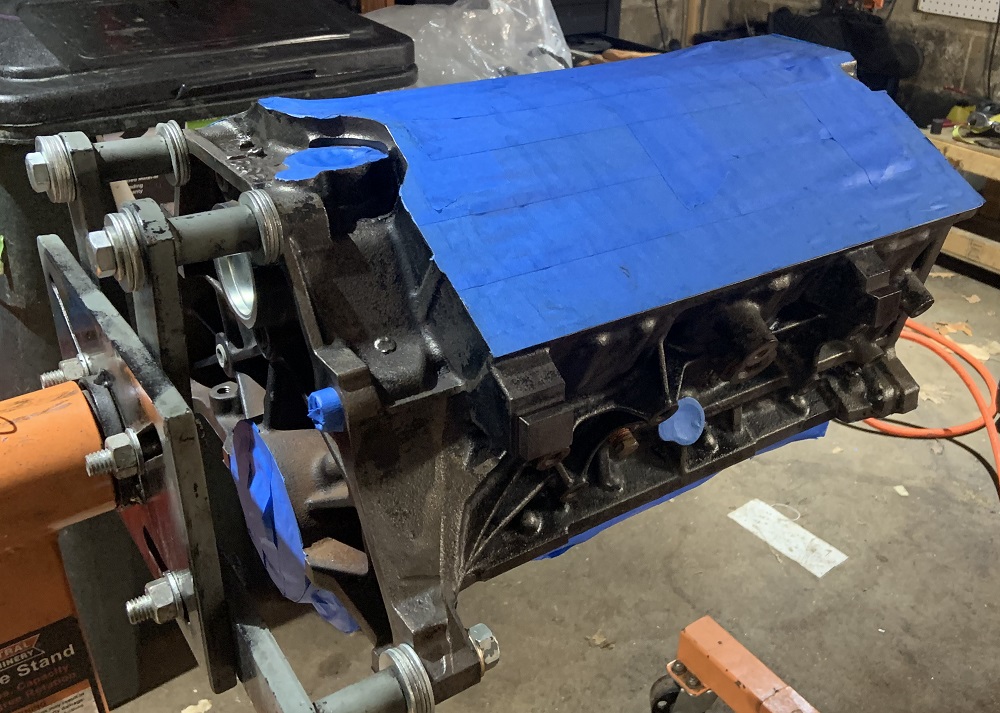
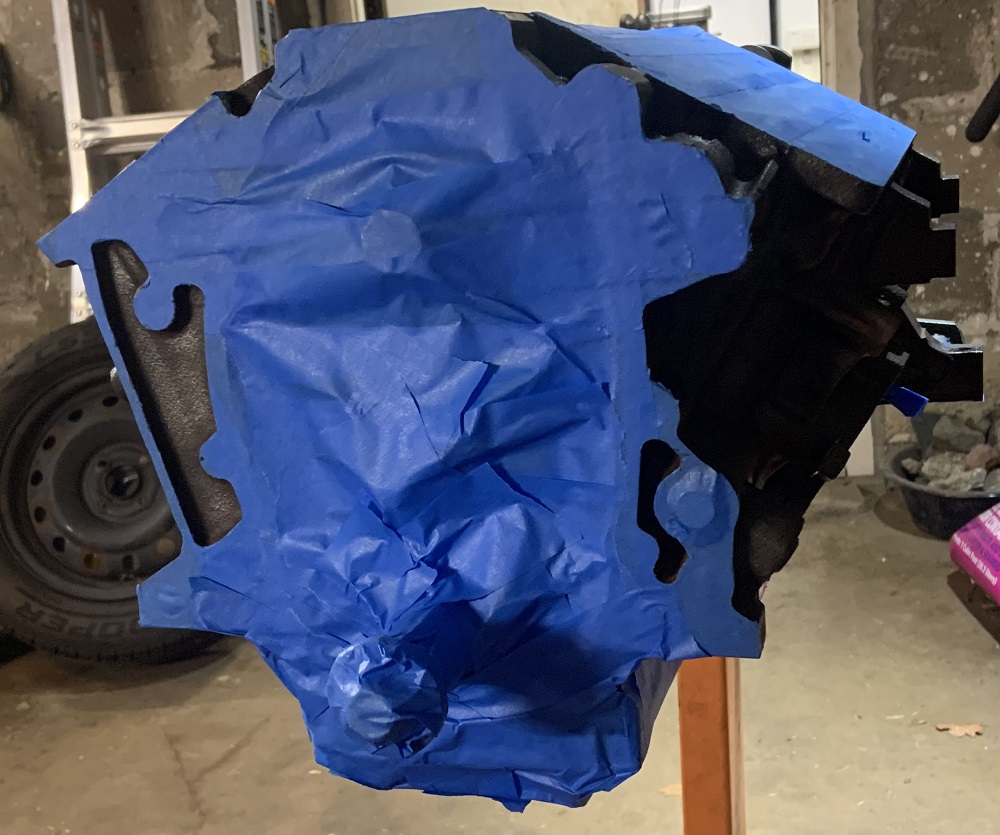
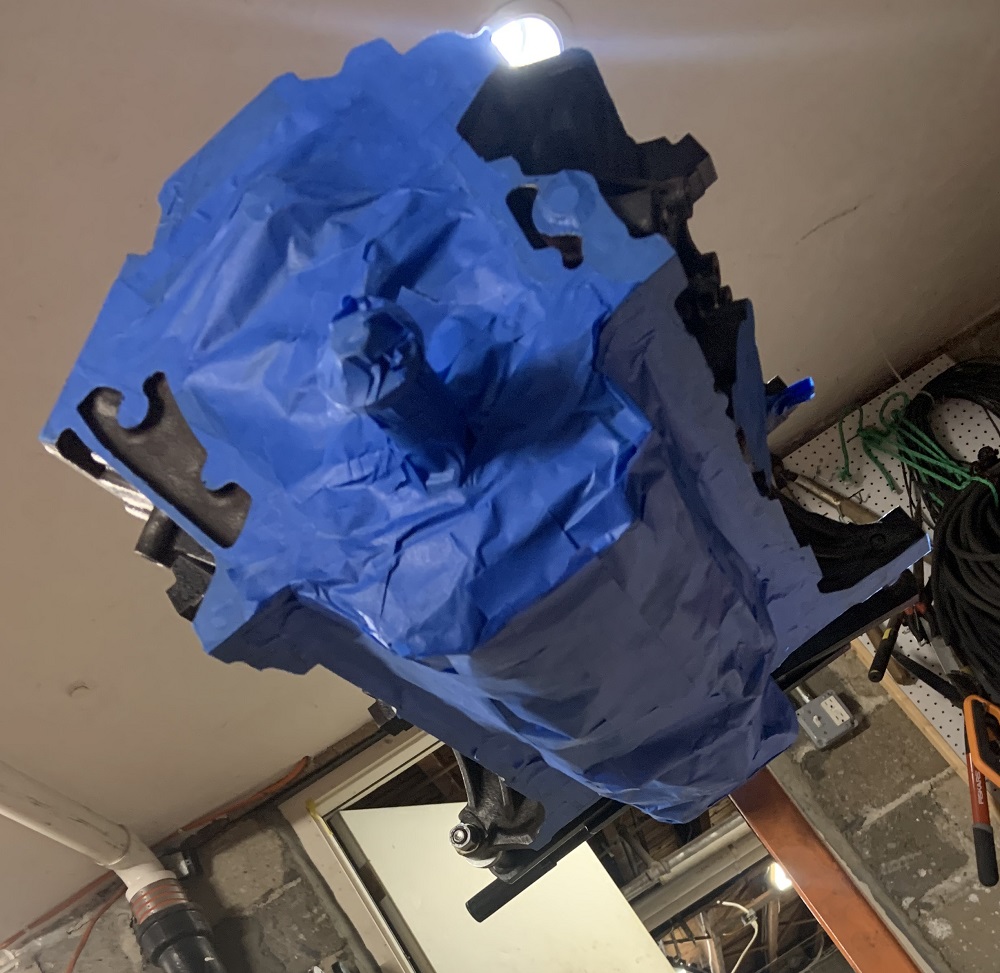
And here is the block painted with the rust reformer.
Once the painting is complete, the rest of the engine assembly will begin, and hopefully I can get this thing mounted on the cradle ASAP to begin mocking up fuel lines, wiring, exhaust, and the alternator location and belt routing.[This message has been edited by zkhennings (edited 06-11-2021).]
|
|
|
|
zkhennings
|
JUN 12, 10:14 AM
|
|
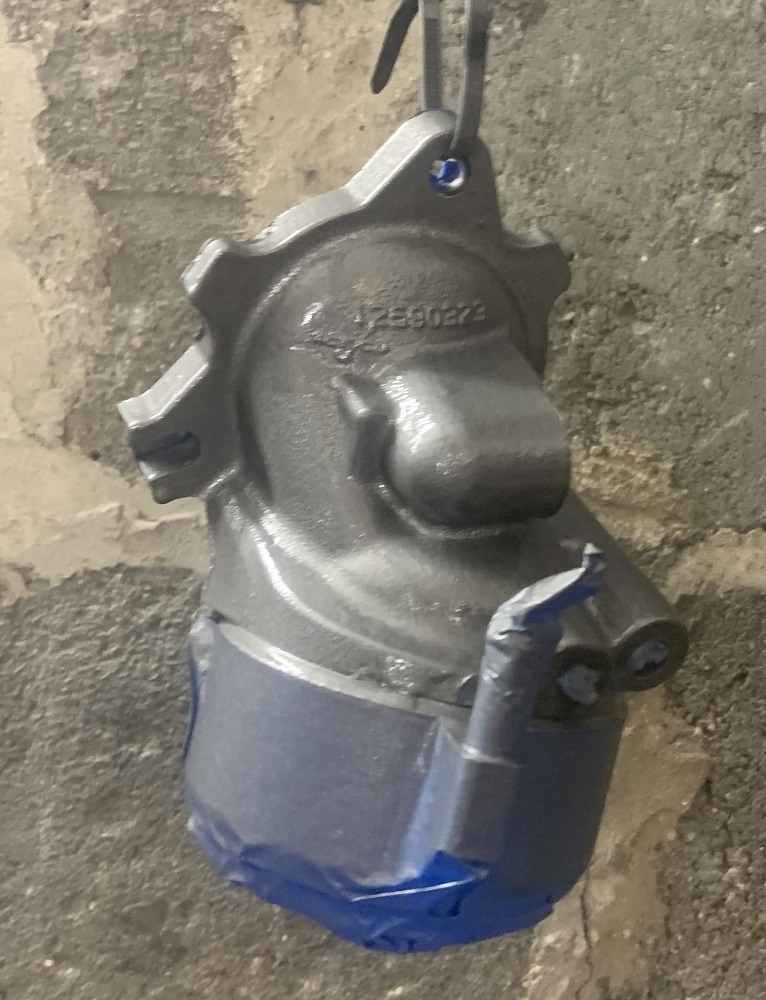
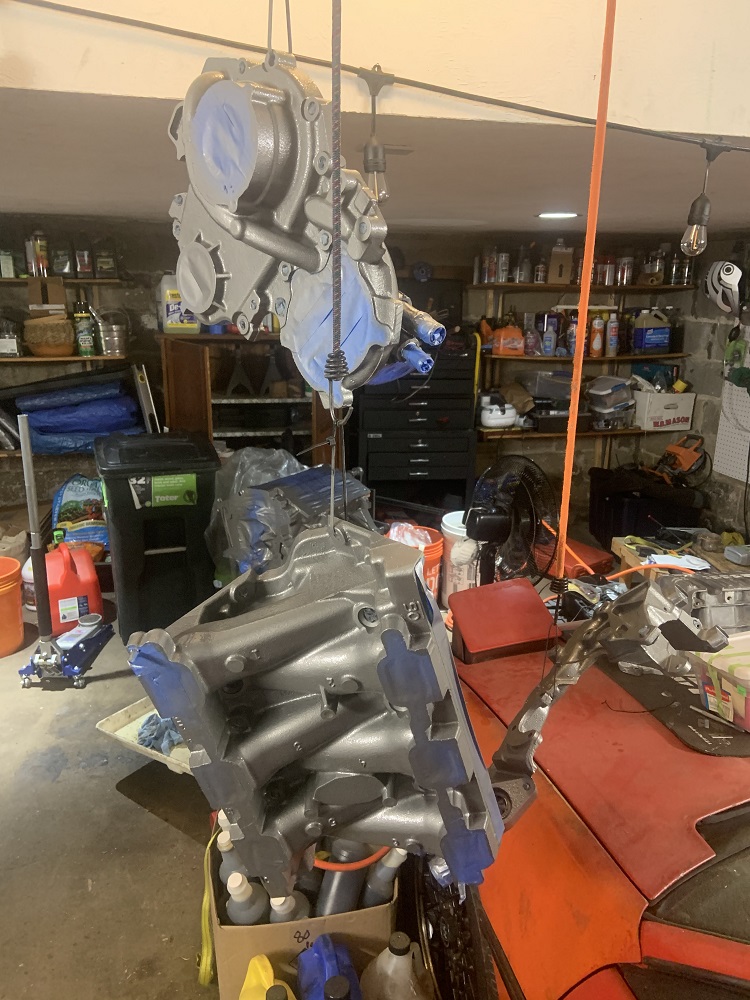
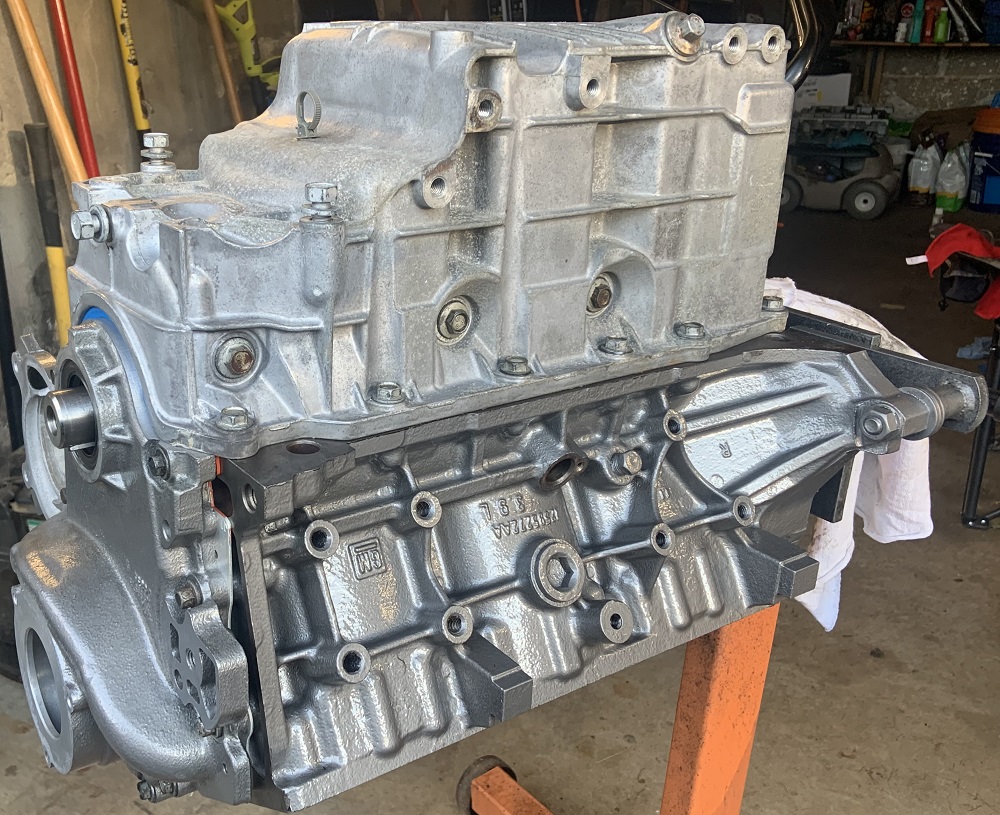
Little update from yesterday, got the painting of motor parts complete. I shot the paint out of an HVLP gun to paint the block as well as repaint the timing cover, coolant crossover, LIM, and oil filter adapter.
The rust converted block actually looked really good, and next time I paint a block I may consider just painting it black even though it makes it harder to find leaks.
These are the parts that brushed, waiting for spray. If you look at the timing cover you can see how the metallic came out real uneven when brushed on.
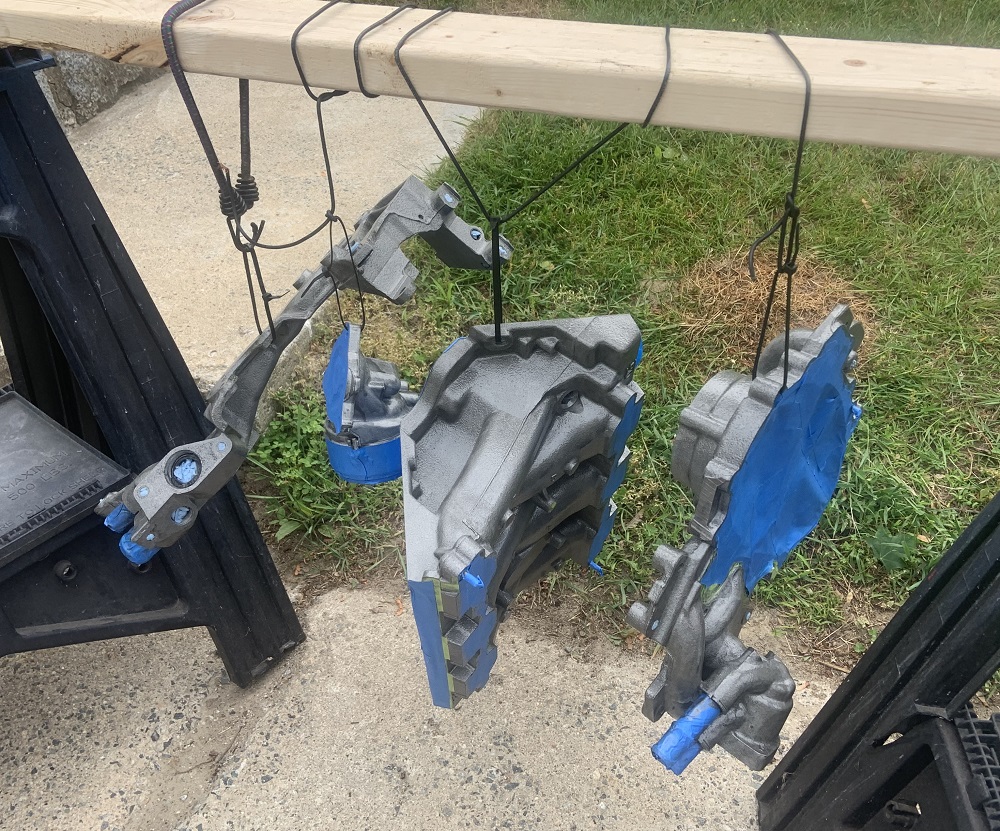
And here is everything drying, the hanging parts look like an art exhibit, they all come very close to hitting each other. The paint finish is very uniform now, I am looking forwards to seeing it all dry.
Finally done with taping and plugging for a while, each of those parts probably took anywhere from 30min to 45min to tape up and plug.
Next up is the remainder of the engine assembly.[This message has been edited by zkhennings (edited 06-12-2021).]
|
|
|
|
zkhennings
|
JUN 16, 12:26 PM
|
|
Thought about the belt routing some more, I think I will go with option purple, it leaves me open to add AC later as well. I will have to deal with pulley 3's location, I think it will need to be moved down and to the right to provide adequate belt wrap for the water pump. I could incorporate a belt tightening mechanism into that pulley as well, as it would be ideally positioned for it, and it is in a very easy to access spot. Otherwise I will use a rod end link on the alternator to tighten the belt as it is also a convenient location.
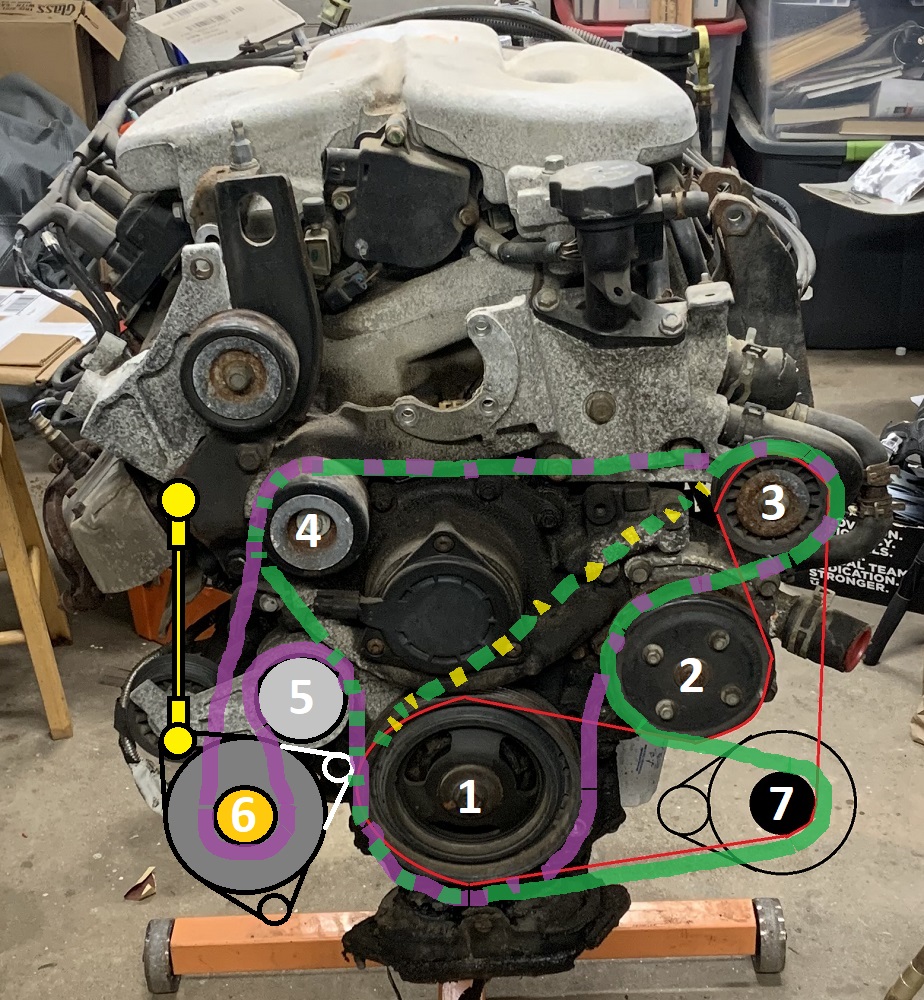
And since you can see the condition of the engine originally, here is the final paint finish for comparison.
|
|
|
|
ericjon262
|
JUN 16, 08:06 PM
|
|
|
to me, static tension with a belt that long seems like a recipe for belt slip, I would try and find a way to put a dynamic tensioner on it. ------------------
"I am not what you so glibly call to be a civilized man. I have broken with society for reasons which I alone am able to appreciate. I am therefore not subject to it's stupid laws, and I ask you to never allude to them in my presence again."
cognita semper
|
|
|
|
ignorant prodigy
|
JUN 17, 08:51 AM
|
|
Are there AC/Powersteering delete options?
Might save you a headache just putting in dummy pullies, then you get to keep the option of AC down the road.
I think you're right about the water pump though, under this arrangement I think it'd need more wrap.
|
|
|
|
zkhennings
|
JUN 17, 10:17 AM
|
|
I may replace pulley 4 with an automatic tensioner if I go purple route. I would put the pivot point right above the alternator. I could revert back to the initial red routing and tension that statically between pulley 1 and 7, or even put the stock tensioner there if I can fit it. We will see, I kinda doubt I will ever have AC in this thing, I don't know if its worth making my life more difficult now for a possibility that would require a ton of modification anyways.
Also:

|
|
|
|
zkhennings
|
JUL 12, 01:37 PM
|
|
Been busy but fit some Fiero work in here and there. Had to rebuild my second YZ 125, this one an 04' (other one is 17'). Sprung a leak in a coolant hose and ran hot on the track, toasted the water pump gaskets and head gasket. Top end had just hit 30 hours so it was time for a new top end regardless. Also installing a new seat cover. Motocross bikes are by far the most relaxing machines to work on, everything comes apart and goes together so easily, and they are as simple as can be.
Bike stripped down
Head resurfaced on my calibrated granite block
Onto Fiero work:
New dowel pins
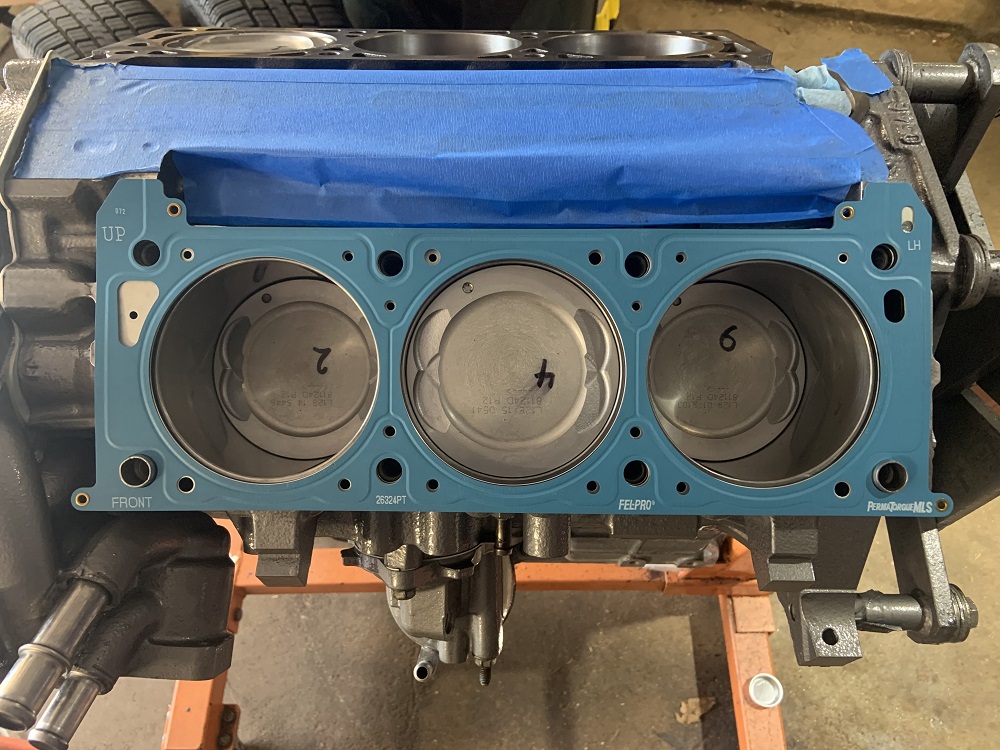
Felpro Permatorque MLS head gaskets installed
Head installed with new Felpro head bolts, used some ARP assembly lube.
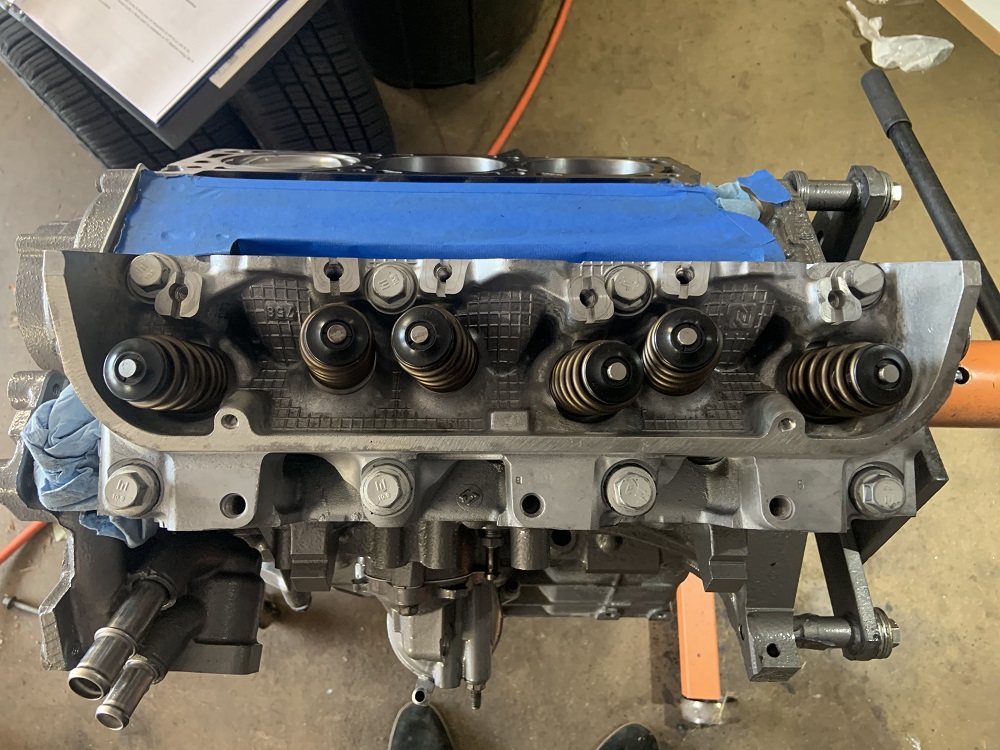
Both heads installed and new AC Delco water pump installed
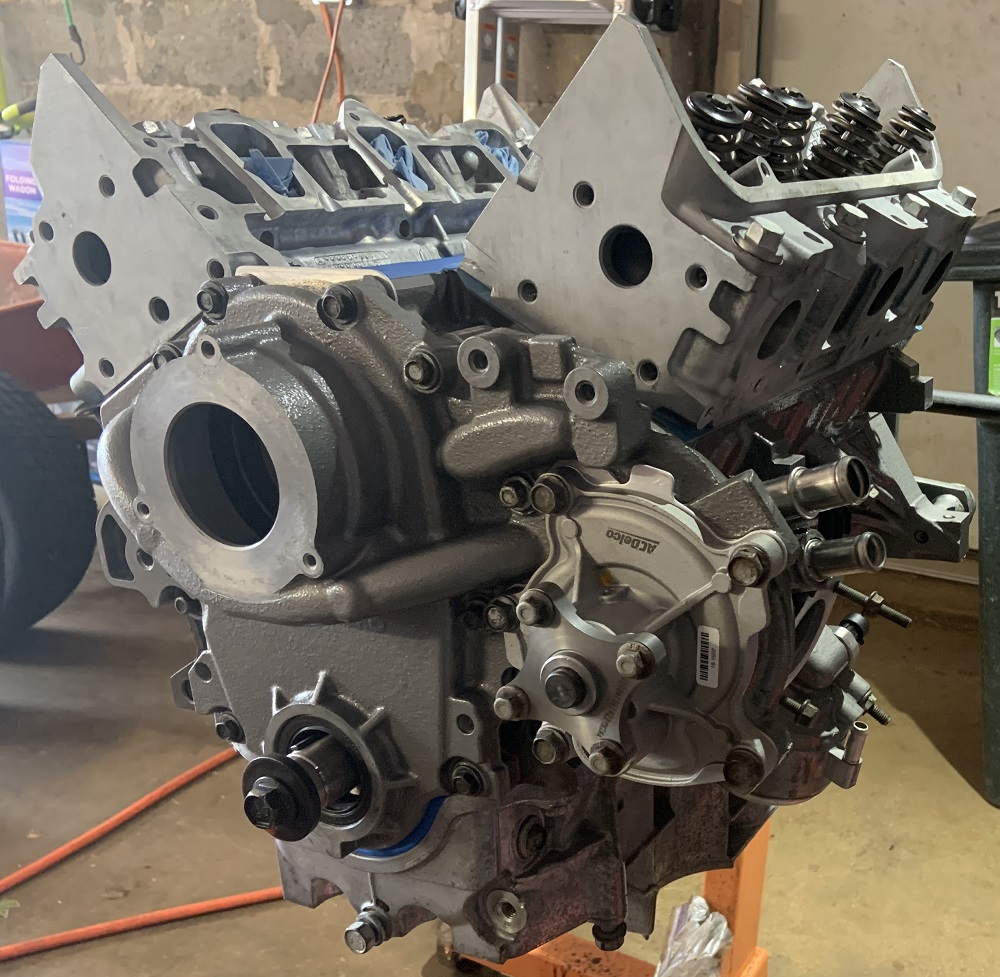
Coolant temp sensor installed with a new copper washer, new GM crank position sensor, and original knock sensor installed
Oil pressure sensor and other knock sensor installed
I am installing the knock sensors because I bought a KnockSense kit, it gives you a way to interface the knock sensors with the Micro or Megasquirt, and it also gives you an LED to install in the dash that will flash when it starts to knock. I got a shielded Y cable made and I have connectors from Ballenger for the knock sensors. I am not sure if I will have the Microsquirt interface with the KnockSense yet, but I will be able to form my timing table from watching the knock light and backing off timing when it knocks. If I ever go turbo the KnockSense will definitely interface with the Microsquirt.
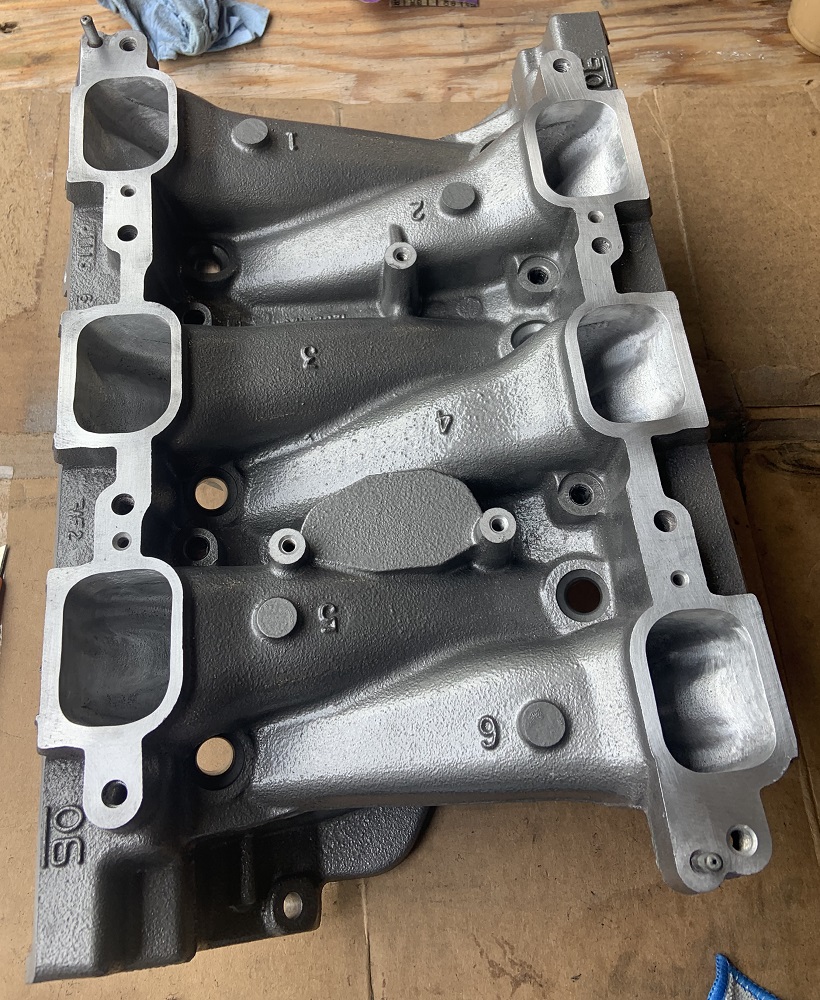
I wanted to create a velocity stack effect between the UIM and LIM, essentially open up the entrance to the port so that they can pull in as much air as the runner can flow. The runner size has been left stock.
Started to open up the UIM to LIM ports, I scribed a line into surface that was offset about 1mm from the inner edge of the UIM gasket to give it room to expand when it compresses. I used a carbide bit to open the ports up to size.
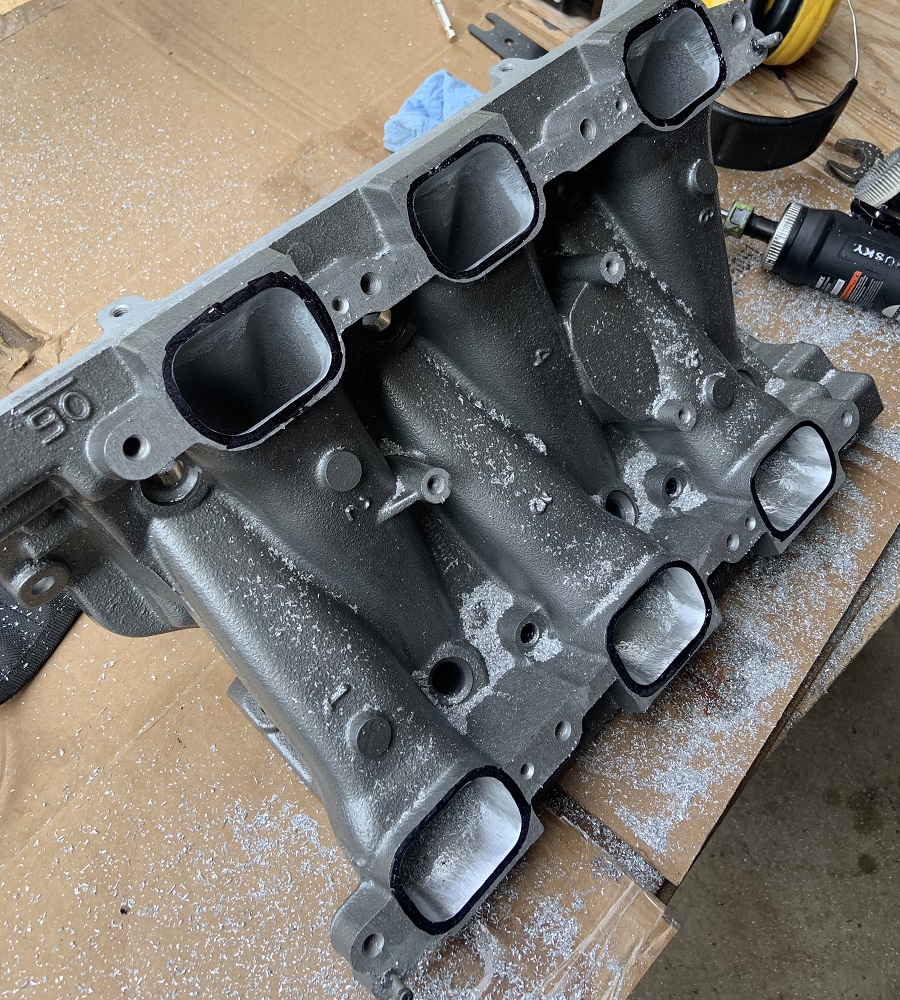
Blended the ports into the tracts a few inches with some sanding drums, and cleaned up the LIM ports that go into the head, they had very sharp jagged edges so I smoothed them out a bit

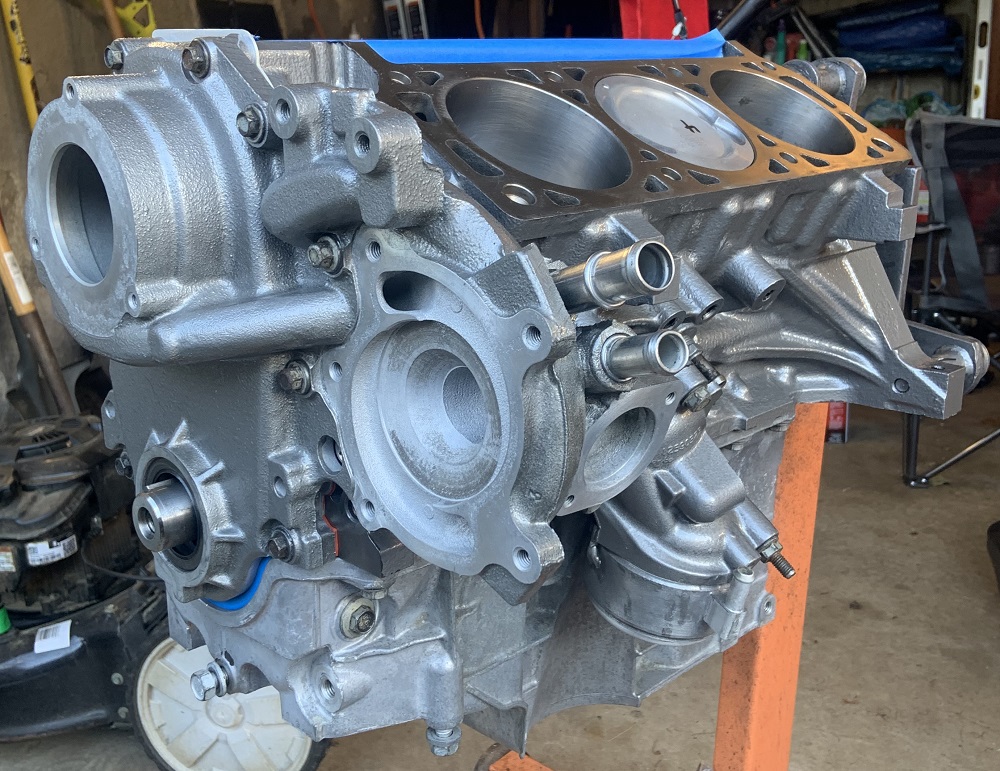
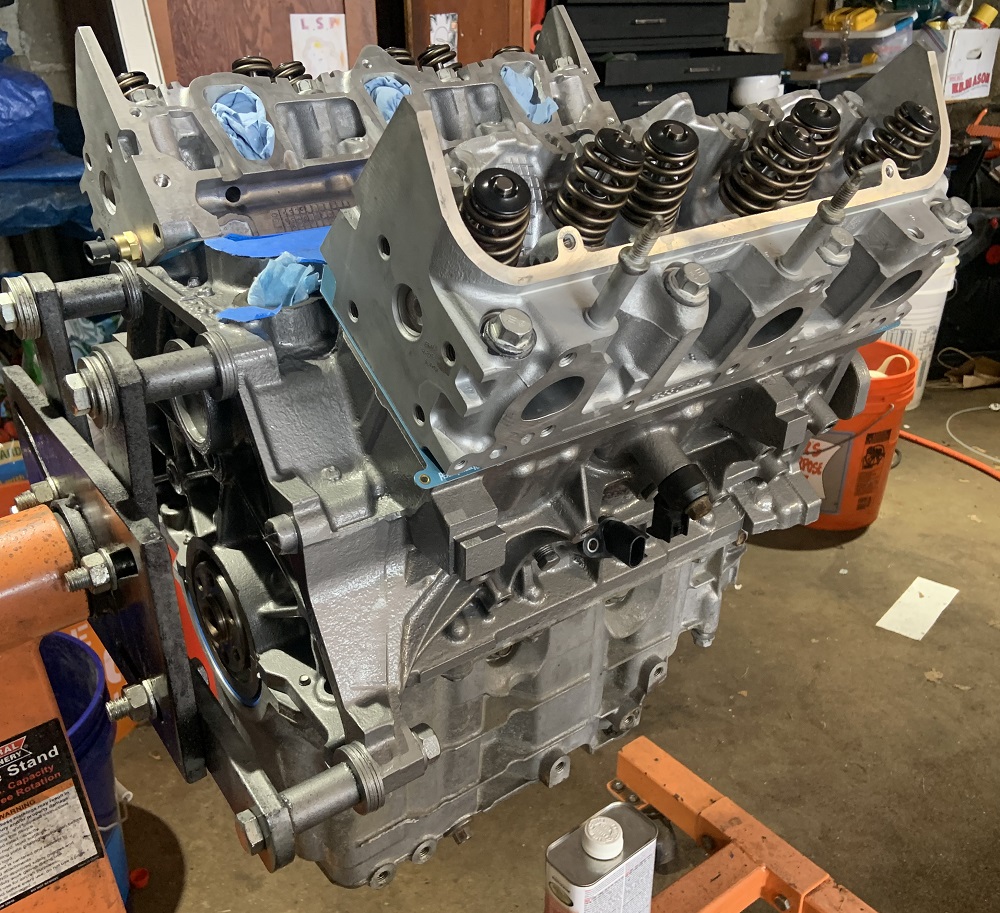
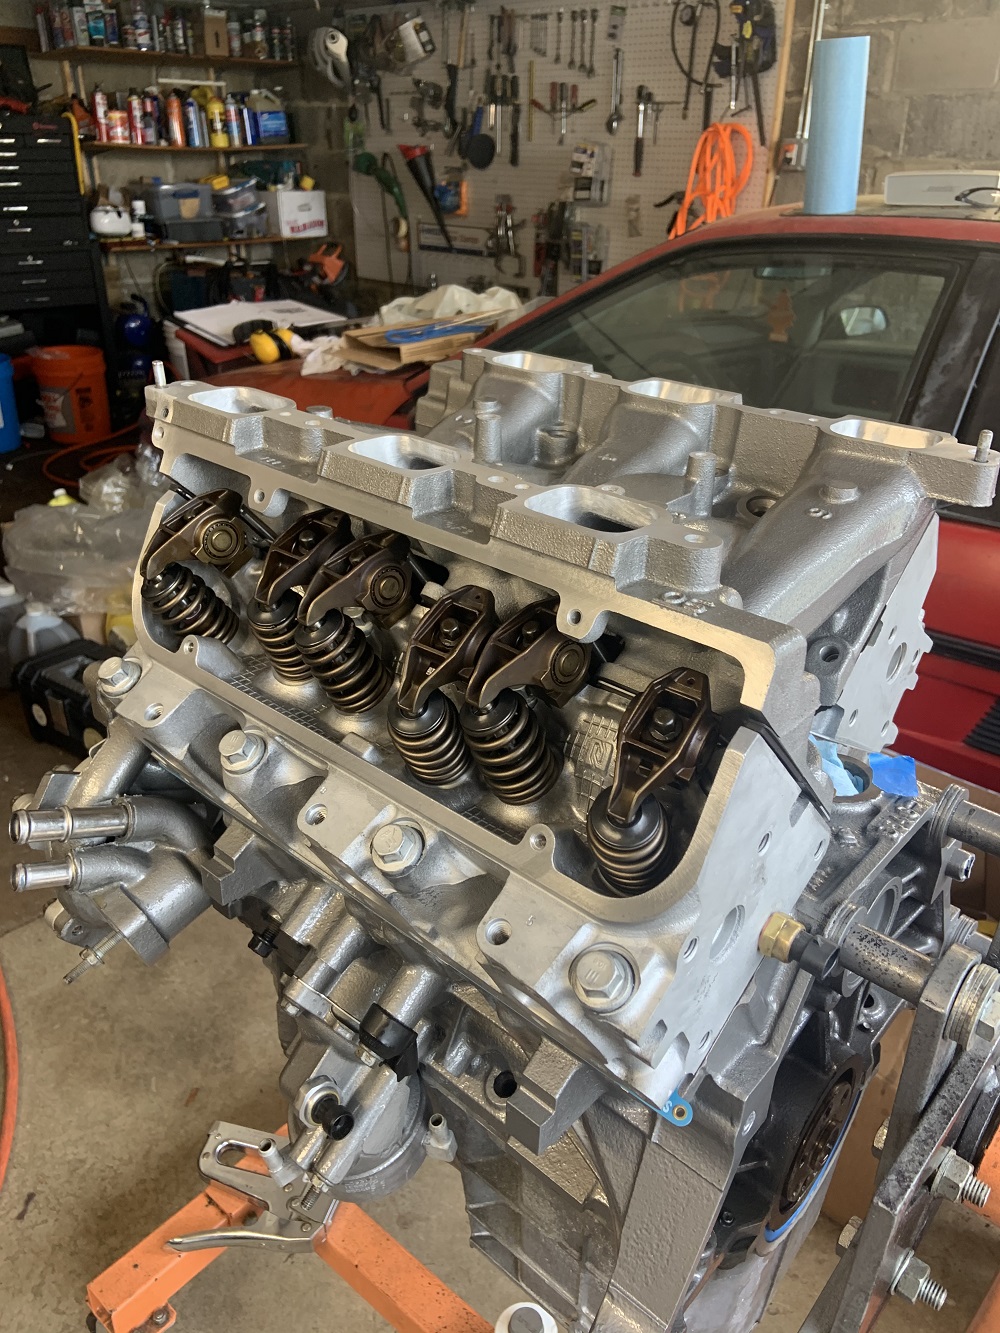
Installed the new lifters that I had previously disassembled and cleaned with the ultrasonic parts cleaner with simple green. They have been soaking in oil for weeks.
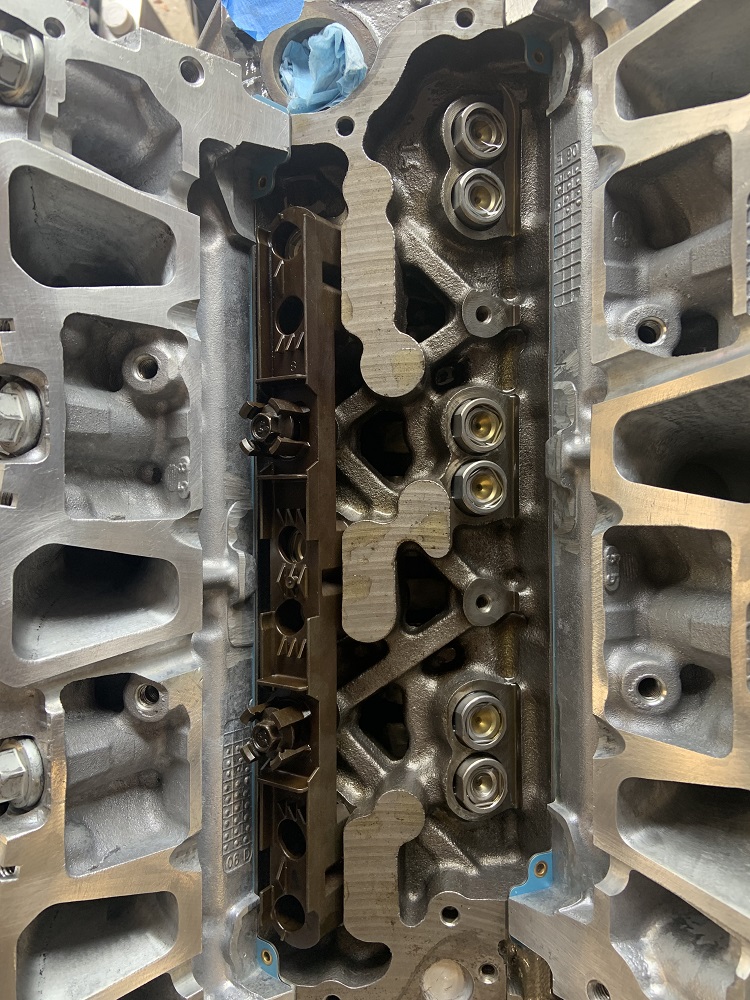
Installed the gaskets for the LIM after cleaning all surfaces with acetone several times with a white microfiber towel. Installing the new longer pushrods and the cryo treated rocker arms. I put all the rocker arms back in their original spots since they have a hardened wear spot in the correct spot for the position they have lived in all these years.
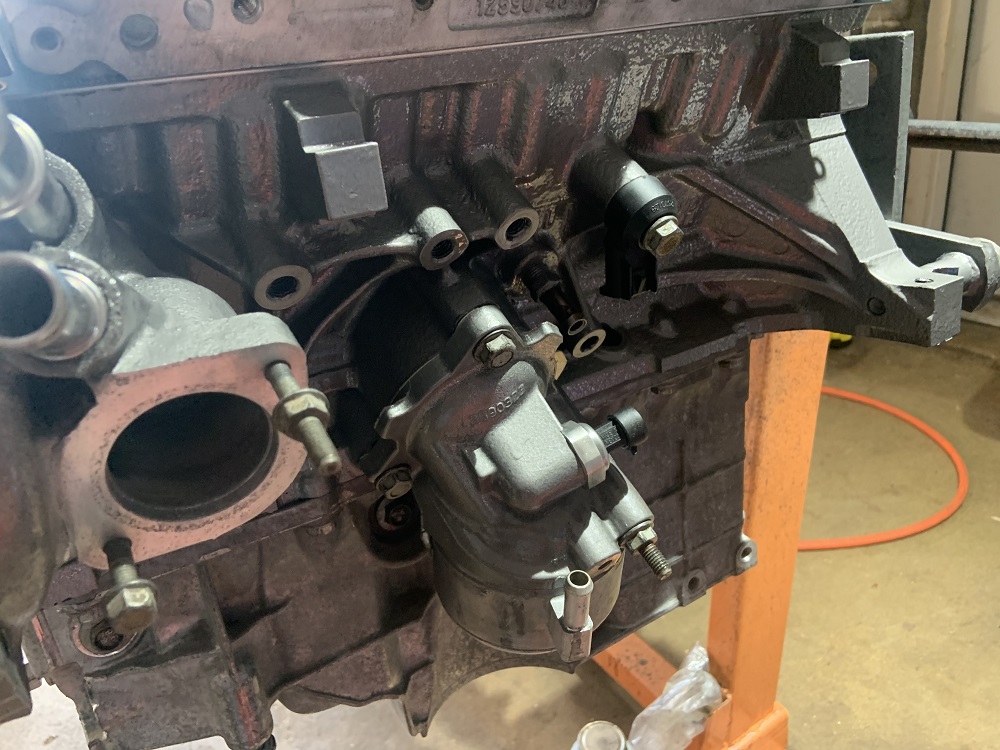
Installed everything and put the LIM in place, I want to install the injectors and fuel rails before installing the intake so I can see where the injectors end up and decide if I want to make spacers for the fuel rails.
The pushrods still spin by hand when installed fully. There is no slack but I am not sure if there is enough preload either. Could be that the lifters are not pumped up so they are collapsing easier than they normally would. The pushrods all measured out properly so I think it is fine.
Once the LIM is installed fully and I put on some of the auxiliary components like starter, flywheel, clutch, coolant crossover, and thermostat and hoses going to the oil cooler/heater, then I can pull the cradle out and get the engine mounted. I will install the motor and cradle in the engine bay so I can figure out my fuel routing, coolant routing, alternator, wiring, and exhaust. I may end up installing stock exhaust manifolds temporarily if I run out of time to fabricate headers before fall. I still have to figure out brakes, I may try and locate Seville rear calipers to deal with my handbrake issues instead of fabricating a solution for spot calipers. The Seville calipers may prove problematic to locate. I will then remove the engine and cradle assembly to make the alternator solution as well as do the routing installs of everything. Still have to pull the gas tank too.
And to think I planned on barely pulling the engine apart hah.[This message has been edited by zkhennings (edited 07-12-2021).]
|
|
|
|
ignorant prodigy
|
JUL 13, 09:23 AM
|
|
good progress
I like the idea of using a light to alert you of the knock, I have a scan gauge and it's not exactly easy to glance down and find if it's knocking.. a light would come up in your periphery
|
|
|
|
zkhennings
|
JUL 13, 02:40 PM
|
|
Thanks, yea I thought that having a dedicated knock indicator would be really useful as it can immediately let you know that important systems have failed before any damage occurs.
I will also have an oil level light as the LZ9 comes with an oil level sensor, I may run that into the Microsquirt and have it automatically put the car into a limp mode. I bought a harness connector for the sensor and I want to have it hooked up to an LED on the dash as I think it is a far more useful parameter to monitor than the oil pressure, as it is far too late to save the motor once oil pressure has been lost on the gauge.
I will still monitor oil pressure as it is also a critical parameter, but the oil level should be more effective at helping prevent oil starvation in a hard corner for example.
Hoping to get the fuel rail and injectors test fitted and then mount the LIM today, as well as get the odds and ends assembled and have the motor ready to drop onto the cradle. In an ideal world I pull the cradle out of the Fiero today.[This message has been edited by zkhennings (edited 07-13-2021).]
|
|
|
|
La fiera
|
JUL 13, 10:35 PM
|
|
|
|
|