|
| Getrag transmission problem on low mileage Fiero GT (Page 14/17) |

|
hnthomps
|
FEB 29, 04:16 PM
|
|
| quote | Originally posted by Moar:
These Dawg's performance parts seem to be quite interesting.
However, the prices are a bit on the high side and there are no flow bench test results or dyno runs available for the modified UIM.
I´ll take this intake plenum modification into consideration and will try to make one by my own as soon as I find time.
I hope that also a 3.4L engine can breathe sufficiently with this mod. |
|
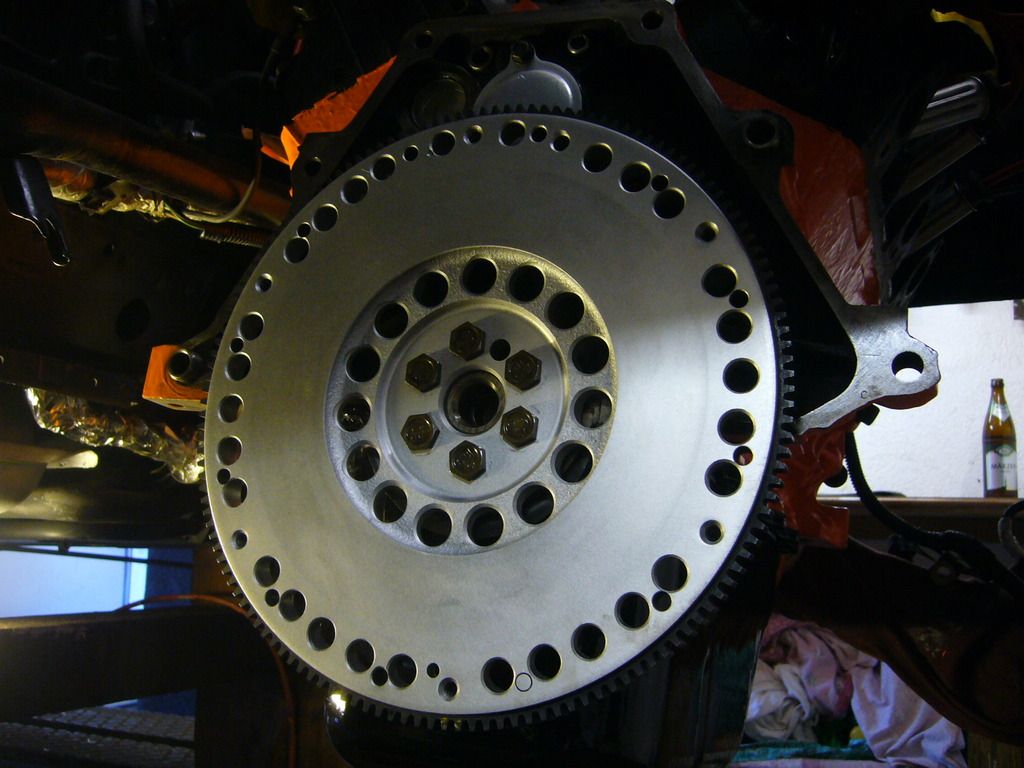
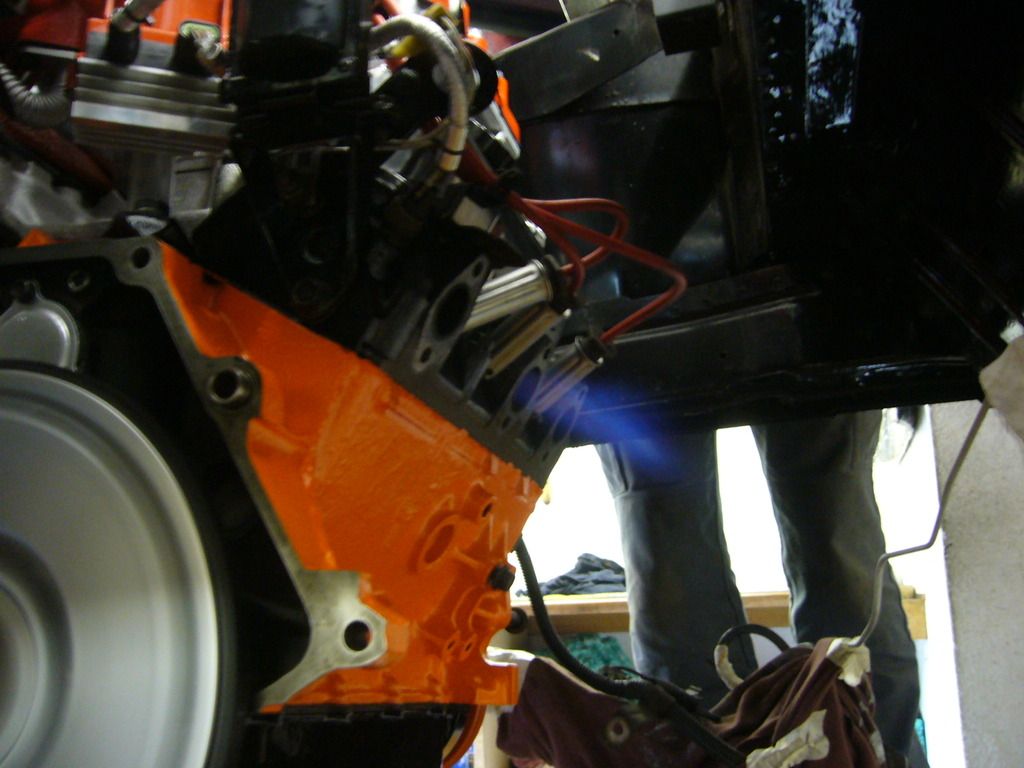
I have a 3.4 liter push rod engine installed in one of my vehicles with a Truleo intake and a turbo. It performs nicely and even looks good (IMHO).
_1.JPG)
Nelson
|
|
|
|
Moar
|
FEB 29, 04:45 PM
|
|
Hi Nelson,
nice setup!
Unfortunately this is not possible for Austrian Fiero drivers.
In this case I would need to install the stock plenum each year in order to pass annually inspection.
And of course, turbochargers or supercharges are a no-go here (if the car doesn't come from the factory with TC or SC).
I need hourspower + stock engine look!
Almost impossible, isn´t it?
Nevertheless, some modifications are still possible (like CAI*, ignition system, exhaust system with fake cat, internal engine mods, ...).
*) Cold air intake can be removed easily for inspection.[This message has been edited by Moar (edited 02-29-2016).]
|
|

|
Patrick
|
FEB 29, 05:15 PM
|
|
| quote | Originally posted by Gall757:
The images that don't show are over 300K in total size. The horizontal pixel count is 1024 or less, which is what is needed, but the vertical dimension is too long.
|
|
My experience when posting images here (I use PIP) is that there is no height restriction with the image. As long as the file size is 300 kb or less and the maximum width is 1024 pixels, you're good to go. 
Moar, use a free photo editing program like IrfanView to re-size and/or re-compress your images. I love this program as it allows the maximum file size to be set before you save the re-sized images. (No need to experiment over and over with different compression settings.)[This message has been edited by Patrick (edited 02-29-2016).]
|
|
|
|
hobbywrench
|
FEB 29, 07:24 PM
|
|
Moar, Re circlip groove on shaft. Seems like that is a job for a form tool on a tool post grinder. Your father is a lathe operator? He will know the setup which is a bolt on accessory with a motor driven grinding wheel. The grinding wheel would be "formed" with a diamond tool to the dimensions. You probably know about this technique, But it is expensive. Others have questioned the need, but I cannot comment on that. The alternative is to anneal the splines but that seems tedious on such a long piece, and requires rehardening /tempering. Perhaps someone will chime in again on this. Two cents...........
PS. Please do not take offense, but if you are using a Harbor Freight "diamond abrasive," my experience is that they are beyond useless junk and simply fly to pieces.[This message has been edited by hobbywrench (edited 02-29-2016).]
|
|
|
|
Moar
|
MAR 01, 03:13 AM
|
|
| quote | | Your father is a lathe operator? |
|
No, it is not his job.
Hi drives trains and big excavators at ÖBB.
But he has access to a lathe at work during the week!
However, we have both sufficient skills to use a lathe.
The problems are the tools.
The repair shop at ÖBB is very old and the tools are old too.
In the past ÖBB has used the shop often for repairing a lot of stuff themselves, but nowadays
almost everything is repaired by service companies instead.
Therefore, nobody at ÖBB buys new lathe tools.
Alternatively we can use a grinding disc from an angle grinder (with about 3 mm thickness).
We must fix this grinding disc somehow on the lathe...
I have calculated a minimum diameter of 24.7 mm for the groove with a big 3 mm radius.
(original diameter is 25.9 mm directly after the spline)
With these groove dimensions the shaft´s fatigue endurance shouldn´t be affected too much.
(but I have not considered the impact of lost surface hardness due to the lathe operation)
Regarding surface harness I´ve found the following hardness depth profiles:
[Induction hardened AISI 1070 steel bars:

The blue curve represents Q&T material, which begins to loose hardness at 0.05” (1.25 mm) below the surface significantly.
Case hardened steel (unknown material):

This case hardened steel begins to loose hardness at about 0.6 mm below the hardened surface.
I only need to remove 0.6 mm radial, therefore I should still have sufficient micro-hardness at this depth.
PS:
Yes, I have used a China diamond grinding bit.[This message has been edited by Moar (edited 03-03-2016).]
|
|
|
|
hobbywrench
|
MAR 01, 11:05 AM
|
|
|
It would seem if the circlip groove is not perfectly square at the bottom and the sides are not vertical, force would more easily dislodge the circlip? Force like we use to remove the shafts. Has anyone else responded to your plan outside the forum?
|
|
|
|
Moar
|
MAR 01, 11:36 AM
|
|
Yes, I know that the c-clip may not hold the shaft very tight in position.
The groove edges in the shaft must be rounded in order to reduce the notch effect.
(circlip groove with sharp edges has a very high notch effect factor of about 2.0!)
Furthermore, the c-clip wire thickness needs to be reduced to 1.00 mm.
The inner diameter of the bore of the differential housing is 27.30 mm.
When c-clip is pressed into the bore the inner diameter of the c-clip will be 25.30 mm (compressed).
The circlip groove inner diameter will be 24.70 mm.
This means the c-clip will have a radial clearance of about 0.3 mm while the shaft is inserted into the diff housing.
Maybe I should grind the c-clip wire thickness down to 1.20 mm instead (more stiffness compared to 1.00 mm).
No, I haven´t ask others so far.
But are there any alternatives to my plan?
What else I could do to hold the shaft in position after the front section of the spline is cutted off [This message has been edited by Moar (edited 03-01-2016).]
|
|
|
|
Moar
|
MAR 04, 04:24 PM
|
|
|
|
|
Moar
|
MAR 22, 06:08 AM
|
|
|
|
|
hobbywrench
|
MAR 23, 12:54 PM
|
|
|
Very nice stuff. Have the exhaust ports been opened up. They kinda look bigger. I would open mine if ever the original heads come off . (5/8" dia. I think was the go to dimension)
|
|
|
|