|
| 4.6 Northstar Swap Project (Page 11/22) |

|
olejoedad
|
DEC 23, 08:06 PM
|
|
|
Try starting the two screws along the bottom of the armrest first?
|
|
|
|
Will
|
DEC 24, 08:31 PM
|
|
| quote | Originally posted by olejoedad:
Looking good!
I wonder why the passenger arm rest doesn't line up? They are all the same. |
|
Somebody yanked on it with a screw out and bent it?
|
|
|
|
copperhens
|
DEC 28, 08:49 AM
|
|
| quote | Originally posted by olejoedad:
Try starting the two screws along the bottom of the armrest first? |
|
I had the first two bottom in first, and then the top doesn’t line up even when I try bending it. If I just do a top and a bottom, the third hole doesn’t line up either.
|
|
|
|
copperhens
|
DEC 28, 03:39 PM
|
|
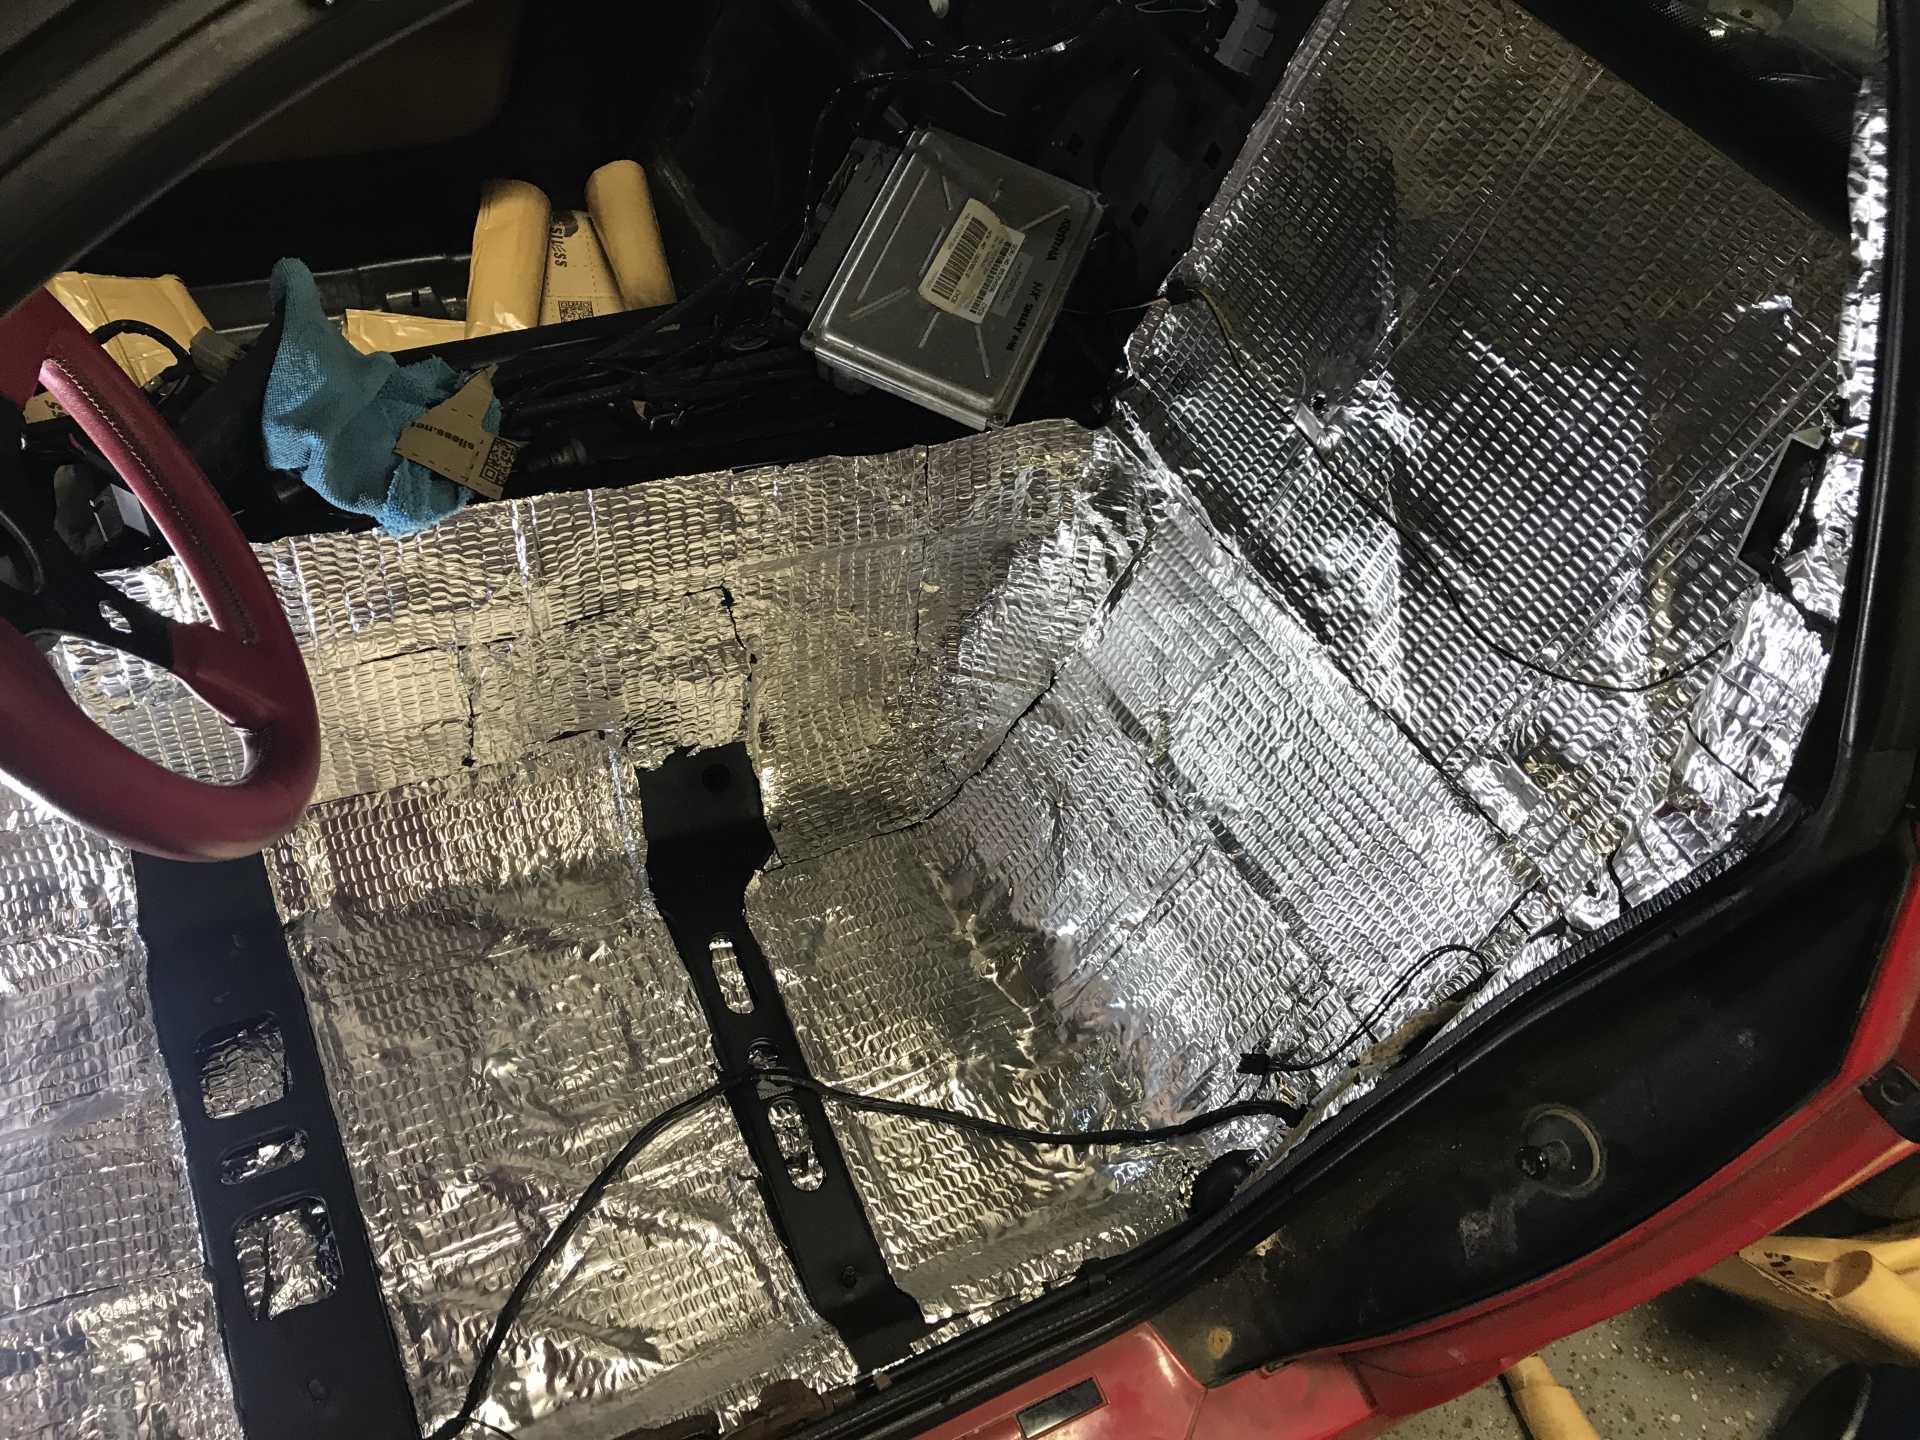
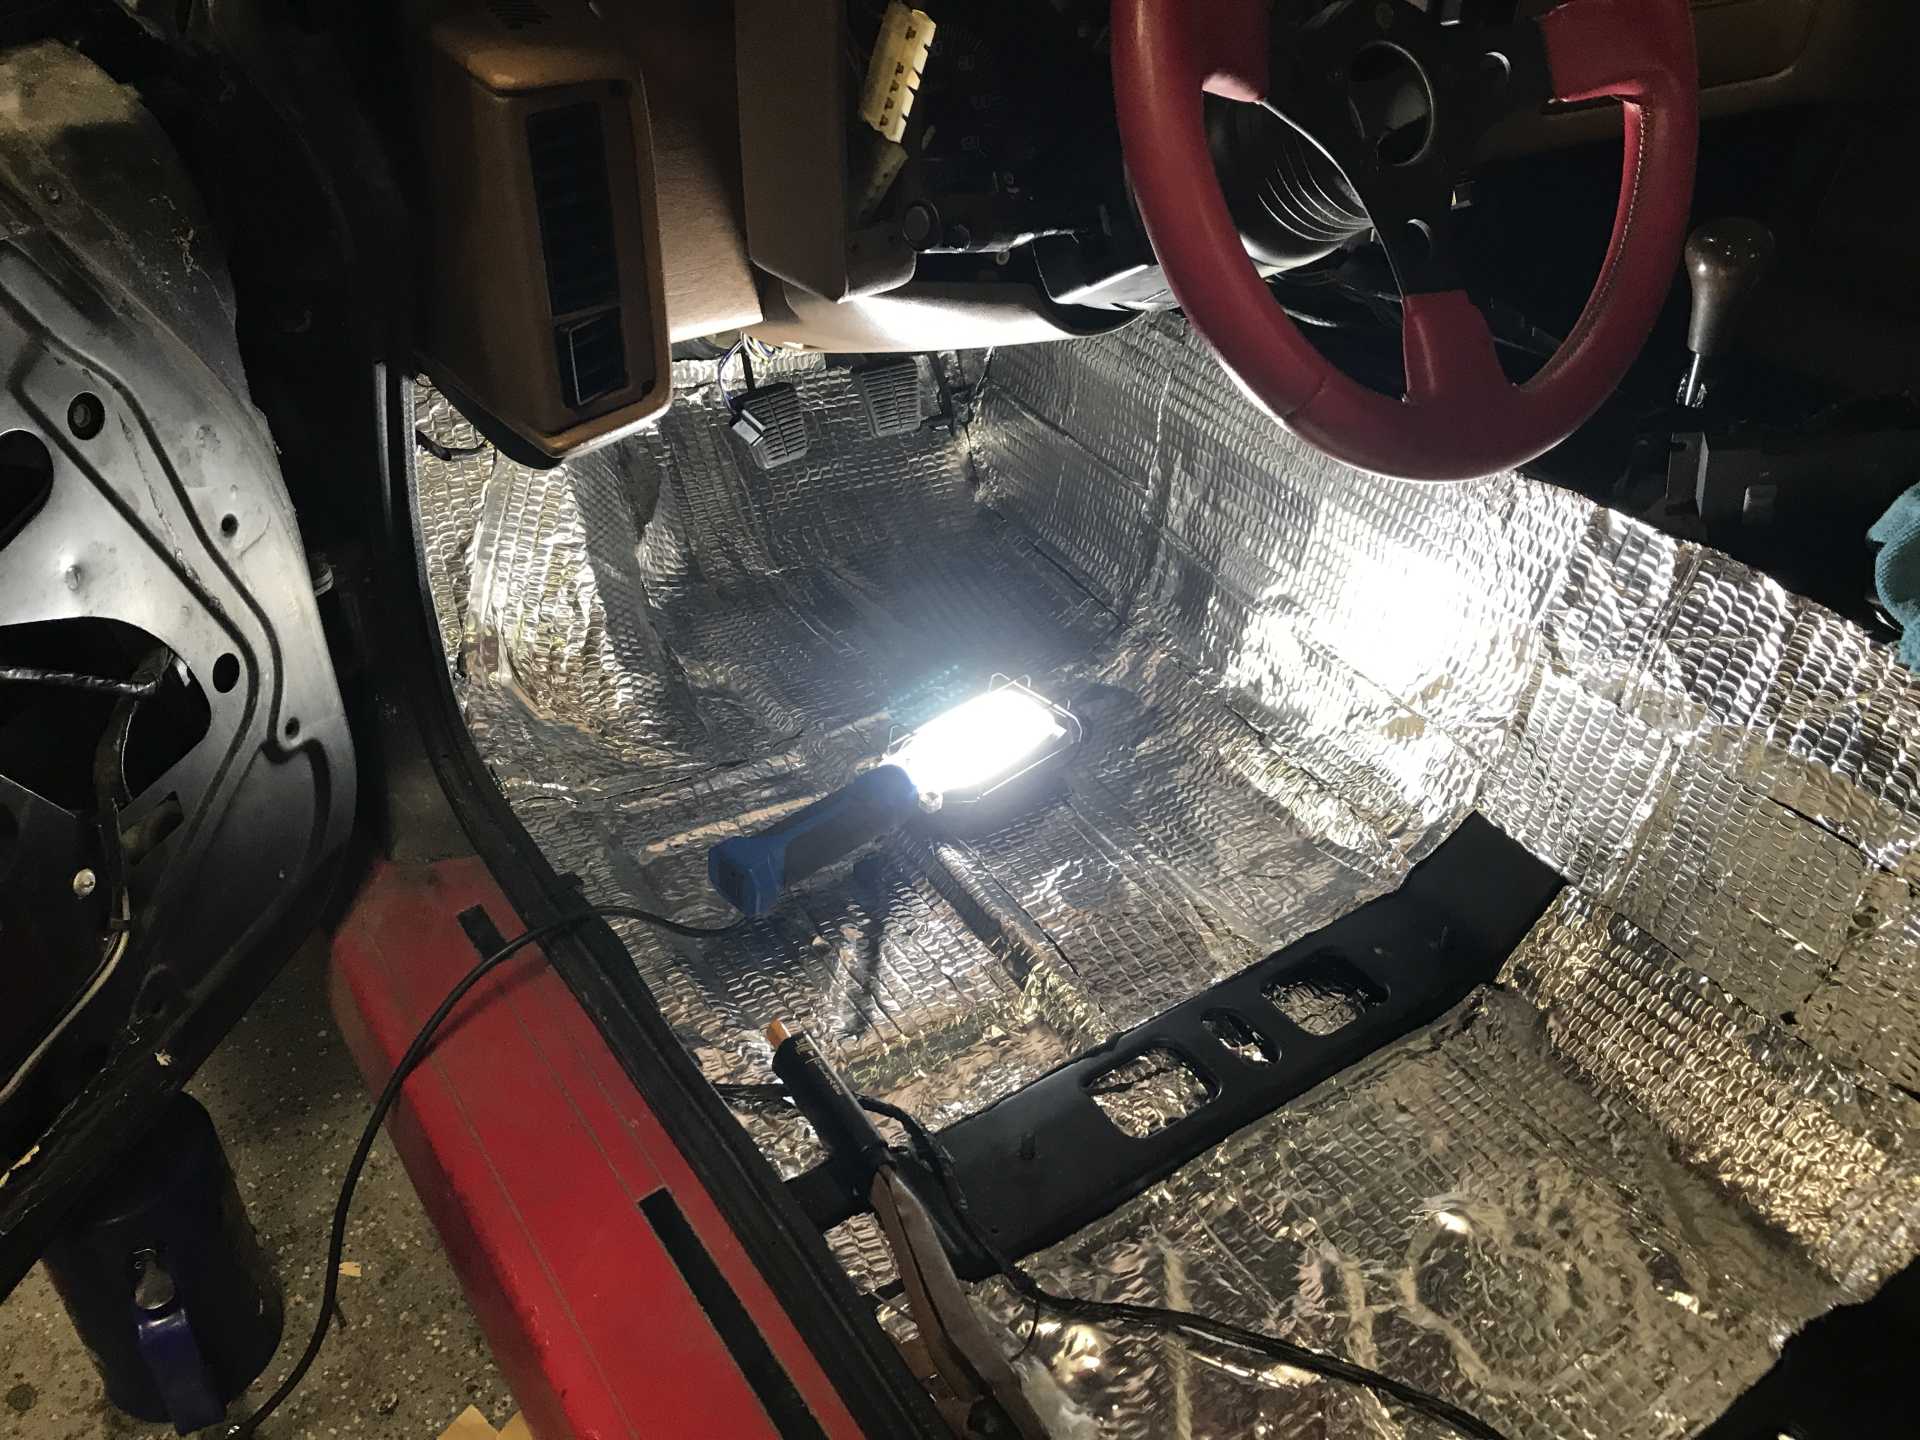
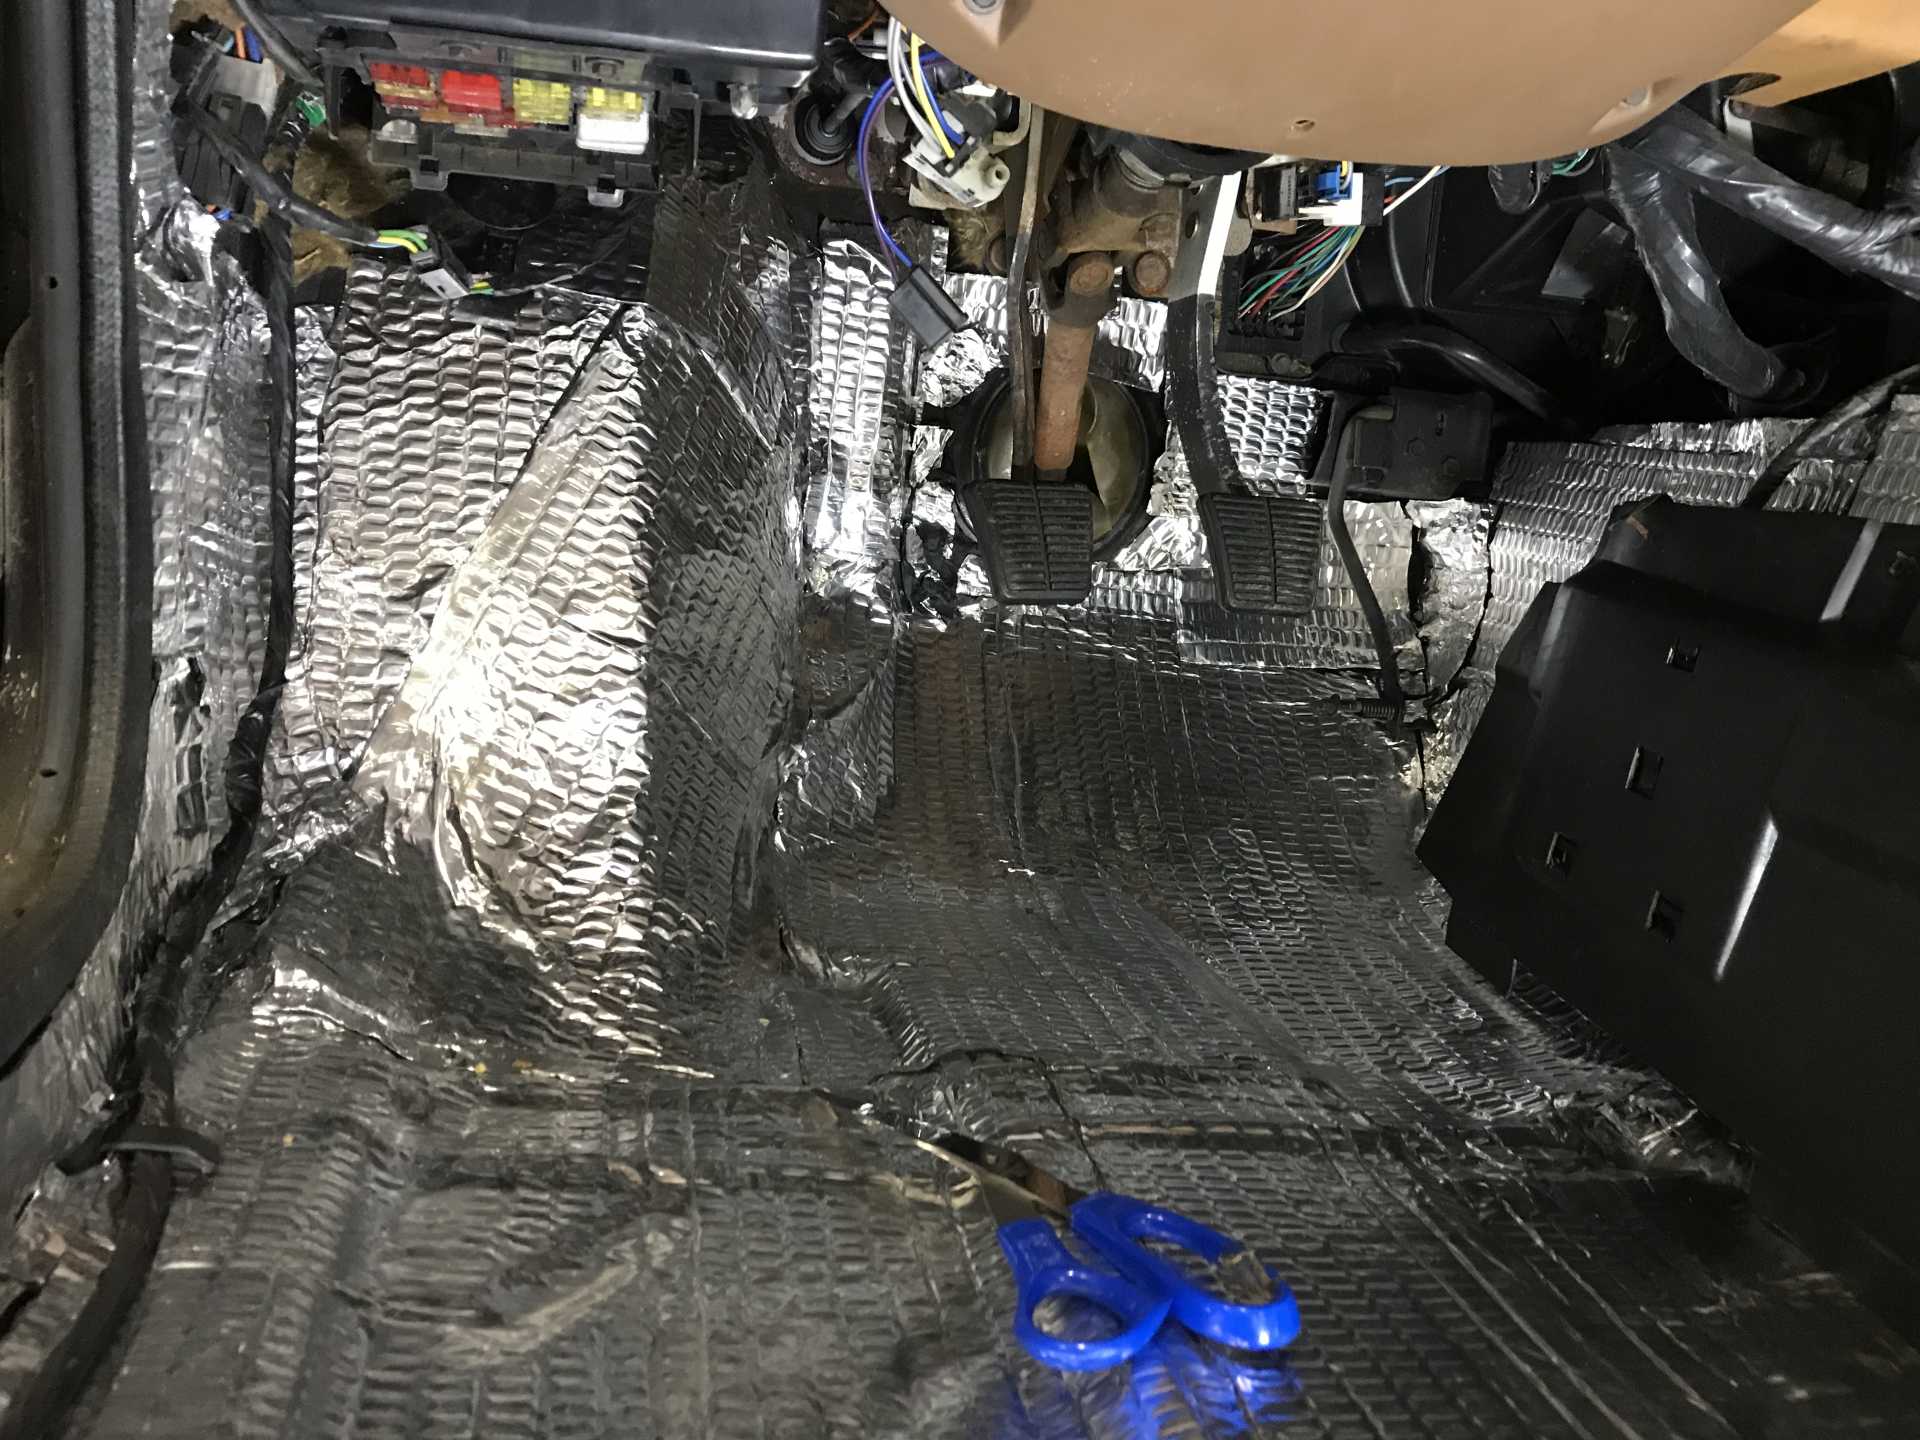
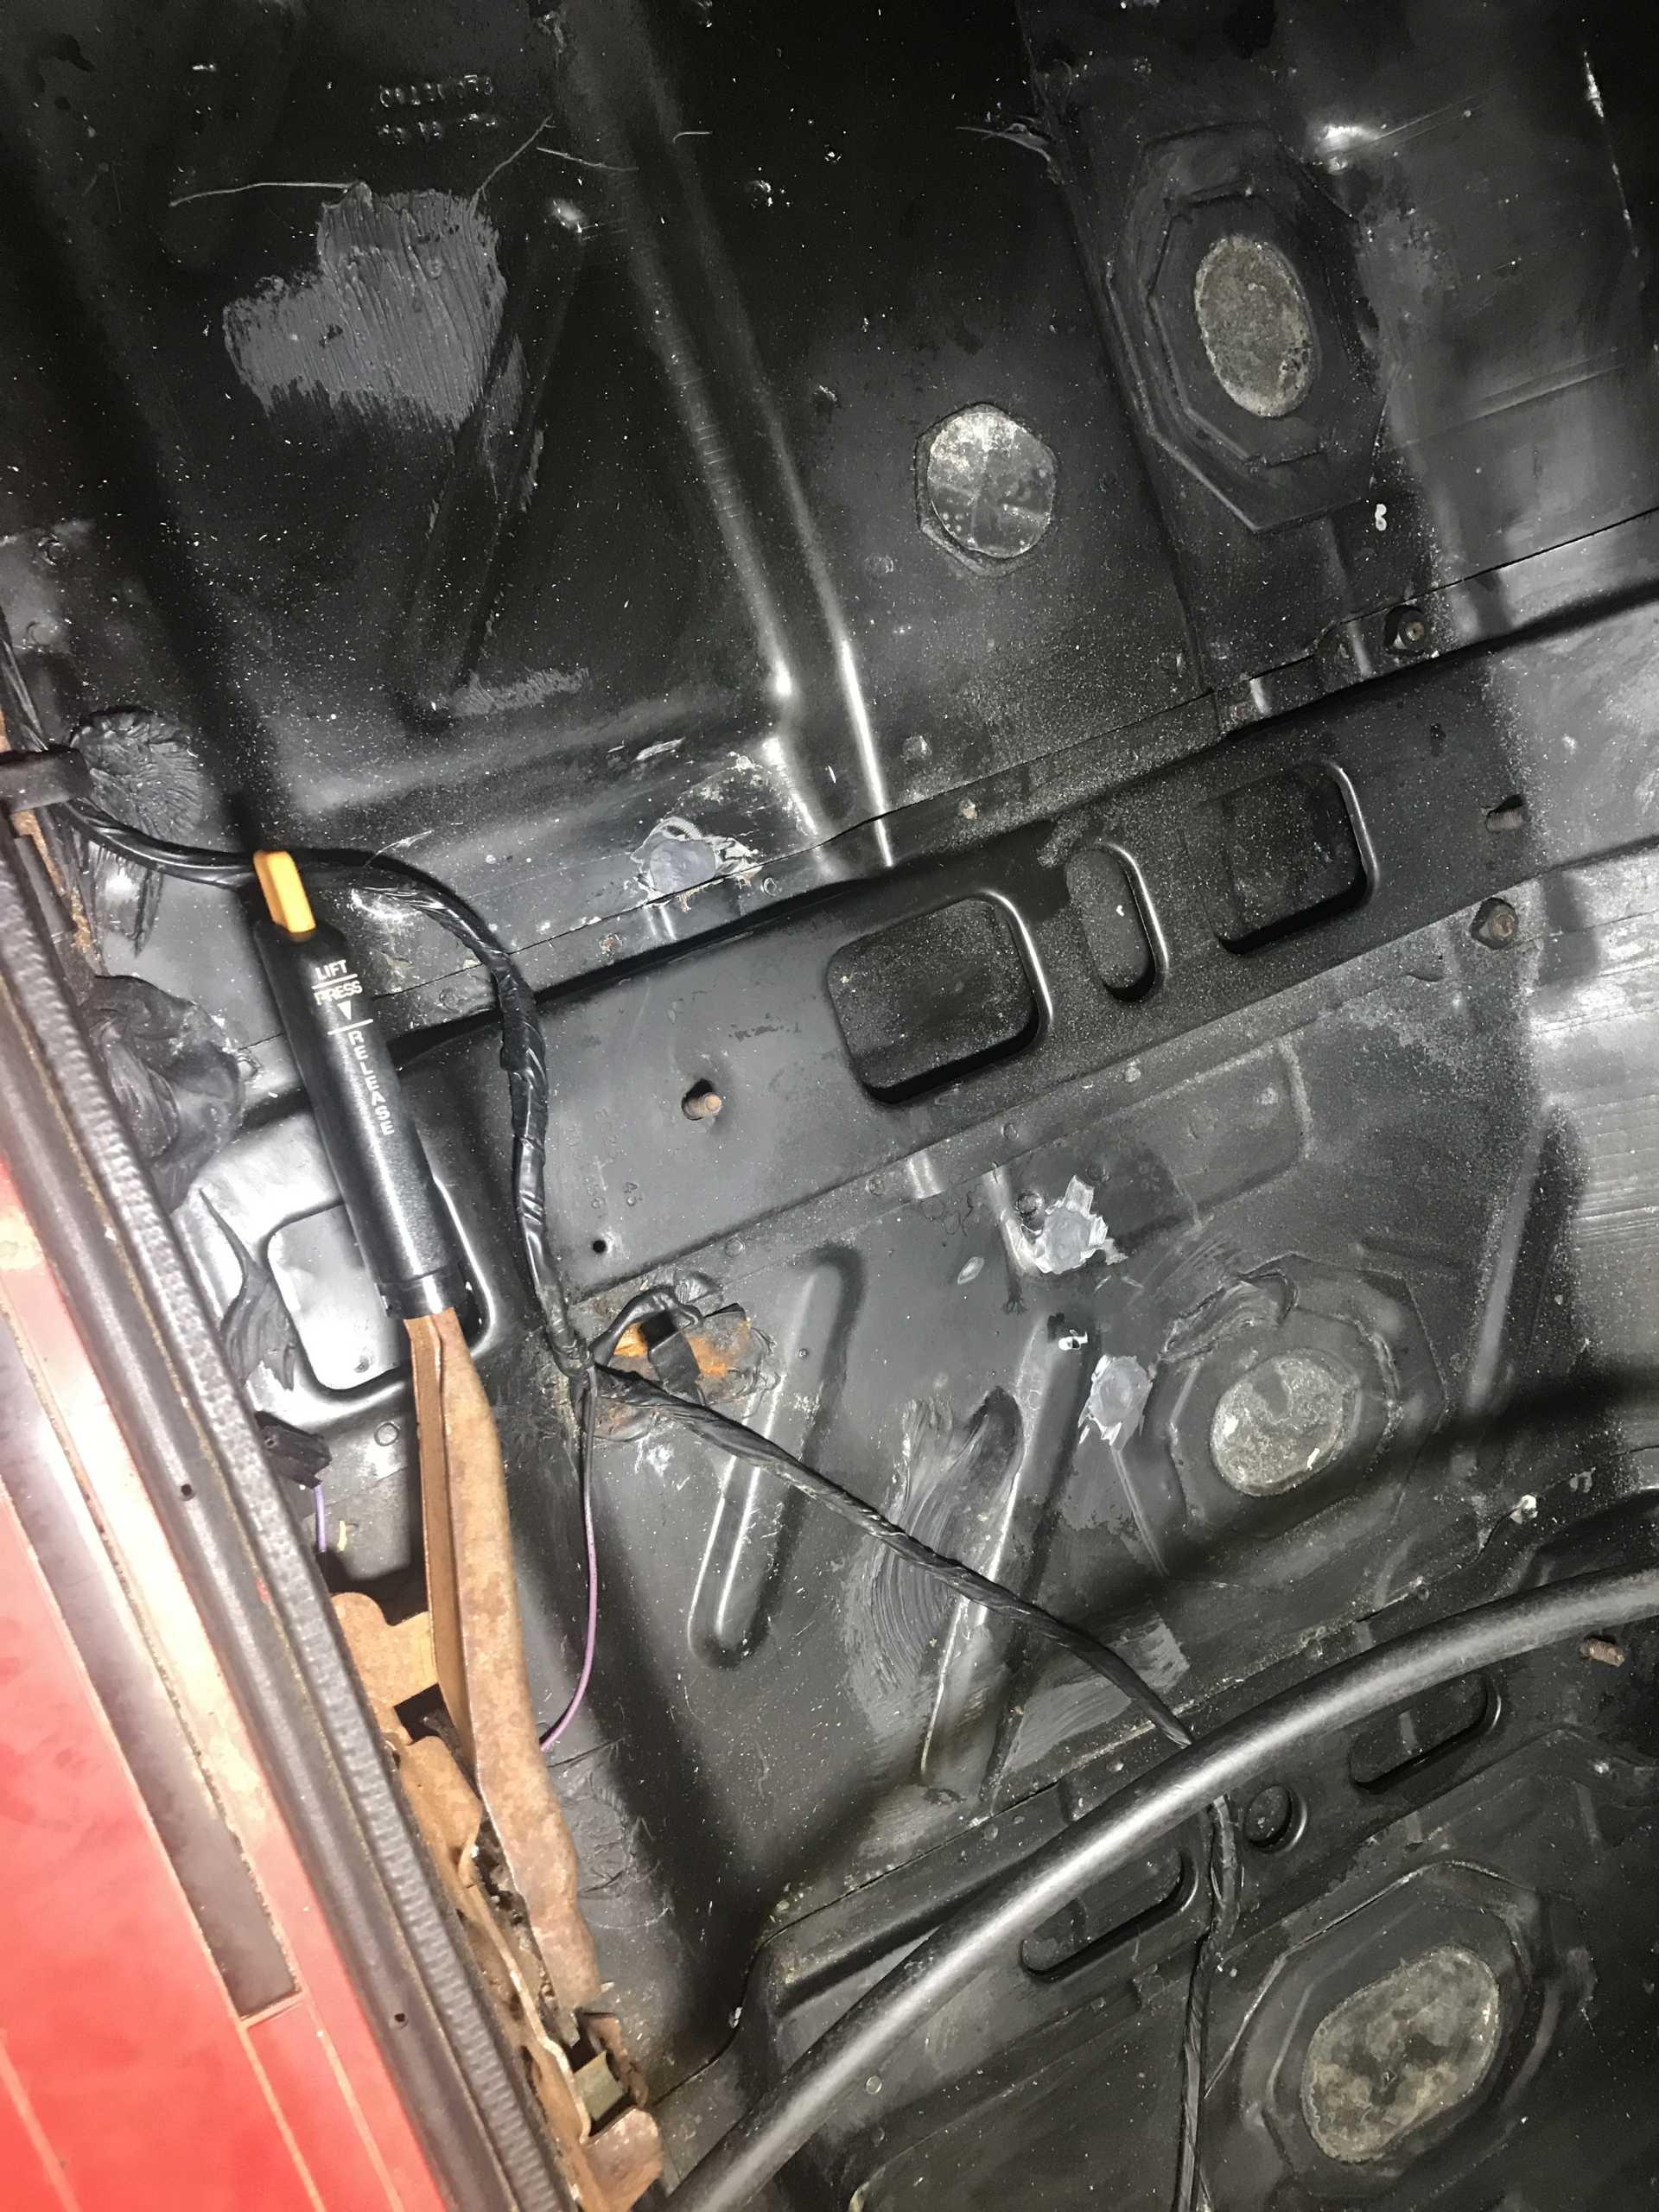
Holes prepped.
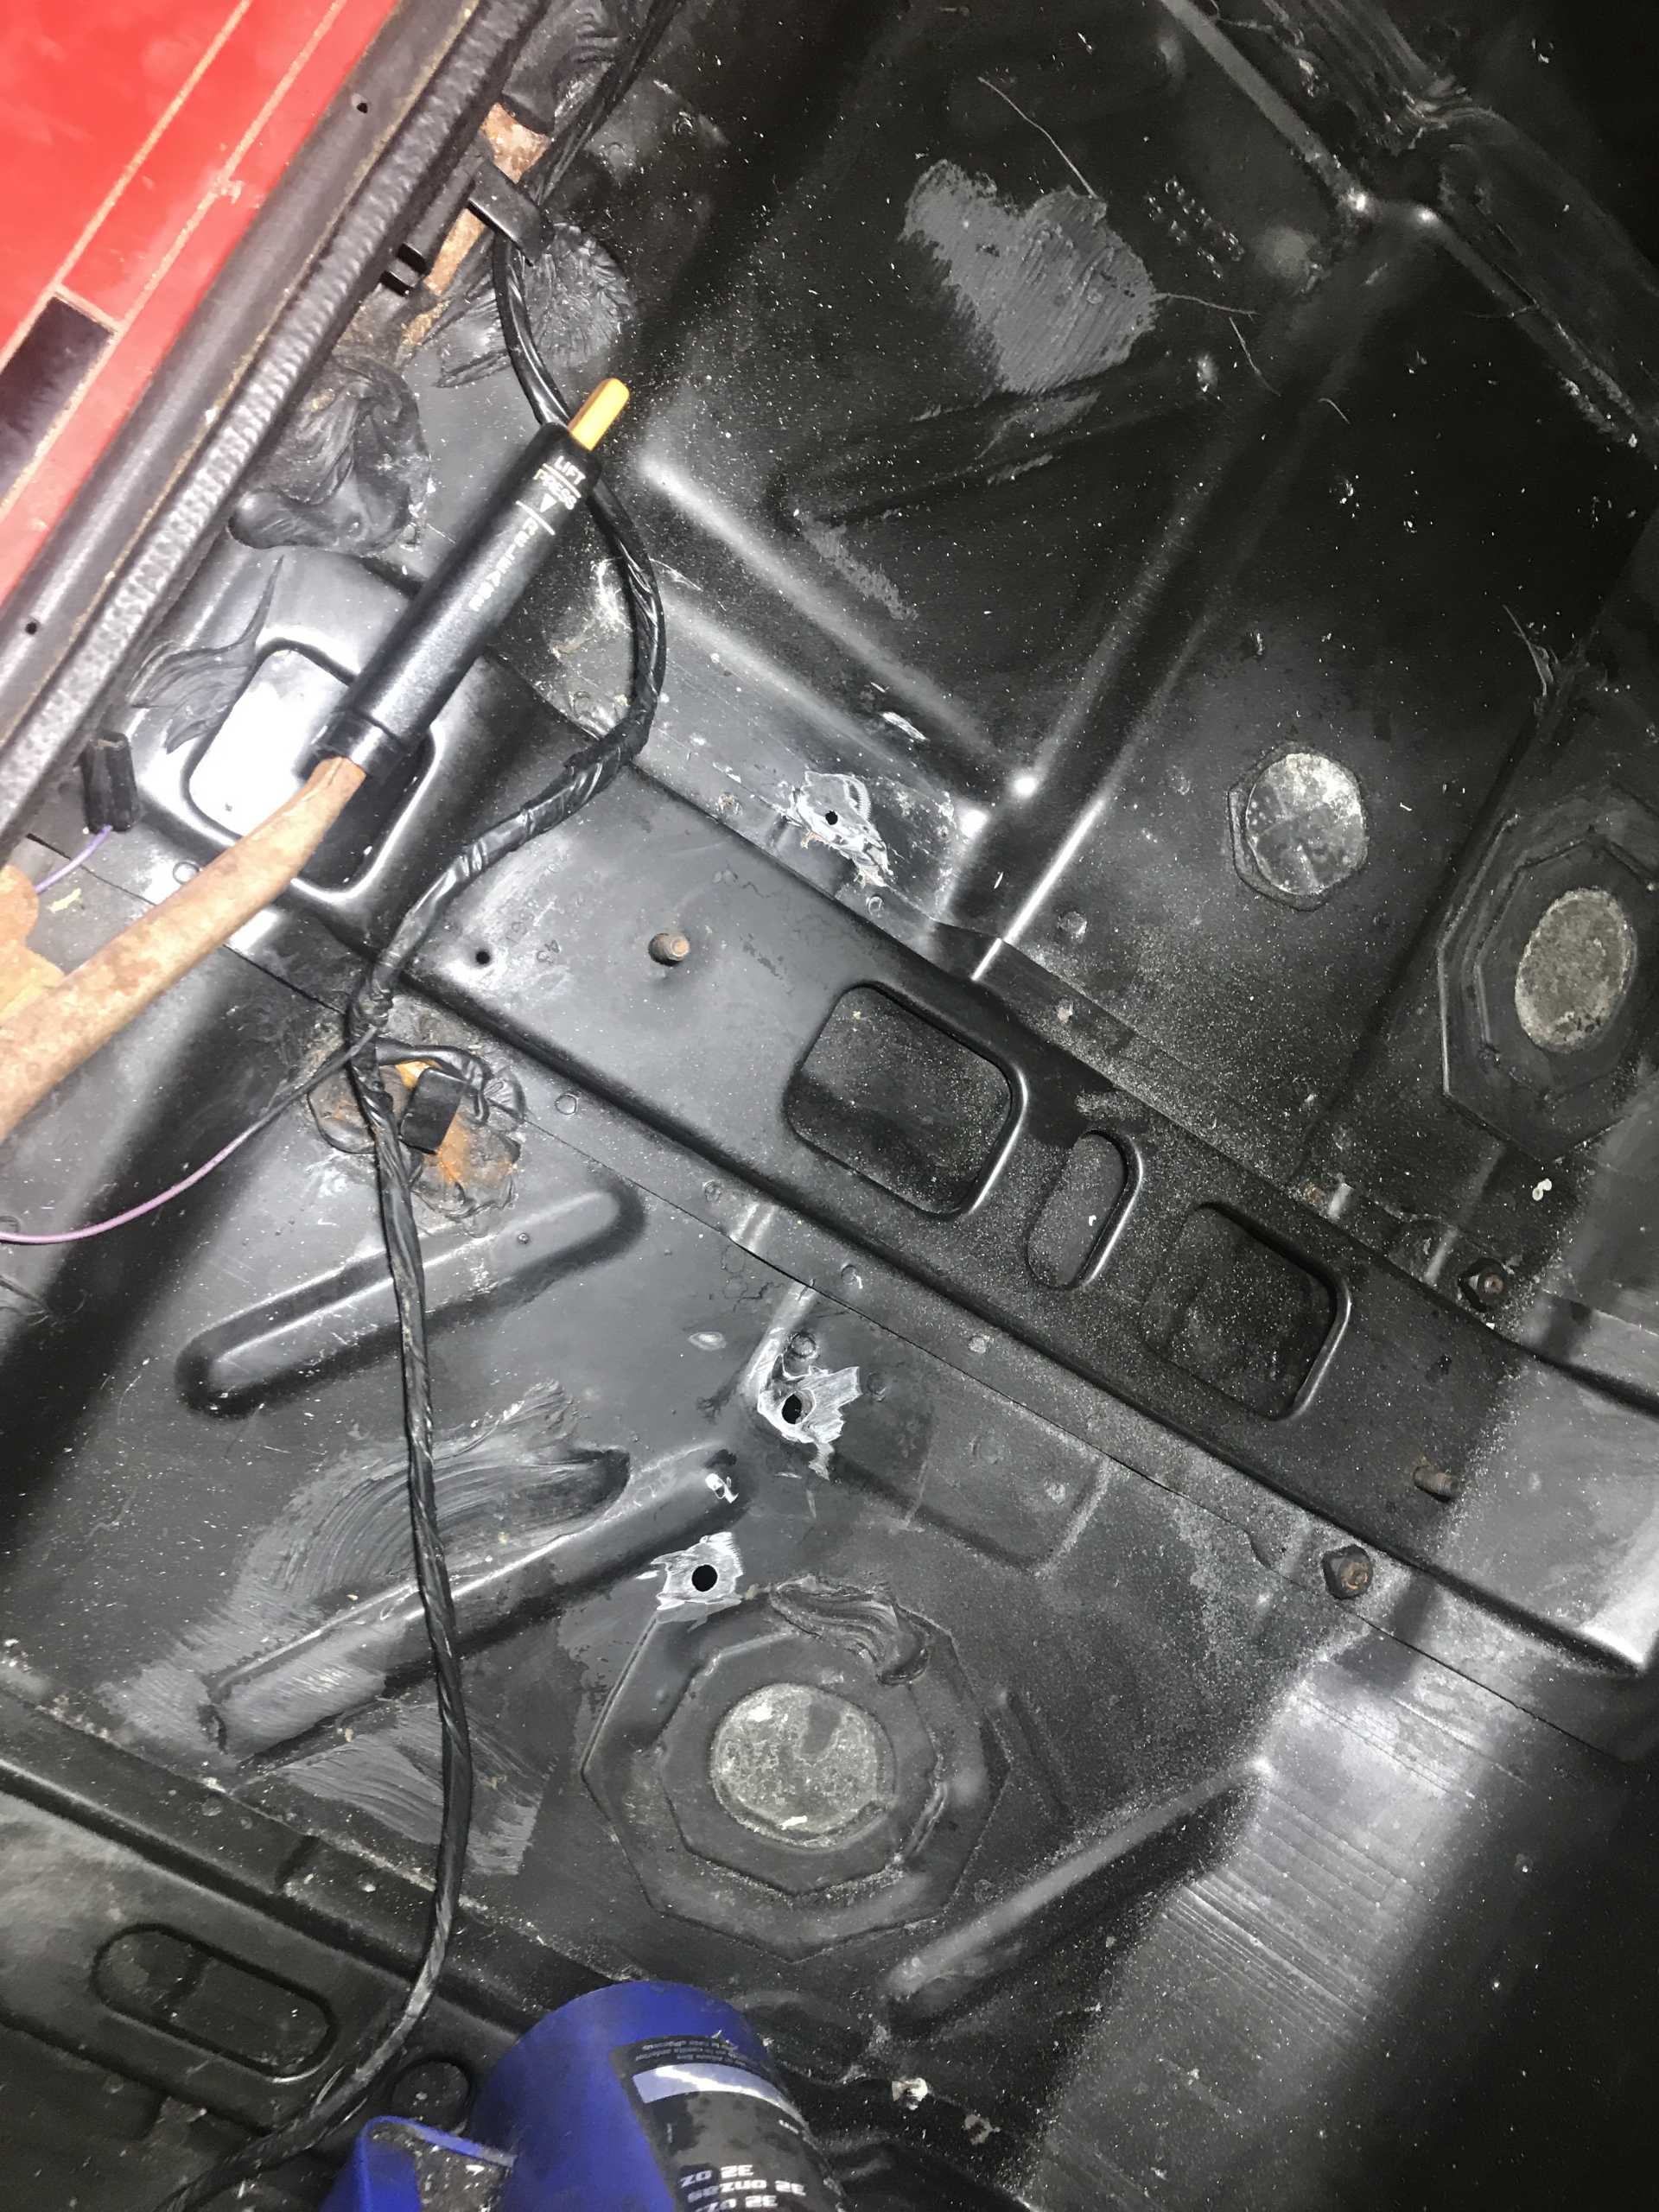
And filled with steel-stick.
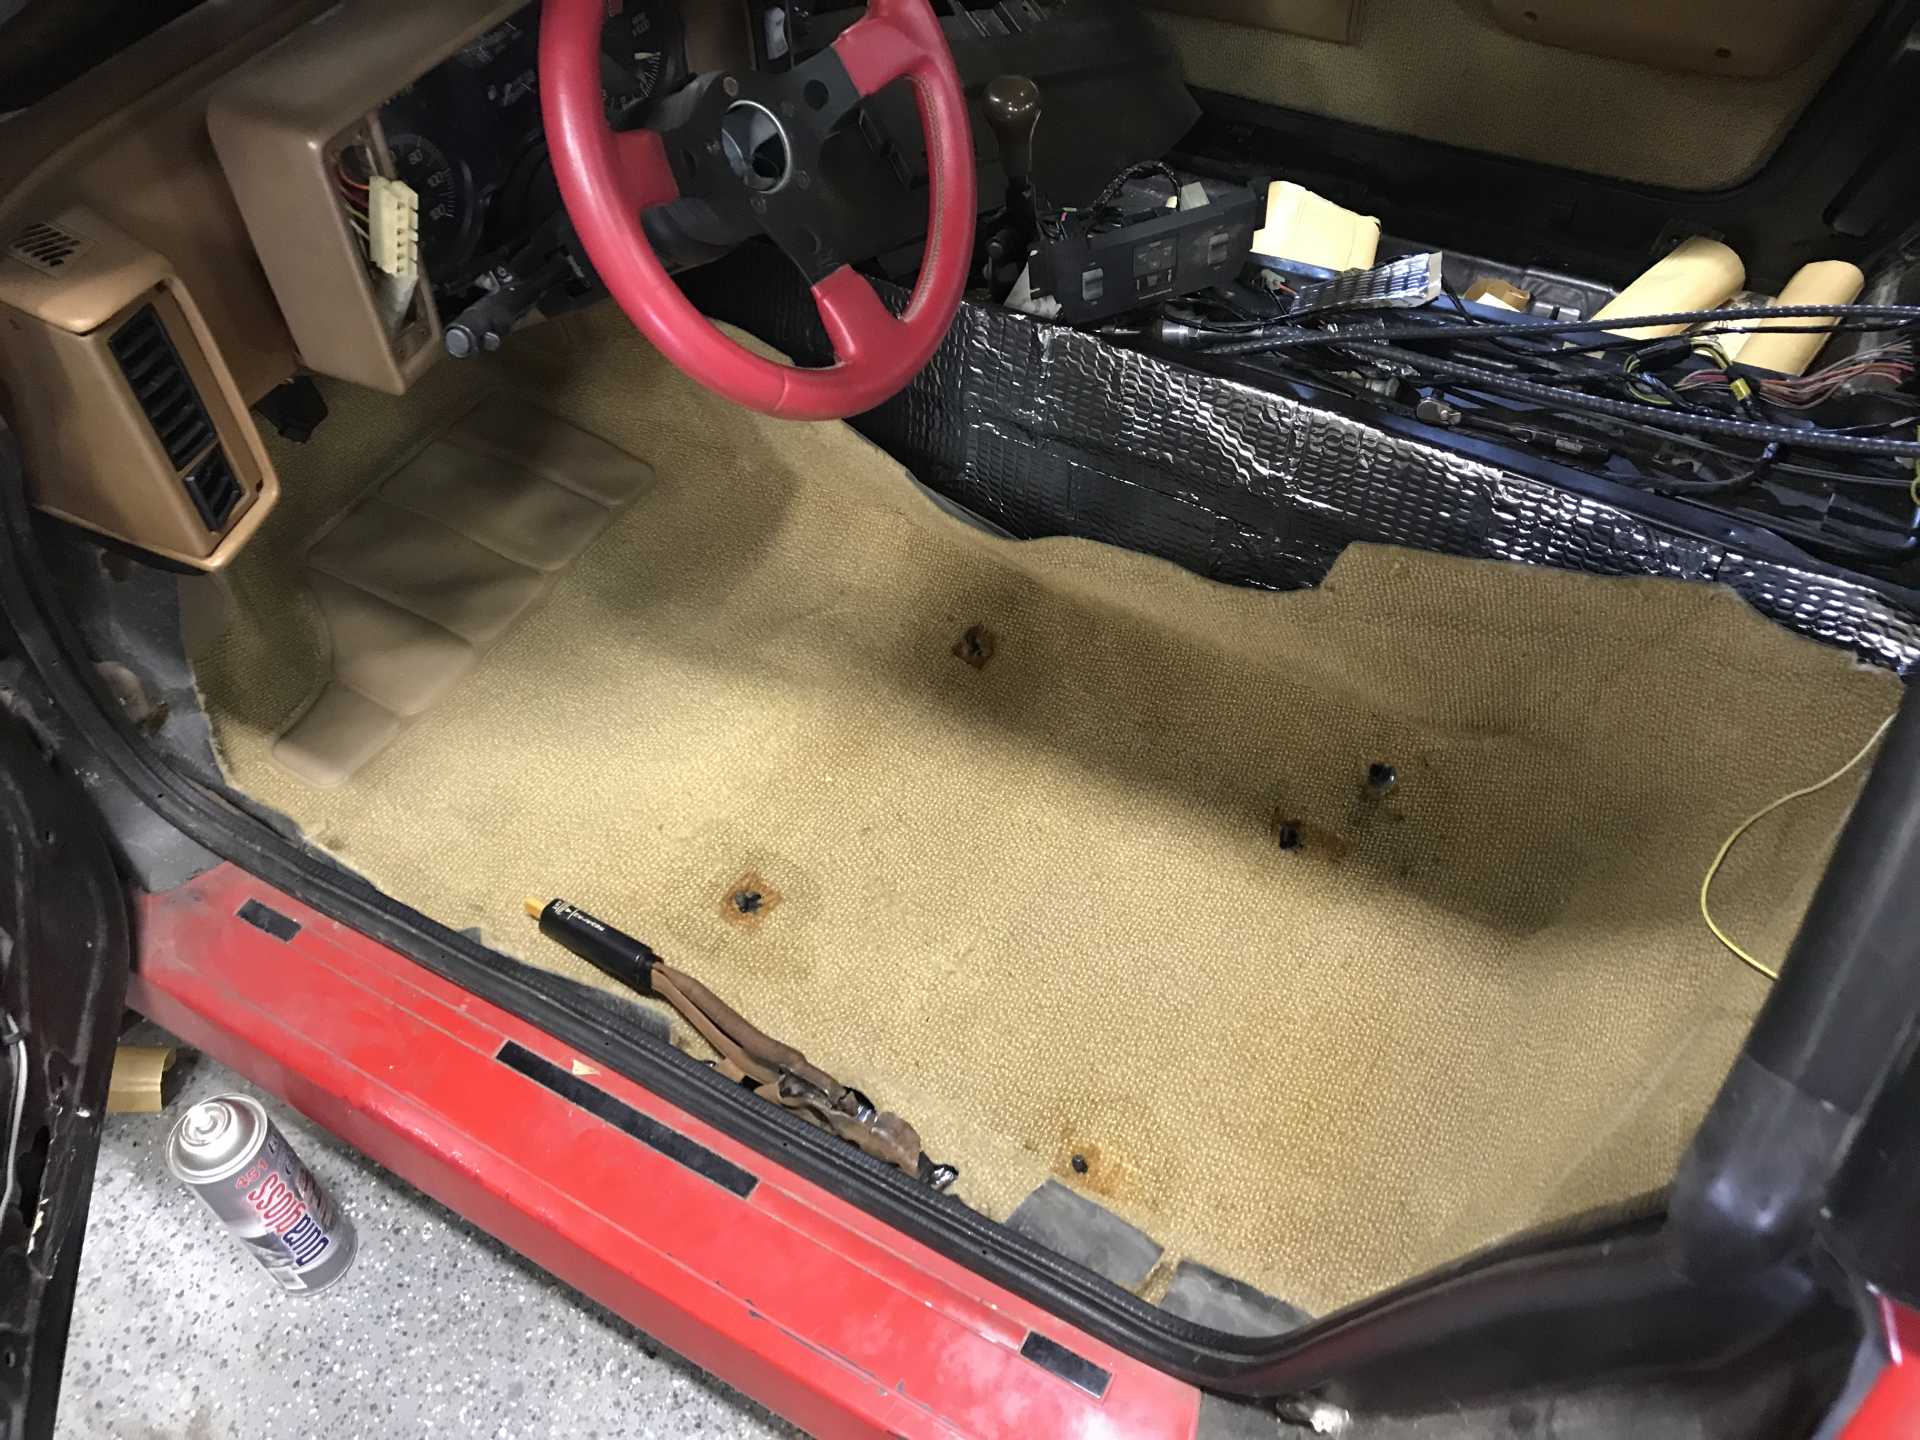
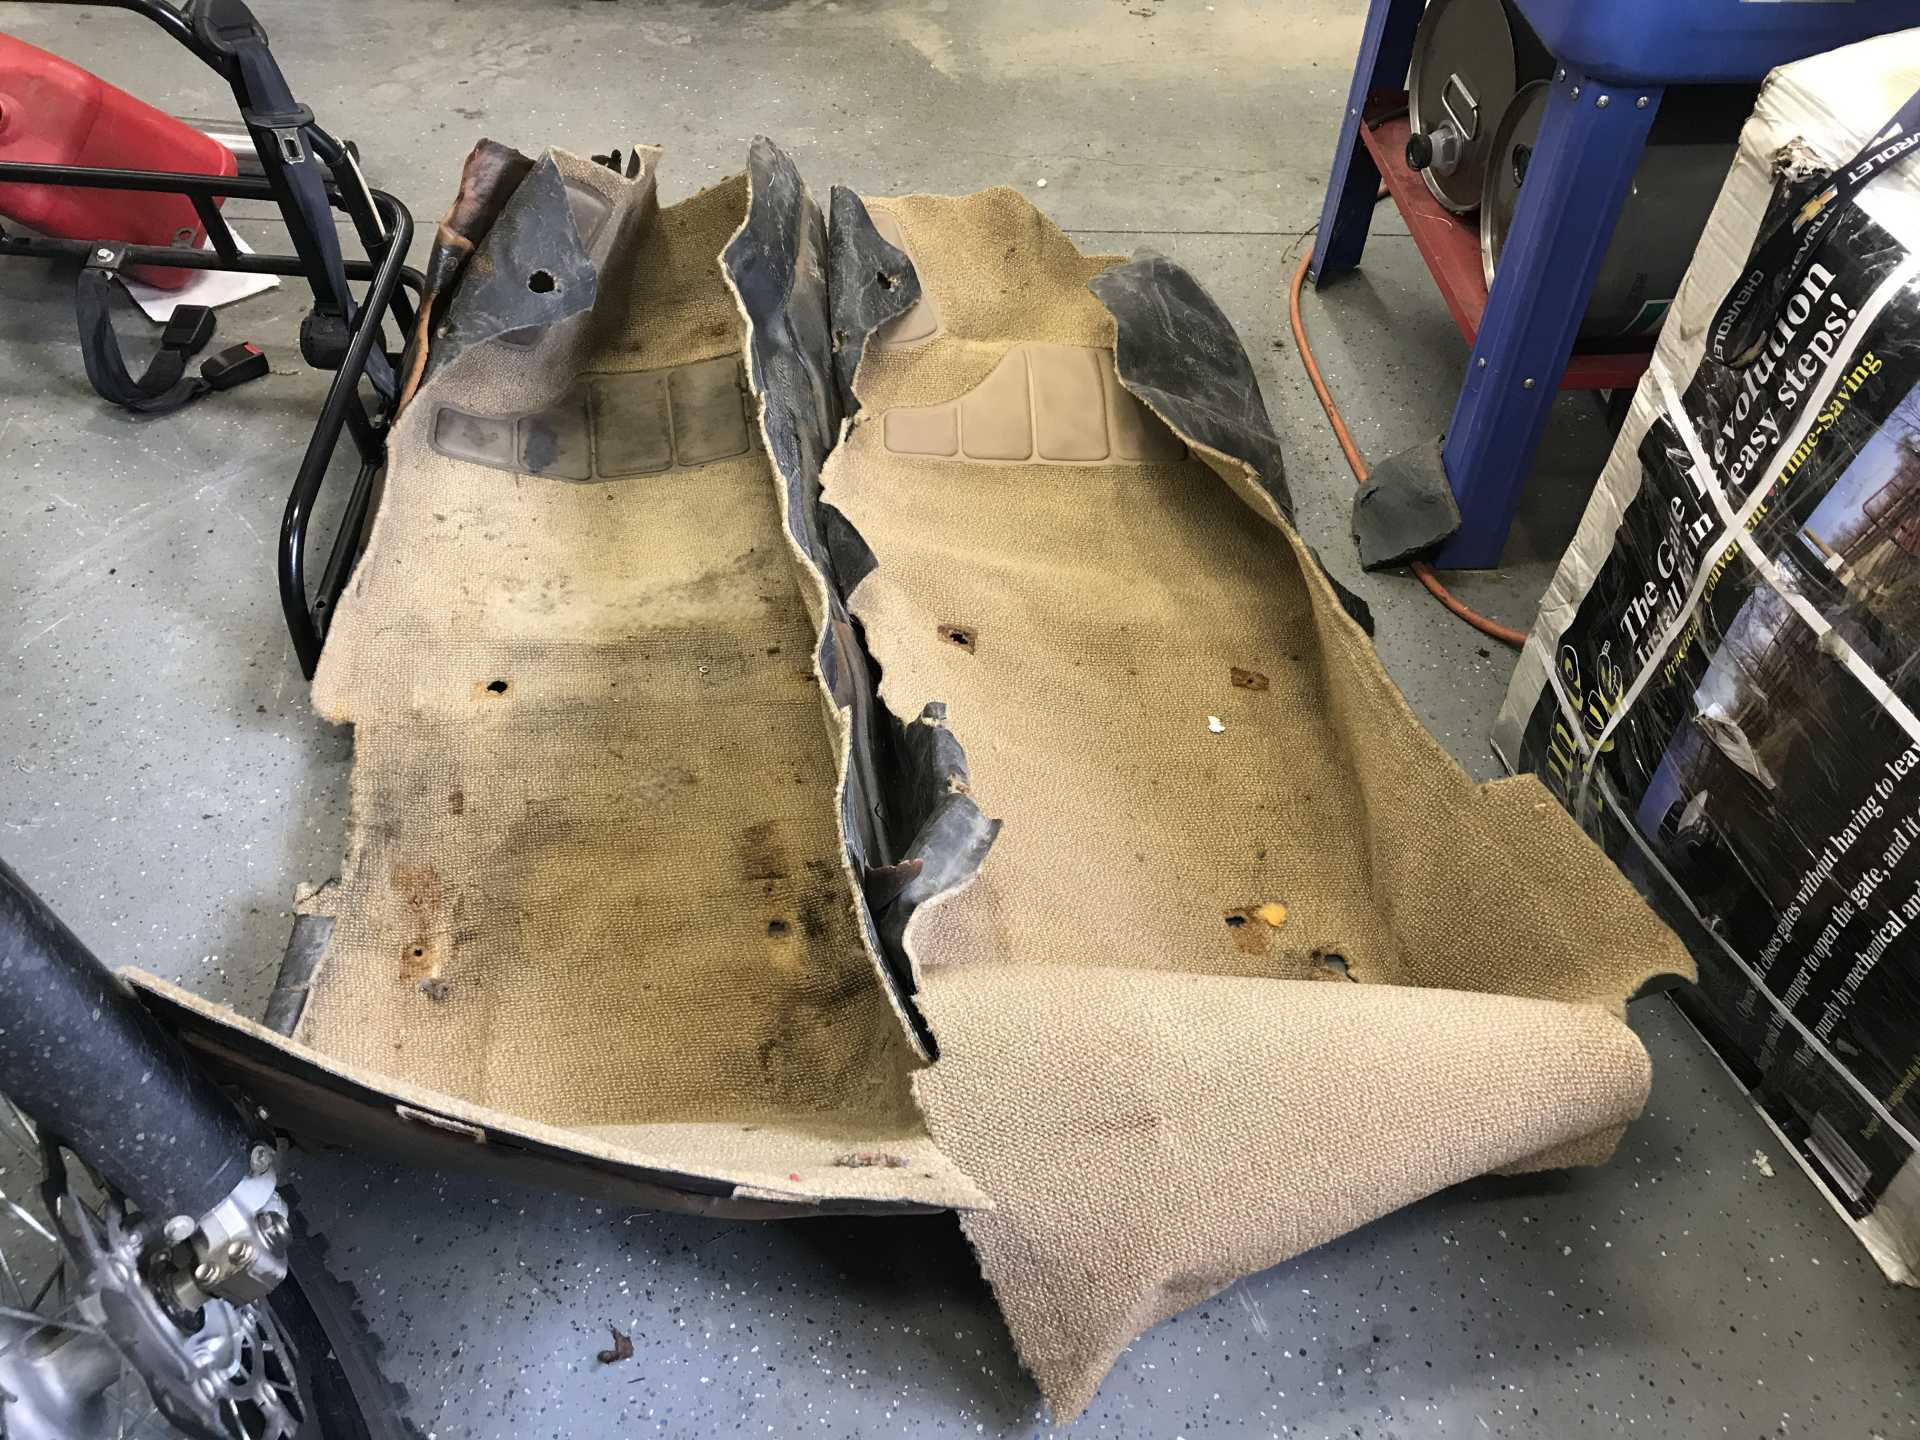
Here are the old carpets.
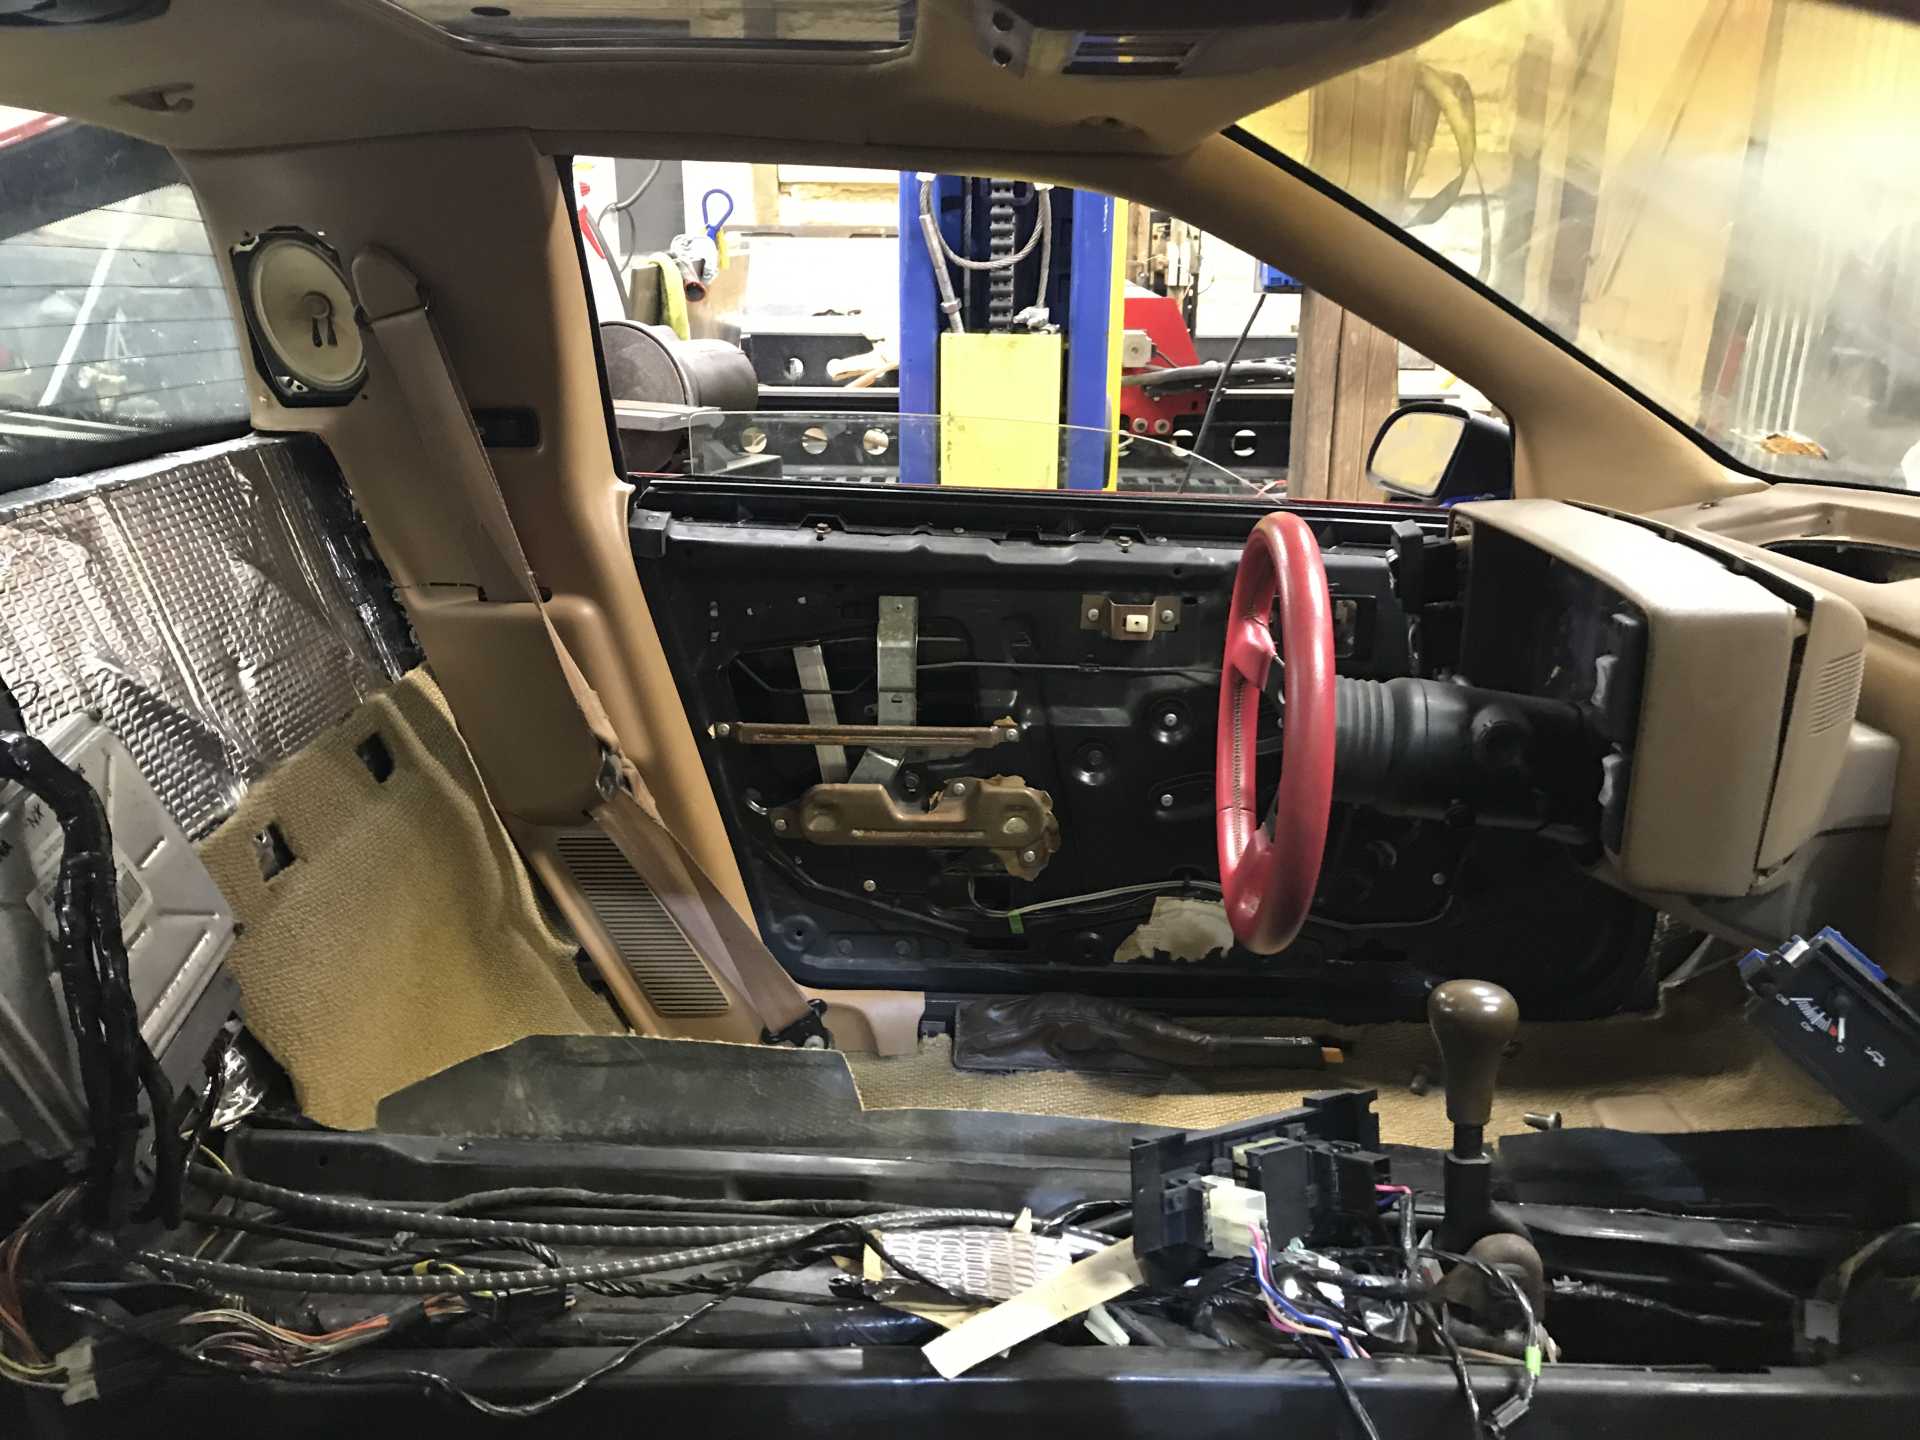
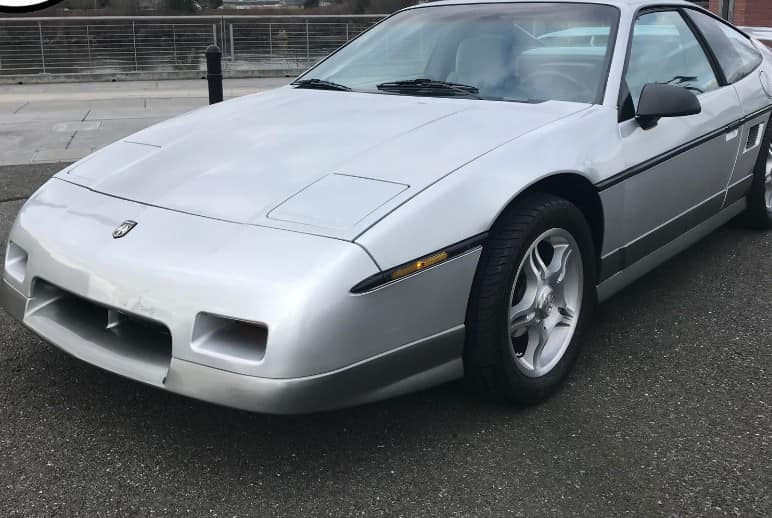
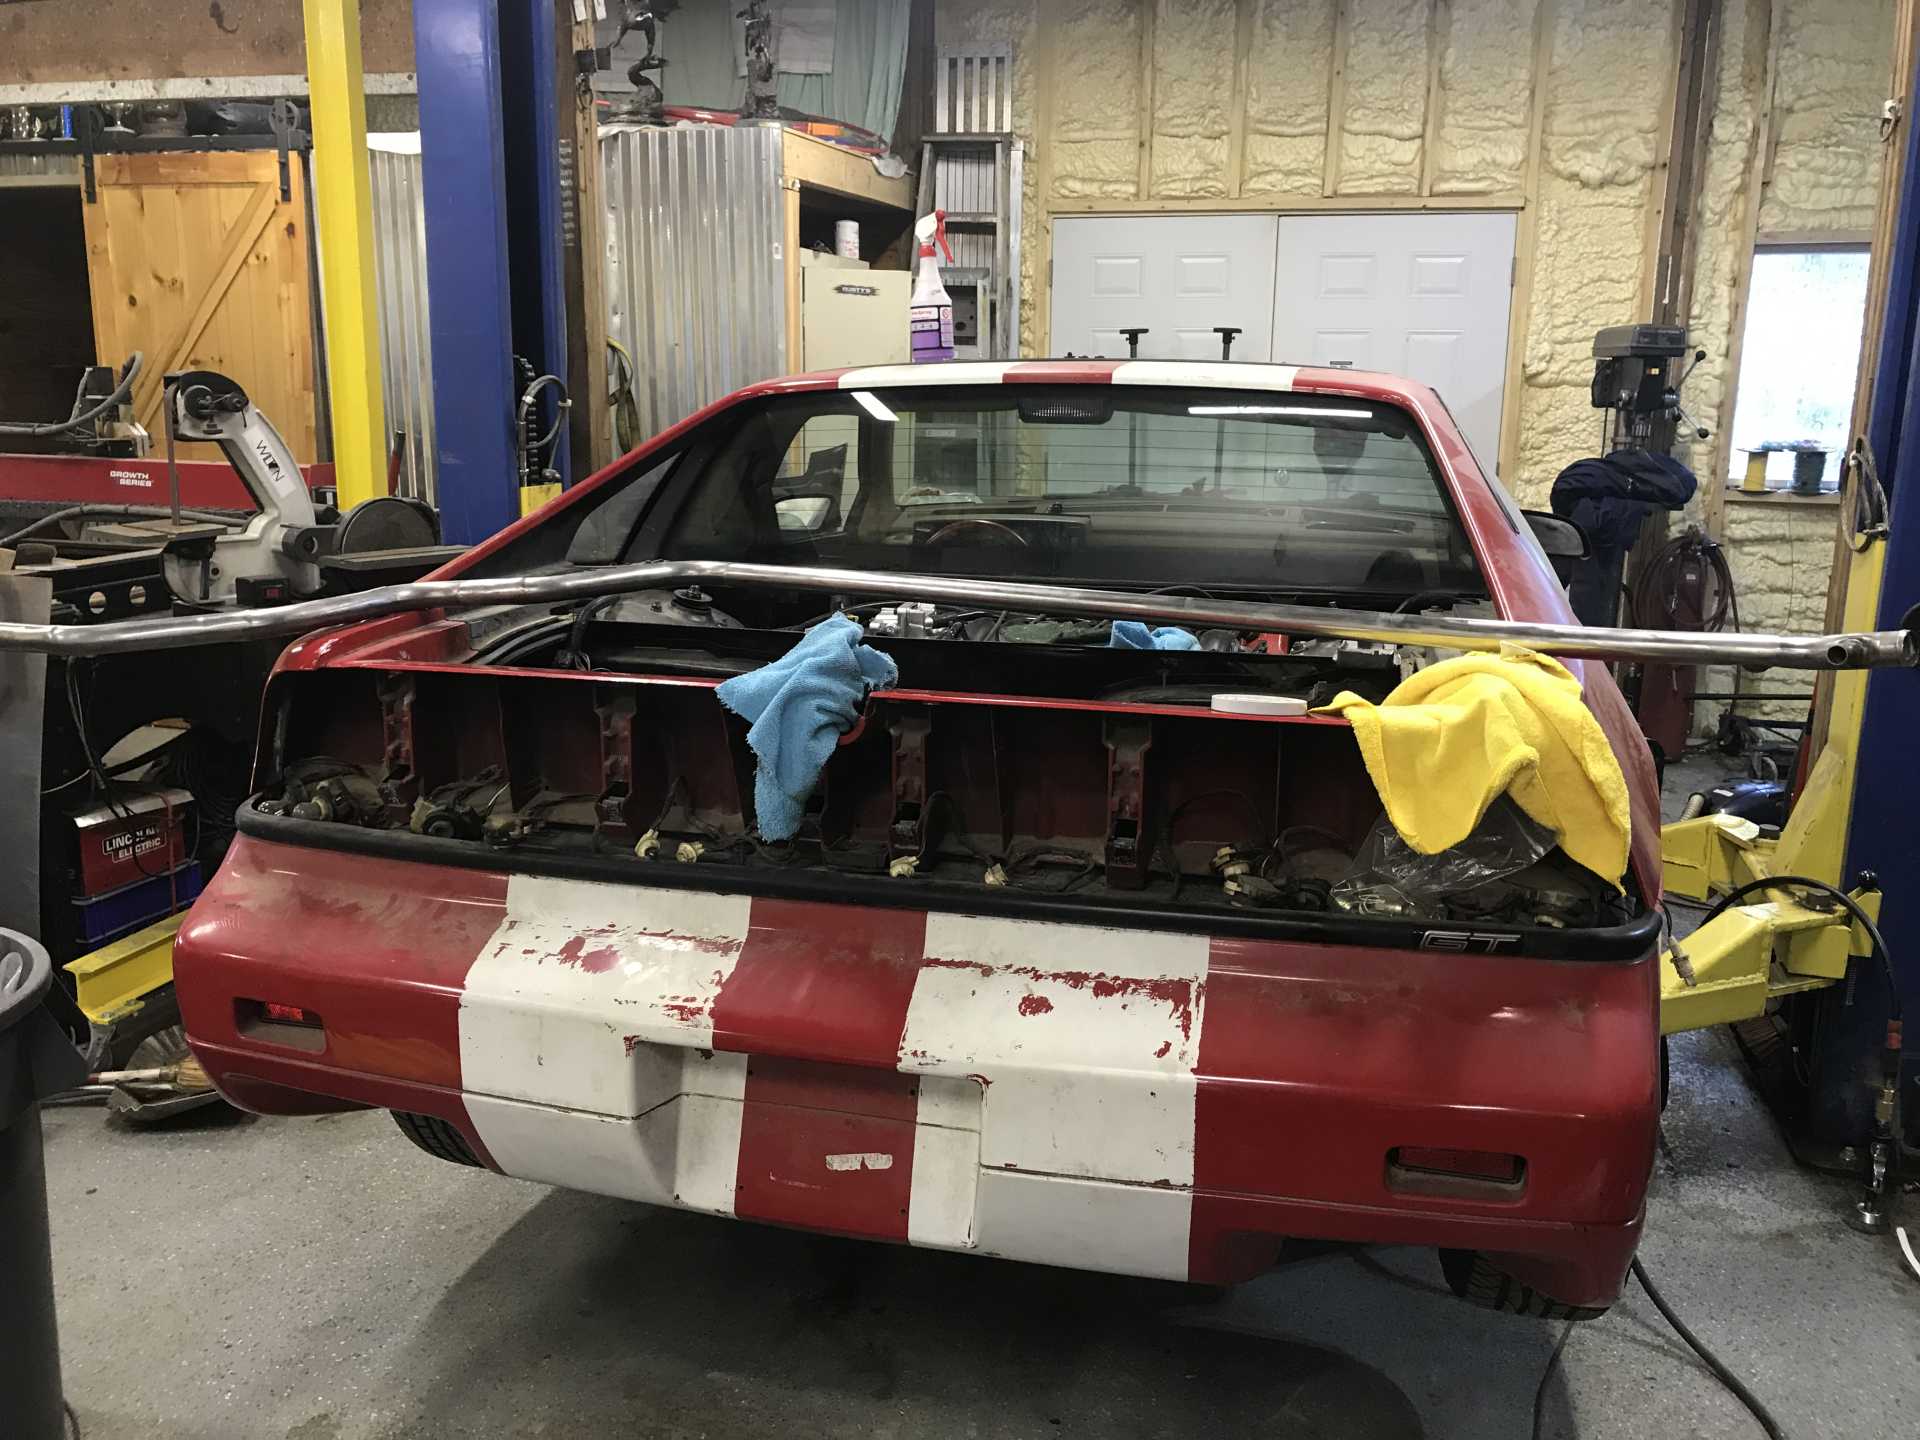
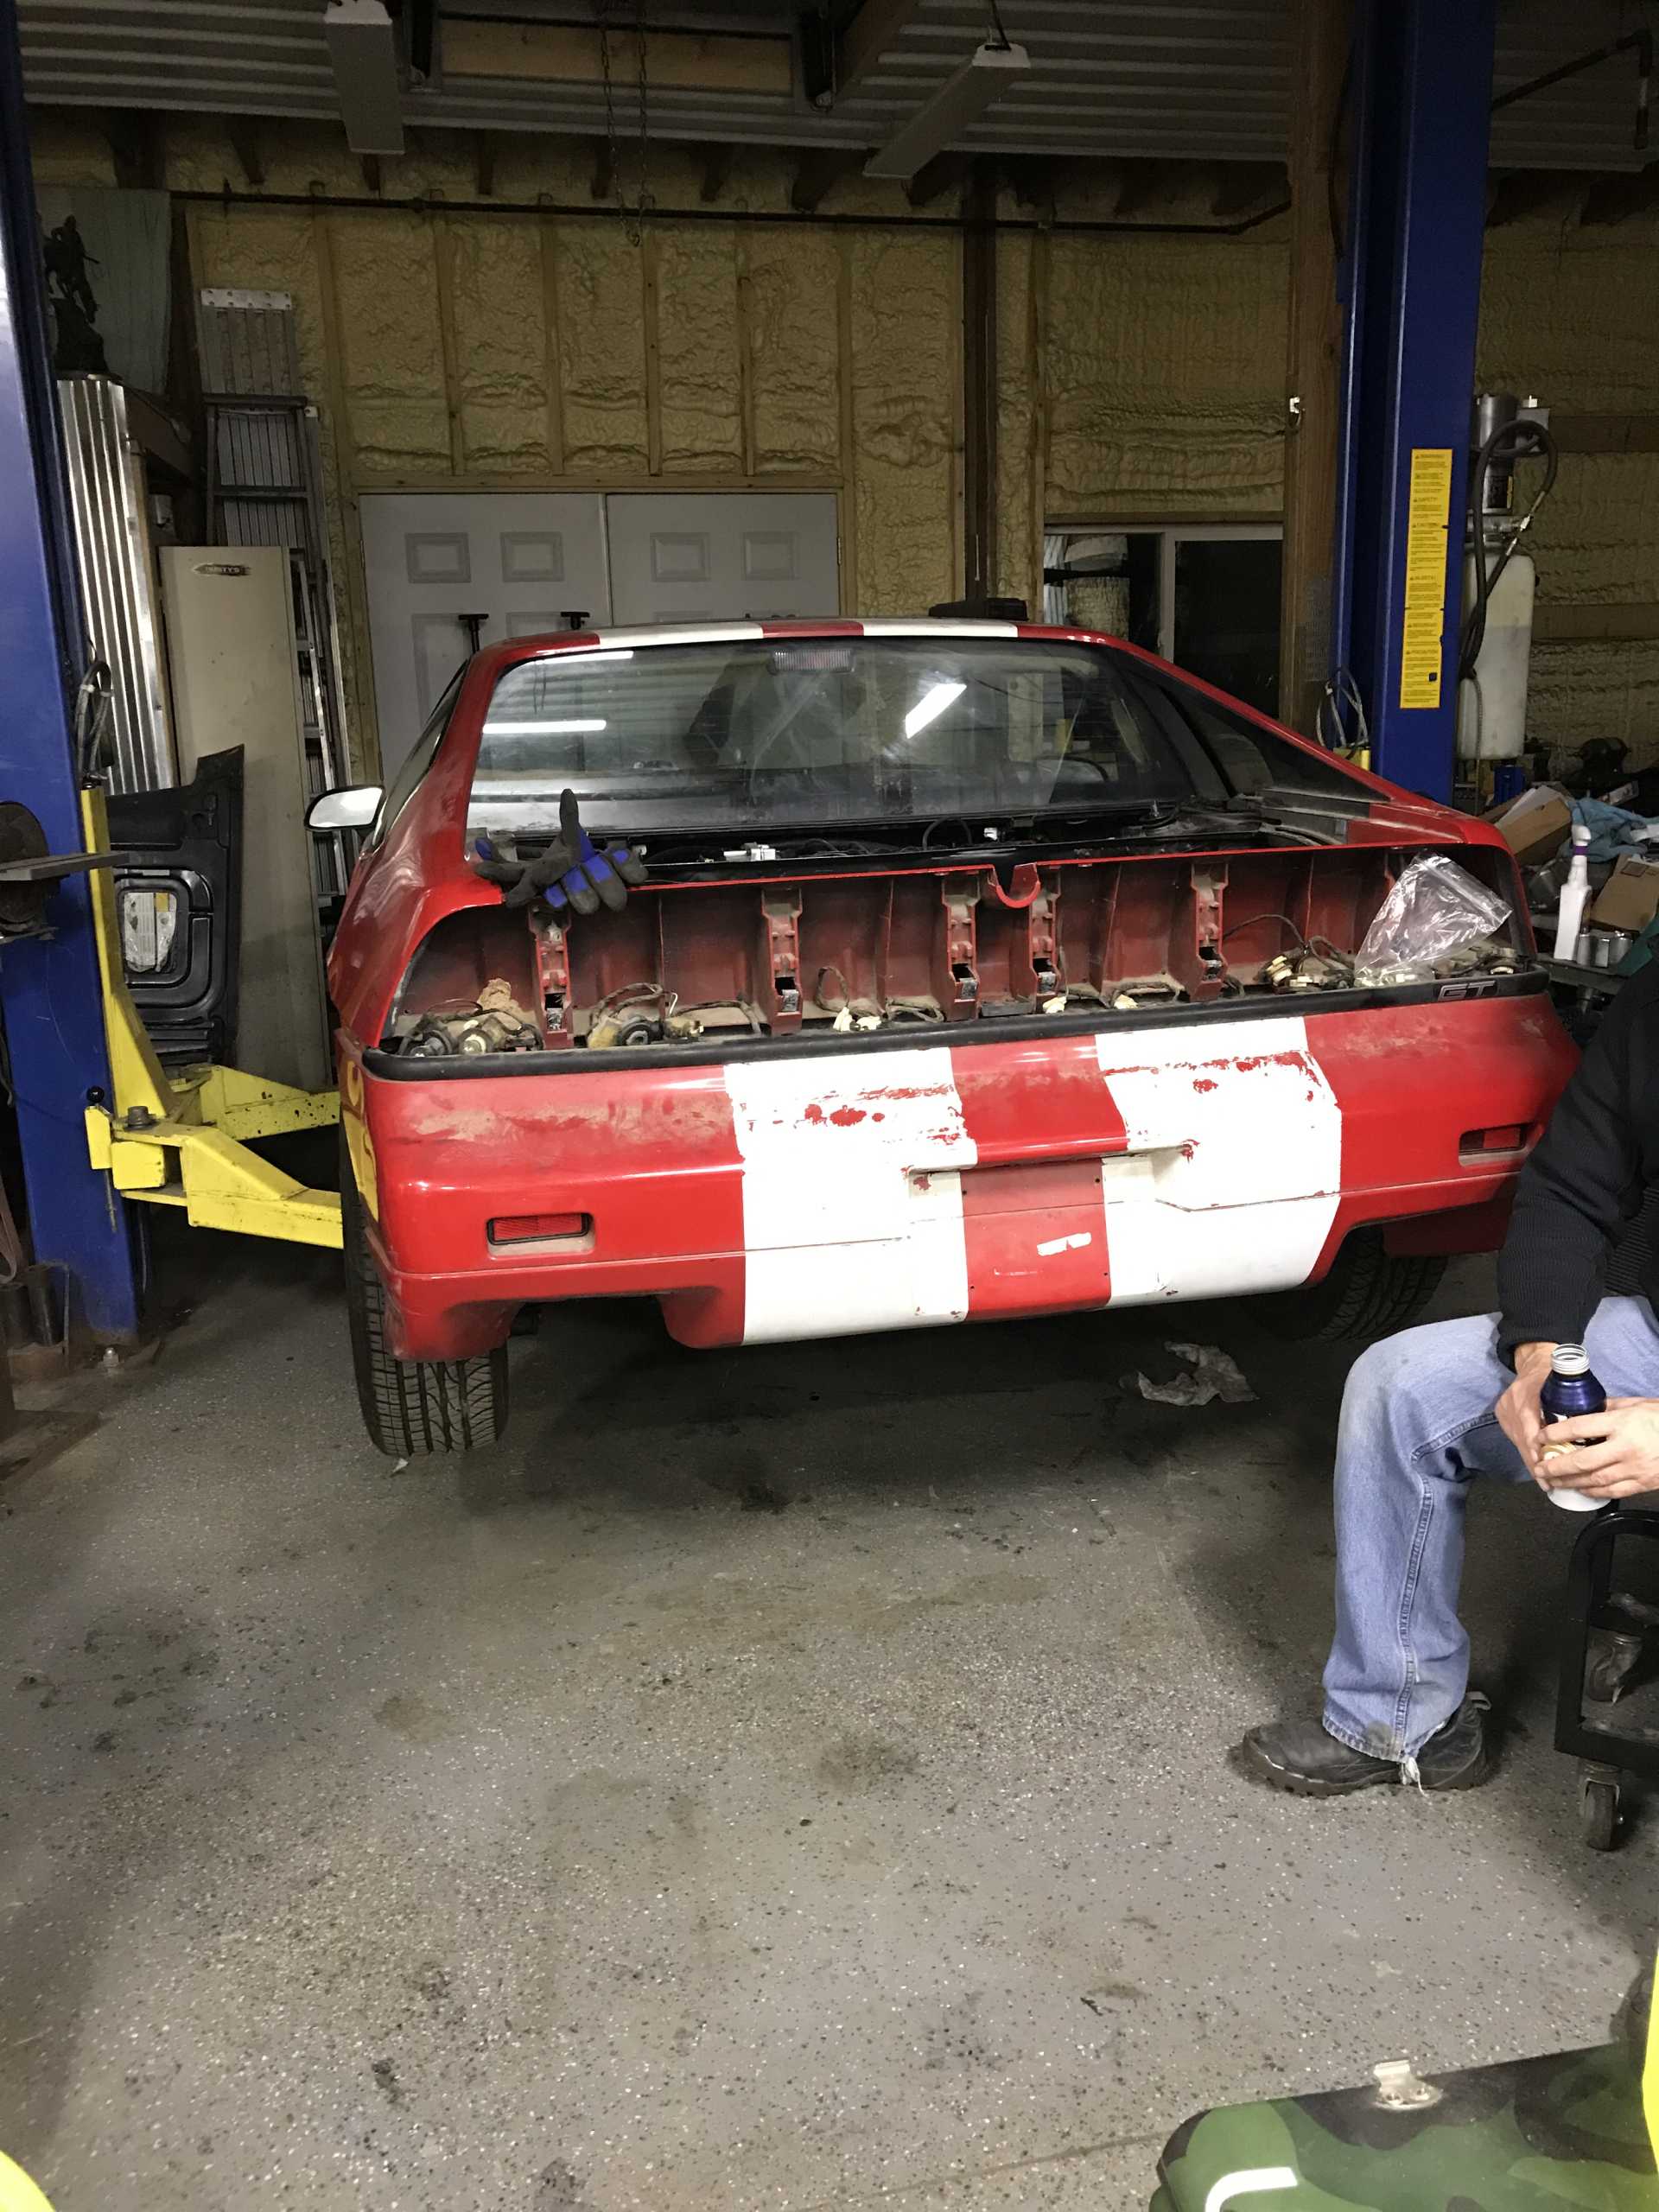
And a picture of the car for fun.
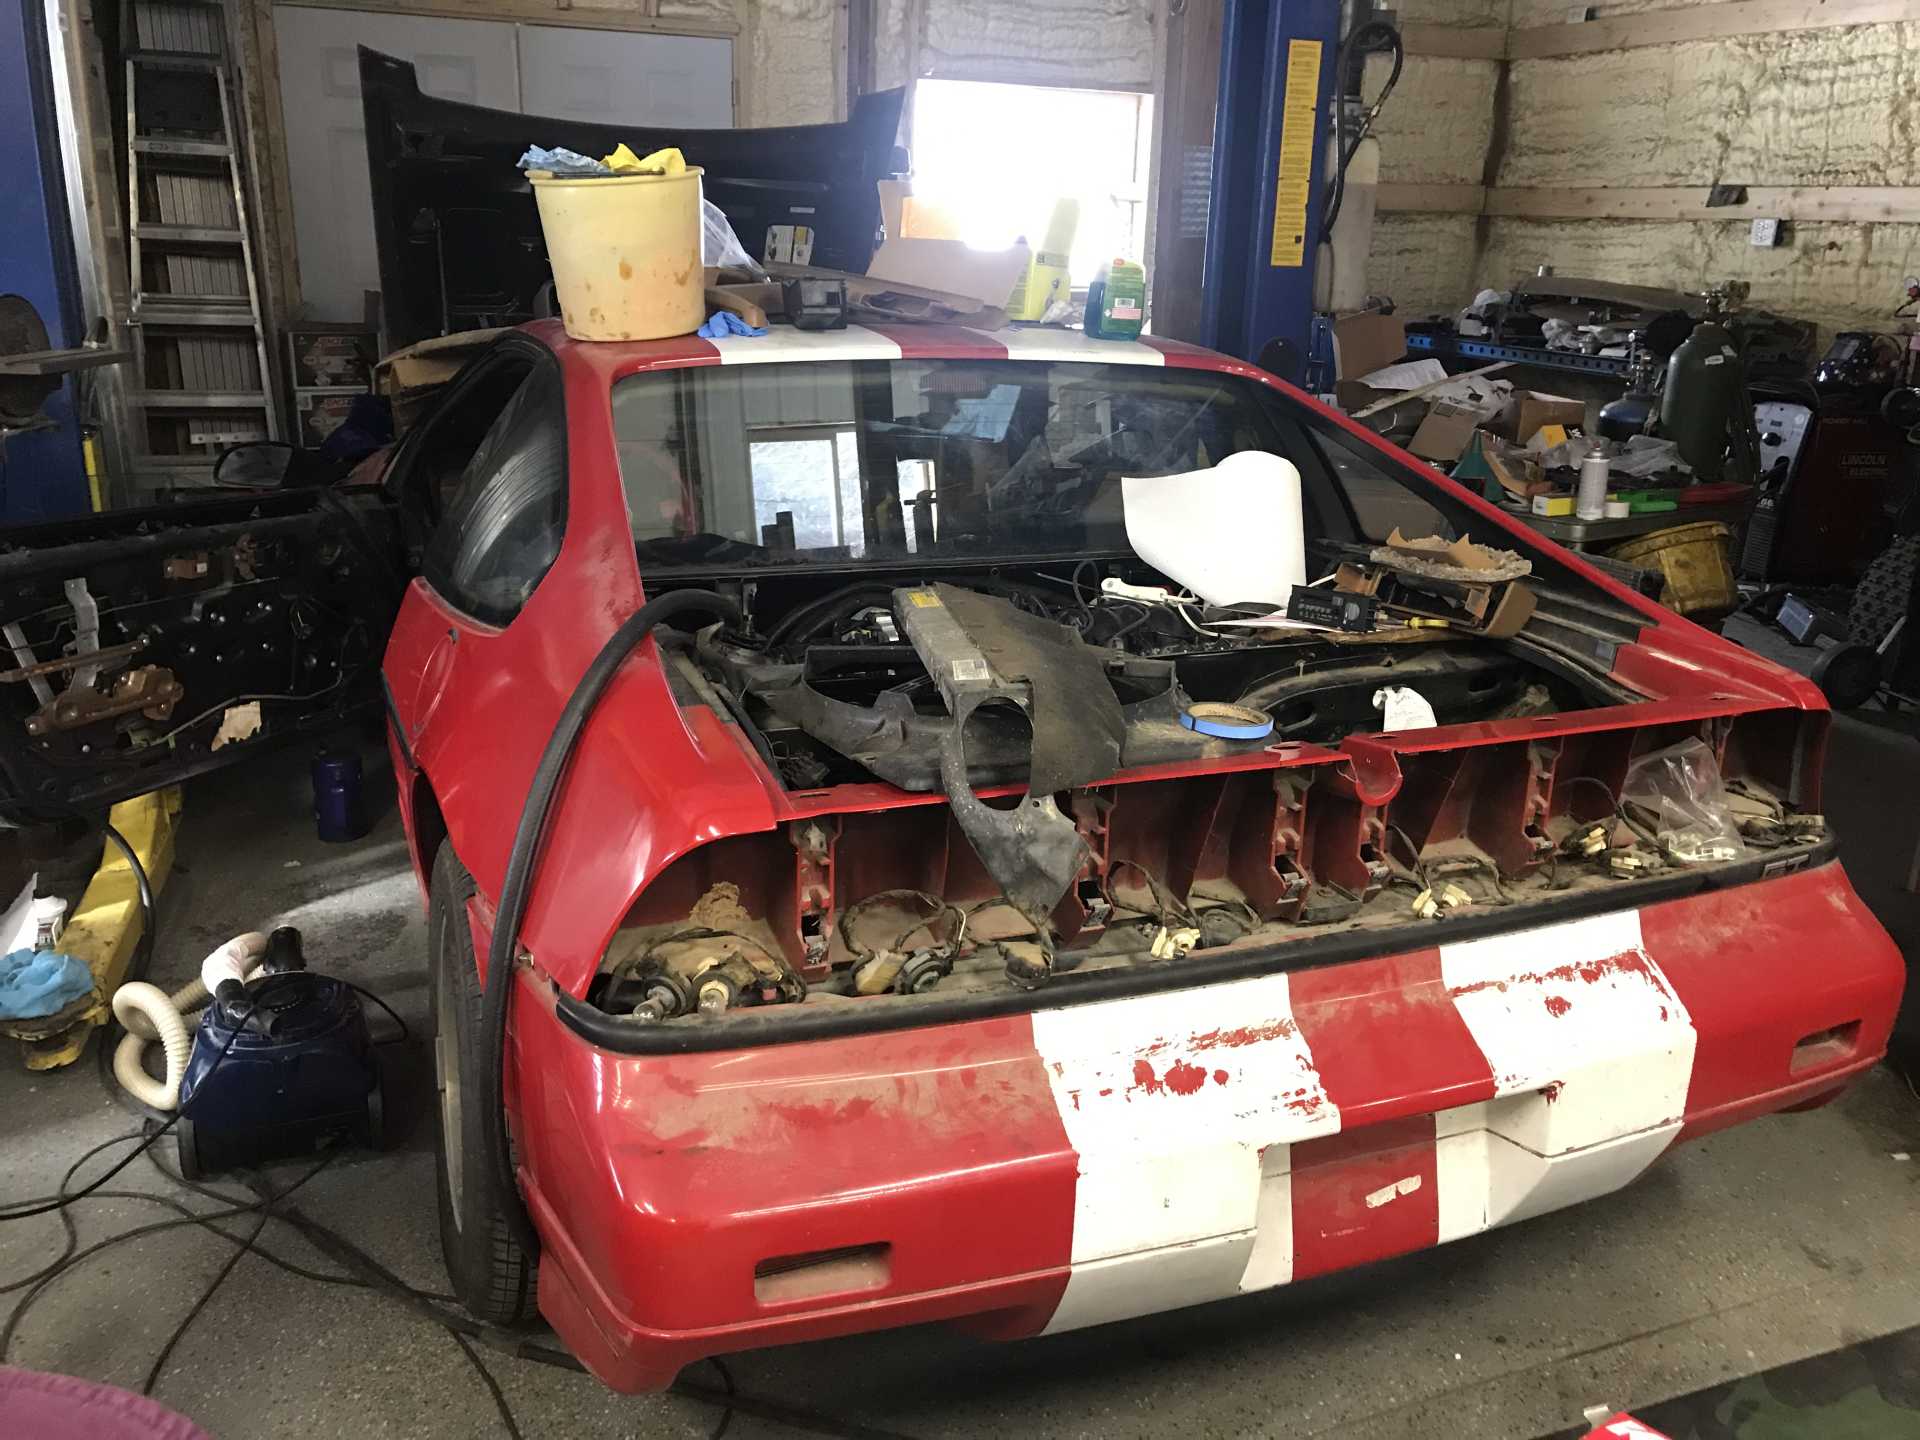
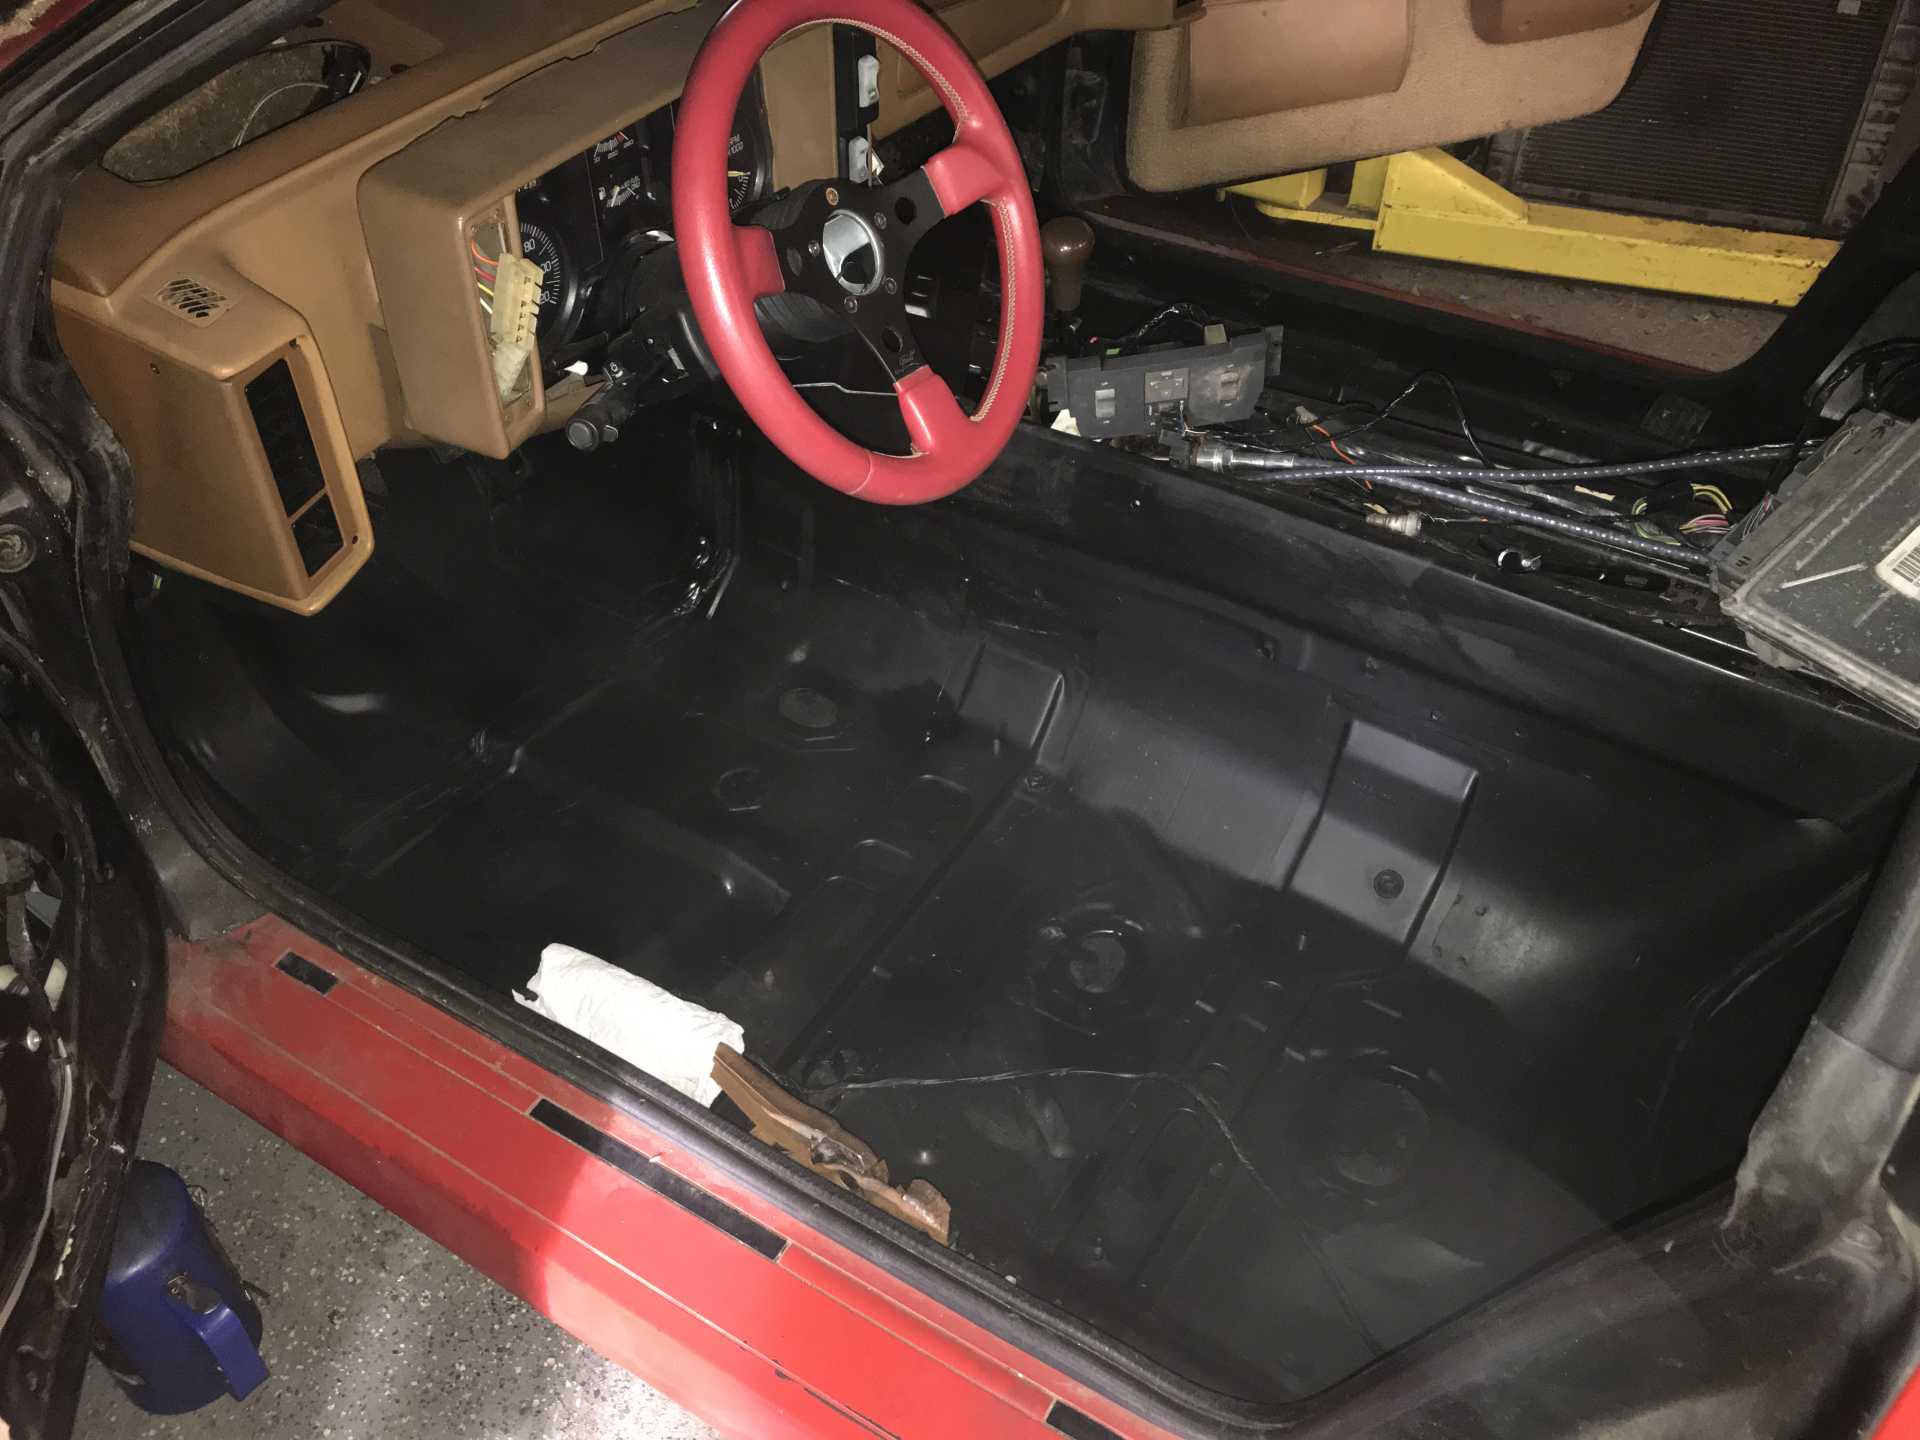
I spent a lot of time cleaning the floor. There was actually a puddle of crystallized mouse pee. After prepping them with a degreaser, I hit them with some paint. Luckily there really wasn’t rust to deal with, but the couple spots of it I scuffed off.
|
|
|
|
copperhens
|
DEC 28, 03:44 PM
|
|
|
|
|
copperhens
|
DEC 28, 03:55 PM
|
|
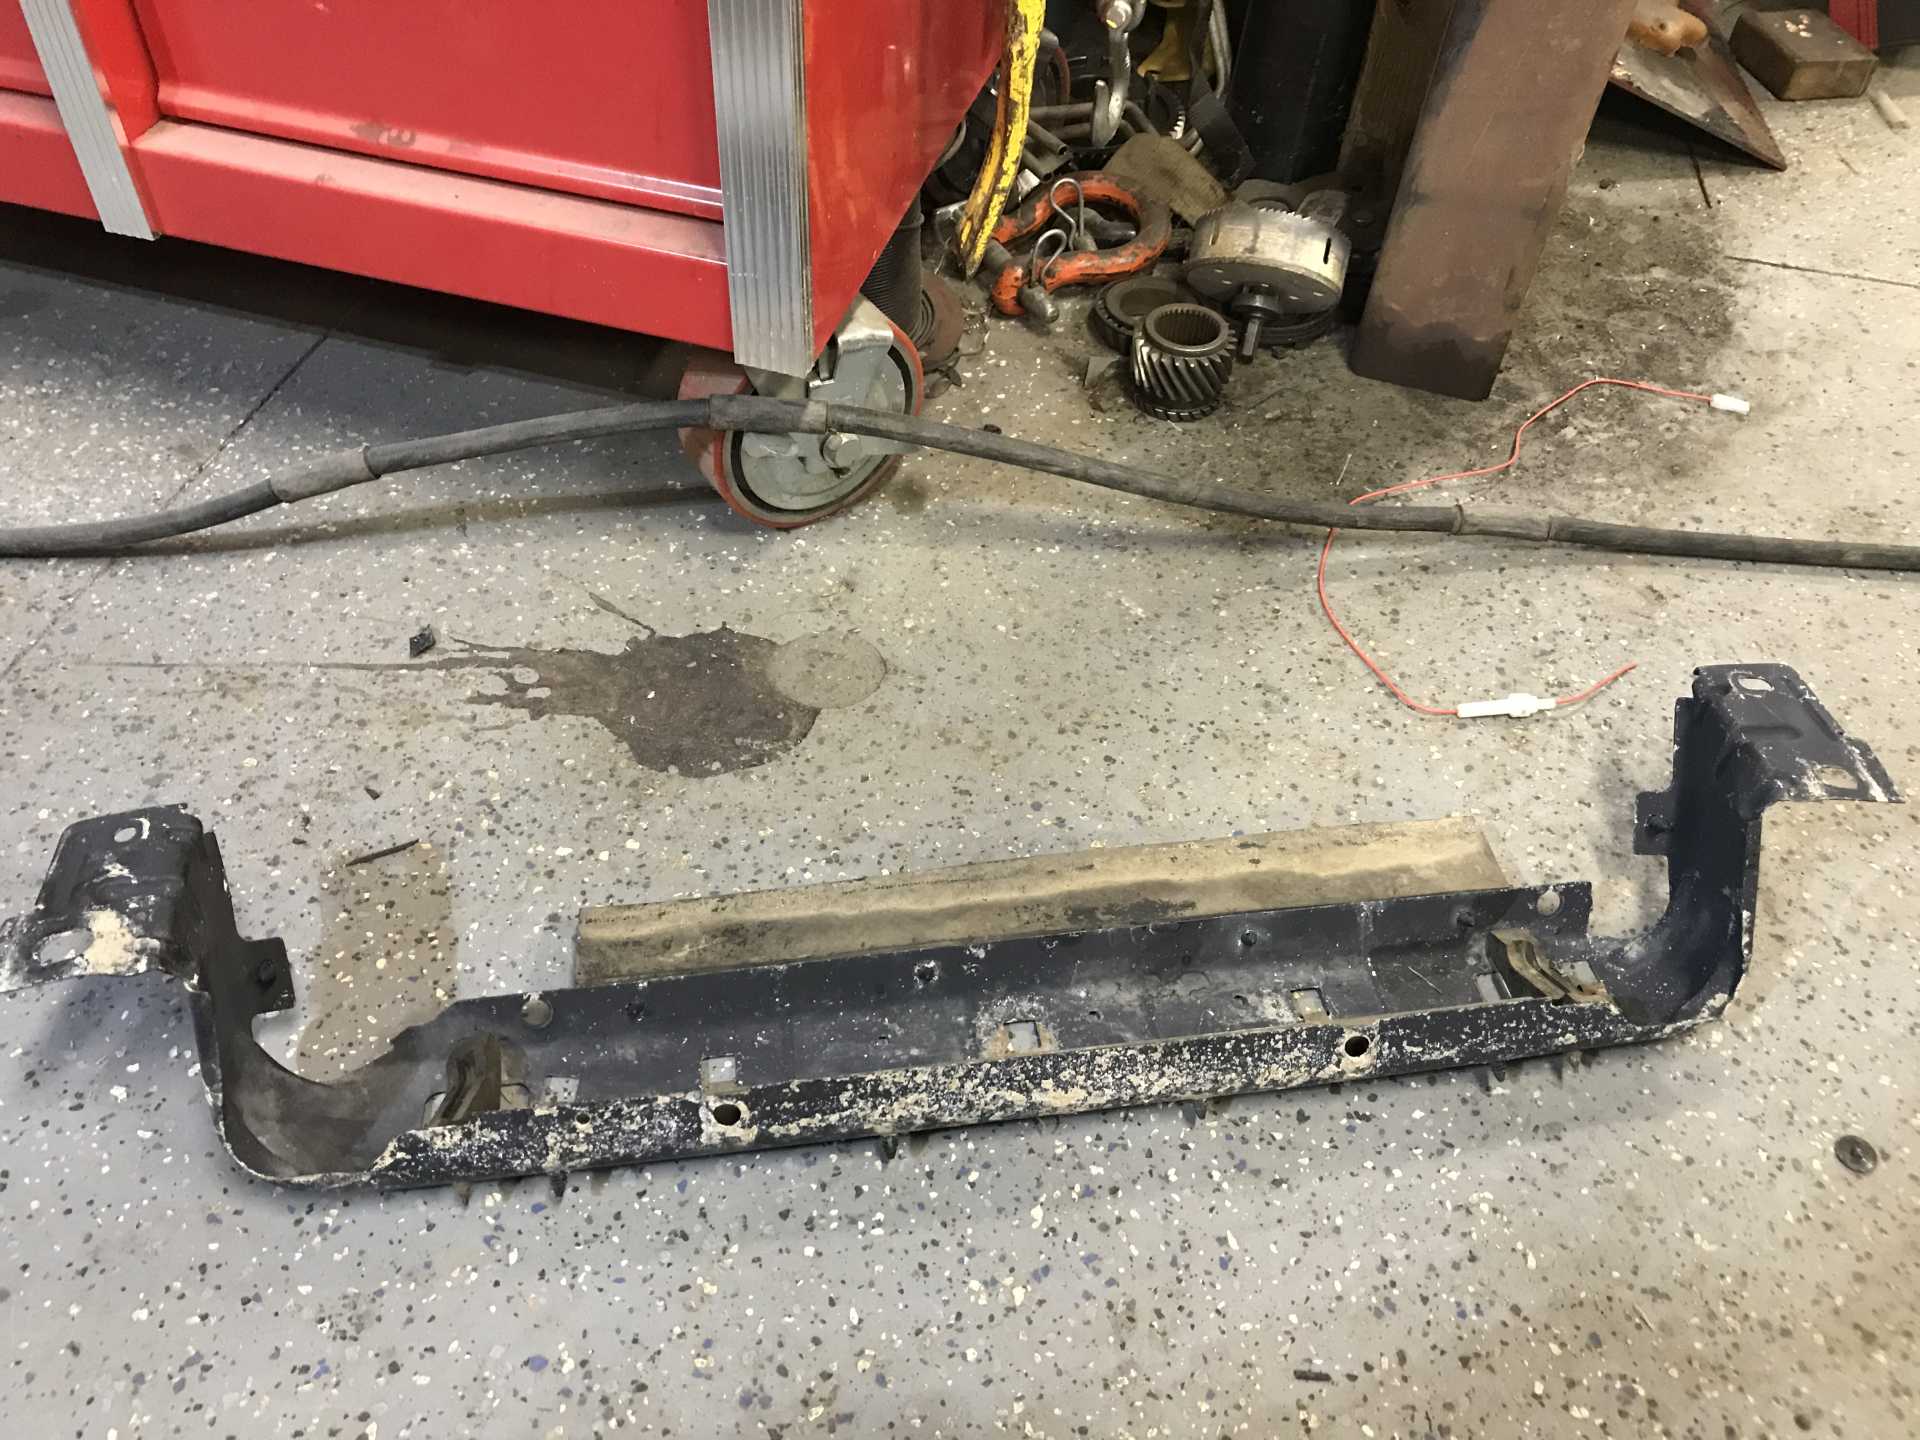
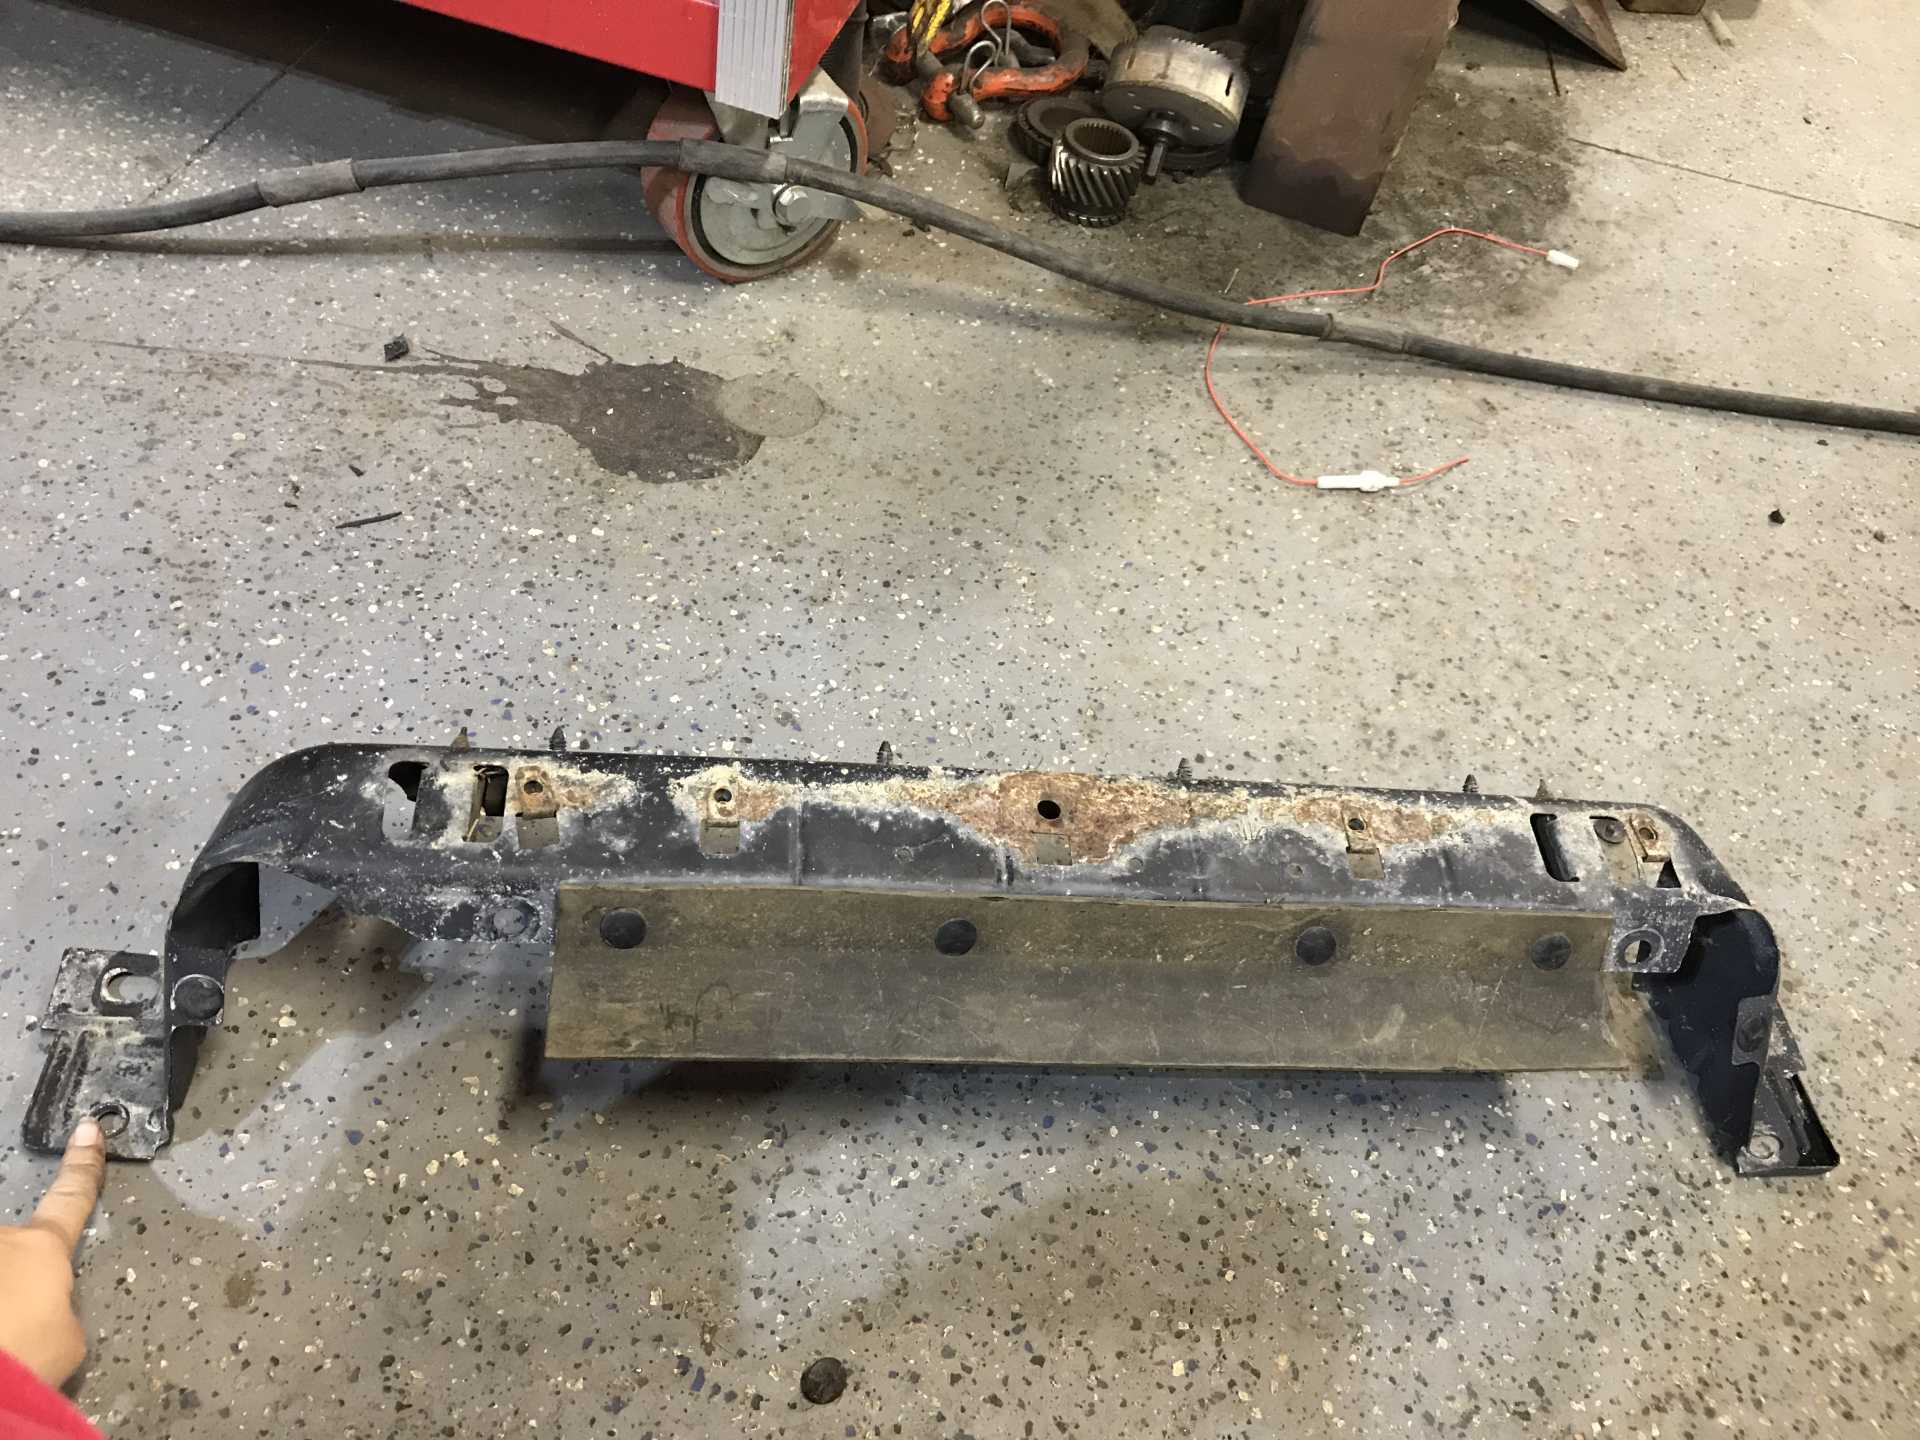
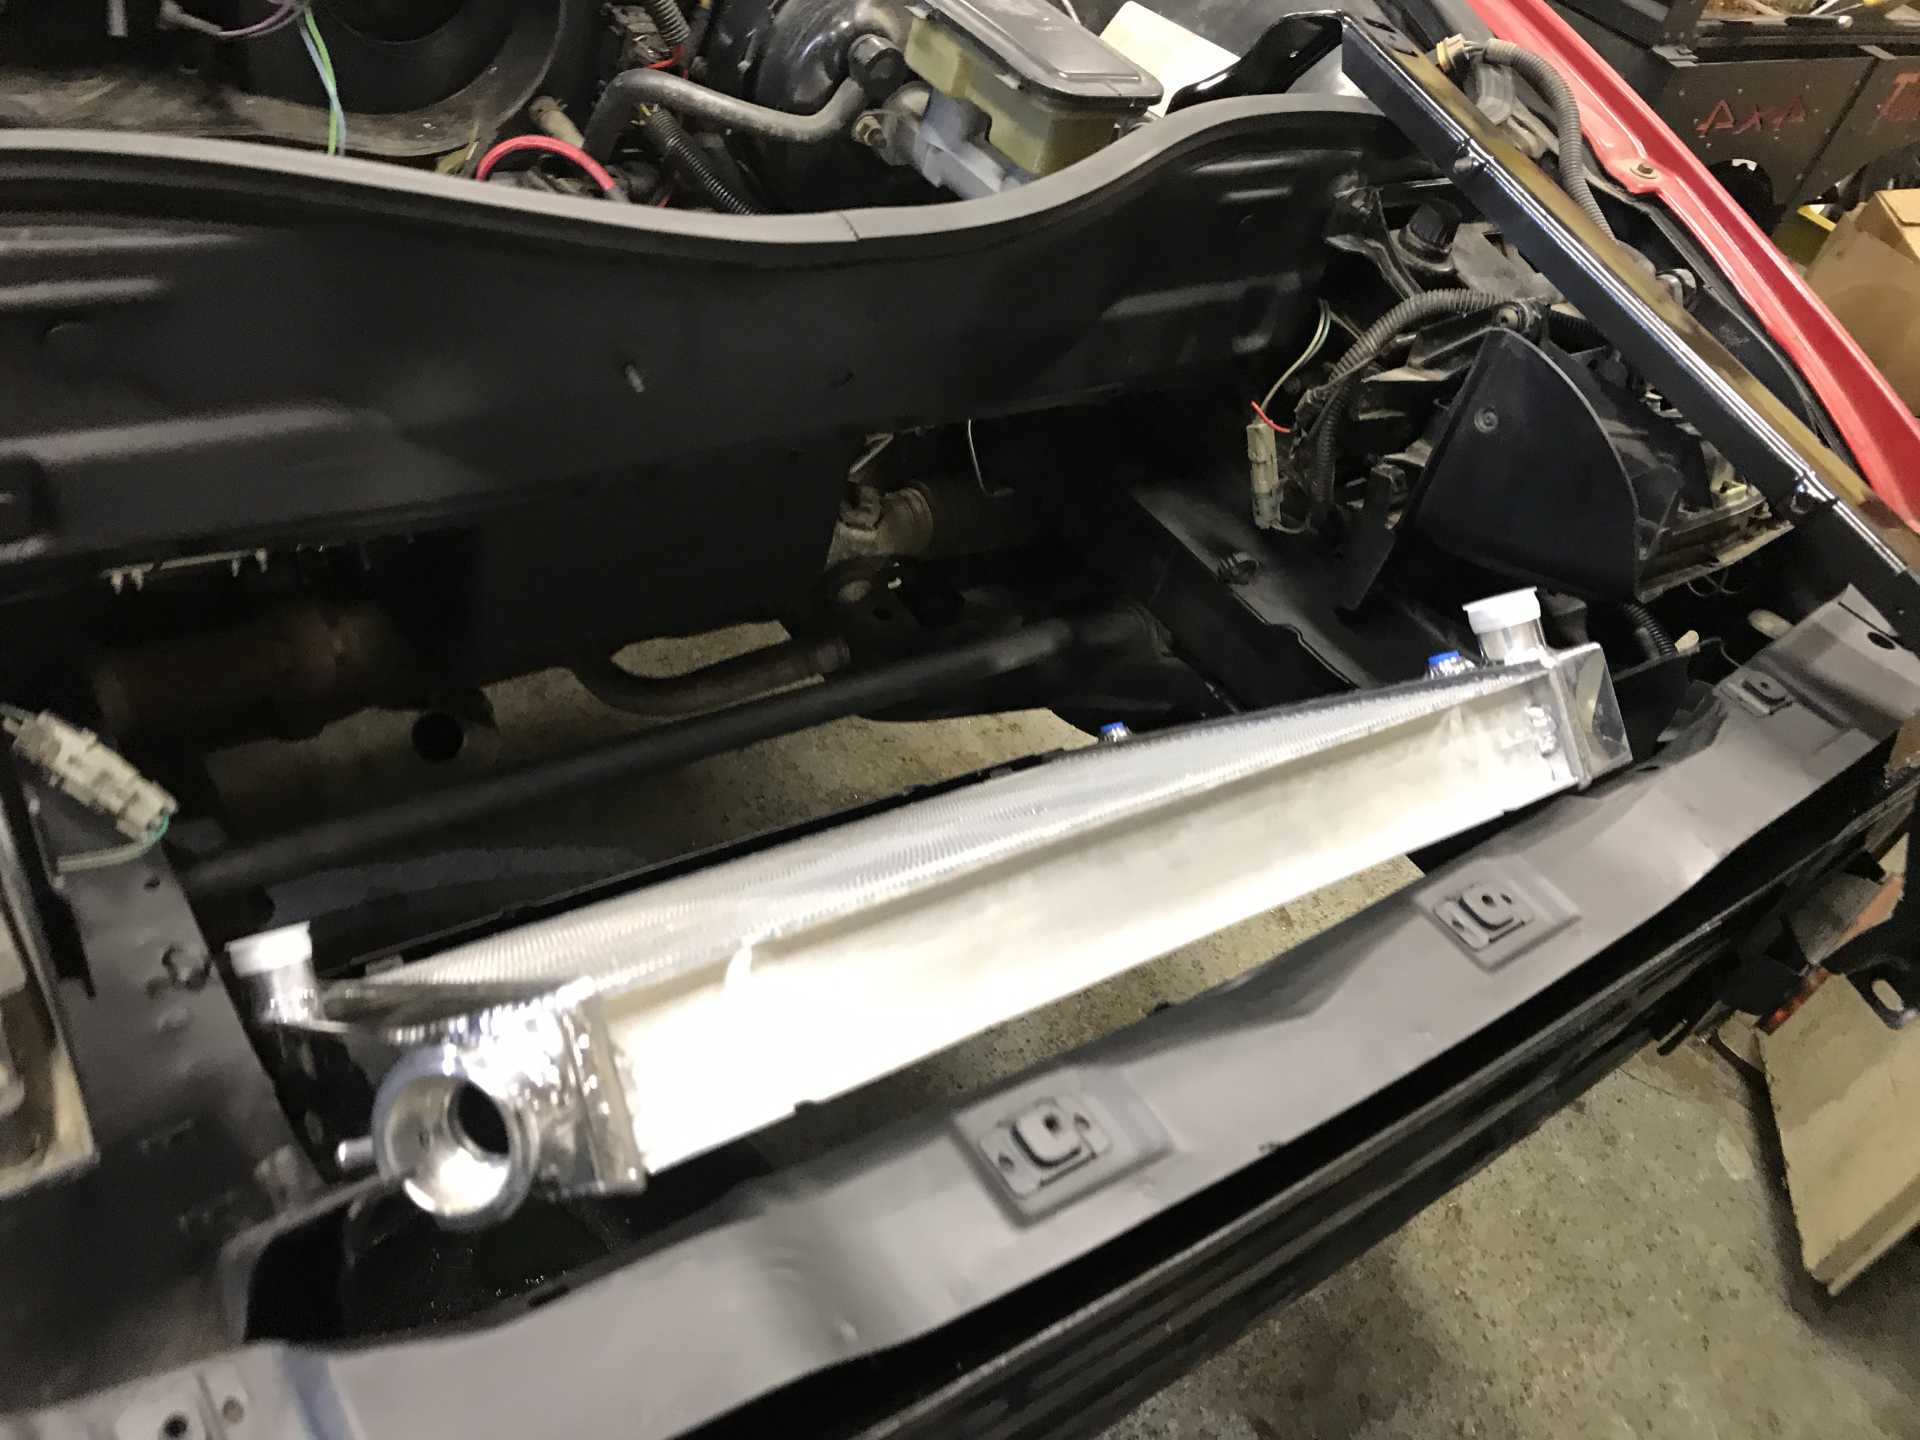
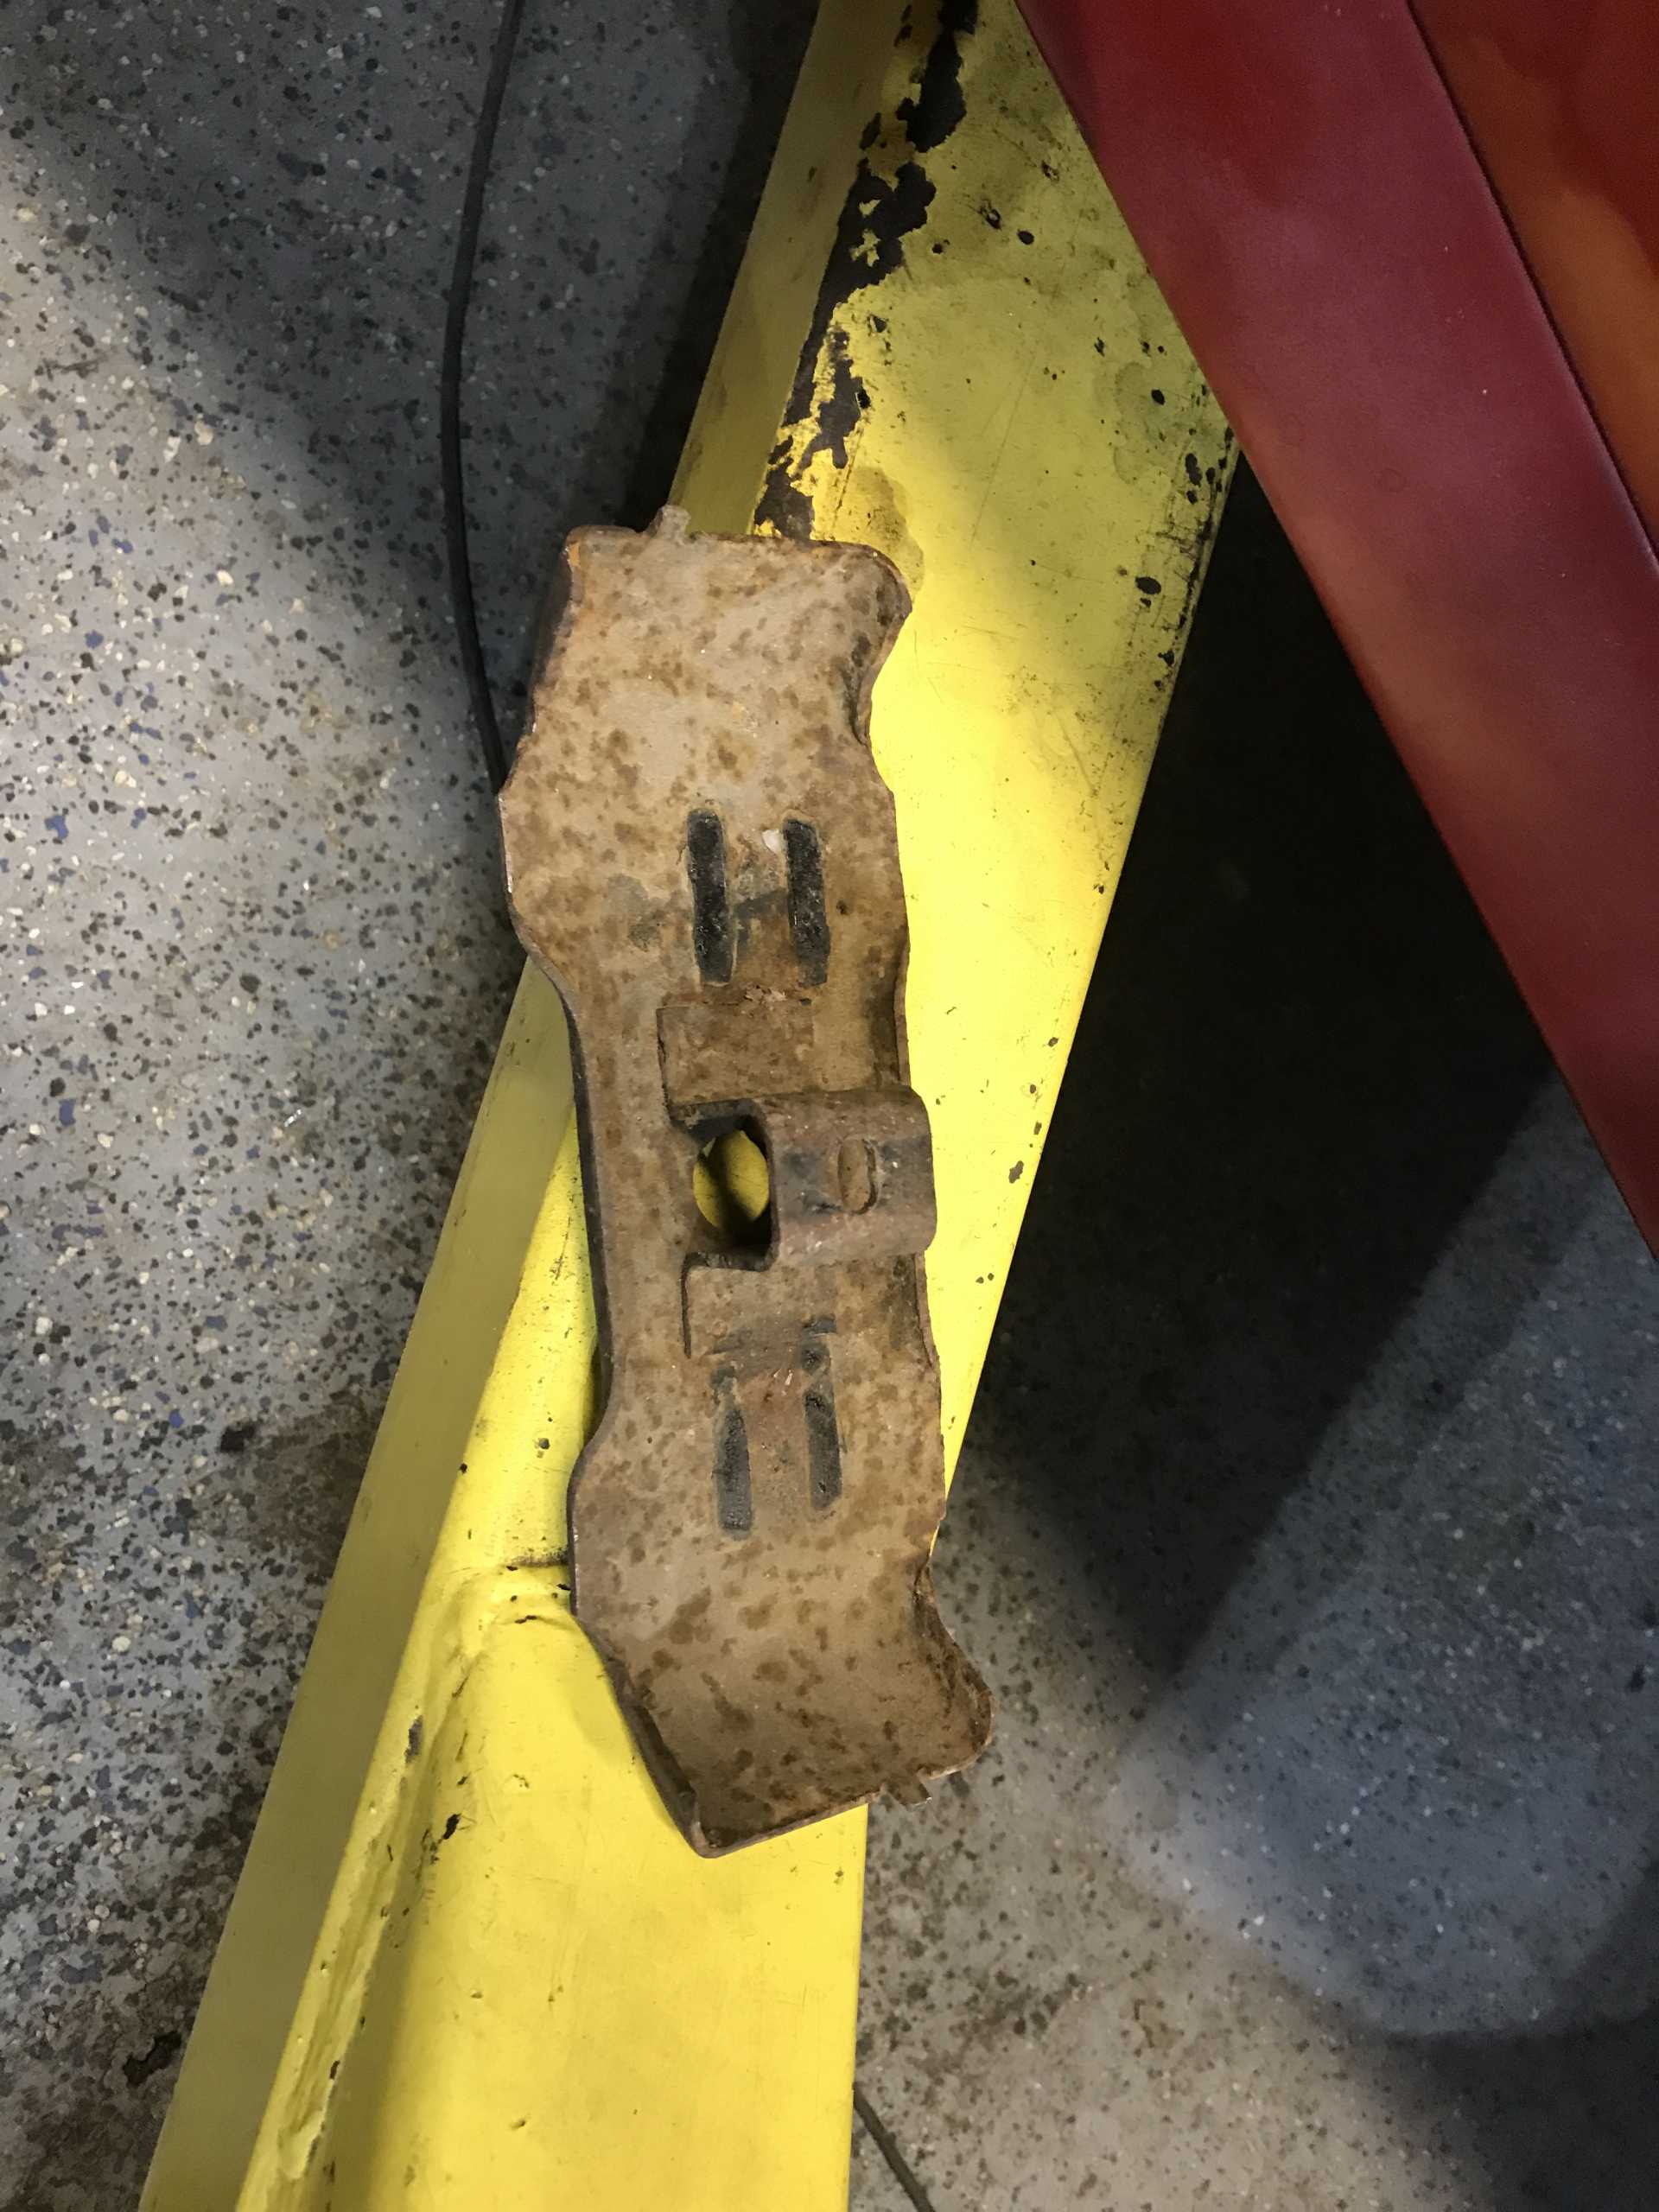
Once again, 2 Seat Garage supplying me parts. I got the lower radiator support bracket for an ‘88 from them. As I showed earlier, mine was hacked off for some reason. I bead blasted this one and then painted it.
Here’s the dirty, but intact fan shroud I pulled off of a Fiero in a scrap yard.
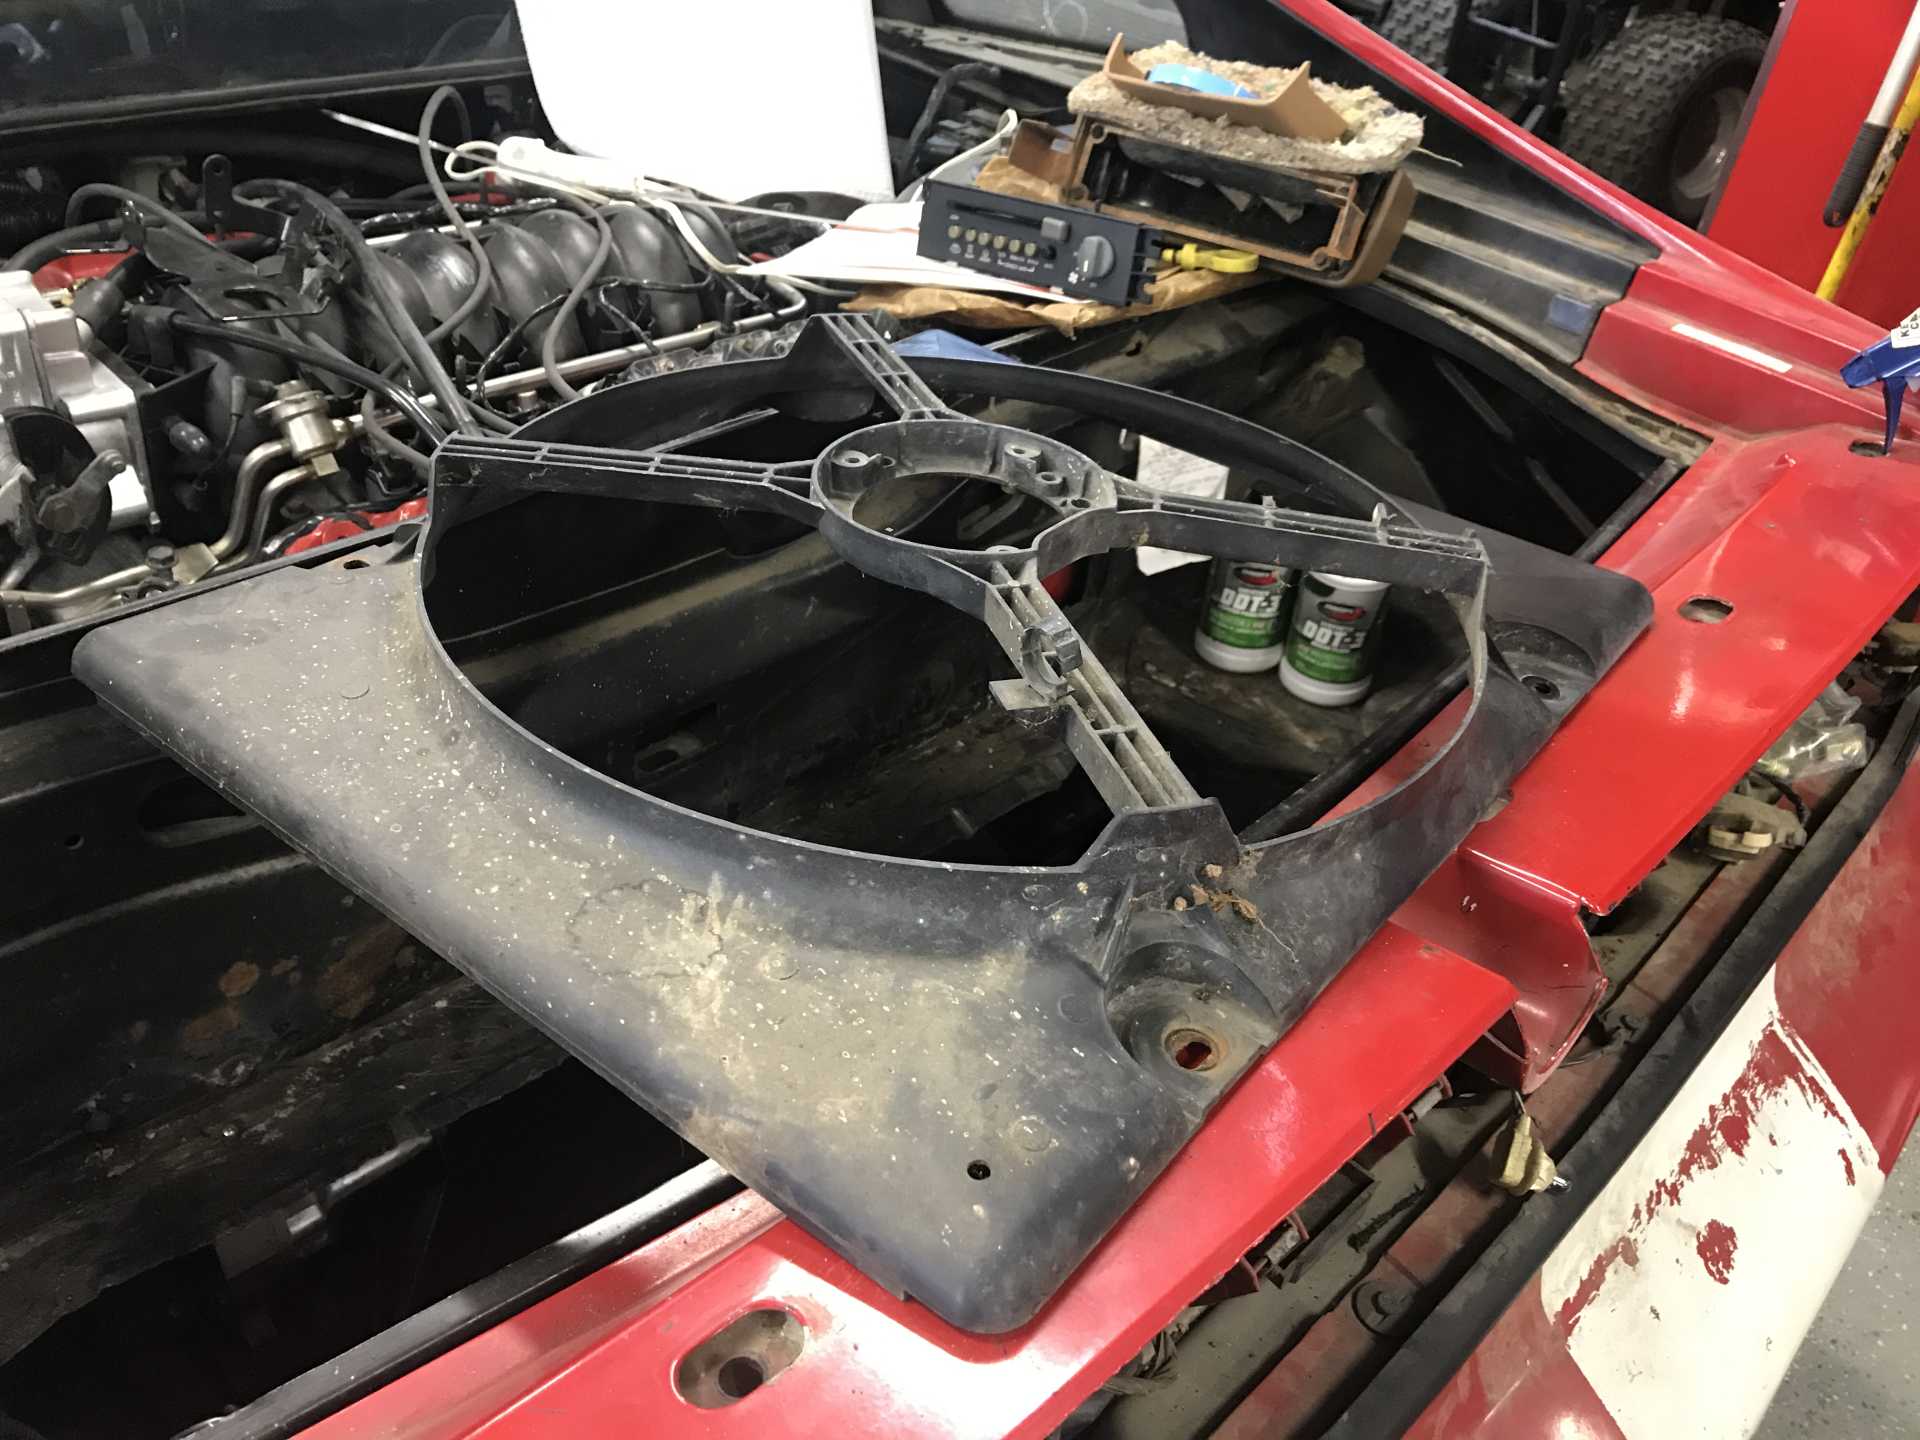
The PO had no lower radiator bracket on the radiator that was installed. Mine looks much better now.
My dad and I kinda forgot the hood is connected to the top radiator bracket. The POs only had two bolts on their custom bracket, and since we were not thinking about it, the hood fell off and trashed the lift lever bracket. Oh well, at least that was the only damage. With the hood off, I could access the front well. Only minor surface rust, but might as well prep the area for a light spray of paint for now.
Looks good! Today was the first time I’ve ever turned on the headlights. I rebuilt them a couple of years ago when I got the car, and never tested them since the car had no power. The driver side wouldn’t go up, turns out I forgot to tighten the one pivot bolt. Oops.
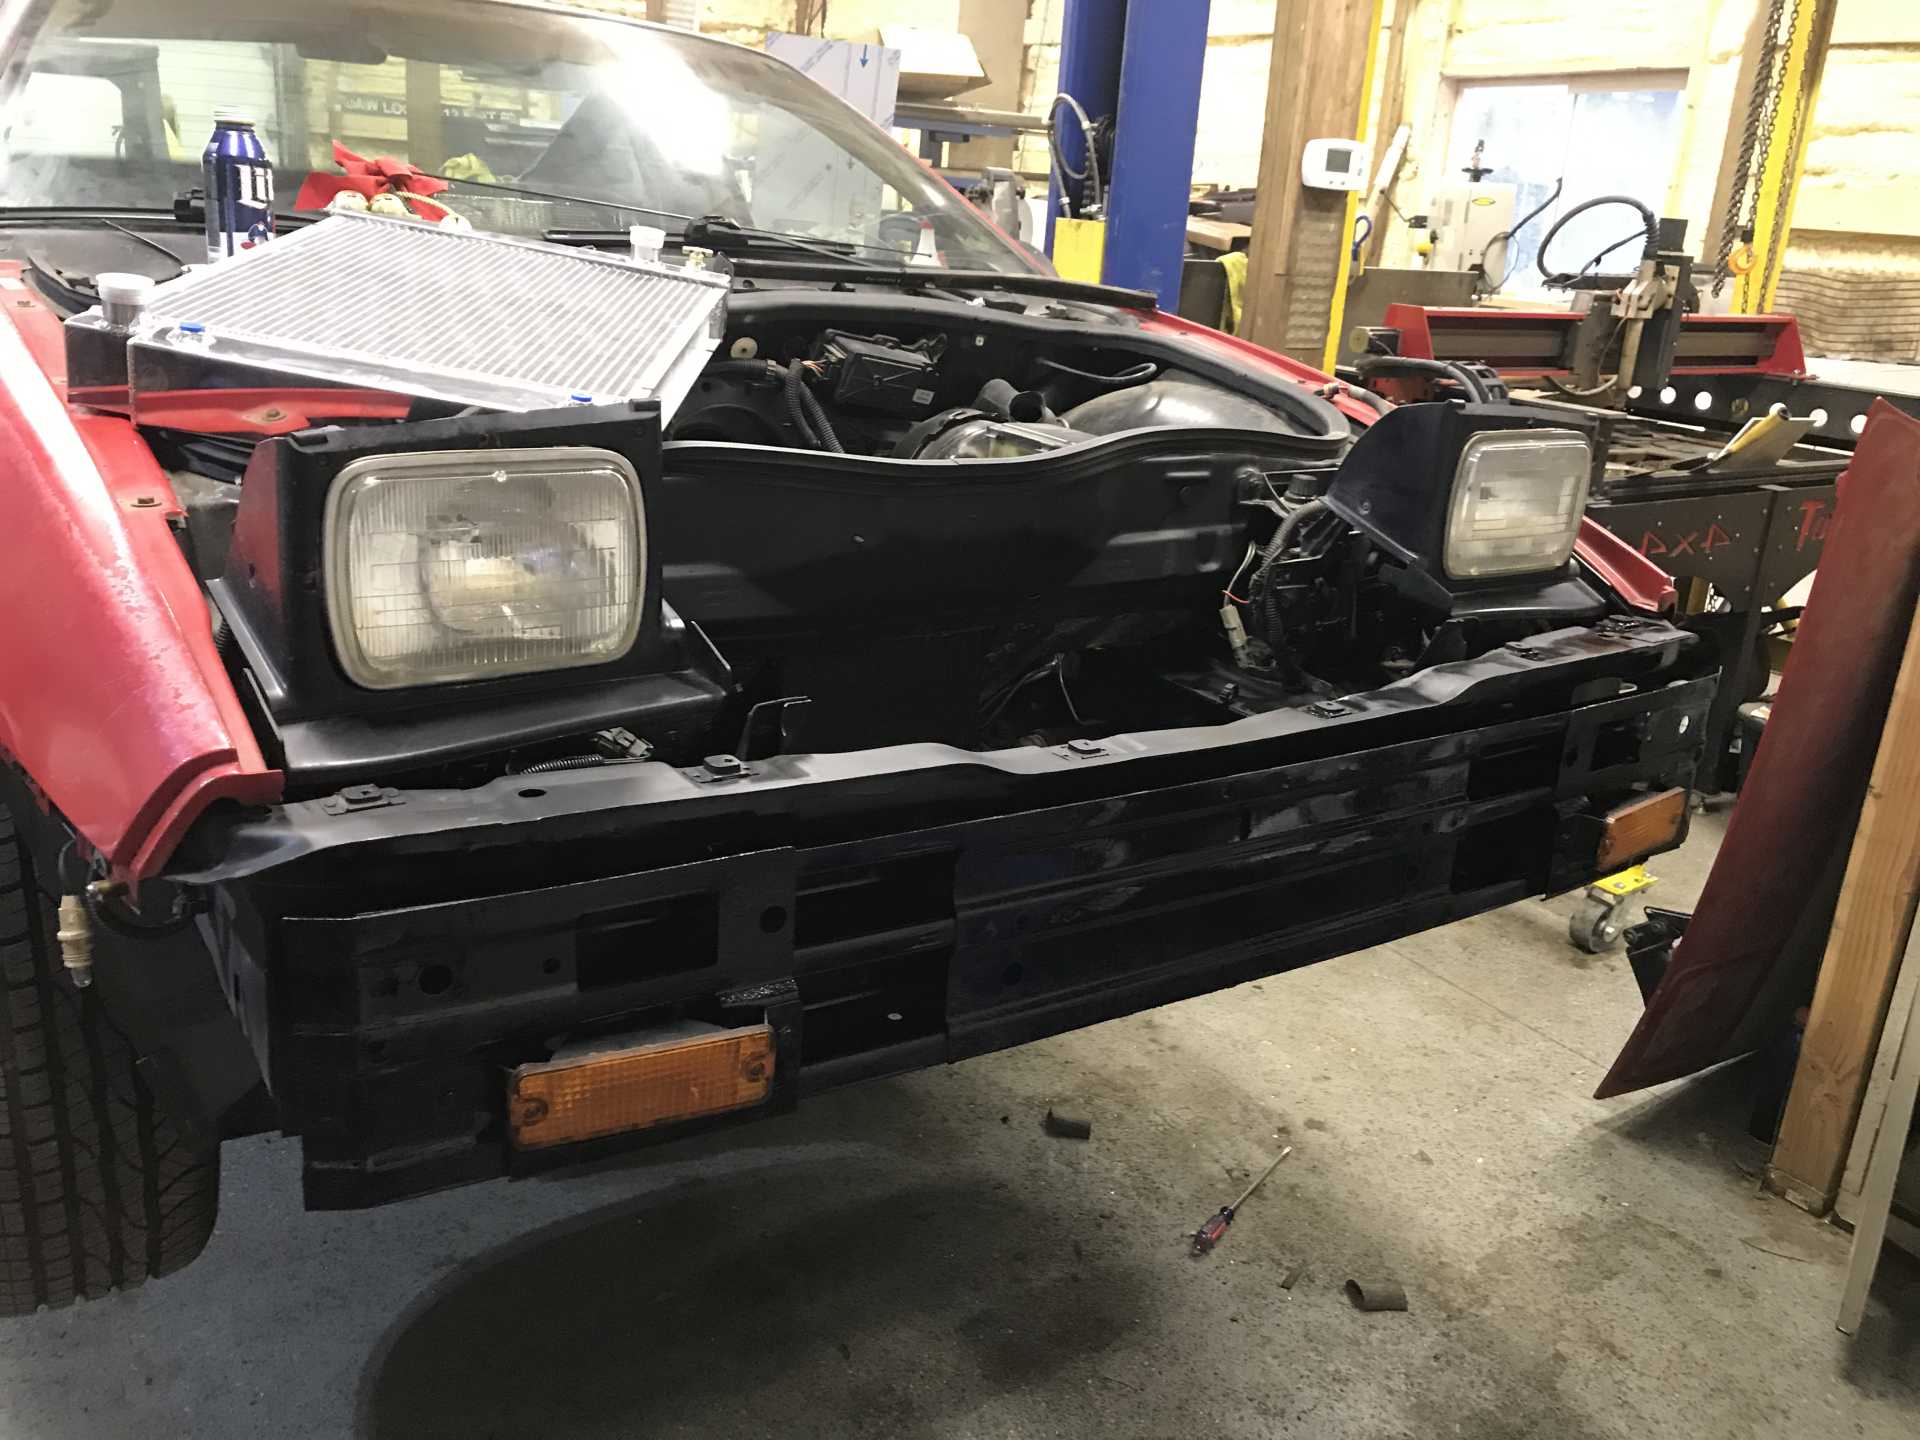
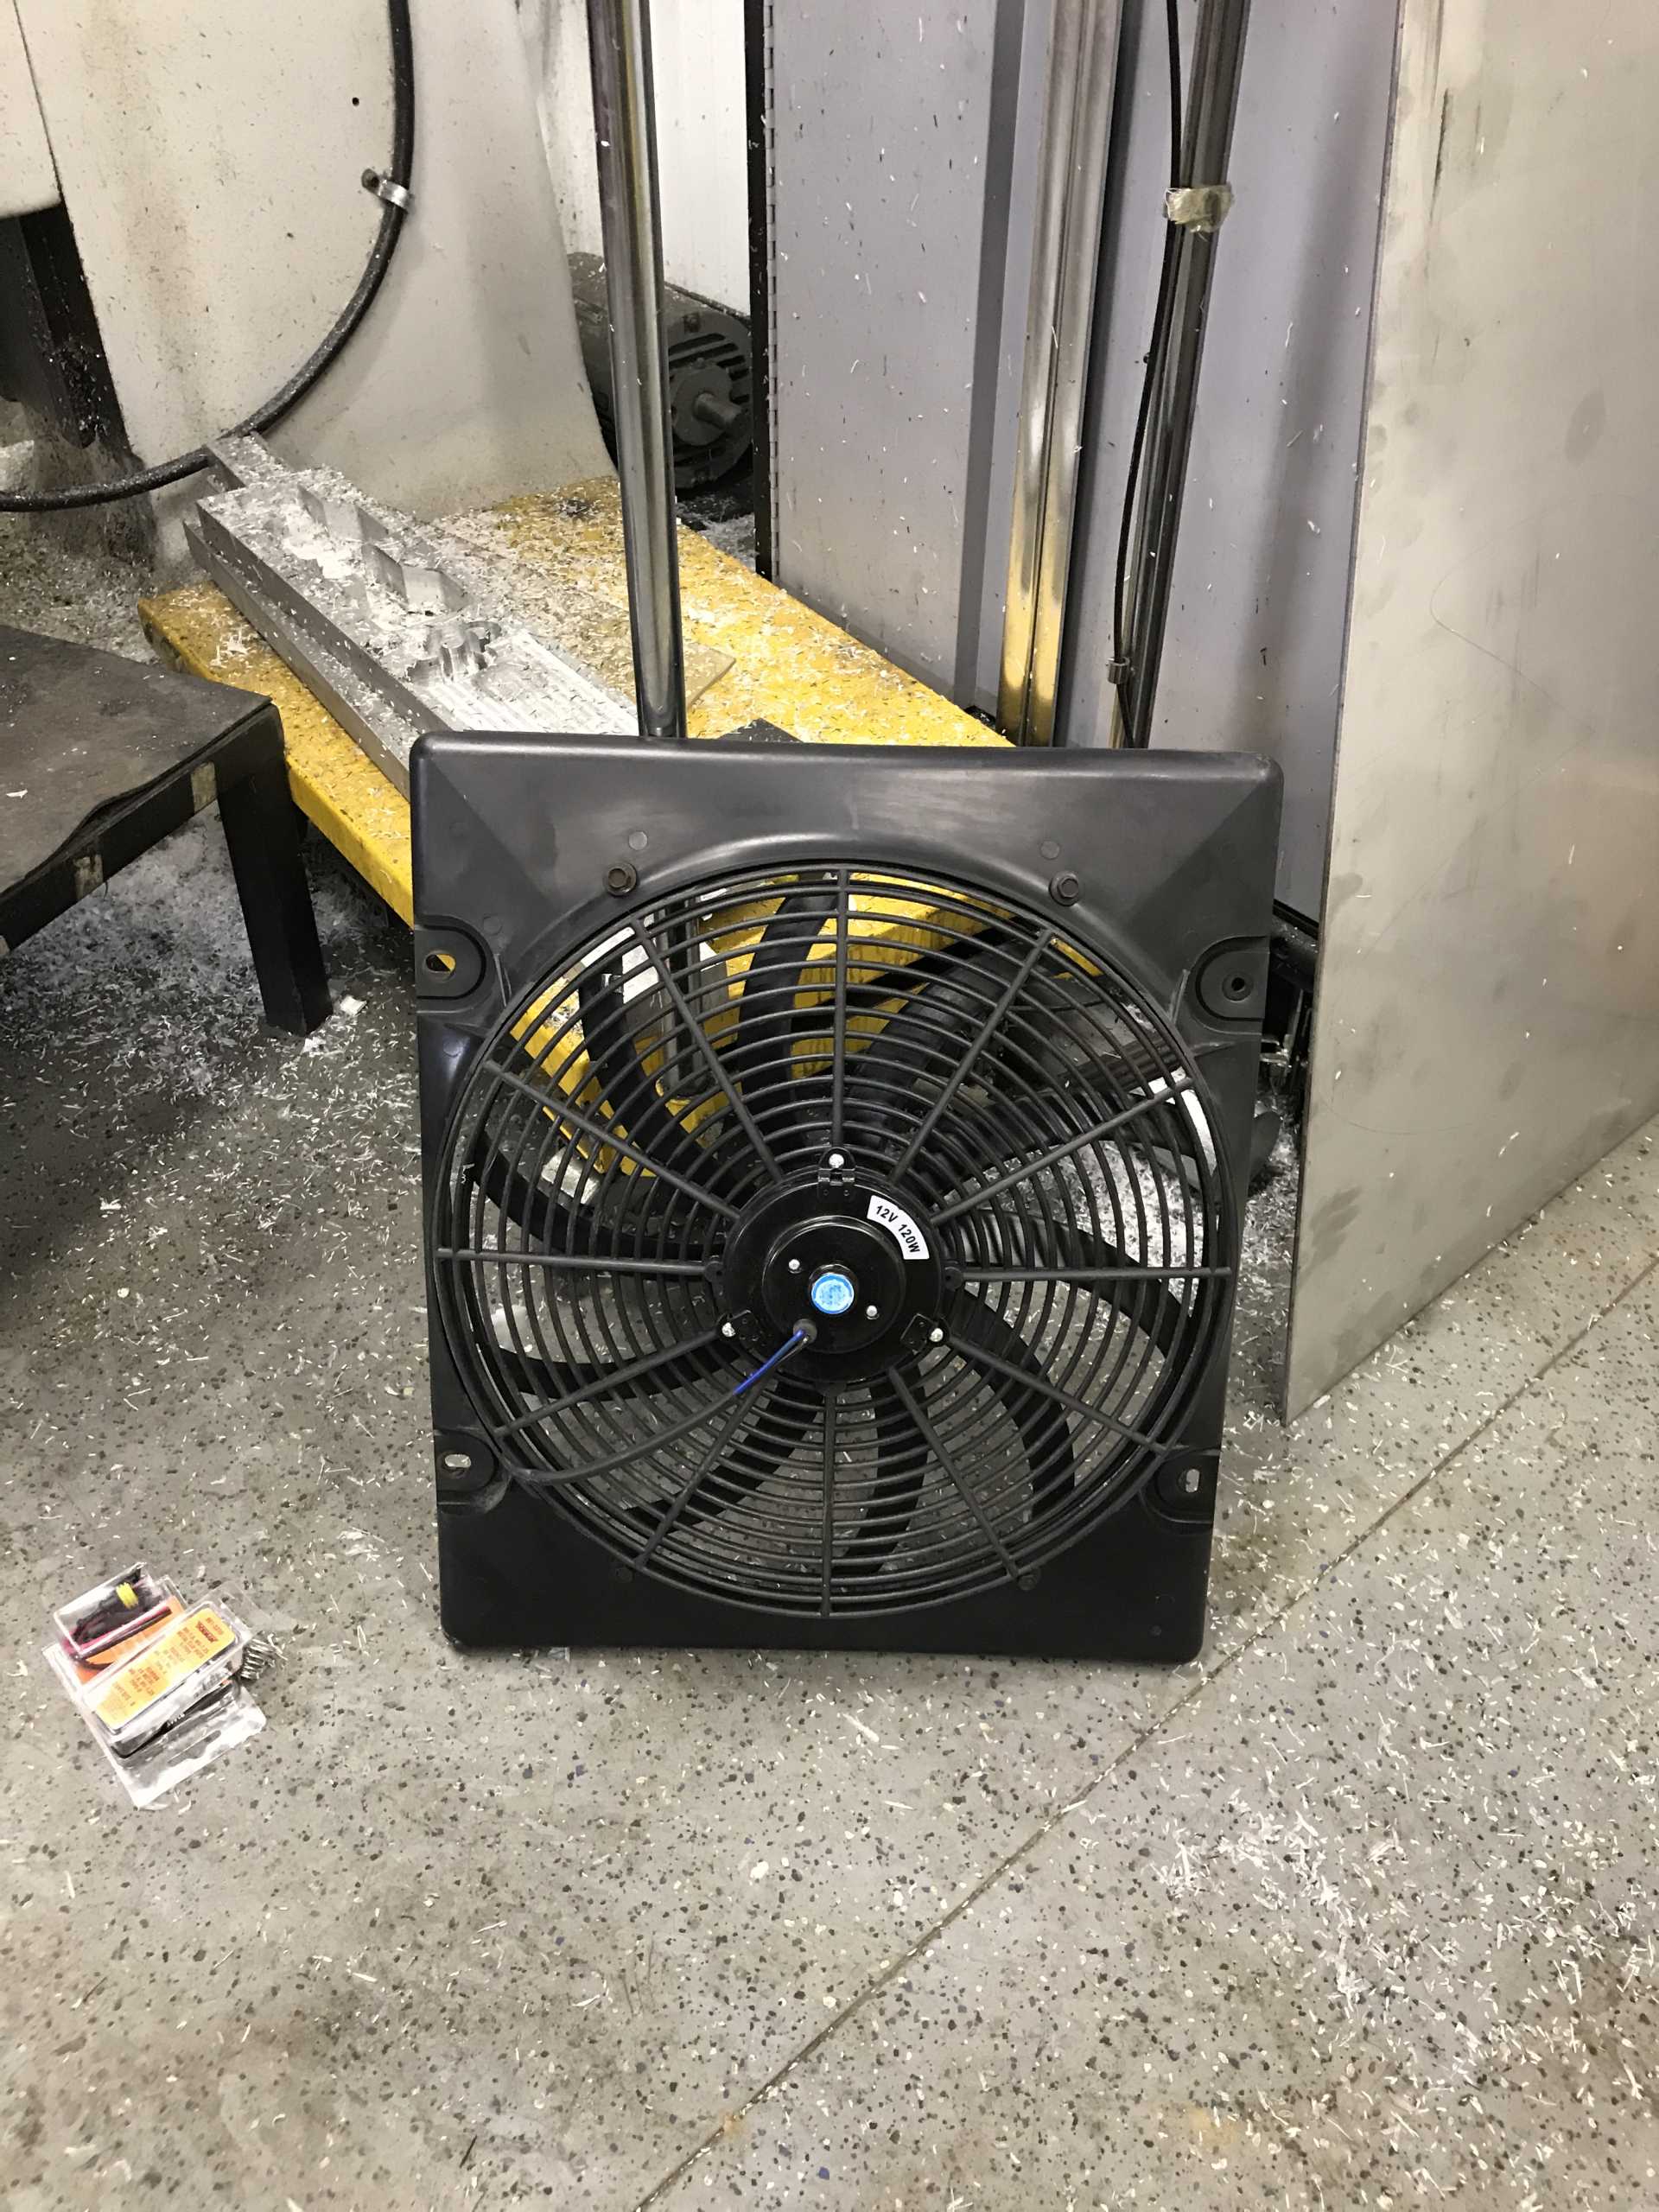
I bought a 3 core Champion radiator. There were much cheaper ones that seemed to look the same, so I really hope this one lives up to the price.
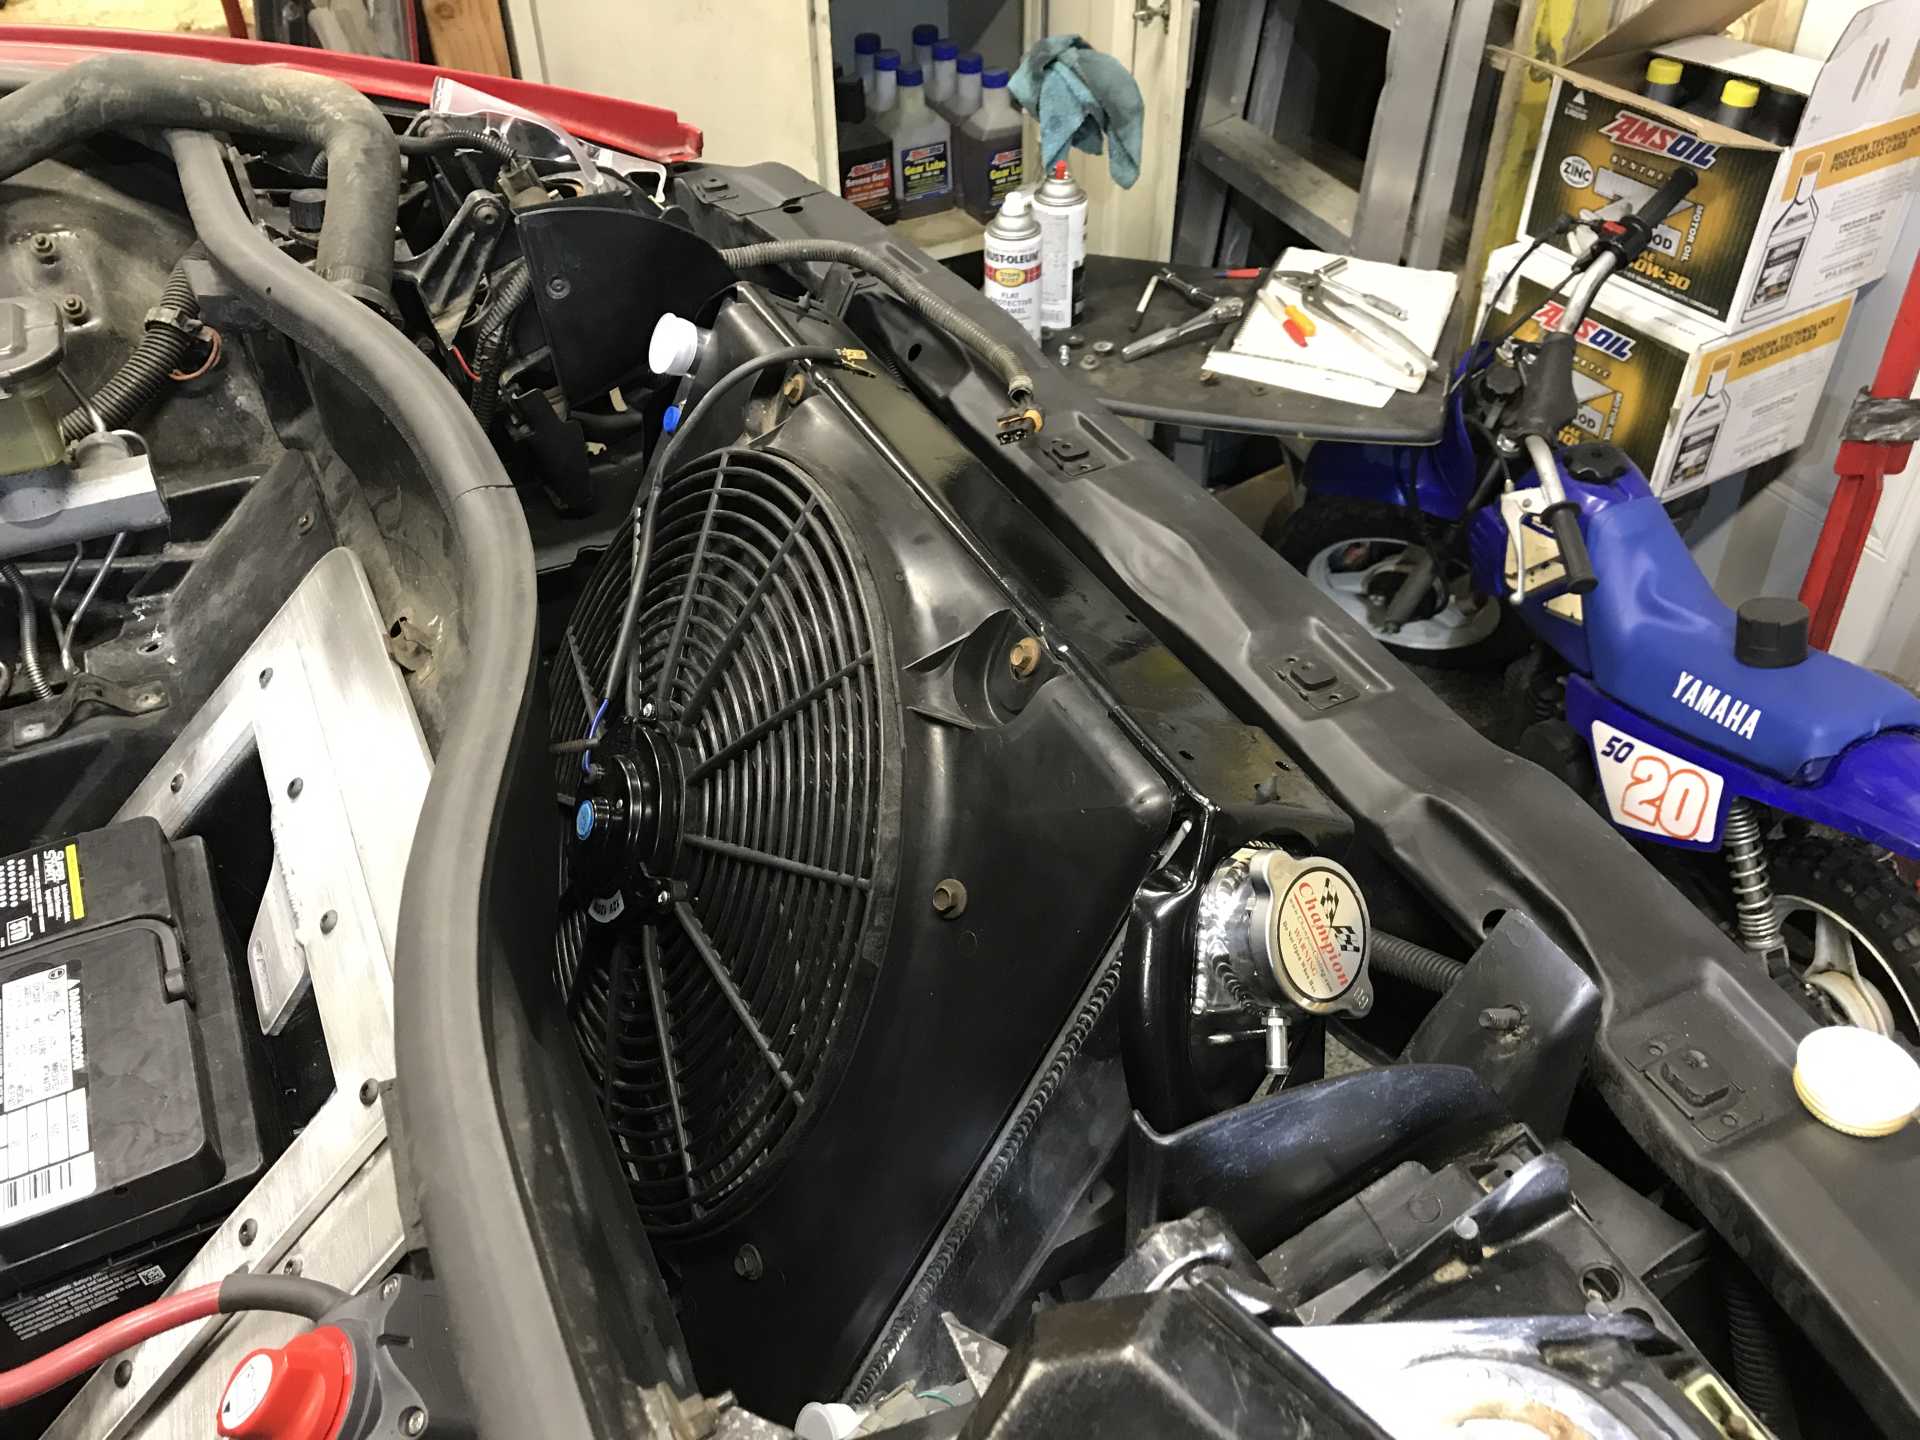
The center of the fan shroud was cut out, and this fan from Amazon was installed.
All installed! My dad and I worked on this all day and got a lot done. The old radiator had a different outlet for the lower tube, so I need to buy a new lower hose then it can be filled with coolant. Also, the fan plug doesn’t match the Fiero one so I ordered a new pair of water proof connectors.
|
|
|
|
streetrod1
|
DEC 28, 04:21 PM
|
|
| quote | Originally posted by copperhens:
I picked up a project the other day. I hope I didn’t just get in over my head, but gotta start somewhere... I have always been interested in an engine swap, and this one was already started at least. Yes, I’ve heard about 3800sc are easier, why would you go for the Northstar?! Isn’t that the hardest and most expensive swap? We’ll figure this out.
Anyway, the car is a 1988 GT 5spd. I thought my California fiero was clean... this thing is soooo rust free you can lick it(ps, don’t lick it)! The Northstar is already in car. The coolant lines have been started. Looks like there is a new fan in the car. AC was deleted. The trunk has been chopped for the exhaust. Looks like wiring is almost done and it comes with a computer.
Now, the big issue is that the motor is seized and the clutch is shot. I found a new running motor for $300. Hopefully I’ll be able to pick that up and start there.
I’m on my phone so I’ll have to post pictures later. |
|
Heres My 87 I picked up day before Christmas eve lol FESTIVUS i guess. I was gonna sell it because I have other cars..but I just cant bare myself to do it. Lol its staying here with me.
Im lucky its a Chris Moore built car with just under 41000 miles..to be show worthy it needs a lil but not a whole lot.
Im gonna do it up starting mid summer I hope .Congrats to you !
HEY ? Any body here ever mounted a rach dash unit in their gauge bezel.
Prices are reasonable for them now on the ones abroad..
Its an easy way to have tricket dash in the land.
|
|
|
|
streetrod1
|
DEC 28, 04:23 PM
|
|
| quote | Originally posted by copperhens:
I picked up a project the other day. I hope I didn’t just get in over my head, but gotta start somewhere... I have always been interested in an engine swap, and this one was already started at least. Yes, I’ve heard about 3800sc are easier, why would you go for the Northstar?! Isn’t that the hardest and most expensive swap? We’ll figure this out.
Anyway, the car is a 1988 GT 5spd. I thought my California fiero was clean... this thing is soooo rust free you can lick it(ps, don’t lick it)! The Northstar is already in car. The coolant lines have been started. Looks like there is a new fan in the car. AC was deleted. The trunk has been chopped for the exhaust. Looks like wiring is almost done and it comes with a computer.
Now, the big issue is that the motor is seized and the clutch is shot. I found a new running motor for $300. Hopefully I’ll be able to pick that up and start there.
I’m on my phone so I’ll have to post pictures later. |
|
Heres My 87 I picked up day before Christmas eve lol FESTIVUS i guess. I was gonna sell it because I have other cars..but I just cant bare myself to do it. Lol its staying here with me.
Im lucky its a Chris Moore built car with just under 41000 miles..to be show worthy it needs a lil but not a whole lot.
Im gonna do it up starting mid summer I hope .Congrats to you !
HEY ? Any body here ever mounted a race dash unit in their gauge bezel.
Prices are reasonable for them now on the ones abroad..
Its an easy way to have trickest dash in the land.
|
|
|
|
copperhens
|
DEC 29, 07:56 AM
|
|
| quote | Originally posted by streetrod1:
Heres My 87 I picked up day before Christmas eve lol FESTIVUS i guess. I was gonna sell it because I have other cars..but I just cant bare myself to do it. Lol its staying here with me.
Im lucky its a Chris Moore built car with just under 41000 miles..to be show worthy it needs a lil but not a whole lot.
Im gonna do it up starting mid summer I hope .Congrats to you !
HEY ? Any body here ever mounted a race dash unit in their gauge bezel.
Prices are reasonable for them now on the ones abroad..
Its an easy way to have trickest dash in the land.
|
|
I saw that car for sale, and I’m glad you decided to keep it. You’ll never come across another Fiero like that for cheap. Yours looks really clean, hopefully I’ll catch you at some shows as I think you’re pretty close to me.
|
|
|
|
copperhens
|
JAN 02, 02:31 PM
|
|
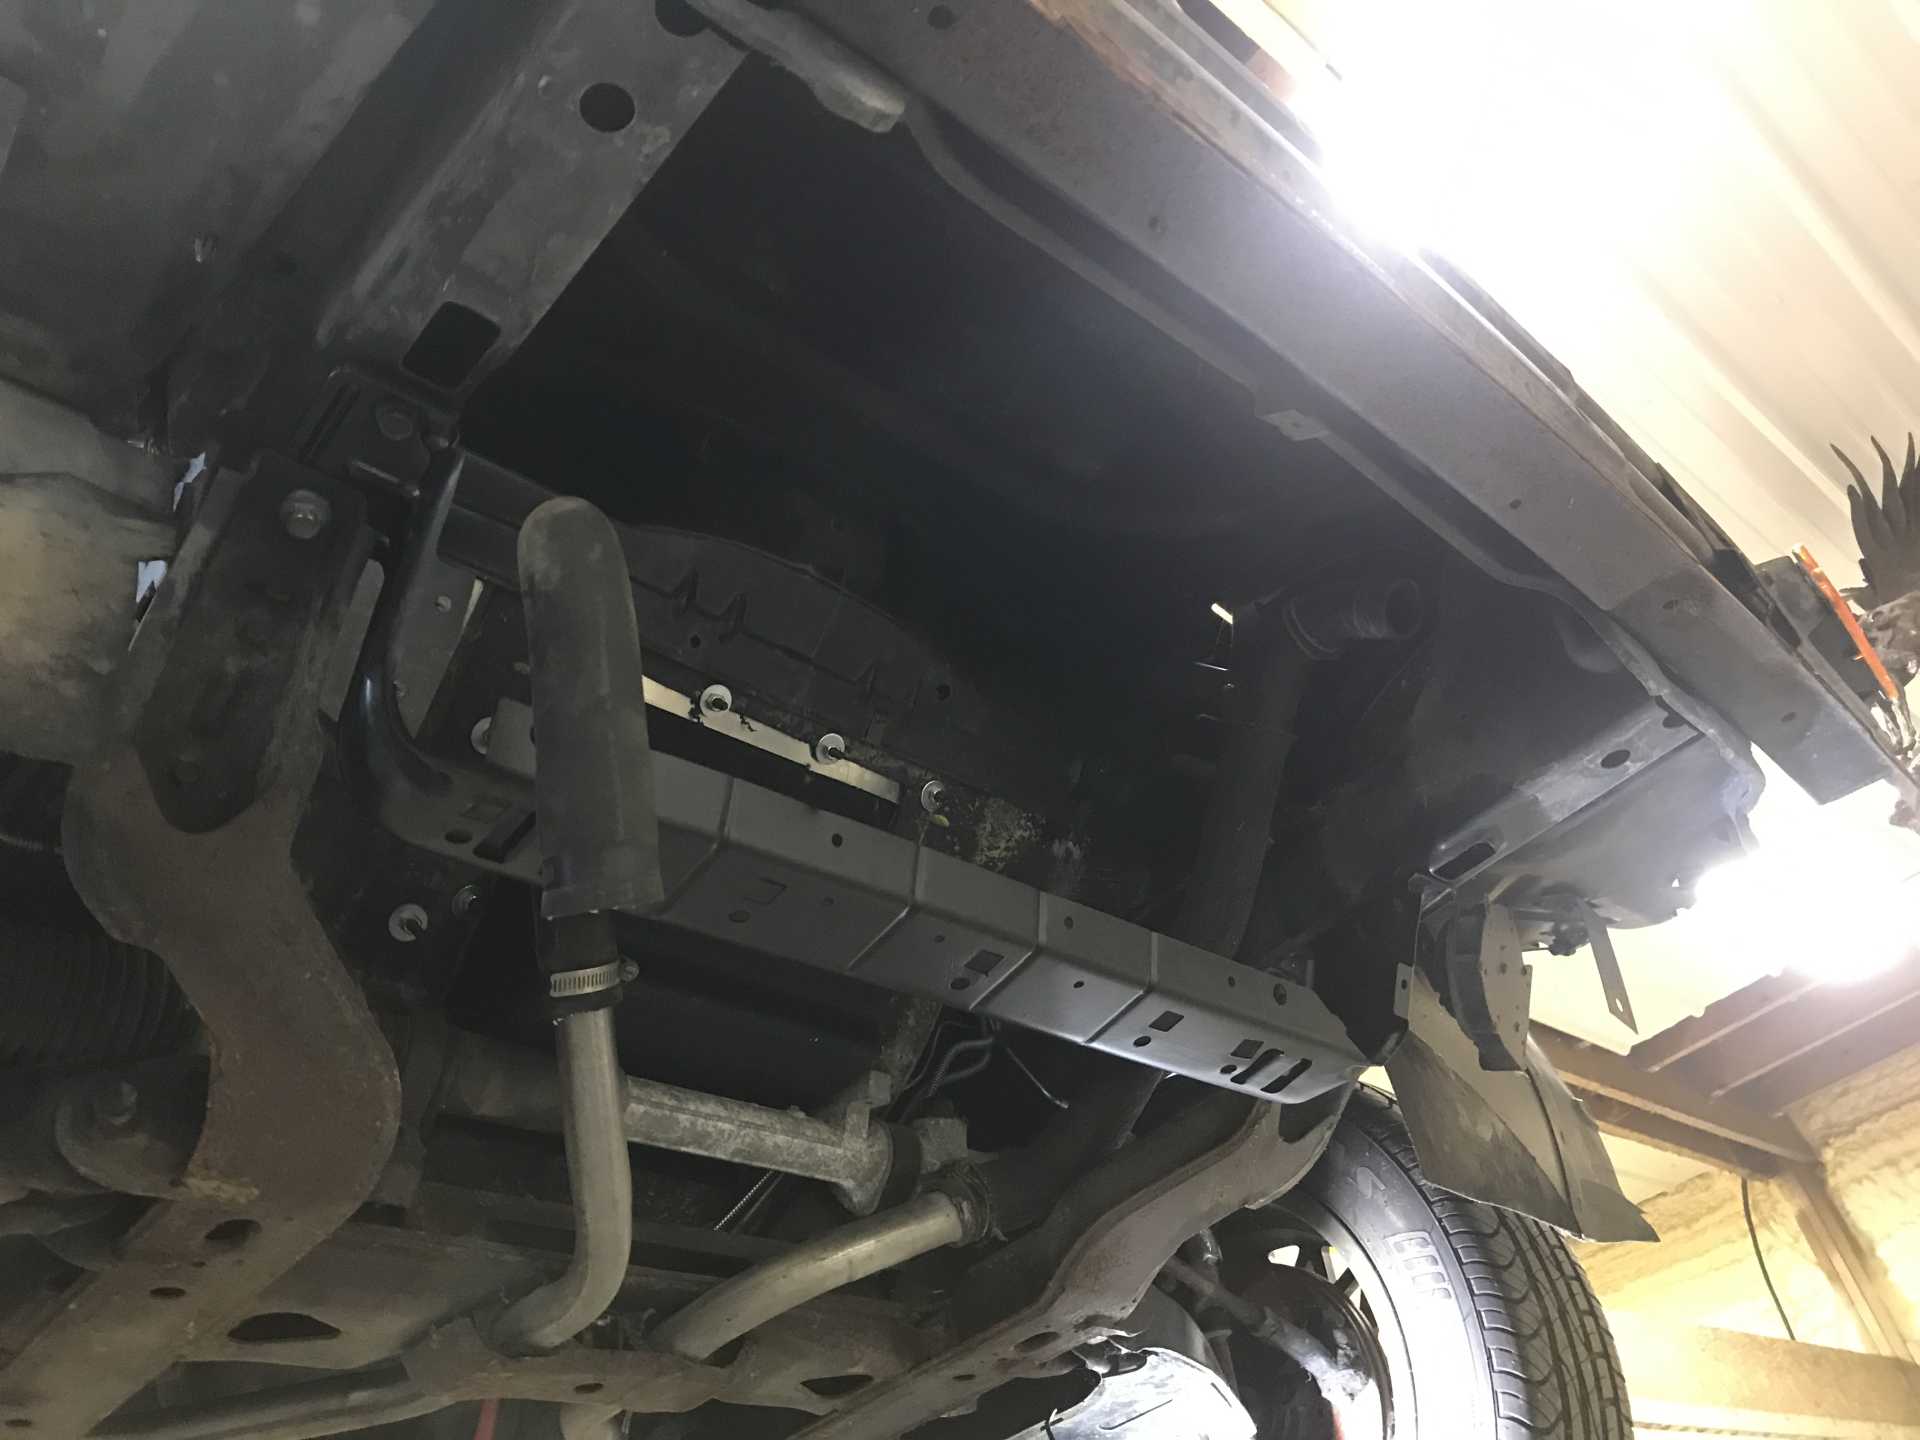
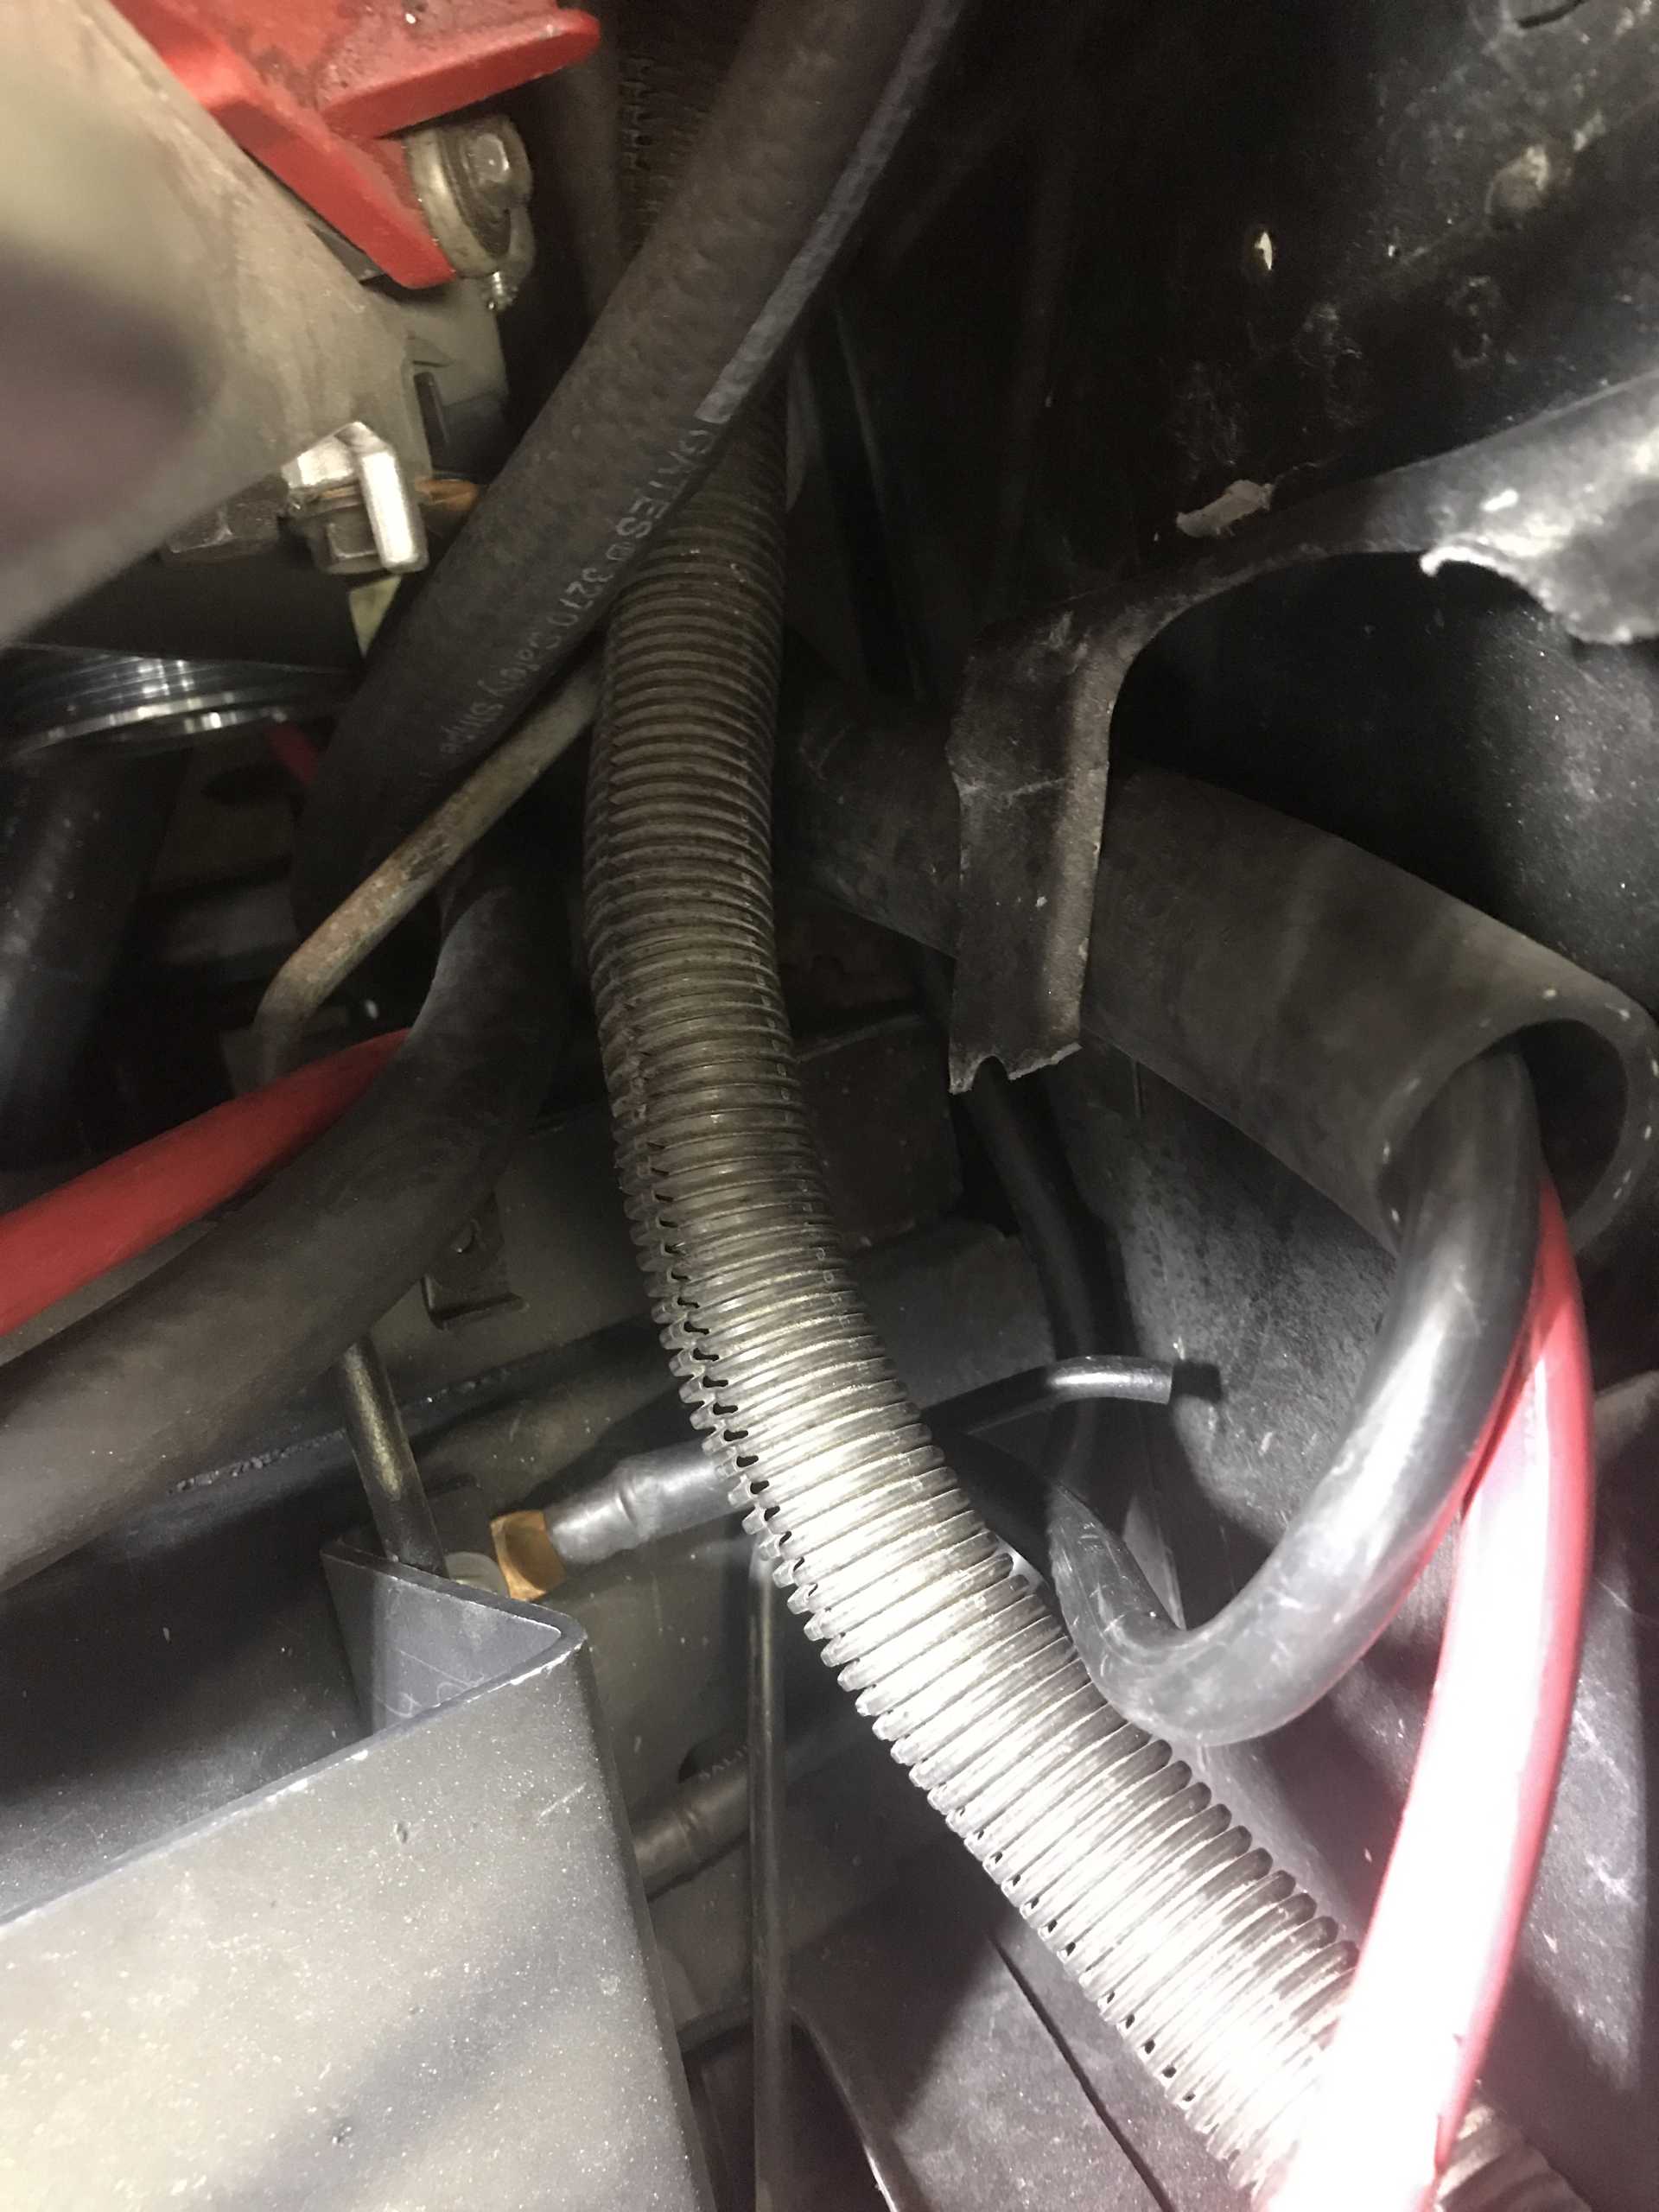
My dad and I were gonna fill the coolant system, but I then remembered that everything in this system was new or at least clean, so I decided it would be best to drop these pipes to make sure they were clean. The driver side had a bit of green coolant, and the passenger side was dry and full of cobwebs. We flushed them out with distilled water, and then I worked on cleaning them up.

After using a wire wheel on both and some aluminum polish, they cleaned up pretty nice.
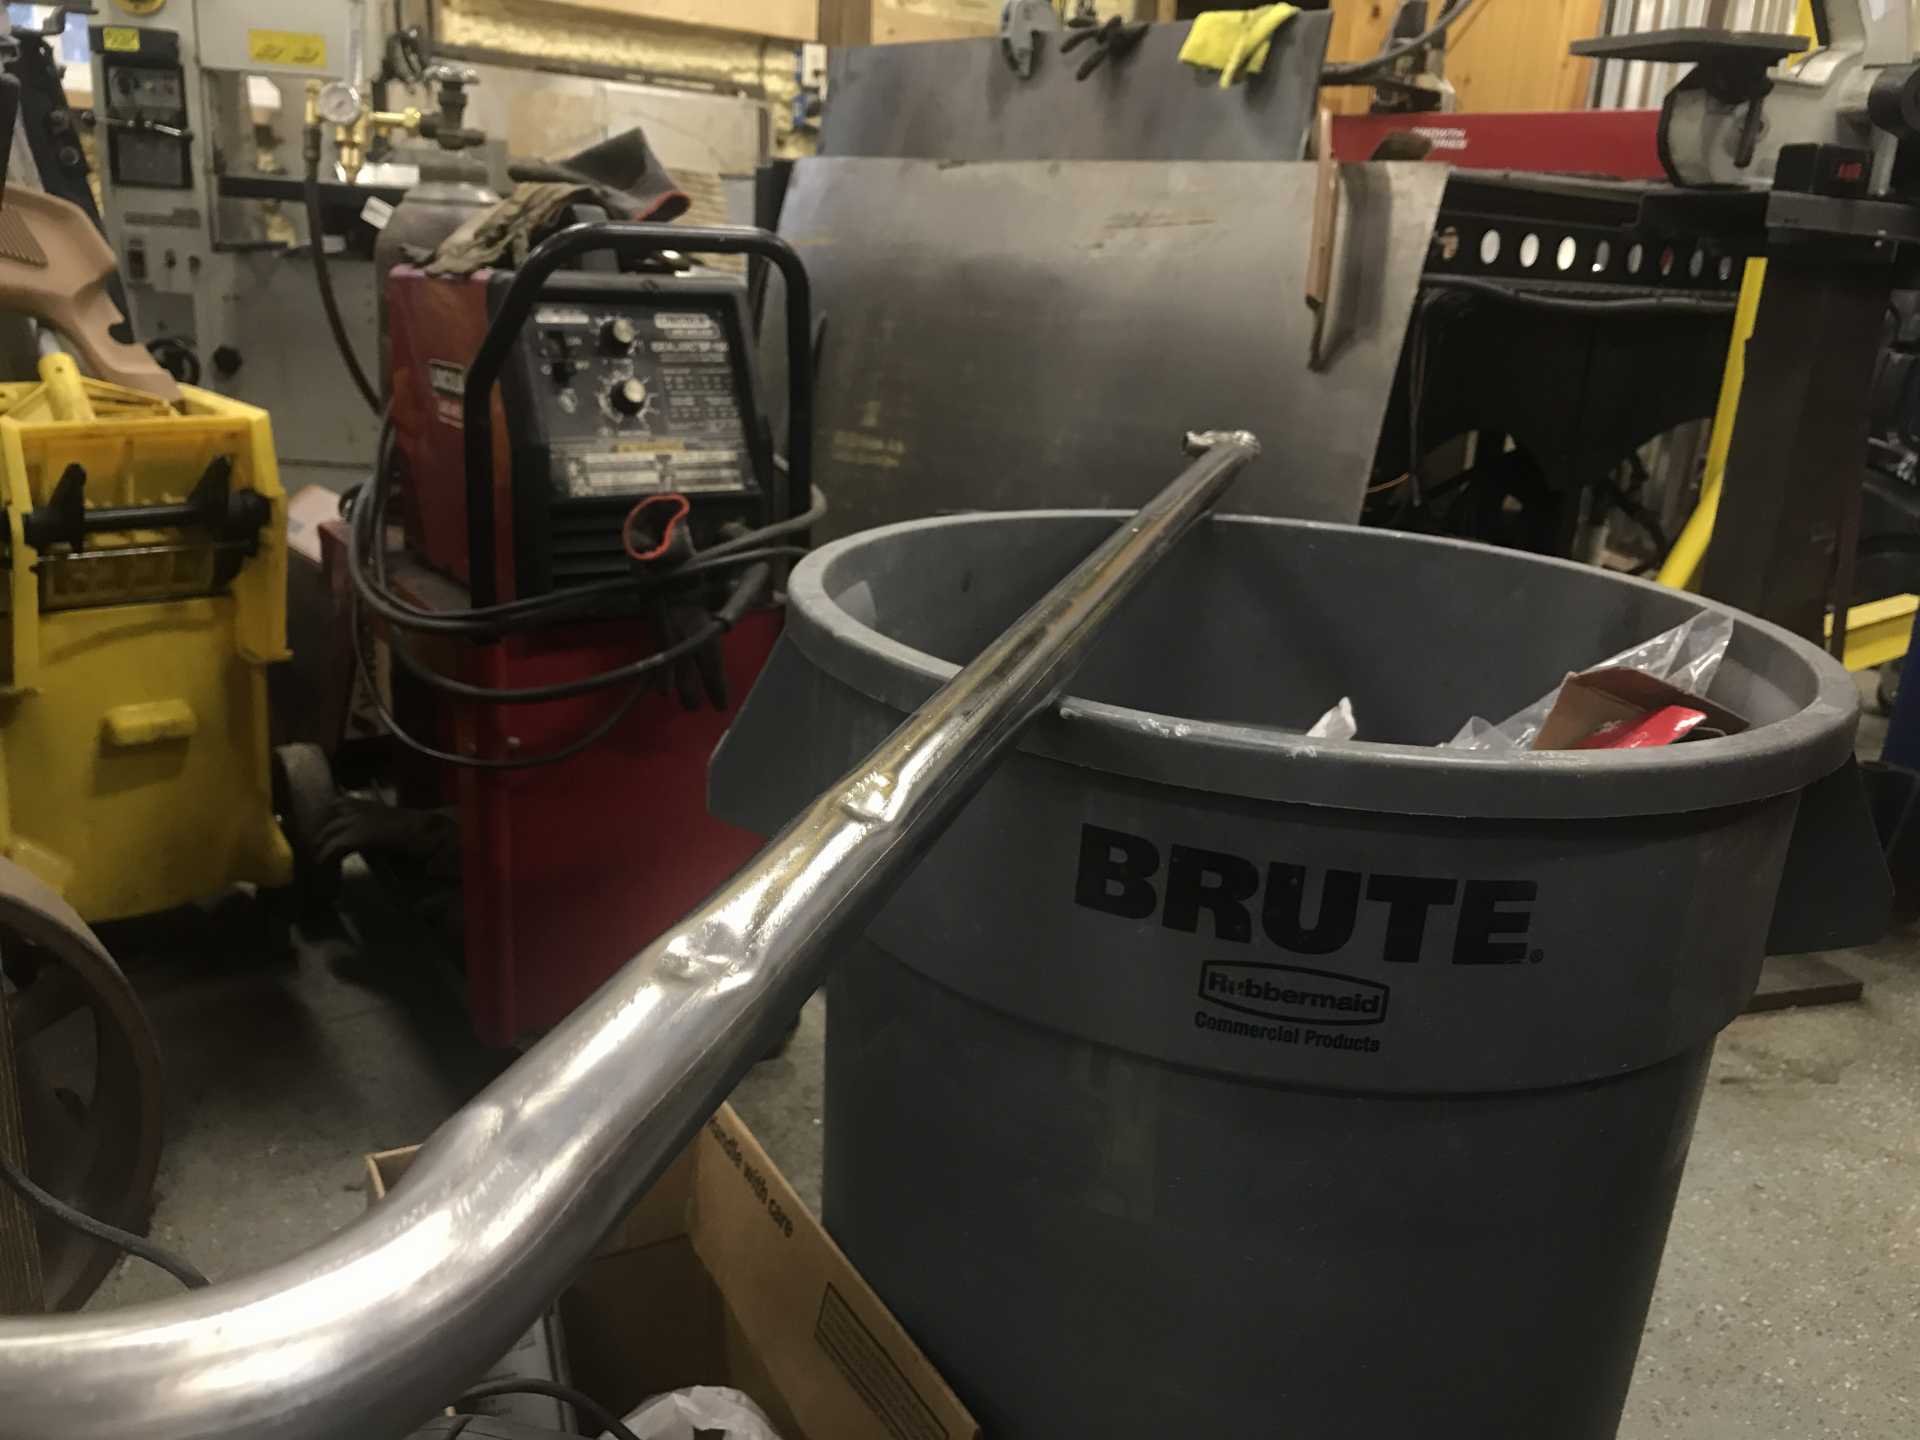
I’m glad we dropped the pipes as they were pretty dingy looking, and I was able to clean underneath them when they were down.
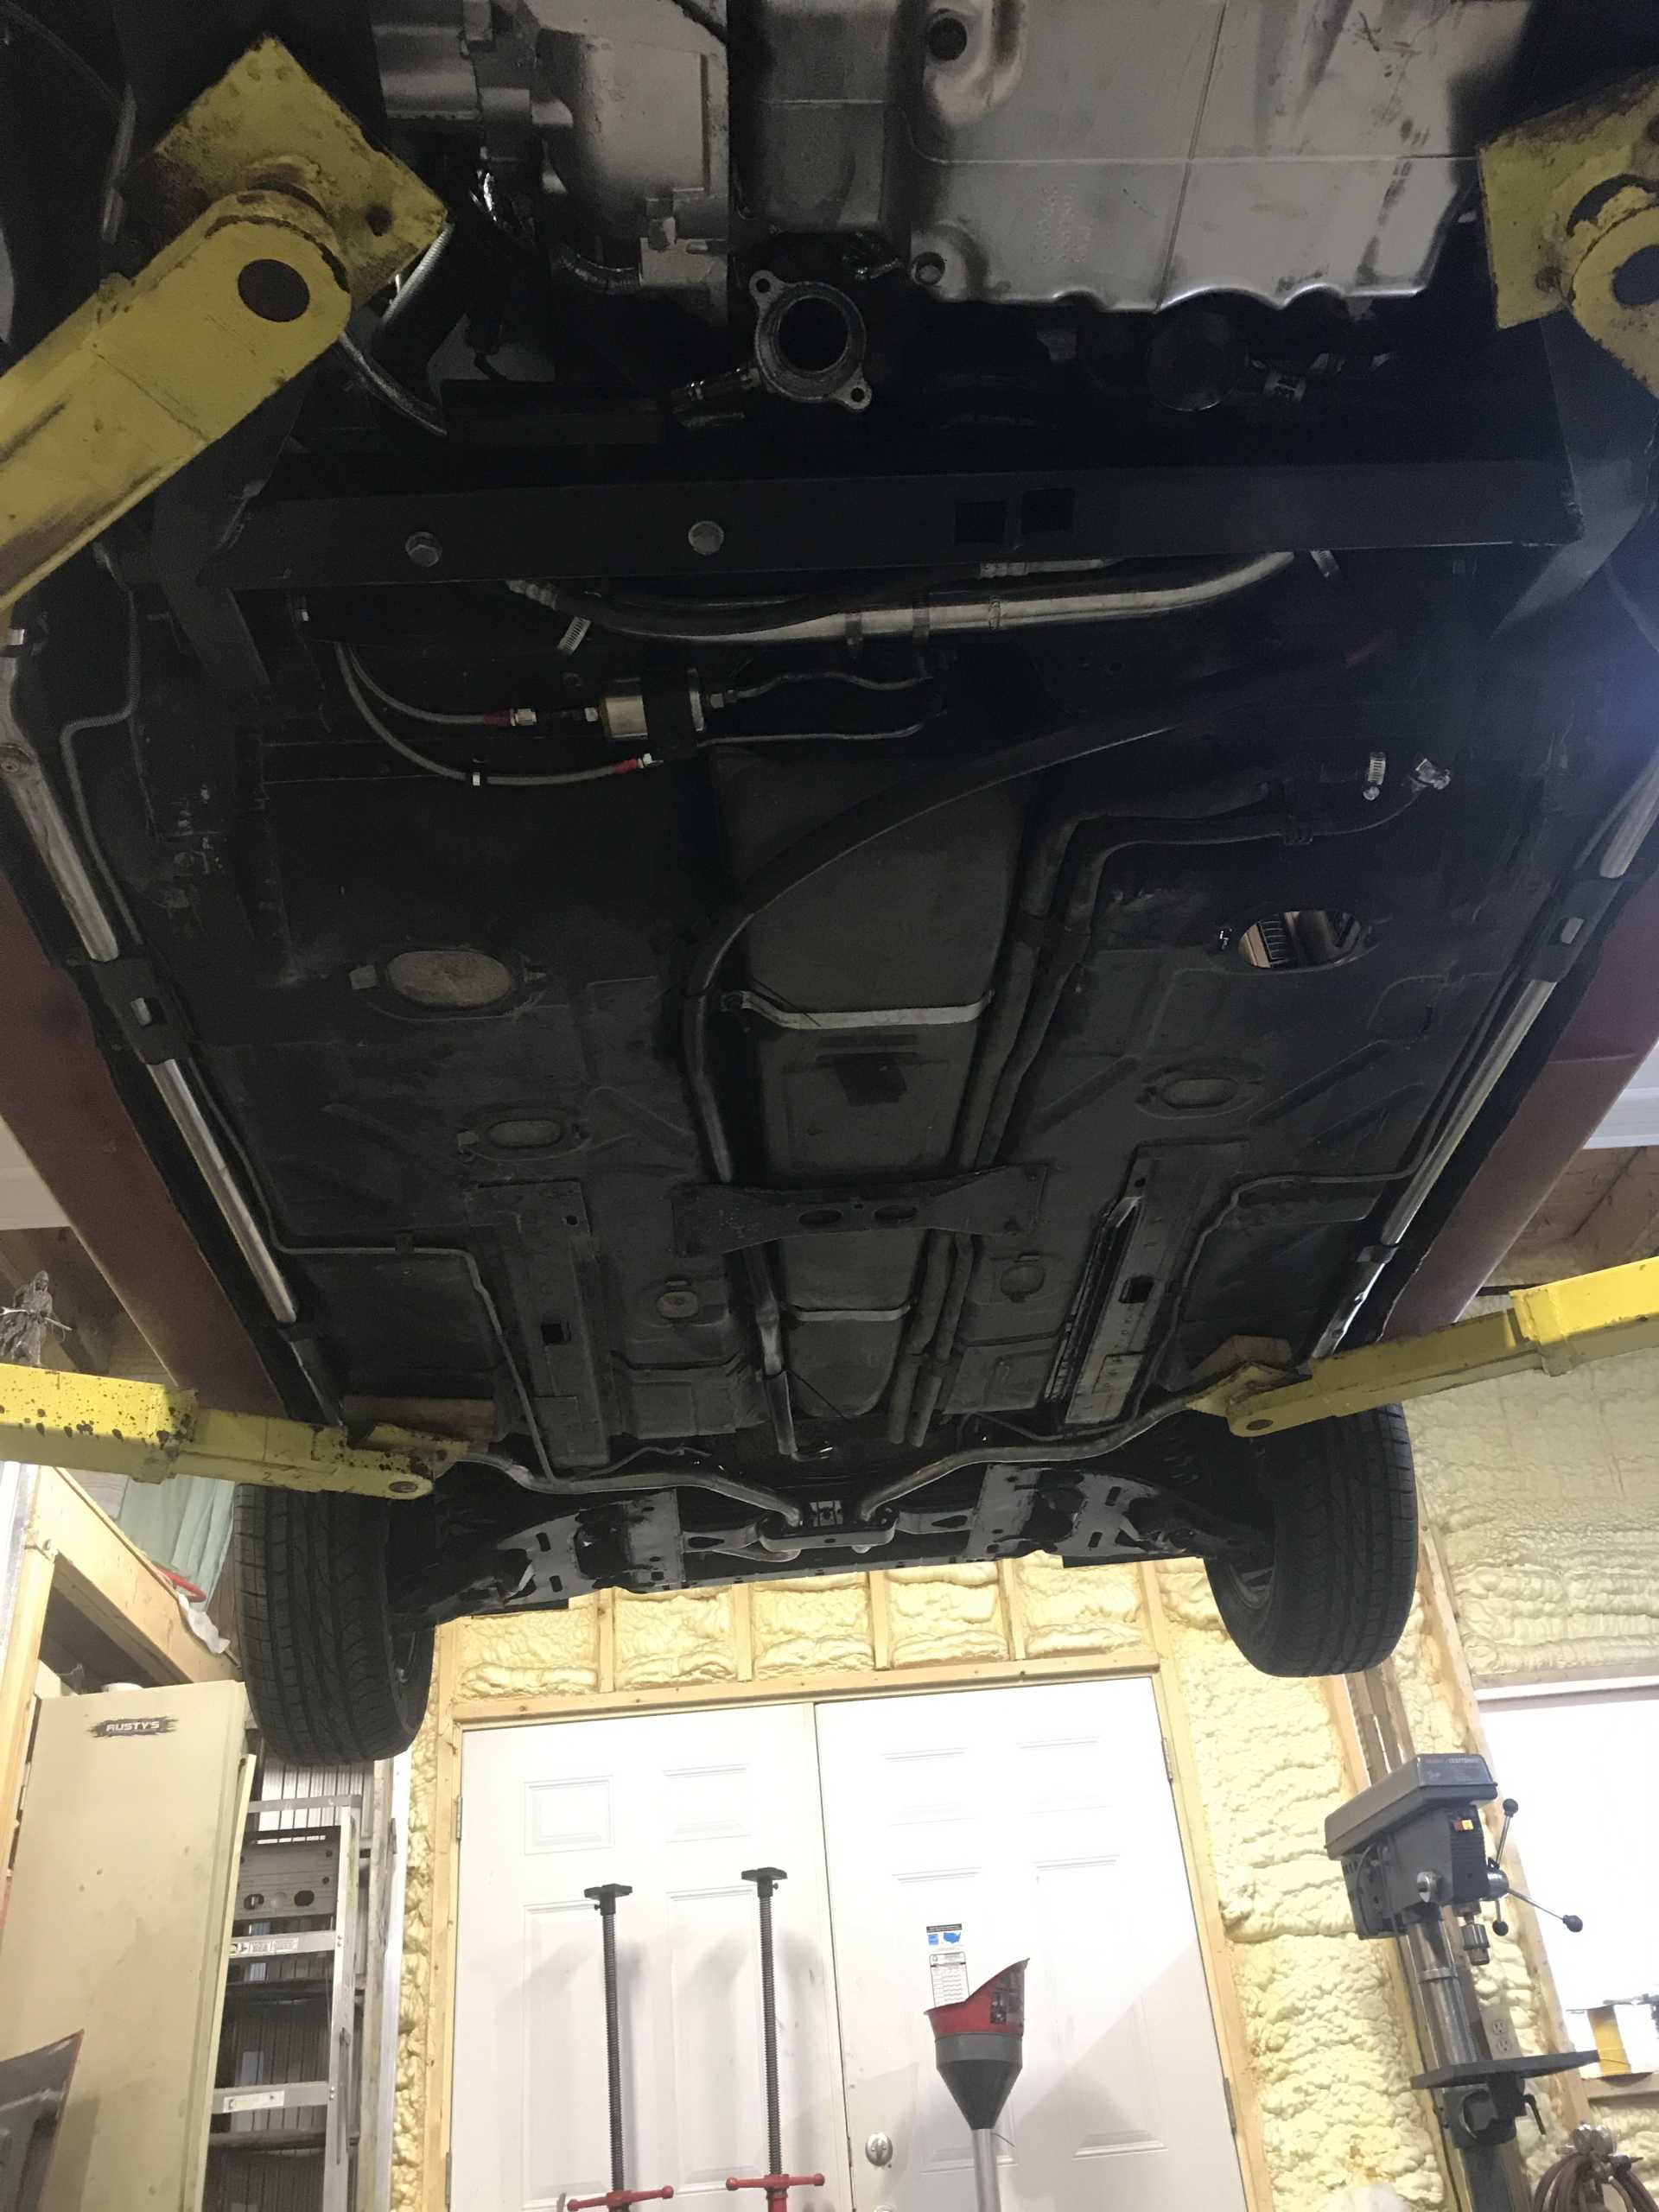
The front bracket that holds up the pipes was in good shape aside from surface rust. Bead blasted it then repainted it.
We mixed up some Preston’s yellow coolant, and found the first, and seemingly only leak. The bottom hose clamp on this bracket must’ve not been seated right. After cutting the tube back and tightening the clamps more, it doesn’t leak.
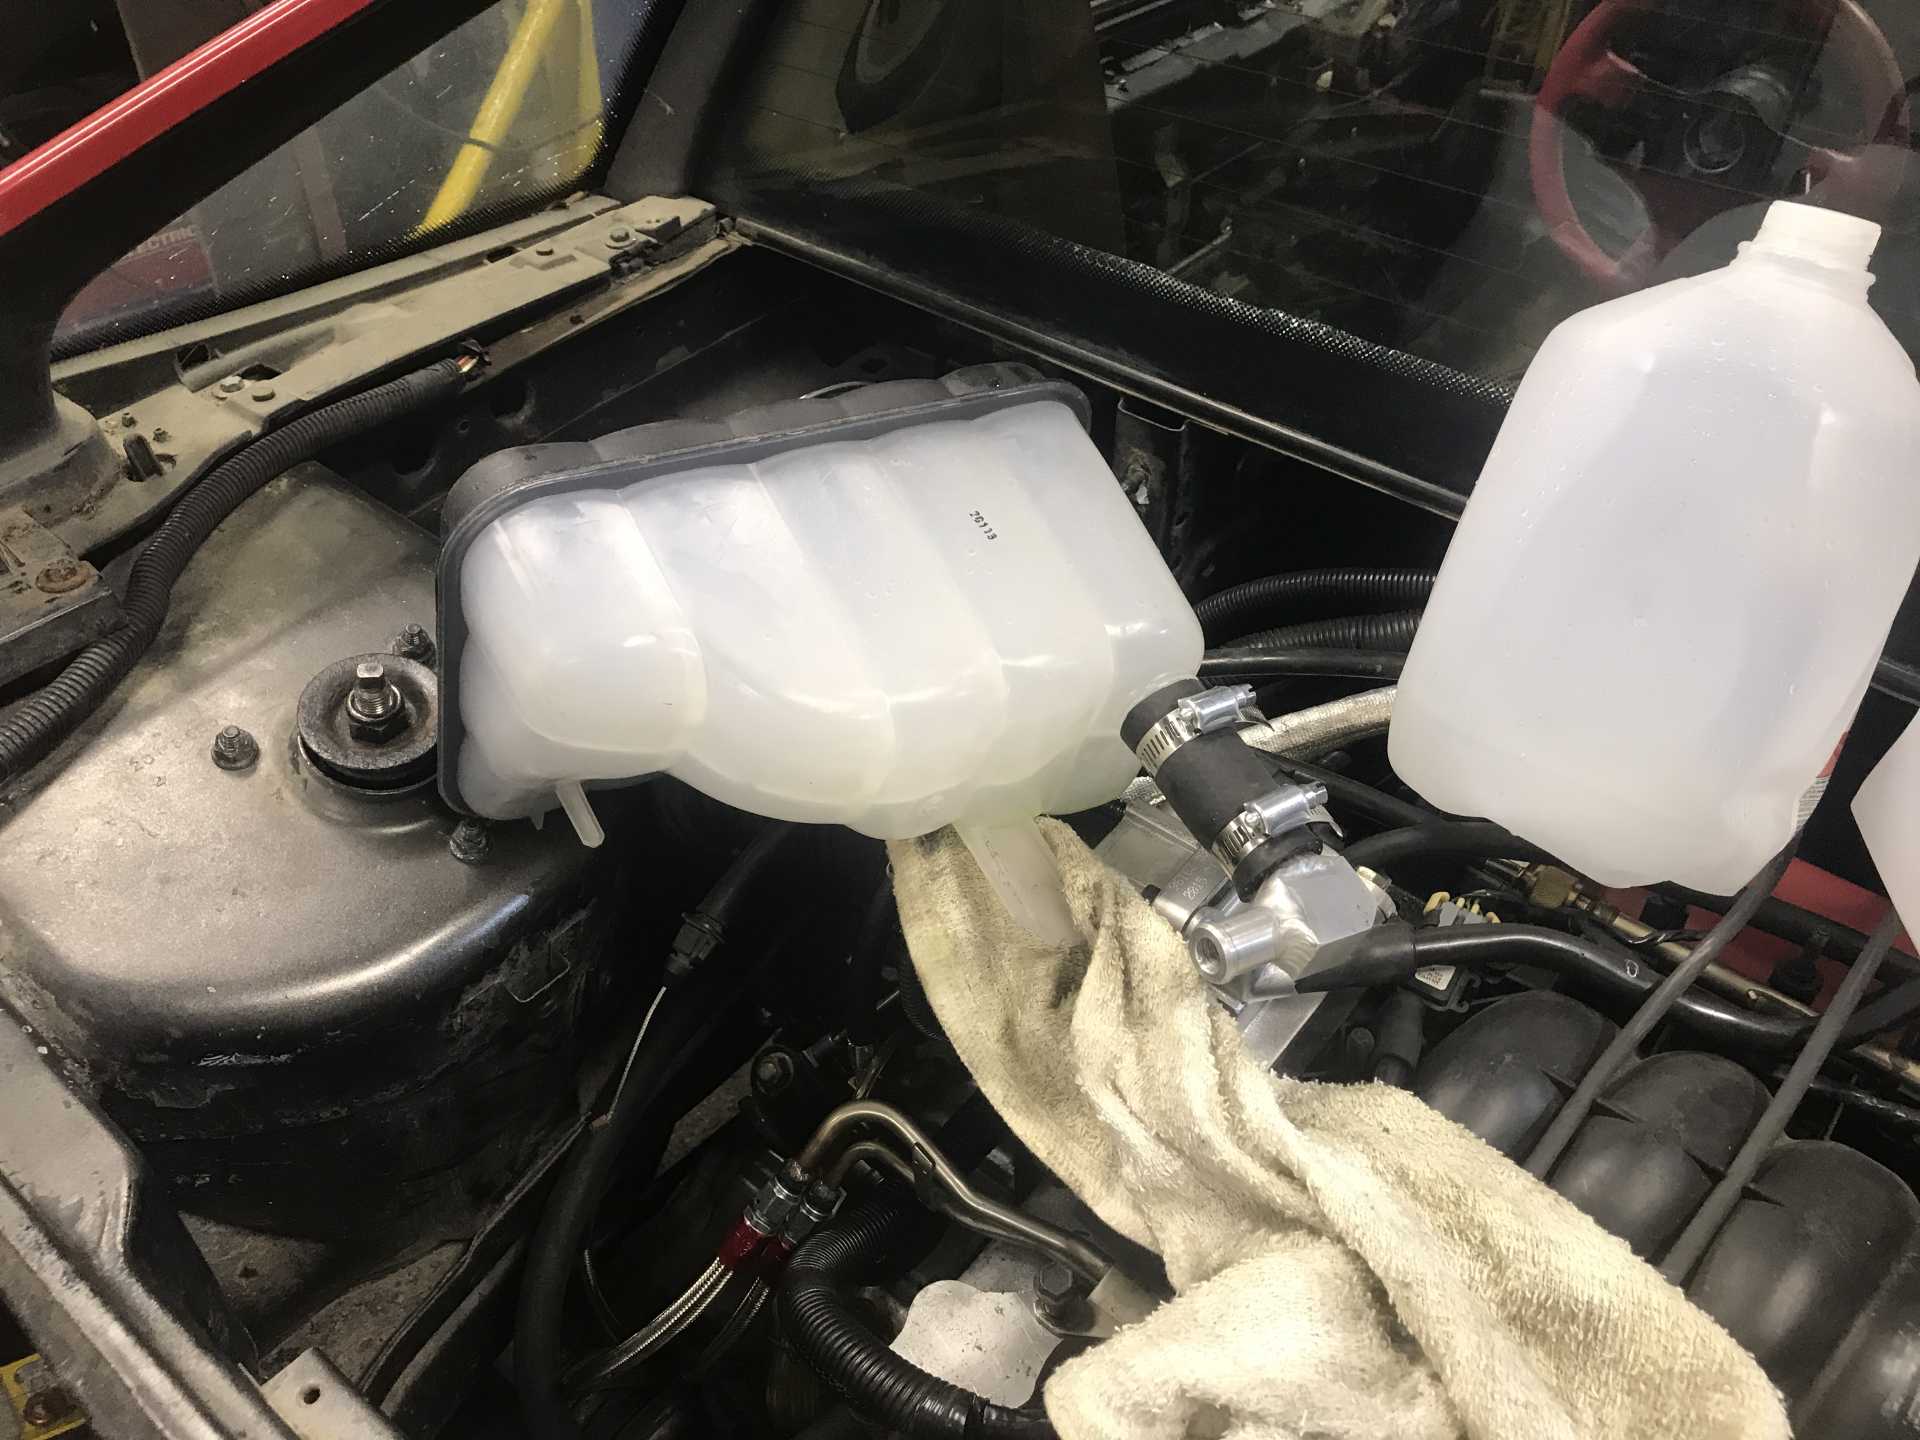
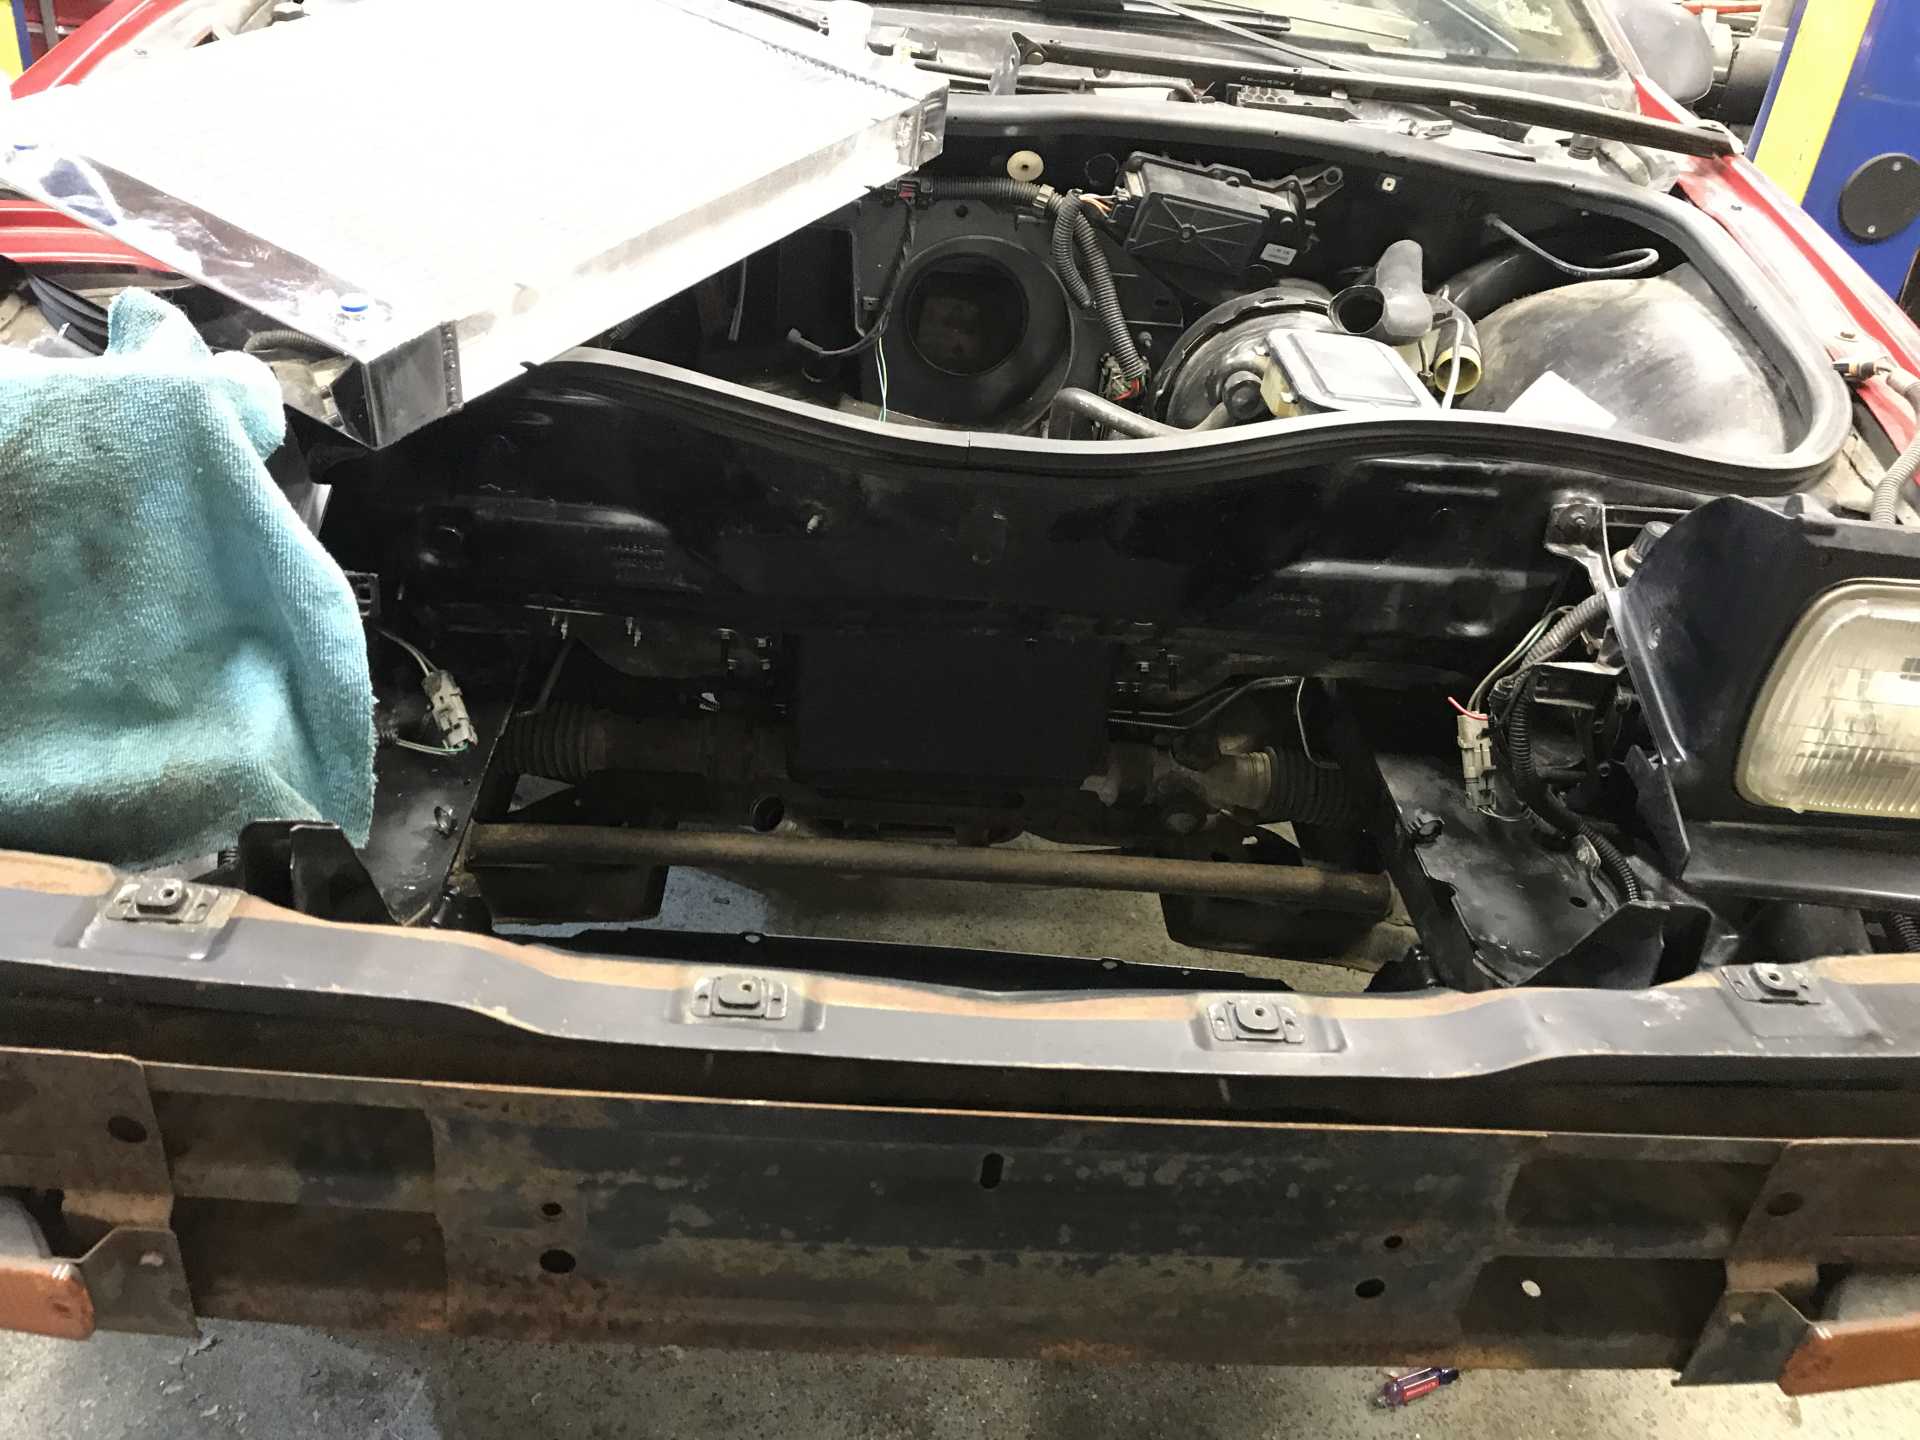
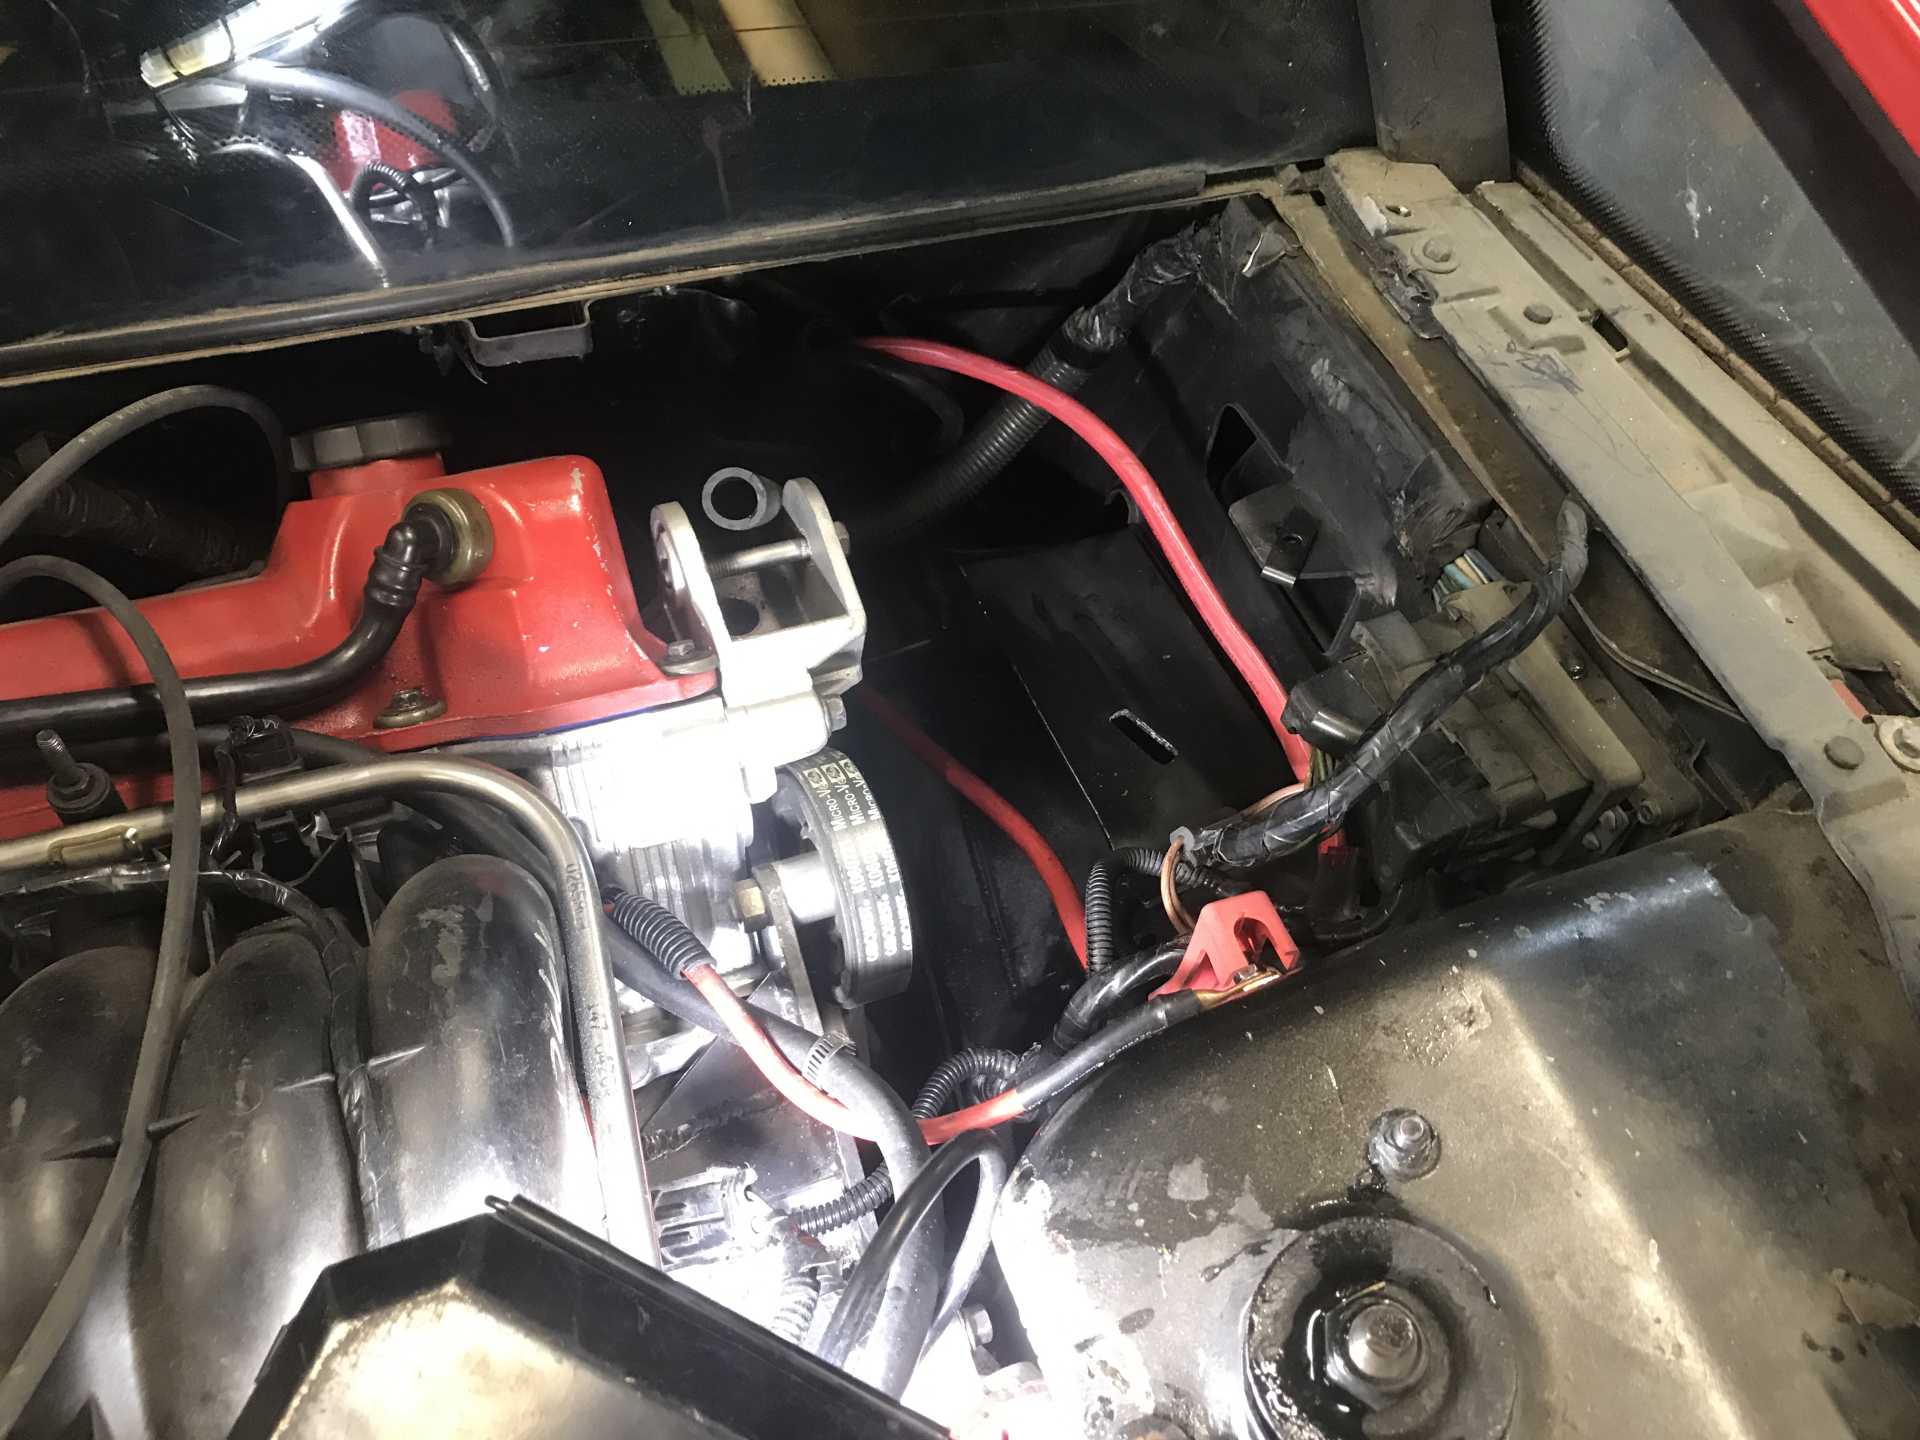
With the expansion tank out of the way, I got some pictures of behind it. I never got pictures of how the electrical was run over here back when I installed it, so now is the chance.
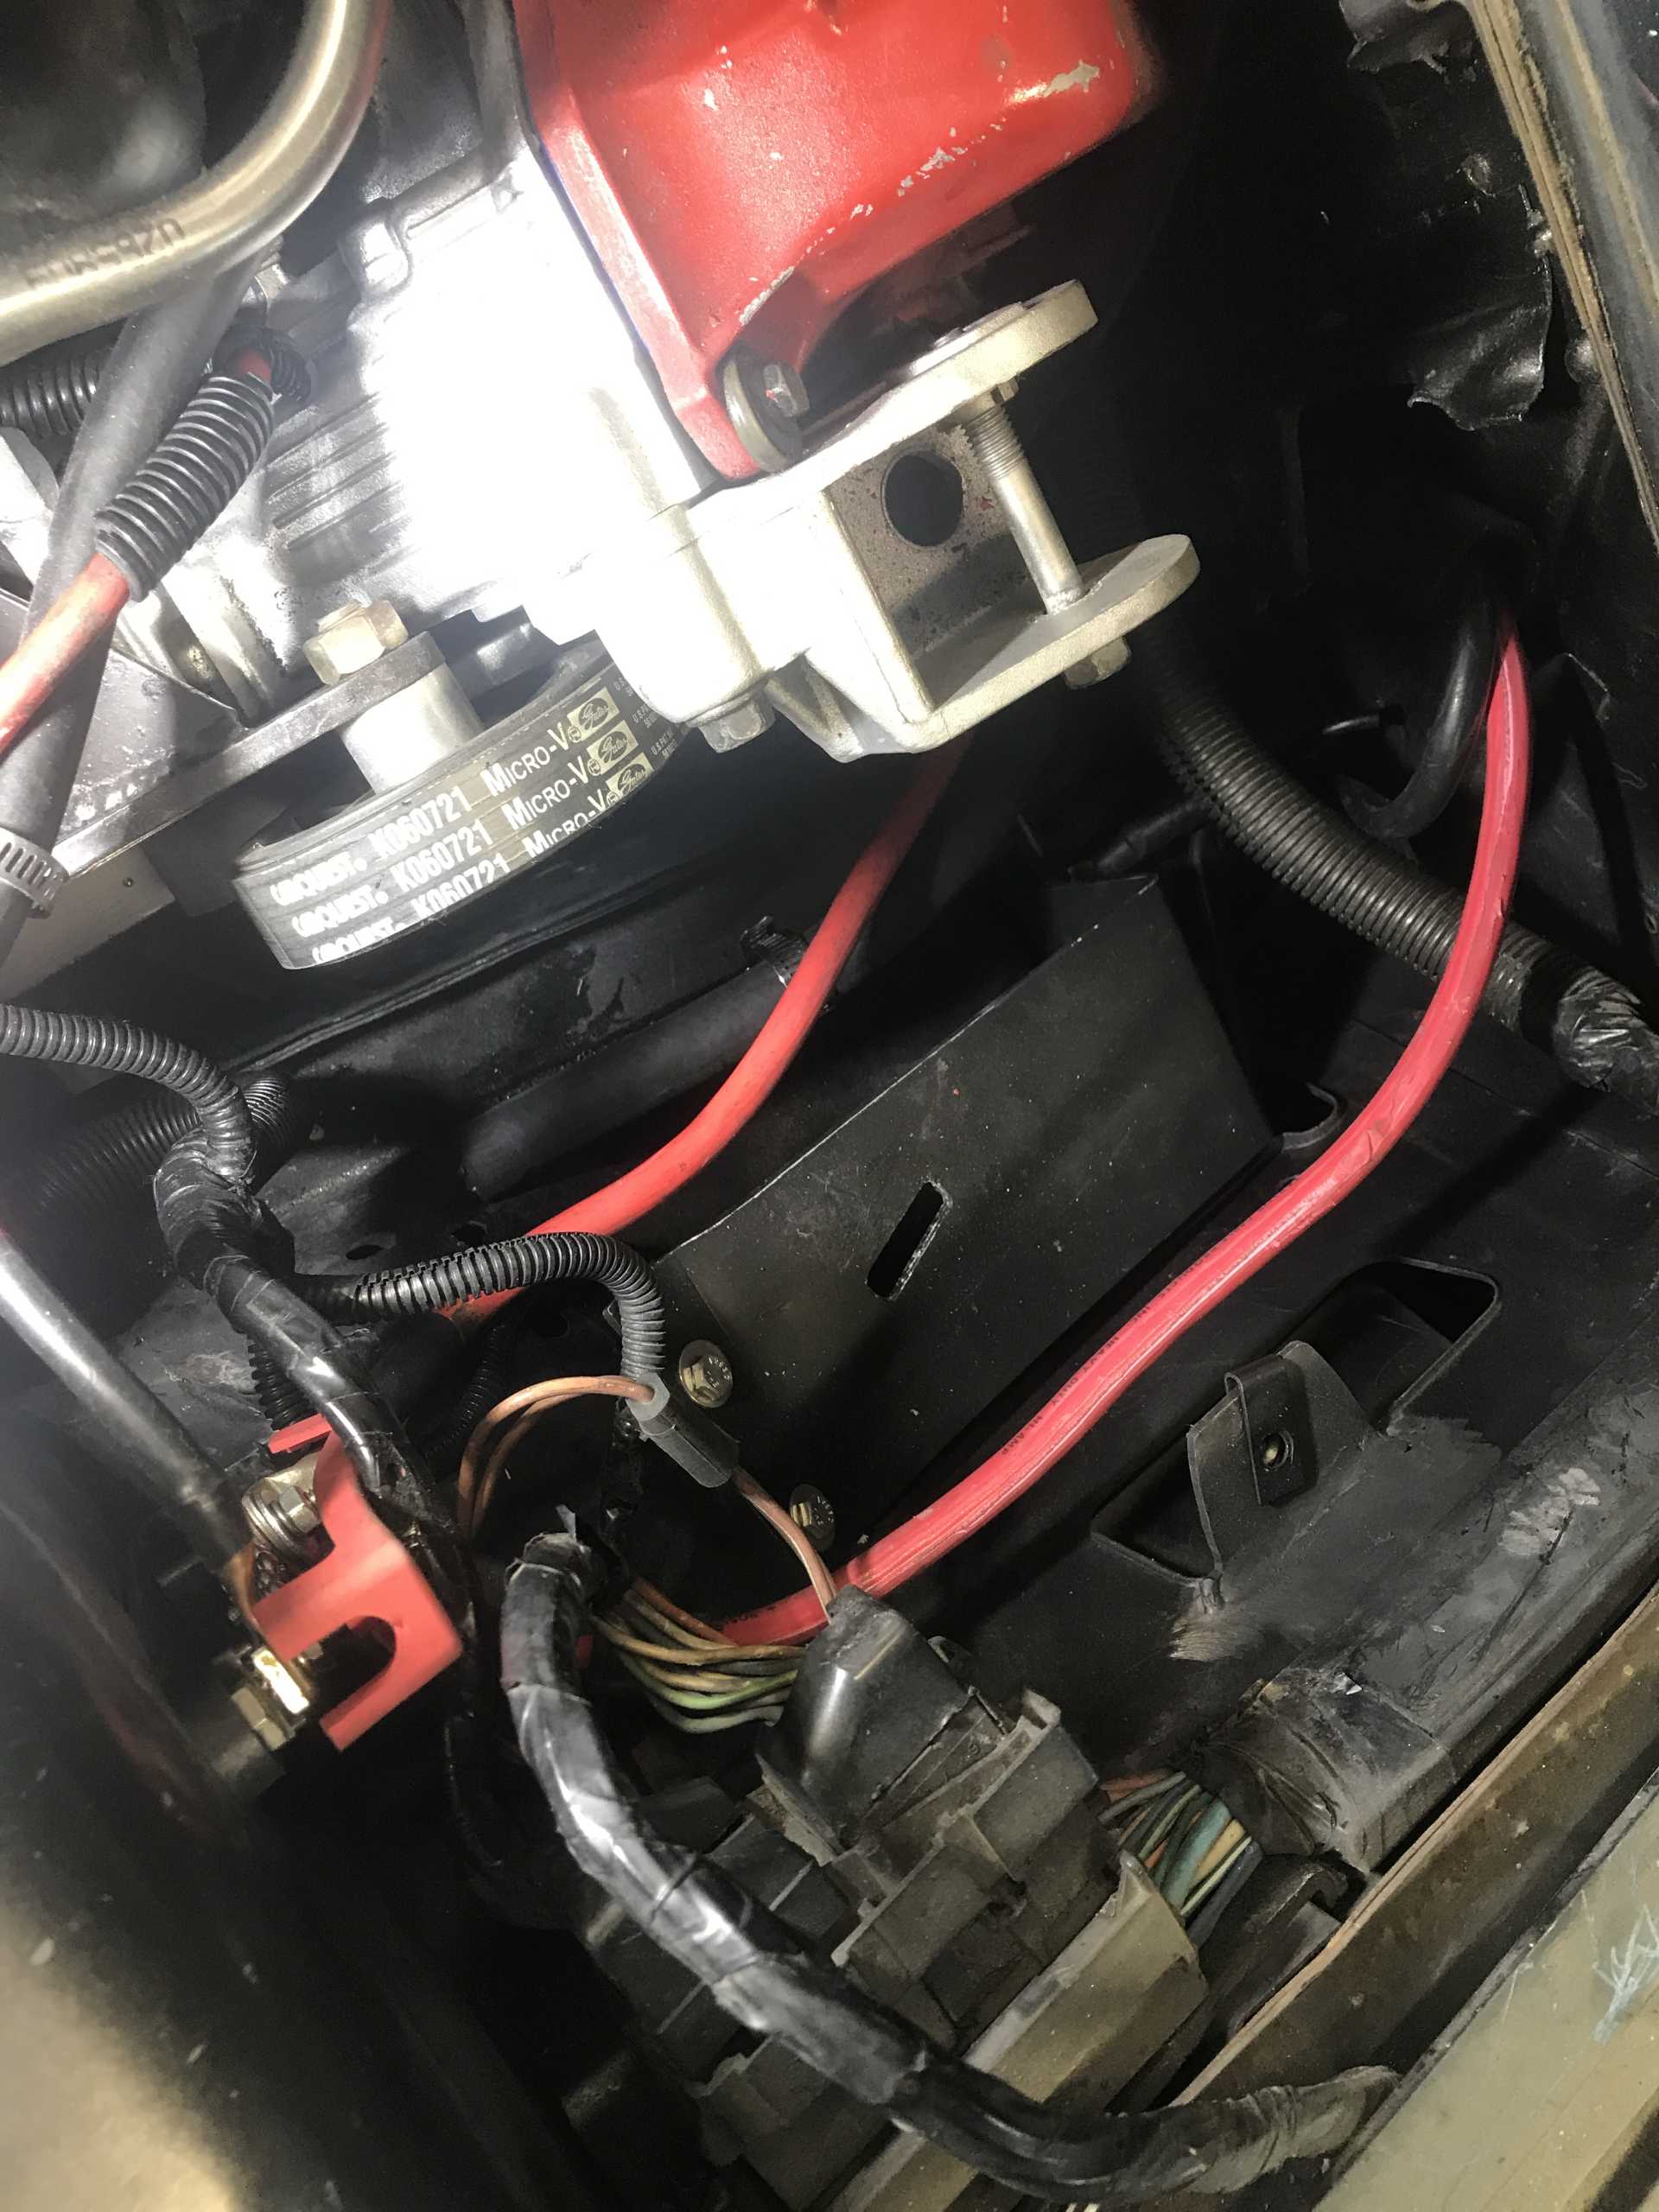
I plan on using better clamps to secure the cables down, but for now they are wedged behind this bracket(I’m assuming from the old battery tray) the PO cut up. There’s one ground from the block that goes to one bolt from the expansion tank bracket, and the main ground from the front goes to the other bolt.
The main positive runs behind the expansion tank to the junction block. The closer red cable is from the alternator to the junction block.
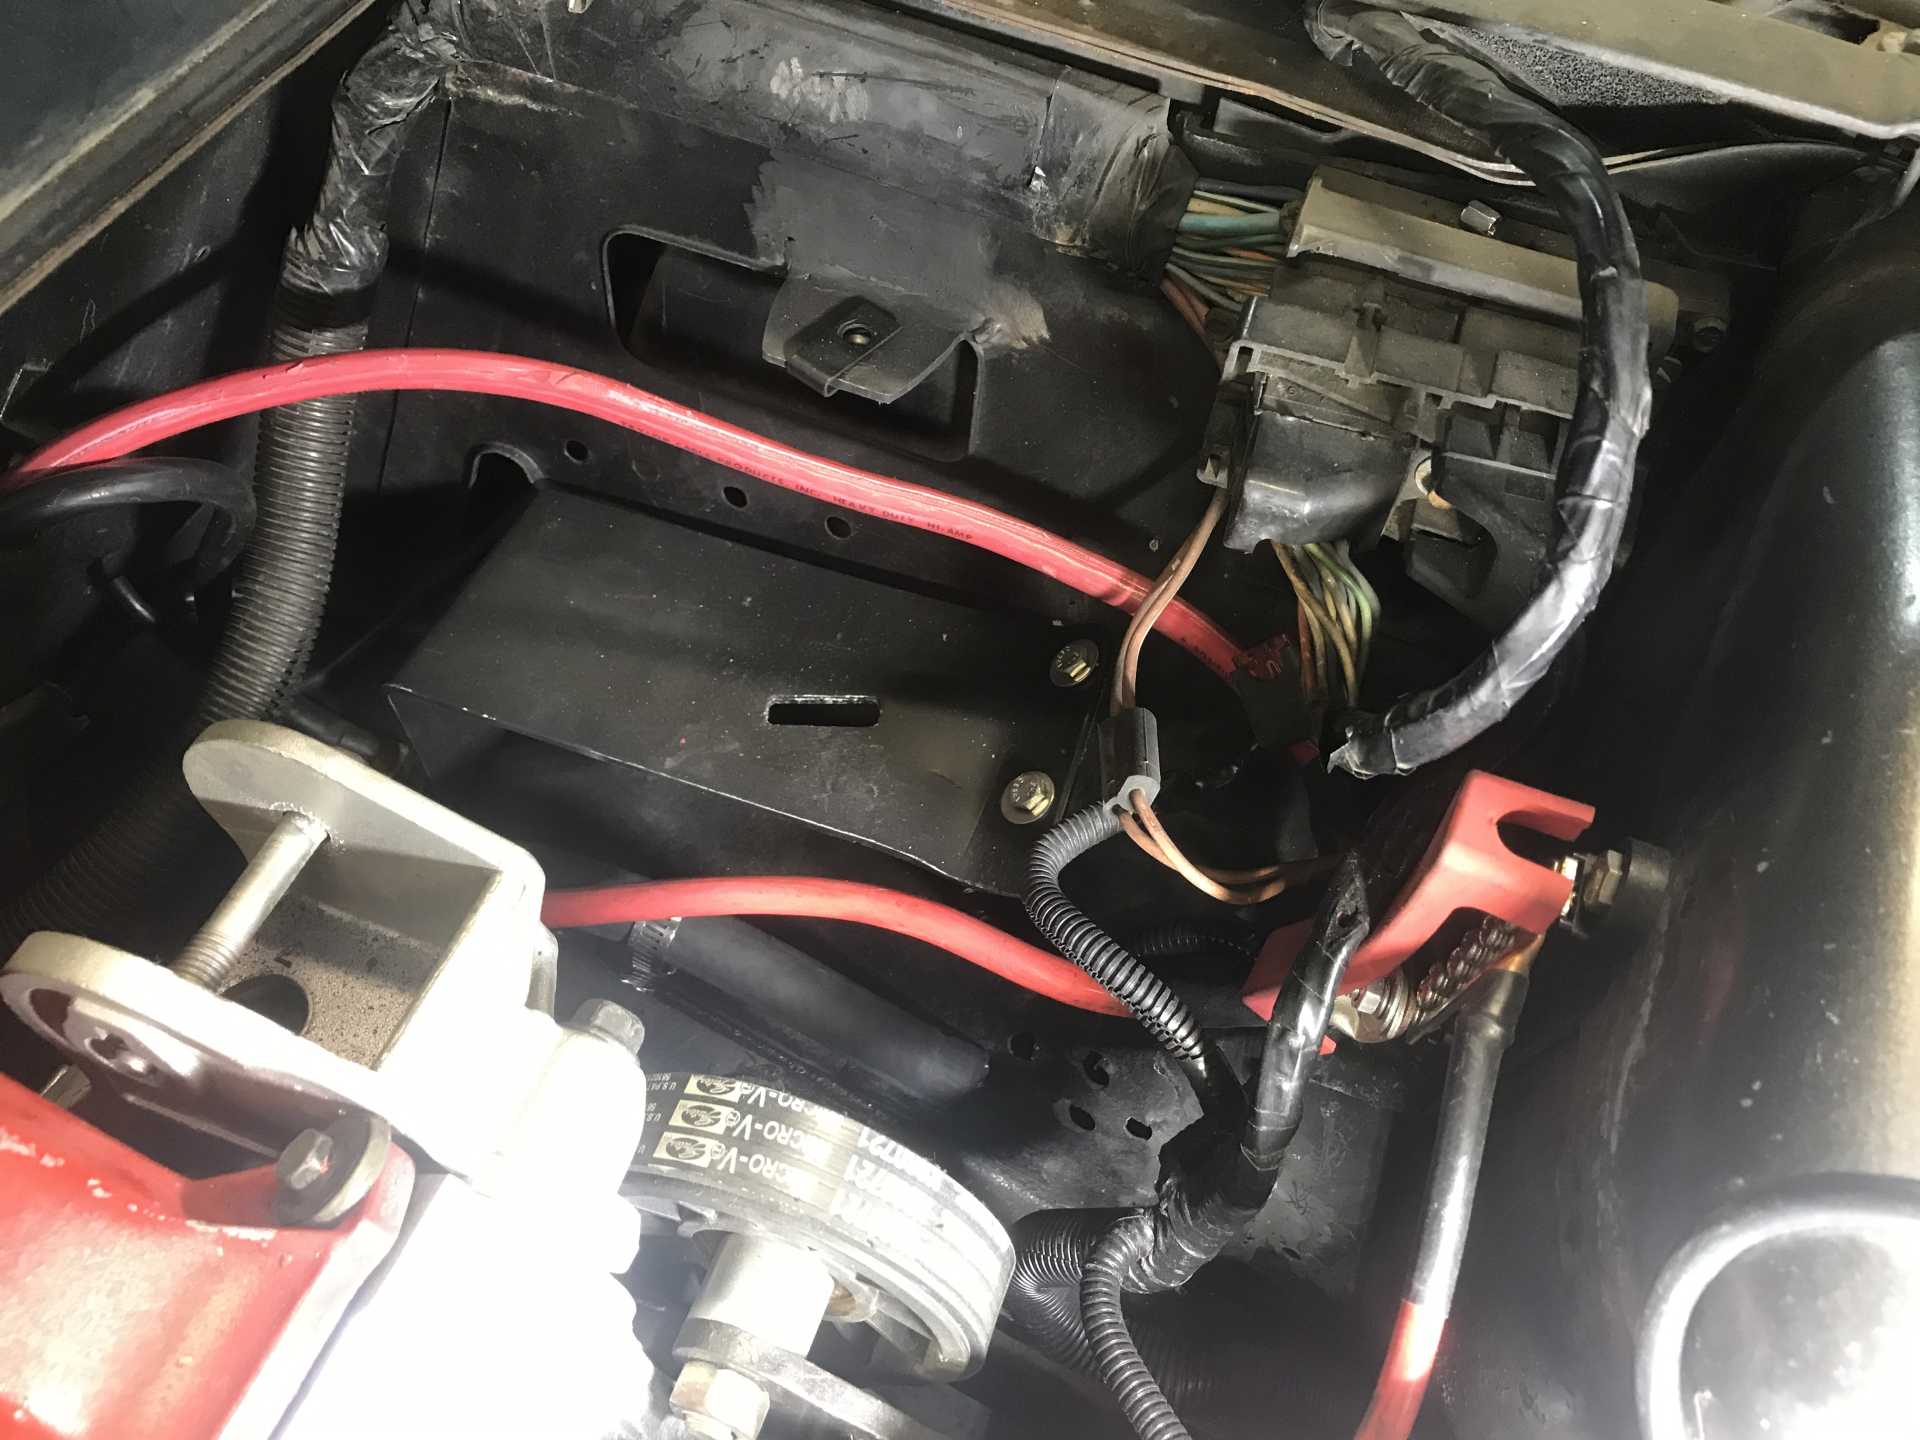
I think this side came out pretty nice.
This completely dry system is kinda a pain to burp, I am probably going to need to buy a vacuum to do this.
|
|
|
|