|
| World's slowest Fiero/Quad 4 Swap (Page 47/48) |

|
Quadfather
|
DEC 18, 02:35 PM
|
|
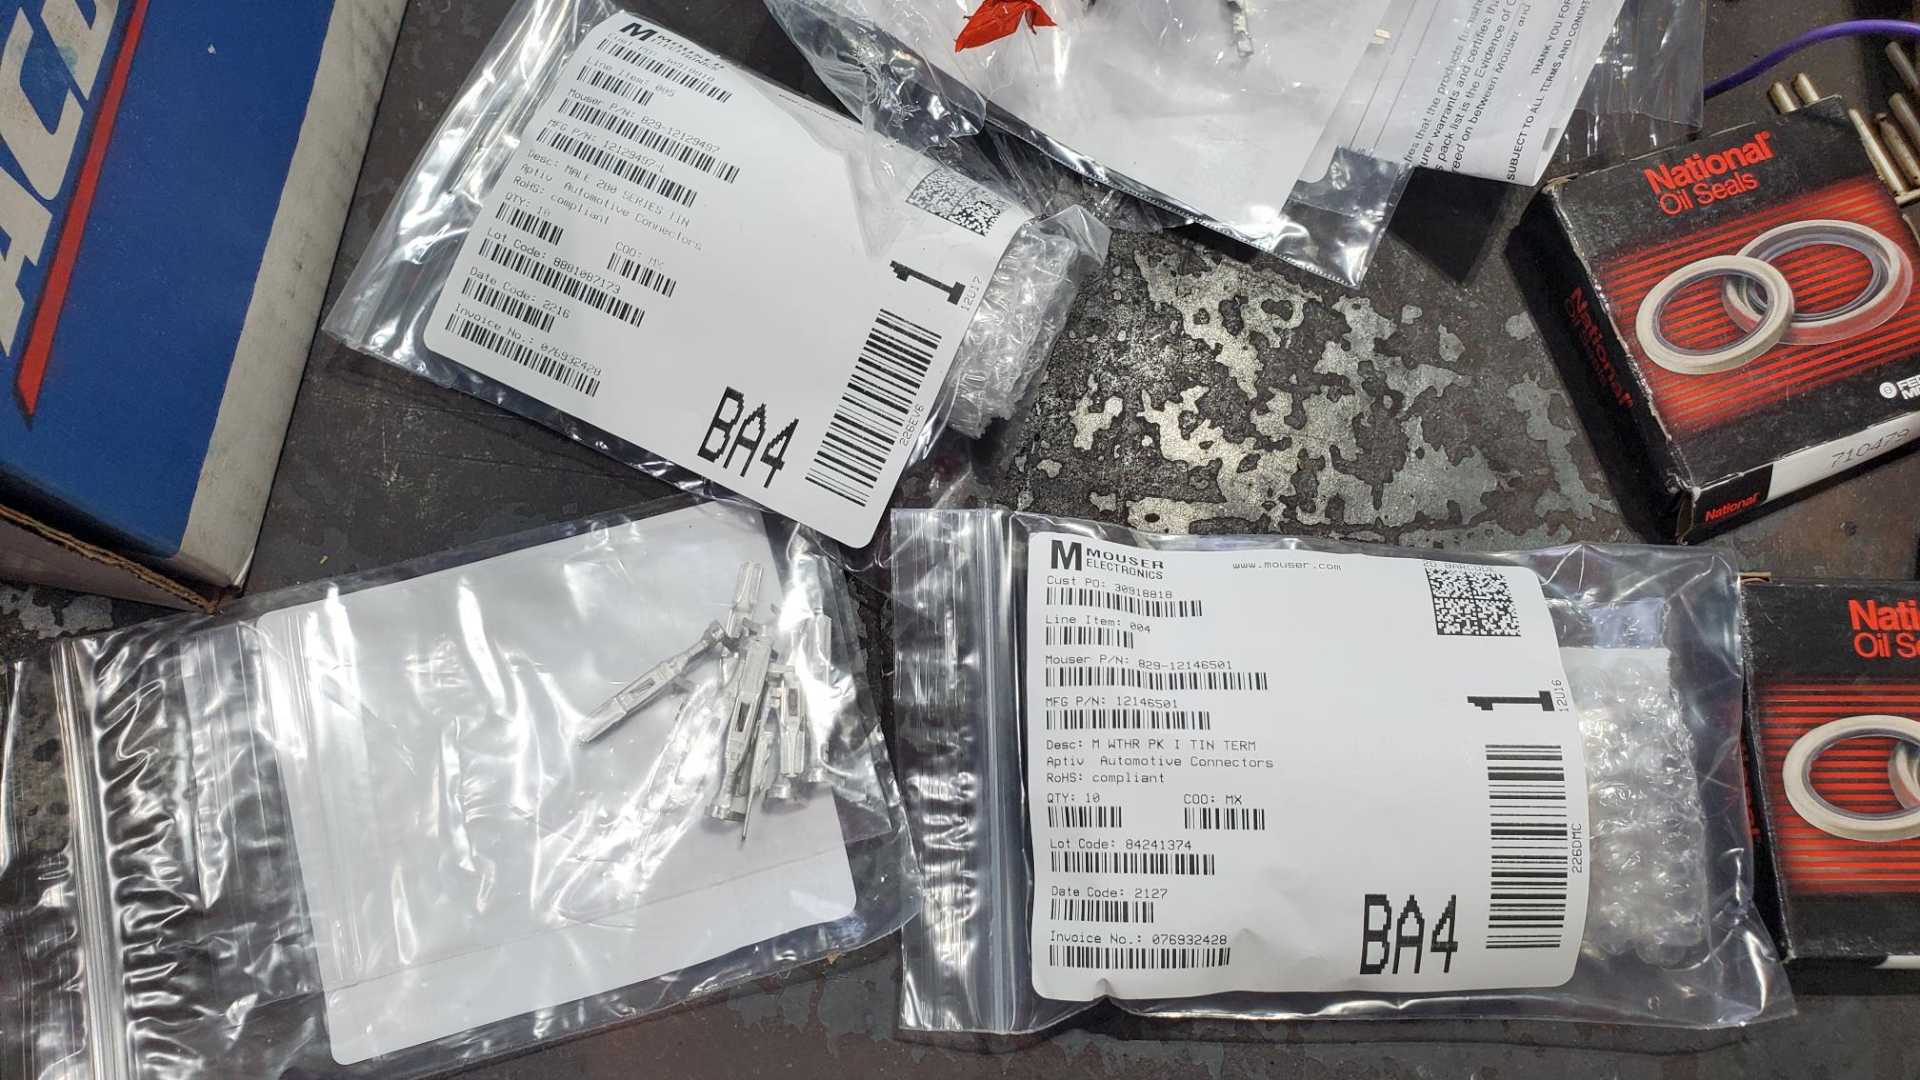
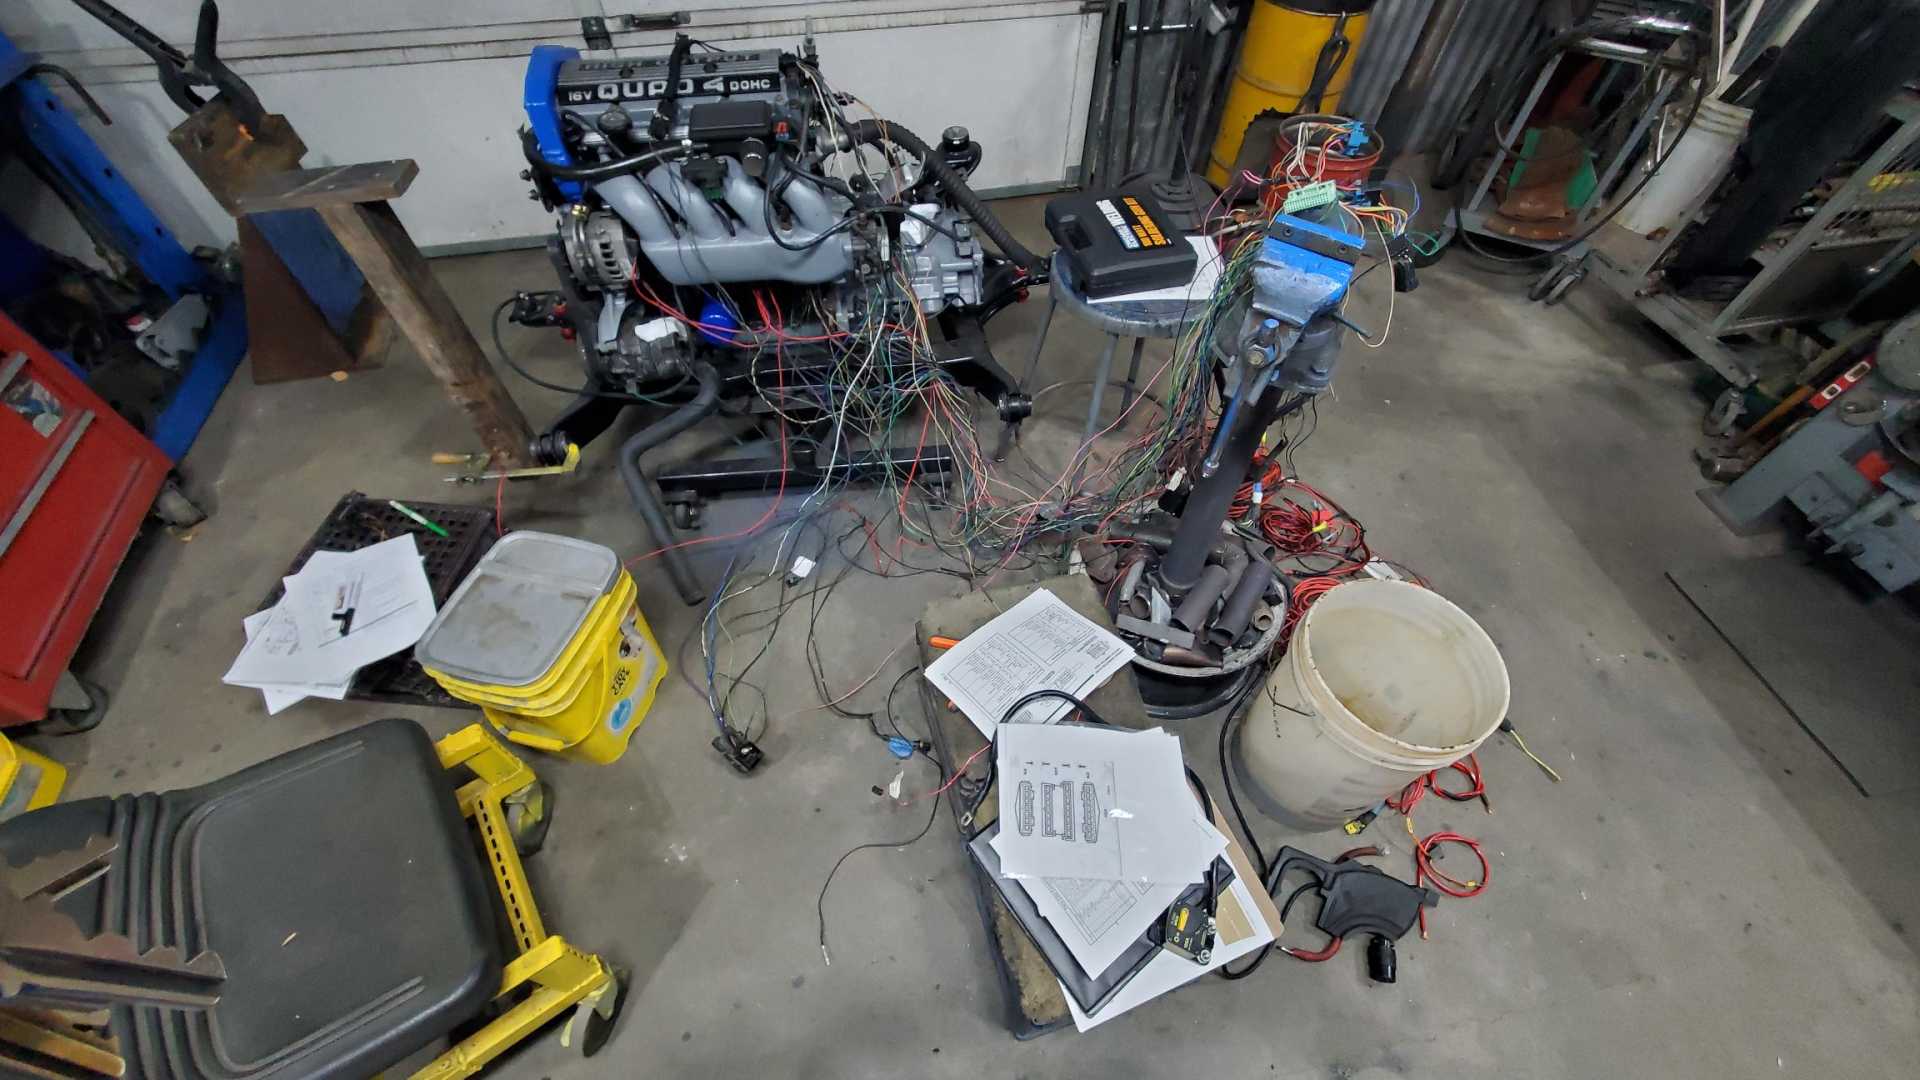
I finally realized I'll need to install new pins on some of the wires, so ordered three sizes from Mouser. They were a little pricey but they arrived the next day.
Now I'm waiting for the crimper I ordered to show up.
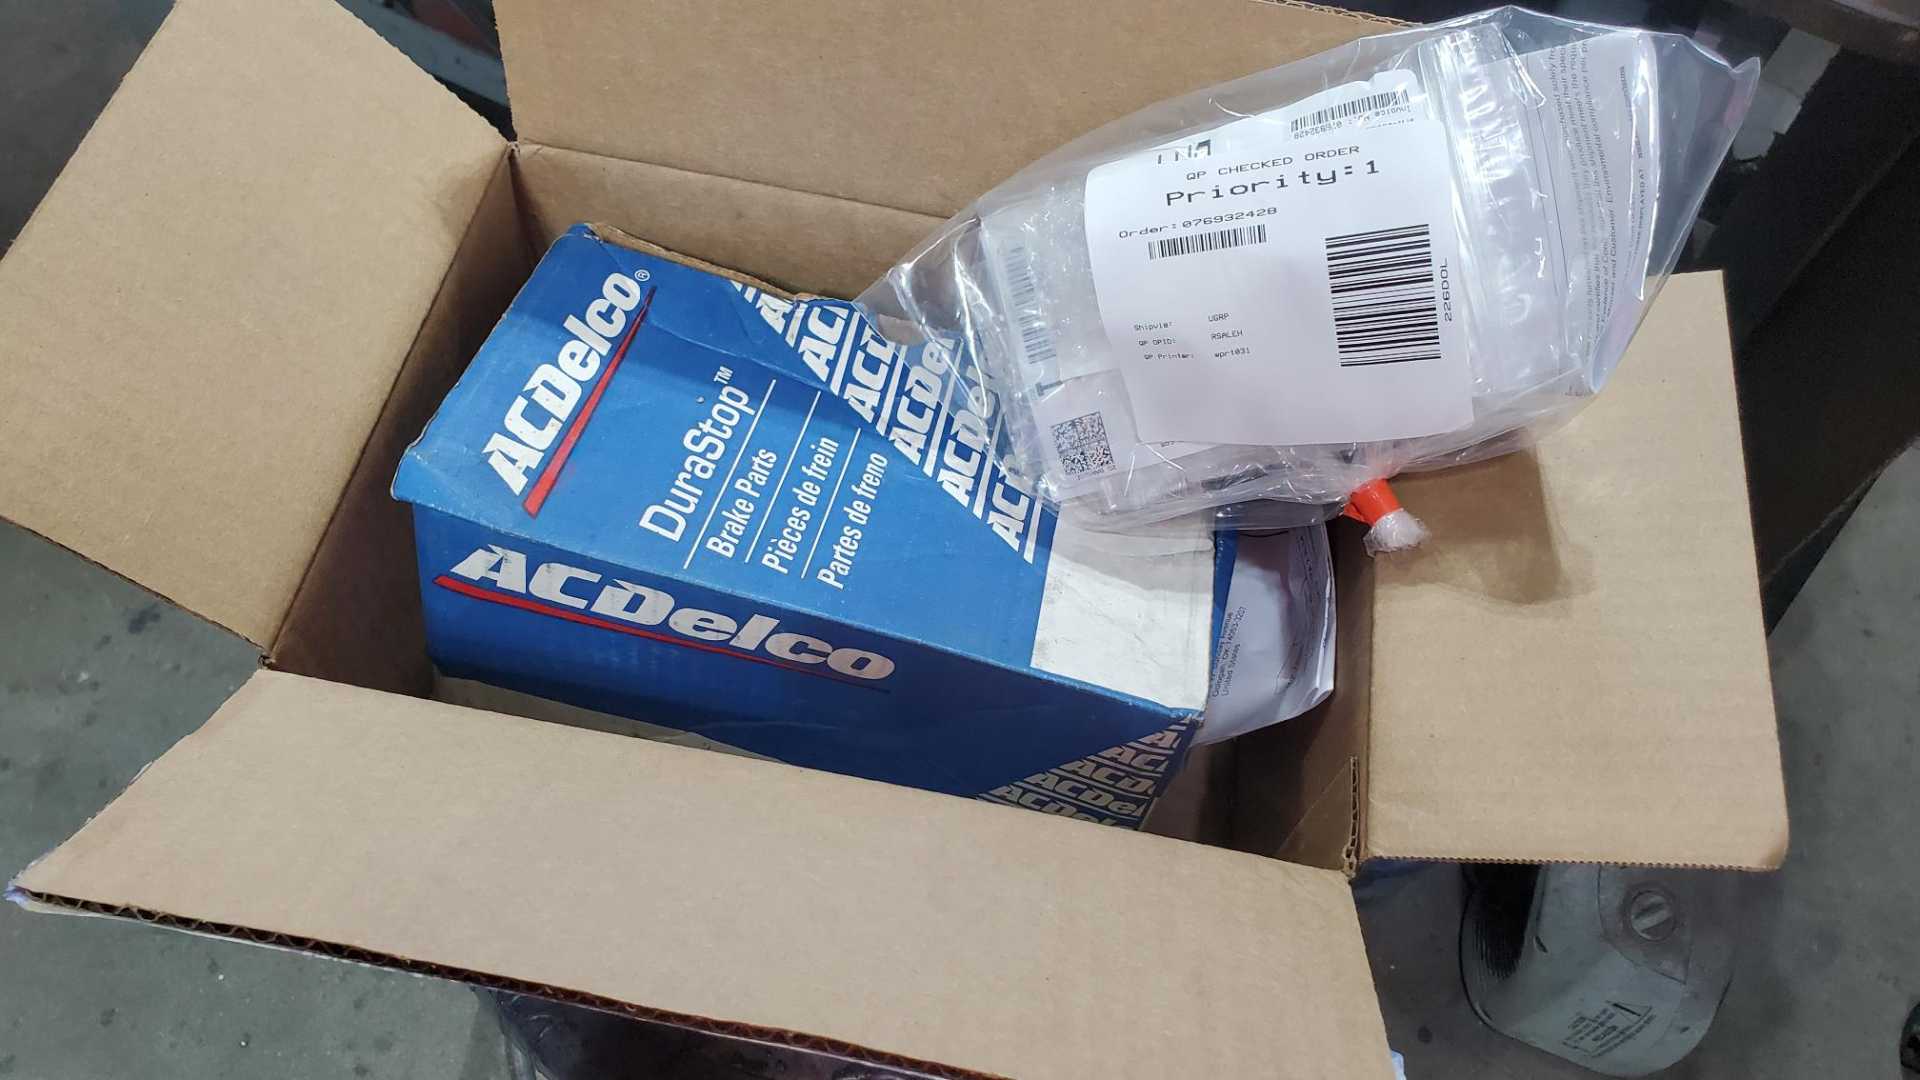
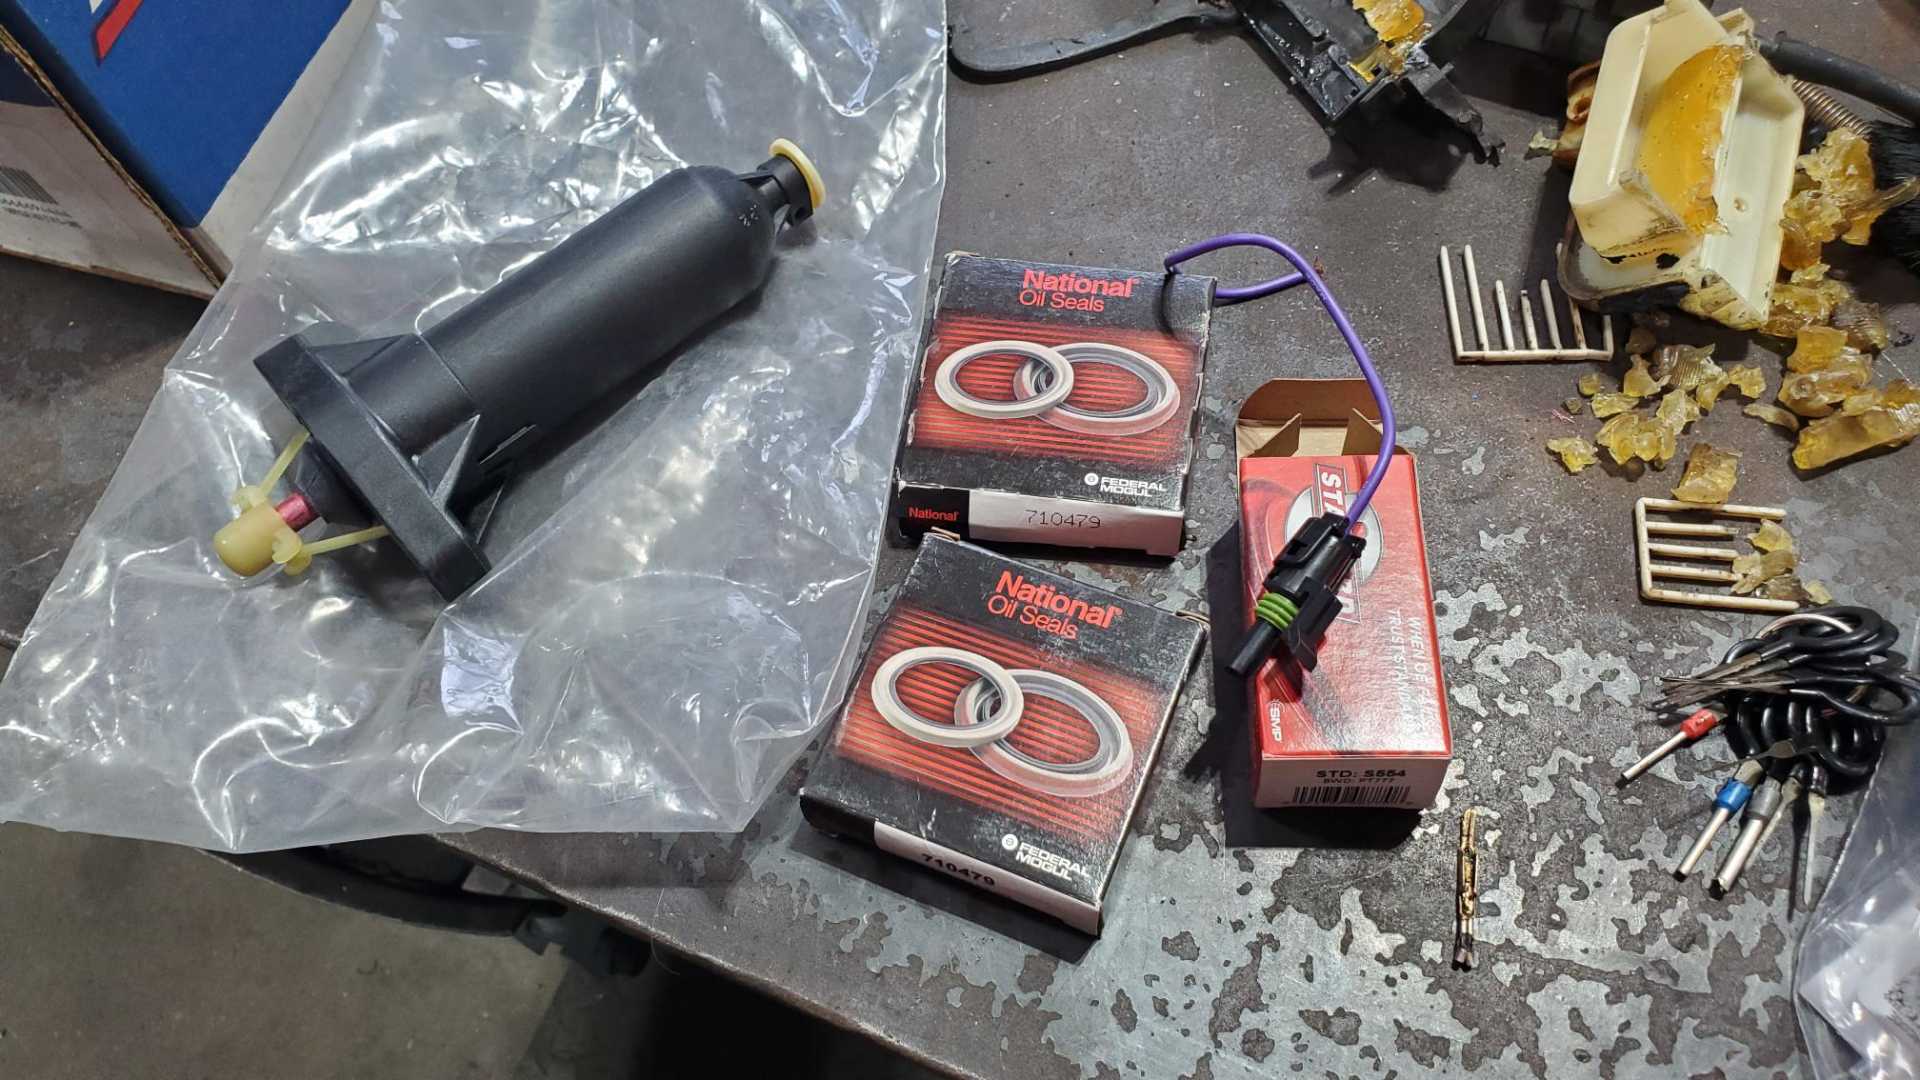
In the meantime I got an email alert from rockauto.com about some manufacturer closeout deals on some Beretta parts, including the O2 sensor plug, a couple transaxle seals and even a clutch slave cylinder.
|
|
|
|
Quadfather
|
DEC 18, 02:45 PM
|
|
|
|
|
Quadfather
|
DEC 22, 03:57 PM
|
|
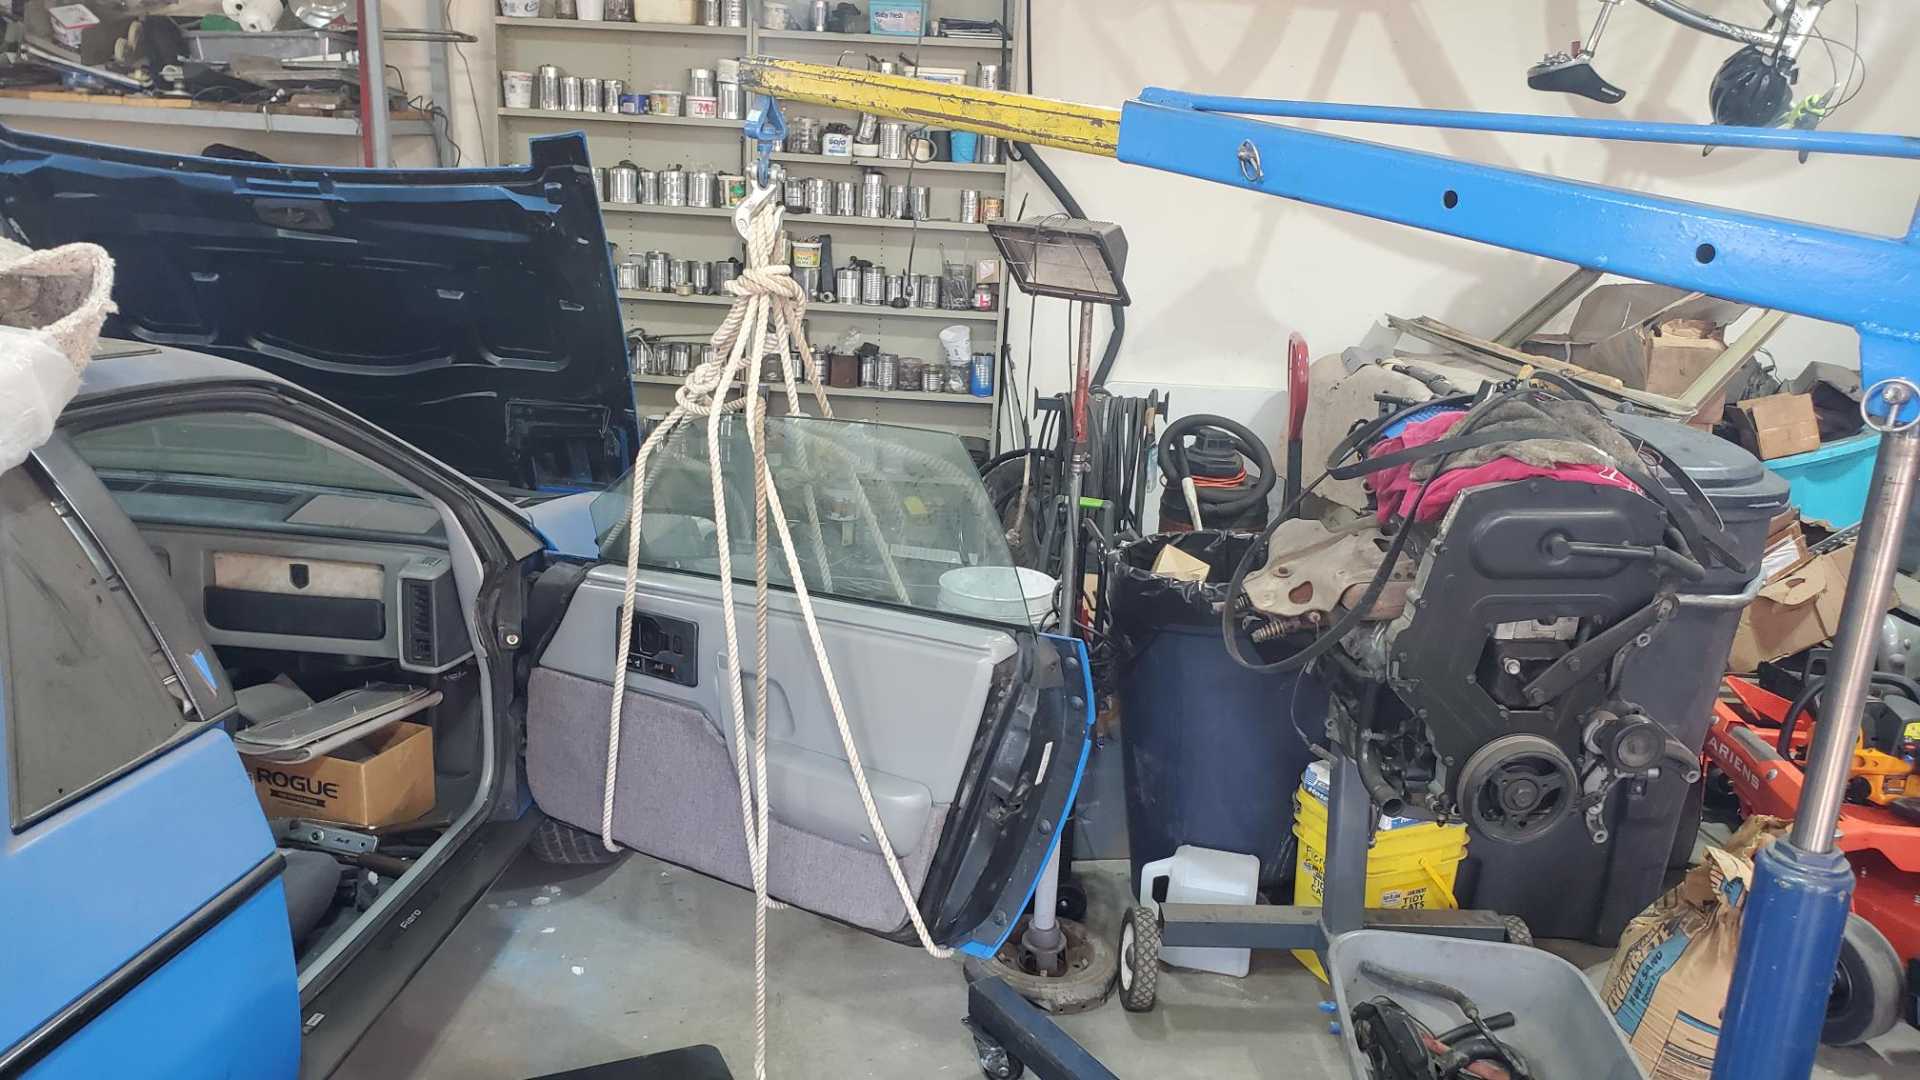
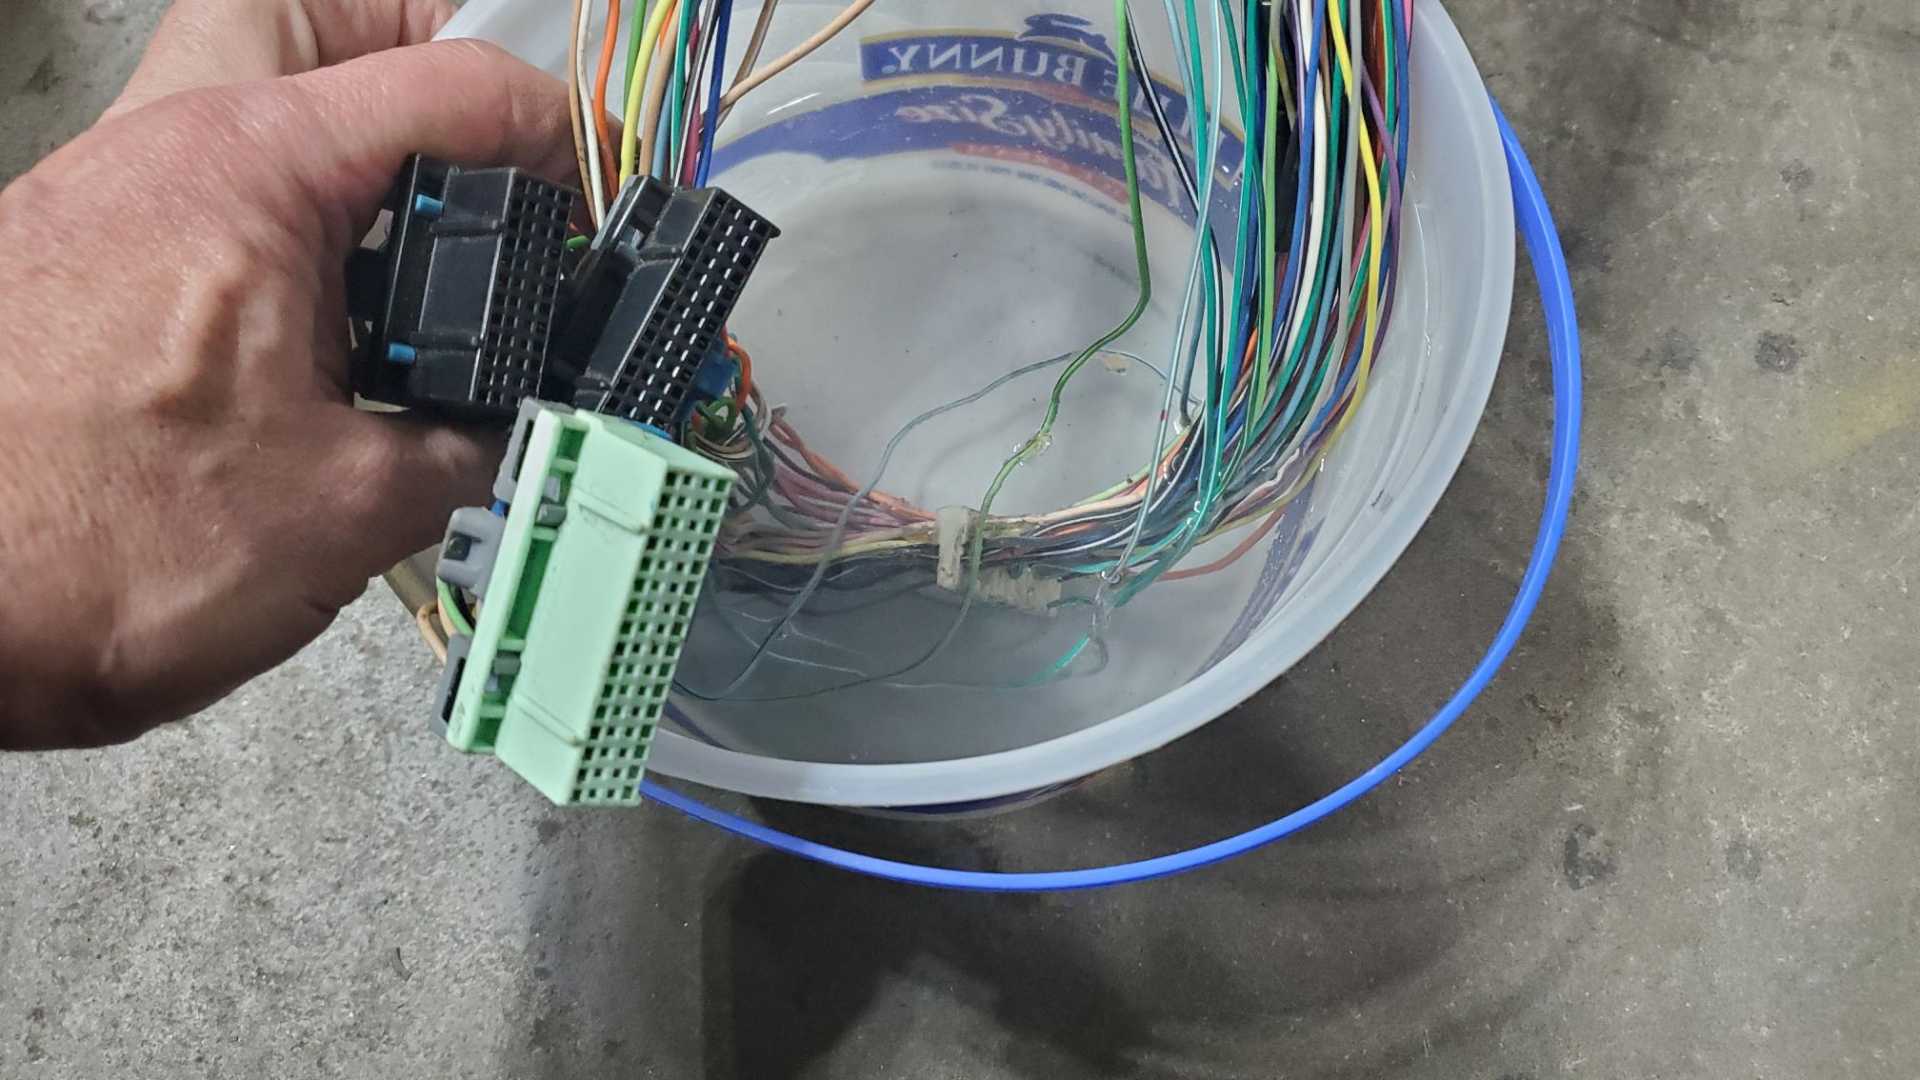
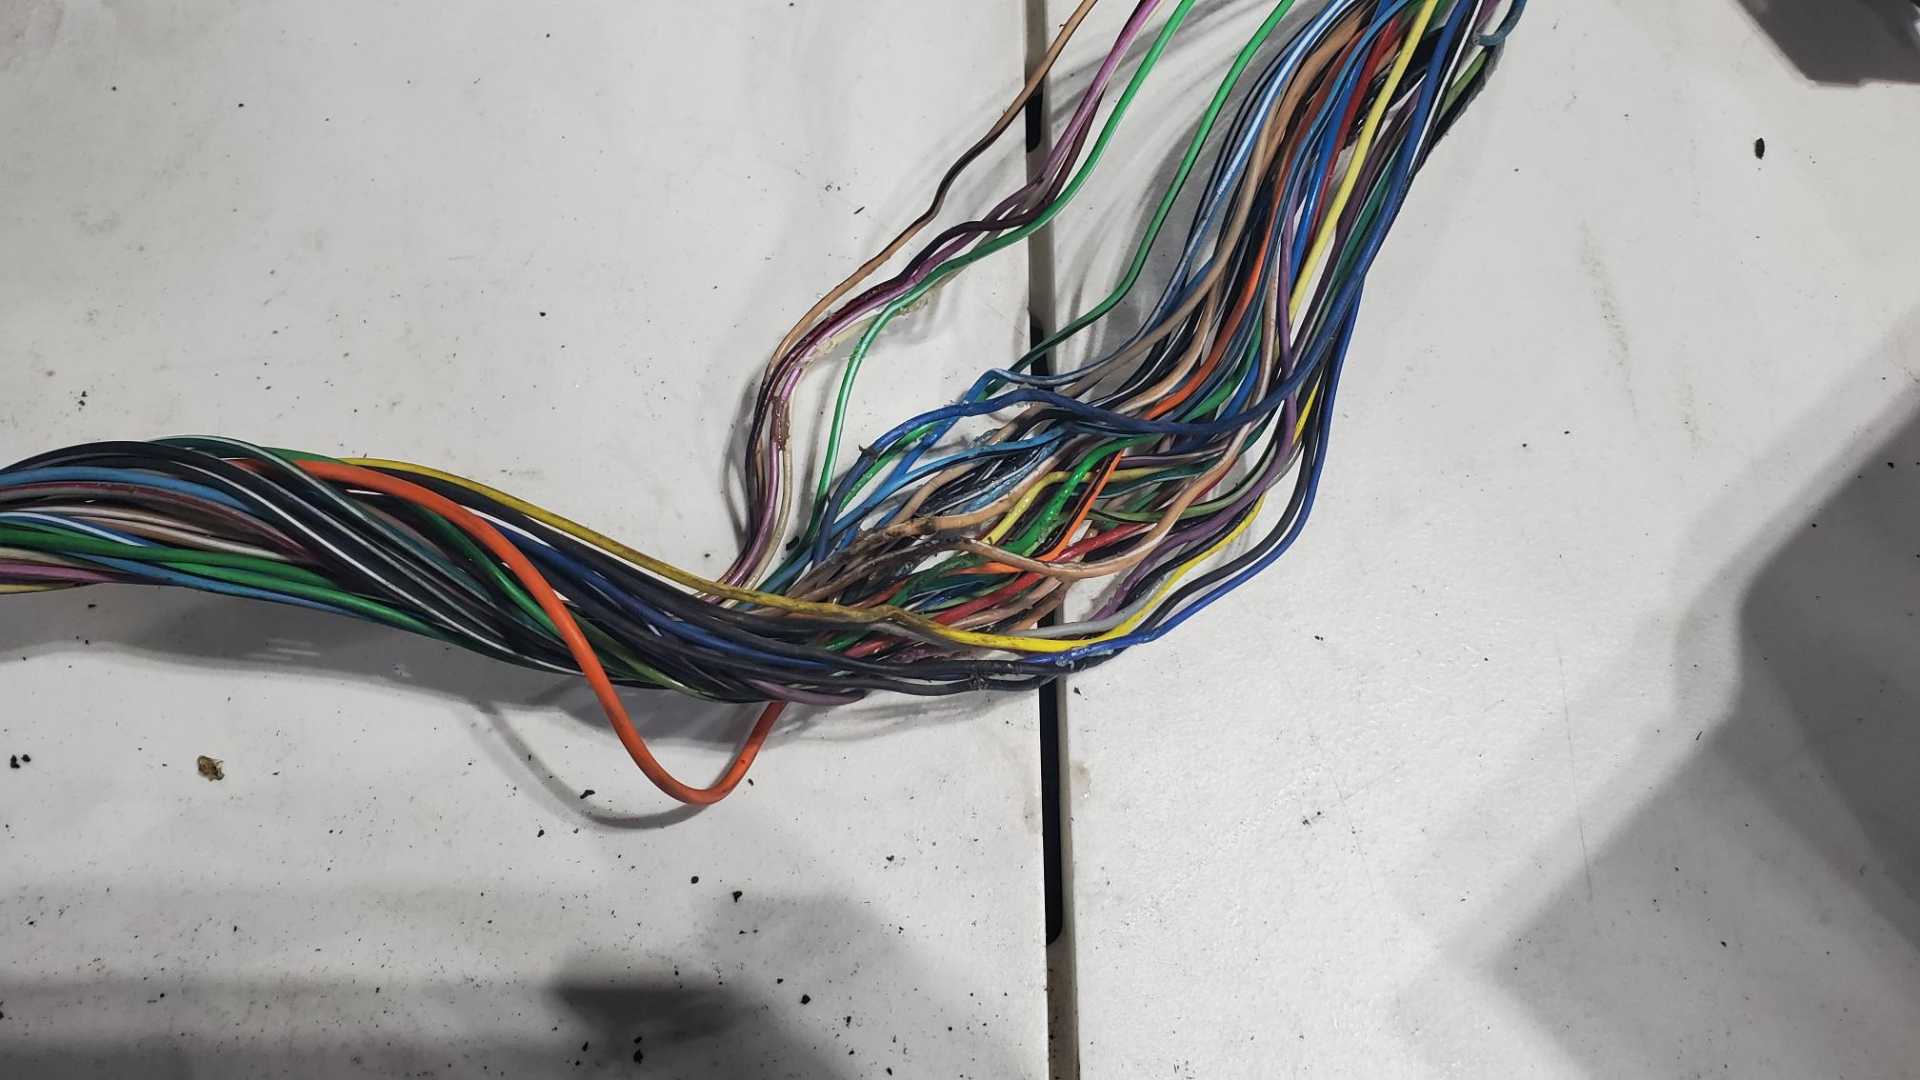
I've been on PTO this week so I've spent a lot of time in the shop working on the wiring harness and I think I have the C500 connector sorted out. I clamped as piece of wood onto the cradle to simulate the location of the C500 on the side of the engine compartment.
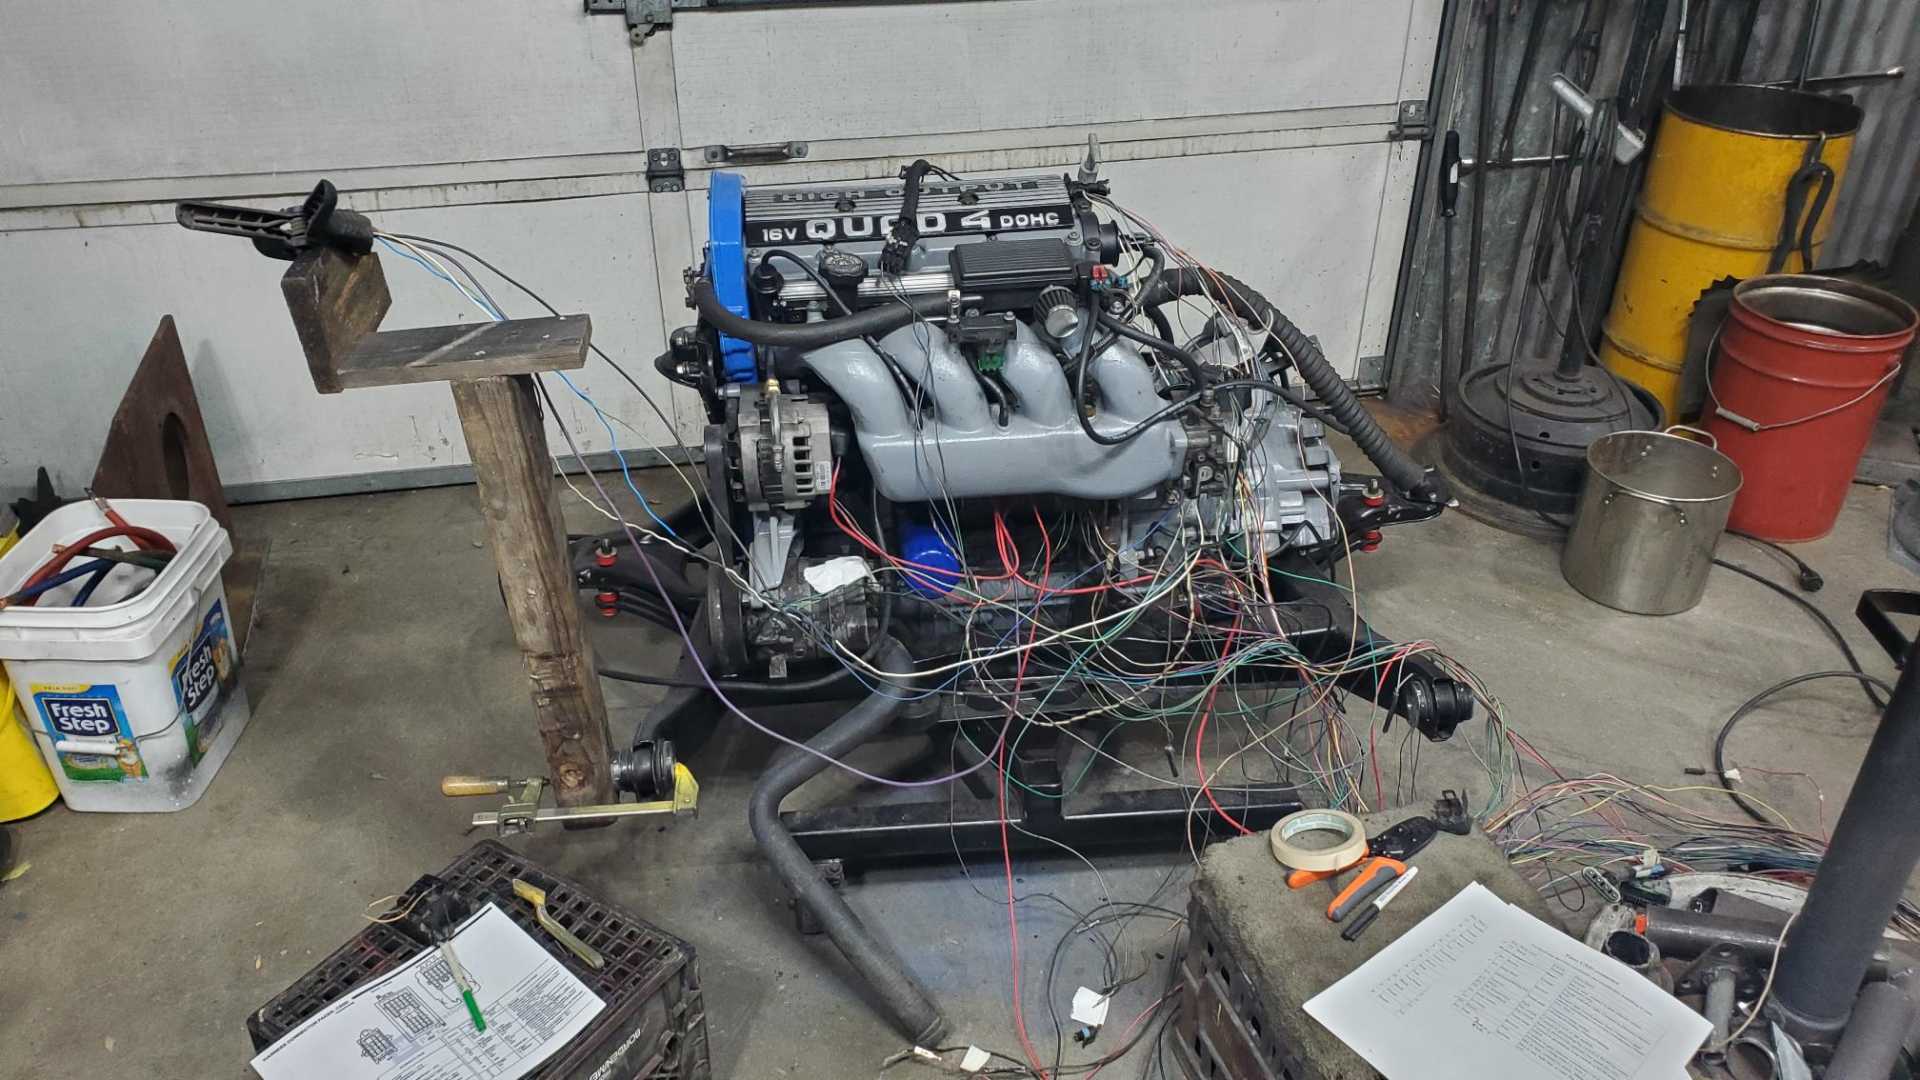
The last wire to figure out for the C500 is the radiator fan feed from the ECM.
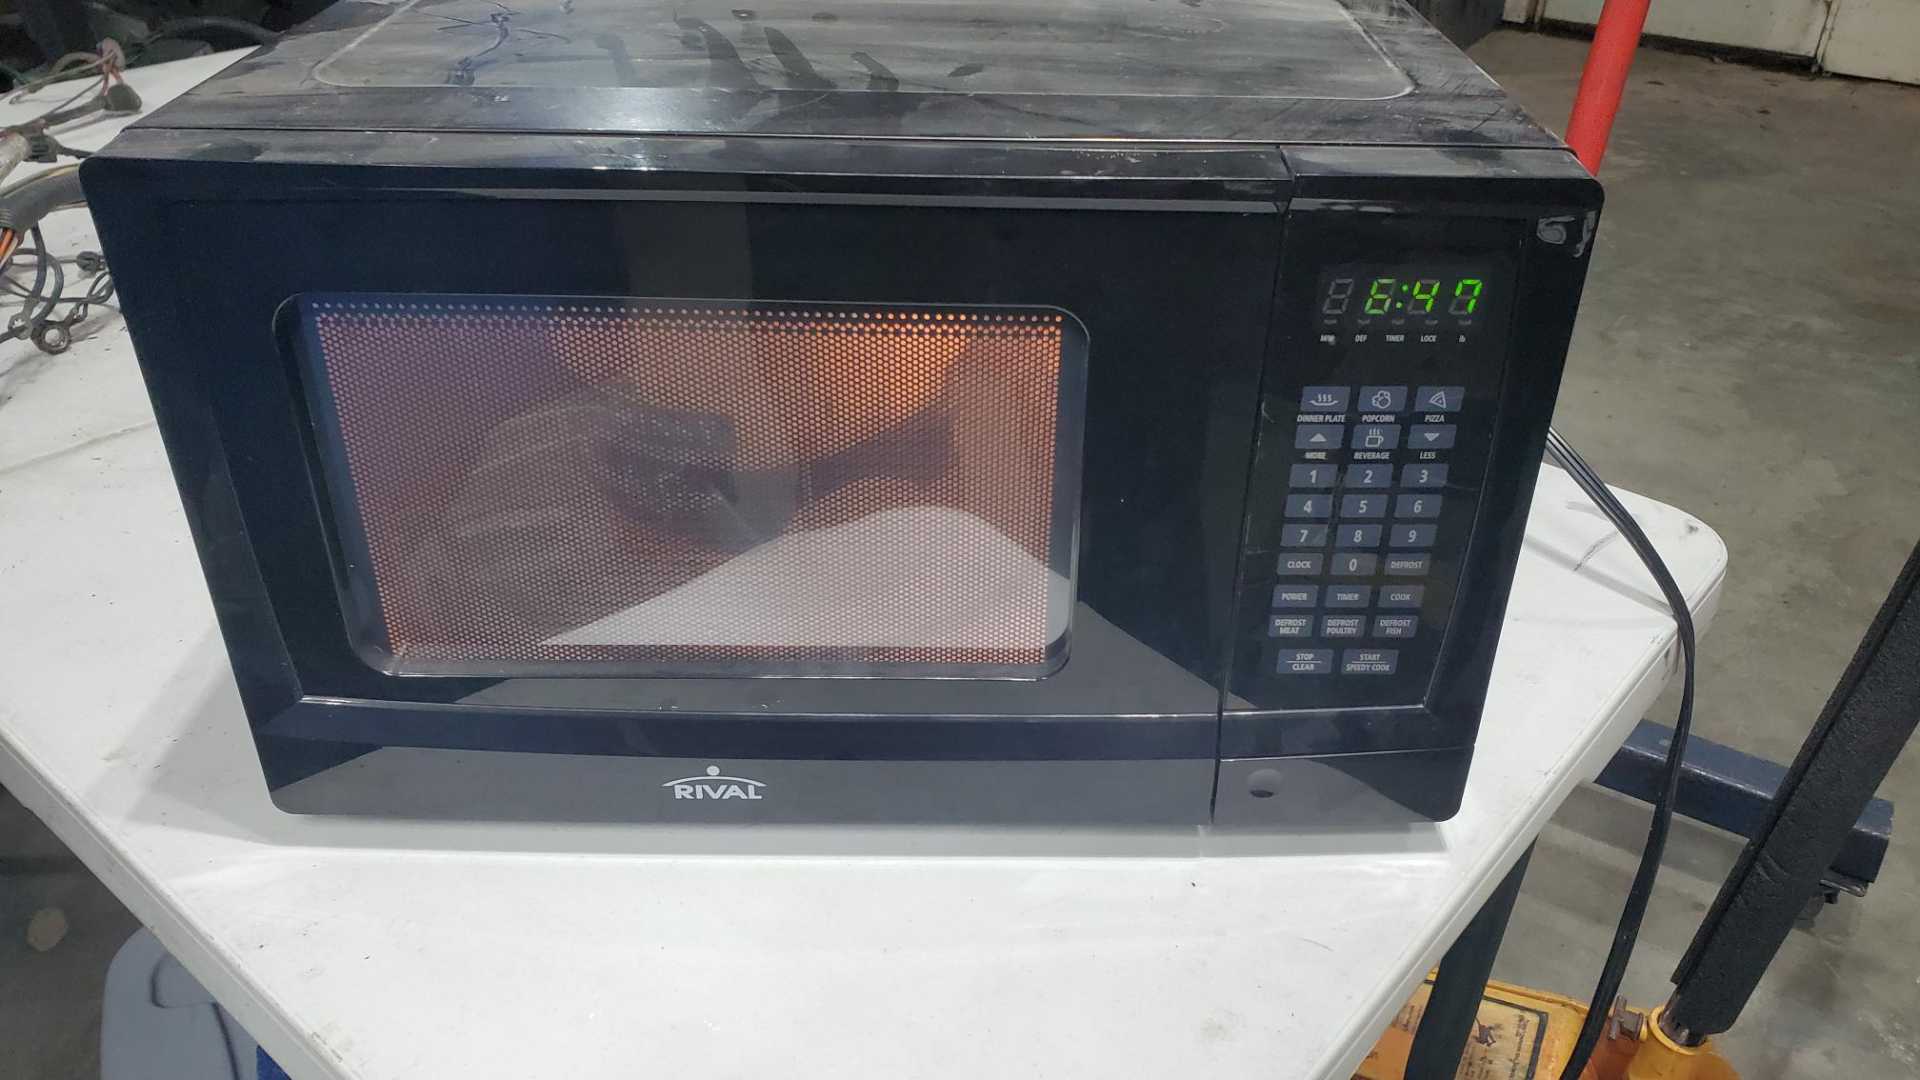
Also used the boiling water process to remove the sealant from the bulkhead connectors. I didn't have a hot plate but I did have an old microwave oven in my storage unit. The long range plan is to use this microwave to build a spot welder.
|
|
|
|
Quadfather
|
DEC 22, 04:13 PM
|
|
I should mention that this site has been very helpful:
http://www.nathanbittinger....roaddiction/c203c500
It would be even more helpful if it really spelled out every step. I know a lot of you Fiero owners can do this wiring stuff without having to think about it, but it's a struggle for people like me.
|
|
|
|
Quadfather
|
JAN 21, 08:01 PM
|
|
Not much progress to report for a variety of reasons. Number one, it's been too freaking cold for a couple of weeks to work in the shop. To finish the harness, I need about a day's worth of time with no other commitments and above-freezing weather in order to immerse myself in the schematics and sort out the plugs, pins and wires. Maybe that will happen this weekend.
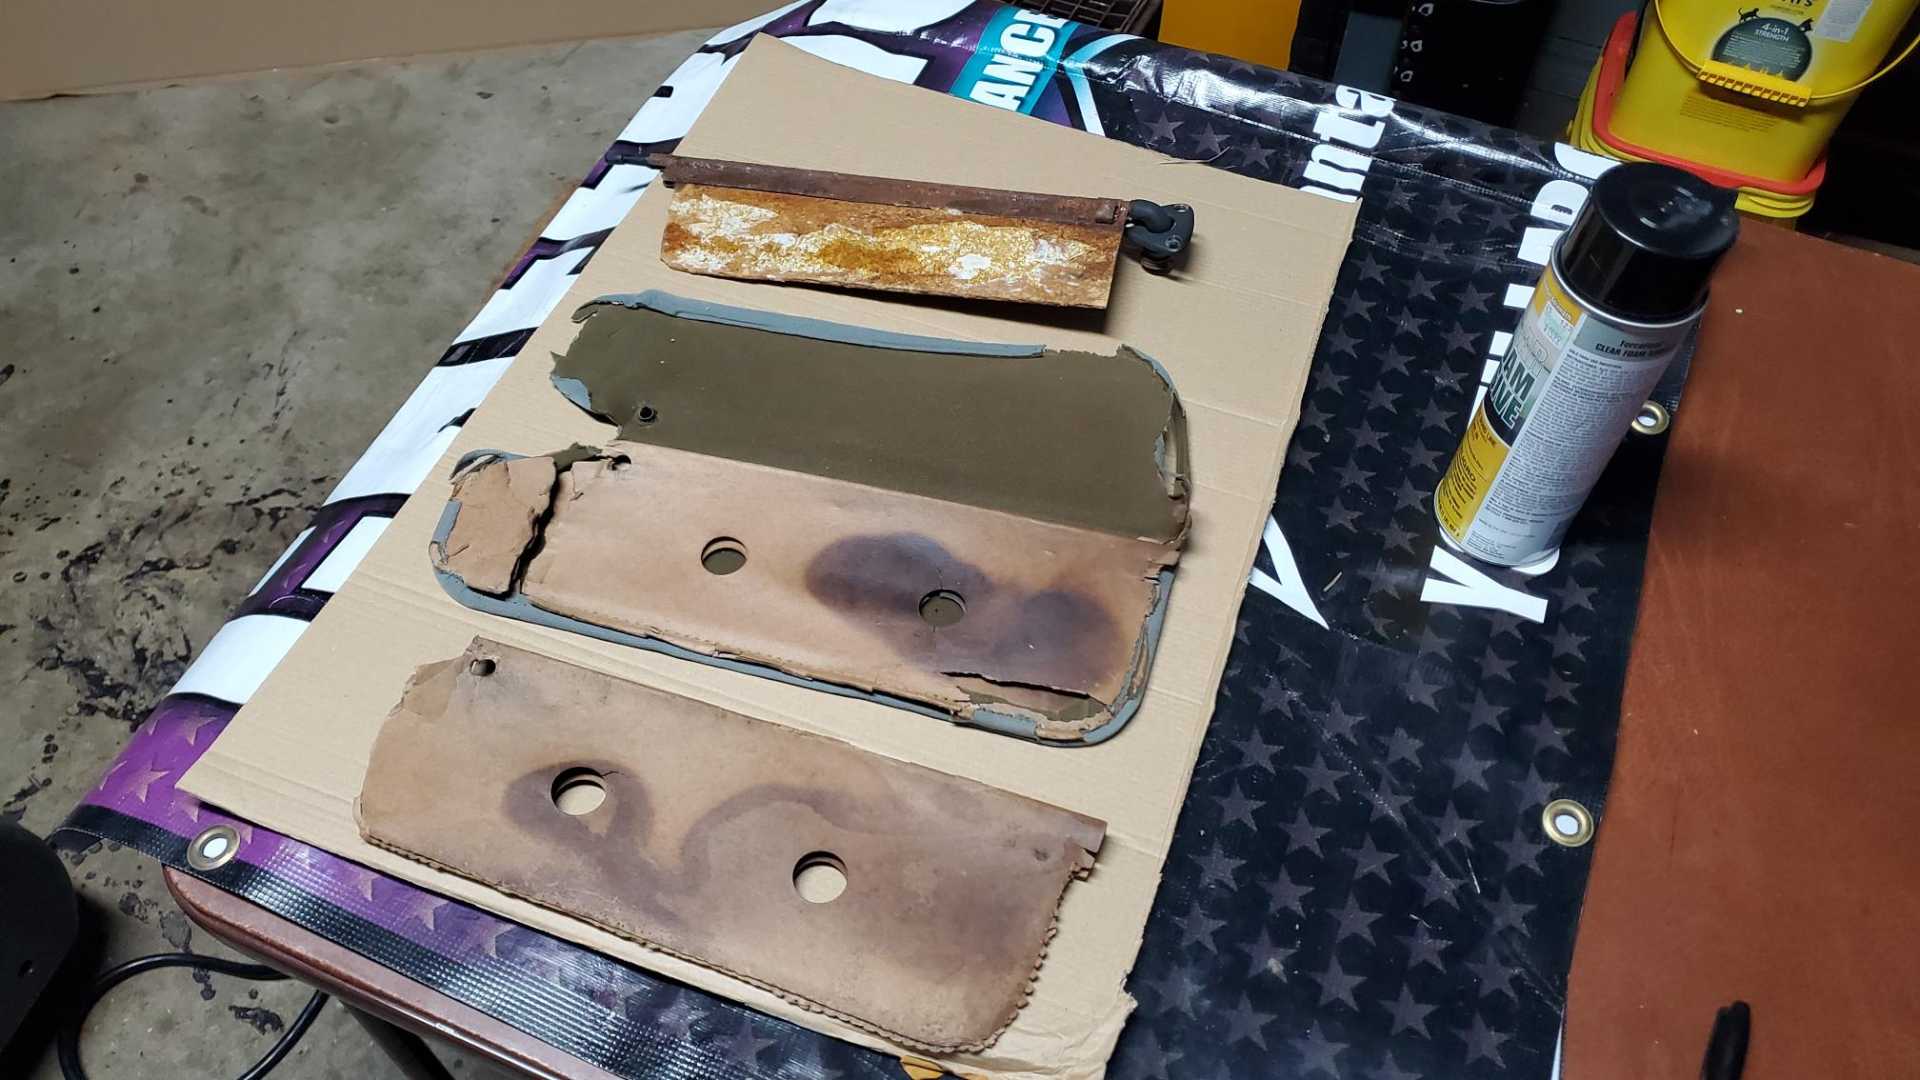
While I wait for the magical combination of time, desire and parts, I wanted to do something, anything, here at home to further the project. I dug out the old sewing machine a friend gave me with the goal of re-upholstering a set of sun visors. As usual, this quick little side project got out of control. The sewing machine needed new belts which took a week to find. Then I was so busy at work I just didn't have time or desire to work on the car. Today I finally tried installing one of the visor sets and discovered a problem with the headliner.
I have collected so many sets of visors I don't remember which one came with the car. One set I opened up was either aftermarket or had been rebuilt by someone who knew what he was doing. Another set I opened looked like it had been assembled in a third world country then left in a desert for a decade.
While checking YouTube and the rest of the internet to learn how to re-cover visors, I noticed most modern visors aren't sewn together, they're just glued. My sewing machine works now, but I haven't sewn anything in years so I'm hesitant to use a set of visors to re-learn the skill, so I used glue only on this set, with material left over from the headliner.
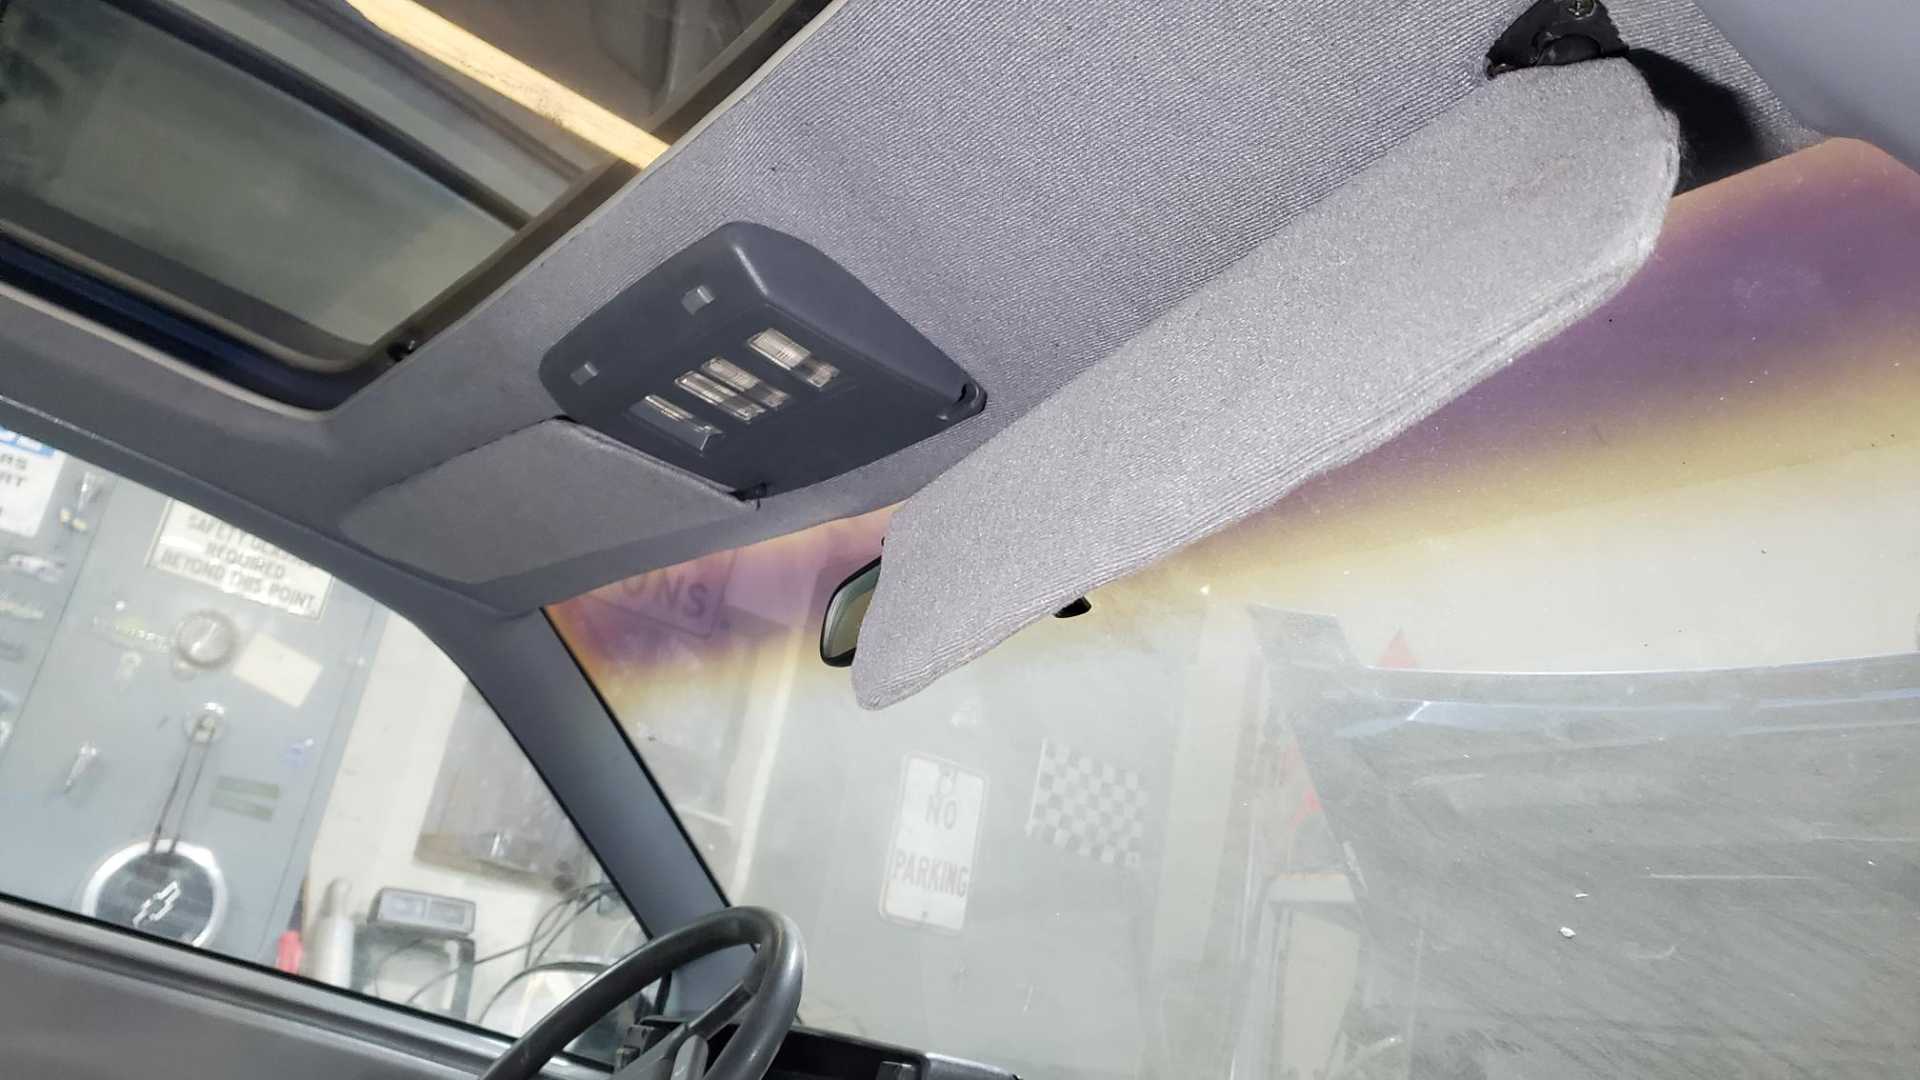
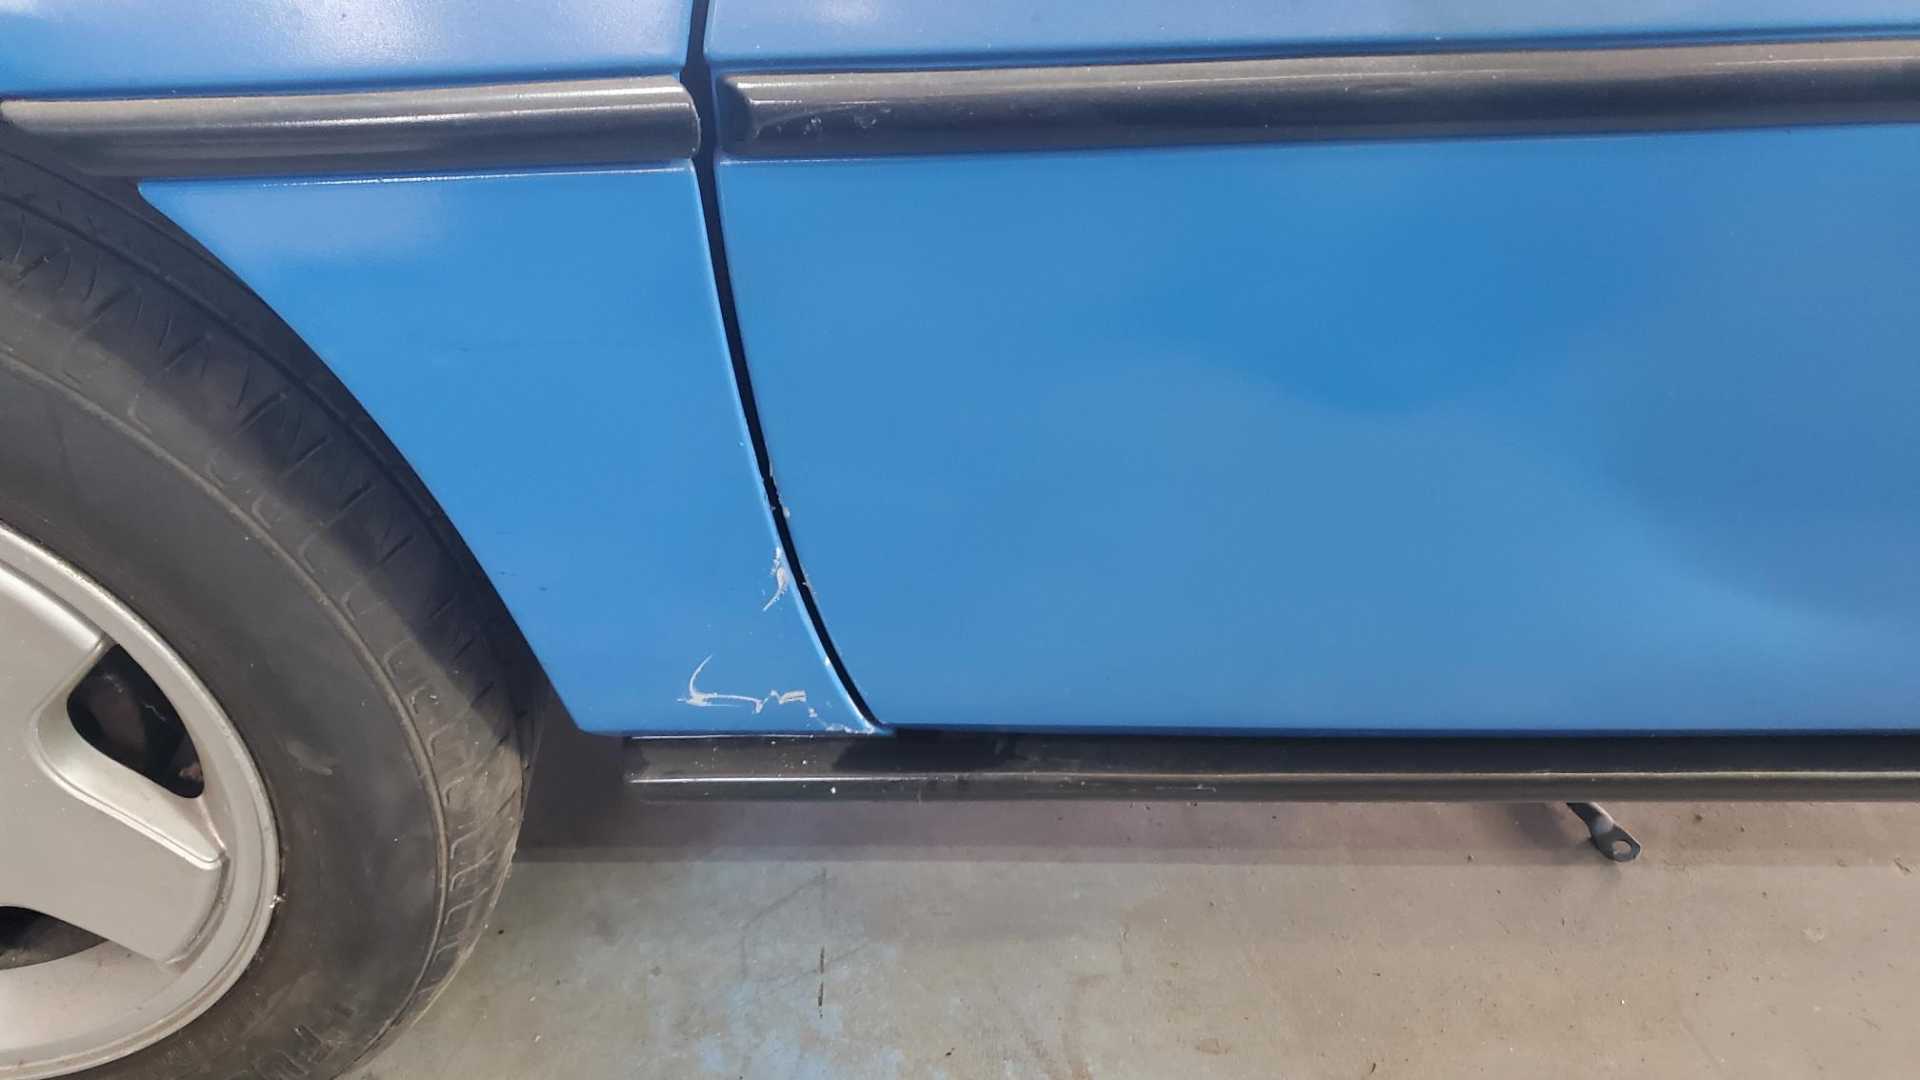
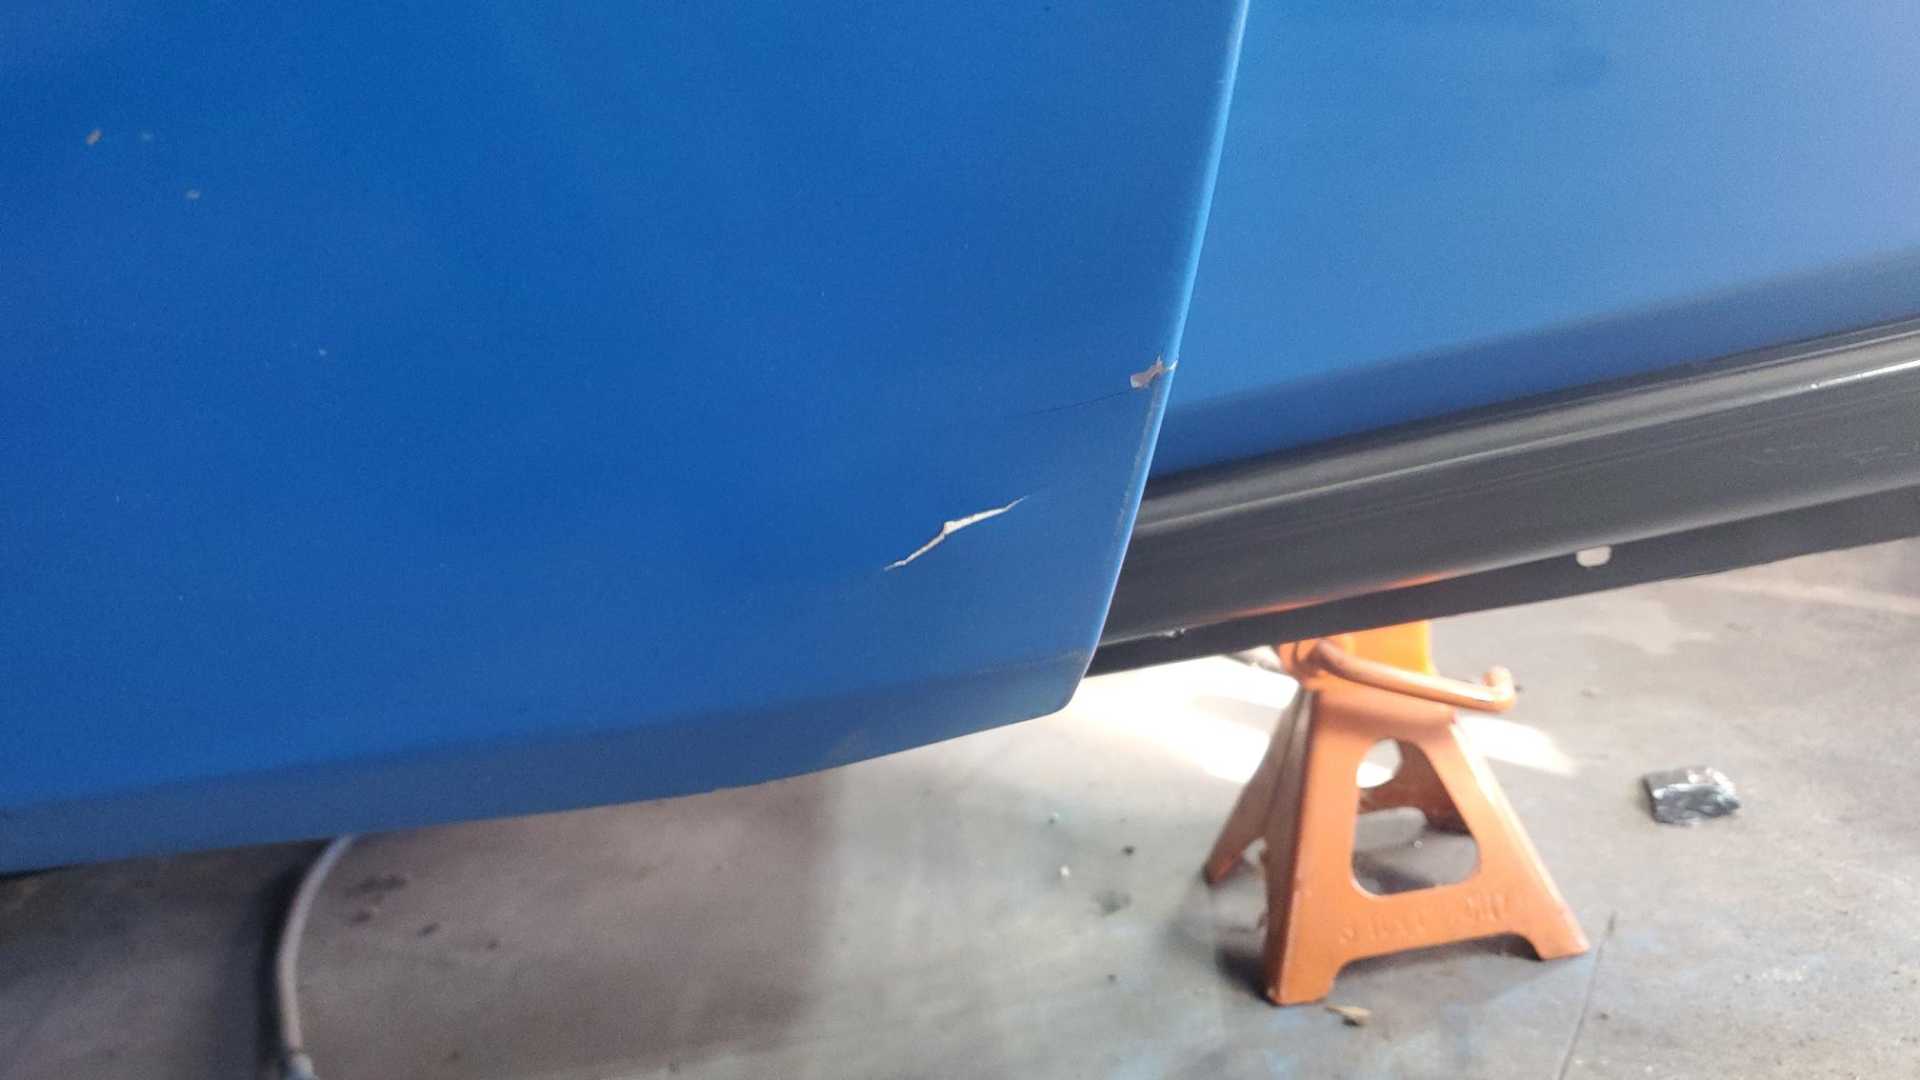
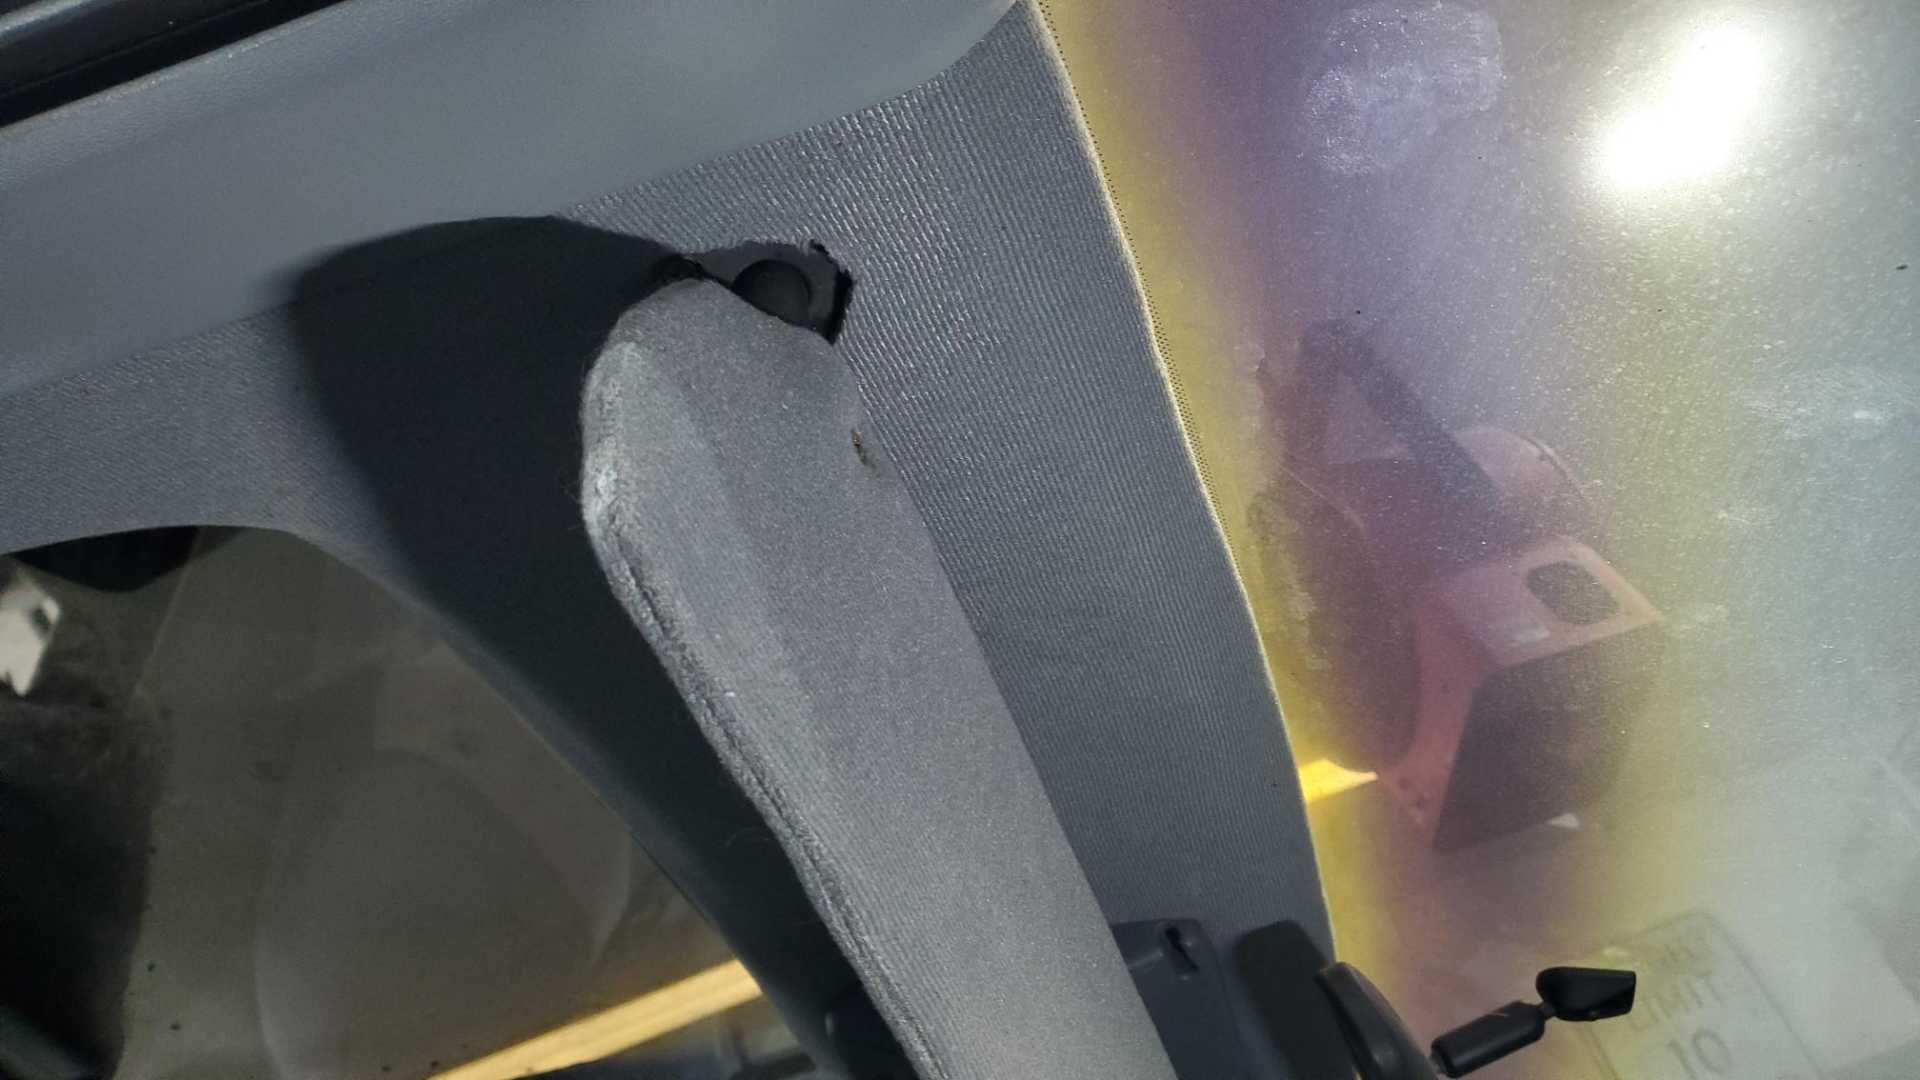
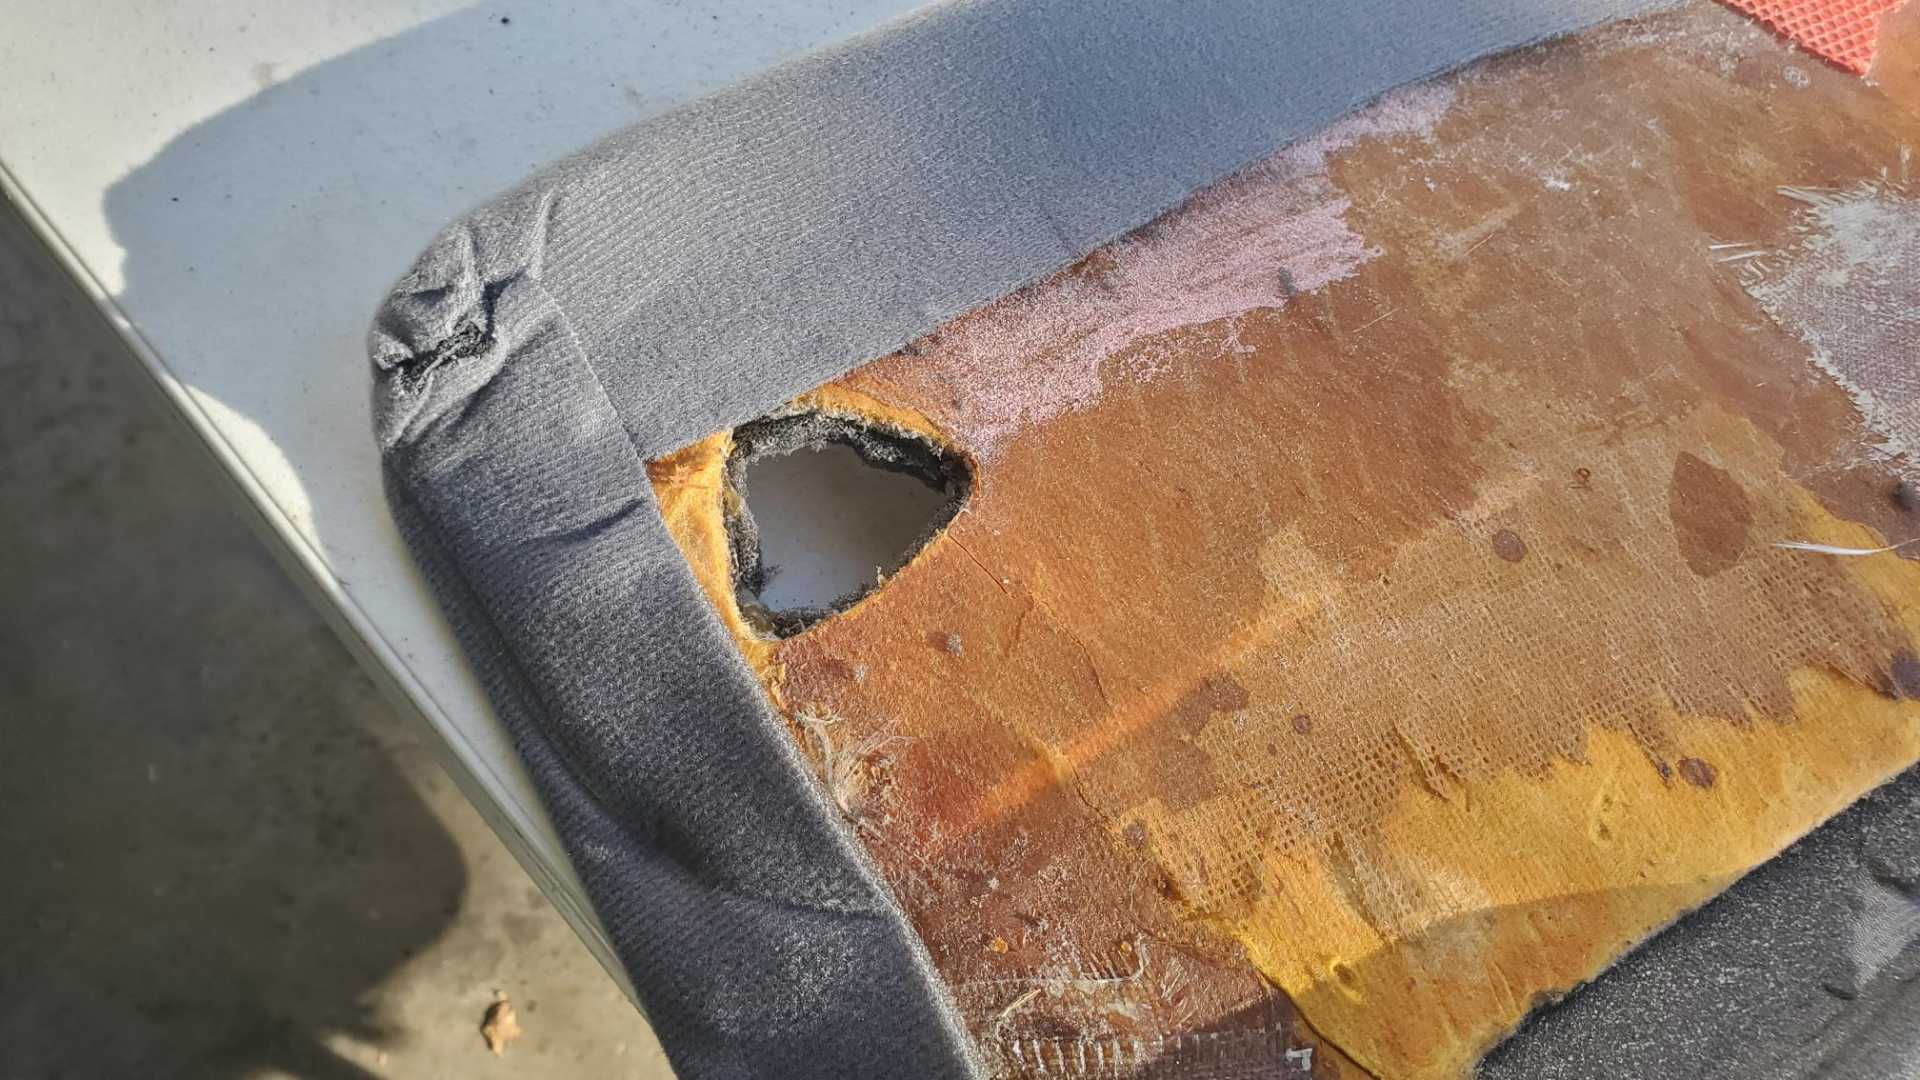
Turns out I cut the visor hole too big on the passenger side of the headliner. Might be hard to see in the photo, but the flange doesn't cover the hole and there's also not enough backer material to keep the visor in the right orientation.
I have to decide whether to pull the interior out and redo the headliner now, or finish the engine harness and then redo the headliner later.
I was making good progress on the harness a month ago and felt like I was on the verge of unlocking the mystery, when the work/cold weather continuum took over.
On January 1st this project passed the 13-year mark. A couple days later was the 5th anniversary of me painting the car. Unbelievable.
|
|
|
|
lateFormula
|
JAN 22, 09:02 AM
|
|
| quote | Originally posted by Quadfather:
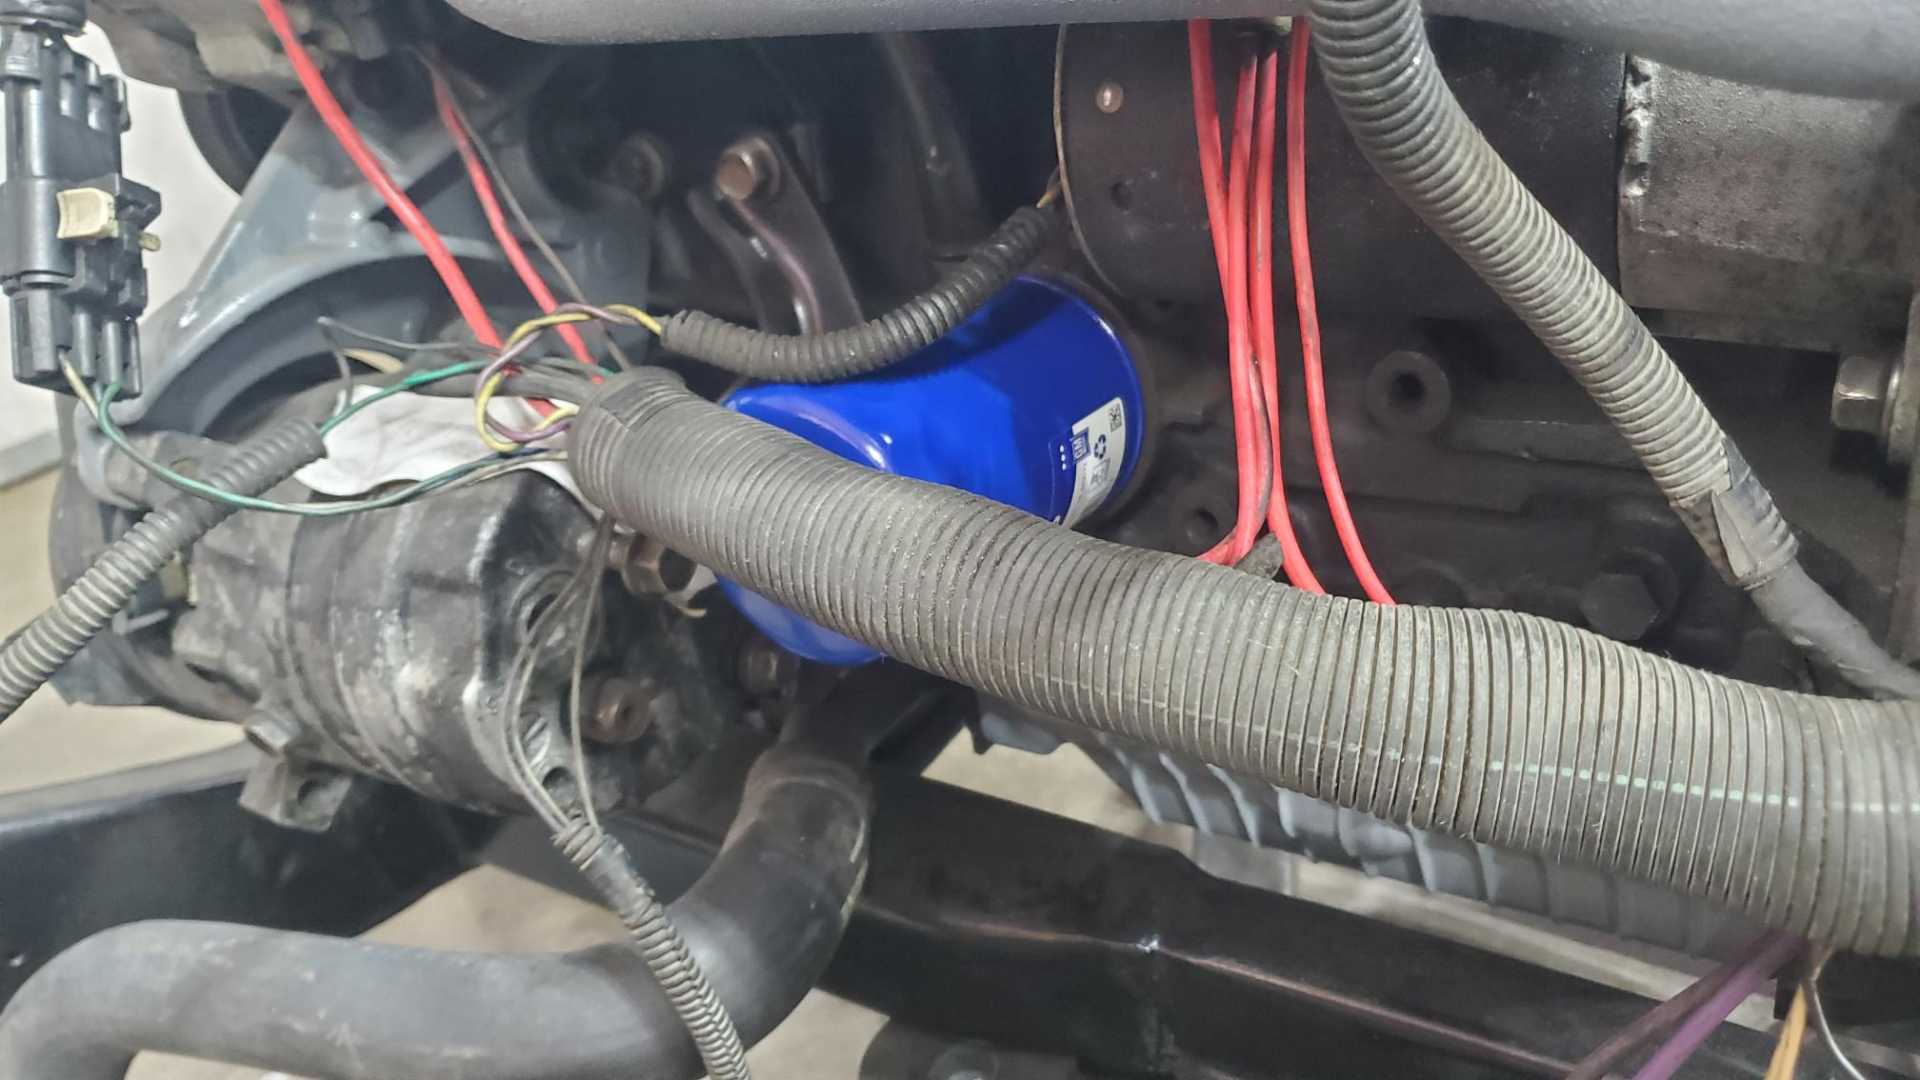
More progress. My new oil filter came yesterday. Funny how a simple thing like this can get you excited about a project again.
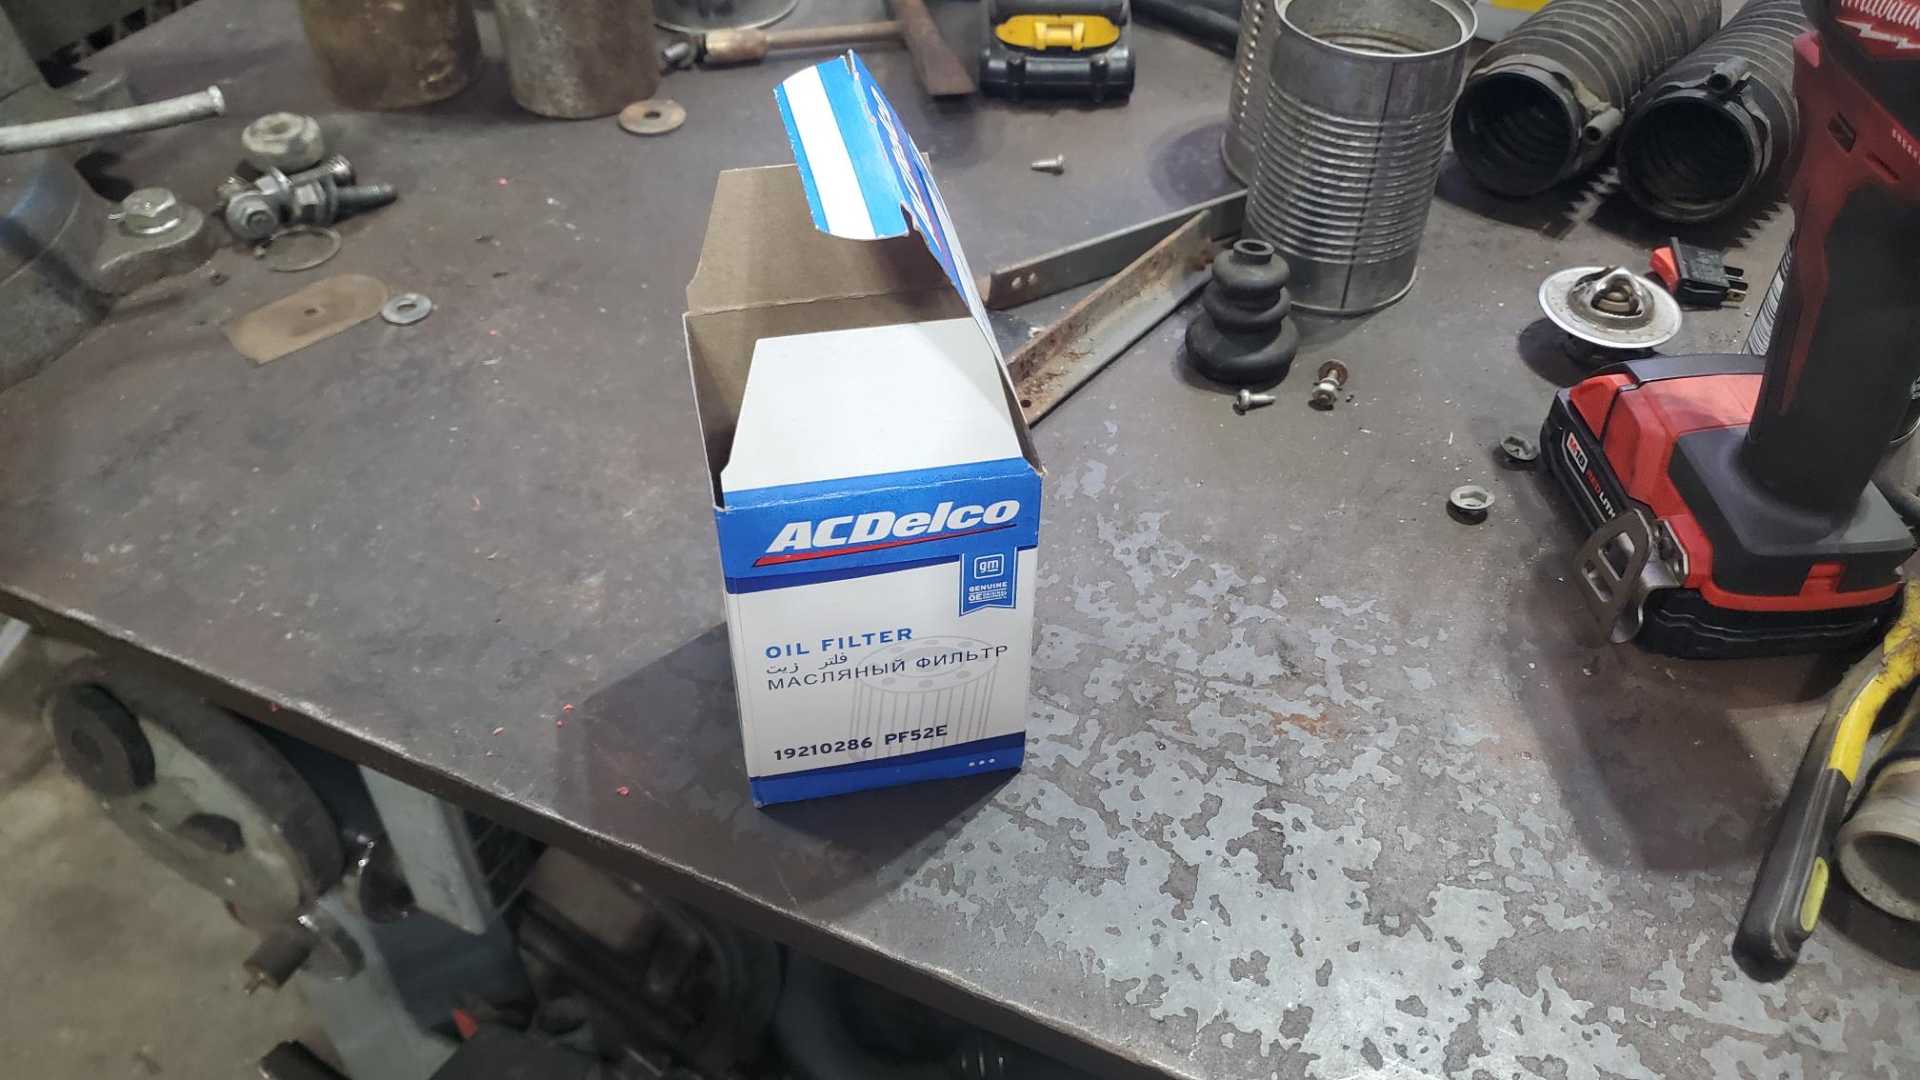
This is one of the long ones Bob Pease recommends.
|
|
I know that filter well, as I have used it on several vehicles since the 80's. The PF52 is a longer version of the PF47. For future reference don't use AC Delco filters, get the WIX 51036. That is the WIX equivalent of the PF52 and is a far superior filter.
|
|
|
|
Quadfather
|
FEB 14, 01:34 PM
|
|
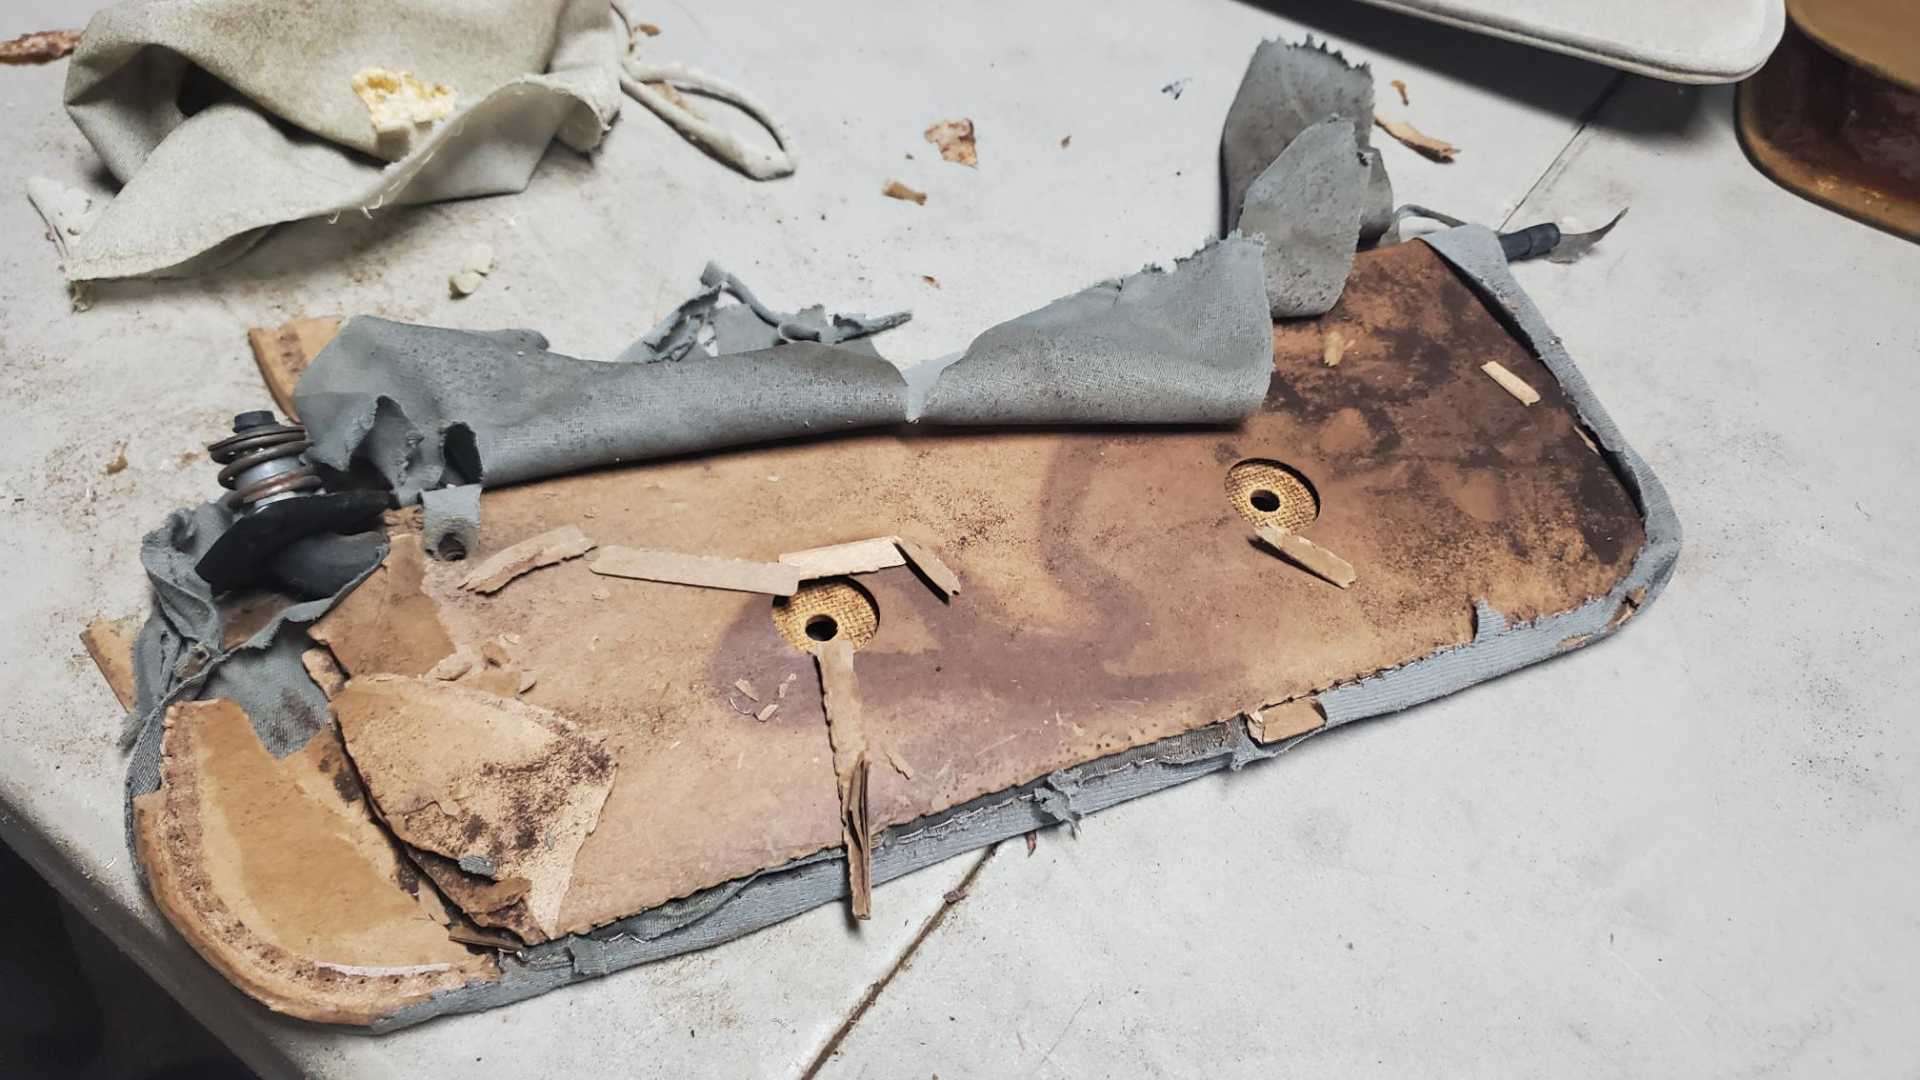
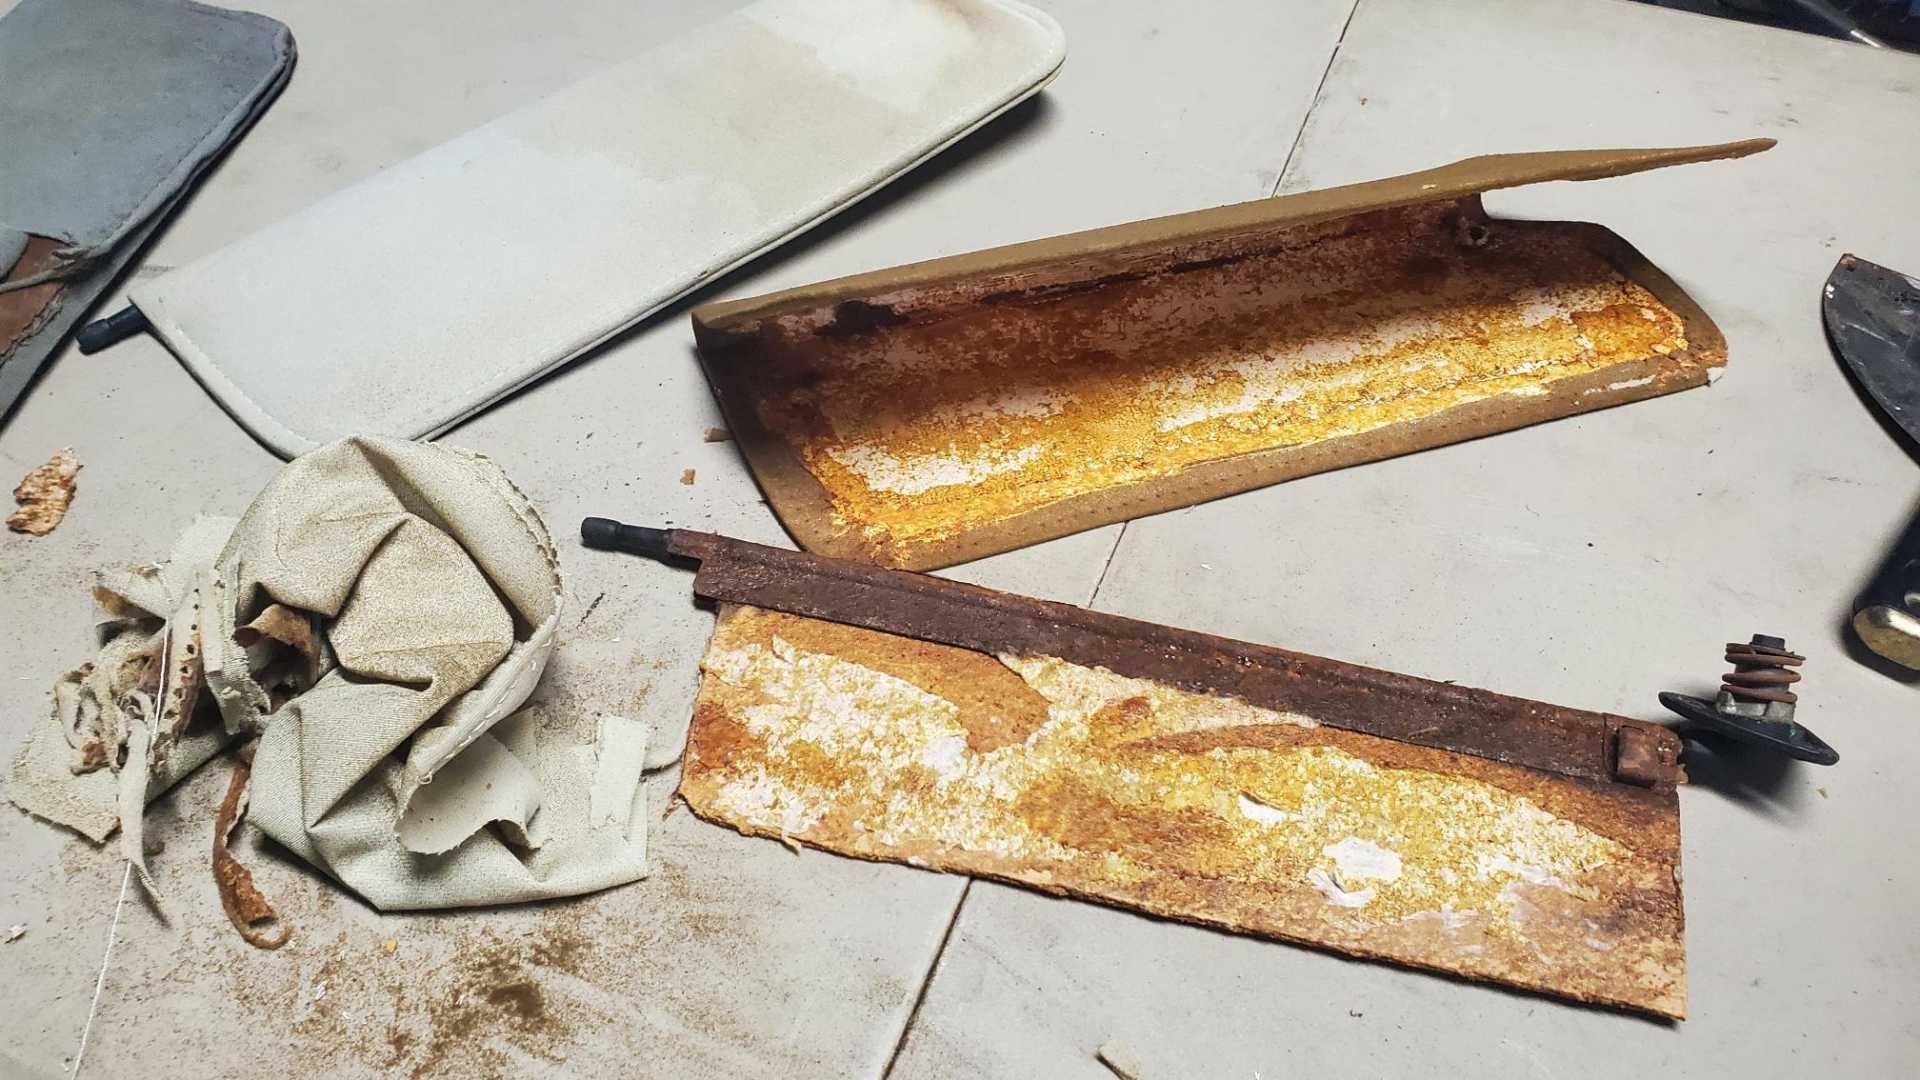
This was the problem with the holes for the sun visors.
Ended up pulling out the headliner and re-covering it, this time with black material. I glued in some small pieces of foam to make a foundation for the sun visor flange and mounted the original worn out visors to see how it worked.
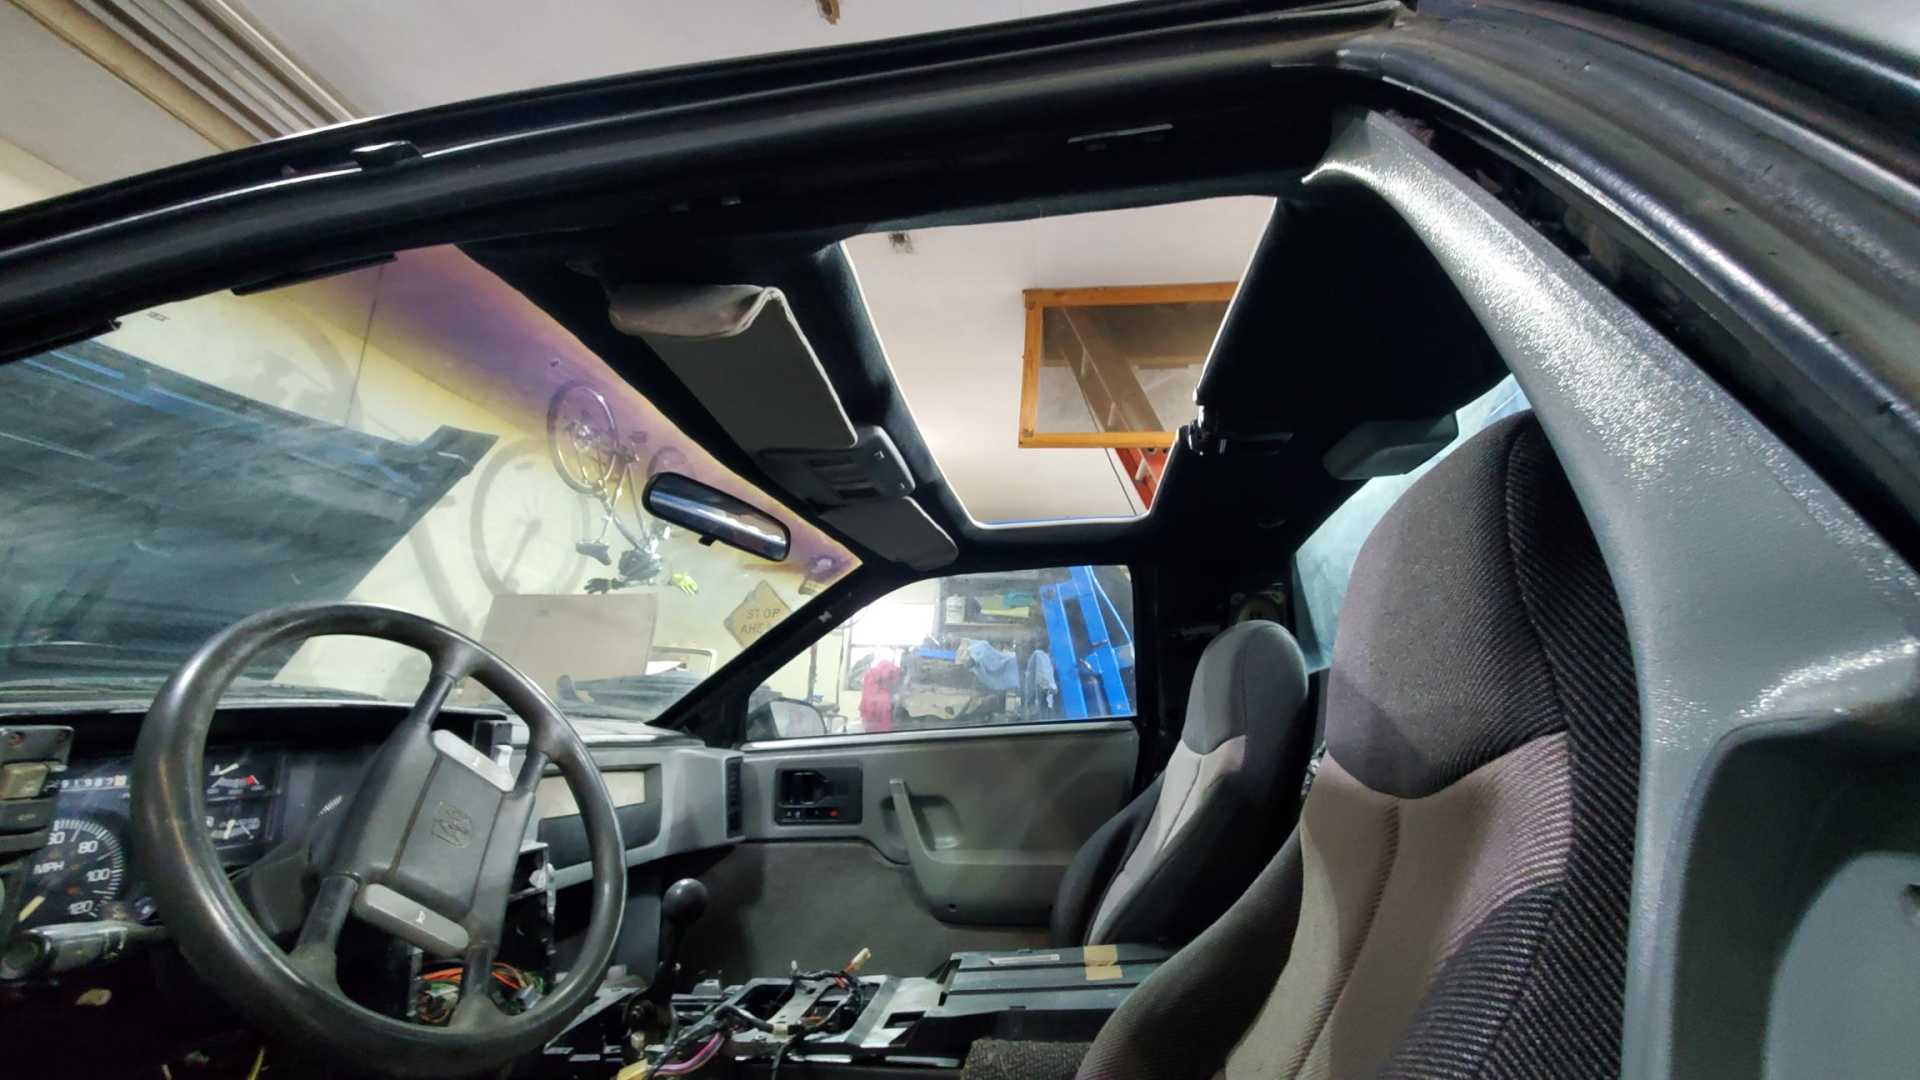
Haven't decided yet if I'll re-cover a set of sun visors in black material or use the gray material, but still have to learn how to use my sewing machine again.
|
|
|
|
Quadfather
|
FEB 14, 01:37 PM
|
|
| quote | Originally posted by lateFormula:
I know that filter well, as I have used it on several vehicles since the 80's. The PF52 is a longer version of the PF47. For future reference don't use AC Delco filters, get the WIX 51036. That is the WIX equivalent of the PF52 and is a far superior filter. |
|
Thanks. I figure if PF52 is good enough for Bob Pease, it's good enough for me.
|
|
|
|
zkhennings
|
MAR 08, 01:41 PM
|
|
Lookin good, I made some easy to use connector pin outs for tackling my cars wiring as I too was feeling lost in the wiring, might be of use:
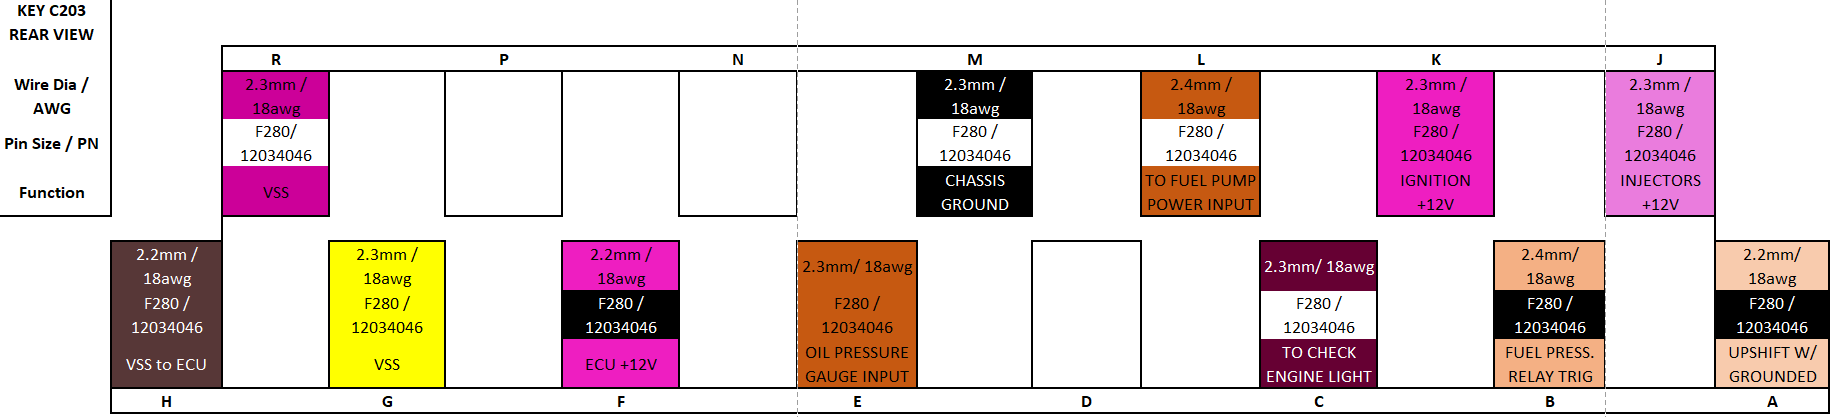
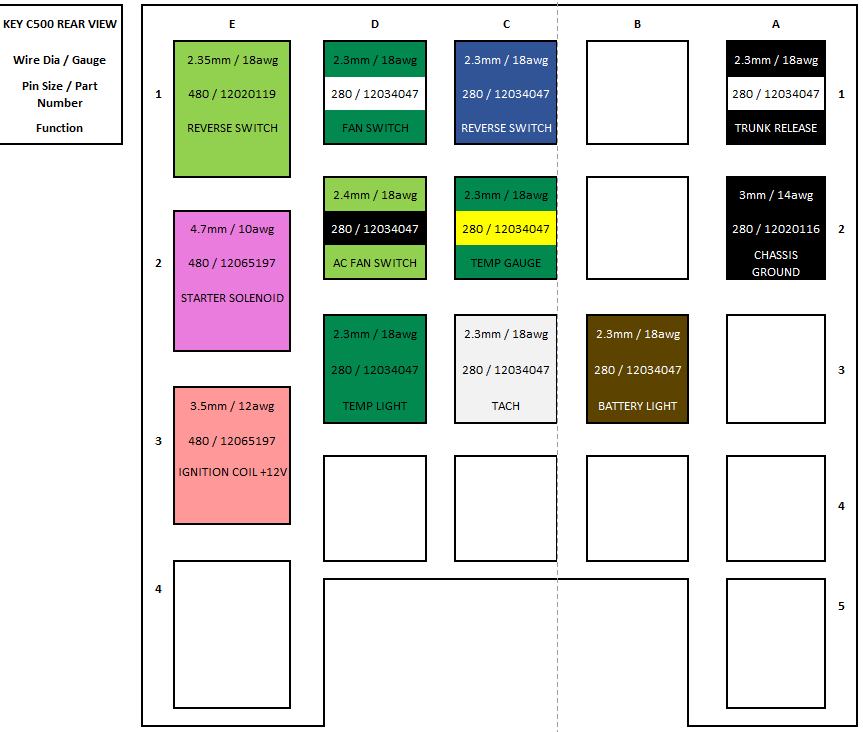
Includes Mouser part numbers for the pins used. This is for my 85 base model, I think there may be some discrepancies.
|
|
|
|
Quadfather
|
MAR 08, 01:57 PM
|
|
That is very helpful, thank you.
Once I get all the pinouts done, I'll try to photograph each wire showing how it attaches at each end (the plug and the engine) and write a description explaining them. Would've really helped me to have had something like that.
|
|
|
|