|
| World's slowest Fiero/Quad 4 Swap (Page 7/51) |

|
Patrick
|
JUN 06, 03:45 PM
|
|
| quote | Originally posted by Quad Raider:
I'd imagine Pontiac figured that since so much of the car was still the same from '86 to '87, it could keep using the same factory manual...
|
|
The 4-banger duke changed a lot in '87 (different ignition, intake, etc). Which version of the duke do they have in the '87 manual... or did the newer version of the duke need to be covered in the supplement as well? Seems like a strange way to print up manuals!
|
|

|
Quad Raider
|
JUN 08, 08:45 AM
|
|
| quote | Originally posted by Patrick:
The 4-banger duke changed a lot in '87 (different ignition, intake, etc). Which version of the duke do they have in the '87 manual... or did the newer version of the duke need to be covered in the supplement as well? Seems like a strange way to print up manuals! |
|
Yes, the P22 supplement covers the 1987 duke and the V6, too. As confusing as it may be, it makes sense for GM to print manuals that way. There really weren’t that many changes to the car from 1986 to 1987, so printing a supplemental manual that covered the differences would be cheaper.
|
|
|
|
Quad Raider
|
JUN 13, 08:12 AM
|
|
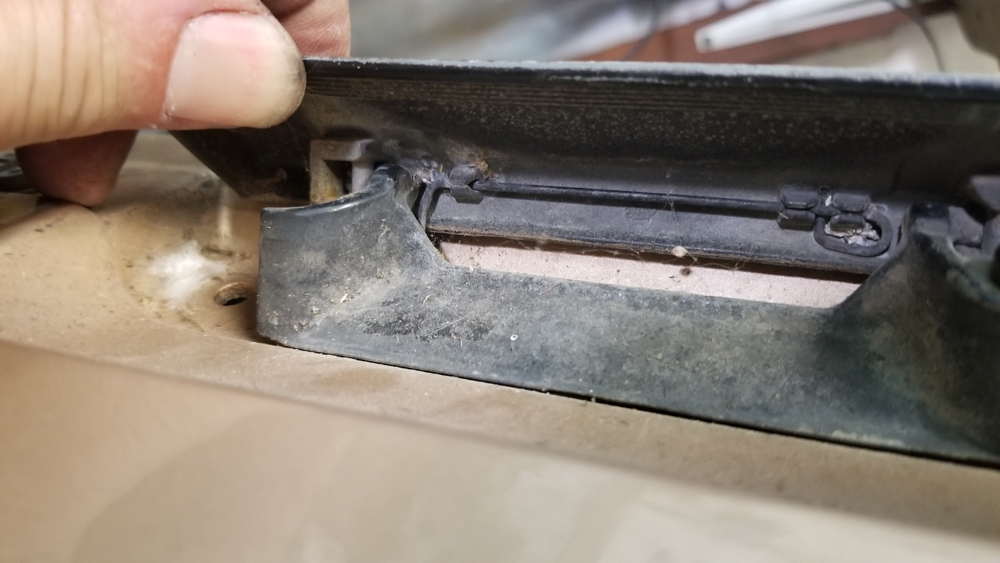
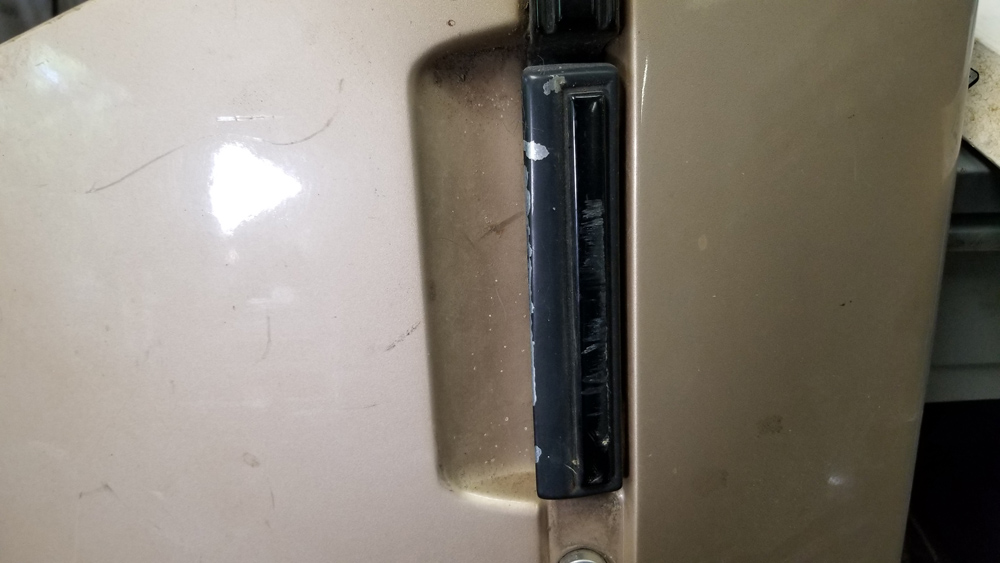
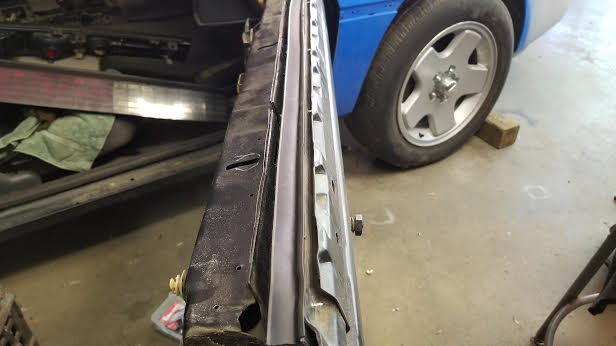
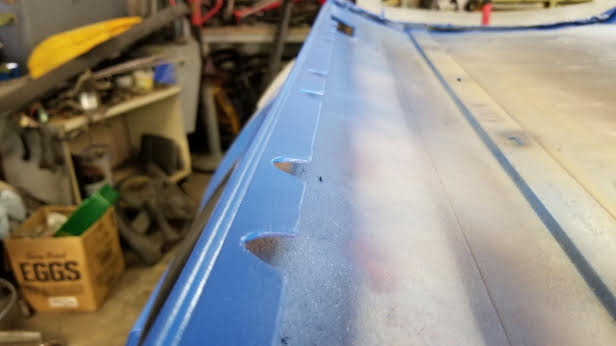
Reassembly continues. I installed the rear fascia and the left quarter panel and started working on the doors. When I installed my homemade outer dew wipe on the driver's side door I noticed it wasn't fitting flush against the door frame, but I had put the window back in and added the power window/lock/mirror equipment and wiring, so I was reluctant to take it all apart again.
I used pop rivets the first time which stick out too far. I found some specialized rivets at the hardware store, but wasn't sure which size to get.
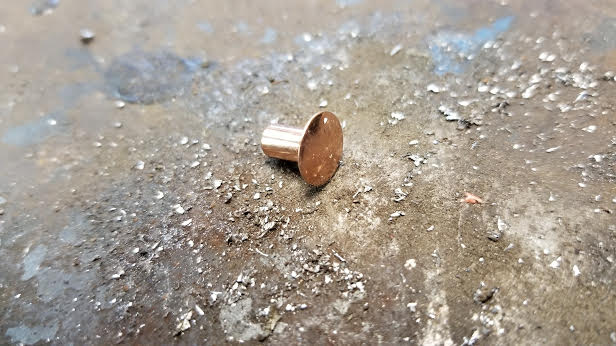
These rivets are hollow on one end, so you use a punch to flatten them down. Because these were a little too long, I made a hash of it.
Instead of replacing all the pop rivets, I decided to use the trusty Dremel to grind them down.
Then, instead of using the OE screws to install the wipes to the door, I used new, bigger flat head screws. Both dew wipes now sit flush on the door frames. I reinstalled the glass for the driver's side door and am set to convert the passenger side door to power window/lock/mirror.
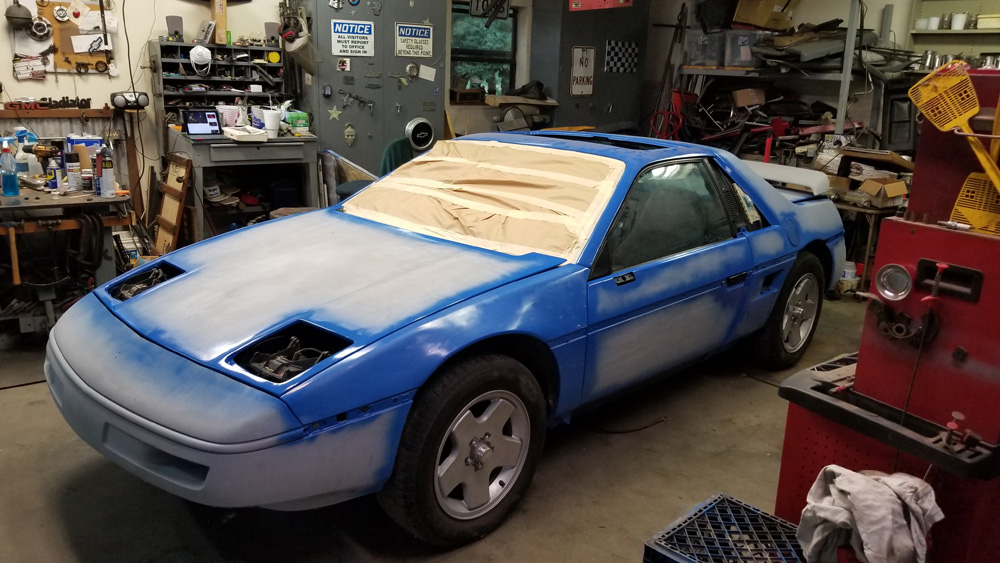
Next up will be reinstalling the door skins, final sanding of the whole car then spraying paint.[This message has been edited by Quad Raider (edited 06-13-2018).]
|
|
|
|
Quad Raider
|
JUN 13, 08:16 AM
|
|
|
|
|
Quad Raider
|
JUN 15, 04:31 PM
|
|
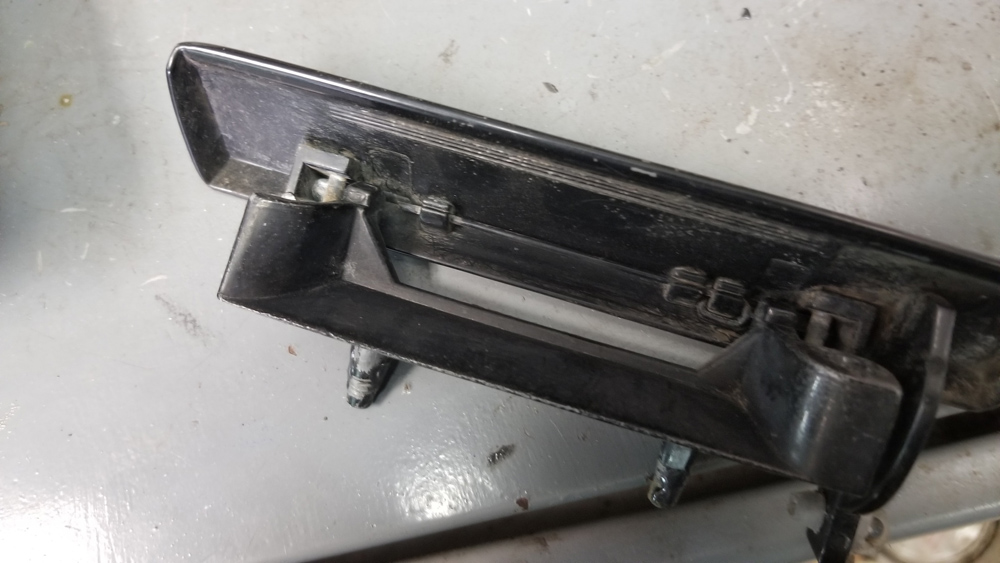
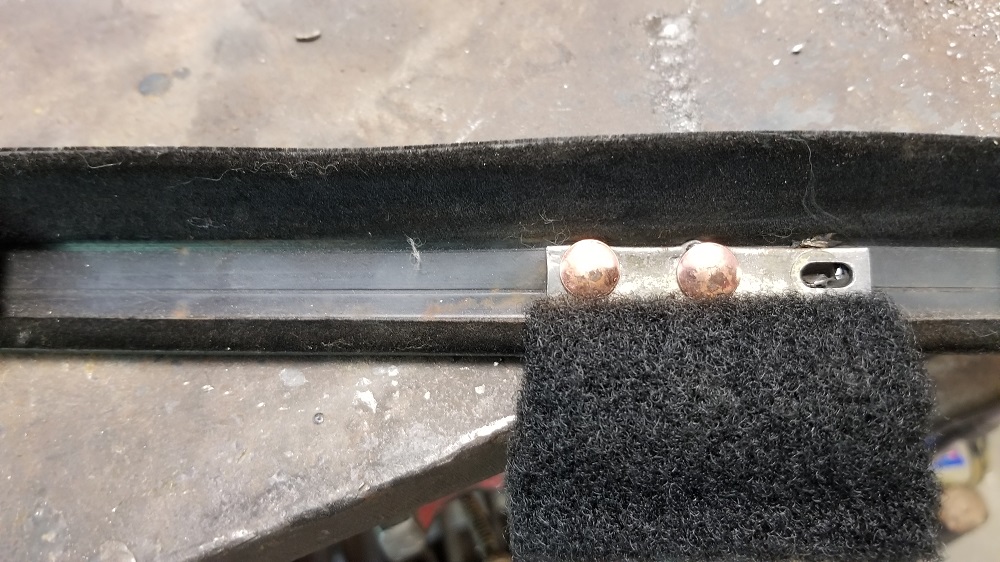
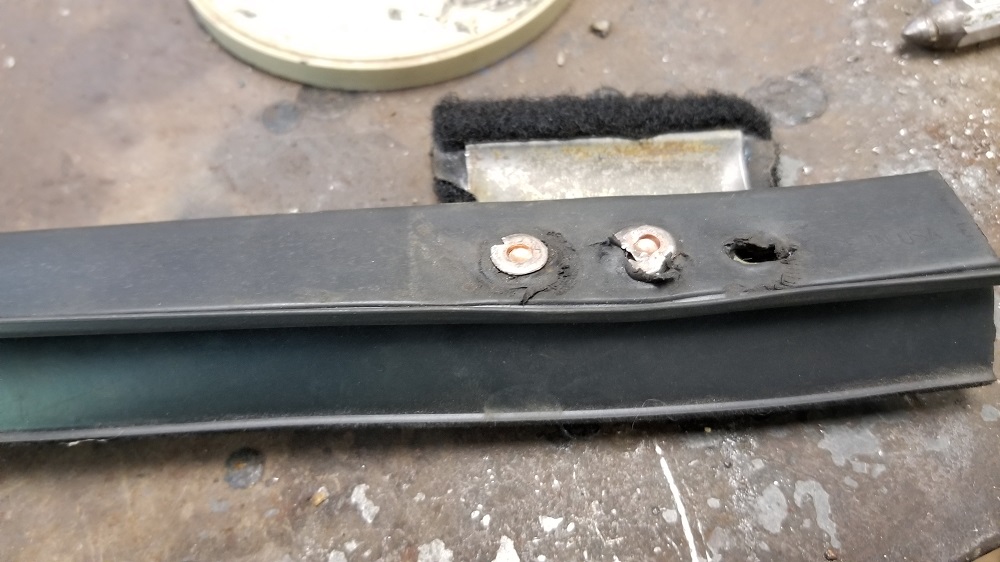
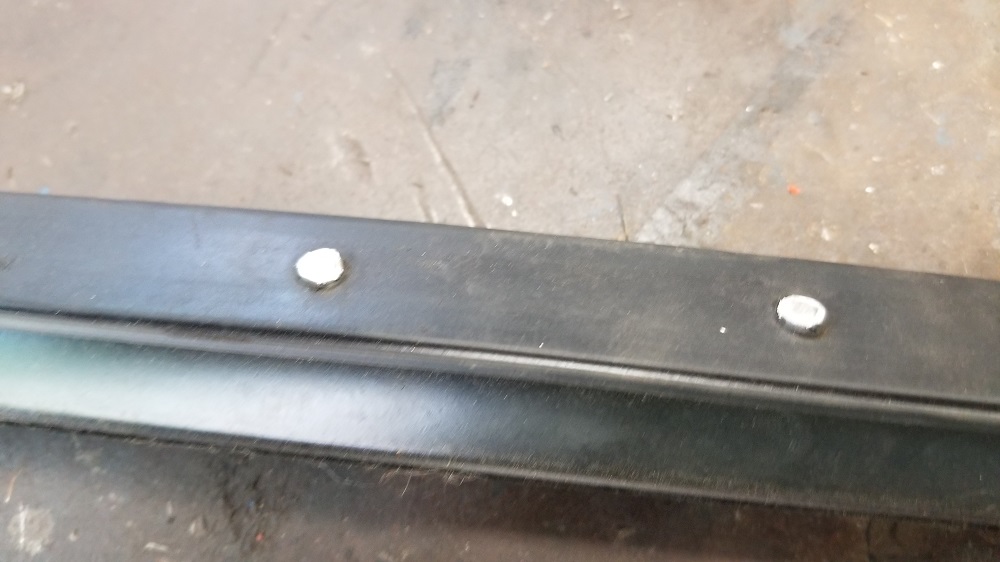
I installed my DIY dew wipe on the passenger door and decided to take some photos of the process. The wipes fit flush against the door frame now. The wipe is a little bowed in this photo, but once the window is installed it will push the wipe up against the metal.
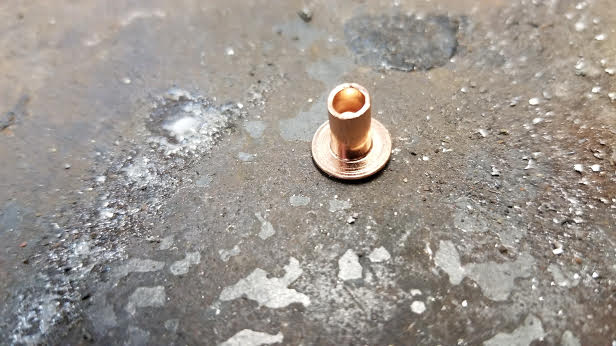
I ground down the pop rivets, instead of drilling them out and using tinner's rivets to replace them. Tinner's rivets are the way to go, if you can find the right size. They're hollow on one end. The perfect size for this job would involve a rivet where the solid part ends inside the hole.
These rivets were a little too long.
I also ditched the original screws and went with these, since they have a bigger head.
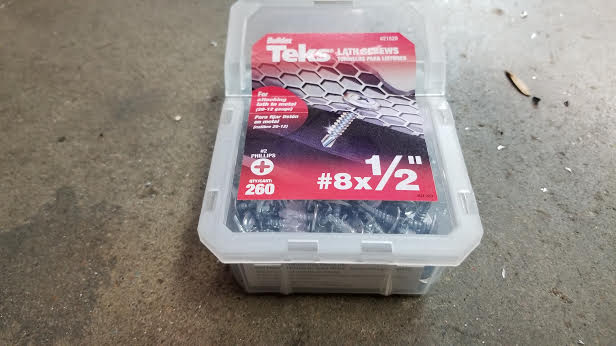
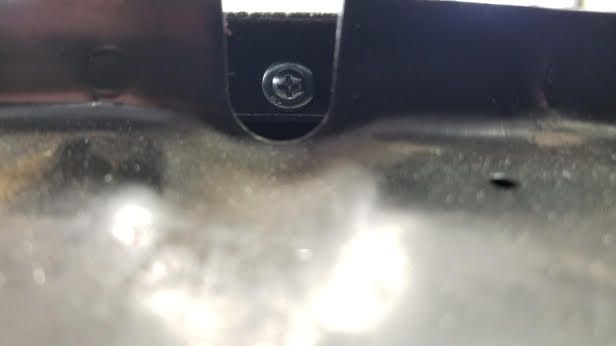
I was hesitant to use bigger screws because I worried they'd interfere with the door skins. No problem, the engineers put these little cutouts in the door skin to fit over the screws.
|
|
|
|
Quad Raider
|
JUN 15, 04:42 PM
|
|
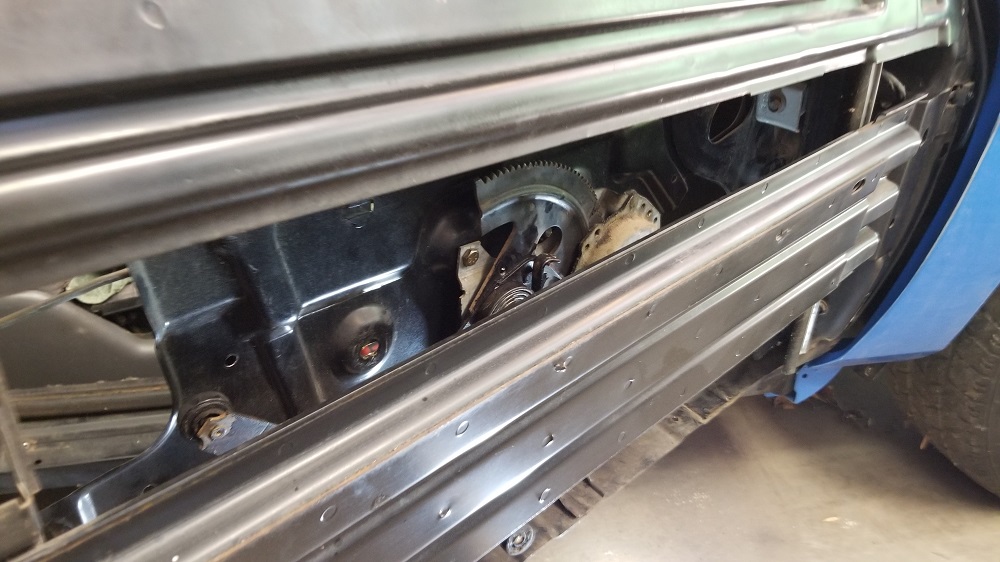
I used bolts and nylock nuts to attach the power regulator to the door. As I learned on the driver side door, one of the bolts has to be ground down to fit behind the motor casing.
I took about an 8th of an inch off of it.
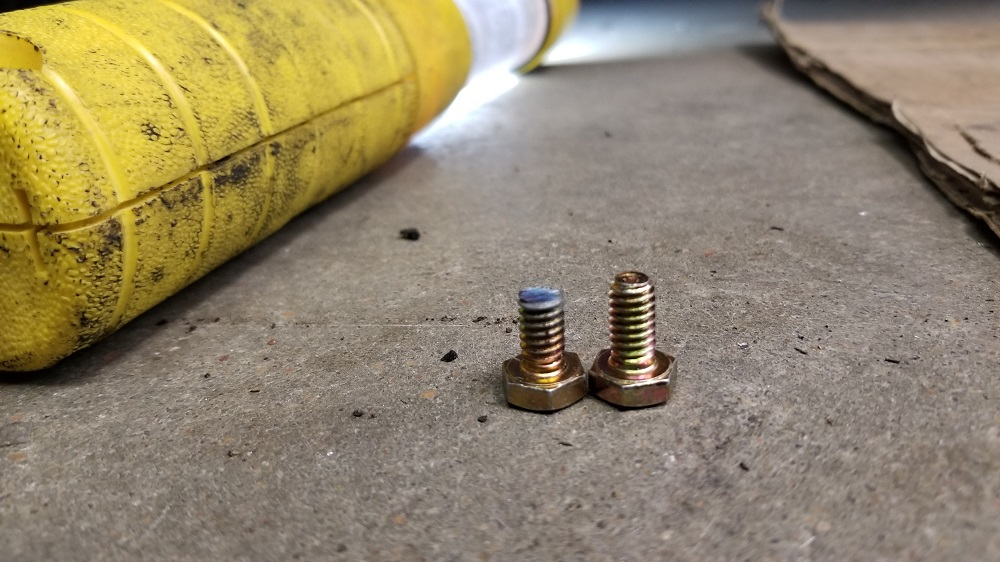
Still took some finagling but it fit.

The process is much easier with the door skin removed.
|
|
|
|
Quad Raider
|
JUN 15, 04:52 PM
|
|
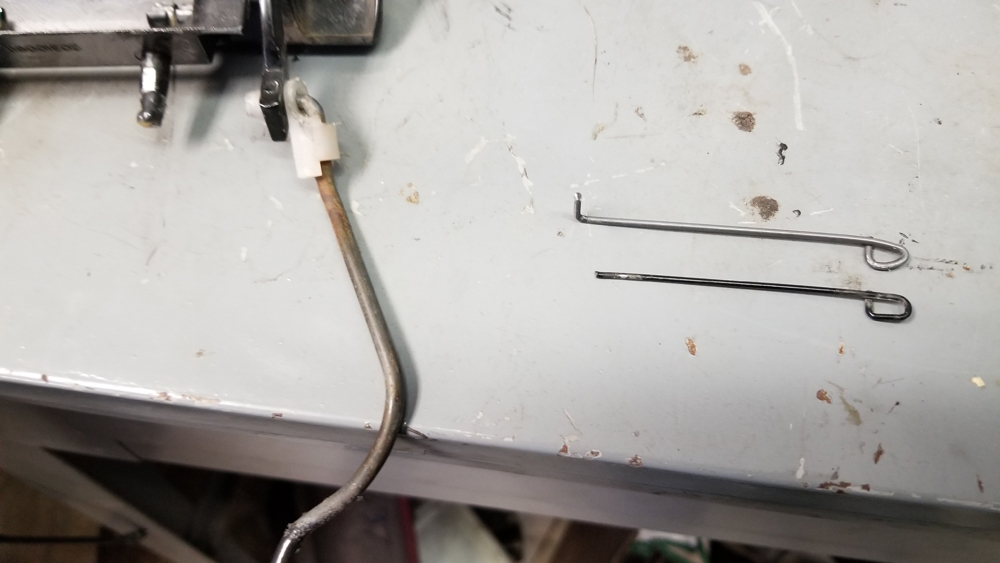
I installed the wiring harness for the door. I then spent 20 minutes fishing the two inner window felts out of that little pocket at the top of the door. What a pain.
I've misplaced one of the two plastic window stops so I'll have to remove one from one of my donor doors. After that will come installing the power lock mechanism and the braces, but I'll have to make a run to the hardware store because I ran out of nuts and bolts.
Once all that's done I can reinstall the door skins. Then I'll be ready to do one final wet sand of the car, mask and paint.
After that, I think I'll switch to the interior. I need to pull the dash, to run the wiring for the power equipment in the doors, but also to build a drink holder/glove compartment where the map pocket used to be. I also need to re-cover the headliner.
|
|
|
|
Quad Raider
|
JUN 18, 05:34 PM
|
|
|
|
|
Quad Raider
|
JUN 25, 02:27 PM
|
|
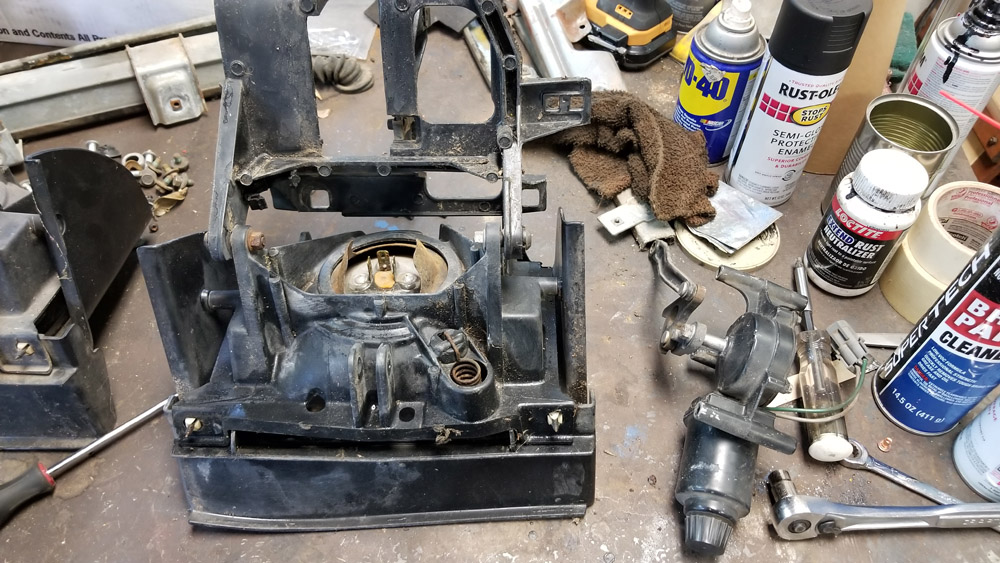
Had a little time over the weekend to reassemble more parts. While preparing to put the hood back on, I noticed that the broken headlight frame I'd repaired years ago was cracked again. This was one of the first repairs I ever made on the car.
I don't have the capability to weld aluminum, so I did the next best thing, I used JB Weld. After I rebuilt the headlight motors and made this repair, I tested the headlights about 10 times before moving onto more serious issues. The epoxy must have cracked during that testing.
Luckily, I grabbed the headlight assemblies from an '88 in the salvage last summer so I changed out the motors and installed the left side.
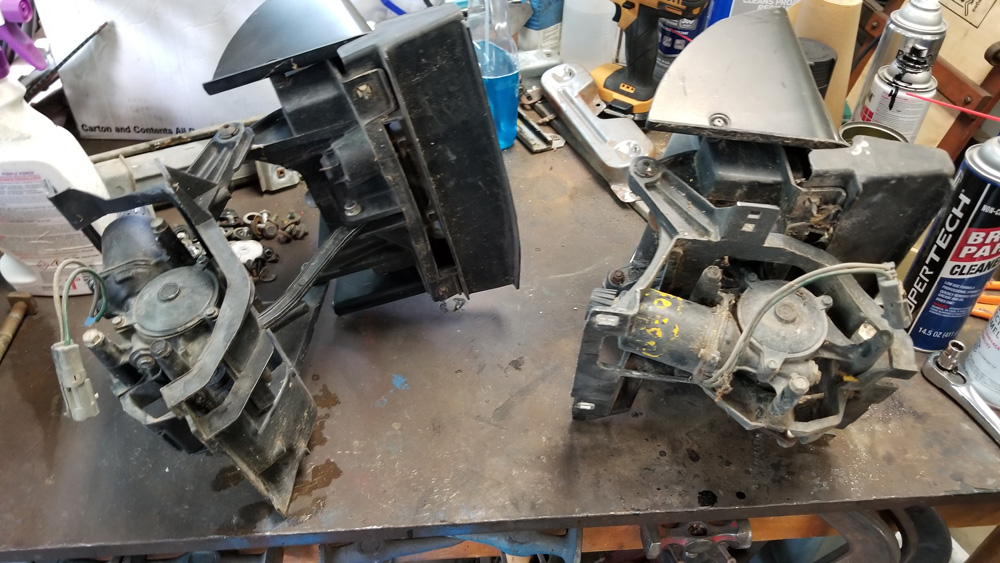
I have so much of the car disassembled I don't have an easy way to test the lights again.
|
|
|
|
Quad Raider
|
JUN 25, 02:35 PM
|
|
|
|
|