
 
     |
| RCR's body mods... (Page 60/67) |

|
RCR
|
AUG 12, 08:28 PM
|
|
| quote | Originally posted by dobie1:
Bob I posted over on my build re the filler install.
If you want any of it let me know it’s yours.
Wayne |
|
Appreciate the offer, Wayne. I have all the parts, just a matter of modifying them.
Now to the issue. Nelson was kind enough to measure the distance between the trailing edge of the door and the leading edge of the gas door on his MERA: 14".
Mine: 15"
For whatever reason, my gas door is 1" further back, which would make the stock fuel lines too short.
My first impression is that I'm going to leave it where it's at and modify the fuel lines.
Now, out of curiosity, I'm wondering if you guys (Wayne and Don) would mind taking a quick measurement.
I don't know the history or make of my body, but based upon the backup lights, I believe it to be a MERA clone. So, I'd think it would be the same.
Thanx for all of the help. guys.
Bob
|
|
|
|
RCR
|
AUG 16, 08:23 PM
|
|
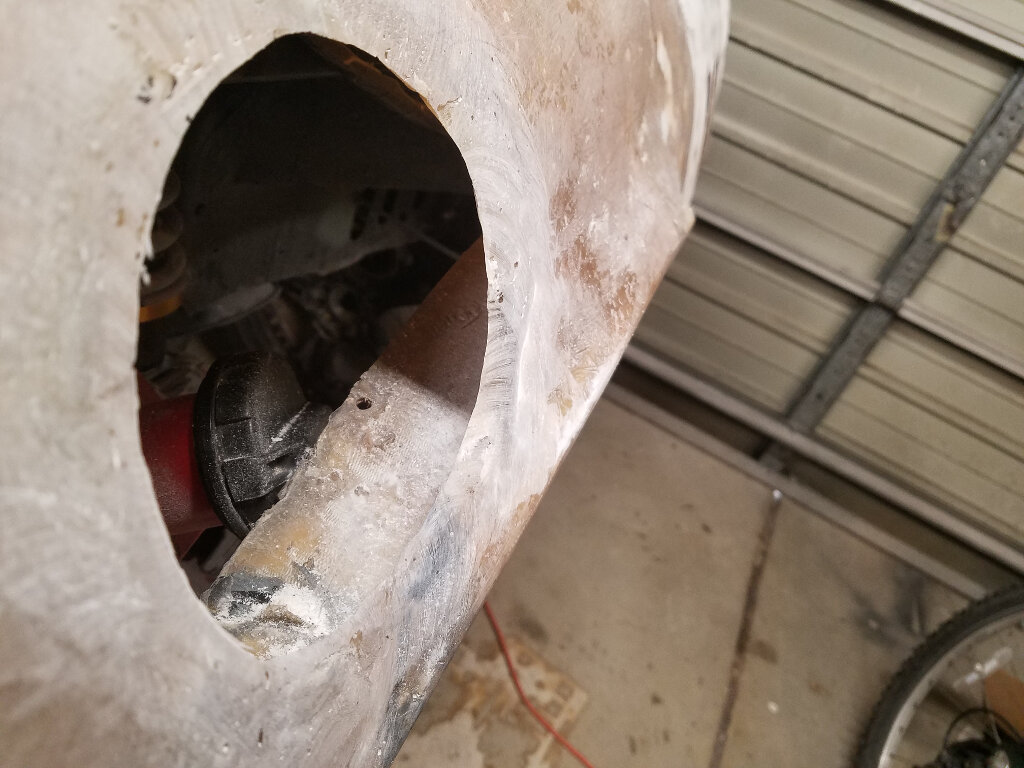
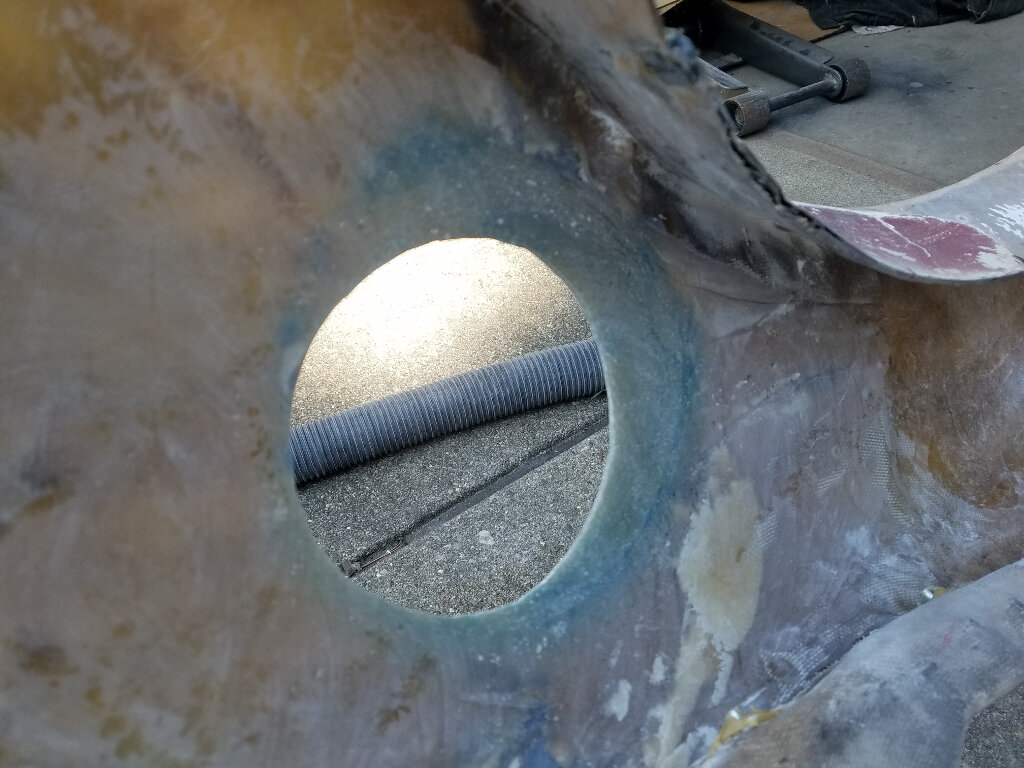
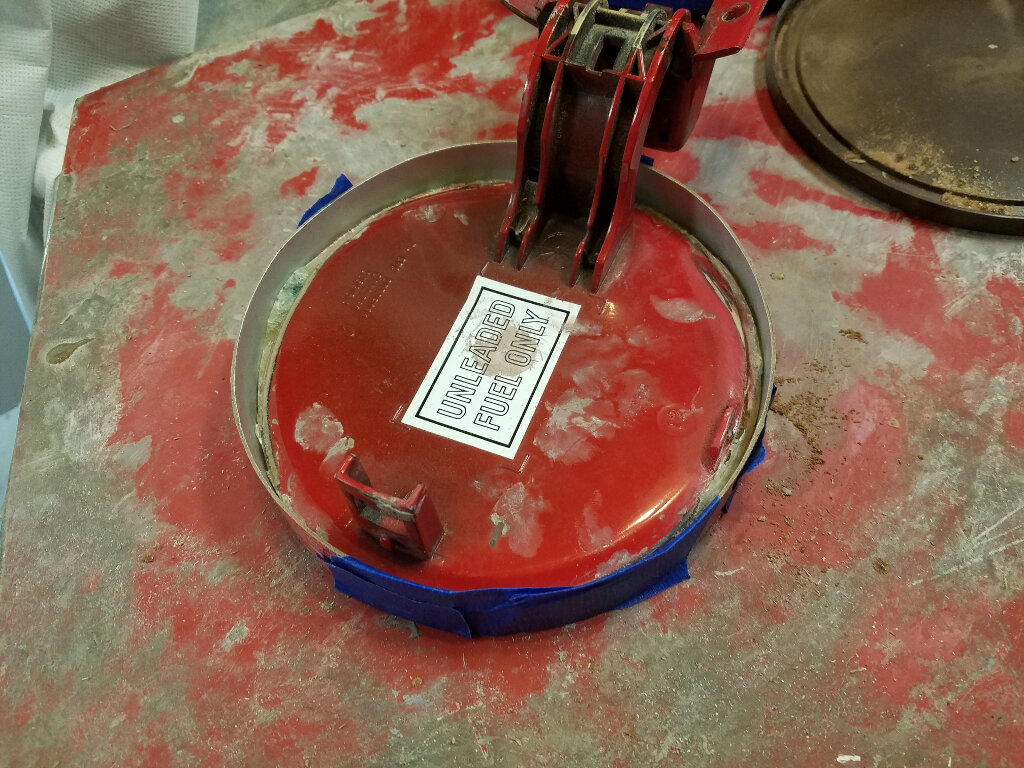
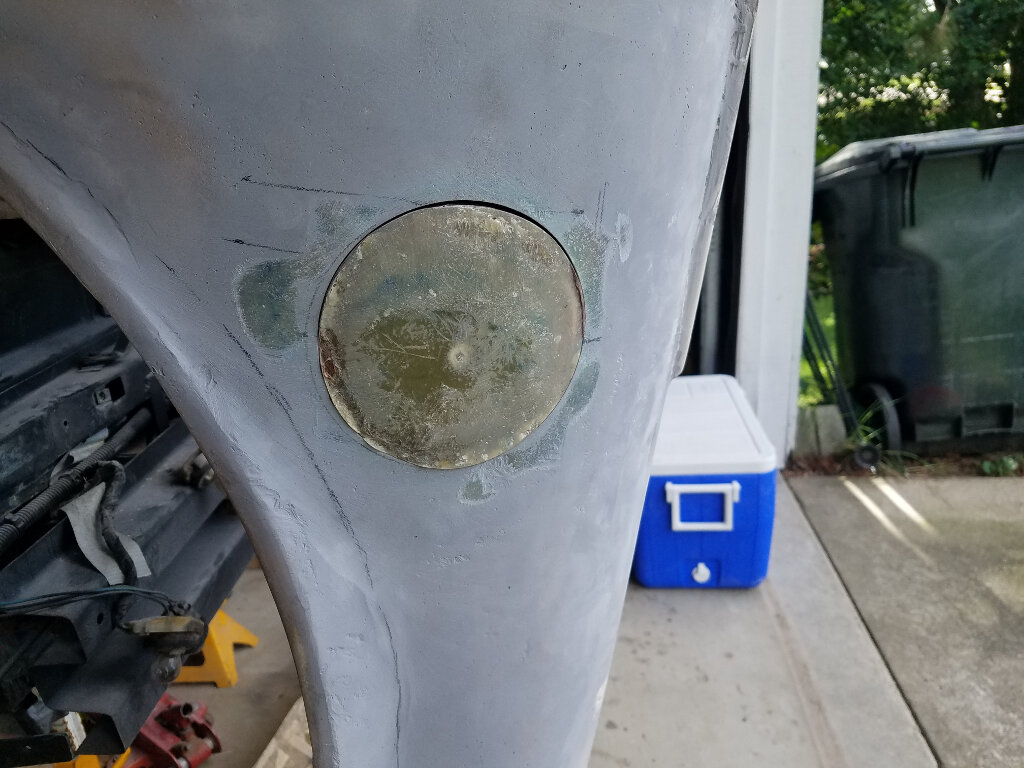
As mentioned, I needed the gas door to ensure the body contours were correct. That was screwed up by the gas lines not fitting properly, and the previous repairs had left the glass thickness uneven (it would show through the door.). So, new plan. Fix the body work and body contours with new gas door, ie, glass it all over and start again.
The first pics are the cleanup. Grinding all the glass back.
I backed the hole with some aluminum flashing, covered in tape.
Since I could not rely on tape holding it on and I didn't want to make a bunch of screw holes:
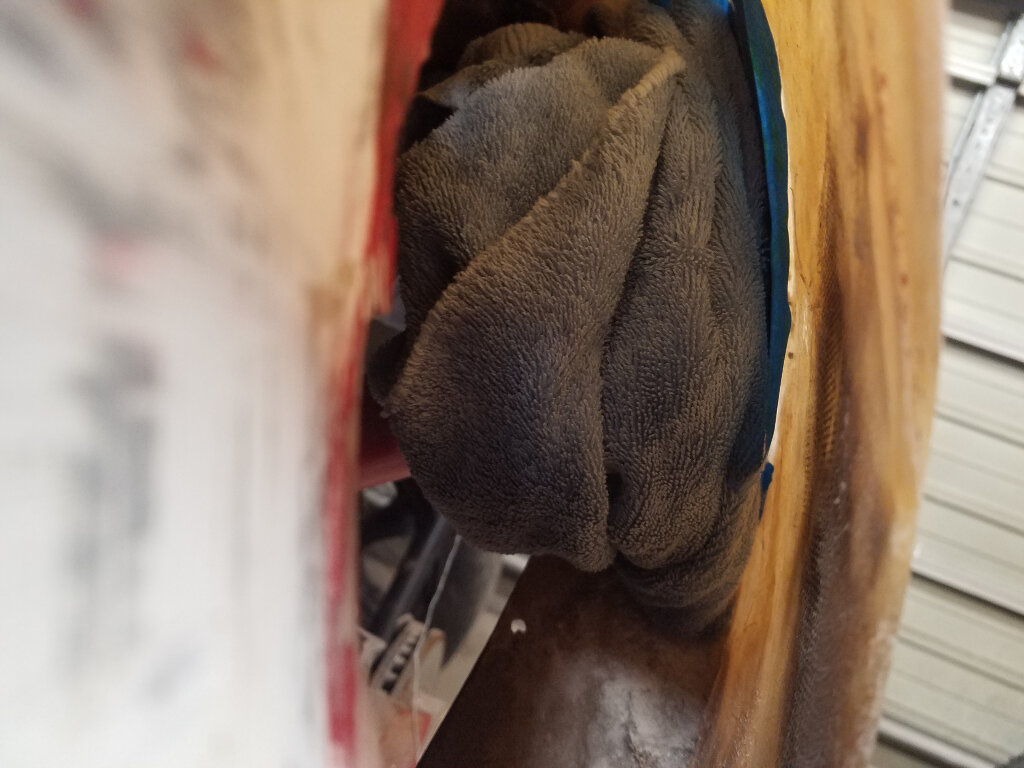
I packed old towels behind the plate to hold it in place.
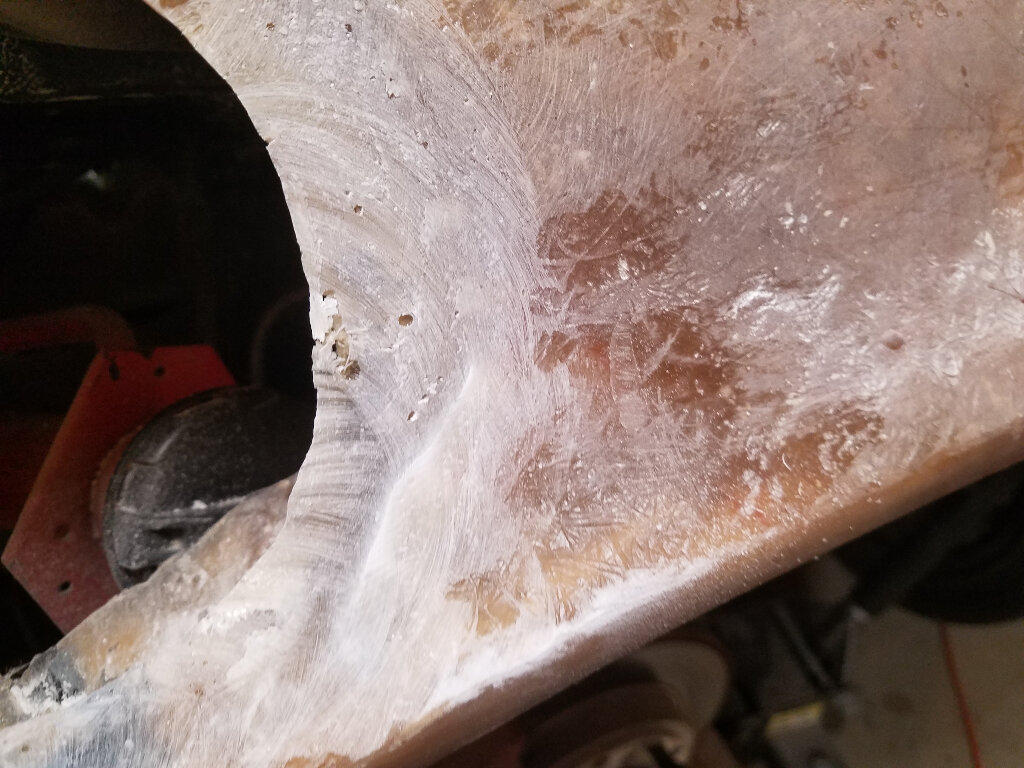
A lot of glass later...The blue coloring is from the sharpie I used to trace the glass circles.
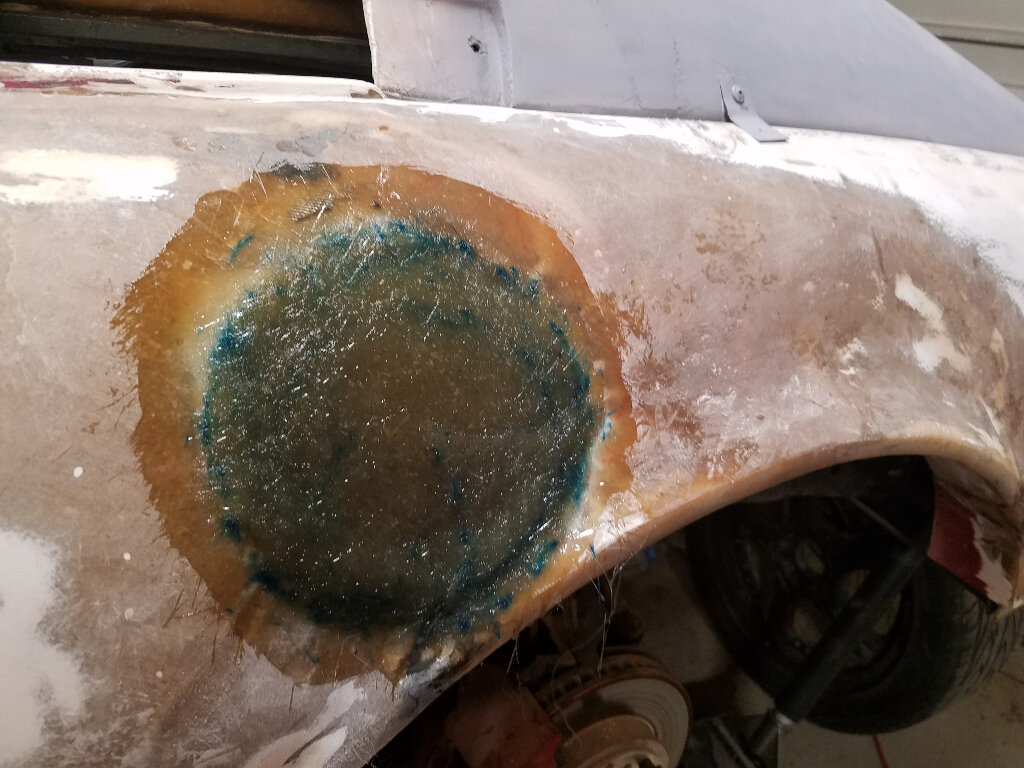
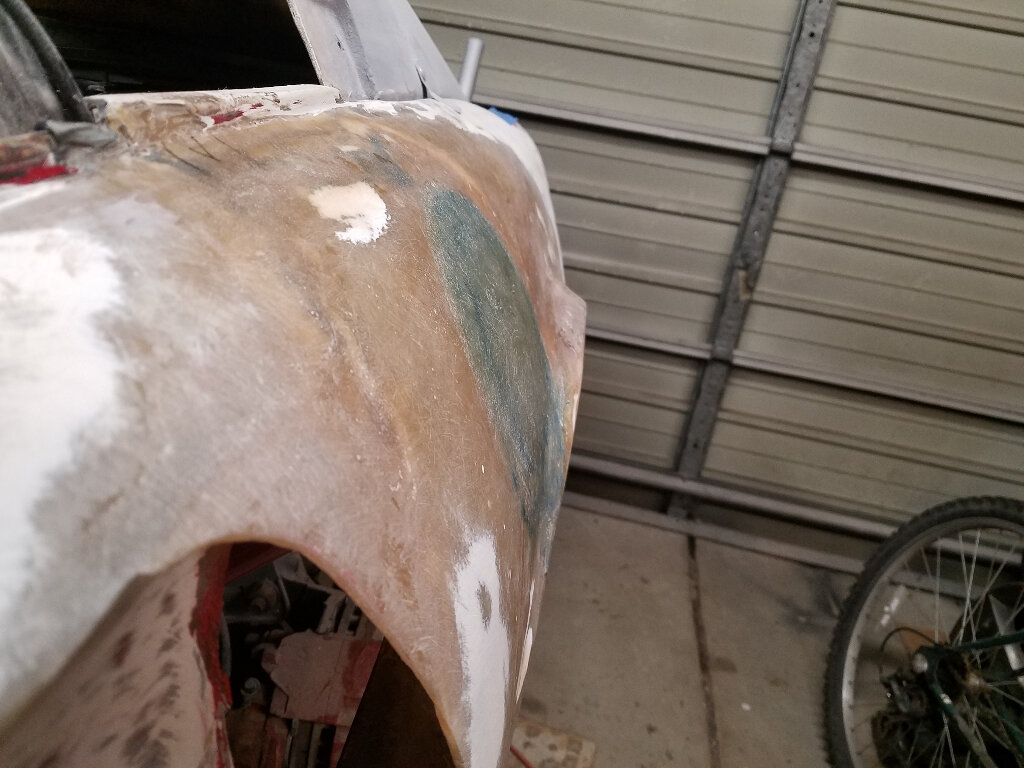
A little color...
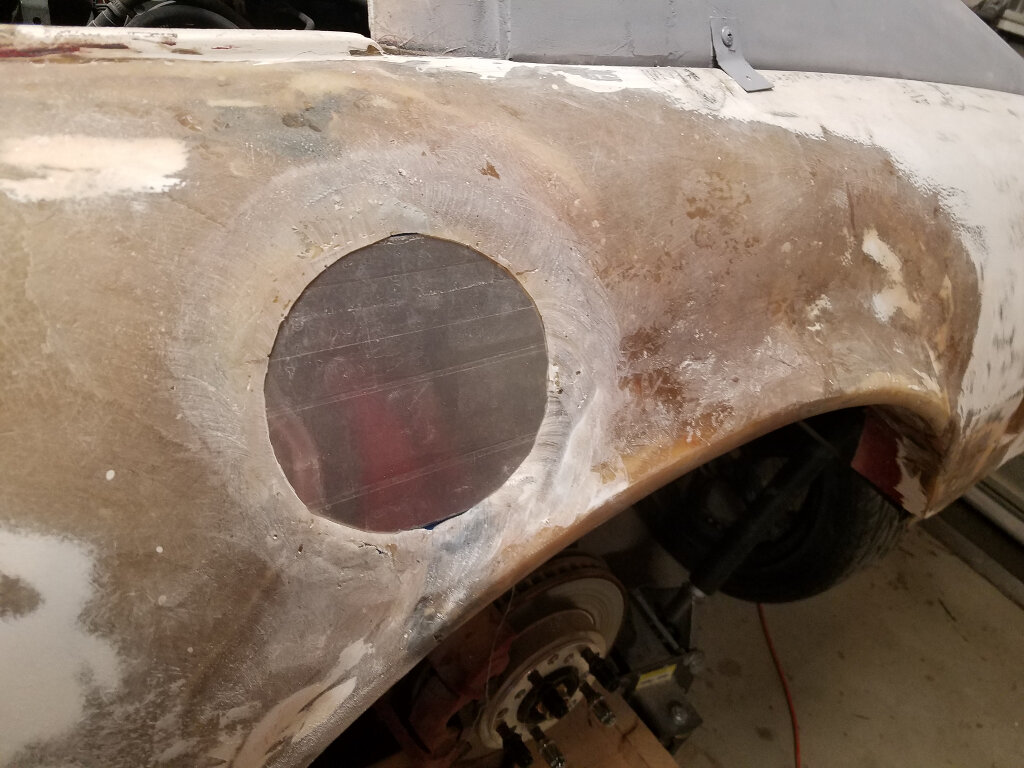
Now I need to figure out how to cut a perfect 5" circle to form the new door.
take care everyone.
Bob
|
|
|
|
infinitewill
|
AUG 16, 08:43 PM
|
|
|
I would take a piece of semi rigid foam and cut a hole with a hole saw that has a 5”I.D. (Rigid and Milwaukee both make them) and drill a hole through it. Then use that as a jig (positioning guide) for the hole saw with the center pilot bit removed, positioned on the fender. I had to do something similar when I did the wide body on one of my old race cars. Oh BTW. Hi all! I still lurk your build thread Bob👍🏼 [This message has been edited by infinitewill (edited 08-16-2020).]
|
|
|
|
355Fiero
|
AUG 16, 10:32 PM
|
|
Bob;
That is certainly one way to solve the issue...... 
You are correct that I went up into the sail panel vent with my fuel filler. The hoses I got online from Fuelines.com or something like that. I will have a look through the bills and old emails to see where I ordered from. Not cheap if I remember. I needed 90* bends though for both the fuel filler line and the vent hose so mine was a bit more targeted and needed the custom hoses. You "should" be able to get straight fuel hose from your local parts stores? You should not need any angles in yours so just an extension piece that should be straight.
I actually think my original pieces inside my fender well as still there as I did not use them so wil go have a look and take a couple pics.
More soon
Don
|
|
|
|
RCR
|
AUG 17, 07:10 AM
|
|
Hi Don, Hi Will,...
Hey Don, thanks for the feedback. I'll take a look online if I can't get it local. No need to look up your old bills. Any pics of the old setup would be helpful, though.
Hey Will, Good to hear from you. It's been too long. Thanx for lurking and the idea. Kind of what I was thinking.
Thanx guys and take care,
Bob
|
|
|
|
355Fiero
|
AUG 18, 11:22 PM
|
|
|
|
|
RCR
|
AUG 22, 07:45 AM
|
|
| quote | Originally posted by 355Fiero:
Bob;
This is the online store I got my fuel line from. Like I said, I needed 90* bends so went with these guys.
Cheers
Don
https://www.fillernecksupply.com/ |
|
Thanx Don. Site looks like they've got a lot of interesting stuff. Prices don't look bad, either.
Now I just need to measure the pipes.
Bob
|
|
|
|
RCR
|
AUG 30, 06:55 PM
|
|
Oh, where to begin.,,,
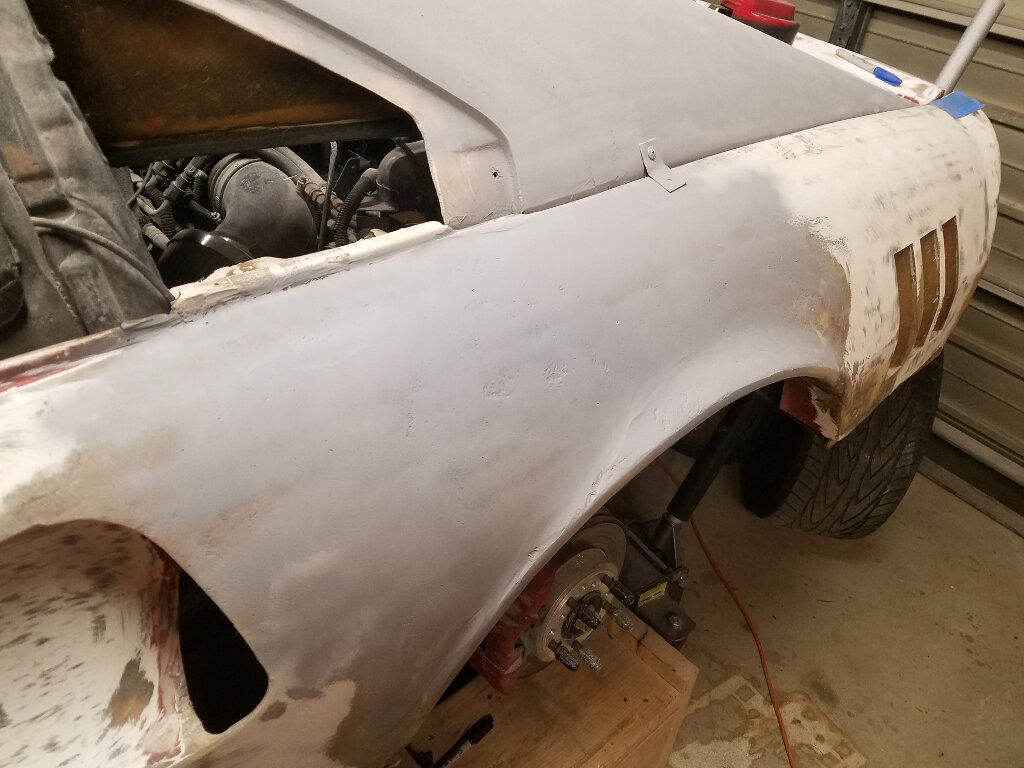
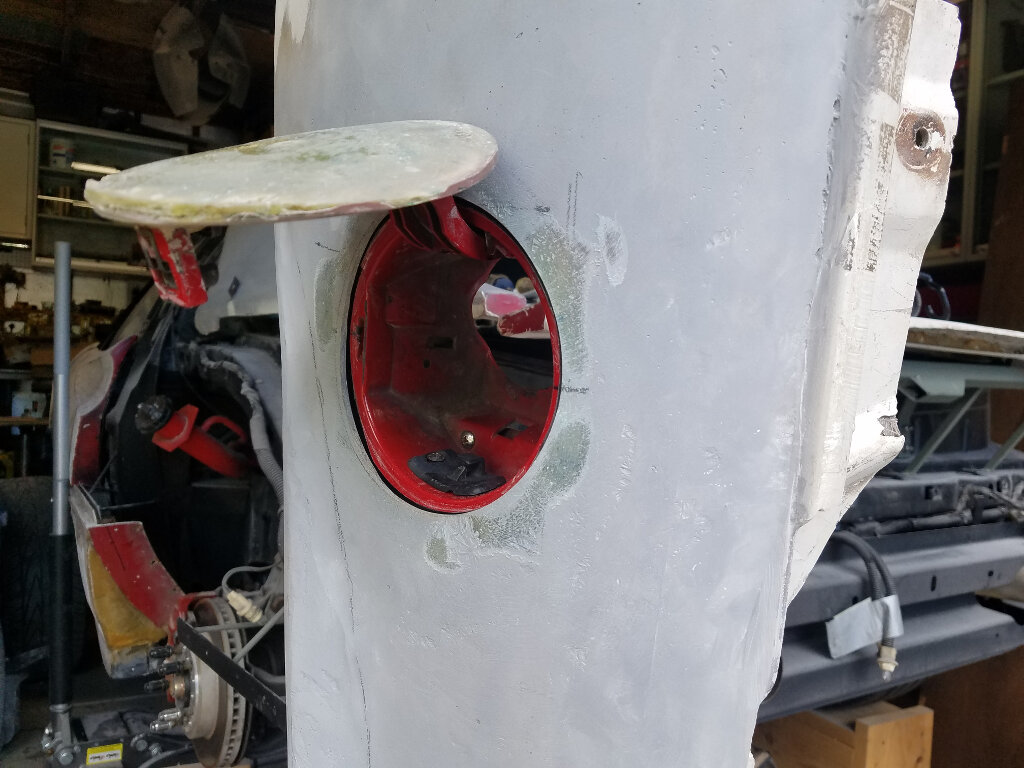
Worked on the gas door. Alot!!.. Looks pretty good now. Might change it up a bit. Seems a little wobbly.
I used all of the Fiero parts. Here's some pics...
Back of the fender
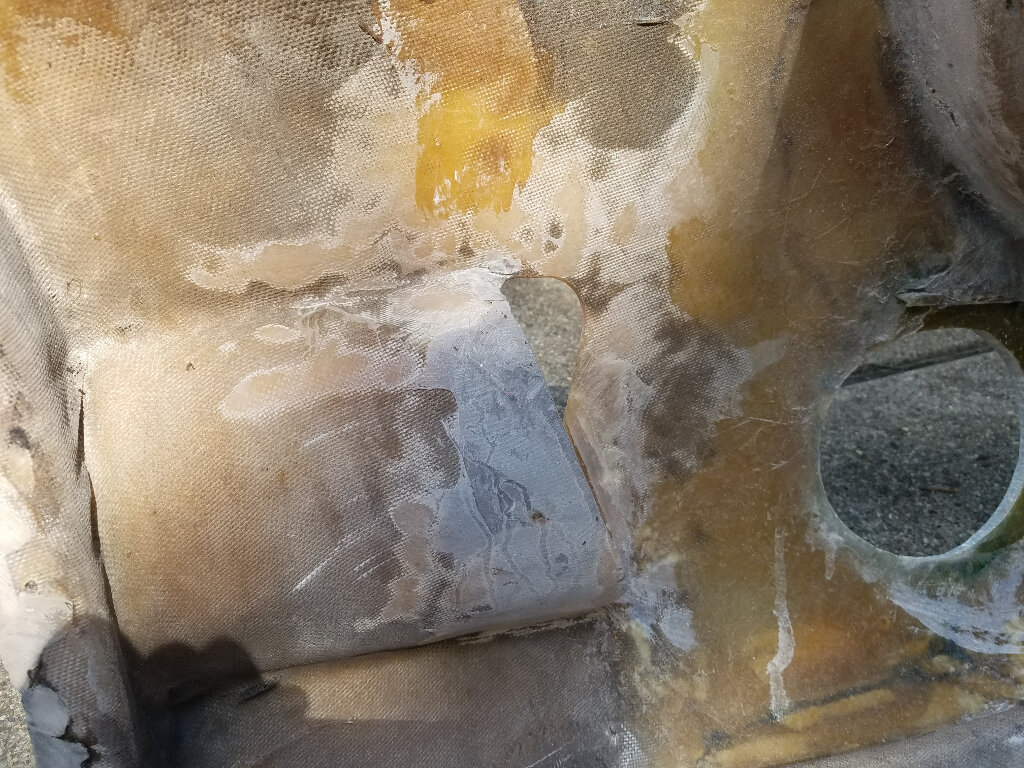
Grind everything down to a consistent thickness
Don't have a better name, so I'll call it the inner fuel box. Here it has been reshaped to fit the fender and now it's glued in.
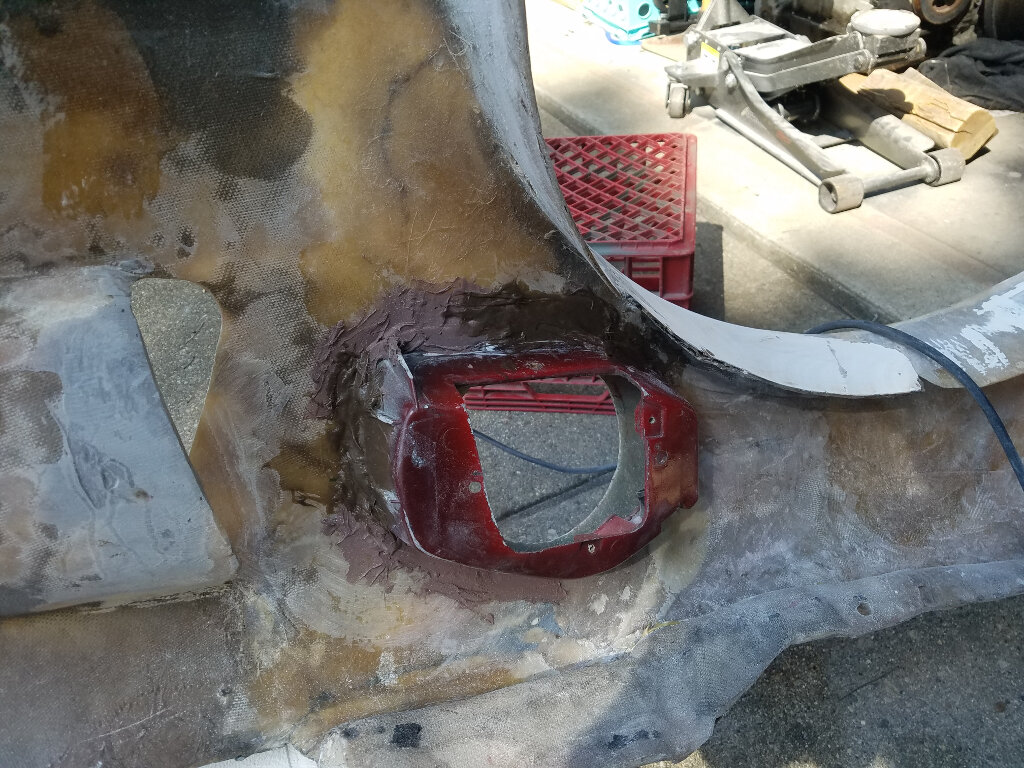
Screwed up proportions, but here is the outer box fitted.
This shows the cutout door mounted to the Fiero door. (Opps, maybe thats, just the cut out)
Here's the door.
Lots of sanding, filling, and sanding later...

to be continued...[This message has been edited by RCR (edited 08-30-2020).]
|
|
|
|
RCR
|
AUG 30, 07:14 PM
|
|
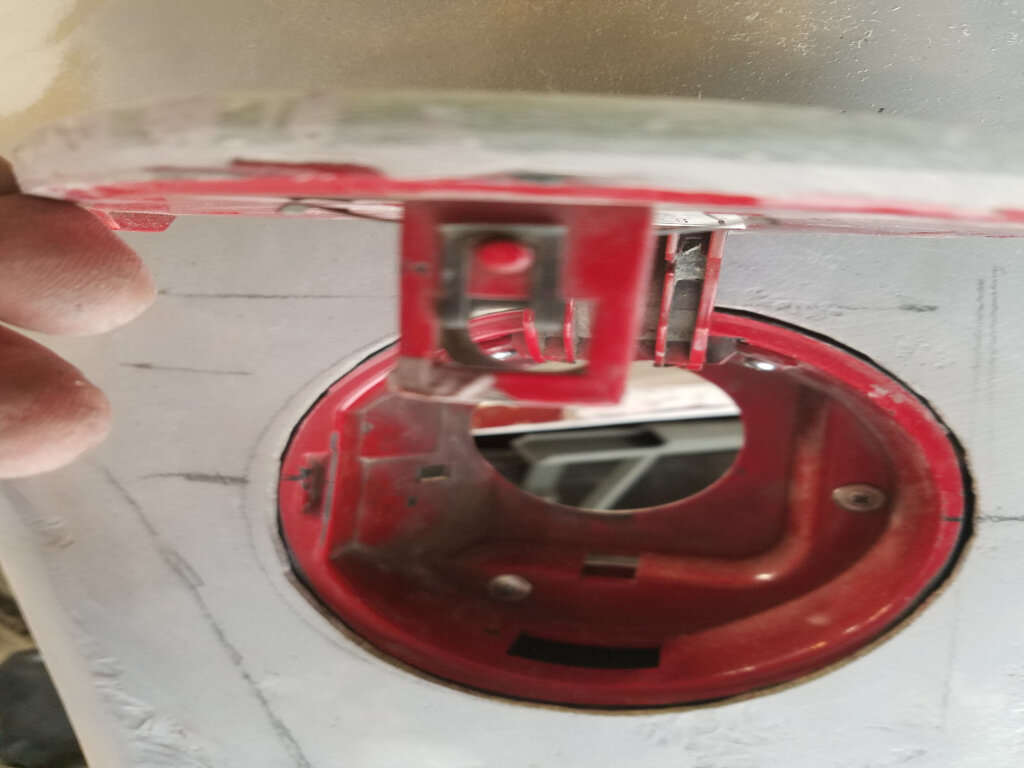
Wanted to do something different, so I went after the mirror. I created a "very complicated" mount on the other side. Time to reproduce it.
Holes marked out and drilled.
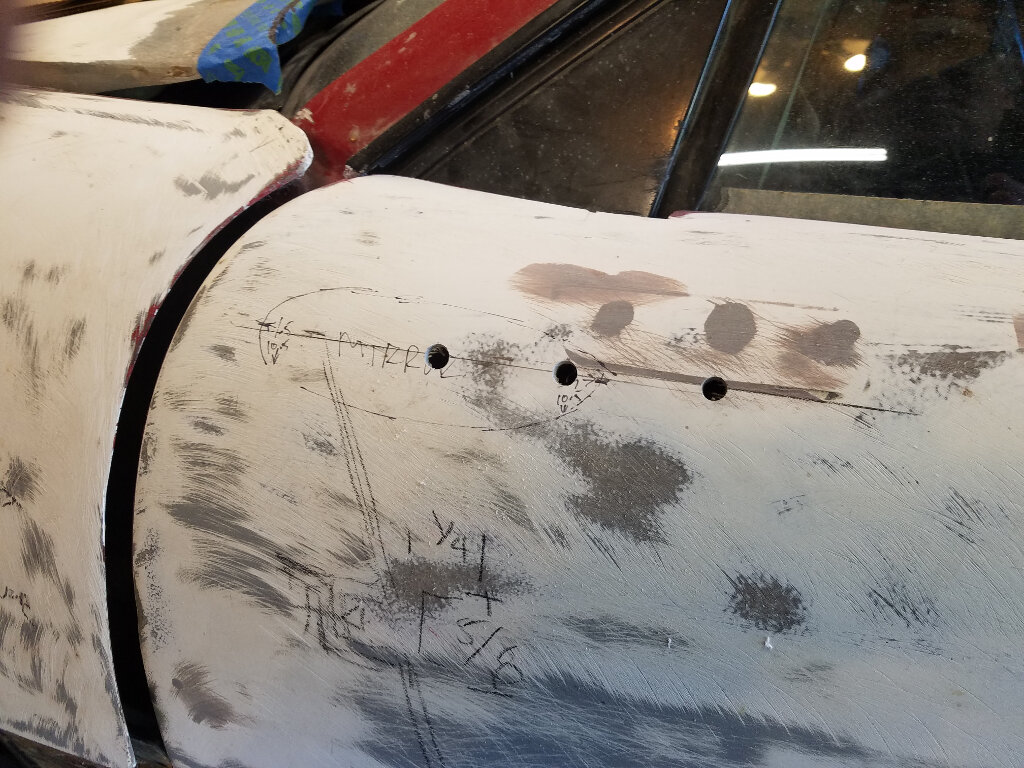
Using clay and cardboard to figure out the bracket.

Here's a picture of the door cleaned and primed. After I cut off the bracket and cleaned the clay.
After 2 and half hours, I finally figured that the door skin itself is strong enough to hold the mirror, and way easier to reach the nuts.
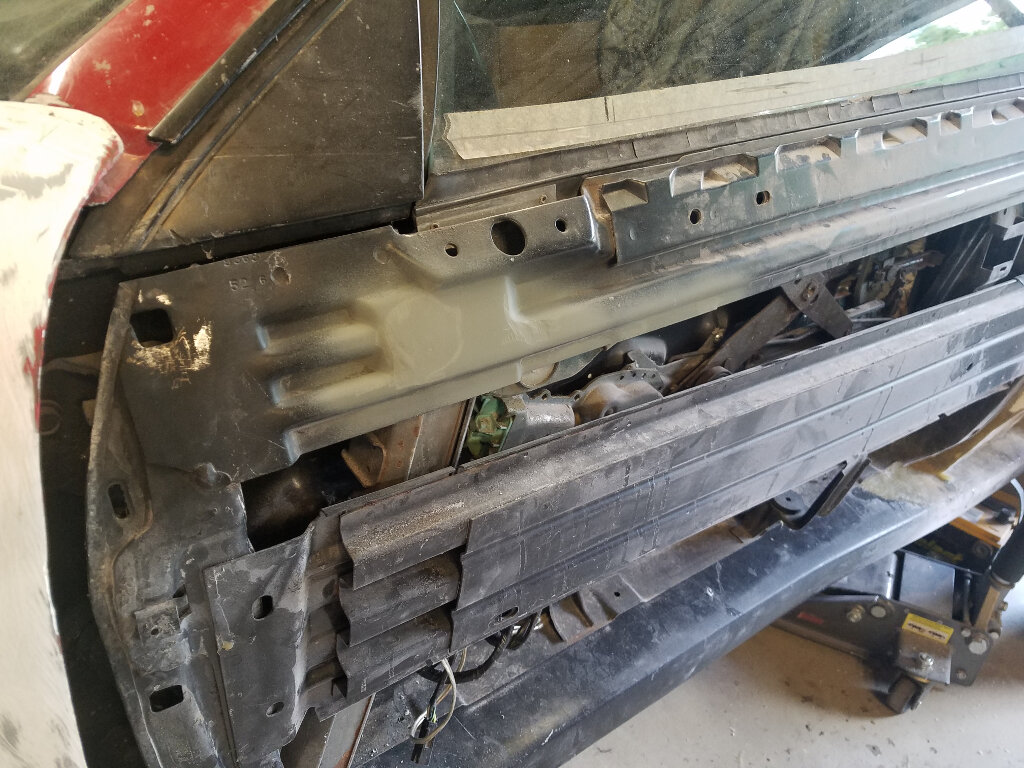
Noticing how easy it is to access the rocker without the door skin, I moved on to the vent.
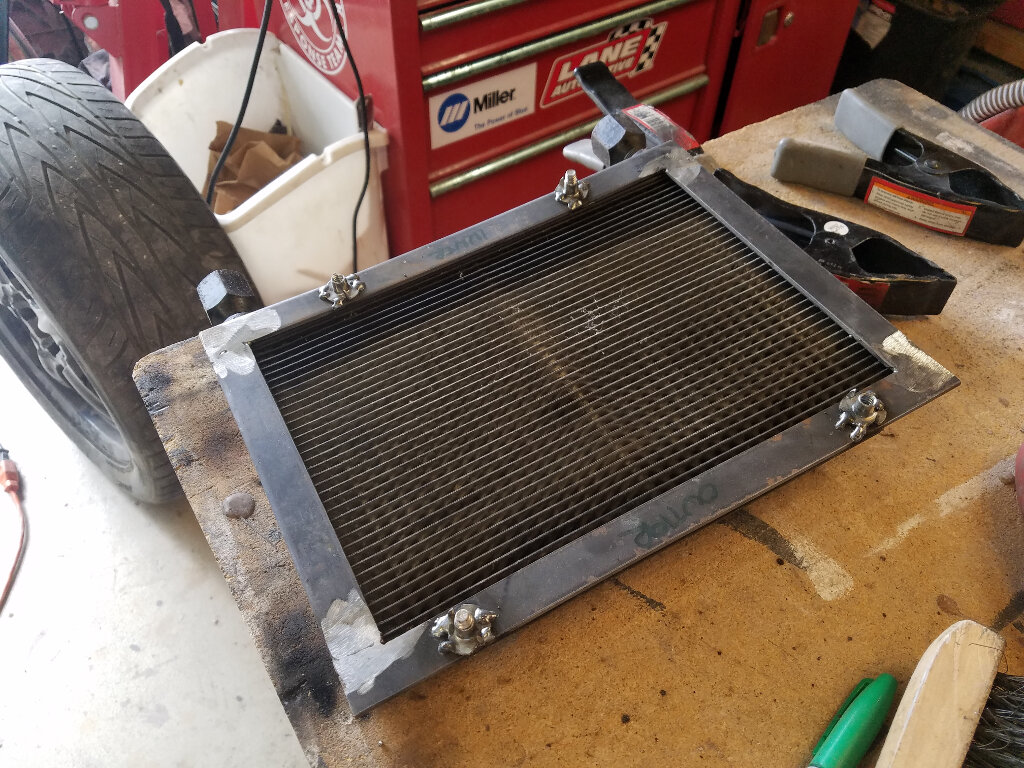
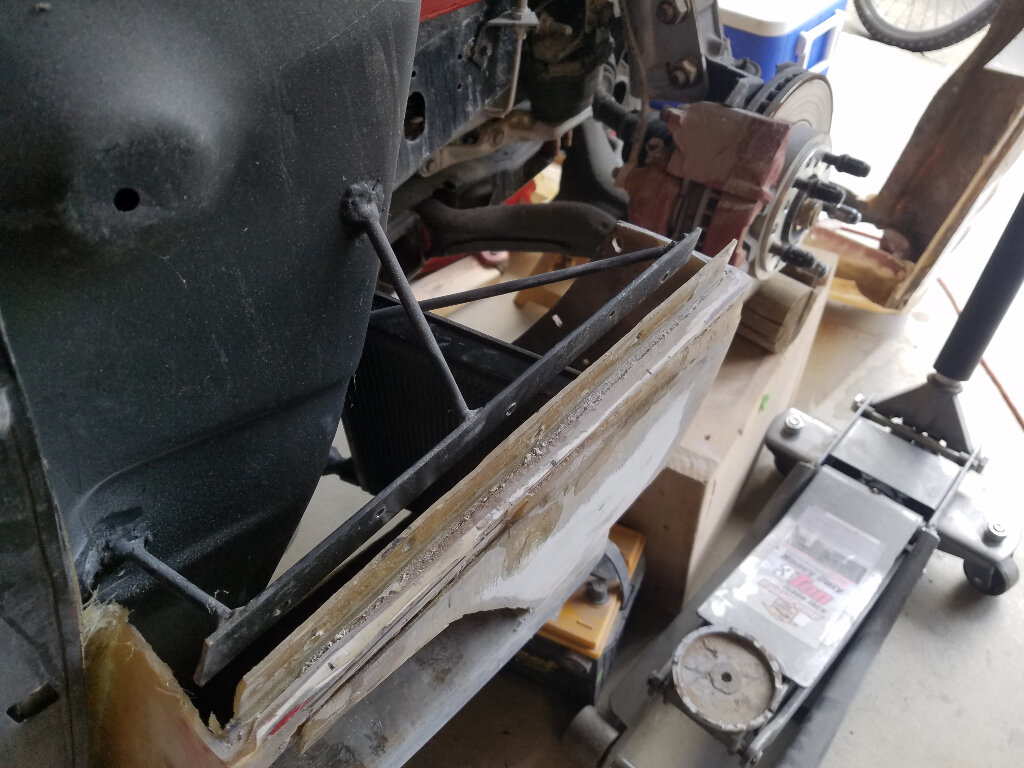
Here I'm building the frame for the trans cooler that's going in the vent.
Old vent lopped off.

And the closing shot, showing the cooler sitting in place. Next will be welding it up to the car. Then the glassing begins again.
That's it for now. Thanx for visiting.
Bob
|
|
|
|
RCR
|
AUG 30, 07:49 PM
|
|
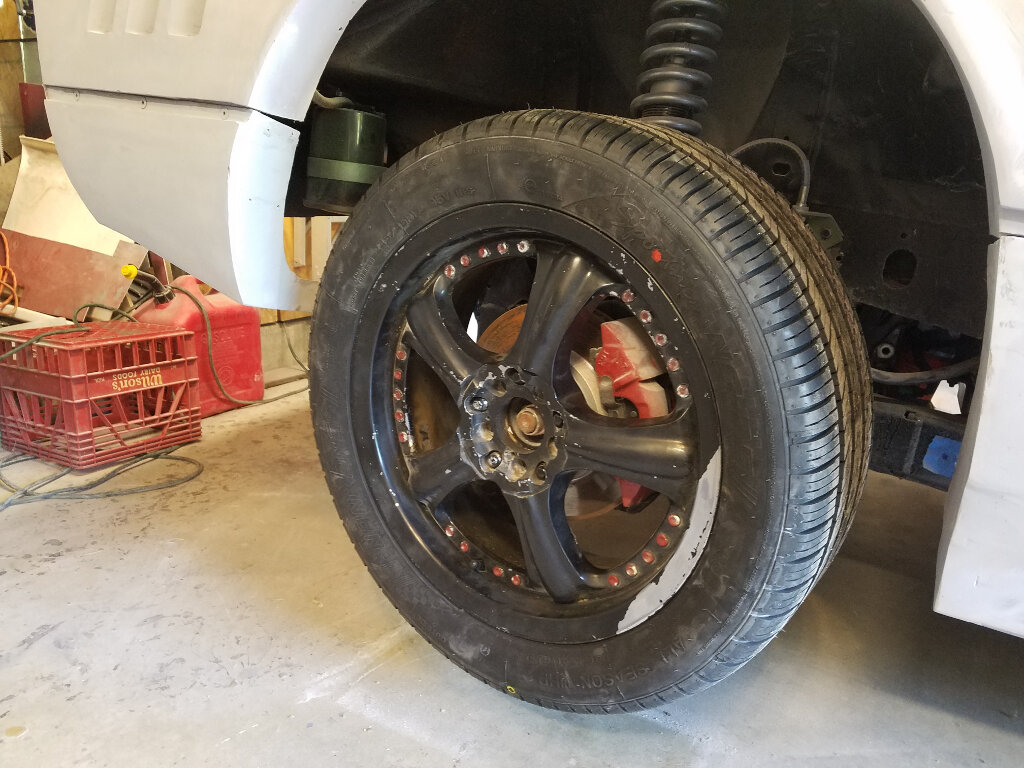
And, since I had some frustration time and the wheel was off anyway, I threw some math at it and I think I calculated the offest for these wheels.
They are 17 x 7, with a 49mm offset. Explains why they are so close to my brakes. The new wheels are 35 fnt / 25 rr.
Bob[This message has been edited by RCR (edited 08-30-2020).]
|
|
|
|