 
     |
| 88 3800SC F23 Build (Page 6/8) |

|
paulsobj
|
MAR 21, 08:59 PM
|
|
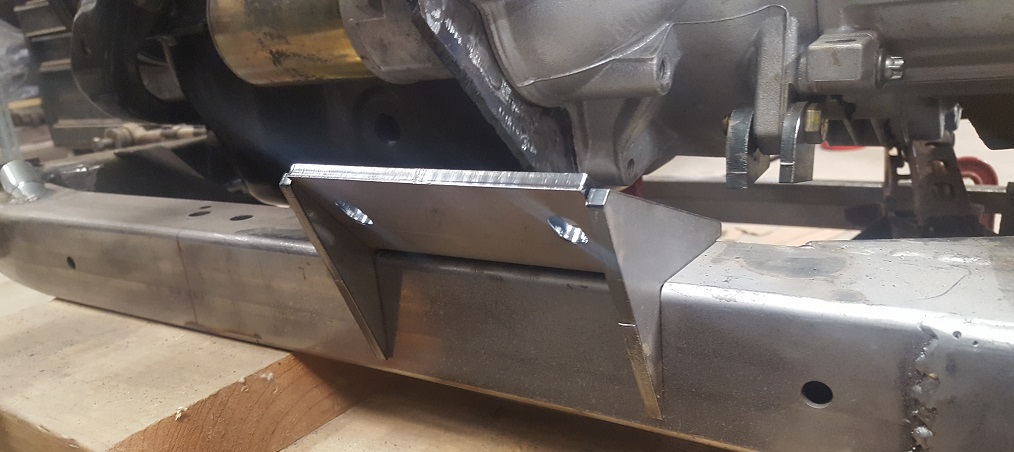
I took a few better pictures to help understand the dog bone mount.
This shows the brace
This is the brace and the tensioner mount (hole position will be determined at a later time)

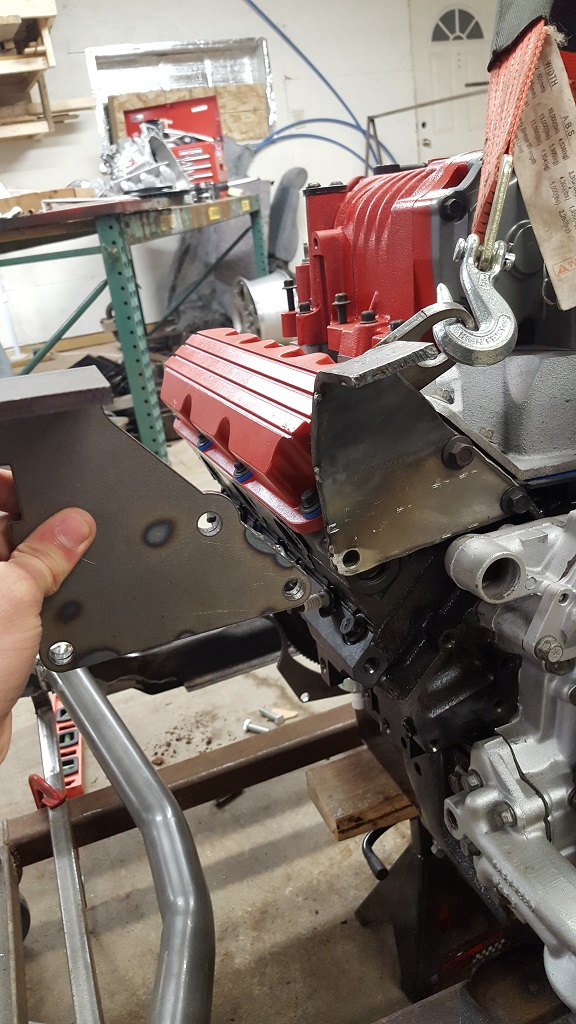
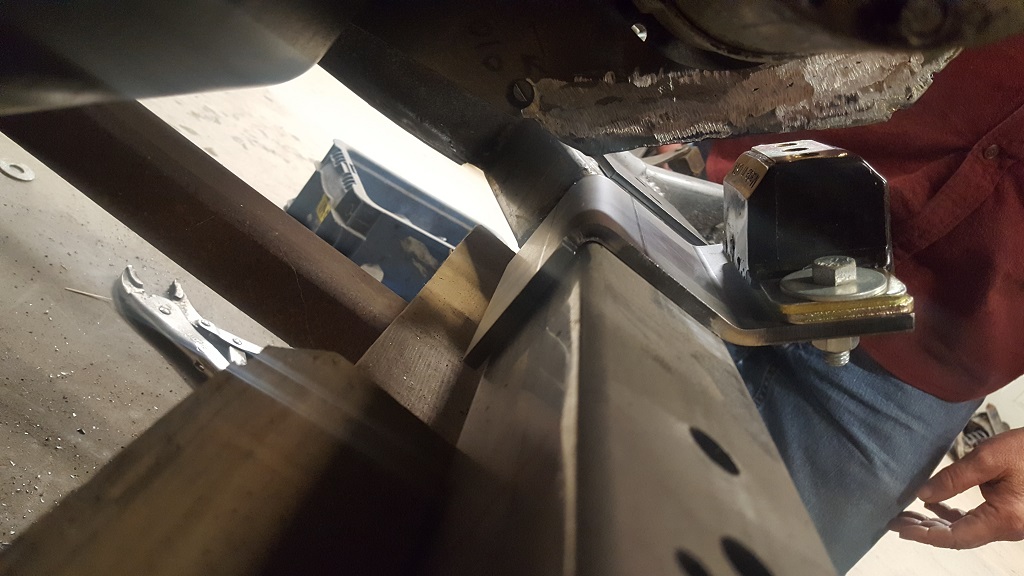
This is the bracket next to the first mount that we tested.
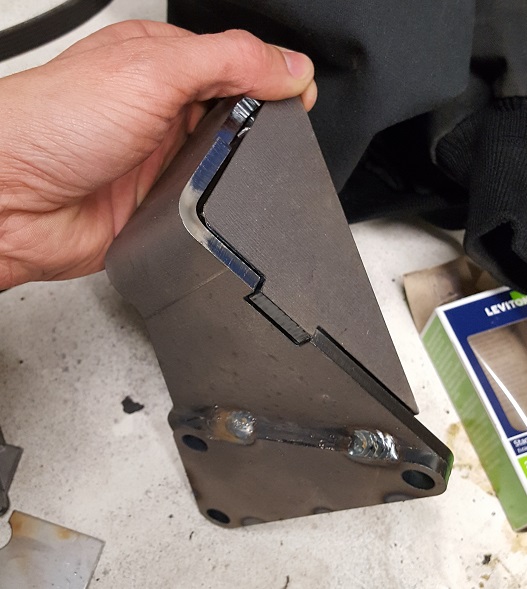
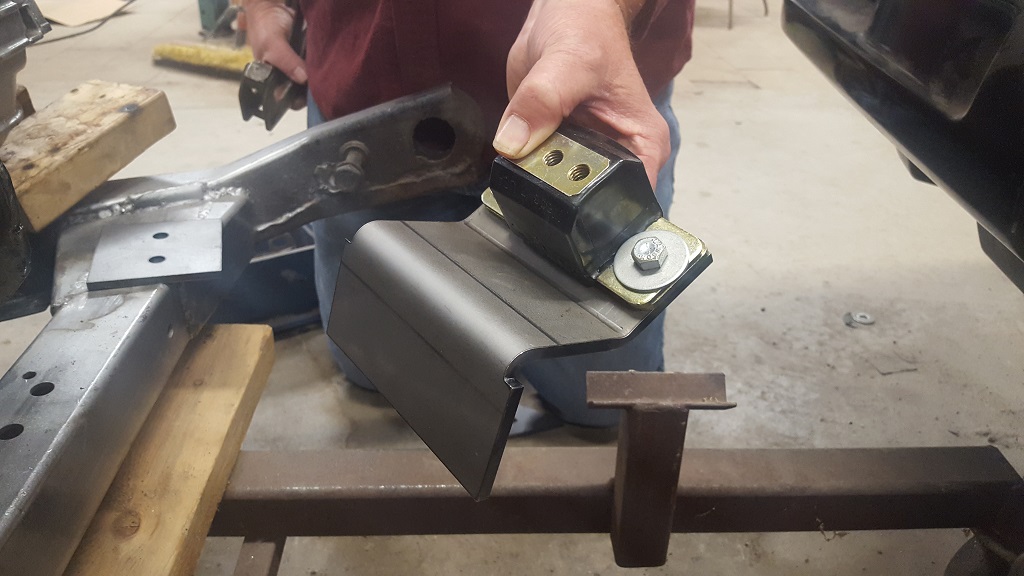
This is the first mount and shows the offset needed to clear the valve cover.

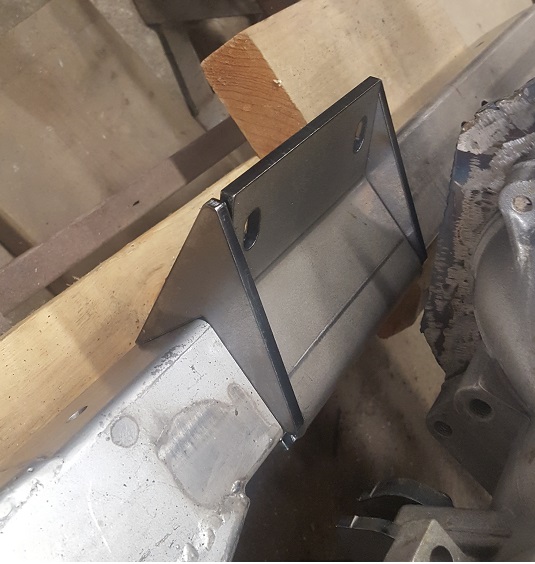
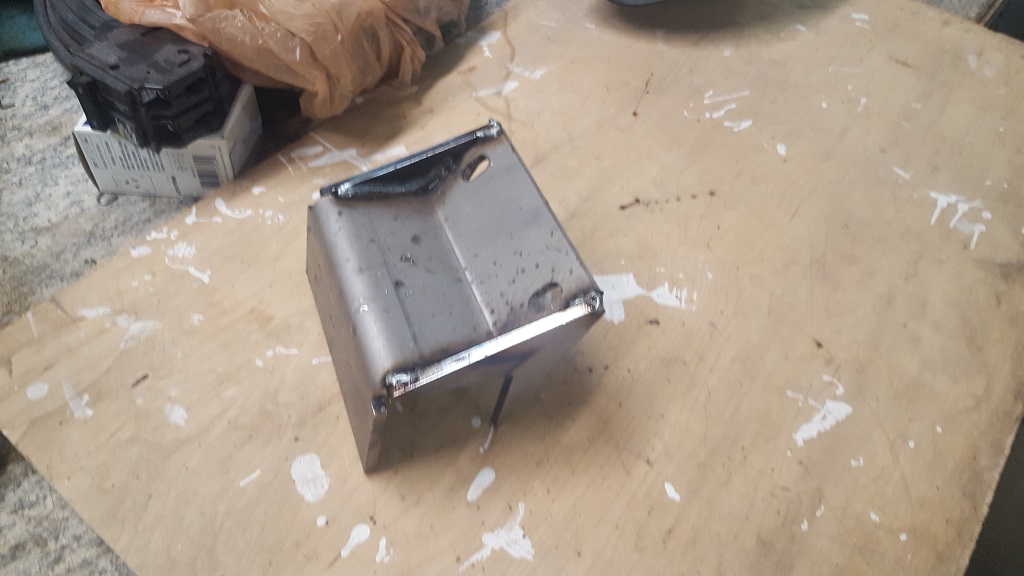
Here is the dog bone mount that will be welded on after the motor mounts are setup
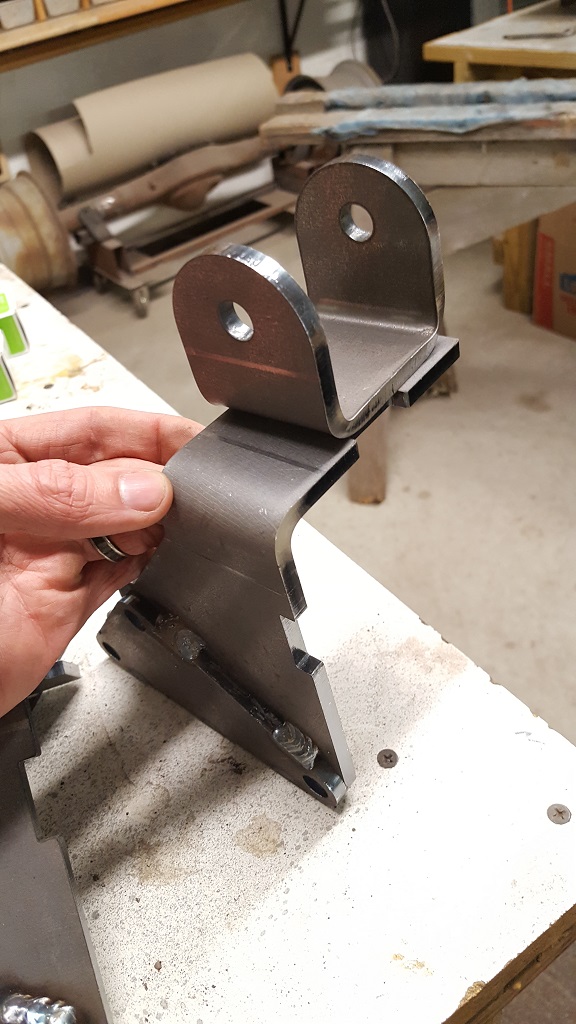
Here is the extra material that we are using to have the trans mount welded to. We will be cutting at least a third spacer.
|
|
|
|
Jncomutt
|
MAR 24, 04:22 PM
|
|
Did you end up using the FY1 input shaft to make up the spacer thickness difference? Sorry if I missed it.
Also, more info on the hubs? I'm desperate for bigger hubs on my 88.[This message has been edited by Jncomutt (edited 03-24-2017).]
|
|
|
|
paulsobj
|
MAR 04, 09:11 PM
|
|
Jncomutt Sorry for the year delay. I have had many things keep me from this project. I used the FY1 (longer) shaft. I used the spacer for mainly to keep the thickness of the flywheel. I don't have much more info on the hubs. I used S10 hubs and the part number from Fiero Guru. I had a shop do most of the machining as i did not have time.
I am hoping to get some progress on the car after a long leave of absence. I still need to figure out the HTOB spacer. IIRC it was 1/4" but that was a long time ago. I will measure again before i go any further. I Found the the engine to trans spacer i made had interference with some bolts.
So i drilled them out.
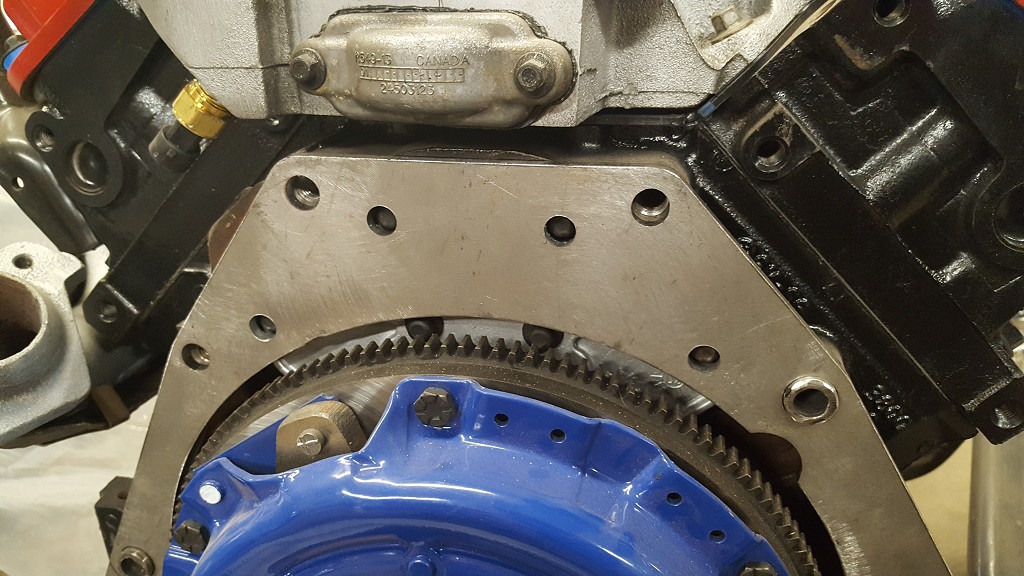
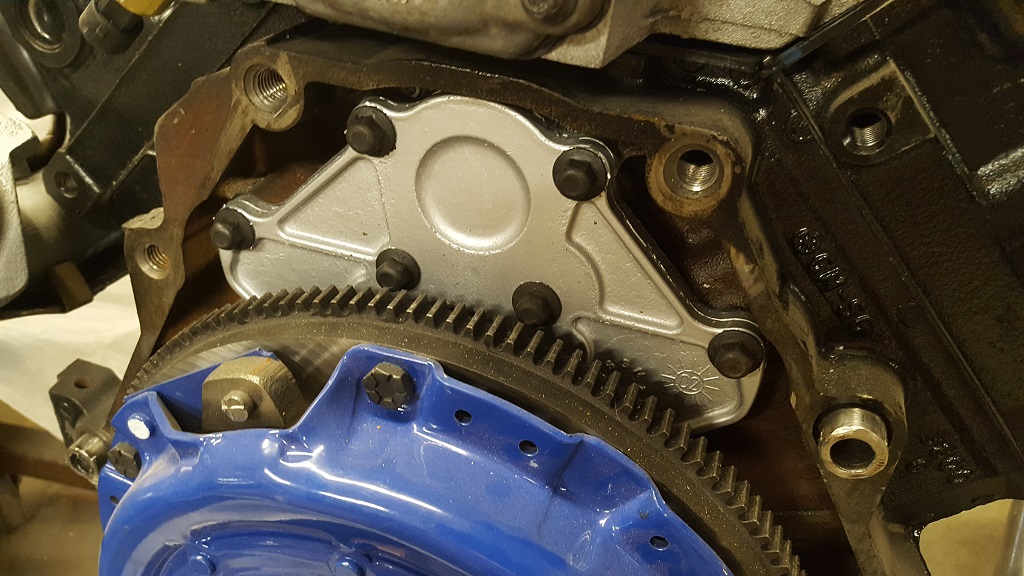
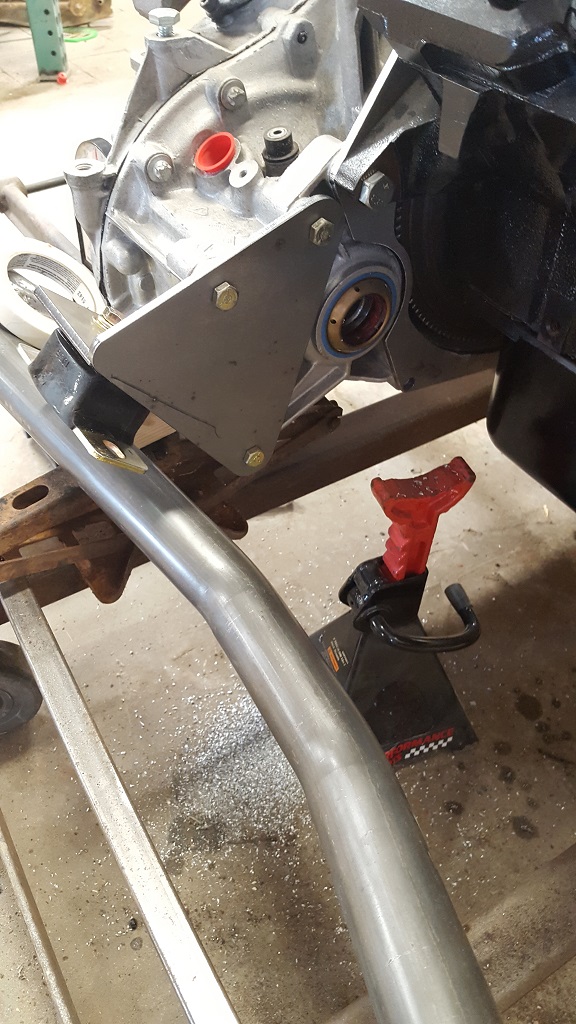
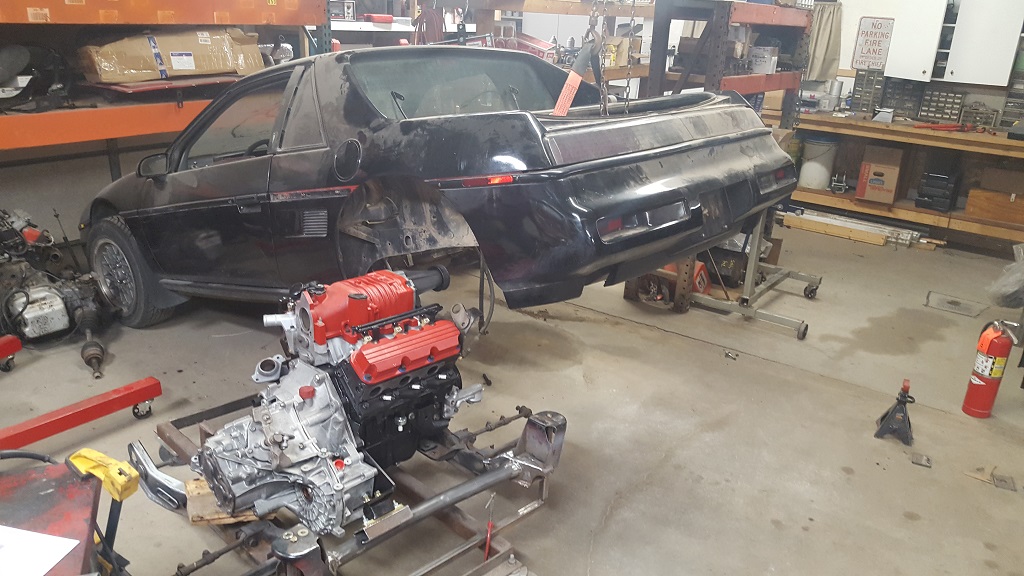
Then I started on the F23 mounts. This is a work in progress. I am waiting for a few more parts to finish it up. But I figured I would get started. I drilled and tapped the three spots here for bolts.
and here is part of the mount completed.

I hope to get some more done this week.
I like to share other fun stuff that is going on around the shop.
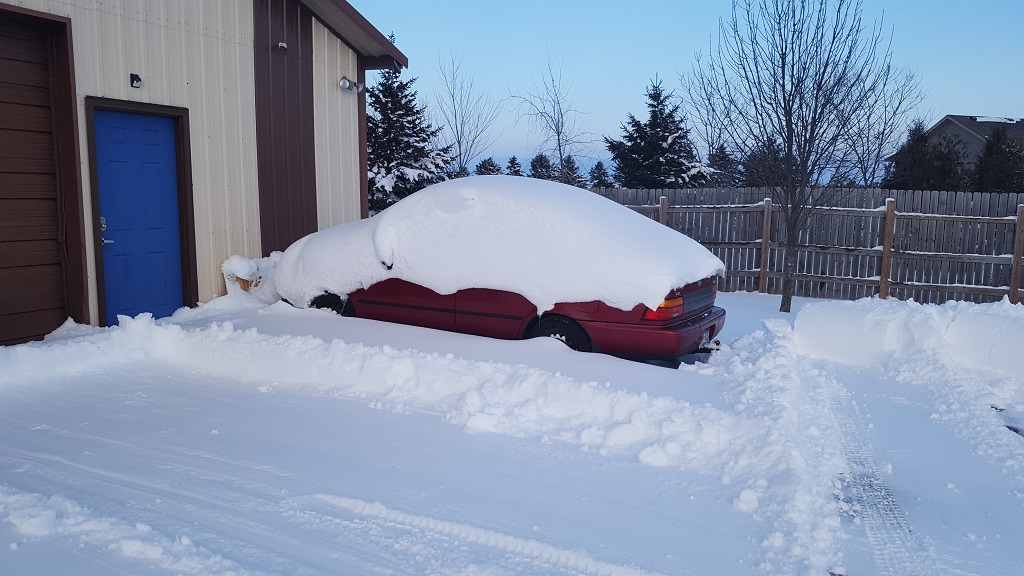
Here is my new back up car. 94 Corolla
two compressors i picked up for dirt cheap. they weigh 1250/950 lbs.

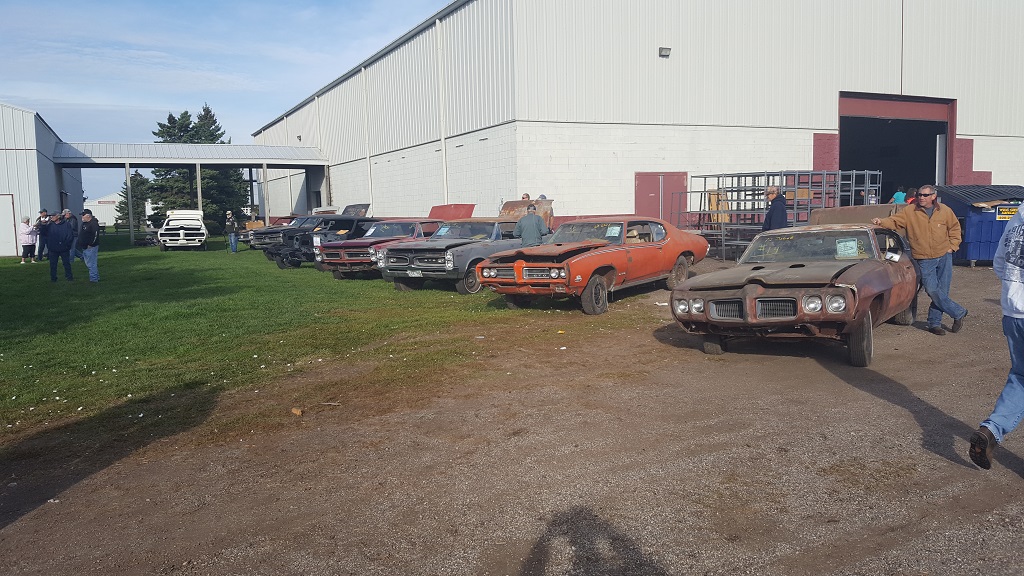
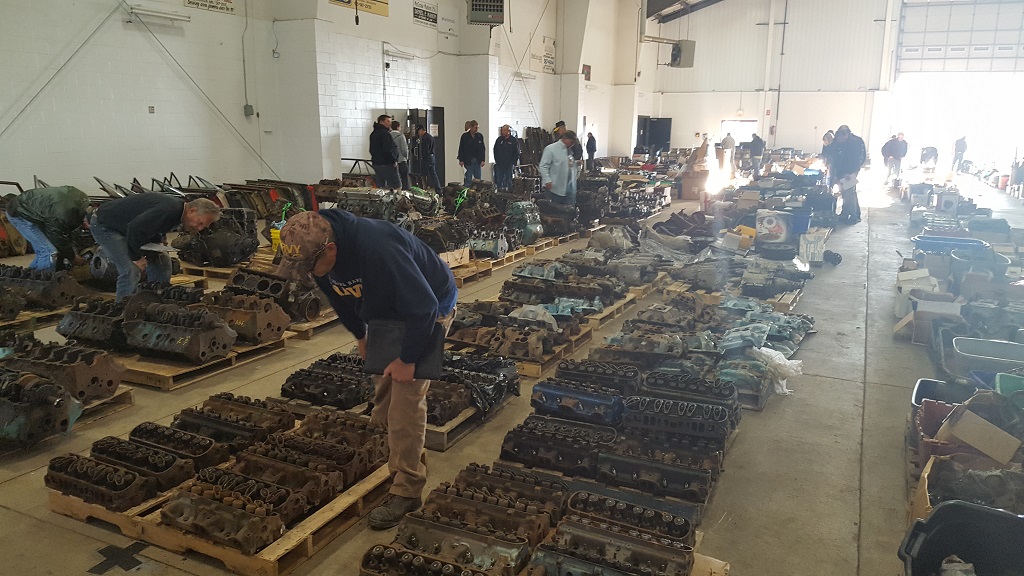
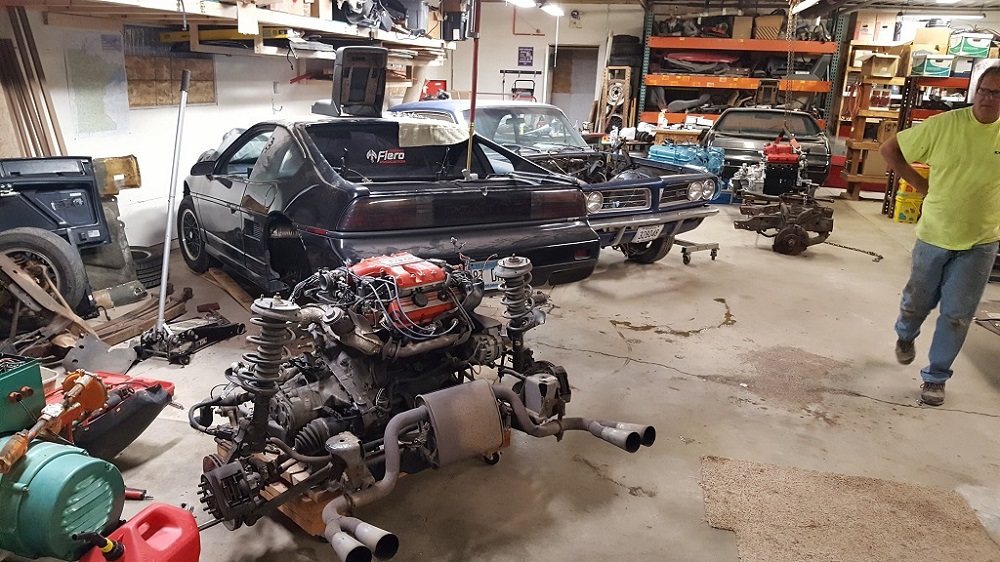
Minnesota Muscle liquidation (way bigger than the pics show)
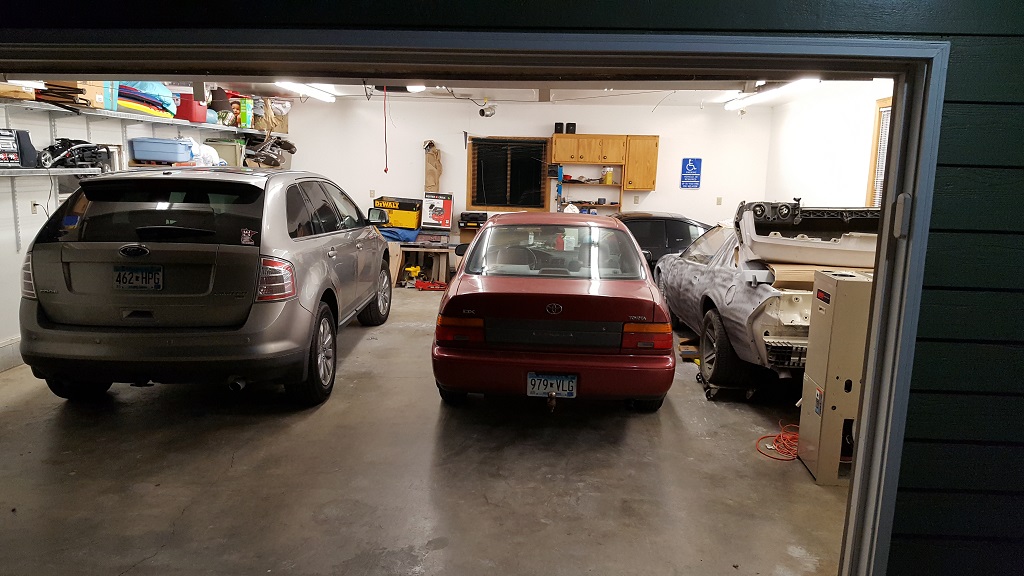
My 2 car garage that the wife said she needs a spot. I made it into a 4 car!
one of the many things that took priority. Getting my trans fixed in my 88 GT stock.
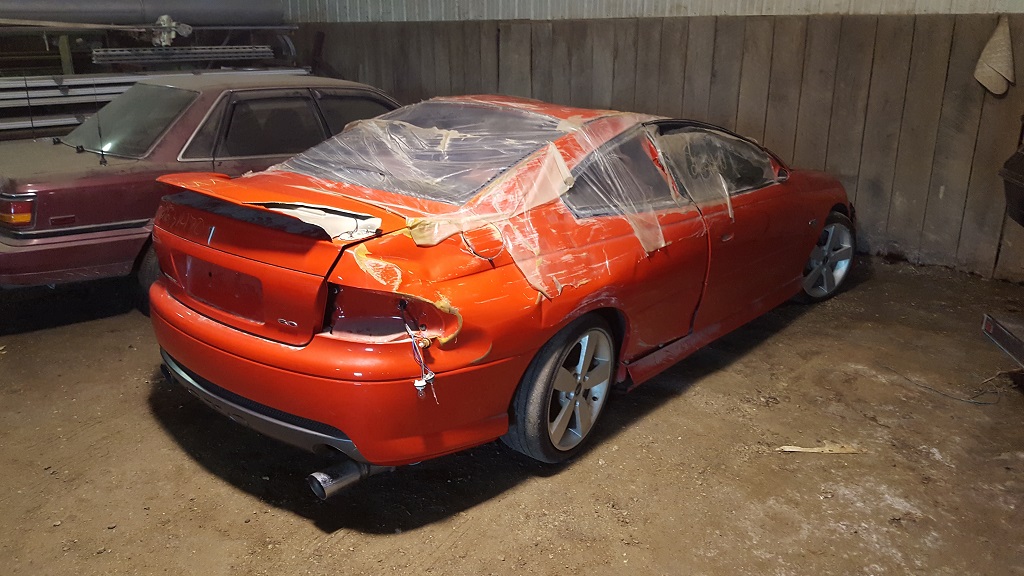
and check this out. 04 GTO....with......9,000 miles.....

|
|
|
|
paulsobj
|
MAR 06, 11:19 PM
|
|
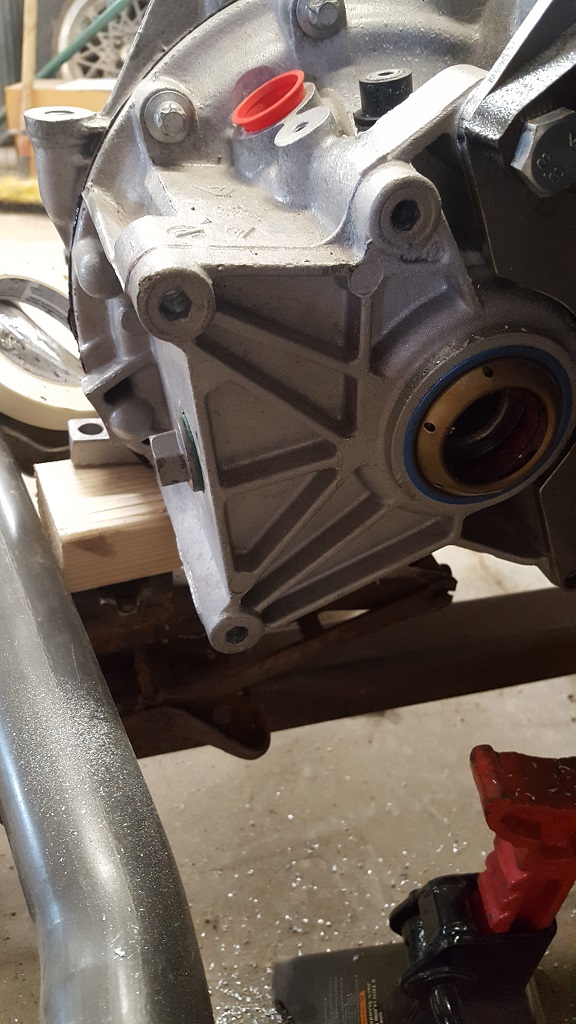
I got the other mounts today.
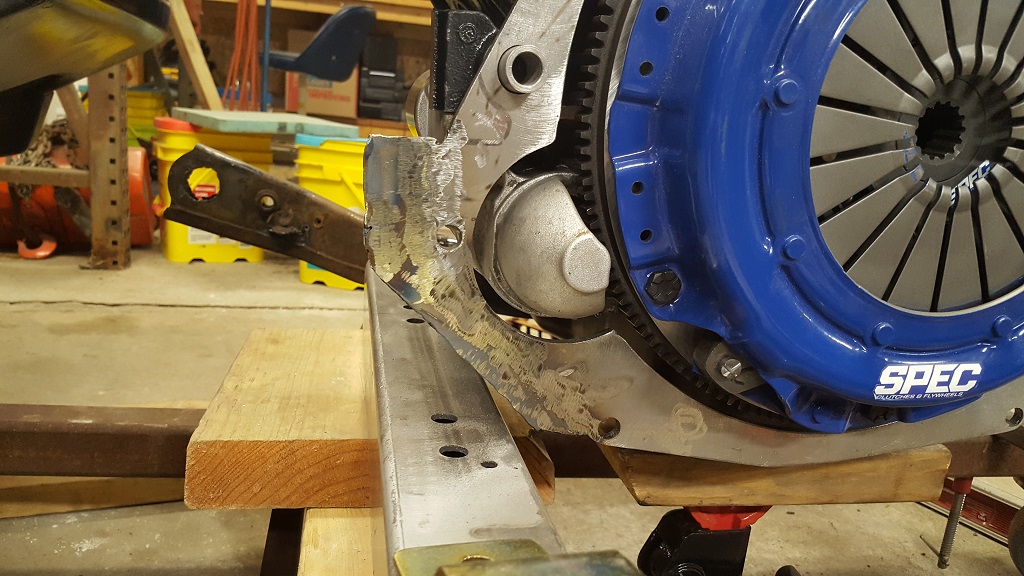
This is the front trans mount.
Here you can see the trans mount that i was thinking of doing on the right of the new mount. It is only on a small tab. I thought it was not strong enough.
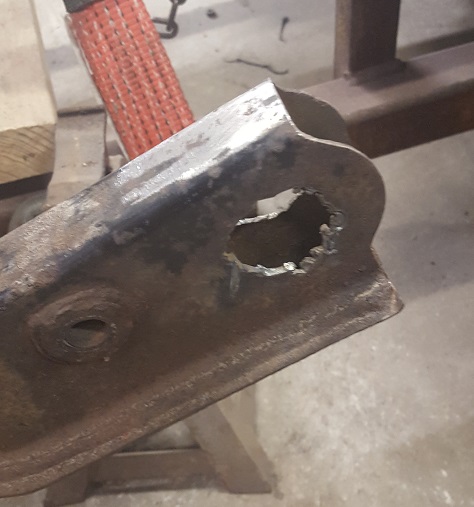
The front cradle mount to the frame was rusted and destroyed in removal. I decided to make a new design. The center hole is offset so i can lower (or raise) the car 1/2" I do need to account for the clearance with the deck lid.
Here is the first test fit.

Fits great!

|
|
|
|
paulsobj
|
MAR 11, 08:04 PM
|
|
I took off the trans to get the HTOB figured out.
I used this process from Fiero Guru
"First measurement: Distance from the bellhousing face to the tips of the pressure plate fingers. With the clutch/pressure plate bolted/torque to the flywheel, place a straight edge across the center of the pressure plate and measure the distance from the edge of the straight edge to the bellhousing face. If the fingers are recessed below the surface of the pressure place, measure that distance and subtract it from the previous measurement.
Second Measurement: Distance from the bellhousing face to the fully extended end of the HTOB. Install the hard line (or plastic bleeder fitting) to the HTOB to disengage the check valve (this is a critical step and where many people mess up). Let the spring in the HTOB fully extend it while you place the straight edge across the center of the bellhousing. Measure the distance from the bellhousing face to the fully extended HTOB.
Third Measurement: Distance from the bellhousing face to the fully compressed HTOB. It helps if you clamp your straight edge in place, as you will need 1 hand to compress the bearing and the other hand to take the measurement. Measure the distance from the bellhousing face to the fully compressed HTOB.
The difference between the 3rd and 2nd measurement is the normal range of motion of the HTOB. The first measurement must be between the 2nd and 3rd and ideally it would be 2/3rds of the distance from the second one and 1/3rd the distance from the 3rd one. As the clutch wears, the fingers will go closer to the HTOB, so you need to keep 1/3 of the range of motion for clutch wear and 2/3's for clutch release.
For example (not real numbers, just keeping the math easy to follow): say your clutch fingers are at 2.0" and the extended HTOB is 1.5" and the compressed HTOB is 2.25. The range of motion is 2.25-1.5 = 3/4". There is 2.0-1.5 = .5" of available travel to release the clutch. 2.25-2.0 = .25" of available travel for clutch disk wear, and 2/3 of the available travel is for release and 1/3 of the available travel is for wear.
Some may argue that you should have a 50/50 split to maximize the wear life of the clutch and that could work, but I think 66/33 is a safer place to avoid the chance of over extending the HTOB.
I walked through this process in my LS4/F40 swap, but it also had to take into consideration spline placement and engagement since the input shaft is about 1" into the bellhousing. Not an issue for the F23."
this is the numbers i got.
I see that not only do I not need a spacer, I am .025 from bottoming out. Which would take pressure off the clutch while I am driving.
I am going to increase my spacer thickness from 1/4" (.25) to 5/16" (.3125) that will give me .0625 more space. Total space should be .0875
I pulled the gas tank. I wanted to get the new pump installed and run the stainless steel fuel lines.
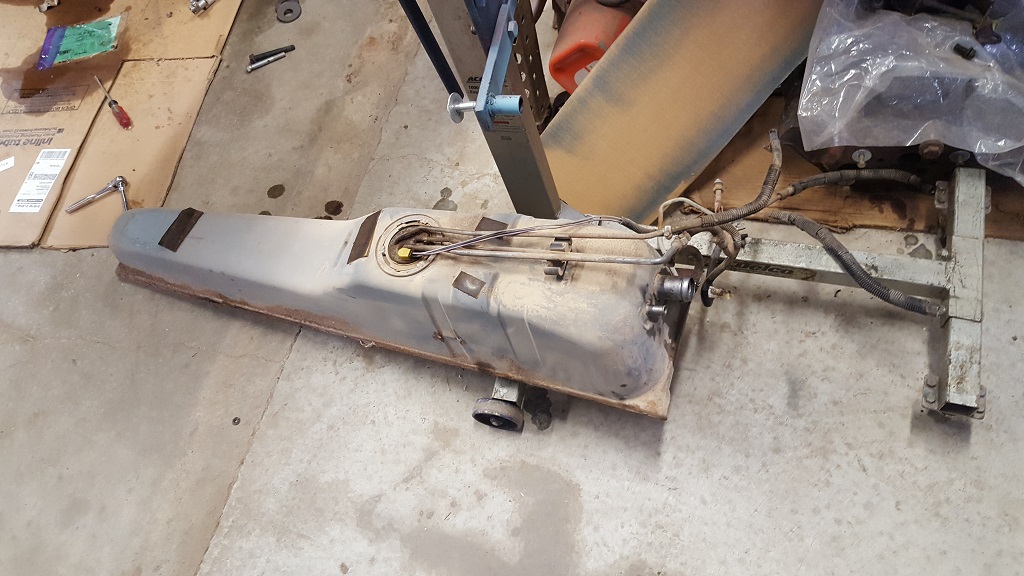
When I pulled the fuel pump out I noticed the resistor had a burnt part. I can only think this was very close to starting the fuel tank on fire.
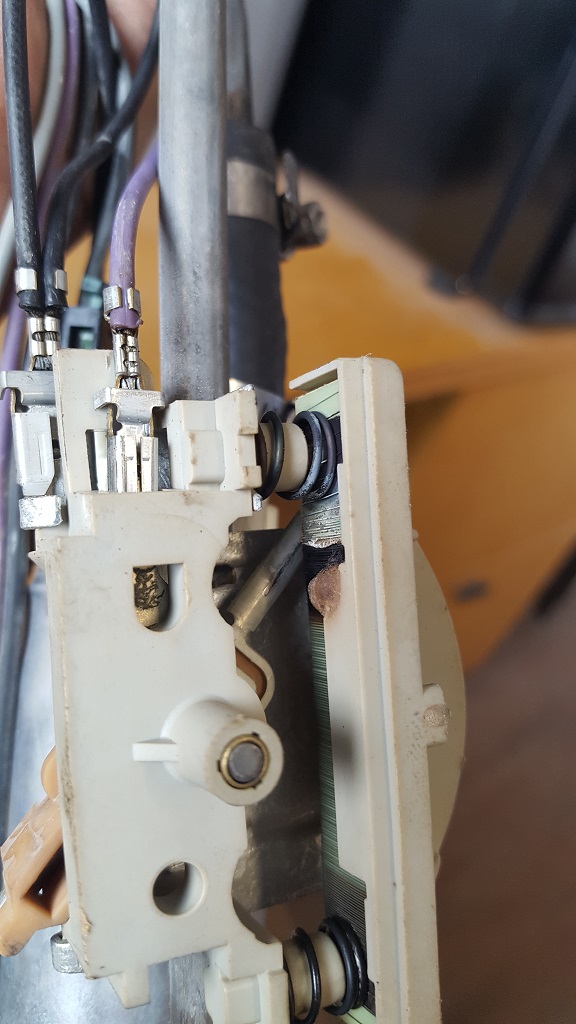
If anyone has one I can buy let me know. I don't really want to spend the time converting it as some have done.
|
|
|
|
fieroguru
|
MAR 11, 09:24 PM
|
|
| quote | Originally posted by paulsobj:
this is the numbers i got.
|
|
It would help if you label the measurements (or sketch out the parts with the dimension), it makes it easier for people to follow along.
Your use of the bellhousing spacer can confuse things, so it would be best to leave it bolted to the engine and take all measurements relative to the bellhousing face of the transmission.
This was a later post where I simplified things...
| quote | Originally posted by fieroguru:
Most F23's should measure +/- .020" or so of the measurements I took (the bearing wobbles some, so there will be some variation in the measurement). The dimensions below were from a brand new F23 HTOB with the bleeder assy installed and open, so there was no air or trapped fluid to alter the measurements.
2.776" Retracted
1.899" Extended
With these measurements, the HTOB has a range of travel of about 0.877". If you go with the assumption that room for extension (releasing the clutch) should be 2/3rd (0.585")to 3/4ths (0.658") of the available travel,
Then you want the clutch fingers of the pressure plate to be between (1.899 + .585 =) 2.484" and (1.899 + .658" =) 2.557"
So measure your clutch fingers and see what the dimension is. If it falls between 2.484" to 2.557 then you don't need a HTOB spacer. If not, then a spacer is needed. For example if your pressure plate fingers are 2.200" from the bellhousing surface, then you will need a spacer 0.284 to 0.357" thick. |
|
|
|
|
|
paulsobj
|
MAR 12, 10:12 PM
|
|
FieroGuru,
Thanks for the input. I am going to repost HTOB when I get the new spacer made. I am making two (1/2 and 3/8) just in case one works better. I will try to illustrate it better with more pictures and drawings.
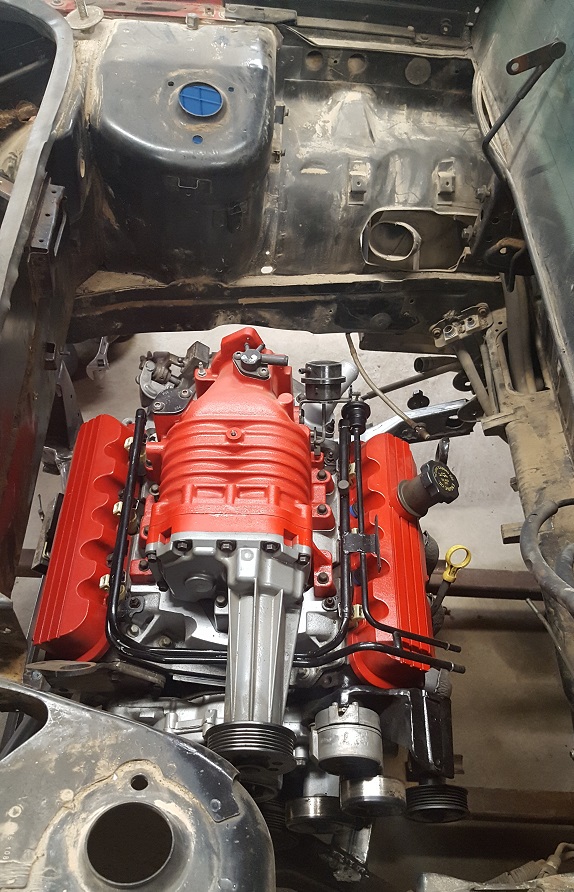
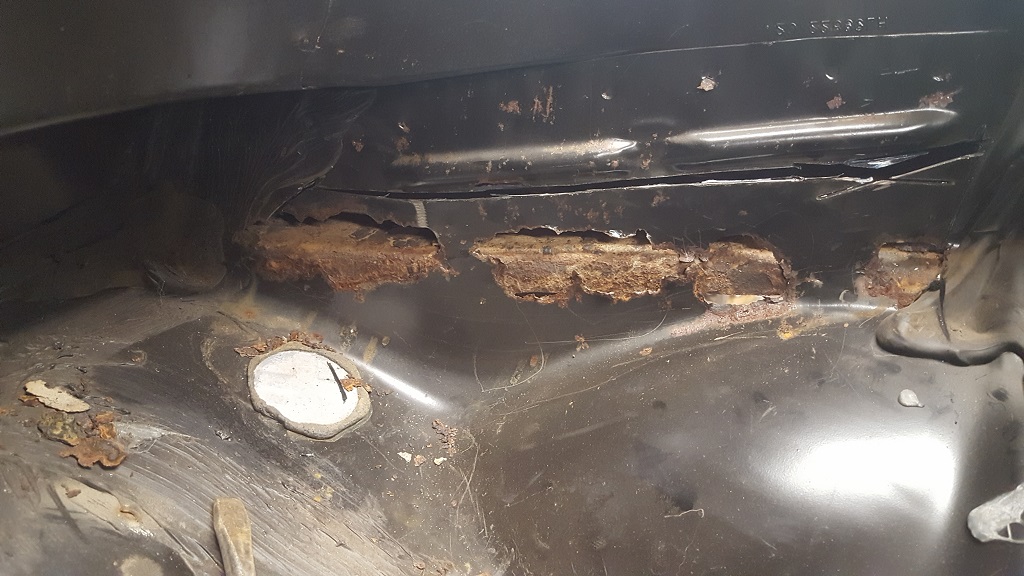
Tonight I worked on getting the engine bay cleaned up. This is the worst of the rust that i can find.
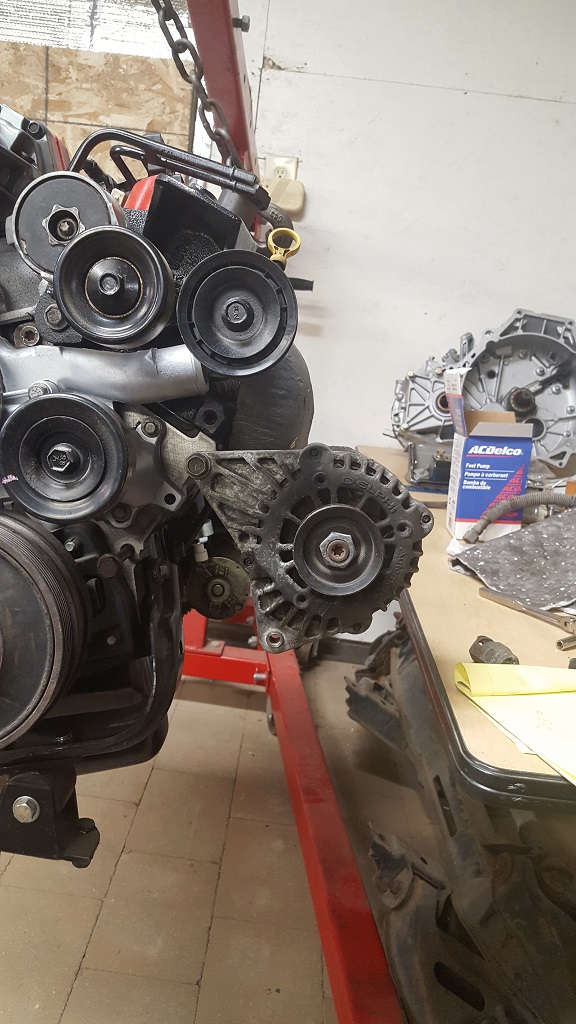
I went out to the 98 GTP I traded and pulled the alternator. If you look back a few posts you can see my backup car covered in snow. So getting the alternator out of the GTP was not easy or fun when its been sitting outside all winter. I almost froze my fingers off. I am mounting it like shown.
|
|
|
|
paulsobj
|
MAR 15, 10:11 PM
|
|
The trans spacer should be getting cut tonight. So stay tuned for that.
I needed to get the fuel expansion tank replaced as the one on the car was smashed up a bit. I could get it out but when I went to put the replacement in it I couldn't reach the bolts. So I have to take off the rear clip. I decided that I am going to move ahead with the GT clip swap. I should have almost everything for this. I need the rear bumper support still. If anyone has one for sale let me know.

I also wanted to get a better look at some rust that needed repair.
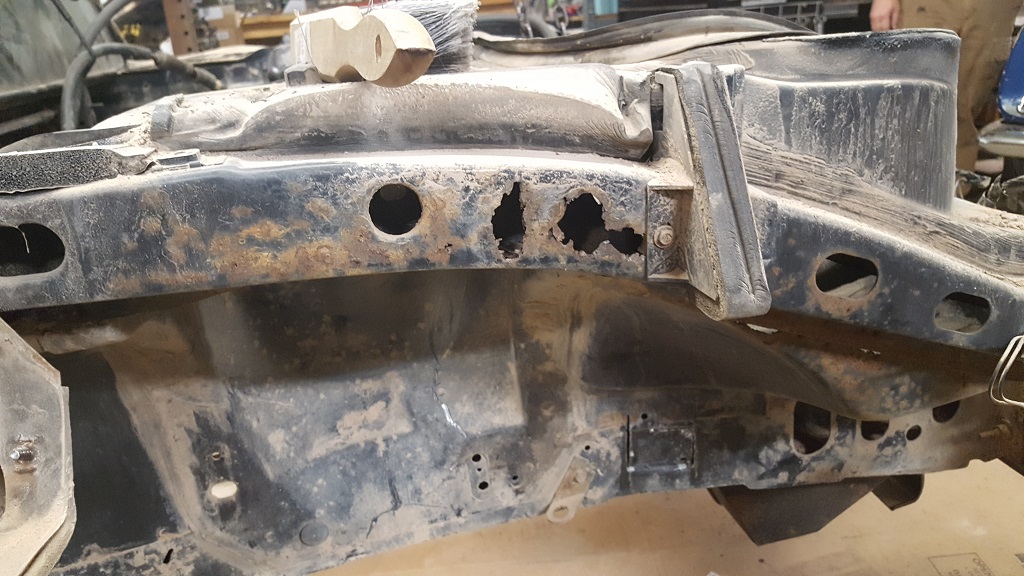
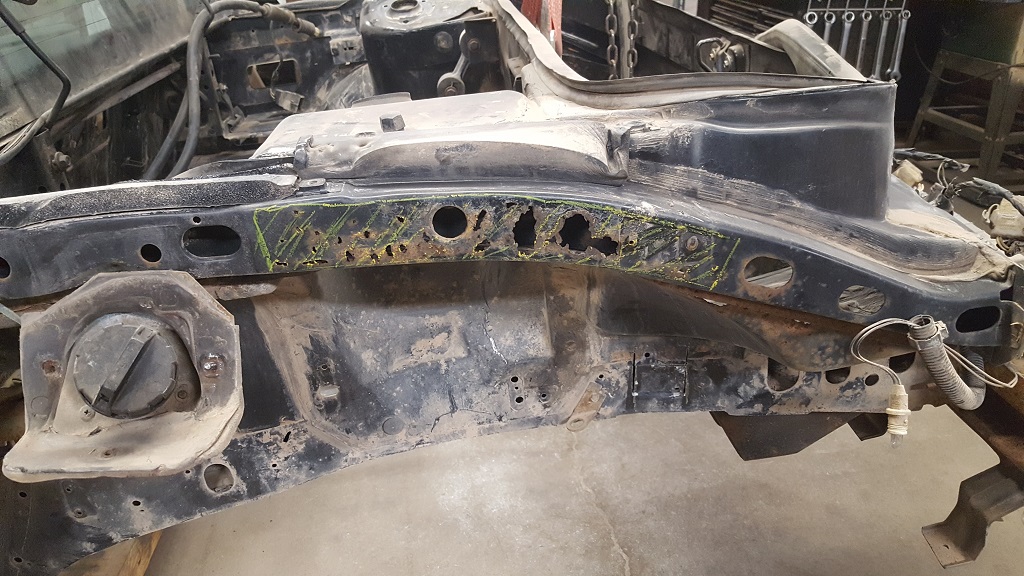
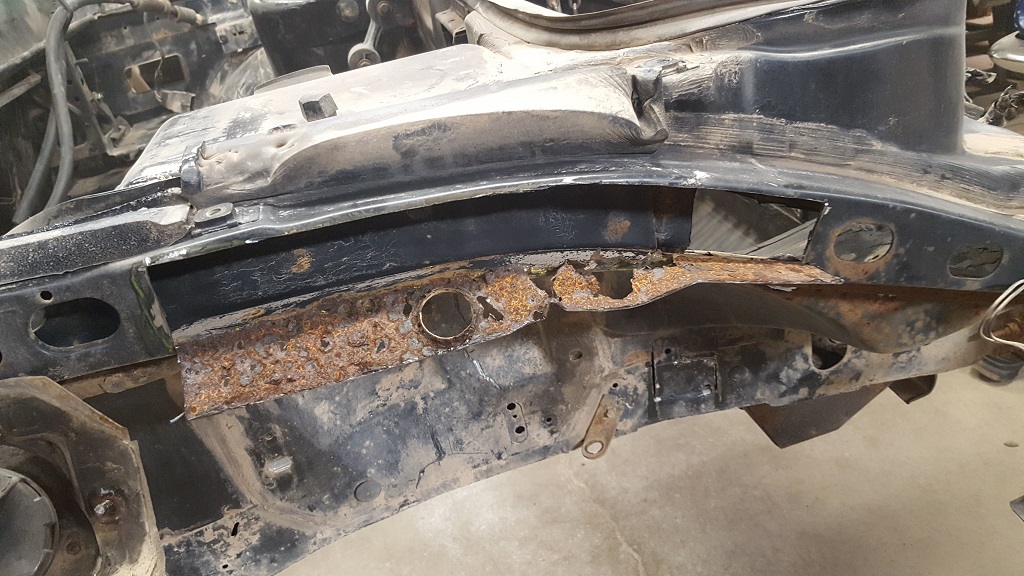
I didn't get a picture of the passenger side but this car was hit at one point. The expansion tank was crushed a bit, and under the quarter panel there was dents from body repair. I didn't see any gap issues so lets hope everything fits back when I start assembling. So the rear clip must be from another car or NOS depending when the repair was done.
|
|
|
|
paulsobj
|
MAR 21, 10:38 PM
|
|
Well I didn't get pictures of everything that I worked on tonight. I might save it for the next post.
I got the rear GT bumper on. I had to replace the bumper support and the wiring harness. I should have replaced the lower bumper support but I don't think it is critical. Looks fine as is.
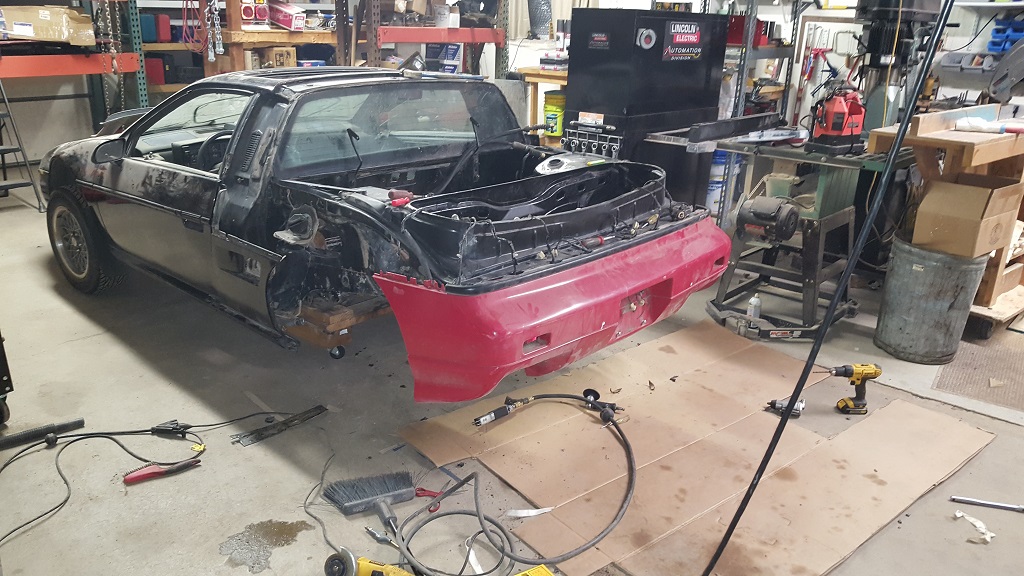
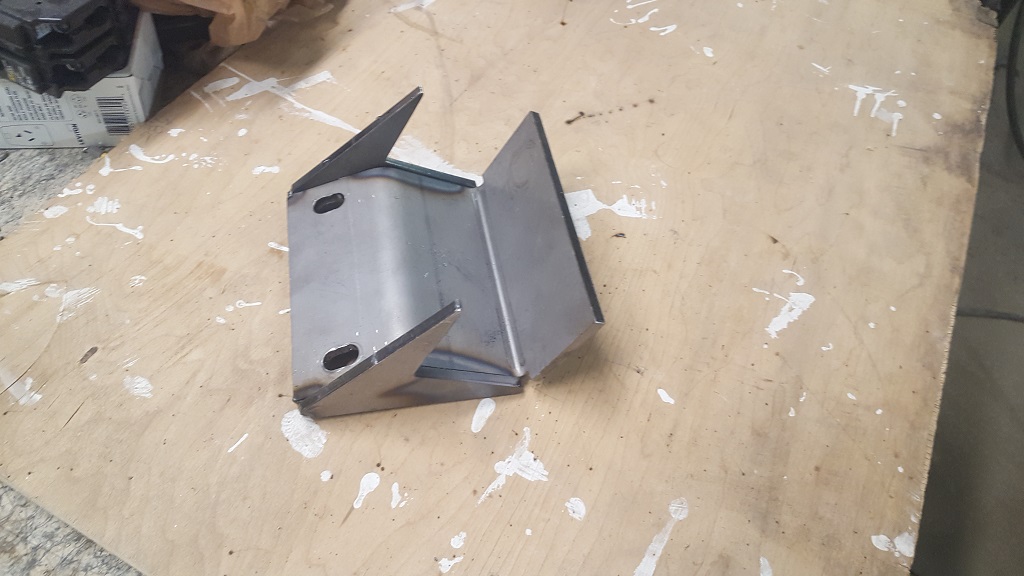
This is the whole reason I took off the rear clip.

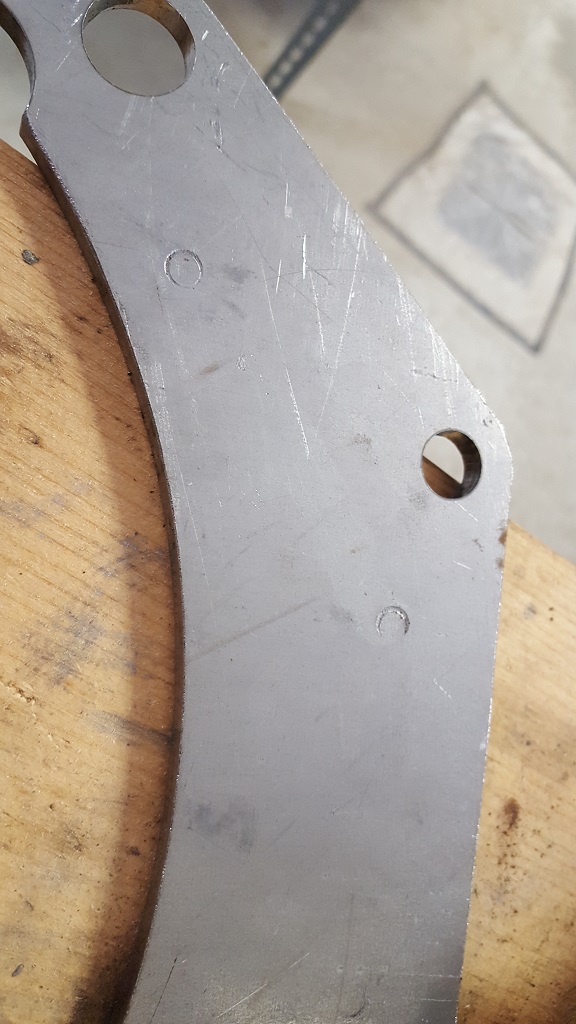
I got the thicker 3/8" spacer done. You can see i took some material out for weight and no real reason to have it.
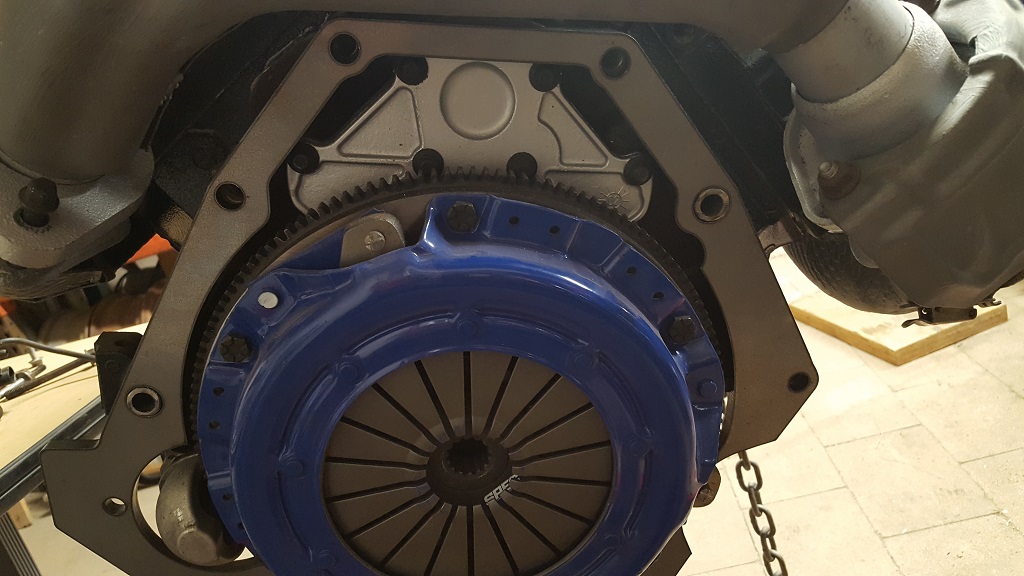
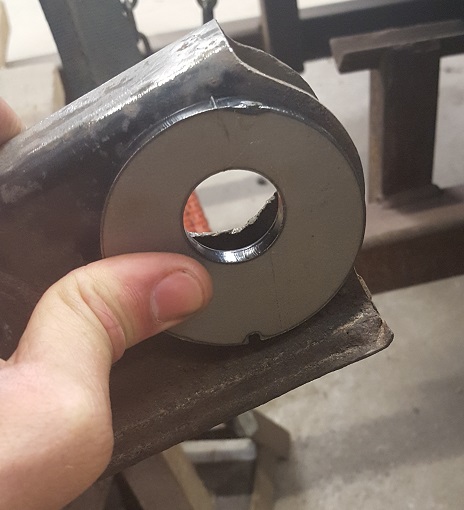
I found the 1/4" cleared the flywheel but this thicker one interfered with it. I had to machine off some material to clear it. I didn't want to cut all the way through to keep some strength as a full circle. I have an extra one that I machined the wrong side. So if you want it you will need to cut it so its not a full circle. This is a picture of the mistake.

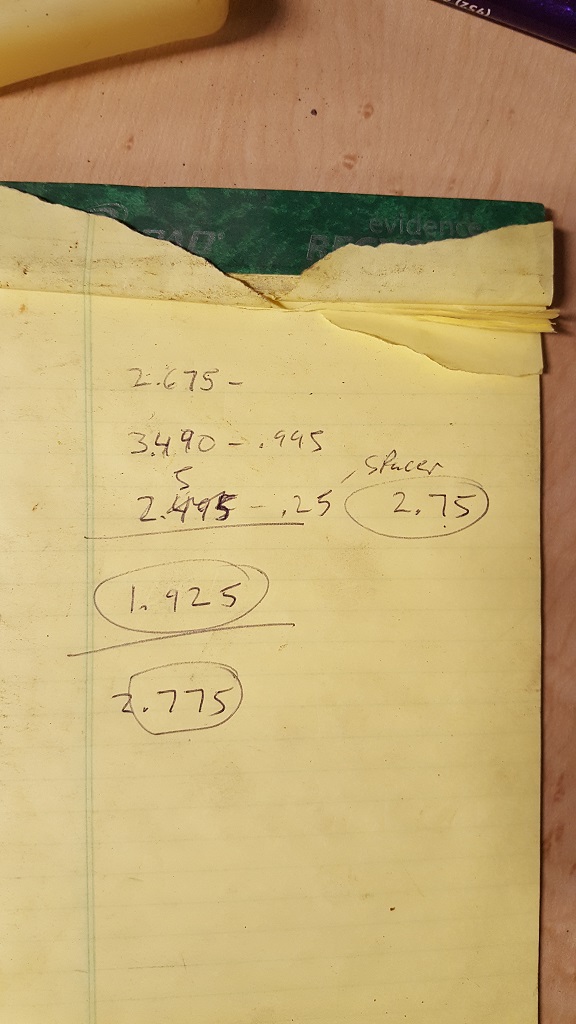
I measured the HTOB again. This time I left the spacer on and had to subtract the measurement I read from the thickness of the blocks you see in the picture.
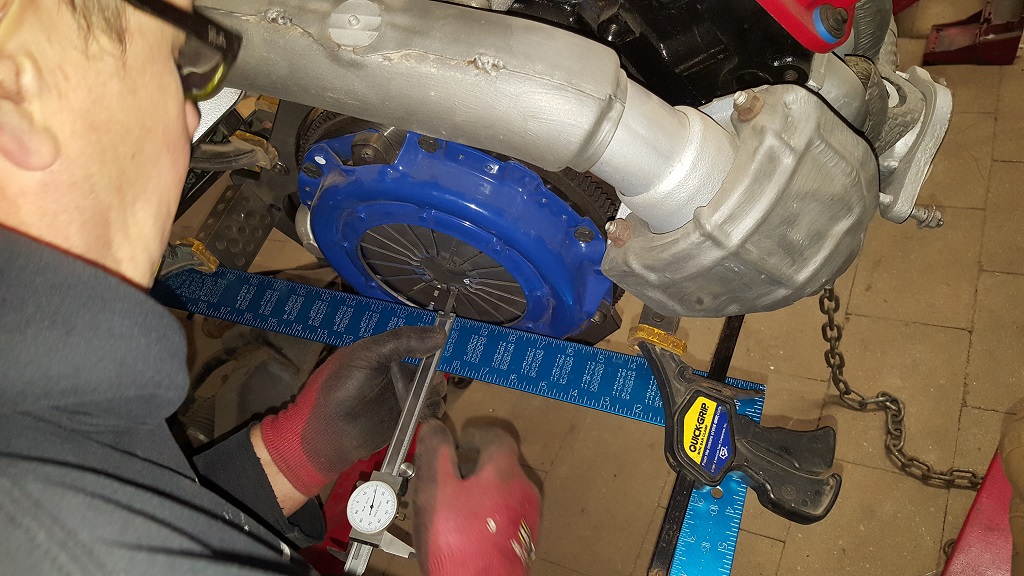
Looks like I have 2.065 from the face of the spacer to the fingers (measurement in the picture above)
The HTOB face to the bellhousing/spacer face is 1.925 extended and 2.775 retracted.
Before I was almost bottomed out for the HTOB and now I have about .14 clearance.
My Dog was letting me know he wants me to get this thing done.
I also needed to get some brackets made asap. So I worked on lateral link relocation and brake caliper spacers.
|
|
|
|
fieroguru
|
MAR 23, 06:05 AM
|
|
| quote | Originally posted by paulsobj:
I measured the HTOB again. This time I left the spacer on and had to subtract the measurement I read from the thickness of the blocks you see in the picture.
Looks like I have 2.065 from the face of the spacer to the fingers (measurement in the picture above)
The HTOB face to the bellhousing/spacer face is 1.925 extended and 2.775 retracted.
Before I was almost bottomed out for the HTOB and now I have about .14 clearance. |
|
Working with these numbers can be a little counter intuitive, as you press the clutch pedal to release the clutch, the distance from the bellhousing face gets smaller. with the 30/70 split, you want the 70% on the release side, and in your diagram you have the 30% on the release... With the current setup your HTOB will over extend.
Pressure plate opened with pedal pressure and HTOB Fully Extended: 1.925 (1.899" from my transmission - within 0.026")
Pressure plate closed (clamping the disk): 2.065
HTOB fully retraced toward the transmission gear case: 2.775 (2.776" from my transmission - within 0.001")
Range of Motion 0.85 (0.877" from my transmission - within 0.027")
30% distance: 0.255"
To give yourself 70% of the Range of Motion for the HTOB to extend and the pressure plate to release its grip on the clutch disk, subtract the 30% from the 2.775 = 2.52" (2.484" to 2.557" was the safe range of 33% to 25% for wear, 66% to 75% for extension for my transmission)
This is where the HTOB needs to be when it makes contact with the pressure plate fingers with the pressure plate clamped to the clutch disk. Your 2.065 is 0.455" from 2.52", so you need a 0.455" spacer.[This message has been edited by fieroguru (edited 03-23-2018).]
|
|
|
