|
| World's slowest Fiero/Quad 4 Swap (Page 50/51) |

|
Quadfather
|
FEB 09, 09:13 PM
|
|
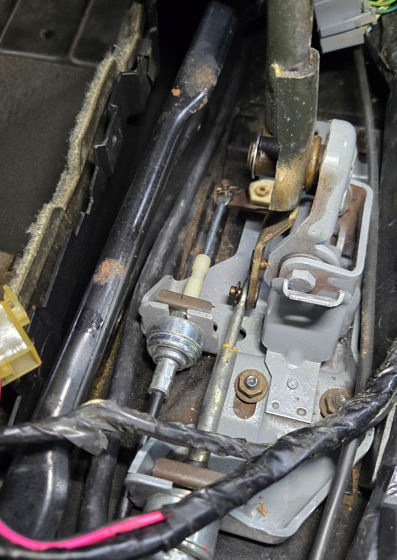
Here's how and where I decided to mount the bulkhead connector.
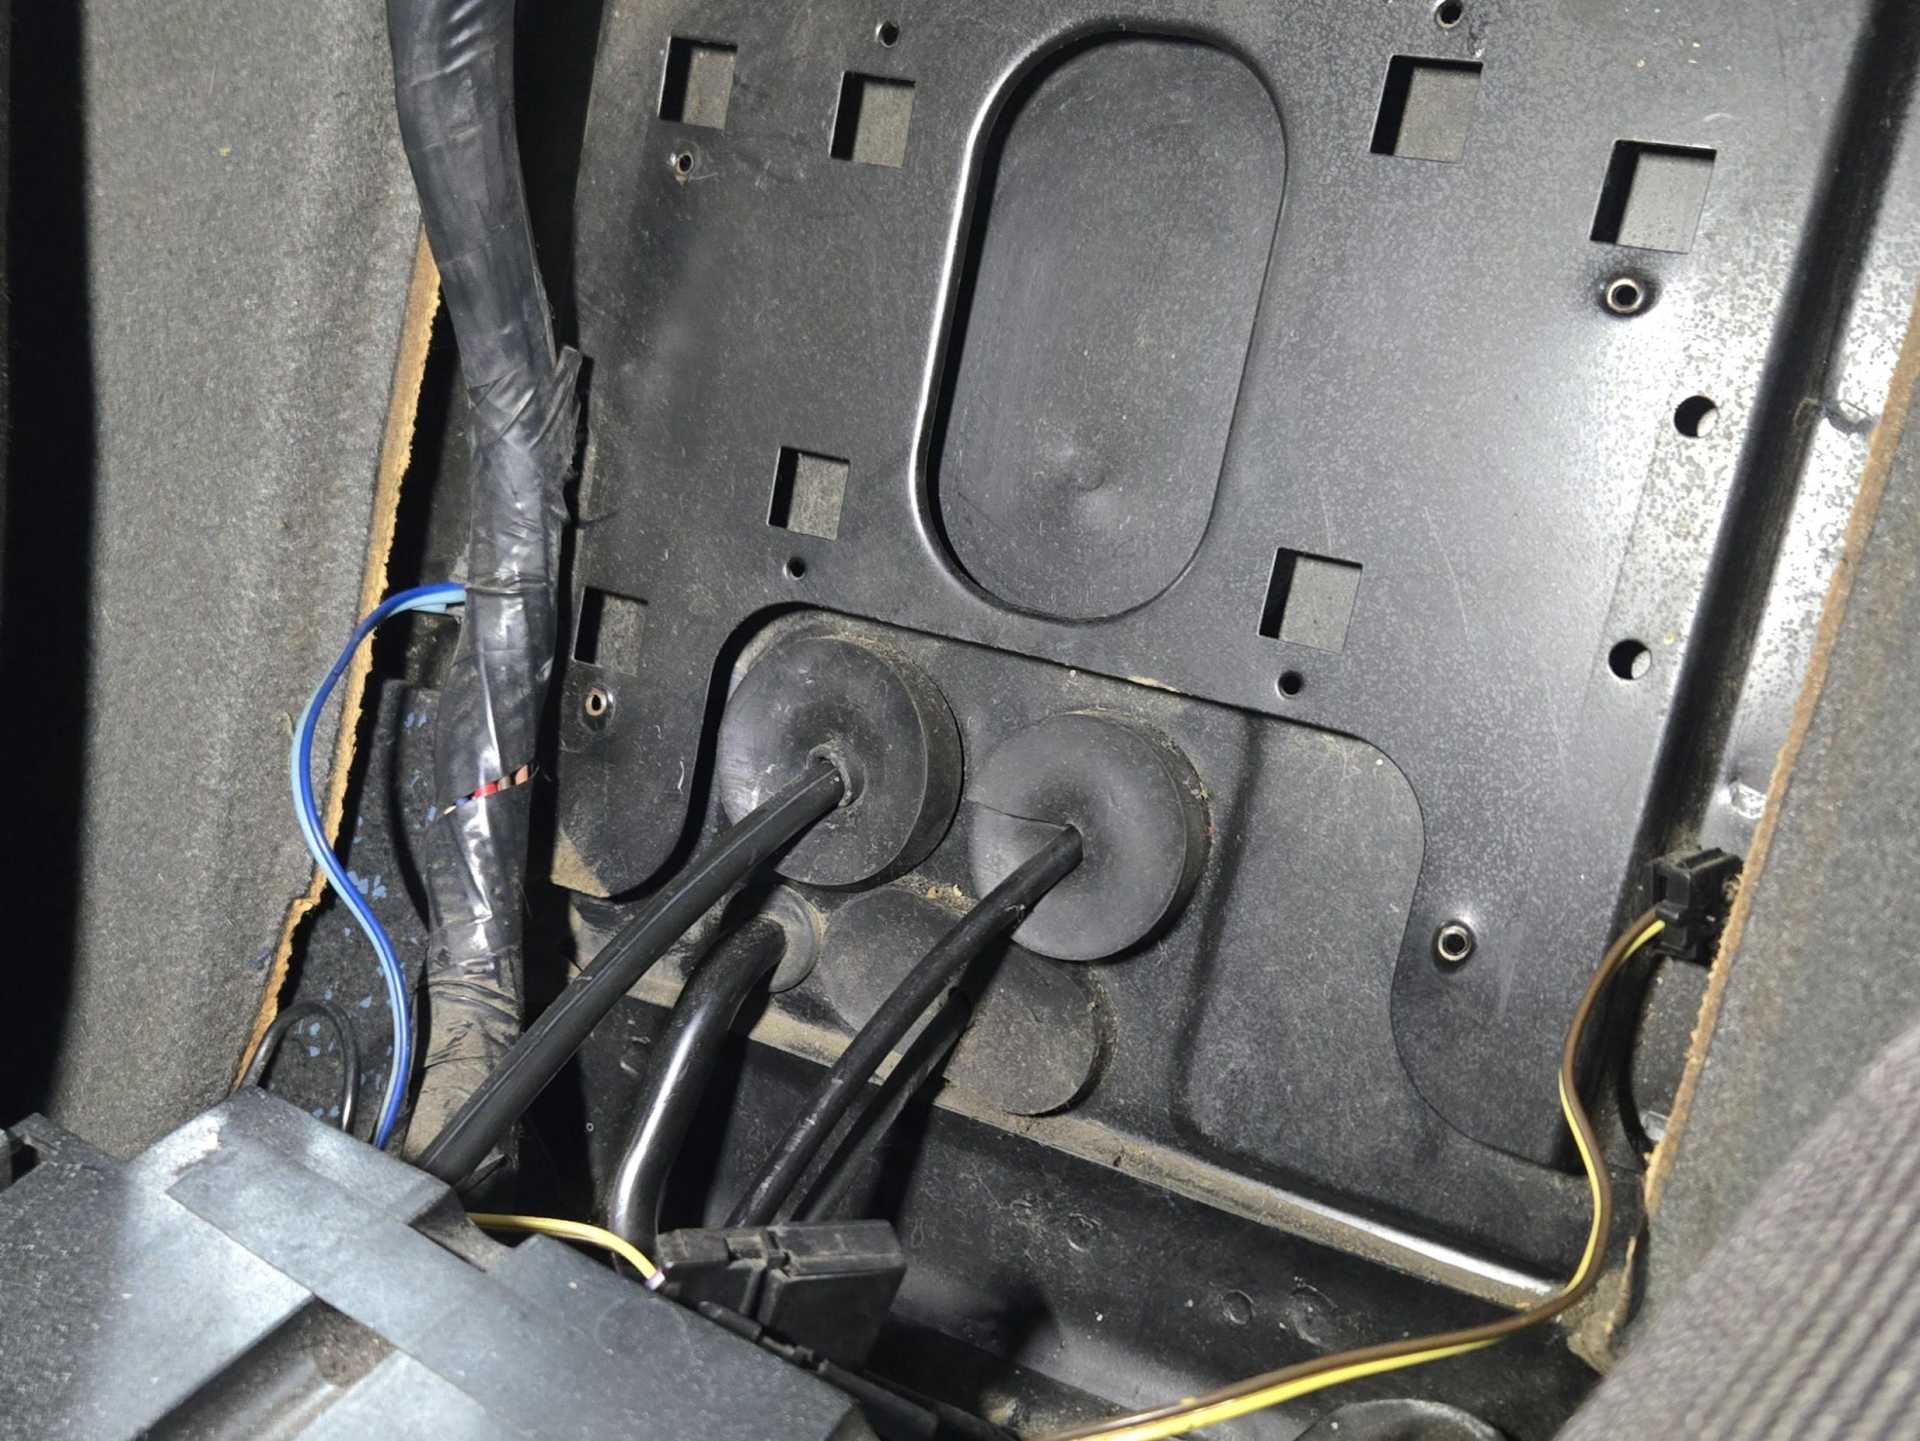


I had to trim the sheet metal to be able to turn the big nut on the connector.
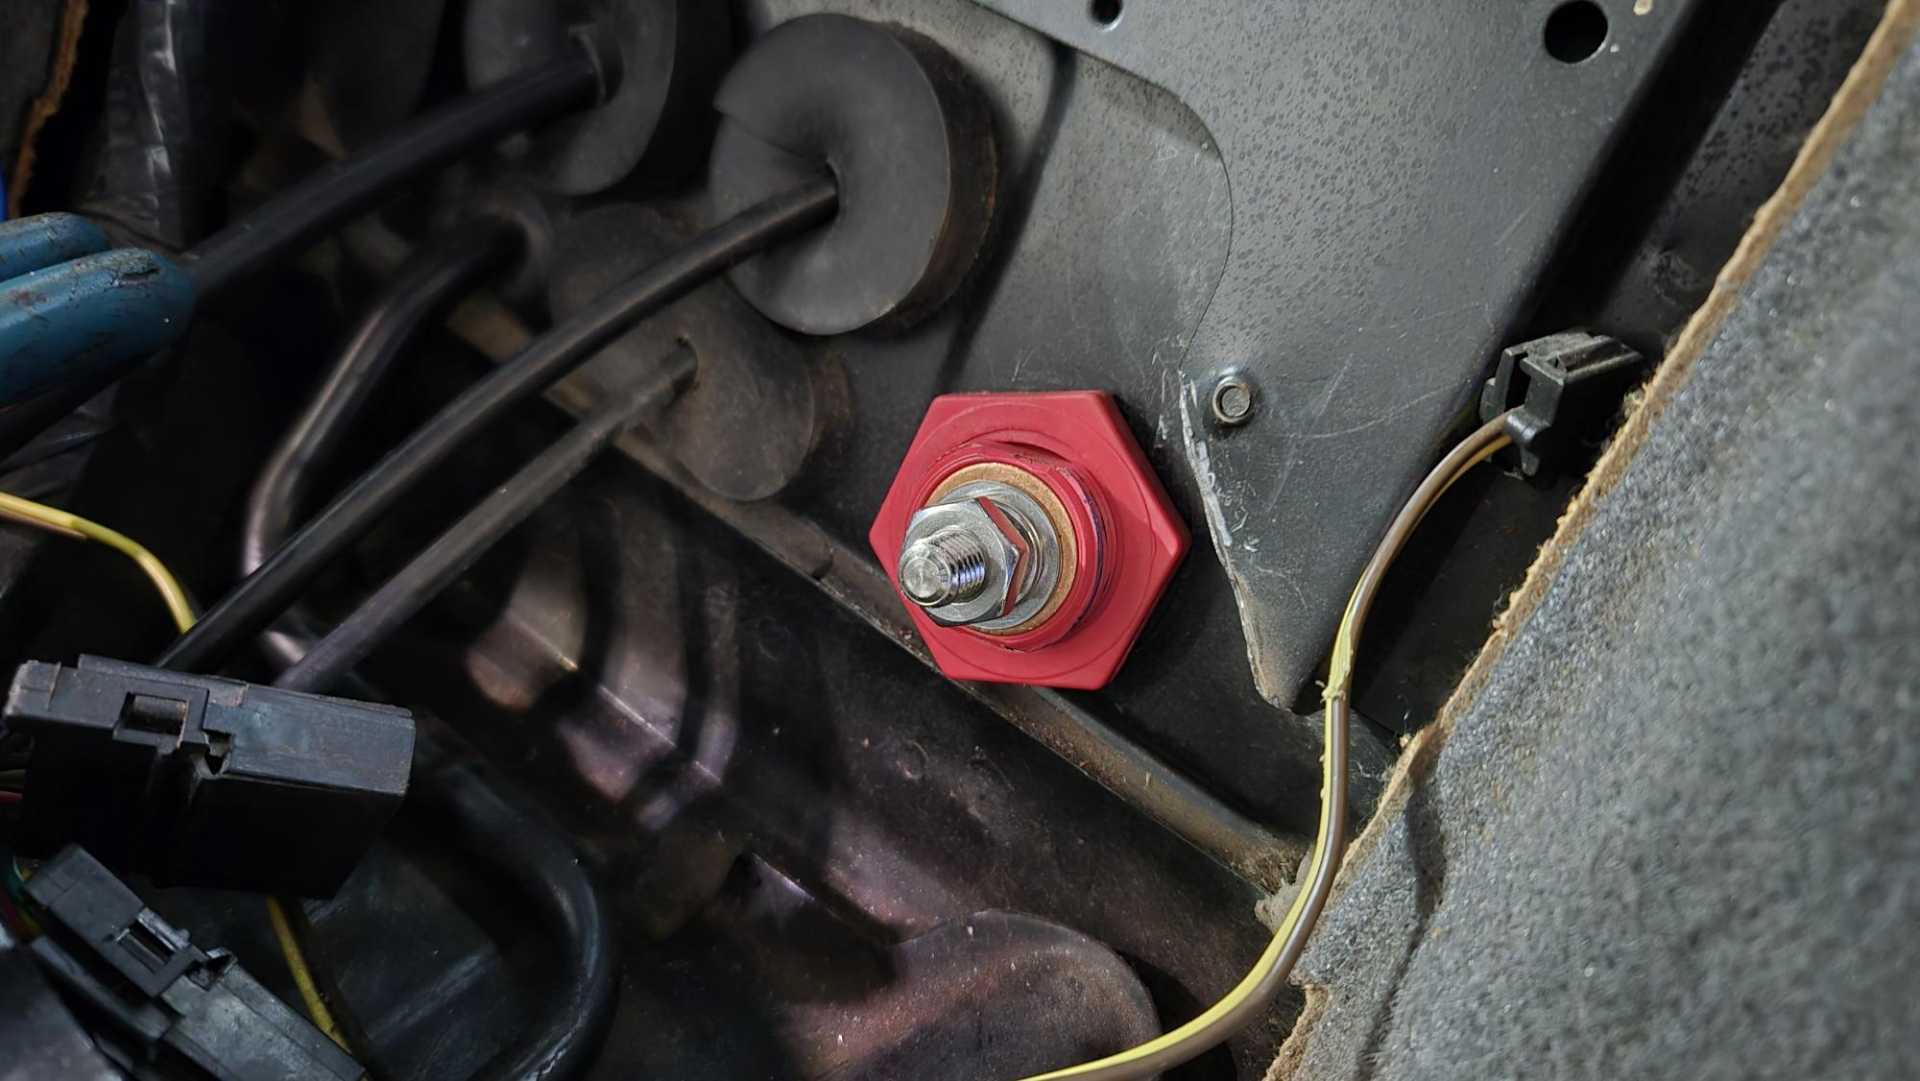
It's just finger tight for now because I want to put a bead of silicone on the engine side of the connector. I believe the connector would seal well enough on its own but a little sealant would make sure.
|
|
|
|
Quadfather
|
FEB 17, 02:37 PM
|
|
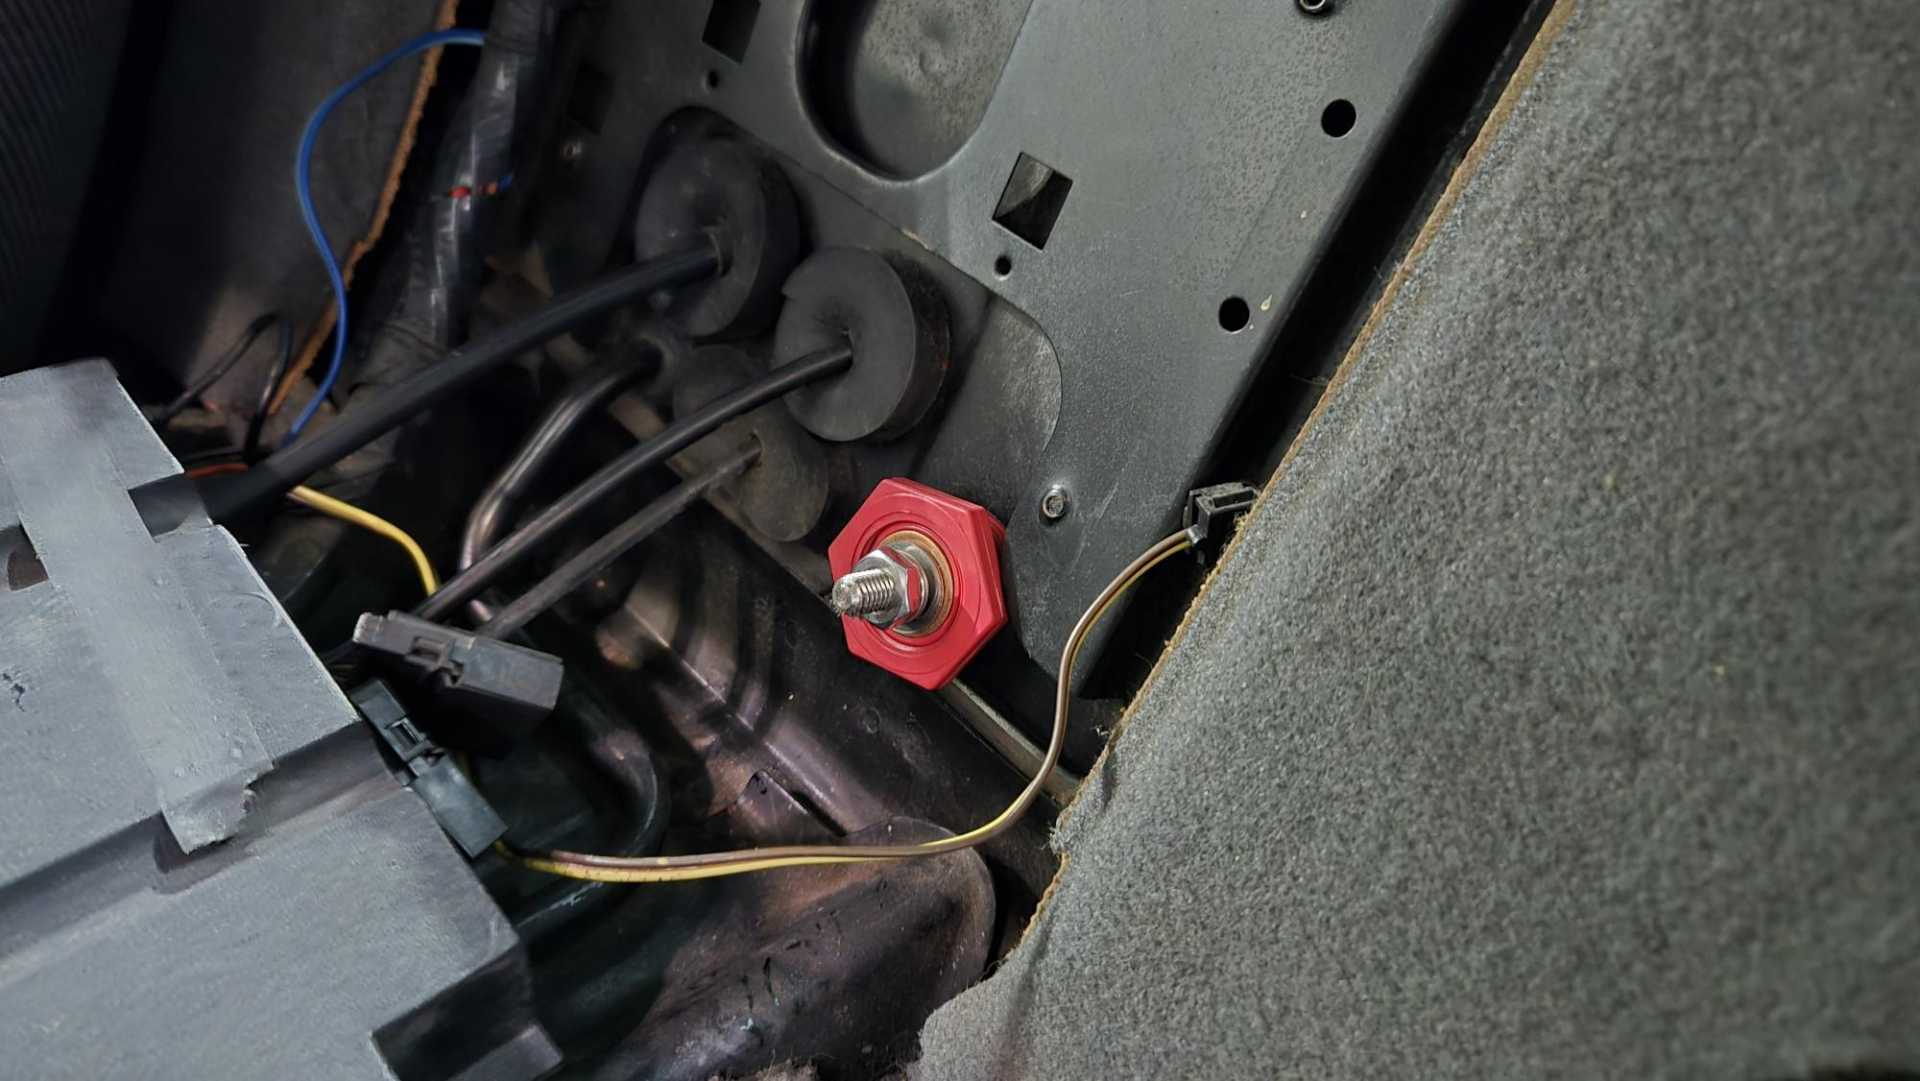
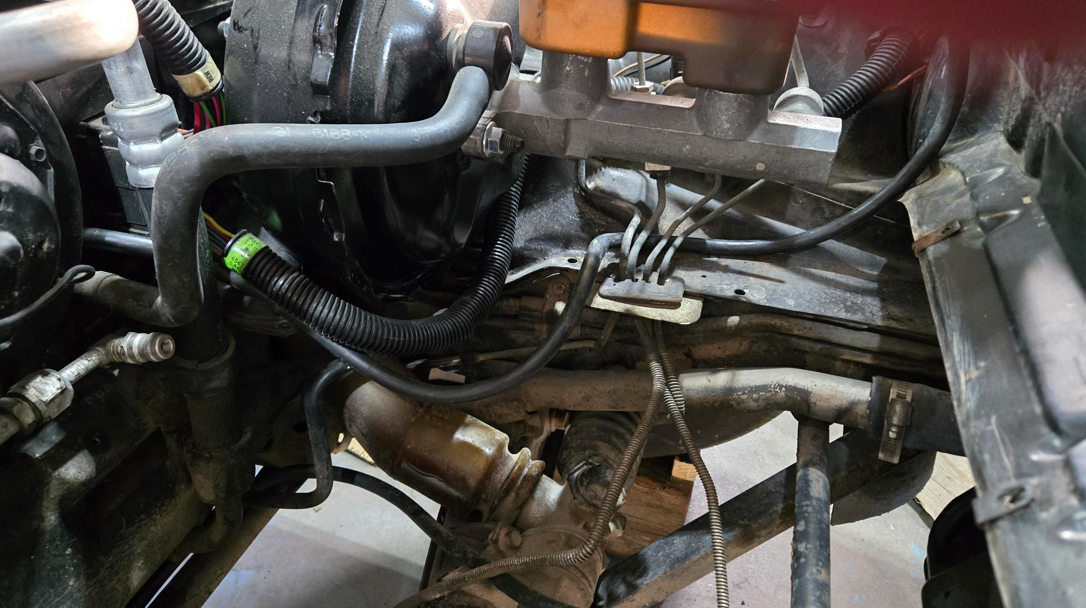
This might work. First, I had to find a place near the fan to drill a hole for the cable. I chose a spot just above the vacuum pipe.
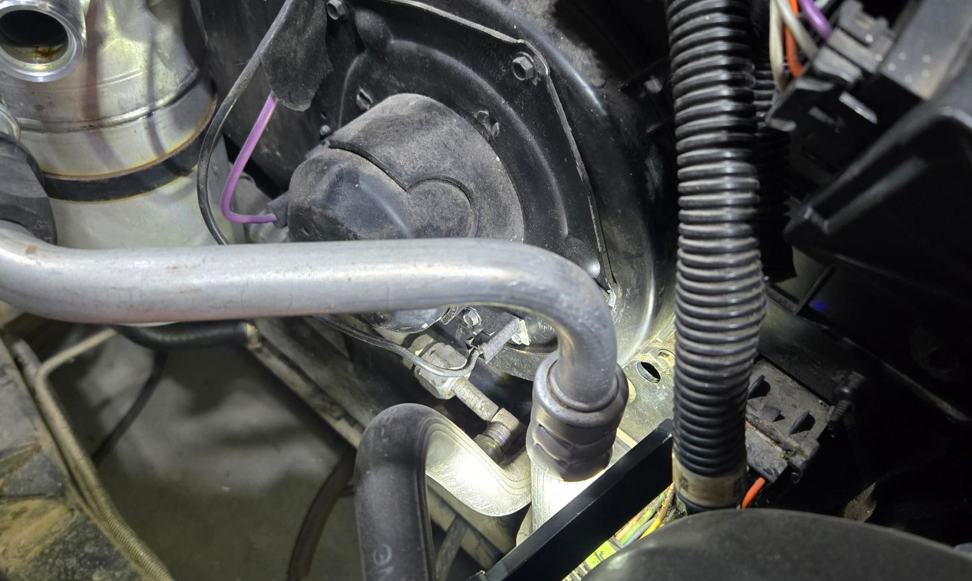
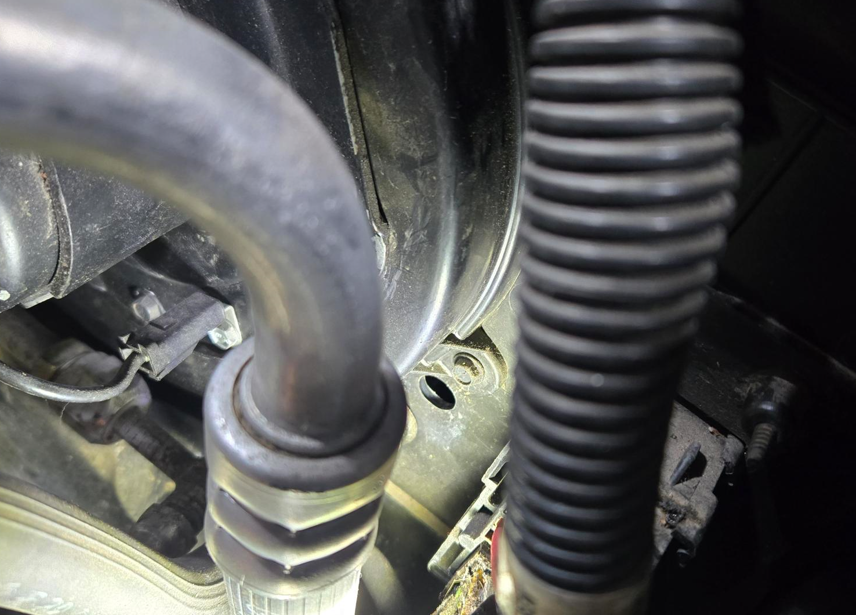
I tried to put a grommet in the hole from the cabin side but after 10 minutes of tinkering decided to move on because the material is plastic. I may try again from the frunk side.
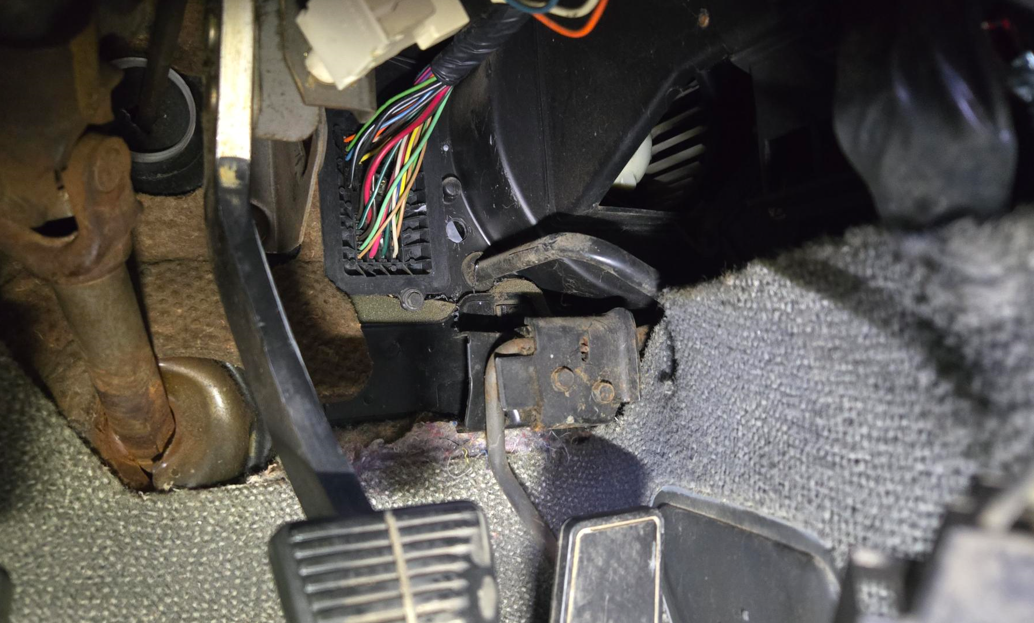
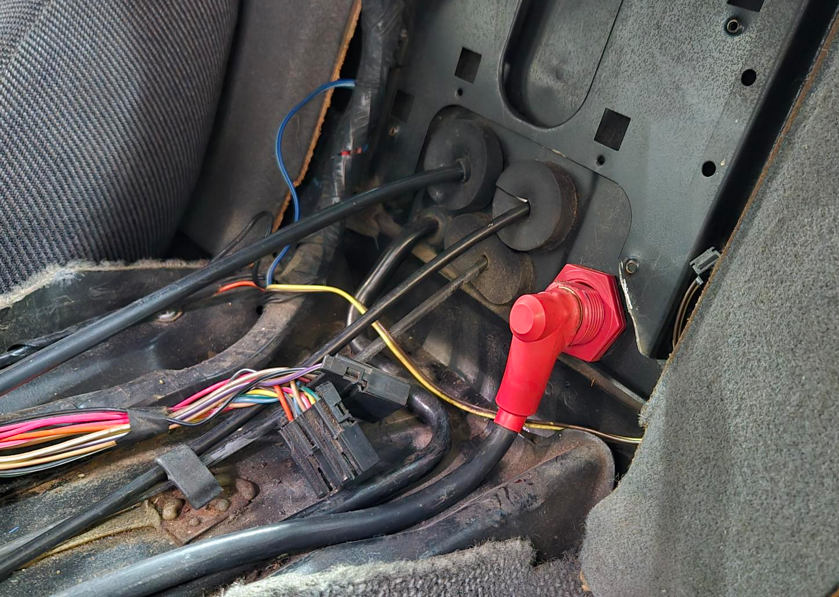
I ran the cable on the driver side of the shifter and it fit well. I don't remember if this is one of the Riviera cables I got years ago or the LeSabre cable I bought a few weeks ago. Doesn't really matter.
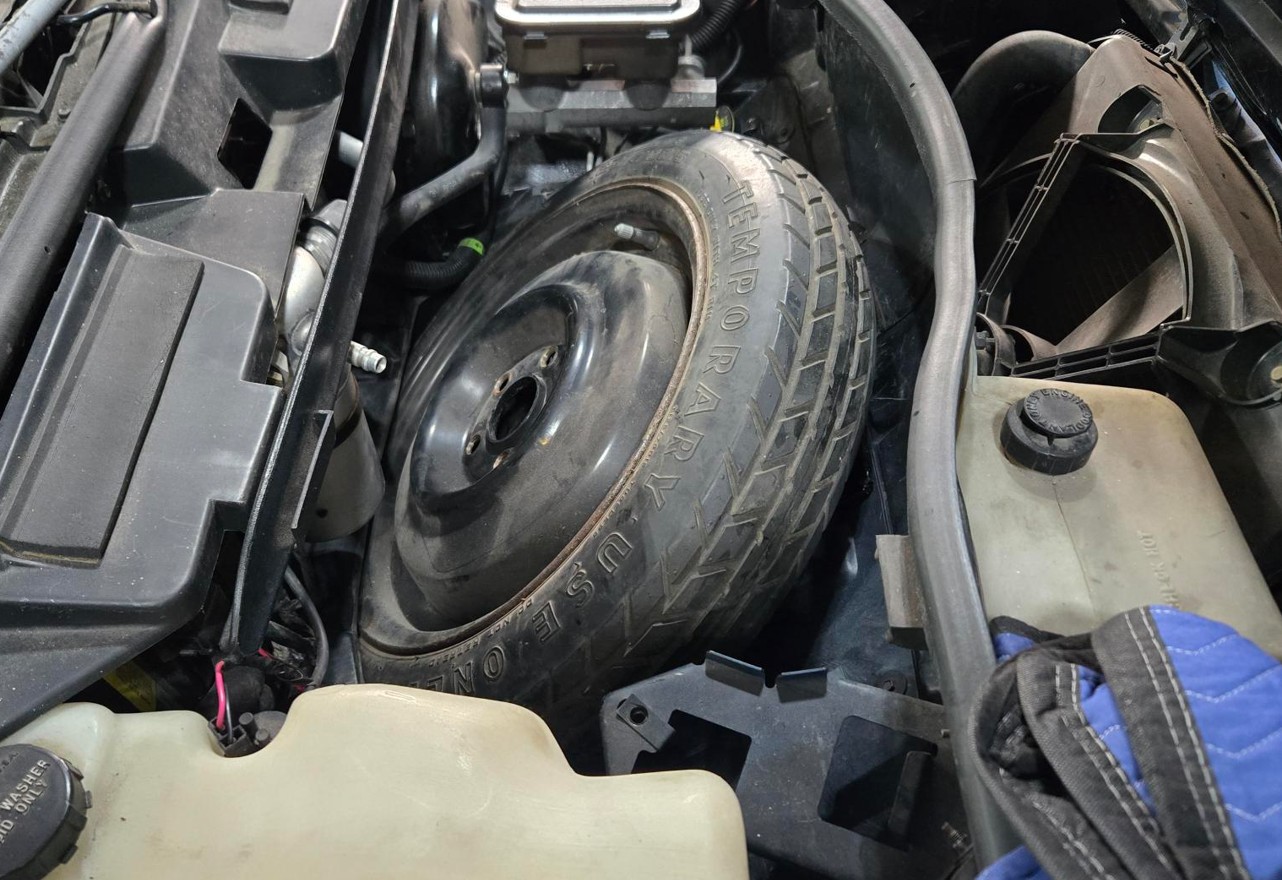
This is as far as I wanted to go before putting the spare tire panel back in.
Here's what the cable looks like connected to the bulkhead. Hopefully there's enough room under the console/ECM for it. I used my Harbor Freight hydraulic crimper to put the copper lug on the cable. Worked great. I had to buy the lugs and the red rubber boot separately and now wish I'd bought more boots.
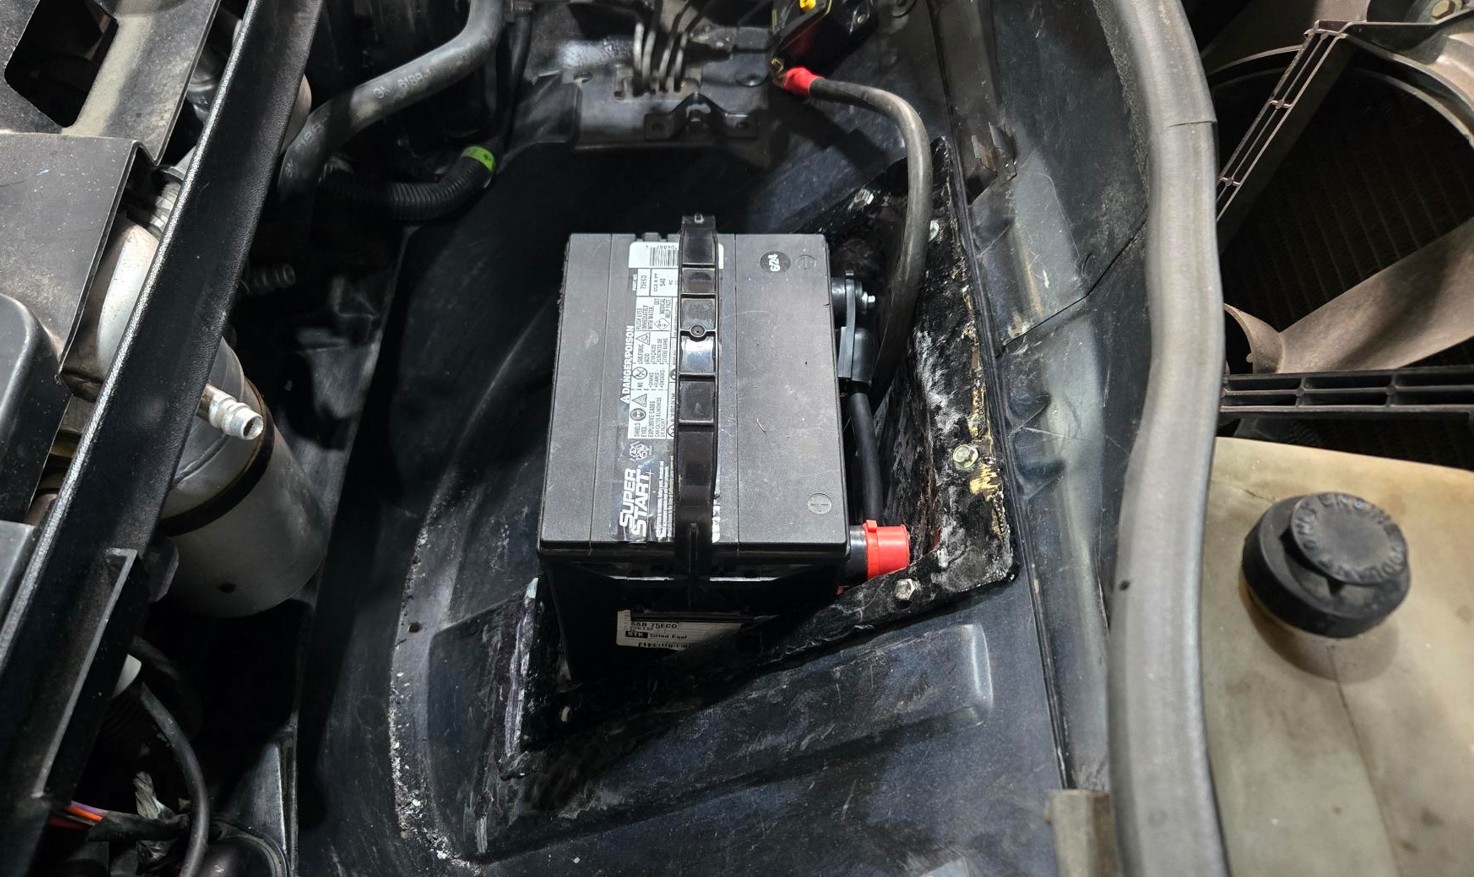
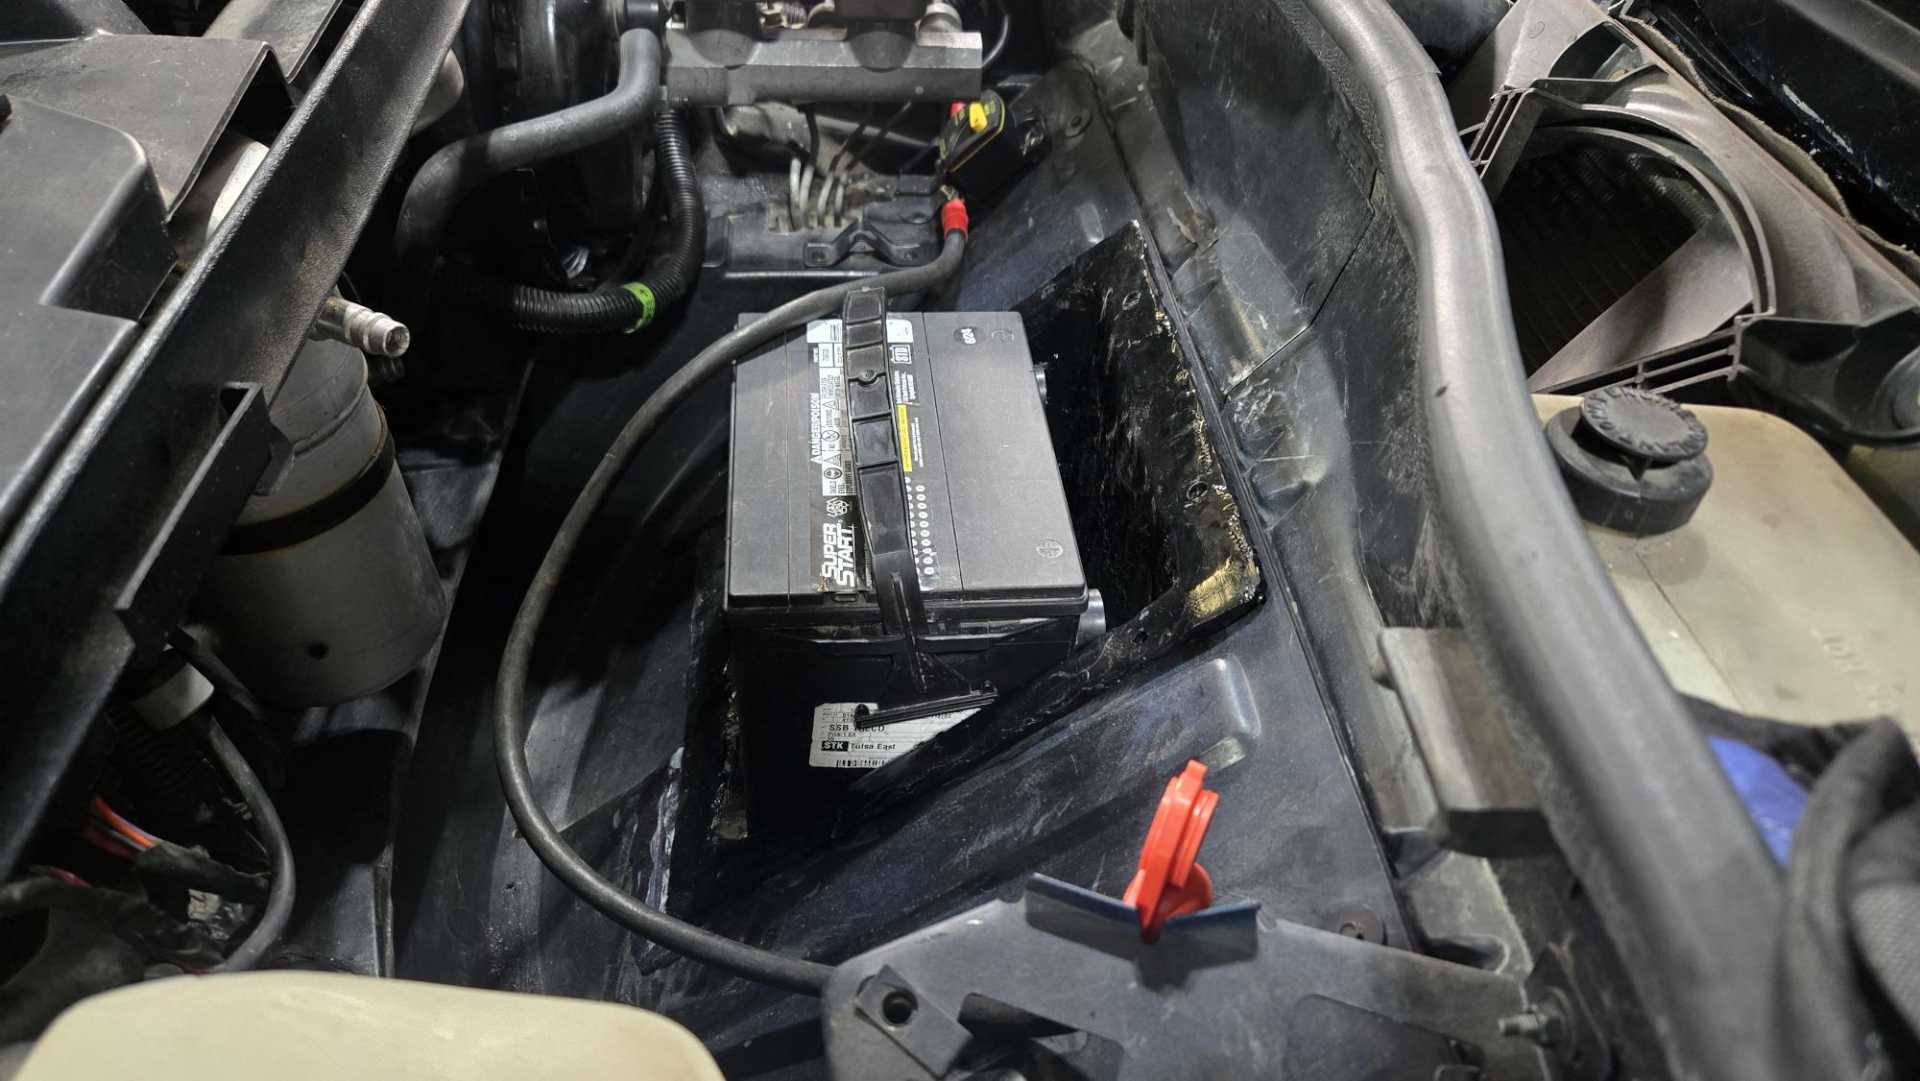
I bolted the plastic/fiberglass battery box to the spare tire panel. For a battery hold down, I might just install a couple eye bolts and use a short bungee cord.
|
|
|
|
Quadfather
|
MAR 30, 10:01 PM
|
|
Today I installed the circuit breaker and finished the positive battery cable. I don't remember where I got this cable, probably at a garage sale. It's welding cable and is probably too big.
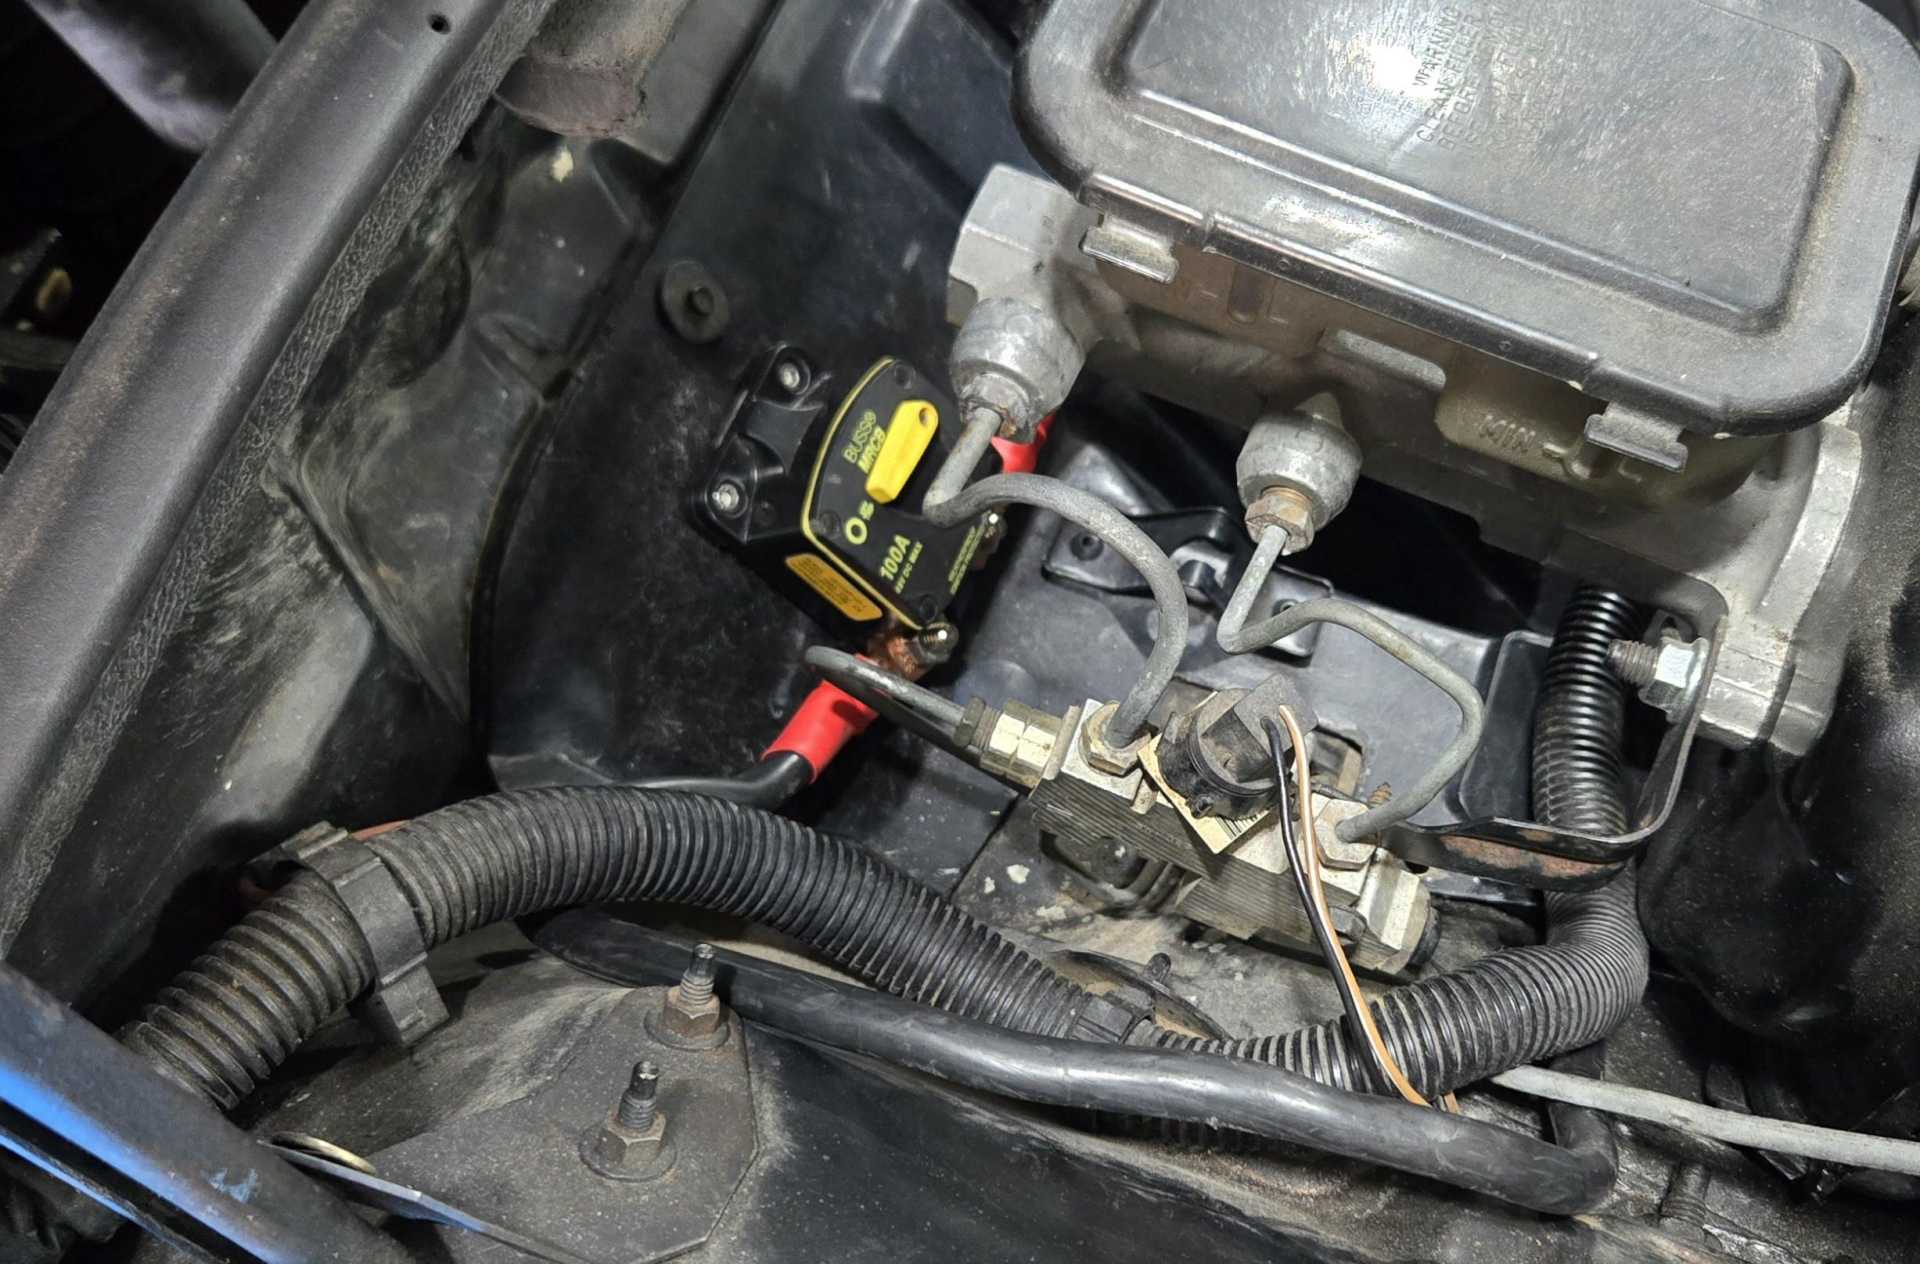
I wish I'd made the box wider, but I think it will still work. I couldn't get the battery cable bolt to thread into the battery, so I'll have to get some longer ones.
In spite of the setbacks, I have a pretty good feeling of accomplishment for today. I also spent some time on the wiring harness. Hopefully next weekend I can finish up the battery box and cables and then concentrate on finishing the harness.
|
|
|
|
Quadfather
|
APR 06, 09:20 PM
|
|
|
|
|
Quadfather
|
MAY 30, 01:14 PM
|
|
|
|
|
Quadfather
|
JUN 21, 09:44 PM
|
|
Made some progress on the harness today. I decided to focus on adding Beretta wires to the C203 connector and while studying the Beretta wiring diagram I saw the orange wire that runs to C16 and B1.

I removed the orange wires from C16 and B1 on the Beretta connectors.

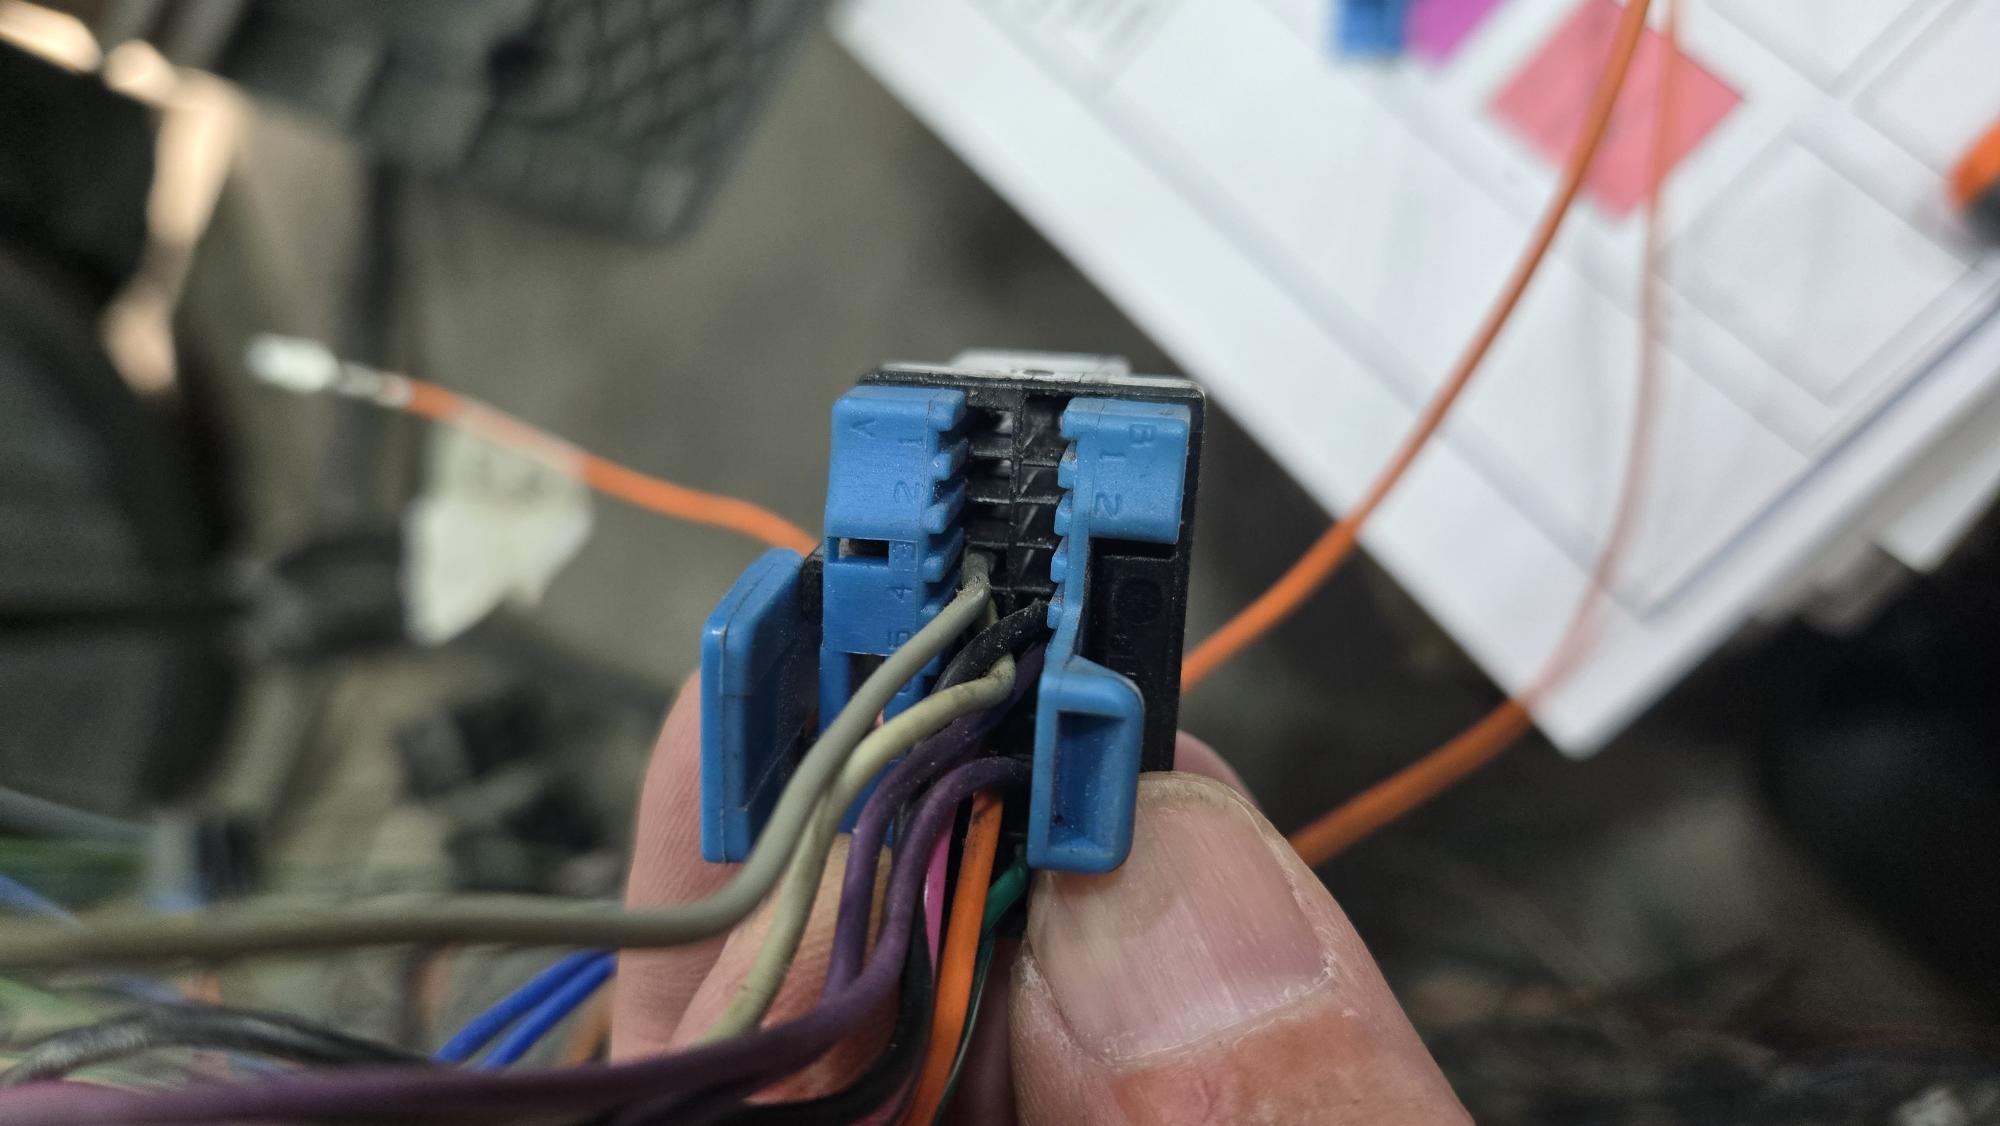
Thanks to the color chart zkhennings shared with me, I saw that that orange wire needed to go to the B socket in the 203.
This may seem simple to many of you, but I've never done any wiring harness work like this before so this feels like a major accomplishment. I only had a couple hours to spend in the shop today, so when I get back over there I'll focus on the next step for finishing the C203 connections.
Then it will be time to cut out the remaining Beretta wiring that isn't needed.
|
|
|
|
longjonsilver
|
JUL 17, 07:15 PM
|
|
|
i'm rooting for you. it'll be worth it when you are "done" ------------------
Astronomy says we will find a coded signal from outer space. Then we'll KNOW that life exists there, for coded signals aren't by chance.
Biology says there are coded genetic signals in every cell, but we KNOW that no intelligence created life.
I'm the original owner of a white ' 84 2M4 purchased Dec 10, 1983 from Pontiac. Always garaged, no rust, 3800SC, 4-wheel drifts are fun!
|
|
|
|
Quadfather
|
JUL 19, 04:40 PM
|
|
|
Thanks. I really appreciate it.
|
|
|
|
Quadfather
|
JUL 20, 07:22 PM
|
|
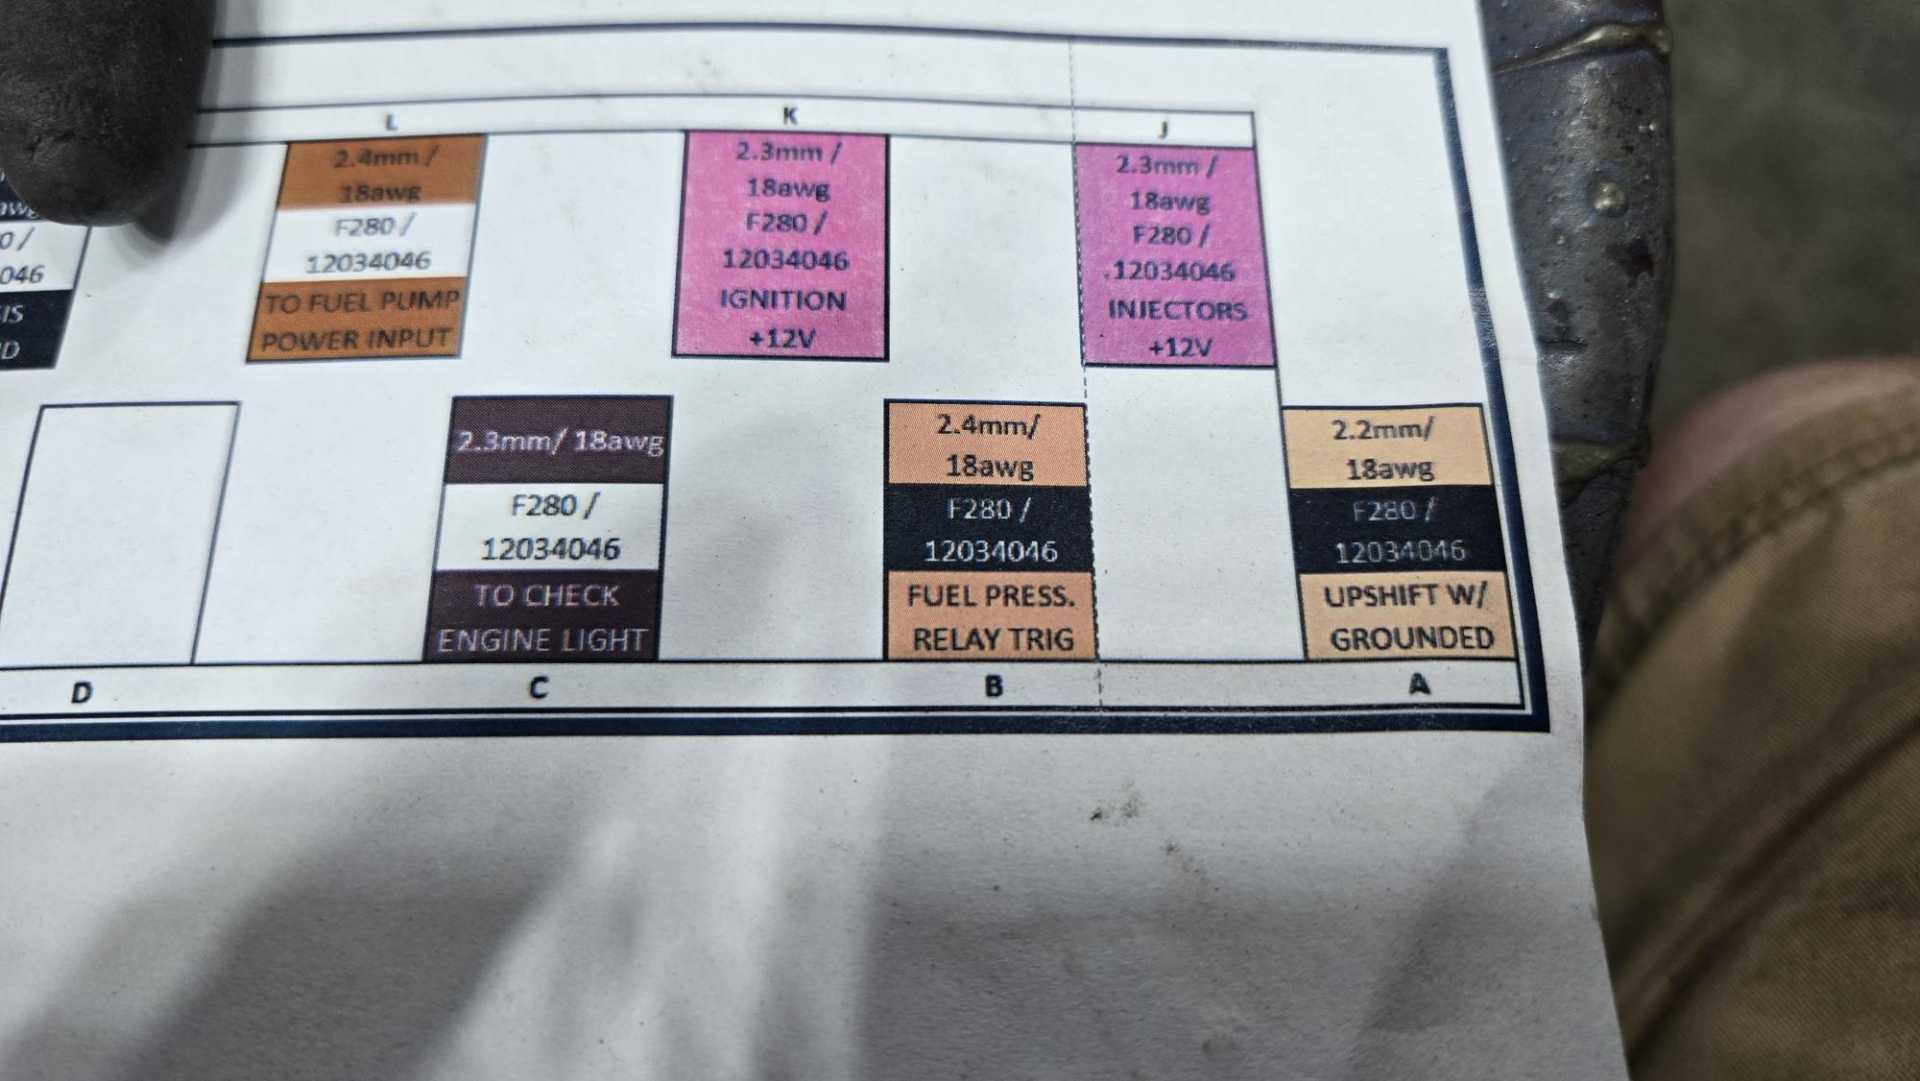
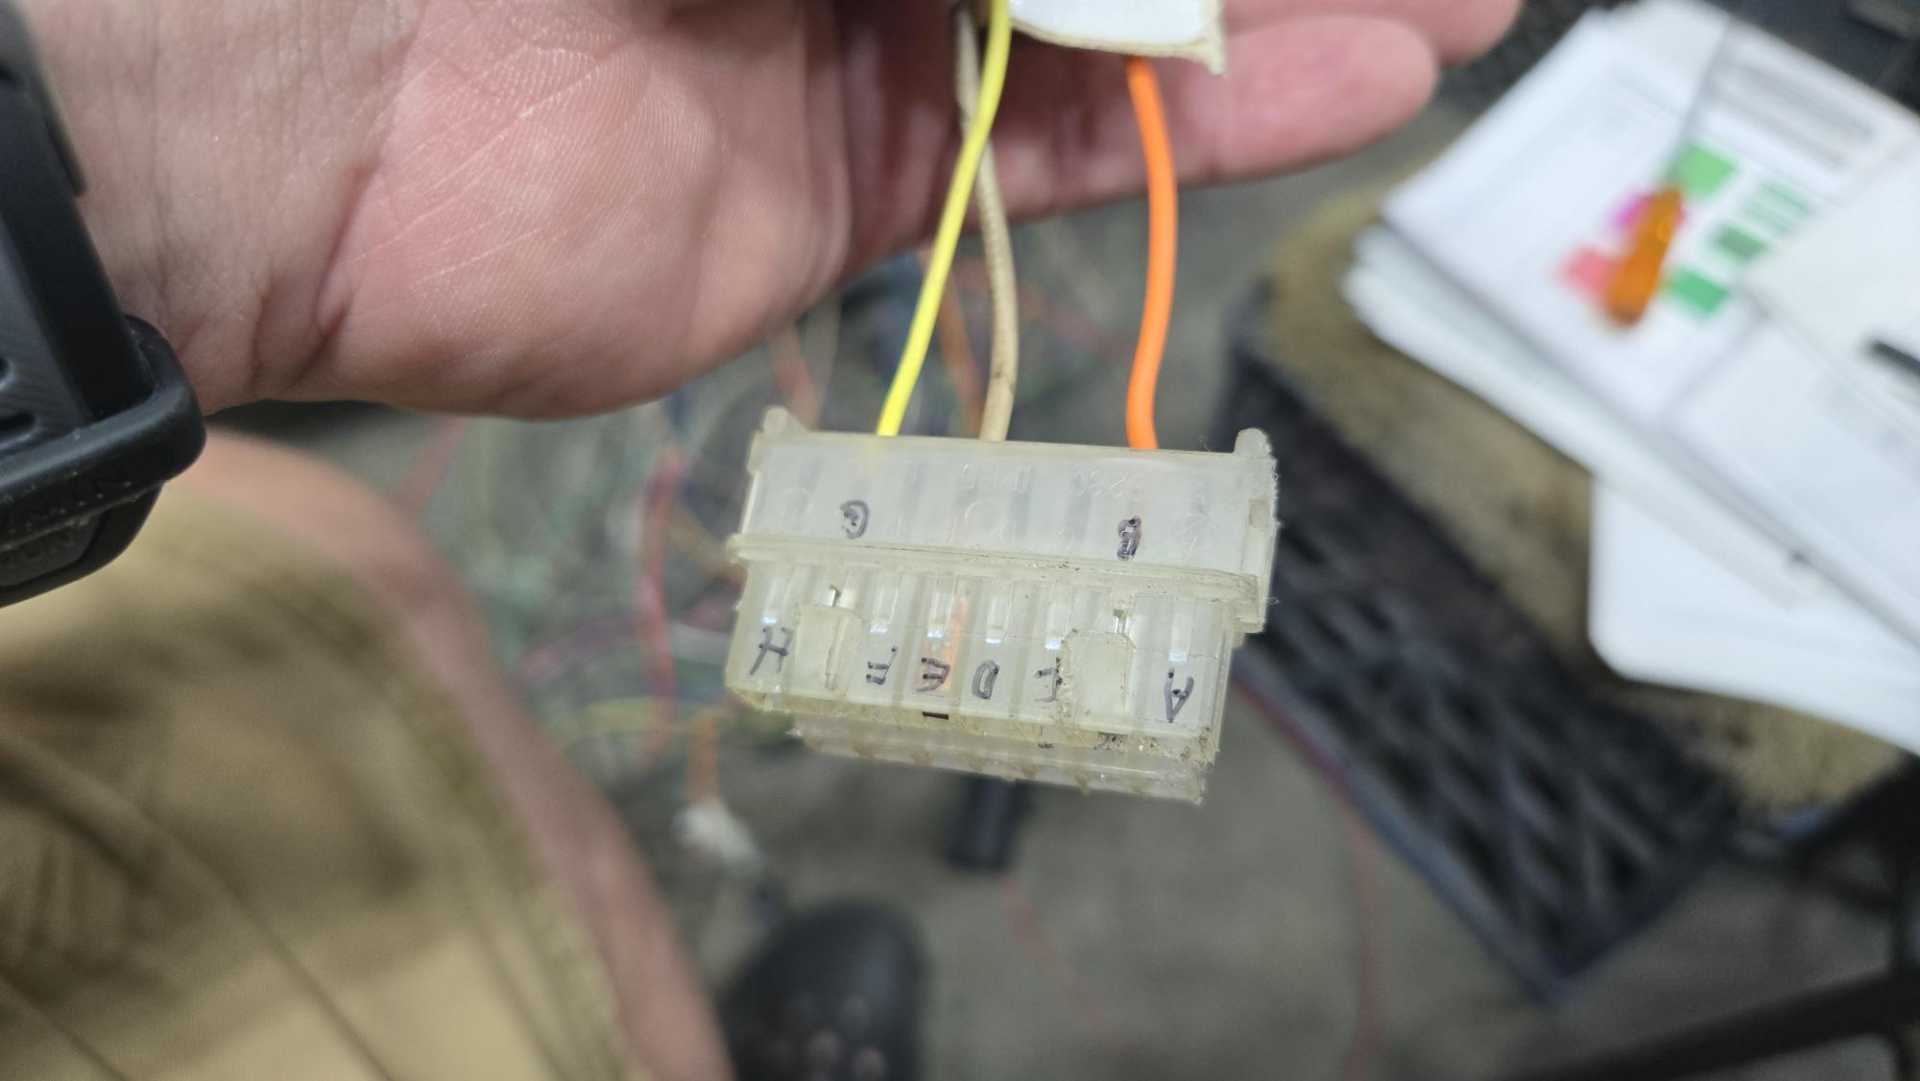
I think I made a stupid mistake. I shouldn't be unpinning the plugs that attach to the computer, right? I should be splicing wires into the circuits and the pinning the splice into the 203. That means I need to buy some pins to replace the ones I mistakenly cut or damaged.
|
|
|
|
fieroguru
|
JUL 20, 07:29 PM
|
|
| quote | Originally posted by Quadfather:
I think I made a stupid mistake. I shouldn't be unpinning the plugs that attach to the computer, right? I should be splicing wires into the circuits and the pinning the splice into the 203. That means I need to buy some pins to replace the ones I mistakenly cut or damaged.
|
|
Do you want your harness to have splices on every ecm wire?
My preferred method is to depin the entire ECM connector(s), cut the wires to match the new routing, then crimp on new pins at the ECM connector. This keeps splices in the harness to a minimum (like GM intended).
At the 203 connector, with new pins, you can normally crimp 2 wires into the pins and avoid a splice mid-wire.
|
|
|