|
| 88 3800SC F23 Build (Page 5/8) |

|
paulsobj
|
JAN 18, 10:27 PM
|
|
|
|
|
paulsobj
|
FEB 01, 09:42 PM
|
|
|
|
|
ignorant prodigy
|
FEB 03, 09:57 AM
|
|
nice job so far. I envy the room you have to work on it.
Too cold for me in my tiny unheated 1 car garage.
|
|
|
|
paulsobj
|
FEB 04, 06:26 PM
|
|
|
|
|
paulsobj
|
FEB 09, 09:53 PM
|
|
|
|
|
Drewbdo
|
FEB 10, 02:46 PM
|
|
I've enjoyed reading this so far. I have a rebodied 88GT with either a 2.8 or 3.1 V6. I'm thinking about dropping in a 3800 and 5 speed down the road, so I'm trying to learn what's involved from threads like this one.
Thank you for sharing. Your clear photos and well written descriptions make it a great read!
|
|
|
|
paulsobj
|
FEB 14, 10:48 PM
|
|
|
|
|
can machine
|
MAR 18, 02:12 PM
|
|
| quote | Originally posted by paulsobj:
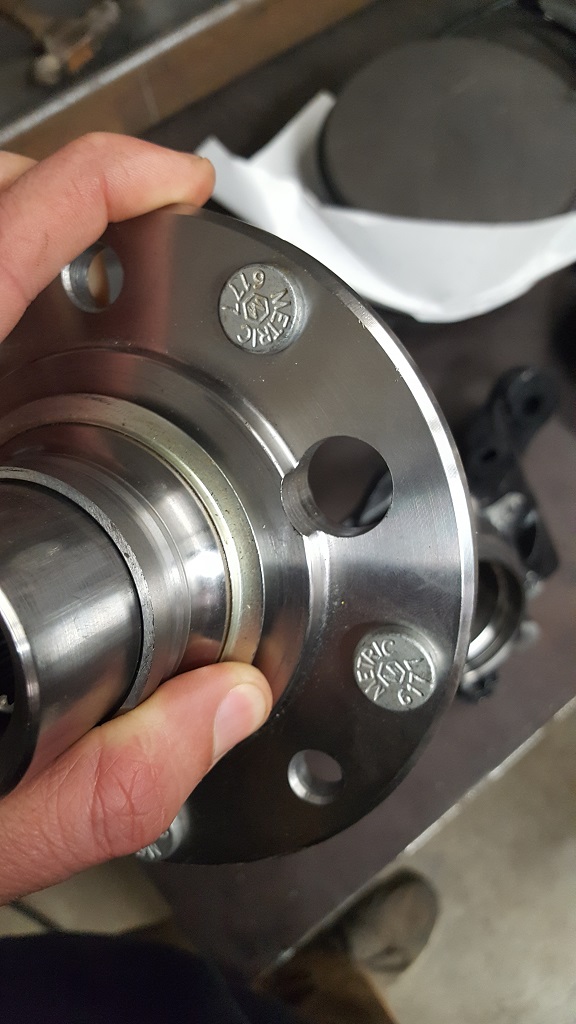
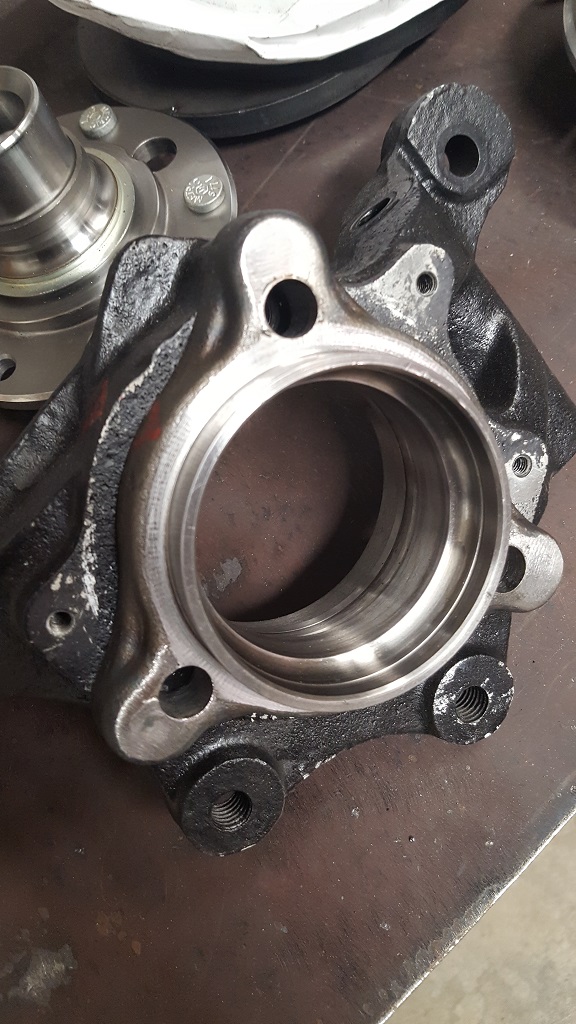
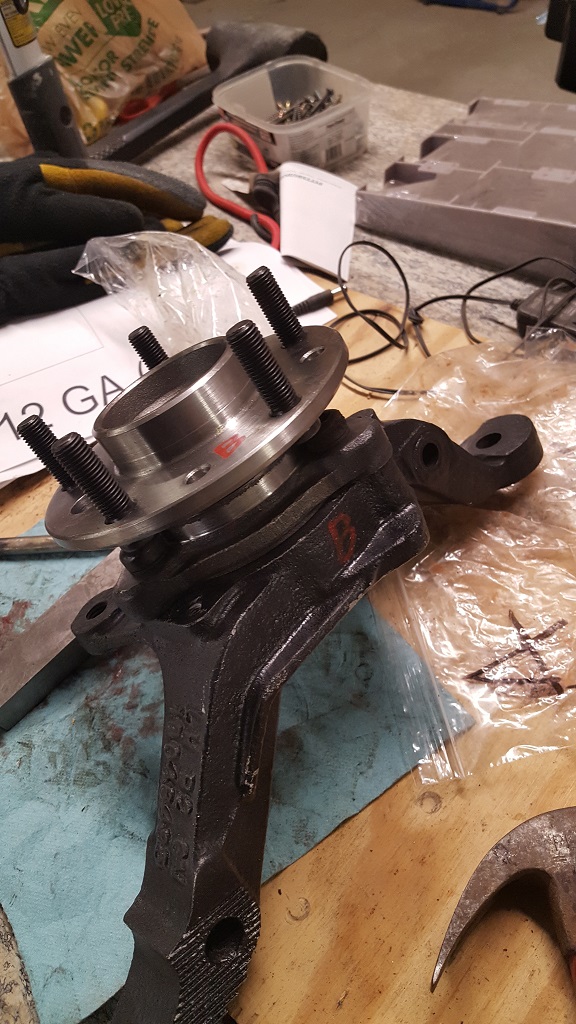
I was able to get out to the shop yesterday. I received the correct bearing that I ordered from Amazon....

My dad traced the F23 and cut out a construction paper template. He then brought it to work to get scanned by a machine that traces 2D objects and creates CAD files. He then had it cut on 1/4" steel. We brought it to the shop and it was actually very close. We had to move a few holes slightly and only one was noticeably off. We are going to adjust the CAD file and if anyone would like a copy let me know... I can also make more spacers for a yet to be determined price.

 |
|
I wouldn't mind that CAD file to play around with at work. I will send you a PM with my email address. Great build thread so far!
|
|
|
|
1fstfiero
|
MAR 19, 01:01 AM
|
|
I'm so glad I found this thread, this is exactly what I am doing except I will be doing a twin turbo set up. I am following this thread for sure. The question I have is, why did you have the hubs machined? Different bearings or to fit the corvette bolt pattern?
Can I also get that cad drawing for the spacer. I want to have one made up for my build.
Good luck.[This message has been edited by 1fstfiero (edited 03-19-2017).]
|
|
|
|
paulsobj
|
MAR 19, 10:40 PM
|
|
Thanks for reading my build so far.
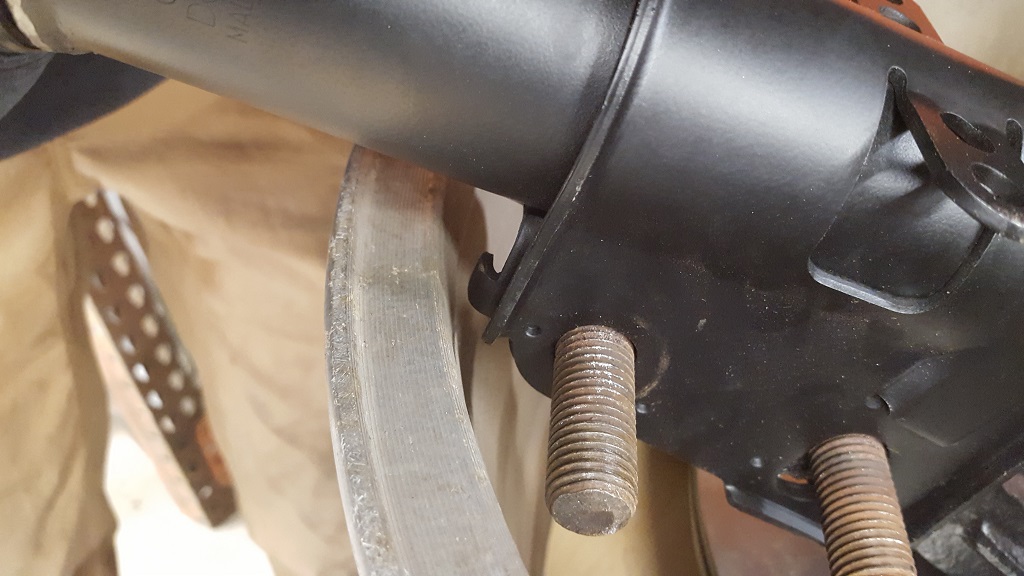
I will send out the current version that I have (3). Each time I have cut one I have had the bolt holes adjusted. I could make the tolerances larger for the holes so I have more play. But I prefer a nice tight fit. After two cuts I am sure the third one I cut next will not need any modifications. I am making some design changes to the final spacer. I will get a picture at some point to show what I am talking about. I am adding material to the front (in respect to the car) side of the spacer to make an area to have the trans mount bolted to. As the F23 doesn't have a lot of great spots to mount to.
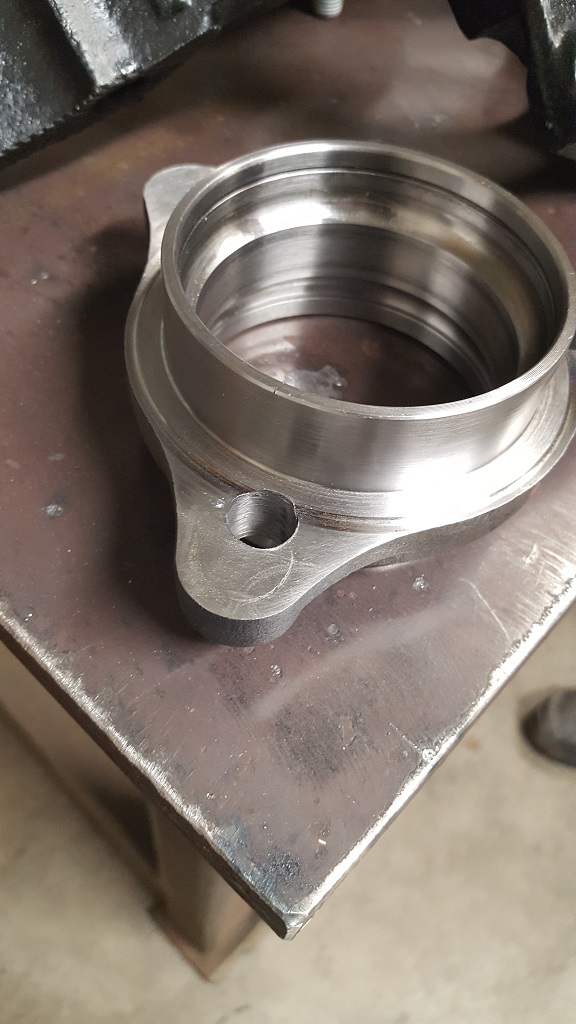
1fstfiero, I wanted to change the bolt pattern to open up the choices of OEM parts. I now can get a vast selection on rims and rotors that will bolt up. I know there is a better selection of after market rims but I like the ability to hop onto craigslist or go to a junkyard and pickup a rim if I bend one or scratch one. I could have accomplished this with a adapter but I preferred not to go that route. I feel like its more of a band-aid then a fix.
I will post a few updates I have done and what else is going on.
I have been very busy selling and buying a few cars and had to pause the build somewhat as some fierce negotiations were going on for the next years budget. Unfortunately the governor vetoed by proposed budget. The funds were diverted to the down payment for a house.
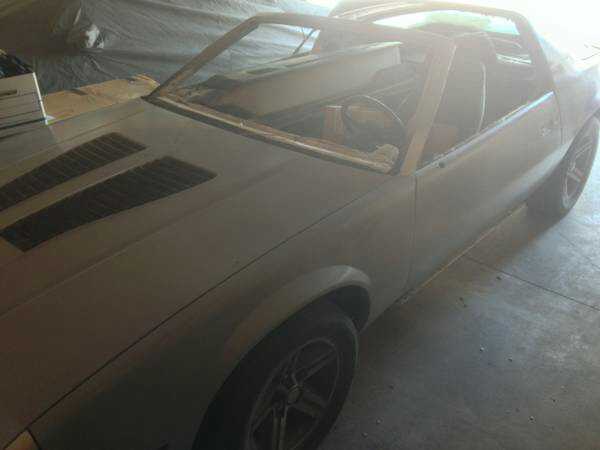
So in short I sold my 88 T-Top from Hawaii (sadface) for $4100 and bought a 87 IROC 5.7 project for $4000.
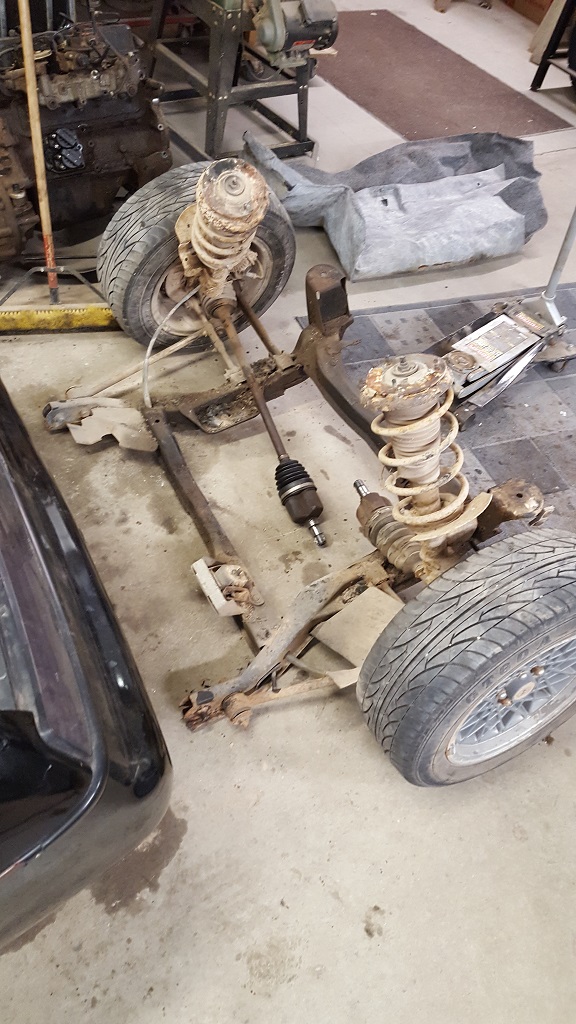
I hit a huge pothole with my truck on my way to pick up the IROC and broke my lief spring. I had to get those fixed and found the front suspension was all messed up so new sway bar links, shocks, 4 ball joints, a hub and about 12hrs labor later...
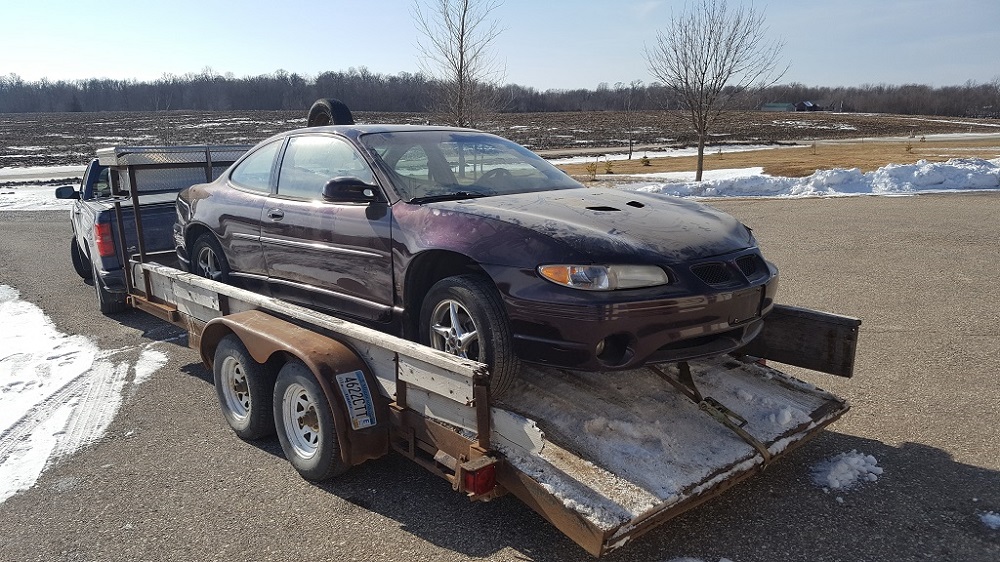
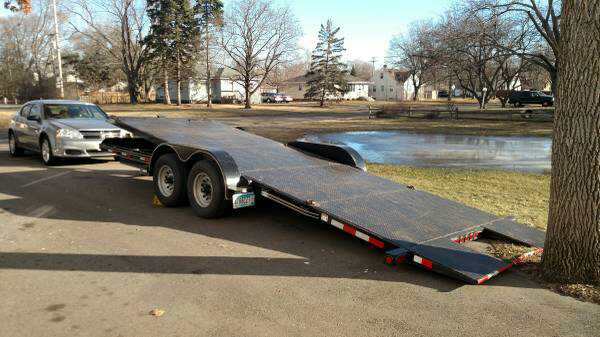
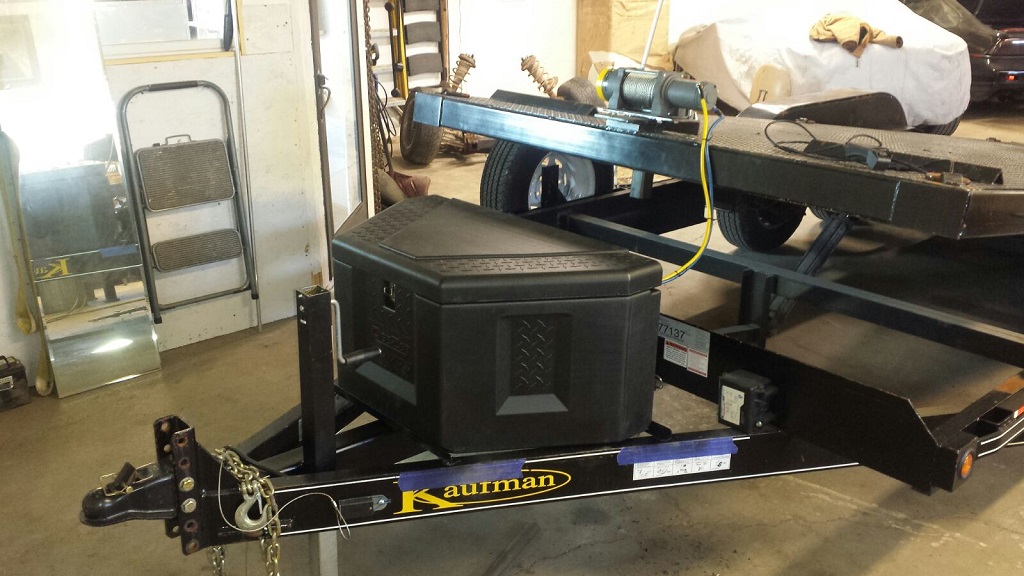
We bought a nice trailer on CL 20' 10k tiltbed and we added a winch and storage container. I used it today to drop off a tenants 60's jag that forgot to pay rent for the last 6 months. We pulled into the driveway unloaded the car and were gone in less then 4 min. I cant tell you how easy and fast this trailer is.
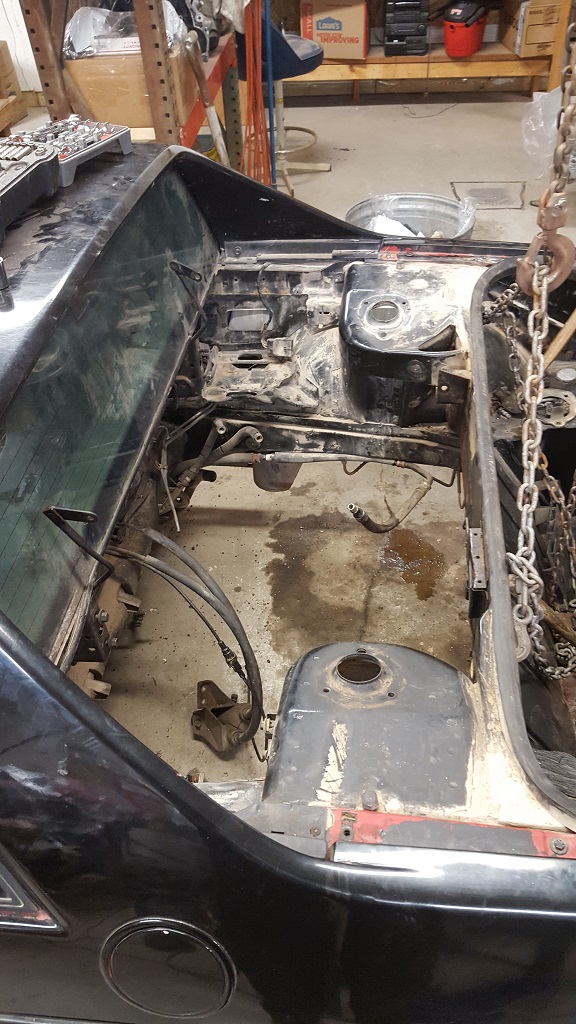
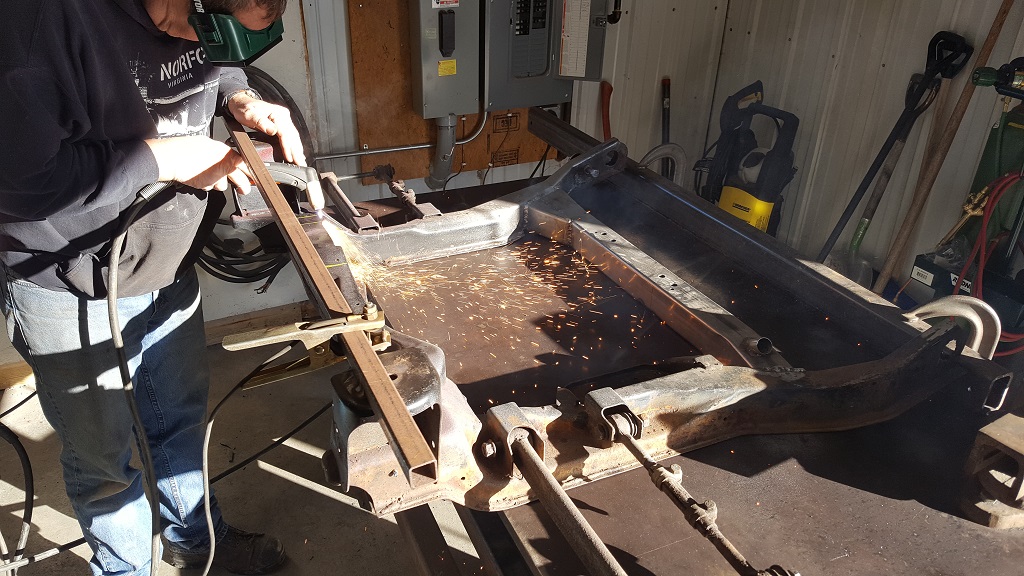
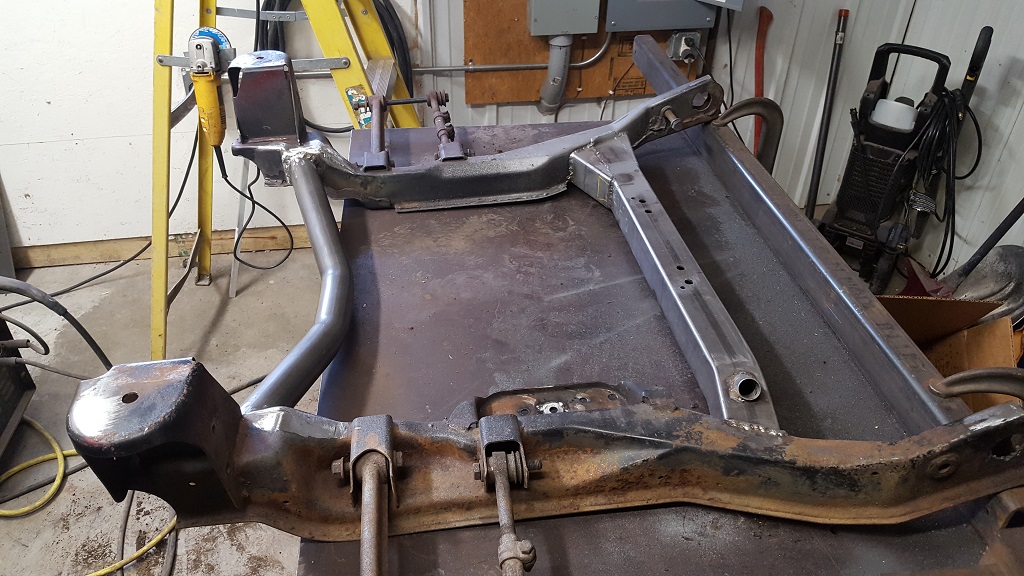
So back to the build. I took out another part of the cradle and replaced it with some scrap tubing that we found.
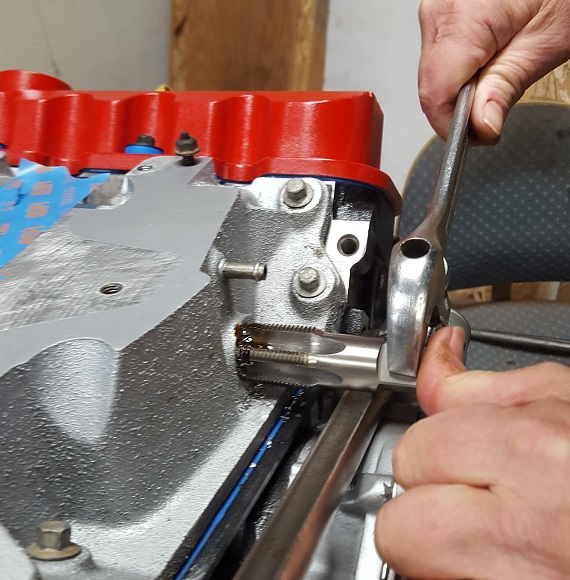
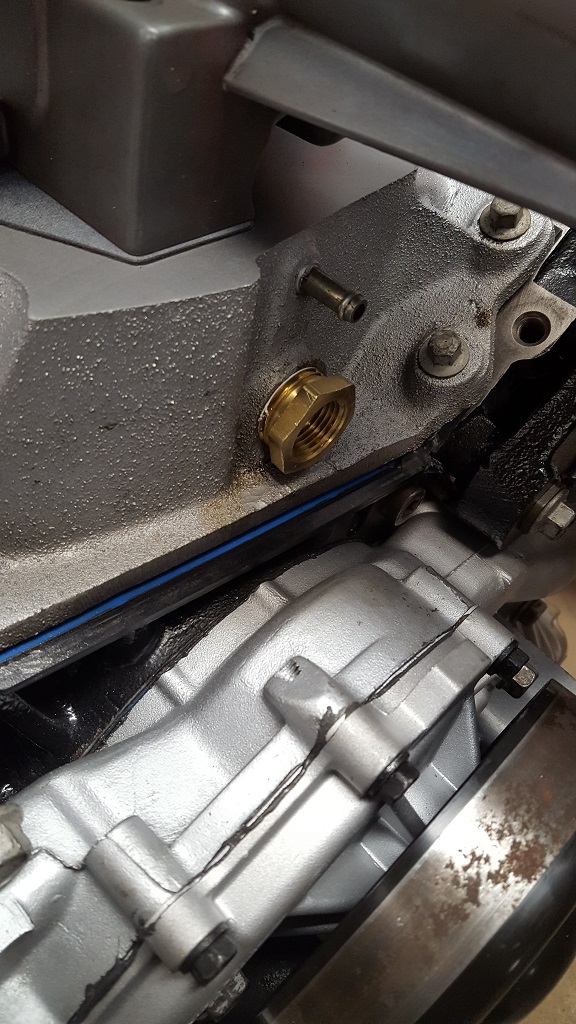
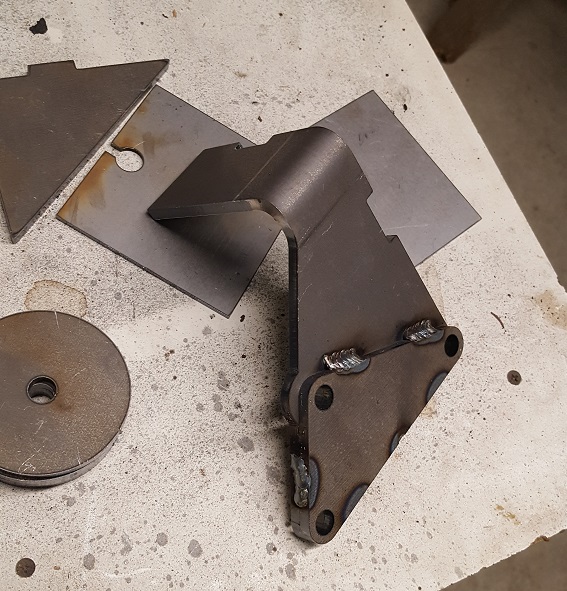
We see a lot of people use the dog bone bracket from the GP and mill off some material to mount a windstar tensioner. We decided to make our own dog bone mount and as usual made an extra one. I took a picture of all the pieces and the second picture is it partially welded. We don't have the brace welded in yet or the circle part for the tensioner. It worked out great as the spacing needed for the tensioner mounting surface is 1" from the cylinder head. We had one 1/4" spacer piece to bring the main chunk of metal away from the cylinder head to clear the valve cover. The second piece (main and largest) is 1/4" thick and then two circle pieces (1/4" each) for the tensioner makes it a total 1". The actual part that the dog bone will bolt to we will weld in last. This way we get some play with where to weld it on the main bracket.
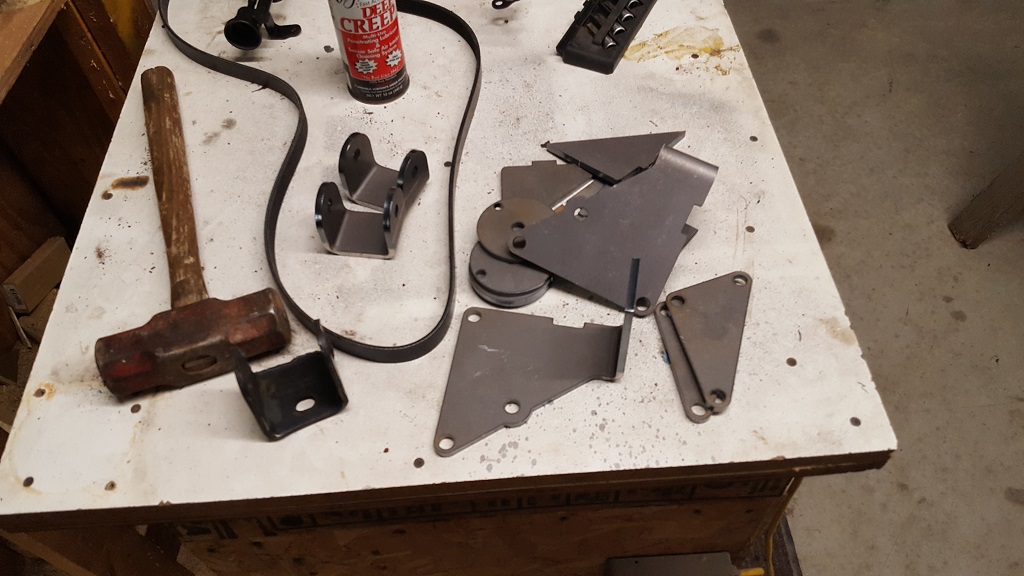
The two thin pieces of metal are not used in this mount. I just happened to set them on the table.
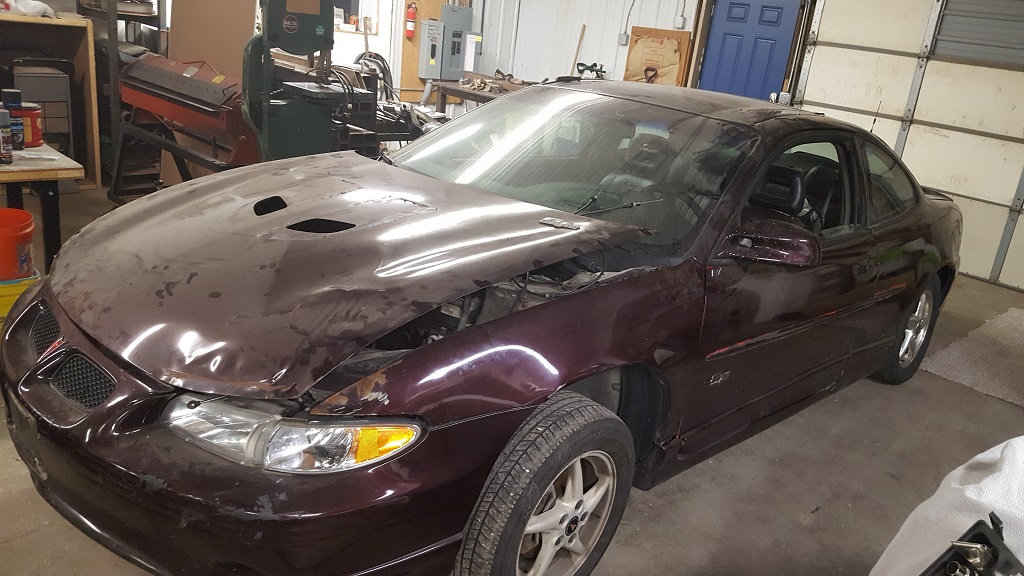
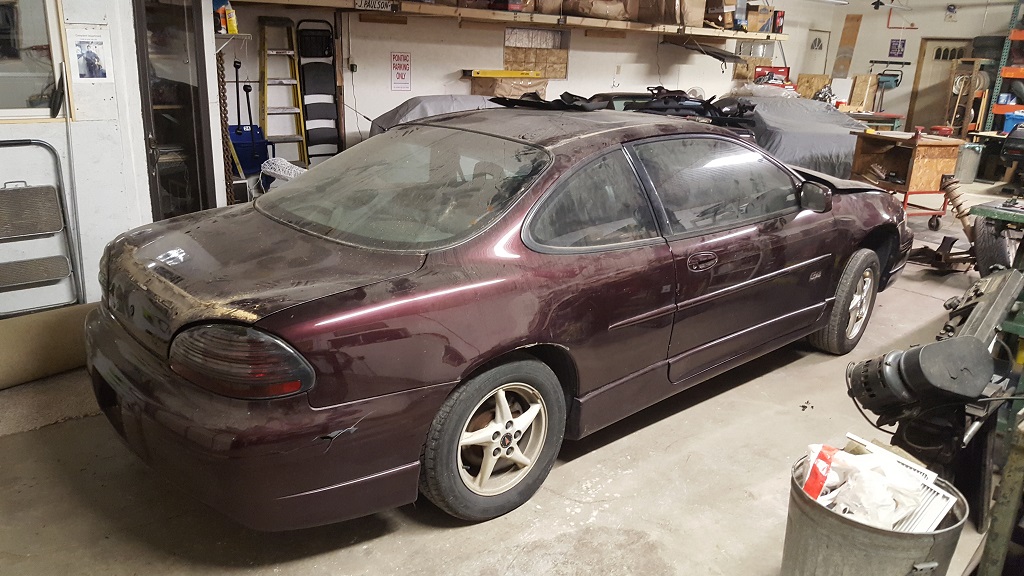
We went to look at a few cars for my dad. Any guesses what is in this picture?
If I forgot anything I will correct it later. Hope to get some progress soon.
|
|
|