 
     |
| RCR's body mods... (Page 43/67) |

|
RCR
|
MAY 07, 05:22 PM
|
|
|
|
|
dobie1
|
MAY 07, 11:48 PM
|
|
Bob
I really like the direction you've been going Bob, I'd buy another chair sit down and write down what you like and don't like.
A little reflection with a cold beer I'm sure you're vision of the end will come to light.
Wayne
|
|
|
|
RCR
|
MAY 08, 06:40 AM
|
|
Thanx Wayne. Don't get me wrong, I really like the direction it's going. I just cant figure out a way to mount the D@*&^*&^ lights. It'll come to me. Just too slow for my liking.
Thanx for the encouragement/
Bob
PS: When will we see progress on yours?
|
|
|
|
Sage
|
MAY 08, 09:49 AM
|
|
The chair's the way to go...
I remember when I was "apprenticing" at the shop of the guy that taught me fiberglass.
He spent much more time in that lawn chair...staring at the project in front of him than he did actually working on it. (course he had recovered from having broken his back a few earlier...  ) He said it's like the measure twice and cut once principle....you have to be able to see it in your mind before you can make it real. ) He said it's like the measure twice and cut once principle....you have to be able to see it in your mind before you can make it real.
His motto:
"If you can conceive it..
And you can believe it..
You can achieve it."
Progress is progress...even if it's just on the drawing board.
What you've done is looking good. Almost looks like a 308/355 combo front end.
Even if you decide to change it down the road, it's another "brick in the wall"! 
Keep up the good work....AND the updates!
HAGO!
|
|
|
|
RCR
|
MAY 11, 06:48 AM
|
|
Thanx Ted. I'm still inching along. Pics to come.
I'm using a camp chair right now, but it's not the same. I need a deck chair. 
peace out
Bob
|
|
|
|
355Fiero
|
MAY 11, 03:28 PM
|
|
Bob;
Mods are looking good. How about gluing in some metal tabs to the back of the cowl you are putting in so that you can screw the light mount tabs to them? Archie did that a lot in his fiberglass mods. Biggest part will be putting the tabs in a location that you can get to once everything is in place in case you need to pull them out and change a bulb or something.
Keep it up as things are moving along.
I am a few days away from being able to put my drivetrain and cradle back together and get it into the project for hopefully the last time..... Just need to find a ceramic exhaust coater at a reasonable price for the exhaust system......
Cheers
Don
|
|
|
|
RCR
|
MAY 20, 06:05 PM
|
|
Making baby steps...
Fabbing the bracketry and front pieces.


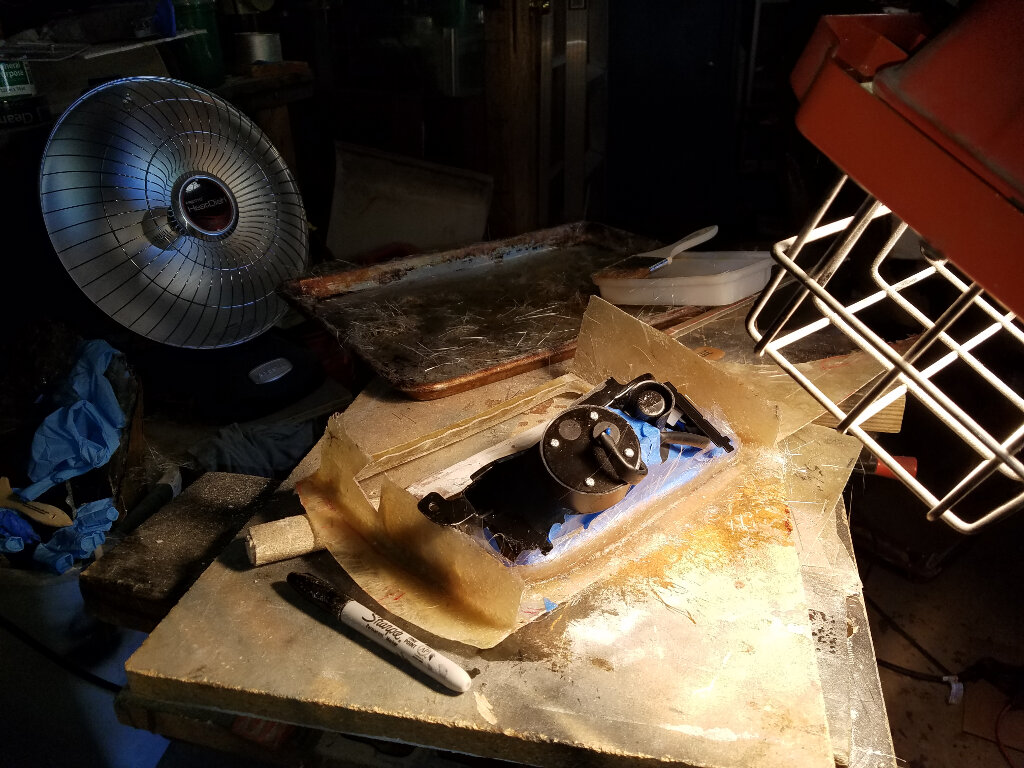
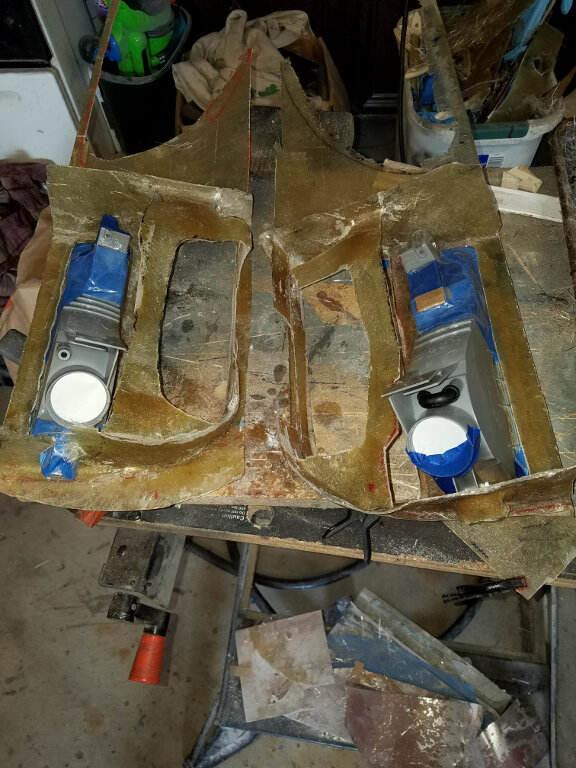
Two of them. It would have been nice if they actually matched, but I think it's close enough to make work.
Started to rain, so I'm taking a break.
Bob
|
|
|
|
RCR
|
JUN 11, 06:02 PM
|
|
Well, it's been a while since last update. Still making progress, but it seems so slow. The 4 weeks between Michigan winter and summer are over. Now it's bloody hot as hell out in the garage. Still got a few hours in.
Nothing to really show for it. All the details behind the good stuff.
Back soon with better stuff.
Bob
|
|
|
|
Bozzie
|
JUN 12, 12:49 PM
|
|
Bob.......the nose is looking great ! I like your CAD ,, just wish glassing could be achieved as easy I hear ya on the heat......first to cold and then BAM ....to HOT ! Keep up the great work there, do yourself a favor and buy a few extra chairs
Boz
|
|
|
|
RCR
|
JUN 18, 06:47 PM
|
|
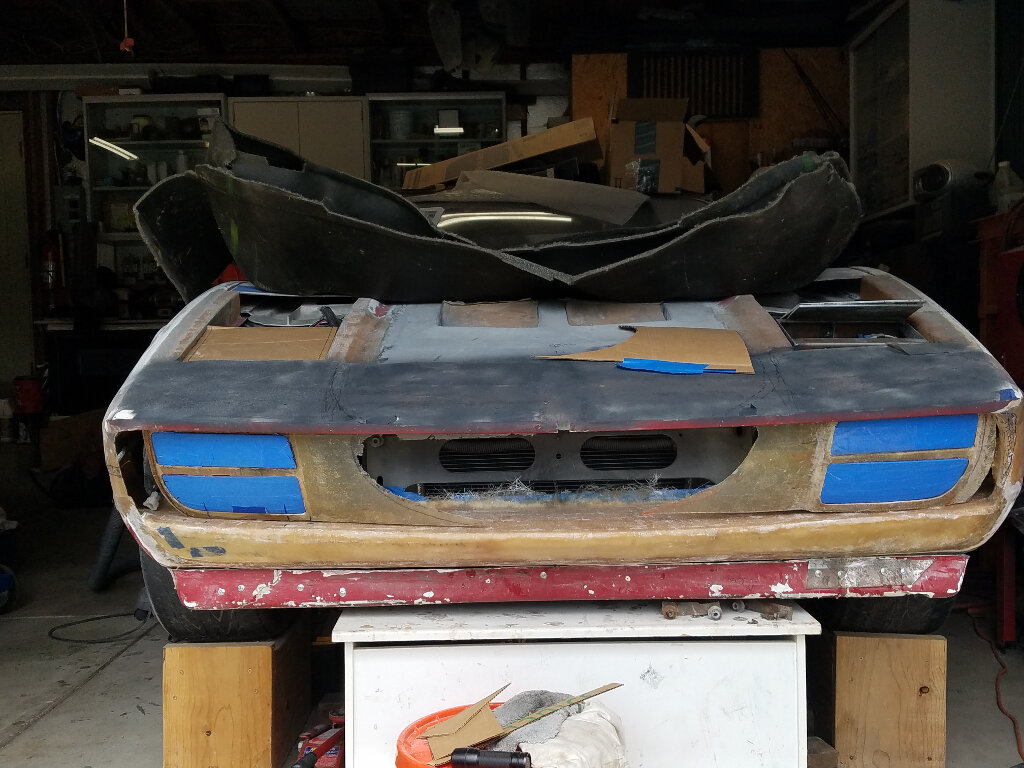
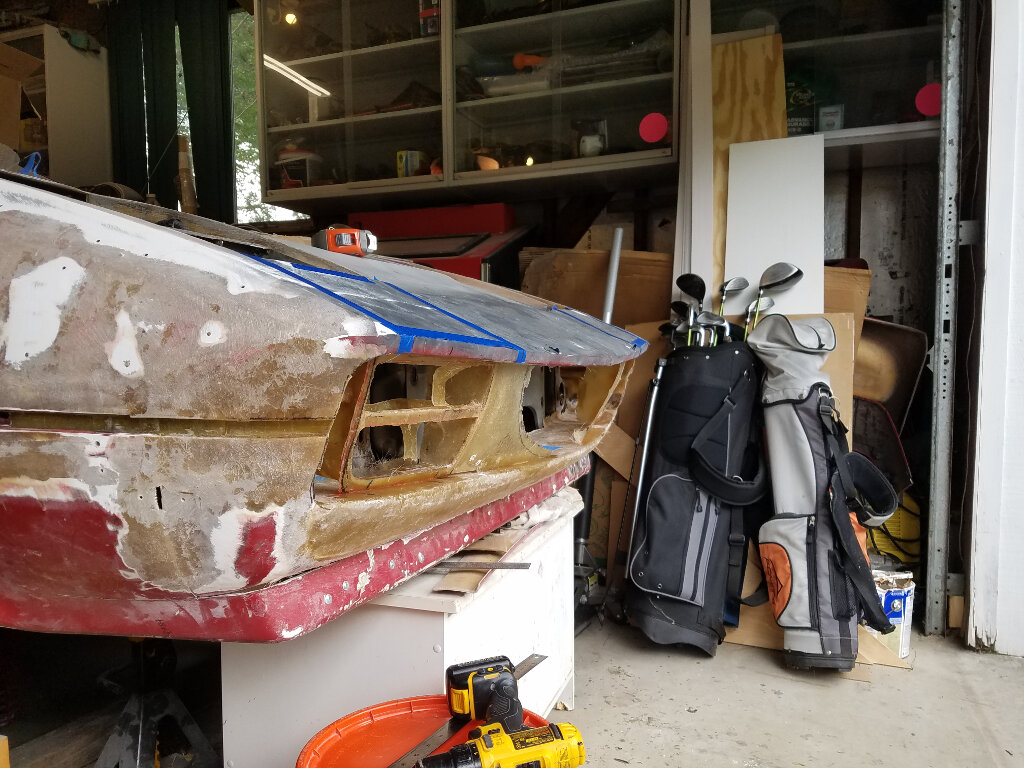
Another busy weekend. It's actually starting to look like something. So, I've been working on the front fenders. One of the first things that needed completion was reinforcing all of the mods and cuts that I made early on. That meant grinding and filling the inside. With that mostly done, I had to put the body lines back in, and fill the old turn signal holes. On to some pics.
Outside

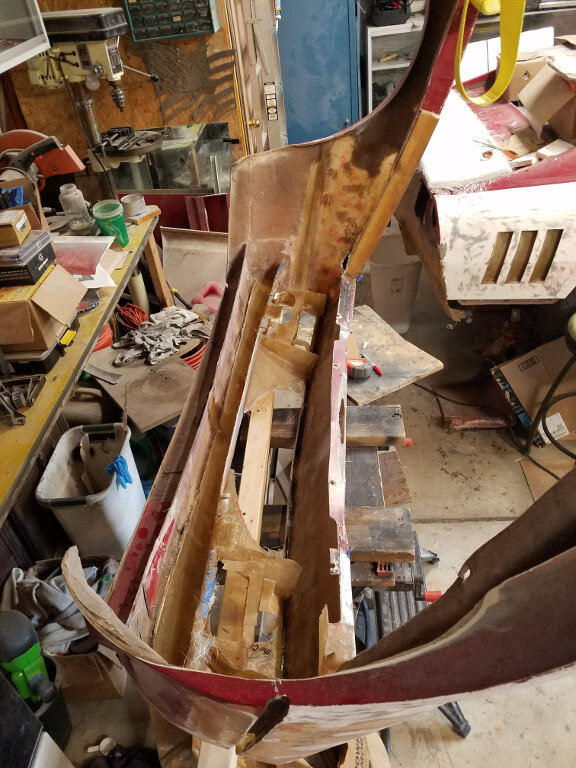
Inside
Then, making the most of my space and making it easier to reach the nose recesses.

The light sections molded in now...
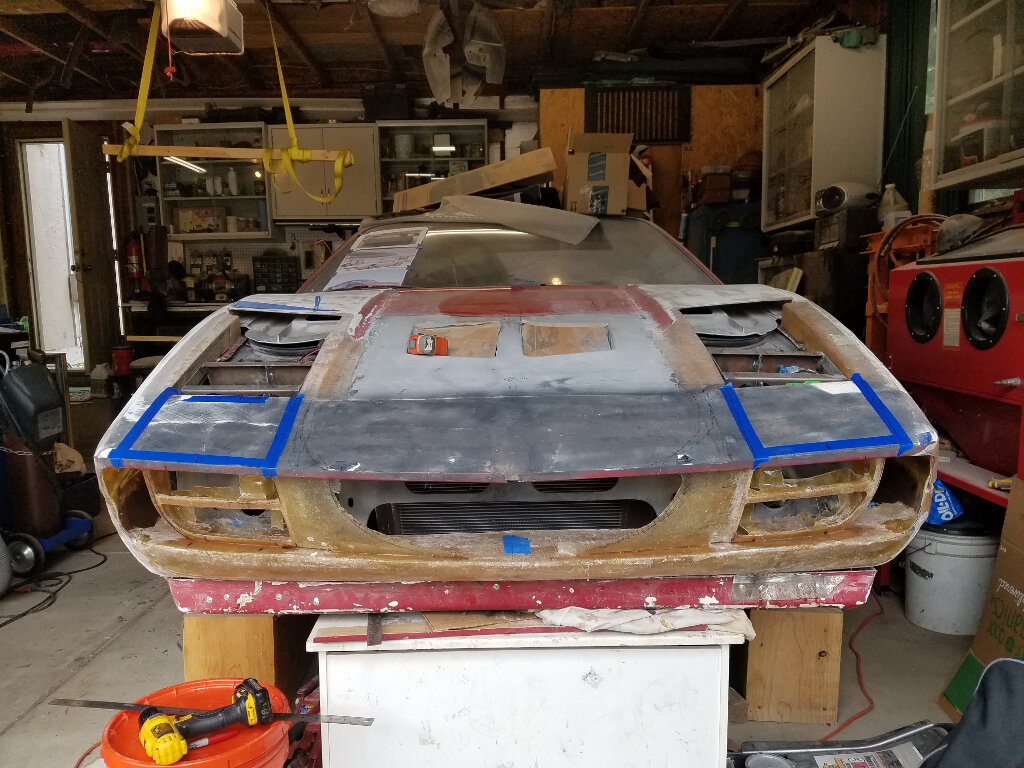
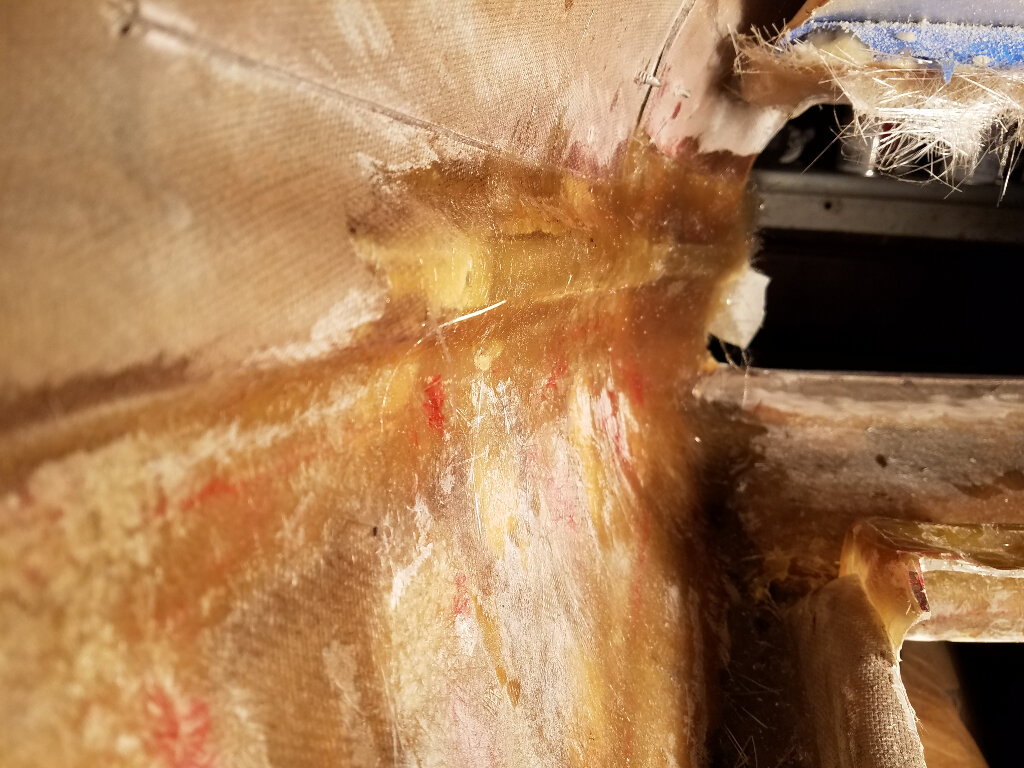
Starting to work on the air inlet.
Here a single layer of glass is attached to a form to maintain the shape as it is glassed to the front.
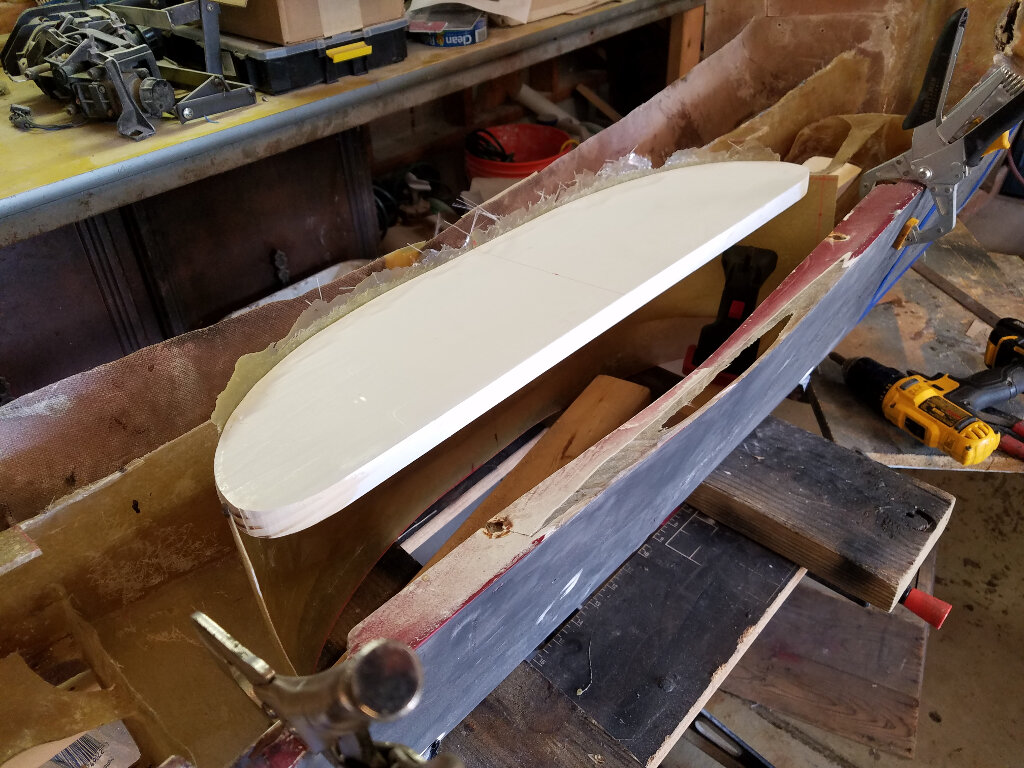
And a pic as everything stands.

Hopefully I'll get some more done this week. Trying something new (to me) to make the bull's nose into the inlet.
later...
Bob
|
|
|

 . Then it went flying out of the garage.

