|
| 88 3800SC F23 Build (Page 4/8) |

|
paulsobj
|
DEC 19, 09:12 PM
|
|
|
|
|
paulsobj
|
DEC 23, 03:17 PM
|
|
|
|
|
paulsobj
|
DEC 28, 09:53 PM
|
|
|
|
|
lurtz
|
DEC 29, 03:25 PM
|
|
Hi there!. I had to chime in for a couple of reasons. 1.) One of my current daily drivers is a 40th anniversary Gprix and it has about 145k on it. I've had it for 10 years now and am just waiting for the salty roads of New Hampshire to finally eat the body before I retire it and put the engine into another Fiero. So I will be bookmarking and watching your write up! 2) I noticed that you are in Shakopee. I was born many moons ago in Shakopee at St. Francis Hospital (not sure if it is still open or not) and still have some family out there. I had to mention it as most people from Shakopee say they are from Minneapolis because no one recognizes the smaller suburb  . It has been a very long time since I have been to the Land of 10,000 lakes, and I was very young when I was there so I do not remember much other then it was really flat and could be really cold in the winter. . It has been a very long time since I have been to the Land of 10,000 lakes, and I was very young when I was there so I do not remember much other then it was really flat and could be really cold in the winter.
Good luck with your build! Looks like you have the perfect work space to hunker down and get some stuff done during a Minnesota winter!
|
|
|
|
paulsobj
|
DEC 30, 09:31 AM
|
|
| quote | Originally posted by lurtz:
Hi there!. I had to chime in for a couple of reasons. 1.) One of my current daily drivers is a 40th anniversary Gprix and it has about 145k on it. I've had it for 10 years now and am just waiting for the salty roads of New Hampshire to finally eat the body before I retire it and put the engine into another Fiero. So I will be bookmarking and watching your write up! 2) I noticed that you are in Shakopee. I was born many moons ago in Shakopee at St. Francis Hospital (not sure if it is still open or not) and still have some family out there. I had to mention it as most people from Shakopee say they are from Minneapolis because no one recognizes the smaller suburb . It has been a very long time since I have been to the Land of 10,000 lakes, and I was very young when I was there so I do not remember much other then it was really flat and could be really cold in the winter.
Good luck with your build! Looks like you have the perfect work space to hunker down and get some stuff done during a Minnesota winter! |
|
Yes St. Francis is there and they are much bigger then when you were here. Shakopee is also grown to about 40,000. I would always say I was from Minneapolis when I was in the NAVY. Glad you are following my build!
Brian
|
|
|
|
paulsobj
|
JAN 03, 10:49 PM
|
|
|
|
|
mender
|
JAN 04, 11:15 AM
|
|
Next rebuild I recommend using this instead the white grease mix:
http://www.nevlock-performa.../u/f/uf_2800b2_1.jpg
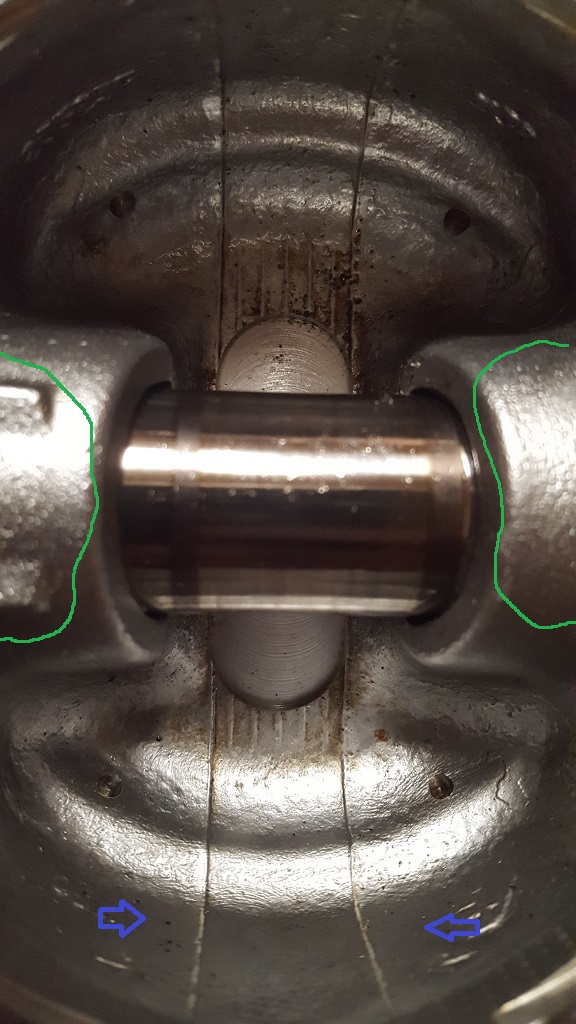
I build race engines for a living, so I'm not a fan of plastigauge but it can work if you're careful. If you have any indication that the clearances are under 0.0020" for the rods and 0.0024" for the mains, stop and get it verified/corrected.
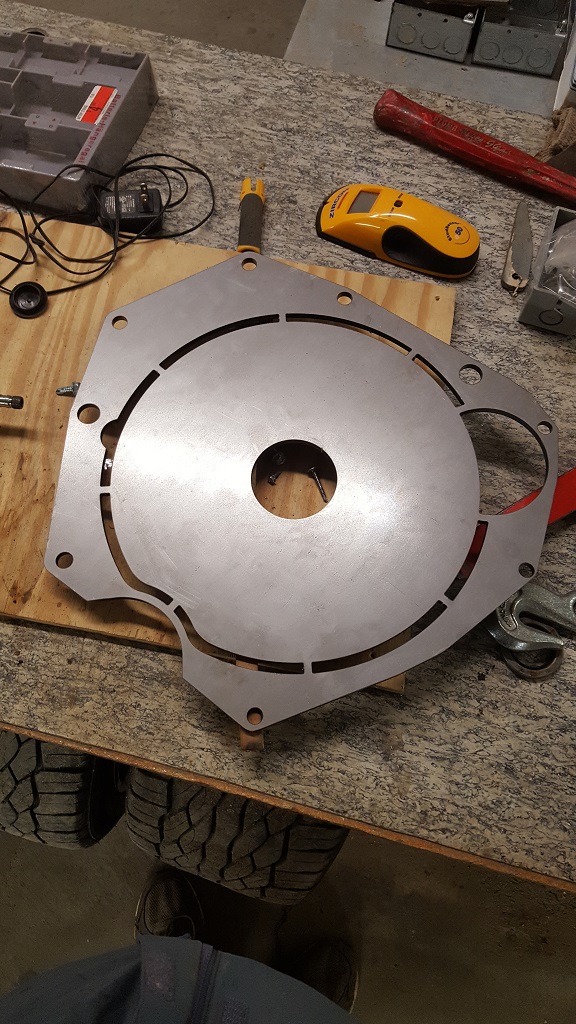
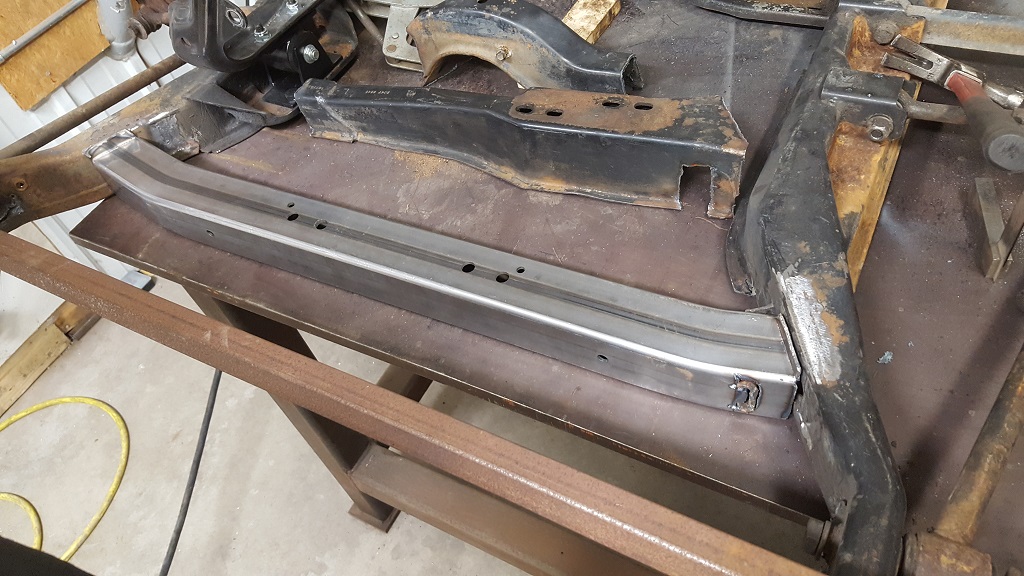
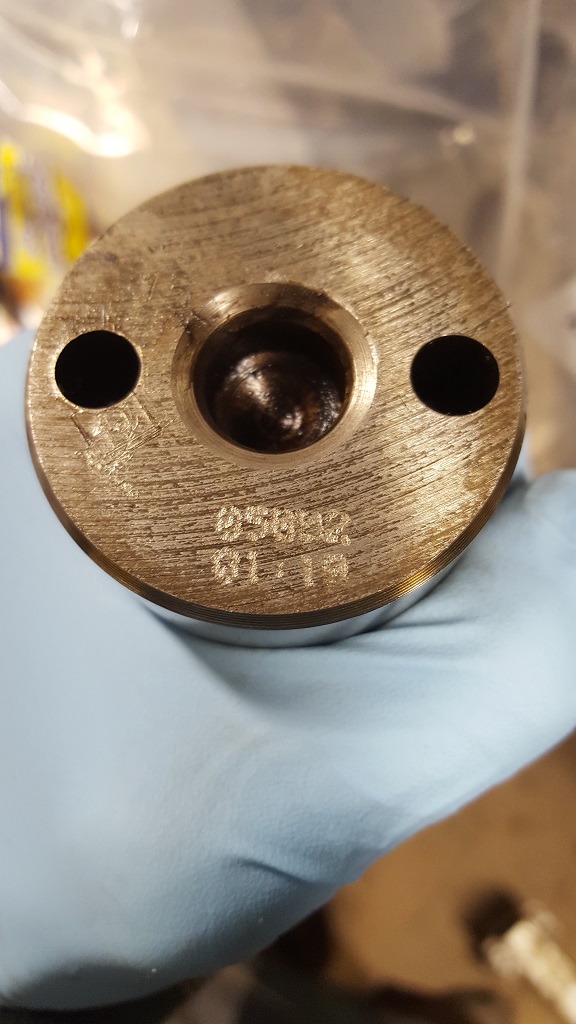
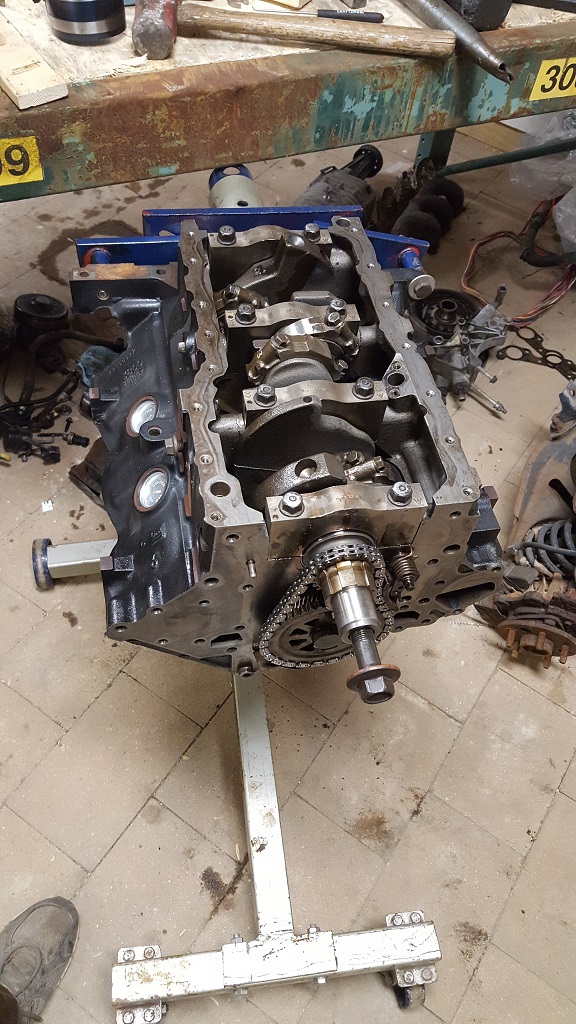
Nice adapter and subframe mods, I also do fab work and appreciate quality pieces![This message has been edited by mender (edited 01-04-2017).]
|
|
|
|
paulsobj
|
JAN 06, 10:46 PM
|
|
| quote | Originally posted by mender:
Next rebuild I recommend using this instead the white grease mix:
http://www.nevlock-performa.../u/f/uf_2800b2_1.jpg
I build race engines for a living, so I'm not a fan of plastigauge but it can work if you're careful. If you have any indication that the clearances are under 0.0020" for the rods and 0.0024" for the mains, stop and get it verified/corrected.
Nice adapter and subframe mods, I also do fab work and appreciate quality pieces!
|
|
I hope to not be rebuilding this anytime soon (hopefully) but I will look into that lube when I do.
I didnt know there was anything other than plastigage? what do you use?
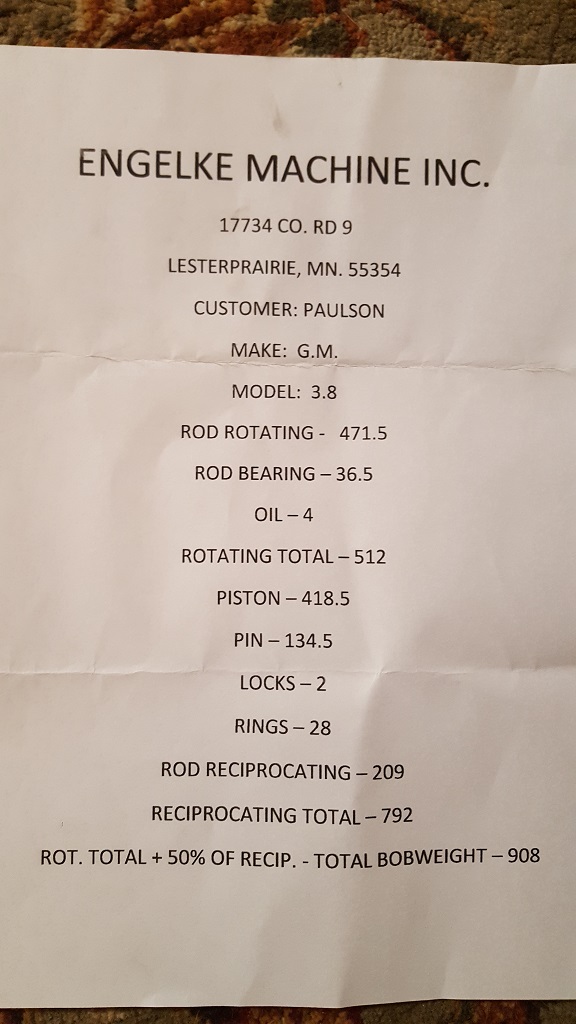
If the Rod clearance tolerance was 0.0005-0.0026" wouldn't that mean that the factory had it on the tight end and as time passed they would get looser and have larger gaps? I know race guys like to make them loose for less friction (less HP loss) but you lose oil pressure. I had them around .0014-17 IIRC.
I will post some pics as the frame get closer to completion. I want a look like it could have come from a factory or at least less home made.
|
|
|
|
paulsobj
|
JAN 06, 11:23 PM
|
|
|
|
|
paulsobj
|
JAN 16, 10:30 PM
|
|
|
|