|
| 1988 Formula Build for Jeri (Page 3/12) |

|
Toddster
|
SEP 23, 10:38 AM
|
|
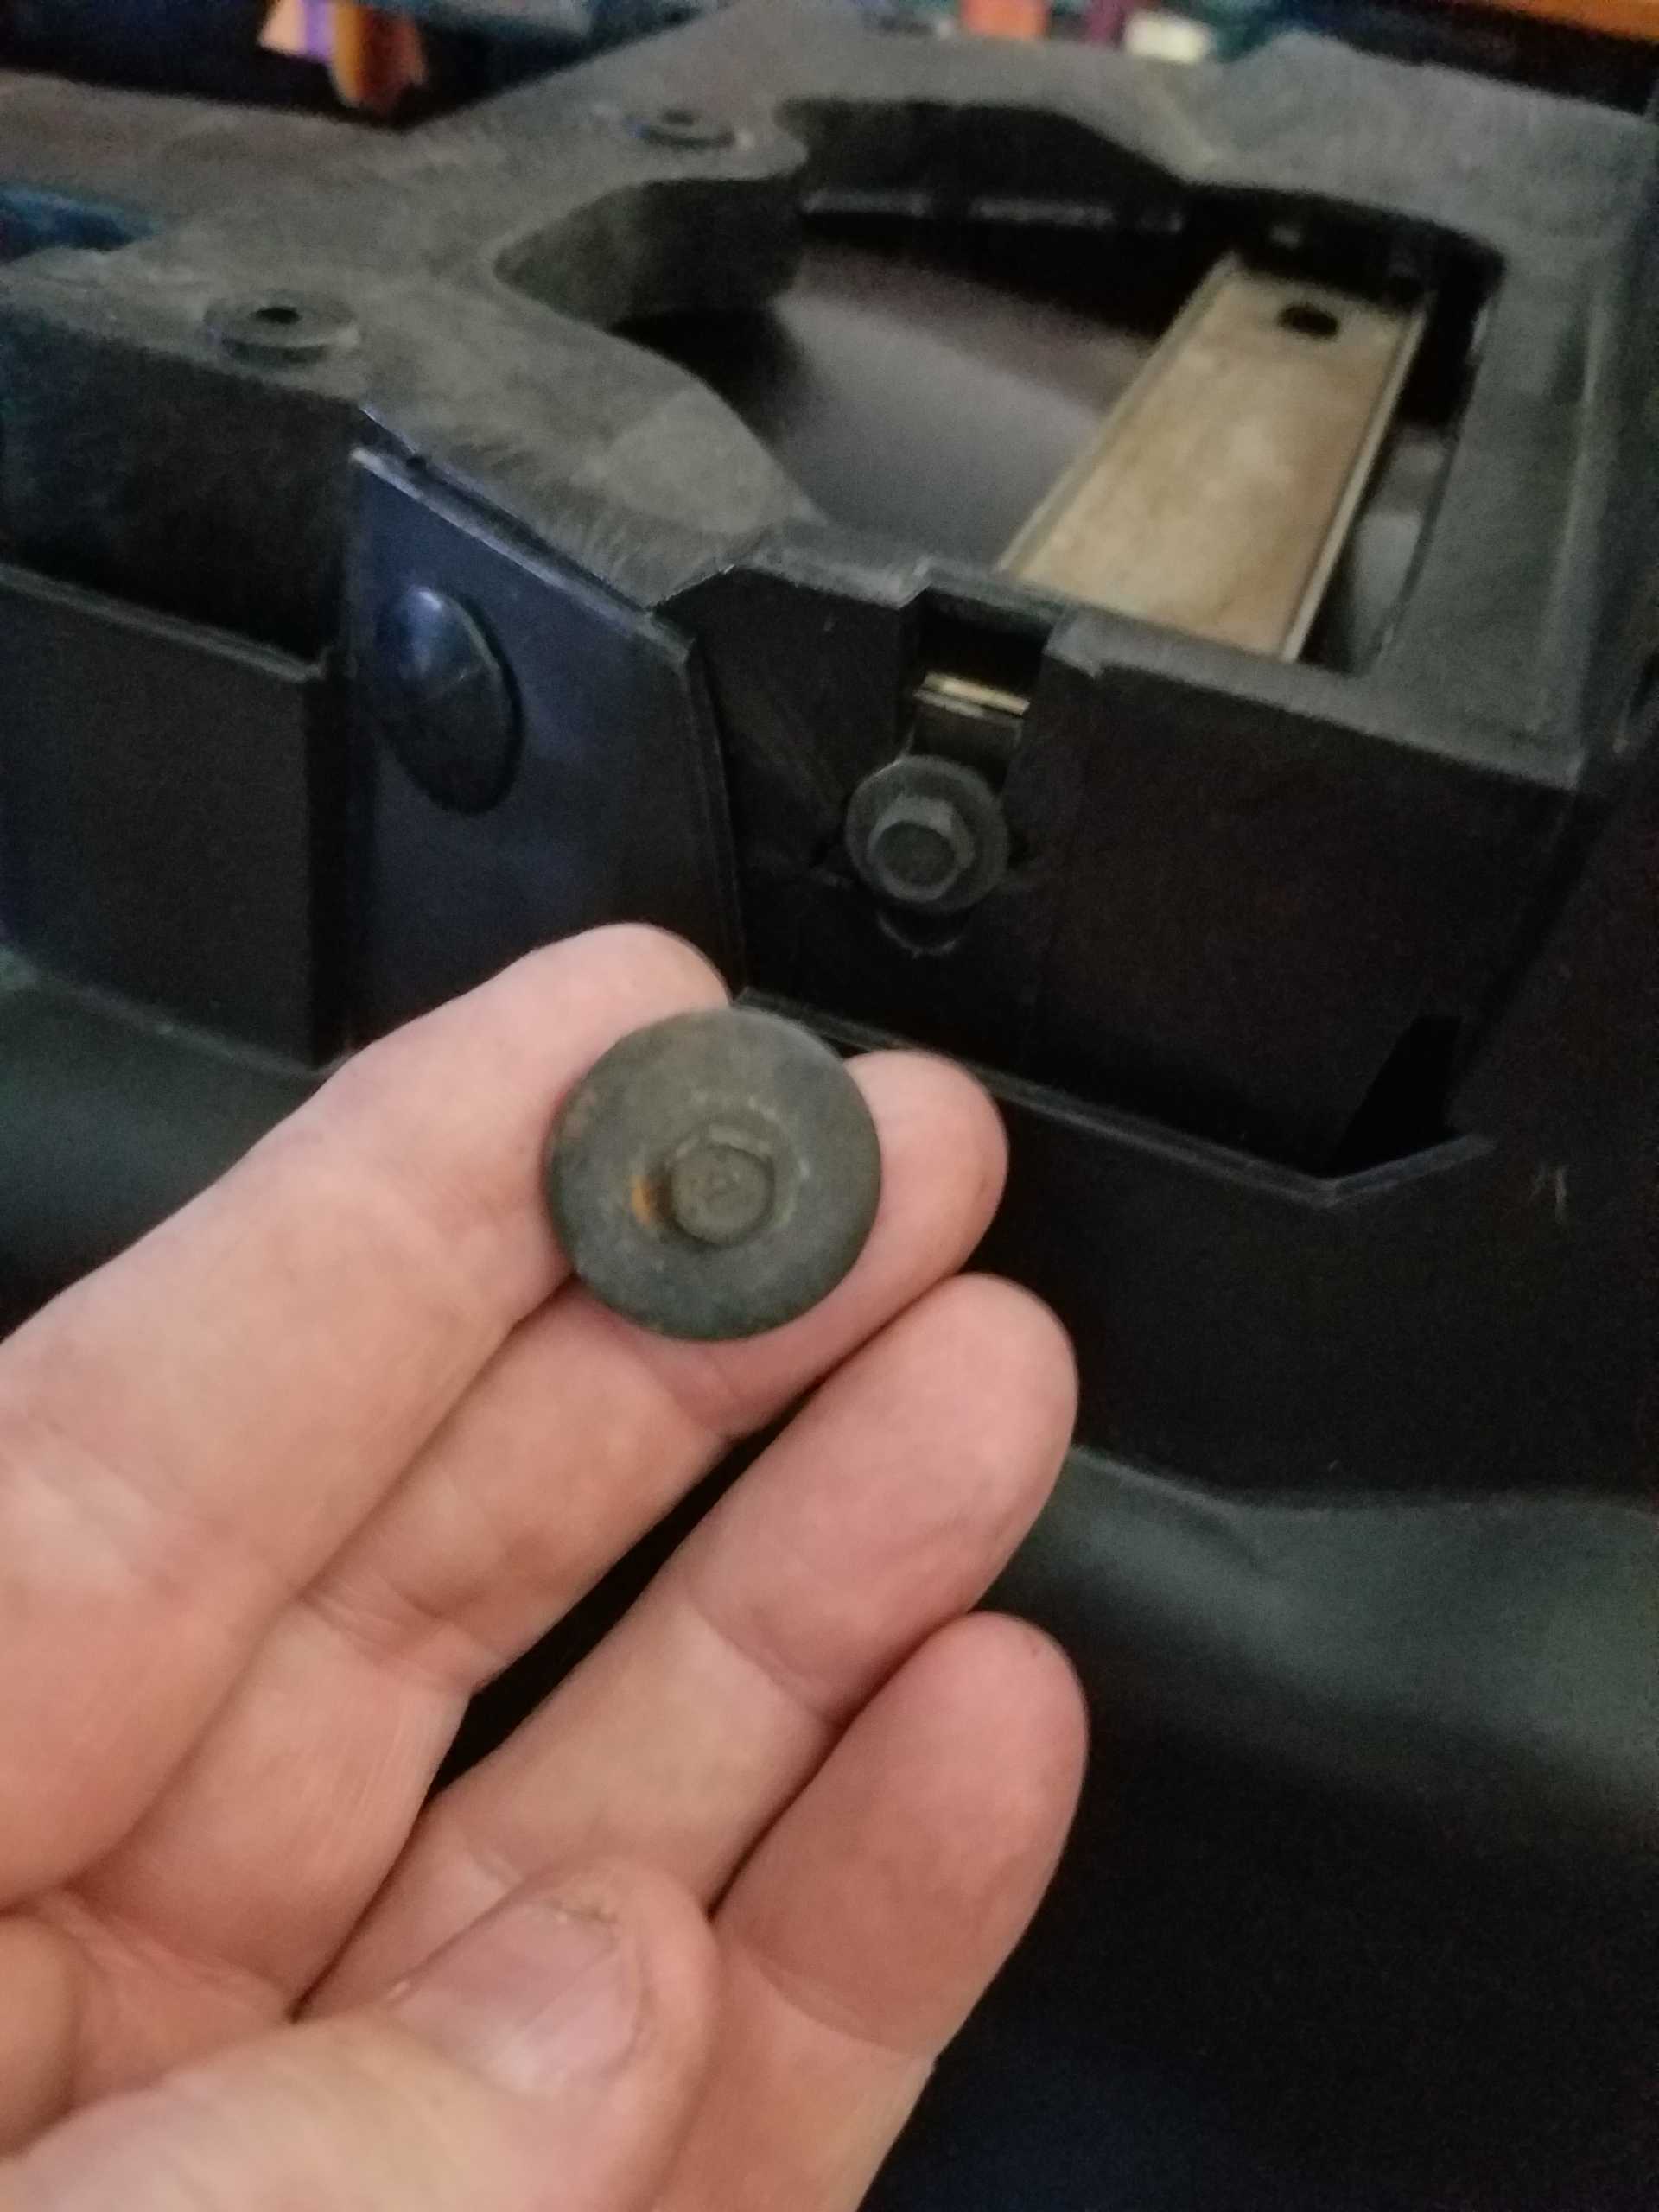
Next I need to restore the center console sub-frame. I've seen a lot worse but some of the tabs will get cracked or broken completely no matter how well cared for so while the interior is disassembled I hunted around for all the broken plastic tabs and super-glued them back in place. I also filled all cracks with plenty of superglue as well. I also ground off the rivets holding the stereo in place. If you want to reuse the original stereo then you can simply bolt this back in place but it is ALWAYS in the way if you do any stereo upgrade so it's better to remove it now than trying to do it while it is in the car. A Dremel with a cut off wheel works perfectly.
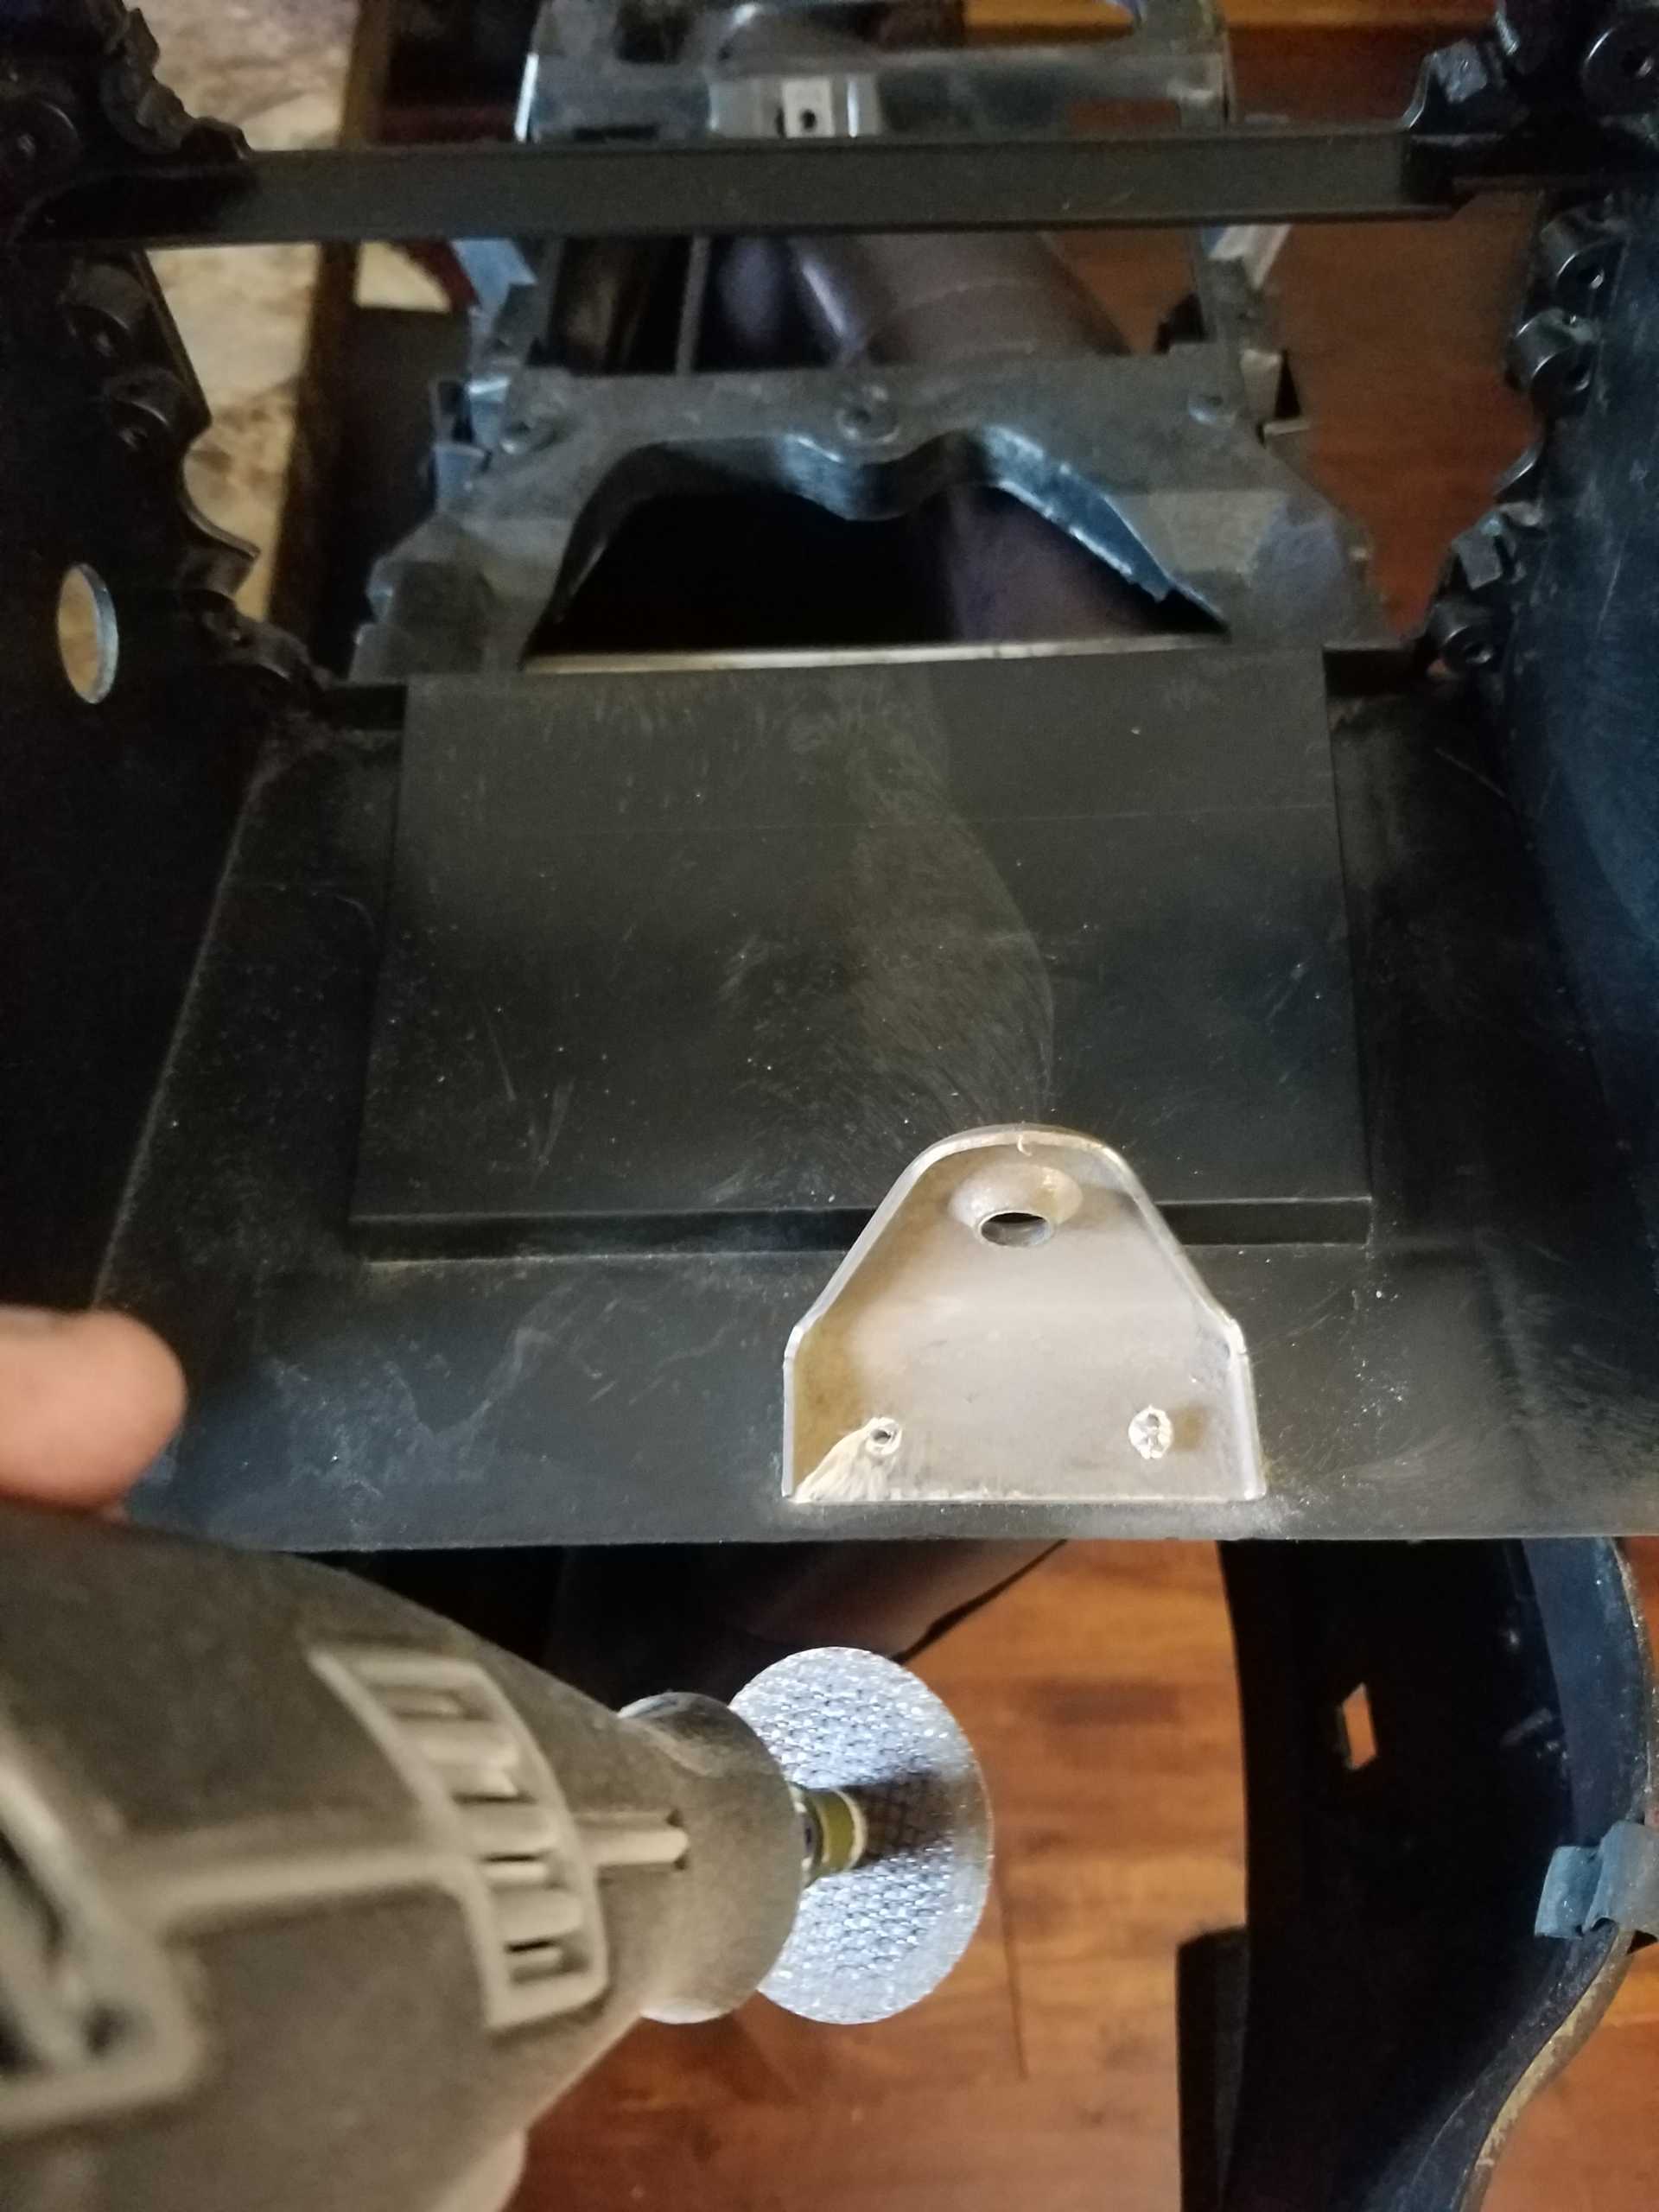
One other essential change is to replace the 7mm screws on the side with 7mm screws with large washers like these from the front trunk area. These crack easily so gluing the area and then putting larger washers on solves the problem.
 [This message has been edited by Toddster (edited 11-15-2020).]
|
|
|
|
Toddster
|
SEP 26, 10:08 PM
|
|
Moving right along:
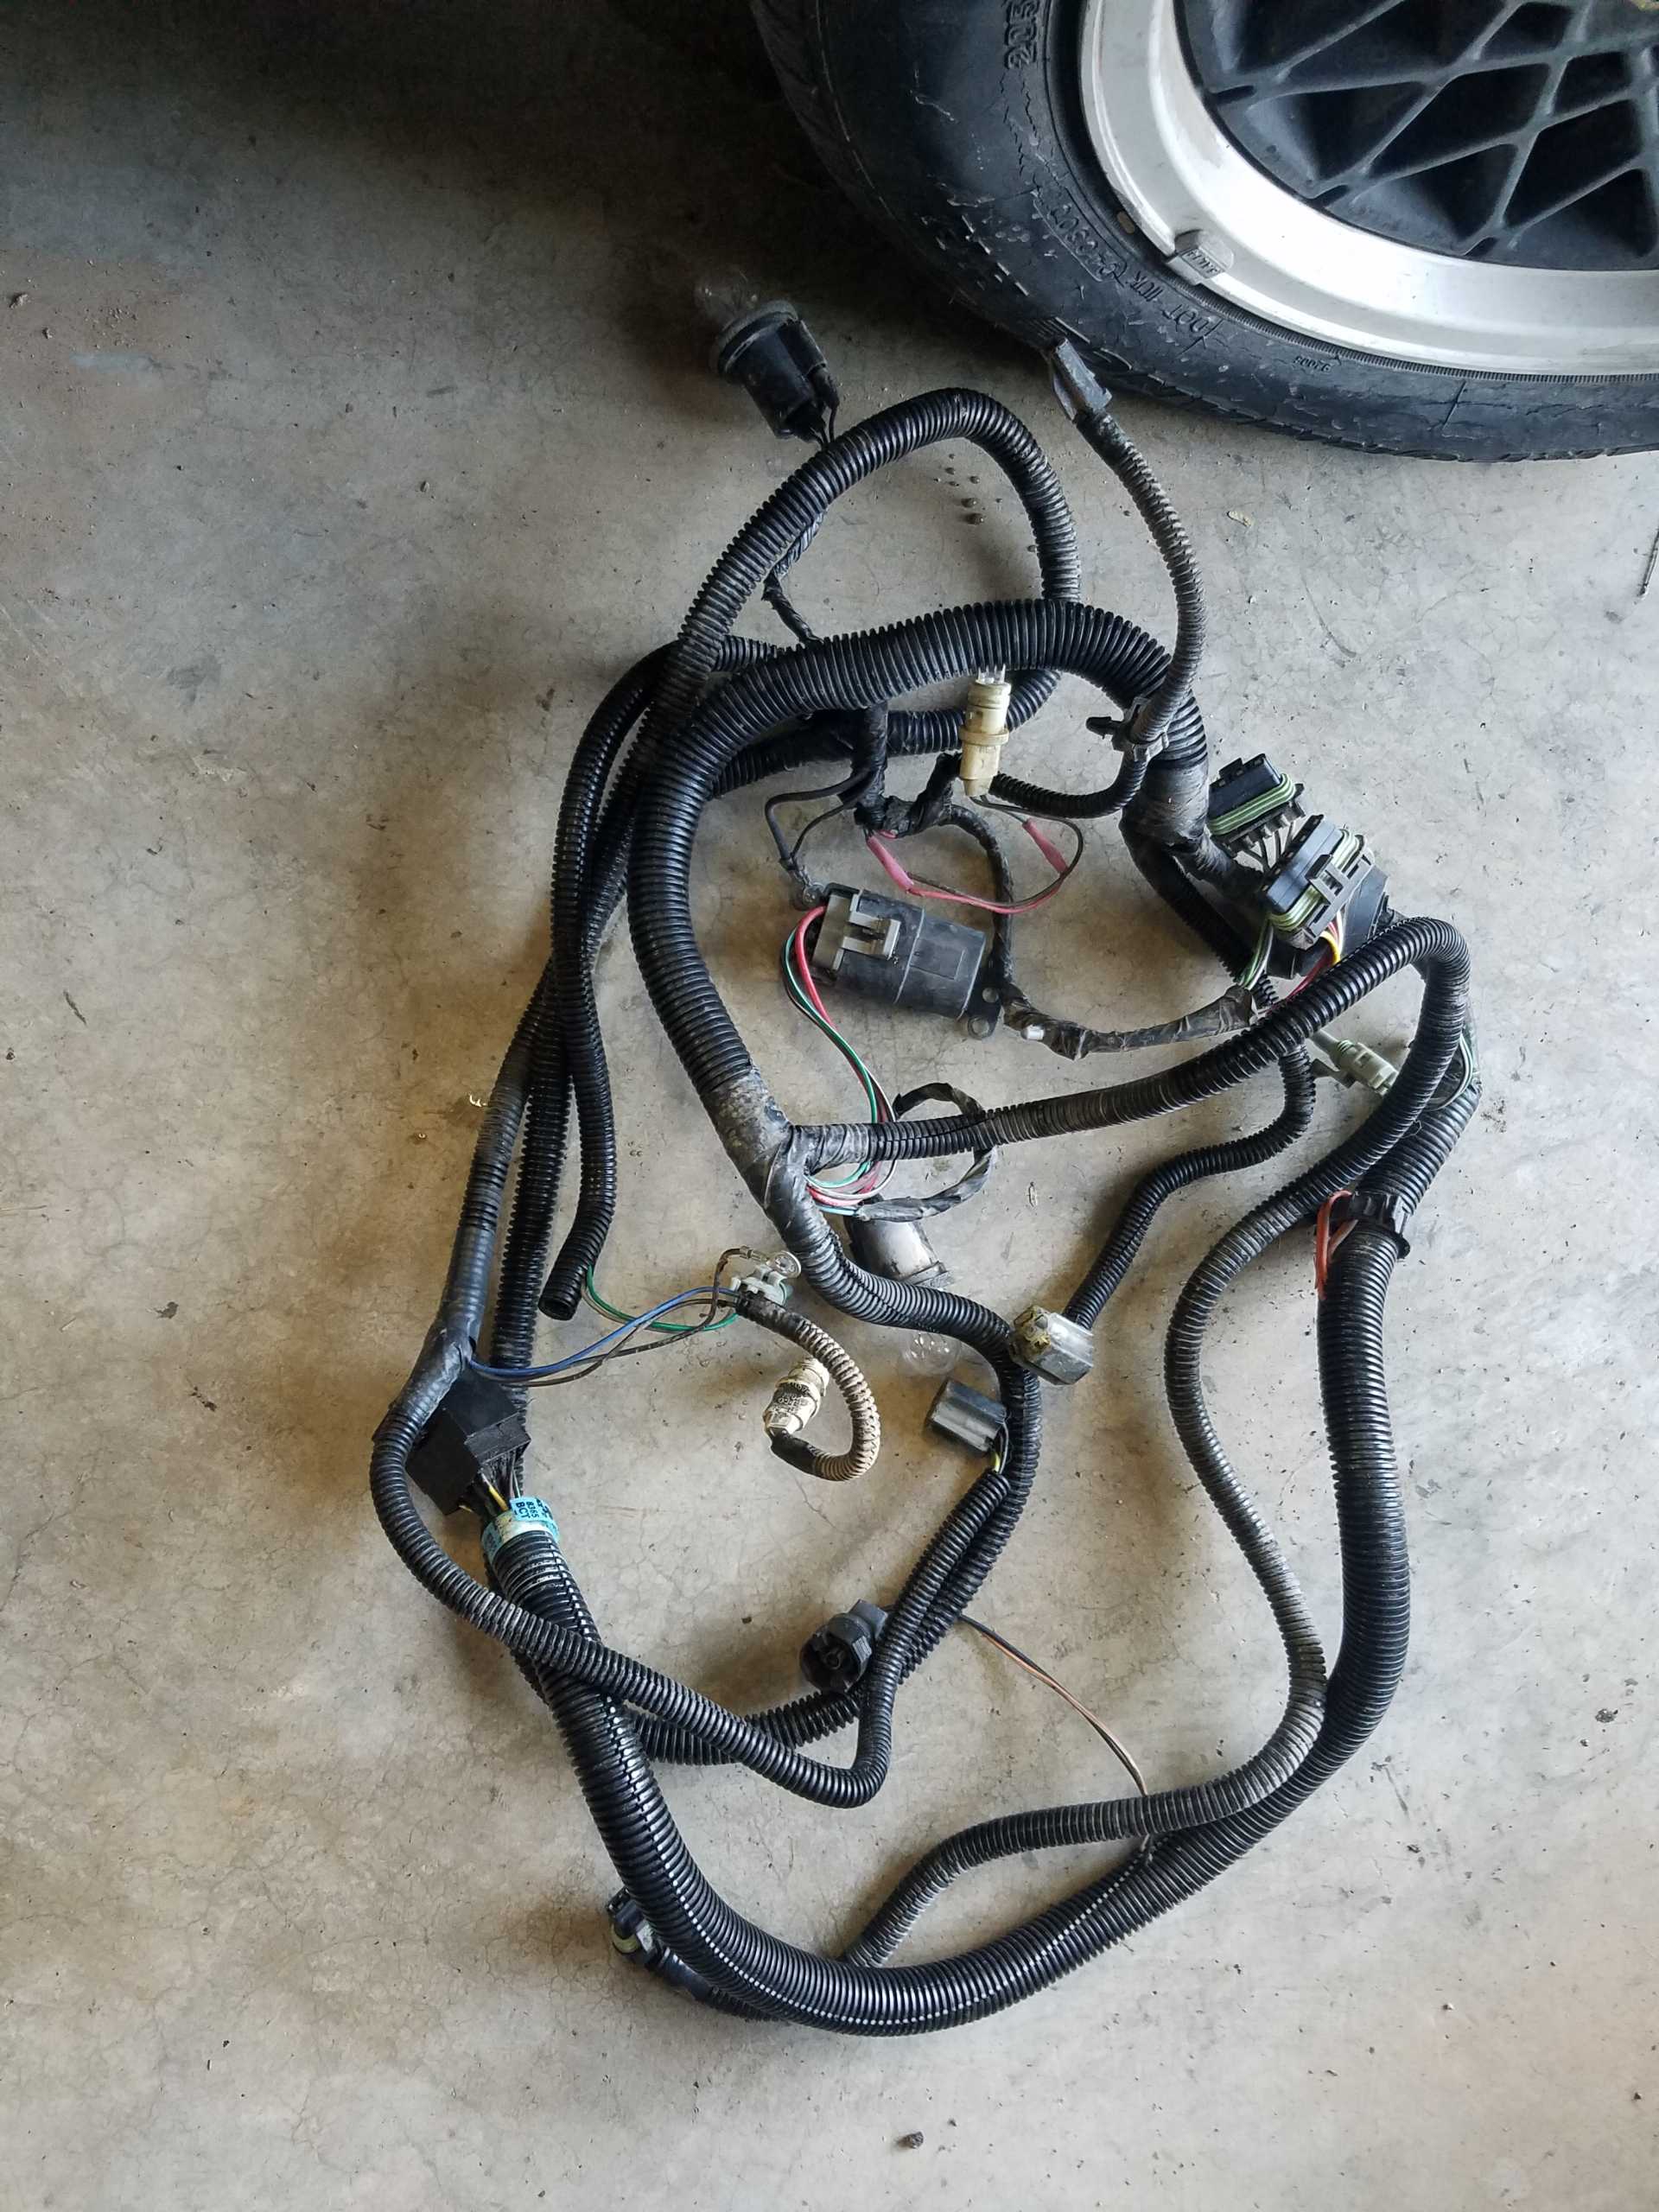
FYI. restoring a car is a lot easier and faster than restoring AND modifying. Changing from Auto to 5-speed is not particularly difficult but it is time consuming because you have to first remove all the Auto stuff and then add the 5-speed stuff. Along the way, I have lots are parts that need repair or restoration such as the headlight motors, the front wiring harness (mouse nibbles), heater box, and so on.
The next step is to remove the hood. BIG TIP: Using foam plumbing noodles is a great way to protect panels

Since I am upgrading the horsepower, there will never be a better time to replace the radiator. I'm going to install a 3 core aluminum radiator so the first job is to remove the old one. I also removed the headlight assemblies and front wiring harness (all of which need repairs). Great time to do a little front end clean-up! BIG TIP: to remove the front wiring harness you must first remove the two 10mm bolts holding the upper AC condenser brackets. These are held in by RUBBER compression nuts. Be sure to pre-spray with lots of WD-40 or penetrating lube and let sit for an hour before SLOWLY turning the bolts out. Otherwise, you will just tear up the nuts and need to replace them.
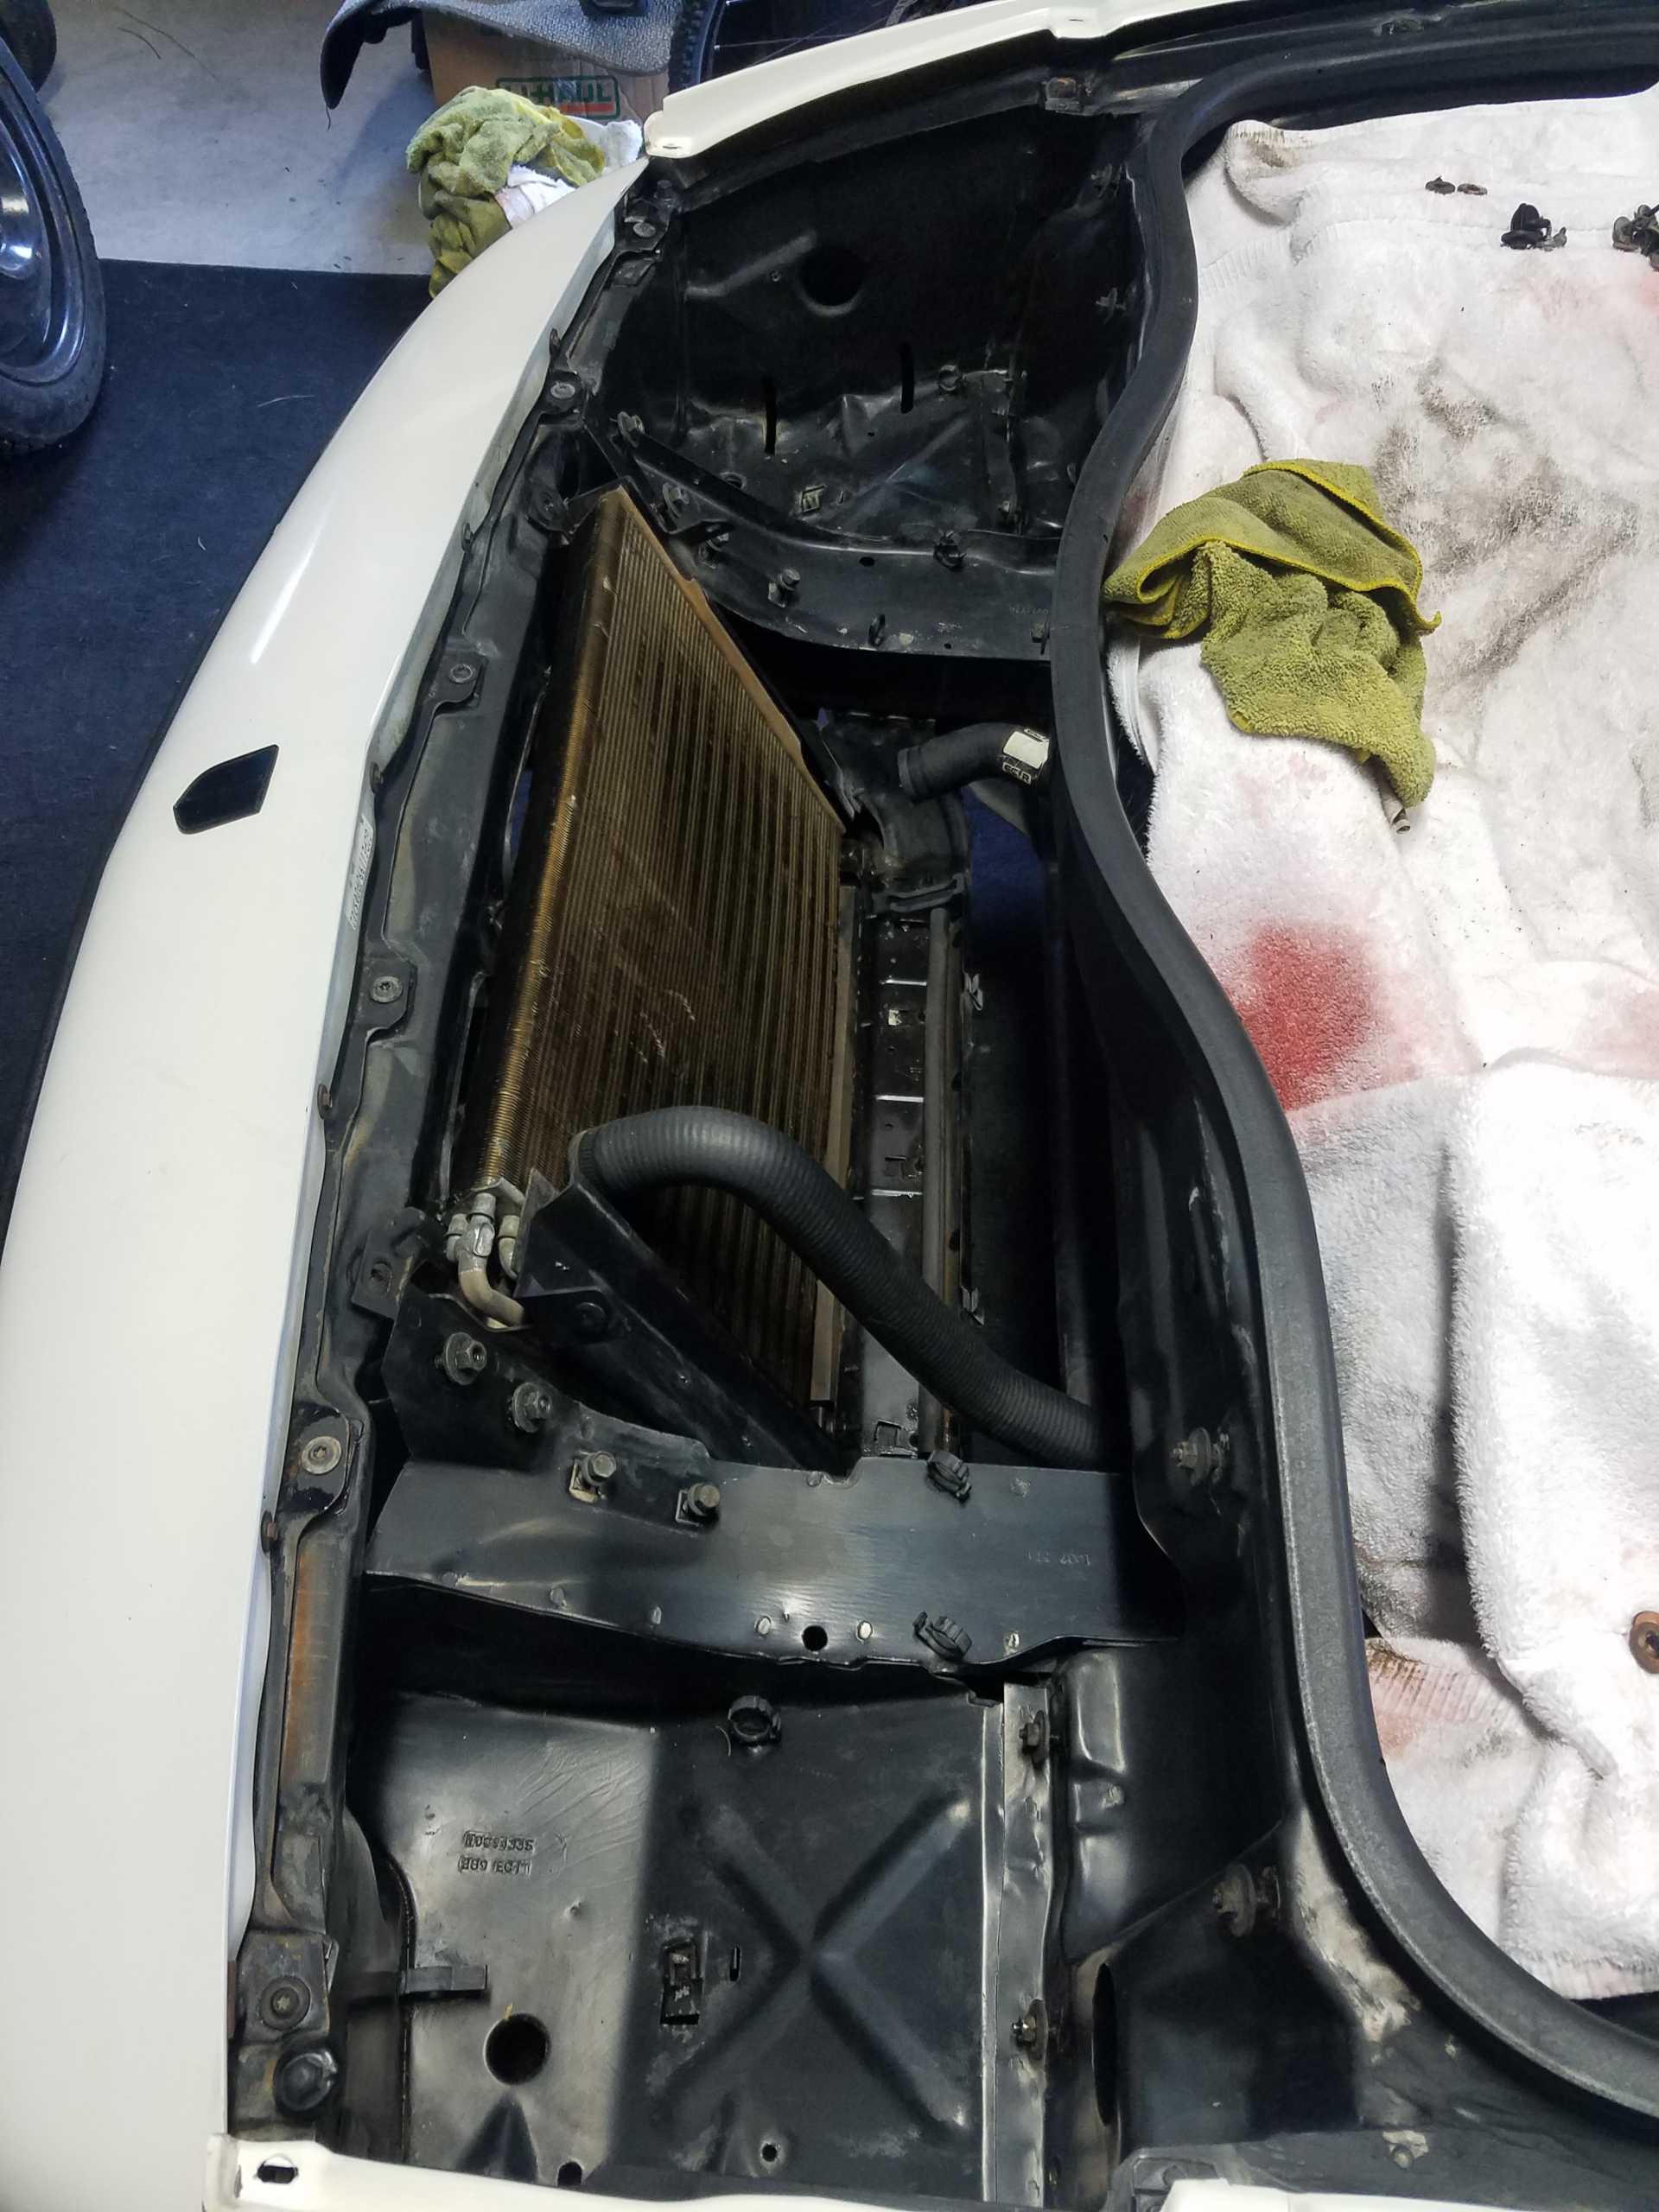
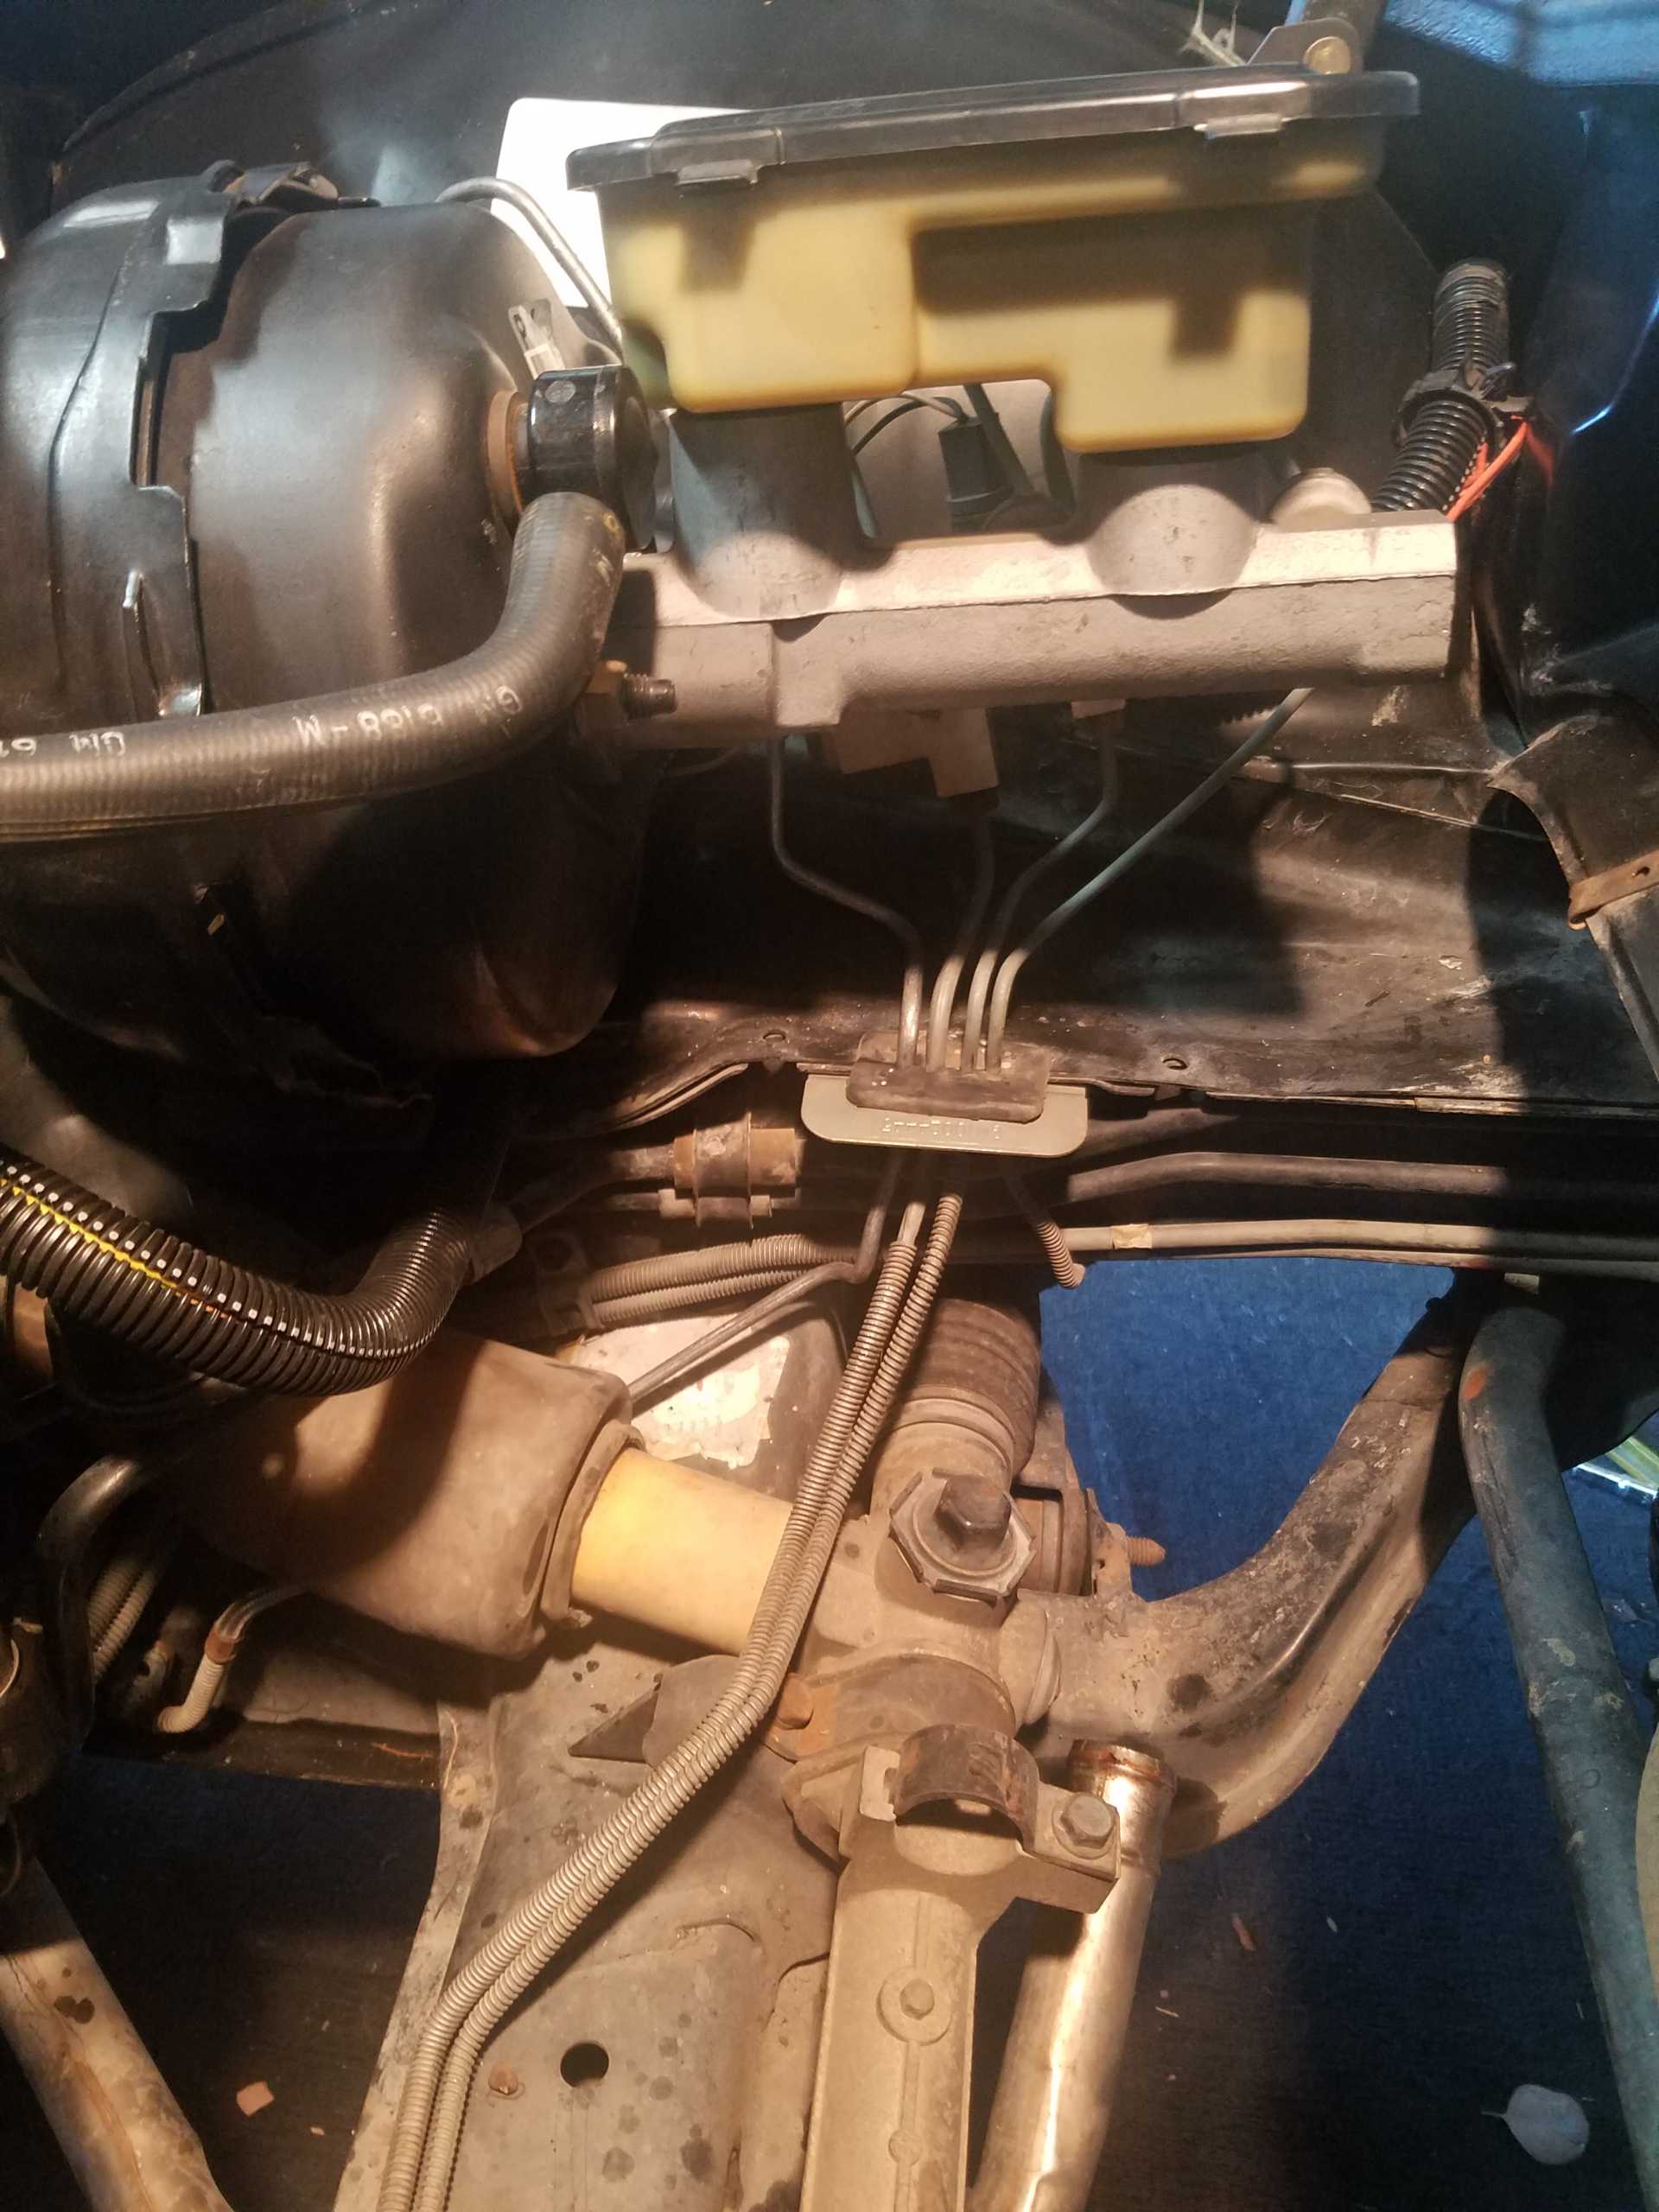
Routing the clutch hydraulic line is not an easy job. You have to remove the old auto coolant lines (which I have left in place for this picture) I do not need them so I will just cut them out with dykes and recycle them. But if you need to keep them for some reason, you have to remove the intermediate steering shaft and drop the driver side coolant line, as well as removing the nuts and bolts underneath. The new 5-speed line will go back in the same location. The 1987 line I am using fits perfectly onto the 1988 except for the front end because of the different suspension in 1988. Just drill a new hole for the line clamp to hold onto something solid.
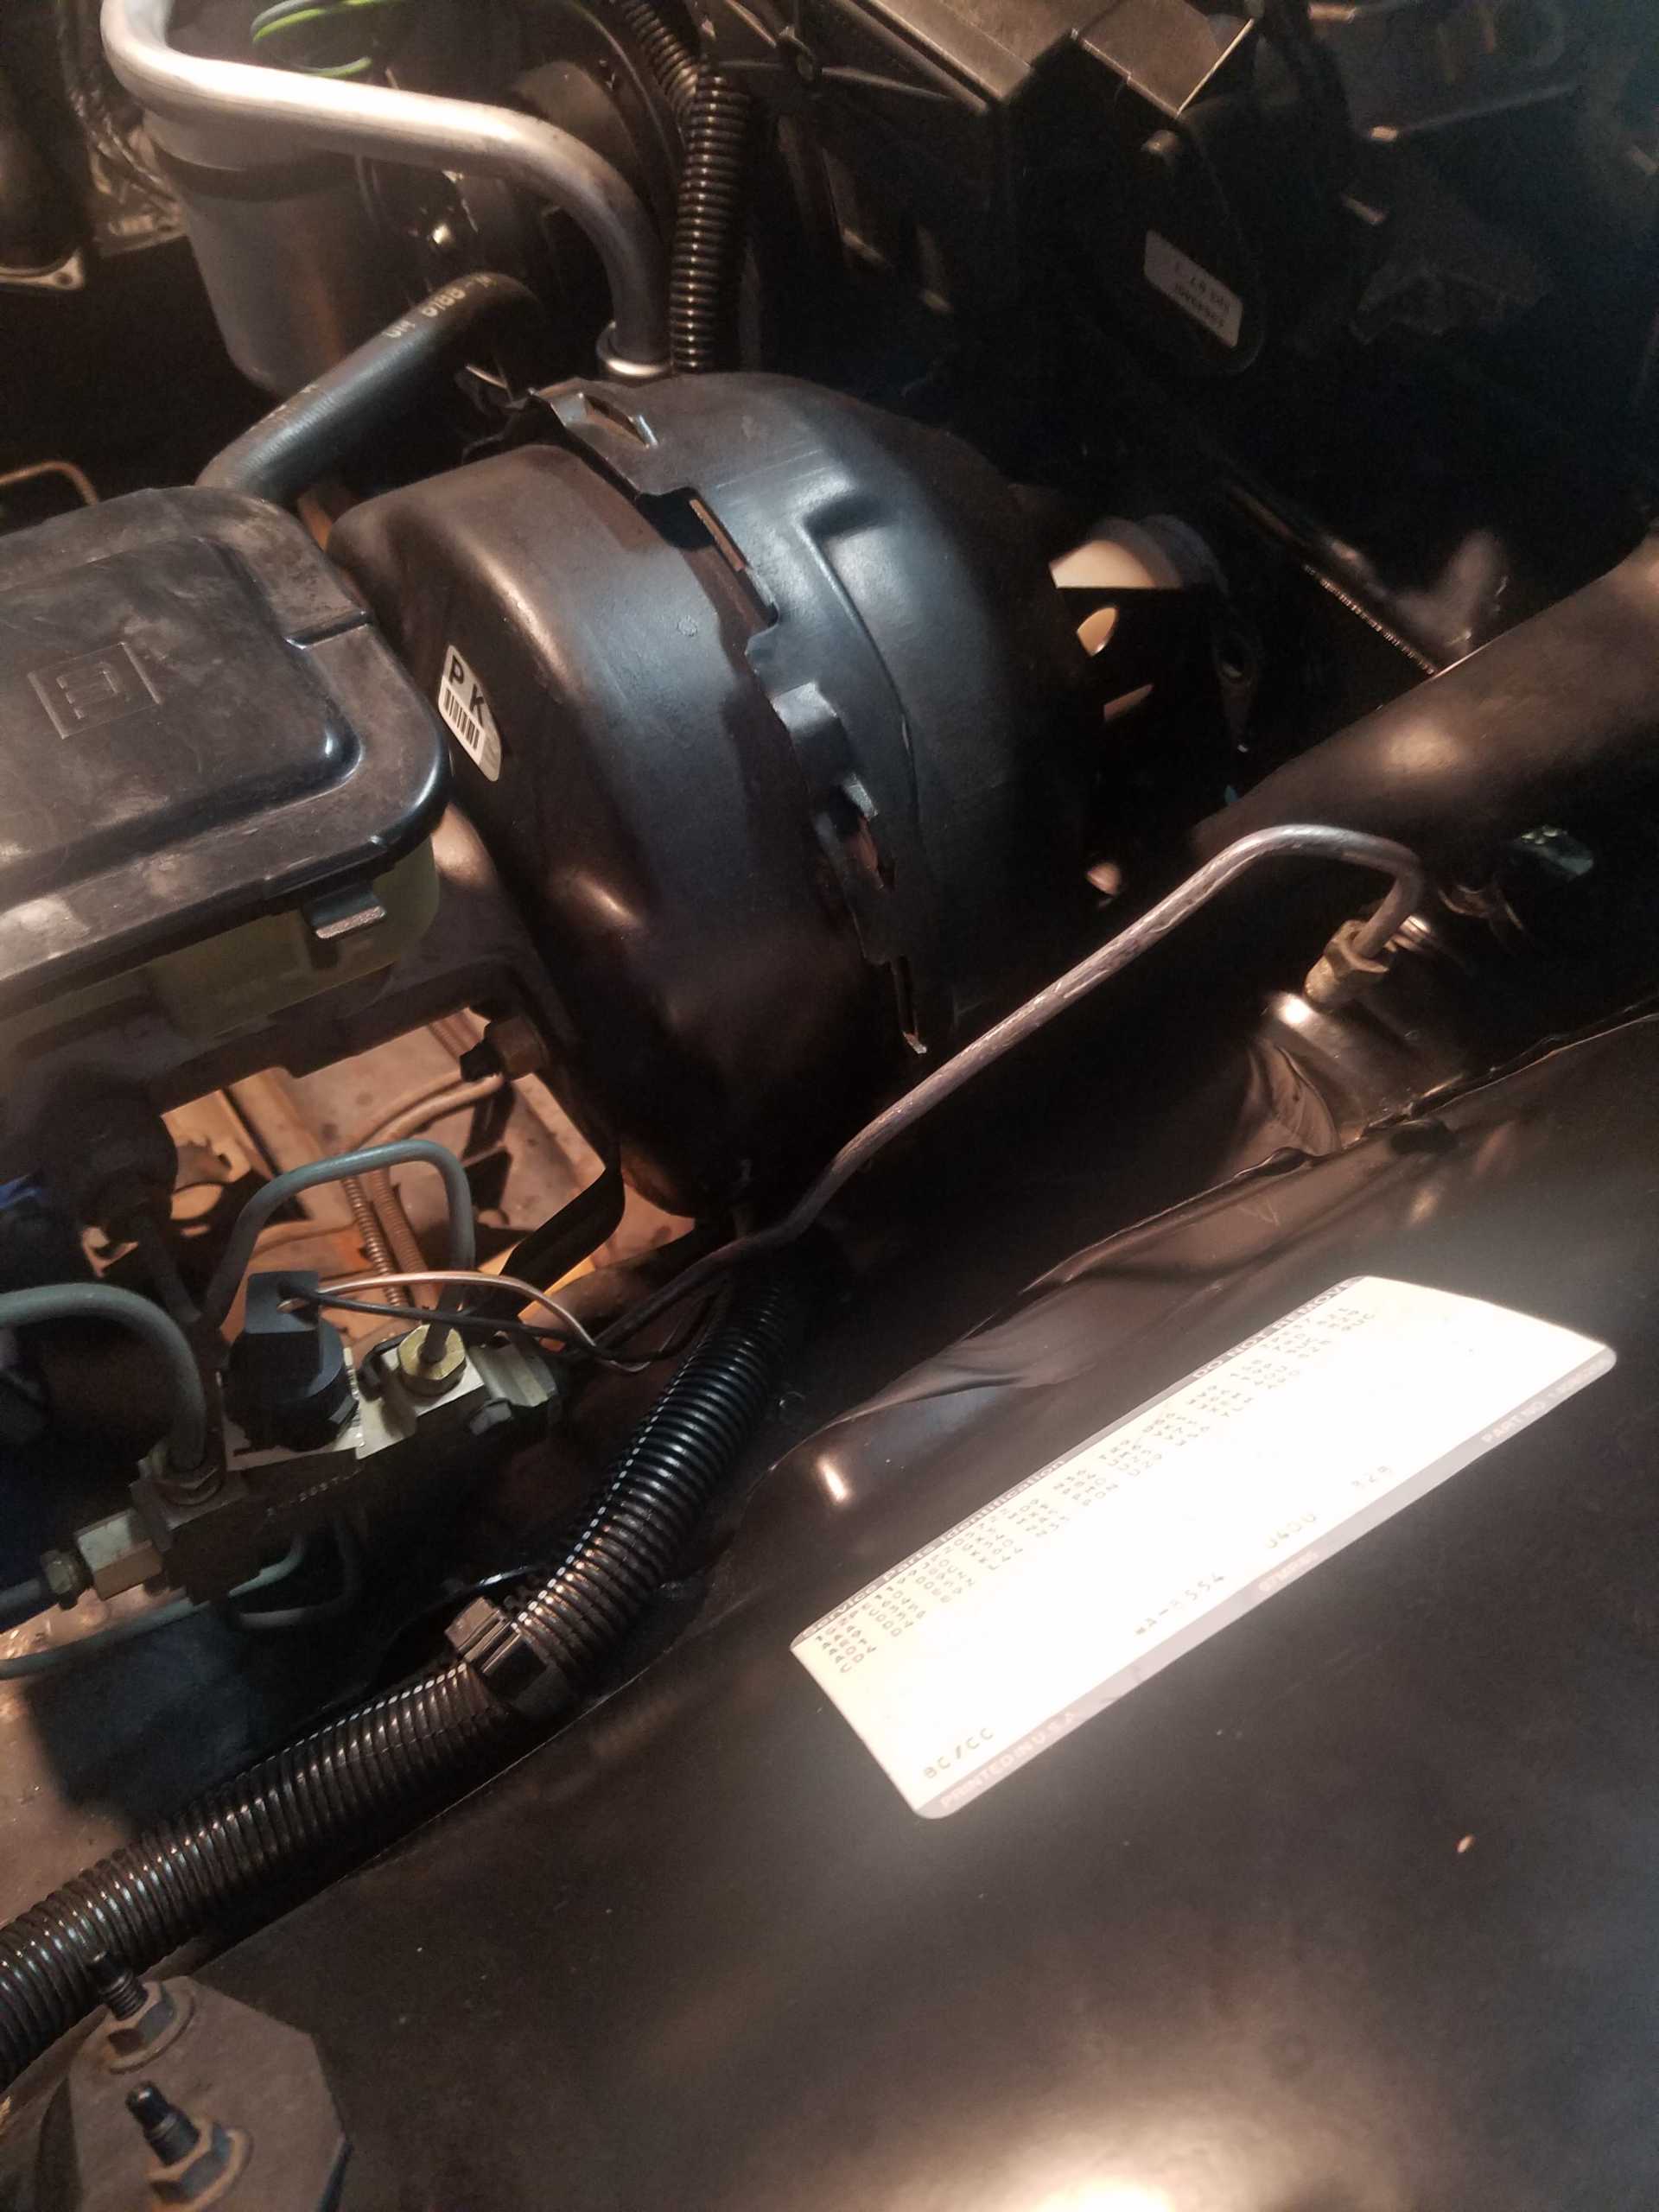
And here is the new line waiting for the Clutch Master cylinder....which I can not mount until I get the new pedal assembly in place later.
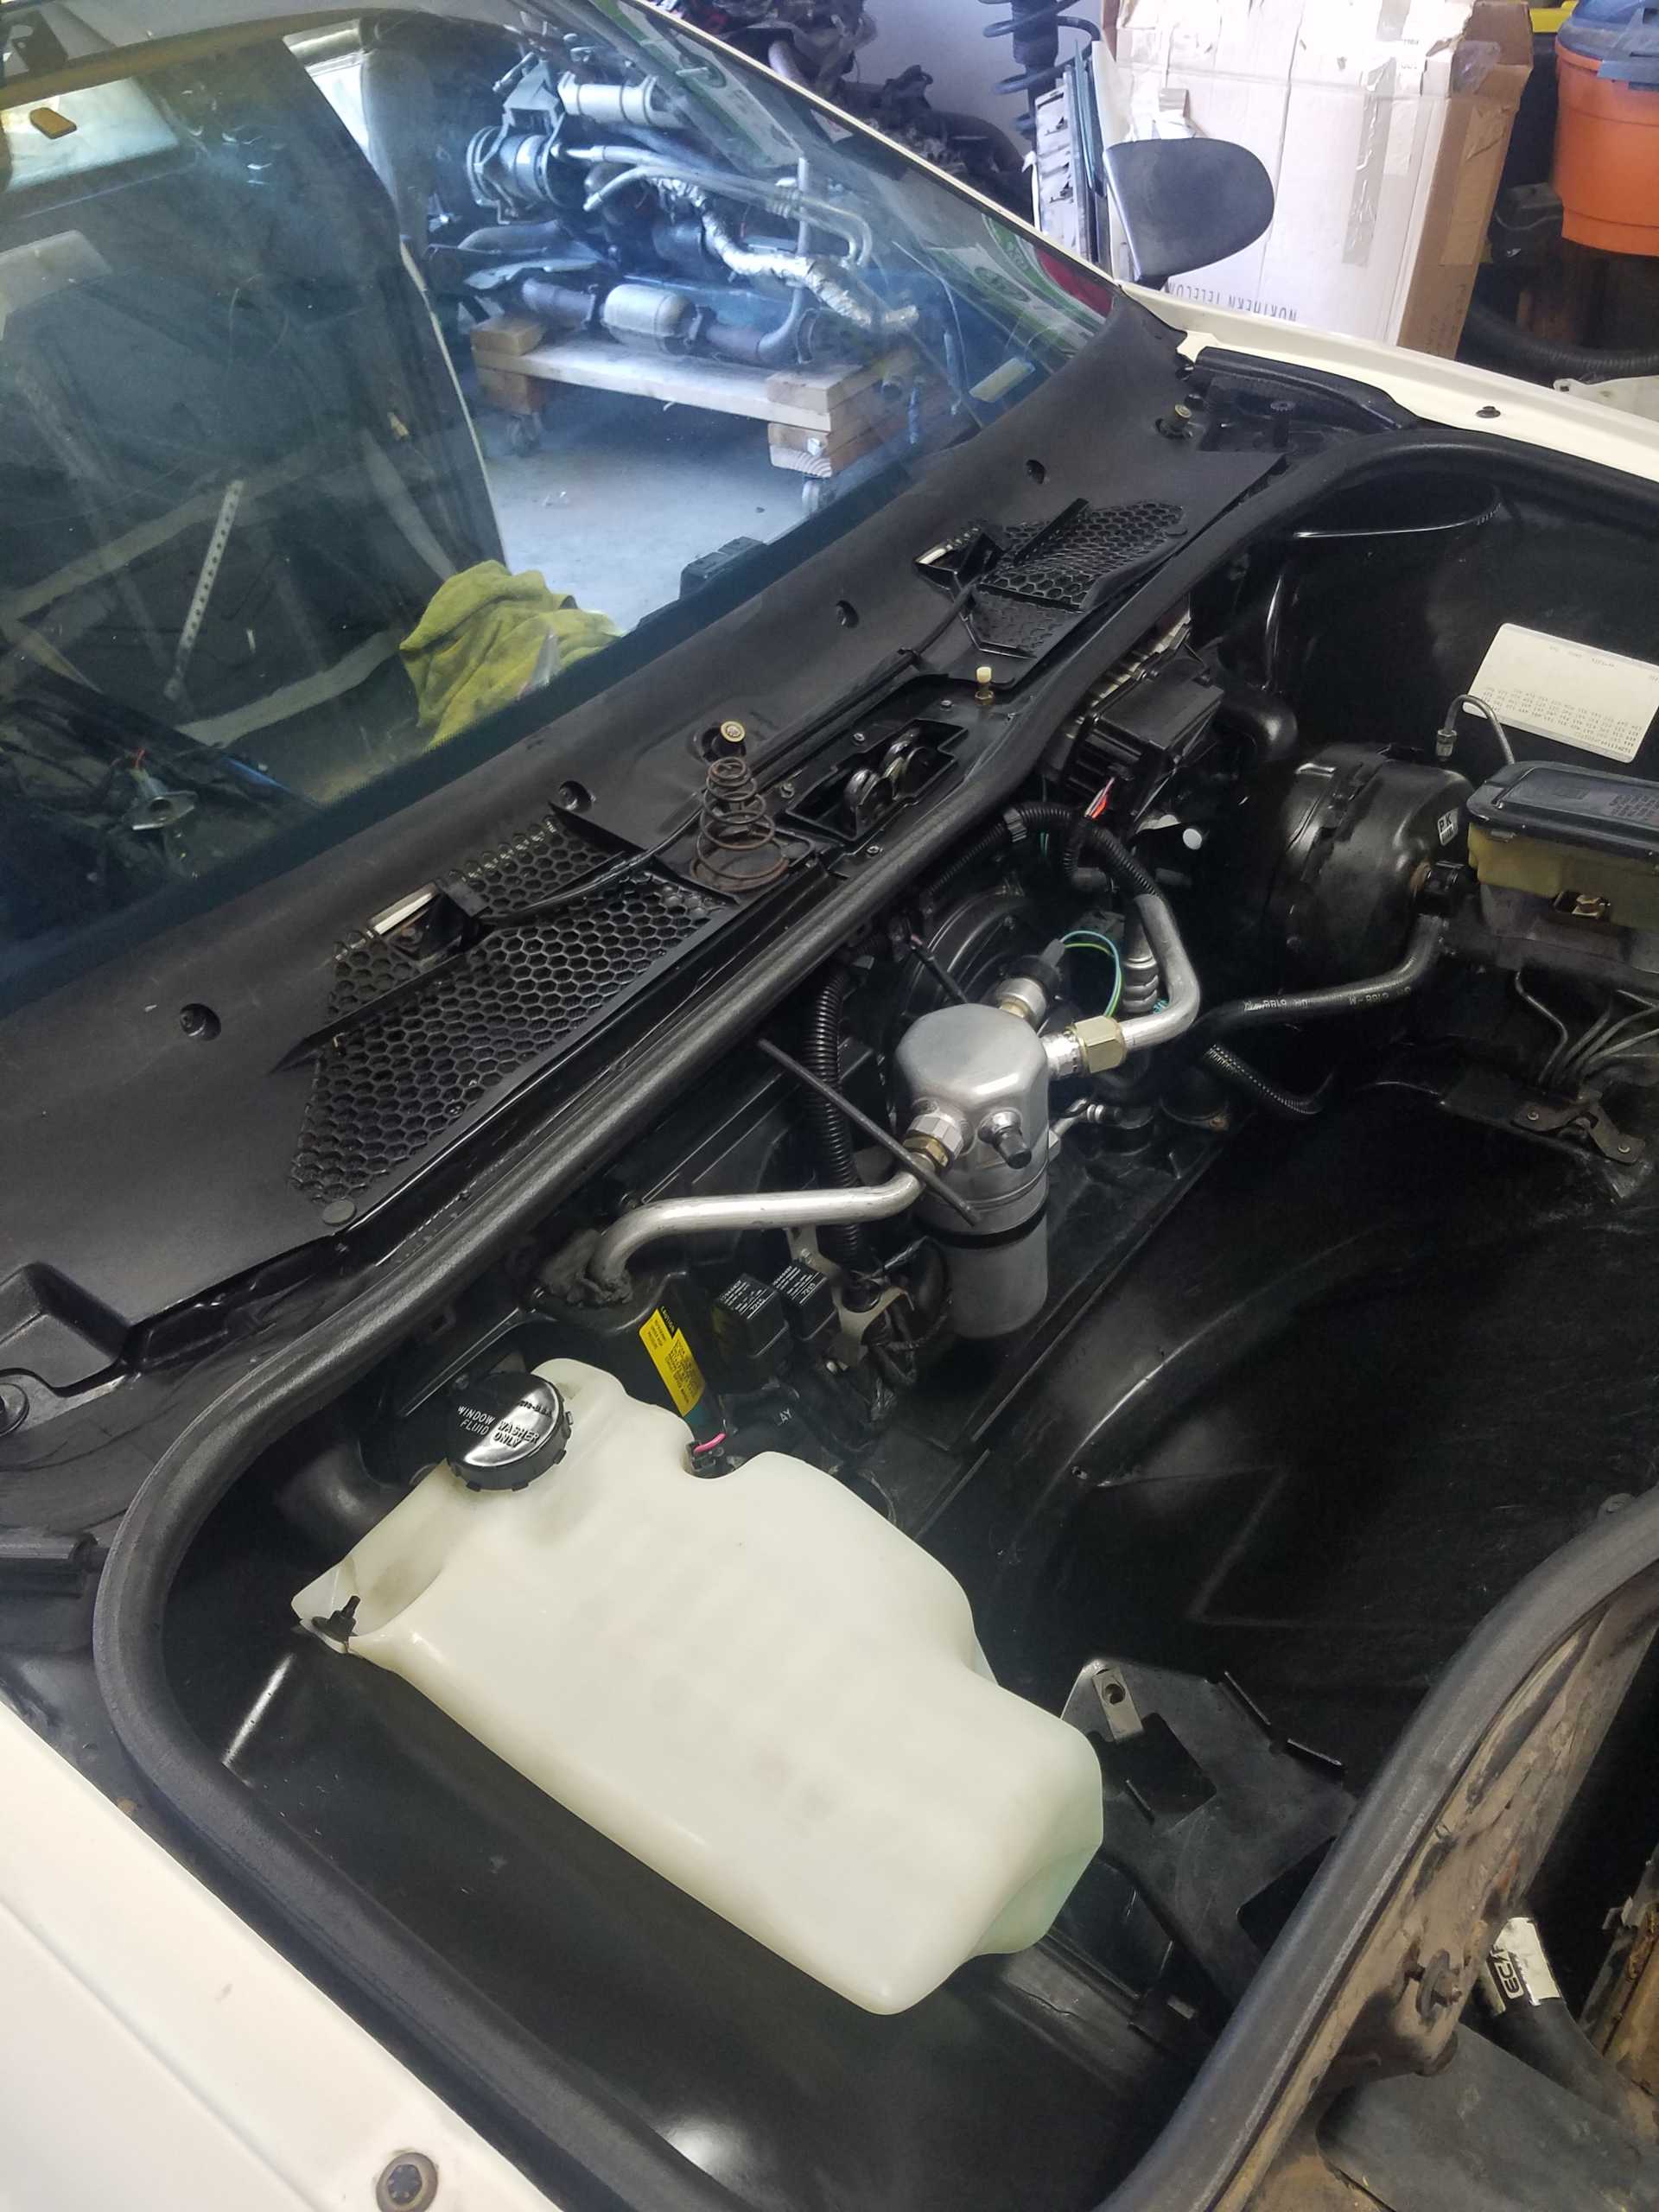
The front compartment is now completely put back together. I scavenged the plastic valence from a parts car and cleaned it up. I also replaced the AC Accumulator and filter. Looks great!
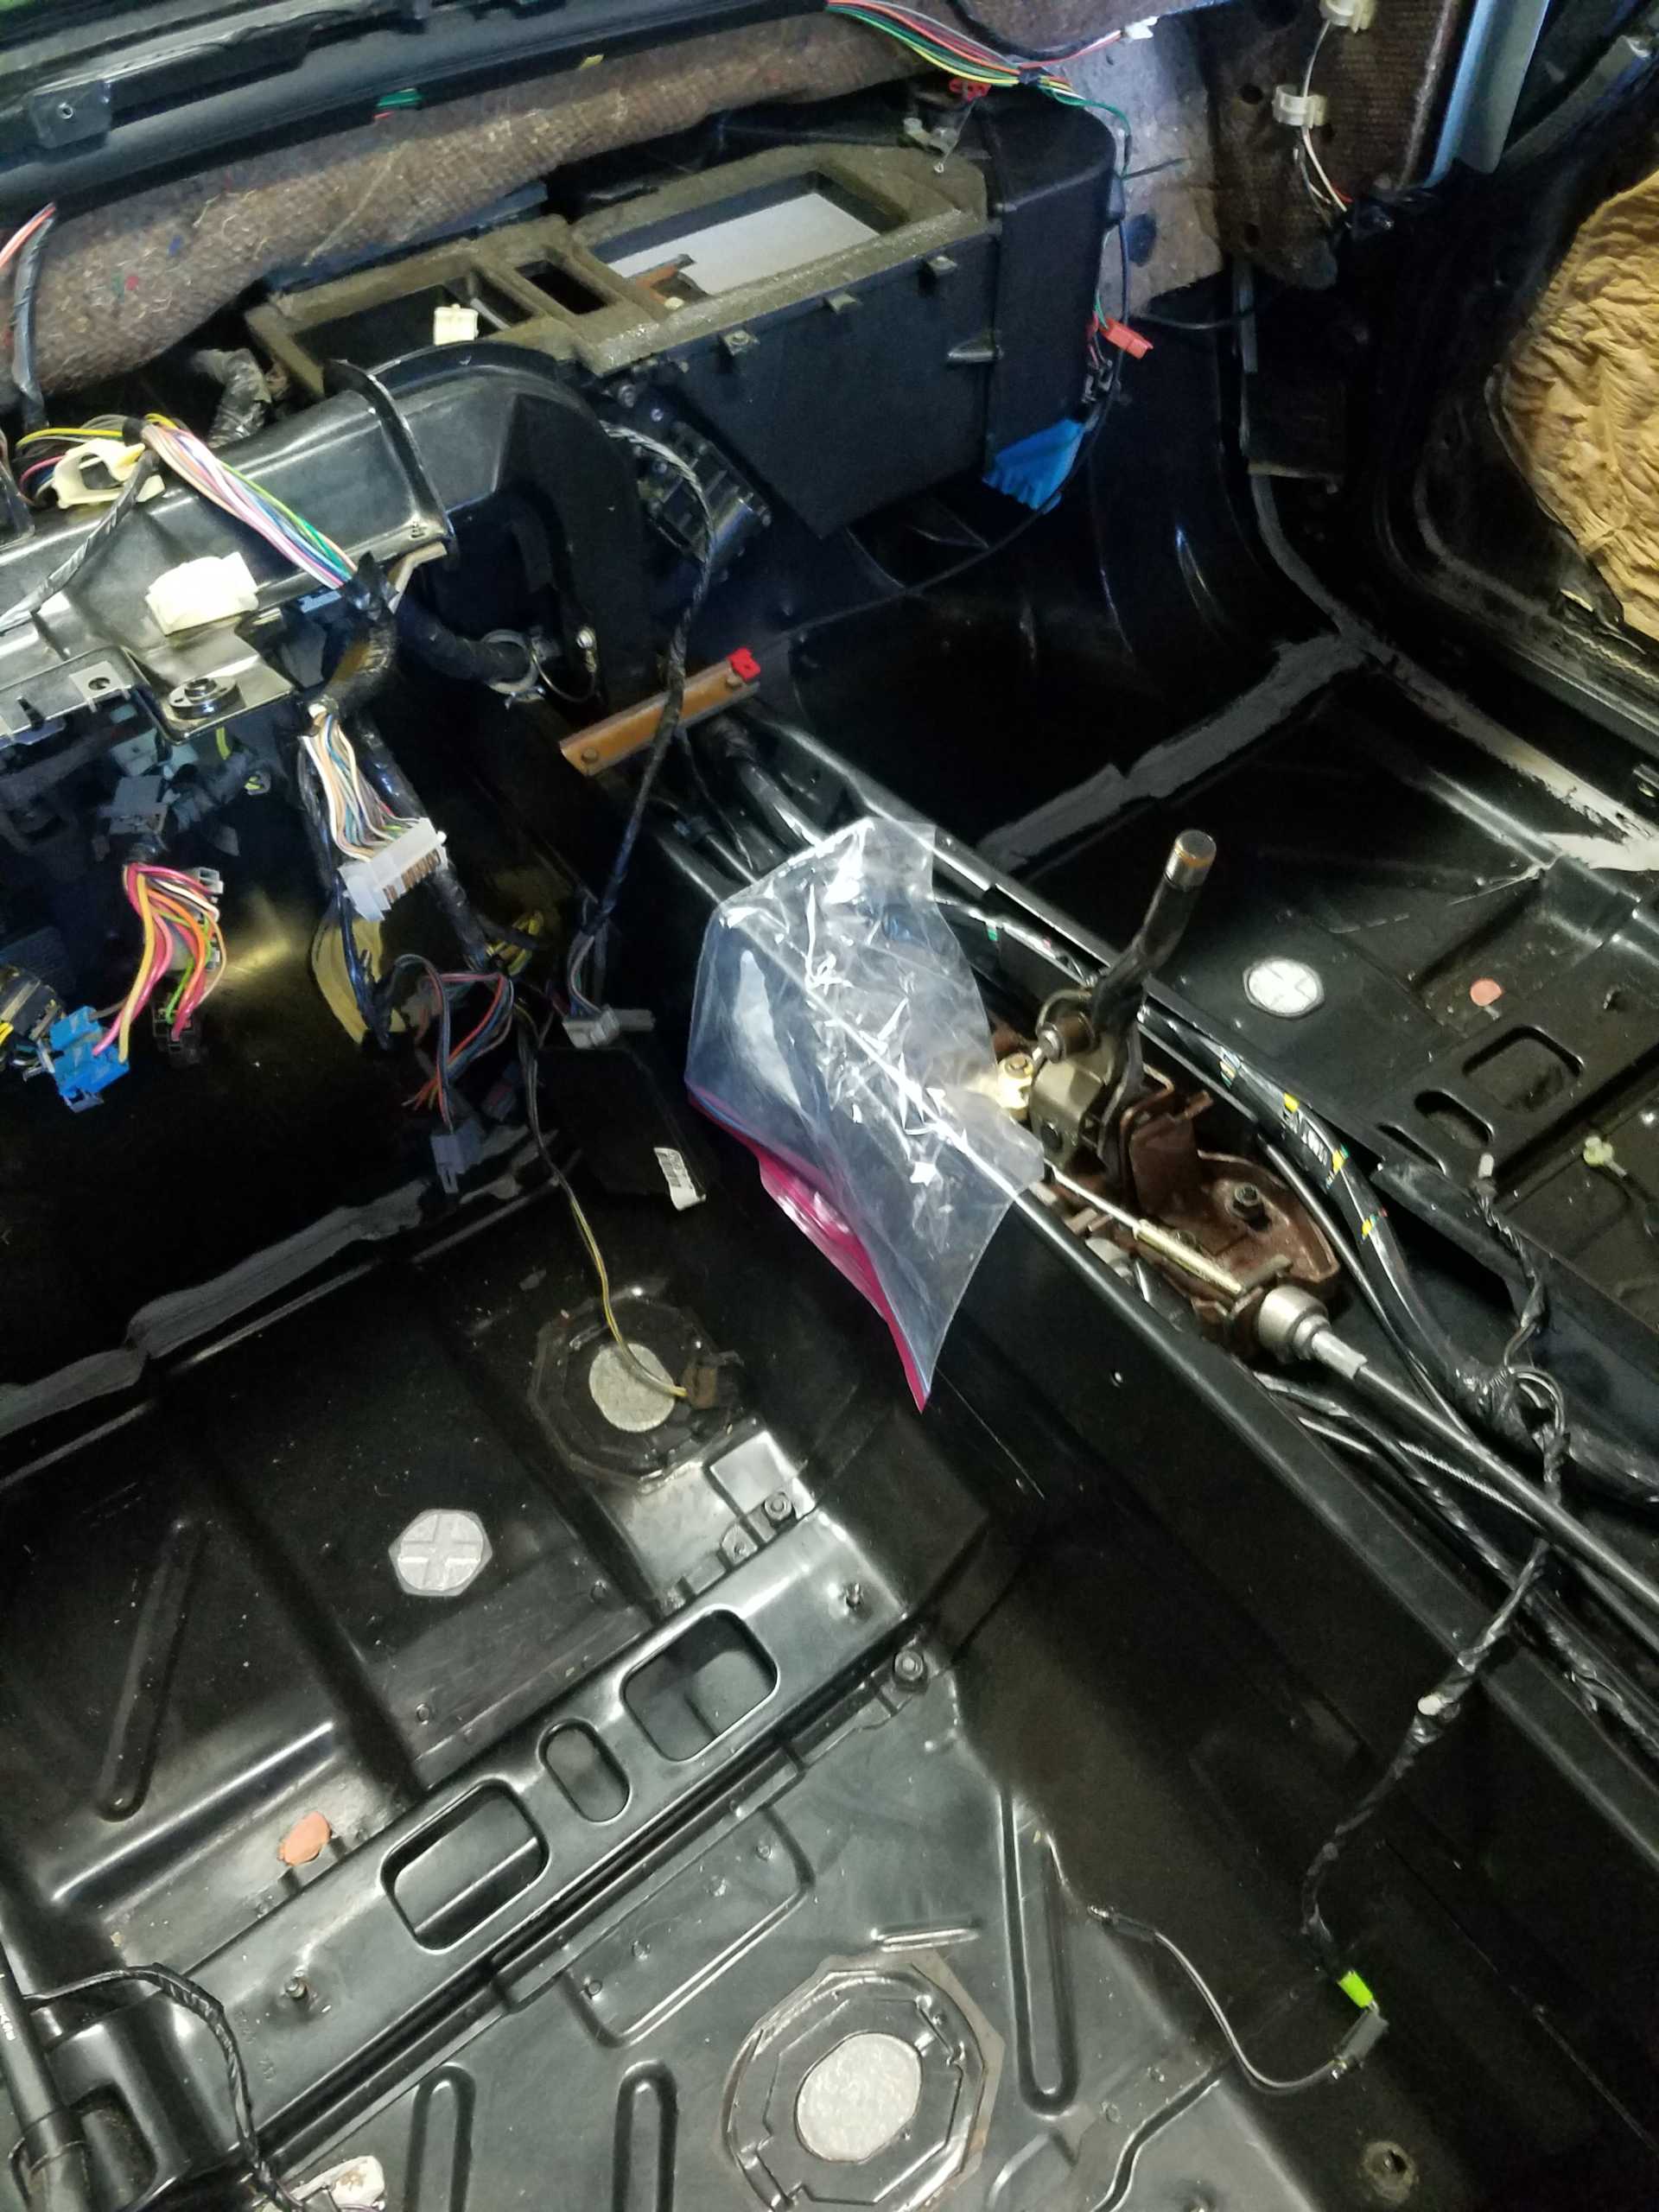
I had enough time today to clean up the entire interior and install the 5-speed shifter! The pedals, wiring, and steering column are next.
Over the next few evenings, I will repair the front wiring harness and rebuild the headlight motors to complete the entire front end except fr some more detailing. BIG TIP: if you are going to do some repainting, remove the panels enough to clean behind them. The last thing you want is loose dust flying around when you are spaying on paint. CLEAN EVERYWHERE![This message has been edited by Toddster (edited 11-15-2020).]
|
|
|
|
Fiero Thomas
|
SEP 27, 12:06 AM
|
|
|
Toddster your photos are not showing up
|
|
|
|
Toddster
|
SEP 27, 09:51 AM
|
|
| quote | Originally posted by Fiero Thomas:
Toddster your photos are not showing up |
|
I see them. They are in Photobucket, maybe there was a glitch last night. who else is having trouble?
|
|
|
|
Neils88
|
SEP 27, 06:31 PM
|
|
| quote | Originally posted by Toddster:
I see them. They are in Photobucket, maybe there was a glitch last night. who else is having trouble? |
|
I'm having the same issue. None of the pics are showing up.
|
|
|
|
Toddster
|
SEP 27, 07:25 PM
|
|
| quote | Originally posted by Neils88:
I'm having the same issue. None of the pics are showing up. |
|
That's freakish, I am looking right at them. Maybe it is your web service provider or browser? Do you at least see an ICON of some sort? Cliff you have any suggestions?[This message has been edited by Toddster (edited 09-28-2019).]
|
|
|
|
Toddster
|
SEP 28, 11:09 PM
|
|
|
|
|
Fiero Thomas
|
SEP 28, 11:14 PM
|
|
Still no photos. when you click on them it says this
You don't have authorization to view this page.
Is your page set to private?
Thomas
|
|
|
|
Toddster
|
SEP 28, 11:22 PM
|
|
| quote | Originally posted by Fiero Thomas:
Still no photos. when you click on them it says this
You don't have authorization to view this page.
Is your page set to private?
Thomas |
|
No, it's "Public" but perhaps there is something about the URL that is incomplete. Let me experiment. Stick around
|
|
|
|
hnthomps
|
SEP 29, 08:29 AM
|
|
All of the photos show up just fine for me.
Nelson
|
|
|