|
| World's slowest Fiero/Quad 4 Swap (Page 25/51) |

|
Quadfather
|
JAN 10, 10:05 PM
|
|
|
|
|
Quadfather
|
JAN 16, 09:58 PM
|
|
Today I learned how easy it is to grind too much material off oversized piston rings.
I watched a bunch of YouTube videos about making a DIY ring grinder and came up with this rig that worked great.

Unfortunately, I took too much material off the first couple of rings and the gap is too big, so tonight I ordered yet another set.
The internet says it’s ok to have gaps that are a little too big, but these are so cheap I might as well get another set and get the gaps just right. Loads of other work to do while I’m waiting for the new set.[This message has been edited by Quadfather (edited 01-16-2021).]
|
|
|
|
Quadfather
|
FEB 21, 08:41 PM
|
|
|
|
|
Quadfather
|
FEB 21, 08:59 PM
|
|
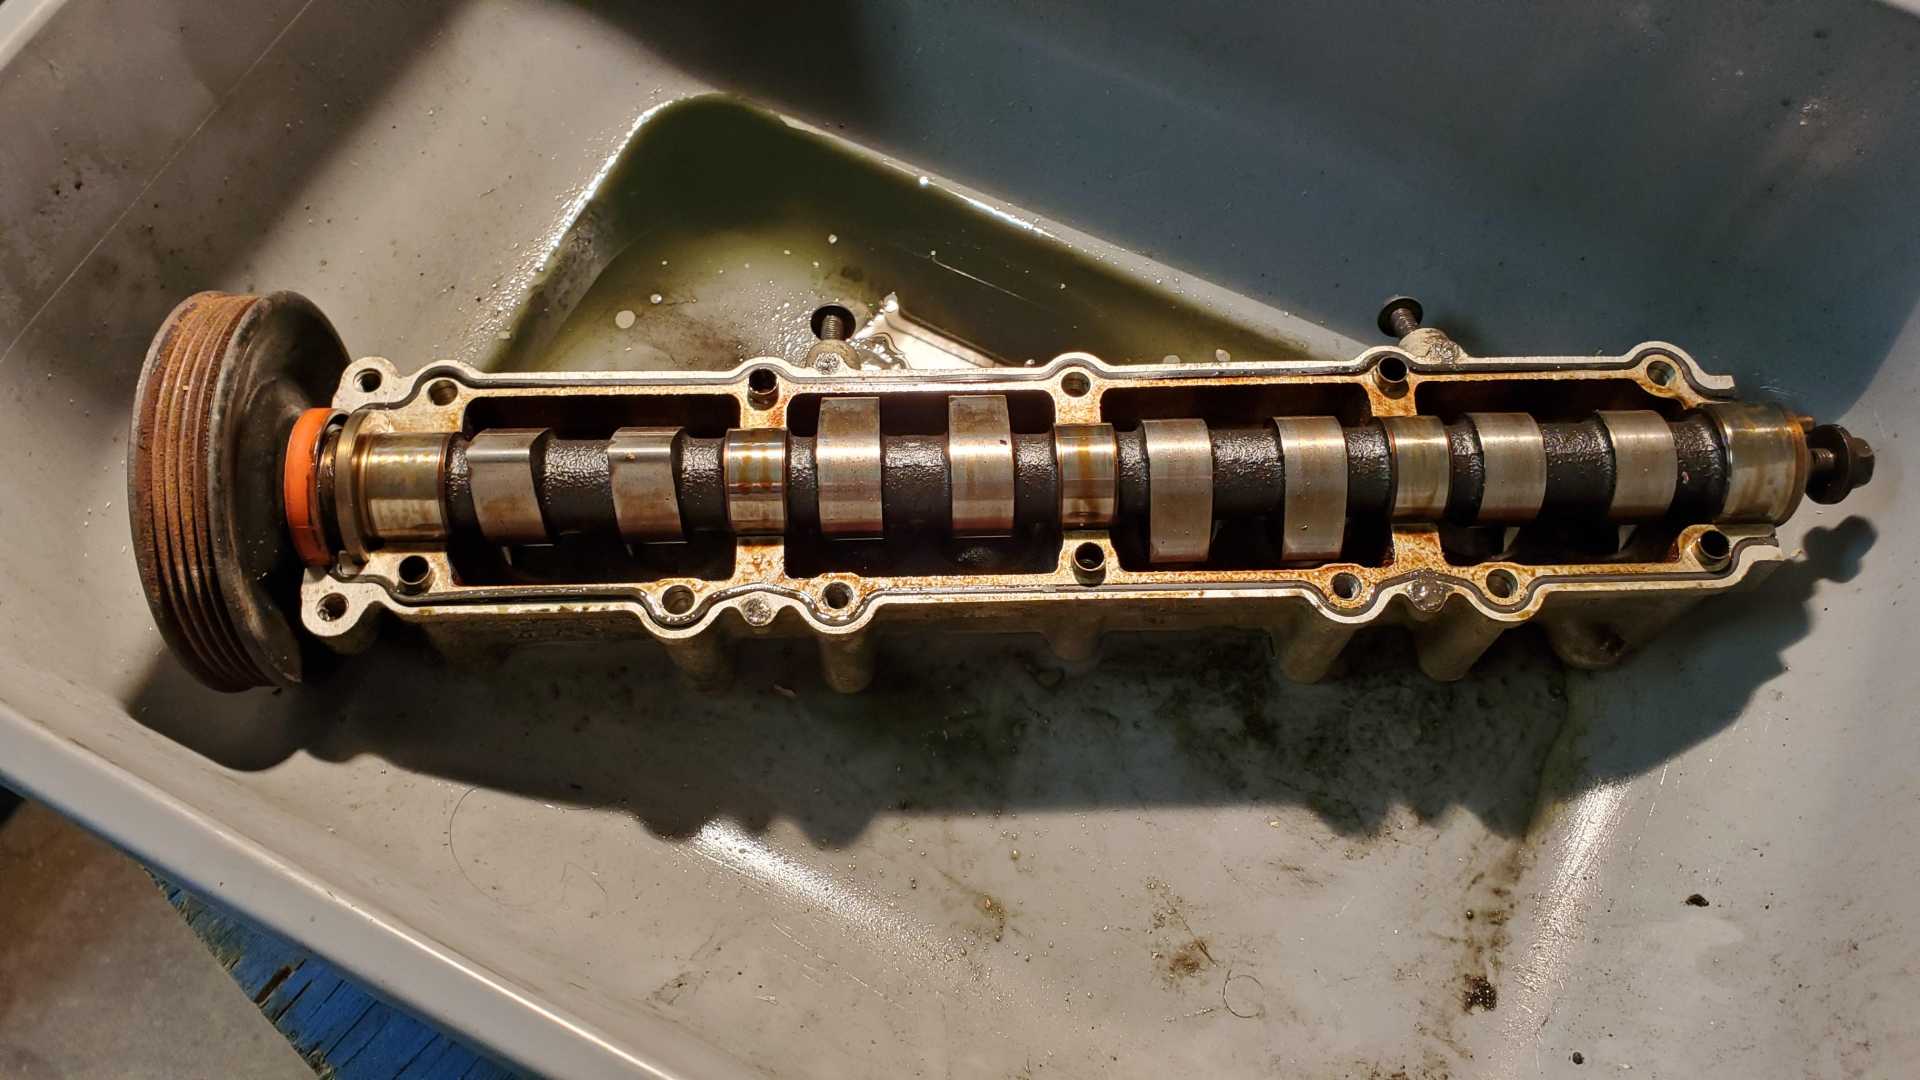
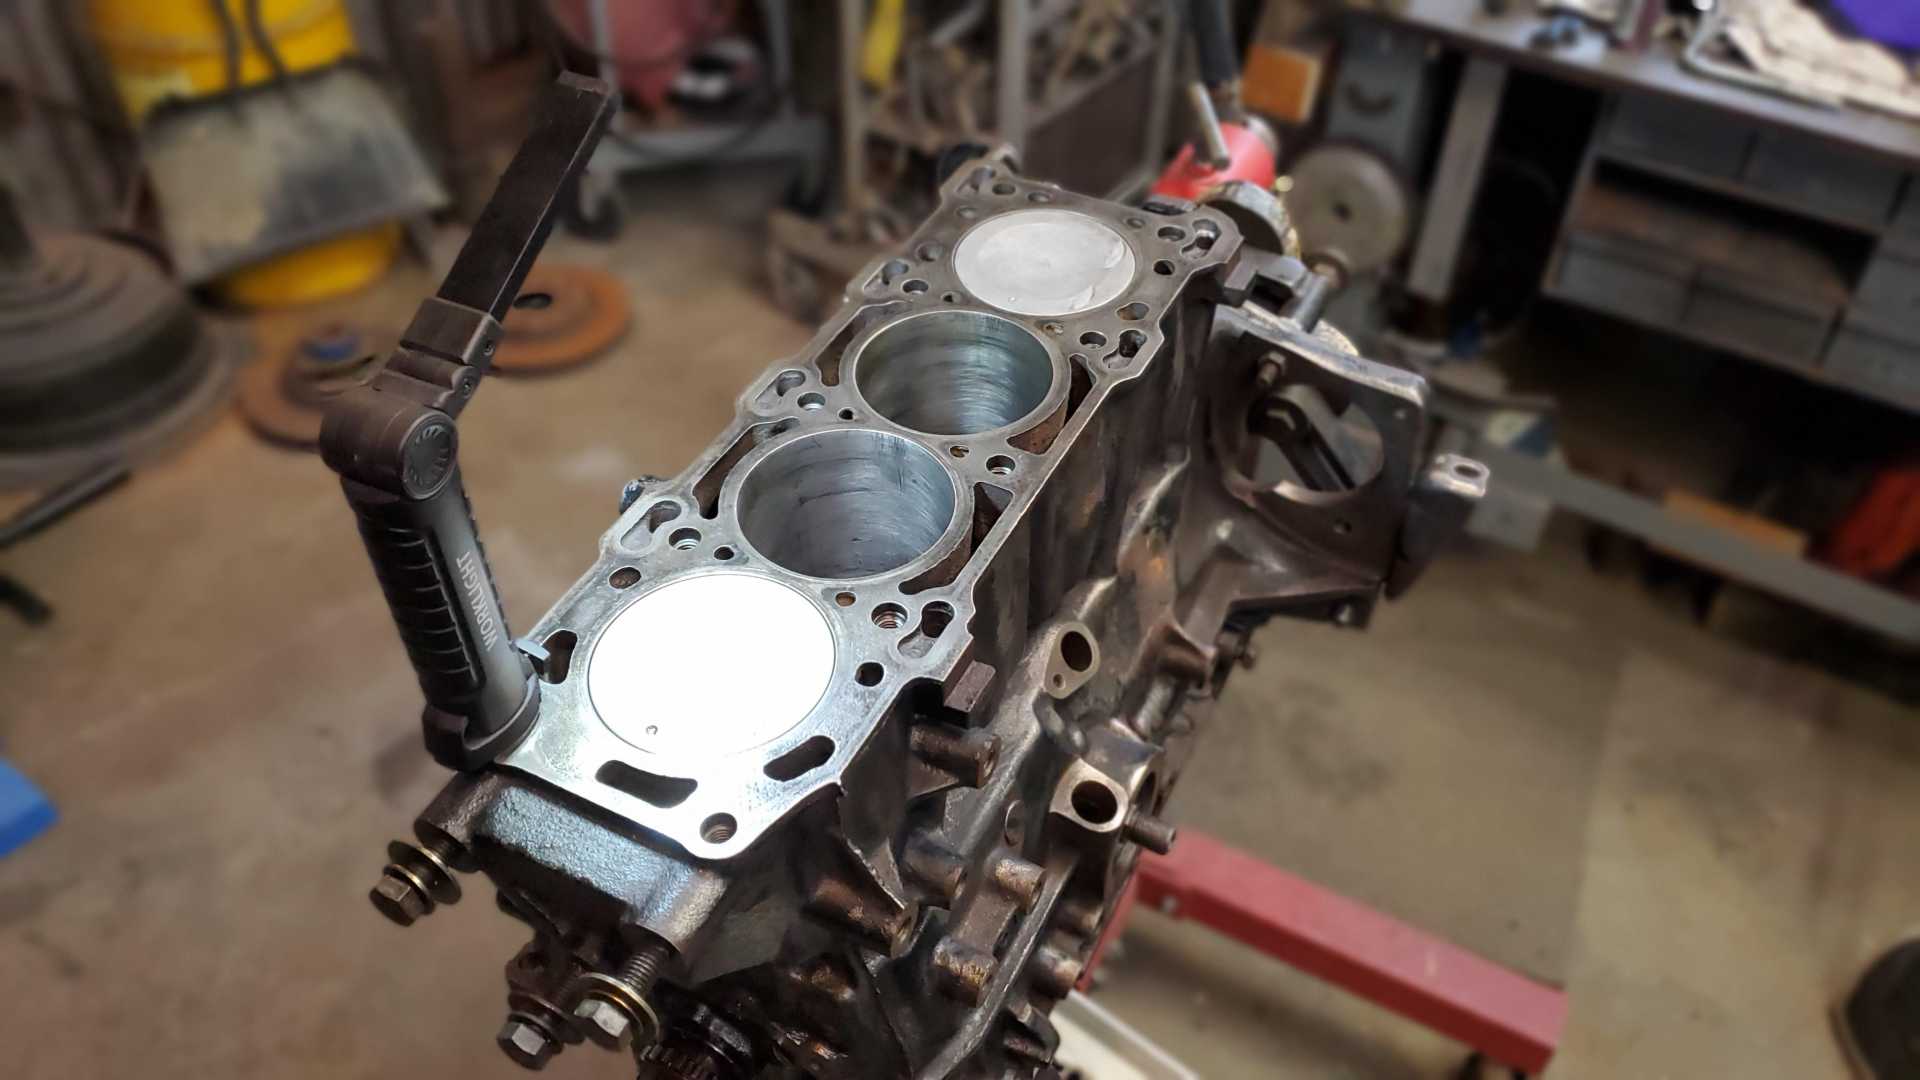
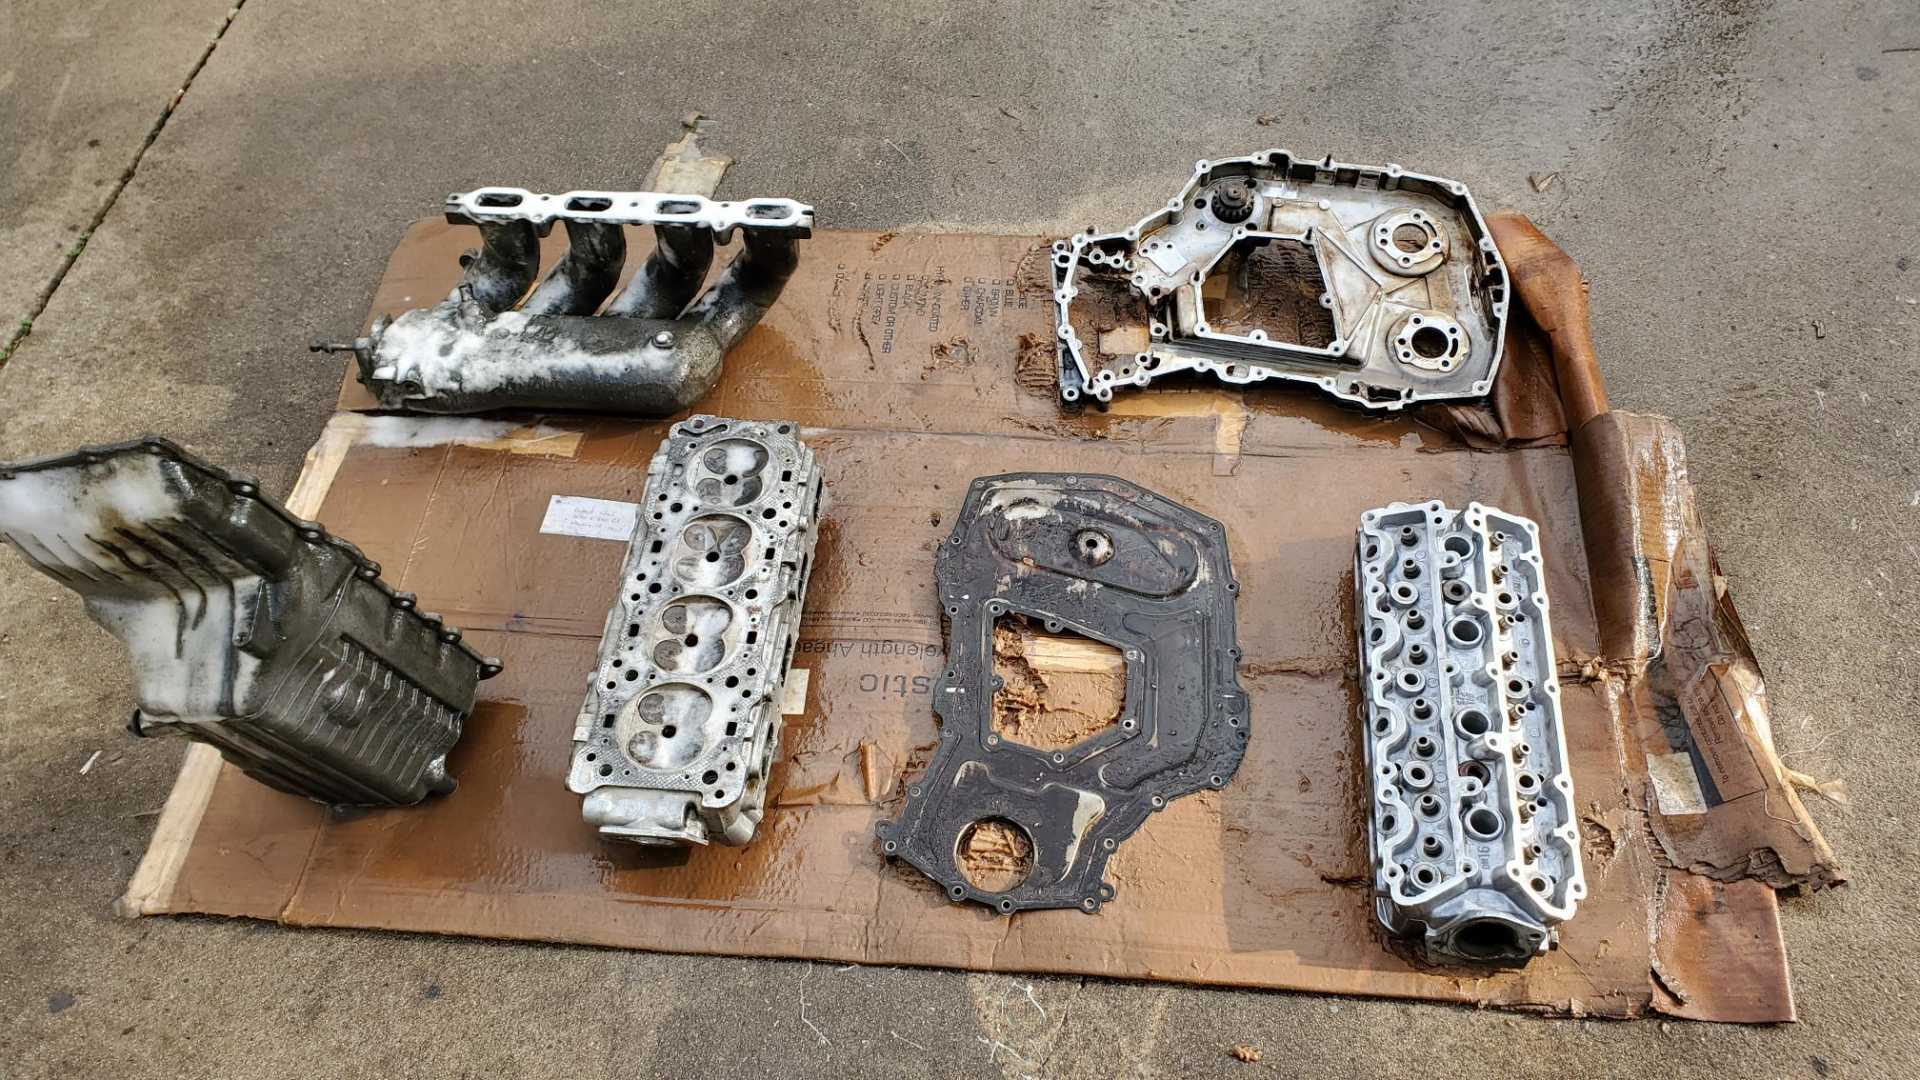
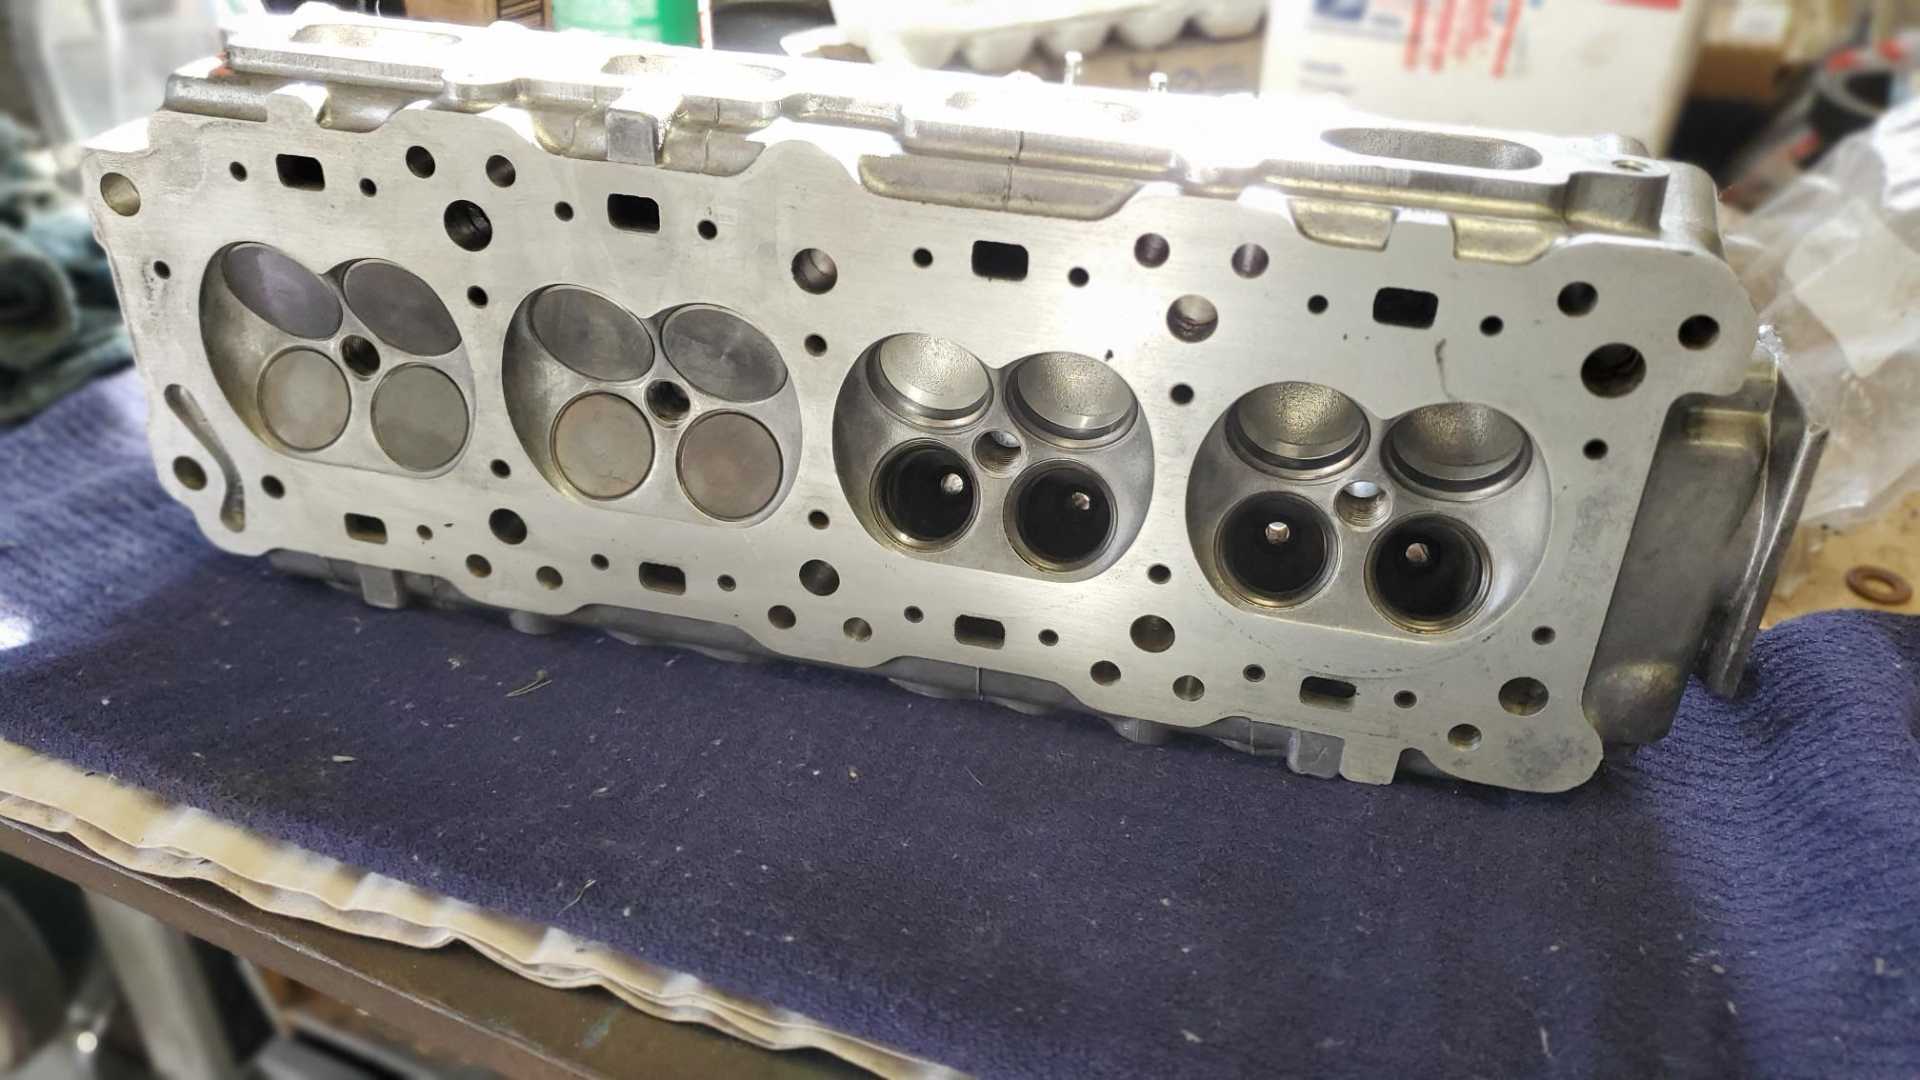
Next up is cleaning up the head. As I’ve mentioned, this engine bent four intake valves when the timing chain tensioner broke. Years ago I ordered four new ones, but take a look at how they compare with the valves that came out of the head.
This head had two different shaped intake valves installed in it. One type has a dimple in the middle, the other is domed. The four new valves I bought are flat. As long as the two valves are the same in each cylinder, does it matter?
I bought the four new valves so long ago, there’s no guarantee that if I buy four more, they’ll all be flat, too.[This message has been edited by Quadfather (edited 02-21-2021).]
|
|
|
|
Quadfather
|
FEB 24, 03:15 PM
|
|
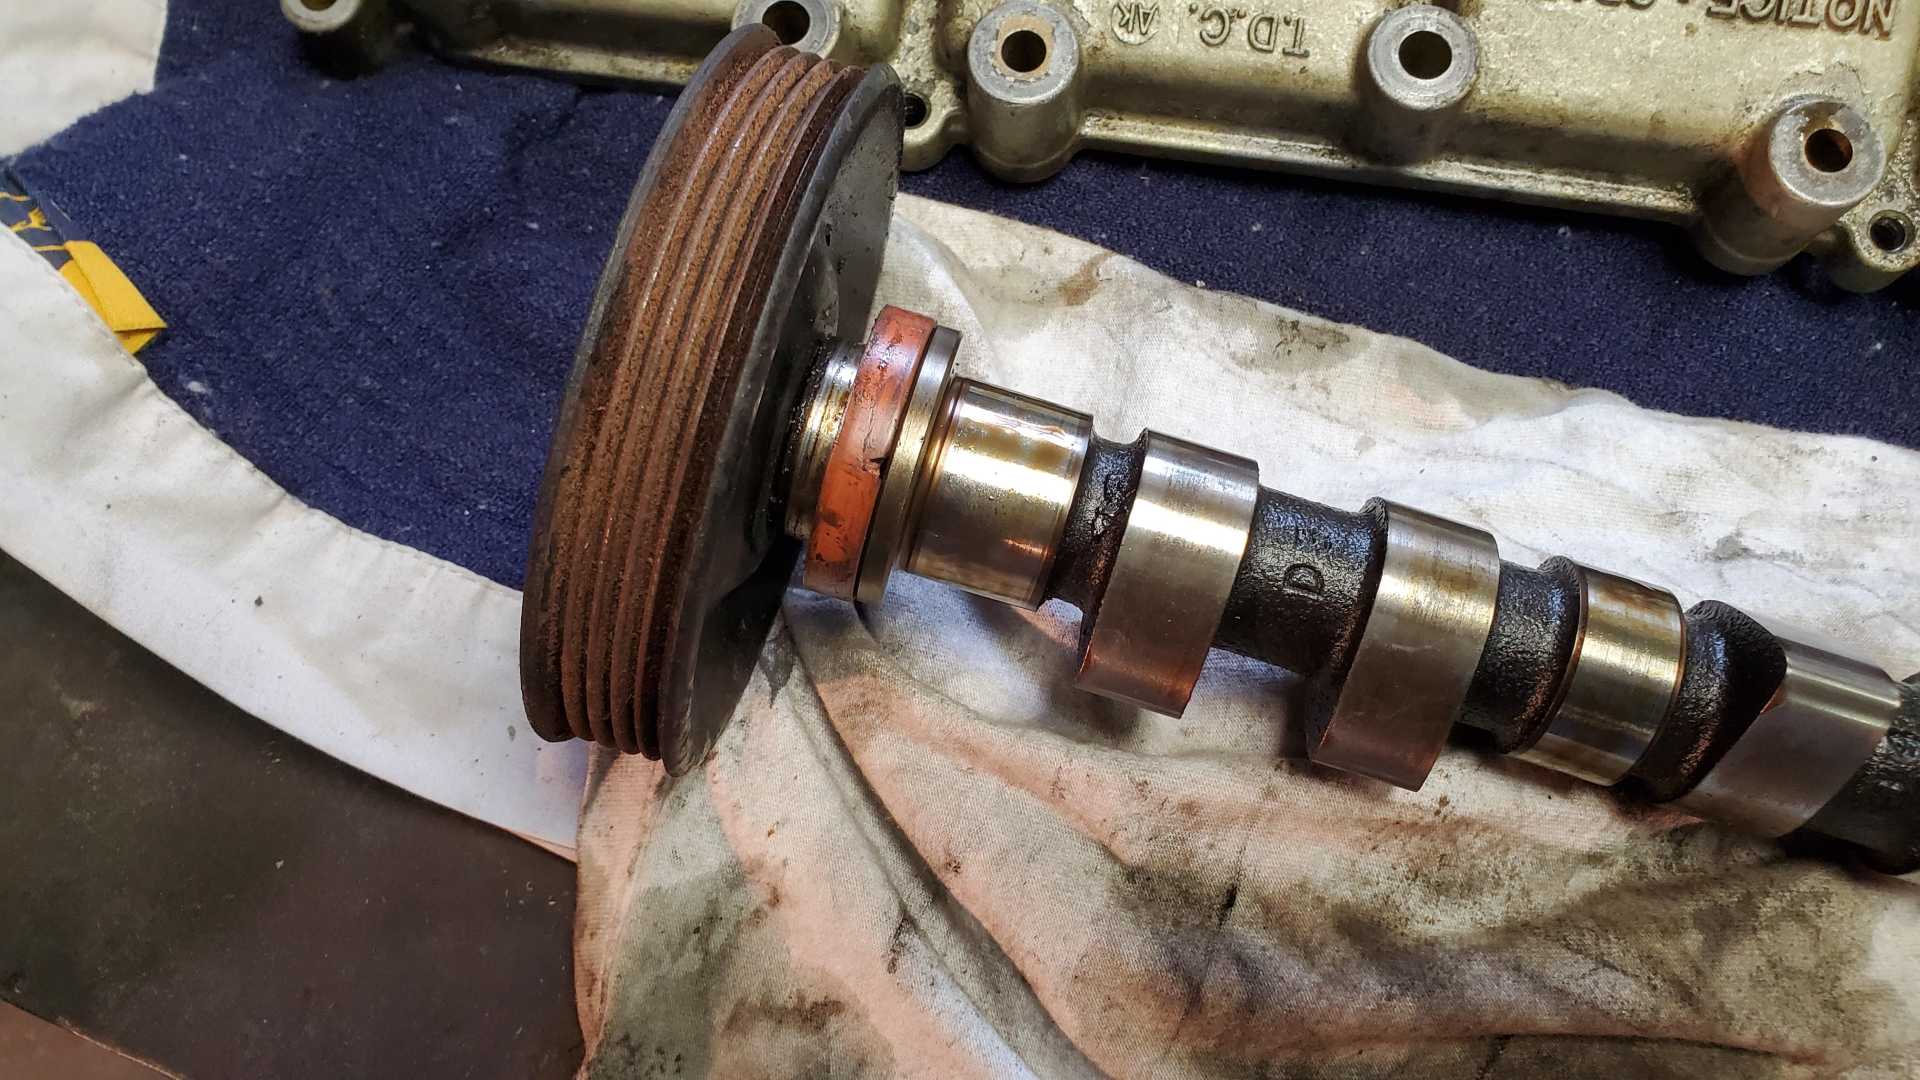
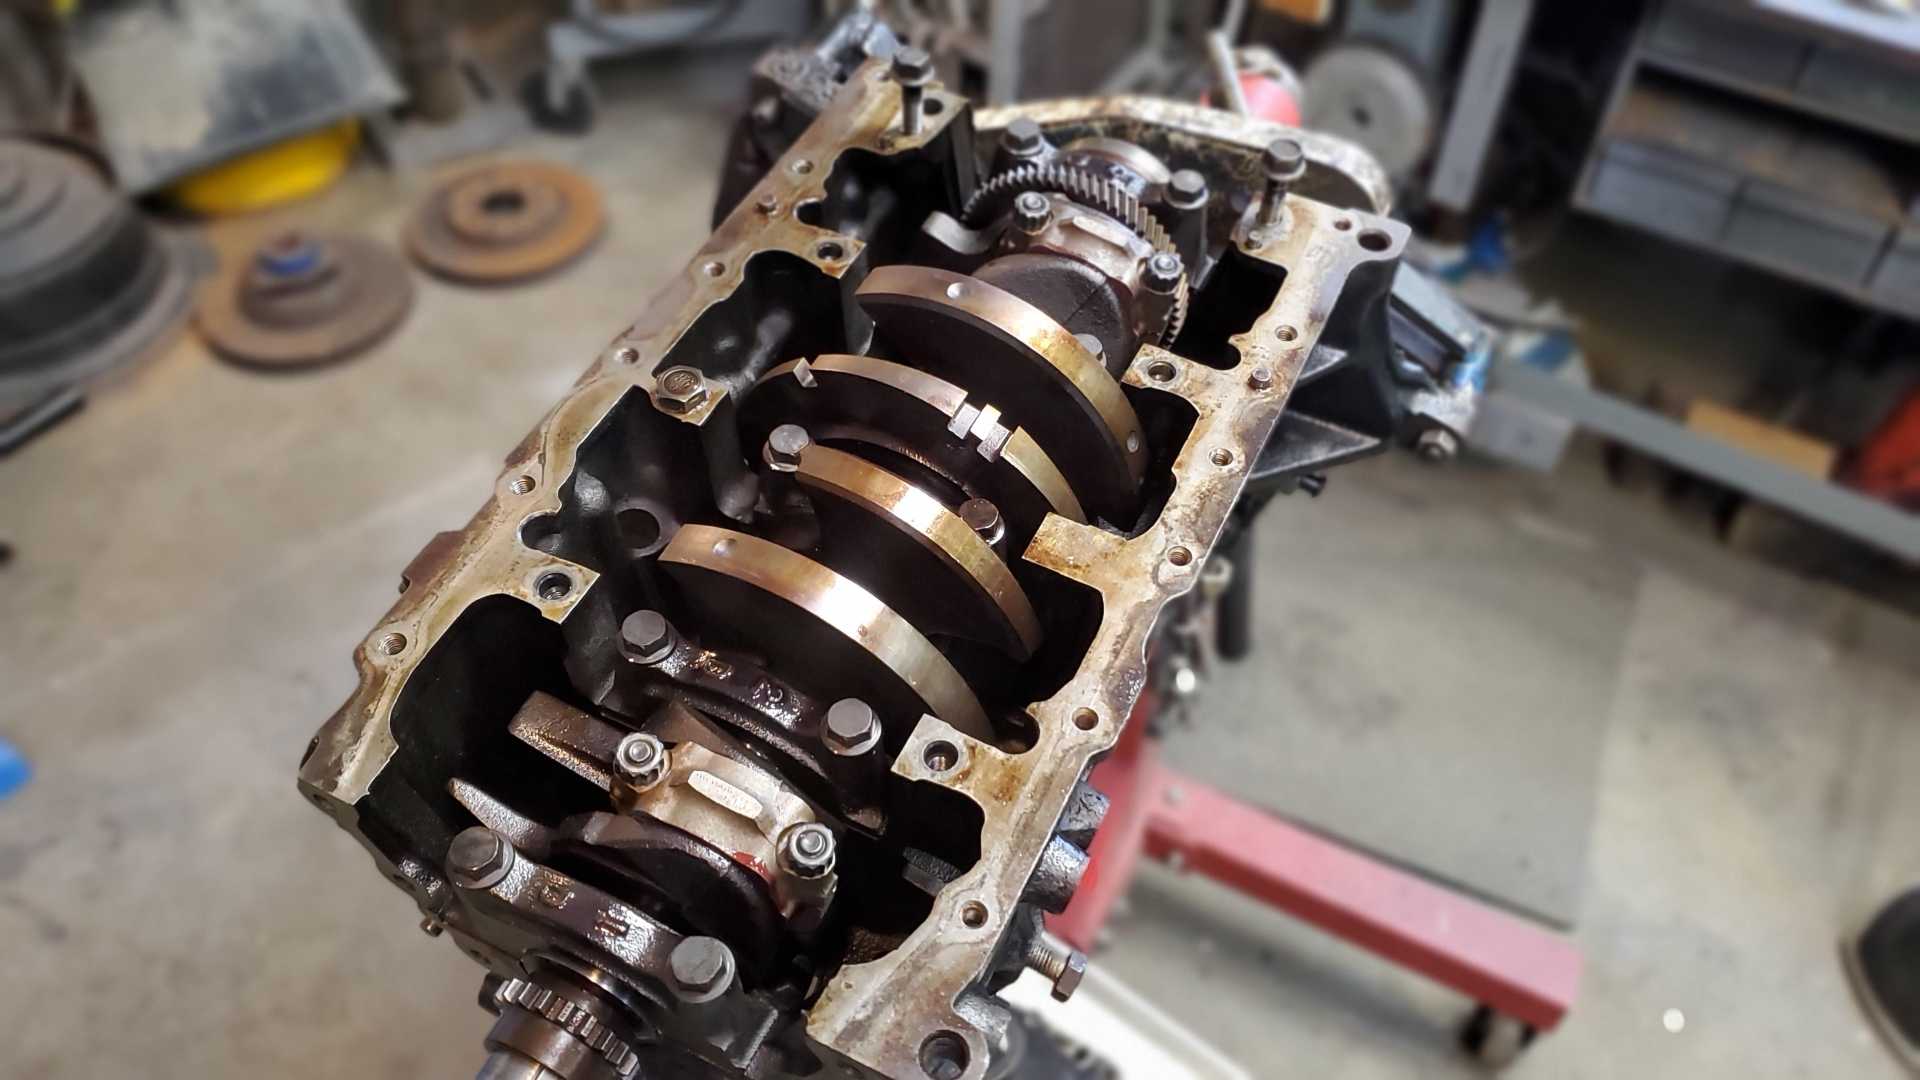
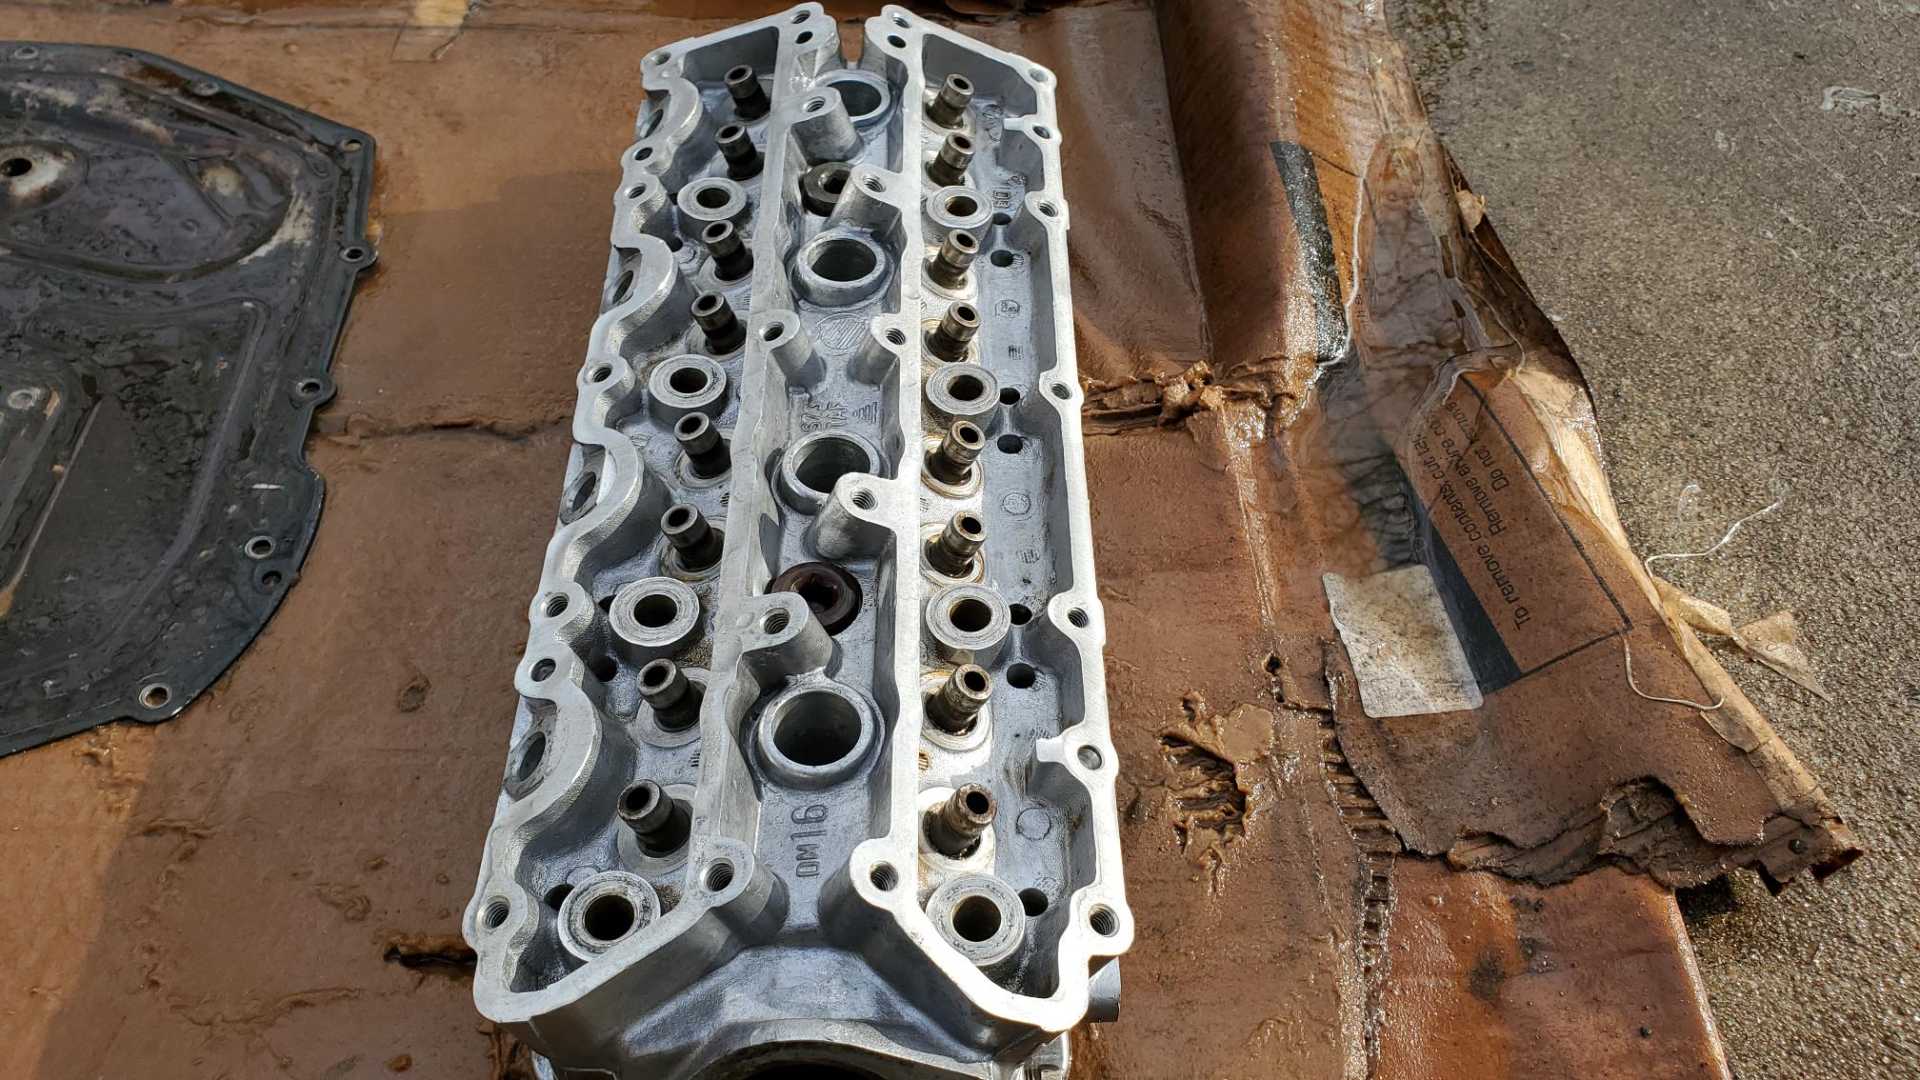
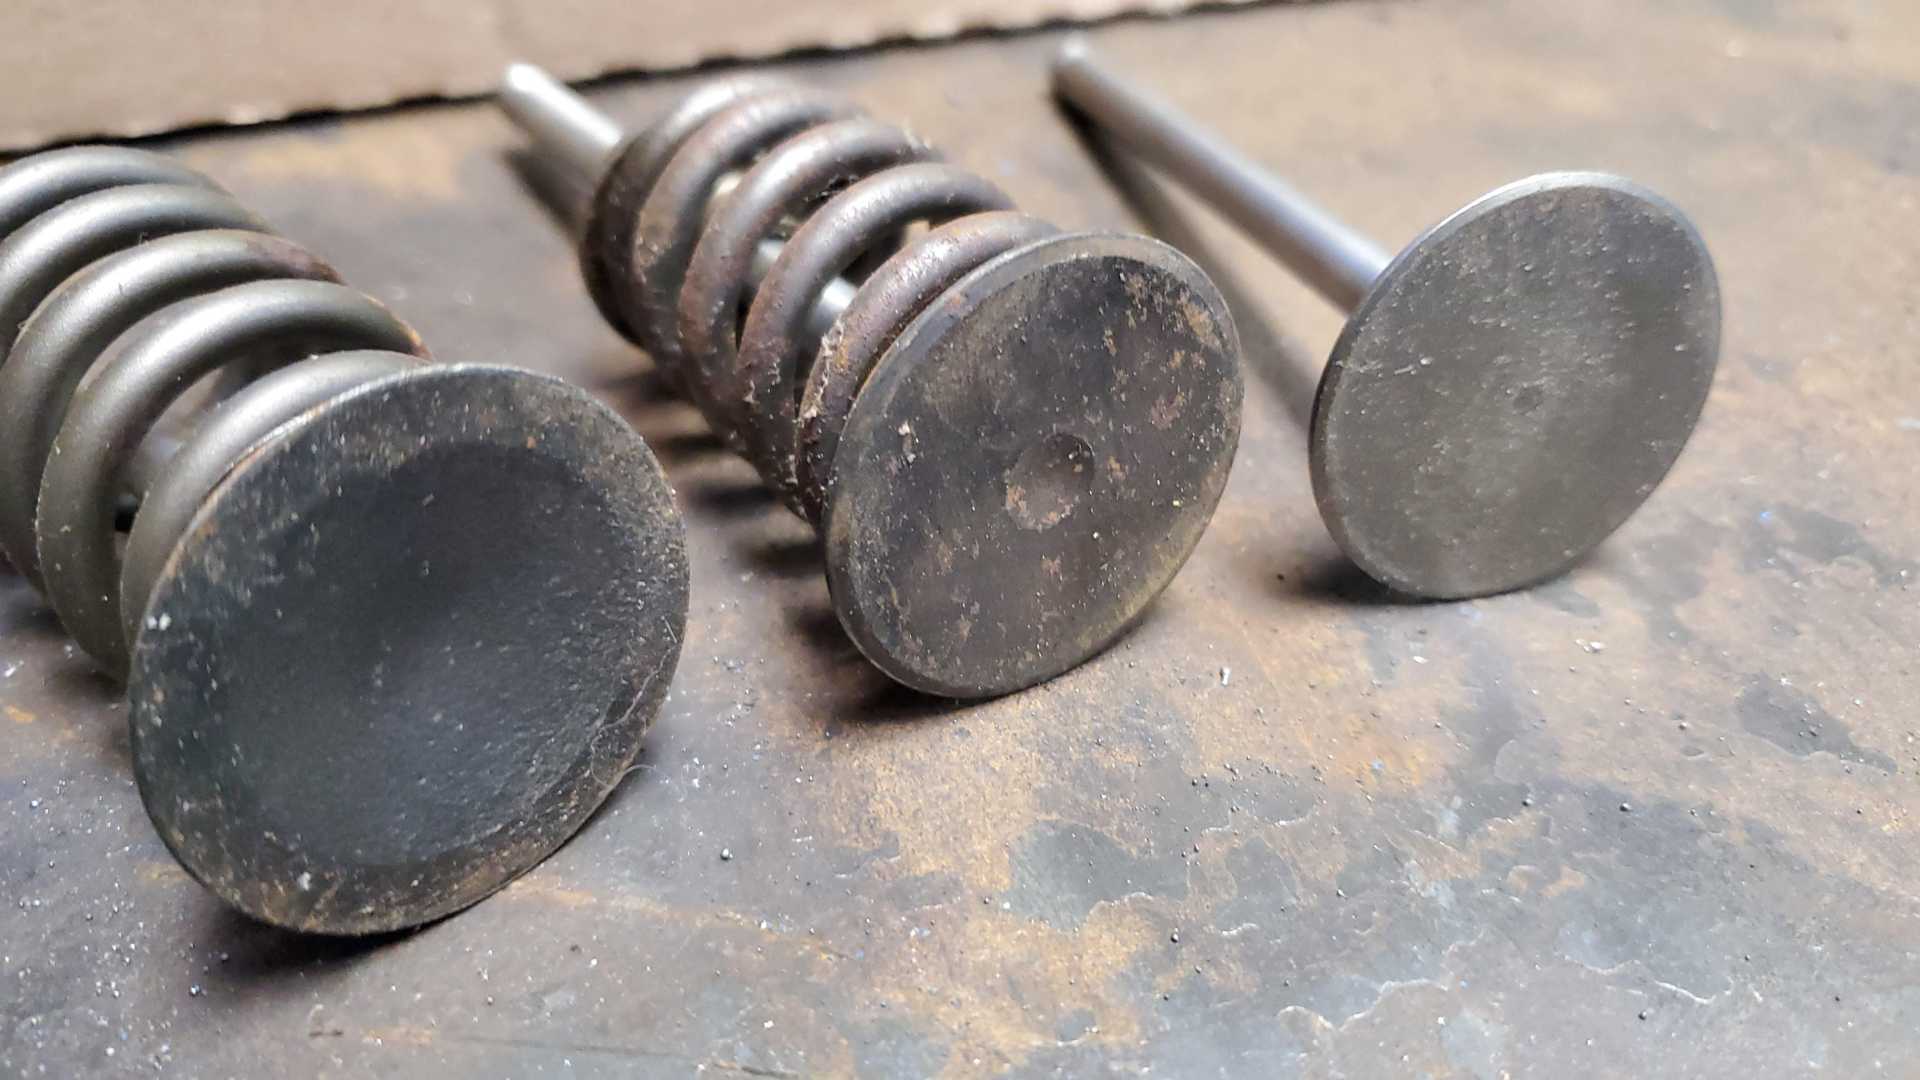
I checked the head from one of my spare Quads and was surprised to see different types of intake valves. This head is also an 086 head, though the engine itself is not an HO.
The intake valves for the cylinder closest to the camera are domed, while the rest are dimpled. Probably means that this is an aftermarket head, but who knows, maybe it came from the factory that way.
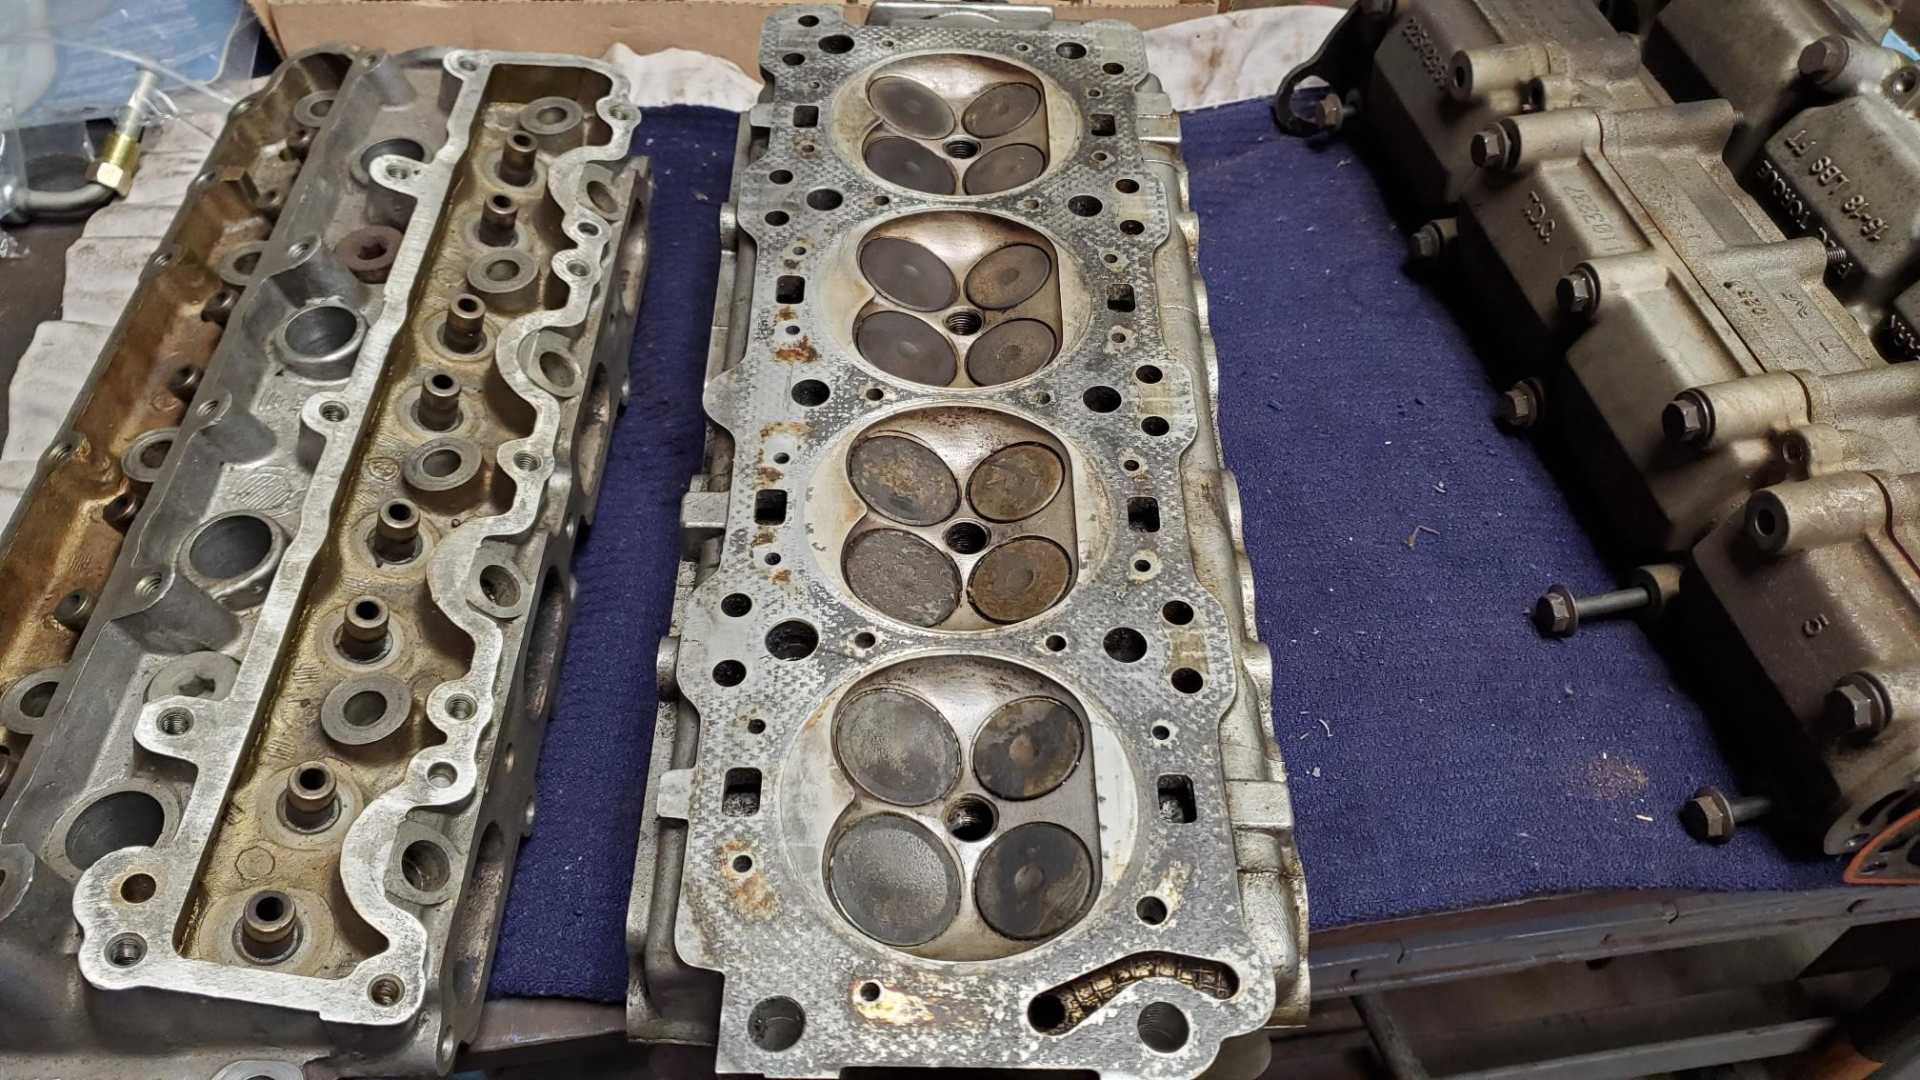
This head looks like it's in very good shape. I'm thinking about using it instead of the one that was in my GTZ. The head that was in my GTZ was bought from Cylinder Head International in DFW, so it was perfect when I installed it in the Beretta in 2008. The downside is I put 100,000 miles on it and bent four intake valves when the timing tensioner broke in 2012.
This head is from a salvage yard 1989 Grand Am. The engine had a blown head gasket, but everything else looked fine. So do I reuse the head whose history I know or one that looks good but whose history is a mystery?[This message has been edited by Quadfather (edited 02-24-2021).]
|
|
|
|
Quadfather
|
FEB 24, 03:23 PM
|
|
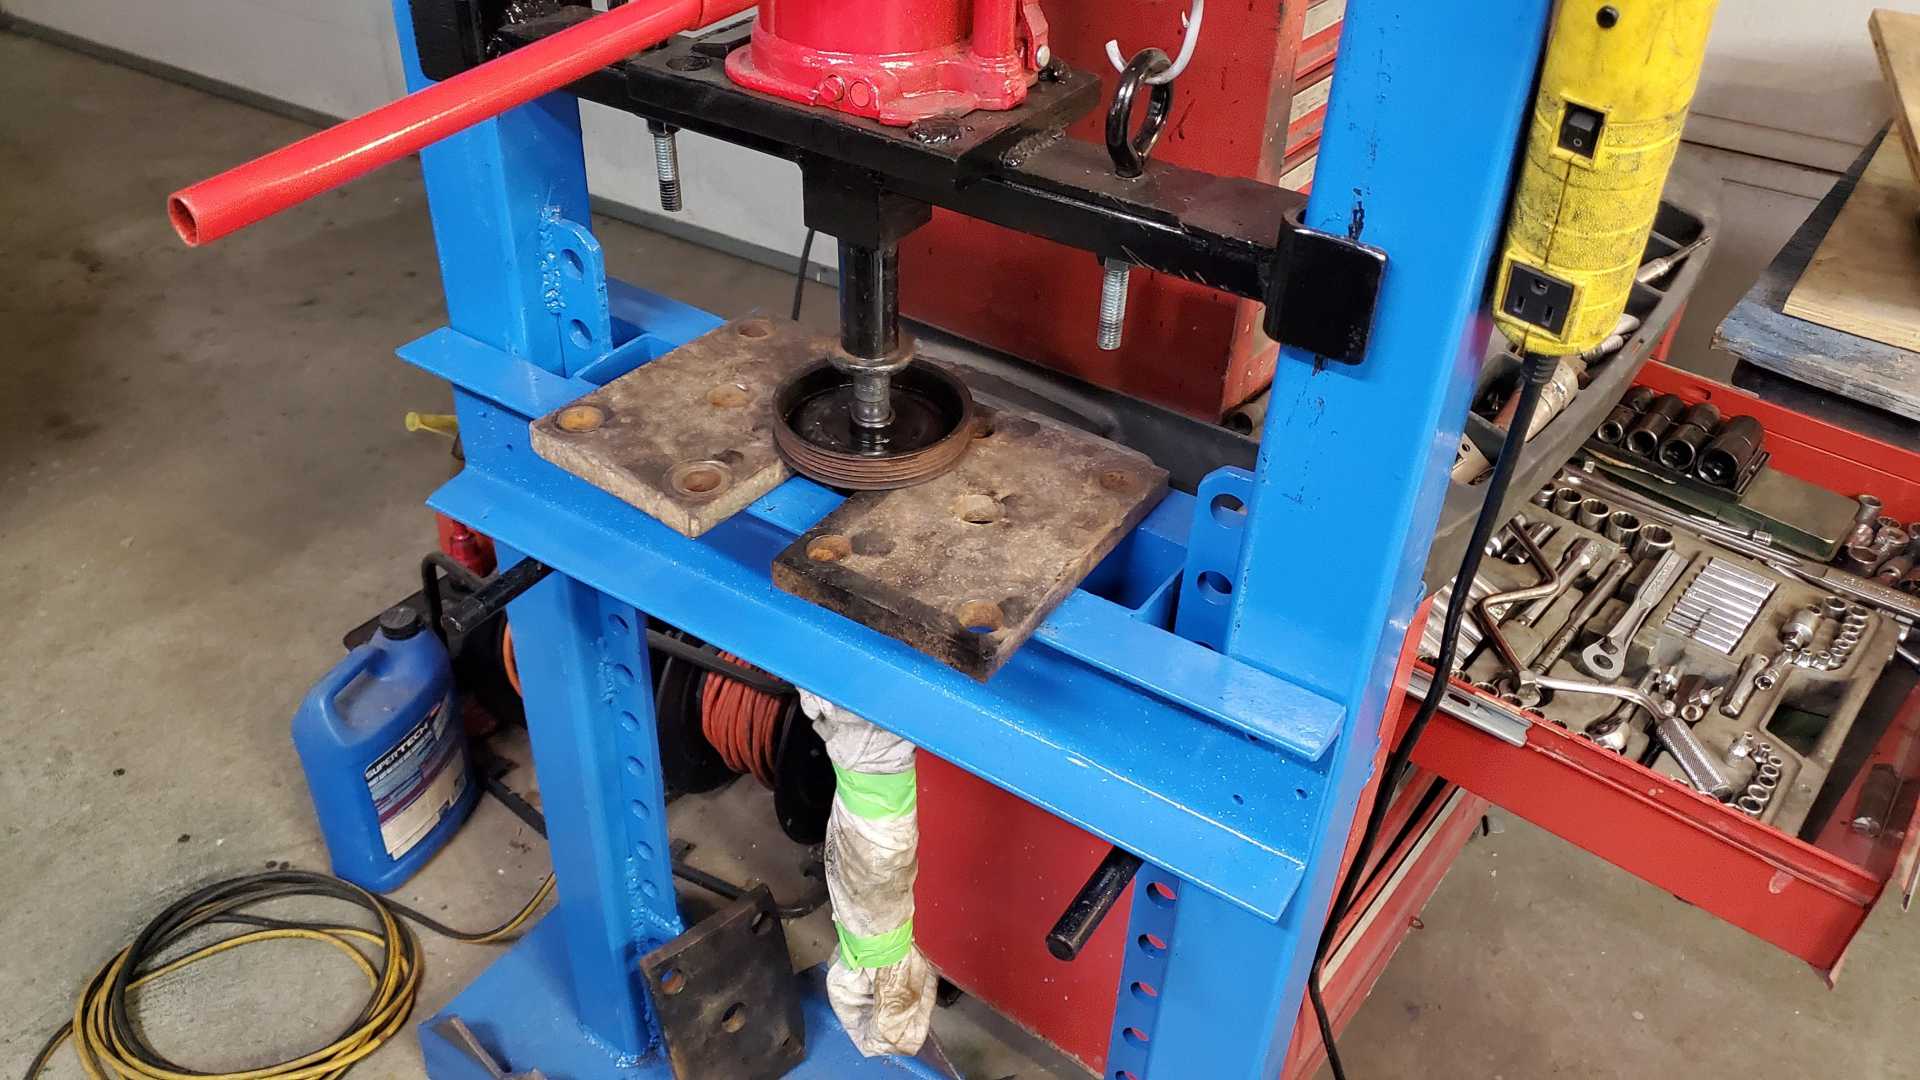
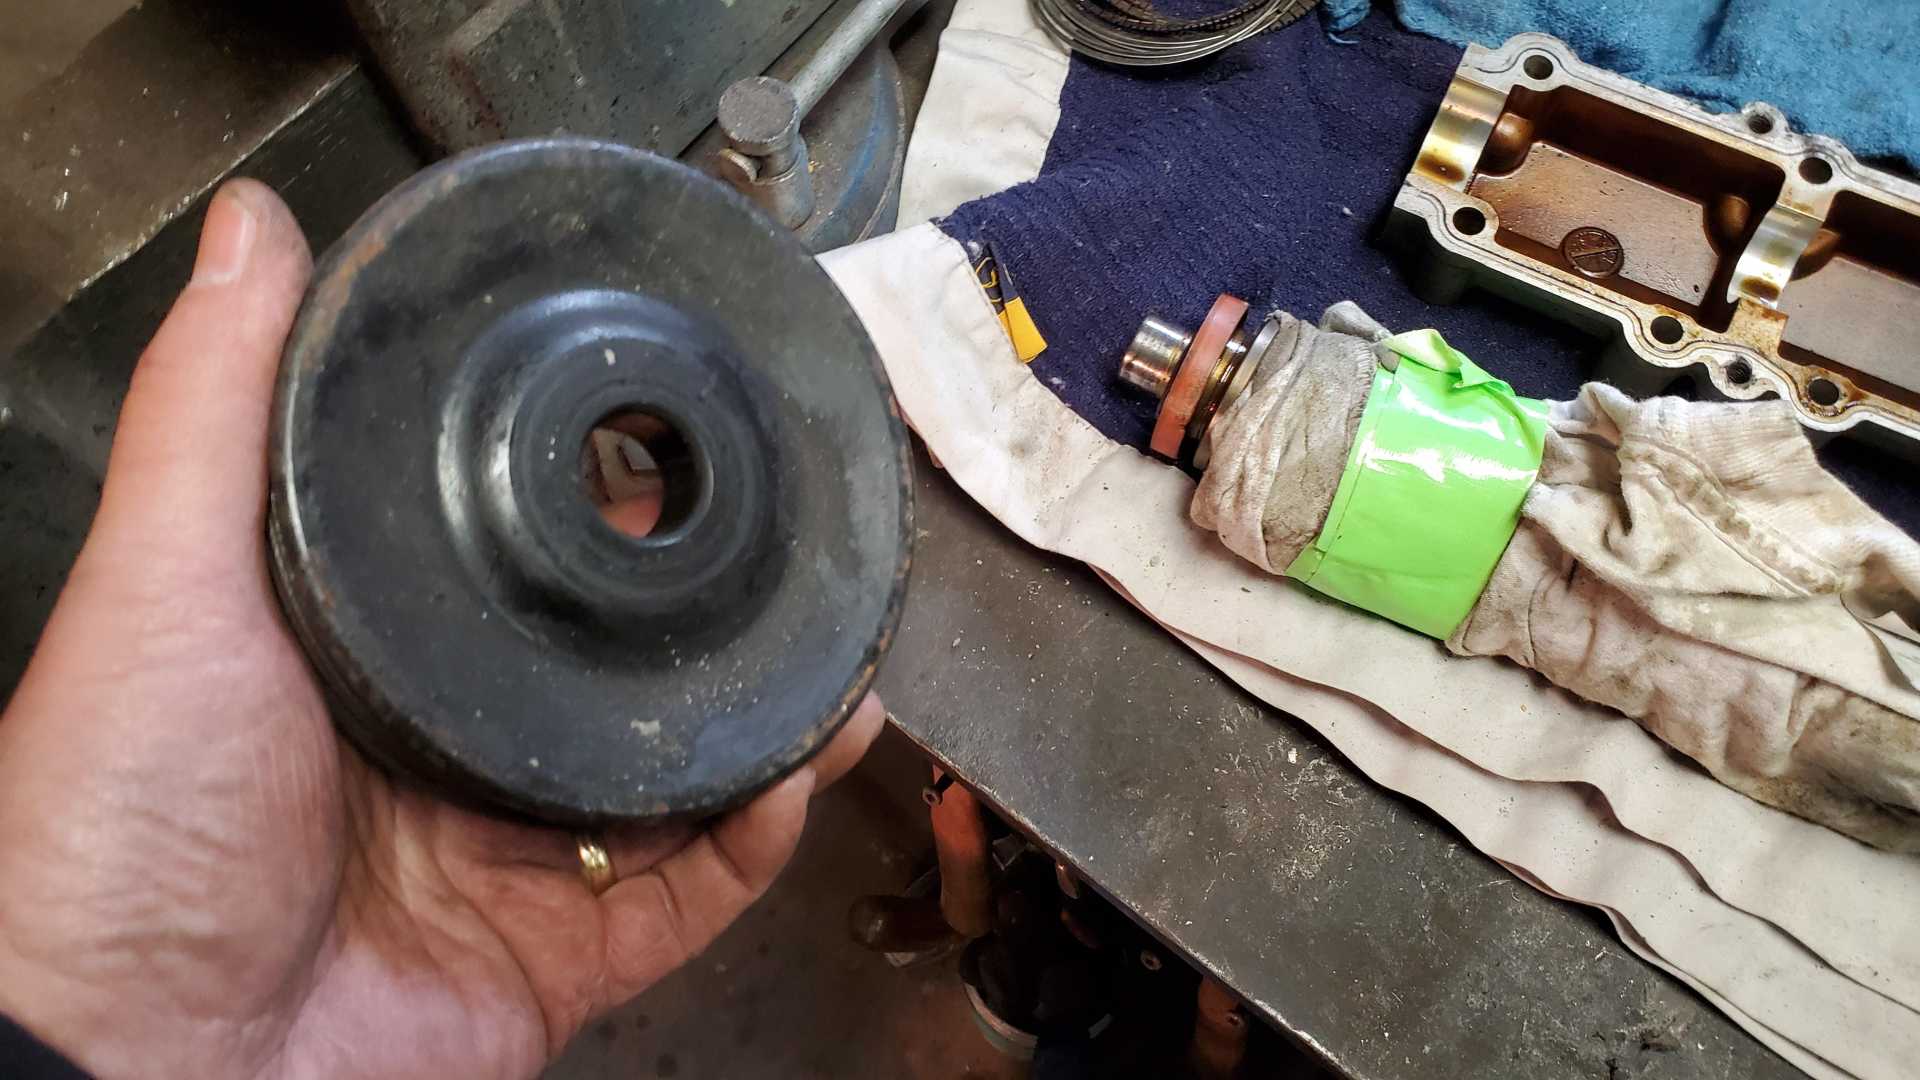
This is what happens when your brother uses your hydraulic press to split firewood.
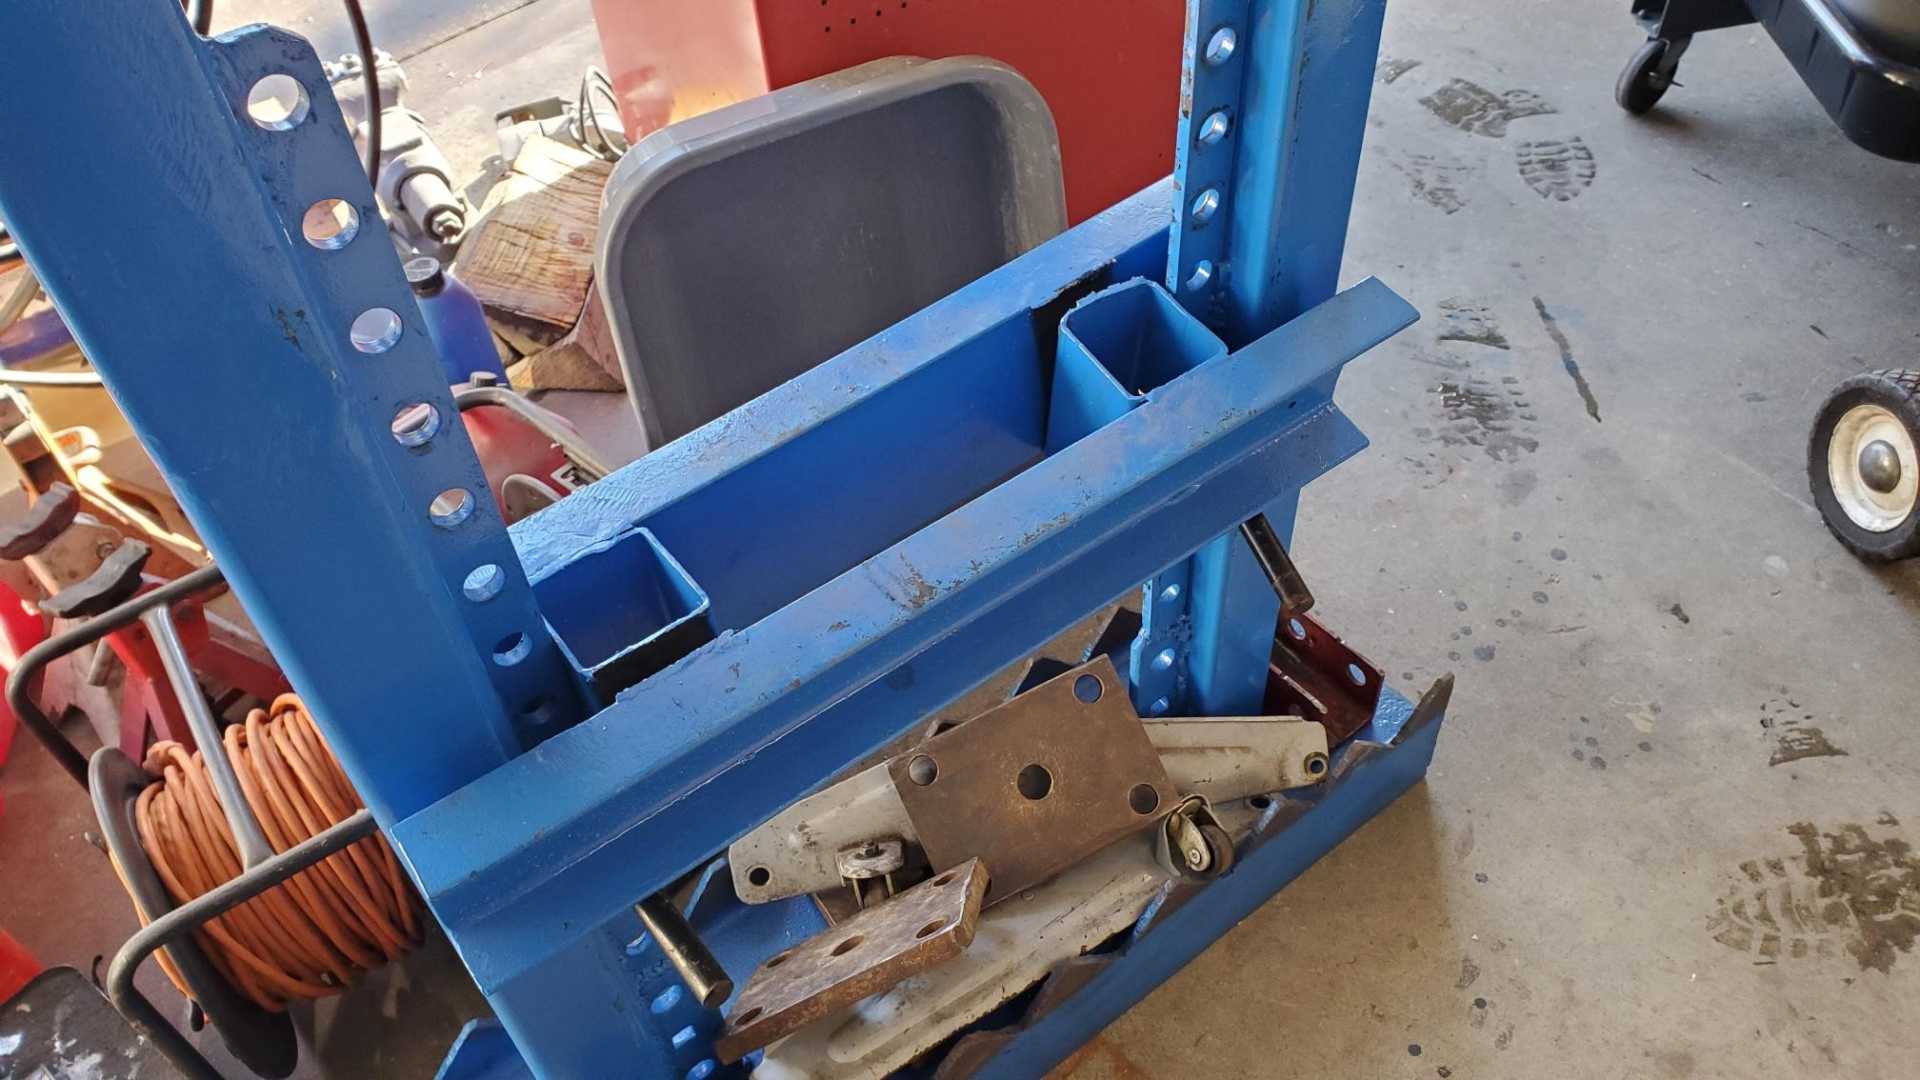
I told him it was designed so that the force is focused on a small area right in the middle of the cross piece, not a piece of wood that spreads the force in a wide area.
|
|
|
|
Quadfather
|
FEB 28, 08:10 PM
|
|
|
|
|
Quadfather
|
MAR 29, 09:24 PM
|
|
More progress. But first, the last update about my press. I ended up drilling holes through the uprights, instead of using the holes from the Soloflex pieces. Also, parts of a broken floor jack worked great to make it possible to roll it around the shop.
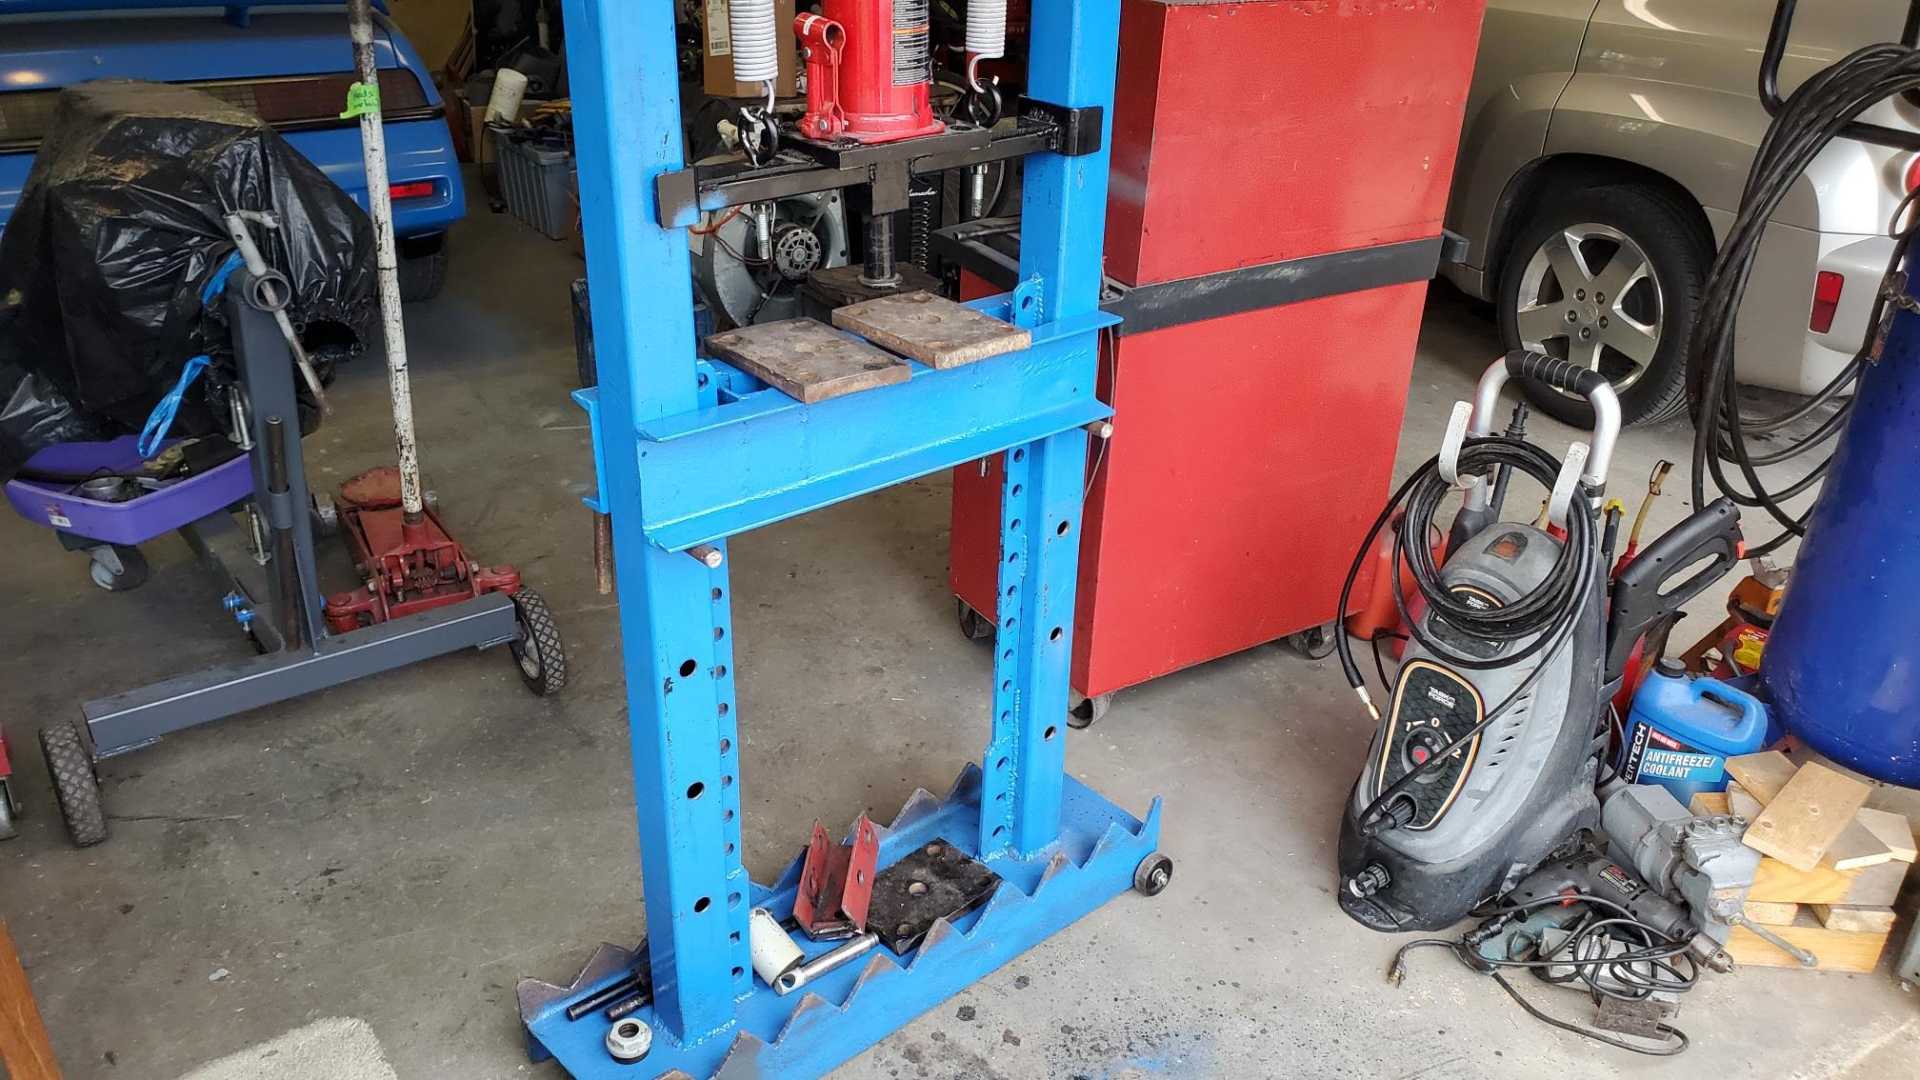
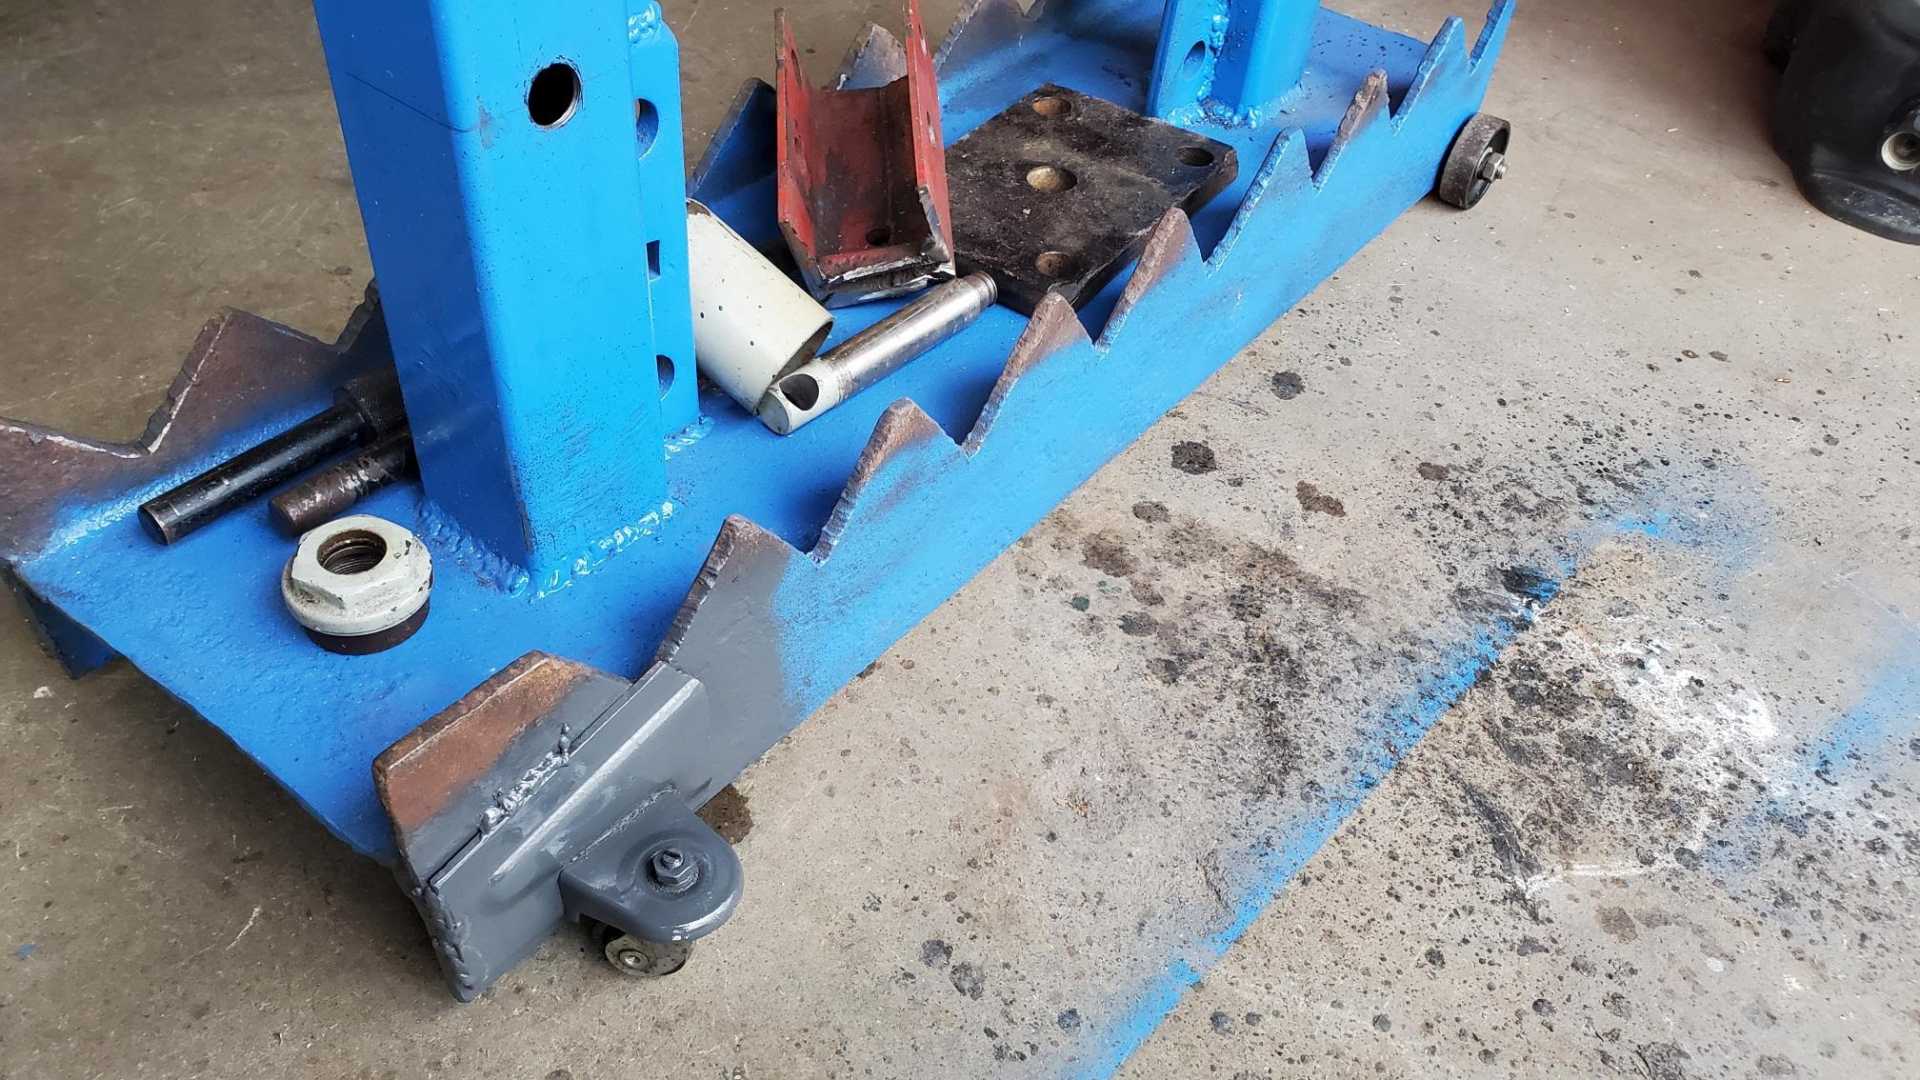 [This message has been edited by Quadfather (edited 03-29-2021).]
|
|
|
|
Quadfather
|
MAR 29, 09:33 PM
|
|
|
|
|
Quadfather
|
APR 10, 05:29 PM
|
|
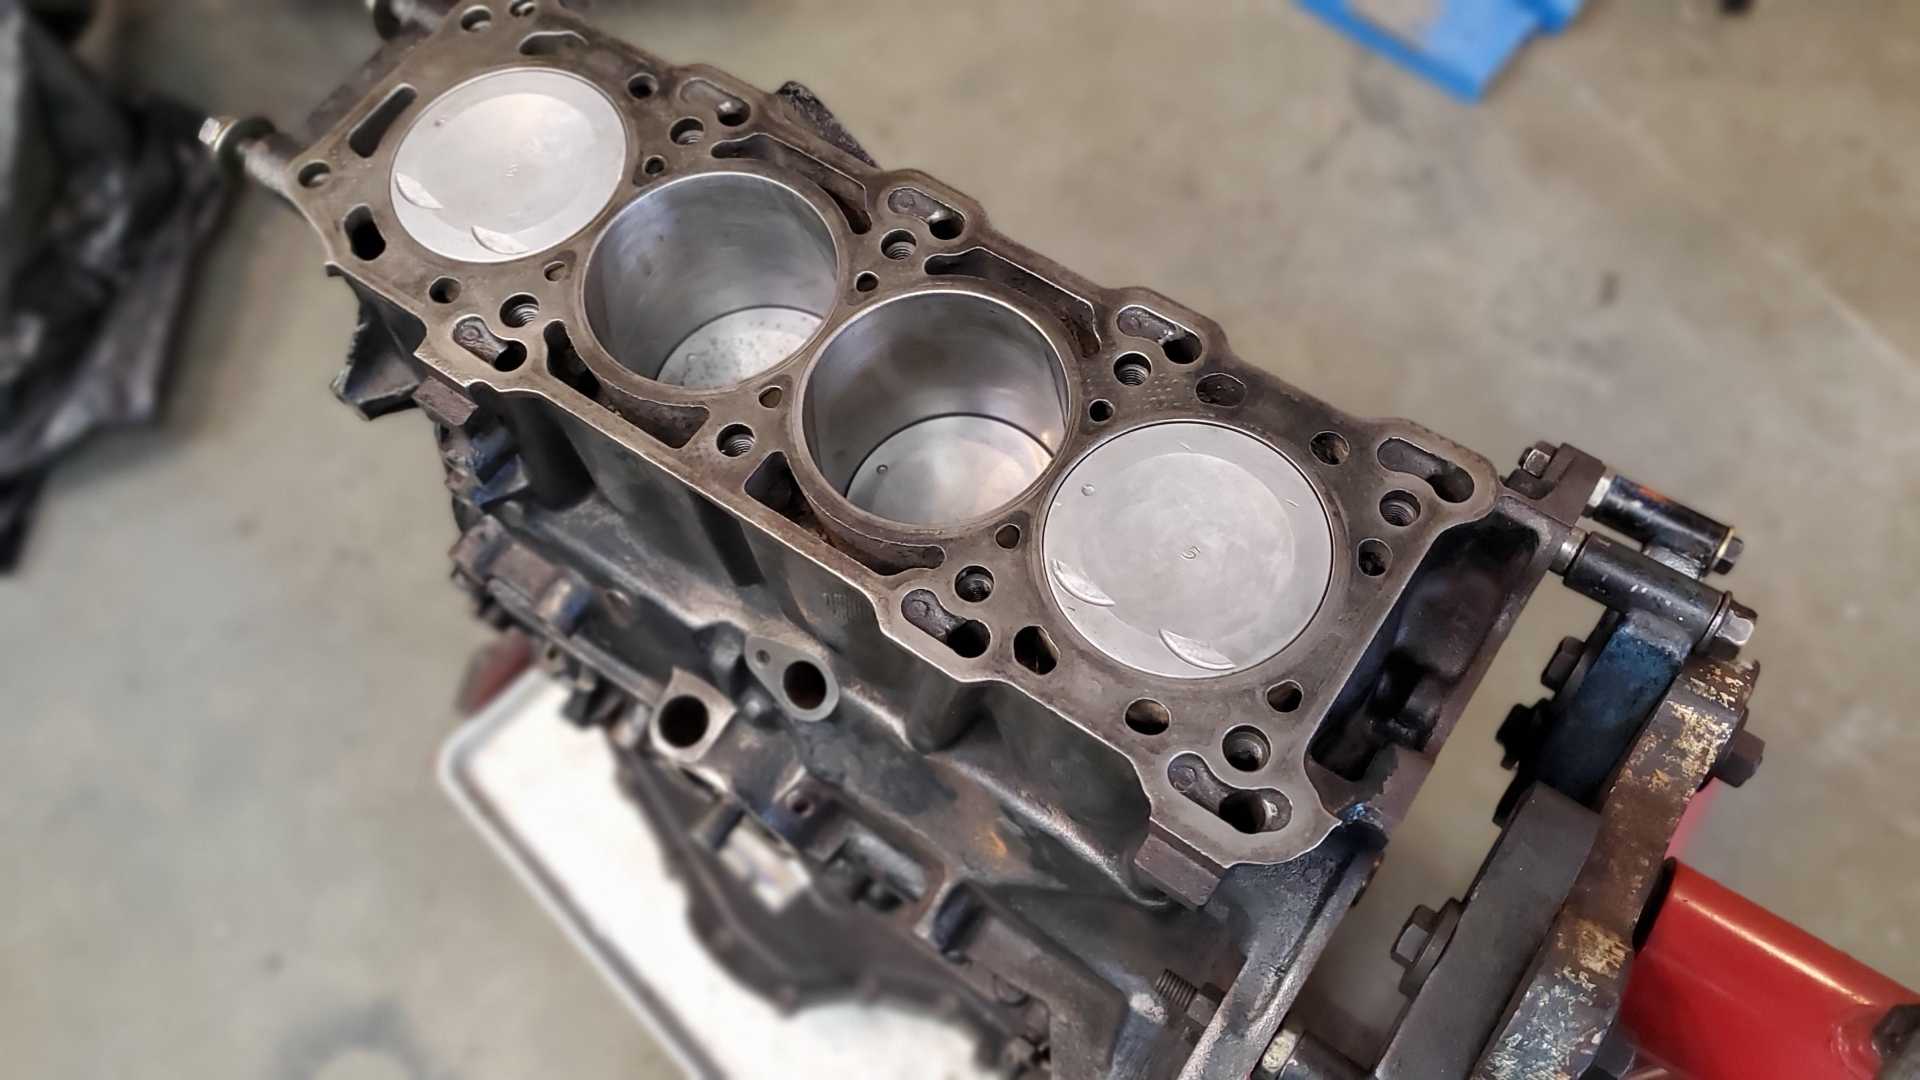
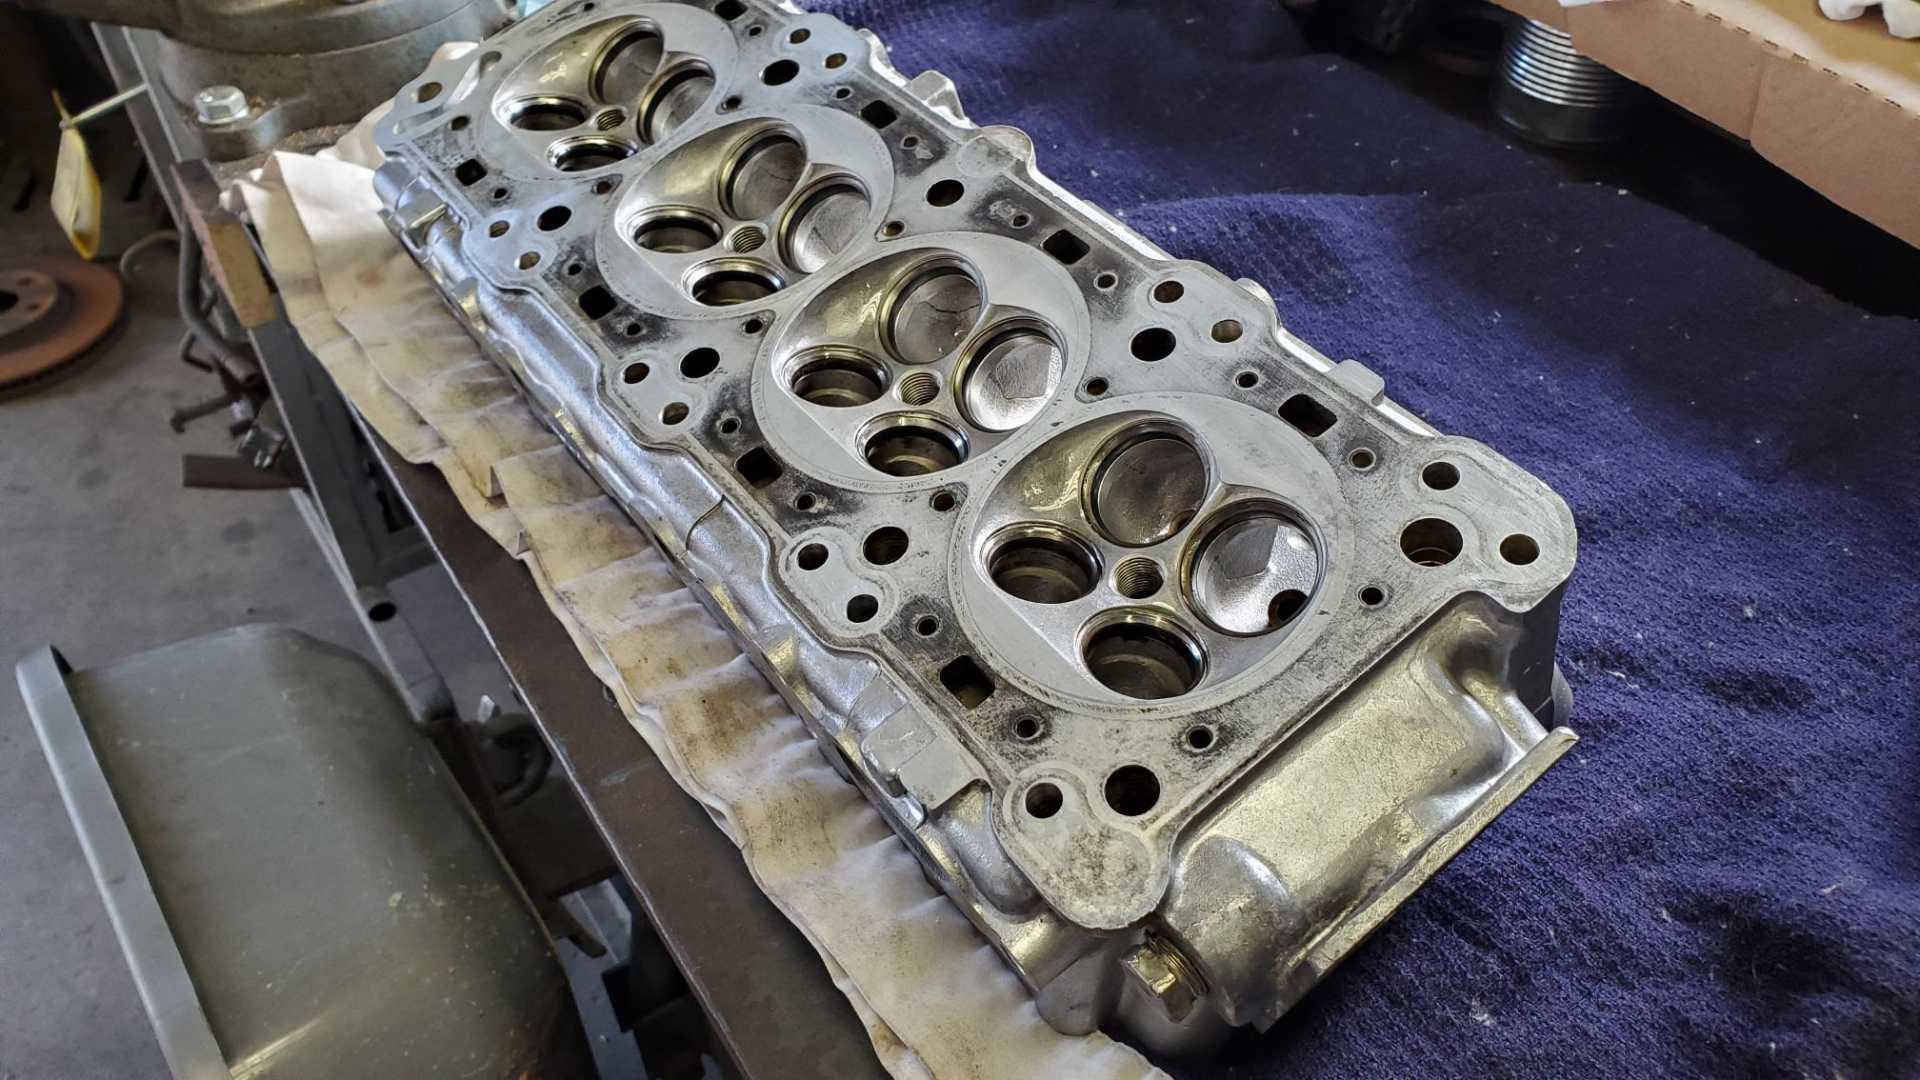
Well, another setback. Finally got back to working on the head, and noticed a crack in the number 1 combustion chamber between the intake and exhaust valves.
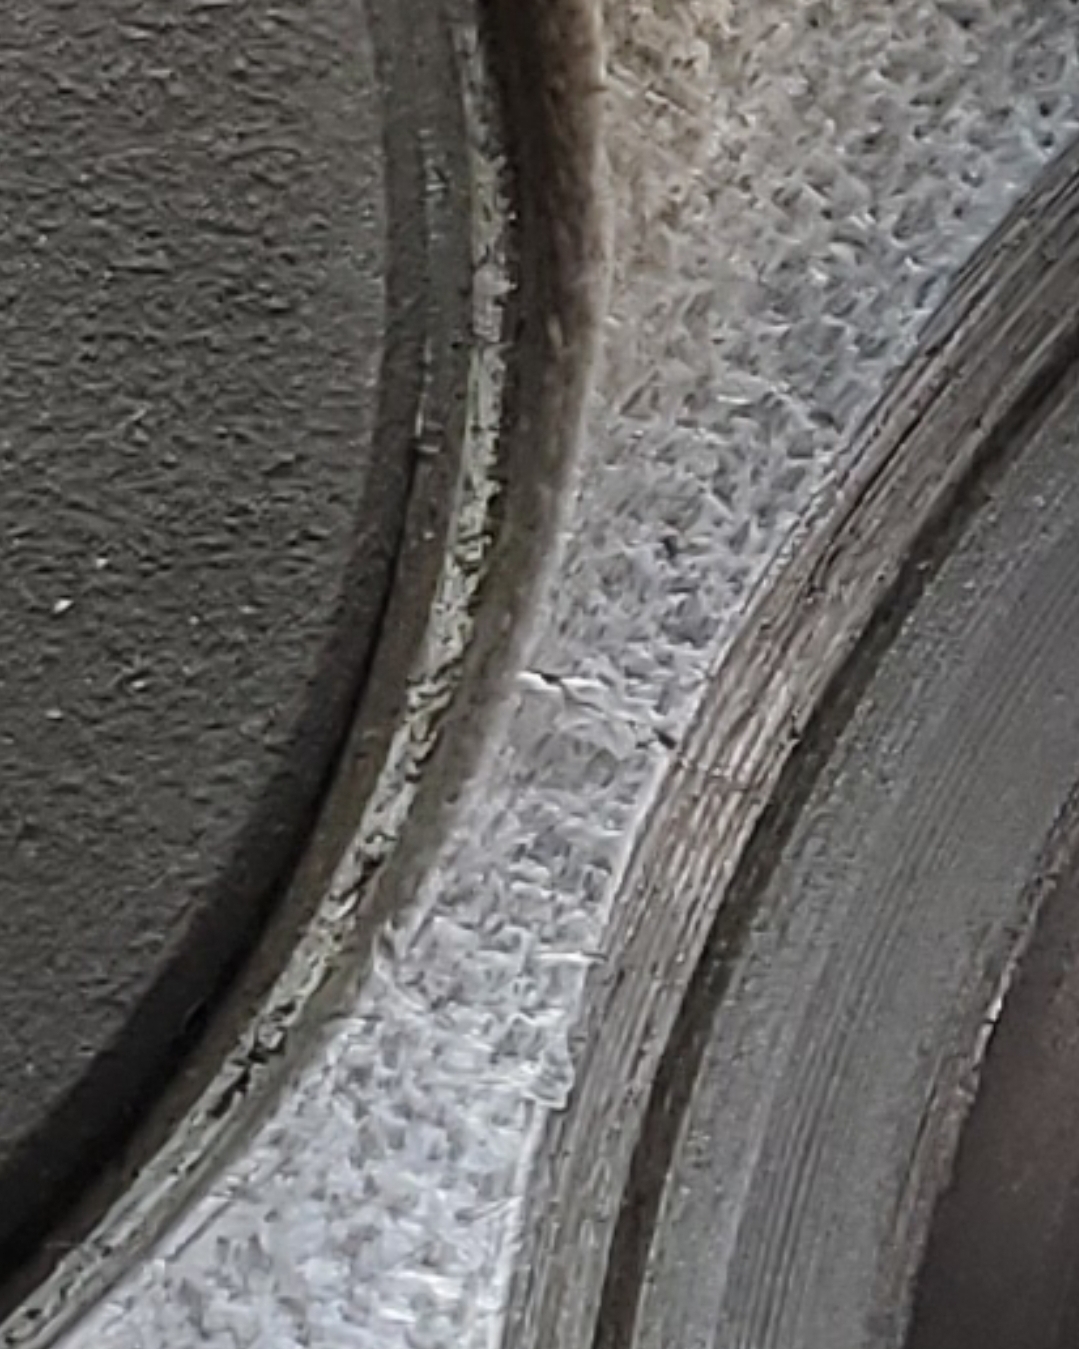
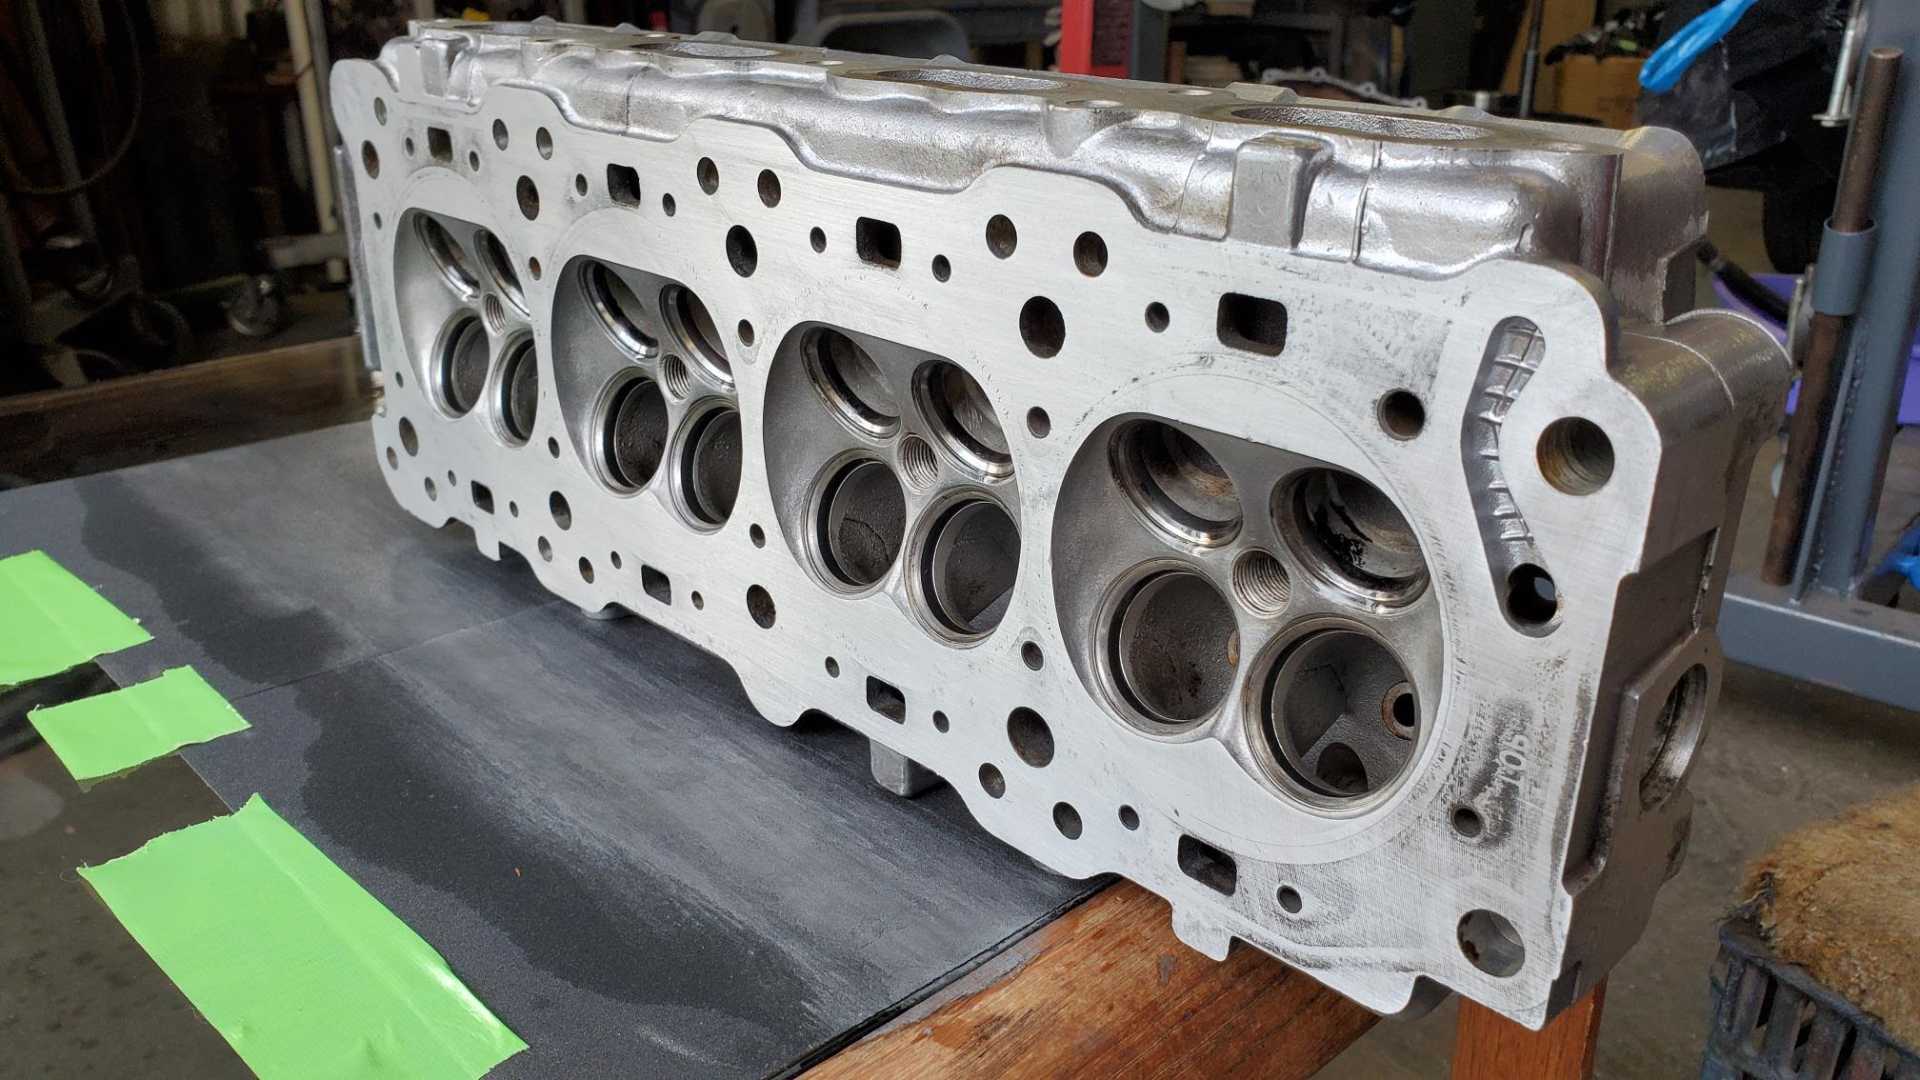
It actually looked worse when I first noticed it. Somehow spraying it with brake cleaner made it harder to see. Not to worry, I thought, I’ll just grab my spare 086 head. Of course, it has a similar crack, in the combustion chamber for cylinder #2.
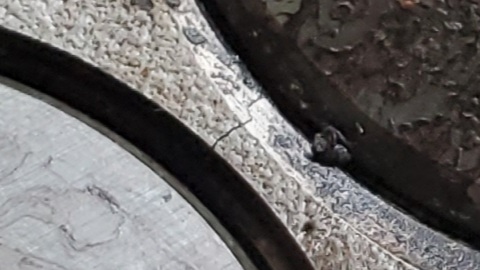
Bummed. Cylinder Head International has Quad 4 086 heads for $225, the same price I paid for this head in 2008. Now to talk my wife into letting me buy one.[This message has been edited by Quadfather (edited 04-10-2021).]
|
|
|
|