
 
     |
| A History of the Blue Demon (Page 14/17) |

|
Fierochic88
|
AUG 29, 11:40 AM
|
|
With almost exactly 2 months remaining before Carlisle, it was finally time for the test fit. Admittedly, I was getting a bit nervous but with both Gary & Jestin and us juggling multiple projects throughout this build, I knew that I would have to flexible and roll with it - the Blue Demon was in the best hands and the guys wouldn't let me down.
Gary & his wife, Jenn (with two "n"s) came out in late April with the engine and trans mounted on the cradle we initially planned to utilize. After some side projects getting tackled (like discussion over brake upgrades and wiring), and some shenanigans, we got down to the main event.
The engine itself fit with the modifications to the compartment (yay)! We also decided at that point to go with an '88 cradle.
|
|
|
|
Fierochic88
|
AUG 31, 08:18 PM
|
|
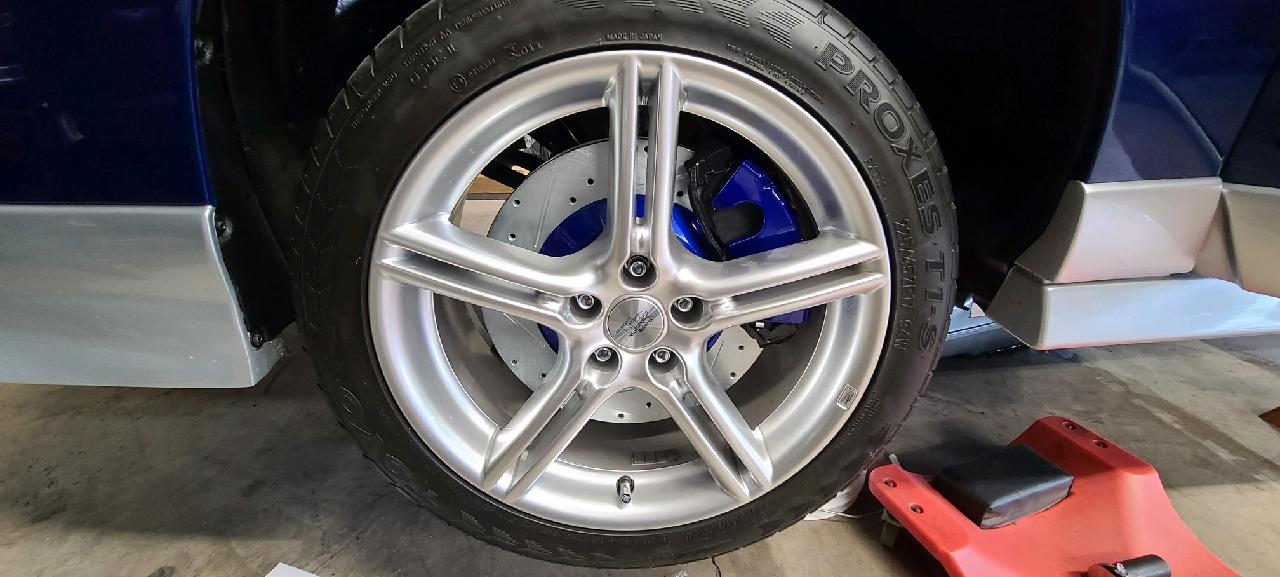
With all of the new "go" coming, we also wanted to increase the car's "whoa." The original plan was to do a C5 brake conversion on the fronts and a C4 conversion on the rear calipers using the kits from Chris at www.embraceracing.com. This would allow the parking brake to continue to be utilized. However, as the project unfolded, we had some issues with the fitment of some of the C4 components and with time running short, and Matt's desire to try something different, he and Gary collaborated to create a second set of brackets for the rear as time was short. A plan is also in progress to add a parking brake but we aren't there yet in the timeline.
Of course, this change required me to re-tape a set of rotors - as we were powder-coating them, I already had the 12 inch rotors ready to go. Oh well - my OCD would now be happier with symmetrical set of brakes (and yes, I know it wouldn't have been noticeable but of course, I'm neurotic about those things!
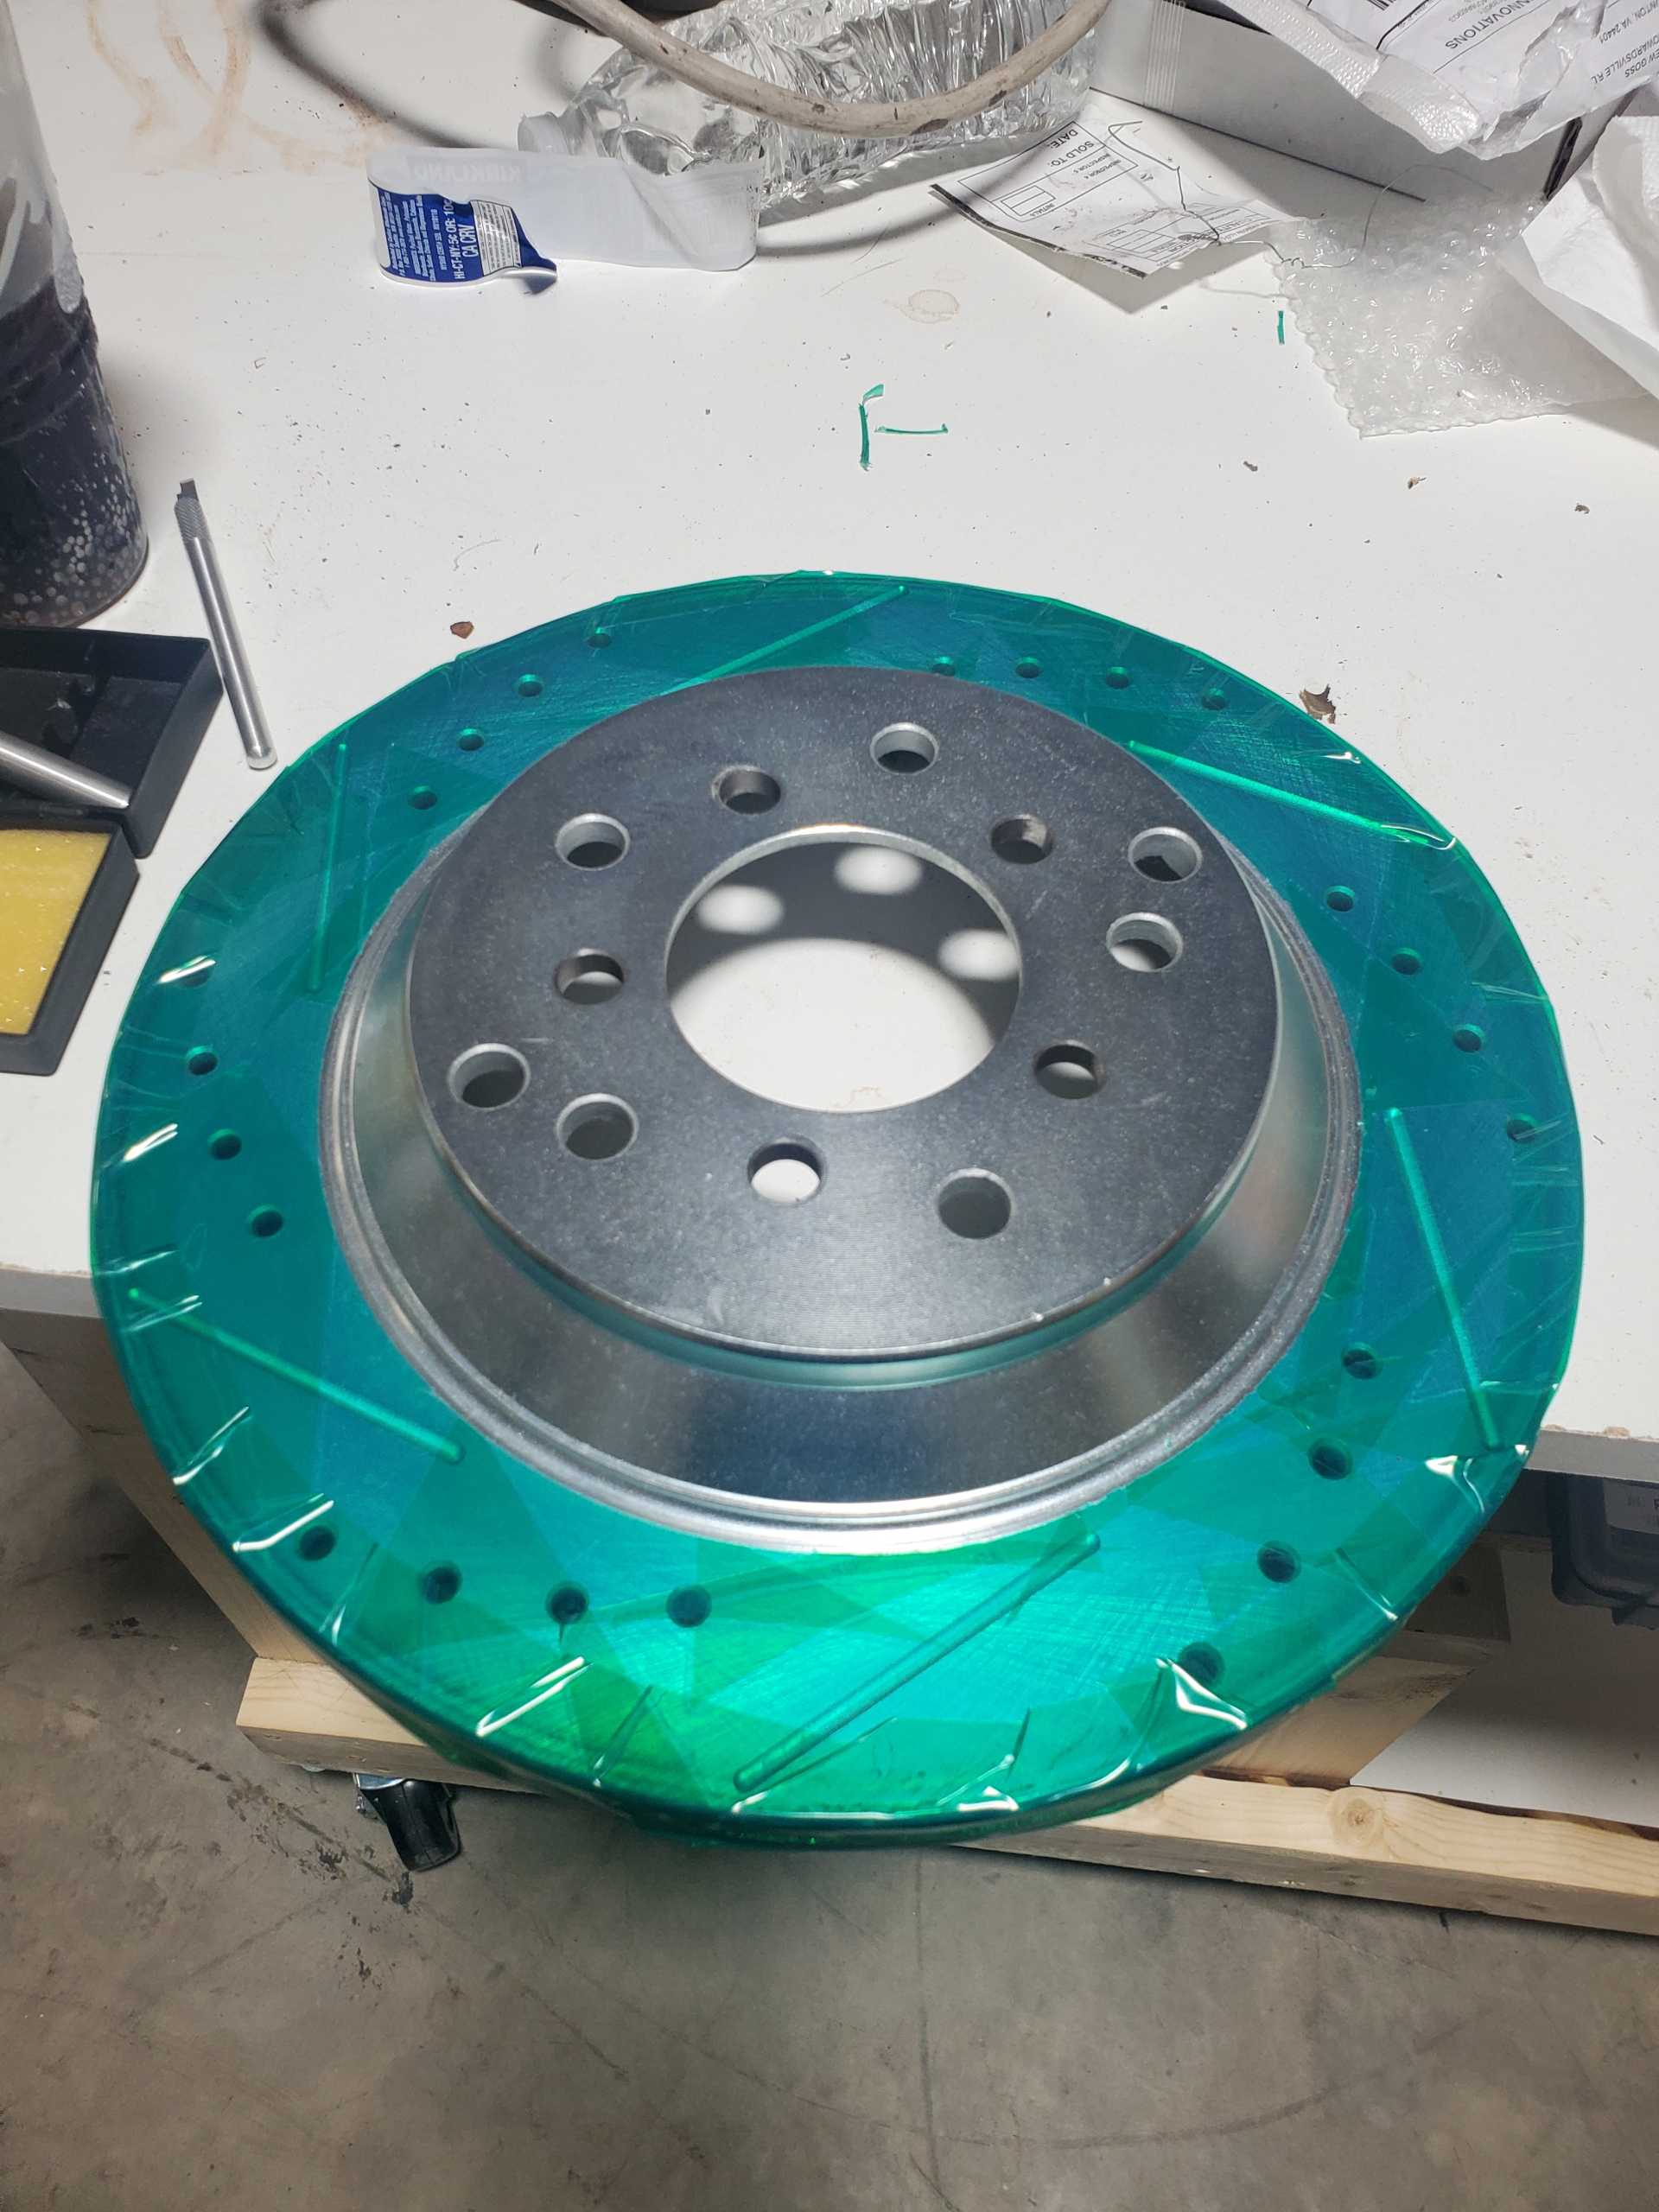
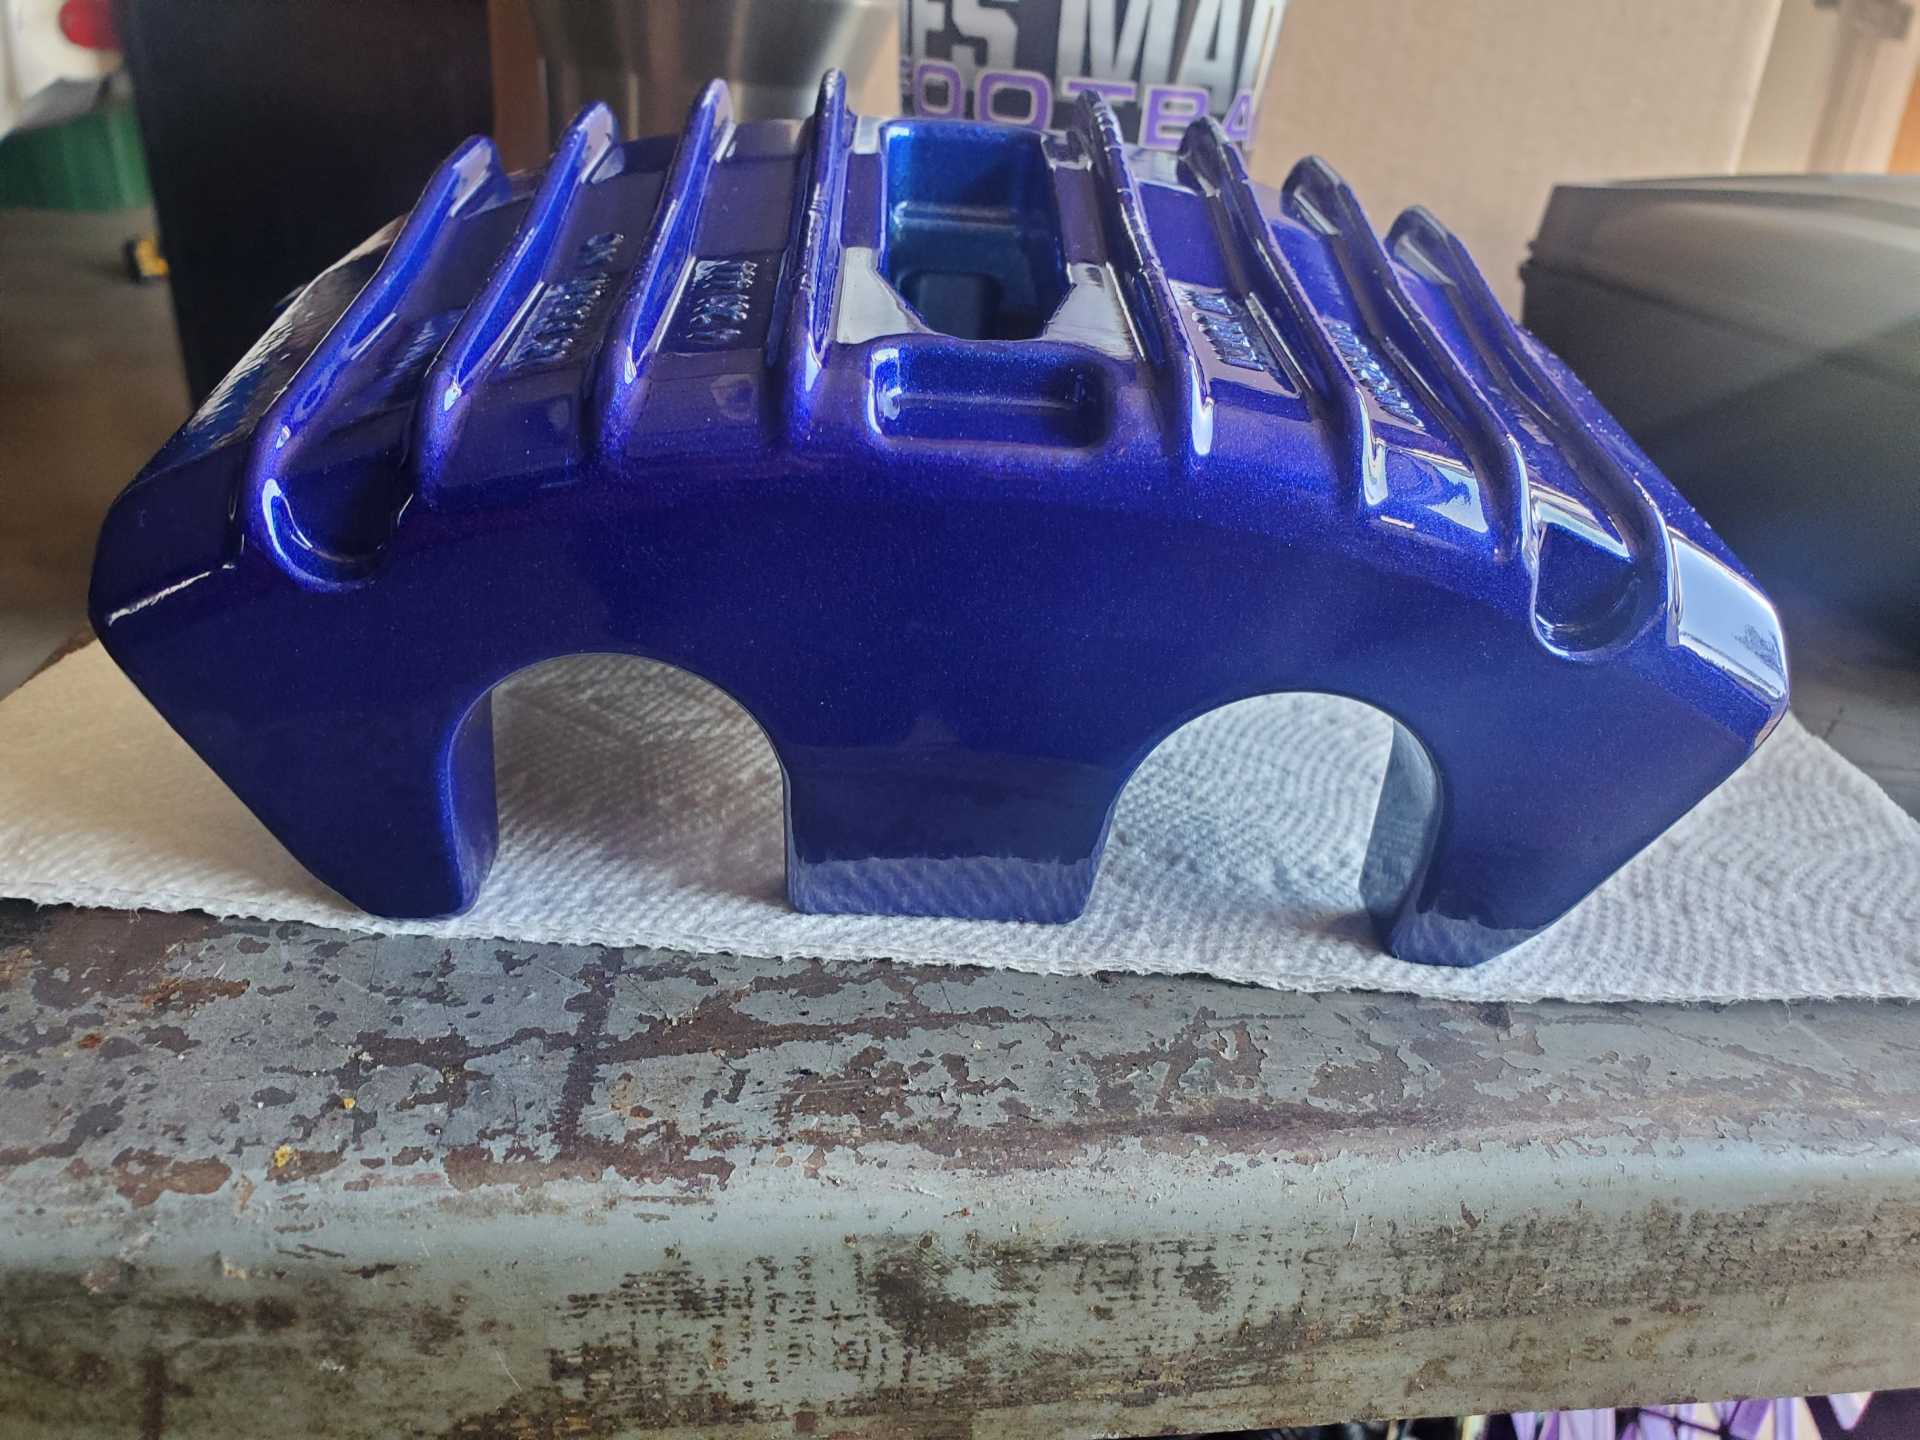
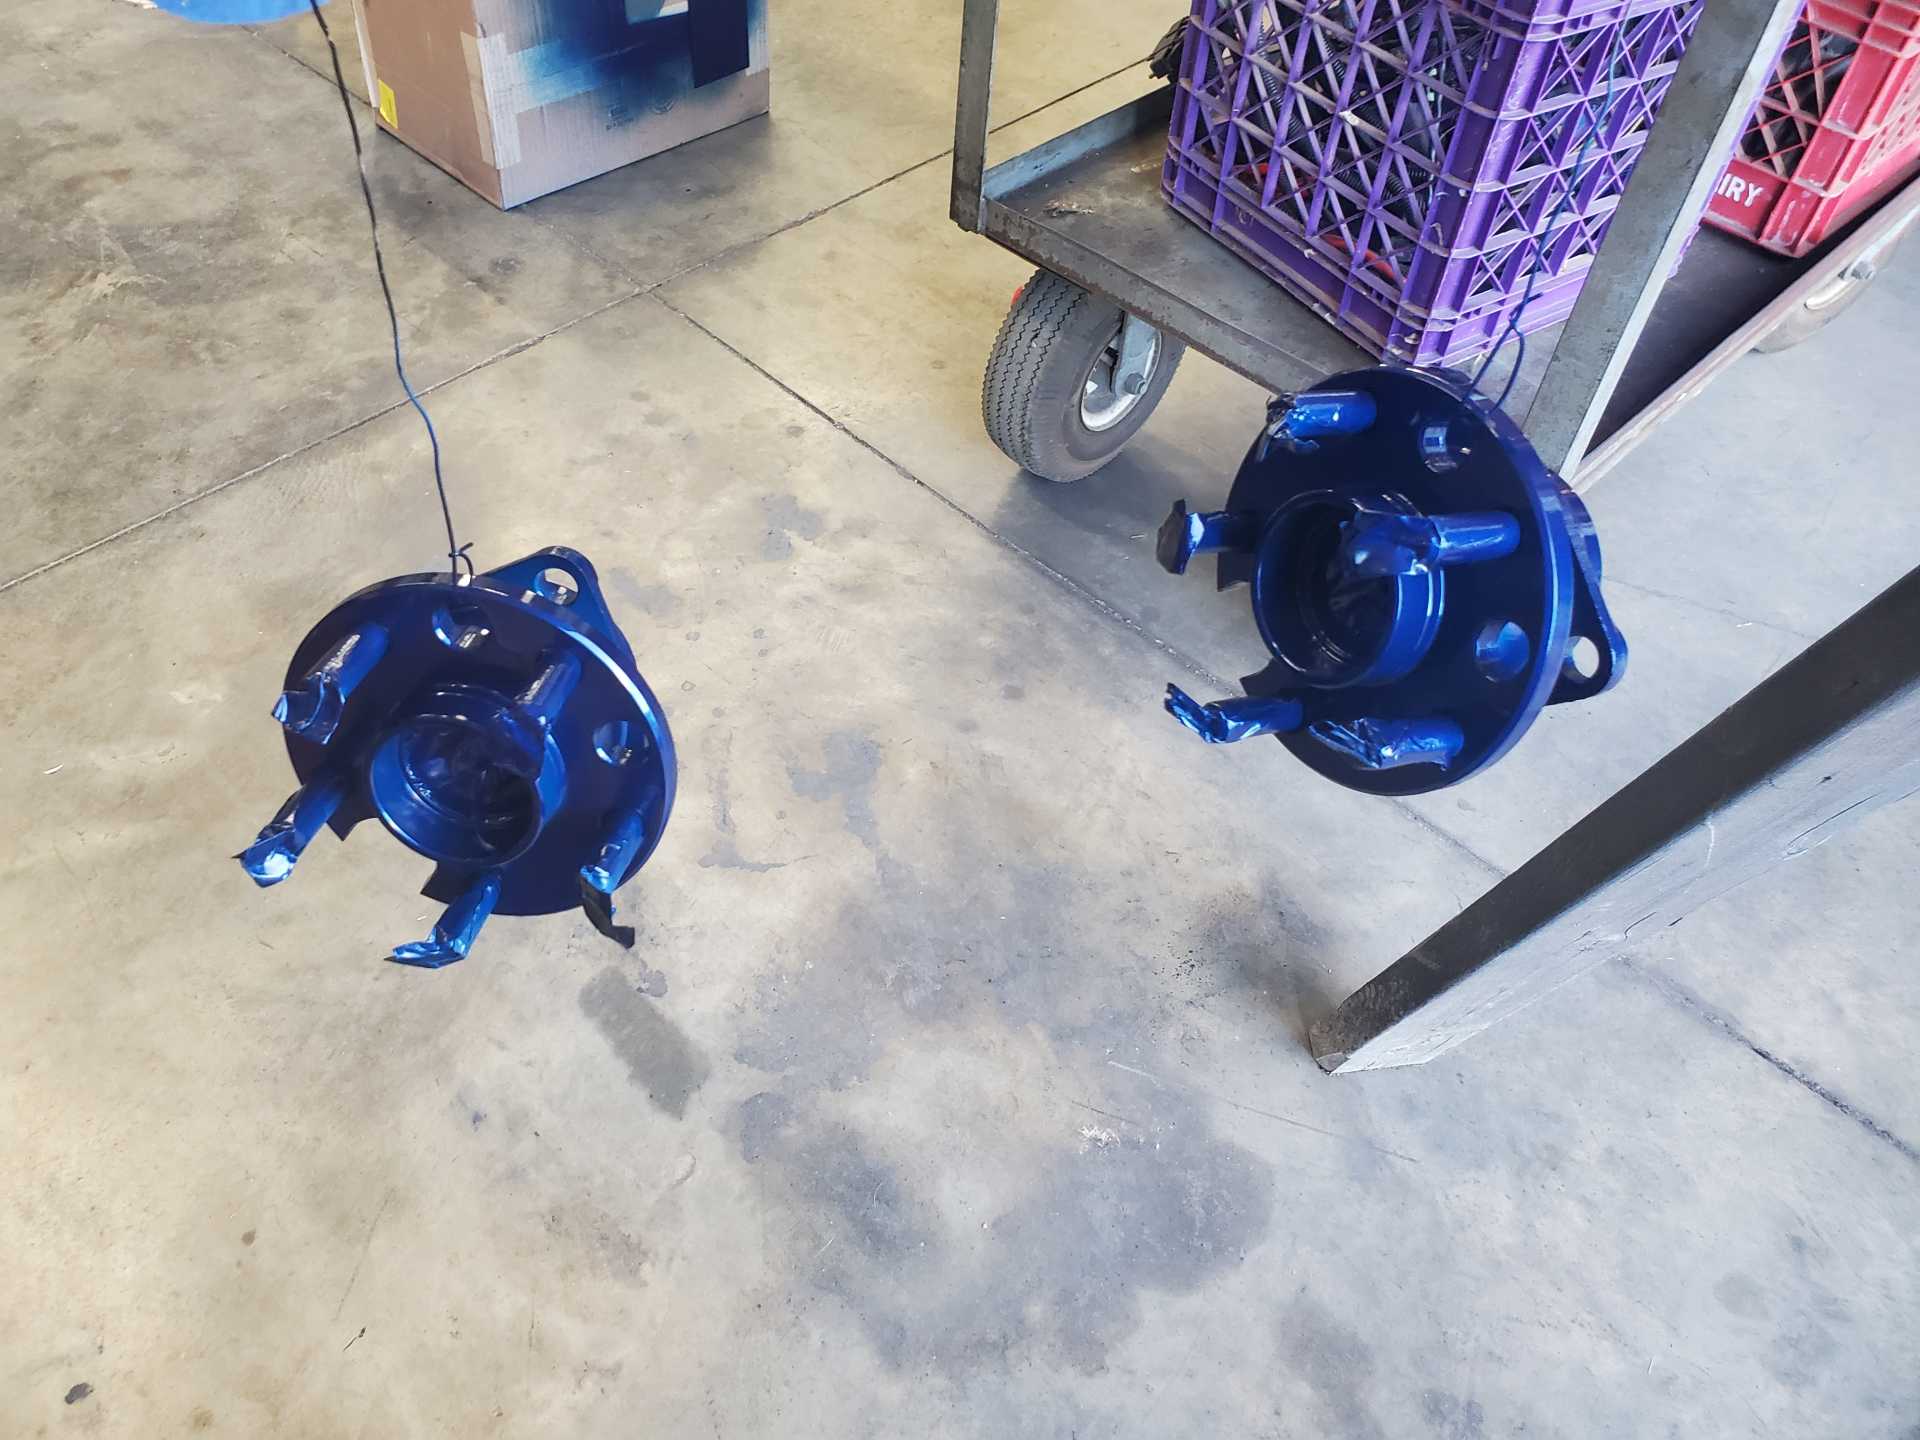
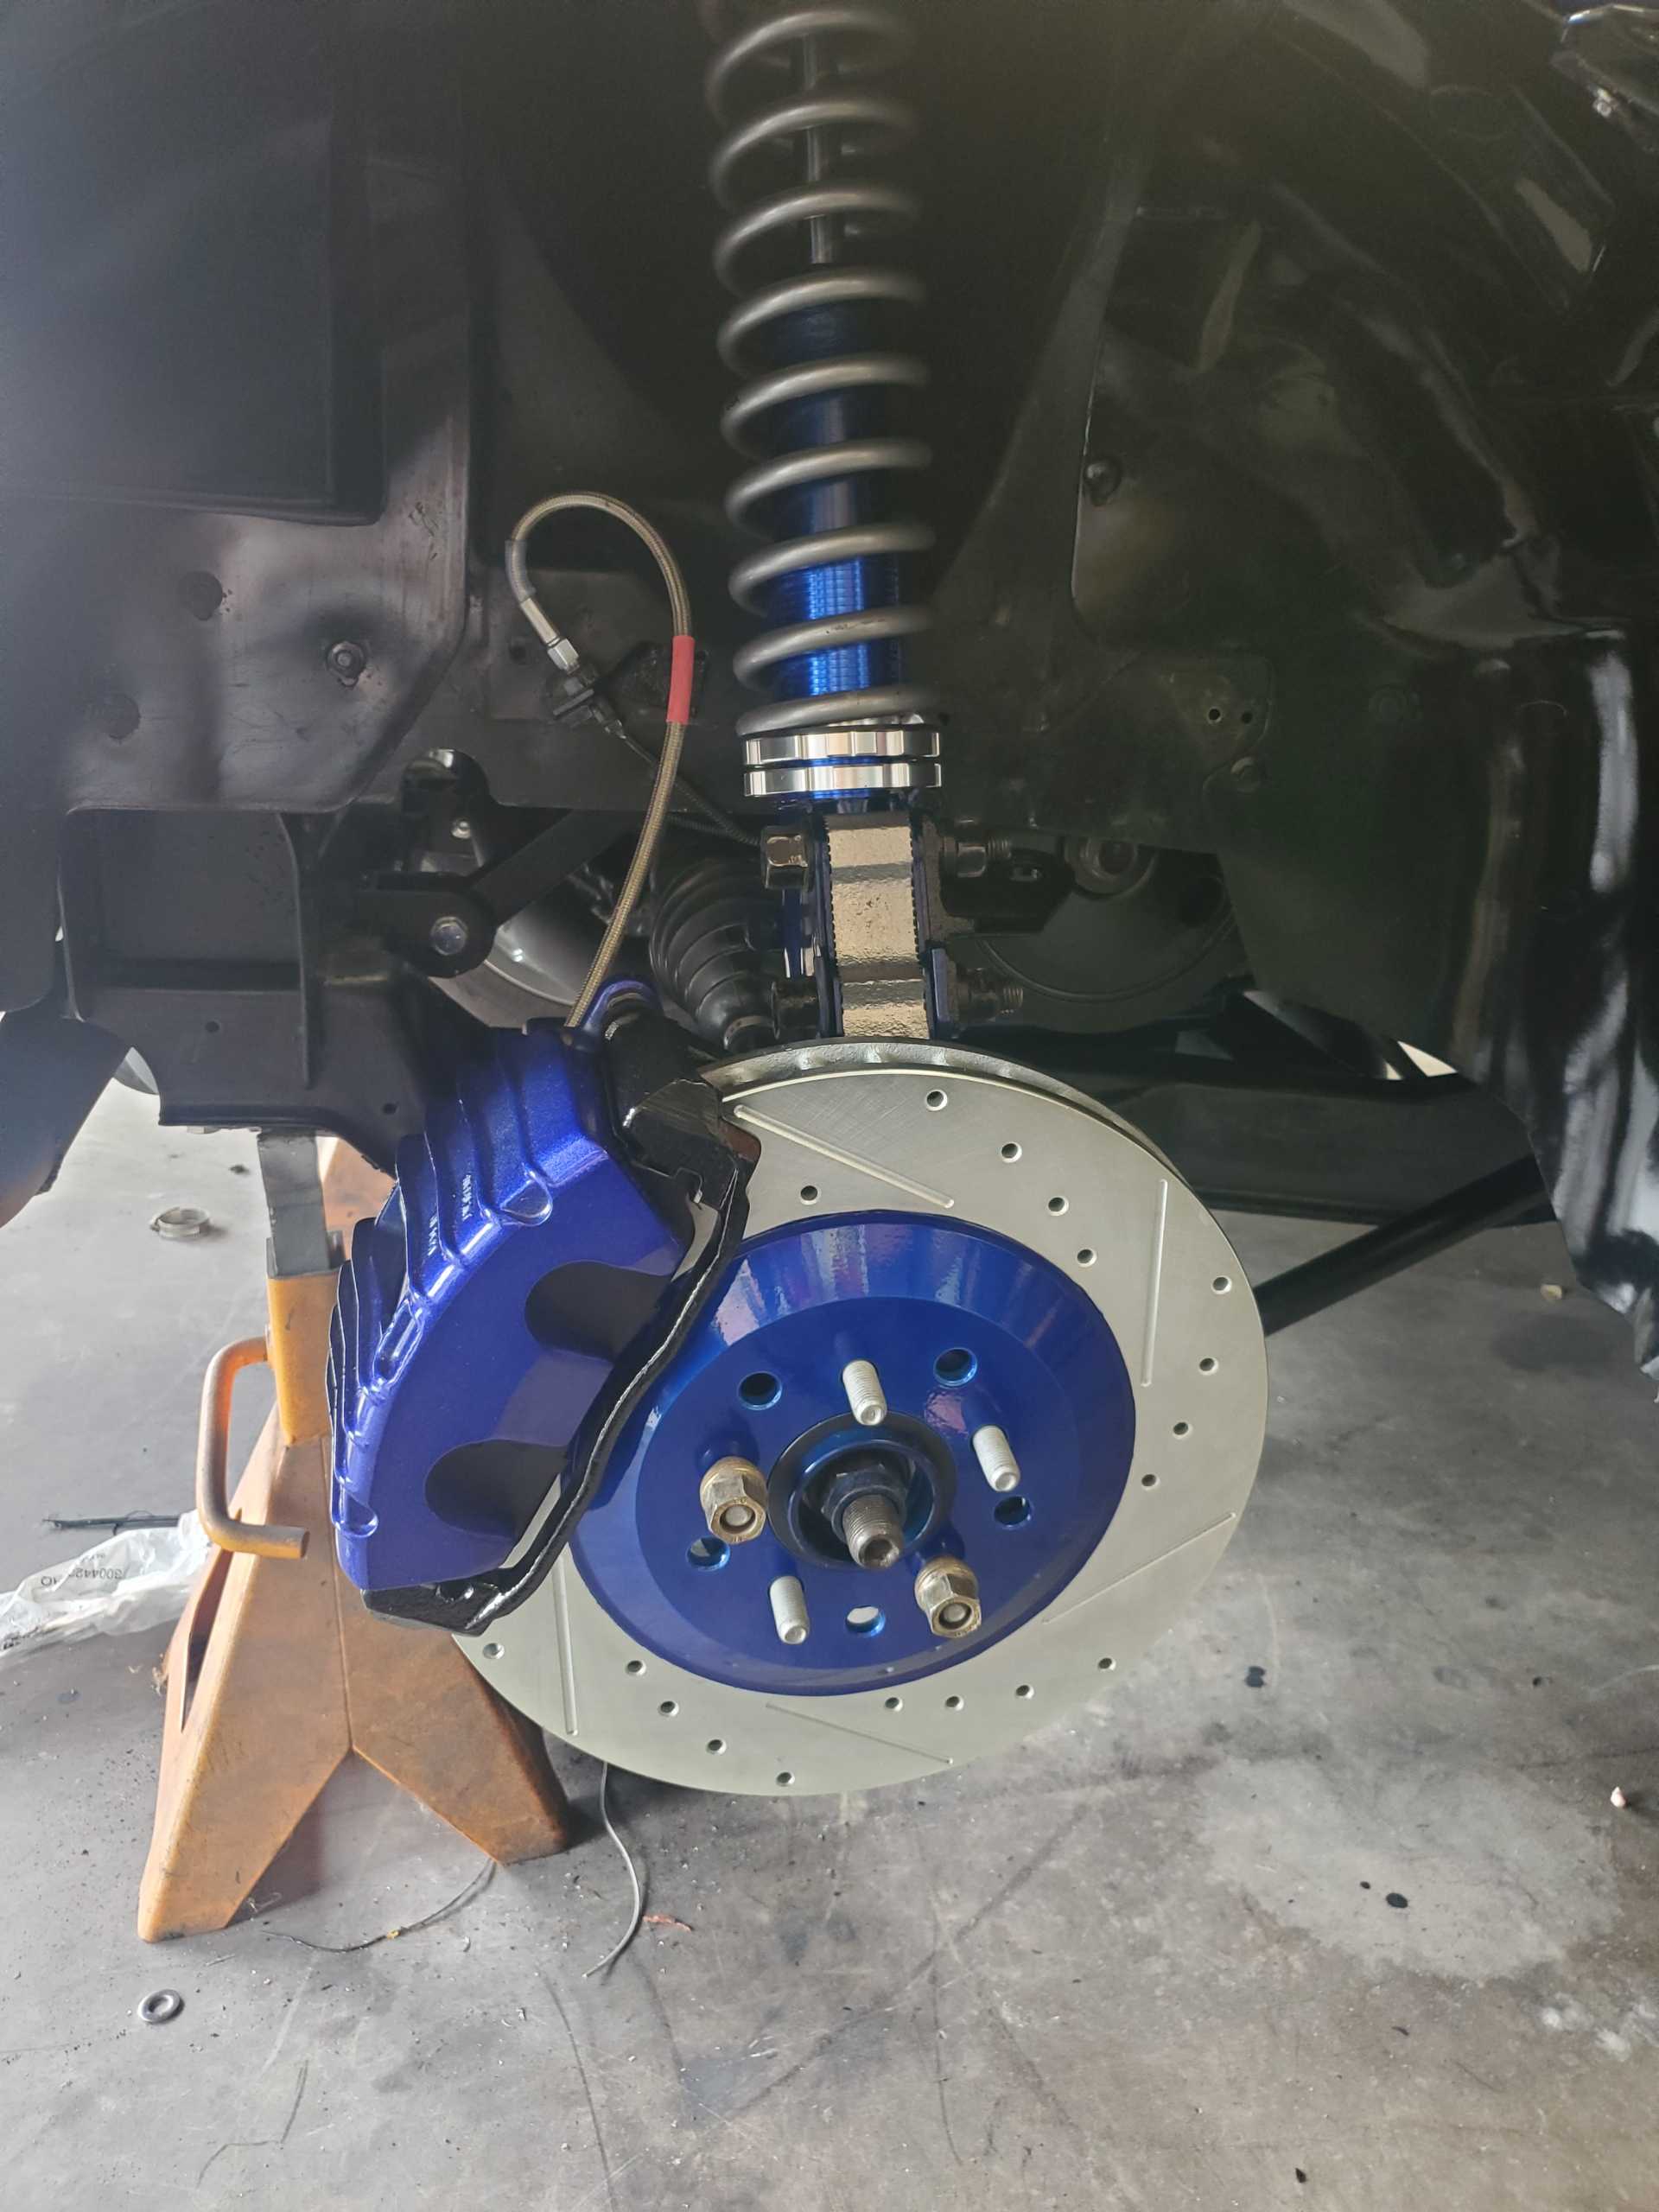
I was very happy with the end result!
|
|
|
|
Fierochic88
|
SEP 03, 05:00 PM
|
|
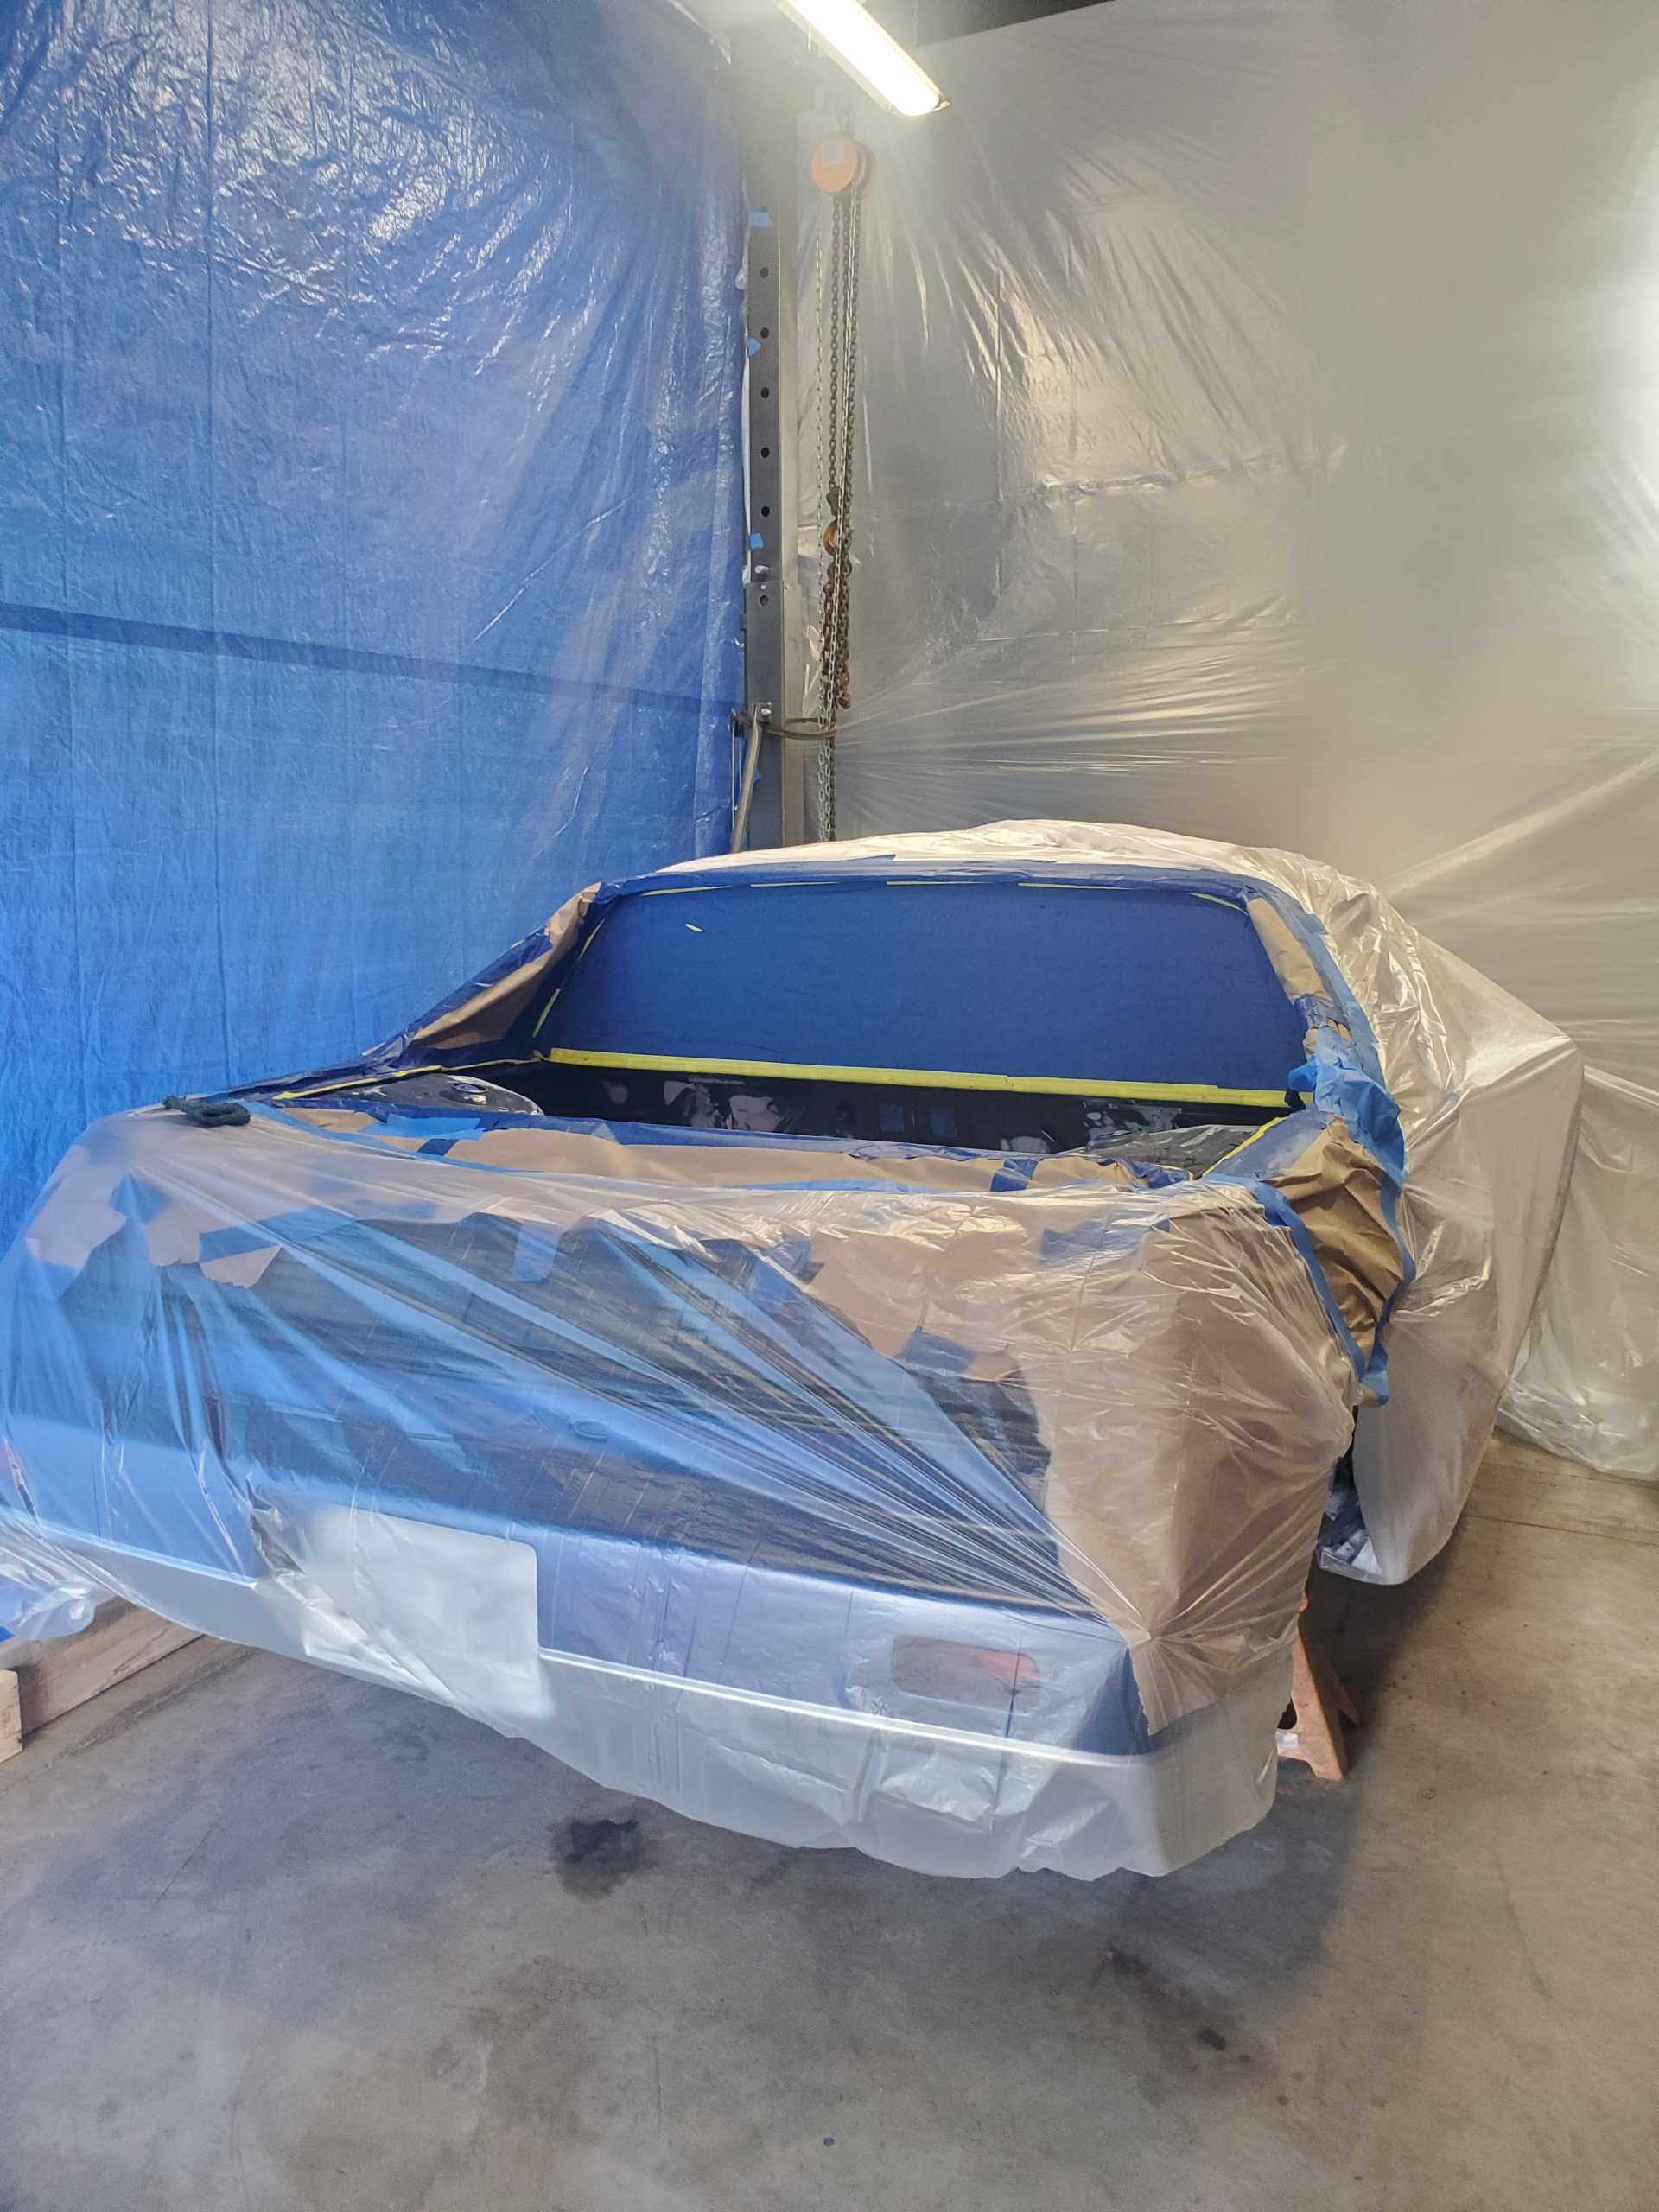
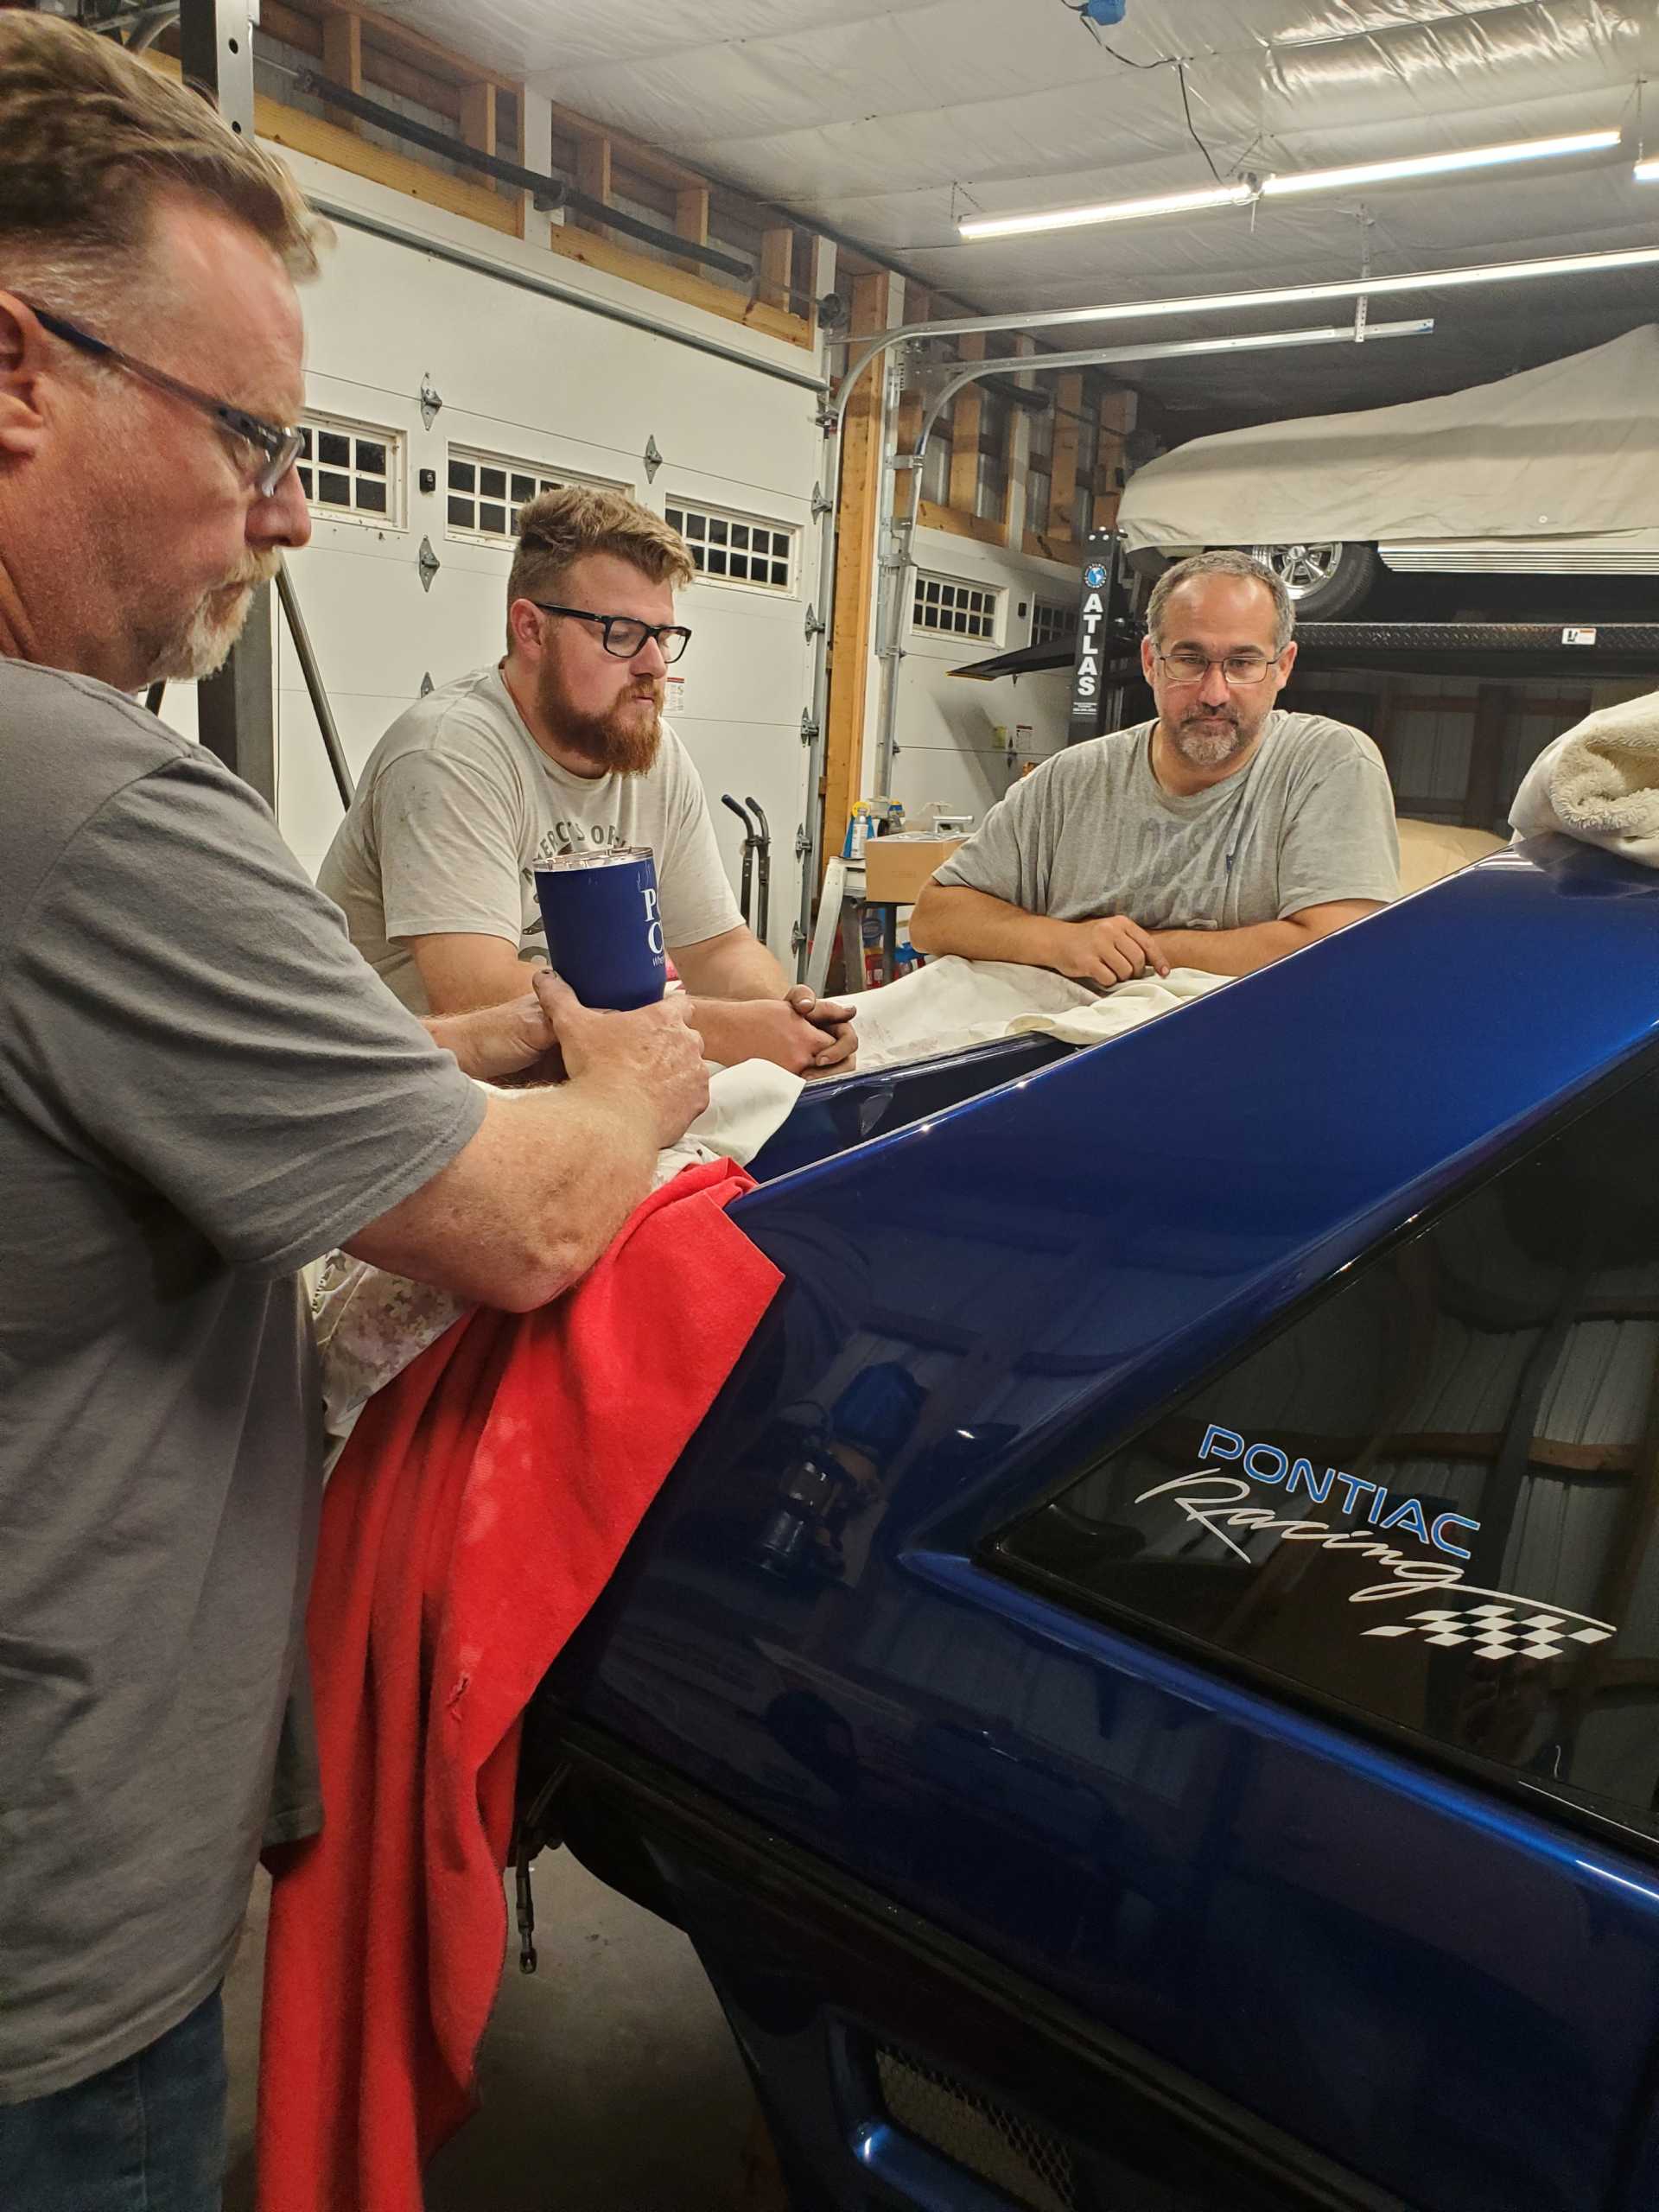
After the test fit was done, it was time to tape up the car and set up the paint booth! Note to readers (and I've likely made this note before): Build up your car's engine in its' finality first, and then paint it. Do as I say and not as I do lol. Keeping this beautiful 18 year-old paint safe was a job in-and-of itself!
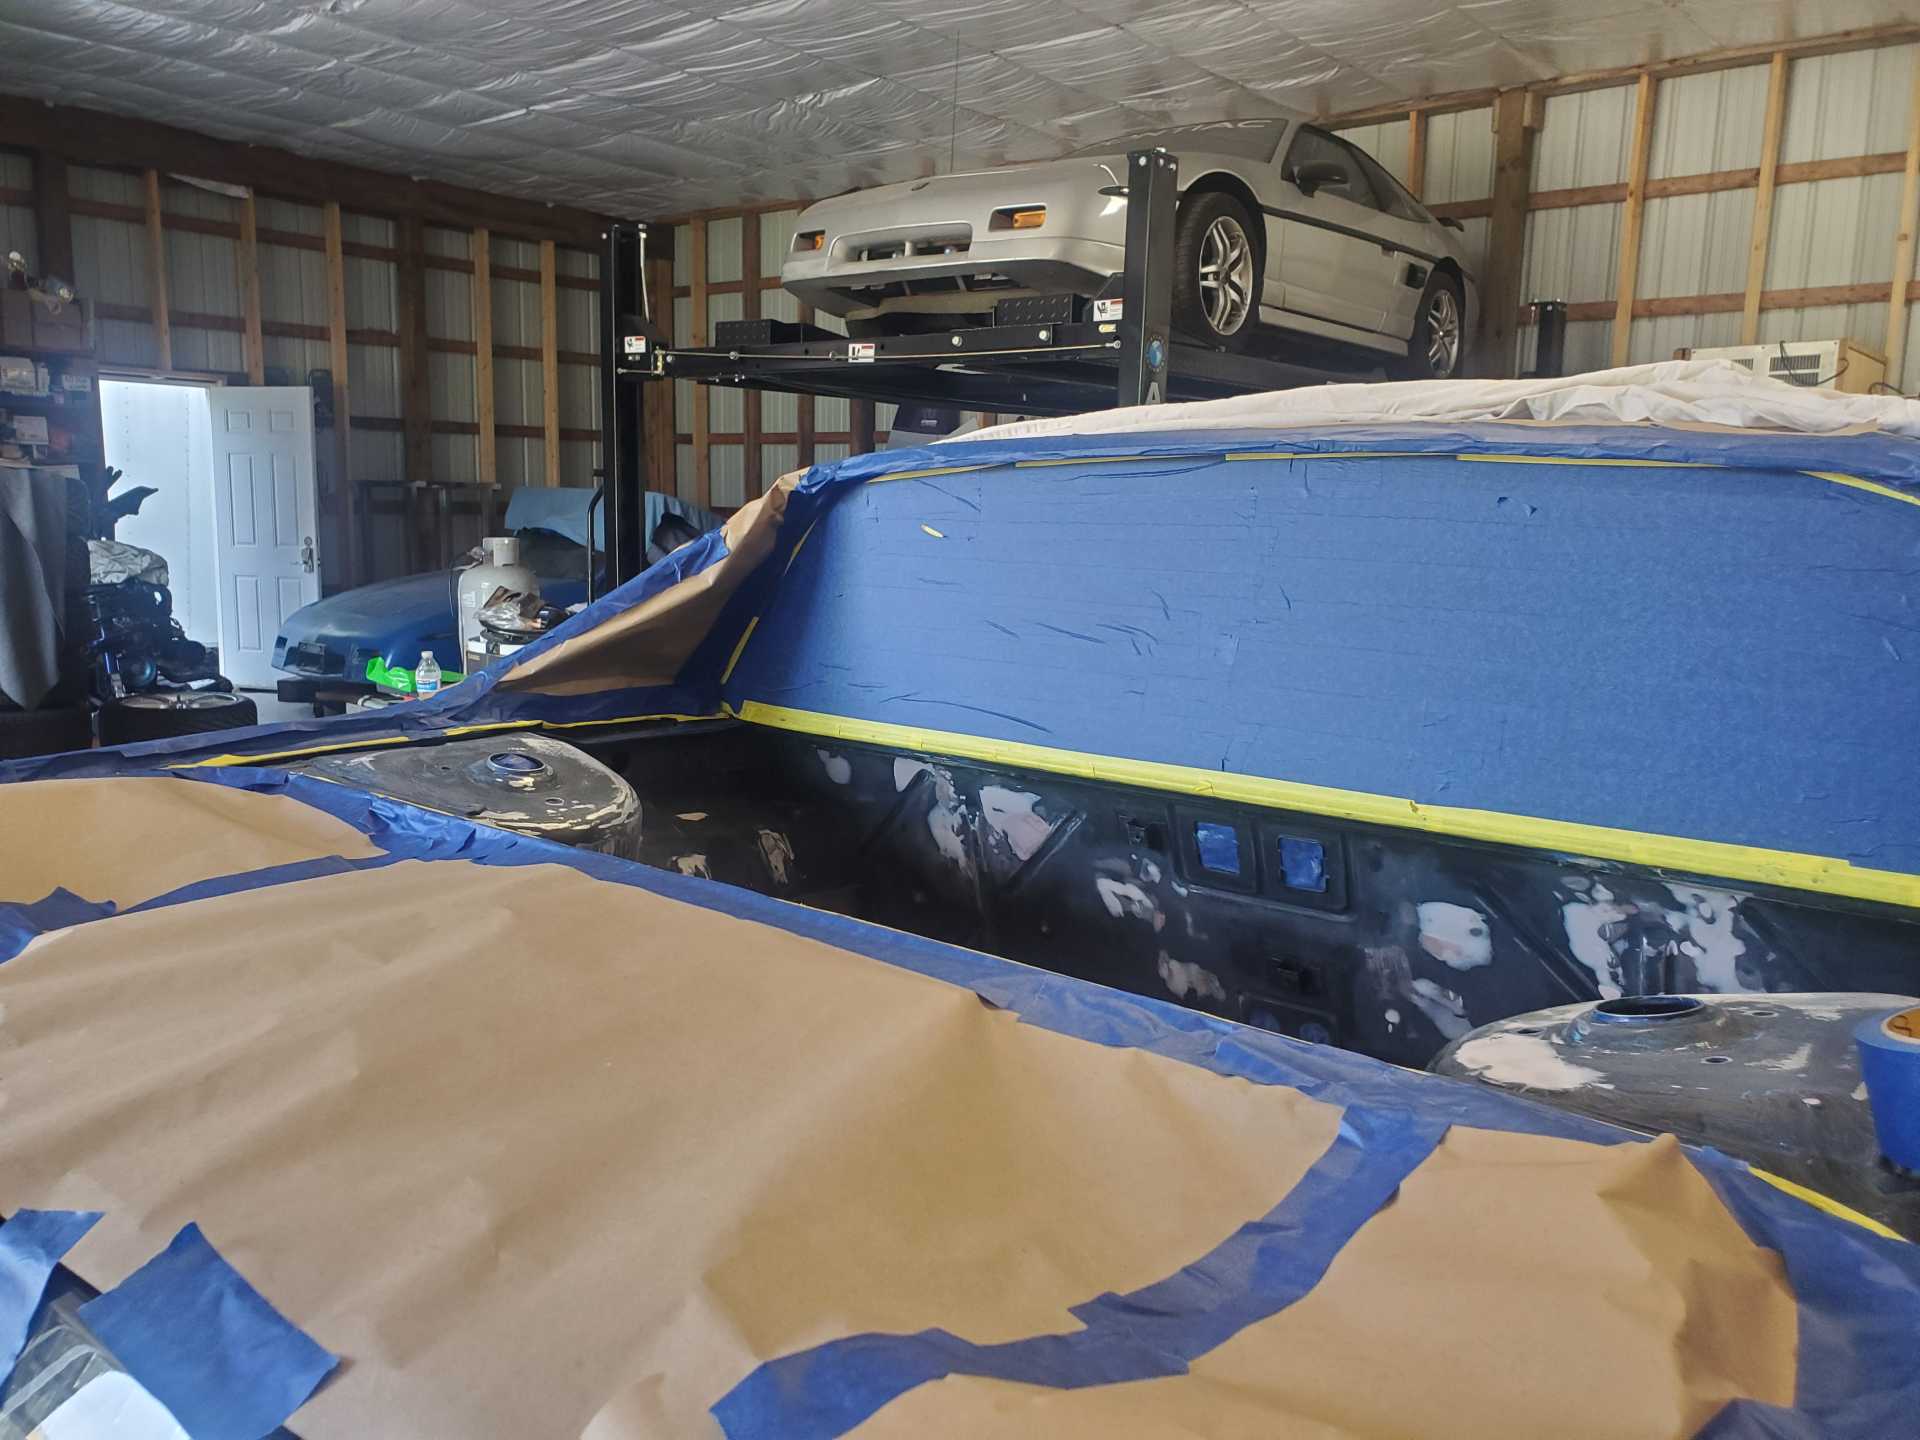
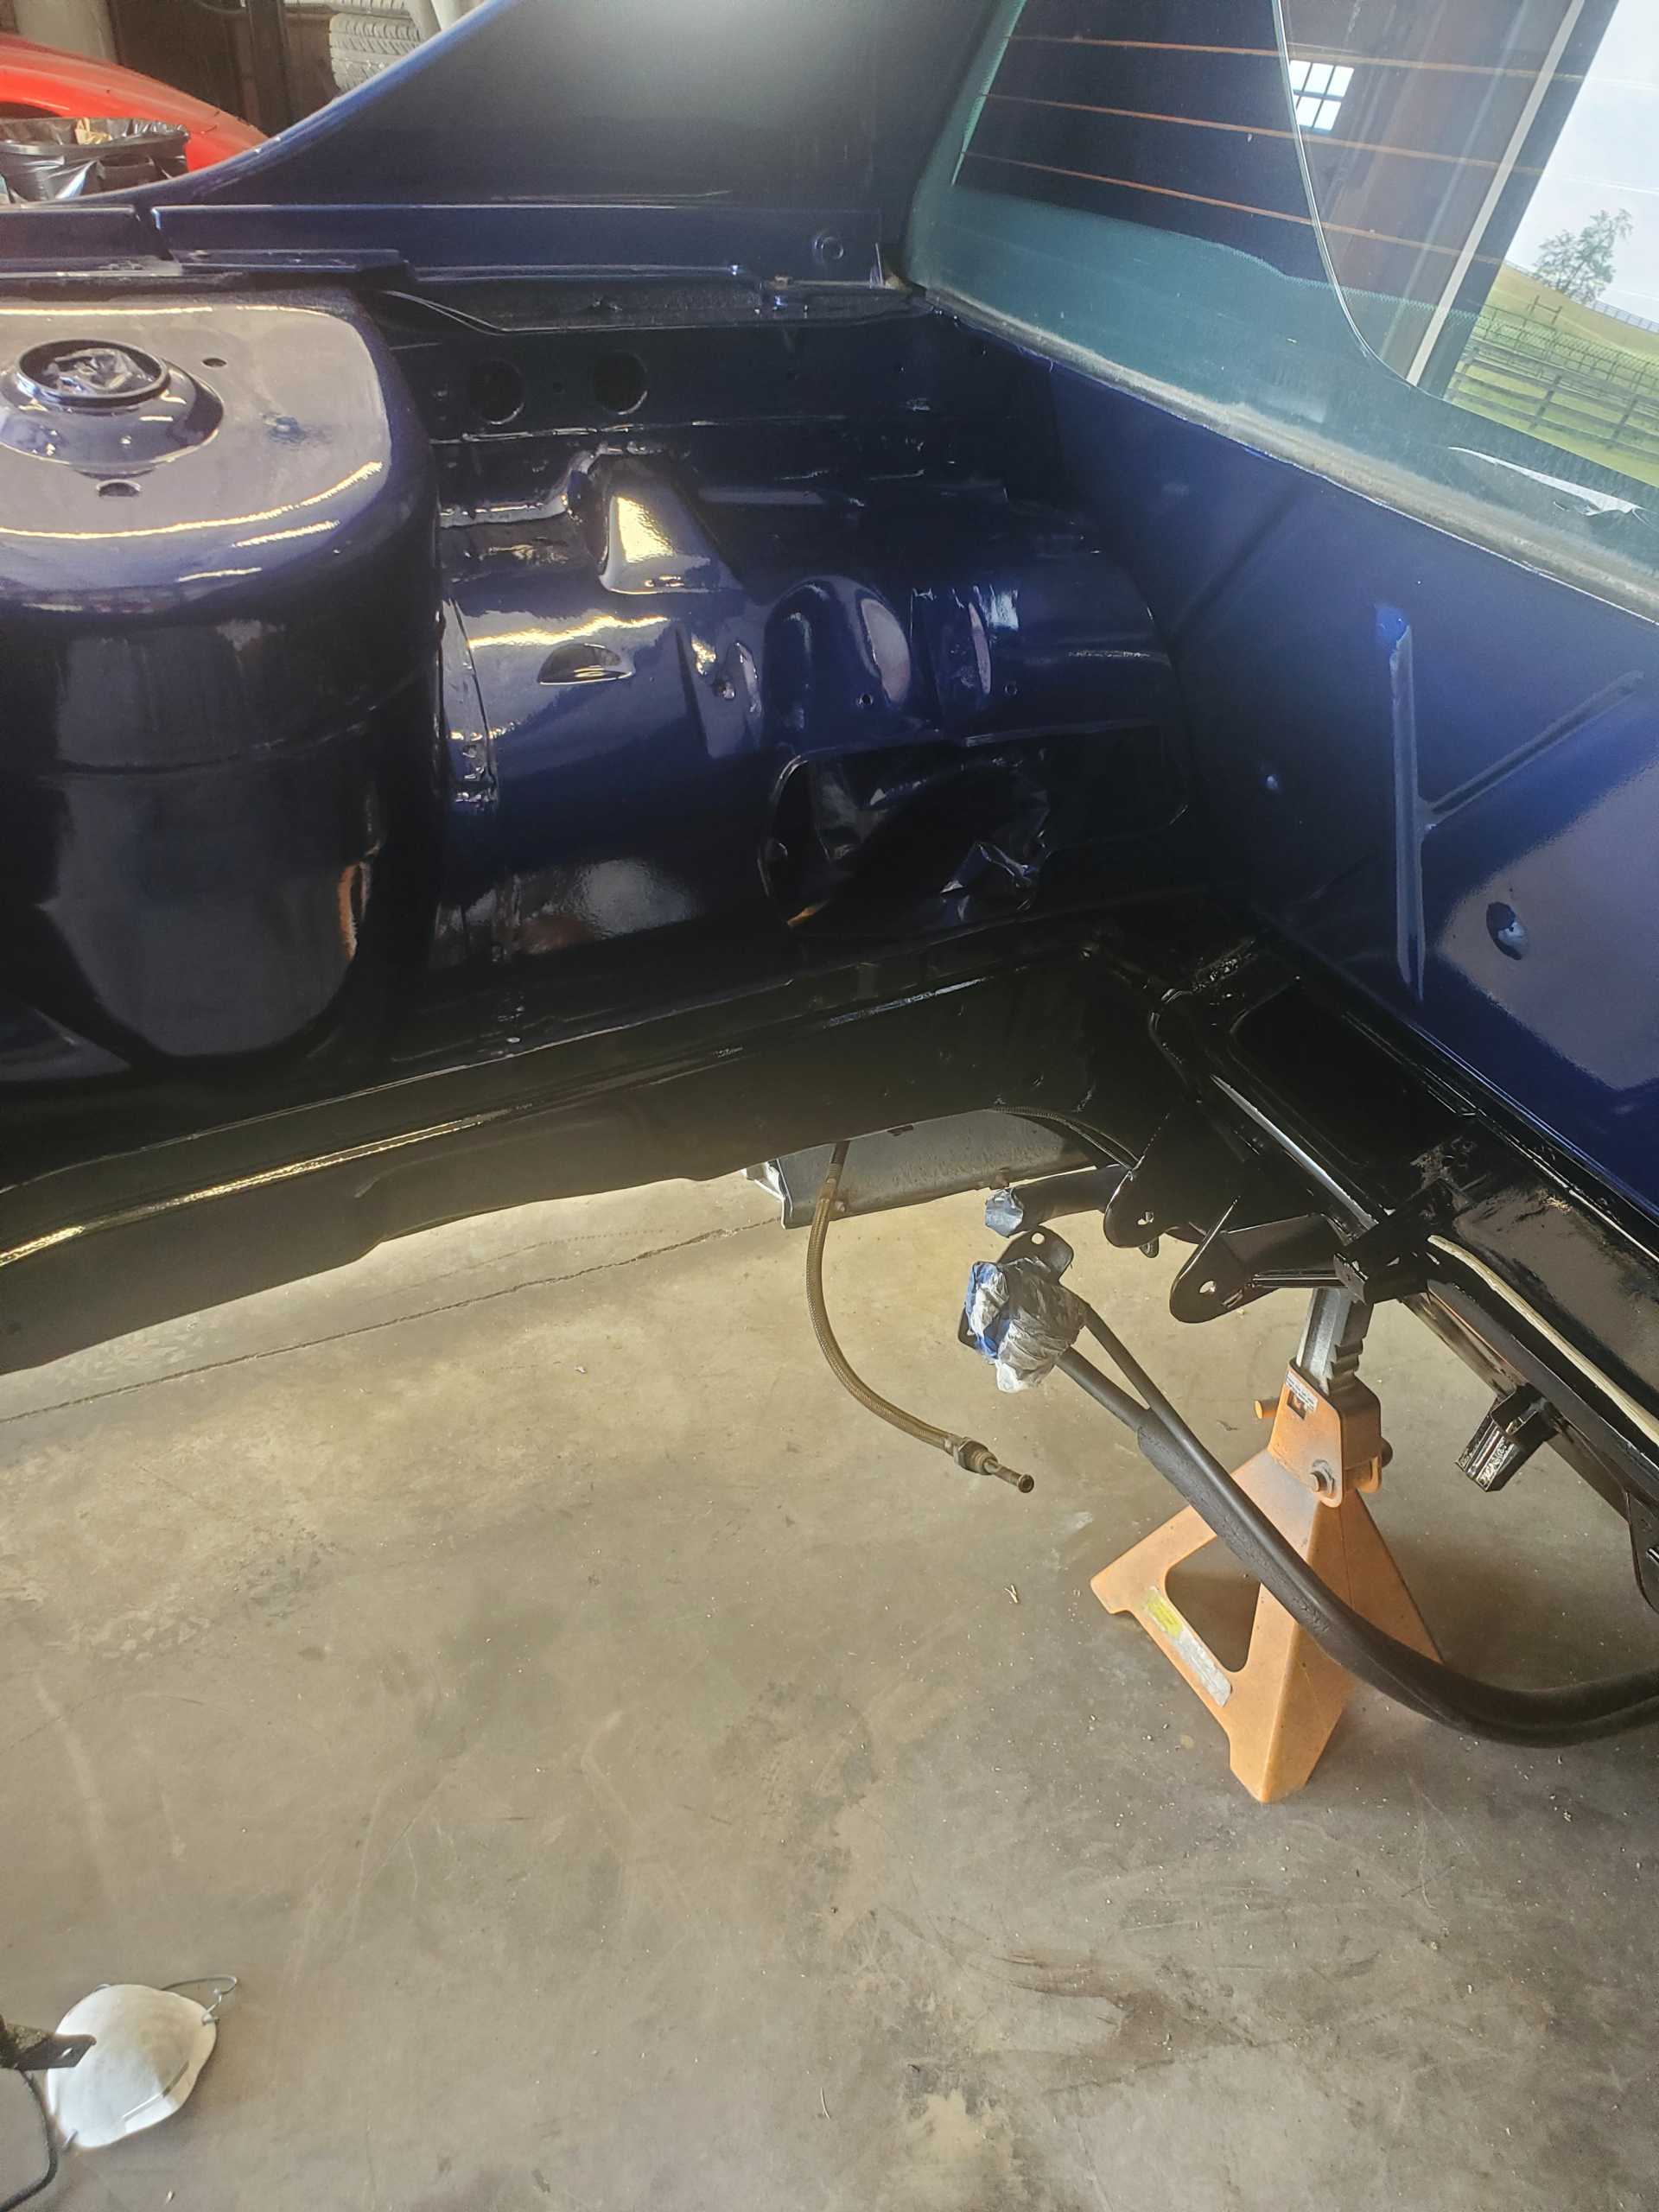
The first round was of a self-etching black primer. After this was shot, pictures were not taken but some additional minor leveling and prep work was done. The bay was again wiped down and Matt sprayed the lower part of the bay in black. The original plan was to do all blue; however, I'm glad he had the foresight to change it up. It turned out really well. Then more taping and preparation and voila - time for the blue. While these pictures don't truly do it justice - it looks incredible in person. Both the black and blue paint is single-stage enamel with hardener.
|
|
|
|
Fierochic88
|
SEP 05, 11:14 AM
|
|
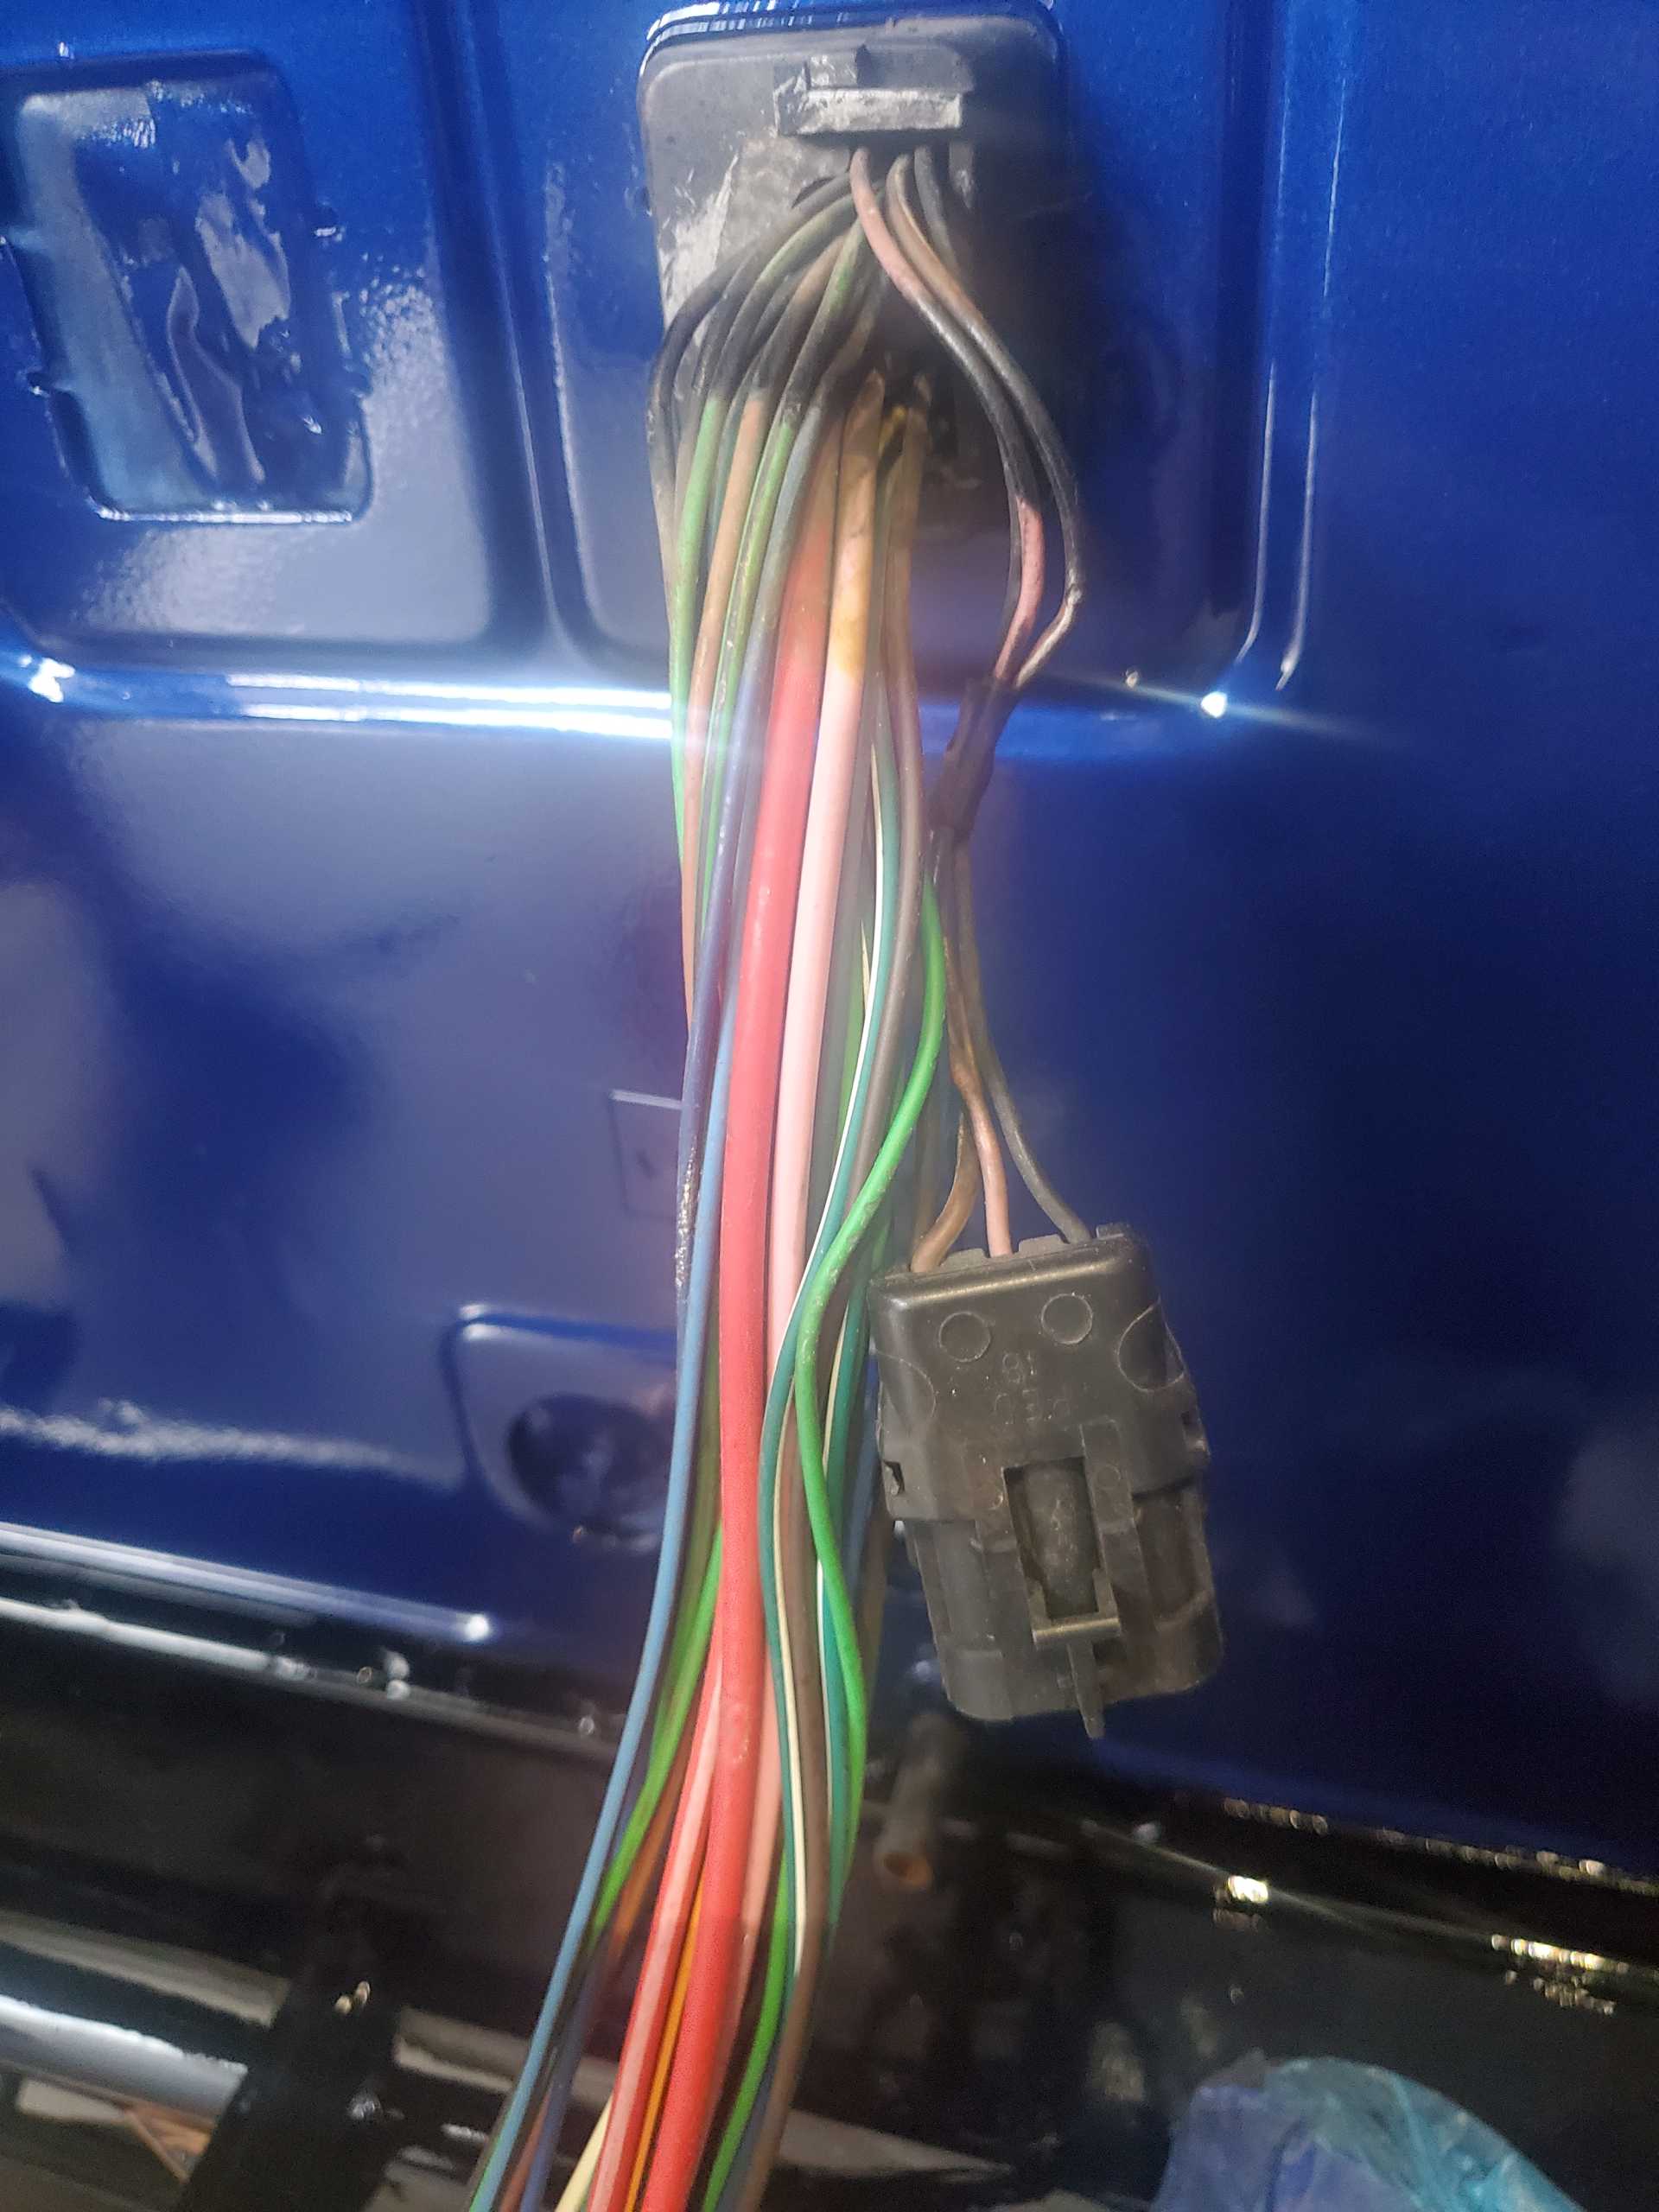
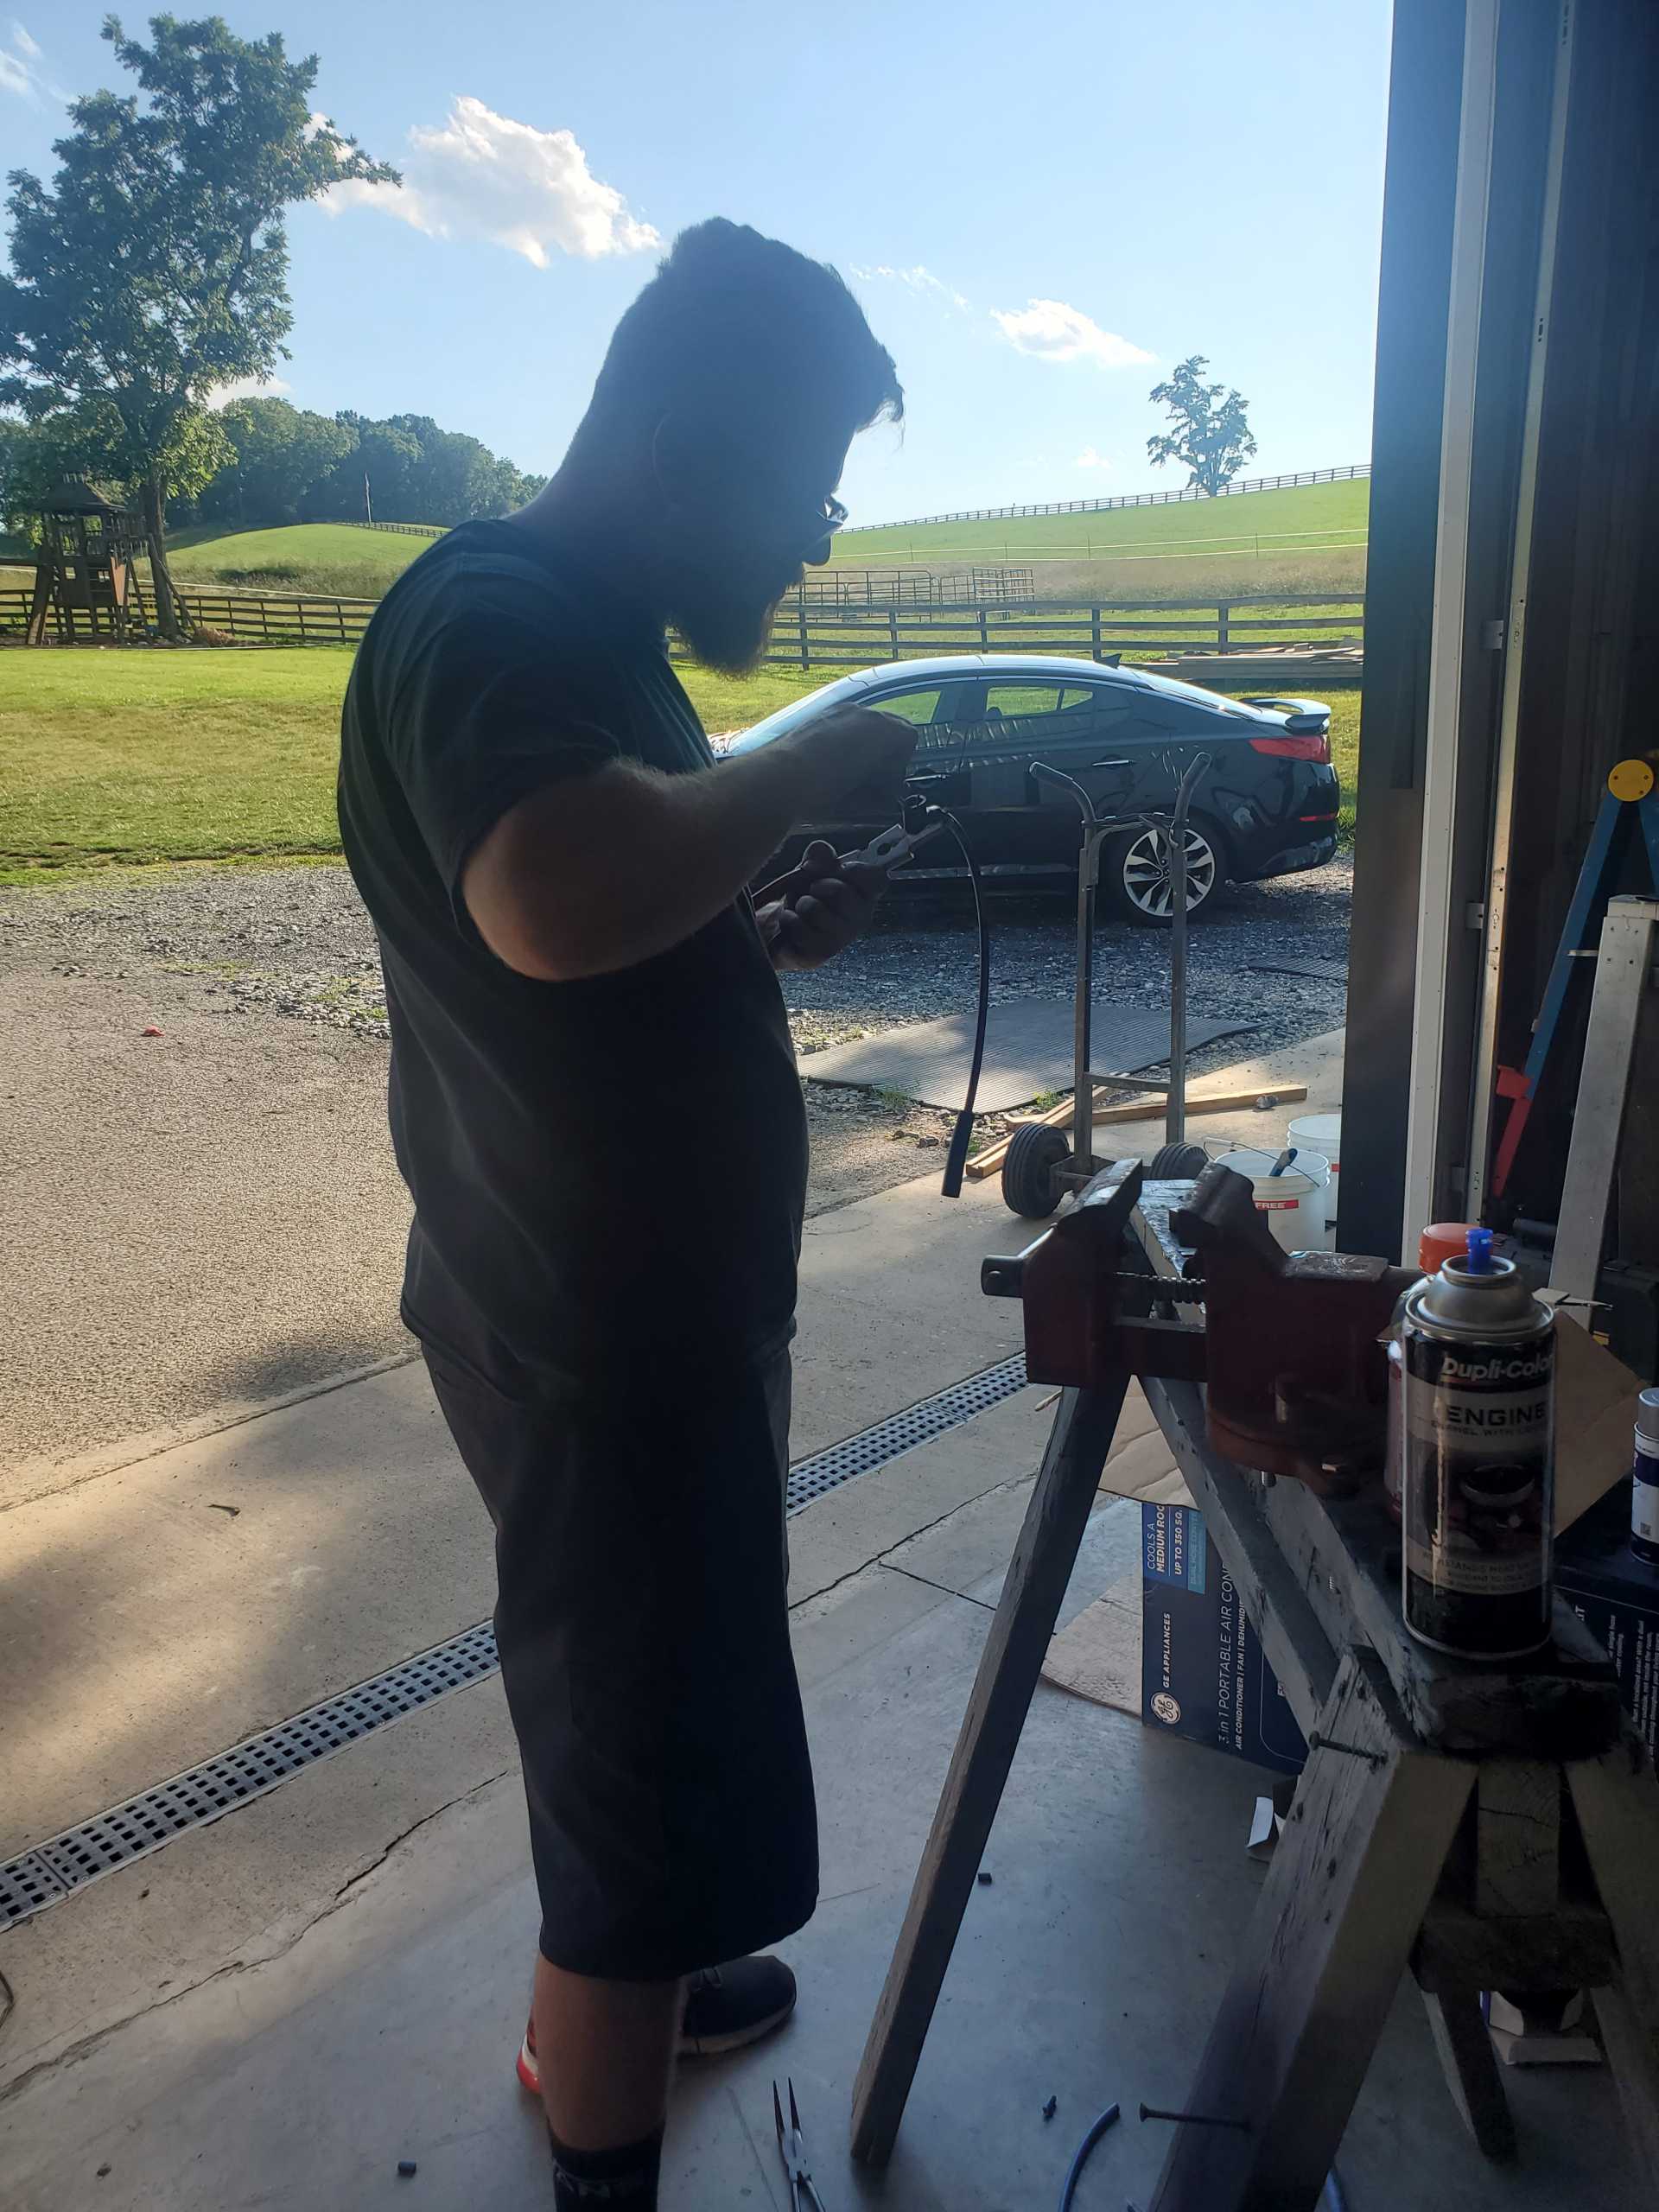
Now that the compartment was dry, the next step was to do the final preparations for engine placement. This involved redoing the wiring enclosures on the existing wiring that was not part of the new harness. Wire loom has come a long way in the past 19 years so I tackled that task while Matt working on finishing the setup of the new Champion radiator.


The radiator fitment took a bit of finagling, and some choice words from Matt, but eventually we had it tucked in and leveled out. There was a bit of panic when the hood was latched but a few adjustments took care of things without any damage and it was ready to roll.

|
|
|
|
Fierochic88
|
SEP 08, 04:18 PM
|
|
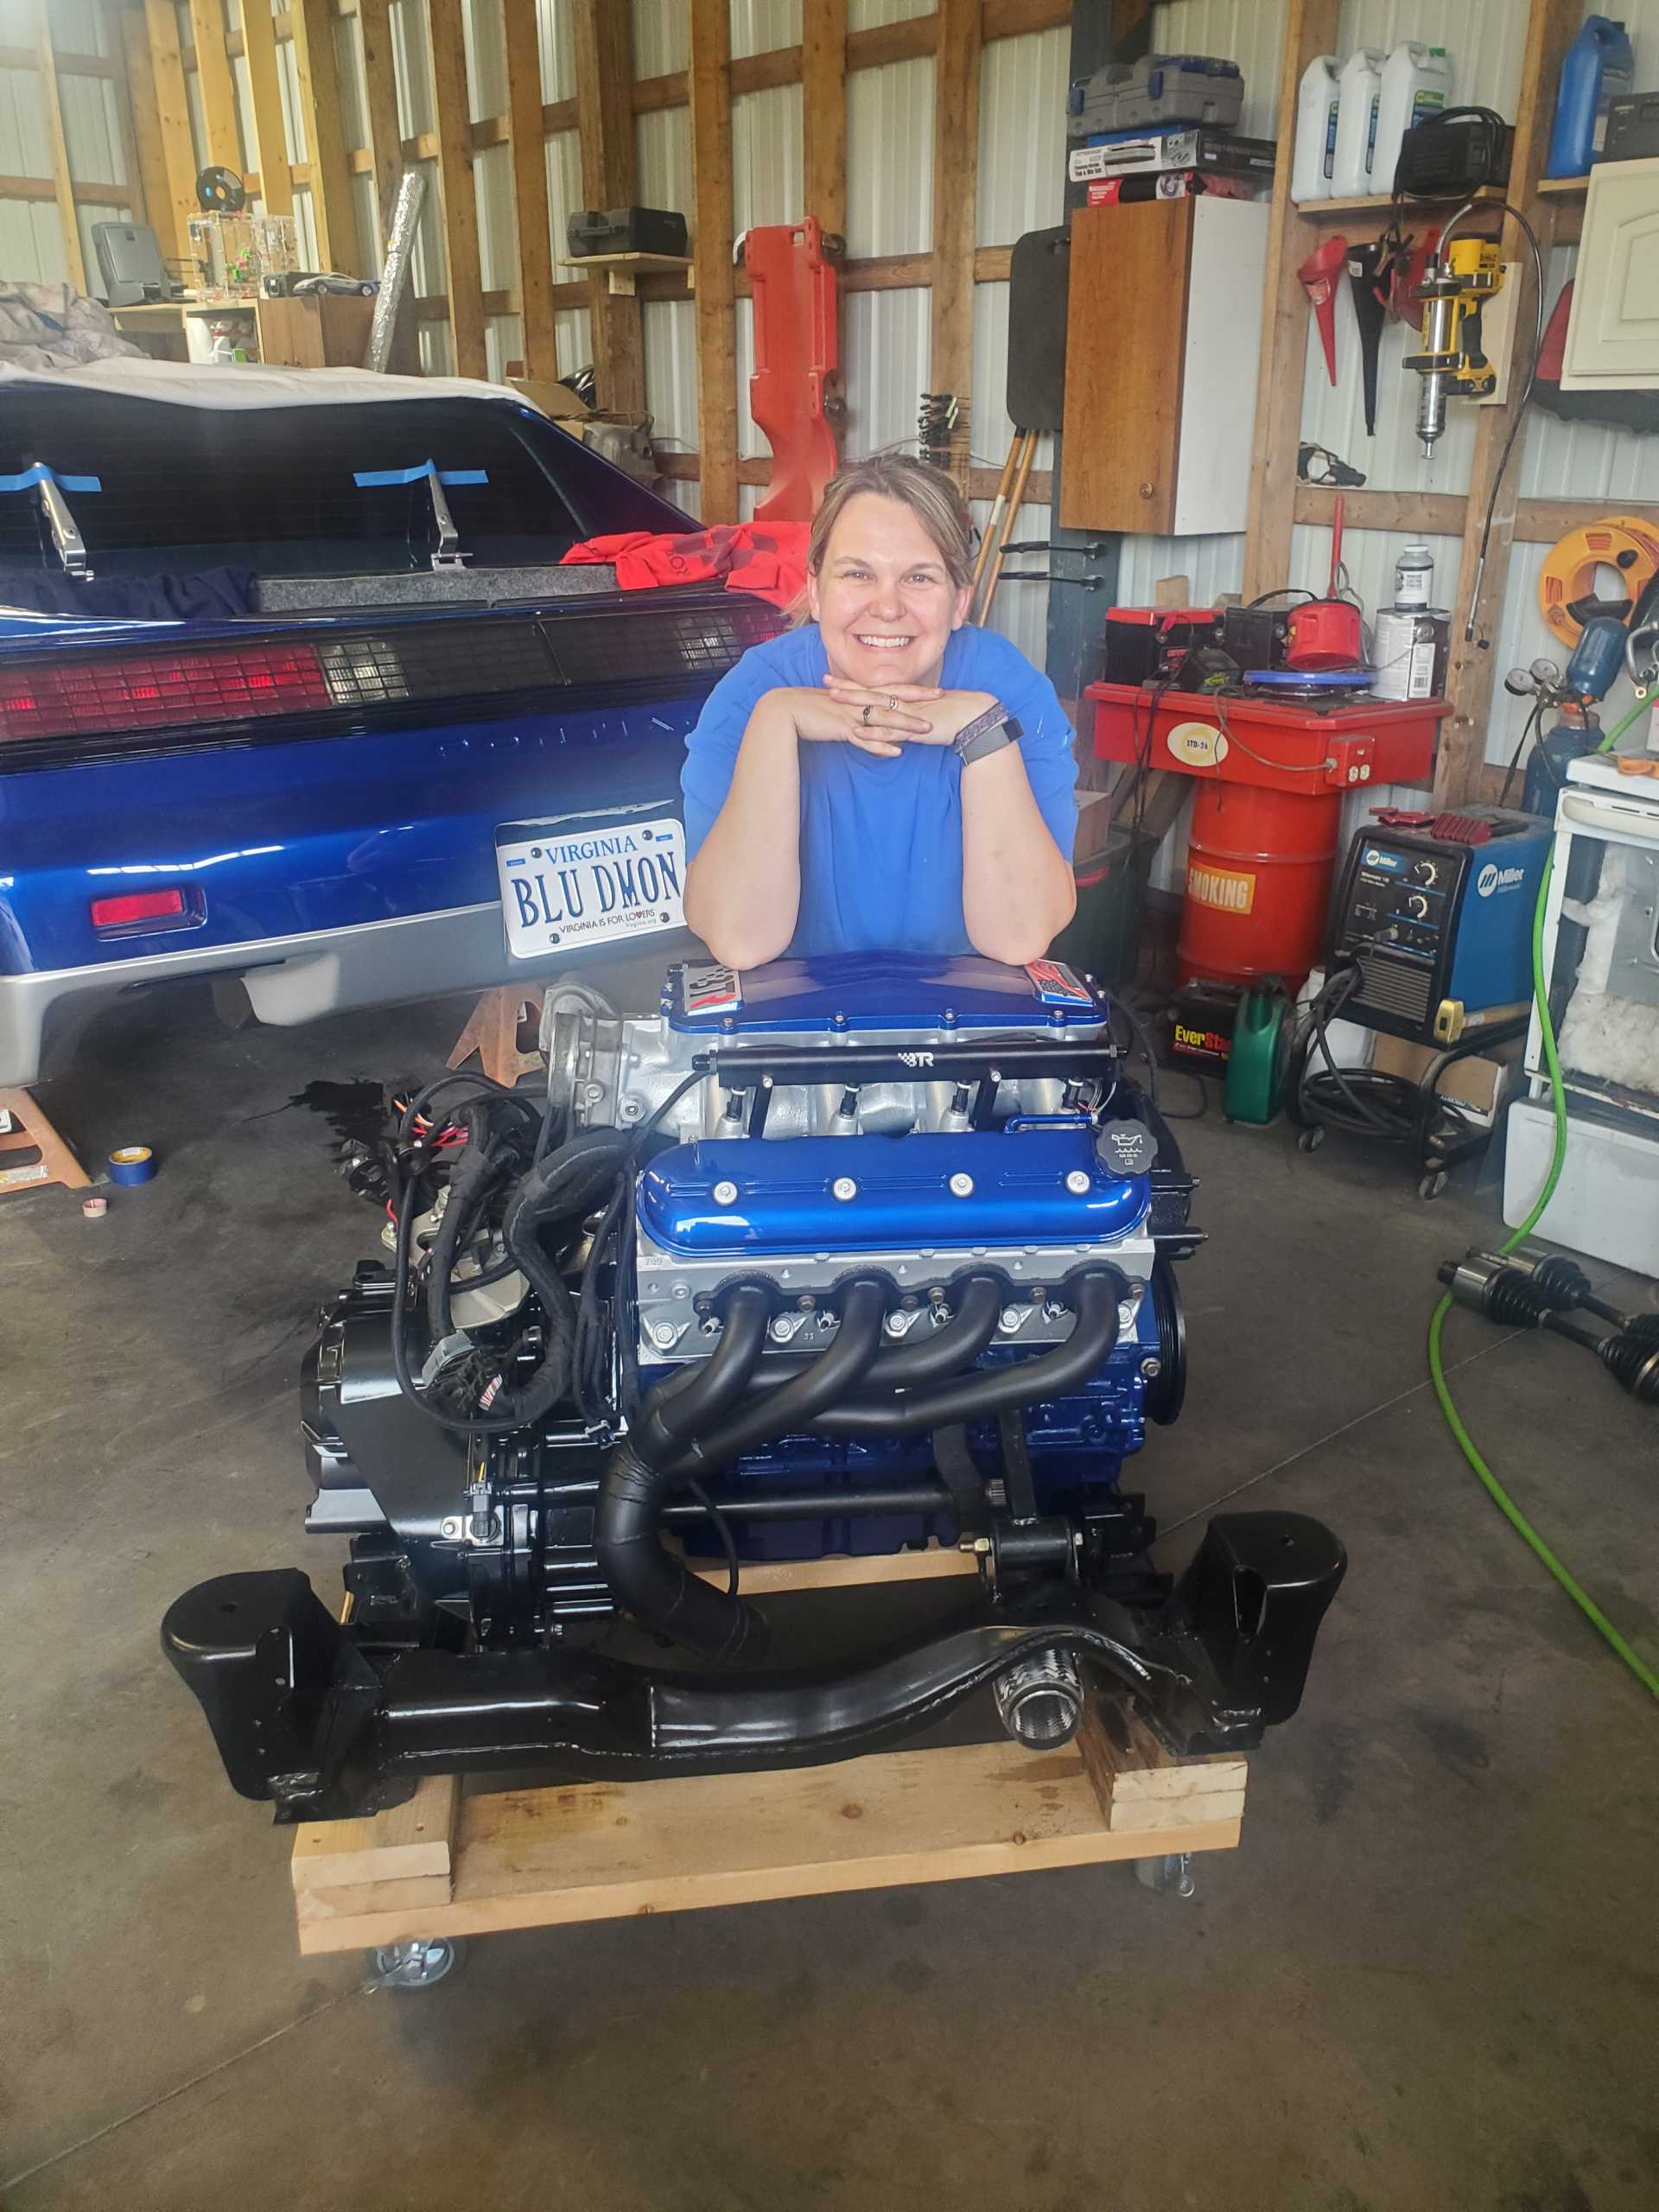
We managed to get things situated and ready for install by mid-May. Matt had to run out to Gary's to tag-team some wiring on another install and in the process, he picked up the engine, cradle and some of the "pieces parts." The project was getting more "real" by the day and with about a month left before Carlisle, we were almost there.
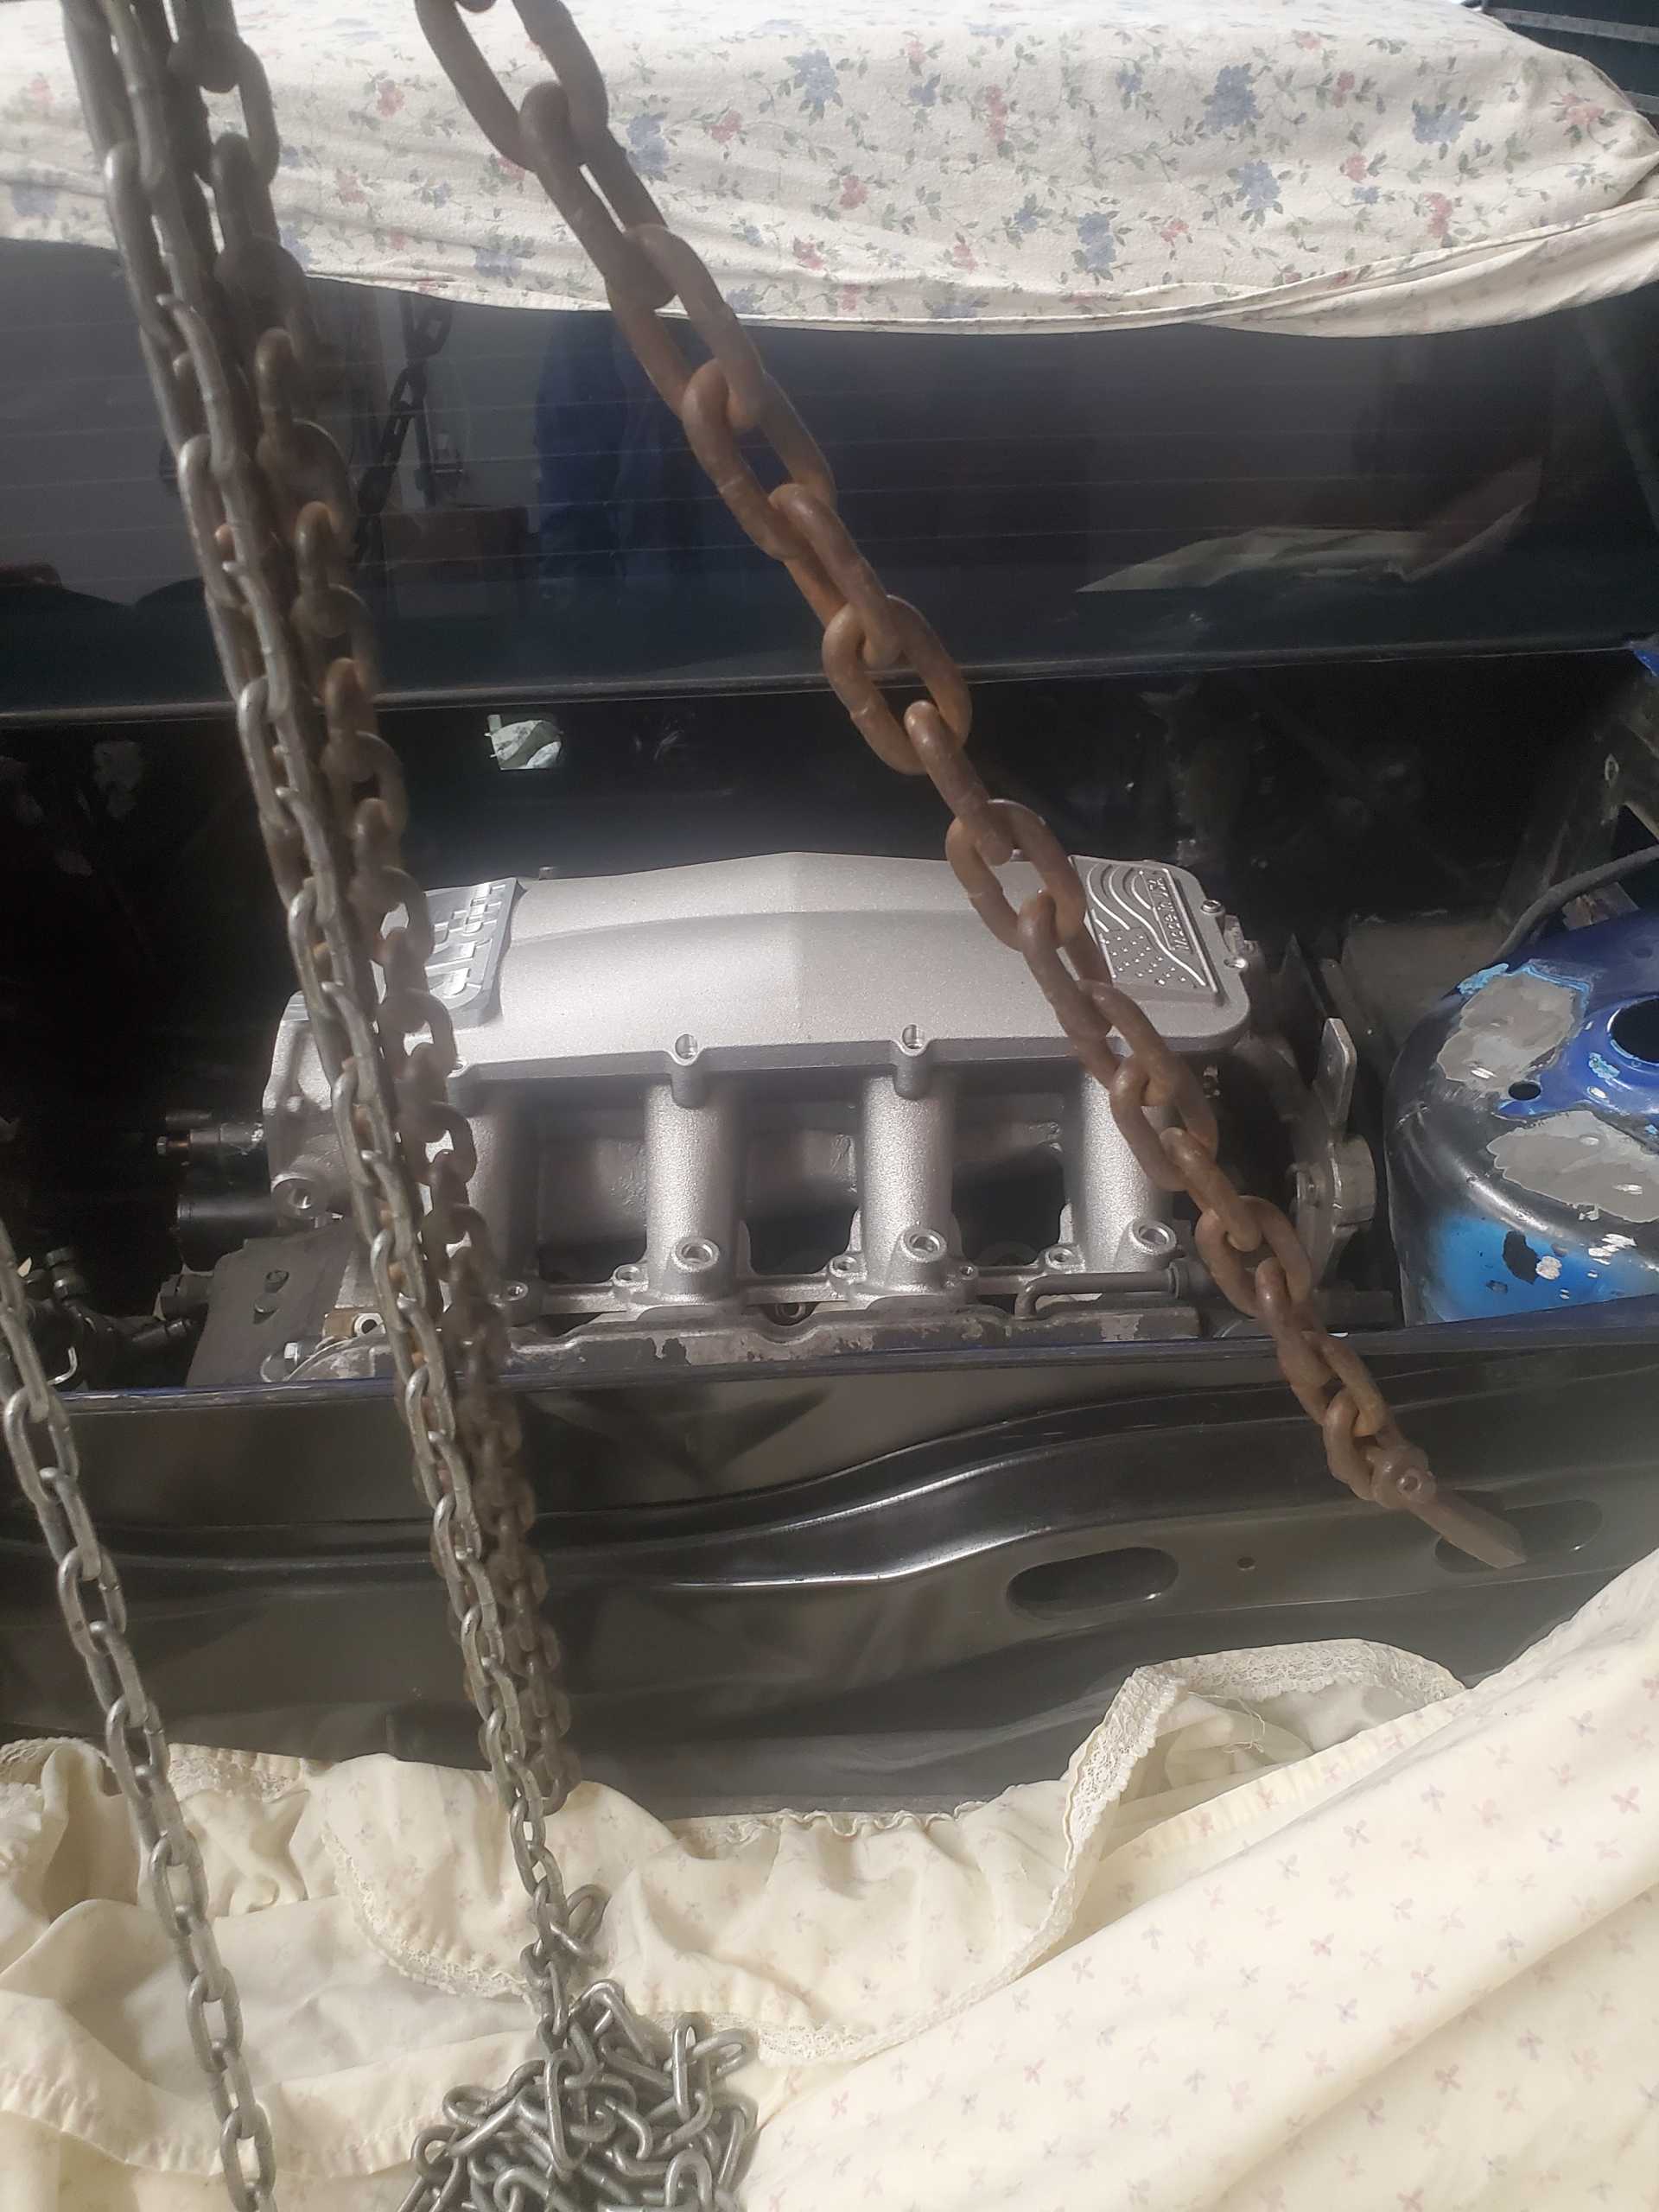
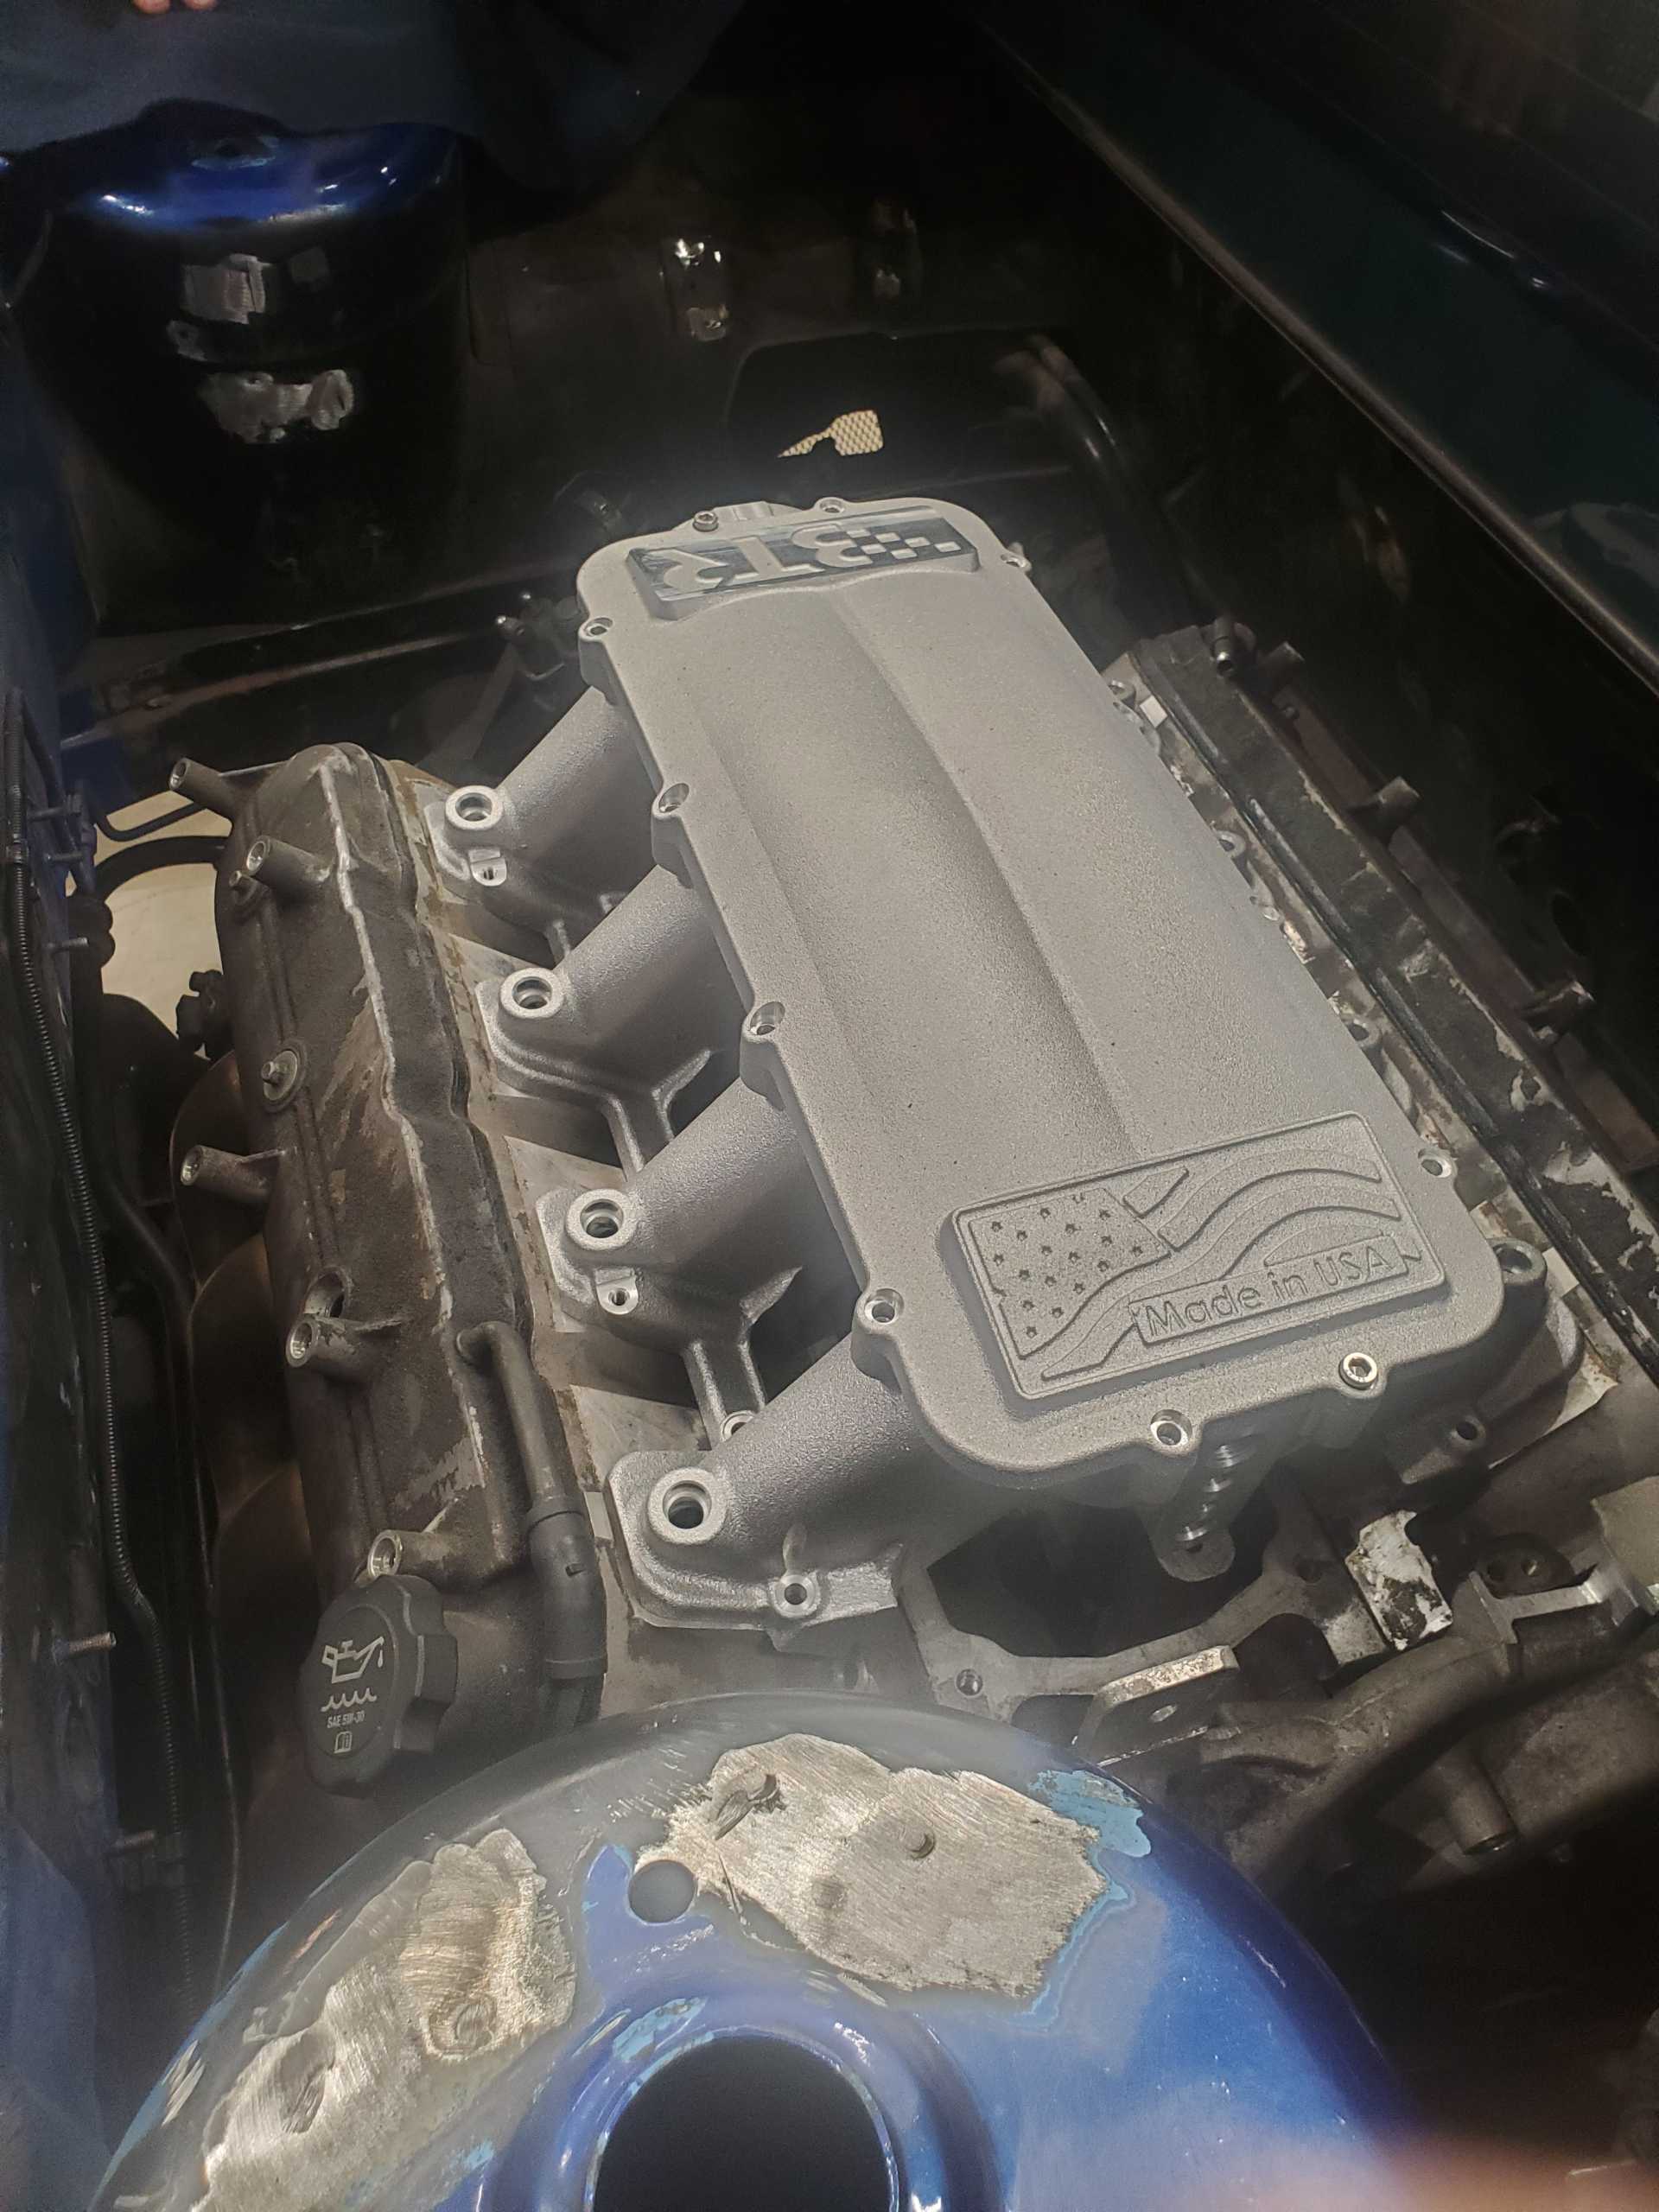
When he arrived with the trailer I was eager to see what it had contained. Gary had sent limited pictures along the way to maintain some of the suspense factor. Of course, Matt unloaded the less flashy pieces first. Then the back of the trailer was opened and I got my first look at the engine itself:
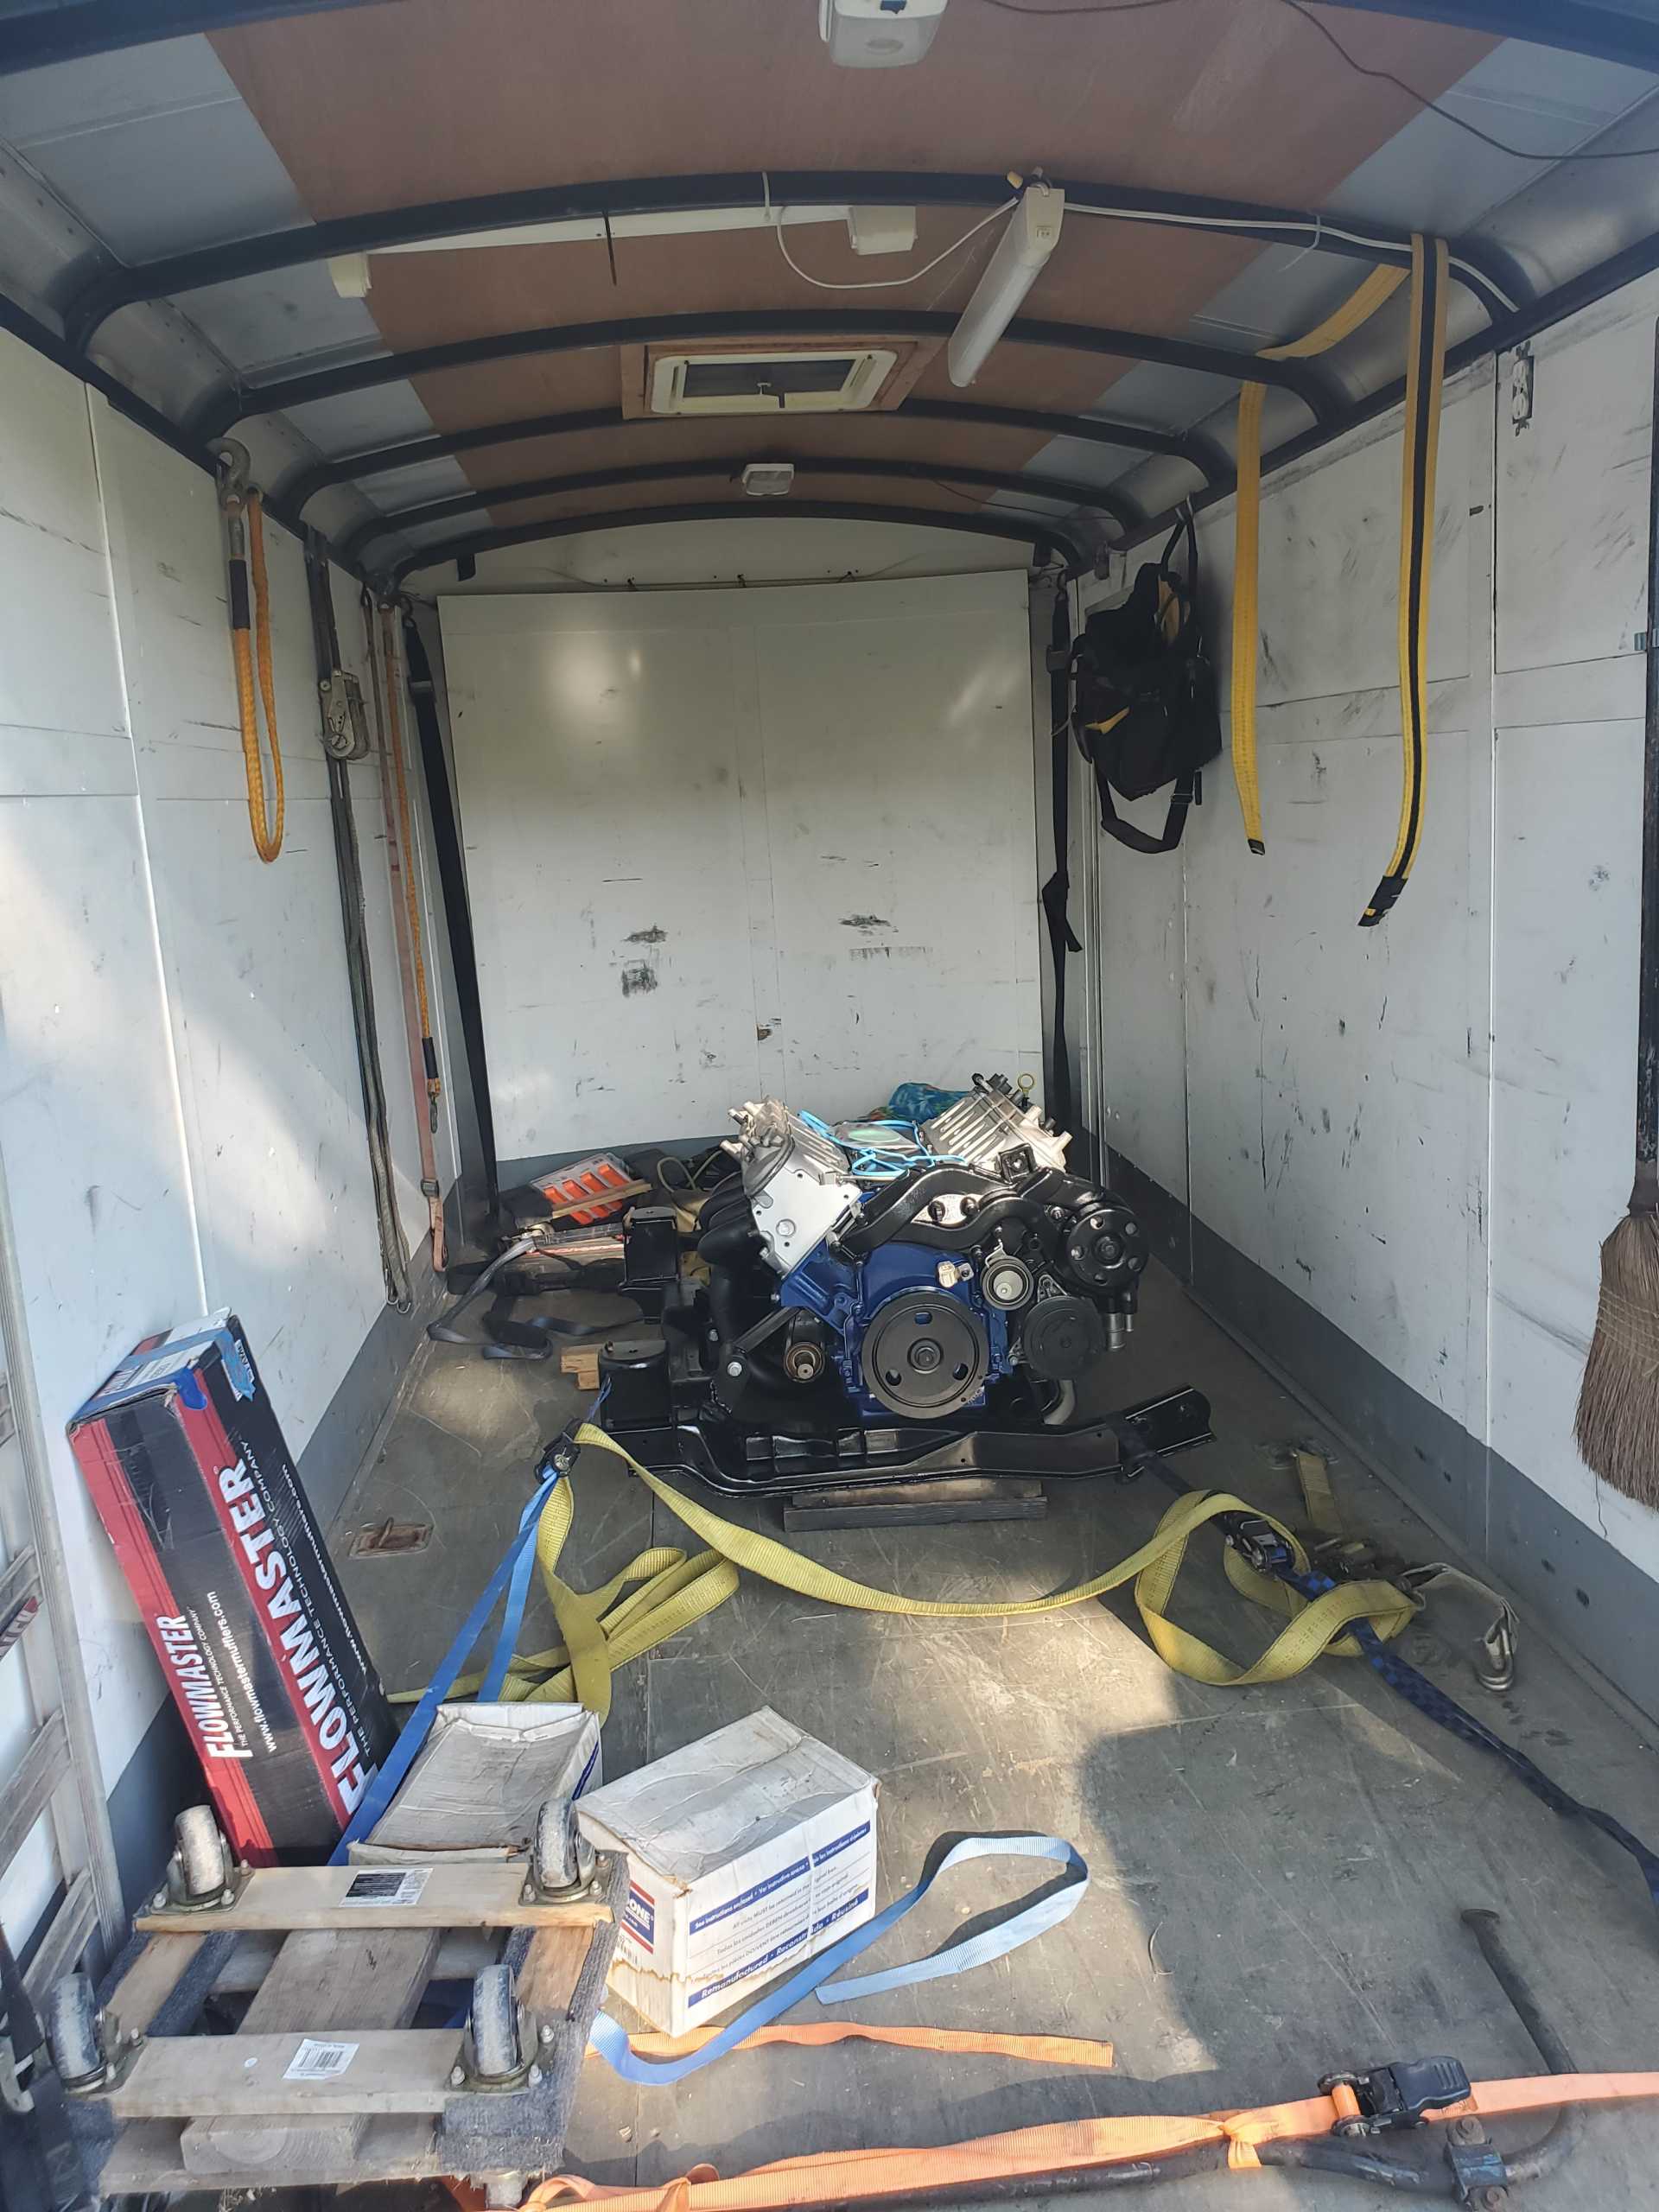
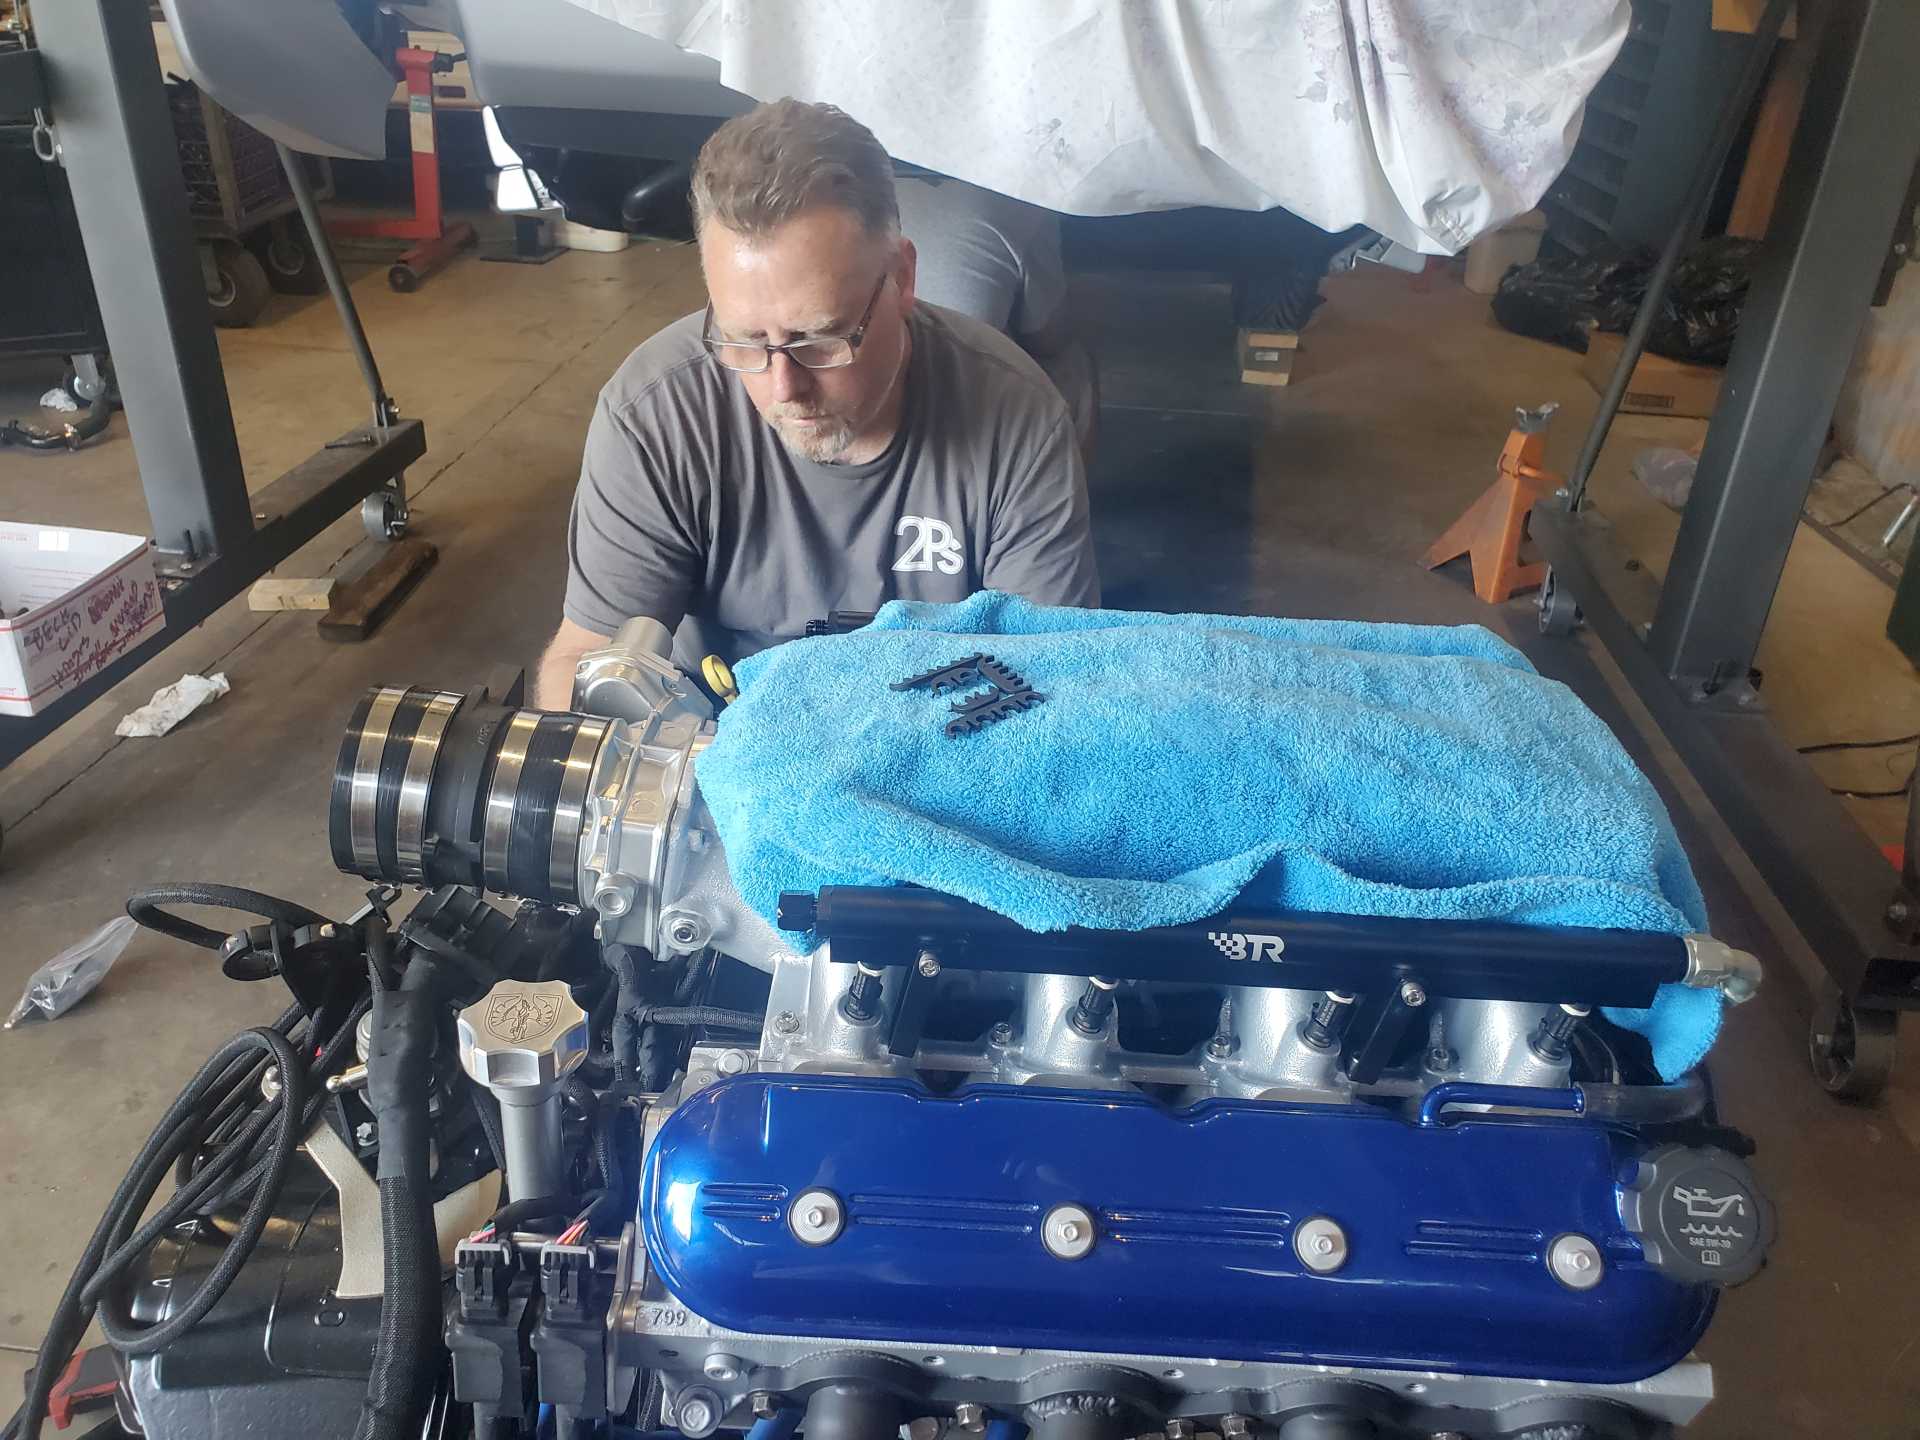
But the real excitement was in seeing the manifold. Gary had taken it up to Earl Sessions who had painted my car back in 2003 with his brother, Bill. Earl has also been my go-to for several repairs over the years and he knows the pain on my car better than anyone. I knew Earl put his own little flair on it but didn't yet know what it would be! At first, I was a little surprised by the red, but boy did it make the intake stand out!
 [This message has been edited by Fierochic88 (edited 09-08-2021).]
|
|
|
|
Fierochic88
|
SEP 09, 09:37 PM
|
|
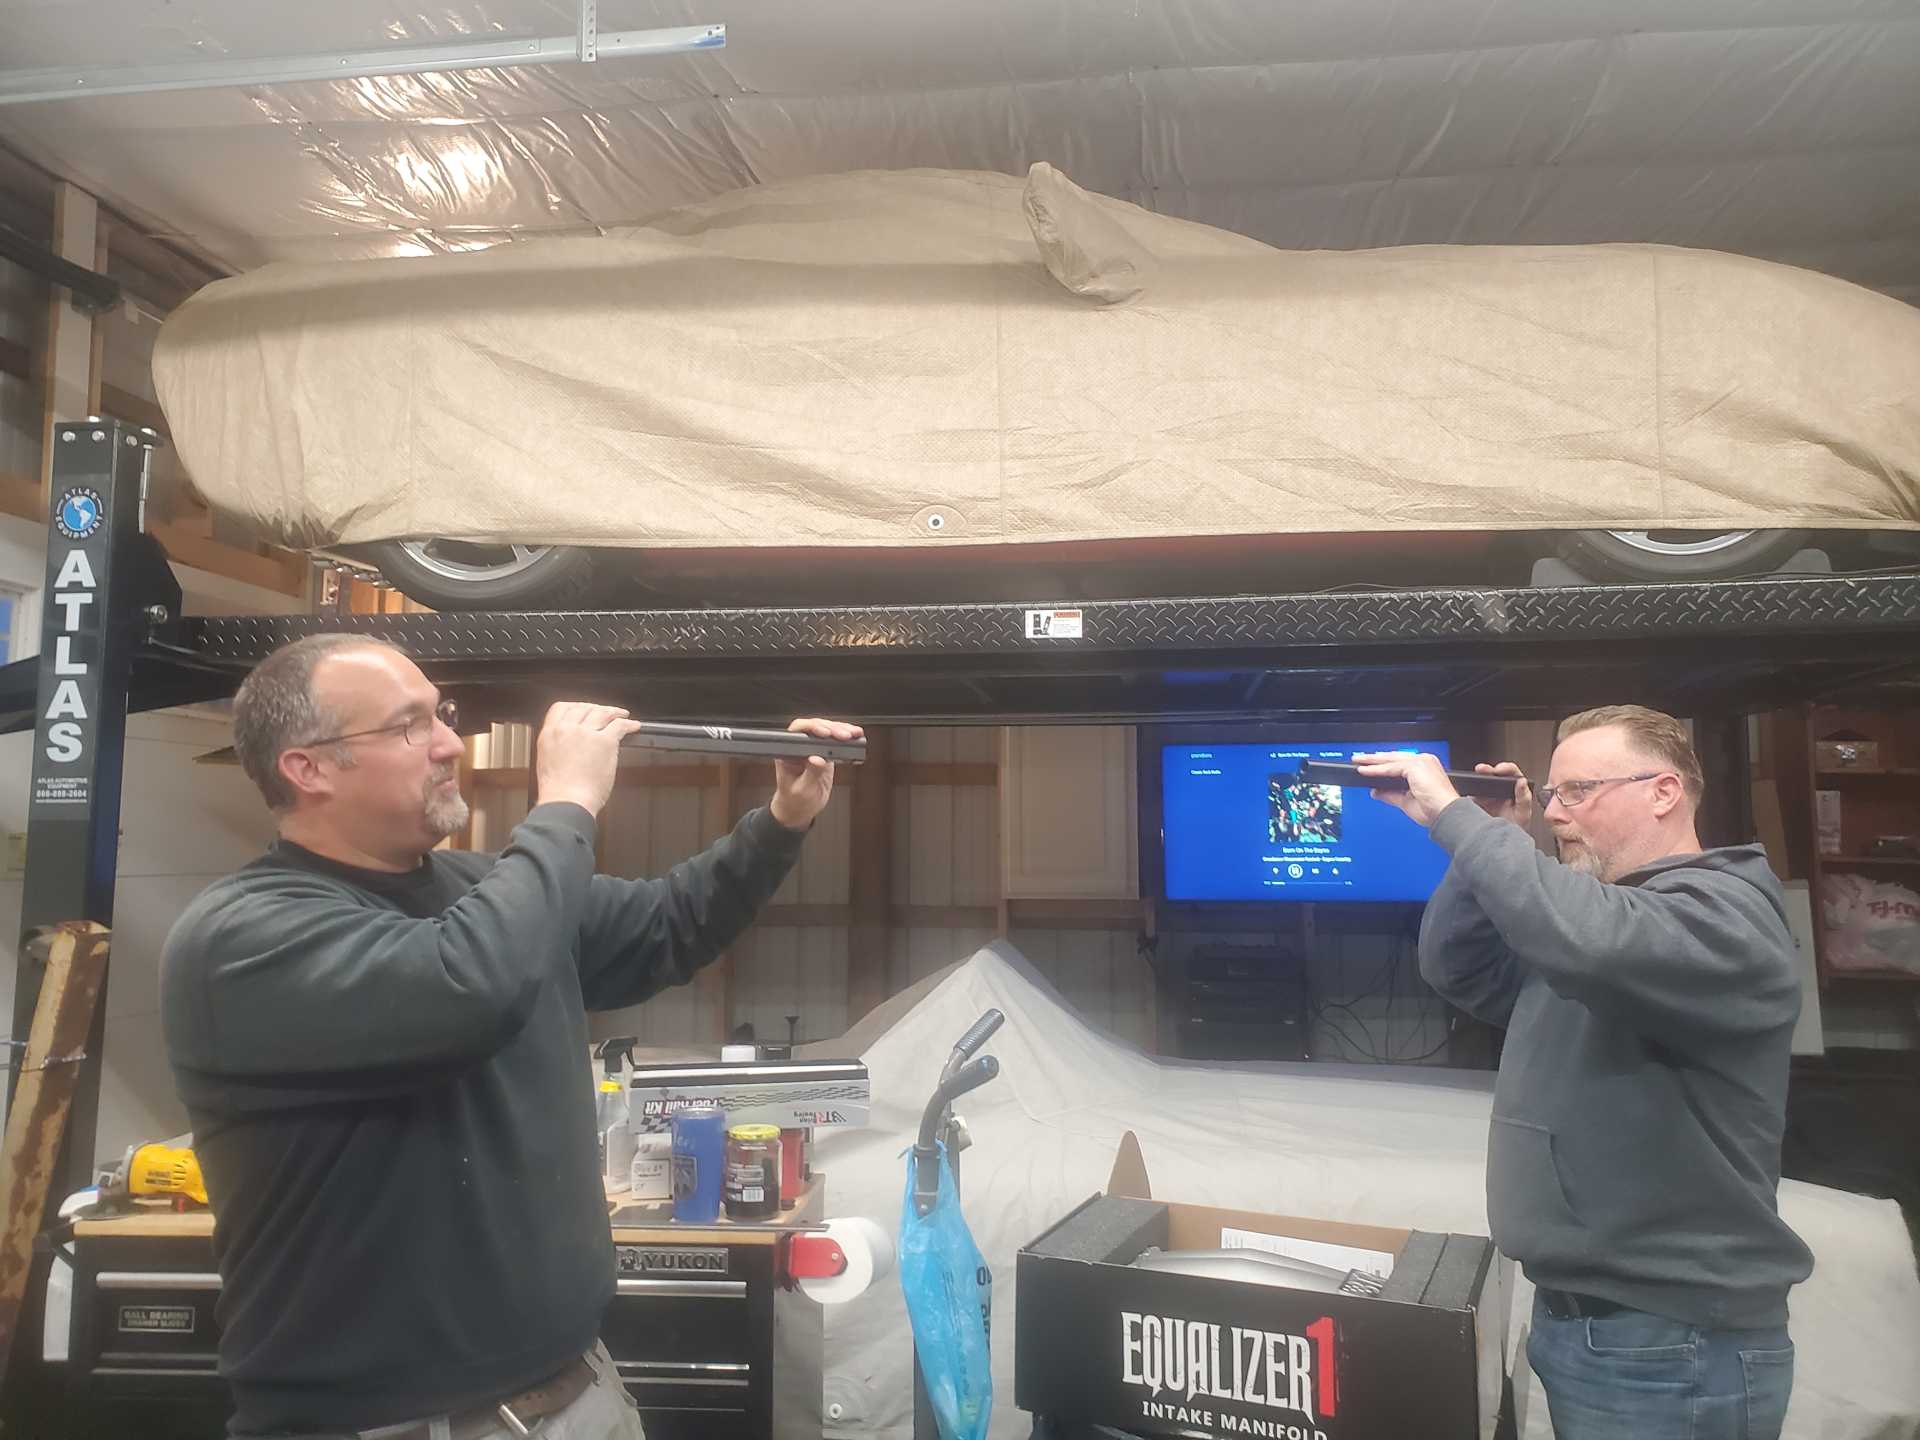
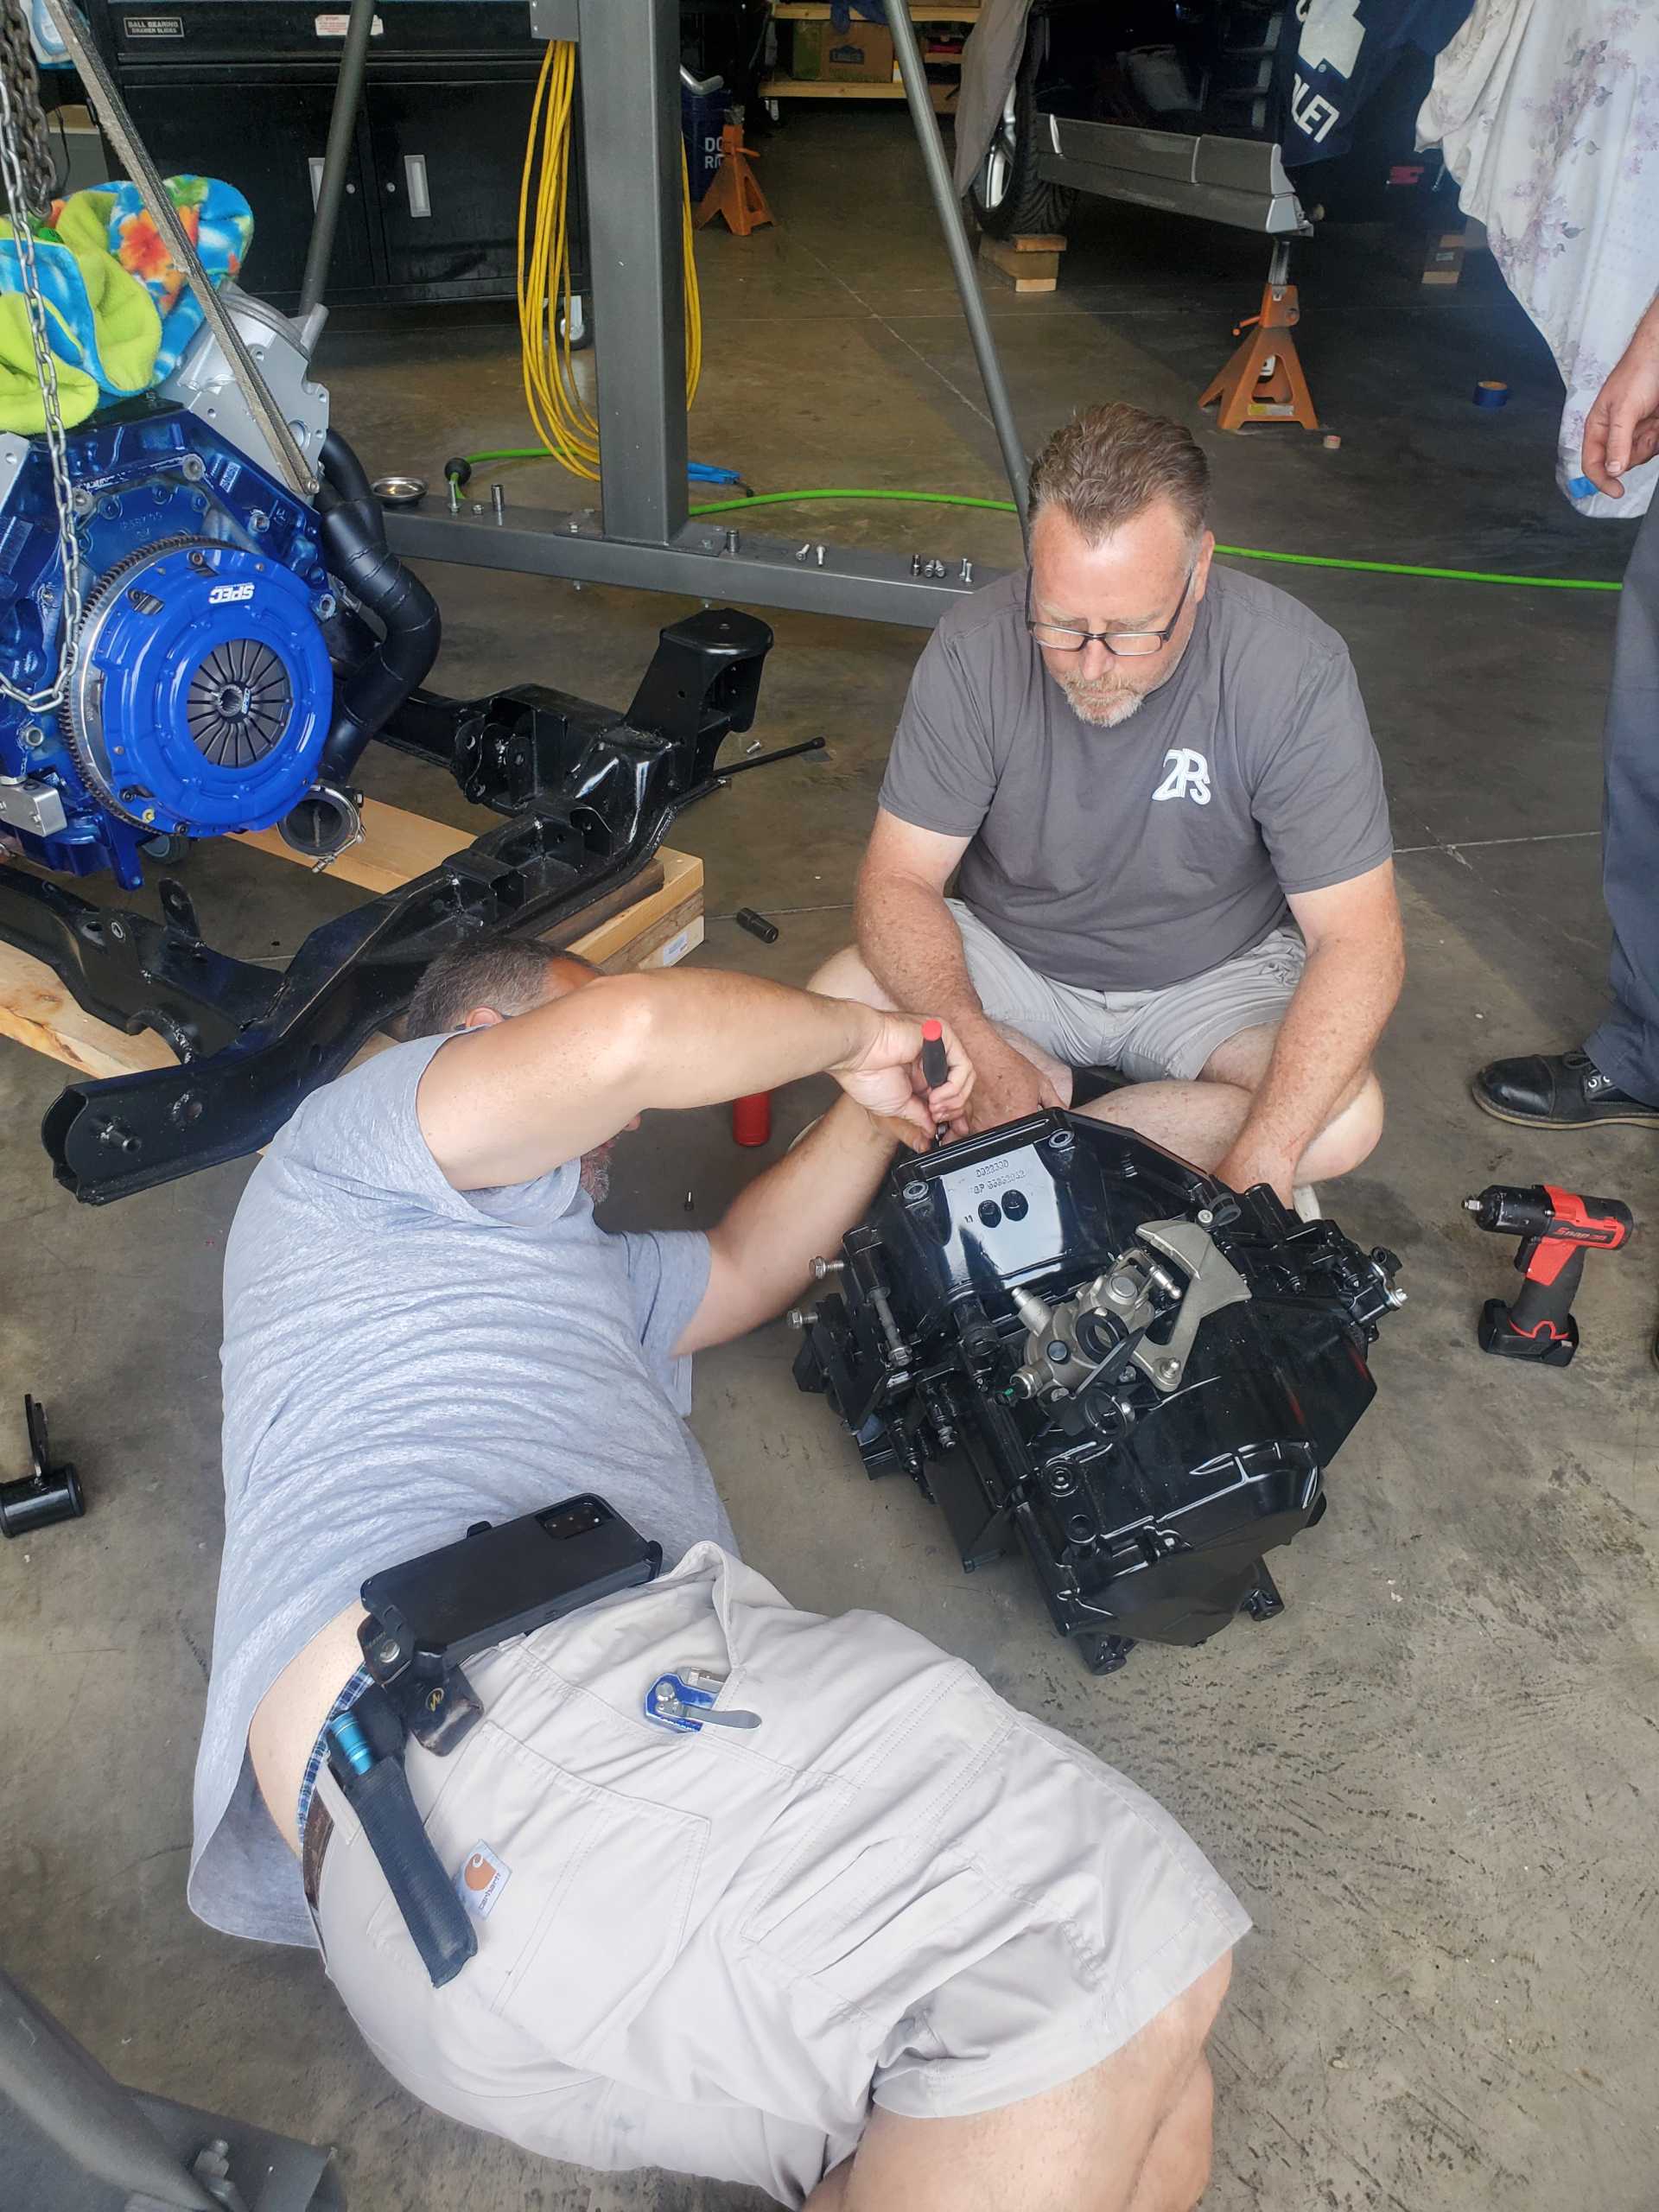
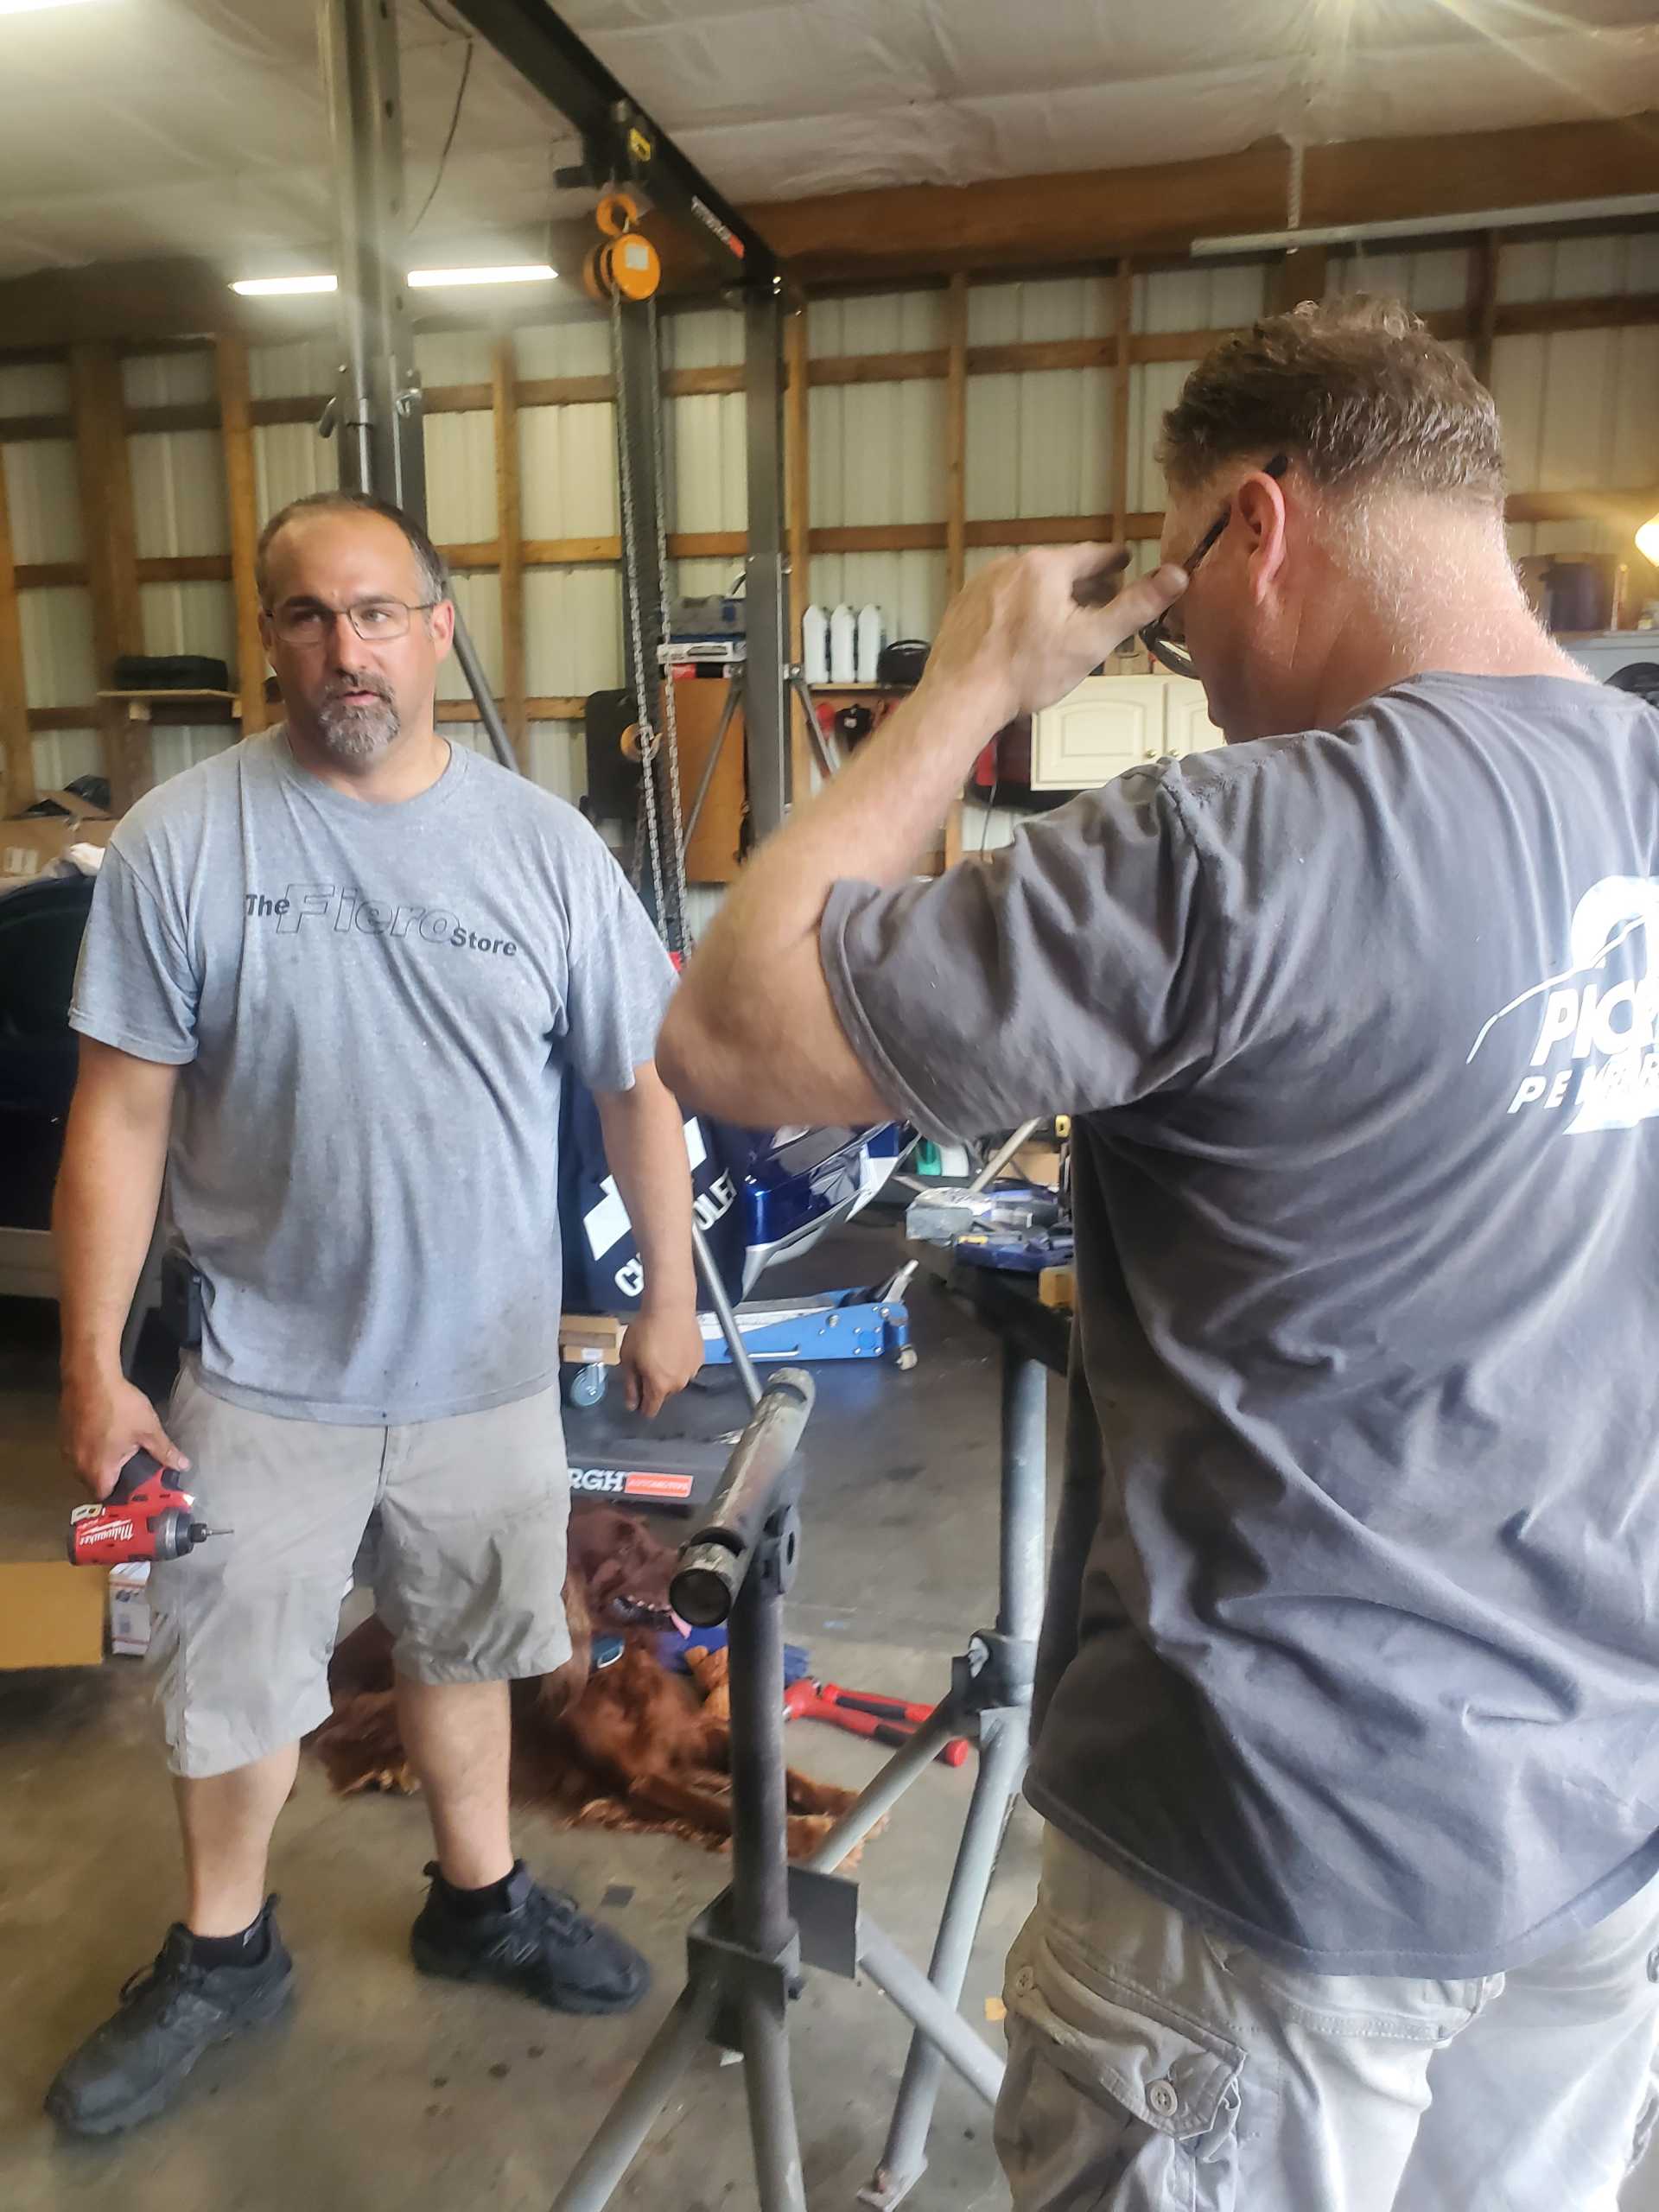
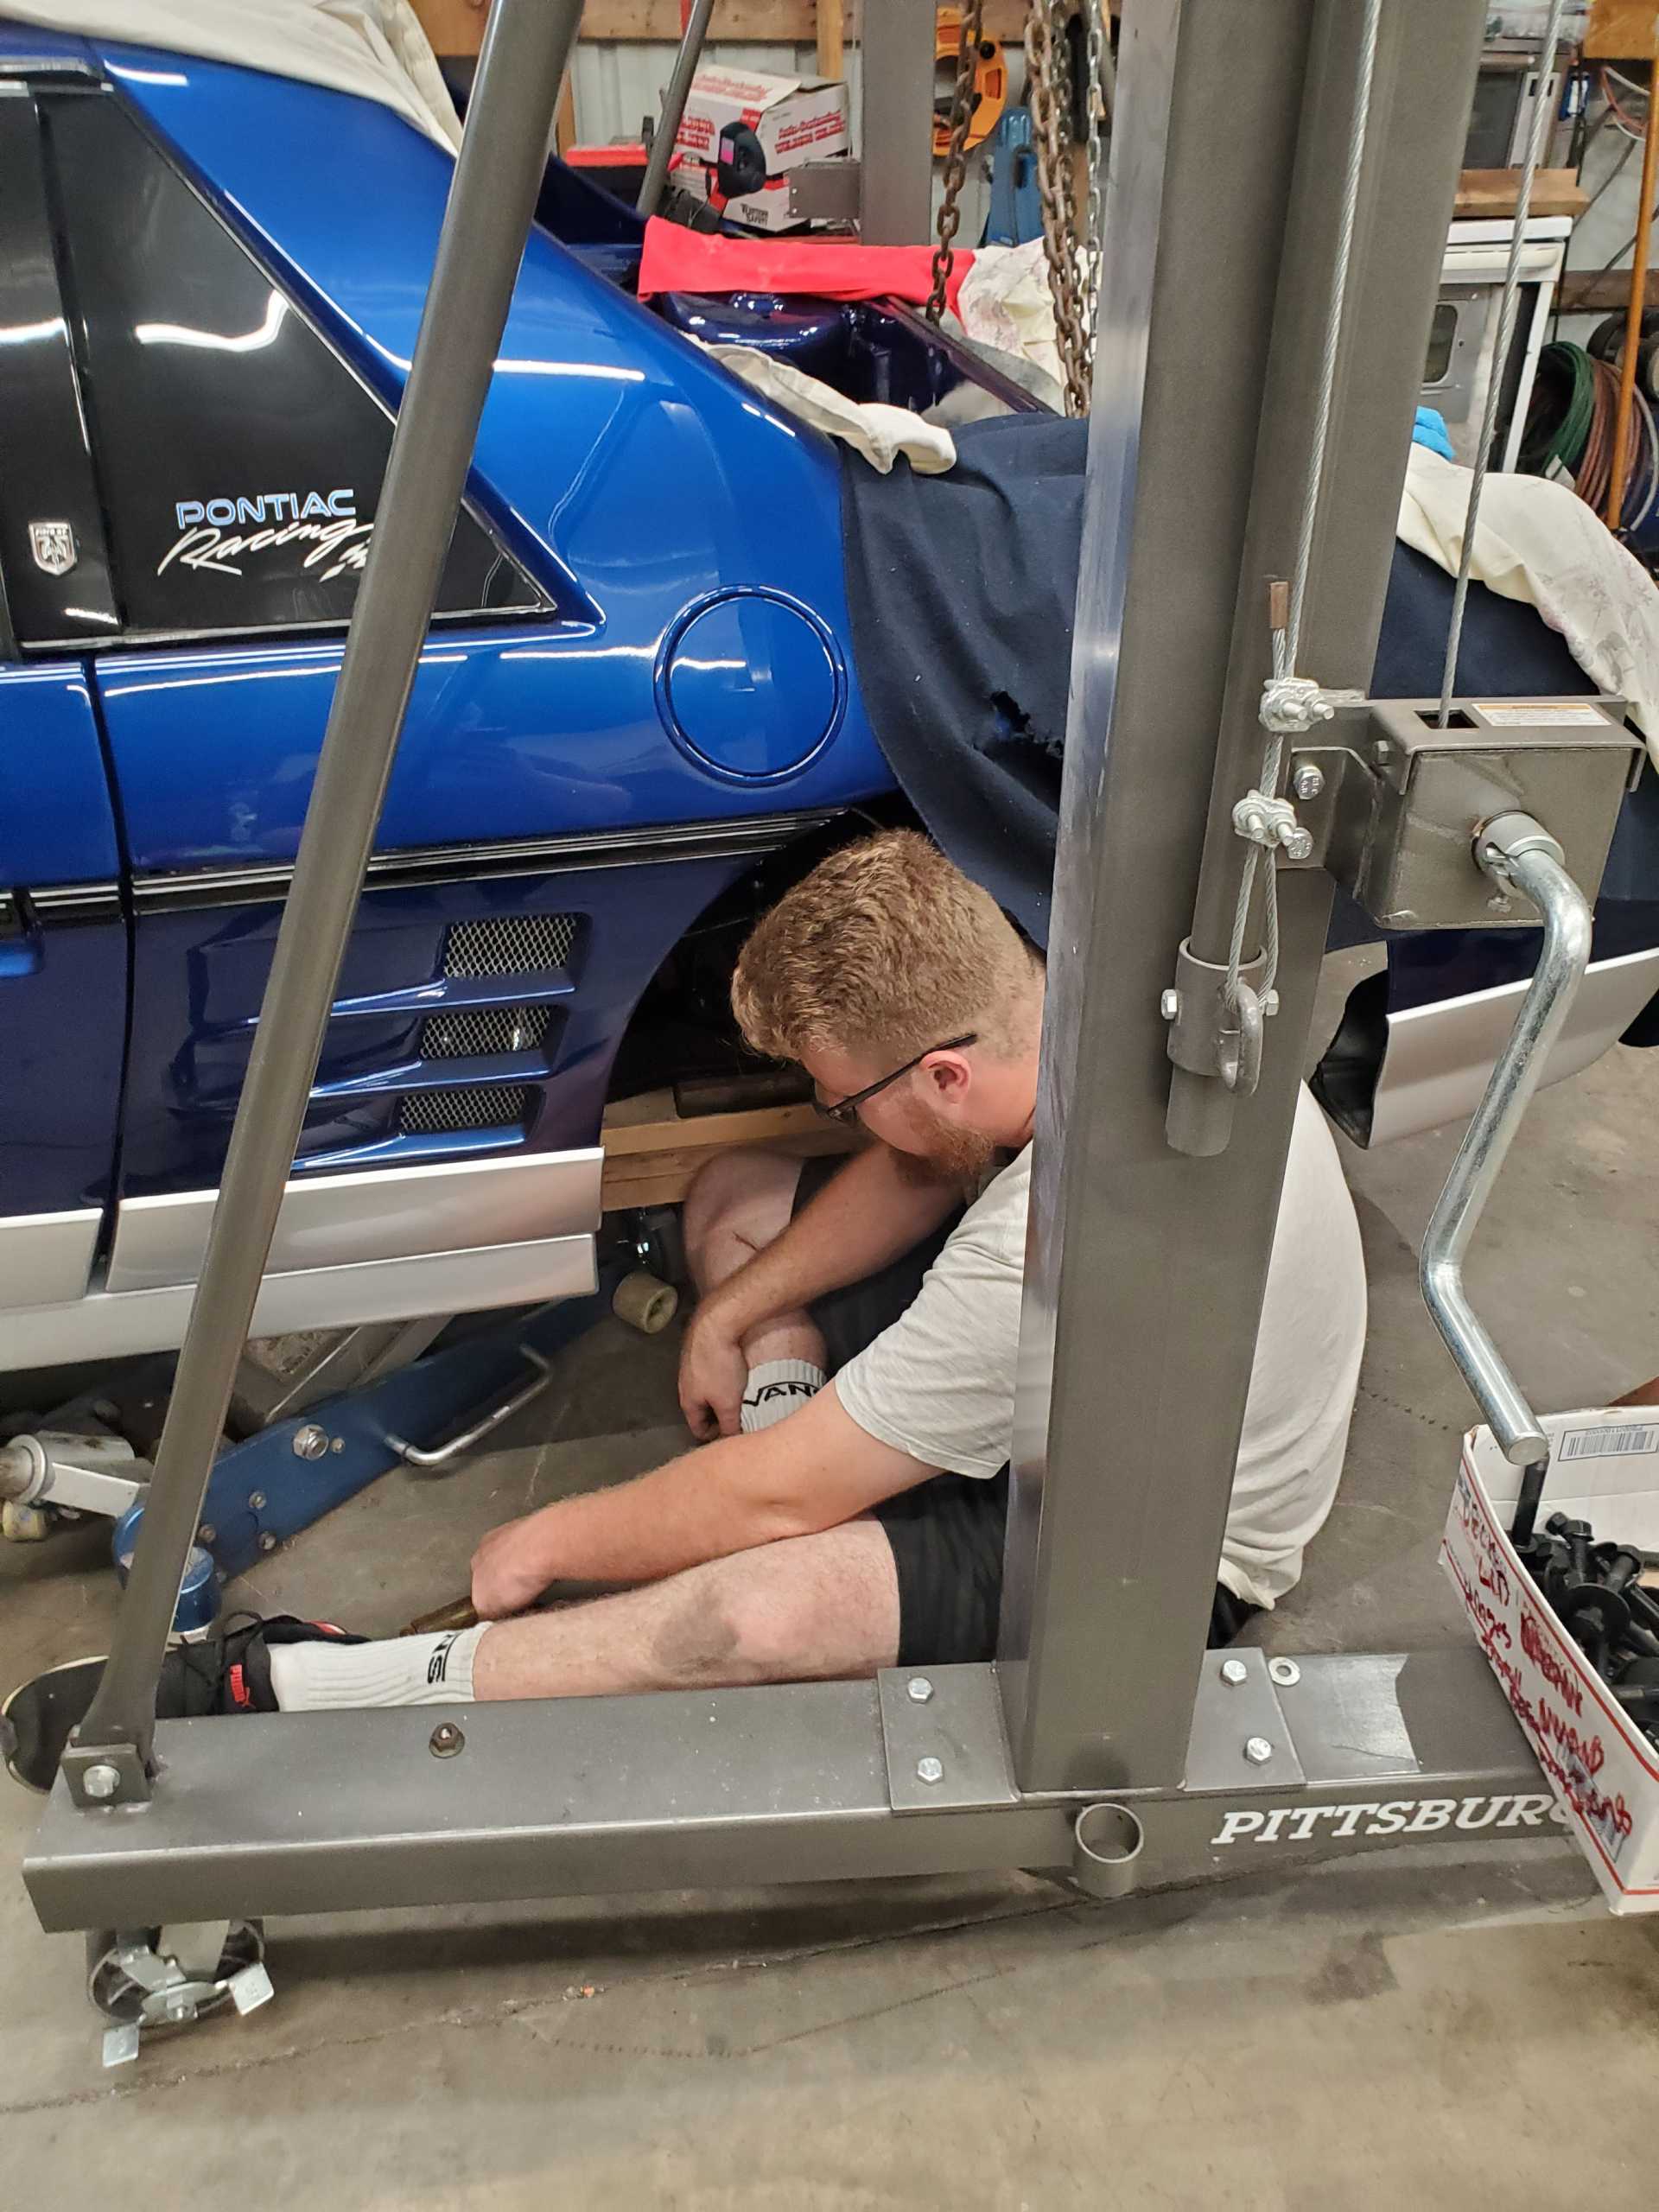
The first attempt at the install took place on June 8. 15 days away from Carlisle. For a team who had nearly a year-long timeline, our lives and other projects pushed us up to the limits.
Gary and Jestin came out with the goal of assembling the final pieces, including the spacer shown here, and then installing the engine into the Blue Demon. We got off to a running start:
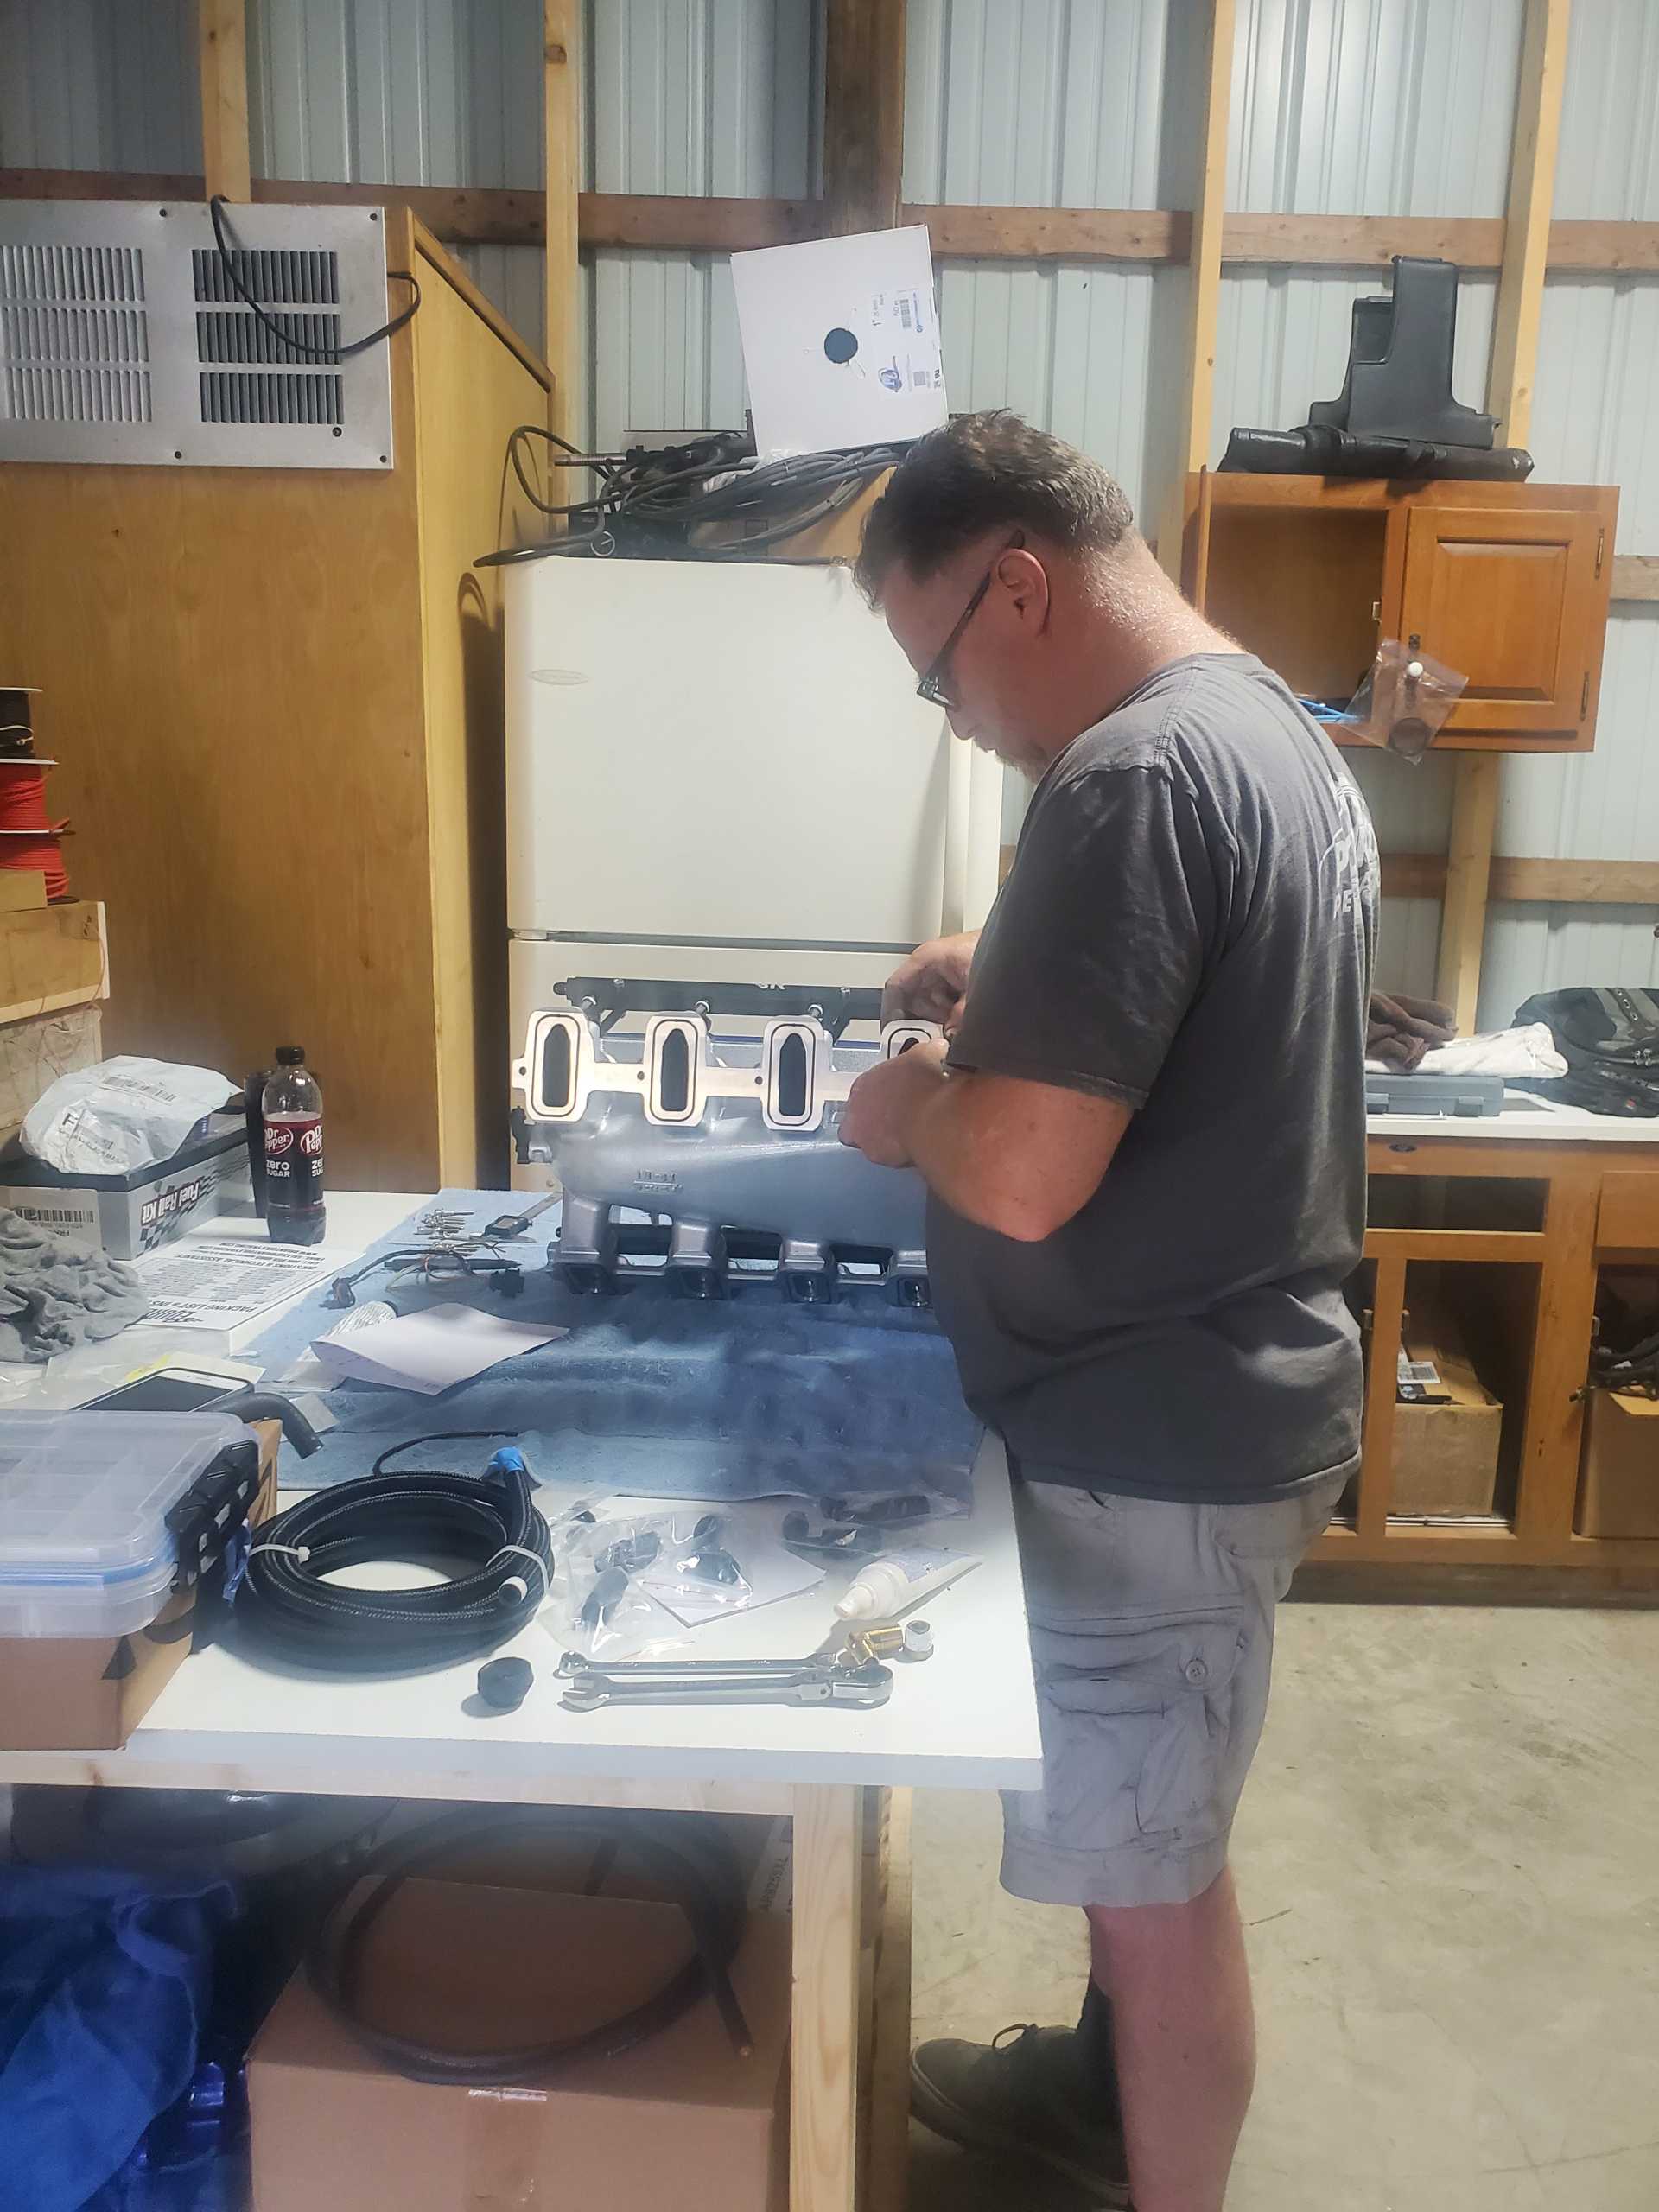
In between meetings (the joy of working from home - I can work from the garage!), I worked to get the fuel rails together while Gary prepared the manifolds:
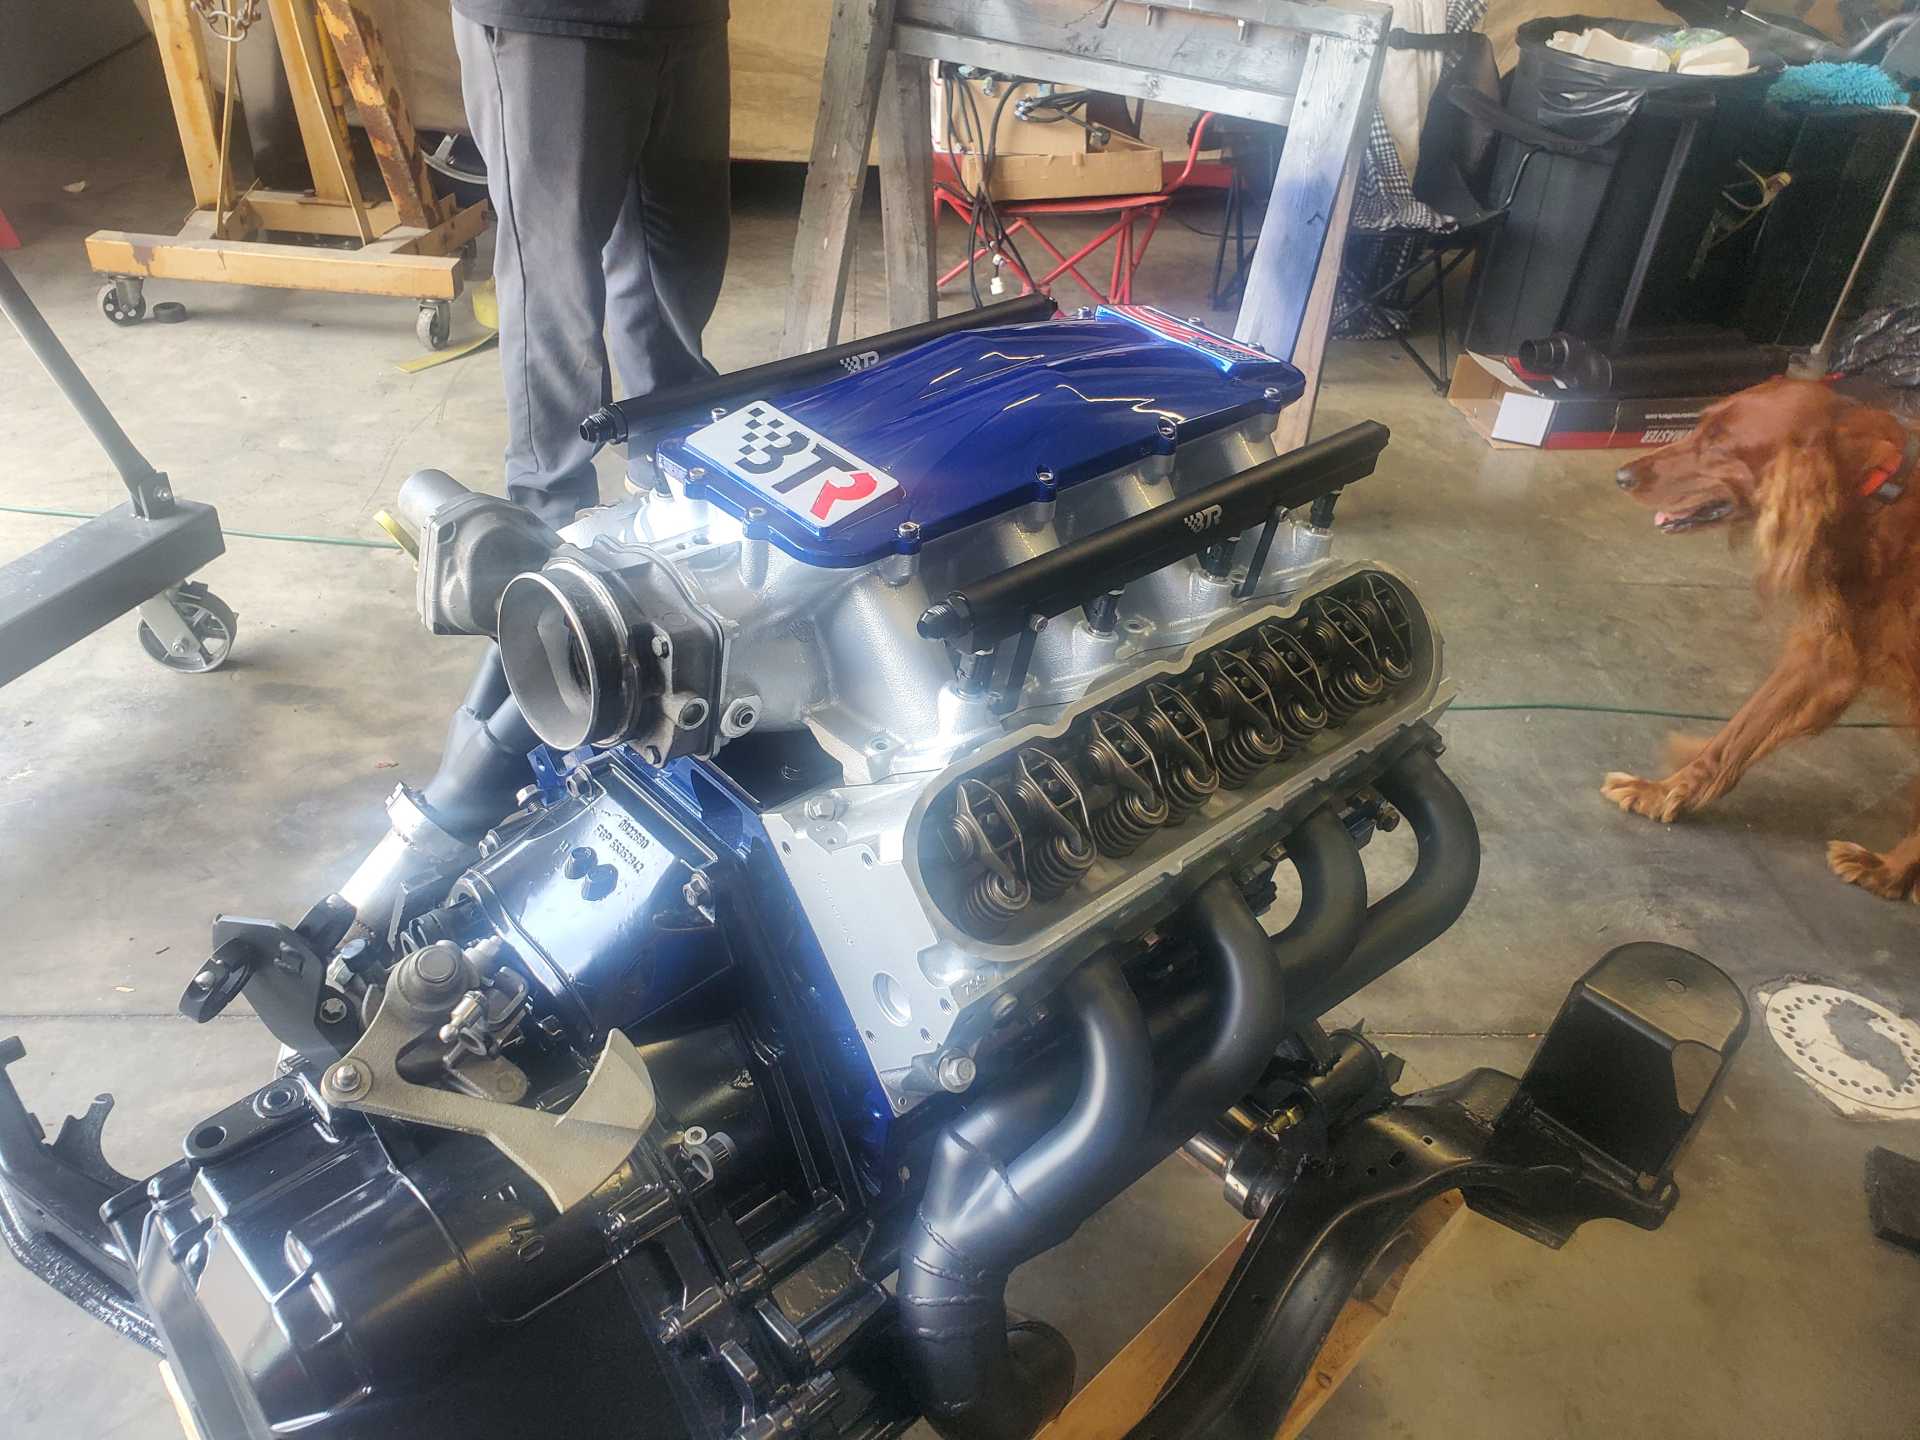
Matt & Jestin had started to scope out the exhaust and soon it was together and almost ready to go in:
I had to get this requisite picture to mimic the one my dad had treasured from years before:
|
|
|
|
Fierochic88
|
SEP 09, 09:47 PM
|
|
As with any project, a parts run had to be made including the obtainment of the world's most expensive crossover fuel line (aka a fancy, made-on-the-spot piece since we hadn't realized one wasn't included). It was now time for the install (or so I hoped):

Unfortunately, things did not fit as they should and brains began to be wracked:
Modifications to the headers were made courtesy of Jestin and his trusty dog, Sparky (aka Killian who is obsessed with the welder). Another few attempts were made but the crew was not pleased:
It was ultimately decided that the cradle Gary had used for the test fit would be the better choice and we made plans for them to return that Sunday for another attempt.
|
|
|
|
Fierochic88
|
SEP 16, 01:36 PM
|
|
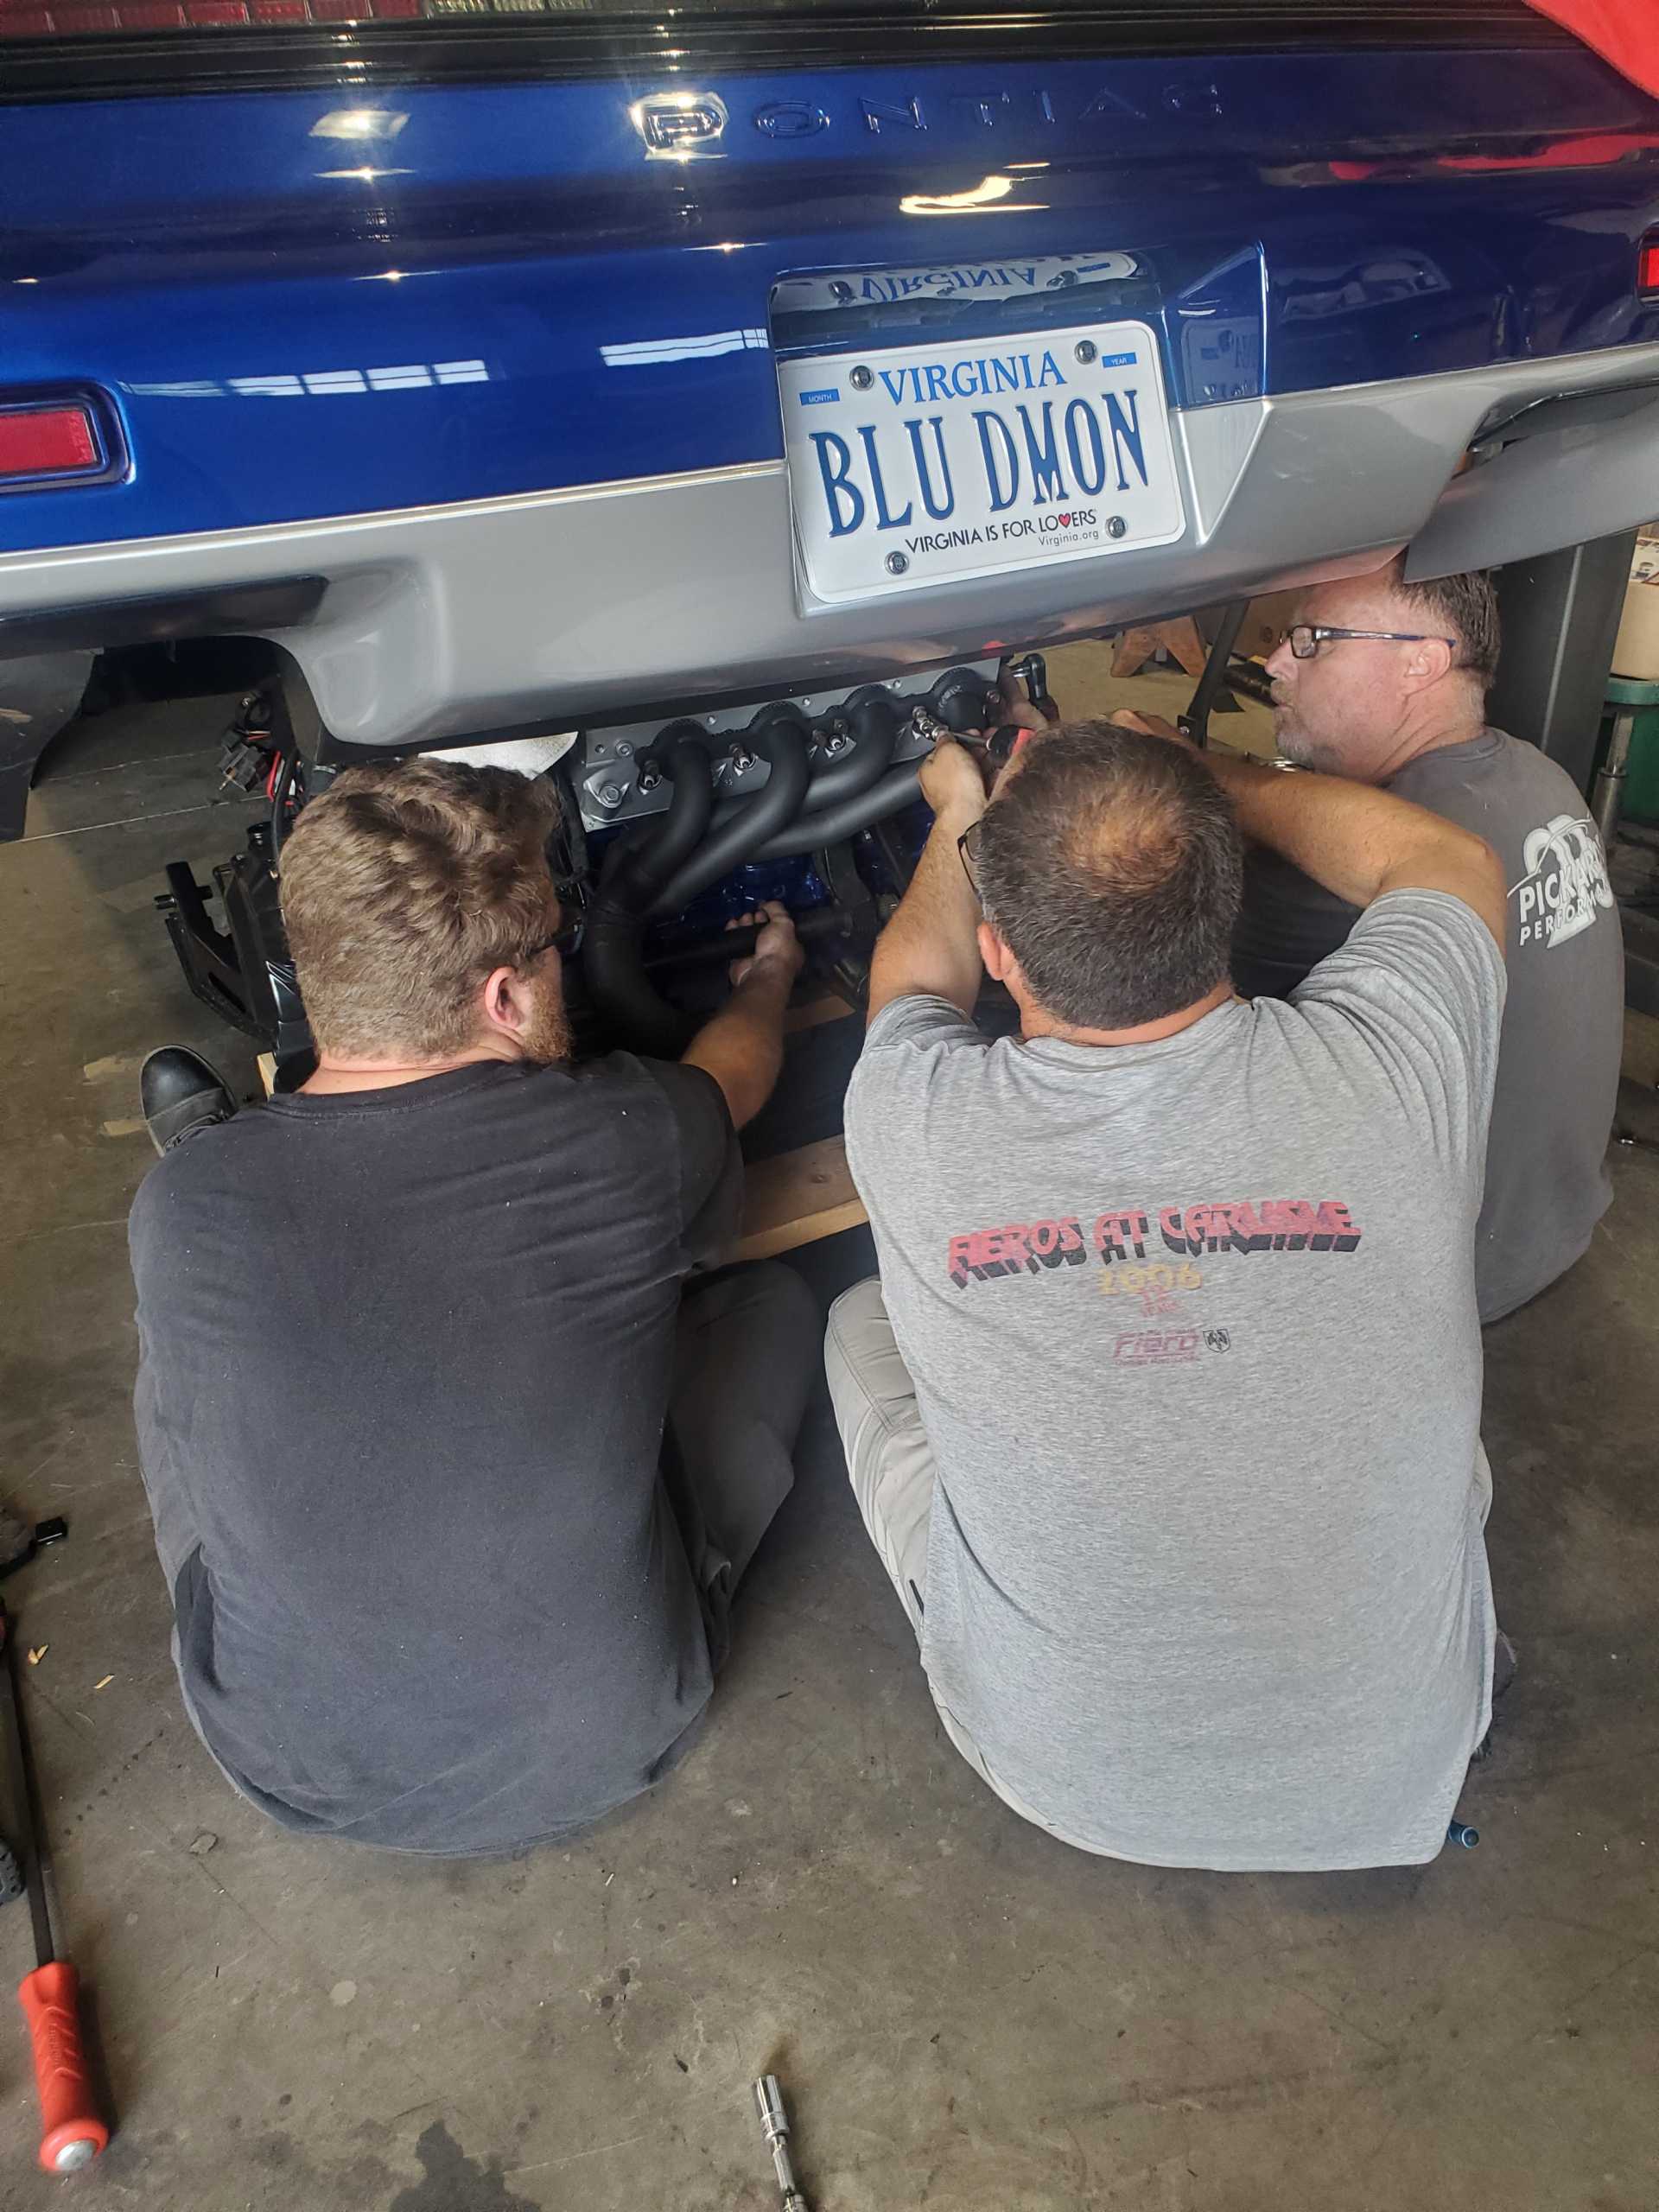
Round 2 of the install came that weekend. Jestin and Gary ventured out on Sunday with the "new" cradle (aka the one used for the test fit) and it was evident that this would be the better way to go. We also continued to get a laugh out of Gary's choice in boxes to "hide" my parts. As the project was secret and many people came in and out of his place, he kept everything in this box to keep anyone from getting too curious.
Once the engine was back in and situated, Jestin began to get to work on installing the exhaust:
He brought out Killian's favorite toy - the welder - and got to work:

|
|
|
|
Fierochic88
|
SEP 16, 09:15 PM
|
|
At the end of Day 1 of Install #2, it was determined that much progress had been made. The following day would allow us to make some final adjustments and tighten things up while gearing up for the first start.
As Matt and Gary worked to fit the harness and doublecheck everything on the block, Jestin prepped the spark plug wires:
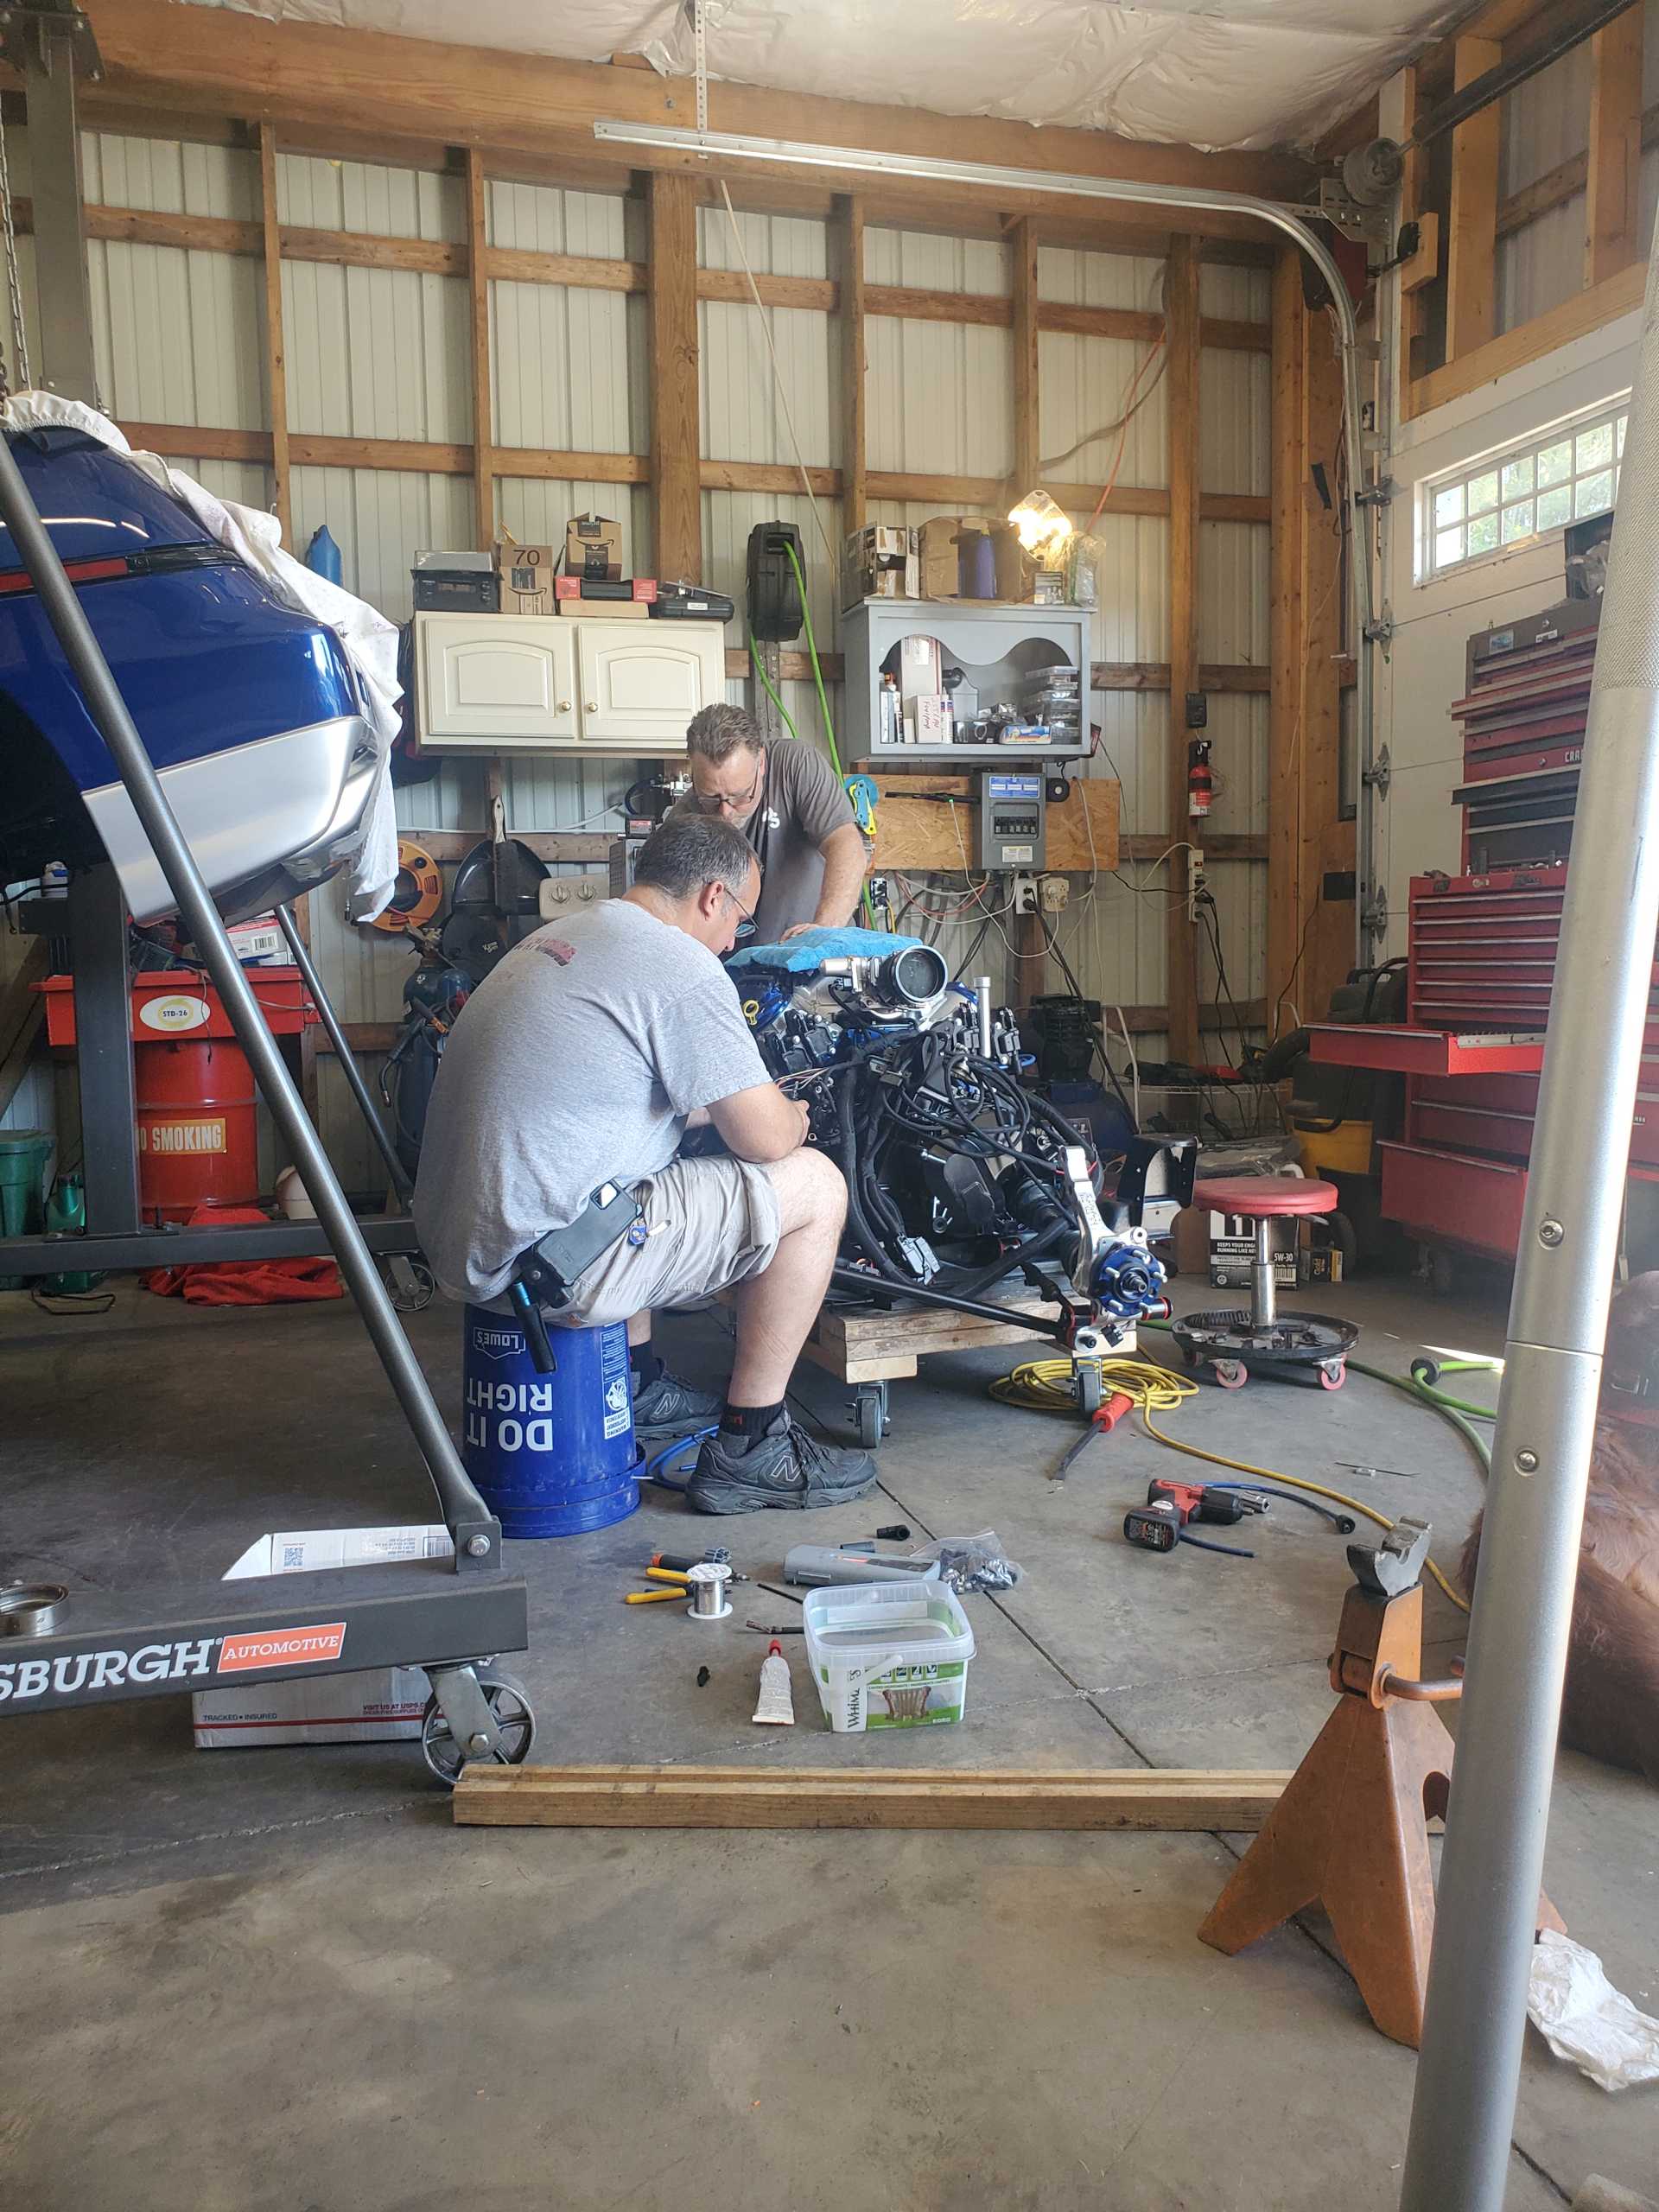
Soon it was in and ready for its first start...
|
|
|
|
Fierochic88
|
SEP 17, 11:26 AM
|
|
...unfortunately the attempt didn't take...and it didn't take over the course of the next few hours. It ran with starting fluid but it was evident it wasn't getting fuel. After testing a variety of different components, one thought was that the fuel pump wasn't properly installed, or perhaps the filter was wonky? The tank was yanked, drained, and examined and still no answers:
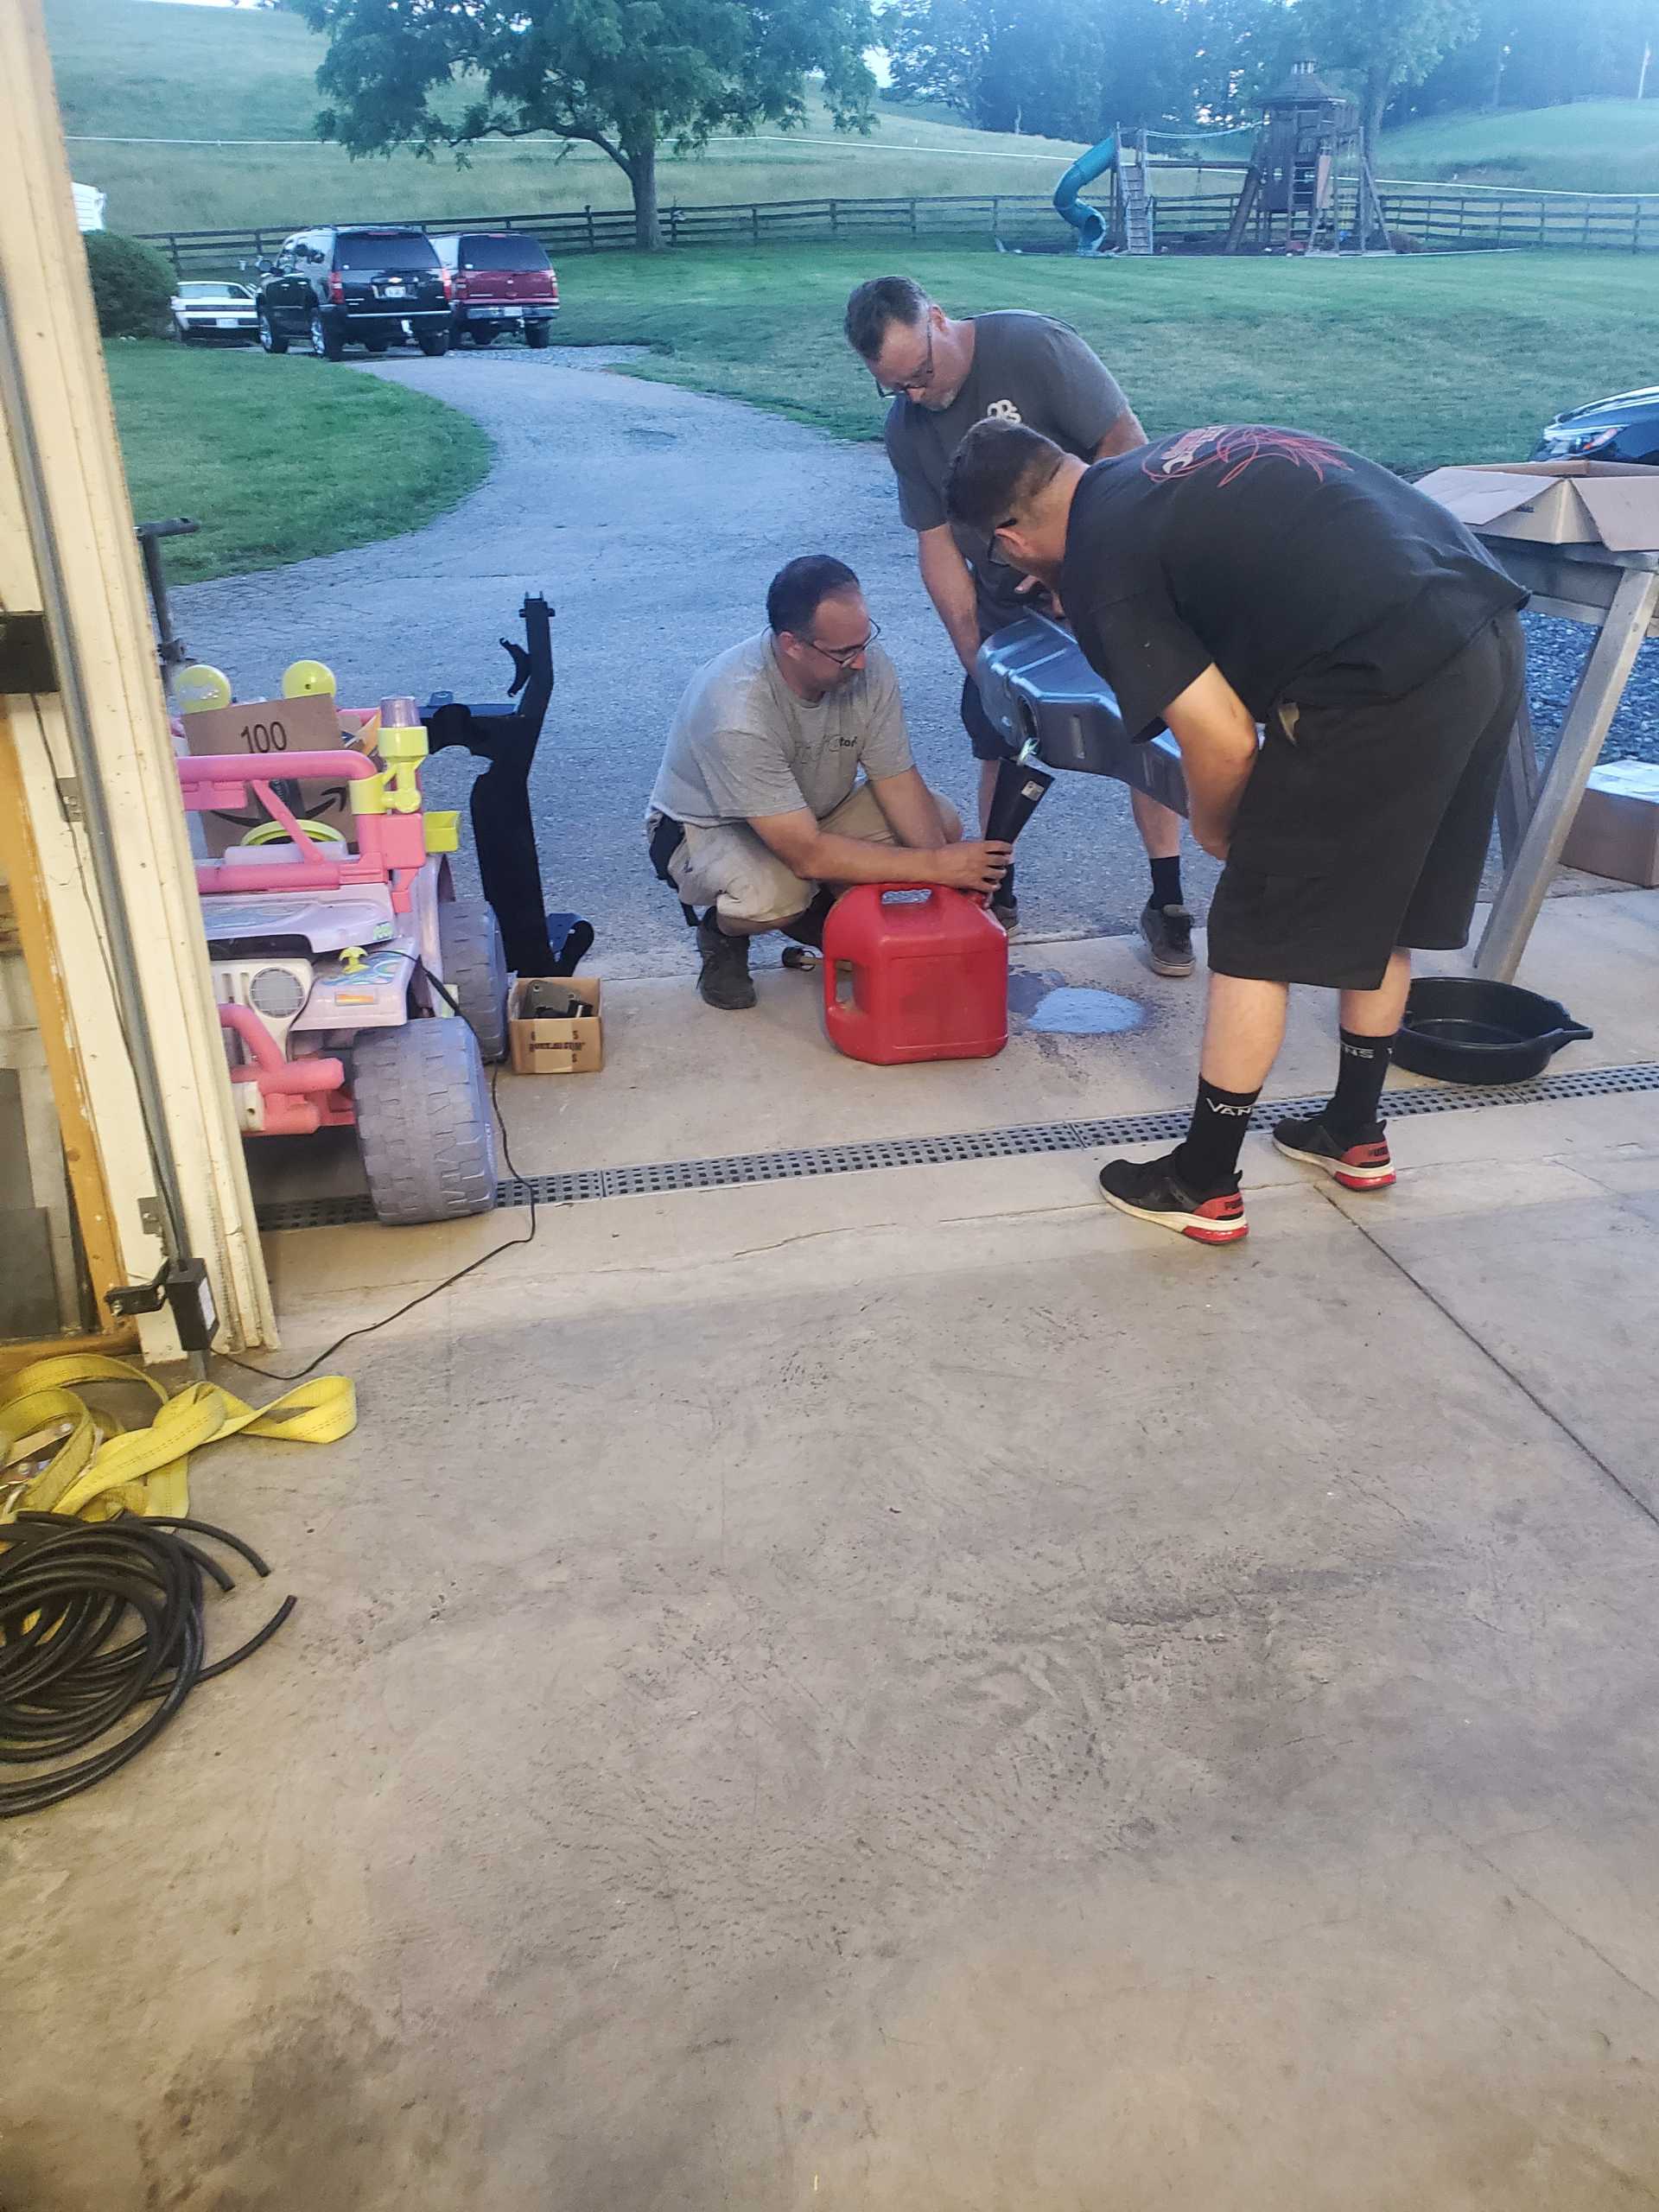
By the end of the night, frustrated and tired, Gary and Jestin had to head home for an early start to work the next day. We, too, were tired and decided a night of sleep might be the best solution.
The next day, Matt was up bright and early. He rechecked elements of the harness and found that everything rang out so that was not the issue; however, he did stumble upon the fact that the LS2 cam sensor was too shallow. Apparently there were different iterations of this sensor and this particular one did not pair correctly with our setup. A new cam sensor was fortunately on hand and we now moved forward - the car would start, but it wouldn't stay running.
After nearly 12 hours of troubleshooting, Matt threw his hands up in the air and declared that the only remaining possibility was the ECM. The best option was for me to jump in the car and head 3 hours to Gary's to test my computer in his car, which had a similar set-up and the same ECM. Gary's car had been running for years so we knew his was good.
With a major conference call the following day at 2, I knew going in the morning would be a tight turnaround. I had just gotten home from Ashleigh's riding lesson, so I unhooked the trailer, packed a bag and awaited word from Gary & Jenn that they had an open guest room. The drive out in the dark was a little adventurous at times but the "shop car" (aka the C5 Vette) was fun to drive and I pulled into their driveway just before midnight.
The next AM, Gary and I put Matt's theory to test - first, Gary started his car just to ensure that all was in working order. He then removed the ECM and installed mine, and sure enough - it was a no go. Happy to have an answer but frustrated with the tuner for what was obviously an error in program installation, I jumped in the car to head home. It was a beautiful day and I was buoyed by the fact that my car would soon be running with a departure for Carlisle exactly 1 week away. I stopped for gas, dropped the top and quickly learned that passing an unmarked Camaro would result in a bit of a ticket (apparently he wasn't bothered by the car in front of him going an inconsistent speed) but still, I was on my way home to see if my car would finally run!
|
|
|
|