|
| A History of the Blue Demon (Page 13/17) |

|
Fierochic88
|
AUG 21, 05:55 PM
|
|
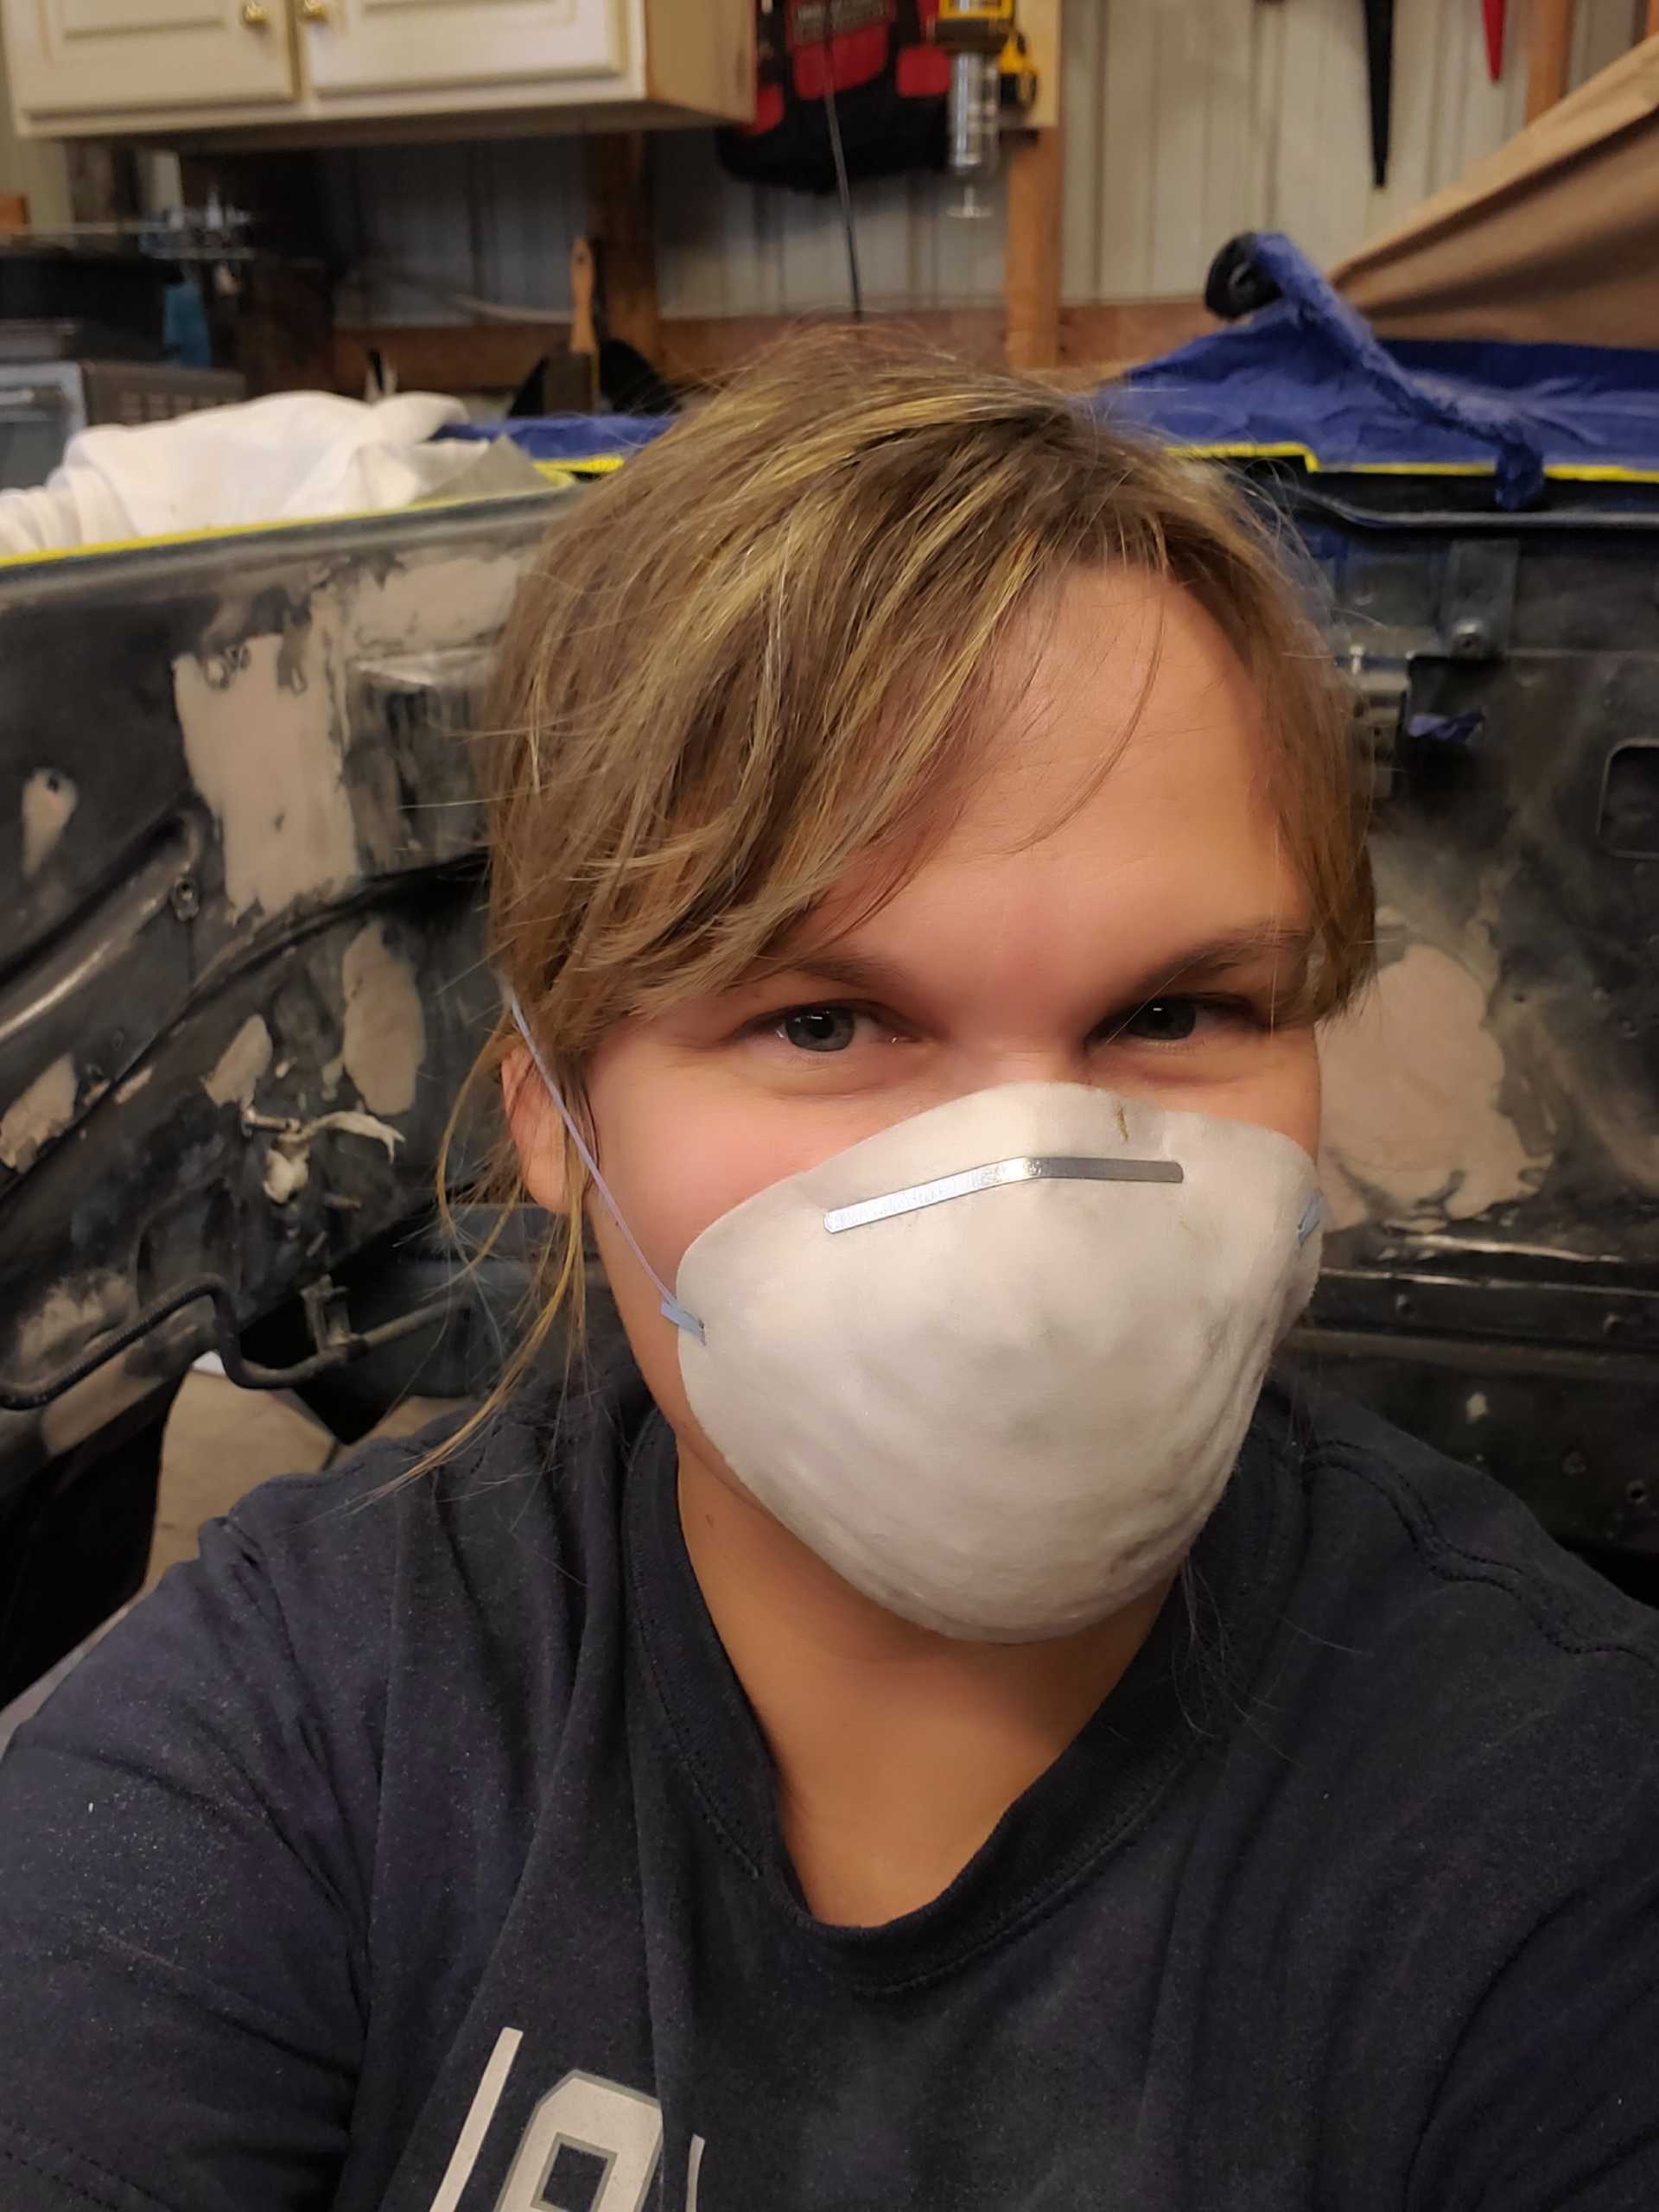
Through what remained of March and into April, the removal and cutting of the engine compartment began. At this point, the project began to feel more "real" to me as I knew there really wasn't a way to easily turn back. Again, some bittersweet emotions flooded forth thinking of my dad and what we did together, but I also knew he would have been pretty stoked about the upgrade so that made me smile.
I felt like I was constantly moving sheets and securing car covers as we tried to keep the body panels as protected as possible. Pro tip for readers: don't paint the car before doing an extensive engine swap - it's nerve-wracking lol.
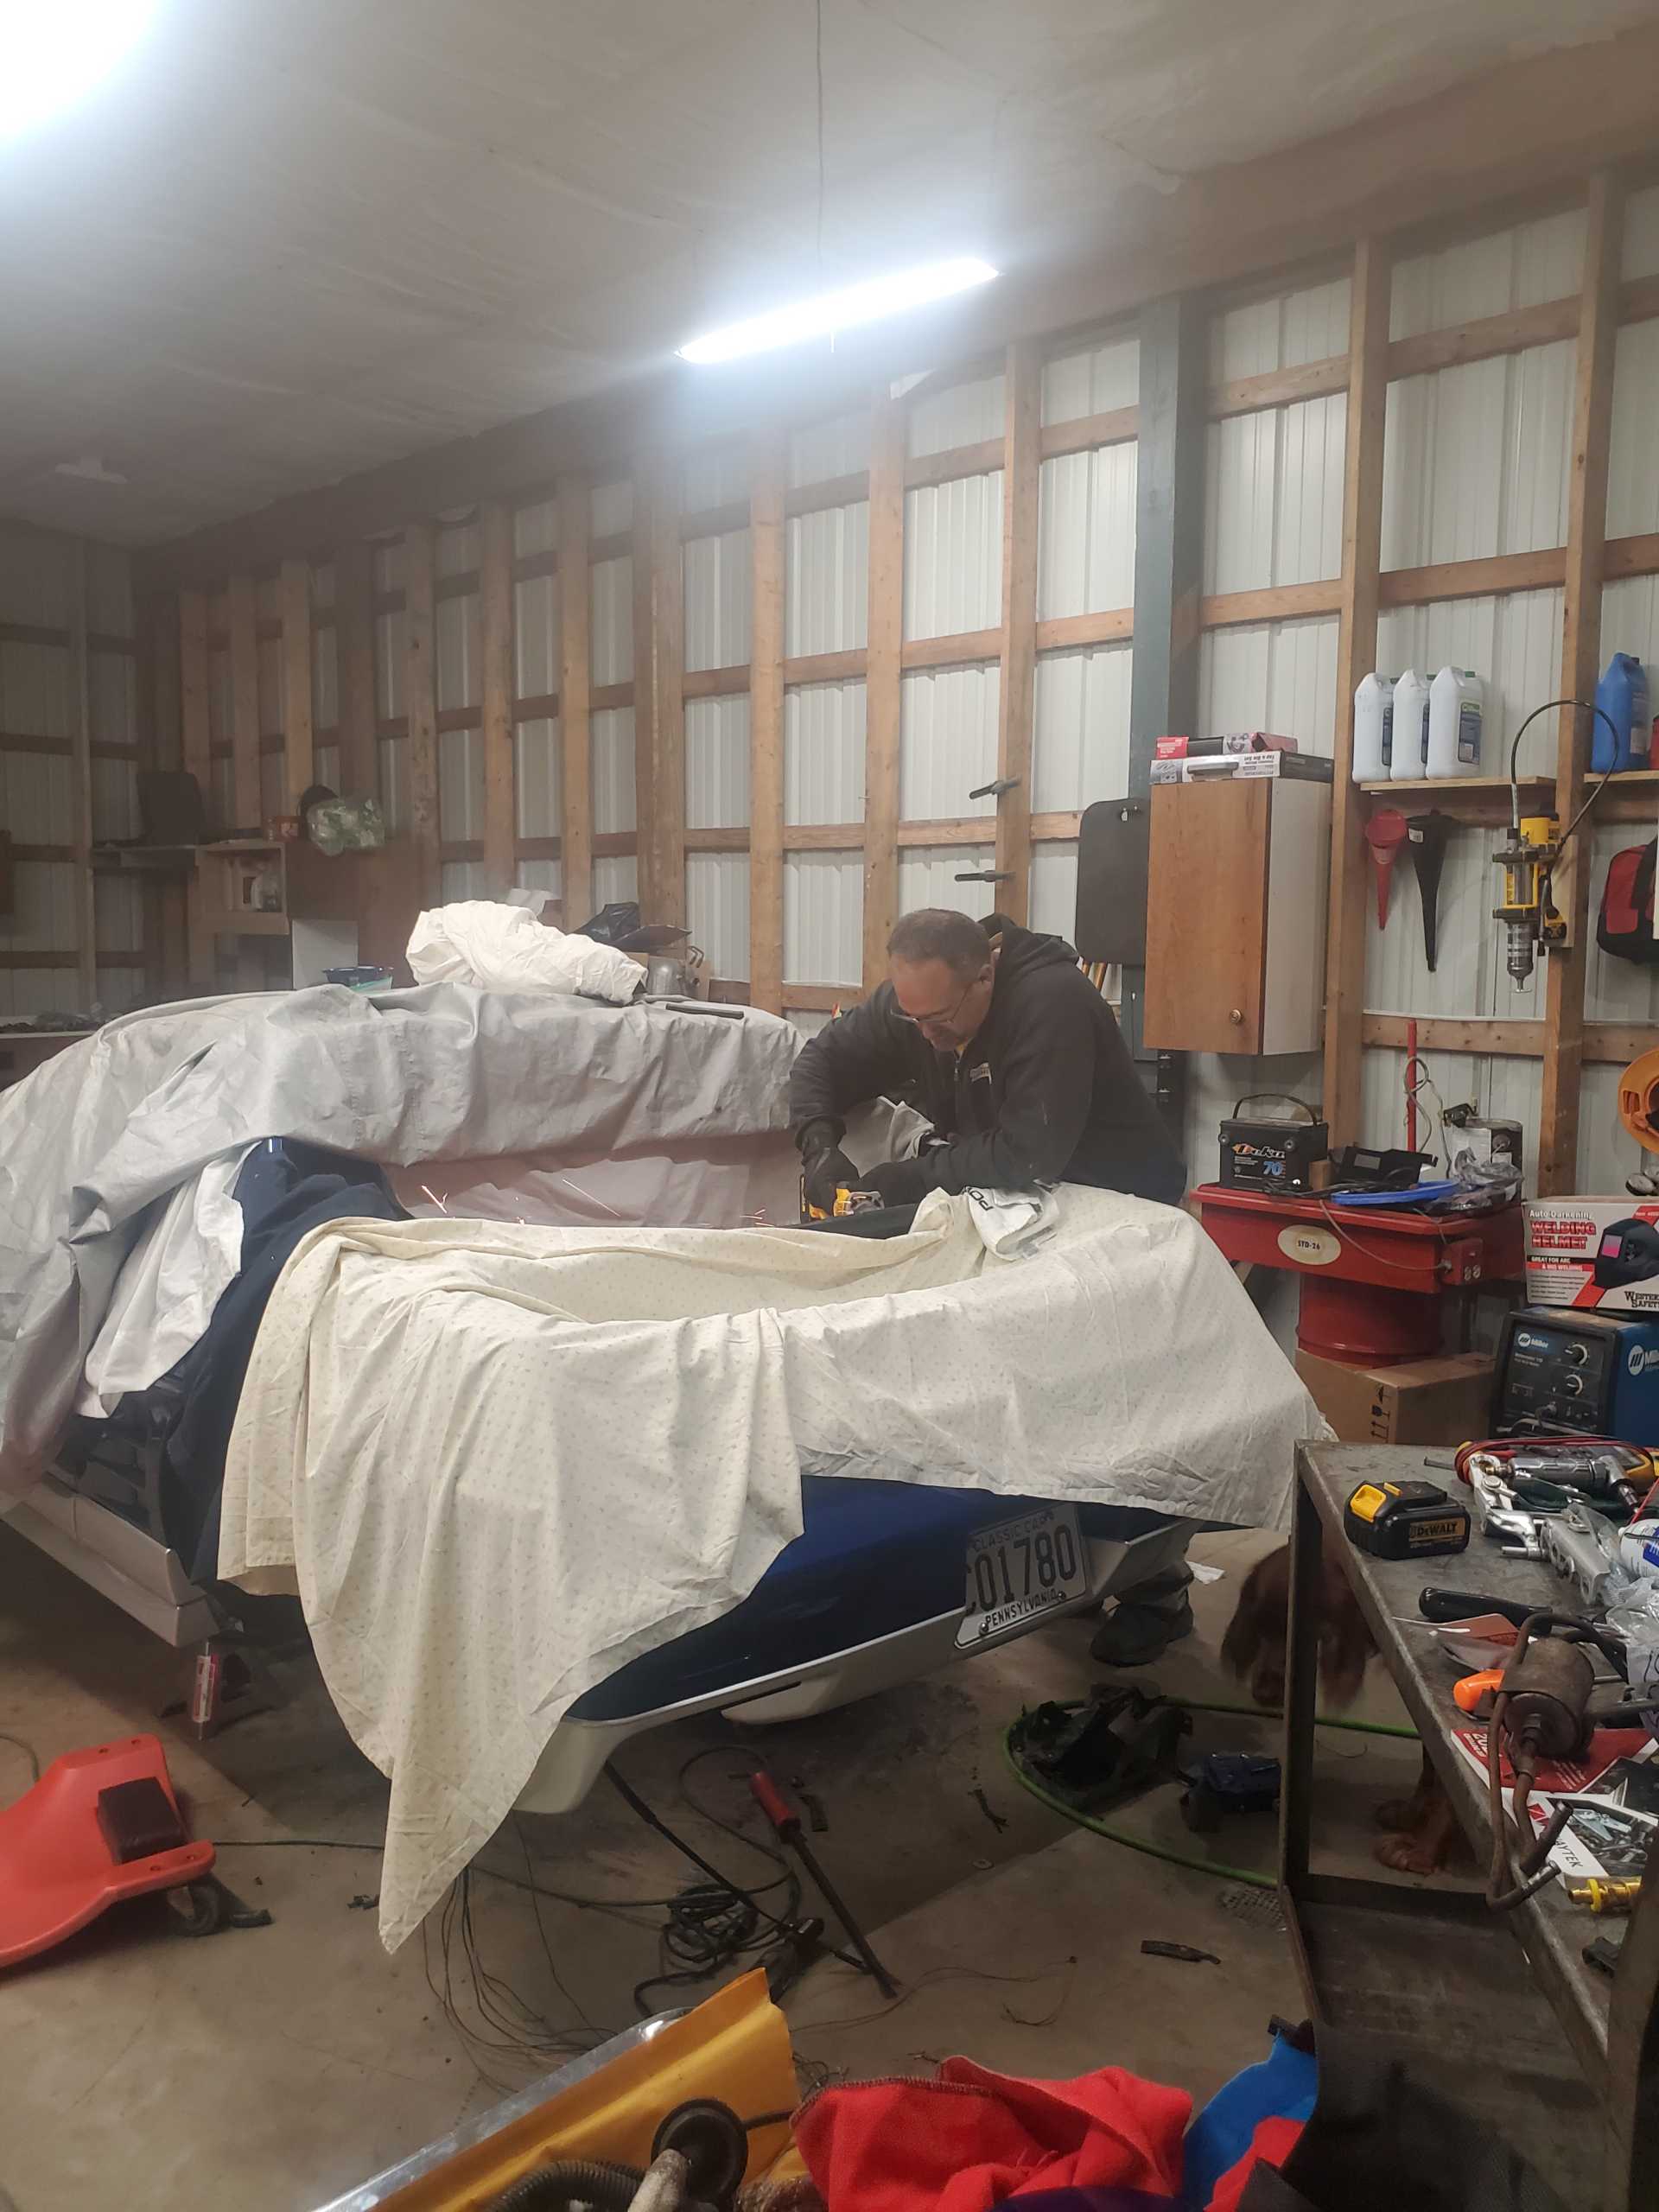
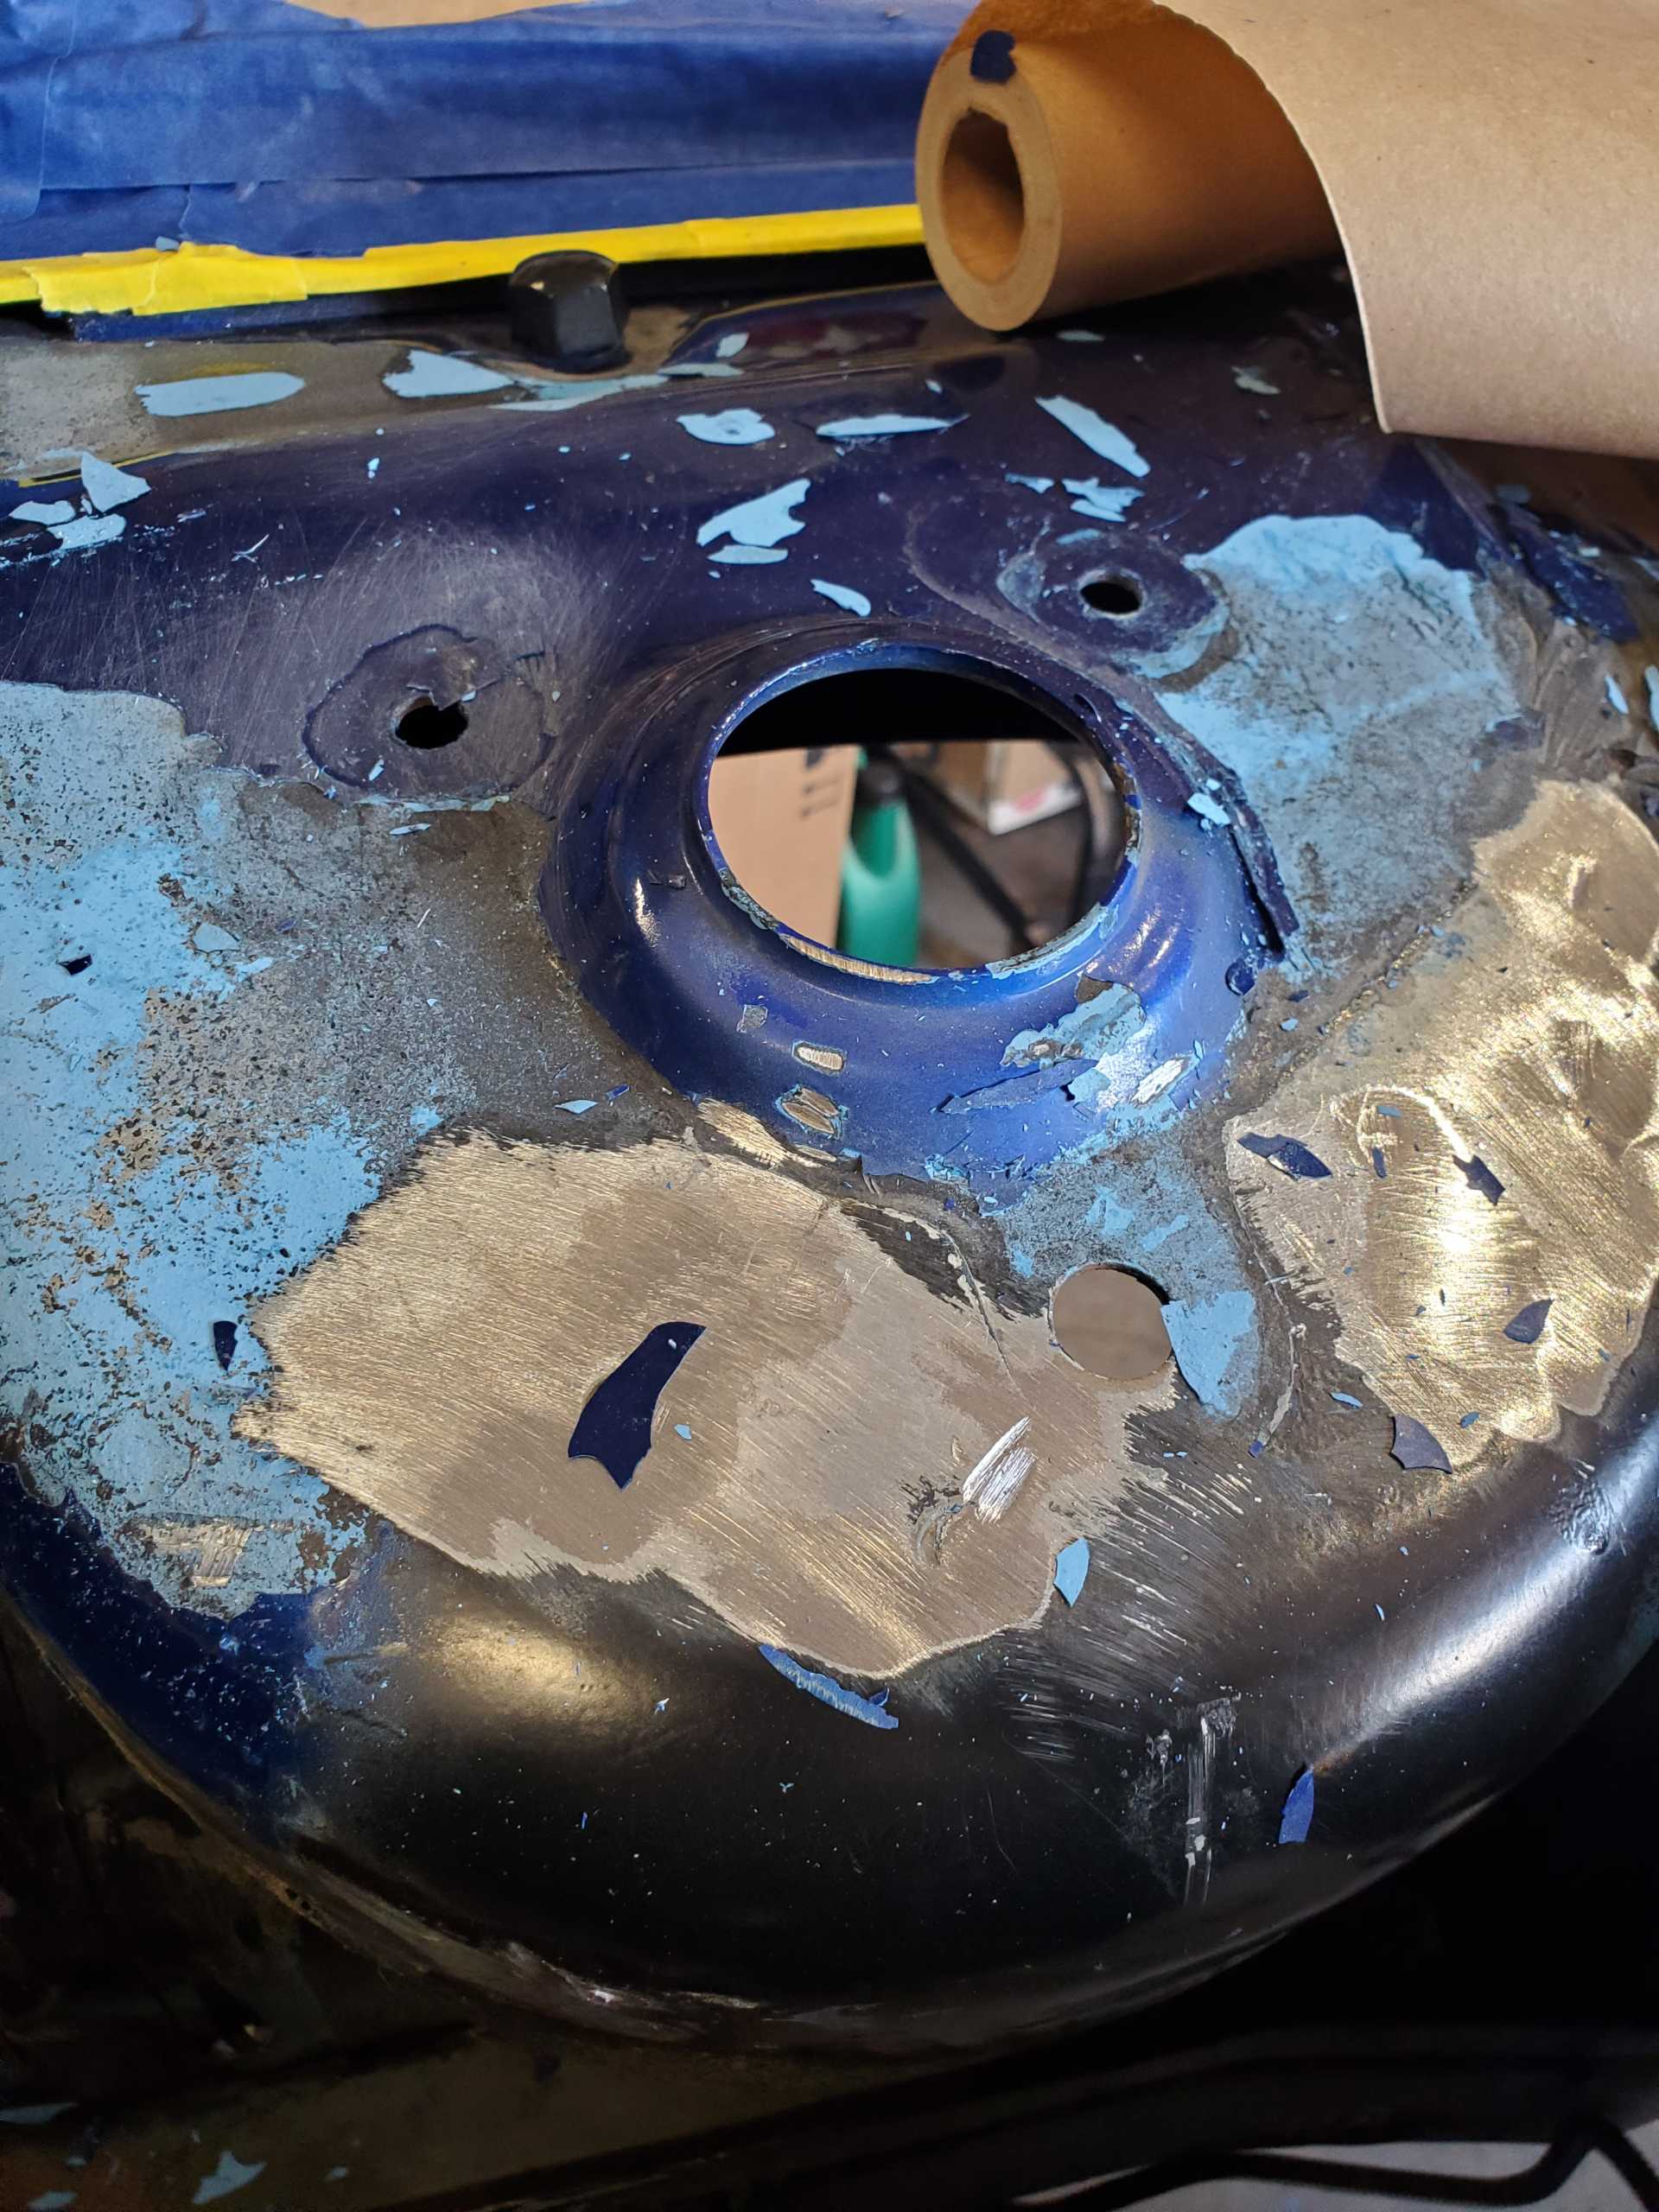
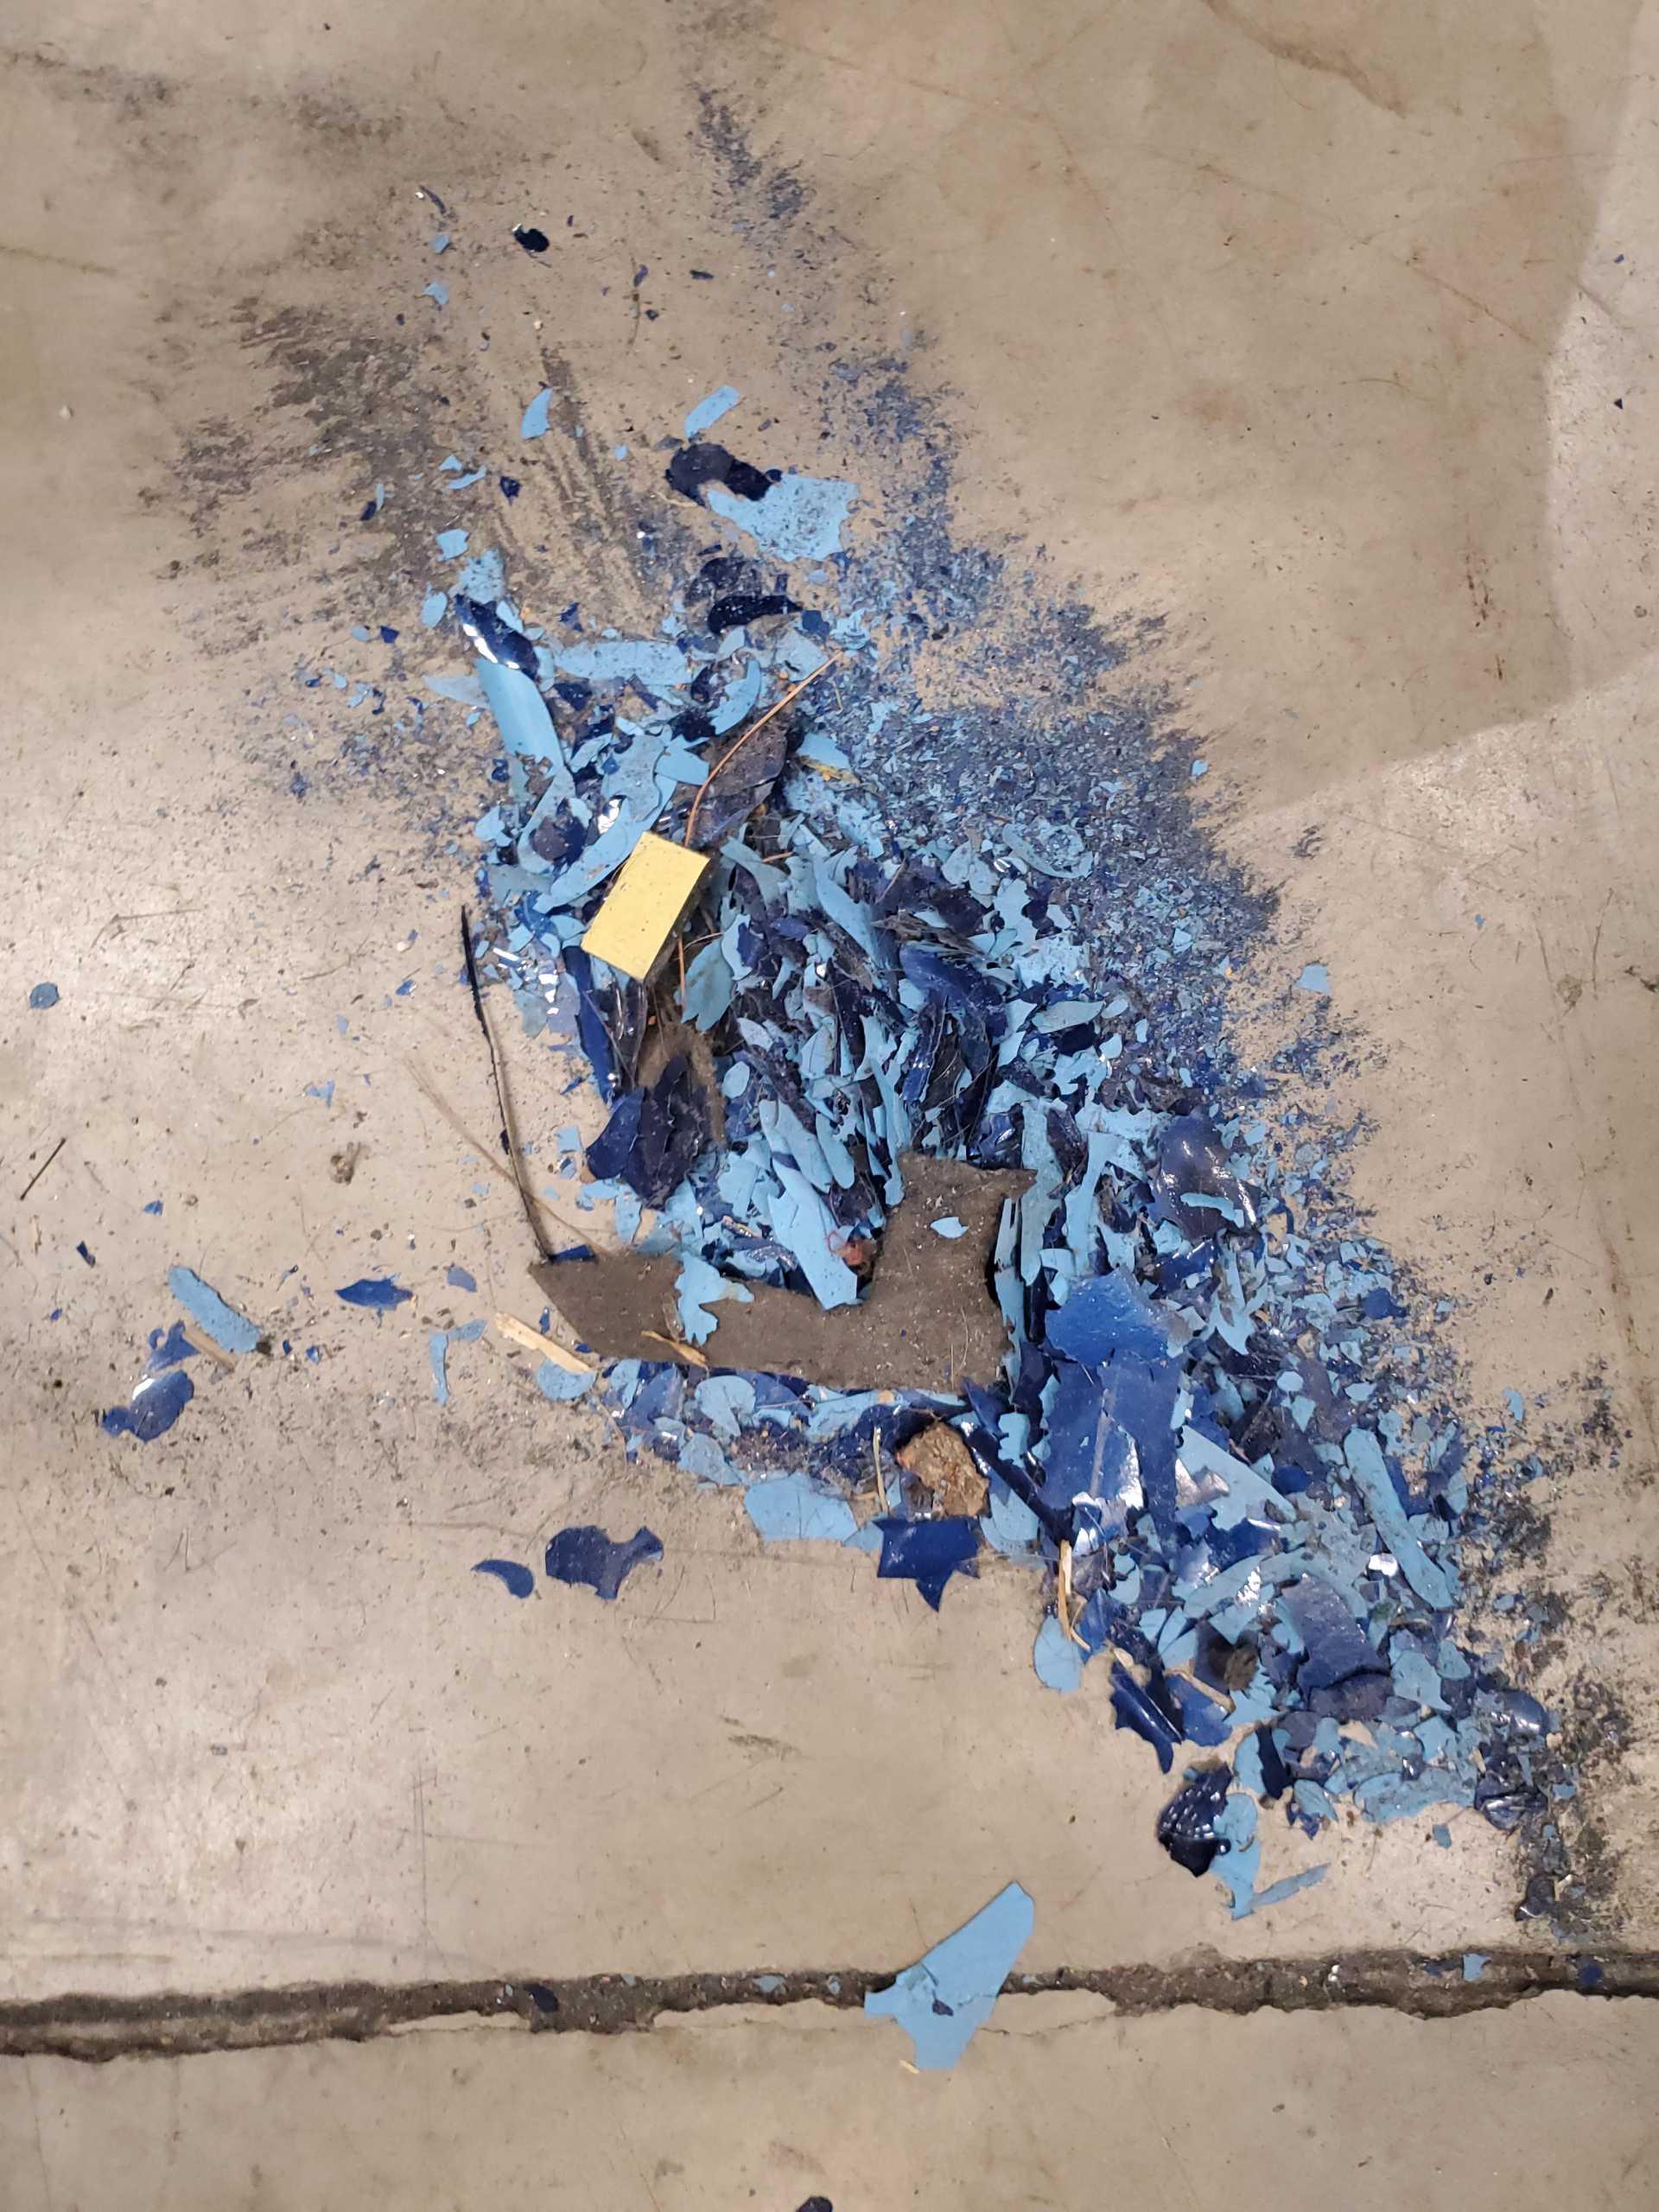
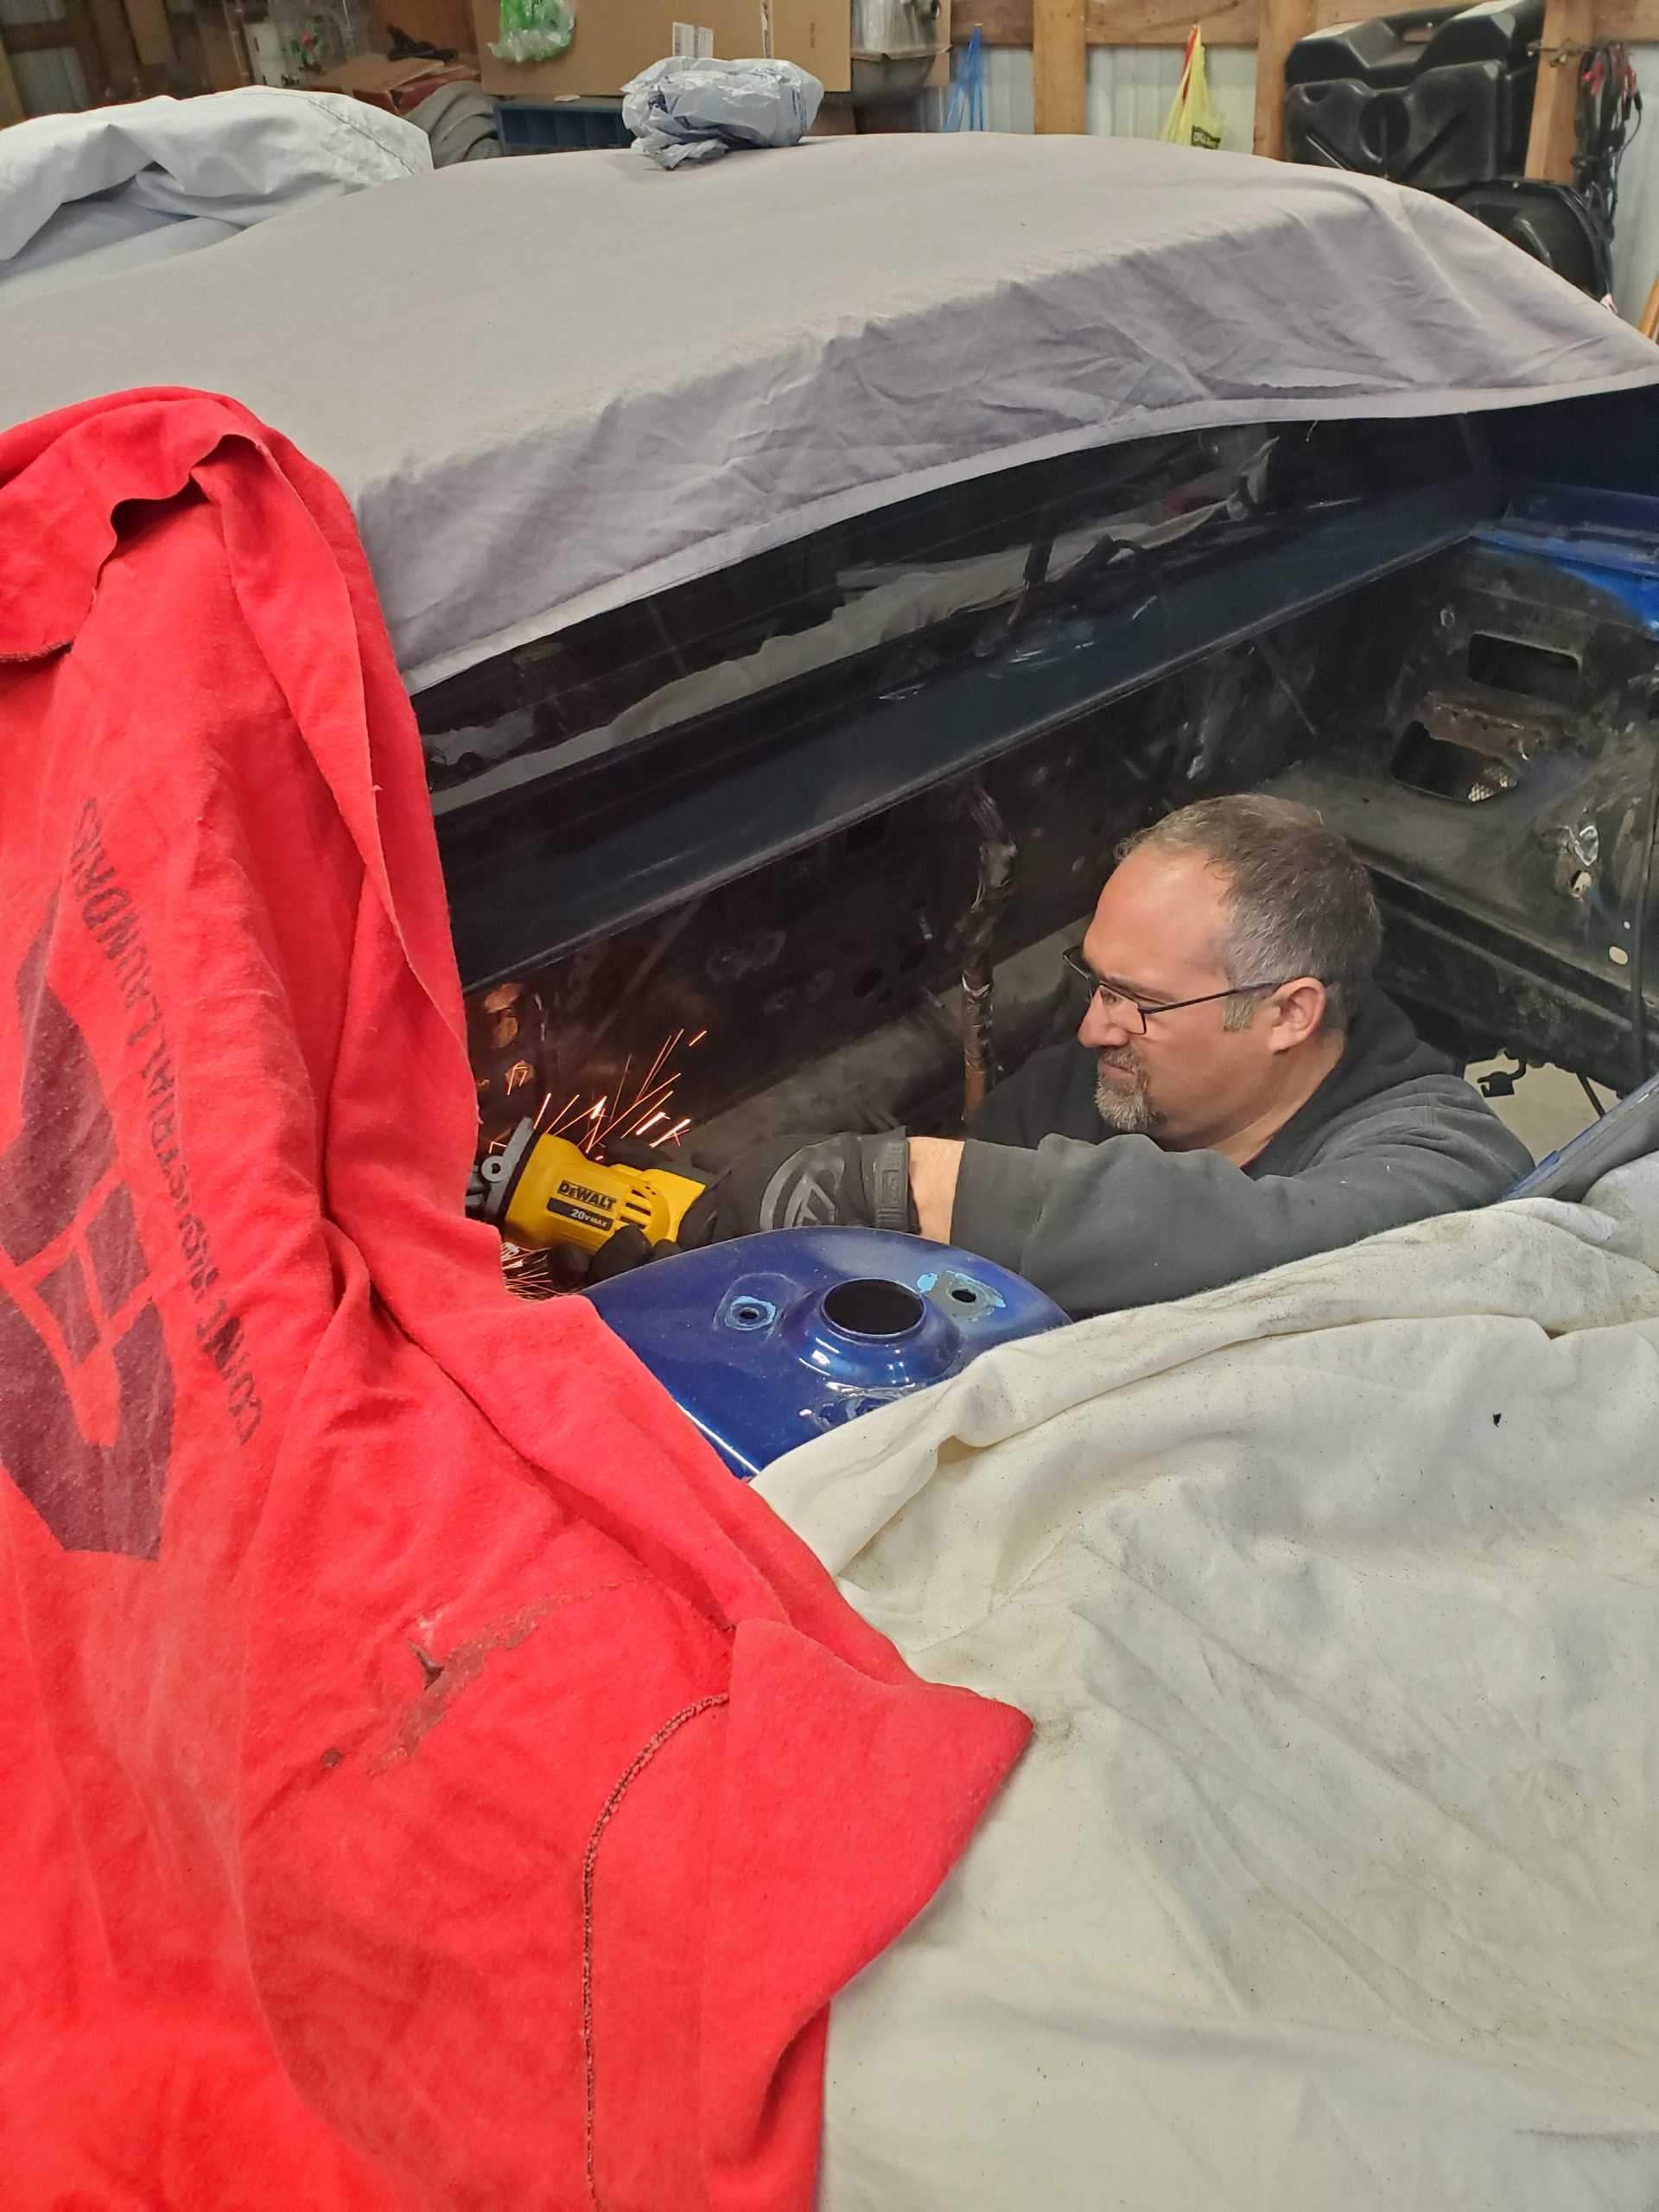
I also had to remove the remnants of the blasted firewall pieces. That was one major regret I had from Round 1. I wish we had just decided to unline it or reline it back then. As Matt began planning out the removal of pieces parts with the grinder etc. I set about removing the pieces that didn't require power tools.
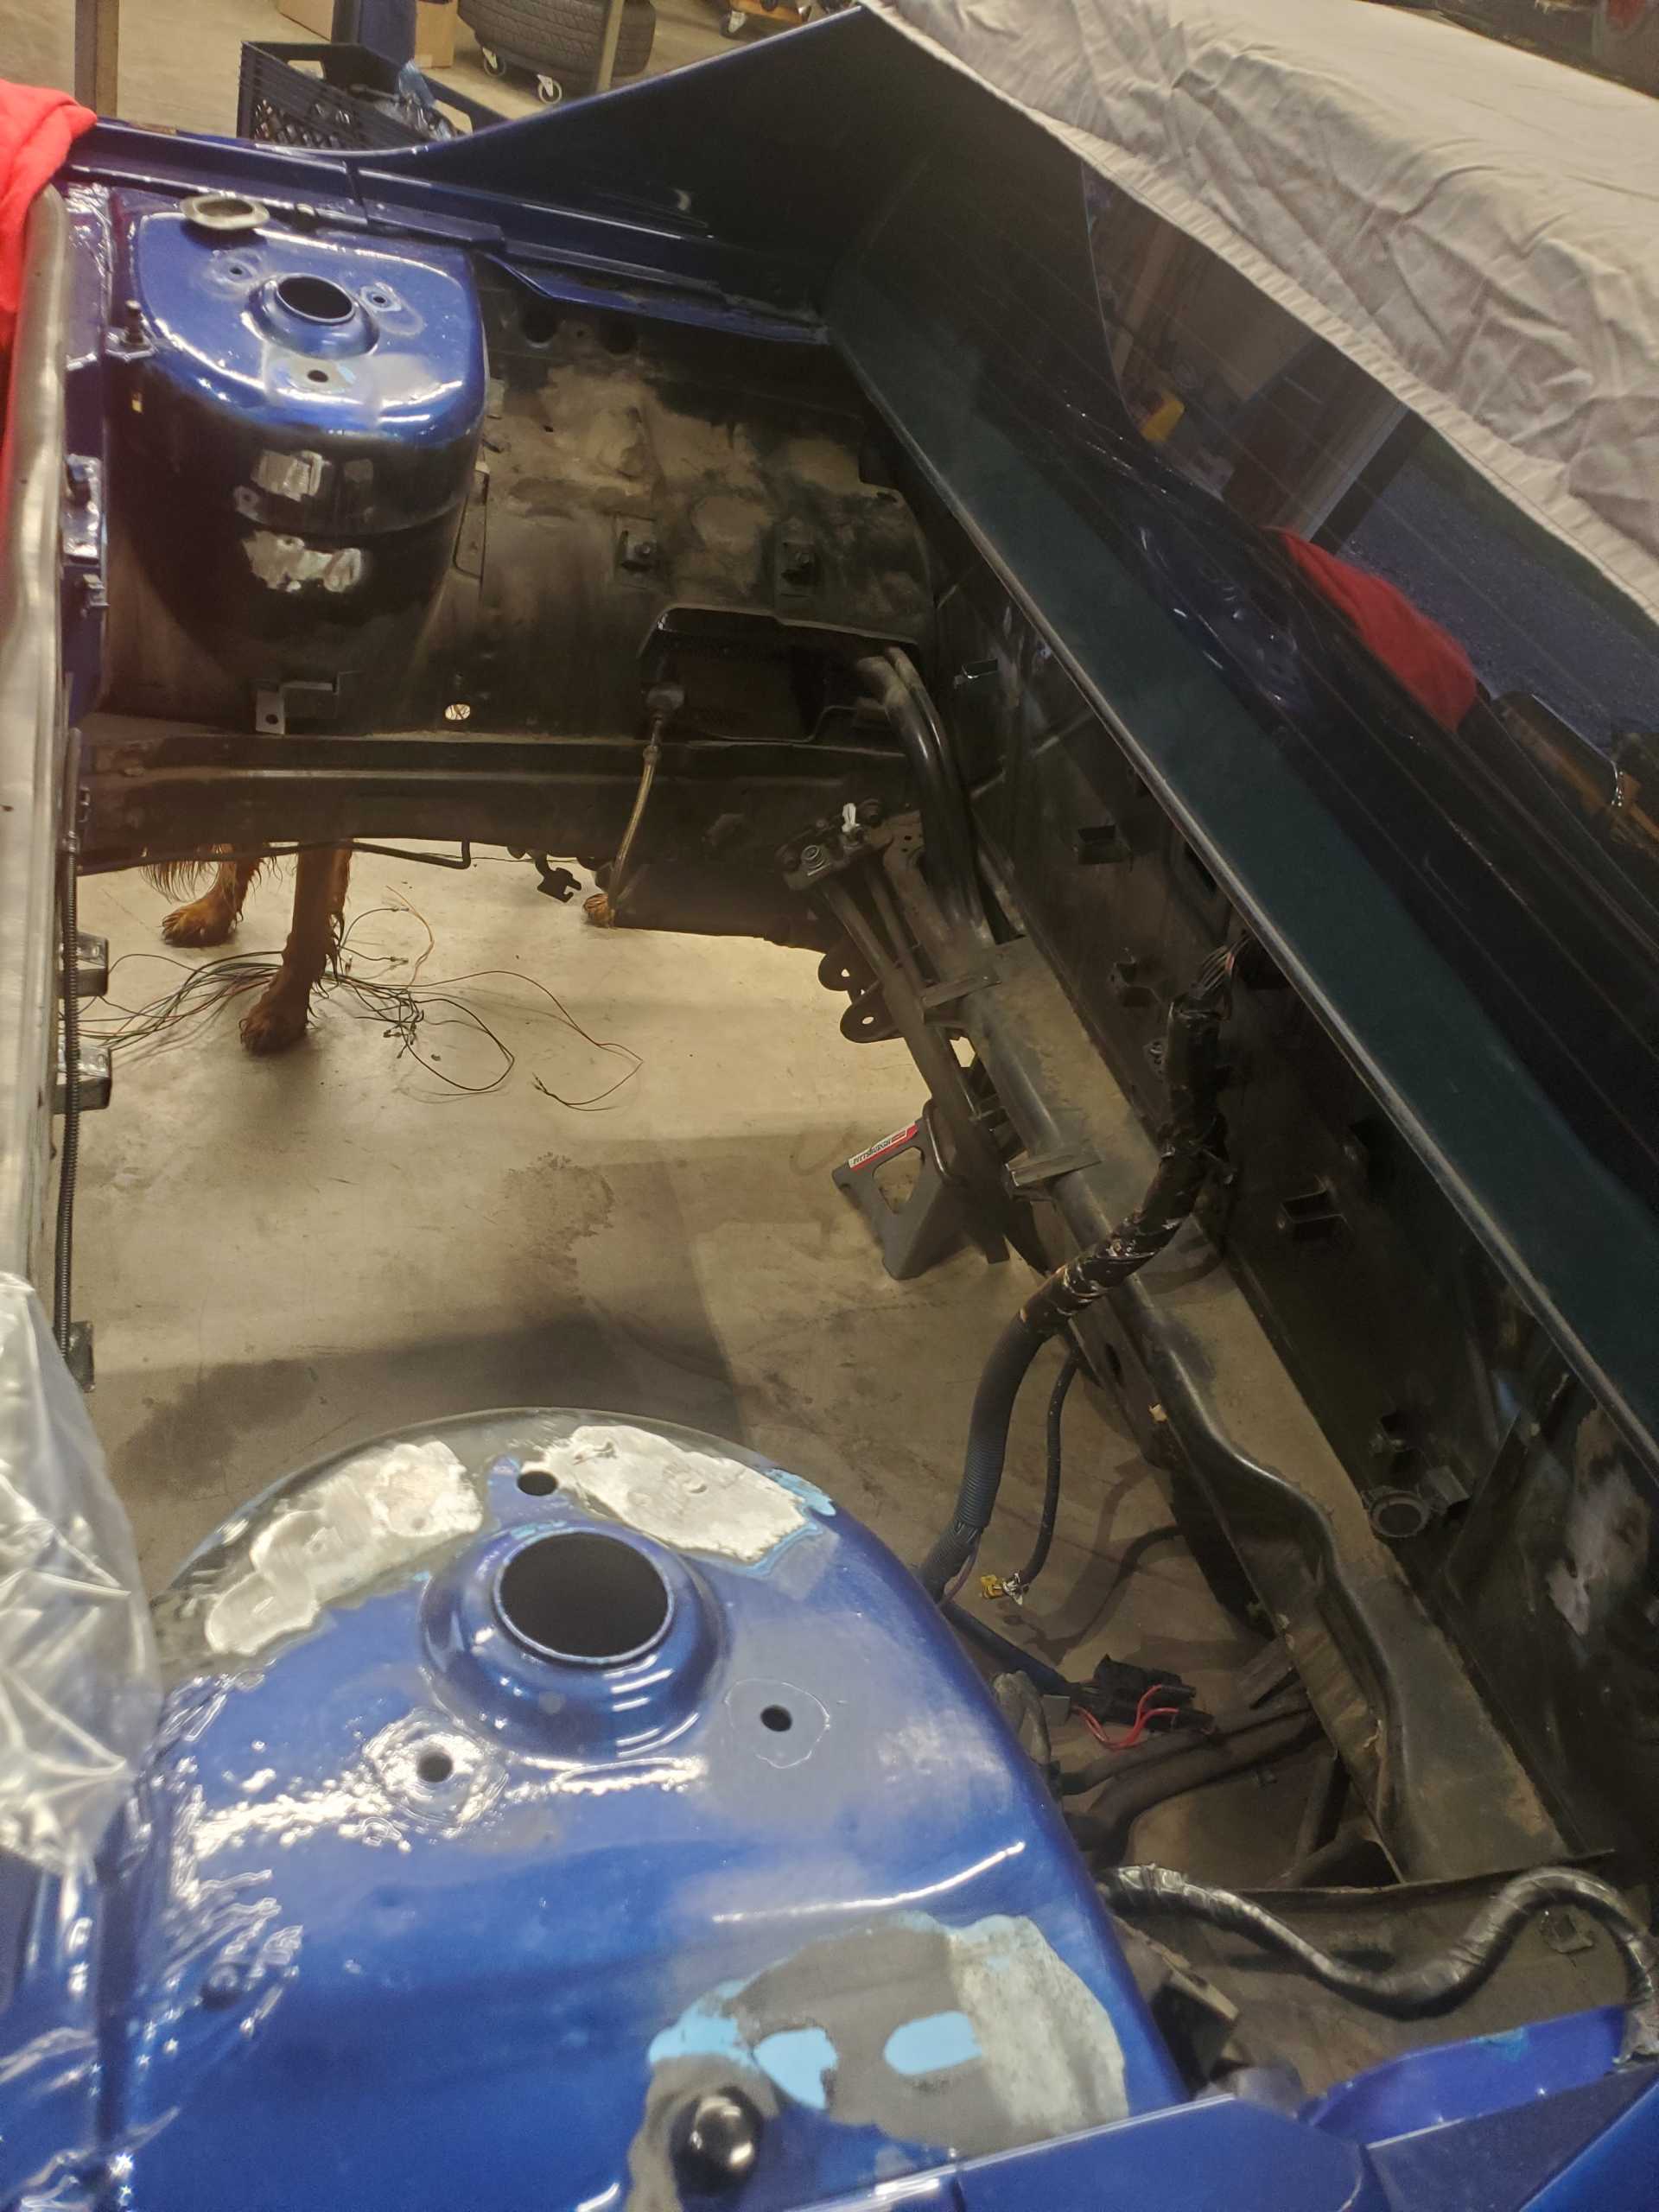
That major items that had to go were the battery tray, the dog bone mount and the passenger side trunk hinge mount. In an effort to give the swap a polished look and follow some of the work that Gary had been doing with his swaps, we removed both hinge mounts completely, other miscellaneous bracket mounting points in the car that would no longer be used and Matt reshaped the passenger's side strut tower to remove the mounting point for the dog bone mount. This would allow both sides of the car to look even.
|
|
|
|
R Runner
|
AUG 22, 06:39 AM
|
|
Thank you for sharing Jen!
It is really great to see how much of your family is captured in this project. I didn't realize the extent of it until now. It is so cool!
|
|
|
|
Fierochic88
|
AUG 22, 07:13 PM
|
|
| quote | Originally posted by R Runner:
Thank you for sharing Jen!
It is really great to see how much of your family is captured in this project. I didn't realize the extent of it until now. It is so cool!
|
|
Thanks Paul! It's always good to see you on here!!
This aspect has always what has made Fieros so special for me, for sure.
|
|
|
|
Fierochic88
|
AUG 22, 07:30 PM
|
|
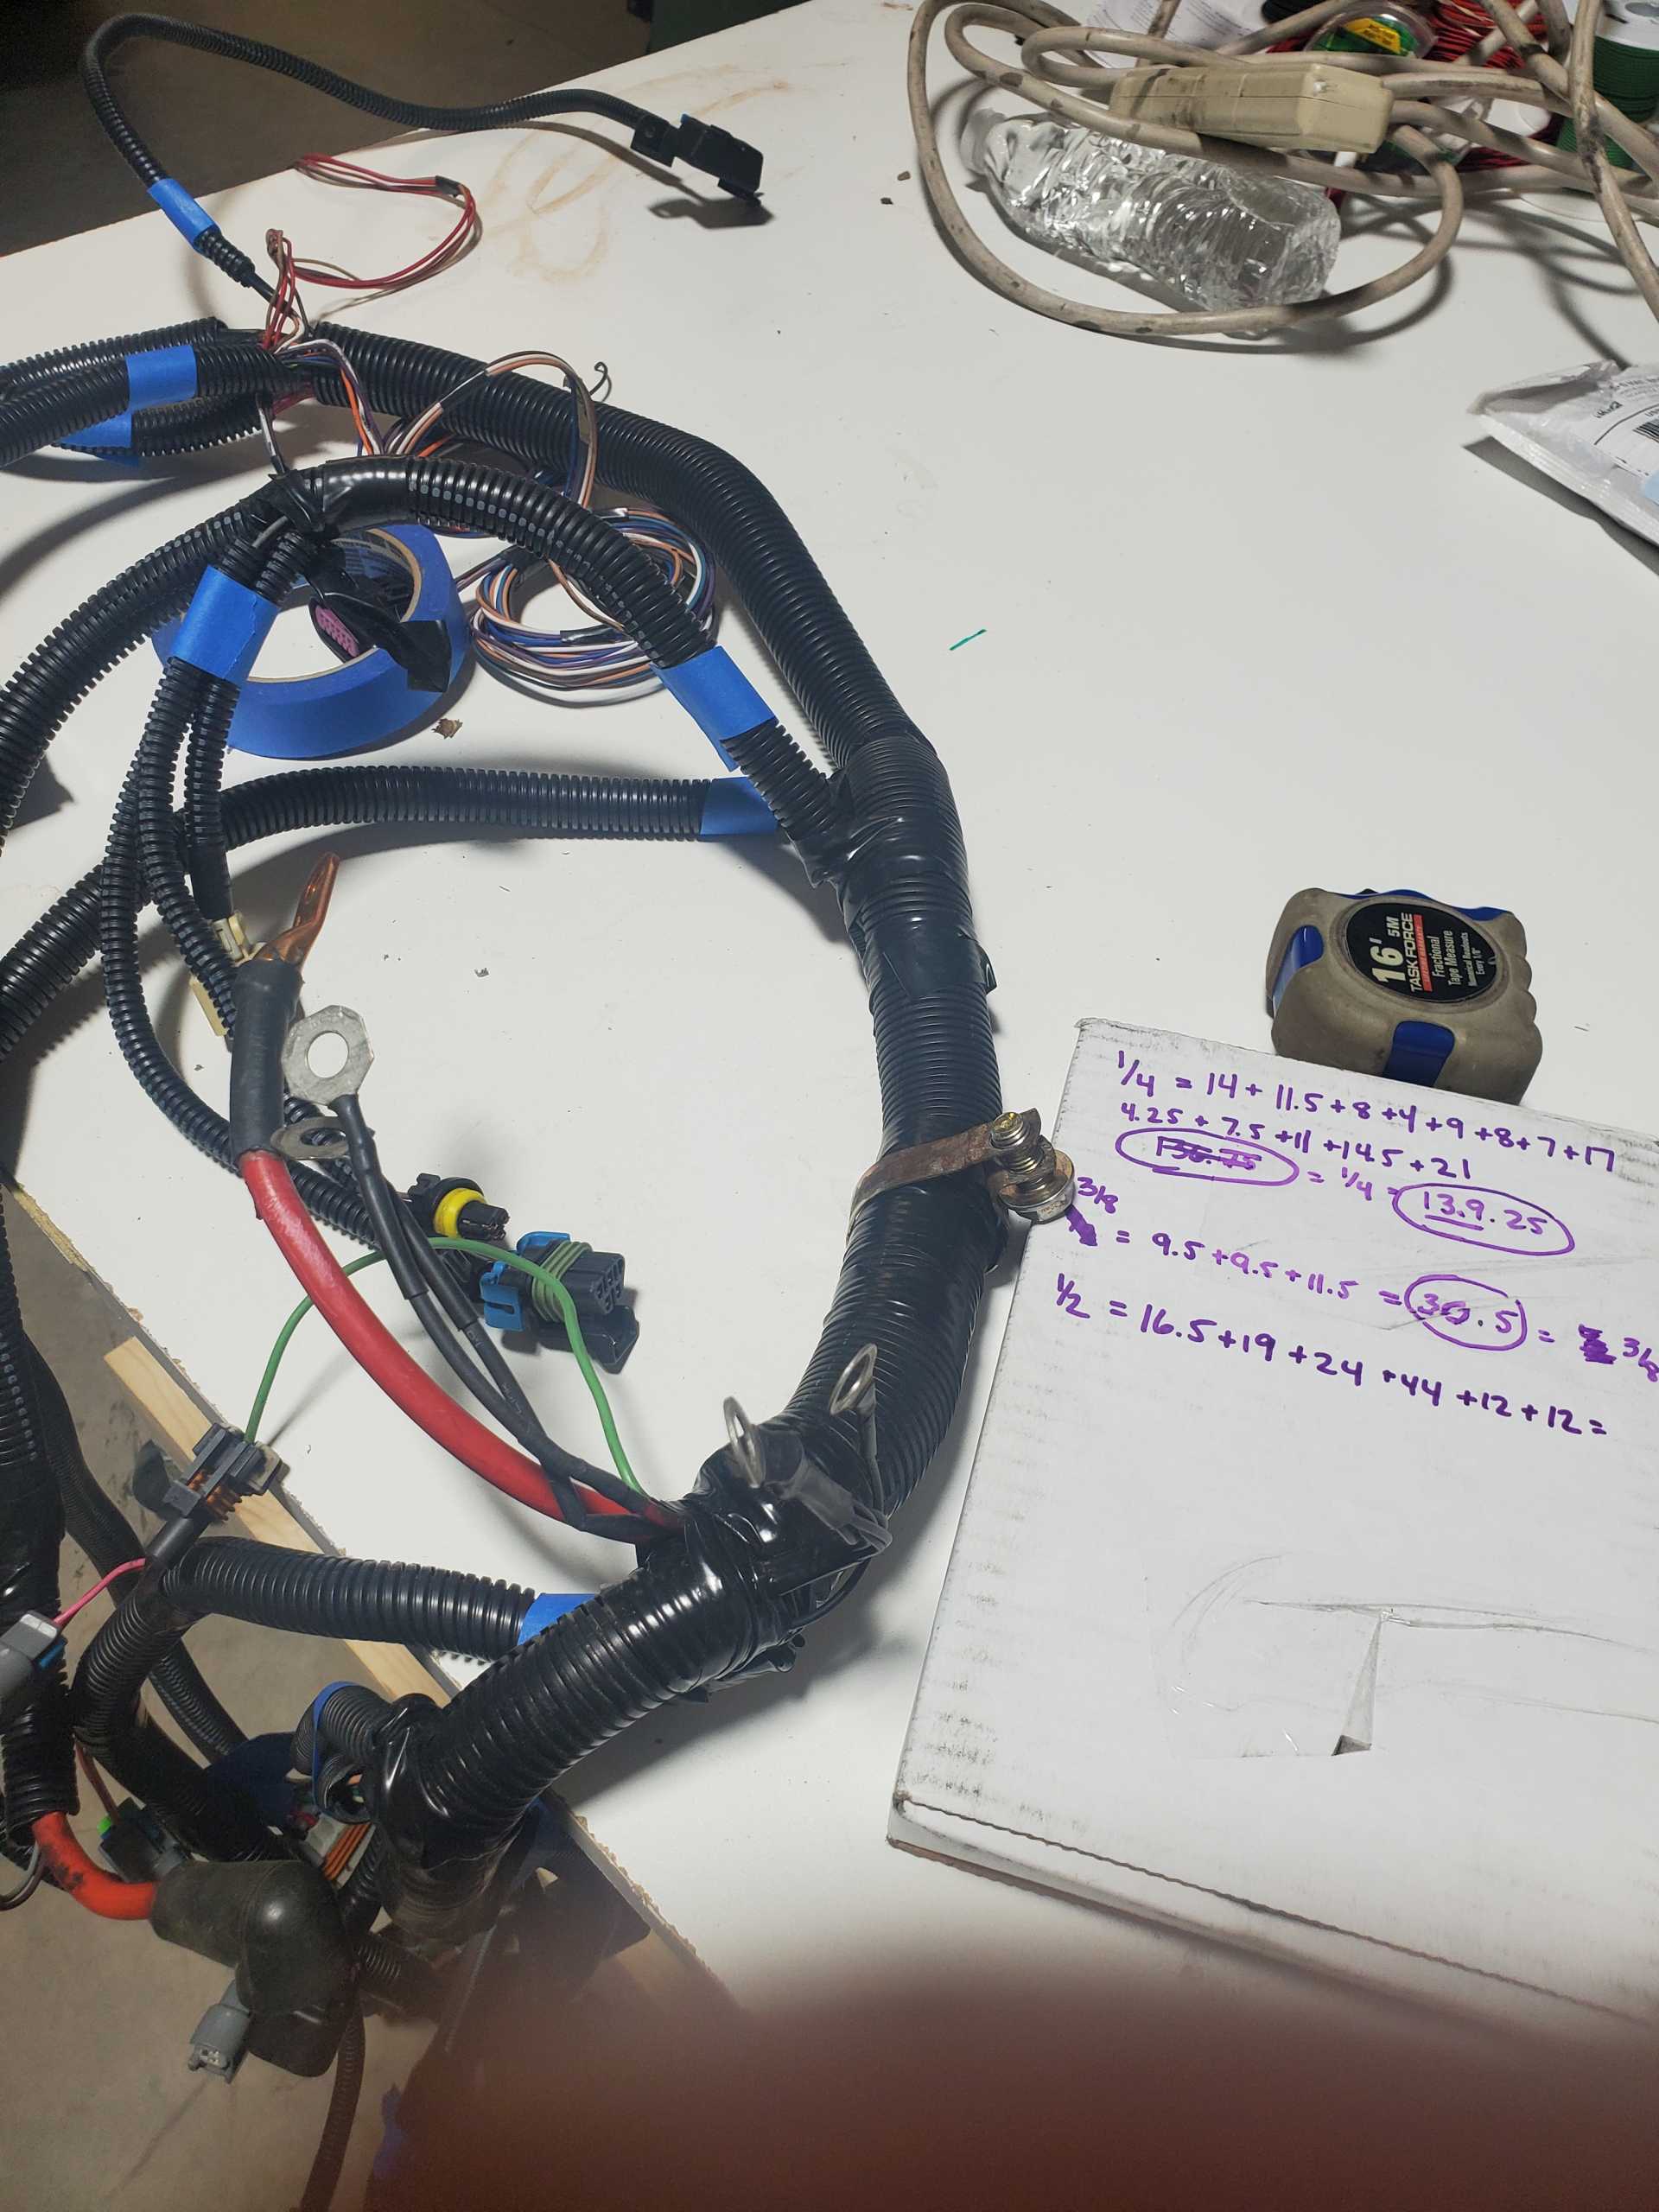
While the "chopping" was occurring, other work was progressing on the foray into the world of wiring harnesses. Matt's background is in electronics and all things electromechanical. He spent years working for Deka battery as an electro-mechanical technician, then a controls technician before moving into a controls engineer position prior to our relocation to Virginia. That move took him into a new role as a Mechatronics professor and department head at our local community college. Thus, when the opportunity came to make a harness for an LS4 conversion, he jumped at the chance. And in true Matt form - he decided to make it from scratch. Of course, R&D and materials purchasing was the first step.
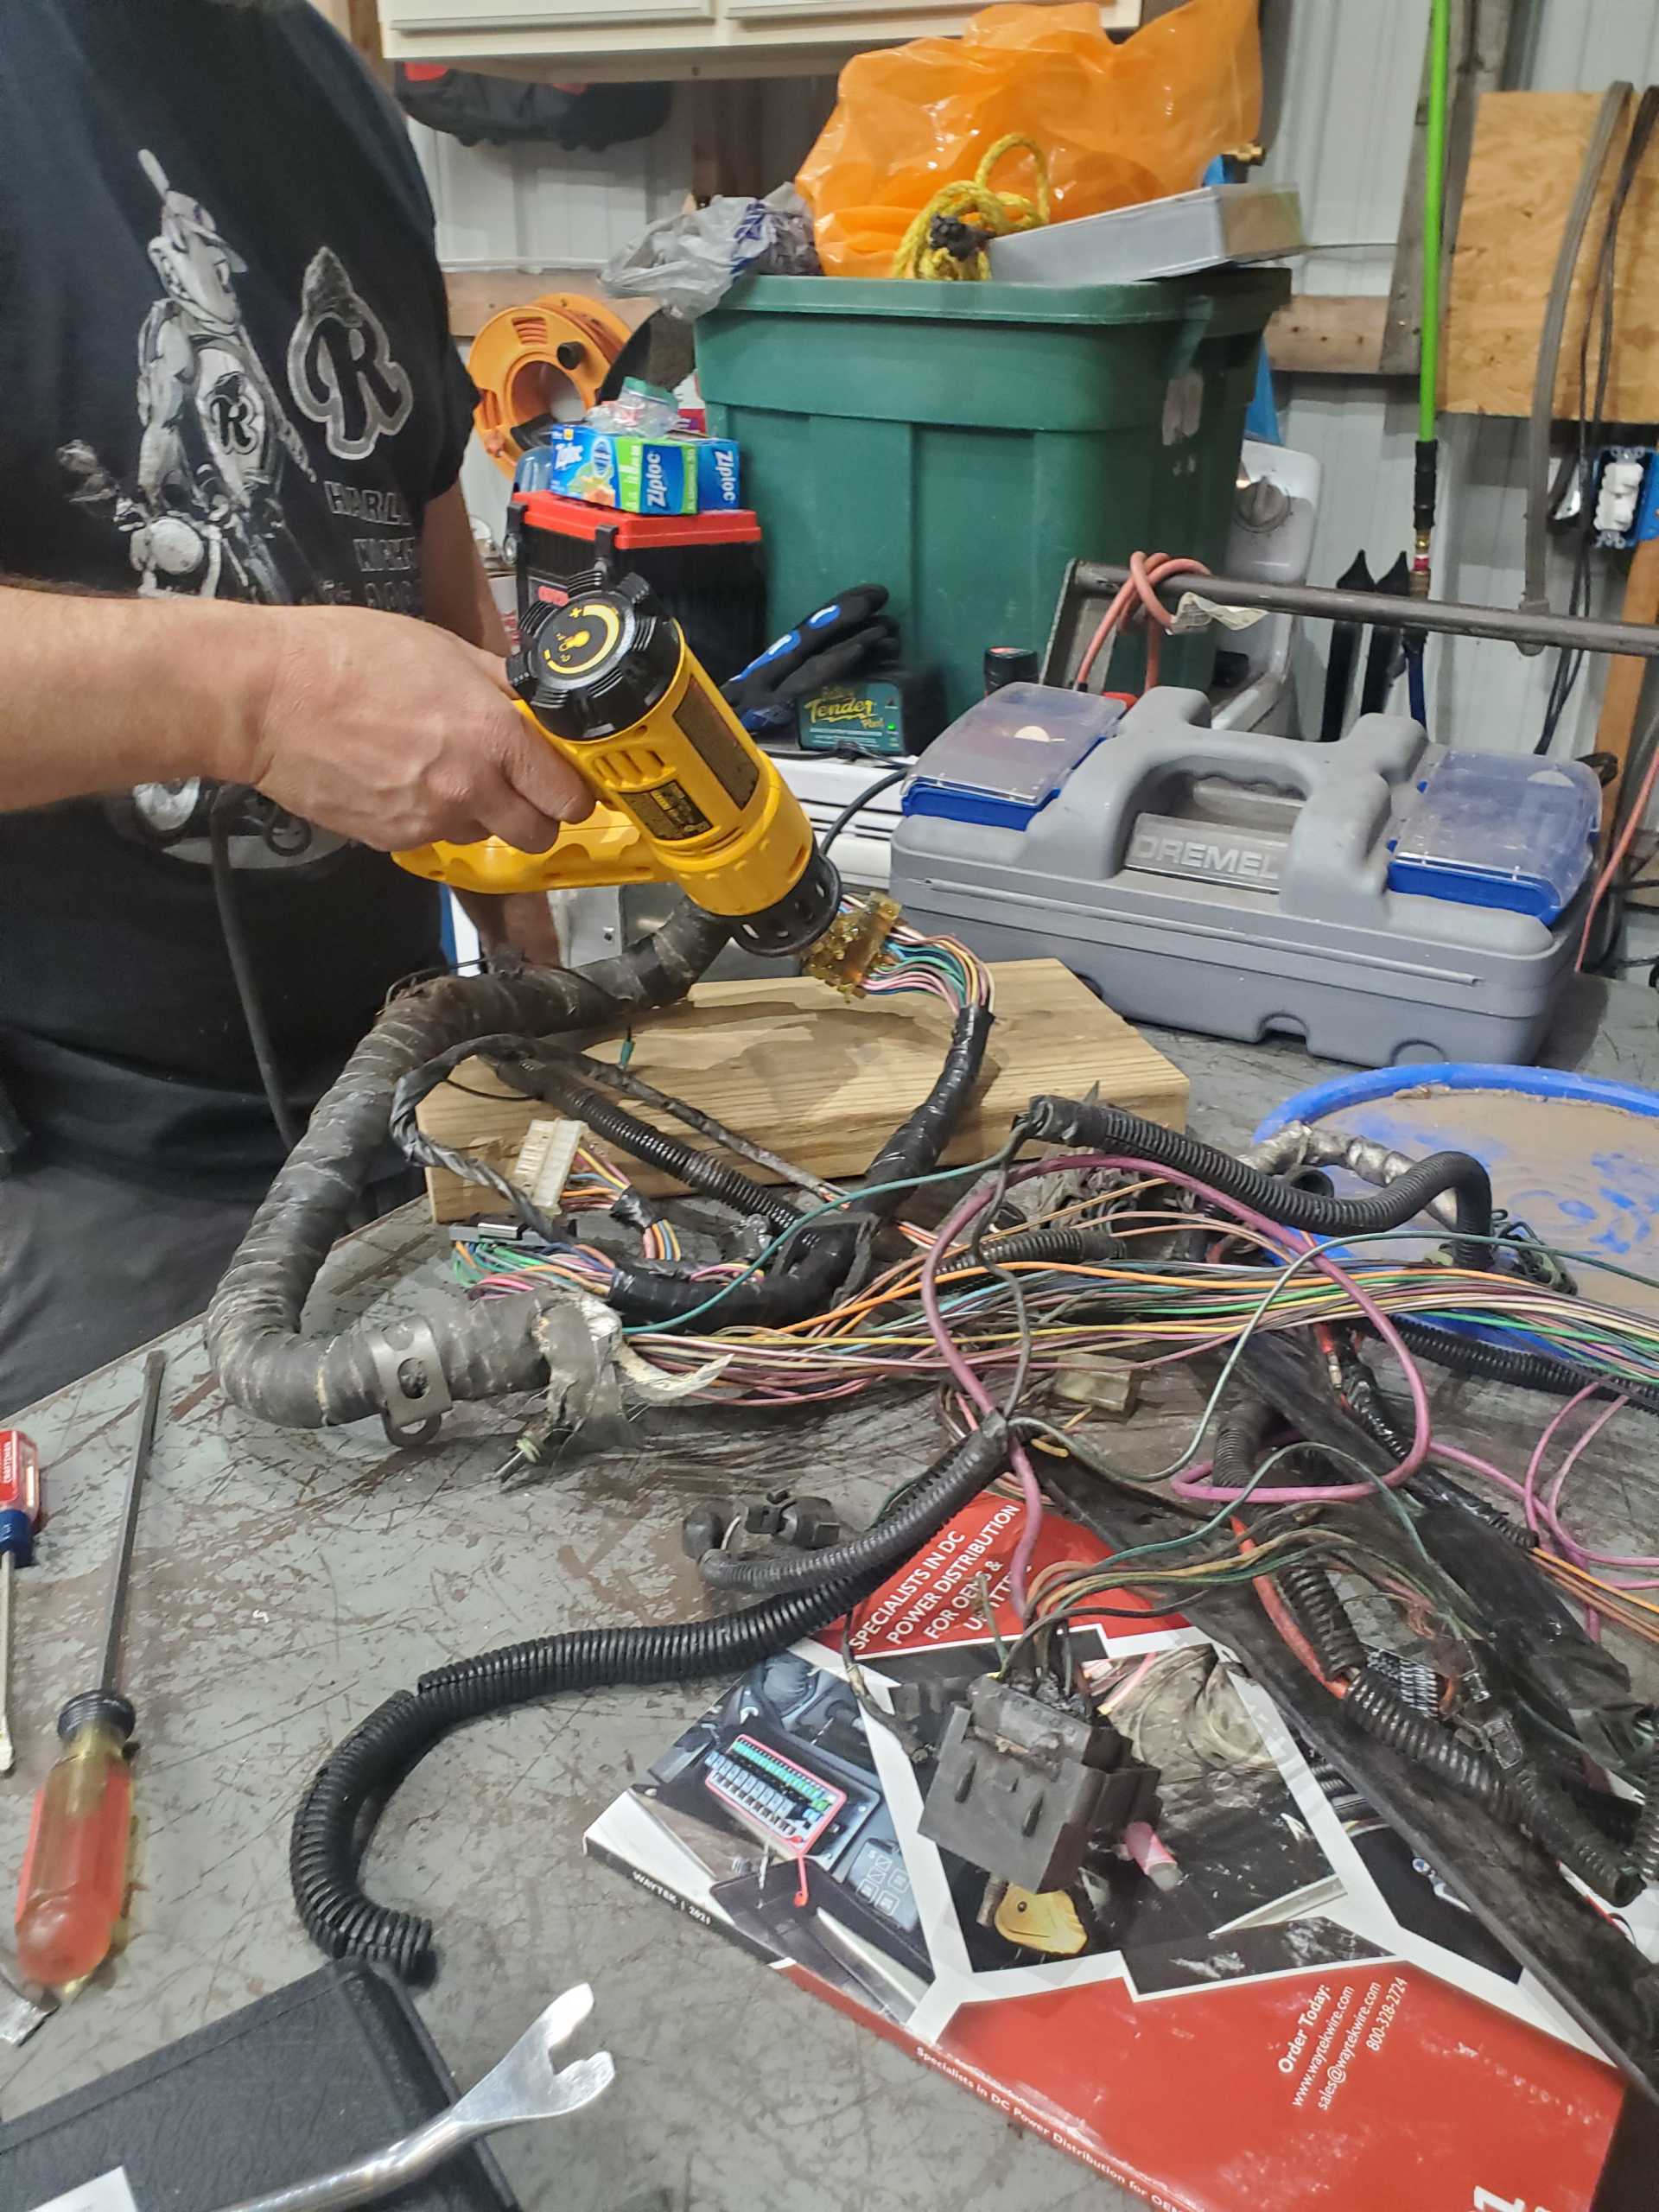
I got the official job of compiling the list and sorting everything when it arrived.

|
|
|
|
Fierochic88
|
AUG 22, 07:32 PM
|
|
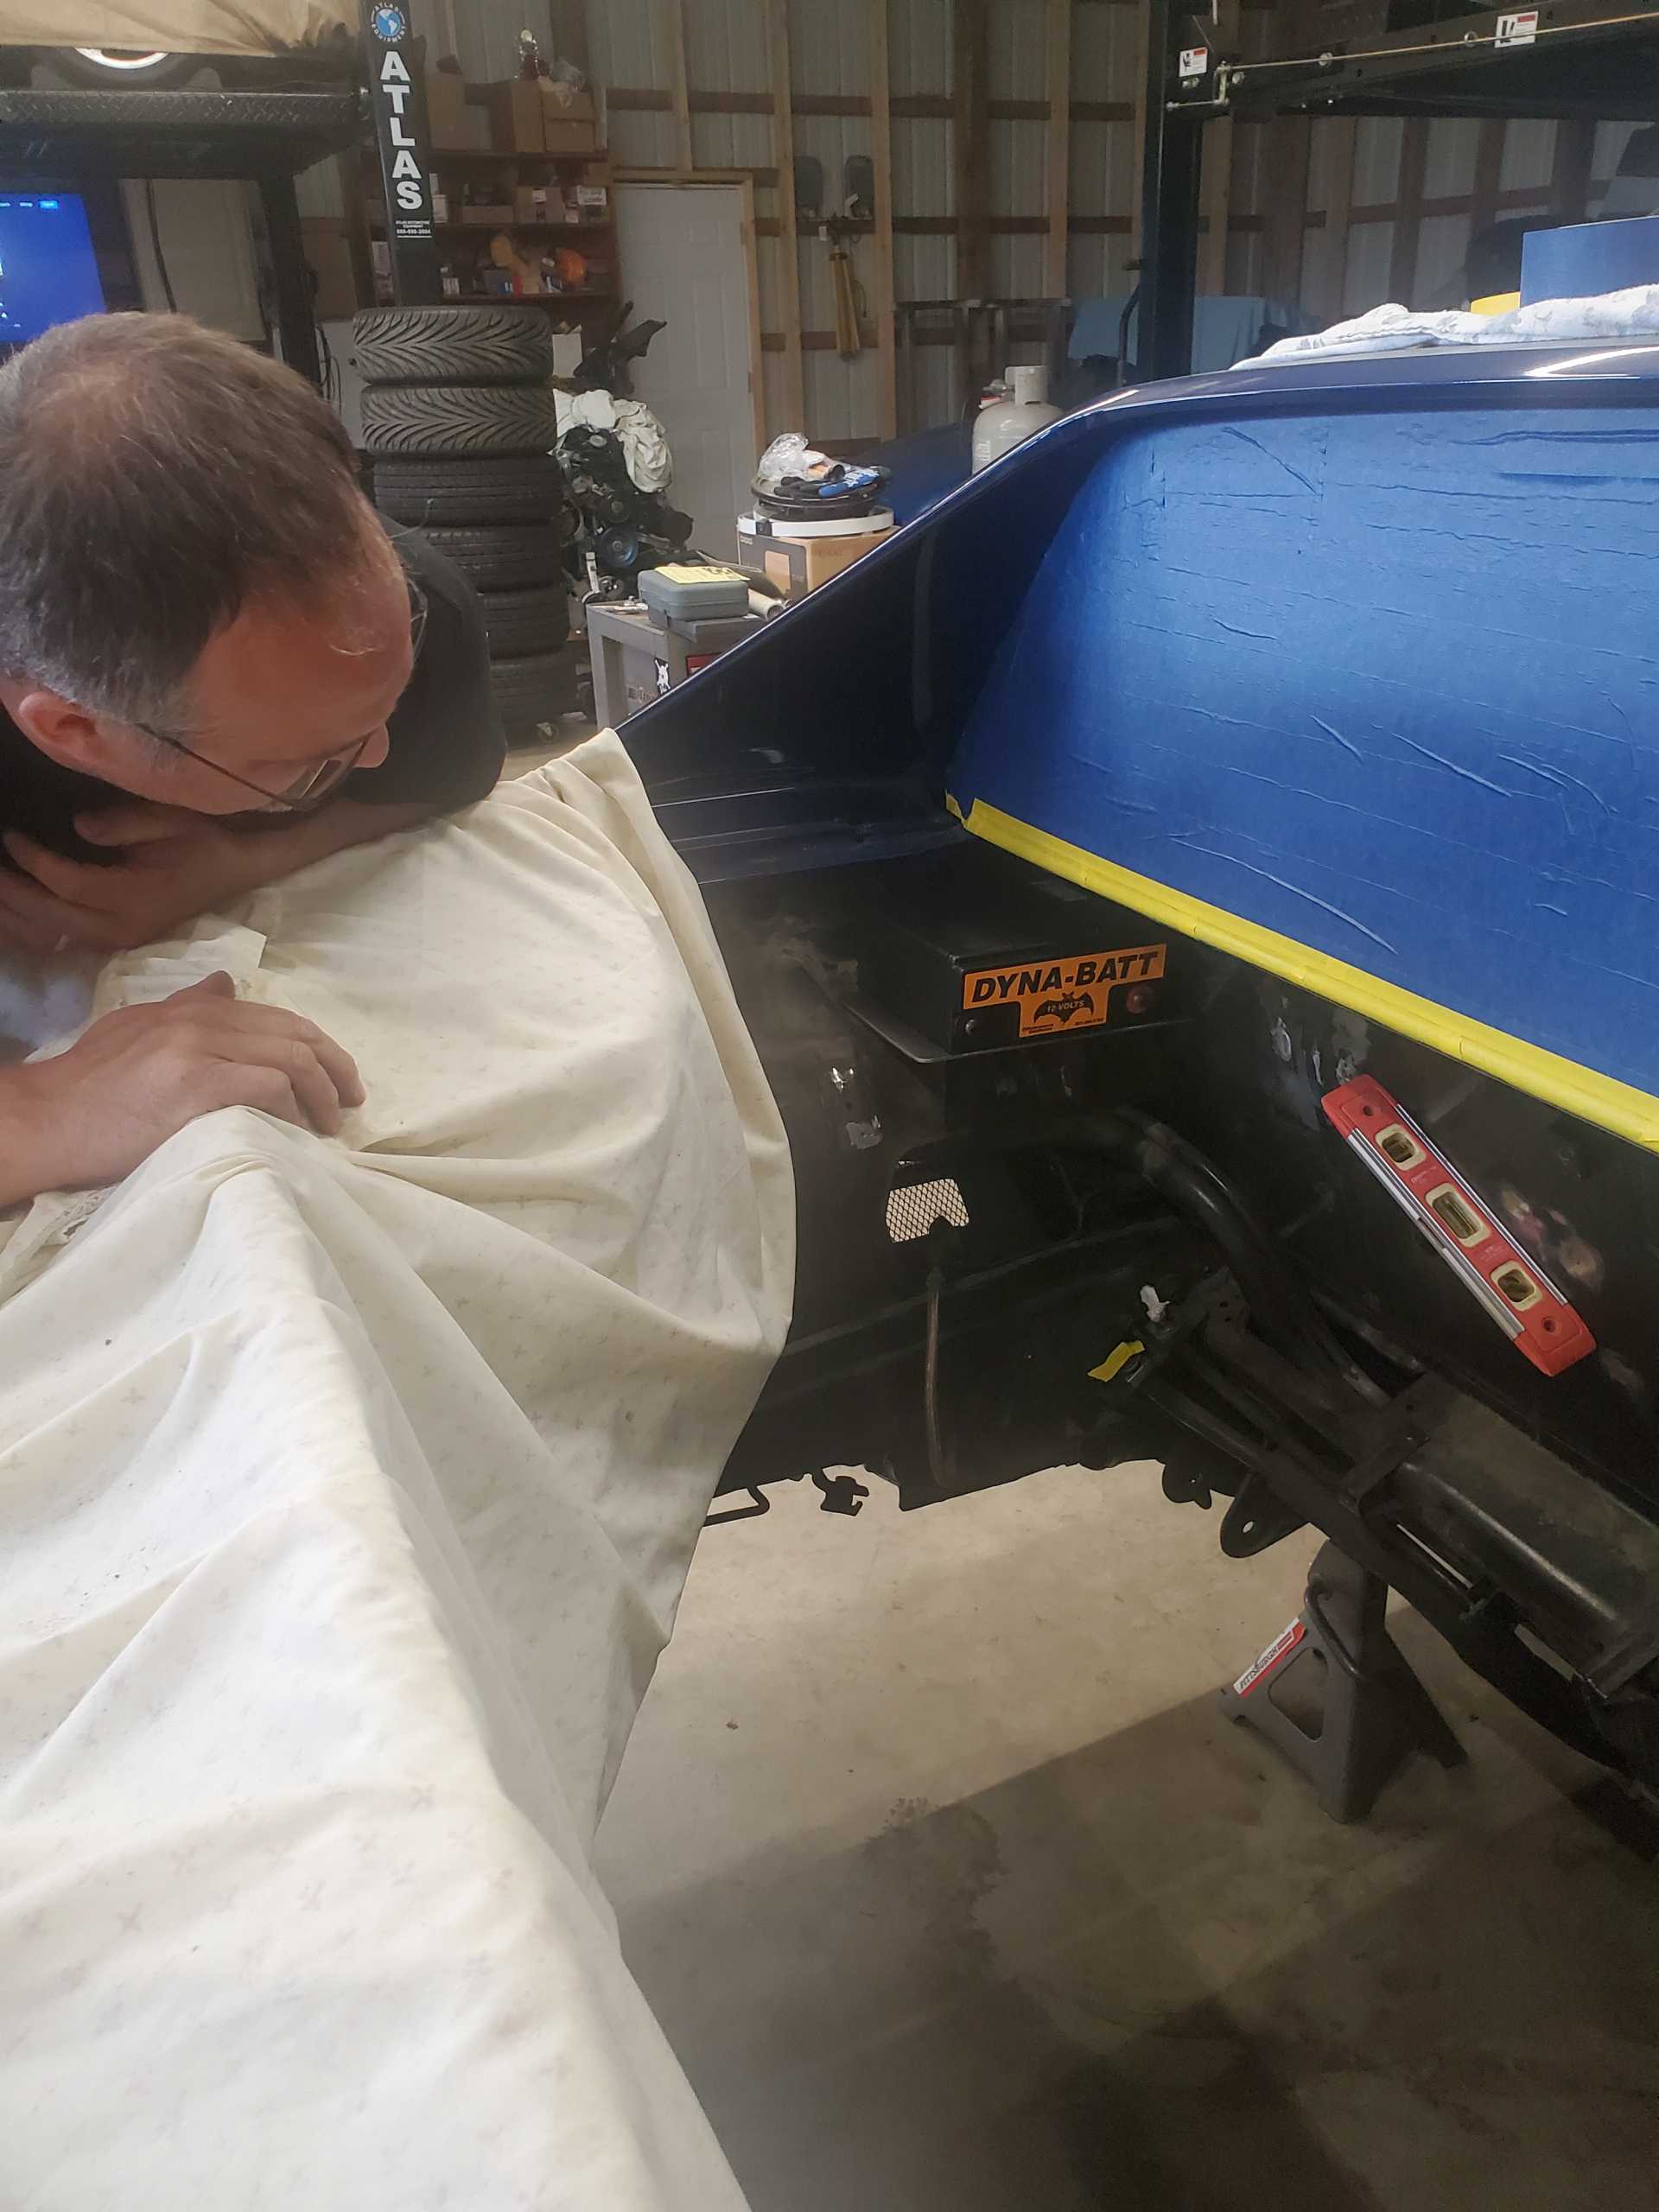
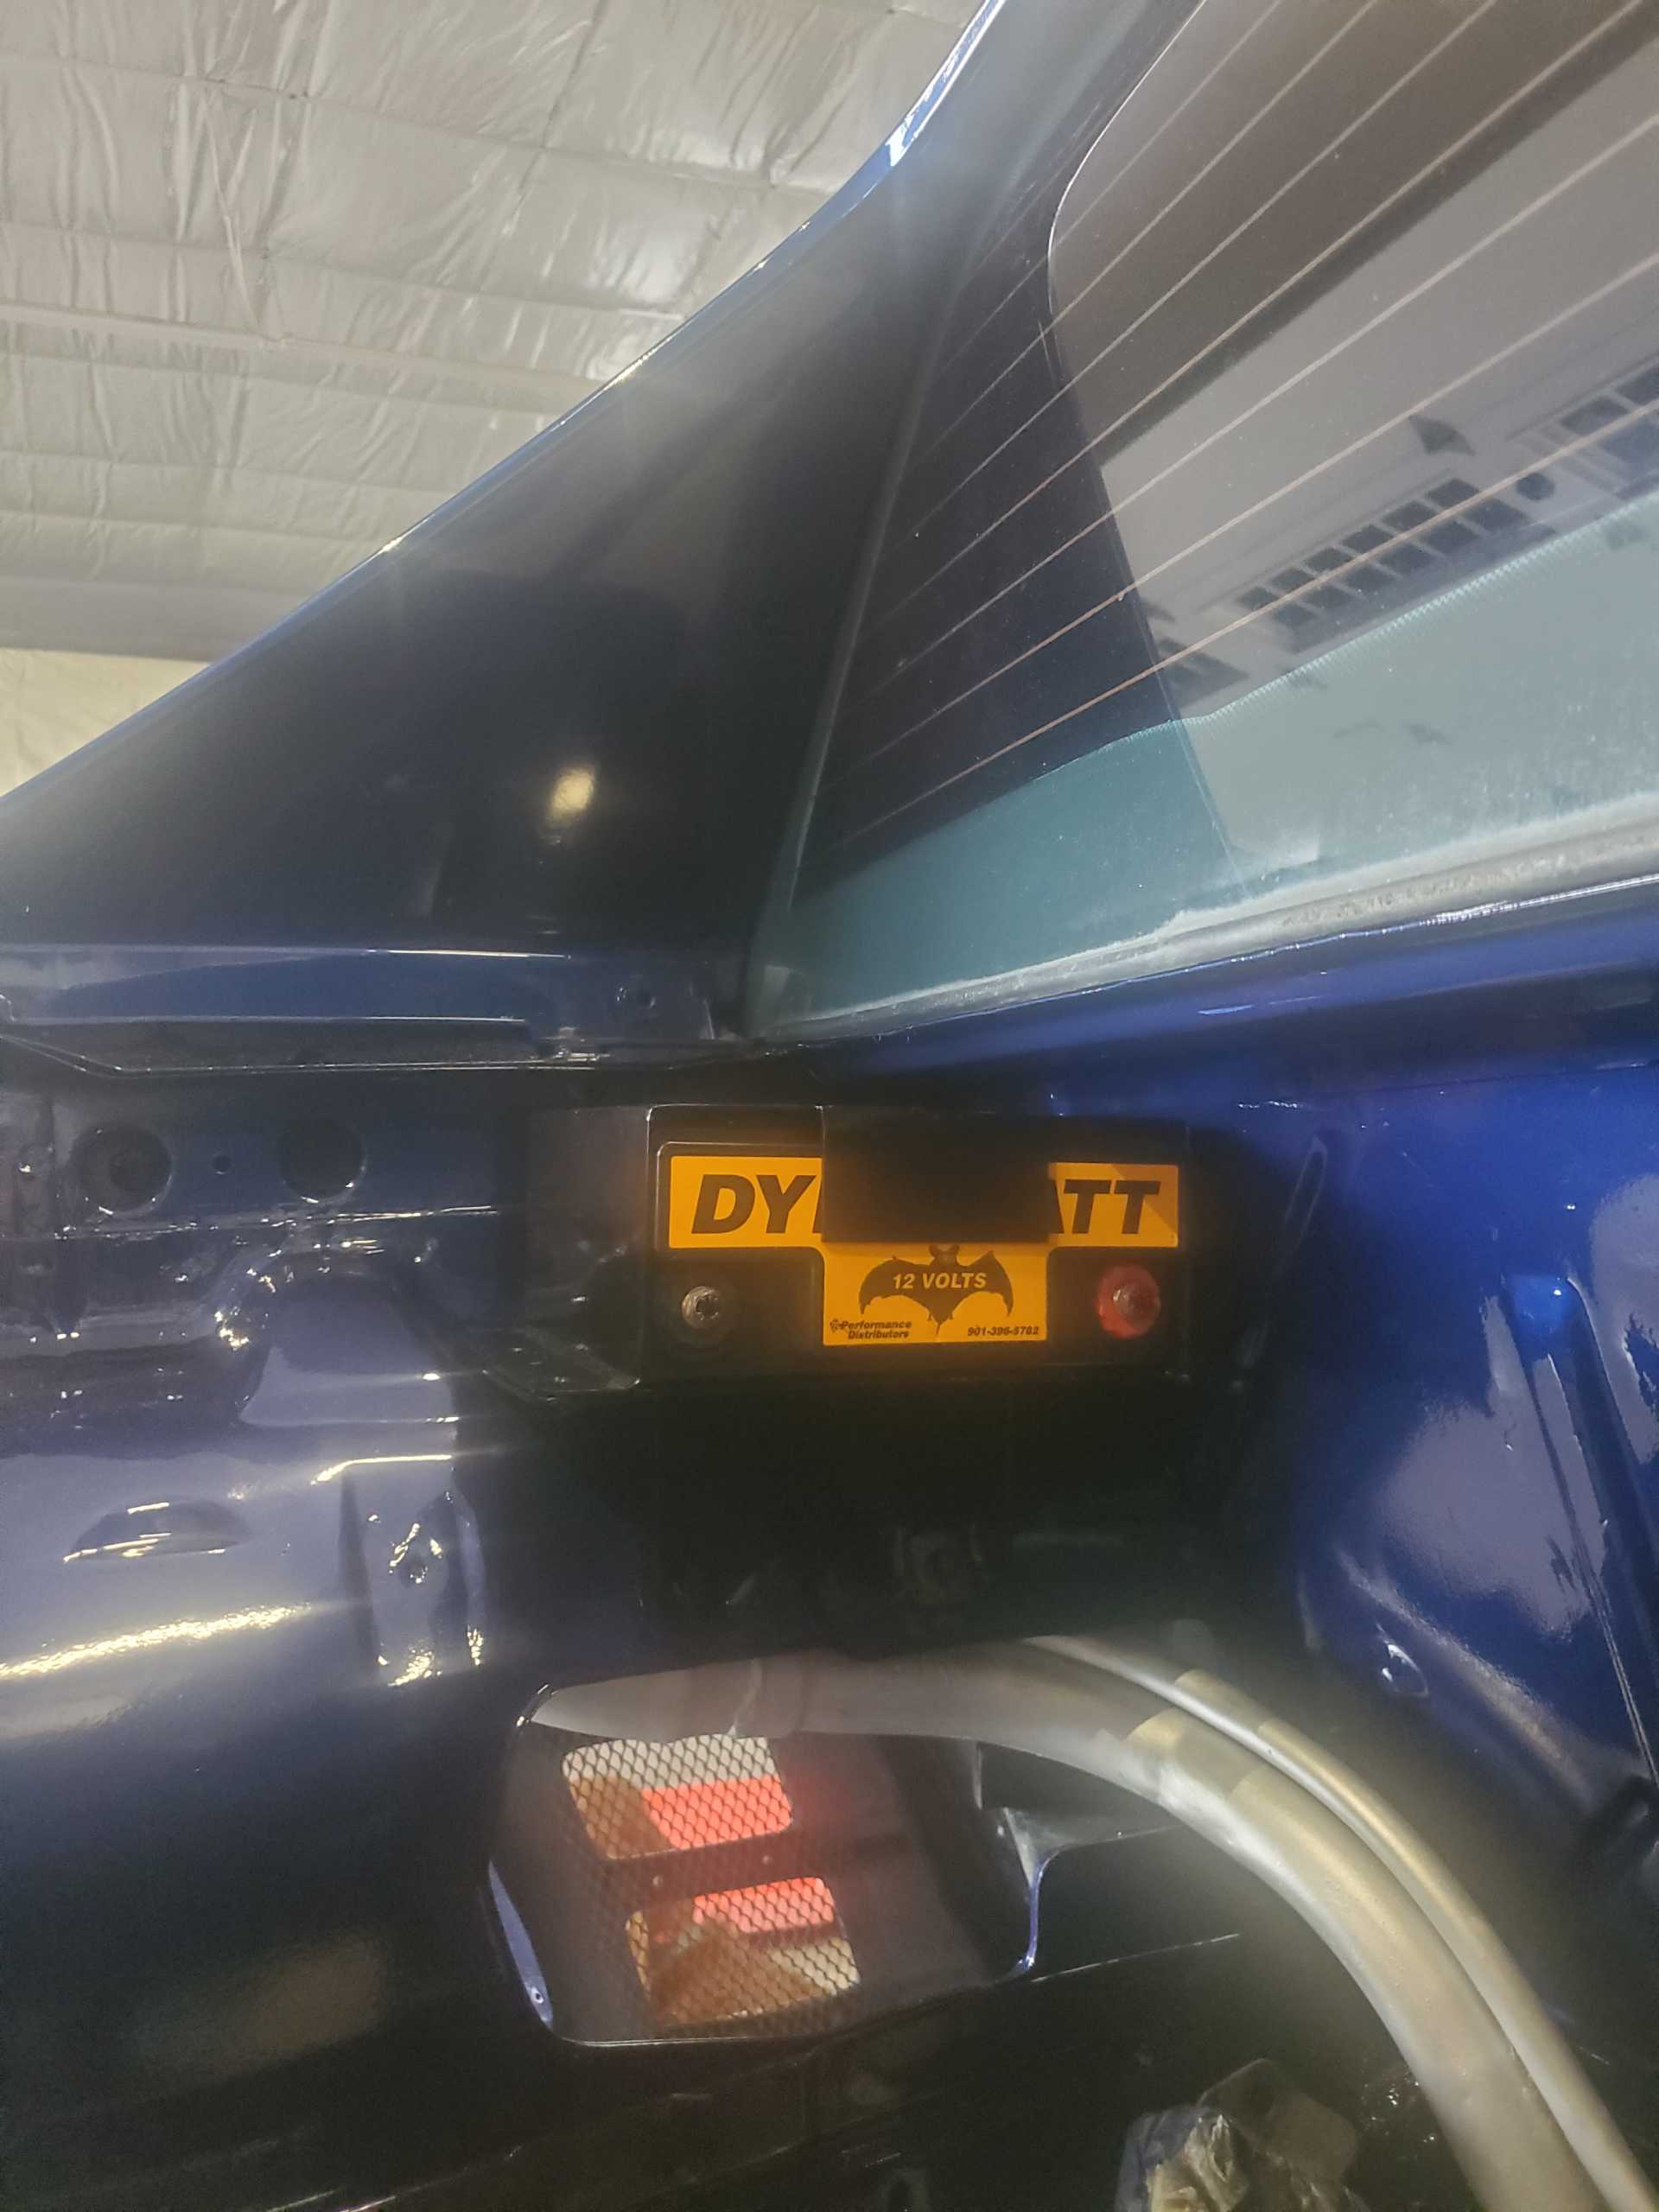
Battery placement was another issue we needed to tackle. Obviously, the standard Fiero placement would not be an option due to the alternator placement on the LS4 so we had to consider options. Traditionally, many individuals placed the battery in the front compartment where the spare tire was located. Without wanting to run run flats and the amount of work I had put into that part of my car, I ruled that option out. Fieroguru opted with a dynabat that was placed under the passenger side headlight, a look that I initially favored since it wouldn't mess up my spare time area. That said, Matt pointed out my propensity to do "dumb things" with electrical items in my car and jumping a battery in that area may not be as easy as I'd like. There was also the added distance of running wiring (which wasn't insurmountable, just viewed as another item to engineer and tackle).
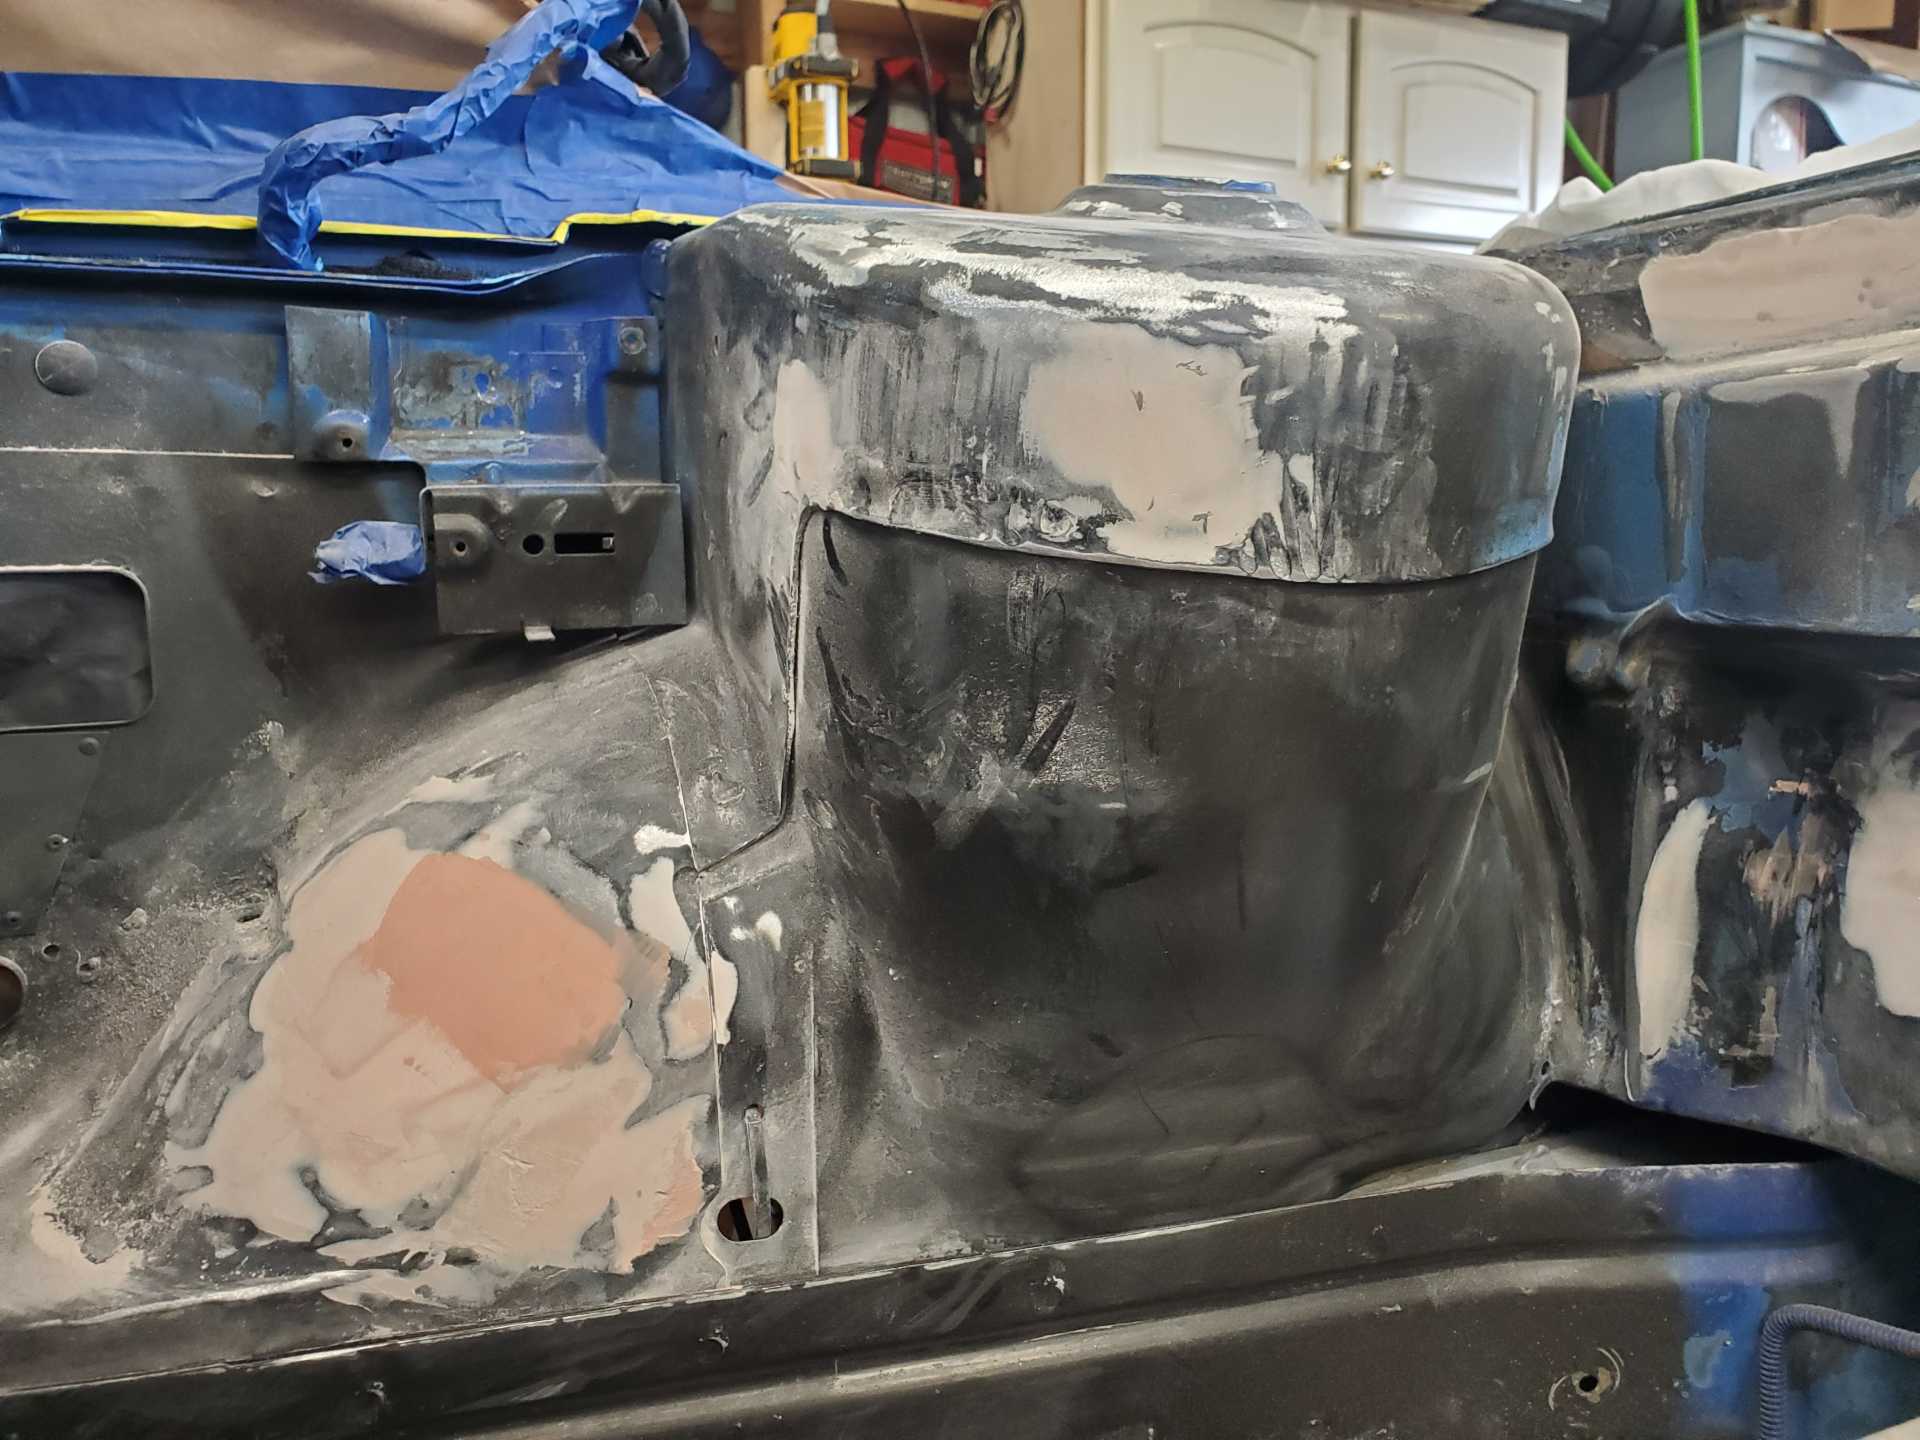
In the end, I looked over the compartment and suggested we consider the opposite side within the compartment itself. It would not be as efficient for weight distribution (although ultimately, the front-rear difference is 25 pounds) but I wasn't building a car to autocross or frequently track race. The dynabat is fairly light overall so it wasn't a big issue. The next thing that had to be done was engineer a holder.
Matt's first step is always R&D. He decided on a tray style and got that fitted into place:
Next, he designed the shroud that went over the battery - sometimes design takes place in our living room:
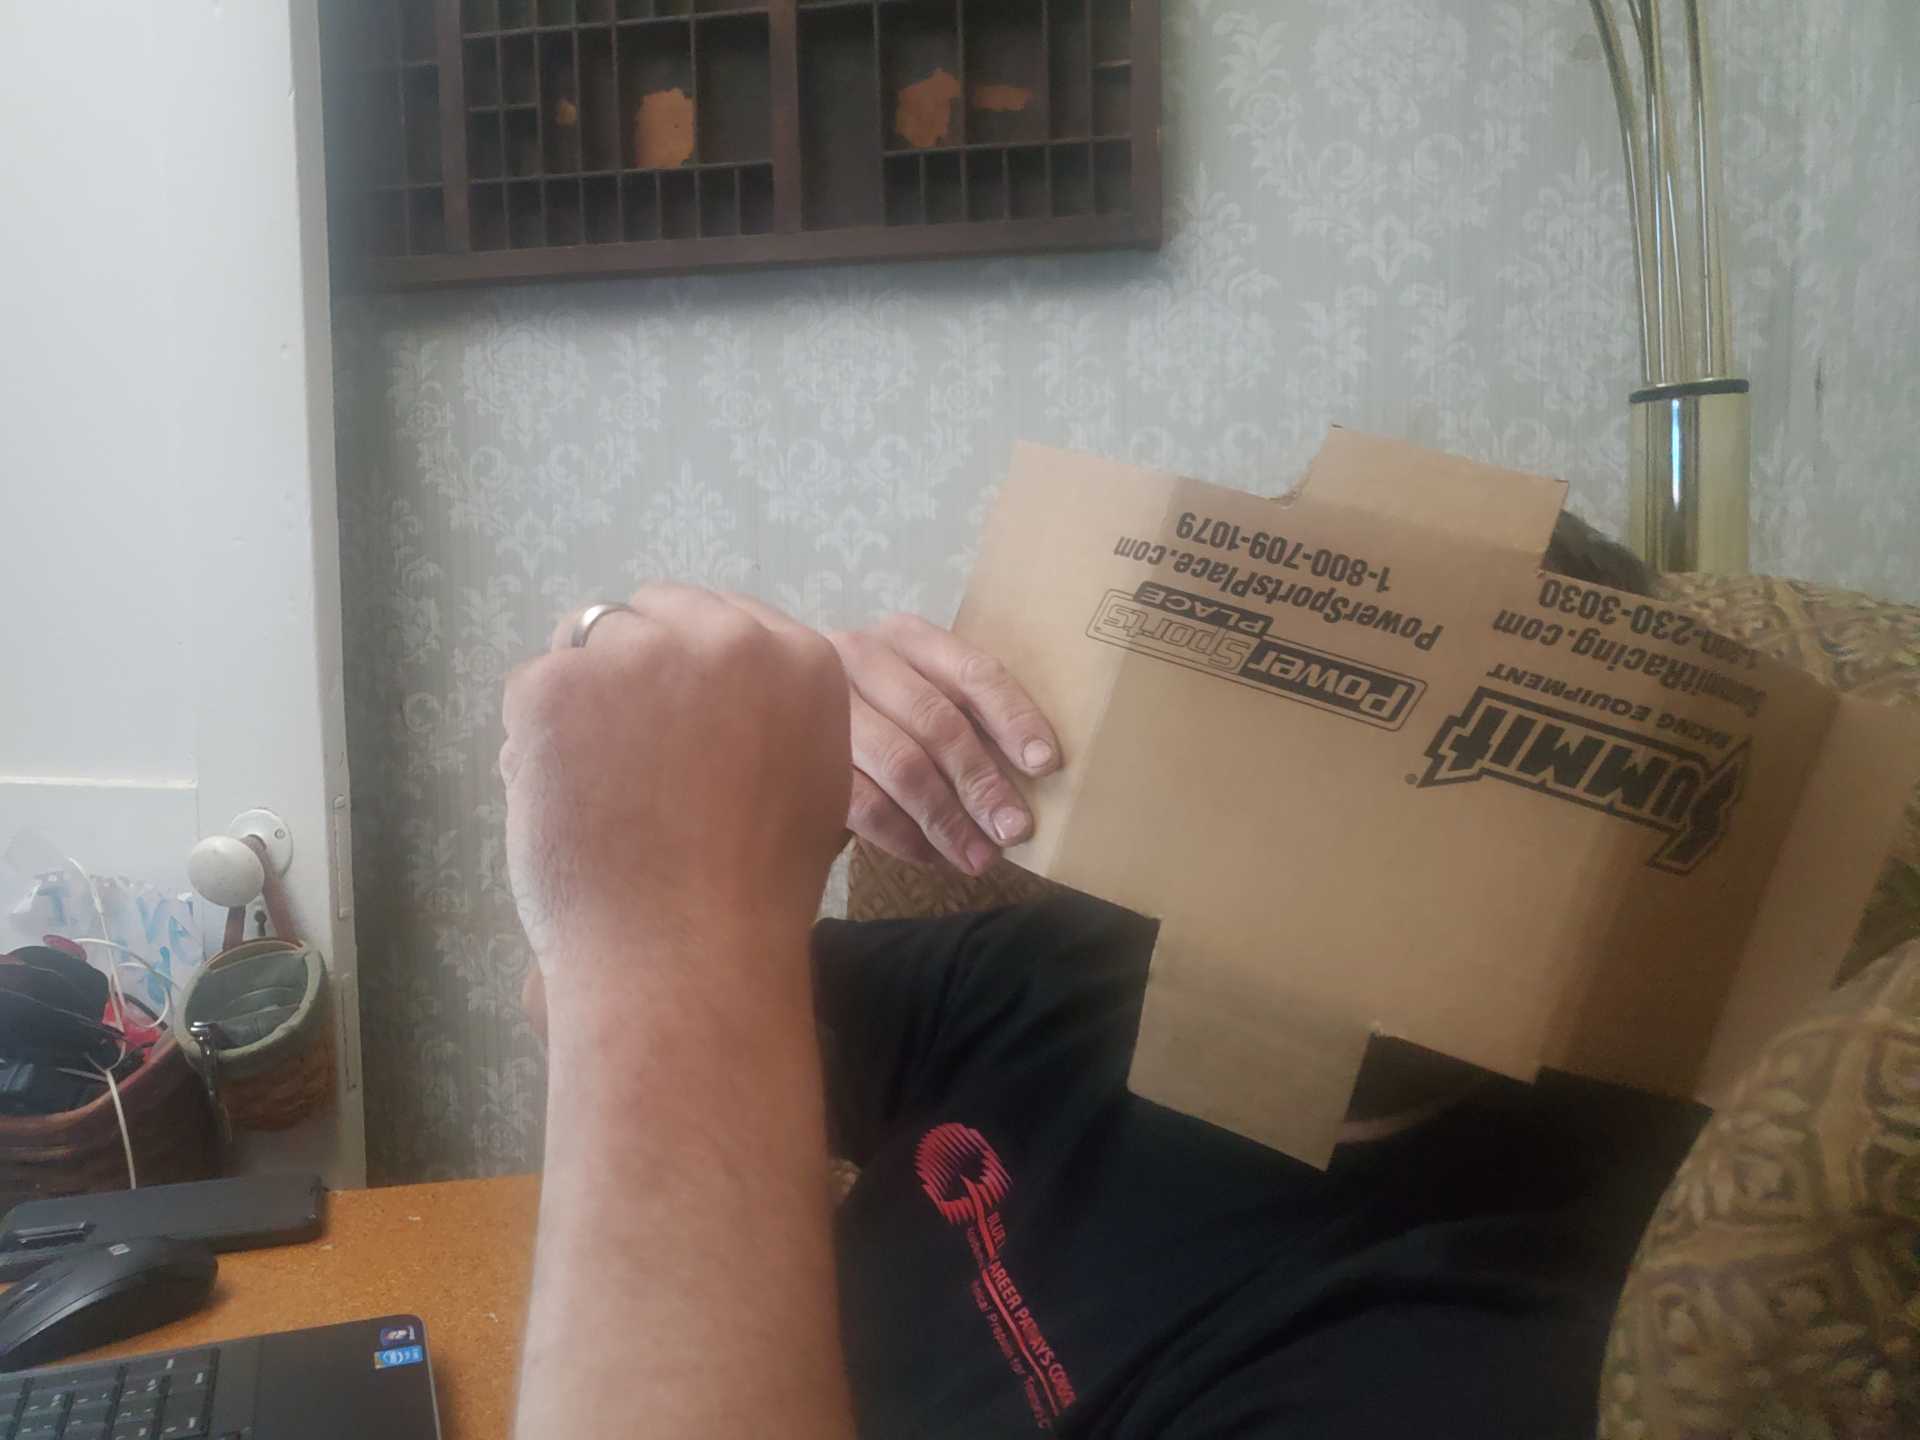
From there, a successful test fit led to the creation of the final shroud (of course, it needed a little bit of massaging)
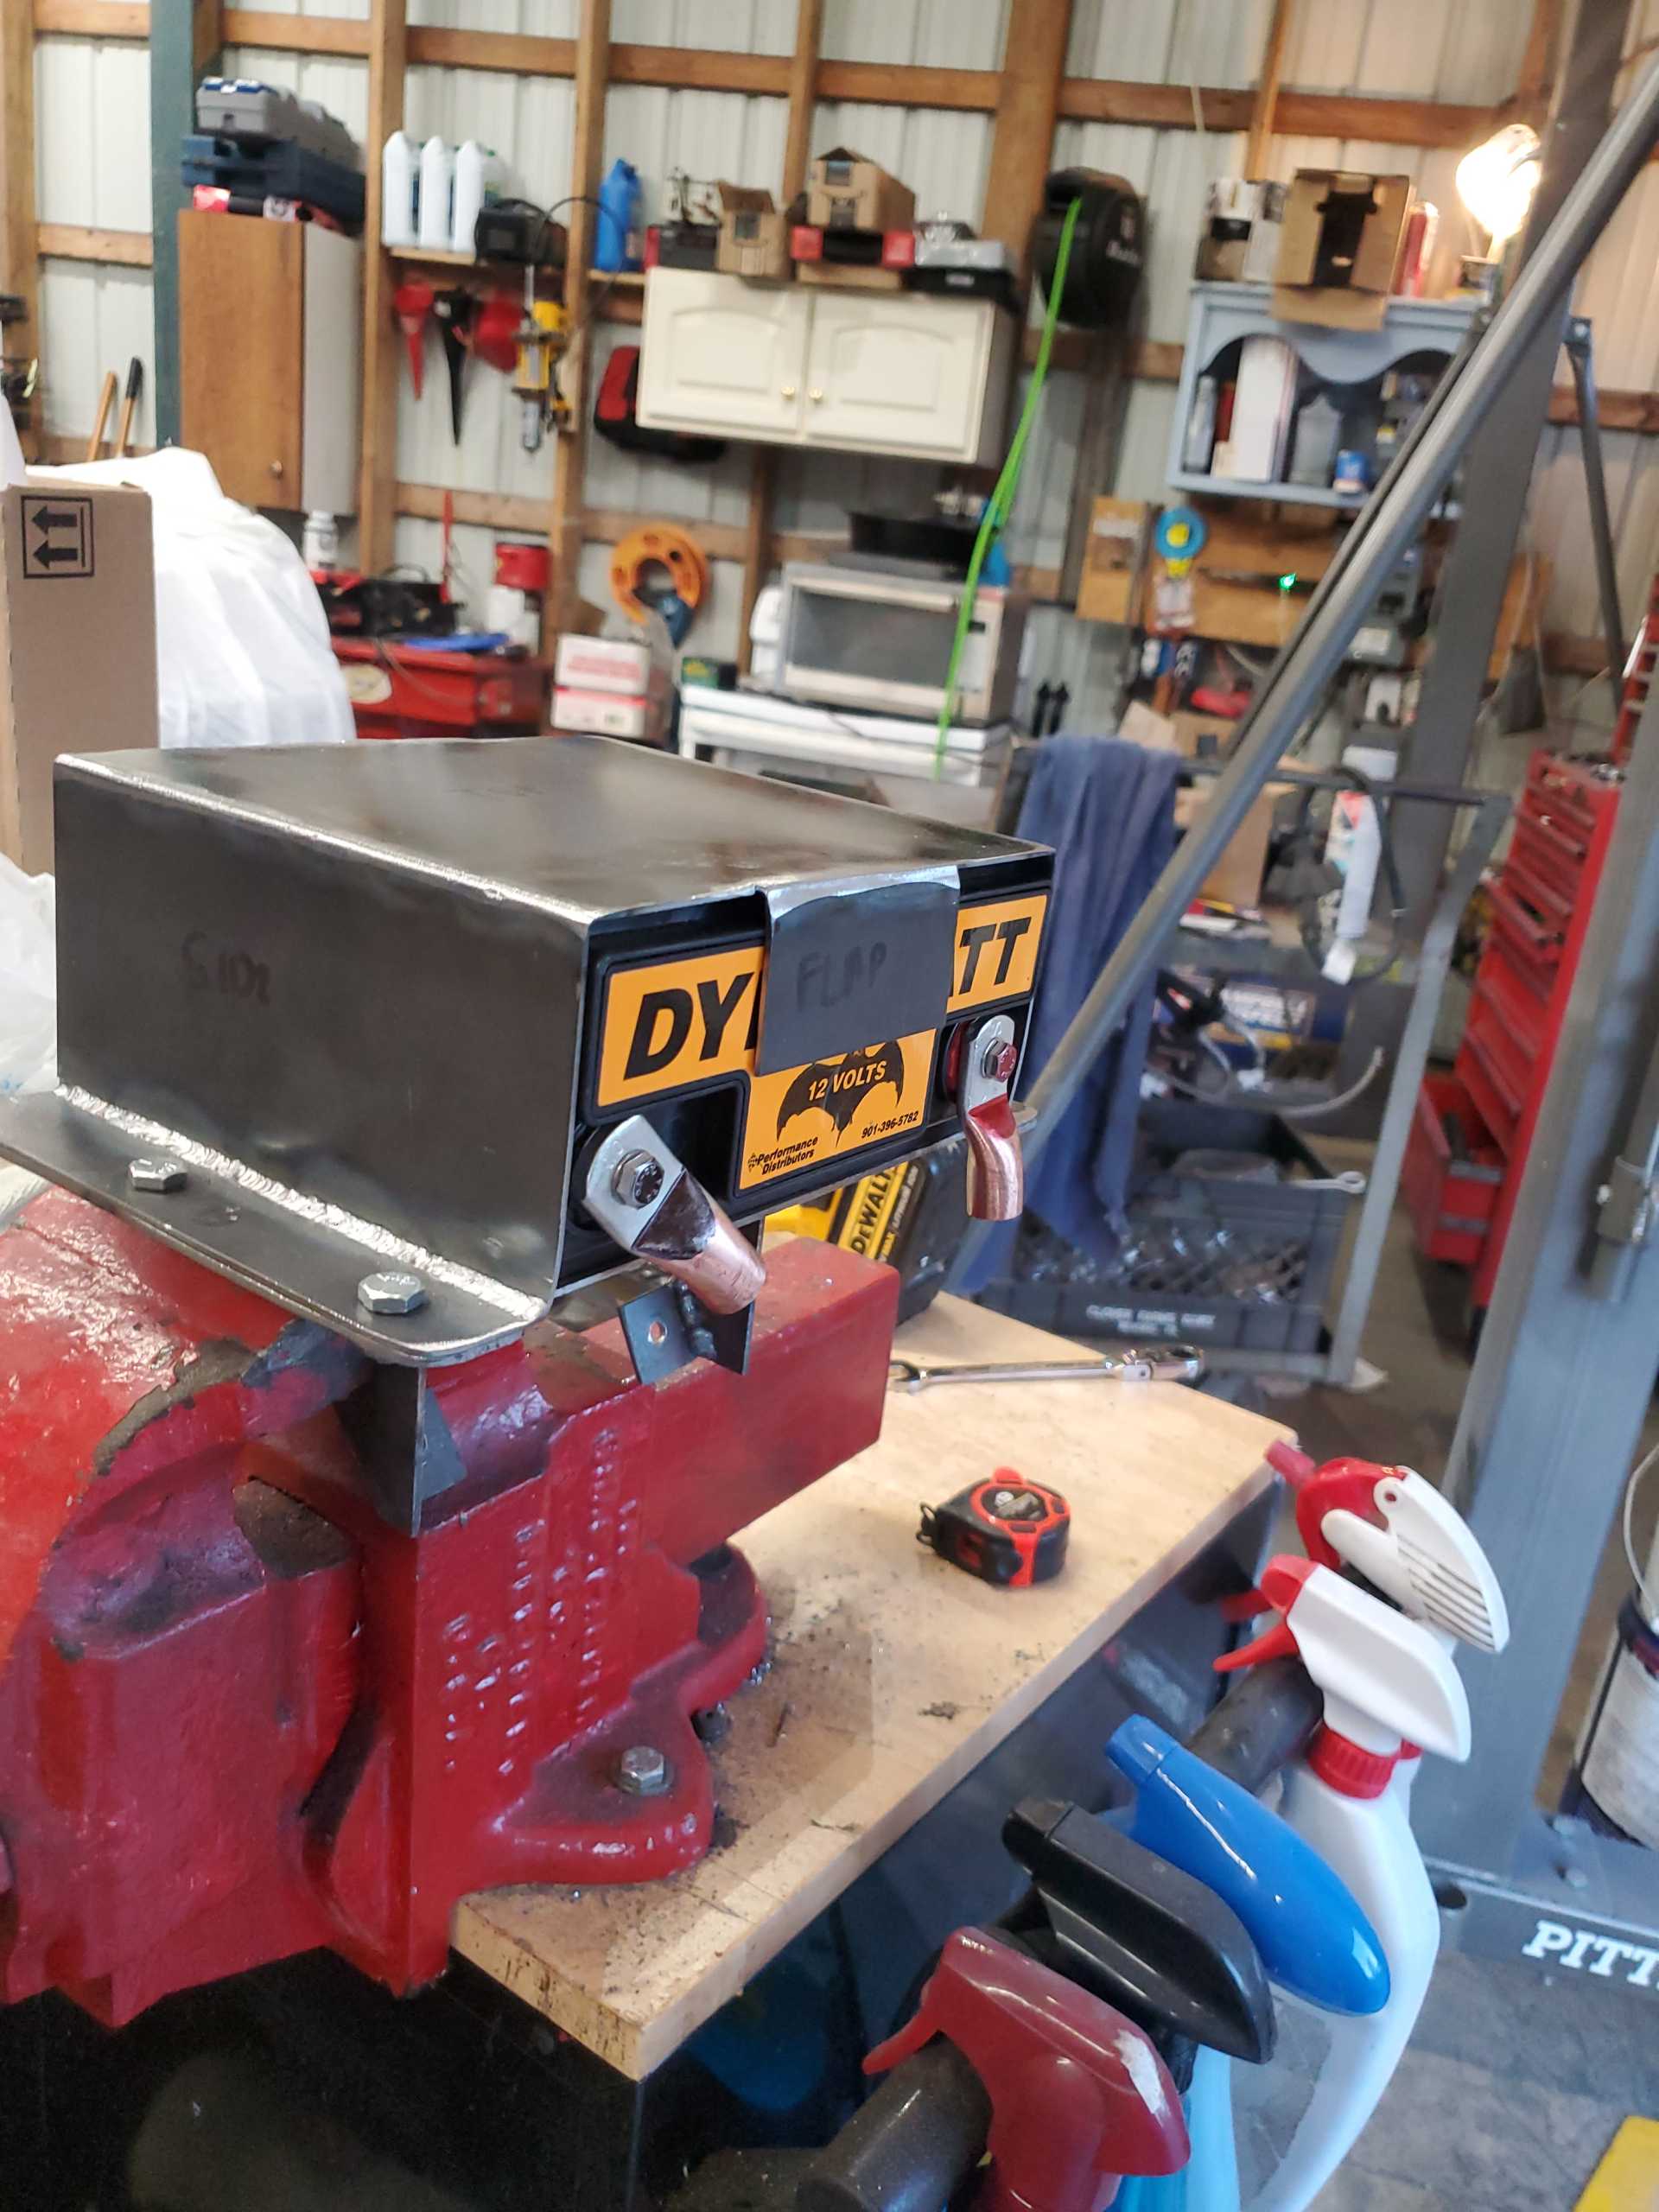
It fits!
 [This message has been edited by Fierochic88 (edited 08-23-2021).]
|
|
|
|
Fierochic88
|
AUG 23, 11:36 AM
|
|
|
Apparently I had a double-post so I just updated the one above with the story of the battery adventure! ;-)
|
|

|
GTGeff
|
AUG 23, 12:53 PM
|
|
It appears this project has given Matt a few gray hairs. 
|
|
|
|
Fierochic88
|
AUG 23, 01:03 PM
|
|
| quote | Originally posted by GTGeff:
It appears this project has given Matt a few gray hairs. |
|
...yes, we'll blame it on that ;-)
|
|
|
|
Fierochic88
|
AUG 24, 11:32 AM
|
|
|
|
|
Fierochic88
|
AUG 27, 08:08 PM
|
|
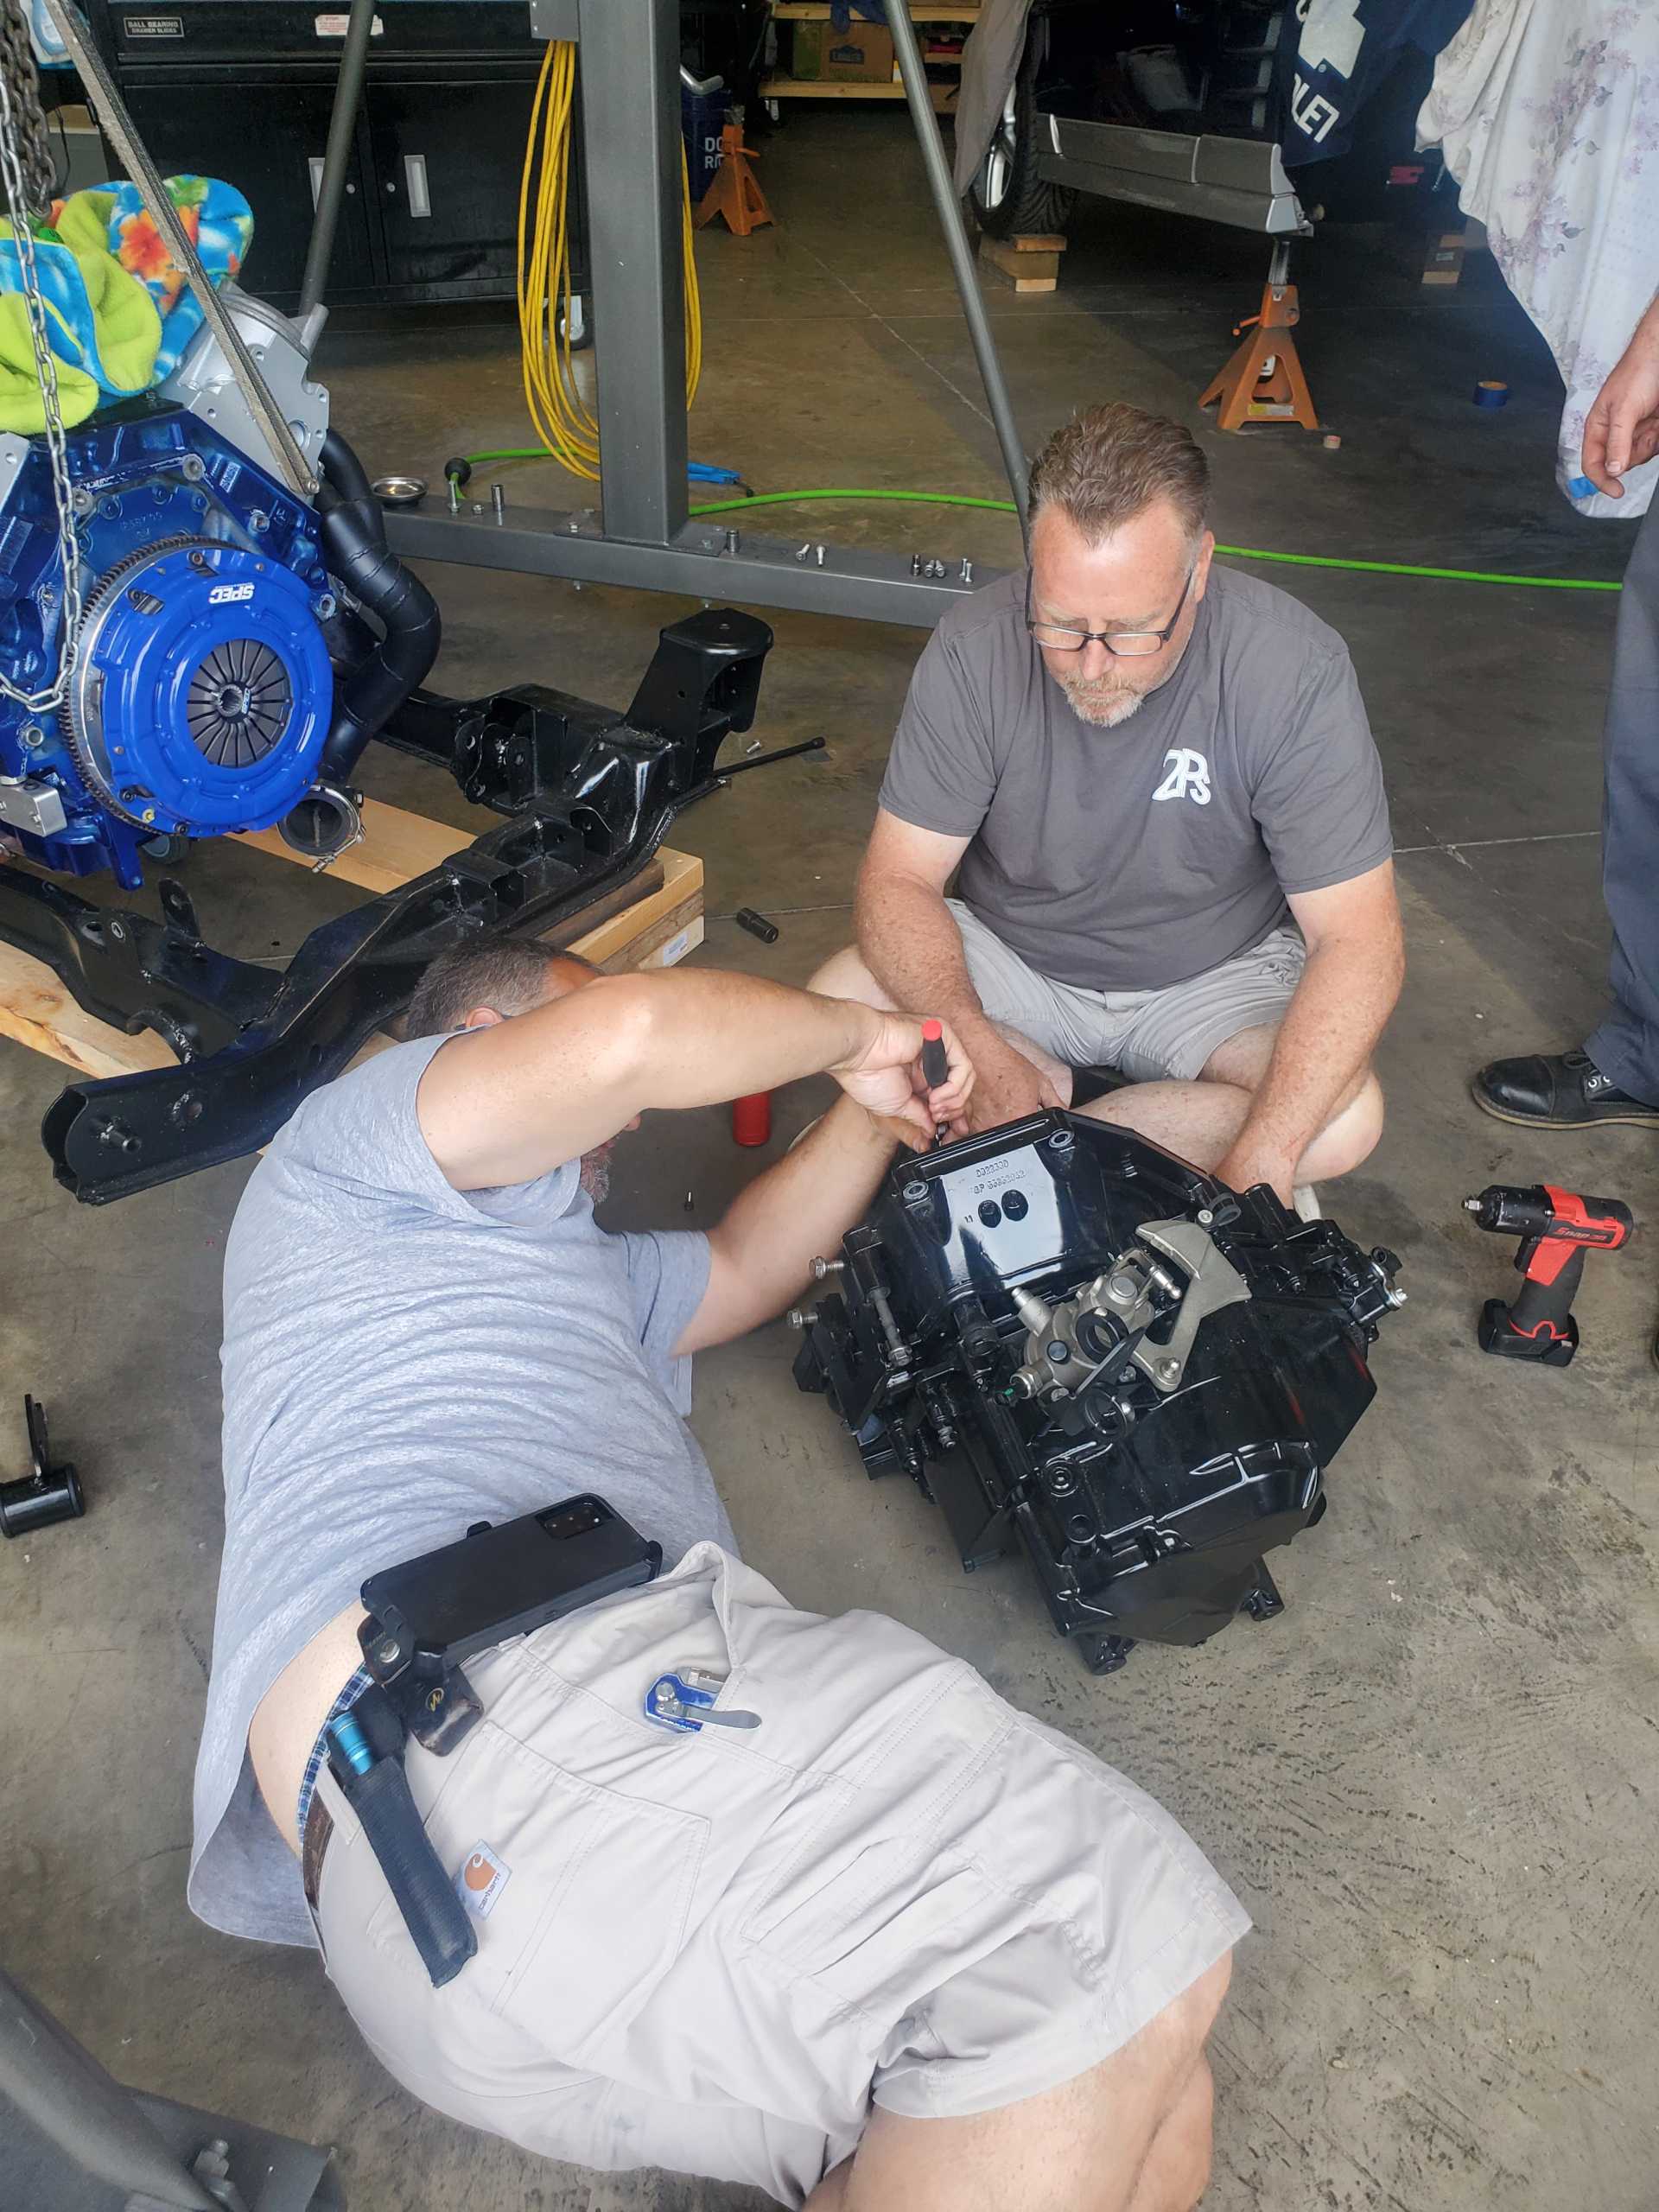
While we were working on getting the engine compartment, wiring, brakes and suspension prepared, Gary was working on the package assembly including an F40 6 speed manual transmission out of a 2006 G6 GXP. The transmission set-up included a SPEC flywheel/Stage 3 clutch that necessitated long flywheel bolts and a throwout bearing/spacer from SPEC. Gary had a set of Fiero axles machined to fit with the F40.
We also converted the shifter mechanism to a 5 speed since the car had previously been a 4 speed Muncy. We purchased the starter bracket and cables from Fieroguru and also the F40 shifter bracket and reverse lockout from Paul. Gary modified the transmission for the starter bracket and the transmission was ready to roll.
(Unfortunately, I did not get closeups of this part of the process!)
|
|
|
|