|
| New chumpcar in the works... (Page 11/11) |

|
thedrue
|
JUL 29, 02:09 AM
|
|
|
|
|
thedrue
|
JUL 29, 02:32 AM
|
|
|
|
|
RCR
|
JUL 30, 02:31 PM
|
|
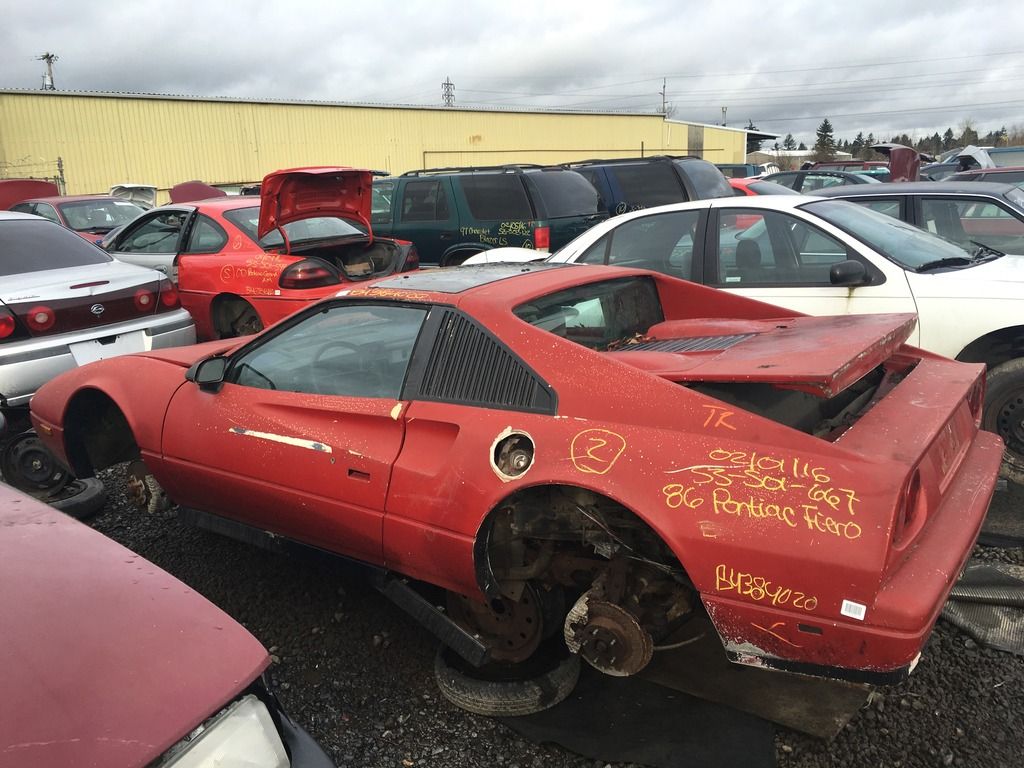
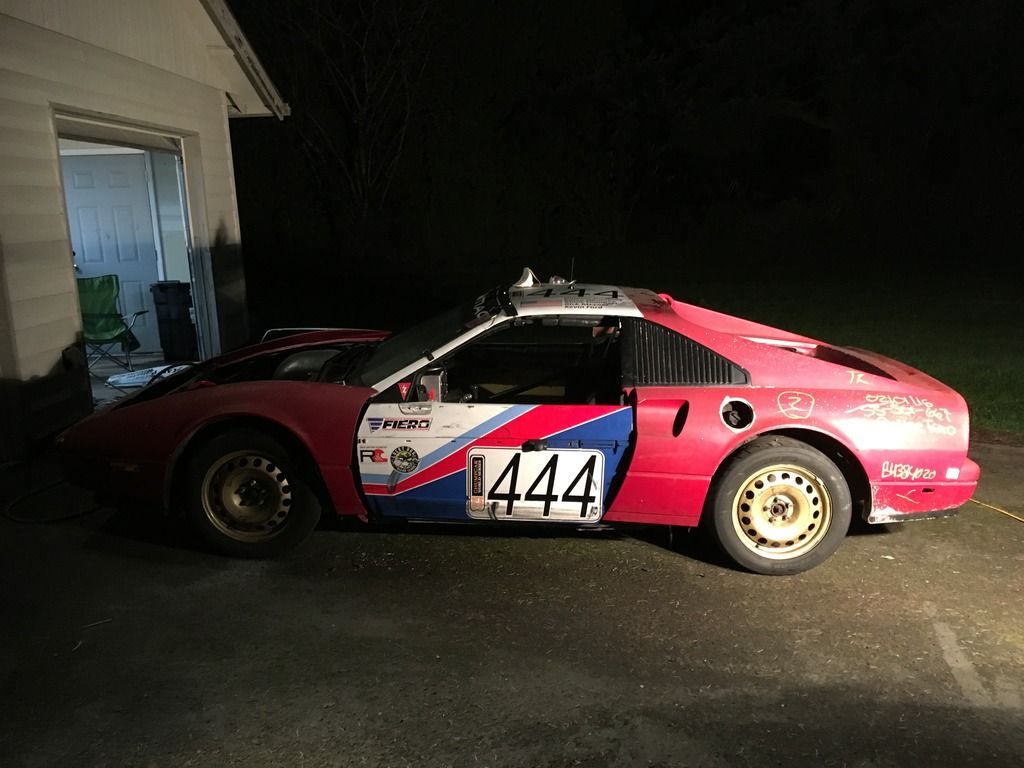
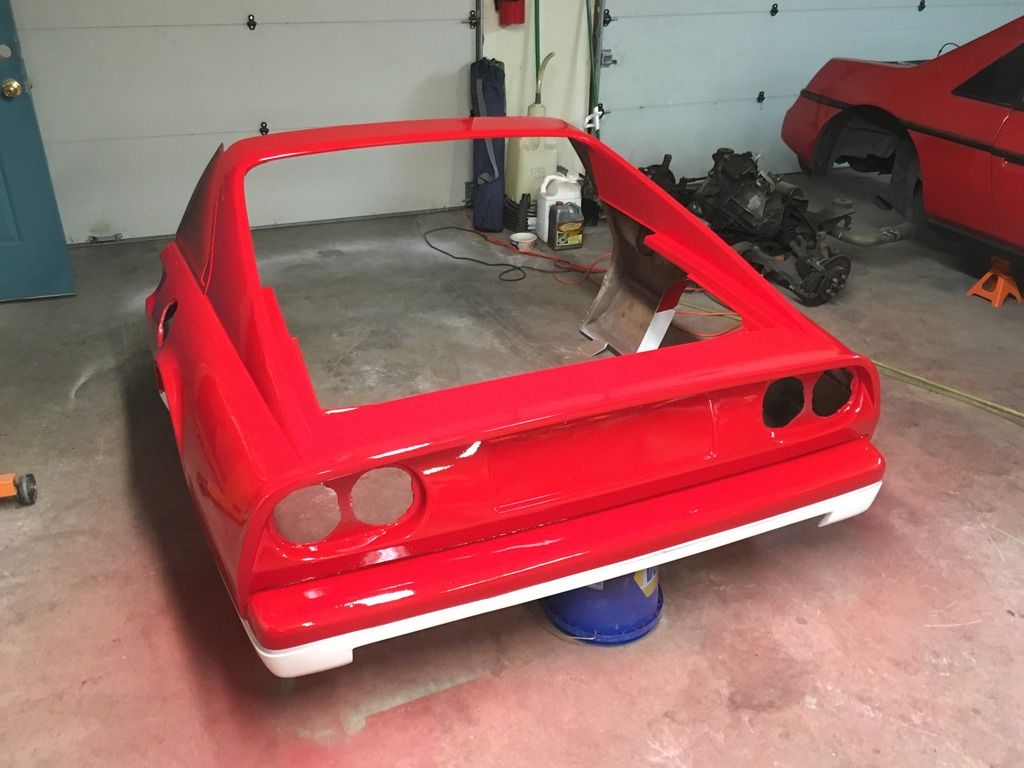
The car looks great. I'm jealous you guys managed to make it look so good so quickly, while I putz around on mine (308 that is). I'm a bit curious on the body. I don't think I've seen a 308 or 328 in which the decklid was short like yours.
Awesome job and good racin'.
Bob
|
|
|
|
thedrue
|
JUL 30, 05:57 PM
|
|
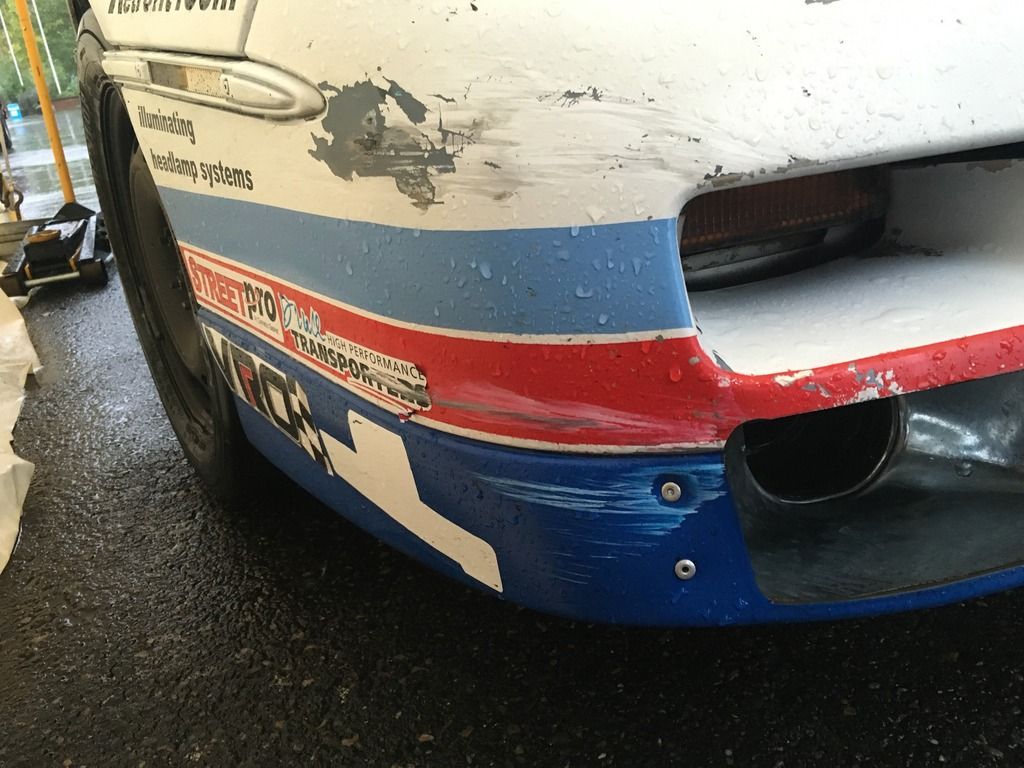
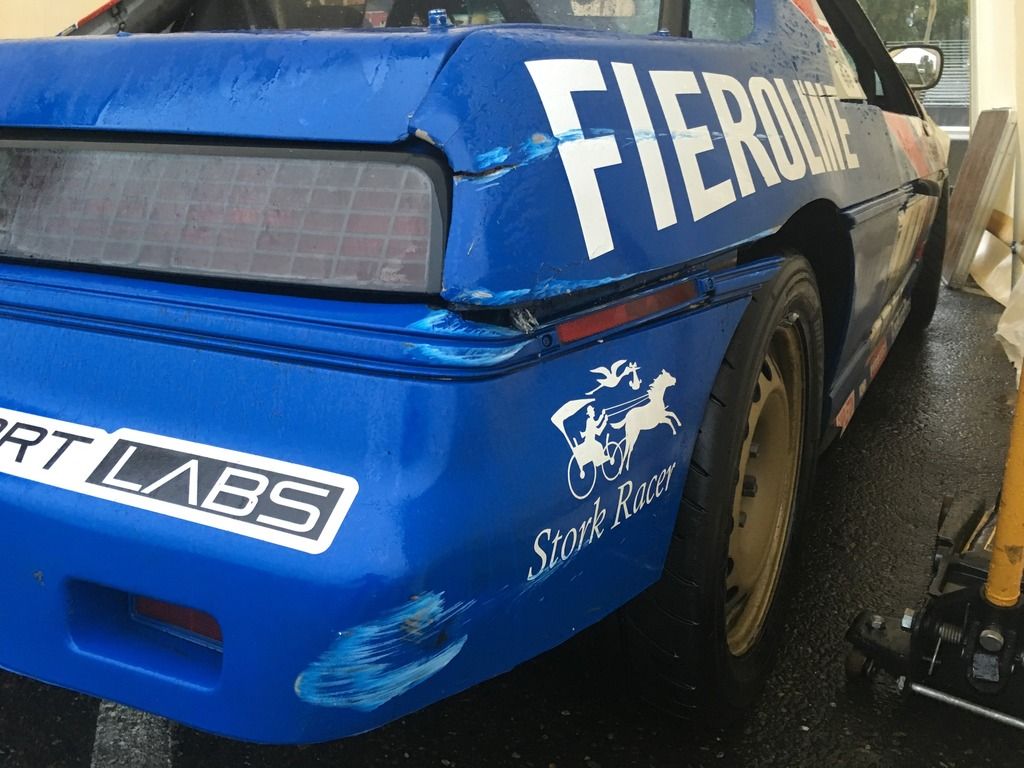
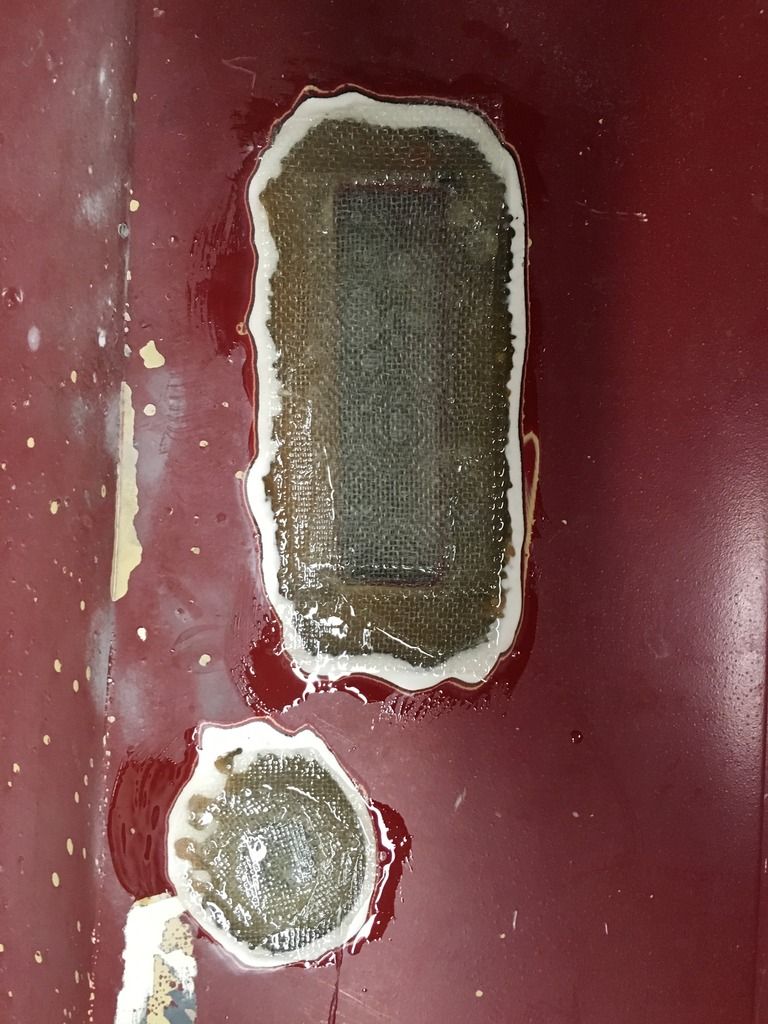
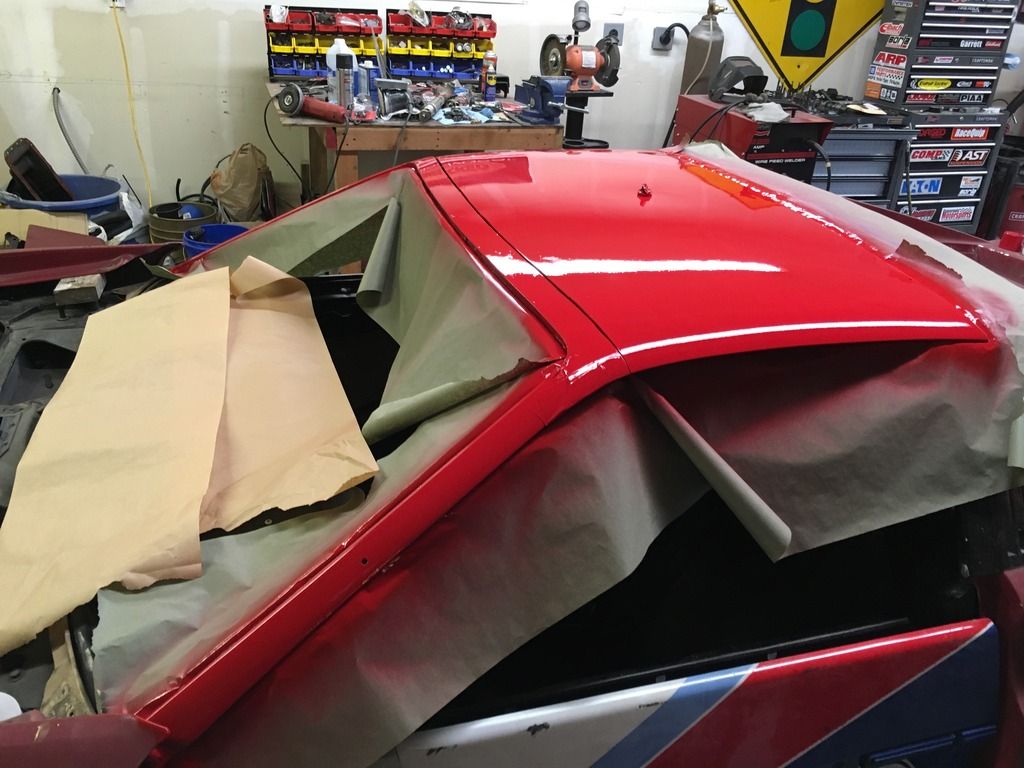
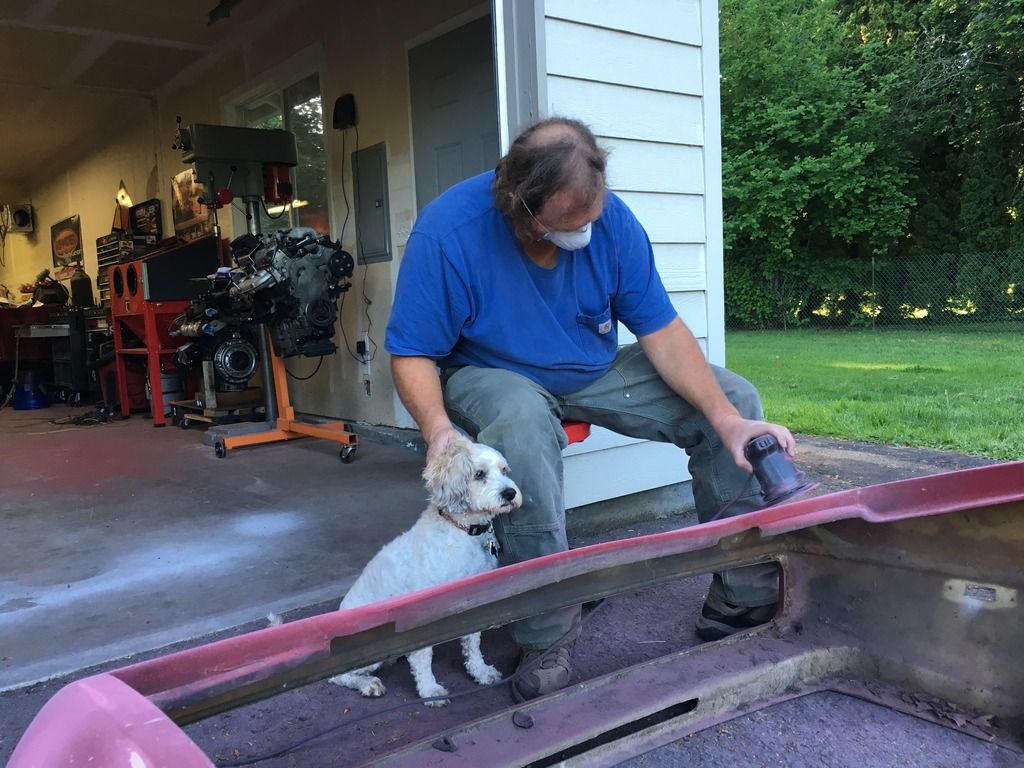
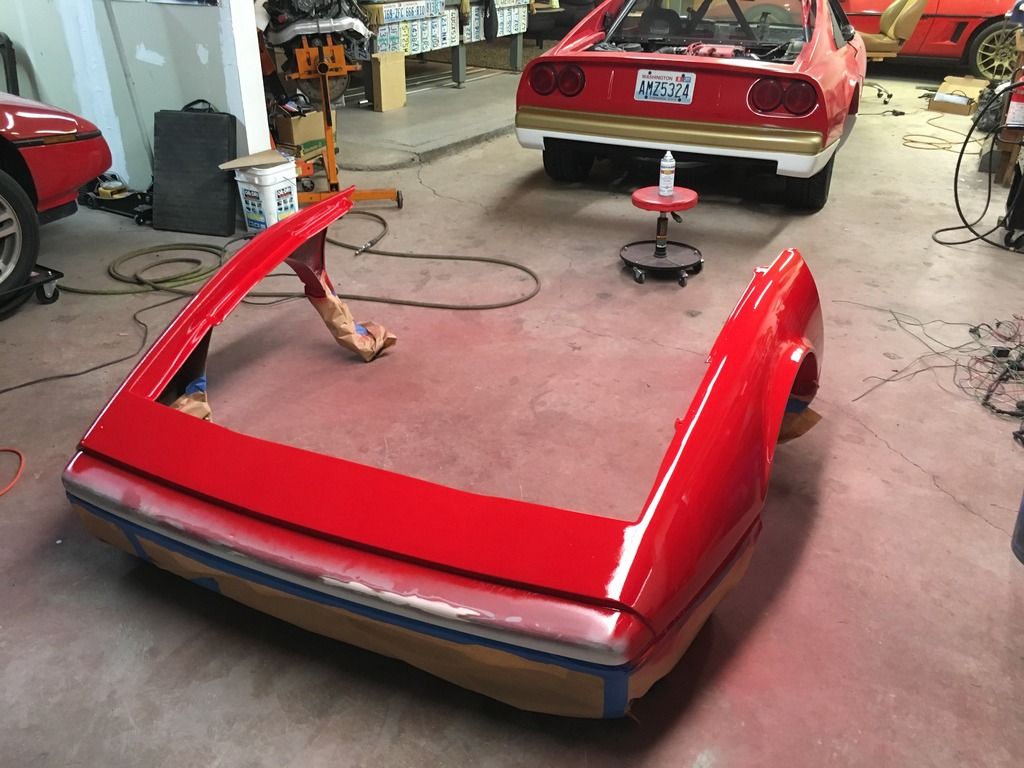
Thanks for the kind words. We transformed the car in a matter of weeks to get it ready for this race season. It wasn't as easy or straightforward as I hoped but it wasn't difficult either. It's easy to make quick progress when your not looking for perfection. It just has to look decent from across the paddock and on track at a hundred miles an hour. It photographs well but the body work is truly horrific. When you polish a turd this much sometimes even it looks decent.
As for details about the kit. I'd be glad to take photos of anything you want but I have no knowledge of any details. I'm not in the kit car world and do not even know what to look for or any differentiating factors. All I know is the guy who built the car we got it off of did an absolutely terrible job. Honestly it's bolted together better now on our race car than it was on the guys road car.
|
|
|
|
thedrue
|
NOV 19, 06:15 PM
|
|
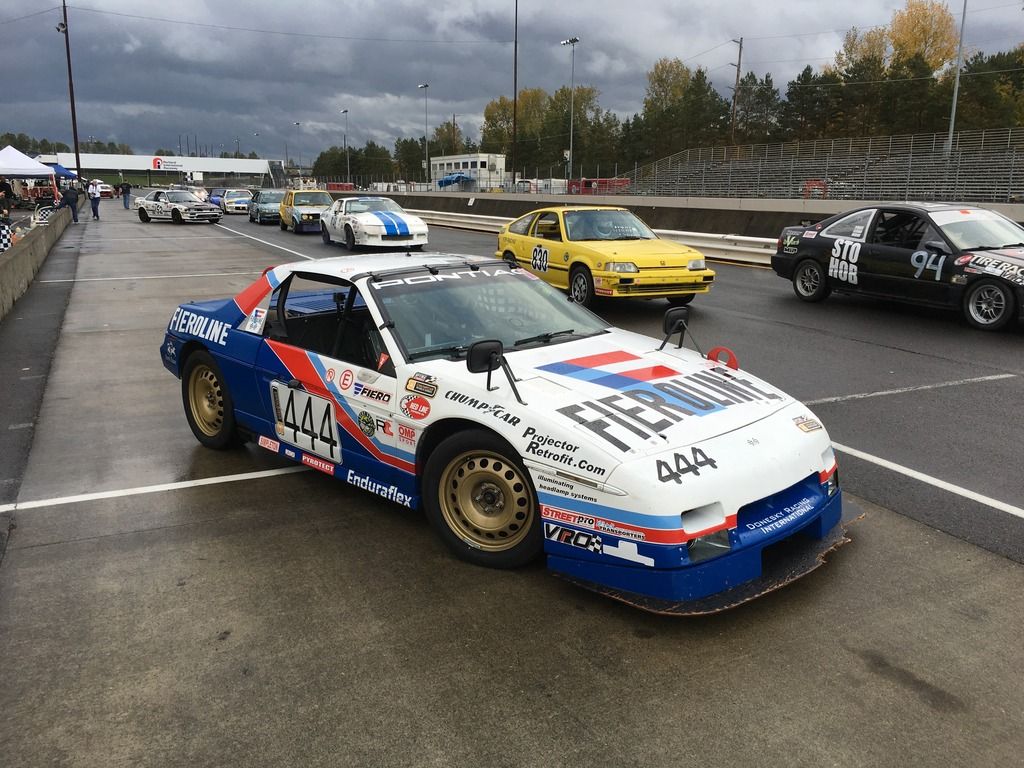
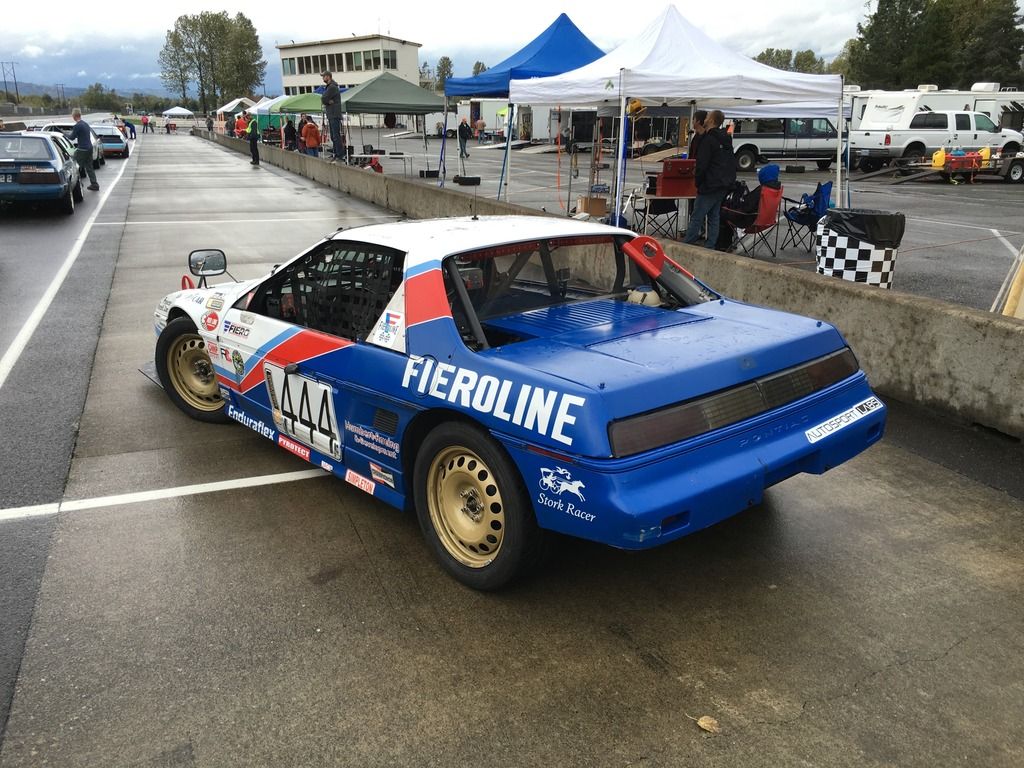
Howdy everyone! Team Fieroline is still charging ahead and are just finishing prep for a 14 hour race at Thunderhill in a couple weeks. The car is getting better and better!
We have had a very successful season and are running at the pointy end of B-class with 2 trophies from Laguna Seca to show for it!
Between the busy life, and Photobucket debacle I do not keep this thread updated as much as I would like... I encourage anyone who is interested to follow along on our team facebook page instead. Its easier to post updates and we have all our telemetry links and video links will be posted there. You can comment and message me there with any questions about the car or build and I will do my best to respond.
See you on the other side!
www.facebook.com/TeamFieroline
|
|
|
|
thedrue
|
NOV 21, 04:10 PM
|
|
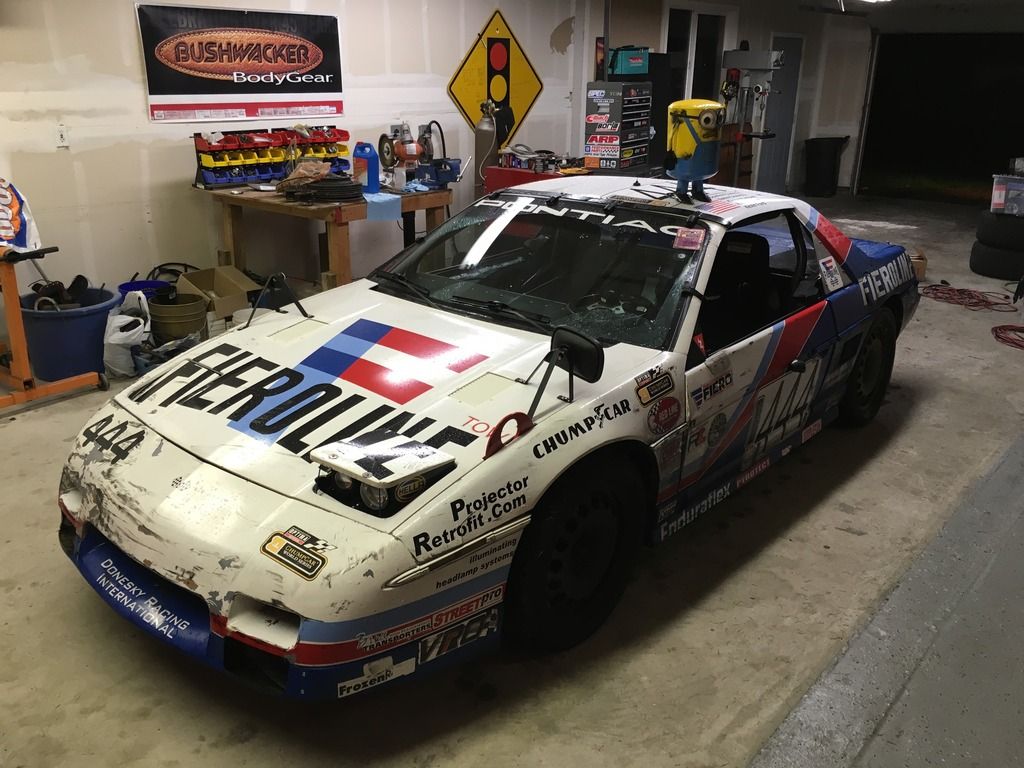
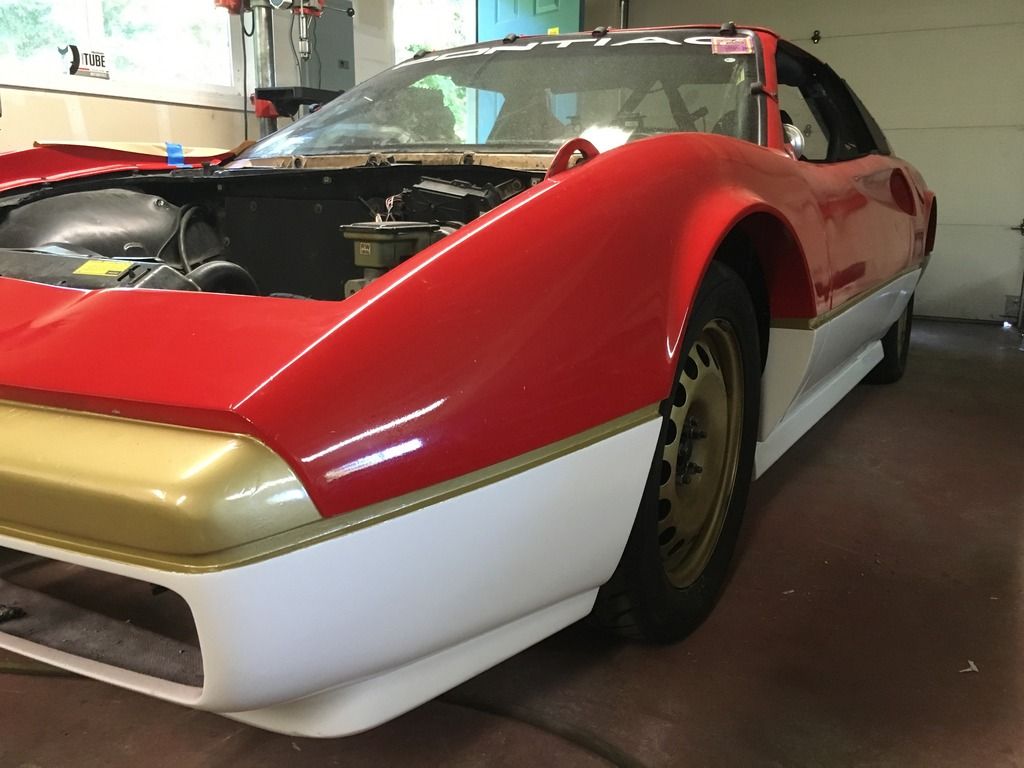
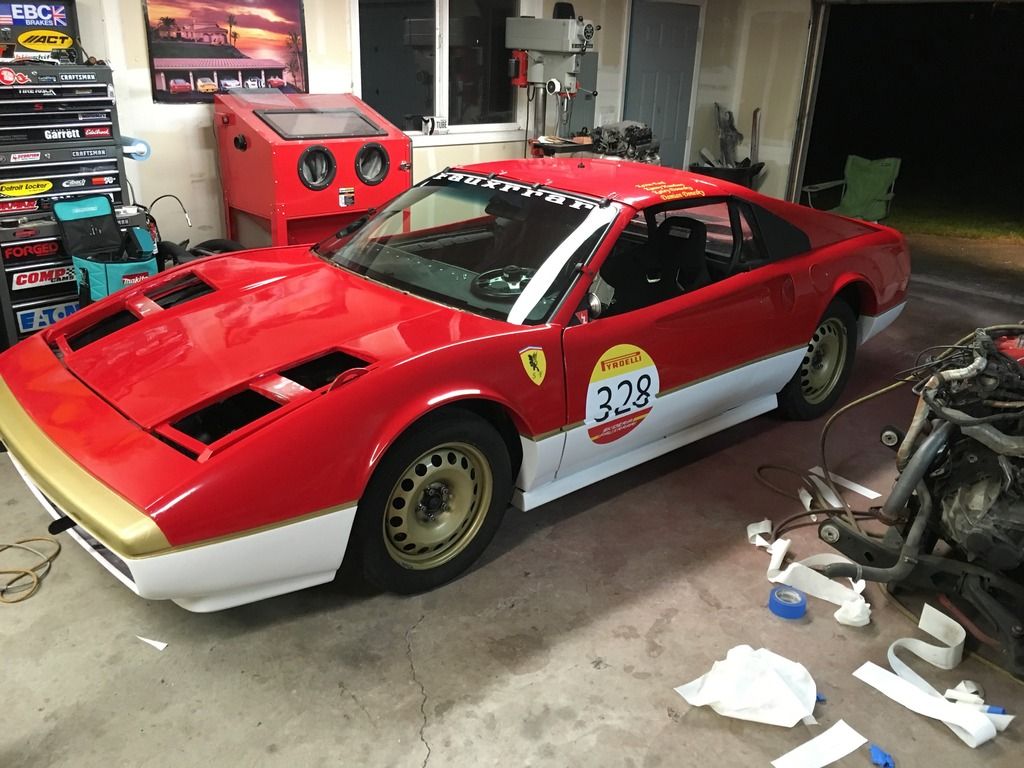
I figured maybe I should at least upload a couple pics of Miss Fieroline in her current state... Come follow along with our team facebook page to learn more!


|
|
|
|
longjonsilver
|
NOV 22, 03:46 PM
|
|
i really enjoy reading the blogs of people racing their Fieros. This is what racing should be: low buck affairs for the average Joe and Jane. i'm gonna be following this one closely
blessings
jon
|
|
|
|
shemdogg
|
NOV 22, 11:33 PM
|
|
Cool read, cool build, n cool cars! The fauxrari is pretty sweet!
shem
|
|
|
|
Iain
|
NOV 23, 07:47 AM
|
|
|
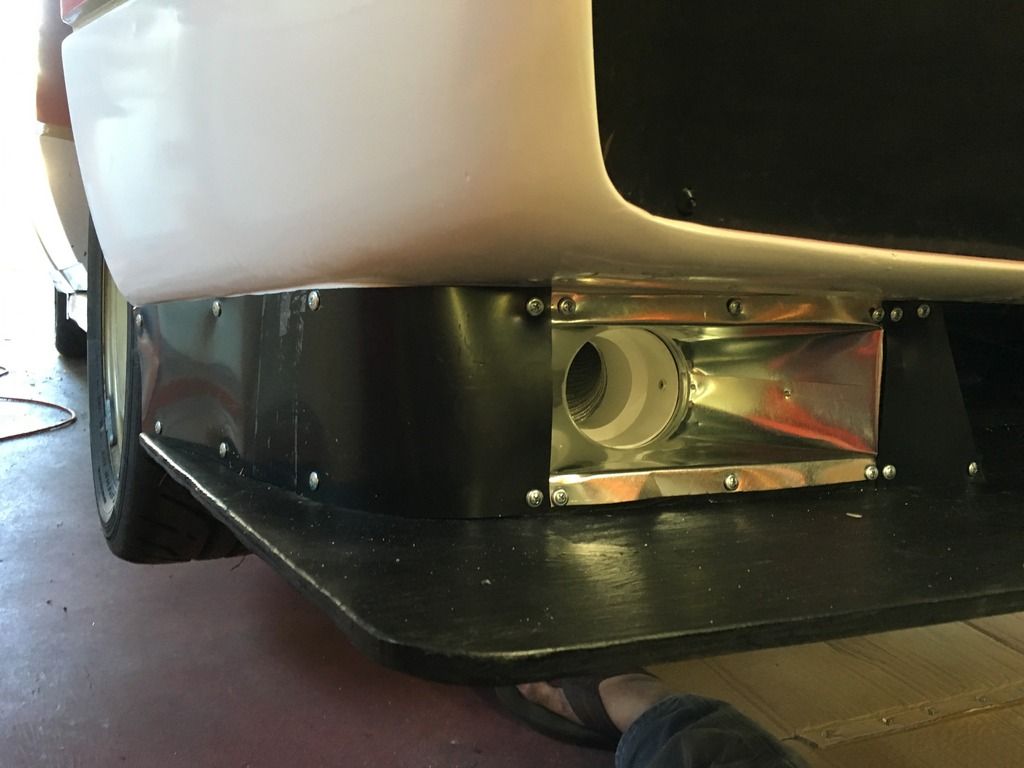
Nice aerofoil, unless your regs dictate it though, your endplates are a bit small. Current theory suggests about 150mm/6" above the mainplane and 180-200mm below, 100-150 ahead will give significant gains.. Always a juggling act between weight and sideload and cost. Foamboard laminated both sides with two layers of woven glass cloth, Not Csm, is a really cheap but strong option. If you find the sideload is pulling the fasteners through then a layer of diolen cures that. Or a 3d core.
|
|
|