|
| Operation T-Top Widebody (was: T-Top Revival) (Page 10/11) |

|
Awalker W02
|
JAN 14, 10:10 PM
|
|
|
|
|
Habanera Hal
|
JAN 15, 11:08 AM
|
|
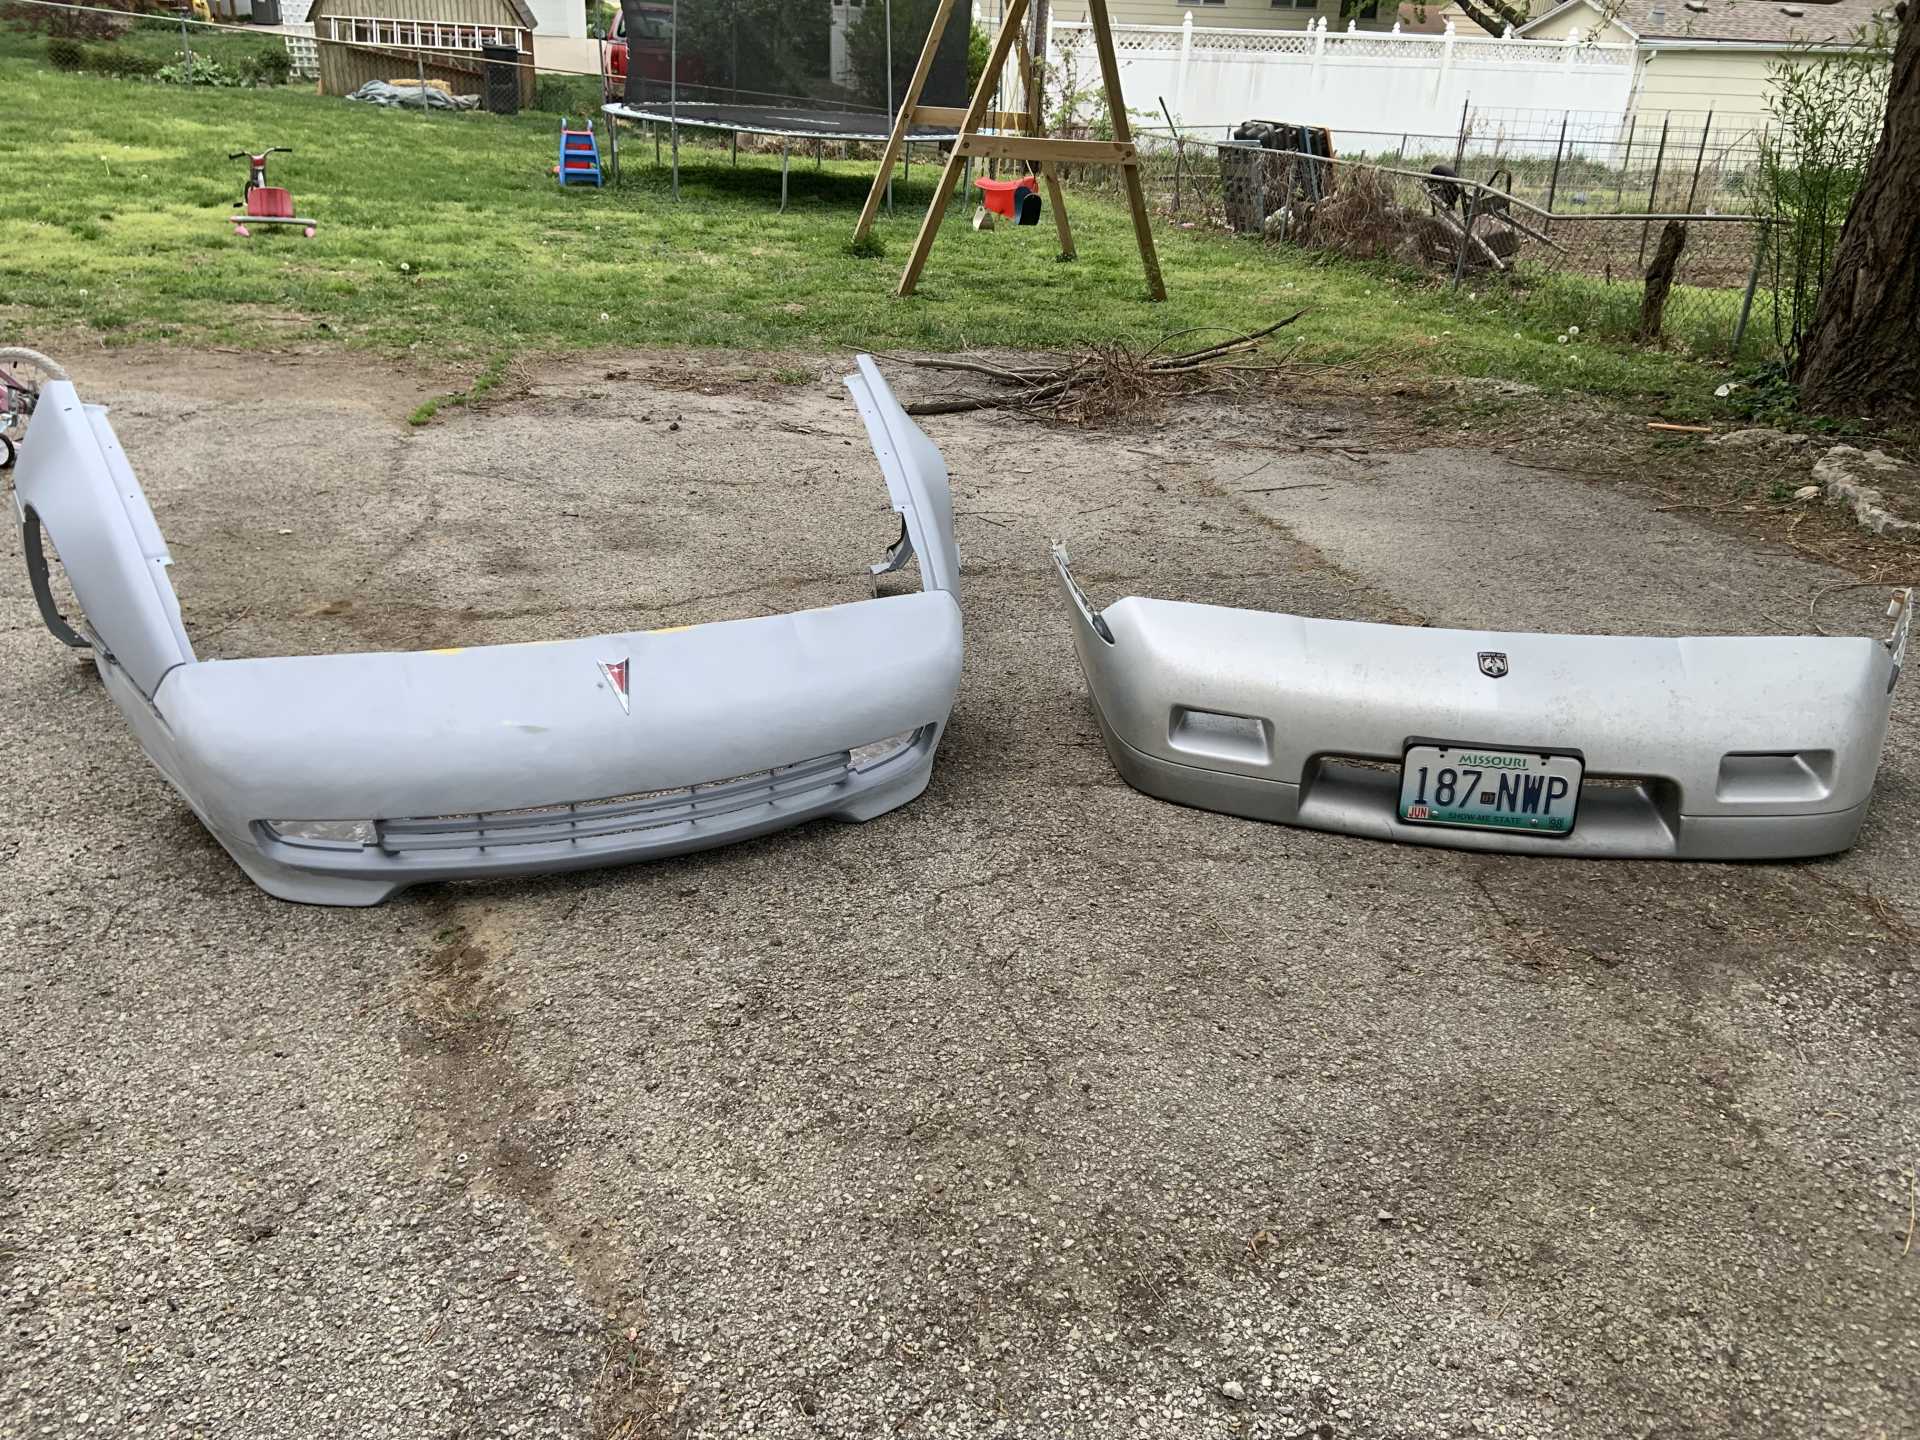
That's looking awesome! Gives me some more options to consider other than Accord nose. Now I just need to find a junk fascia to cut up!
Nice work!

|
|
|
|
Awalker W02
|
JAN 20, 08:39 PM
|
|
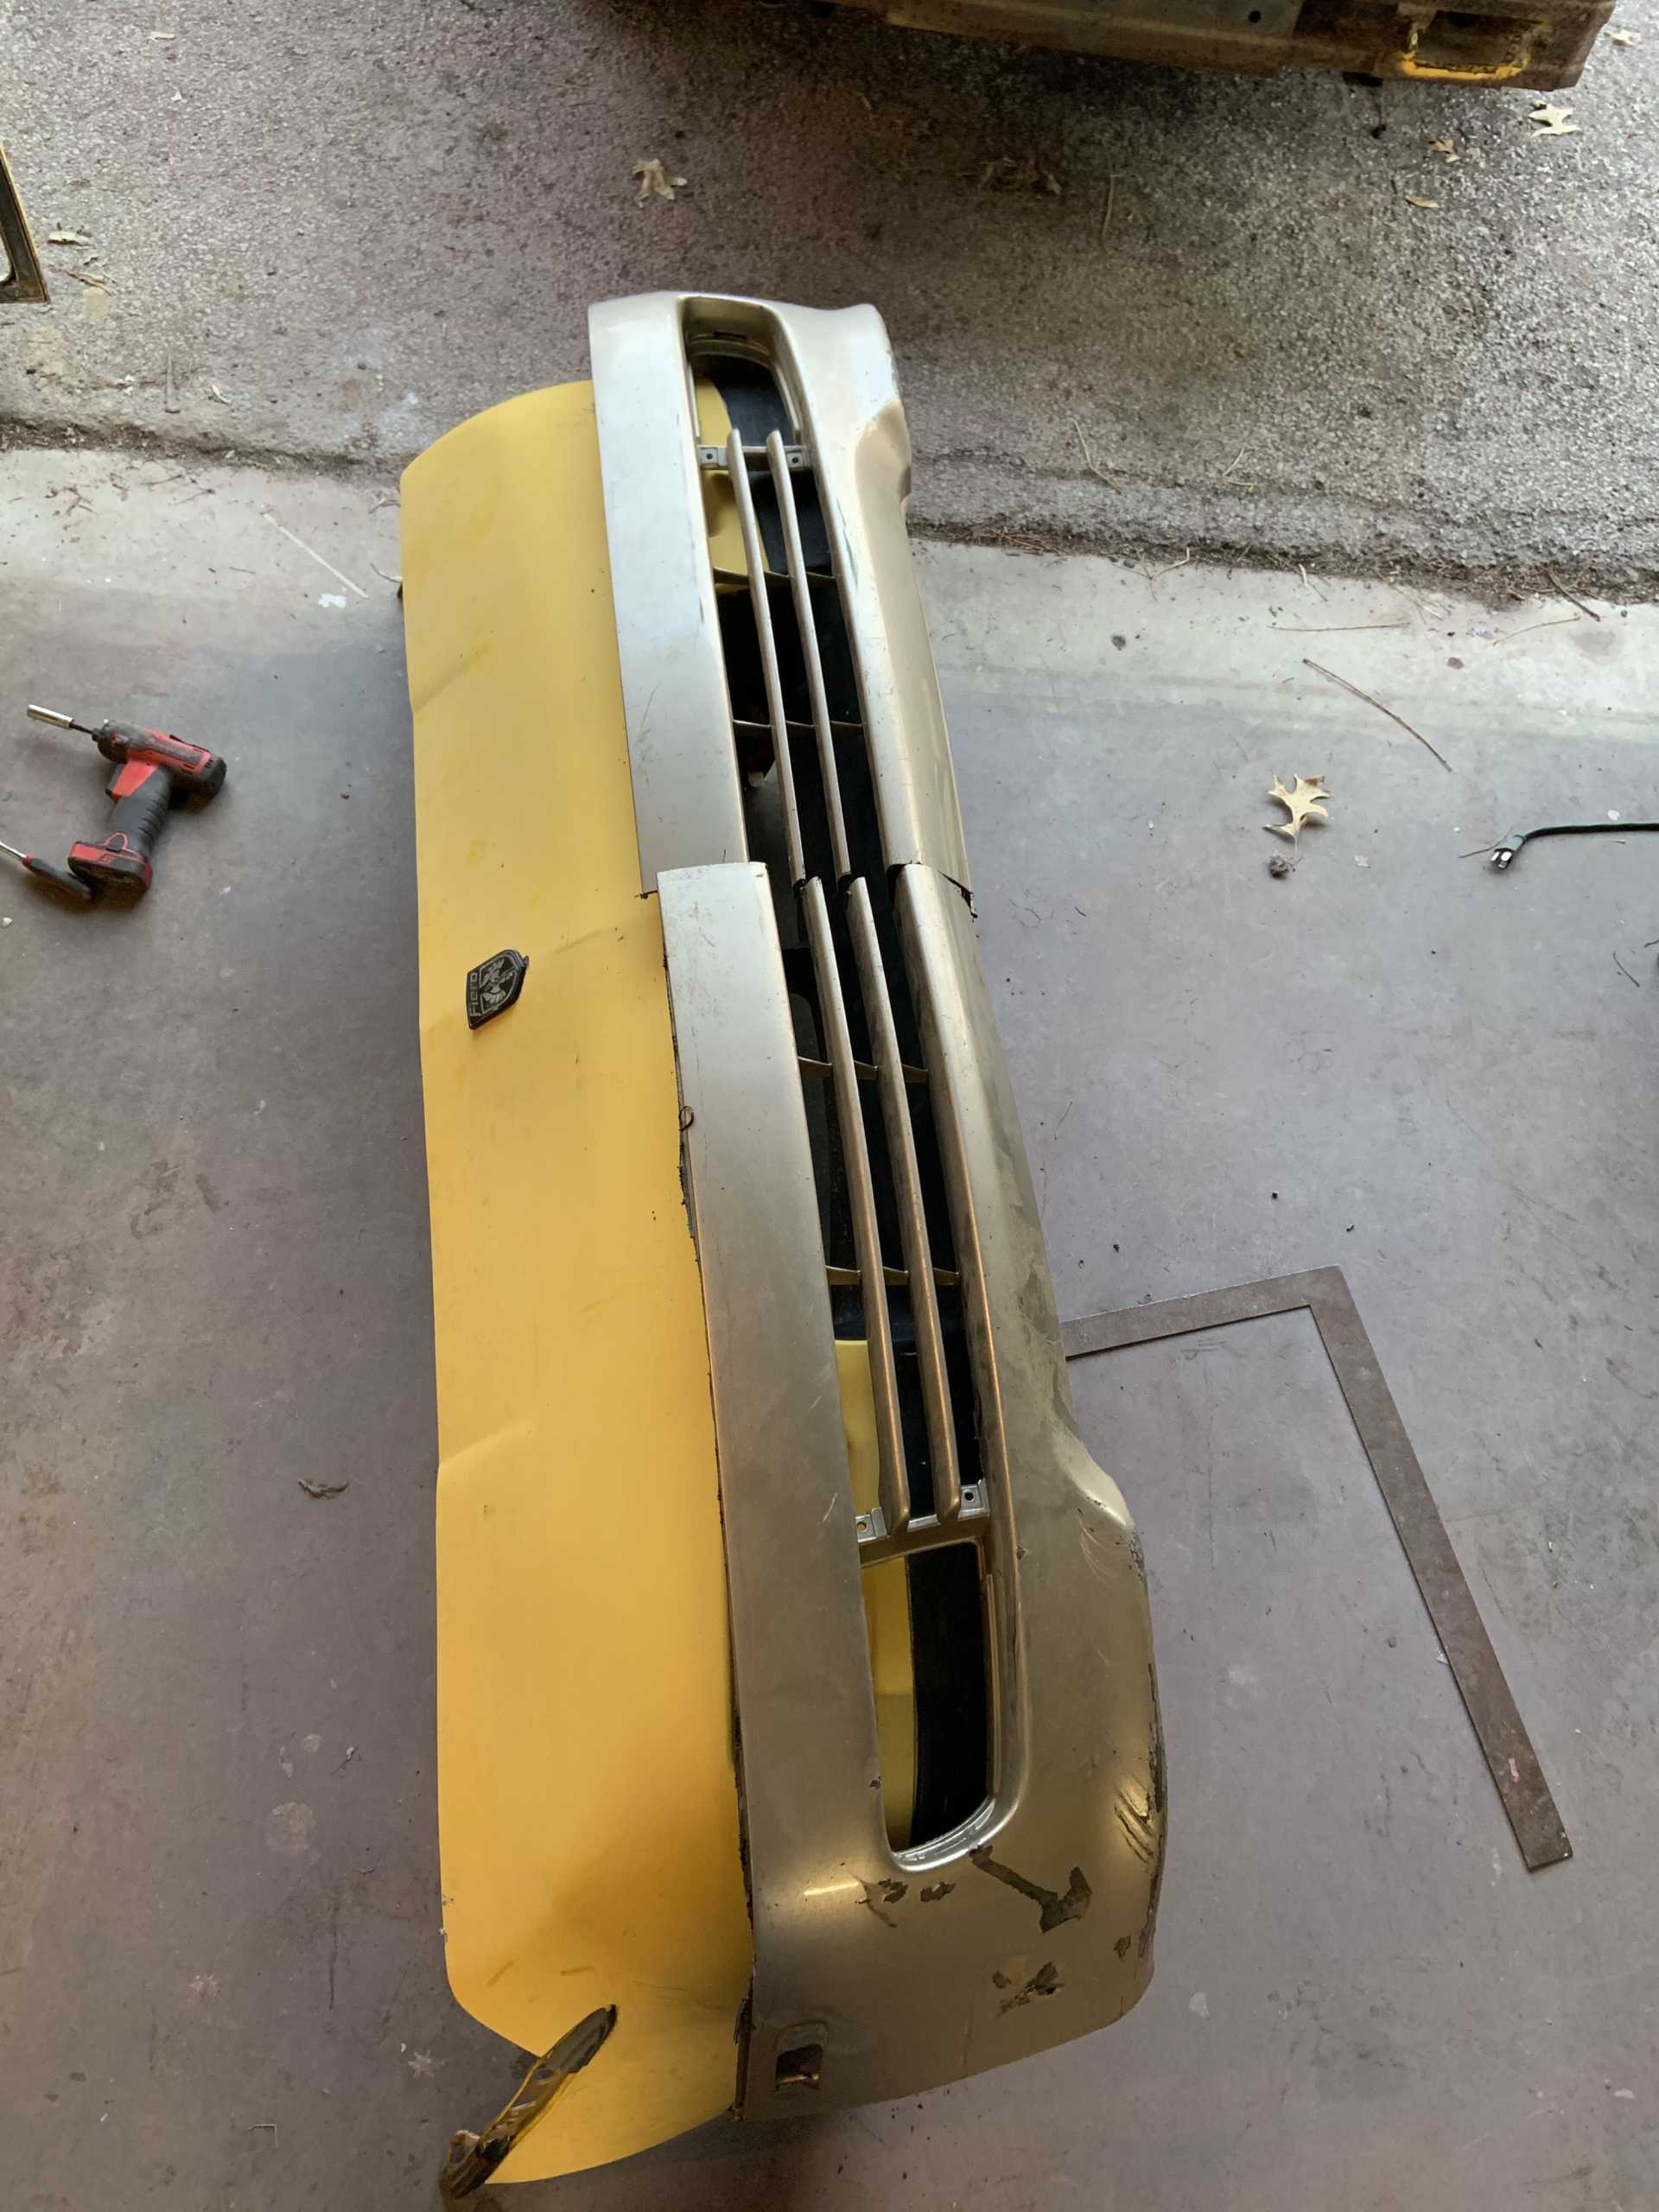
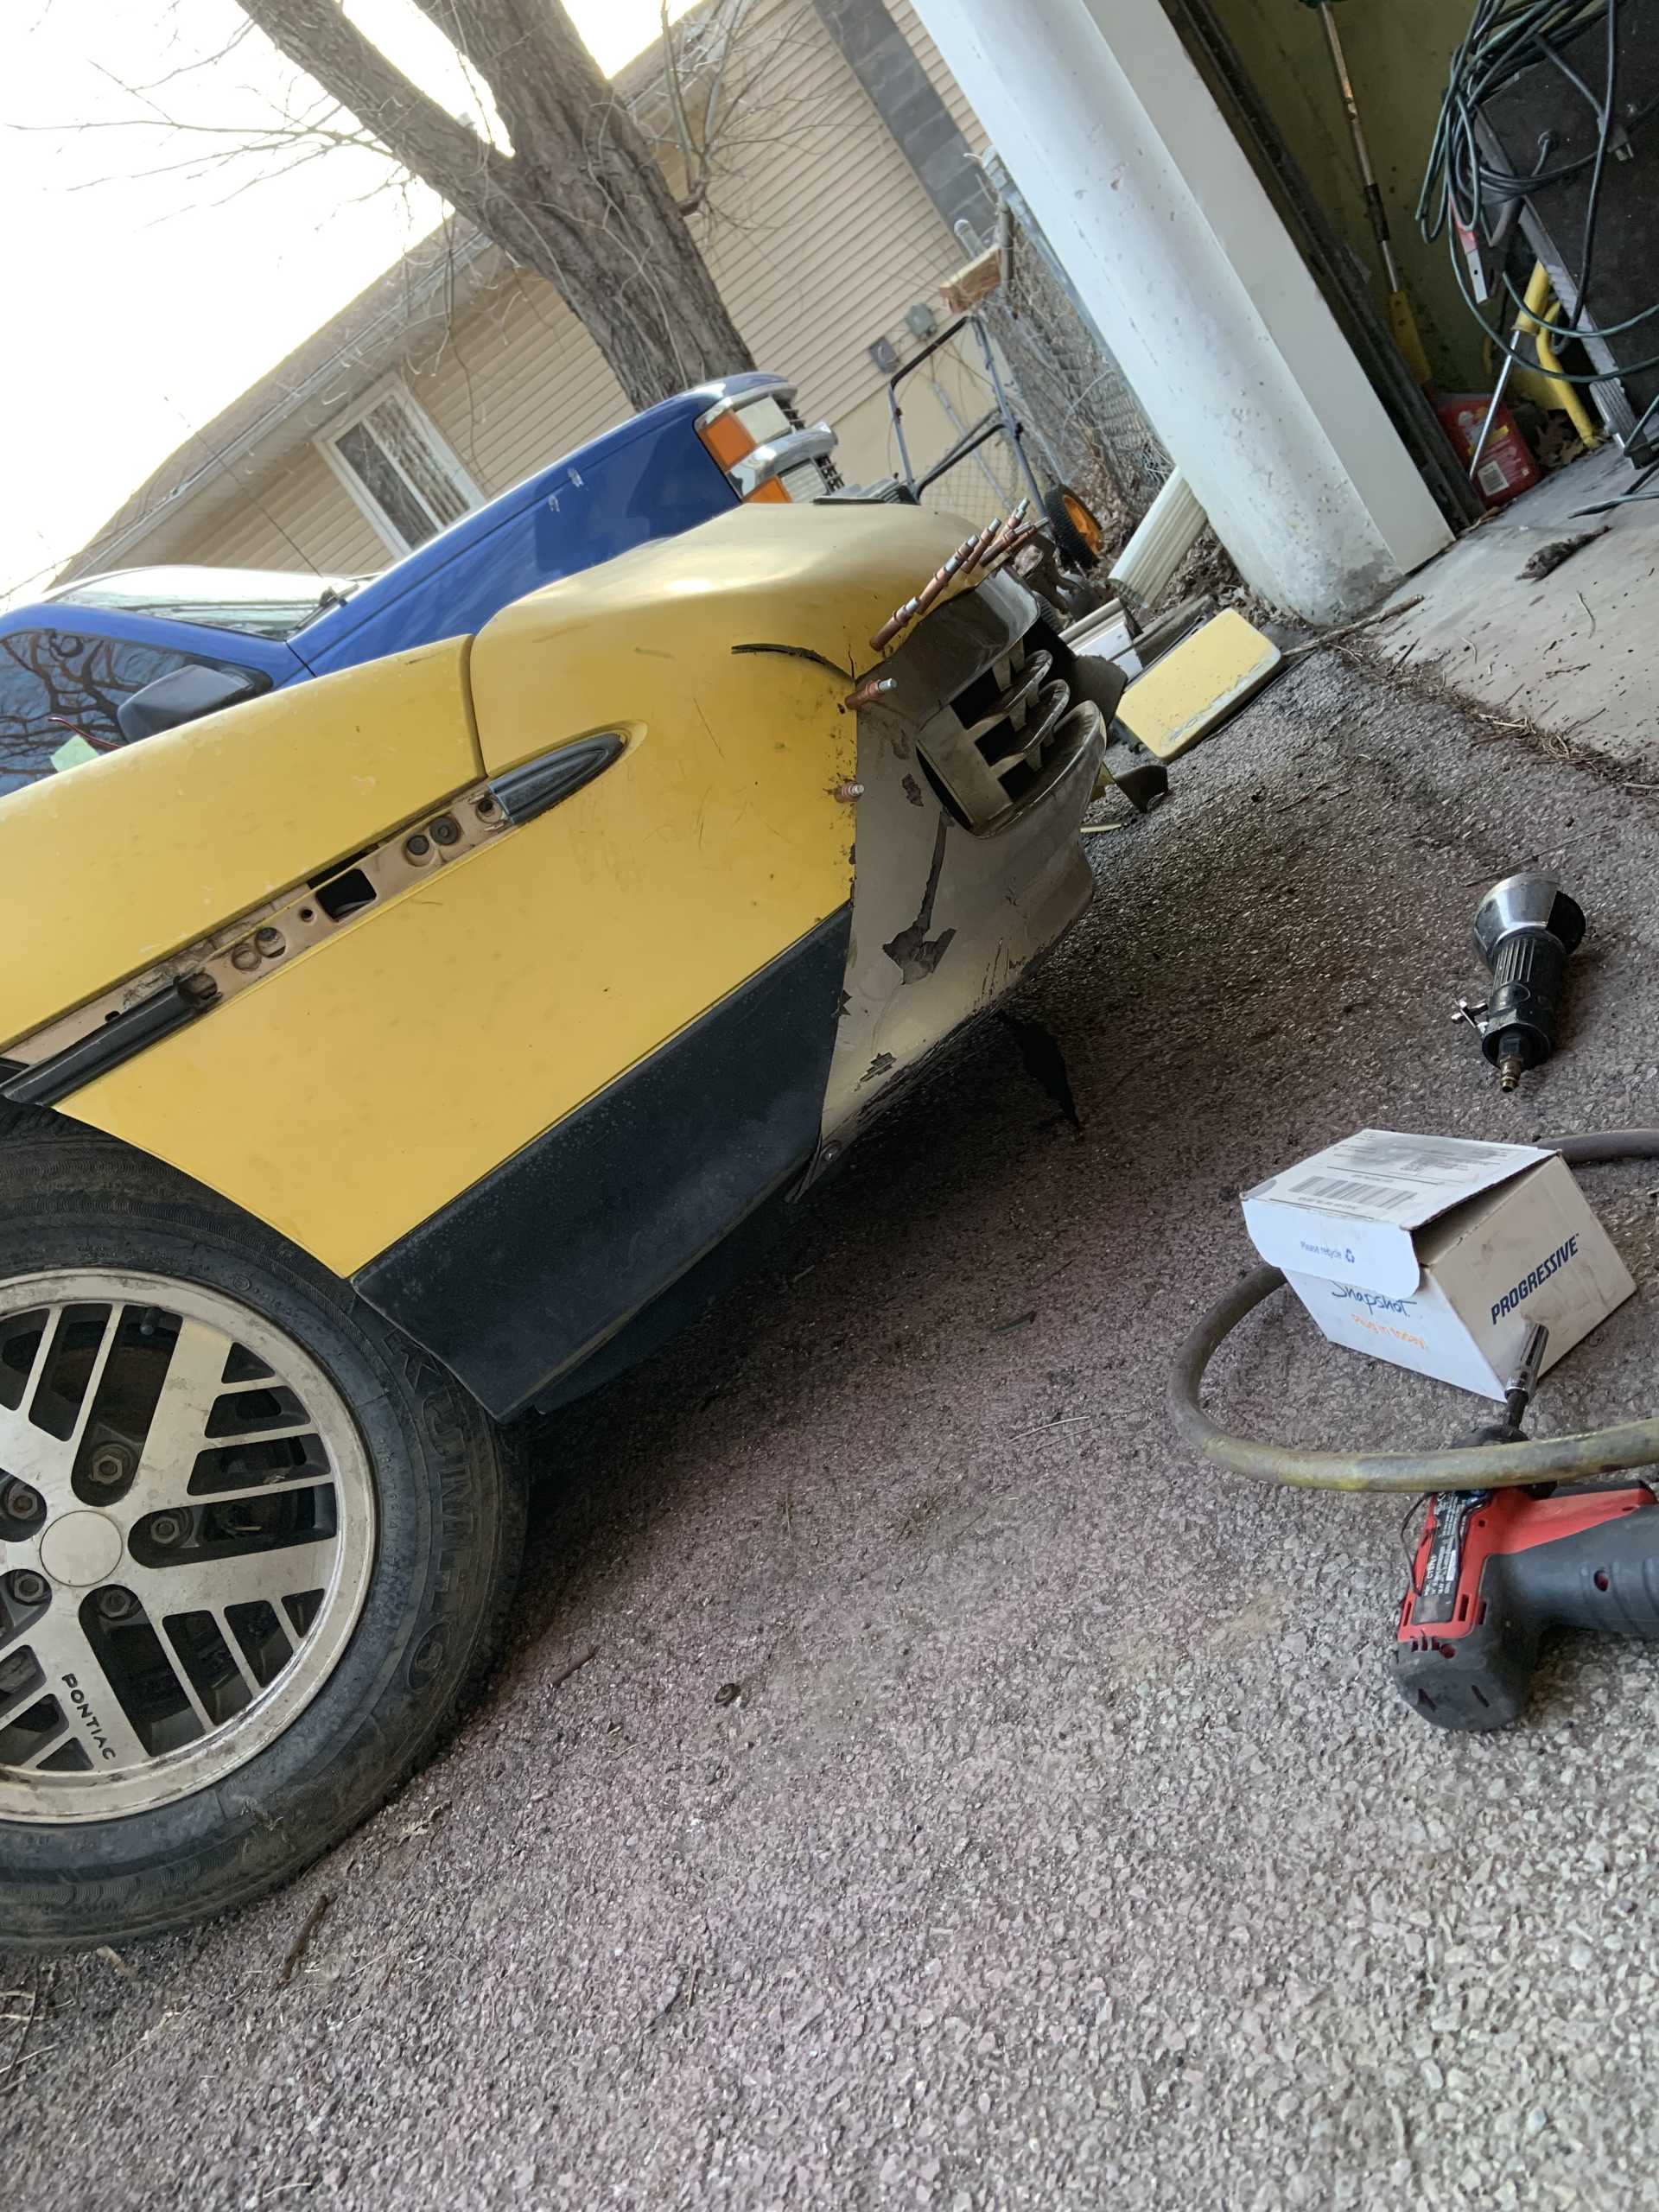
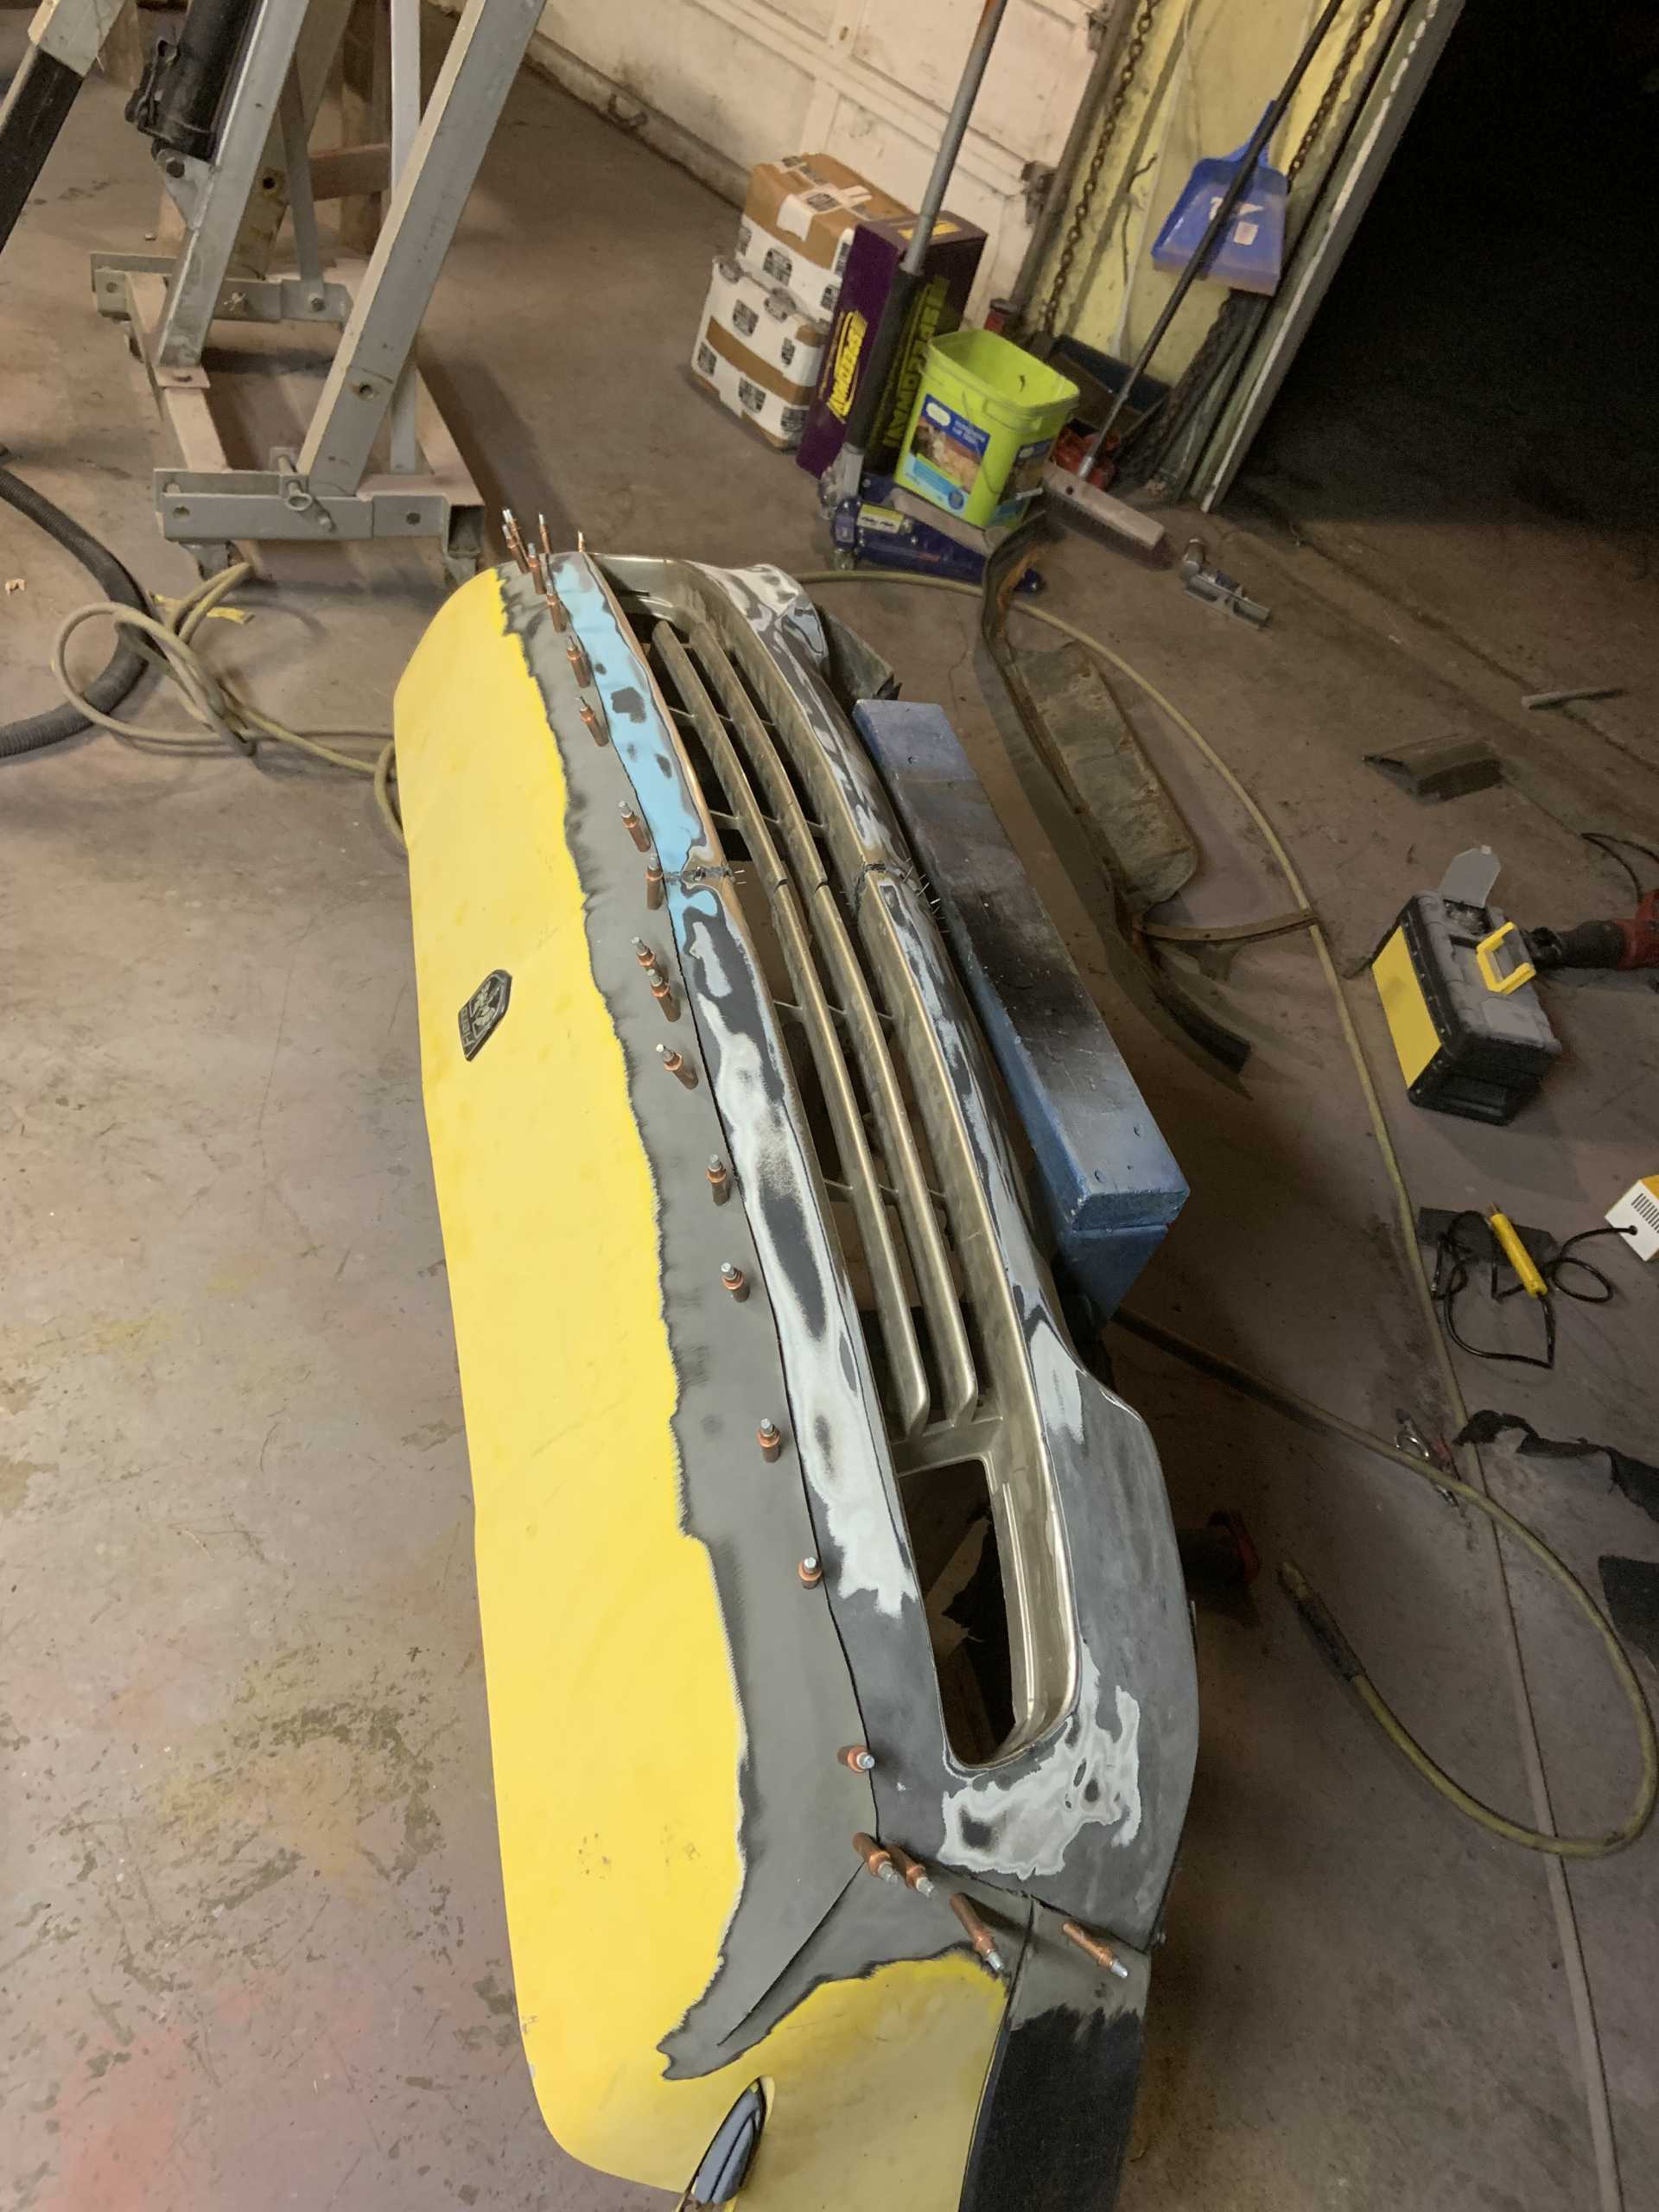
once everything was lined up exactly where it needed to be I started the working of bonding the pieces together. normally in the standard collision industry we would hot staple the pieces together. I did try to hot stapleing first and the urethane that the Fiero is made of does not set back up after the hot staple is inserted, because of this the plastic welding of 2 different types of urethane would not work either. this being said I had to resort to Bonding. Below is a quick general review of plastic repair.

|
|
|
|
Awalker W02
|
JAN 20, 08:52 PM
|
|
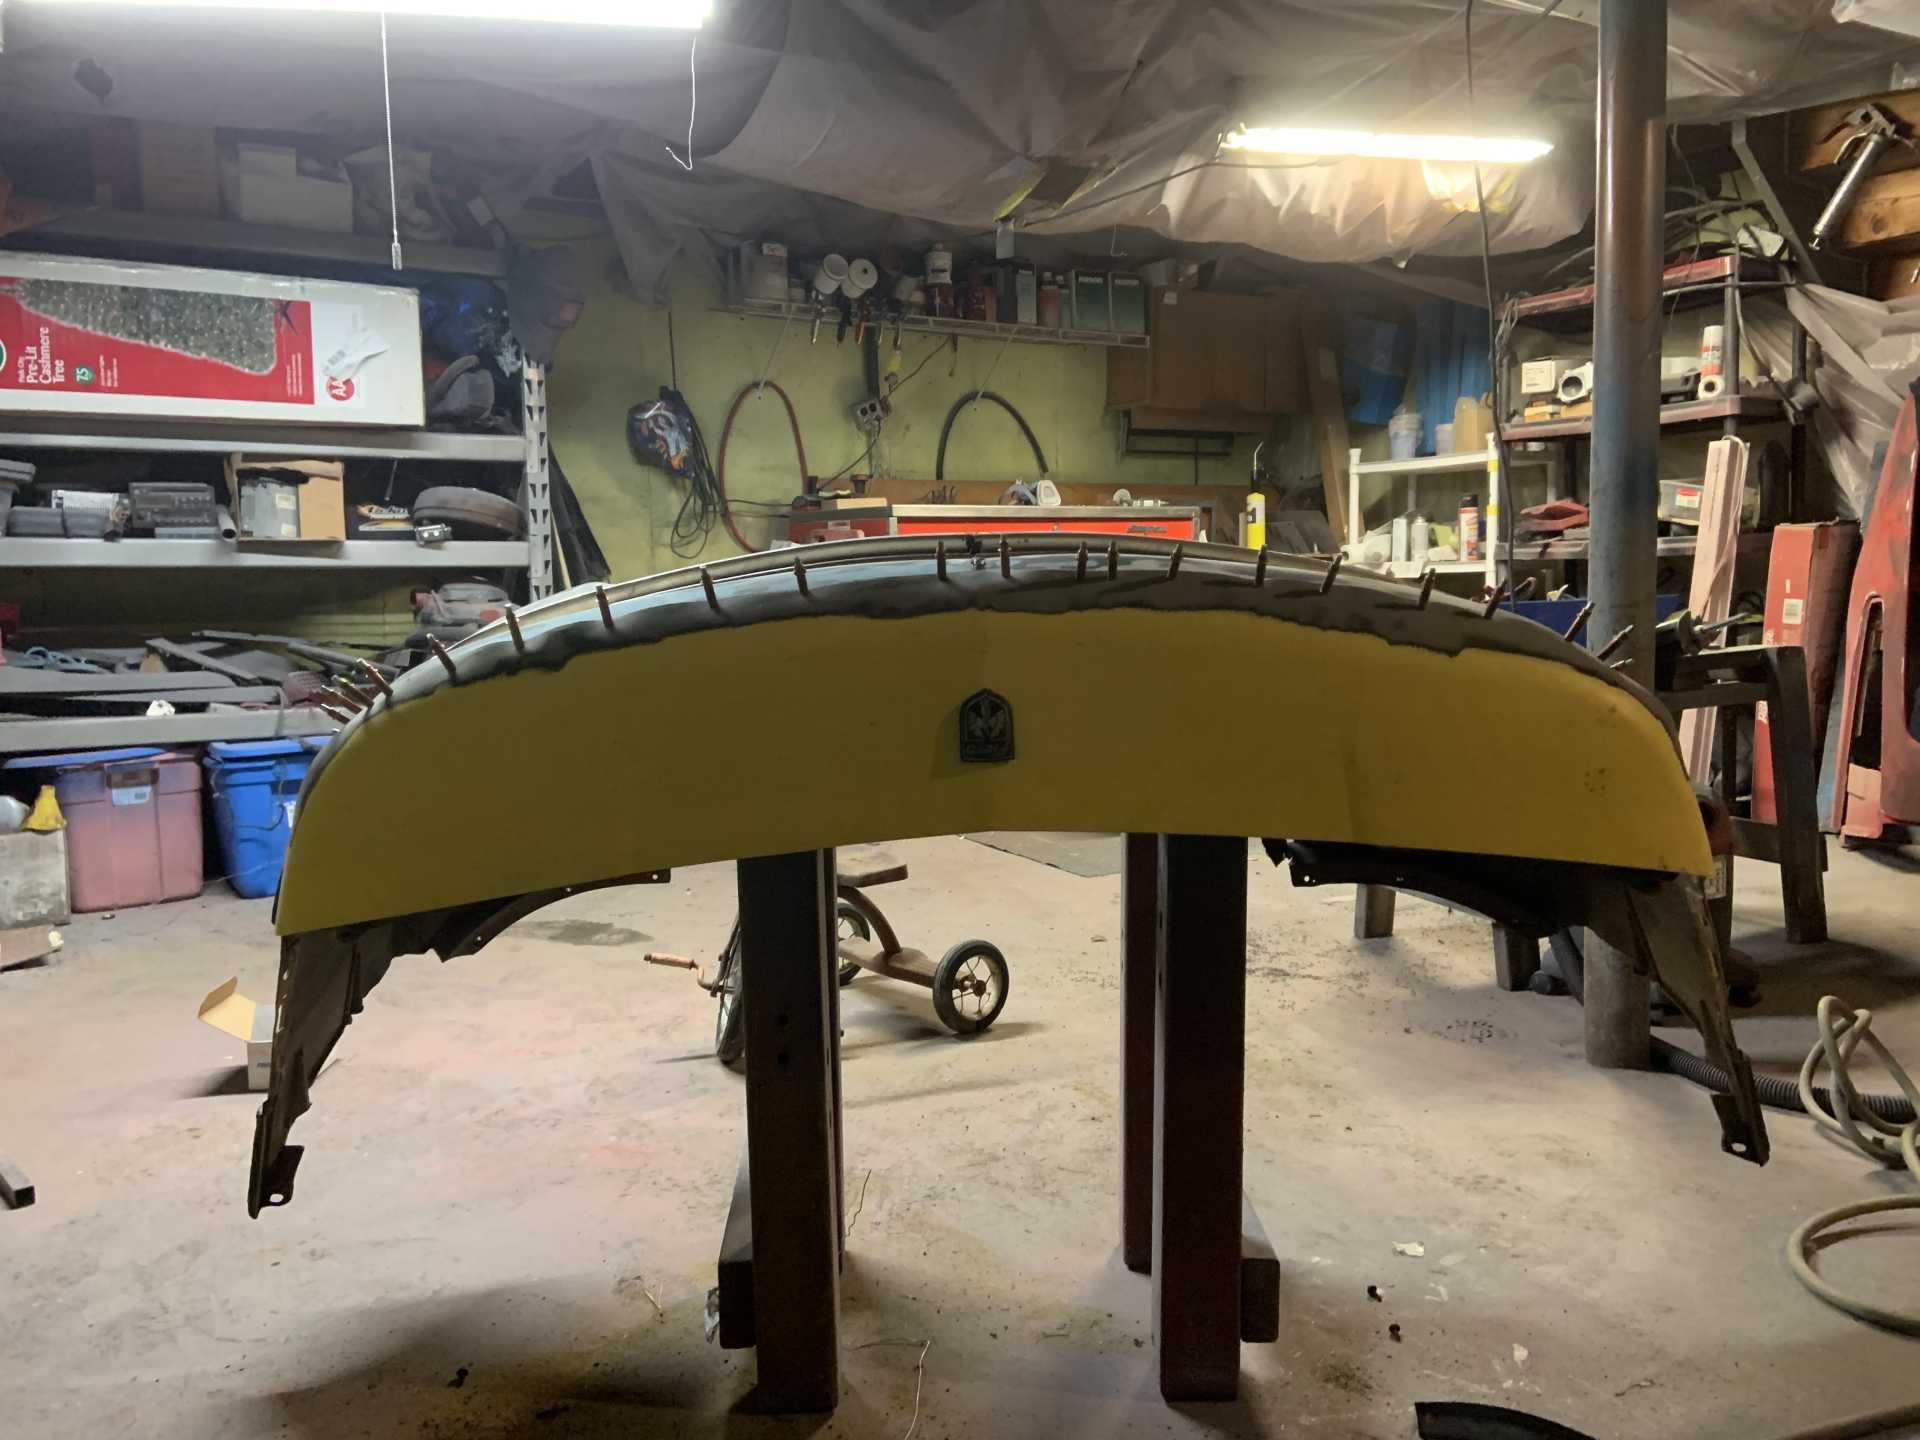
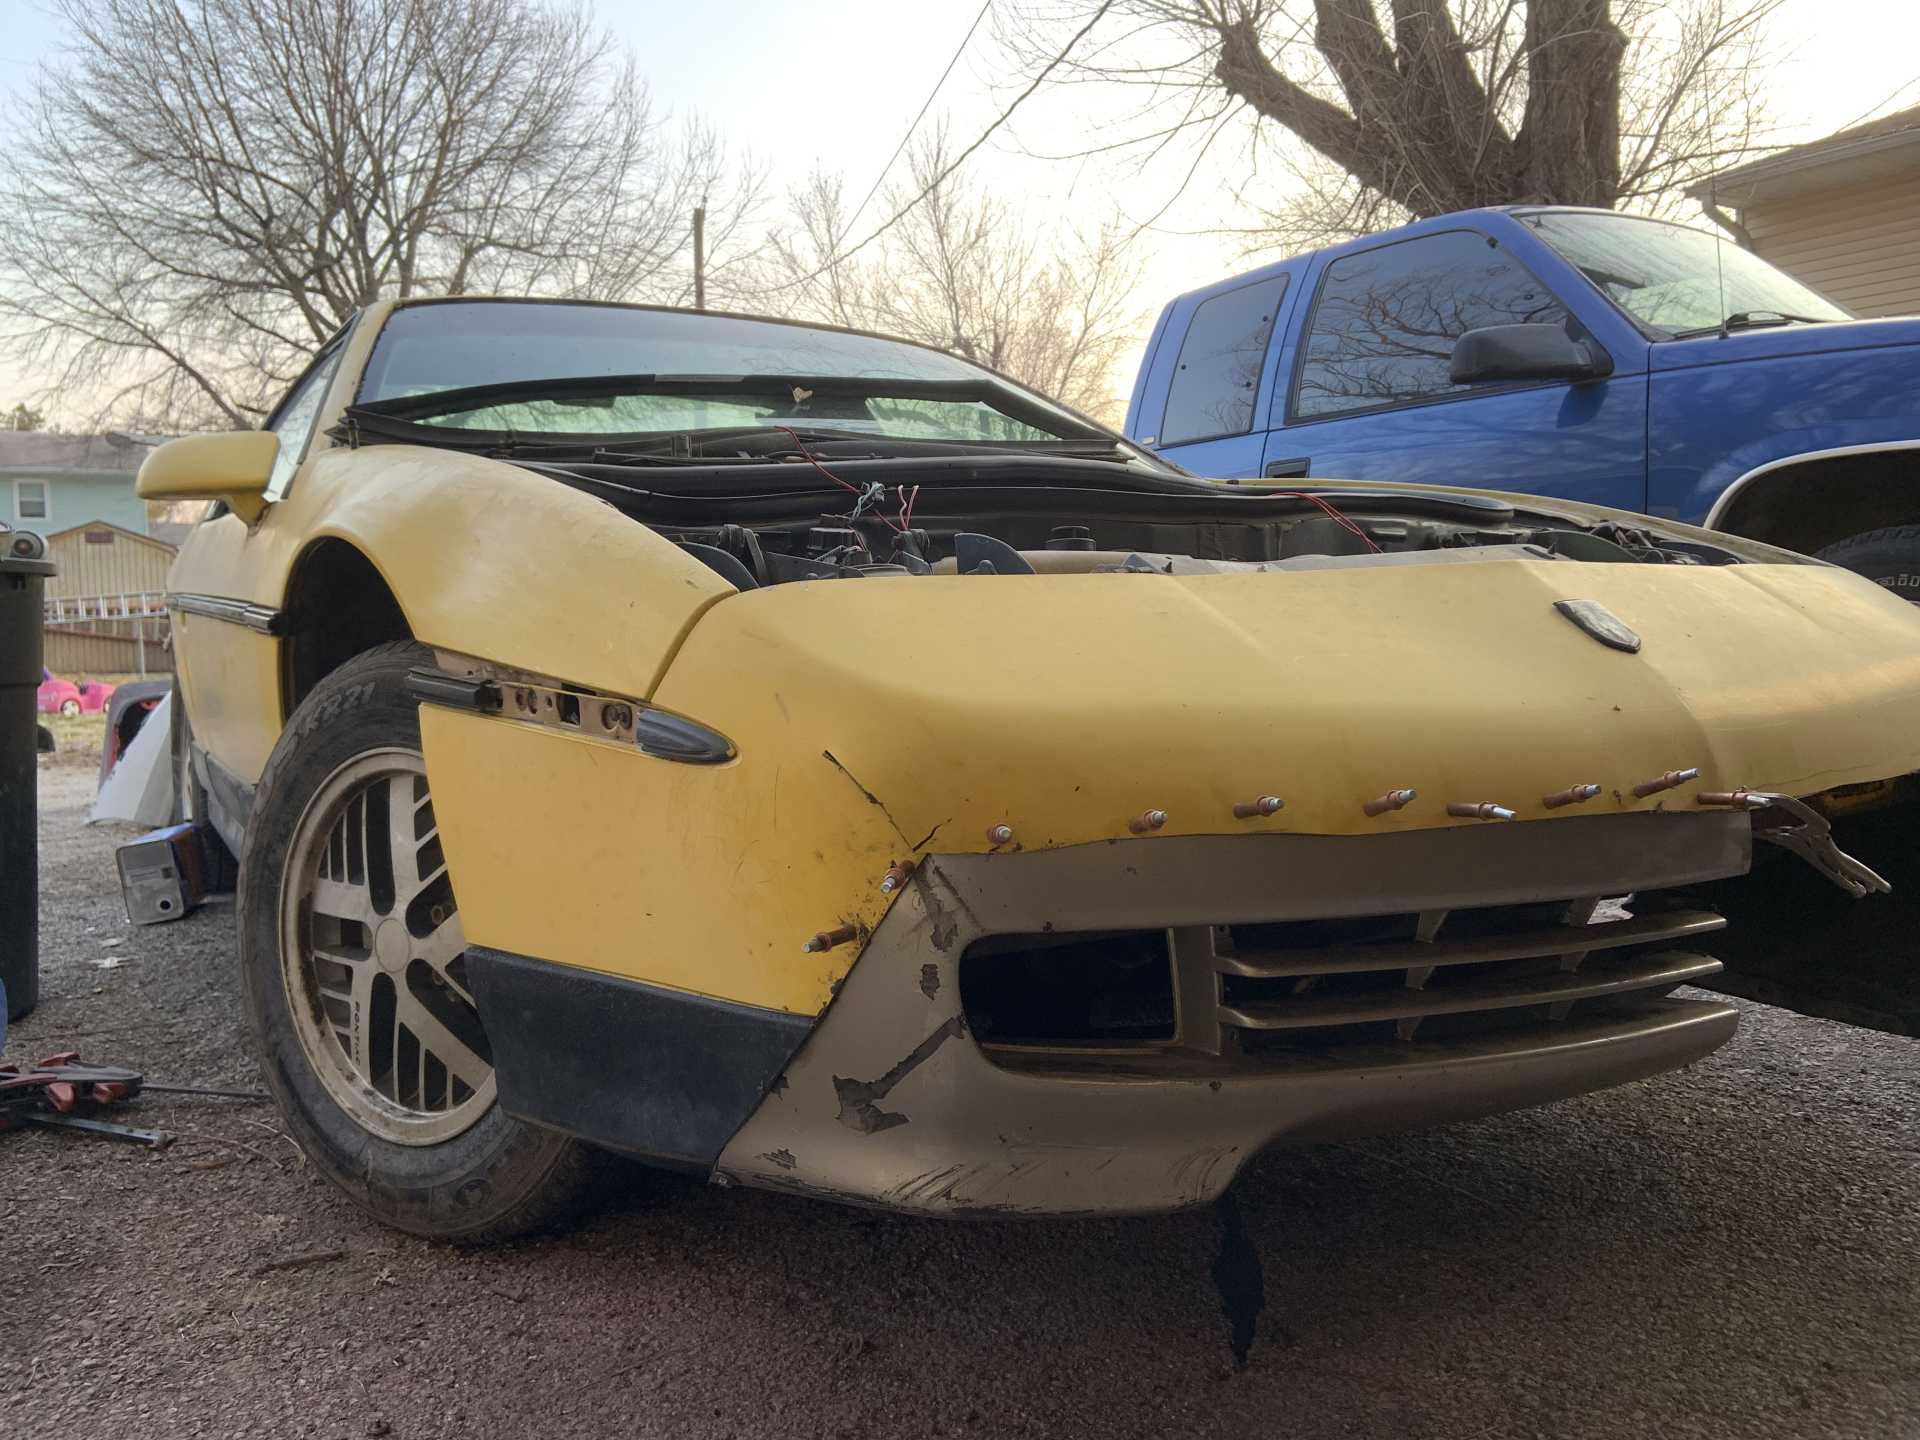
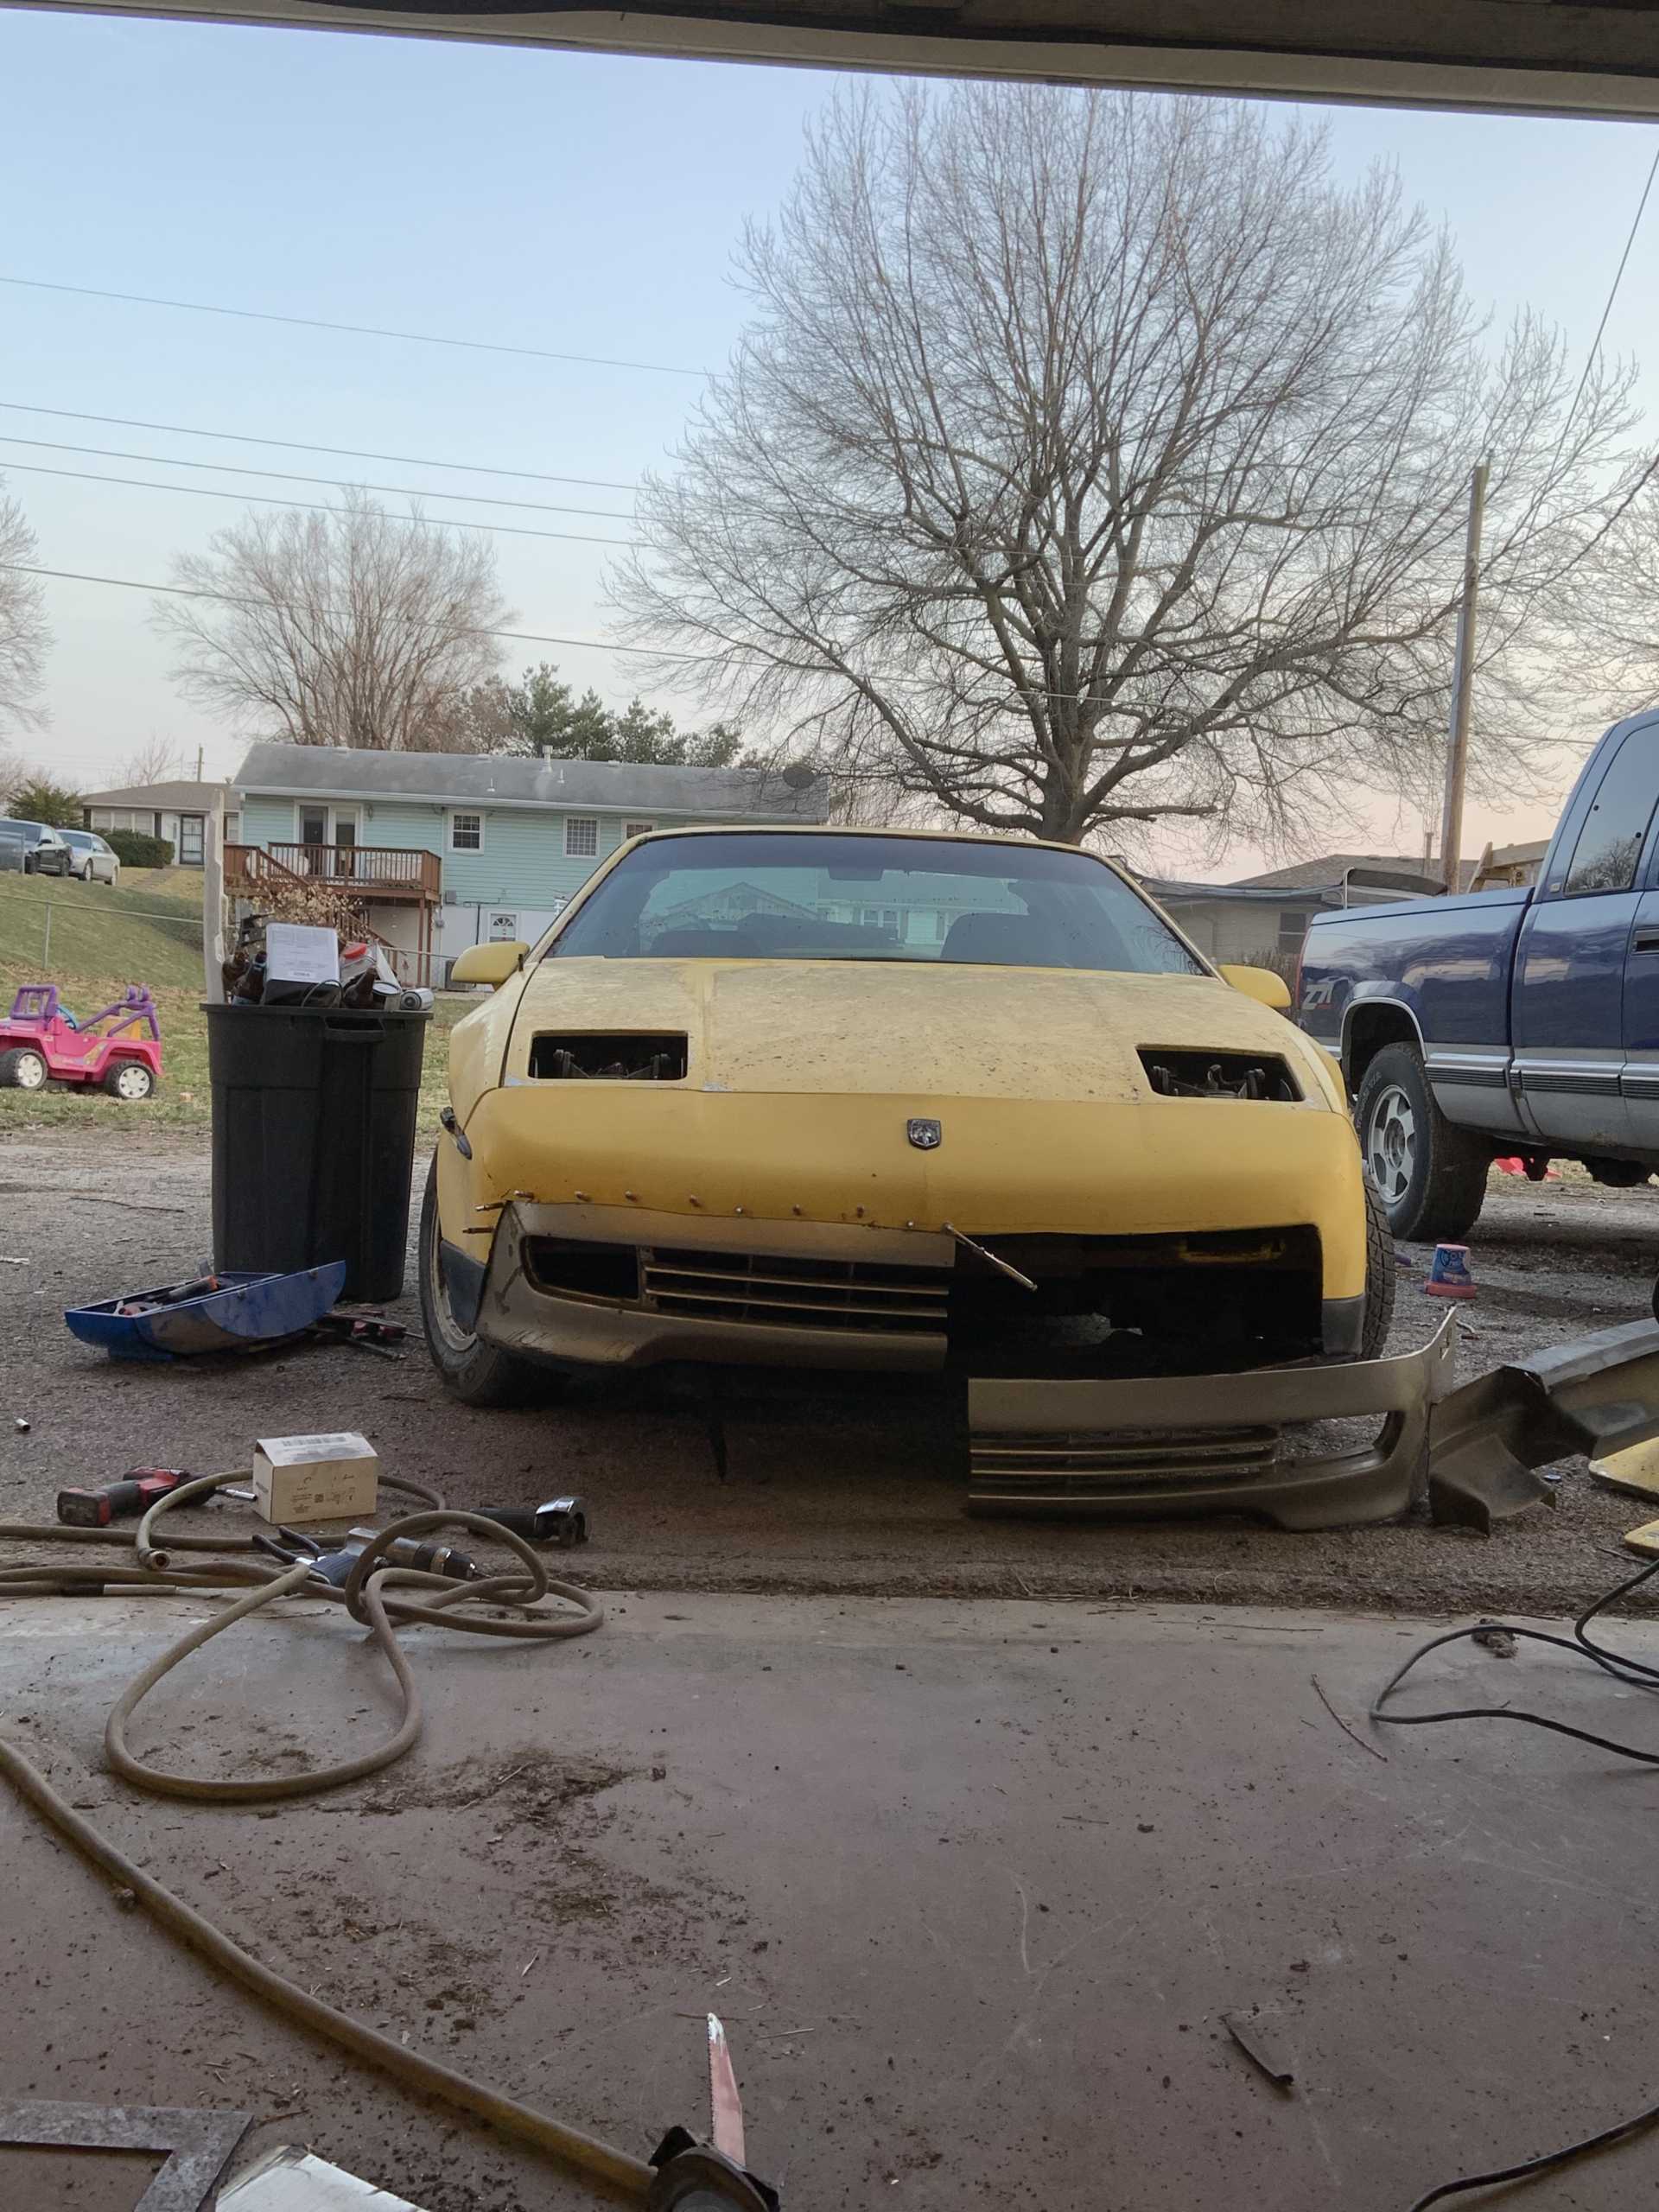
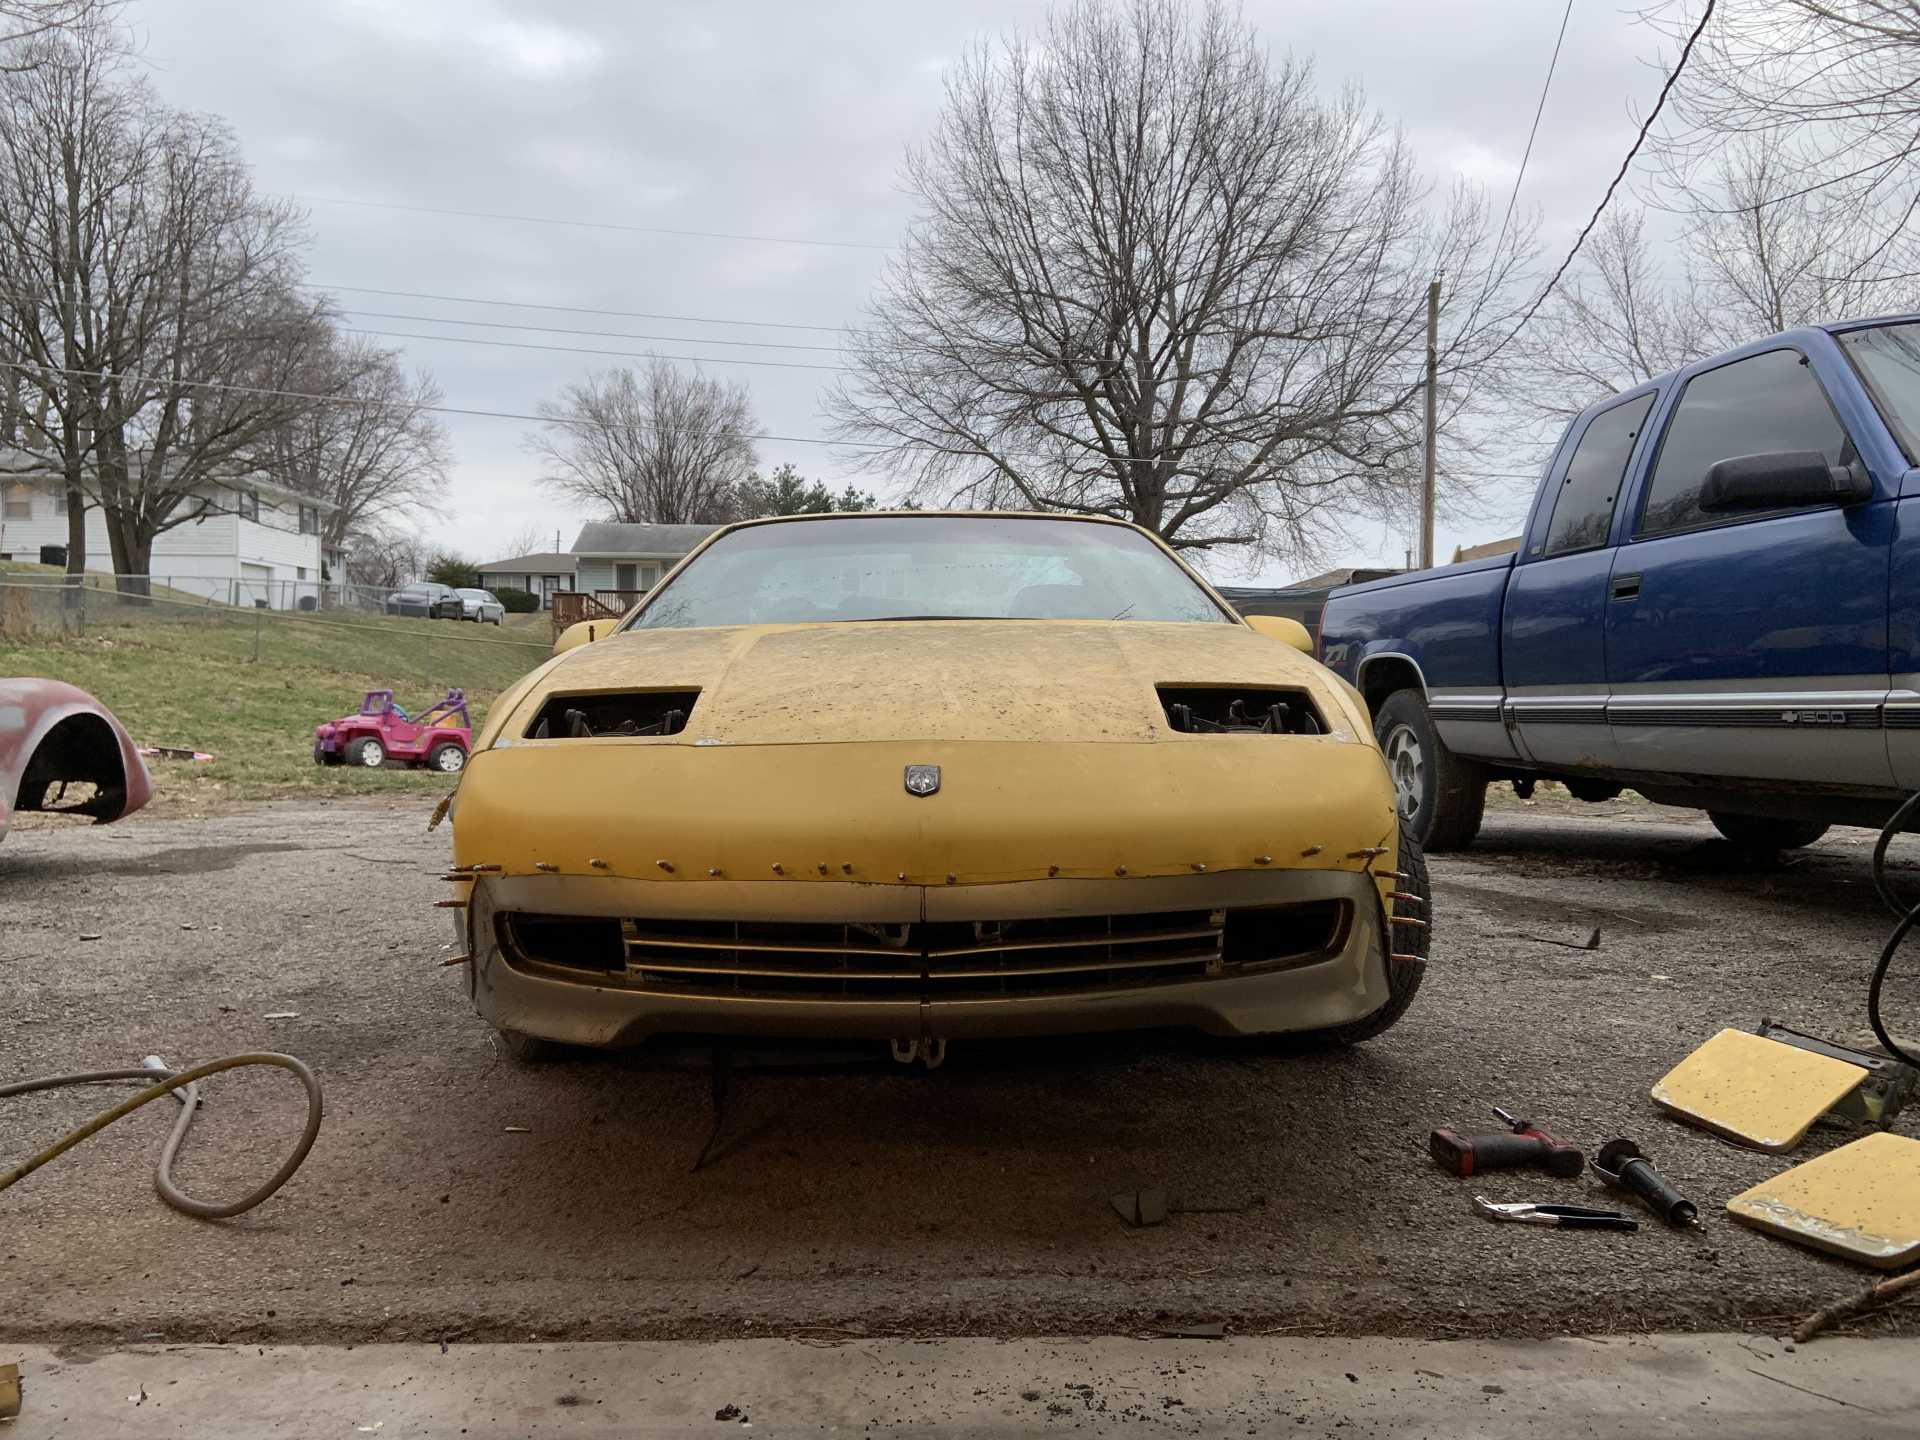
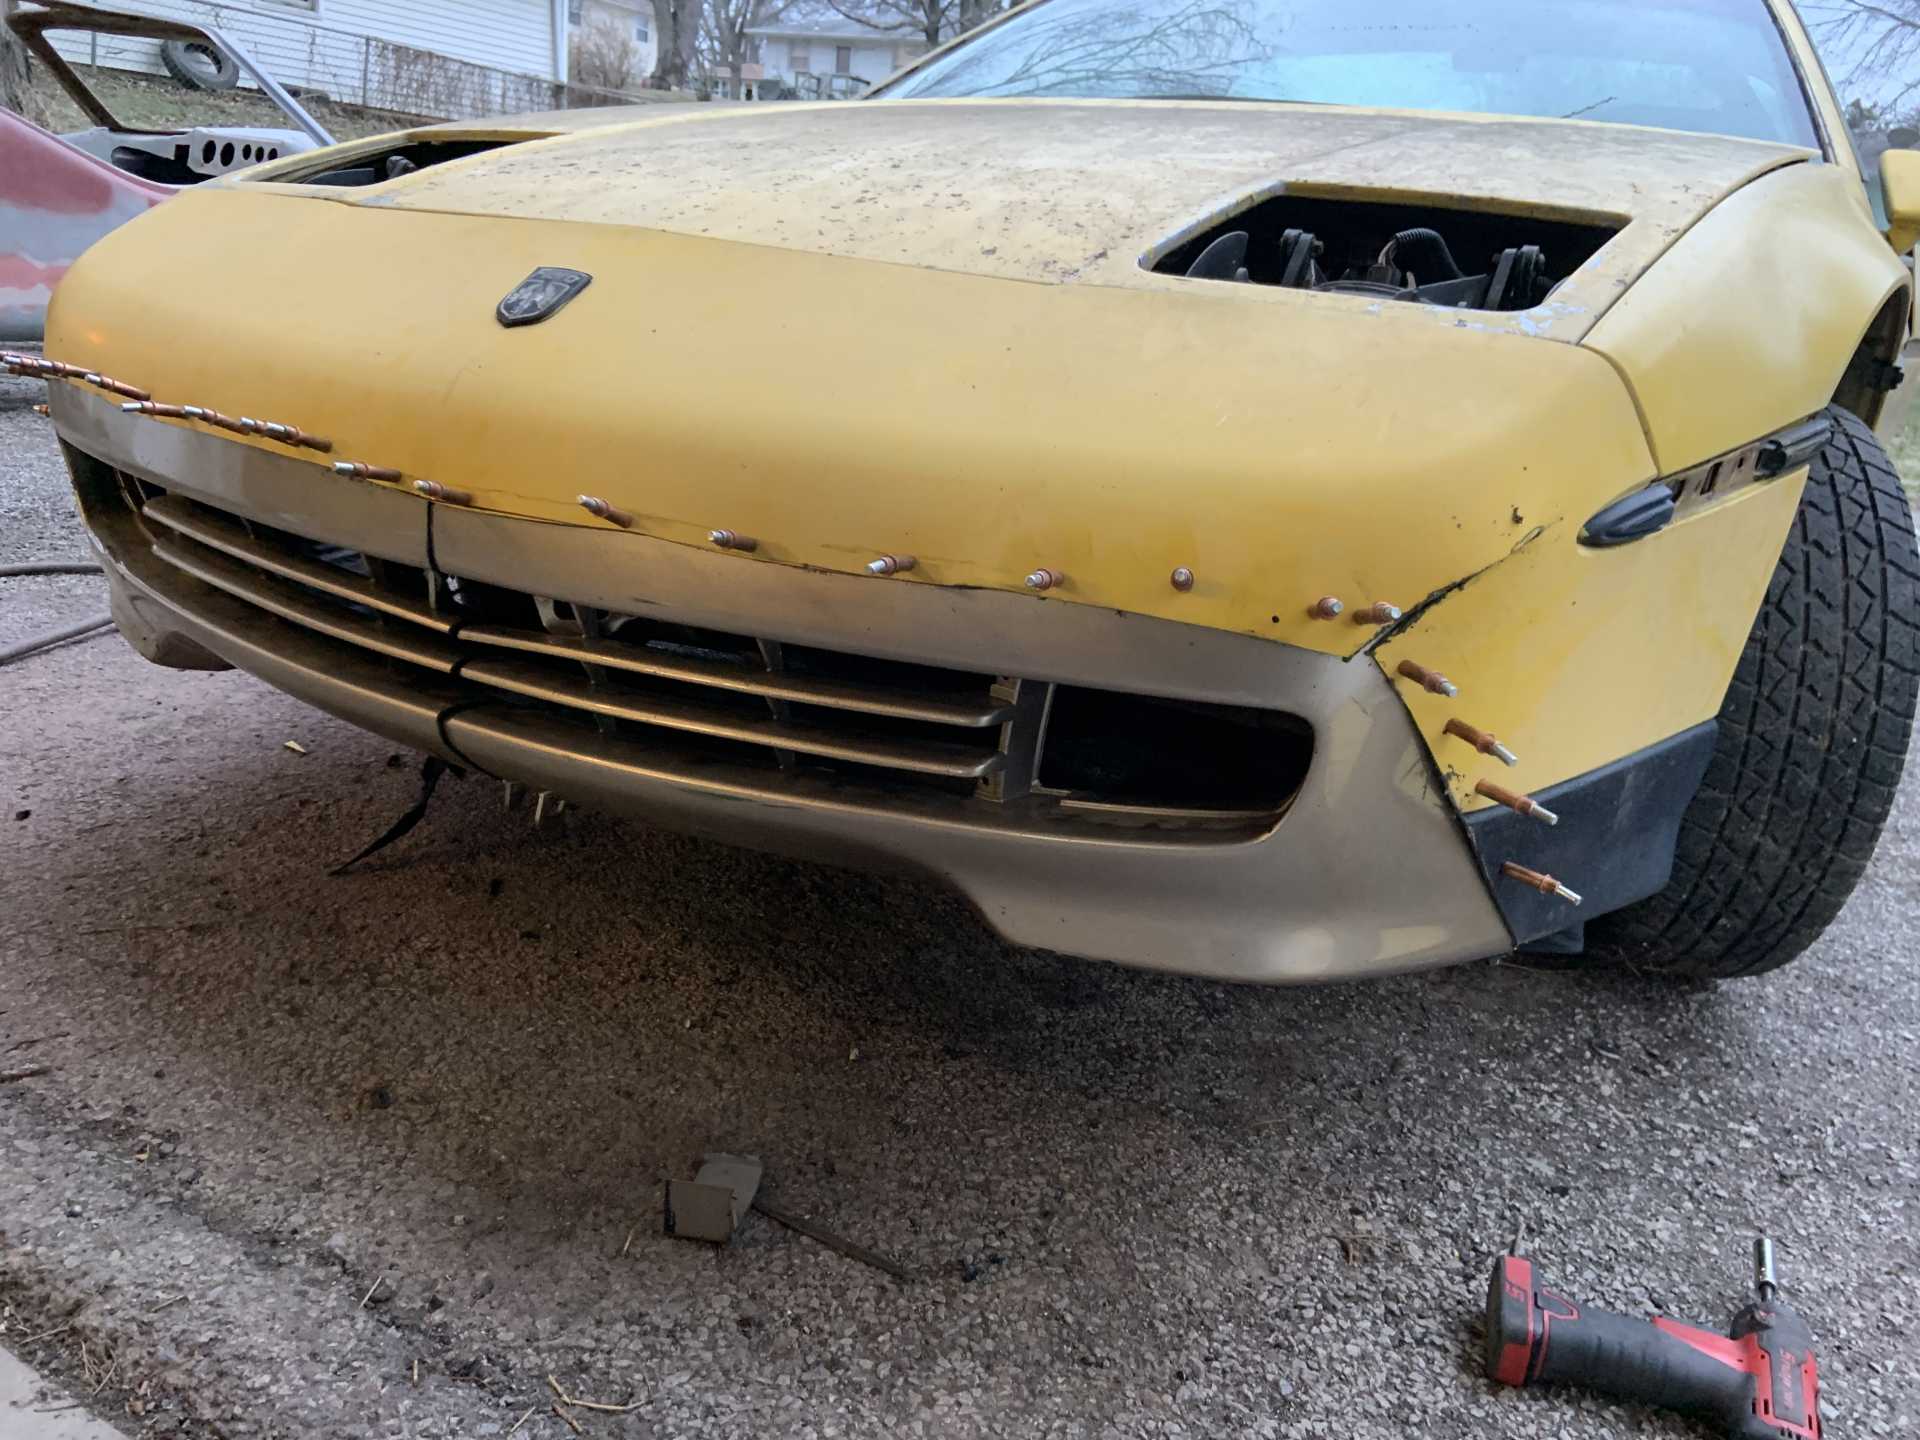
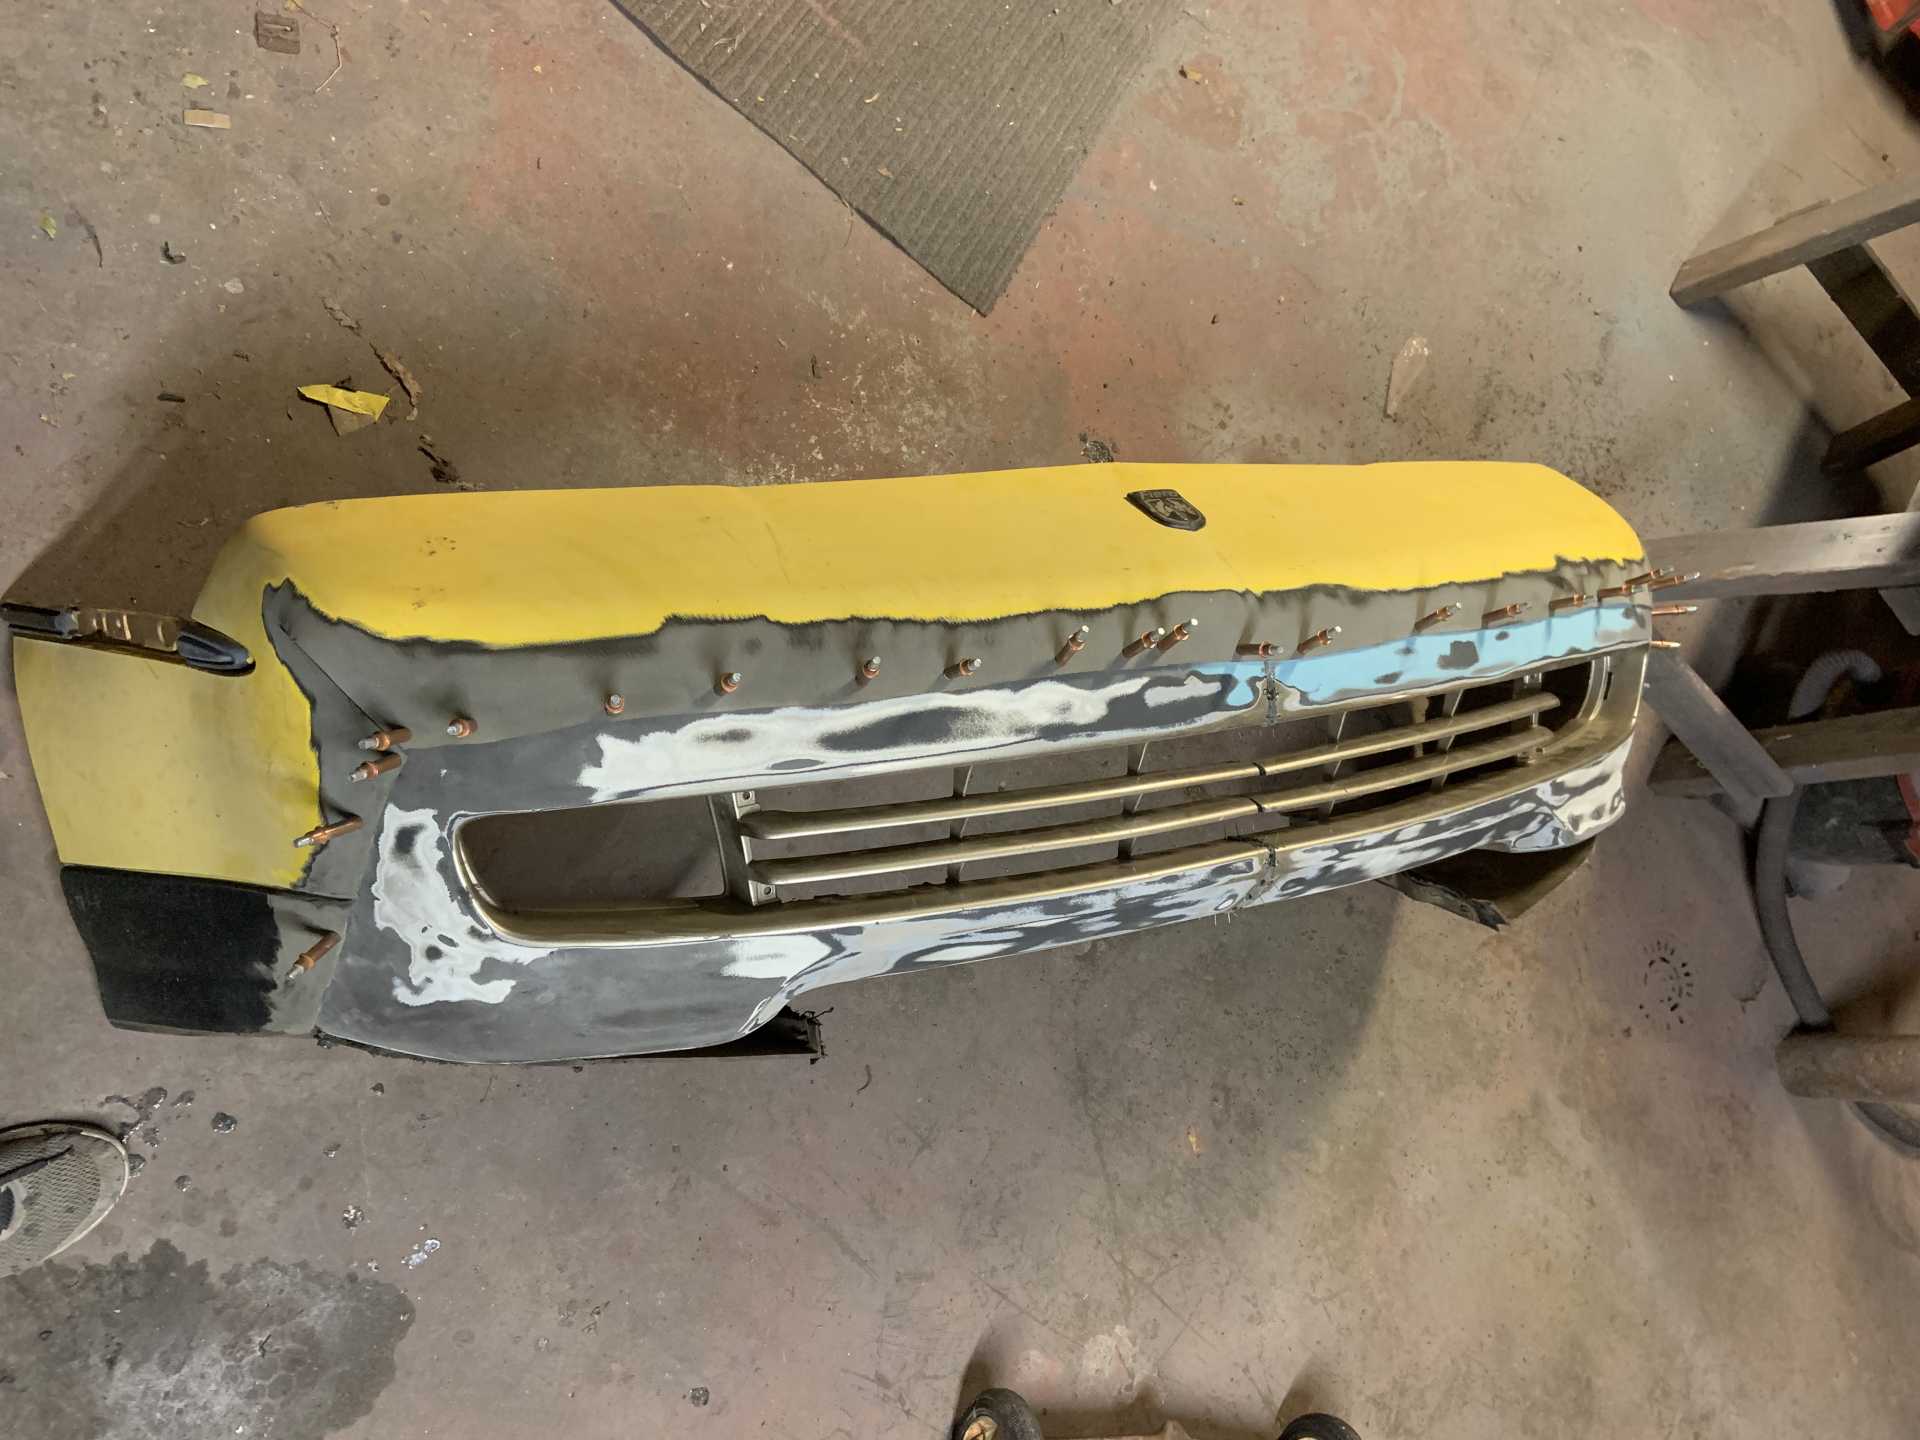
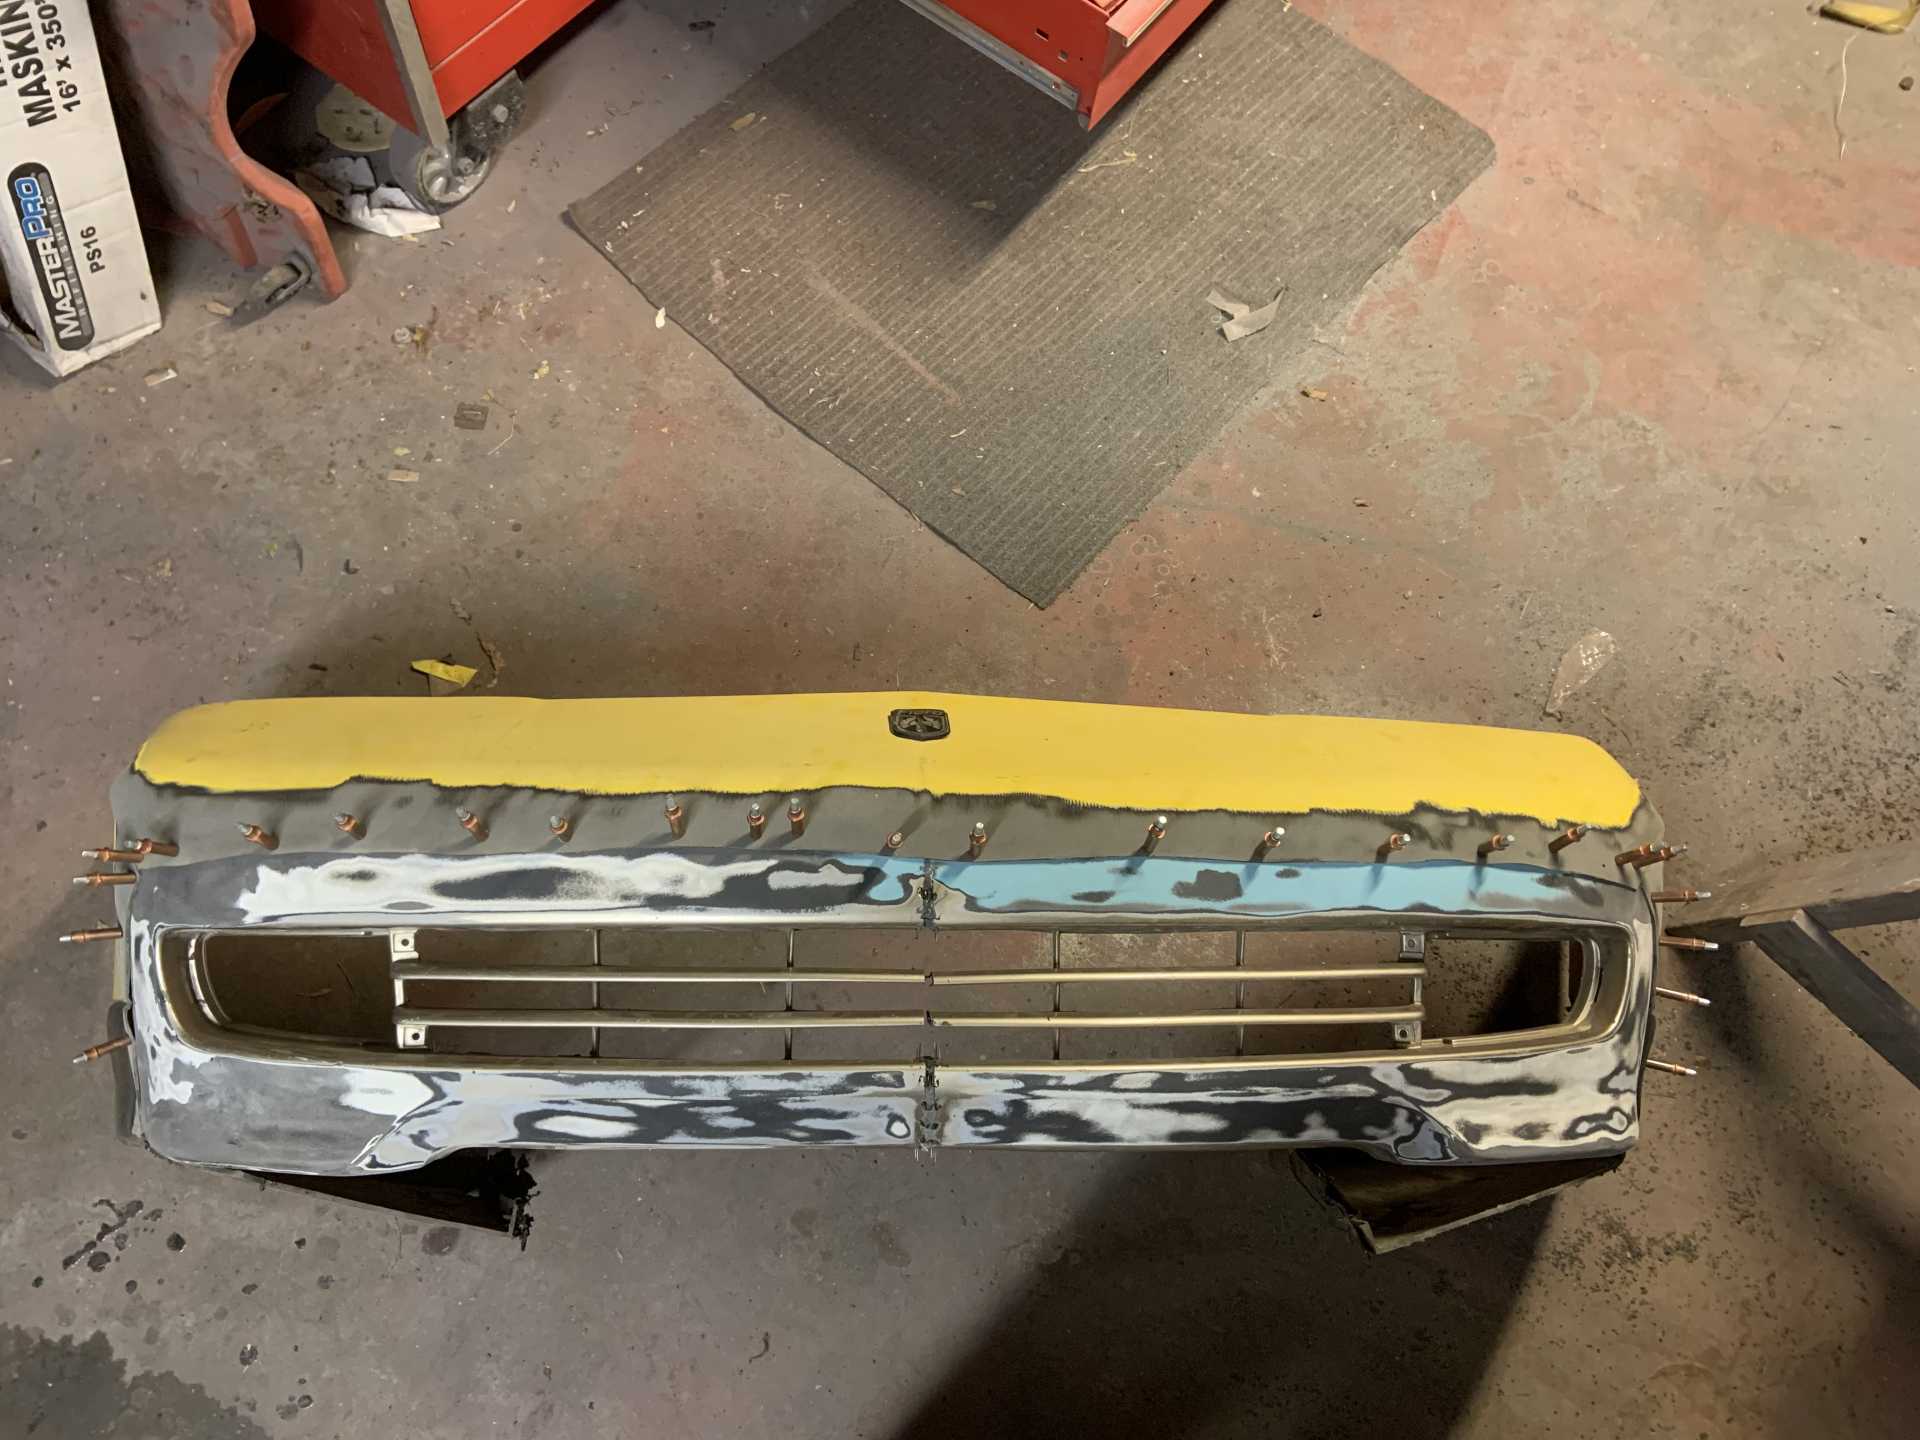
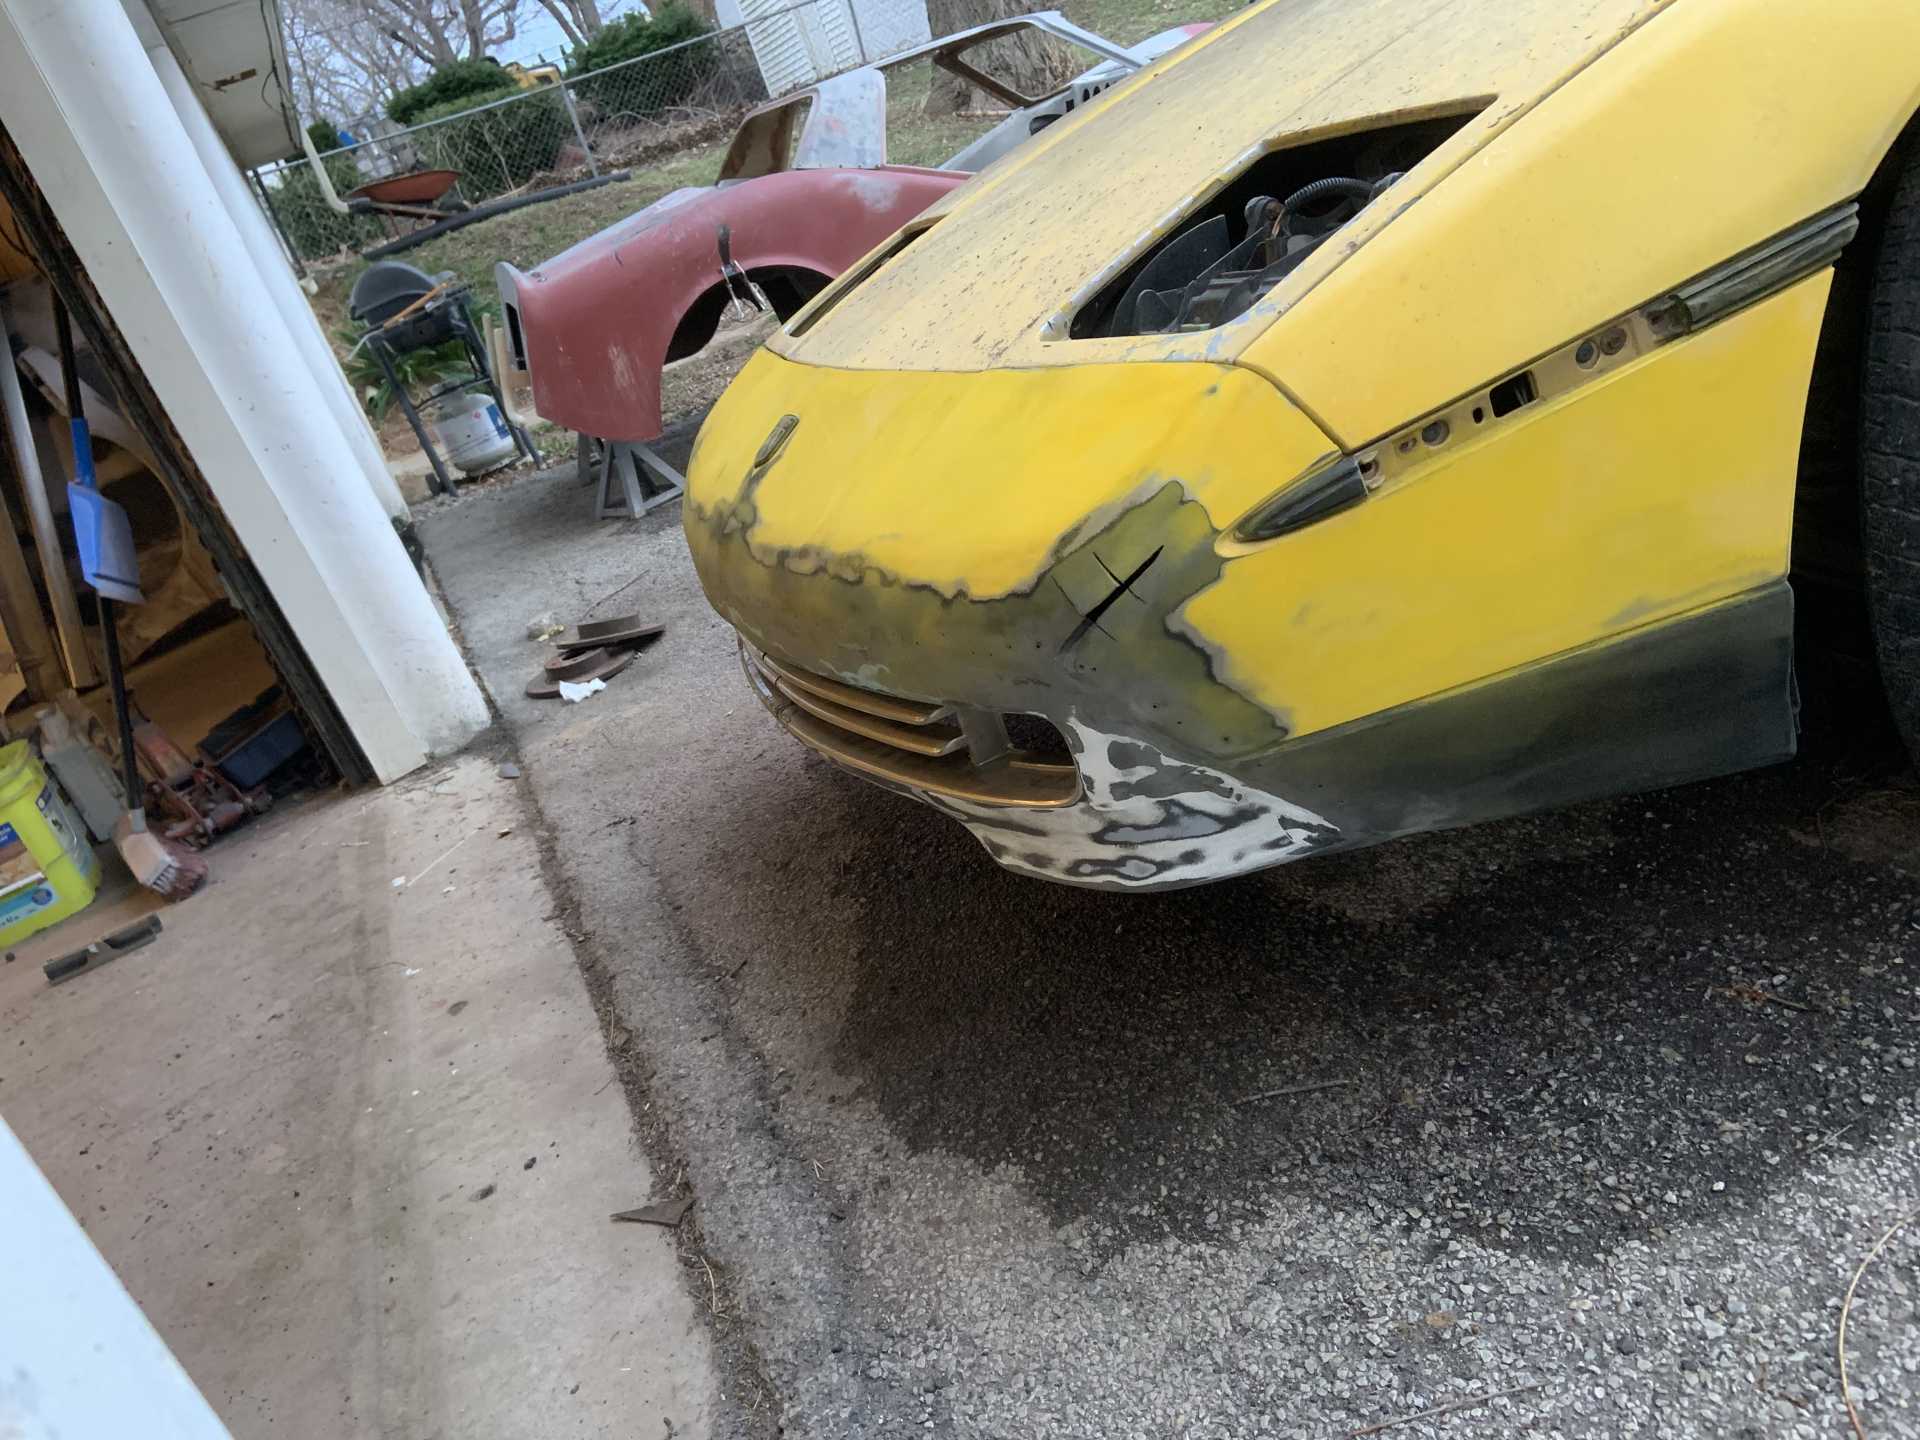
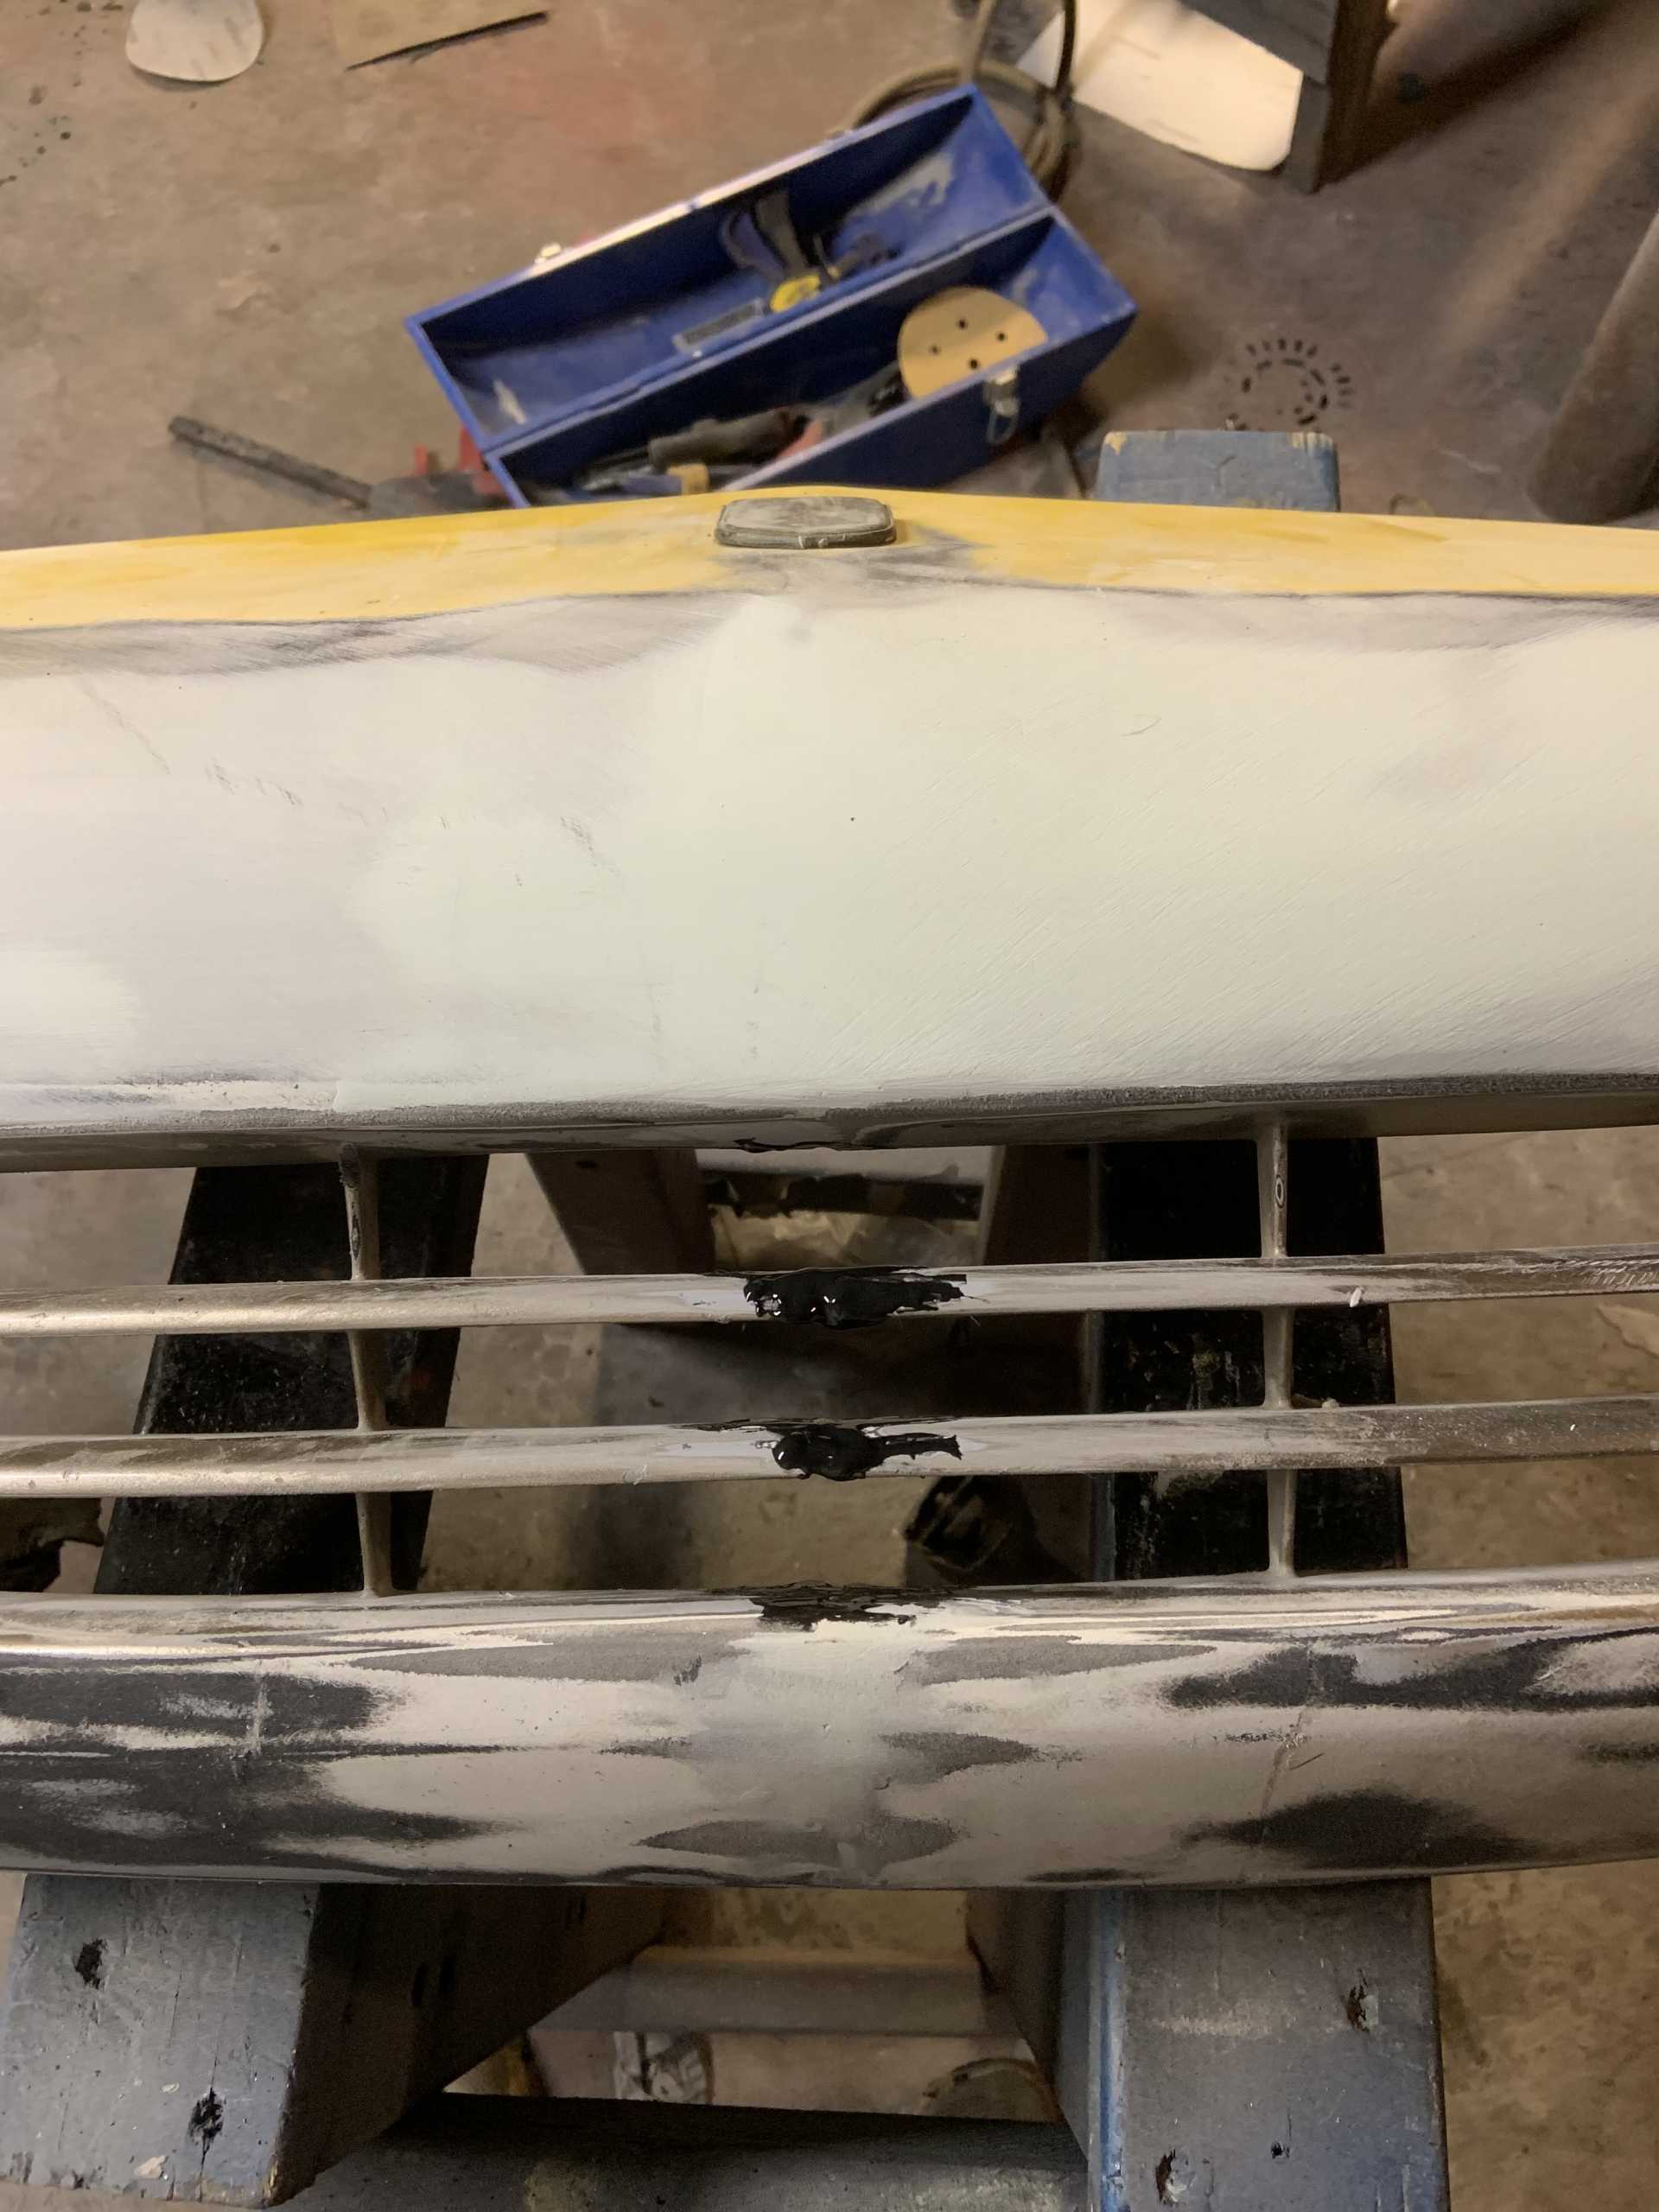
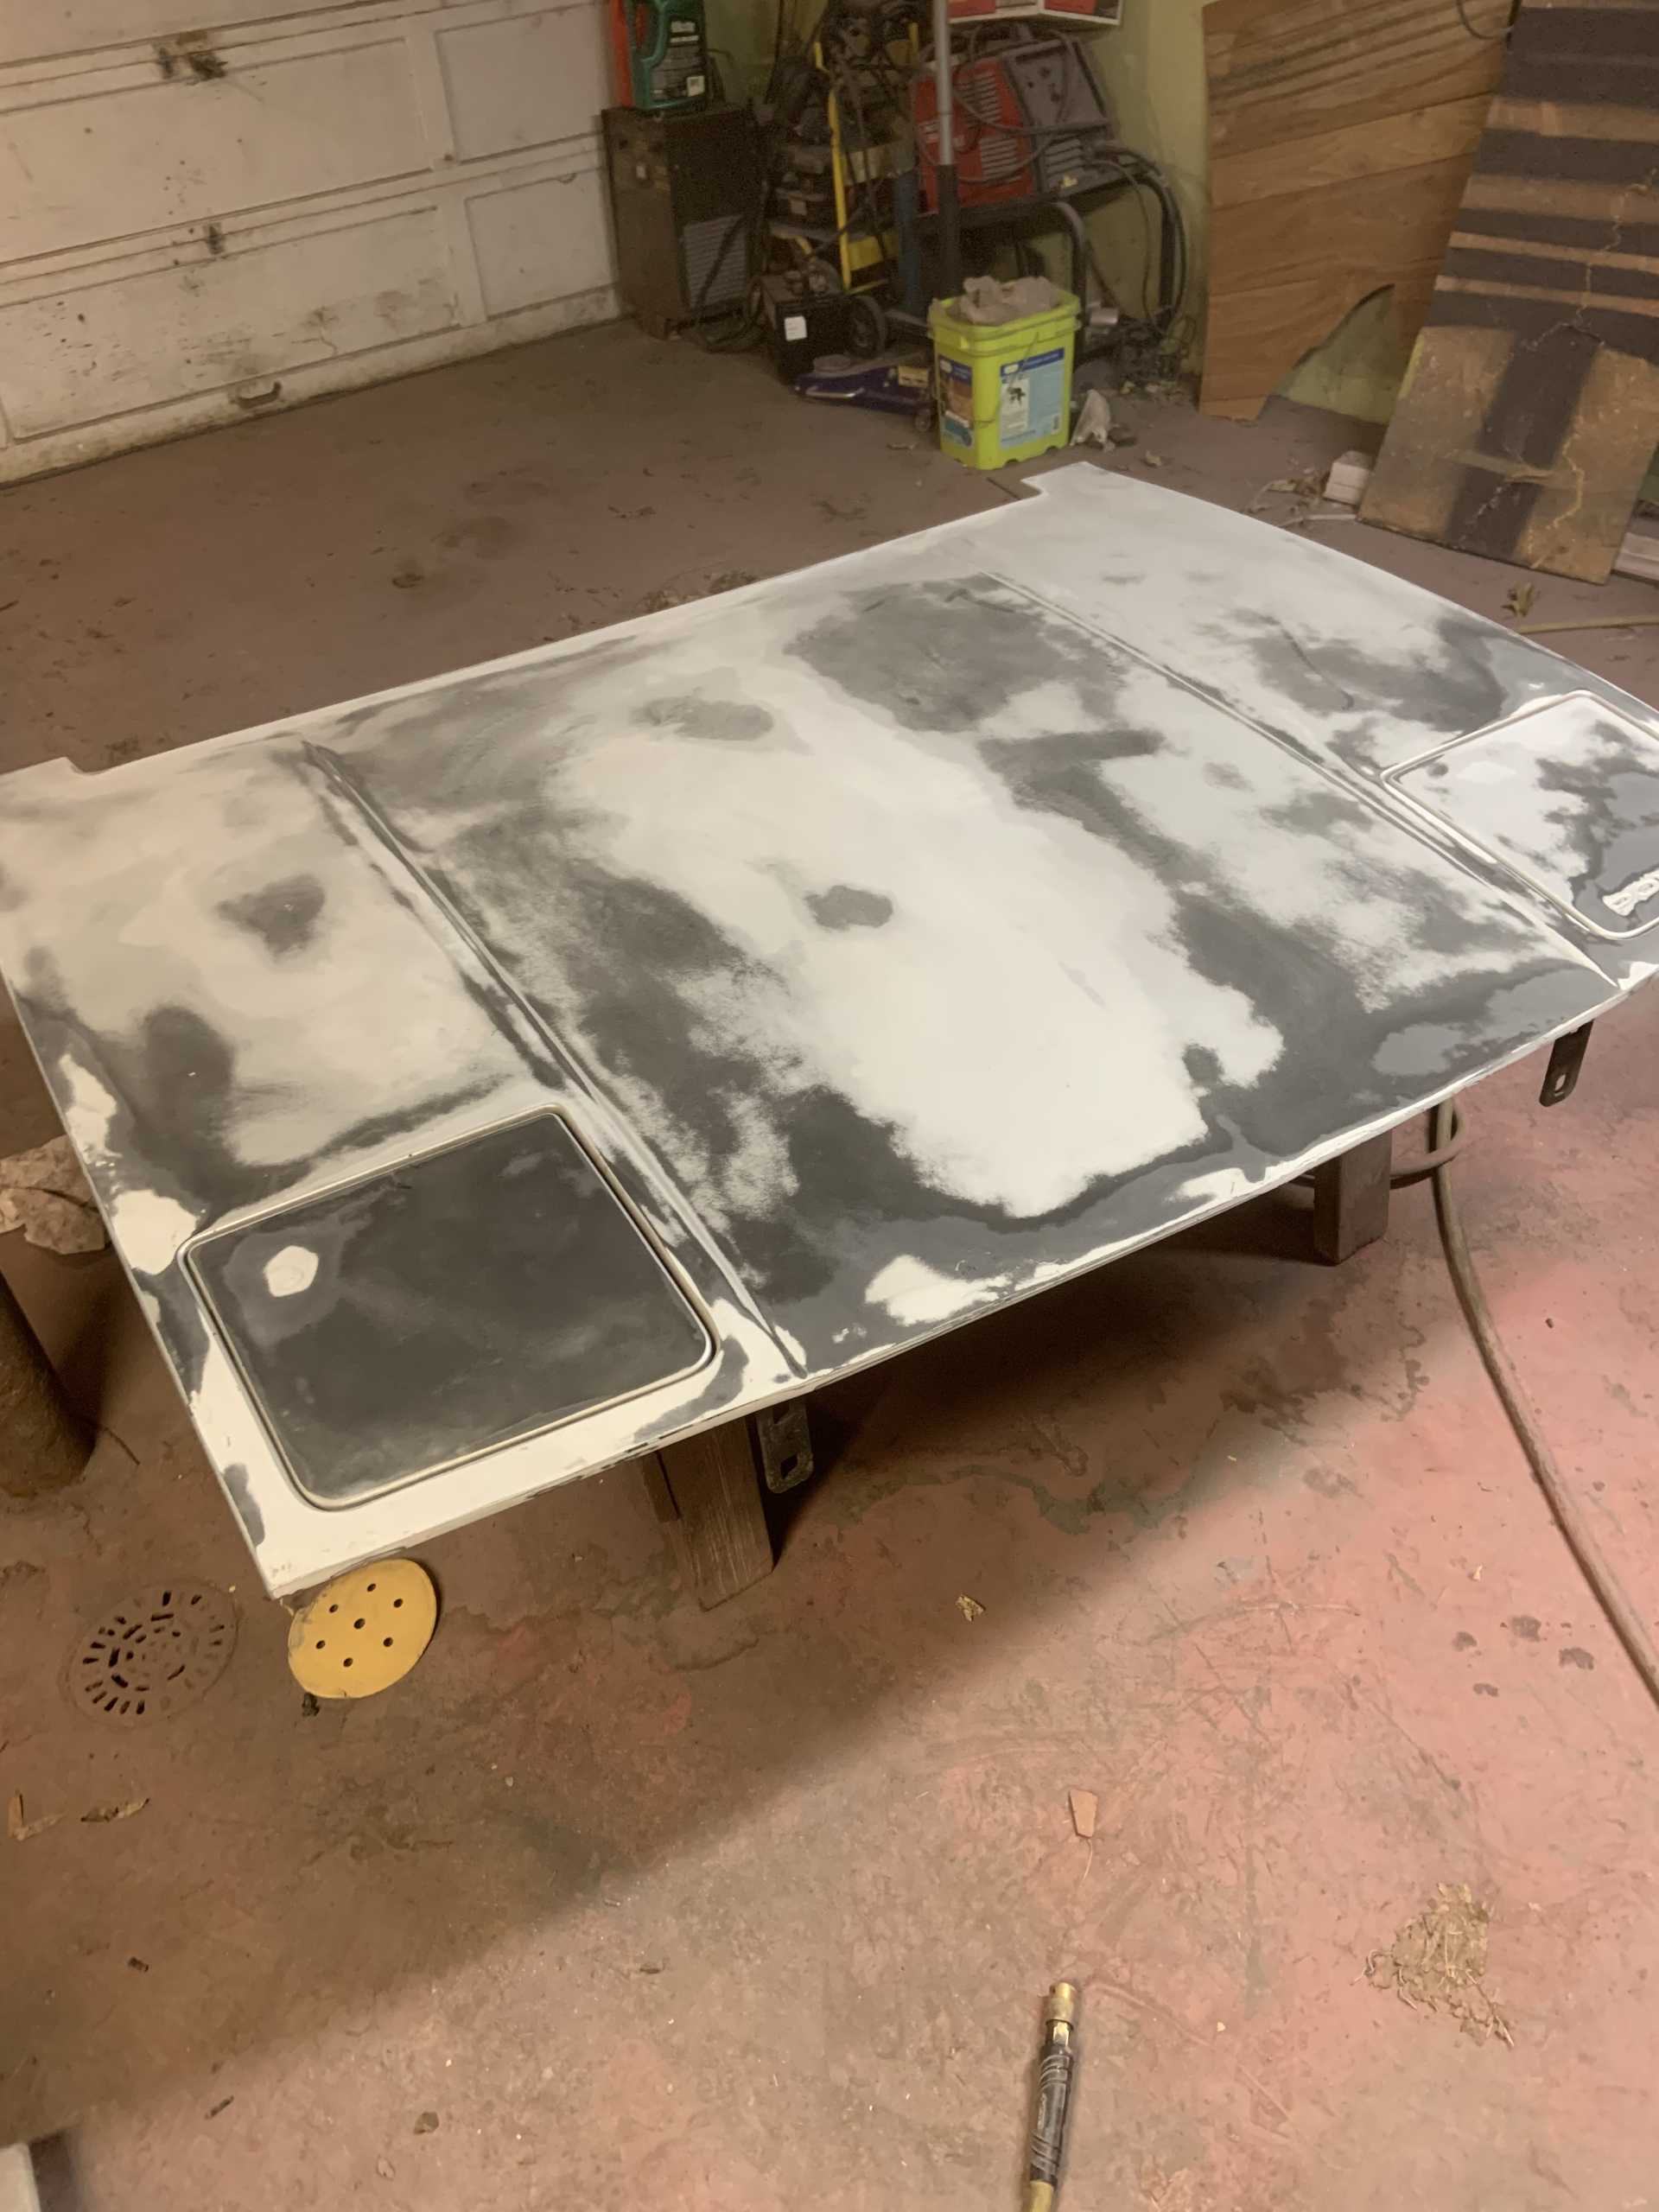
my next step after the semi rigid repair bond was cured i was able to do some rough shaping. filled in and bonded the centers together. A little heat here and there and able to straighten out some of the imperfections before a final finessing.
|
|
|
|
Habanera Hal
|
JAN 20, 10:44 PM
|
|
|
Nice job blending the ground effects!
|
|
|
|
Awalker W02
|
JAN 25, 01:05 PM
|
|
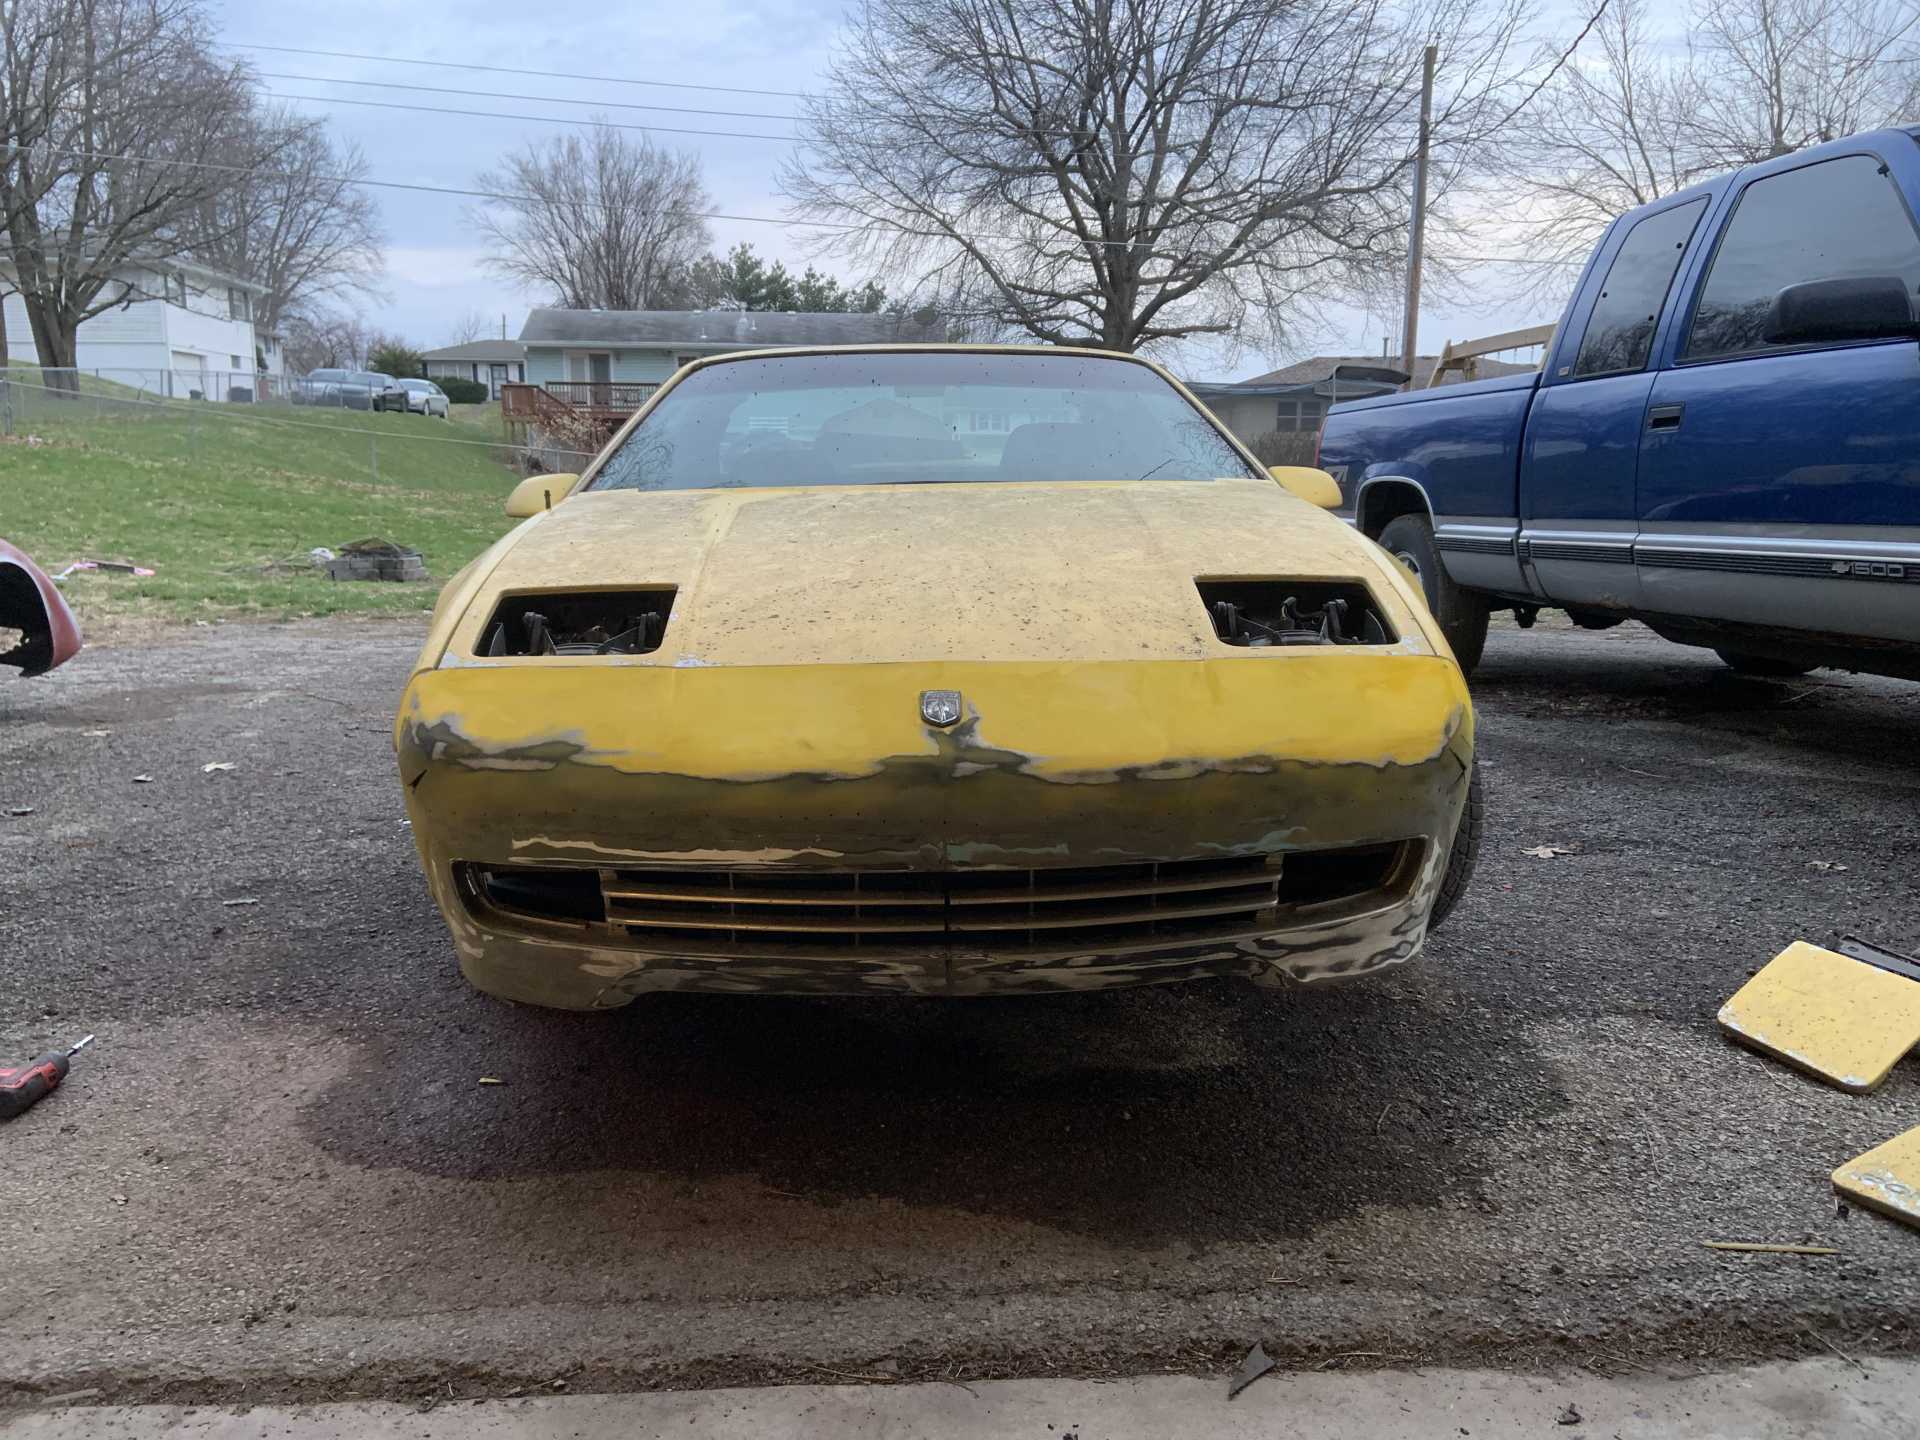
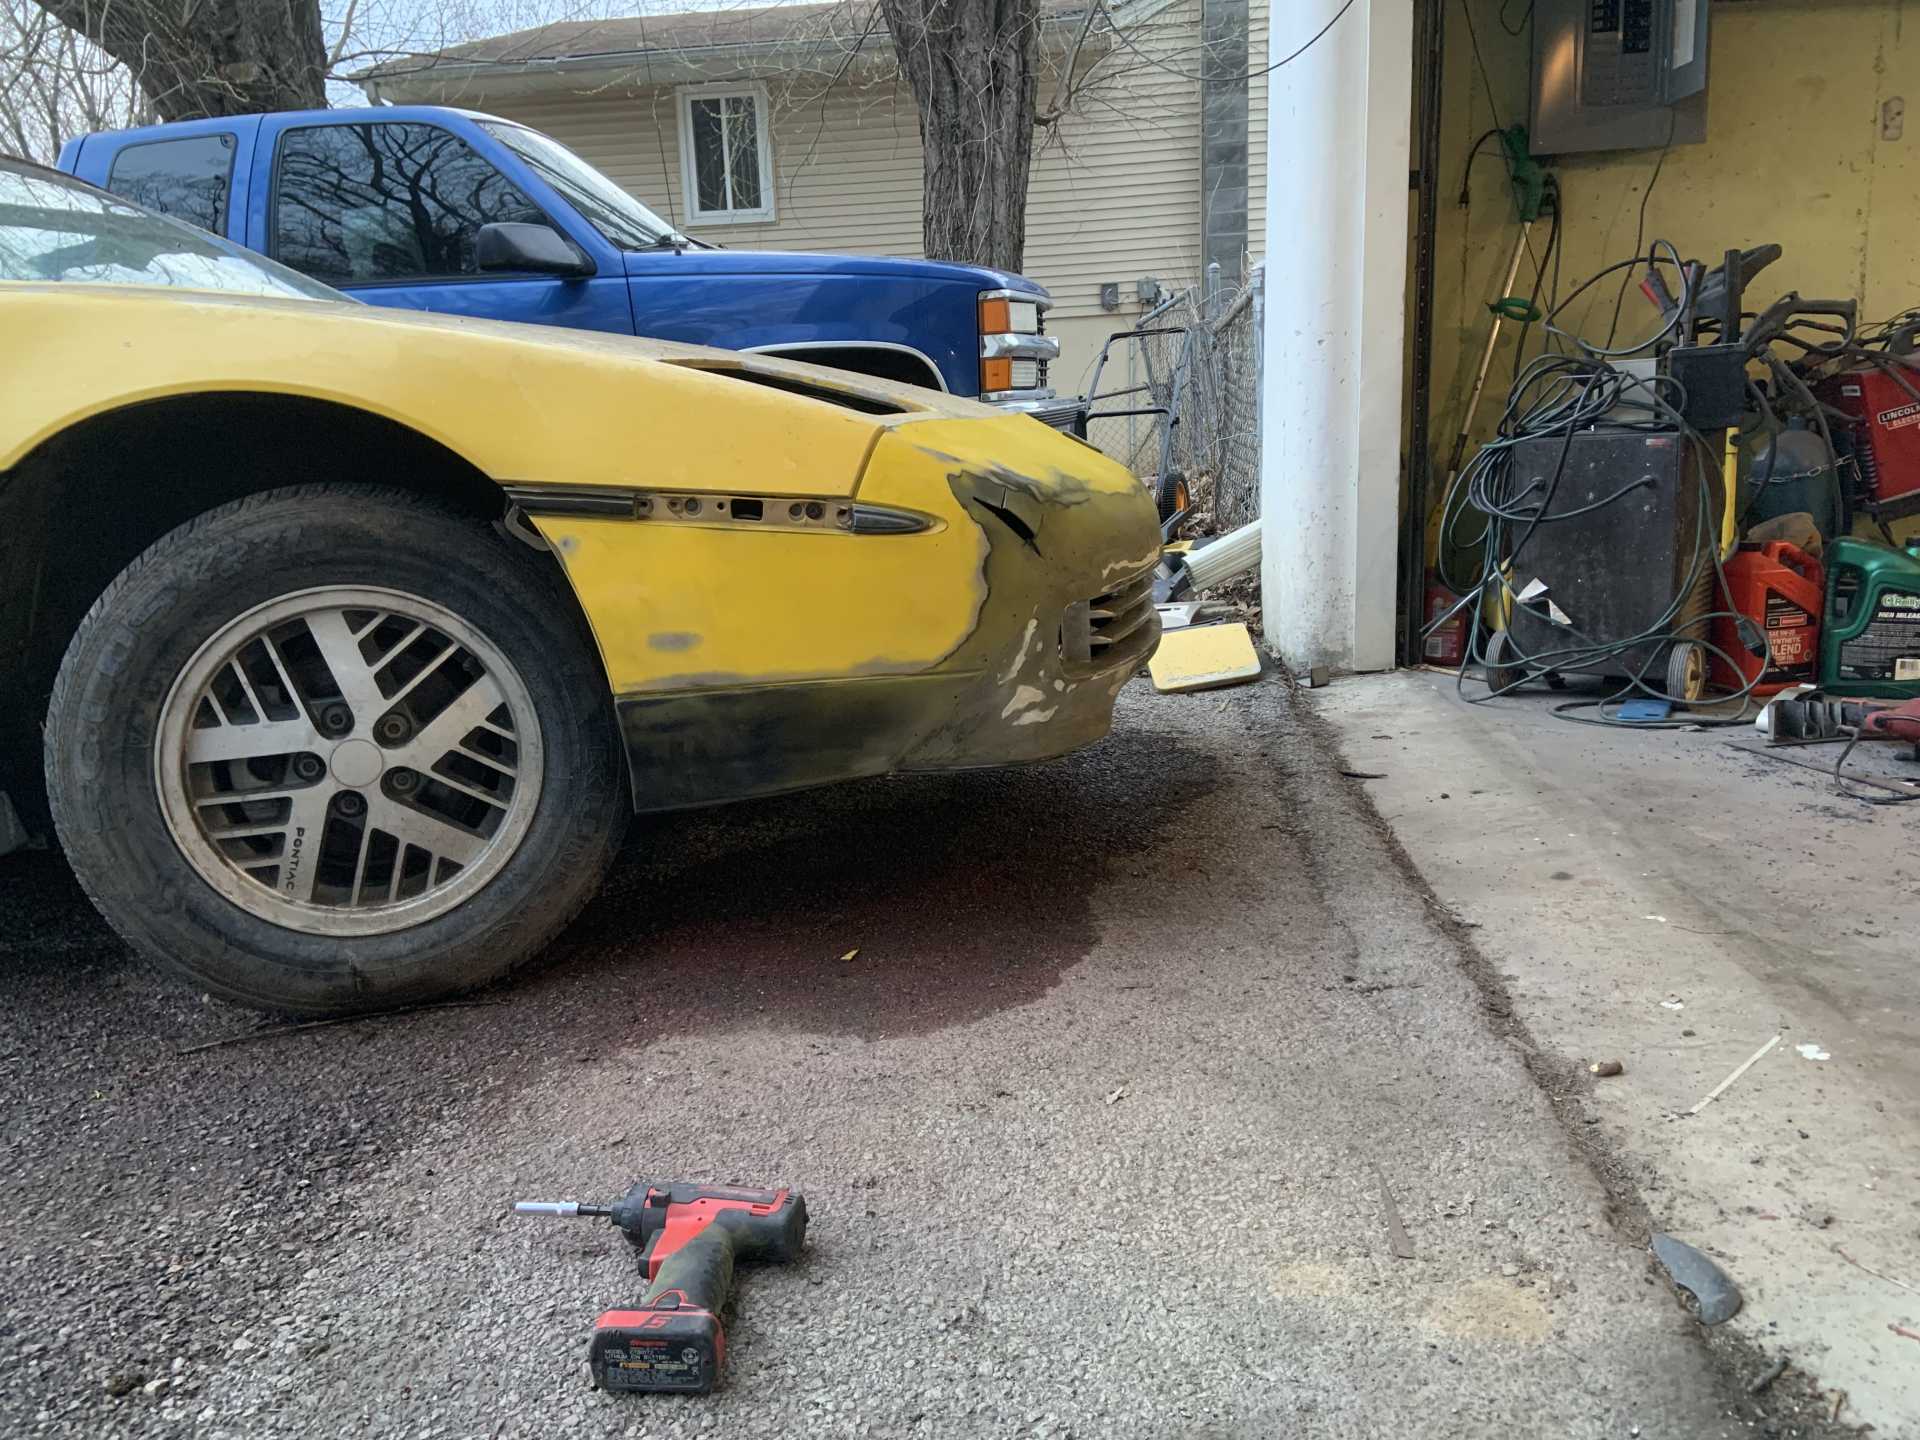
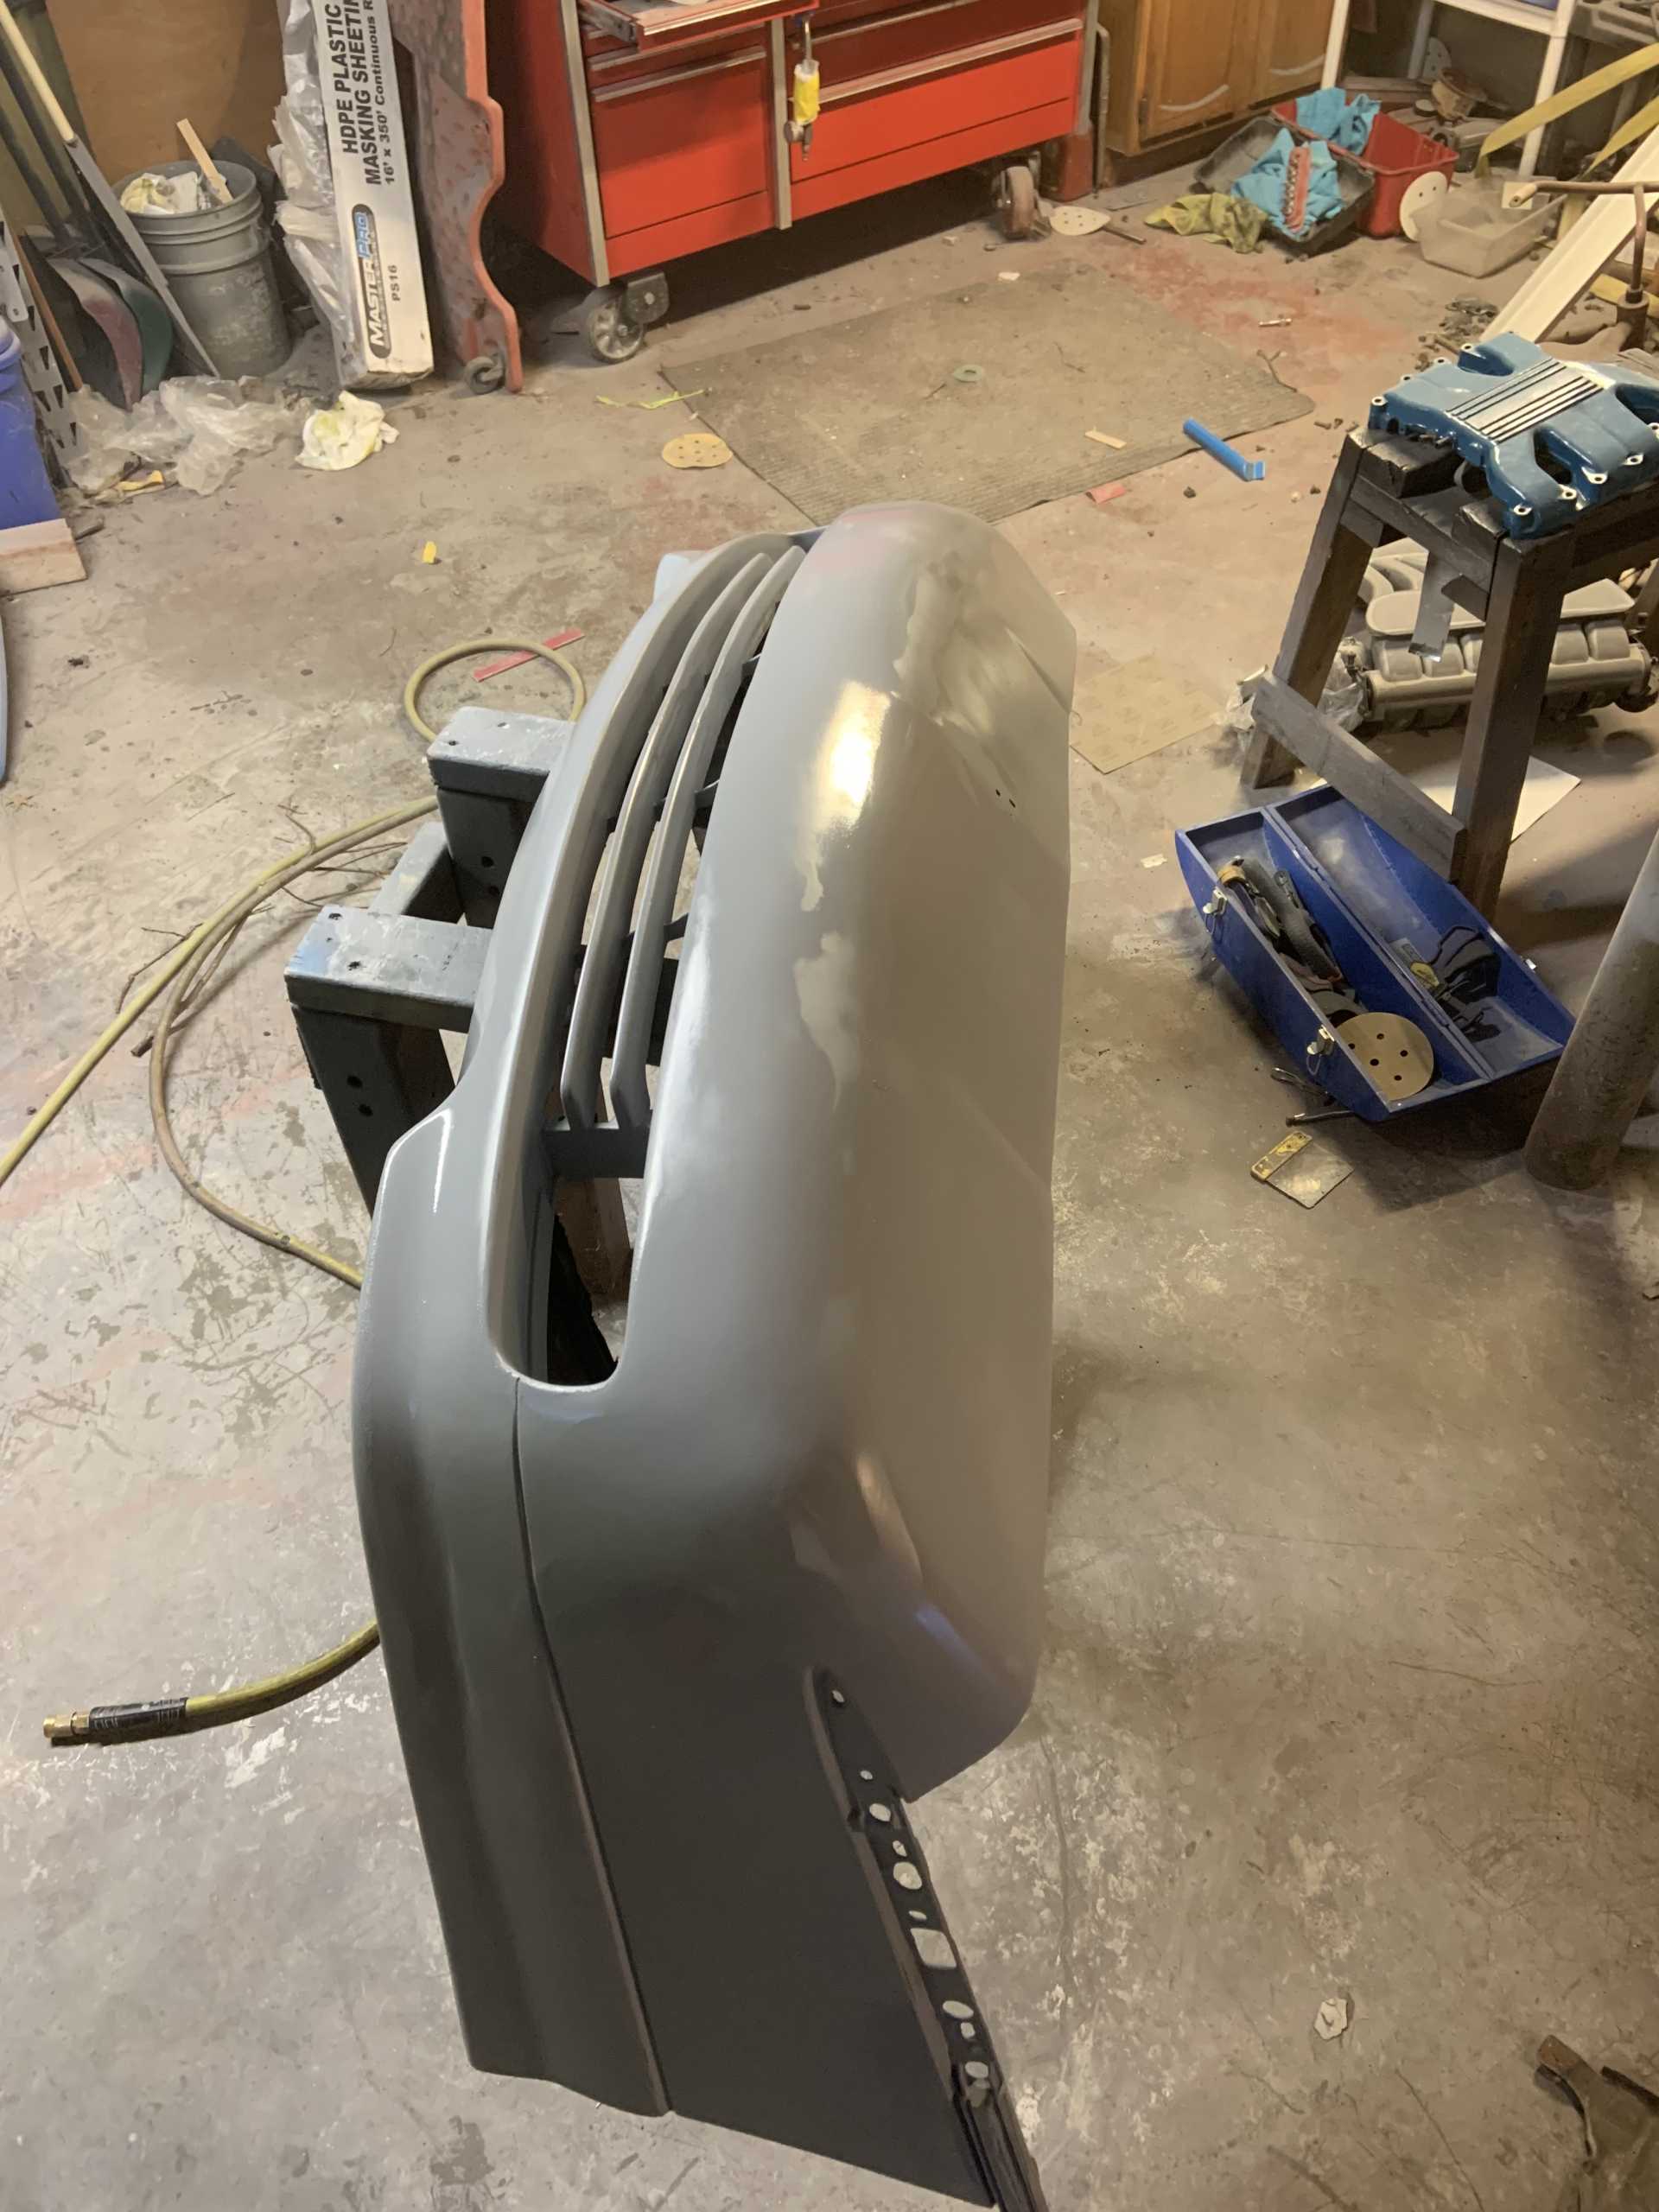
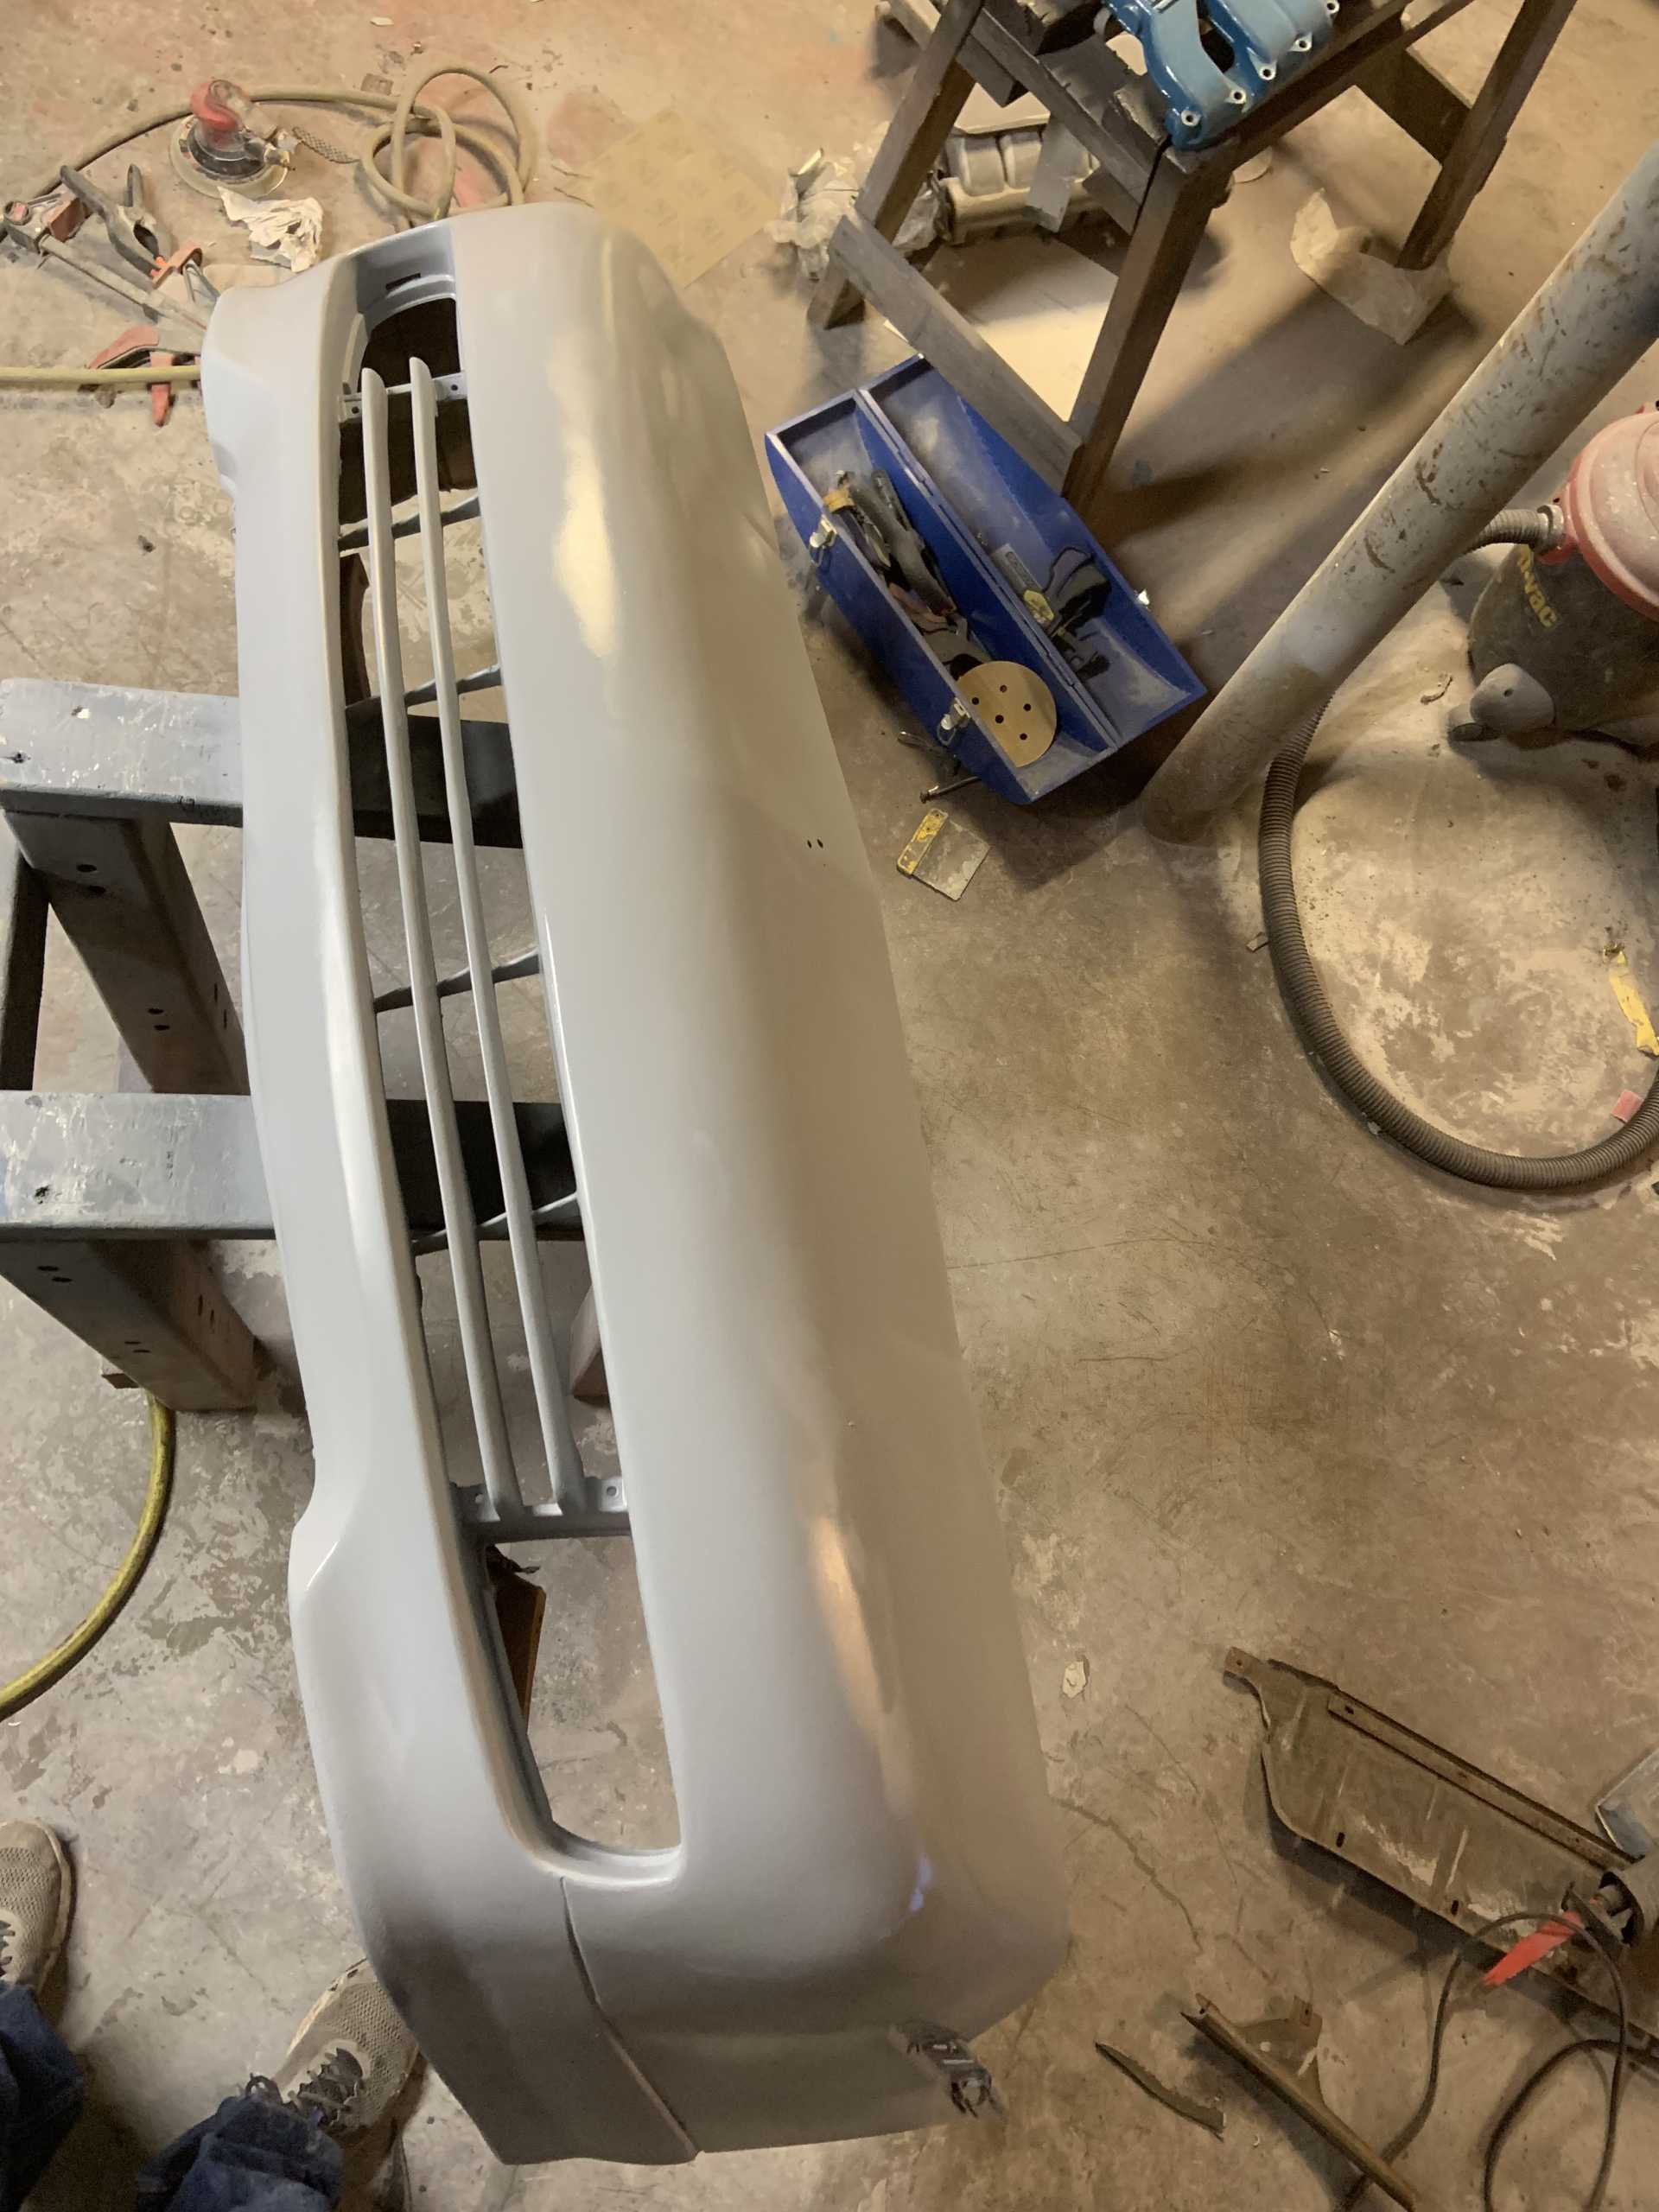
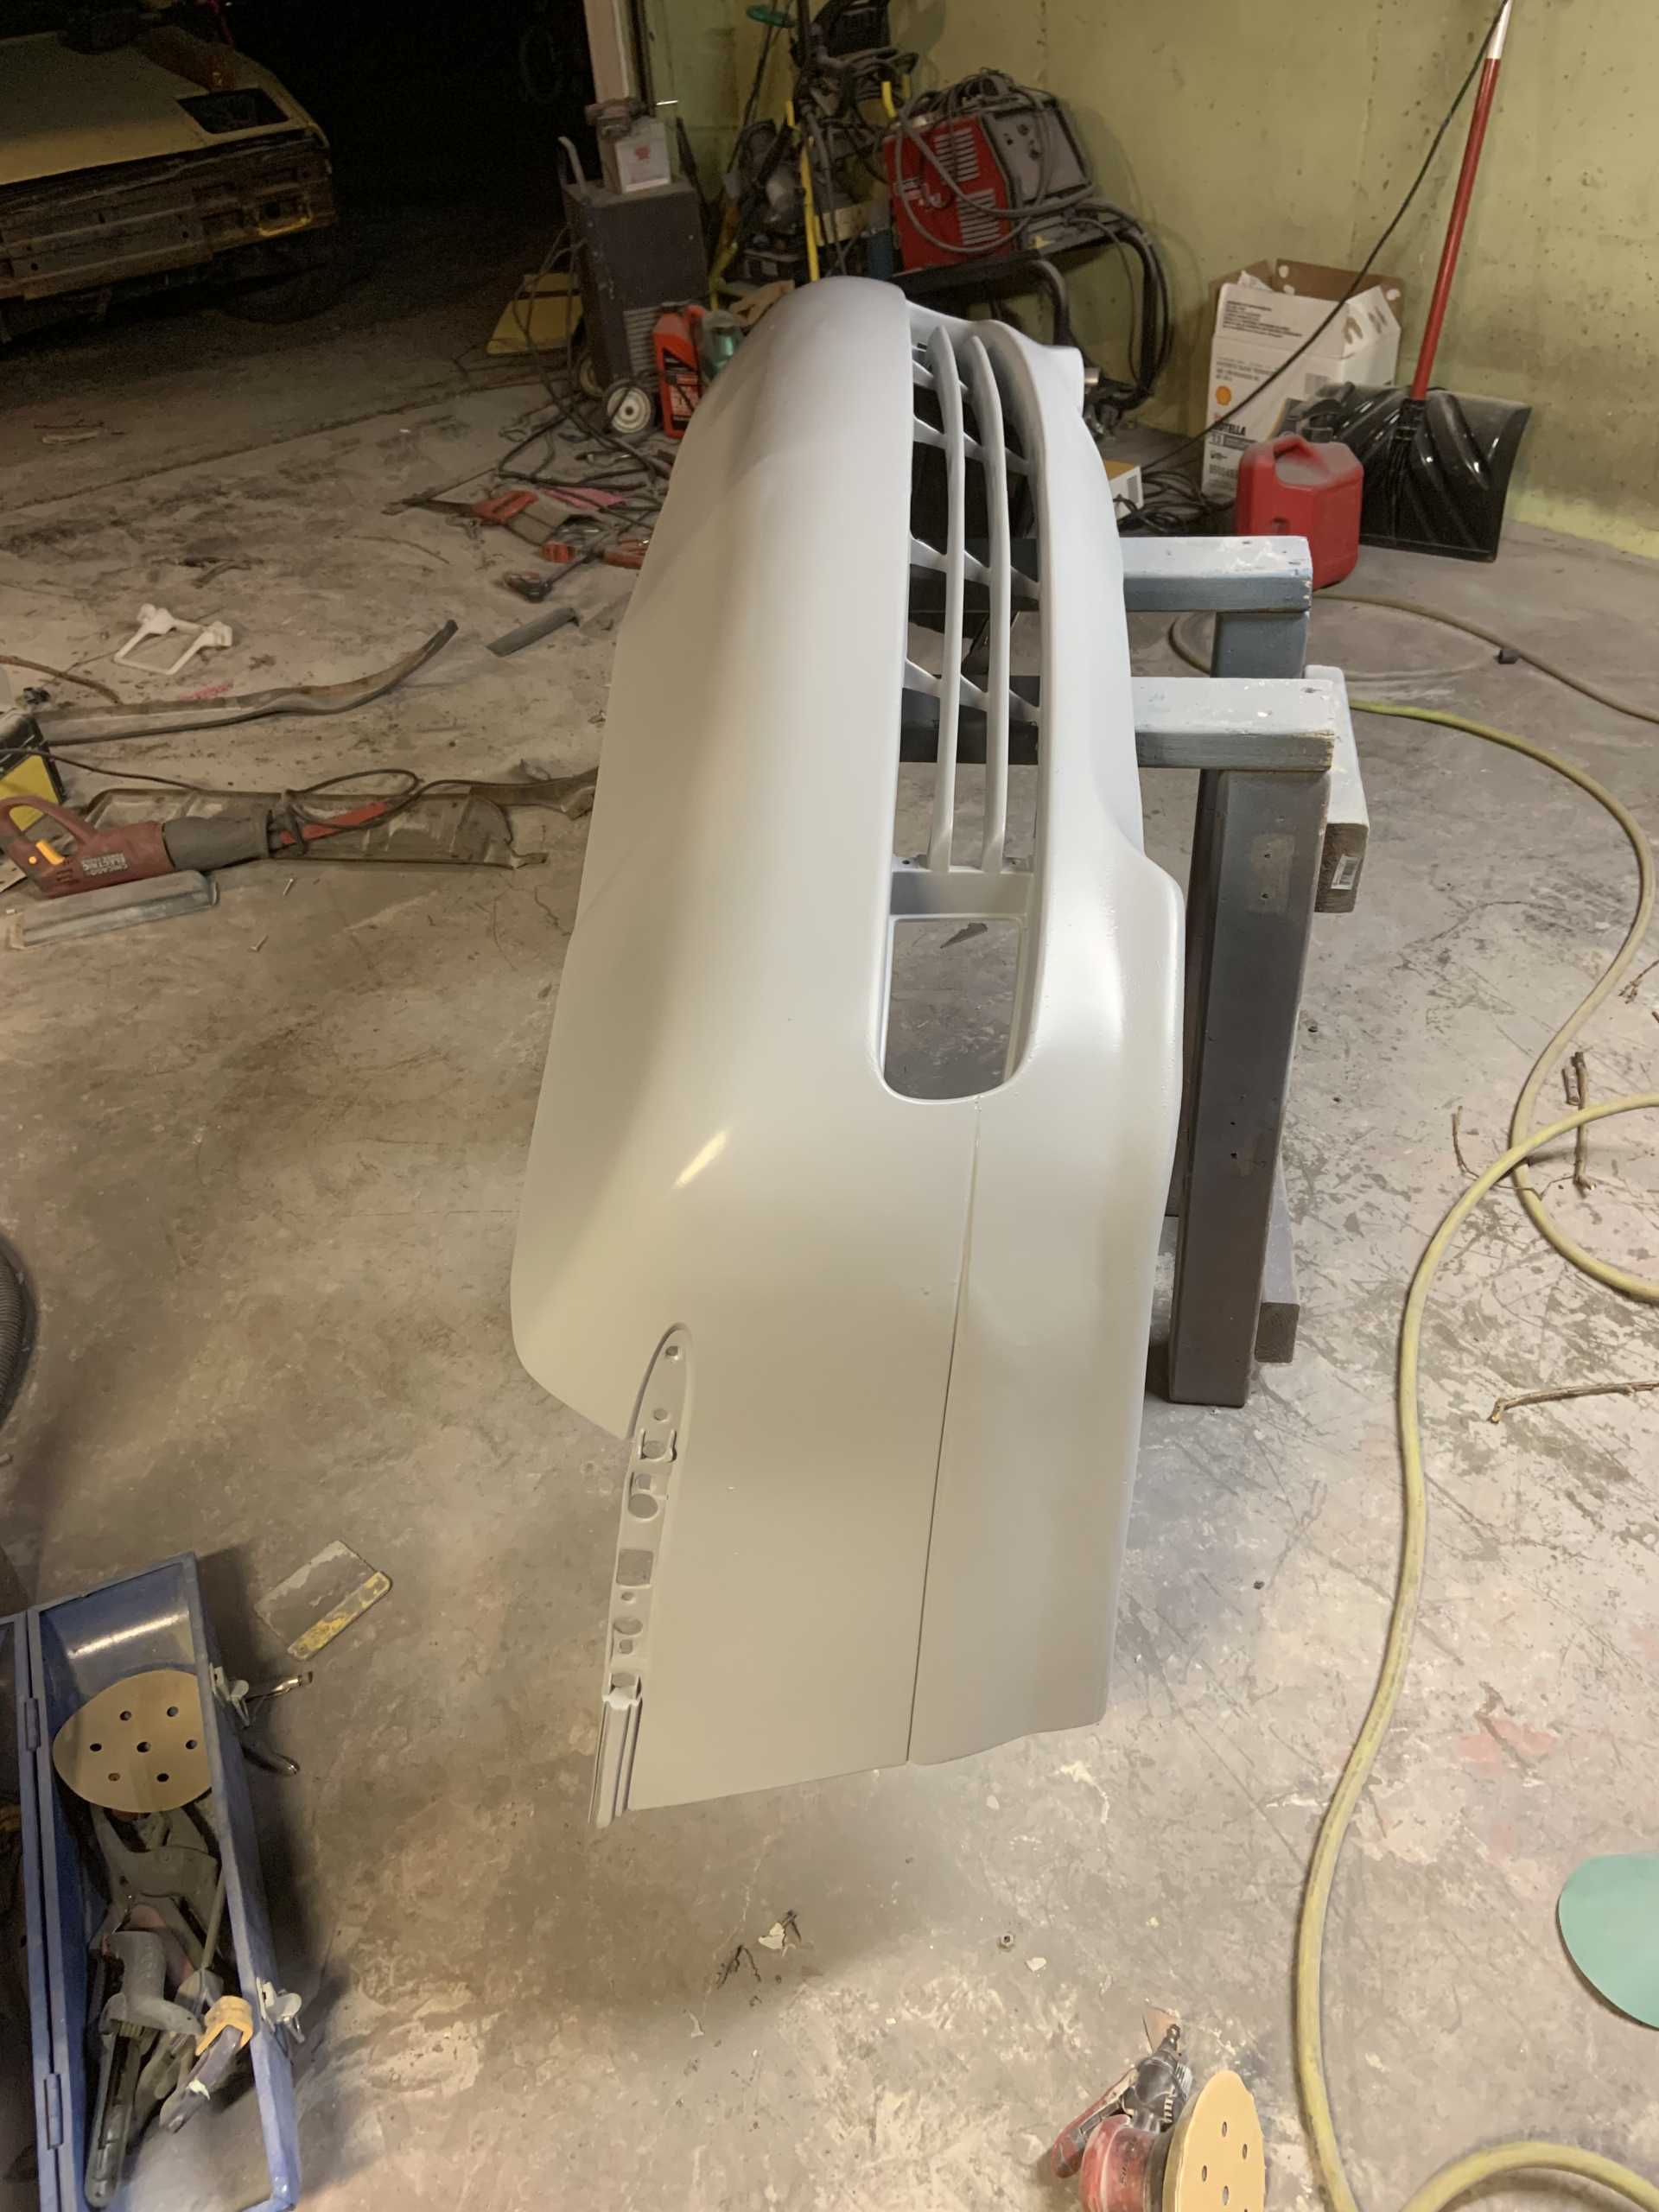
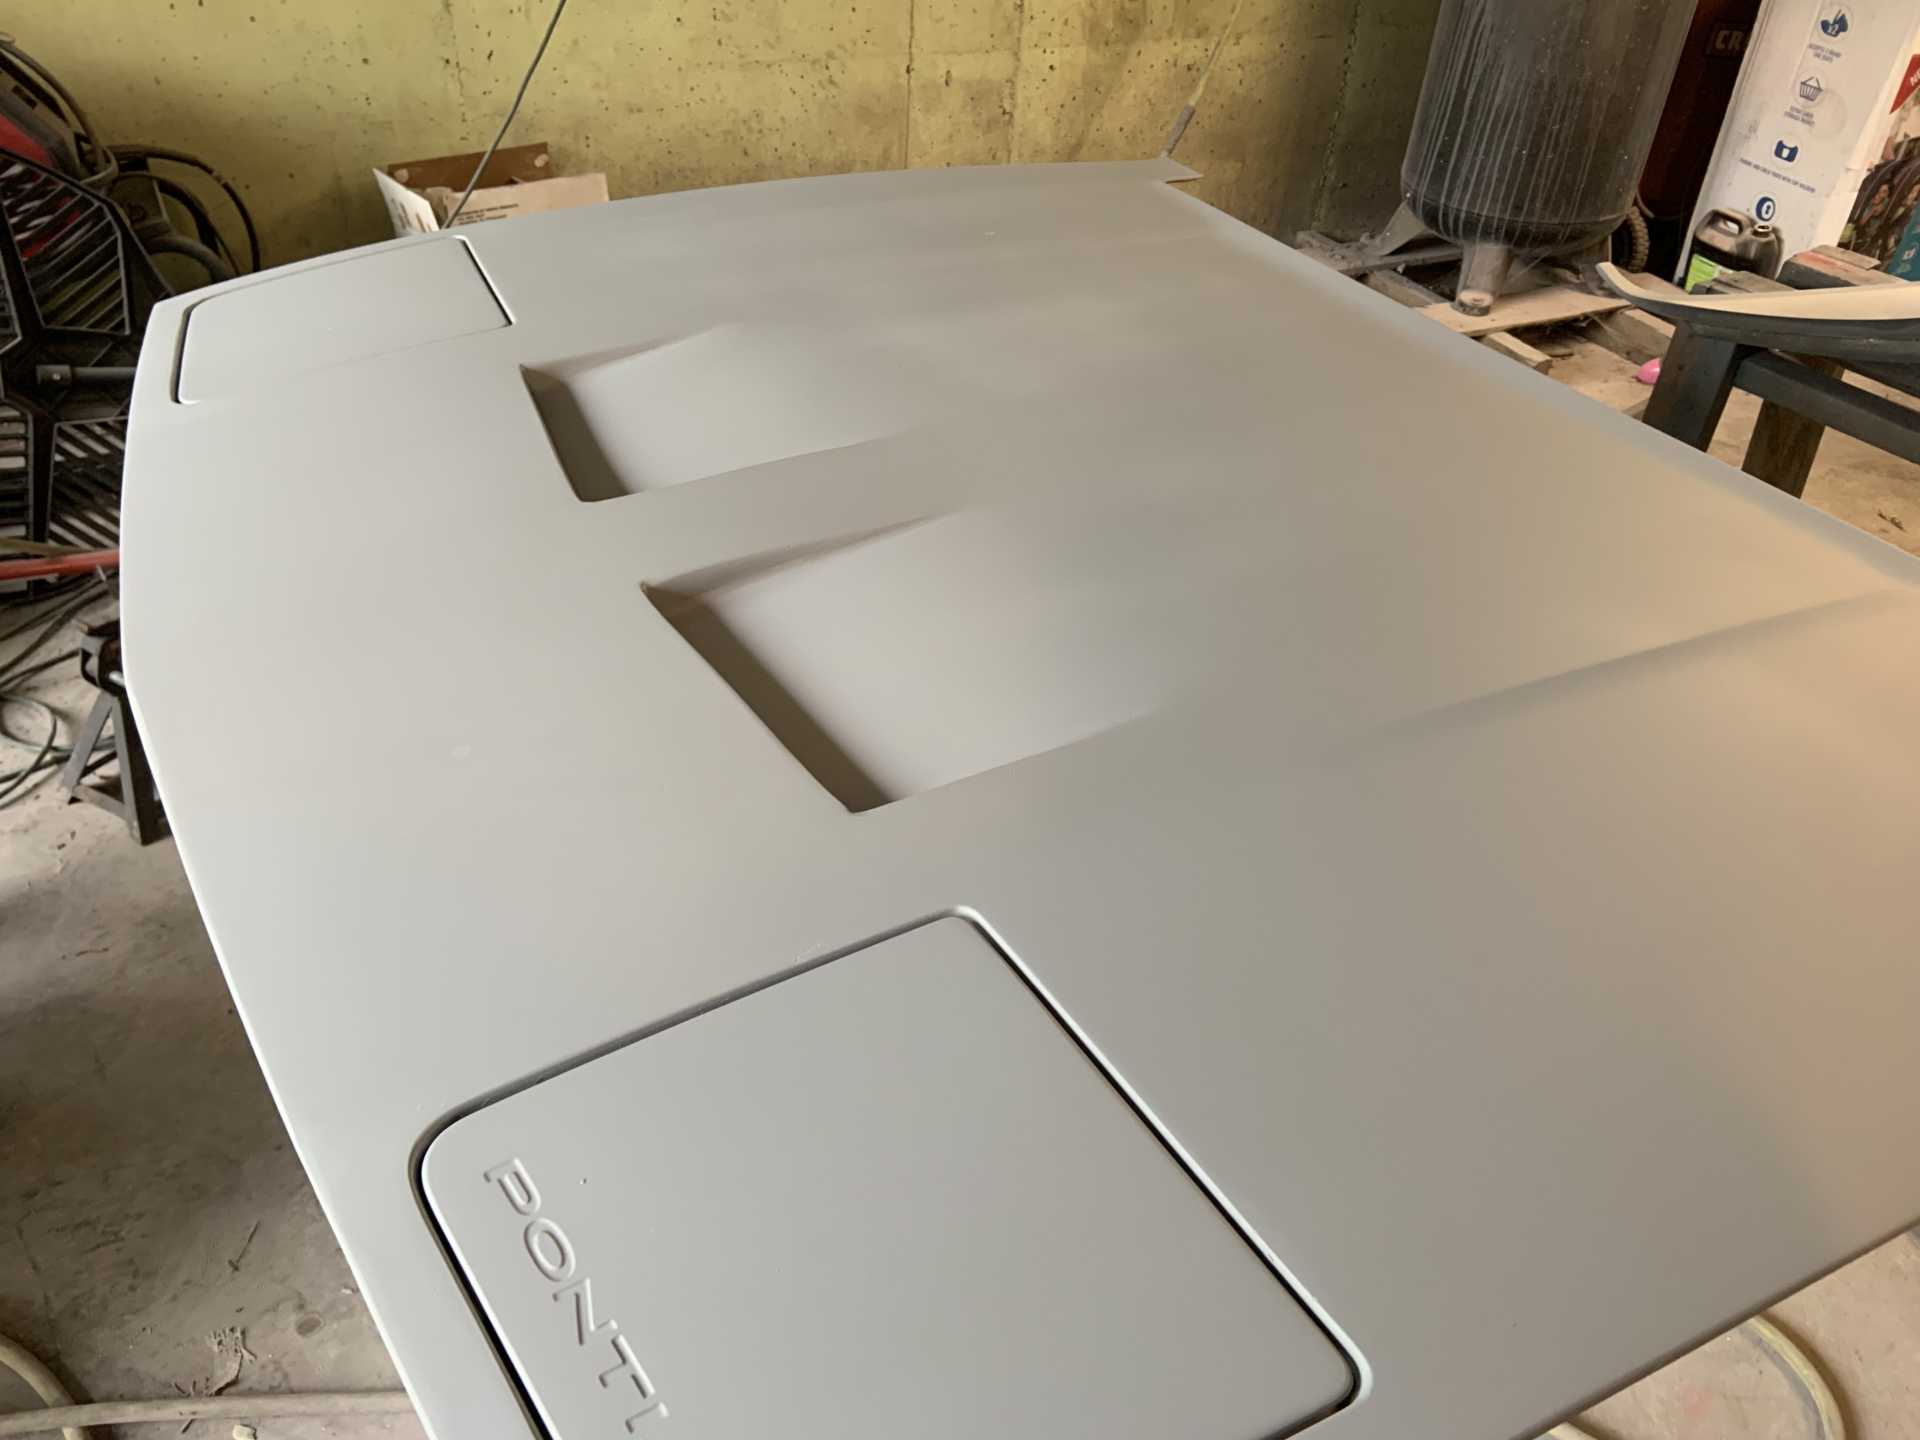
Once everything was smooth and once I liked the way things were forming up It was time for primer.

|
|
|
|
bjc 350
|
JAN 25, 01:20 PM
|
|
|
Don't know where I've been all this time, but today is the first chance I have had to look at your build thread. Nice job on the wide body. Looks like you were able to get a wider fender flare than I accomplished. Also great to see how a professional does work versus us guys who try to learn as we go. Coincidentally, my 84 SC car is painted Laser Blue. That color really pops. Nice work! Great adaptation of the front facia on your current project, too.
|
|
|
|
Awalker W02
|
FEB 02, 11:19 AM
|
|
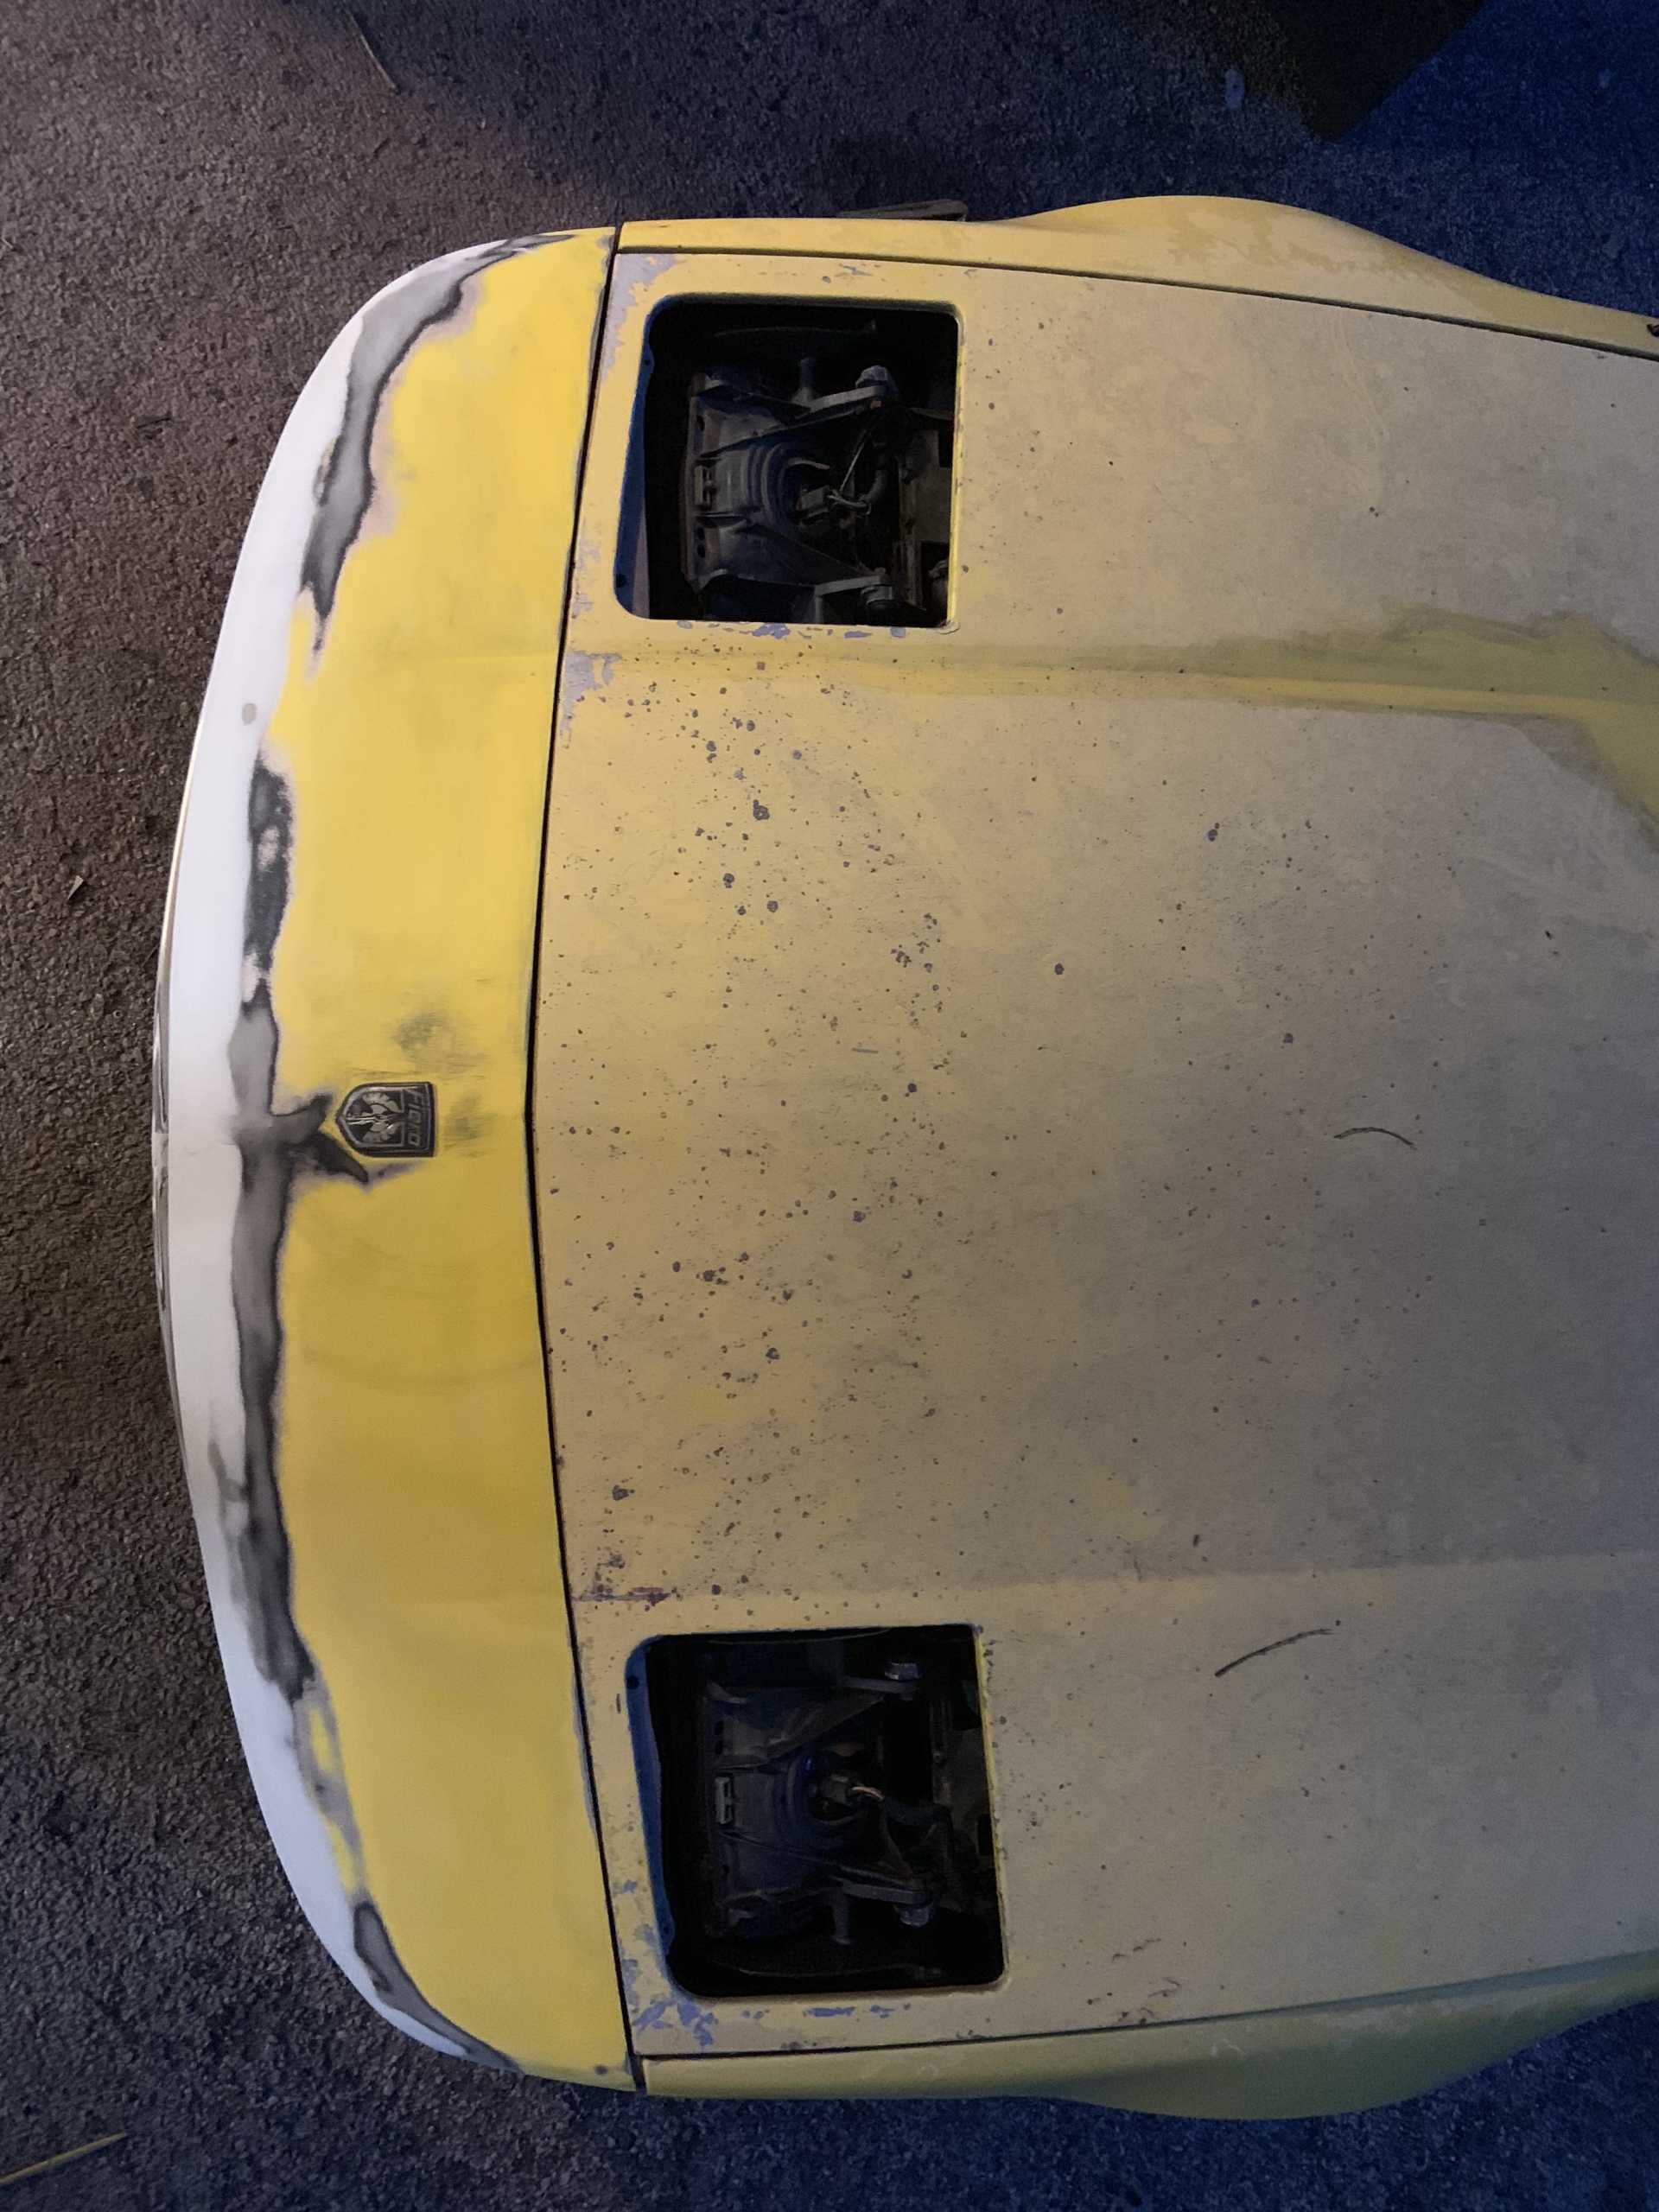
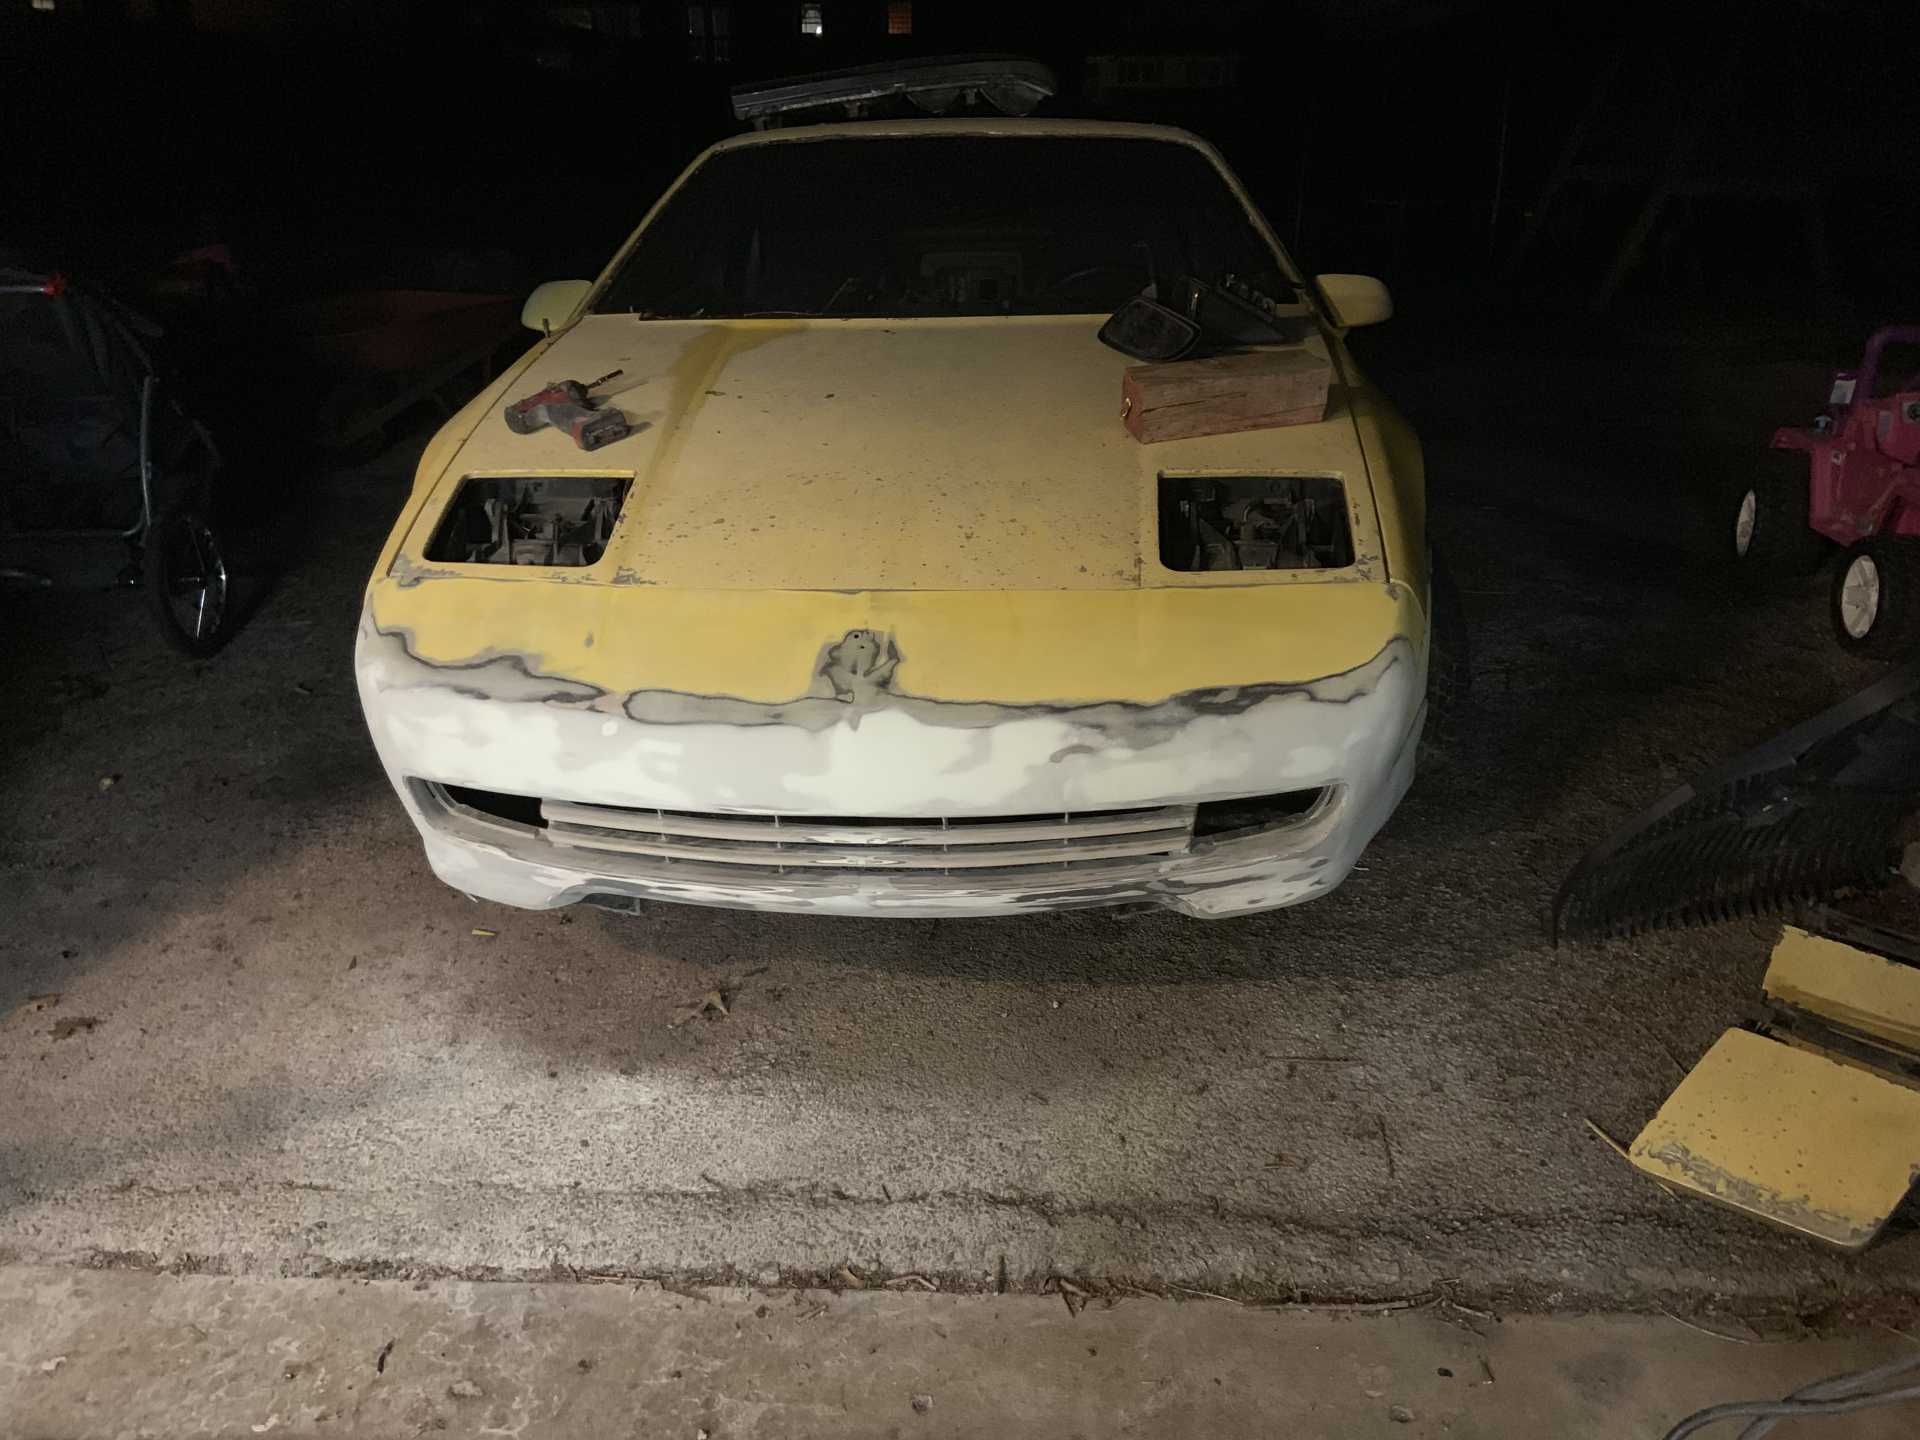
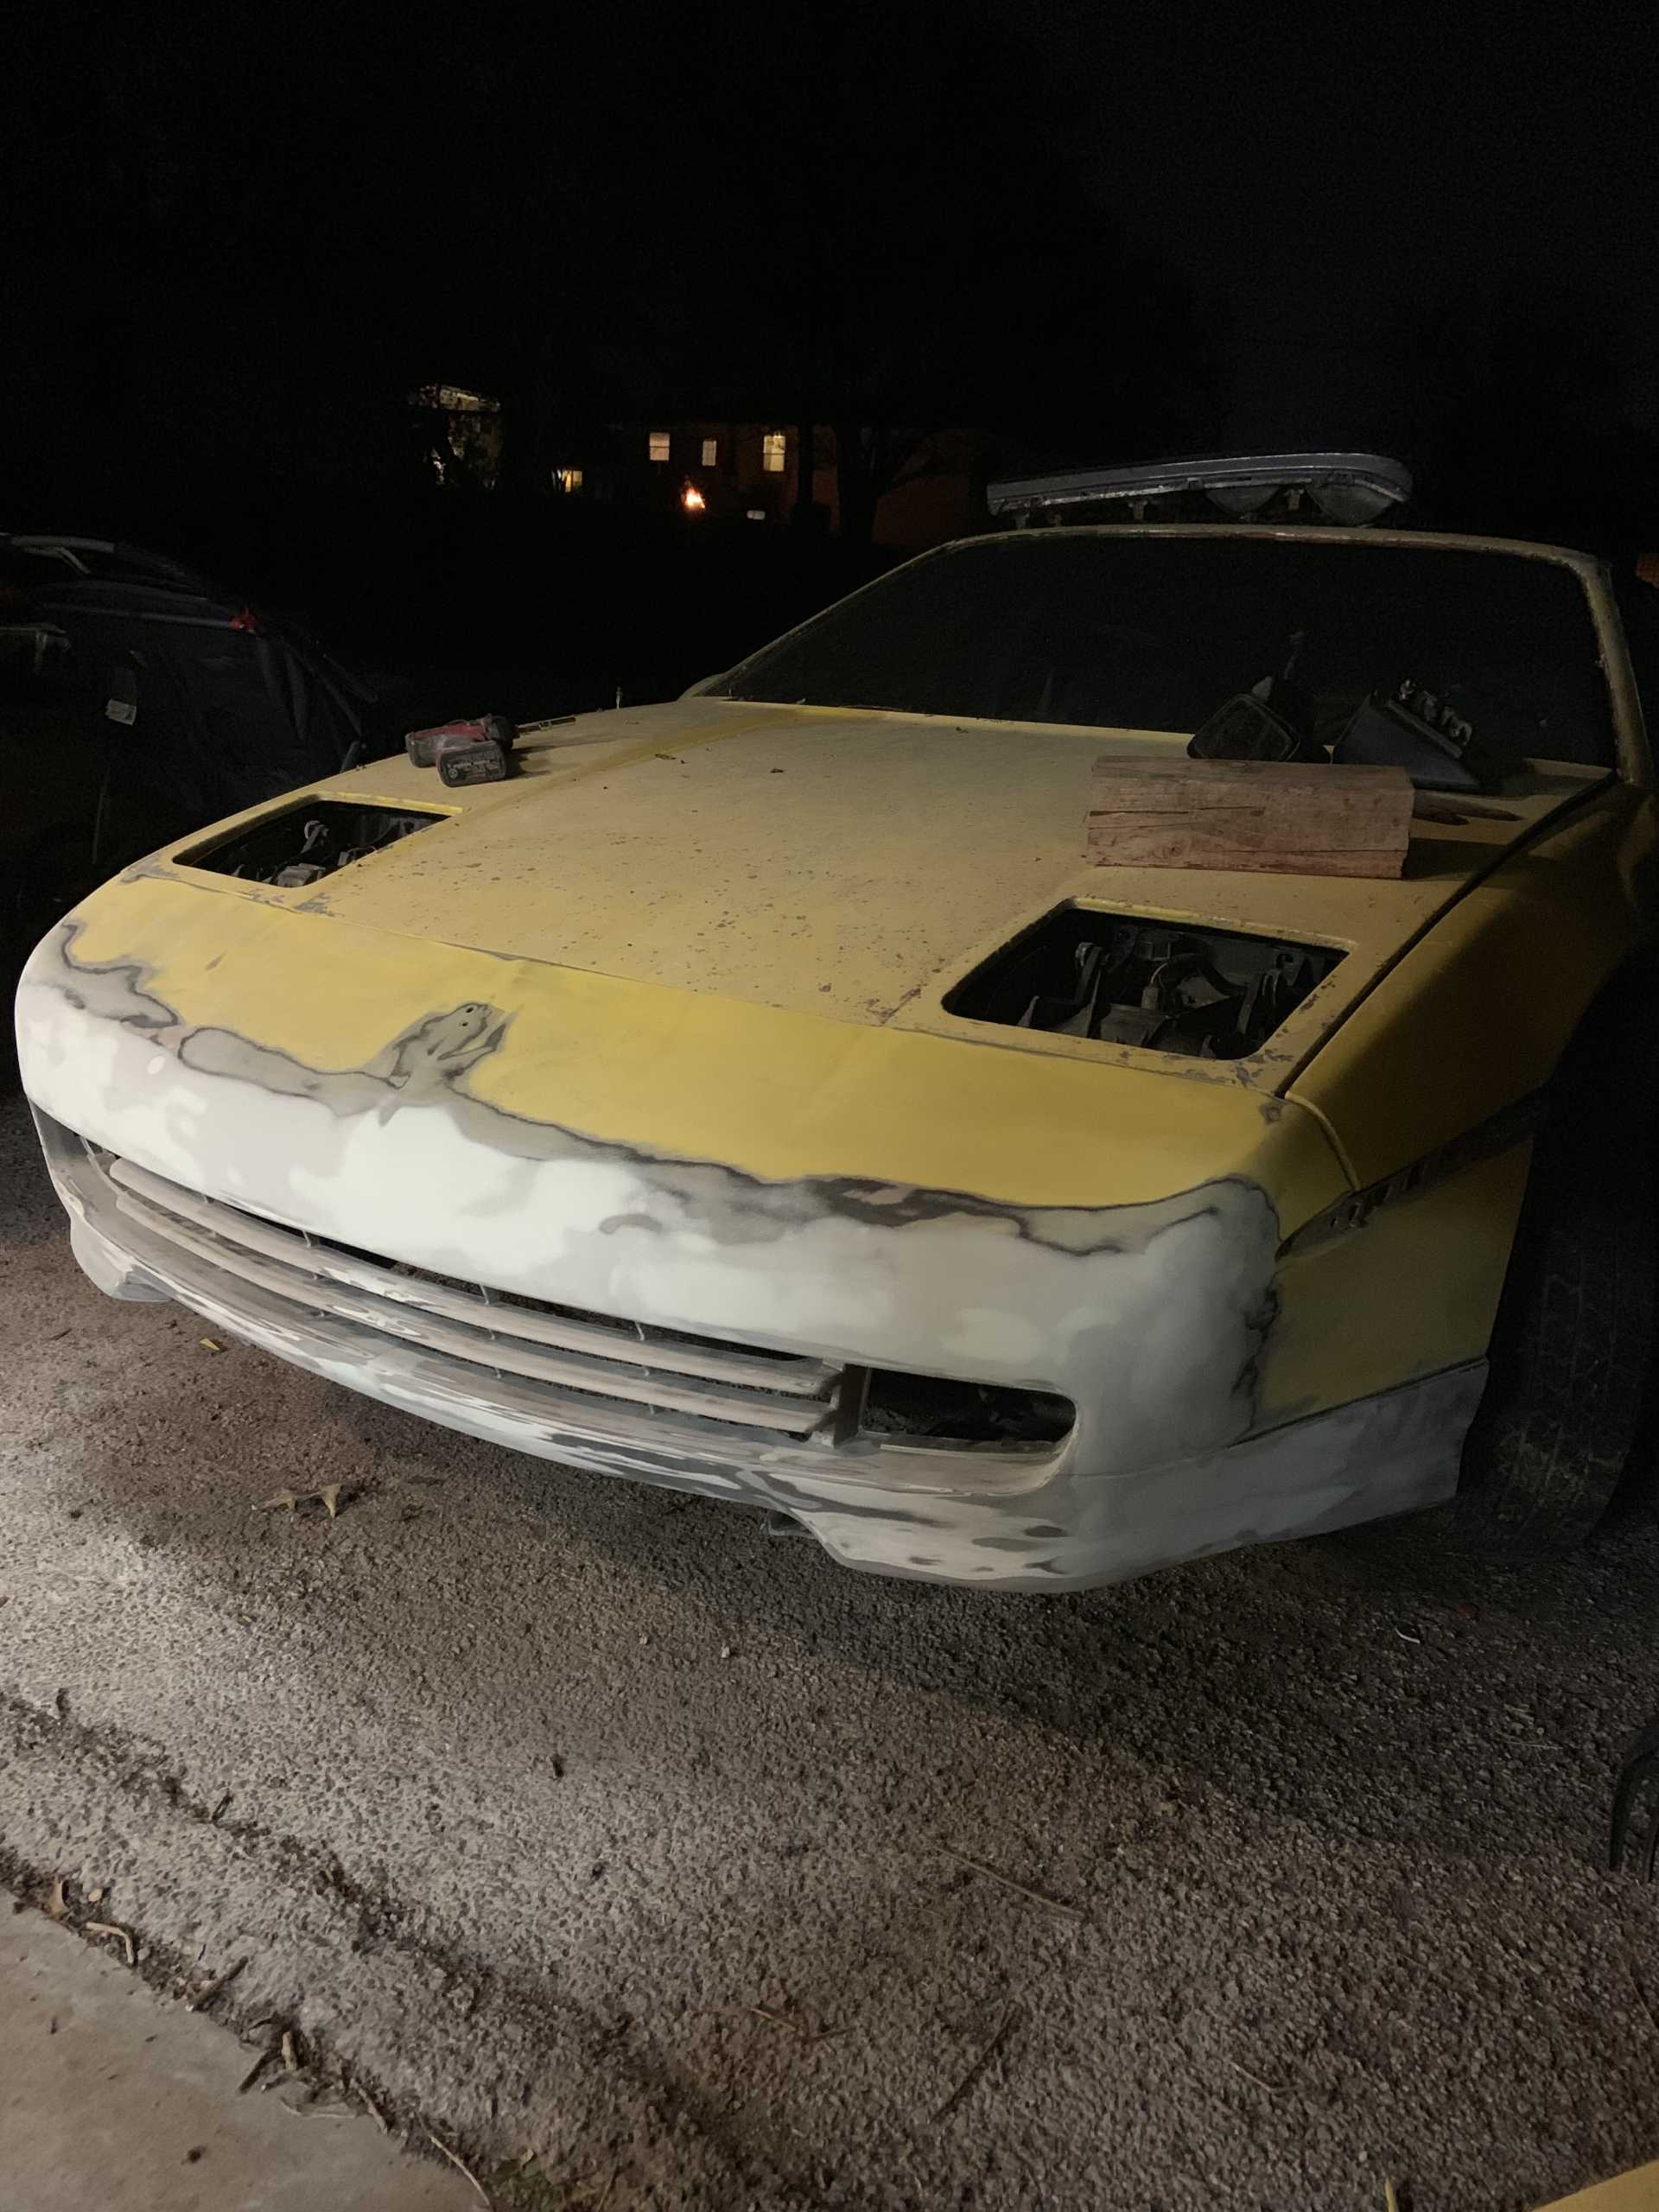
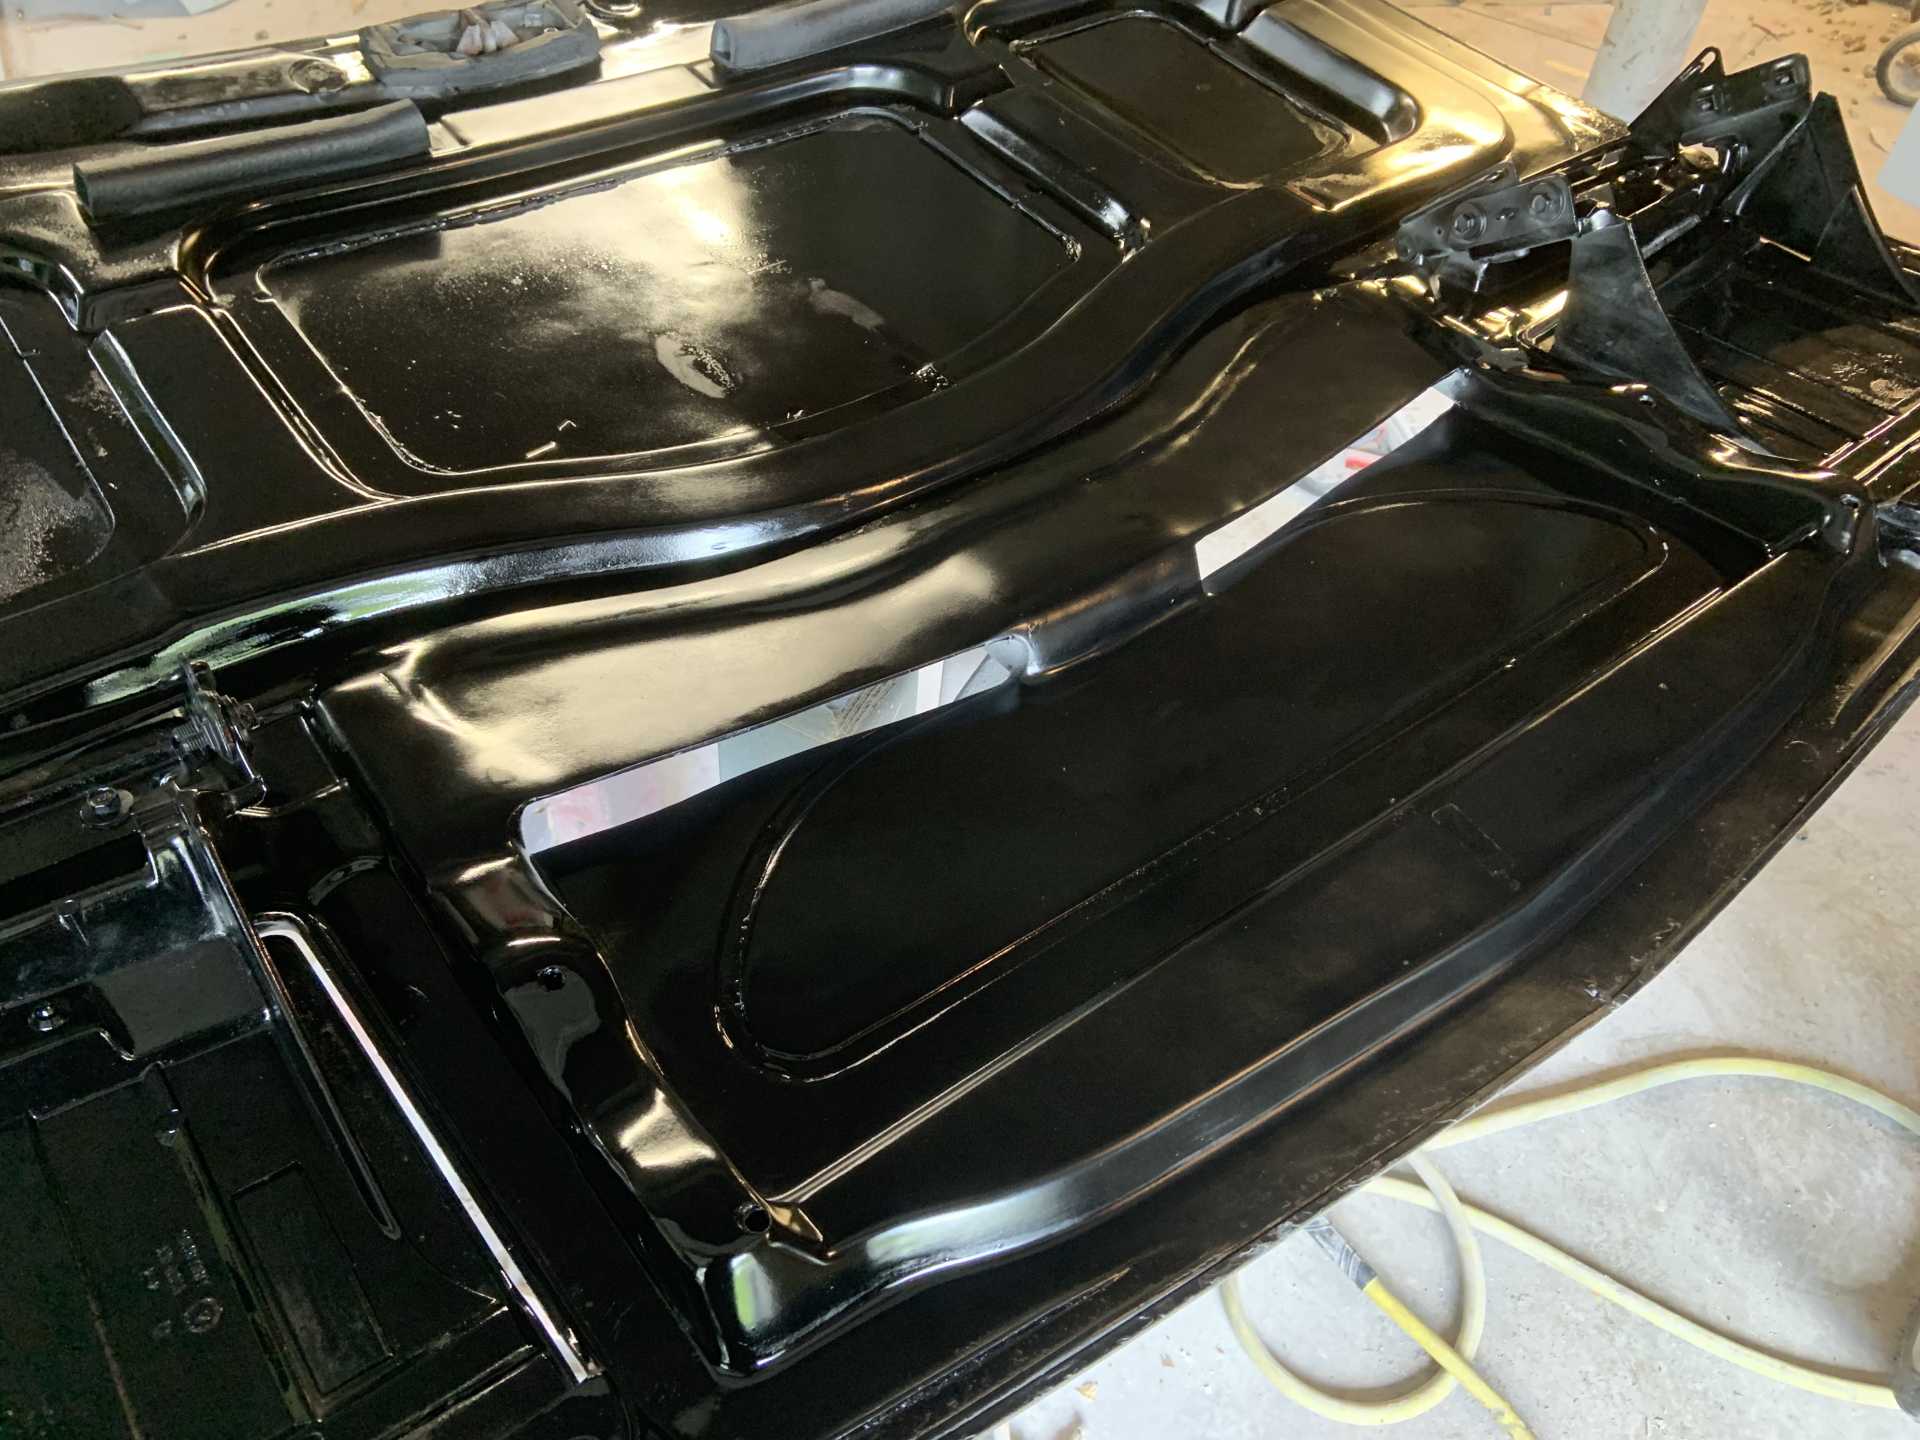
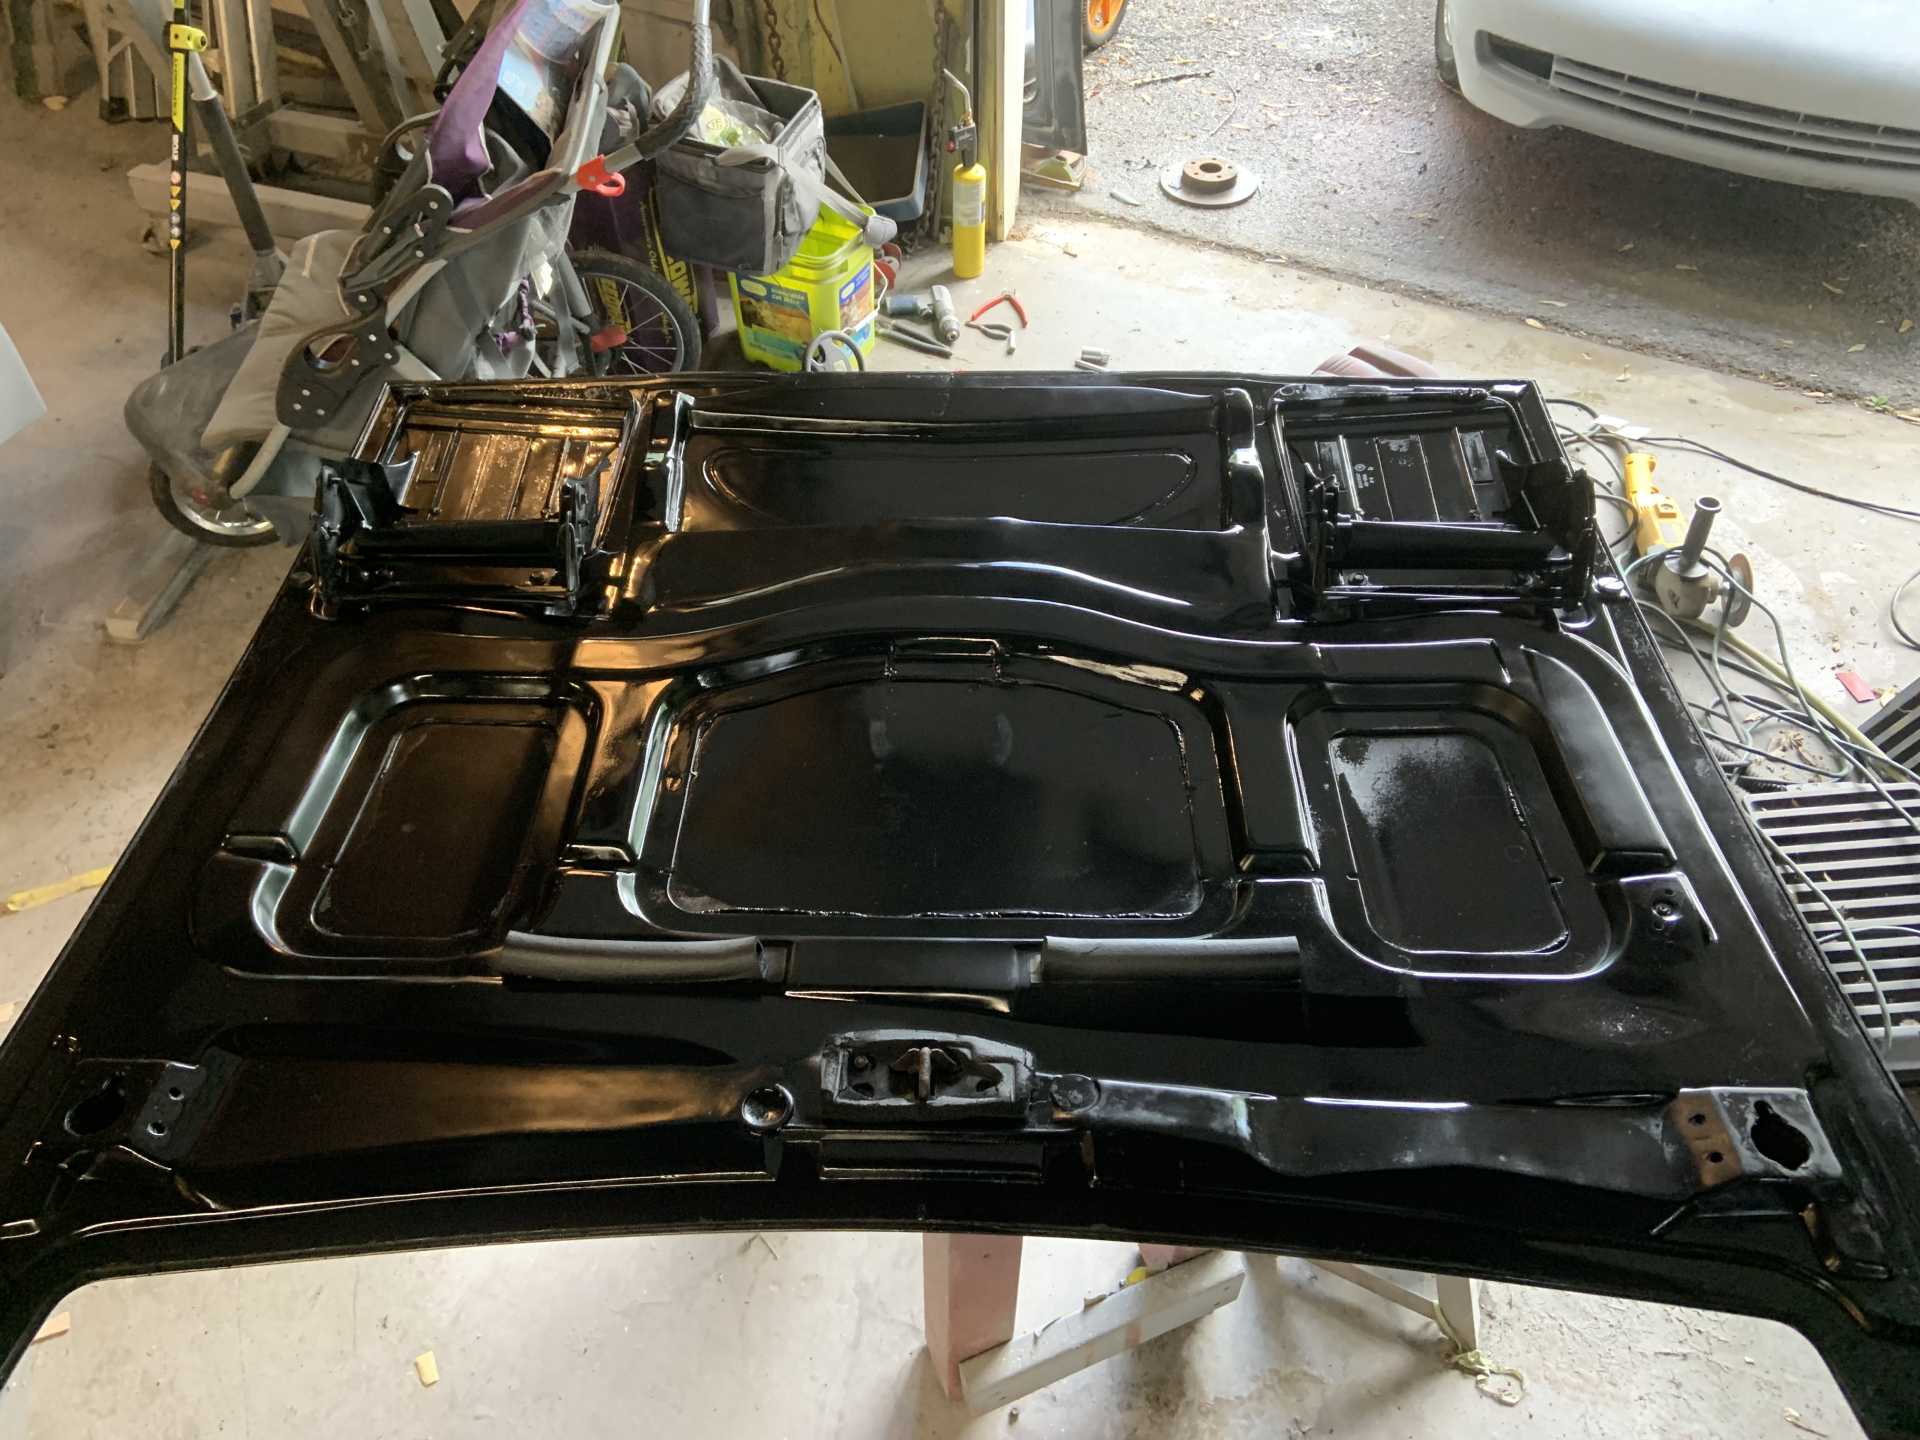
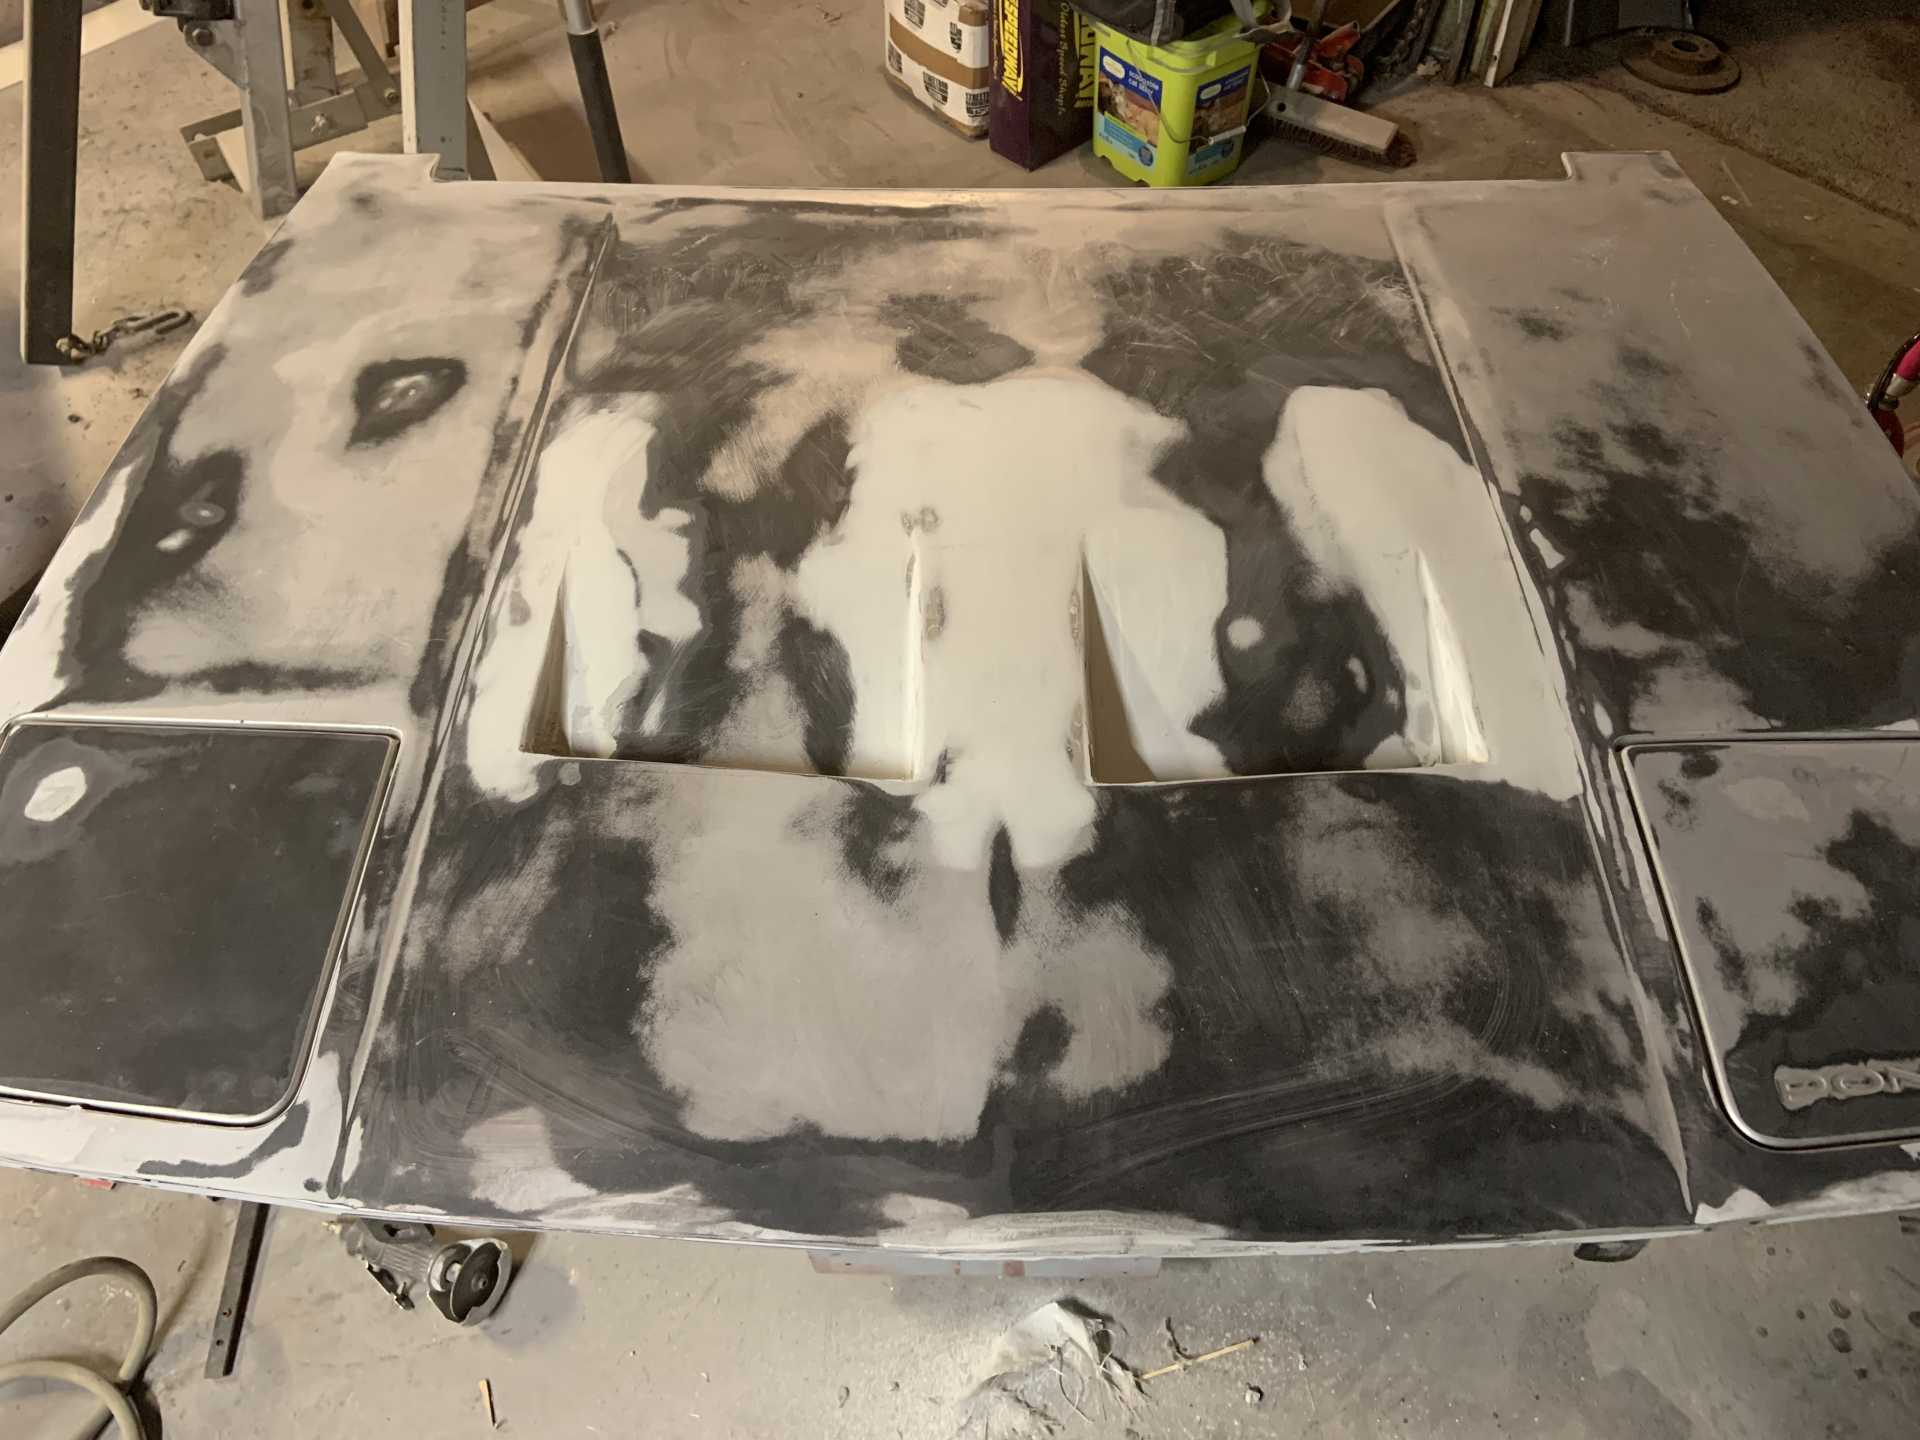
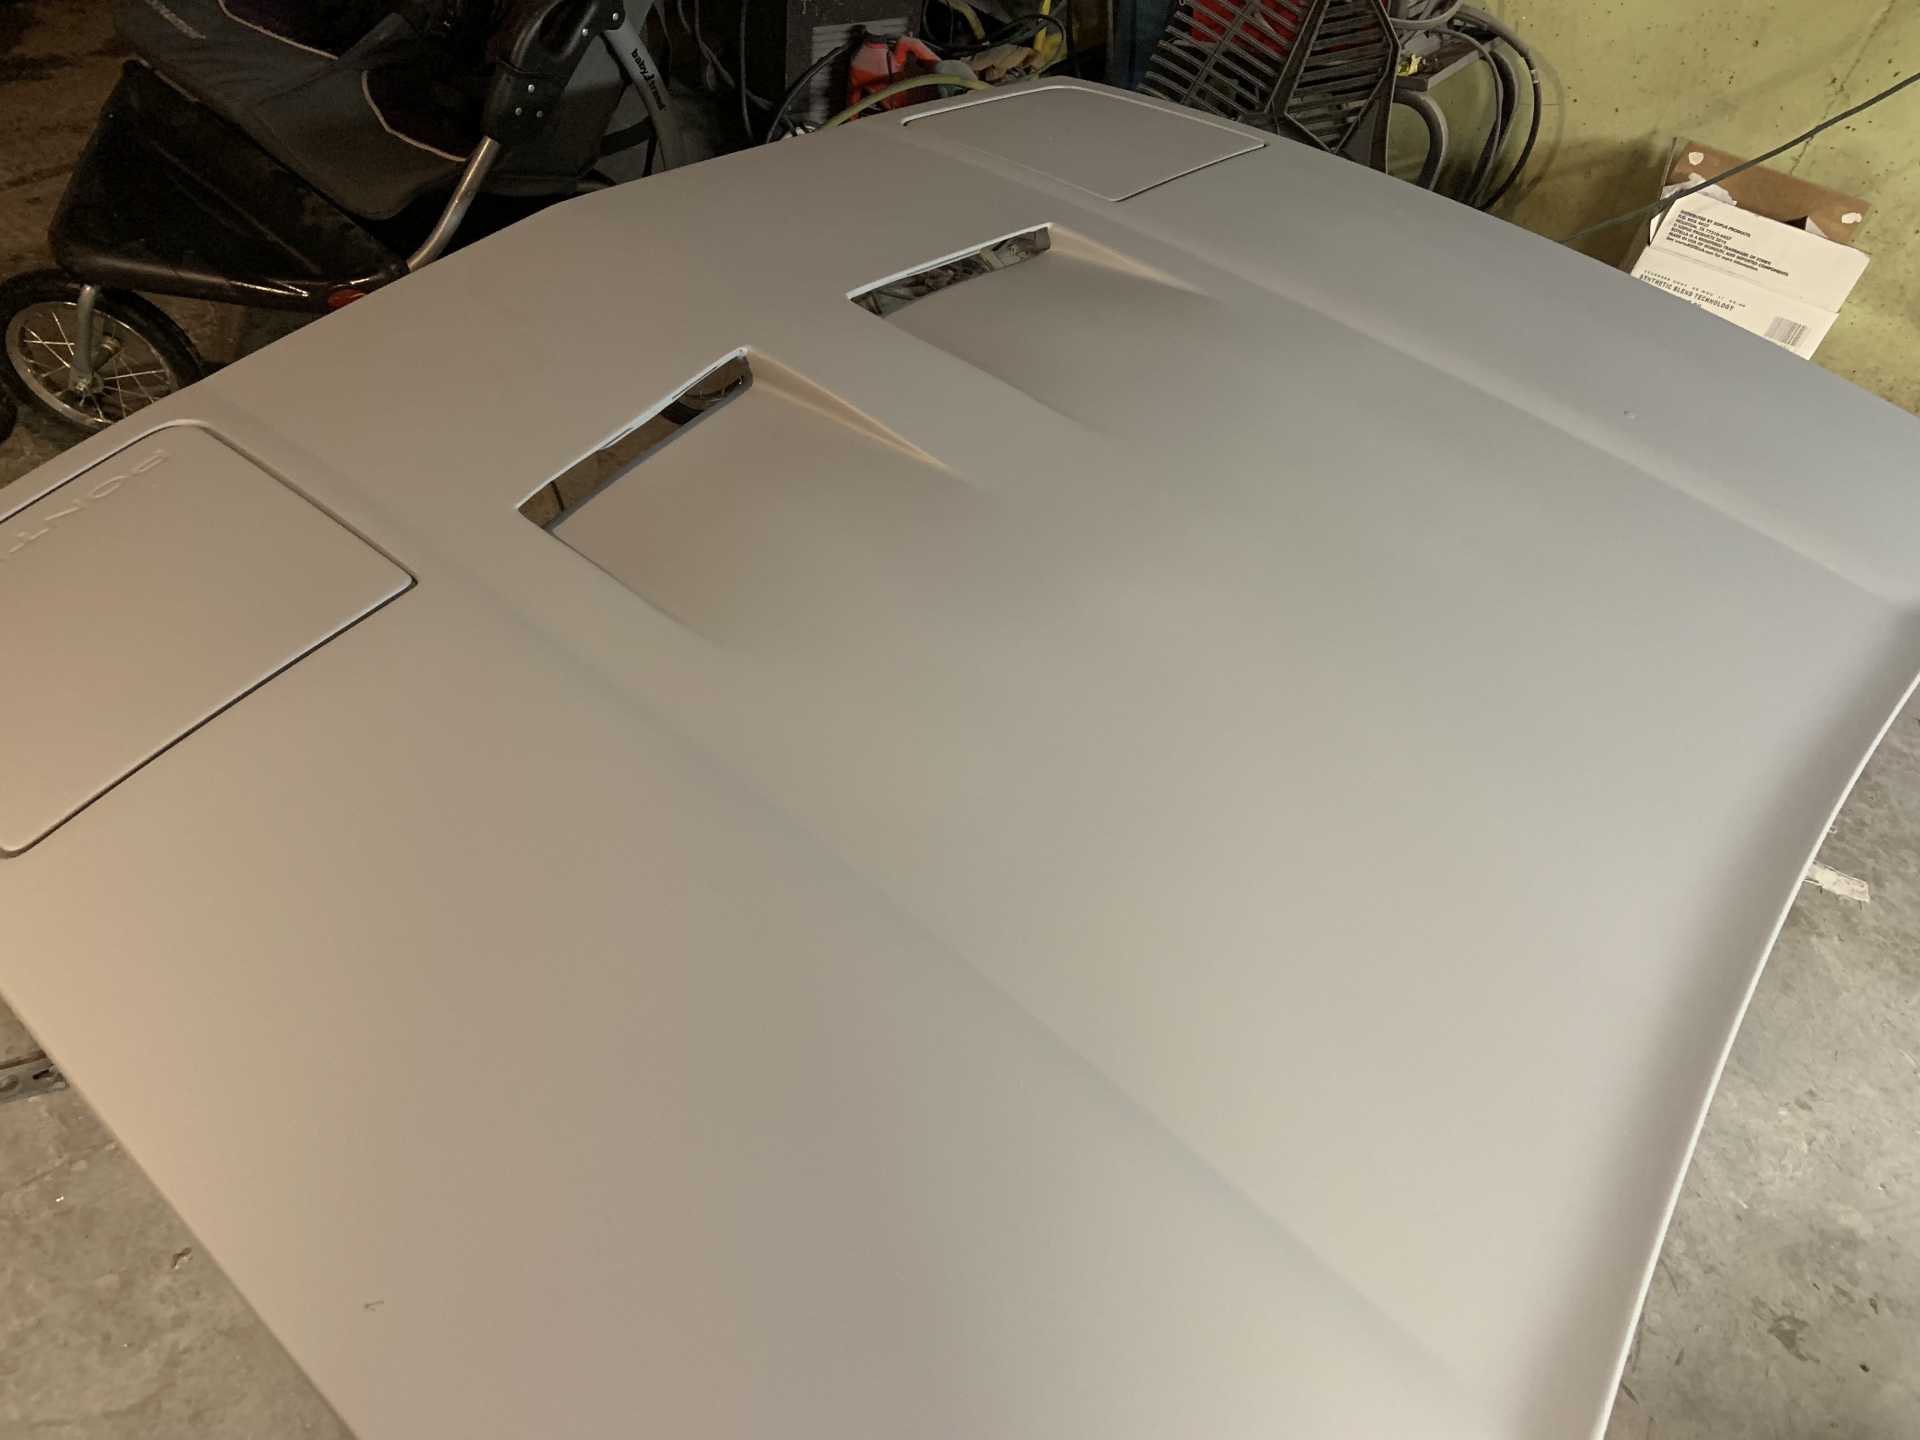
So I thought I took more photos of the work on the hood but it looks like I missed quite a bit.
A little hint for anyone wanting to create an extractor hood. measure twice and watch the inner supports and truck seals.
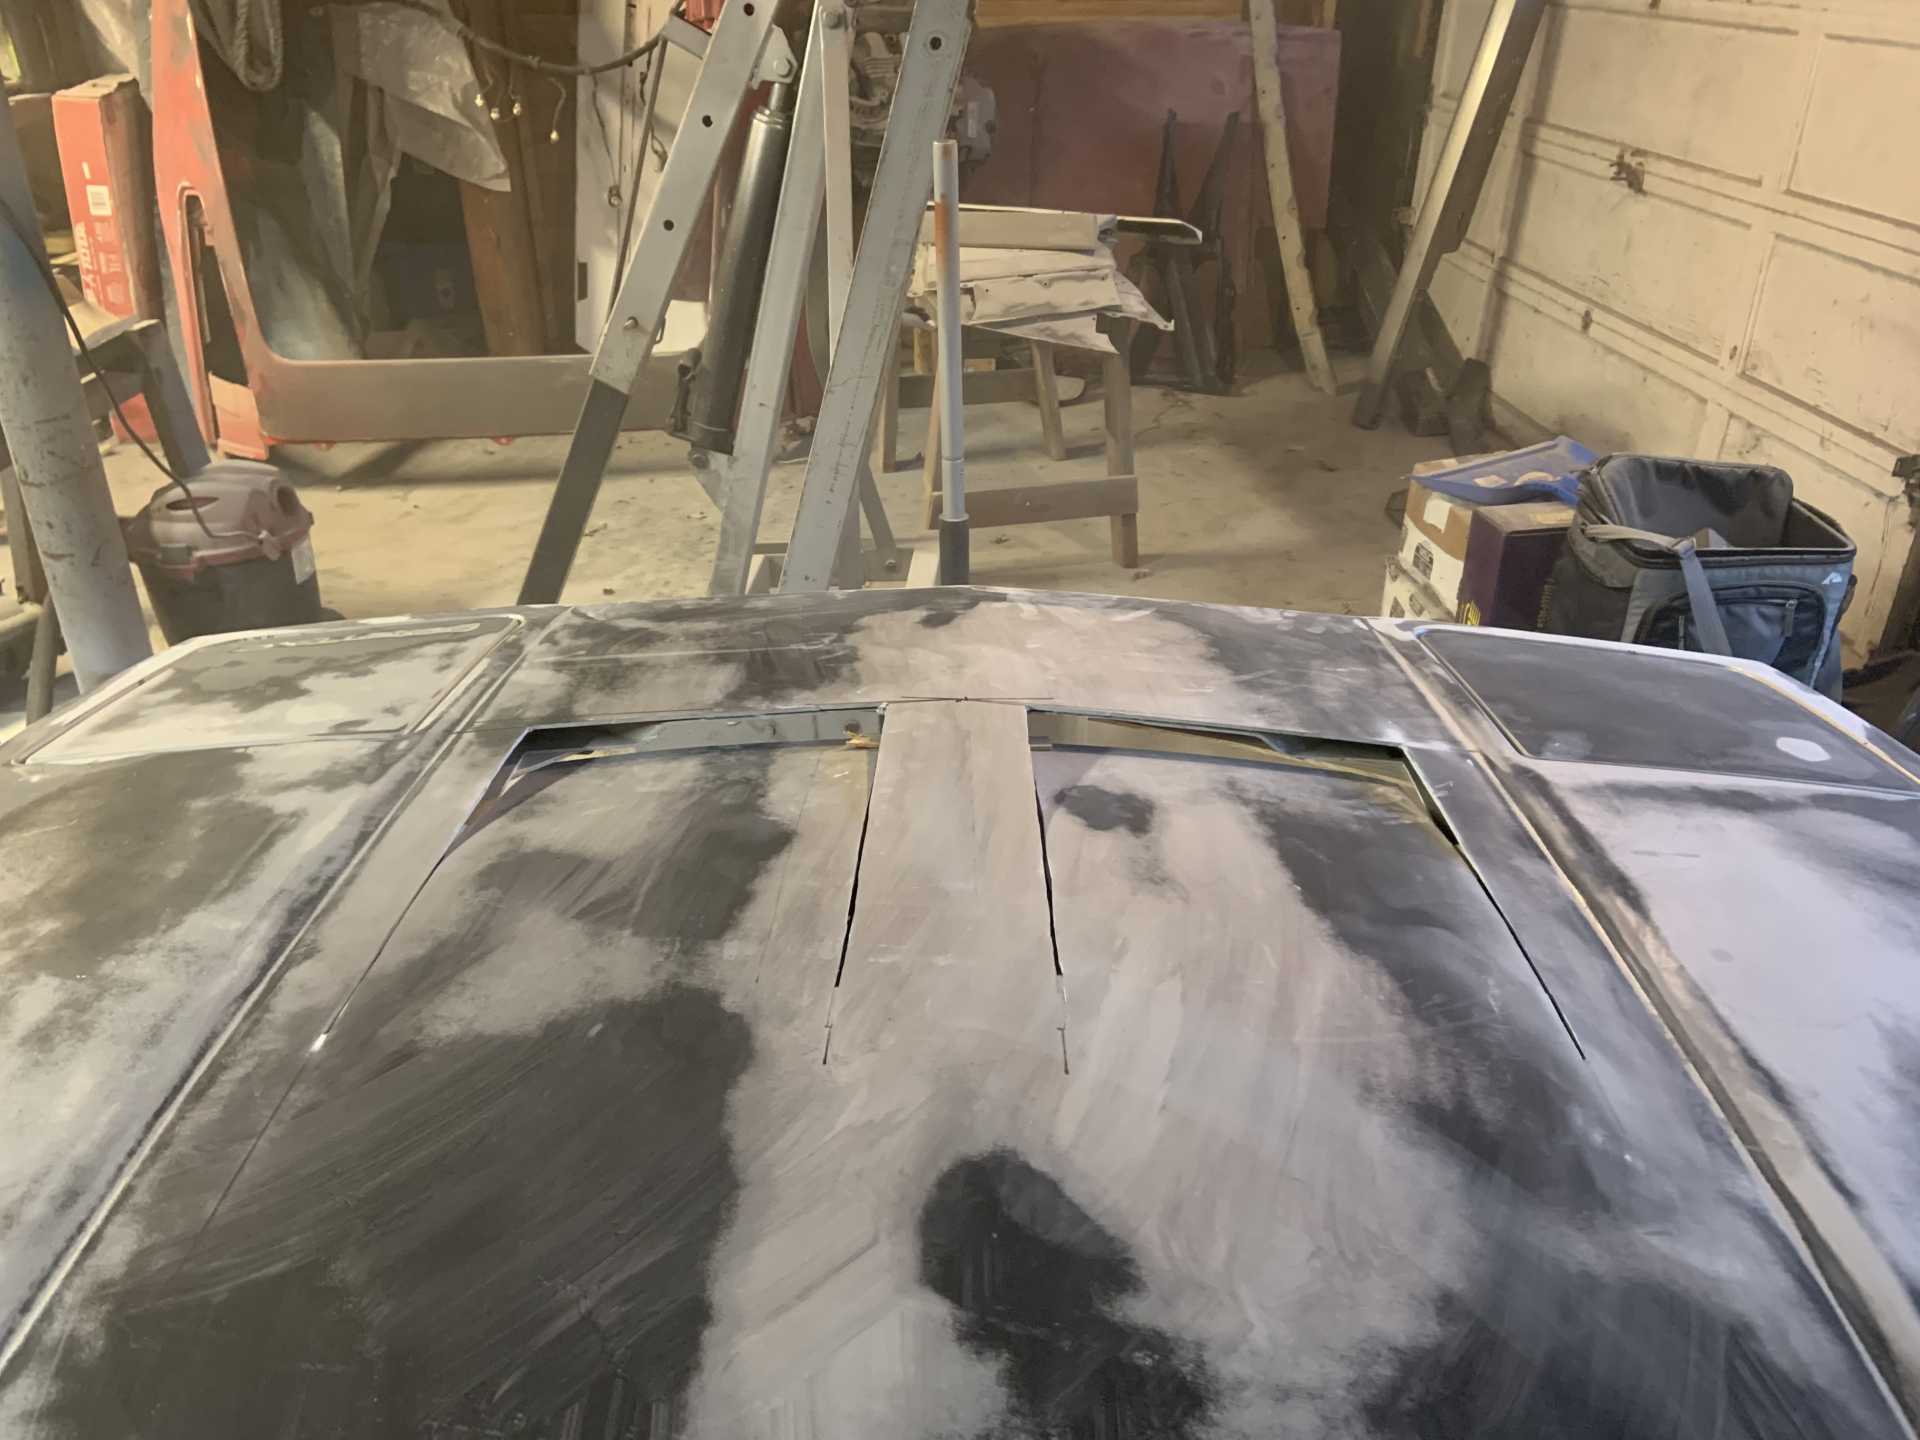
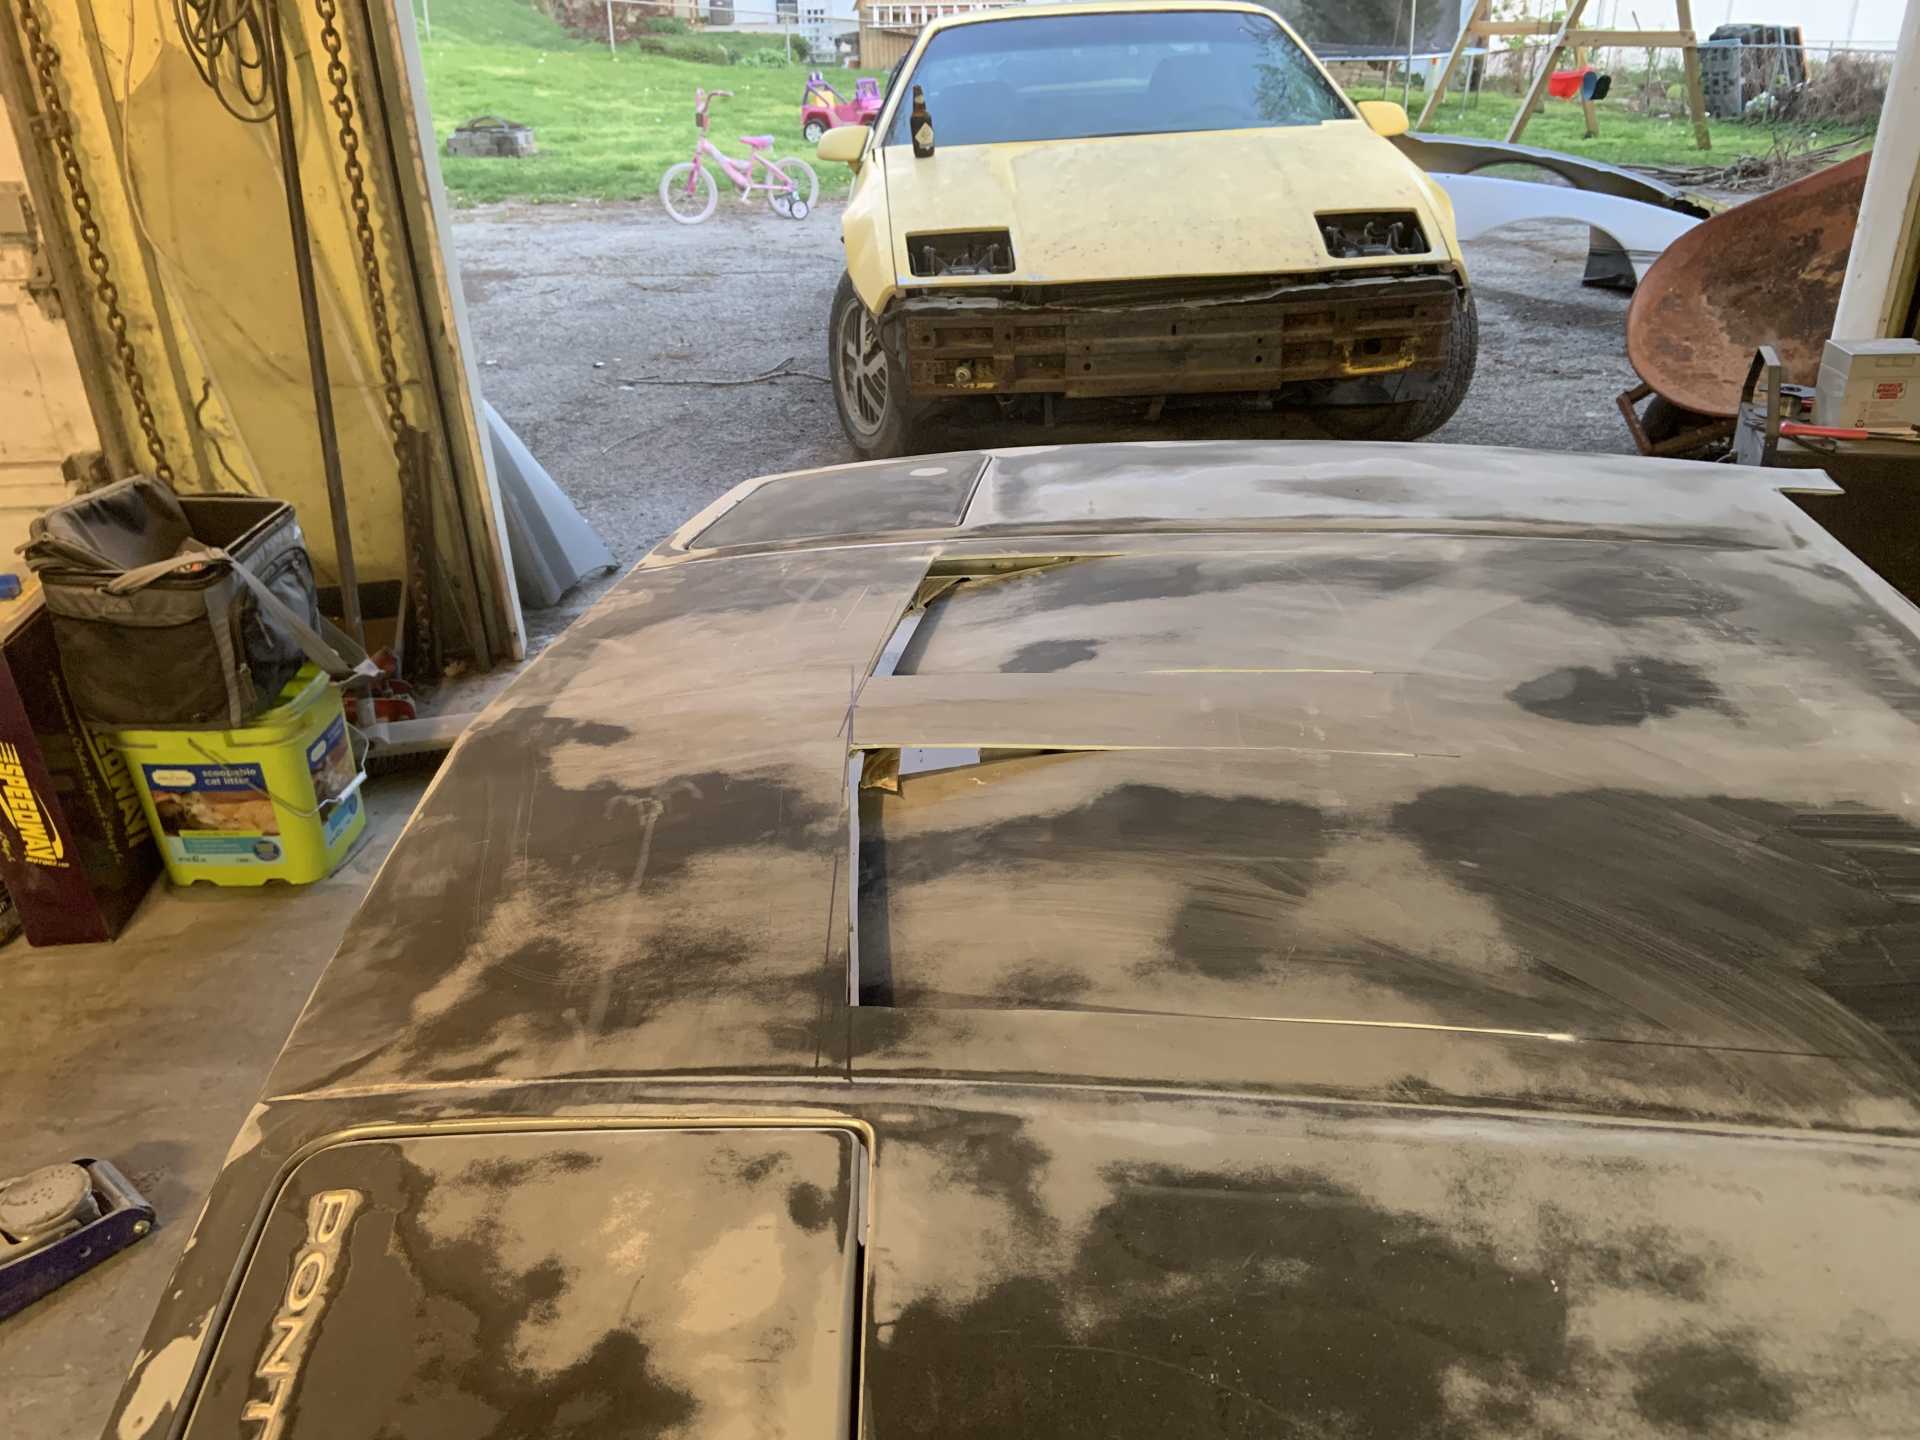
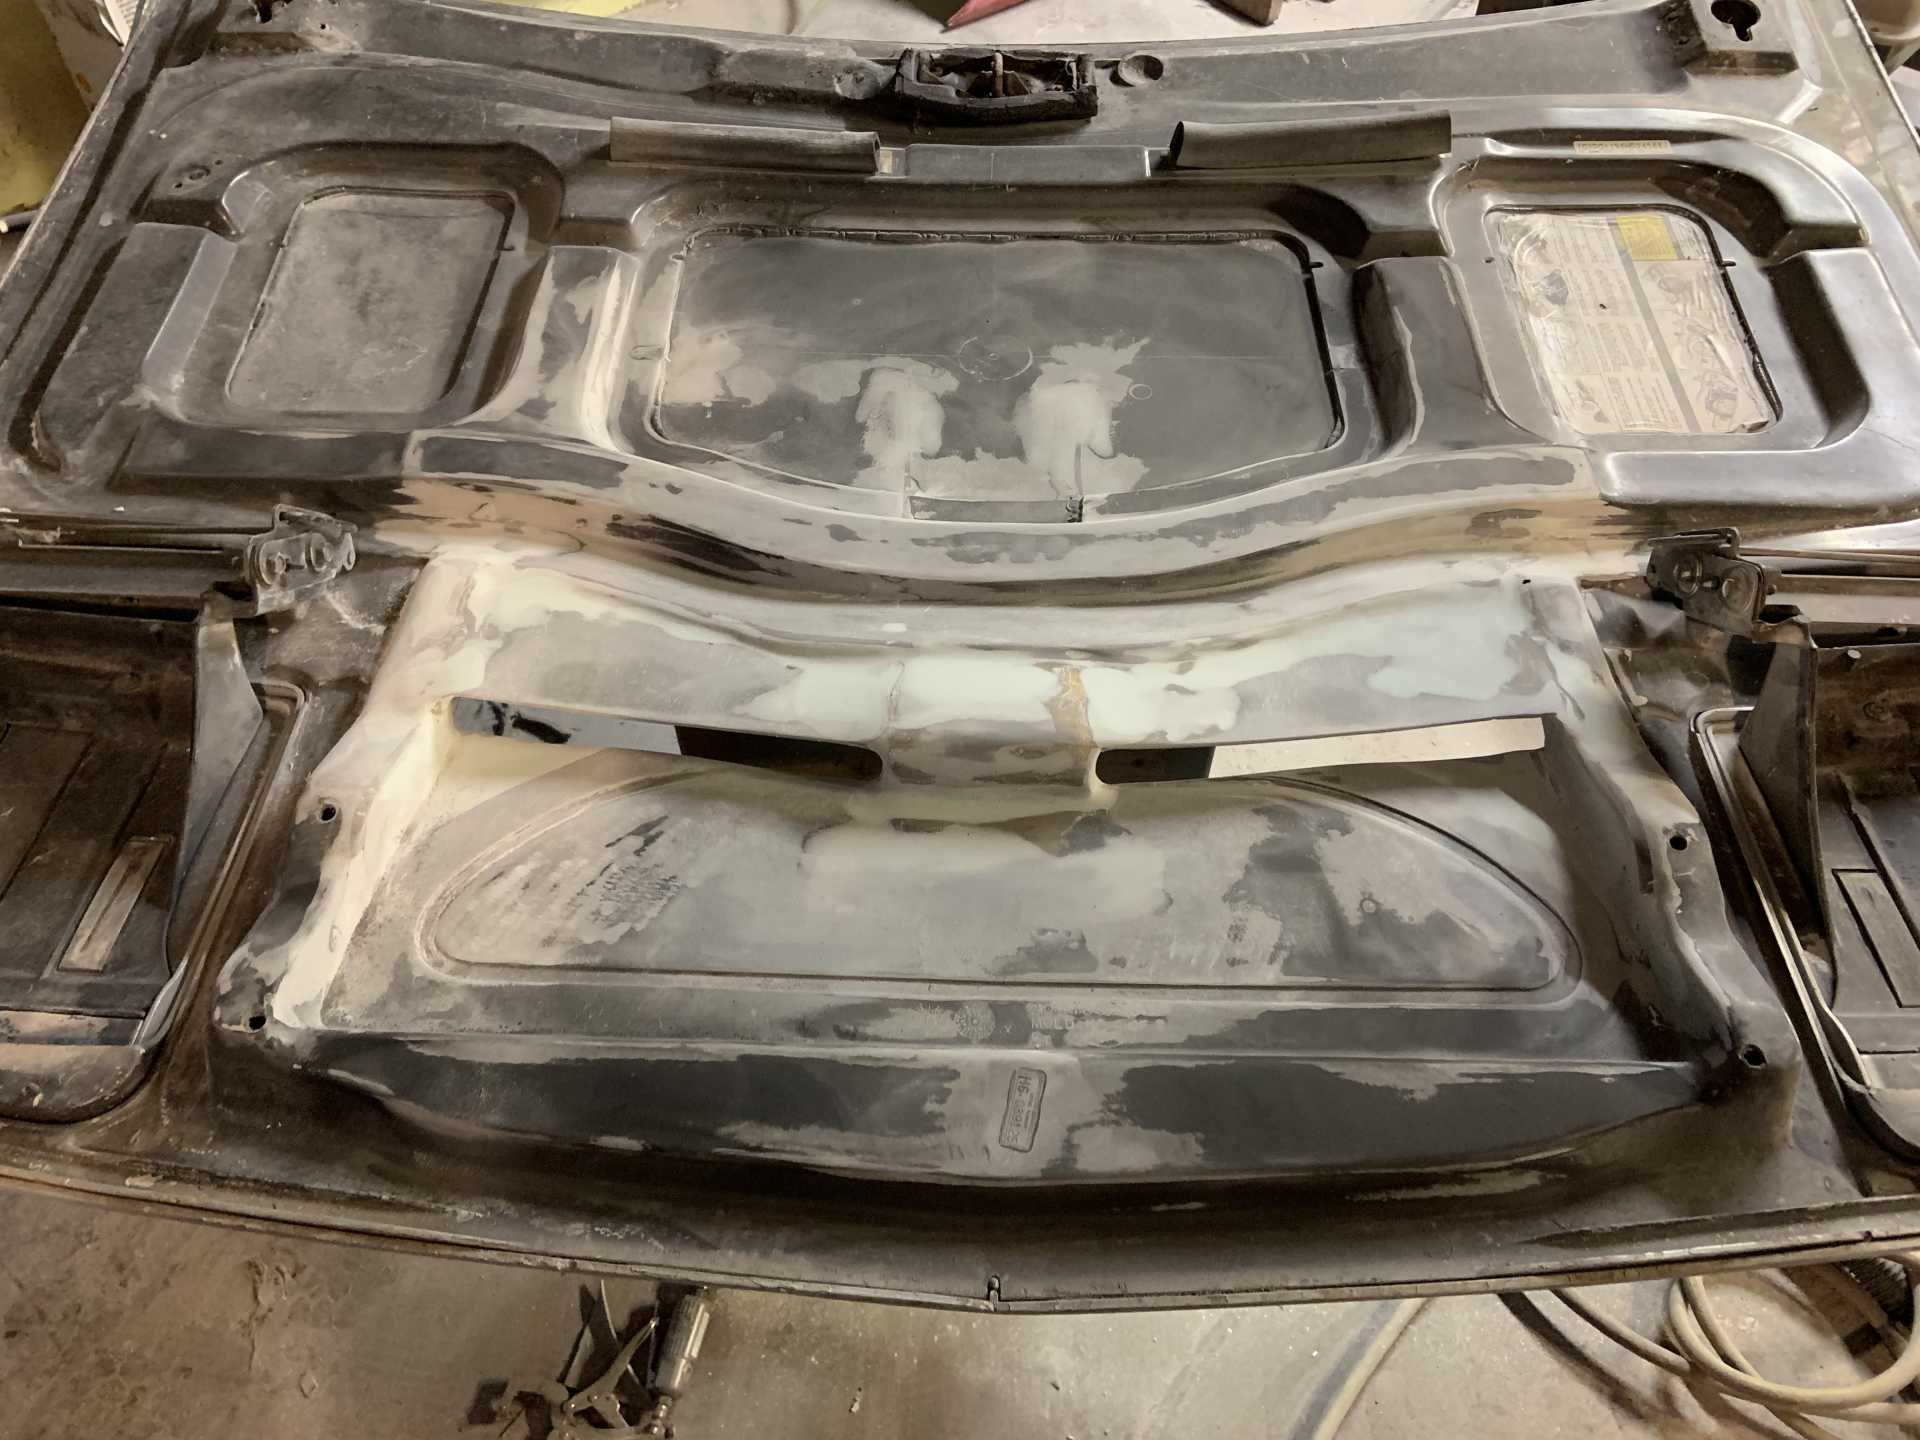

so let me explain my initial cuts a little. I took measurements and made the cut to the outer skin to fall within the main inner supports. I angled the opening cuts to flow the the slight front angle of the hood.
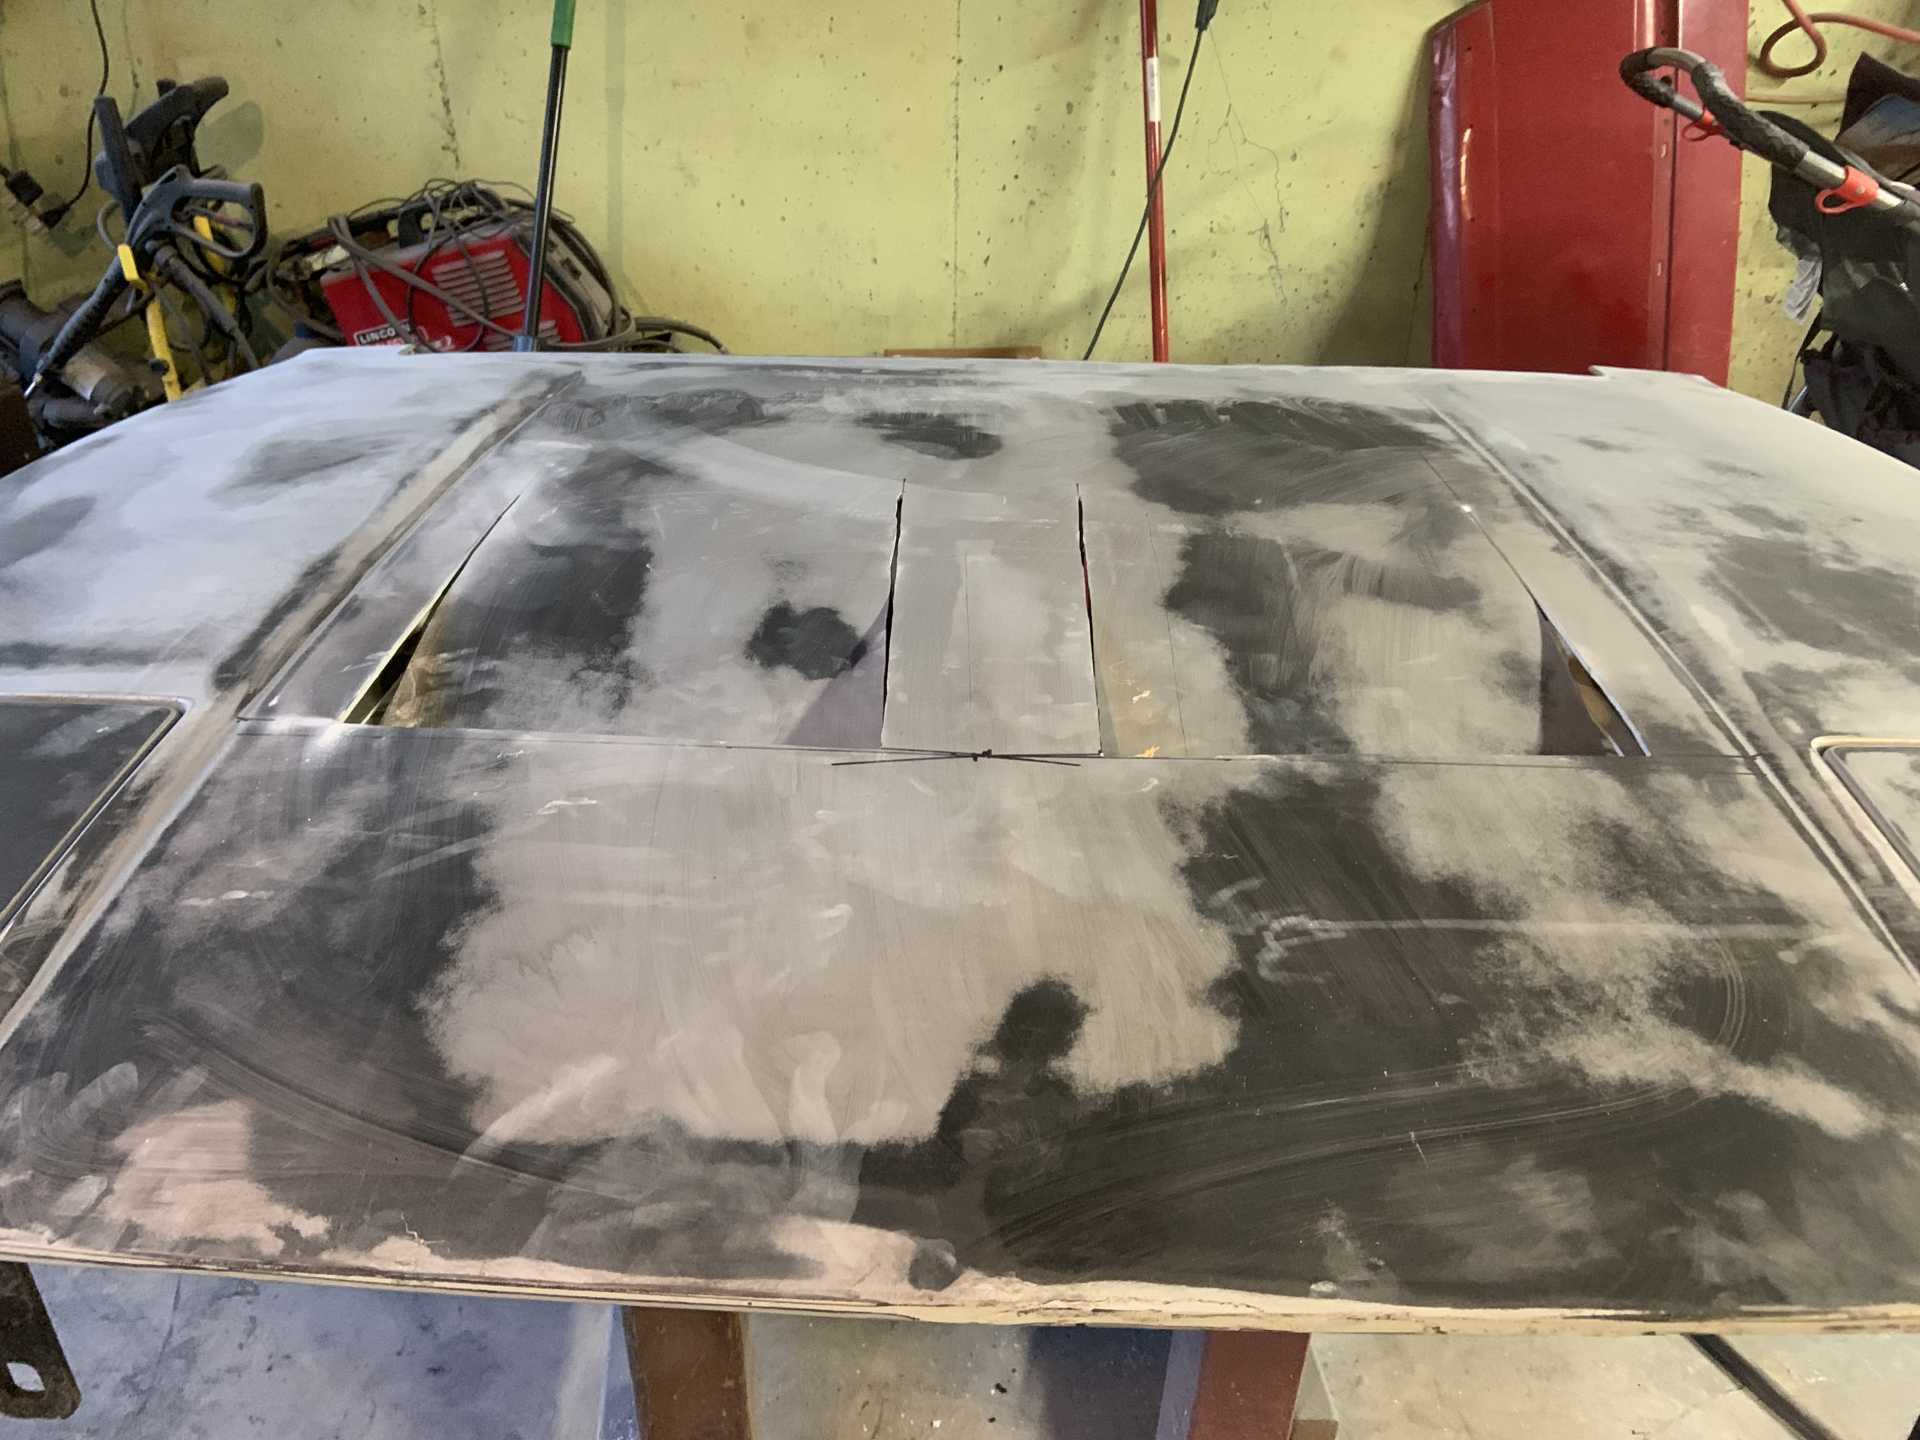
outer skin cuts are in green. I had to make relief cuts into the bracing to allow the skin to move. my brace cuts are in red. after I cut the side wall out of the brace/ truck seal it allowed the skin to fall in against it. I then took 8115 panel bond and re bonded the outside skin to the brace and allowed it to fully cure. once cured I was able to create the sides of the scoop. i just took some spare smc cut to fit the angles and re fiberglass the sides in the scoop. Finishied it out with fiberglass filler. and boom!


|
|
|
|
Habanera Hal
|
FEB 02, 02:56 PM
|
|
|
Wow! The bottom of your hood looks better than the top of mine!
|
|
|
|
Awalker W02
|
FEB 06, 08:29 PM
|
|
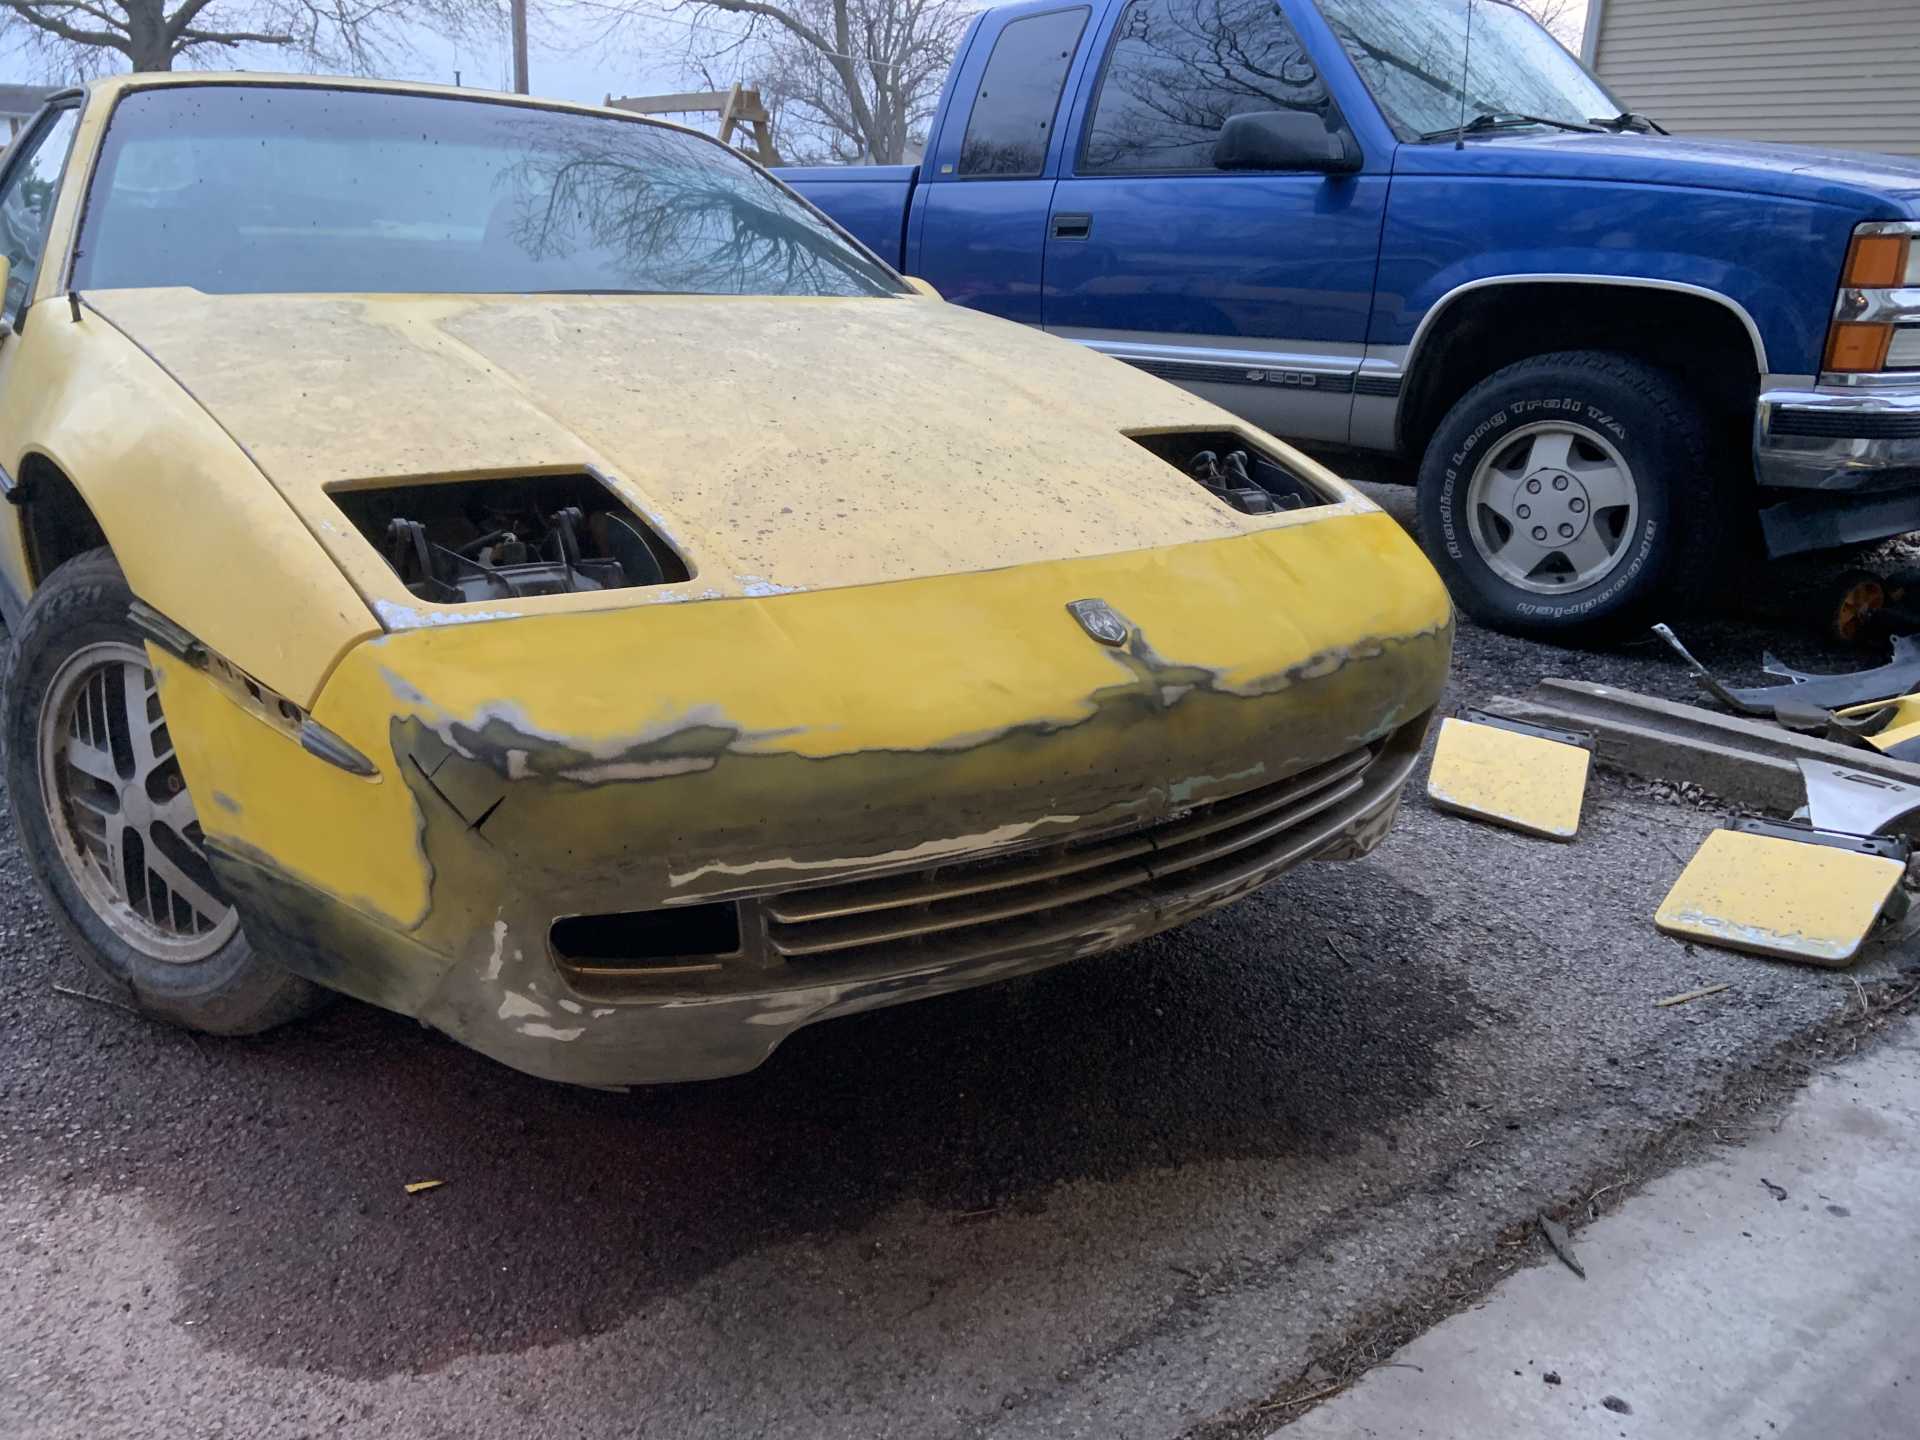
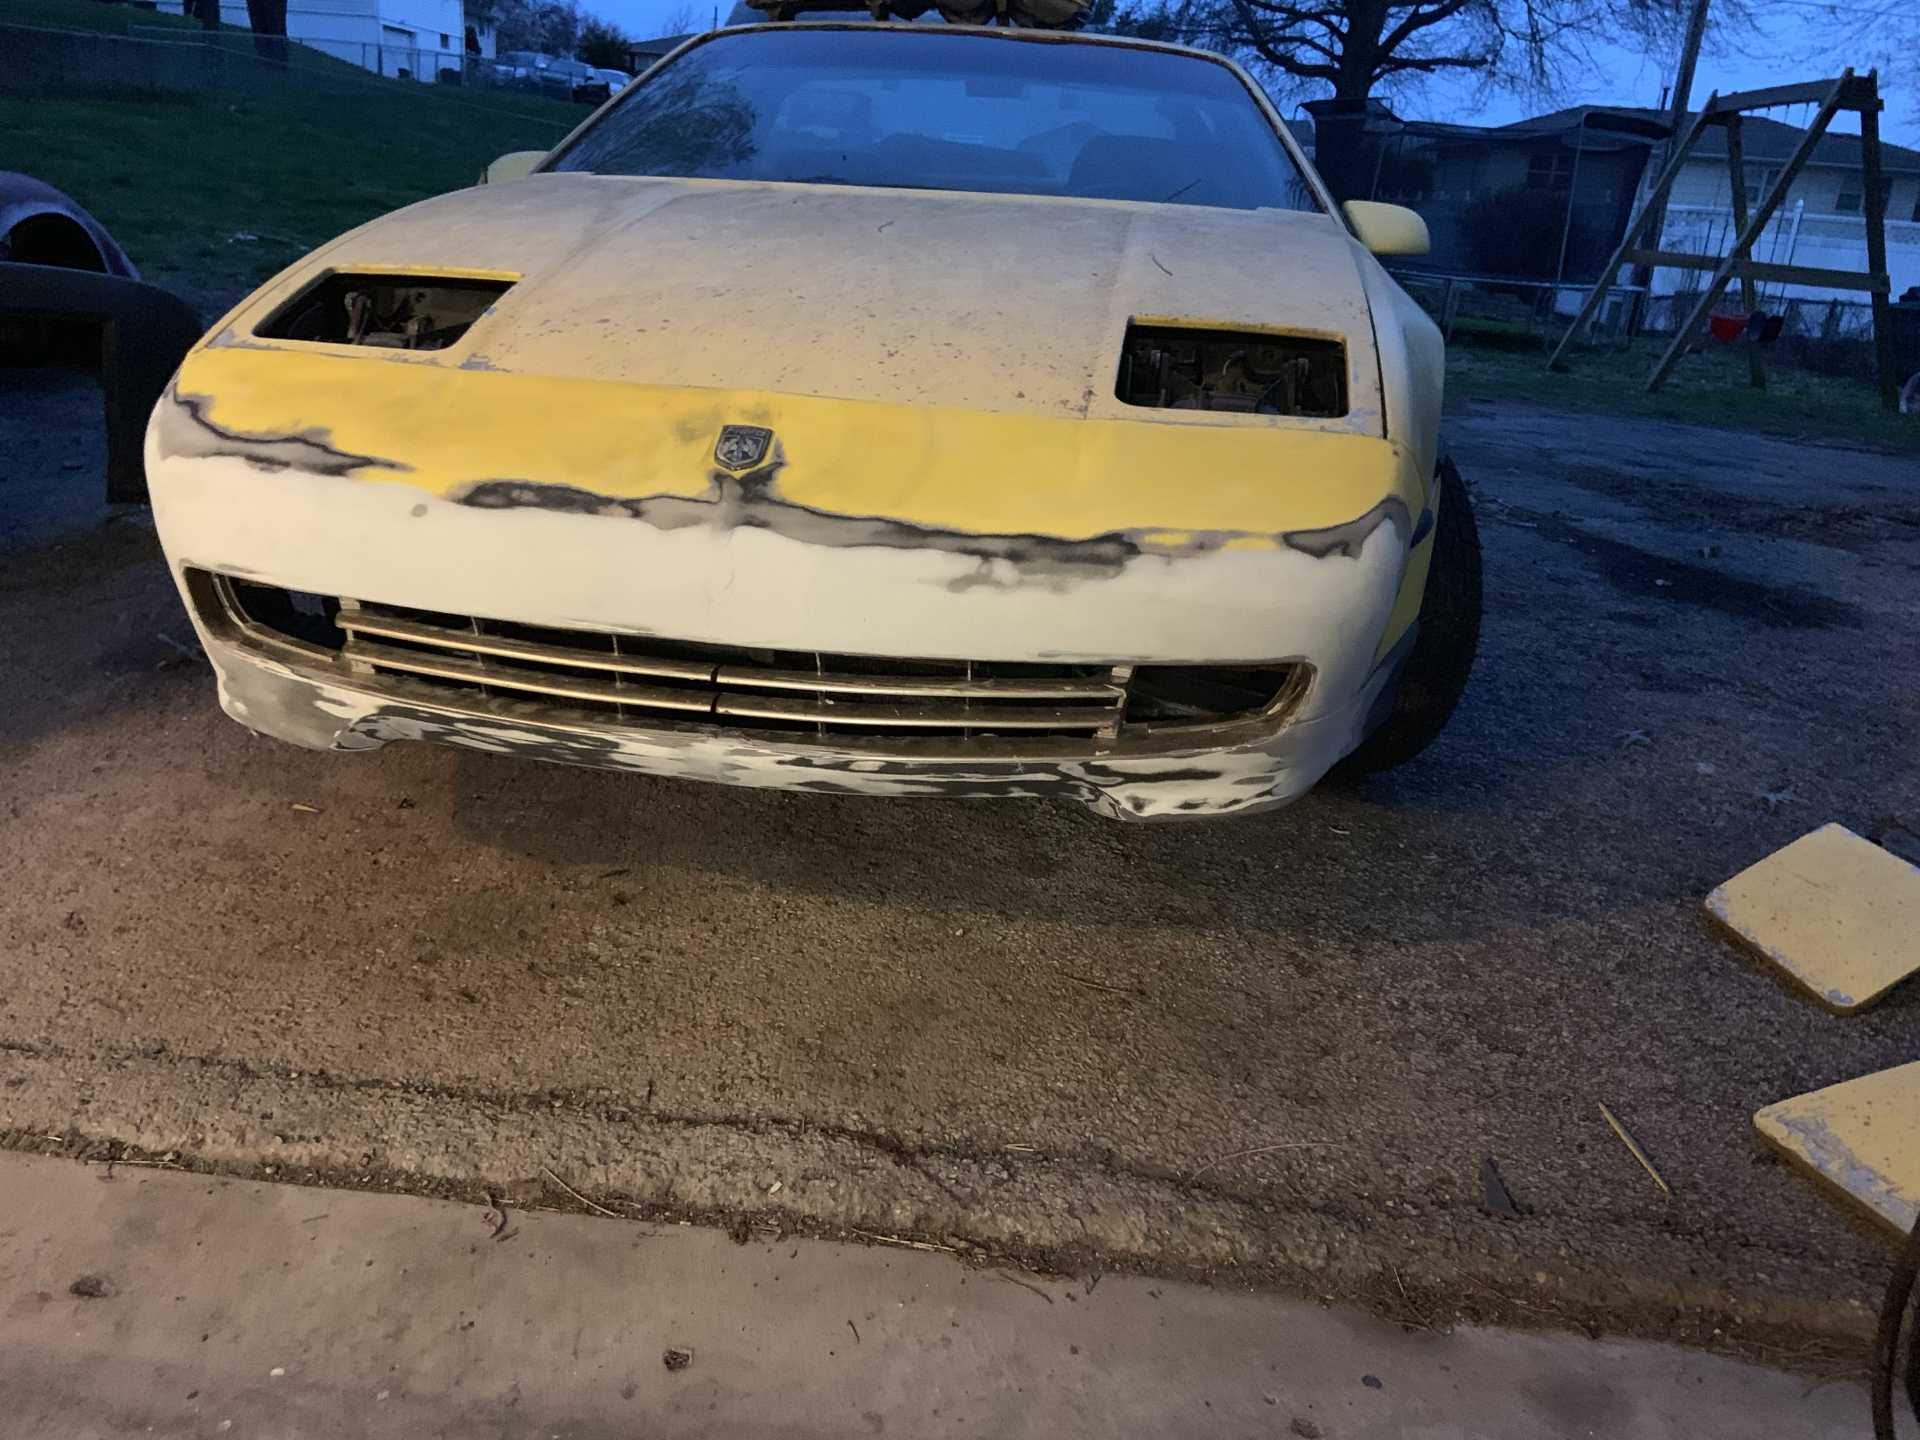
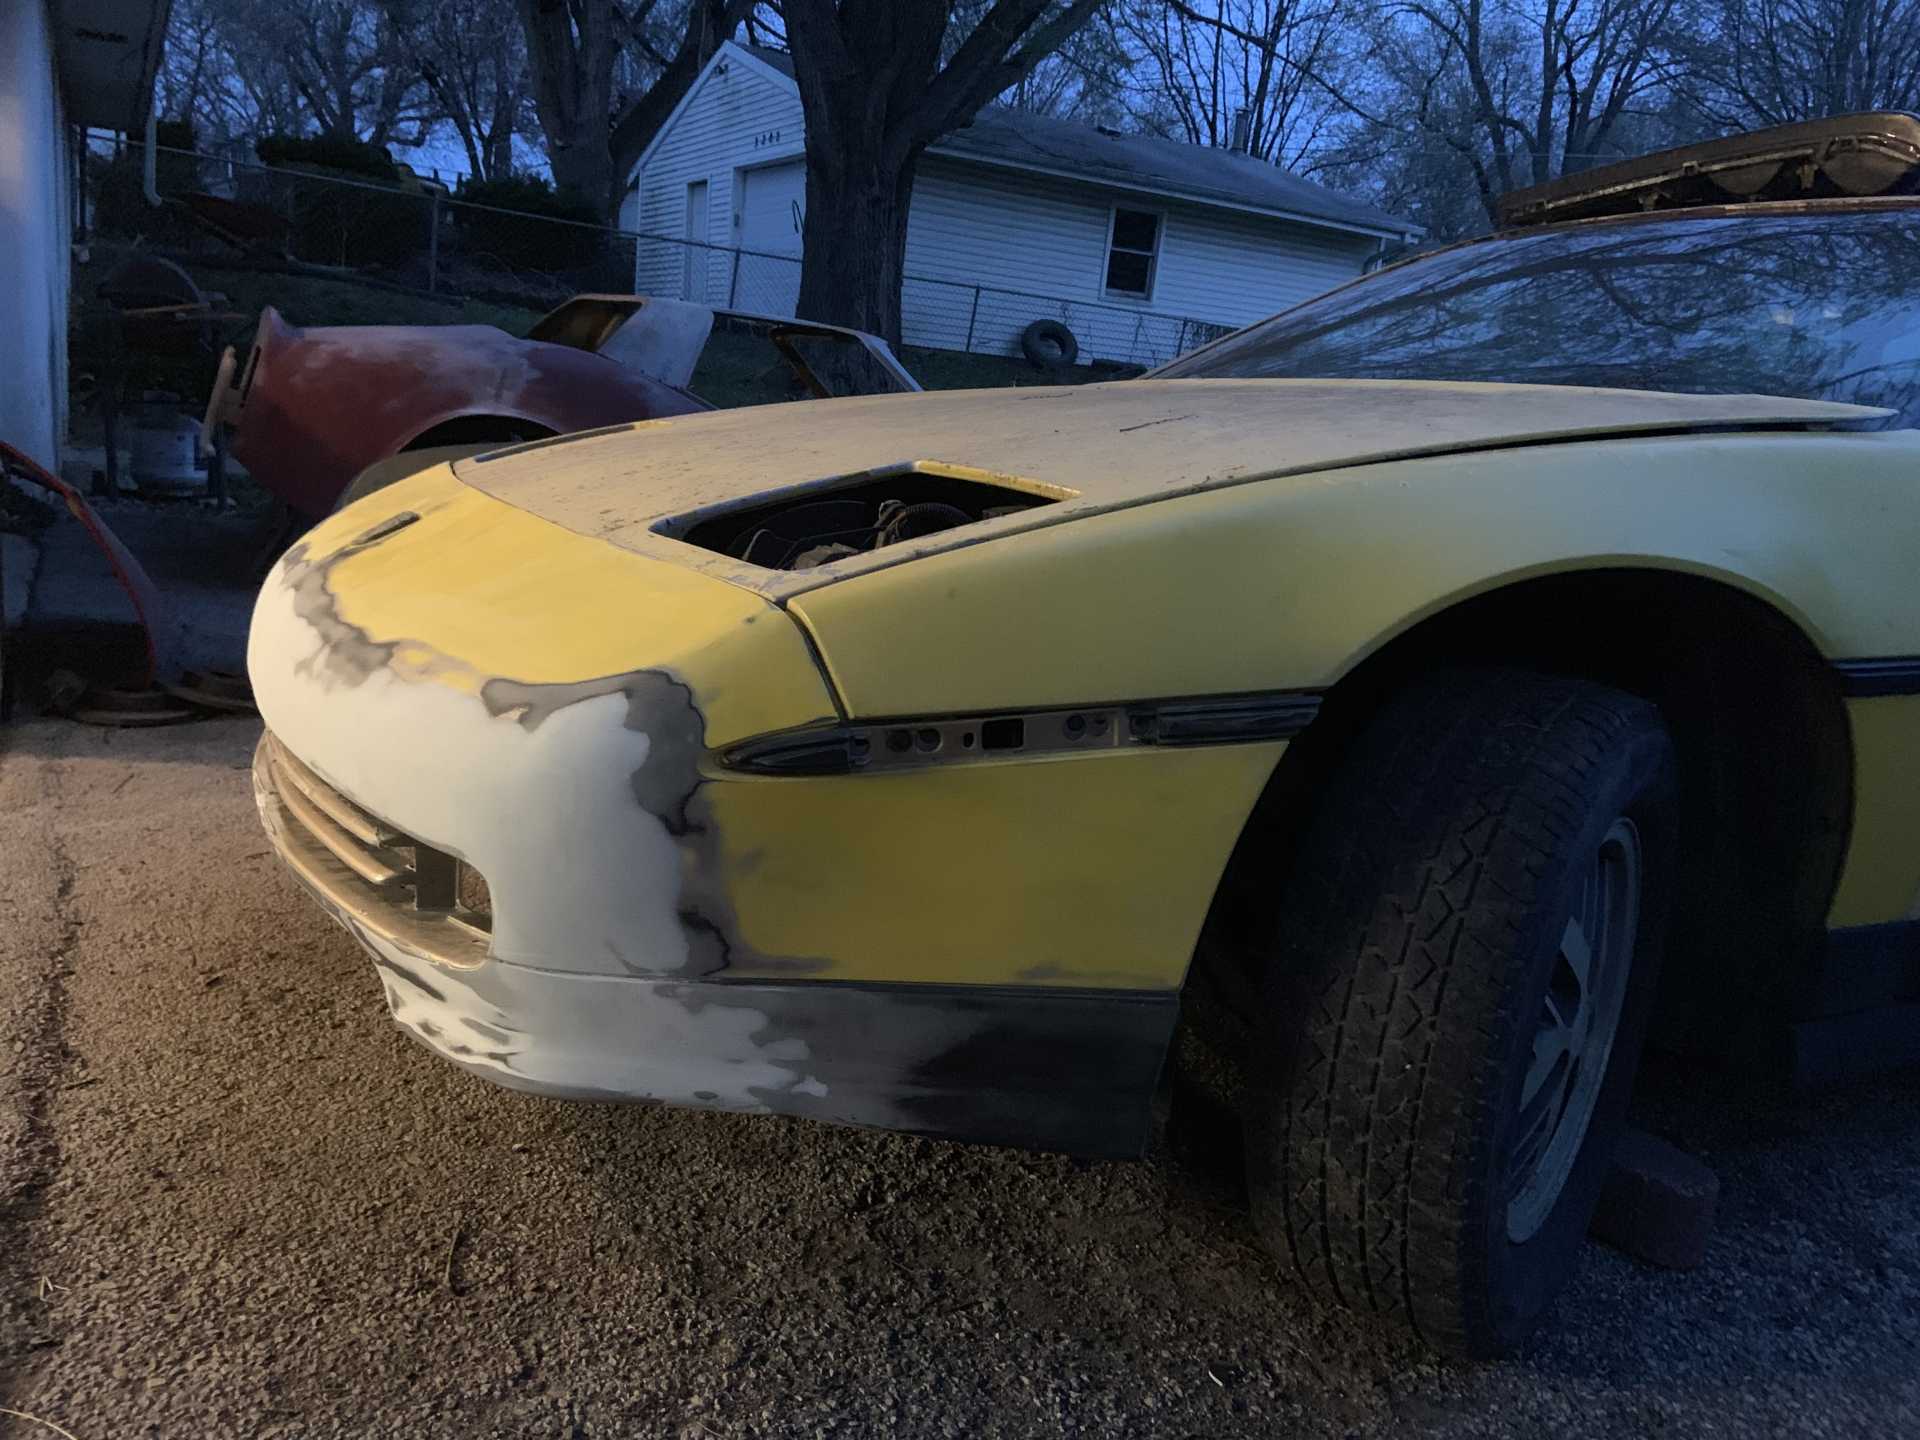
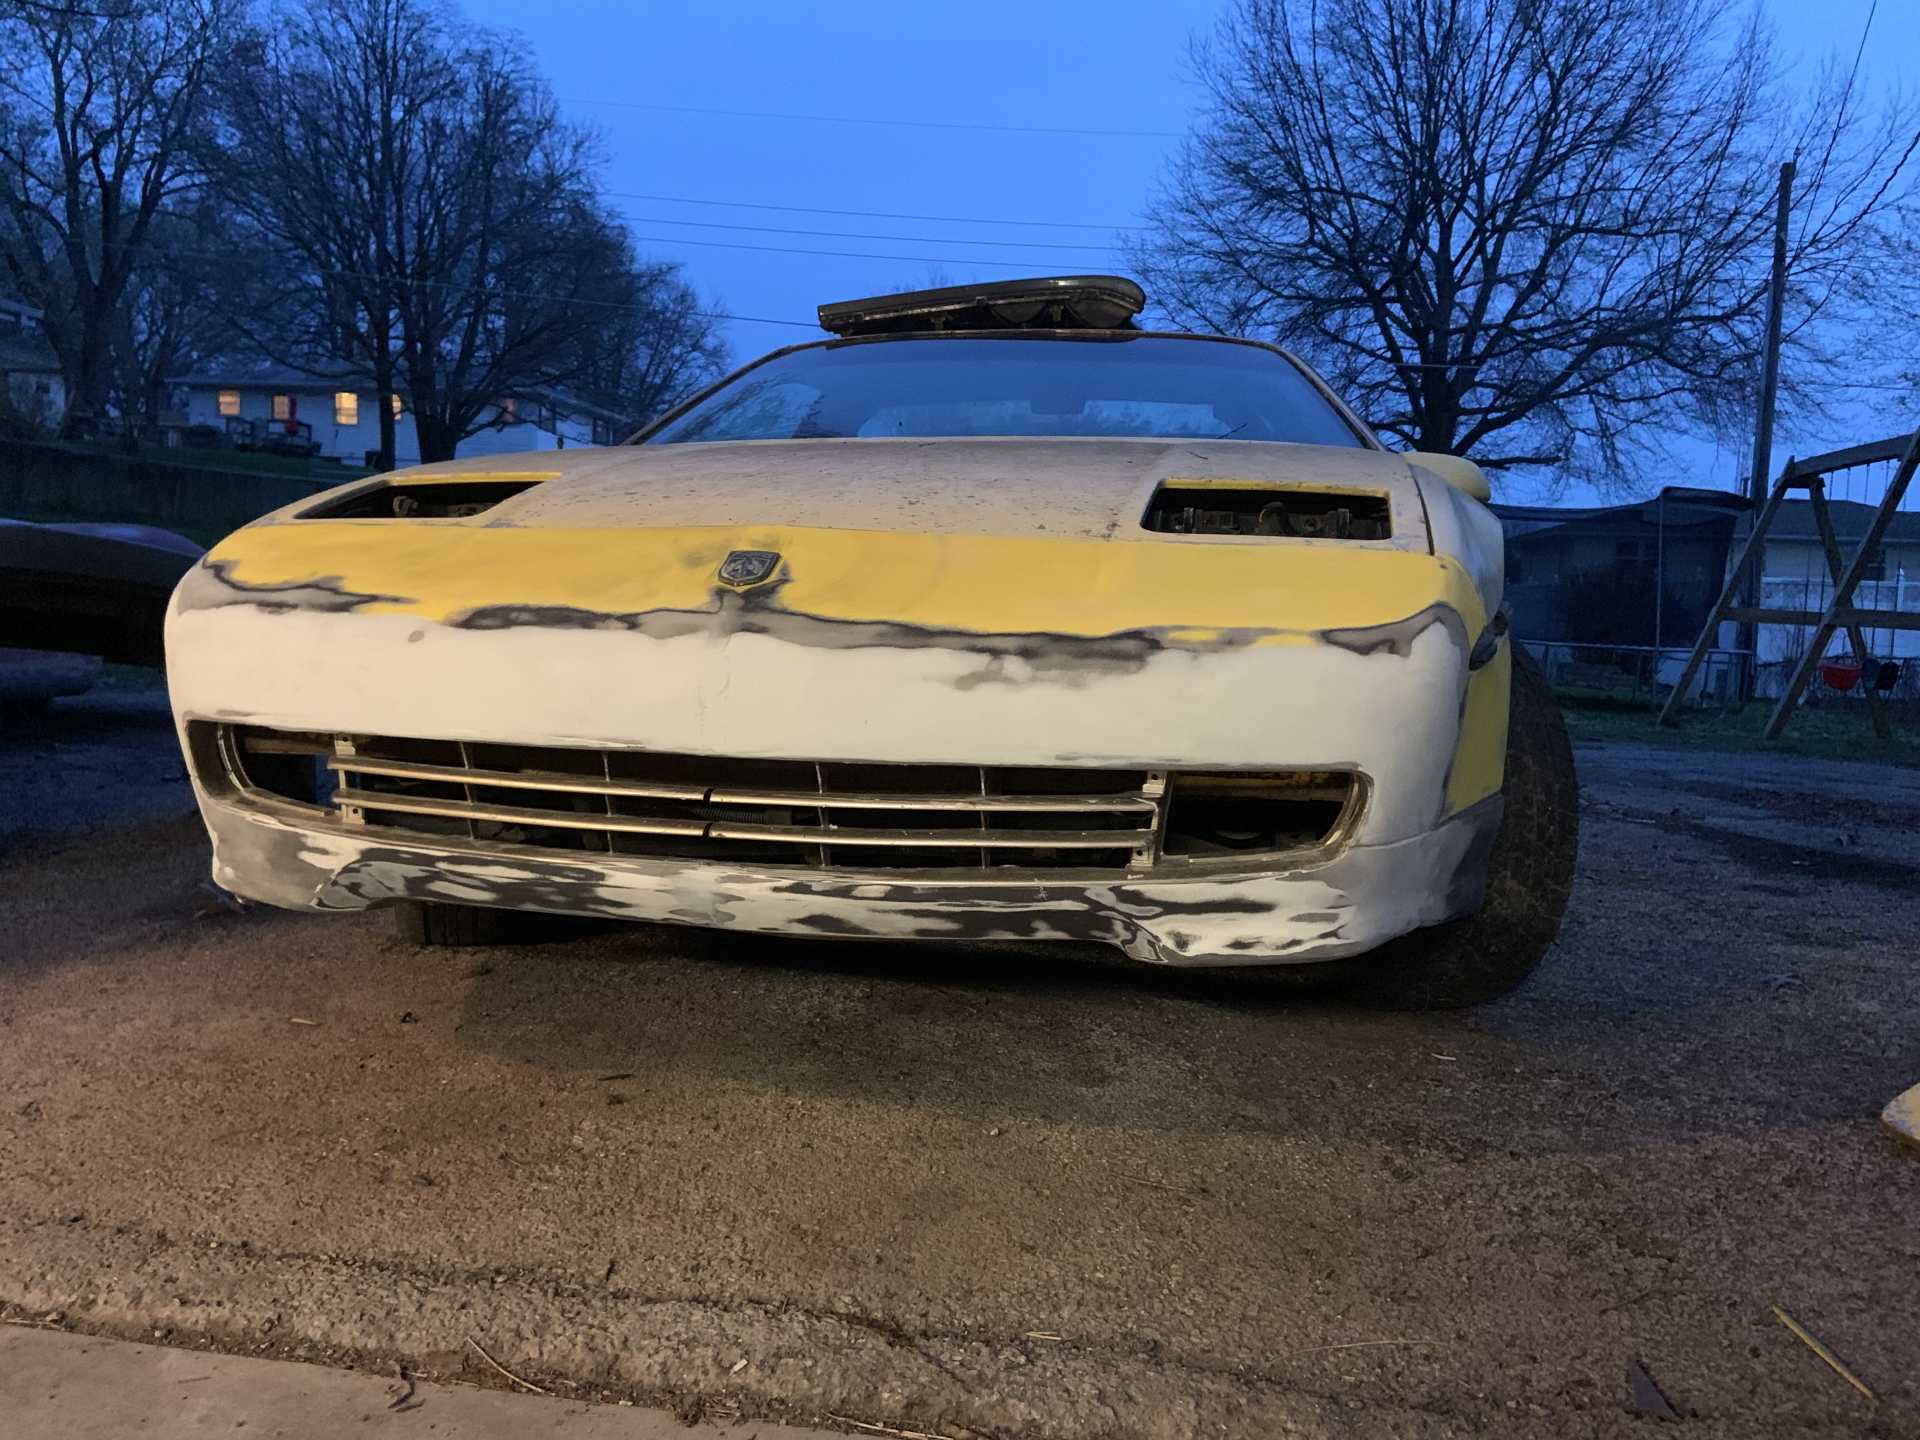
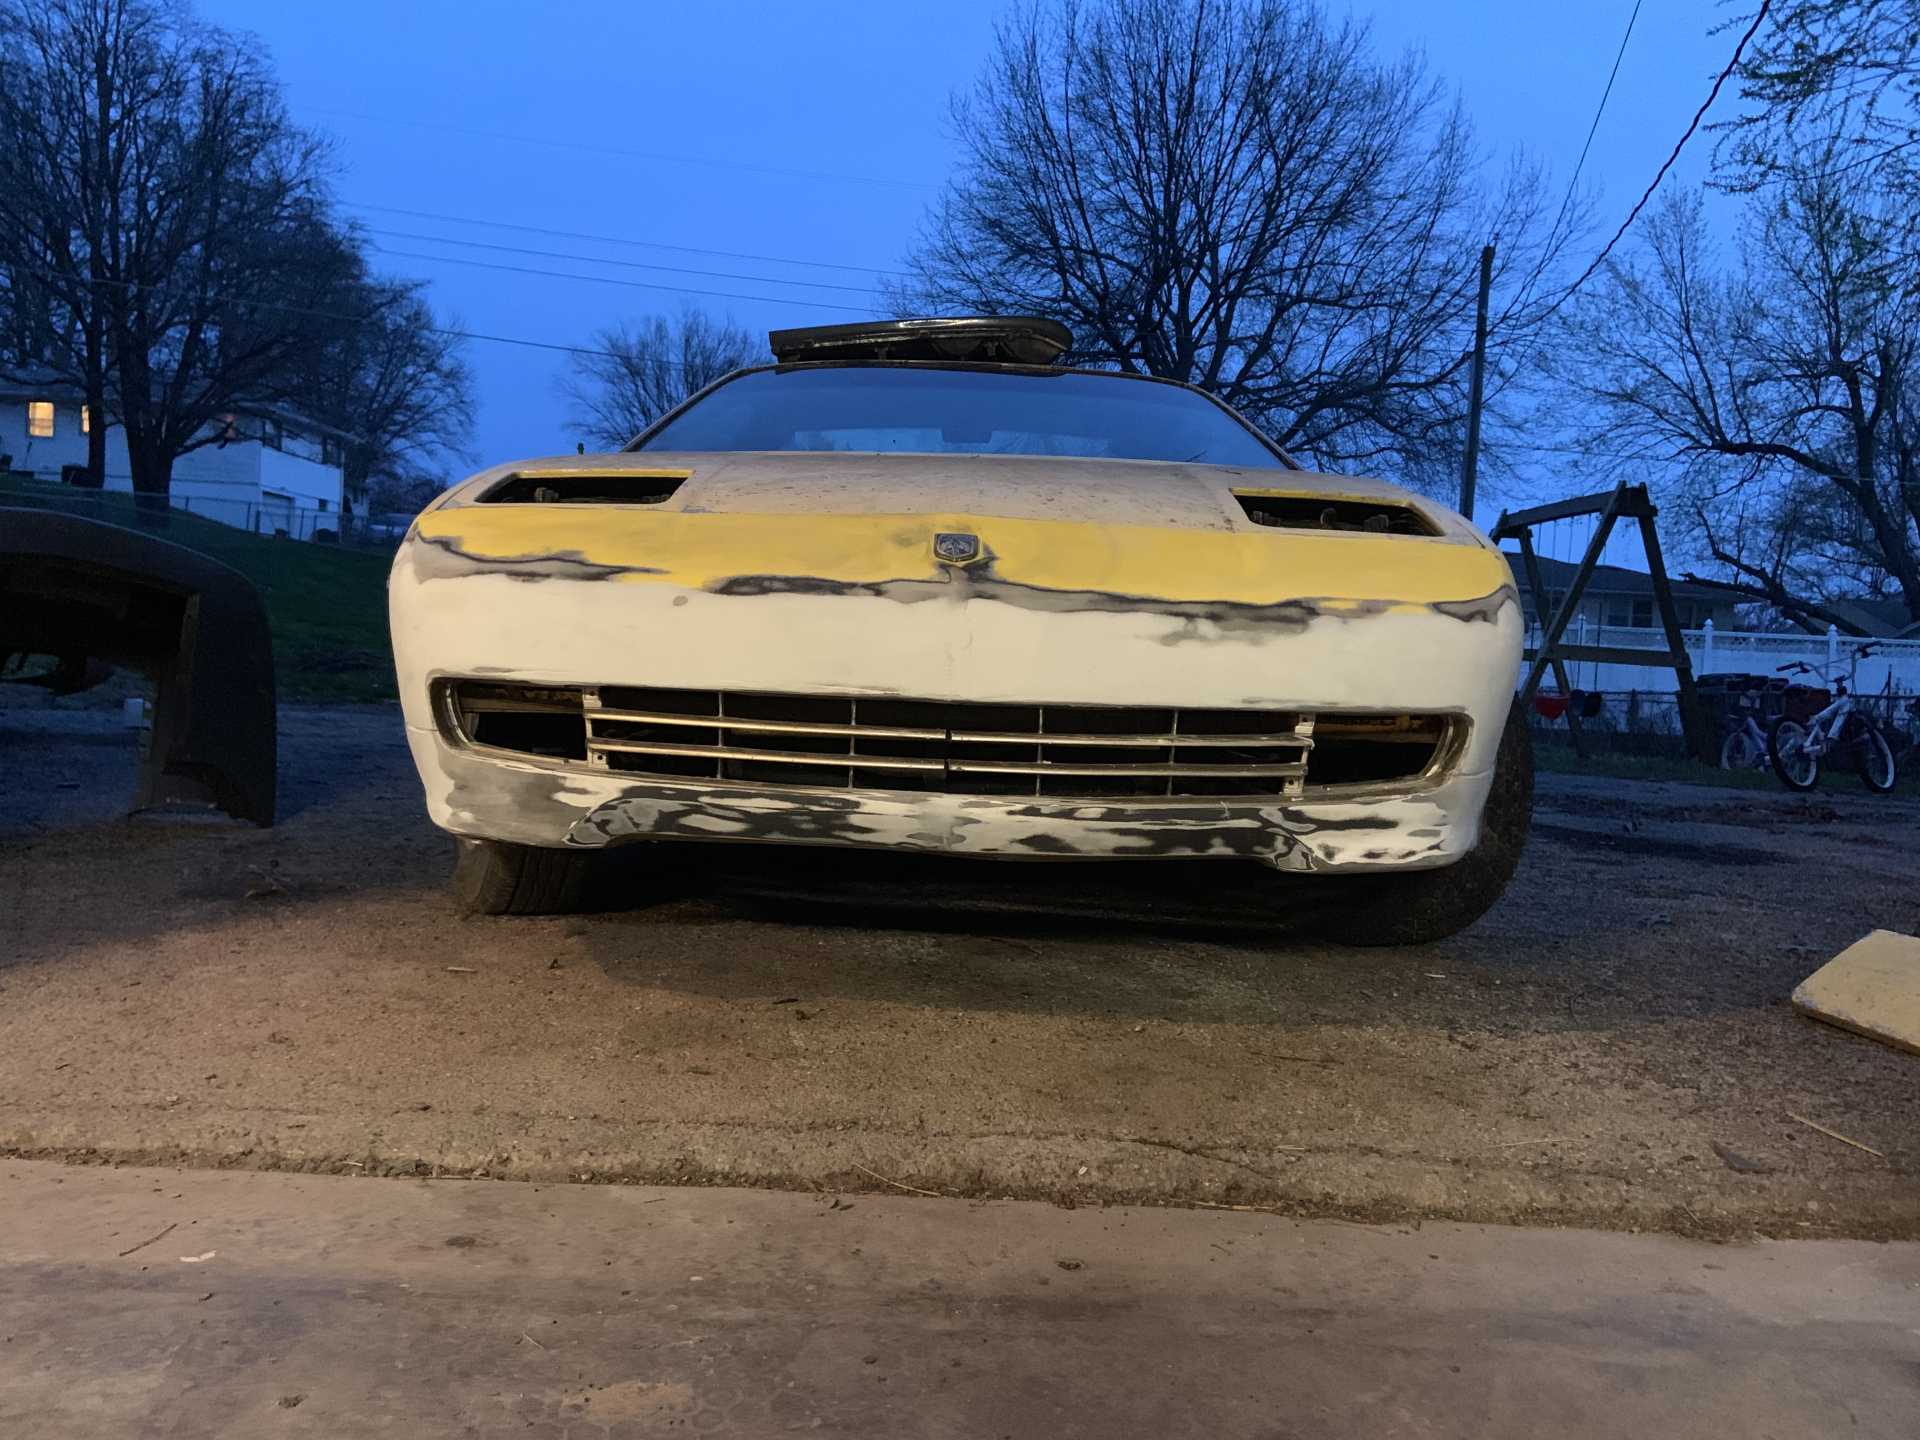
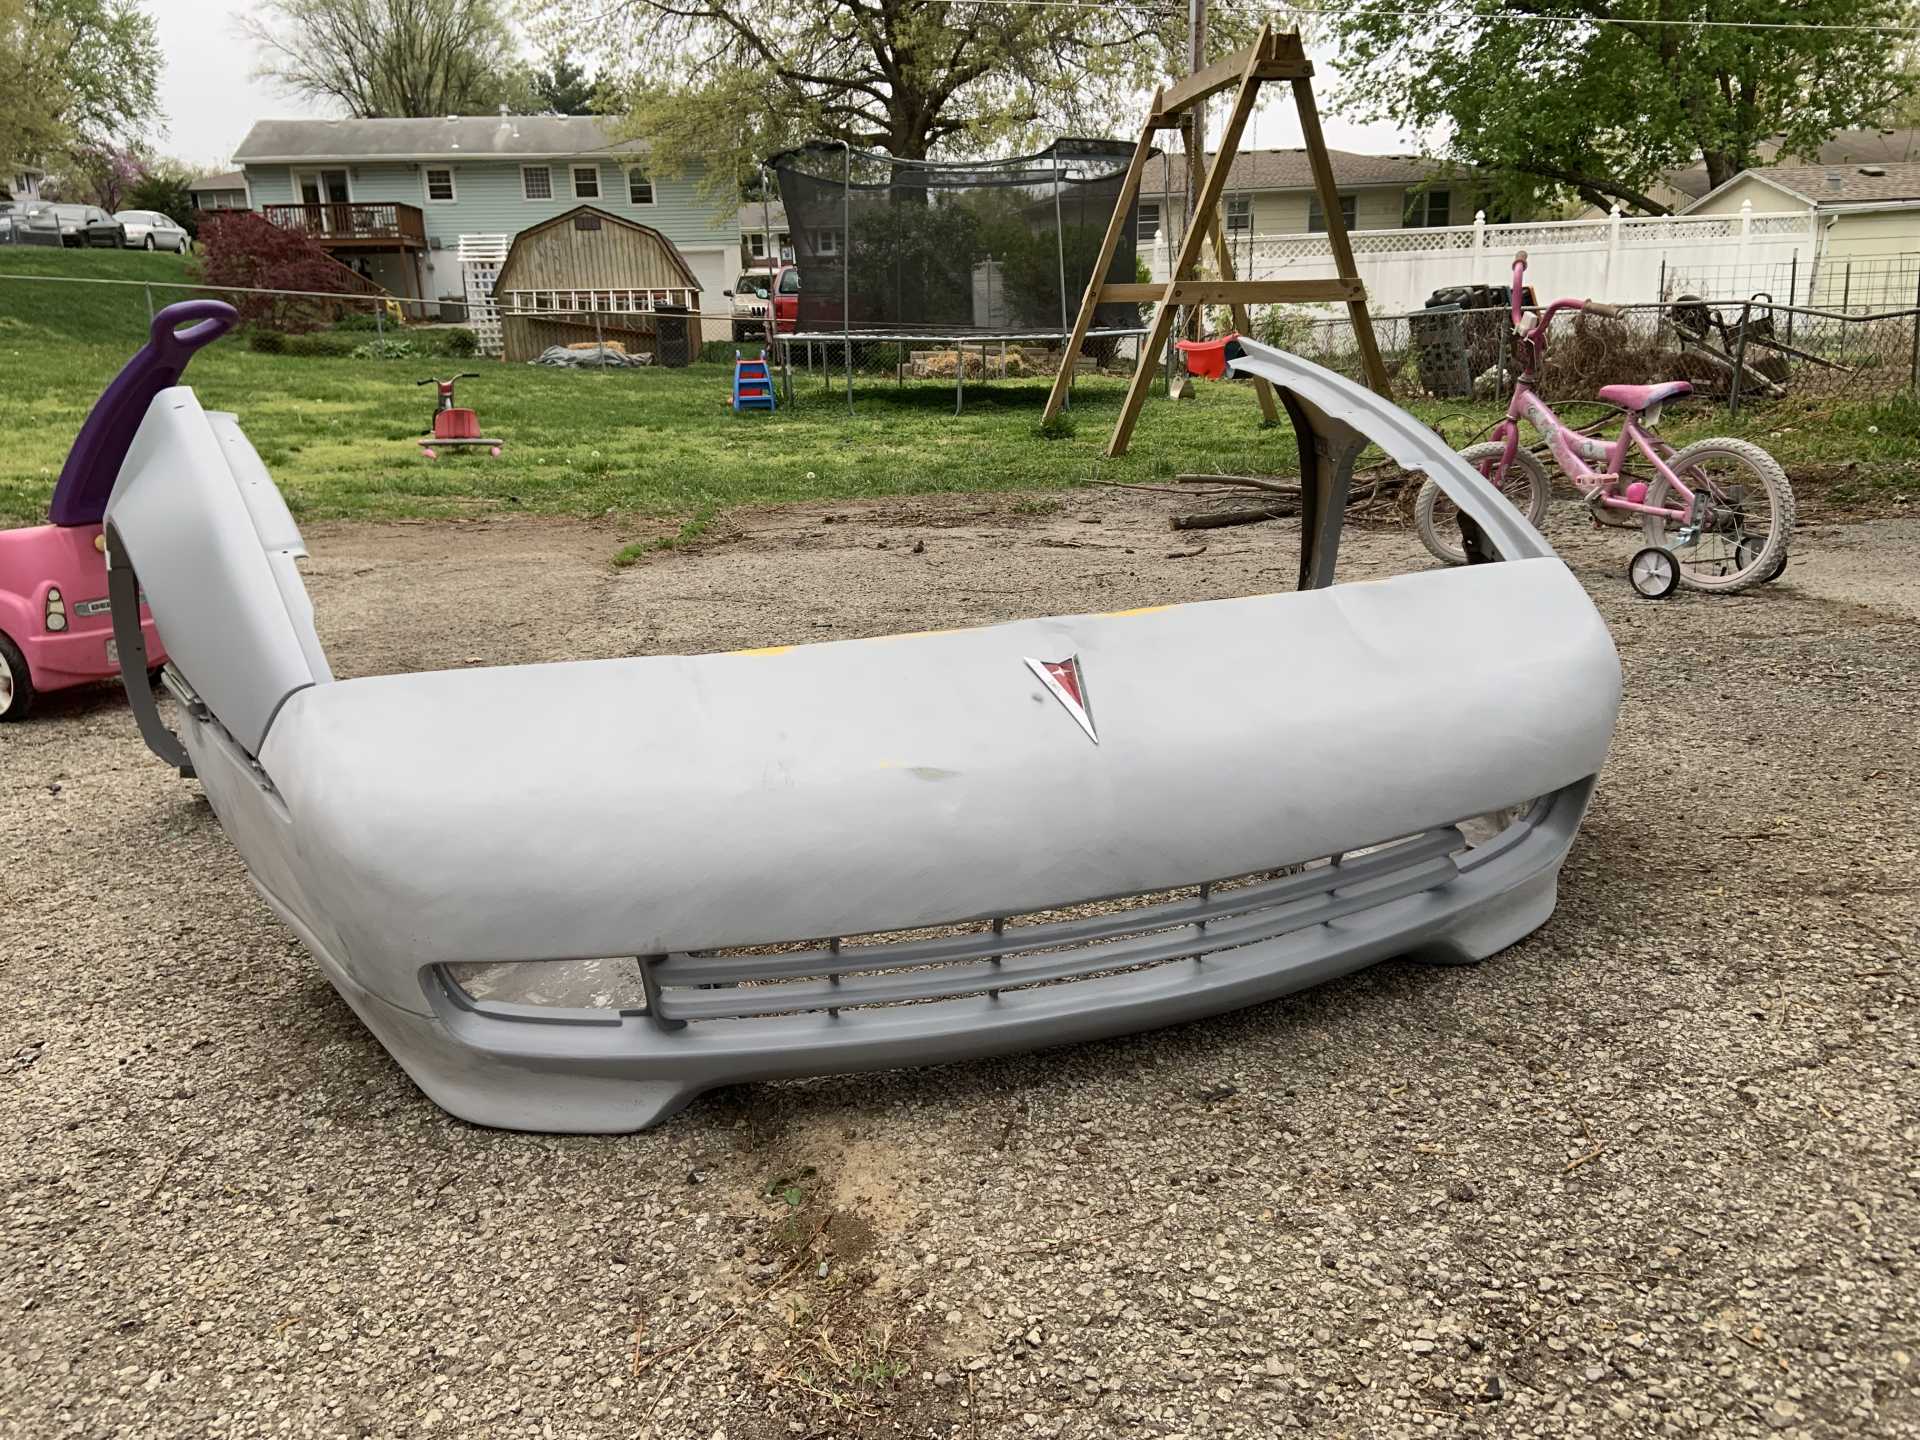
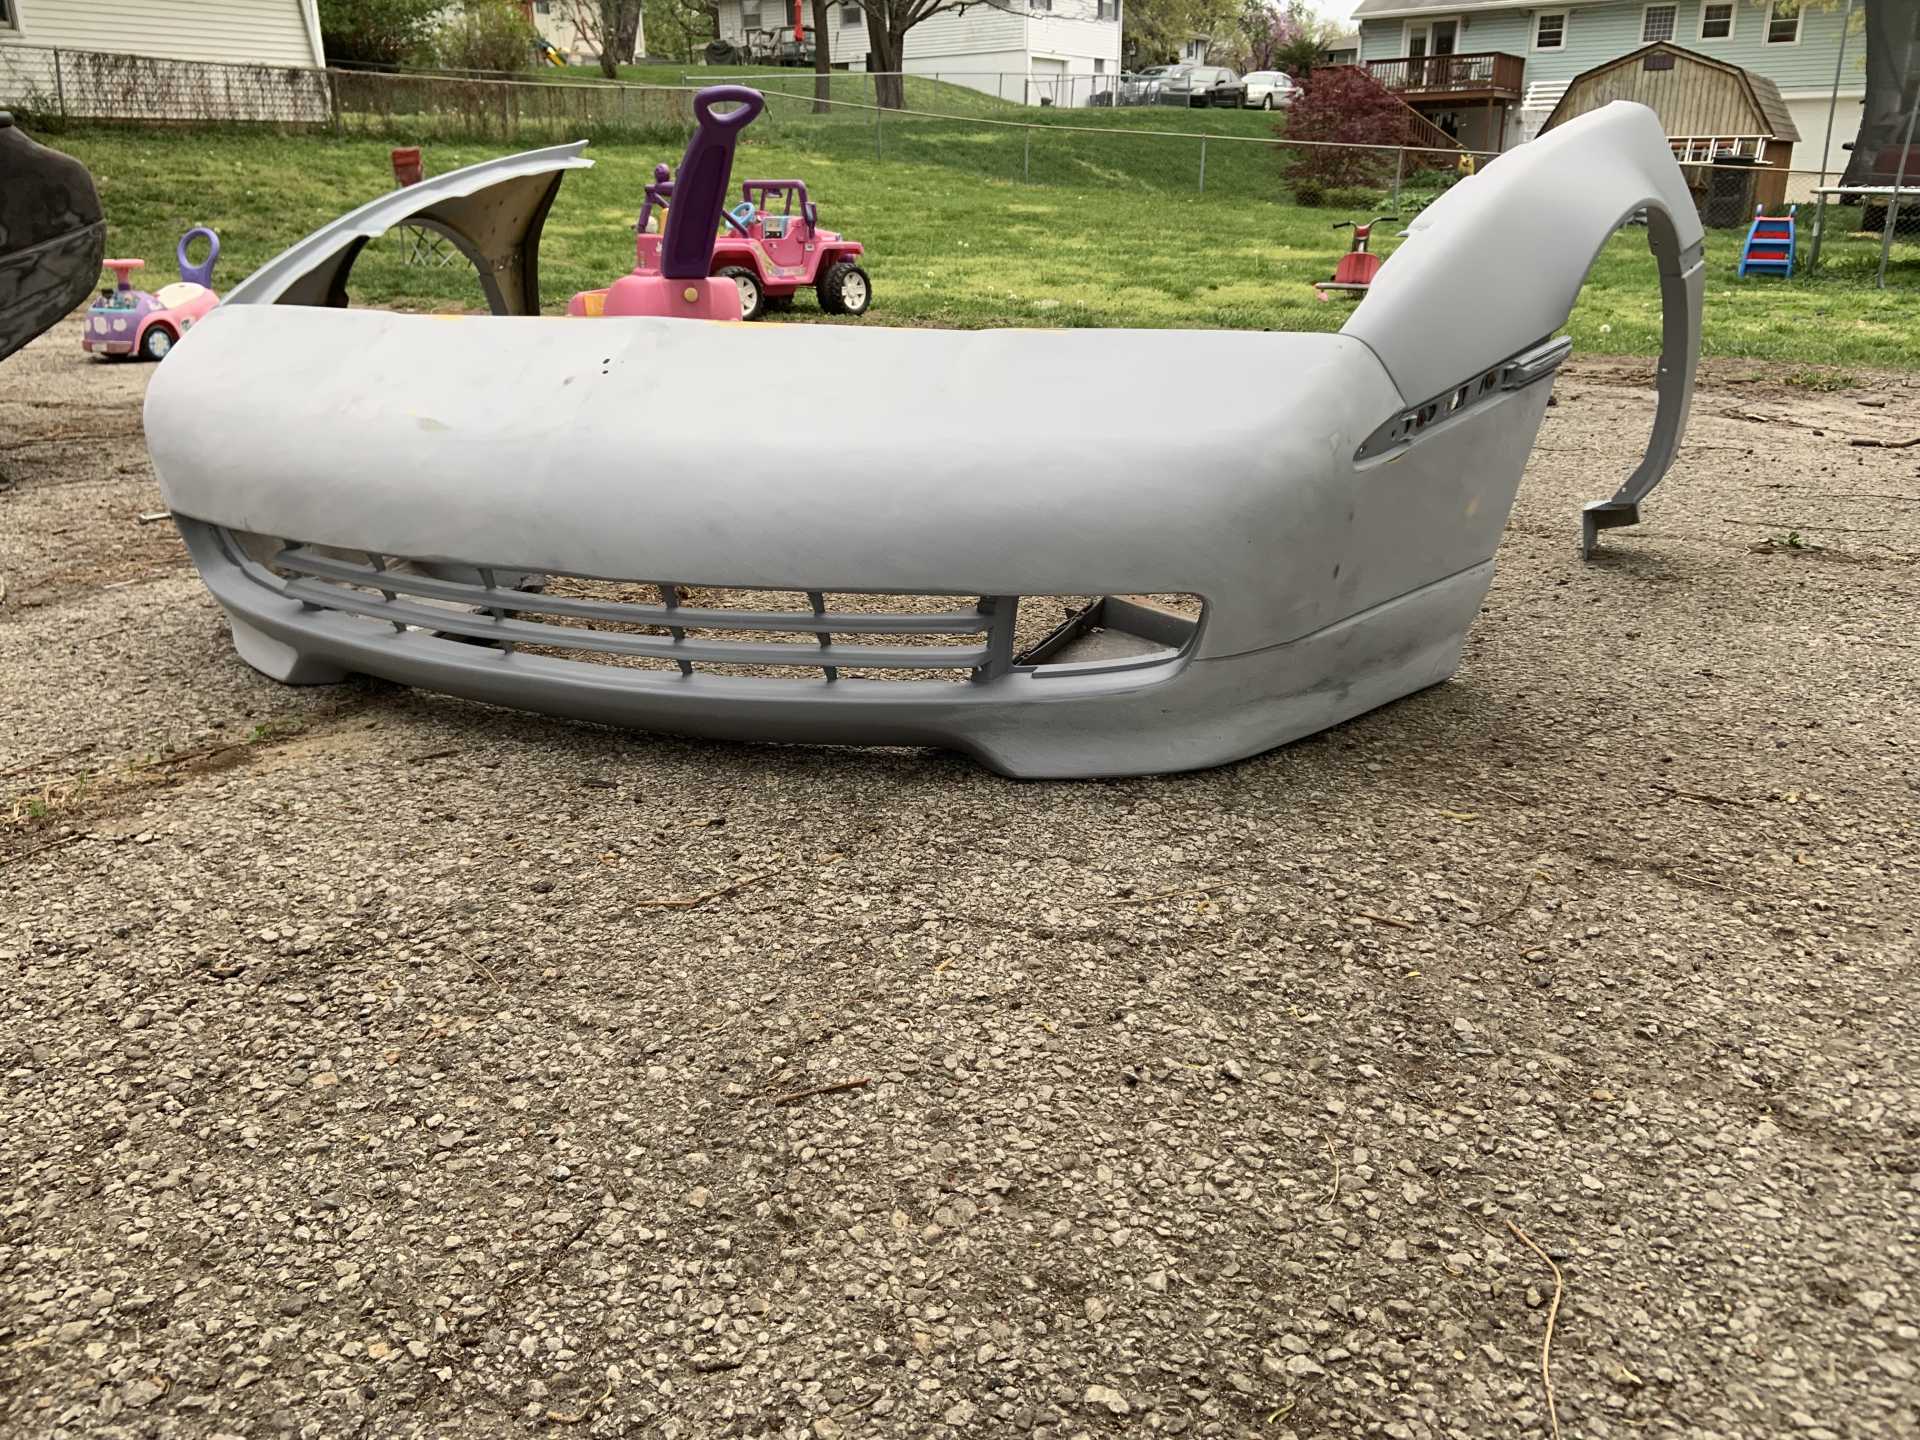
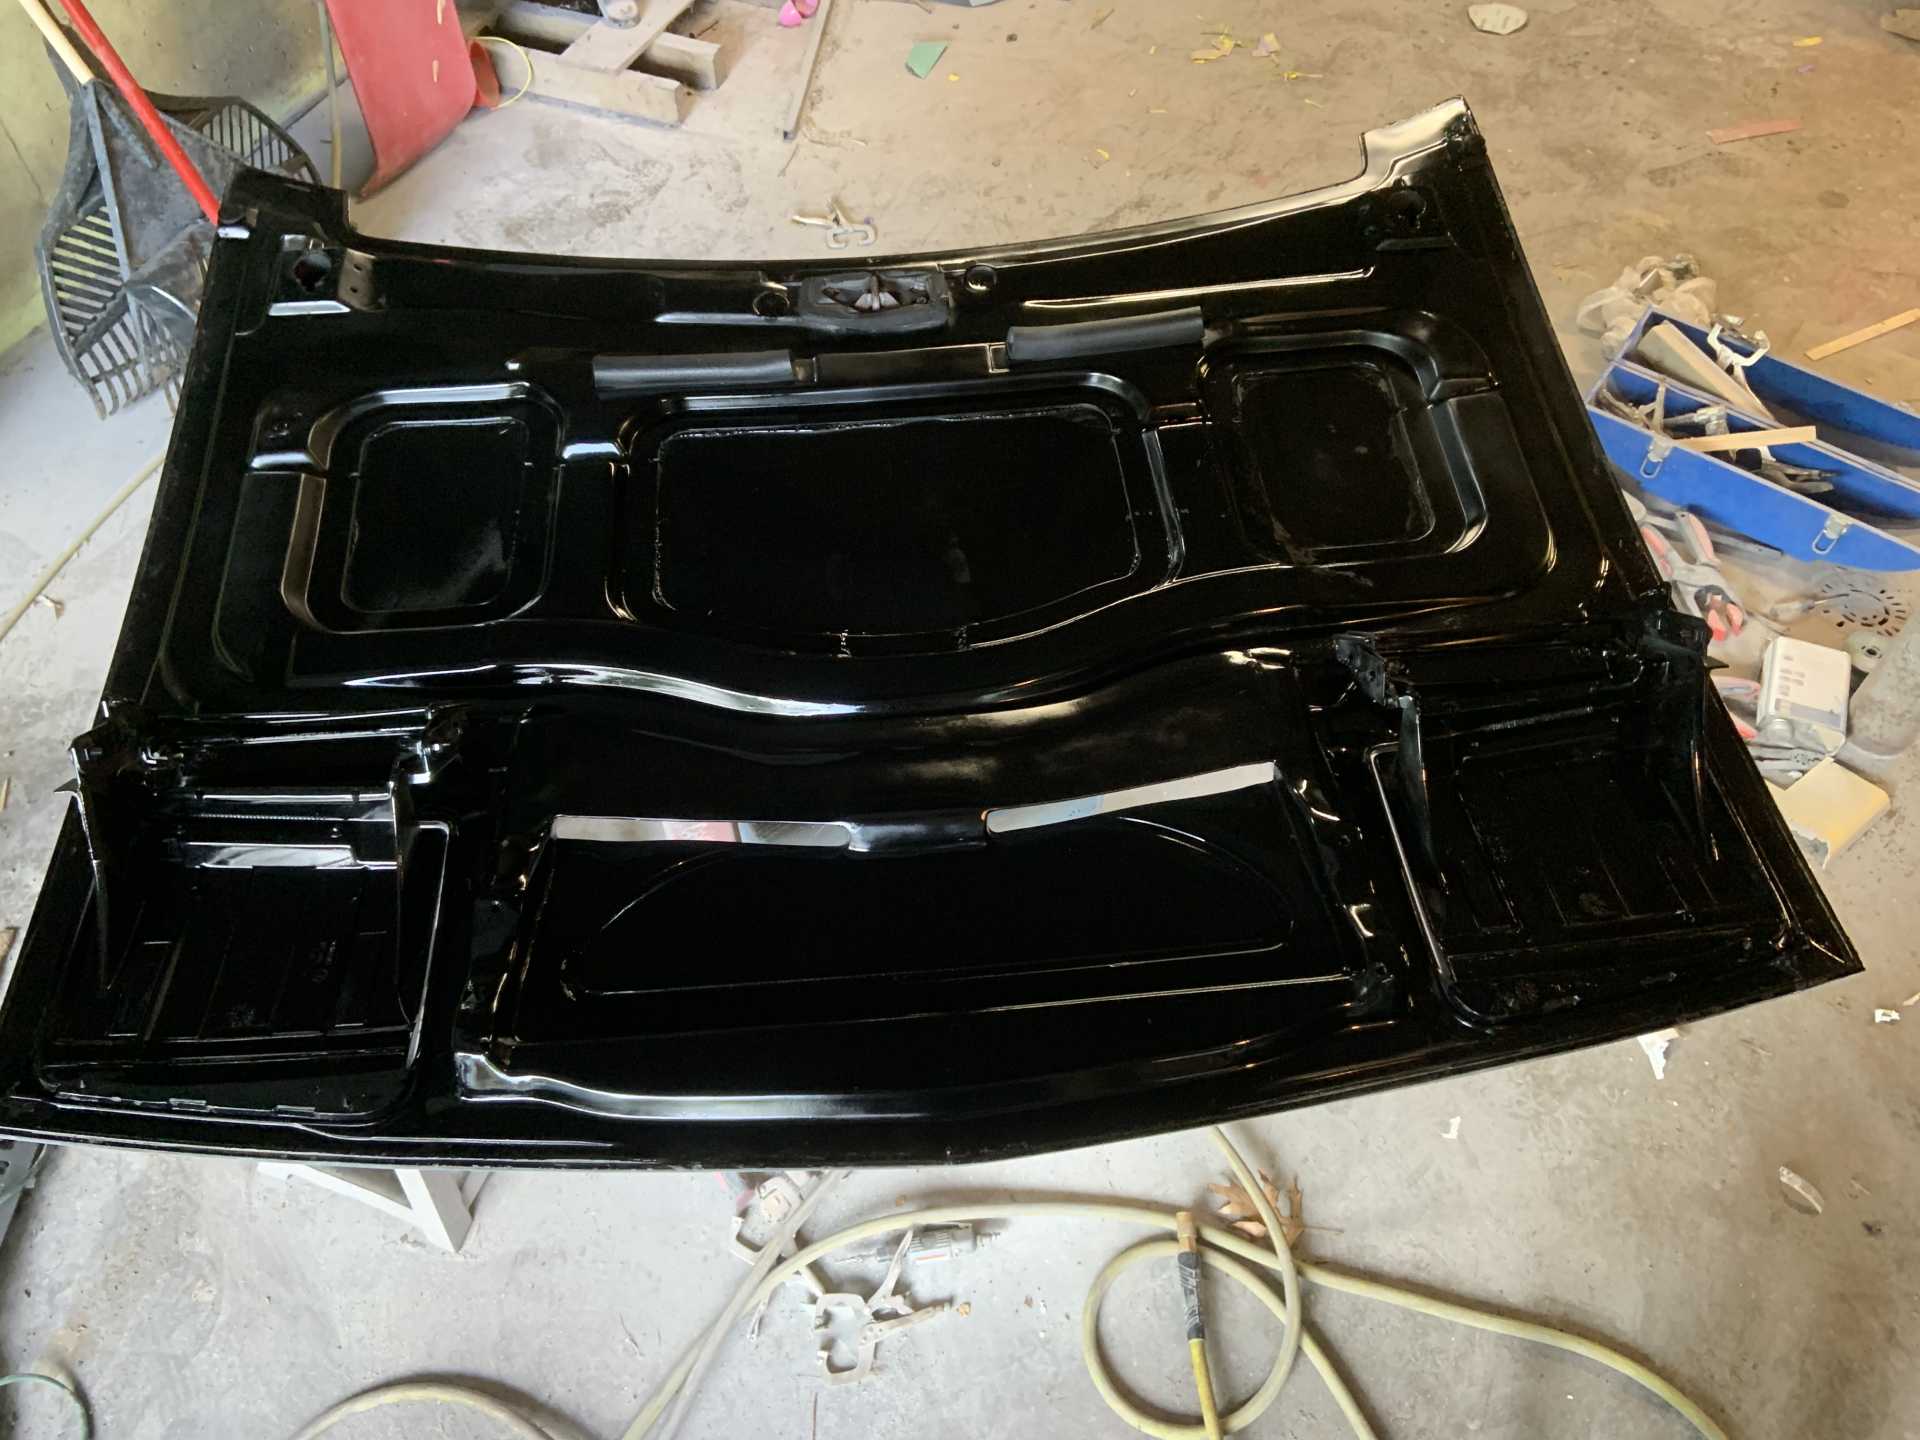
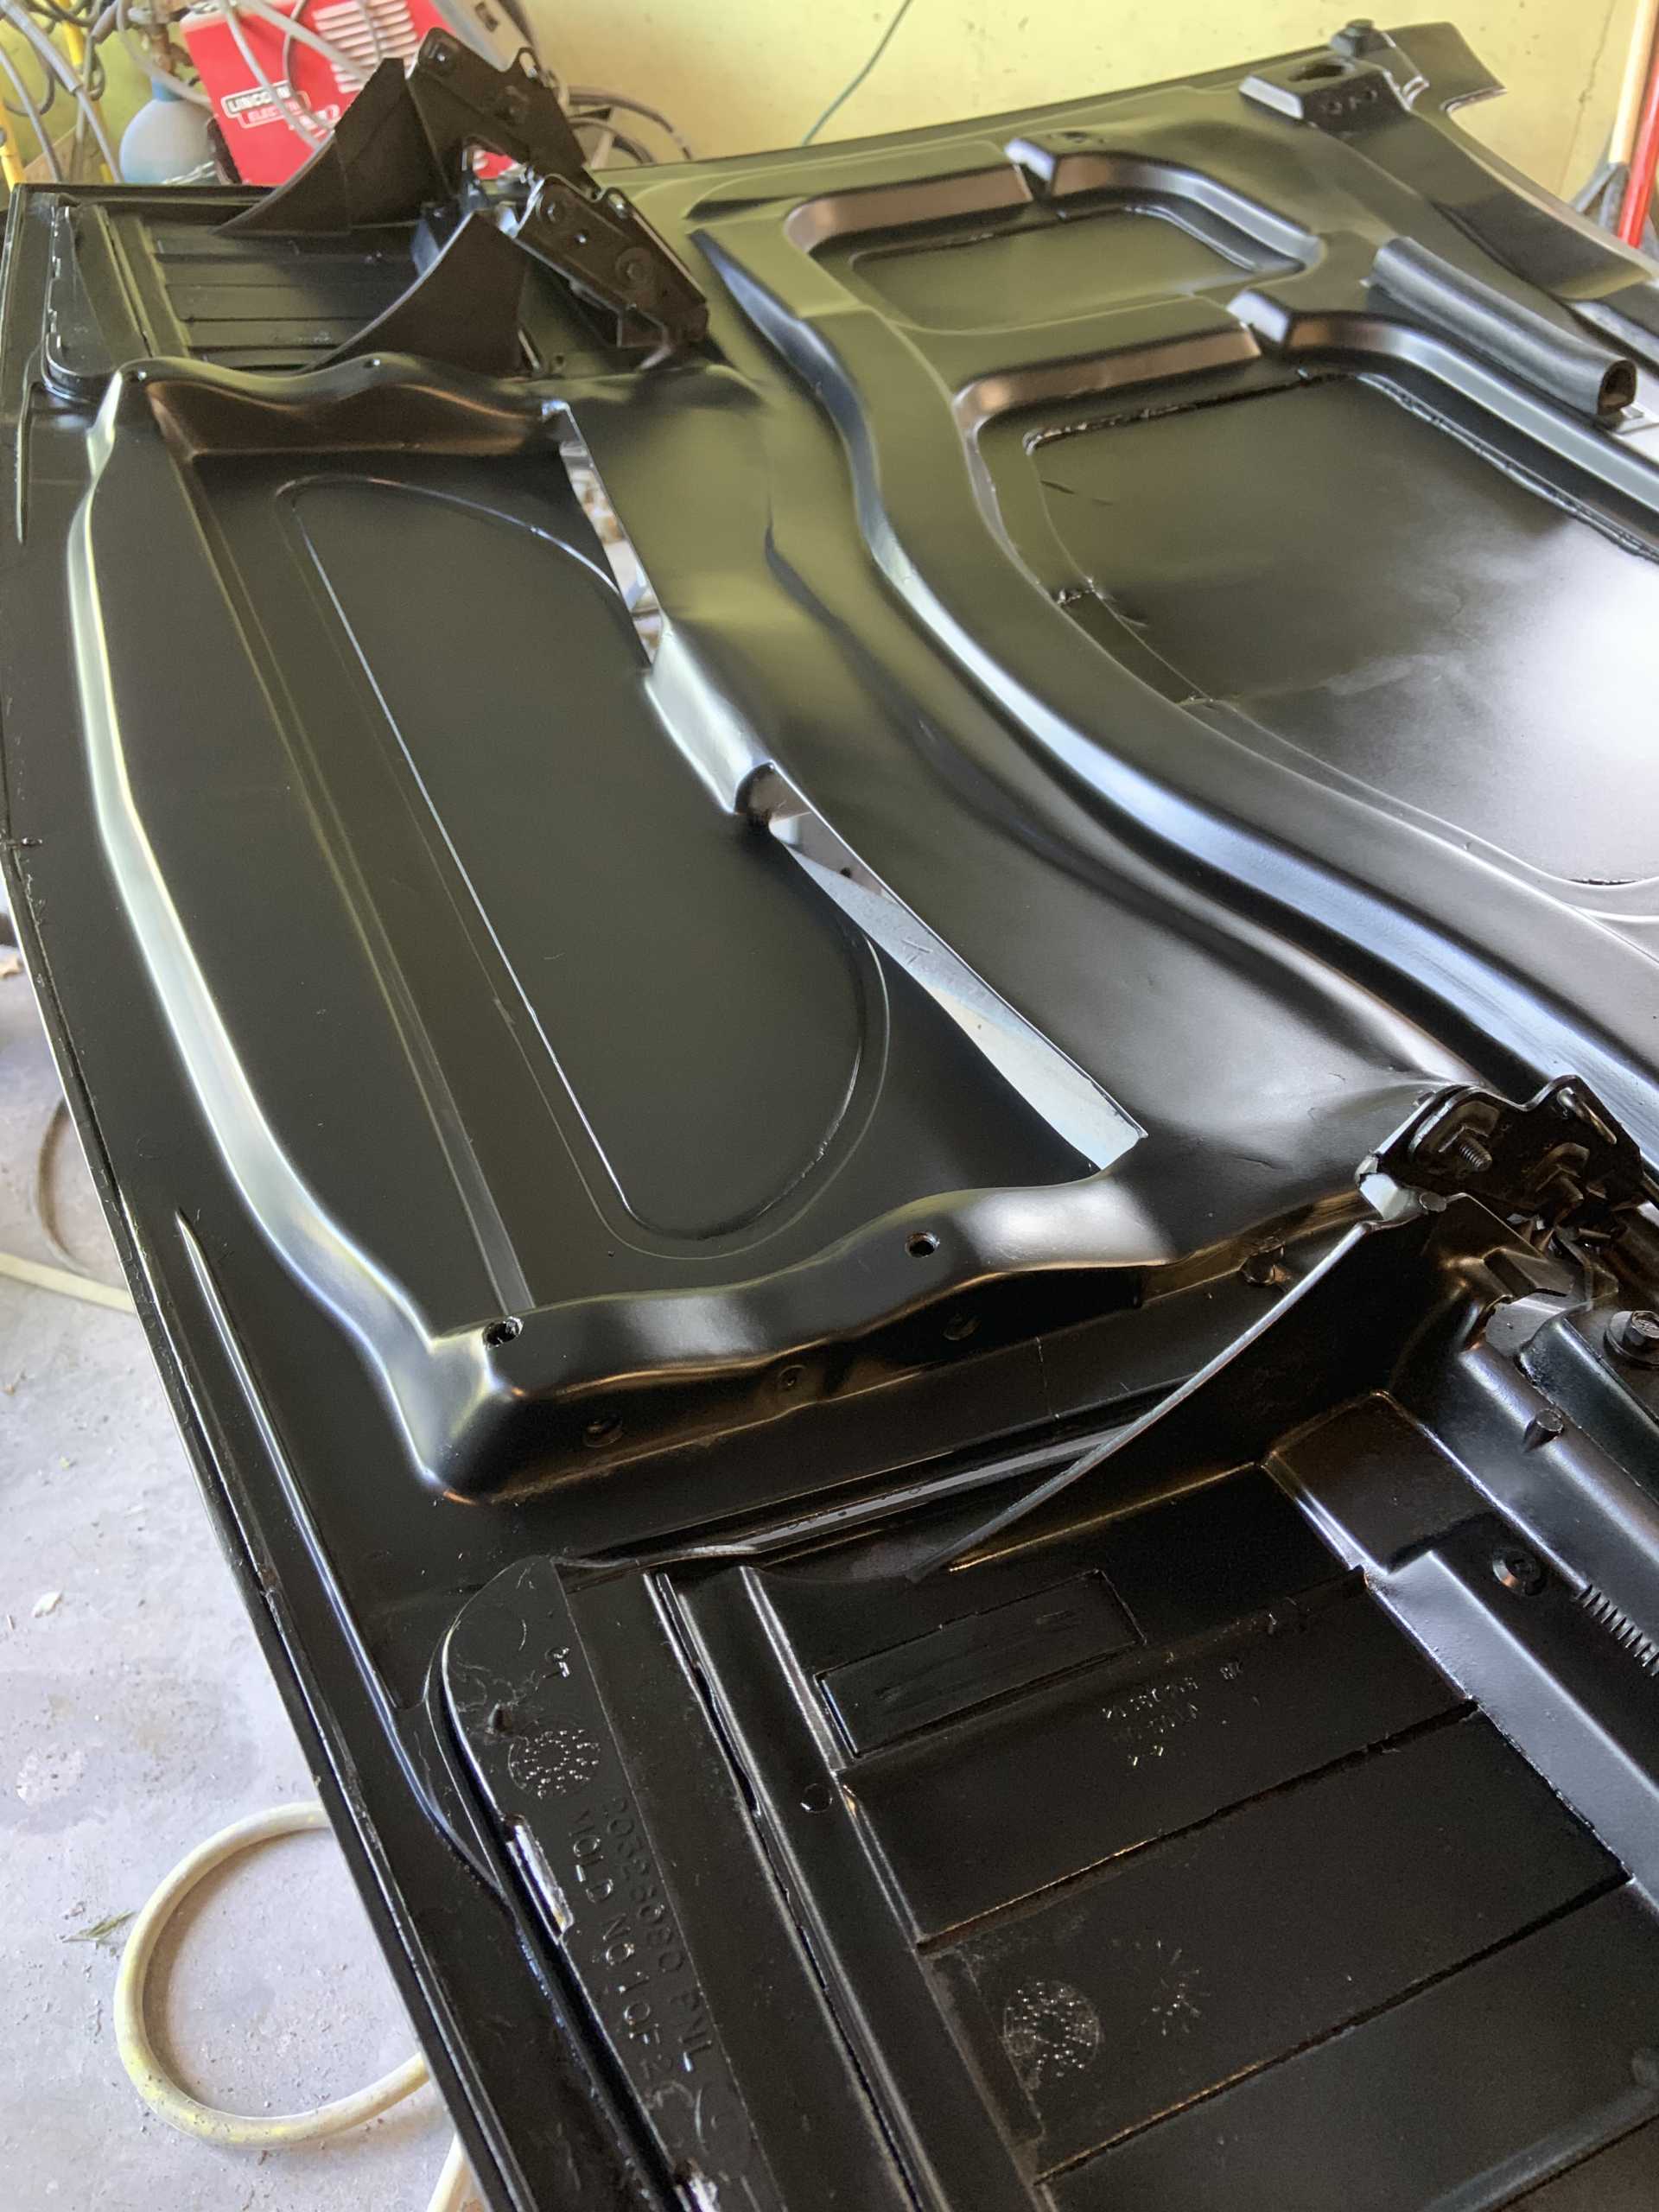
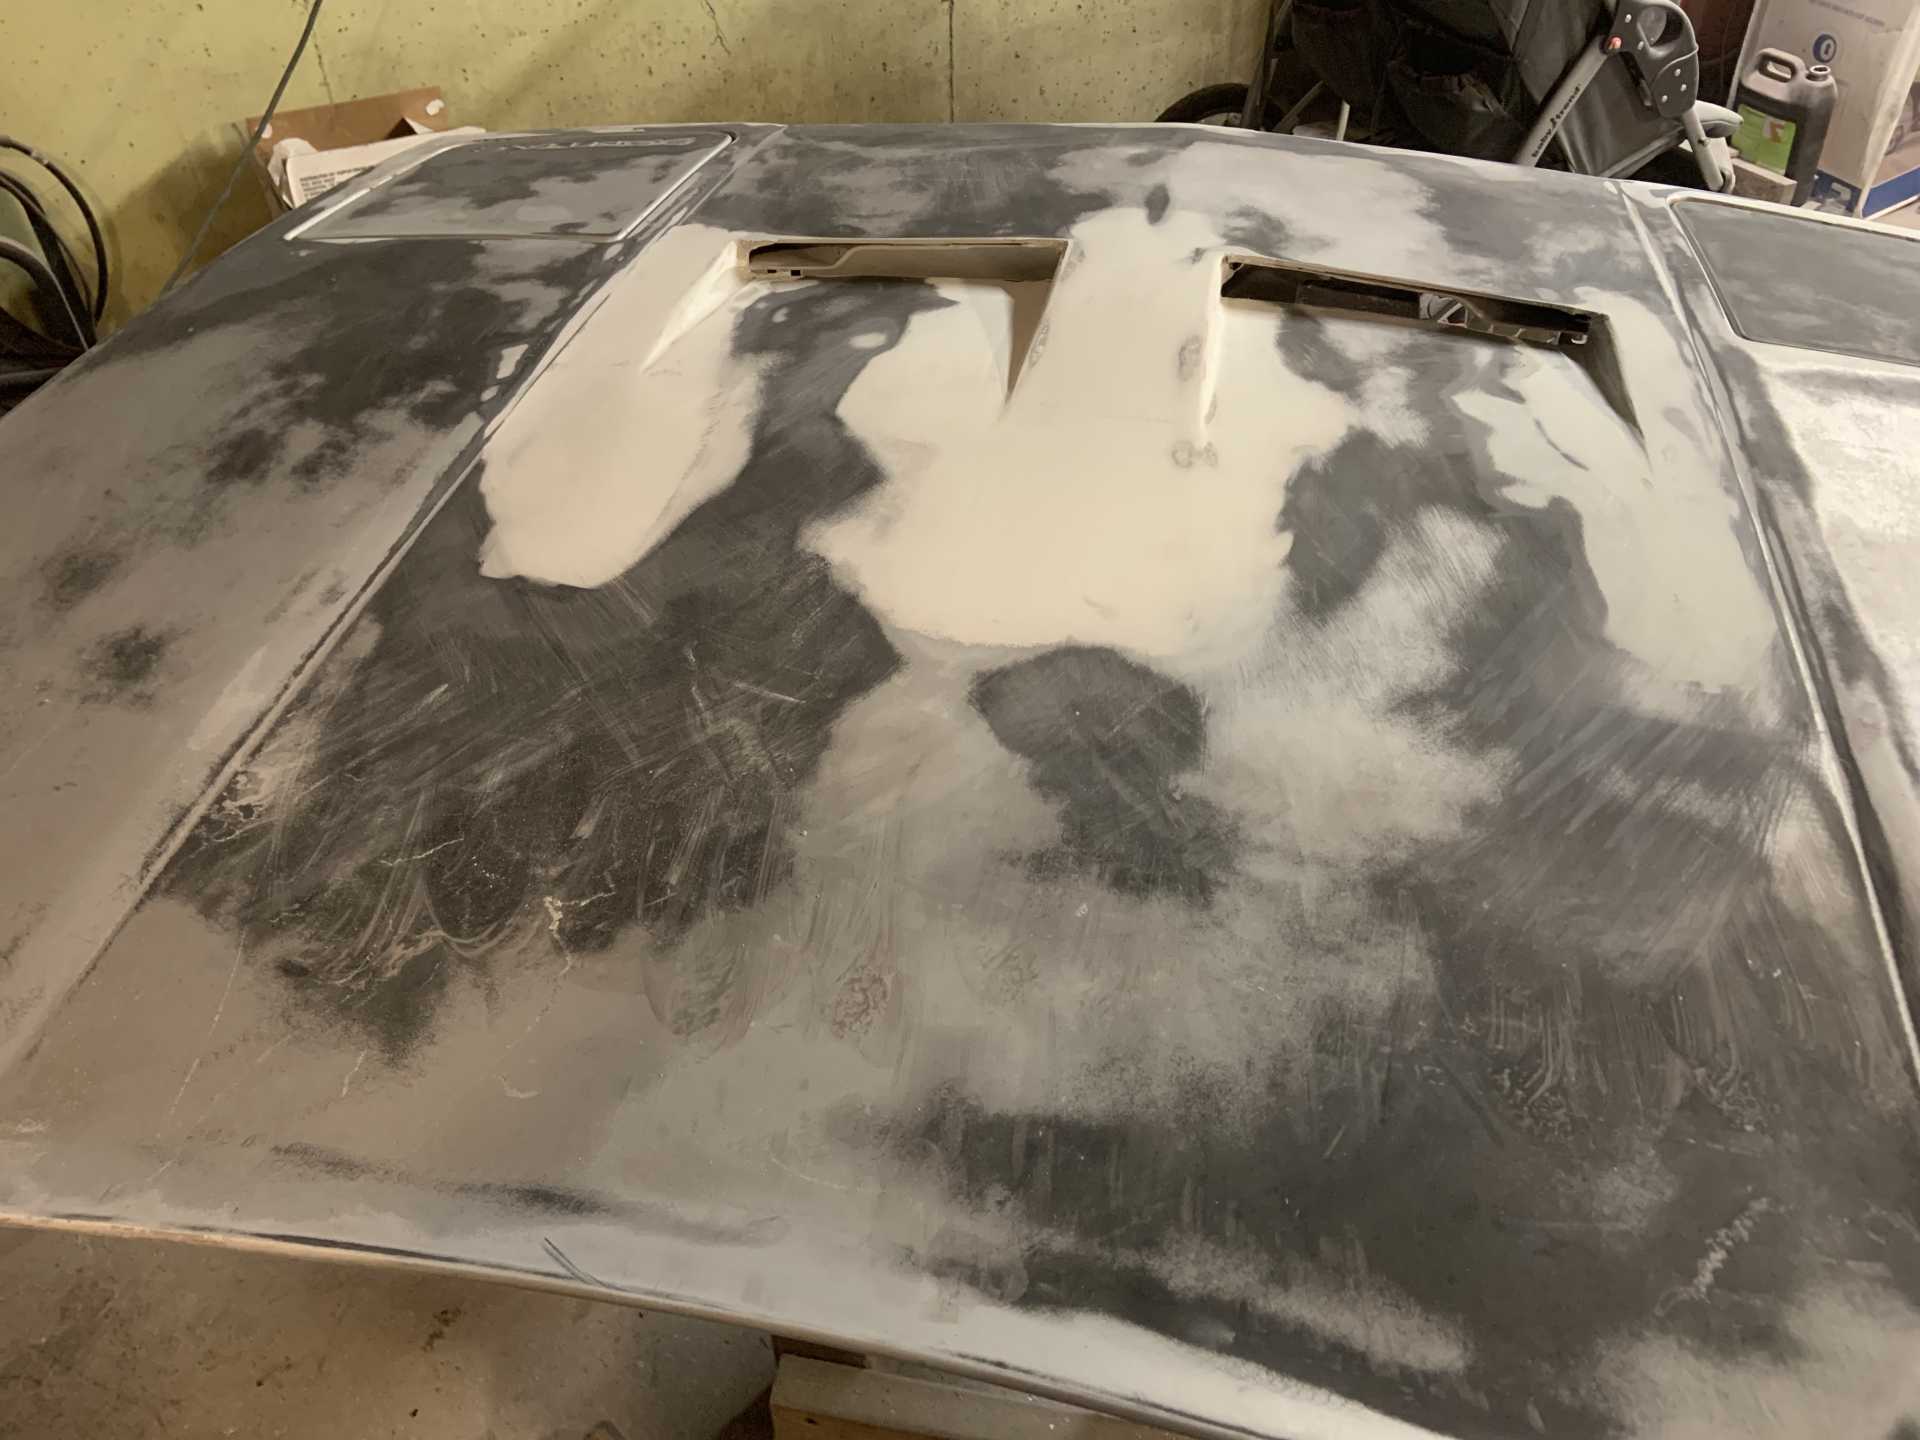
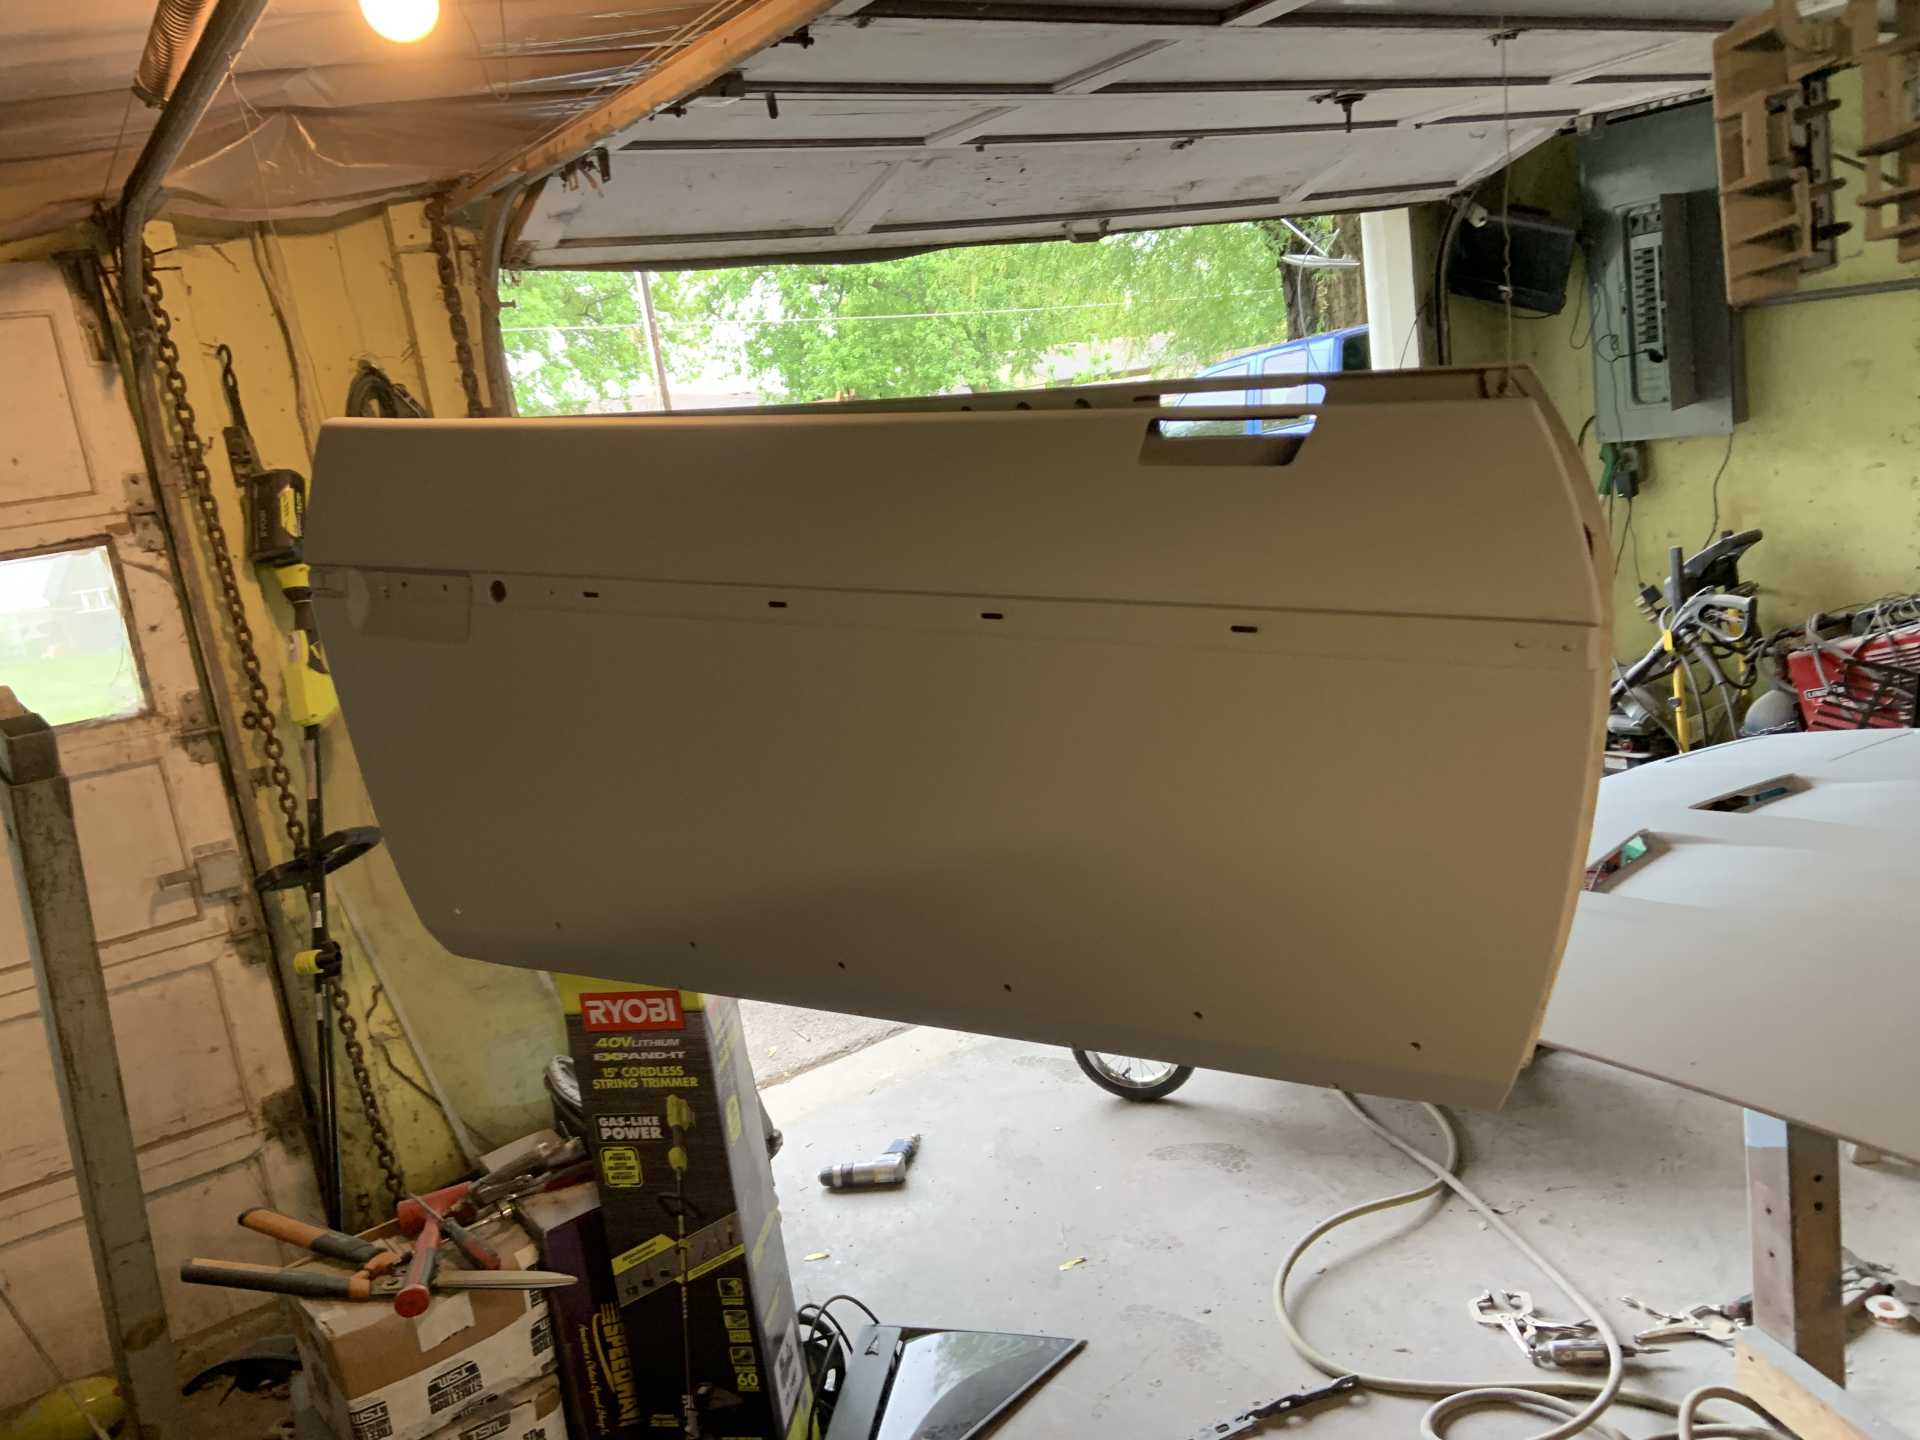
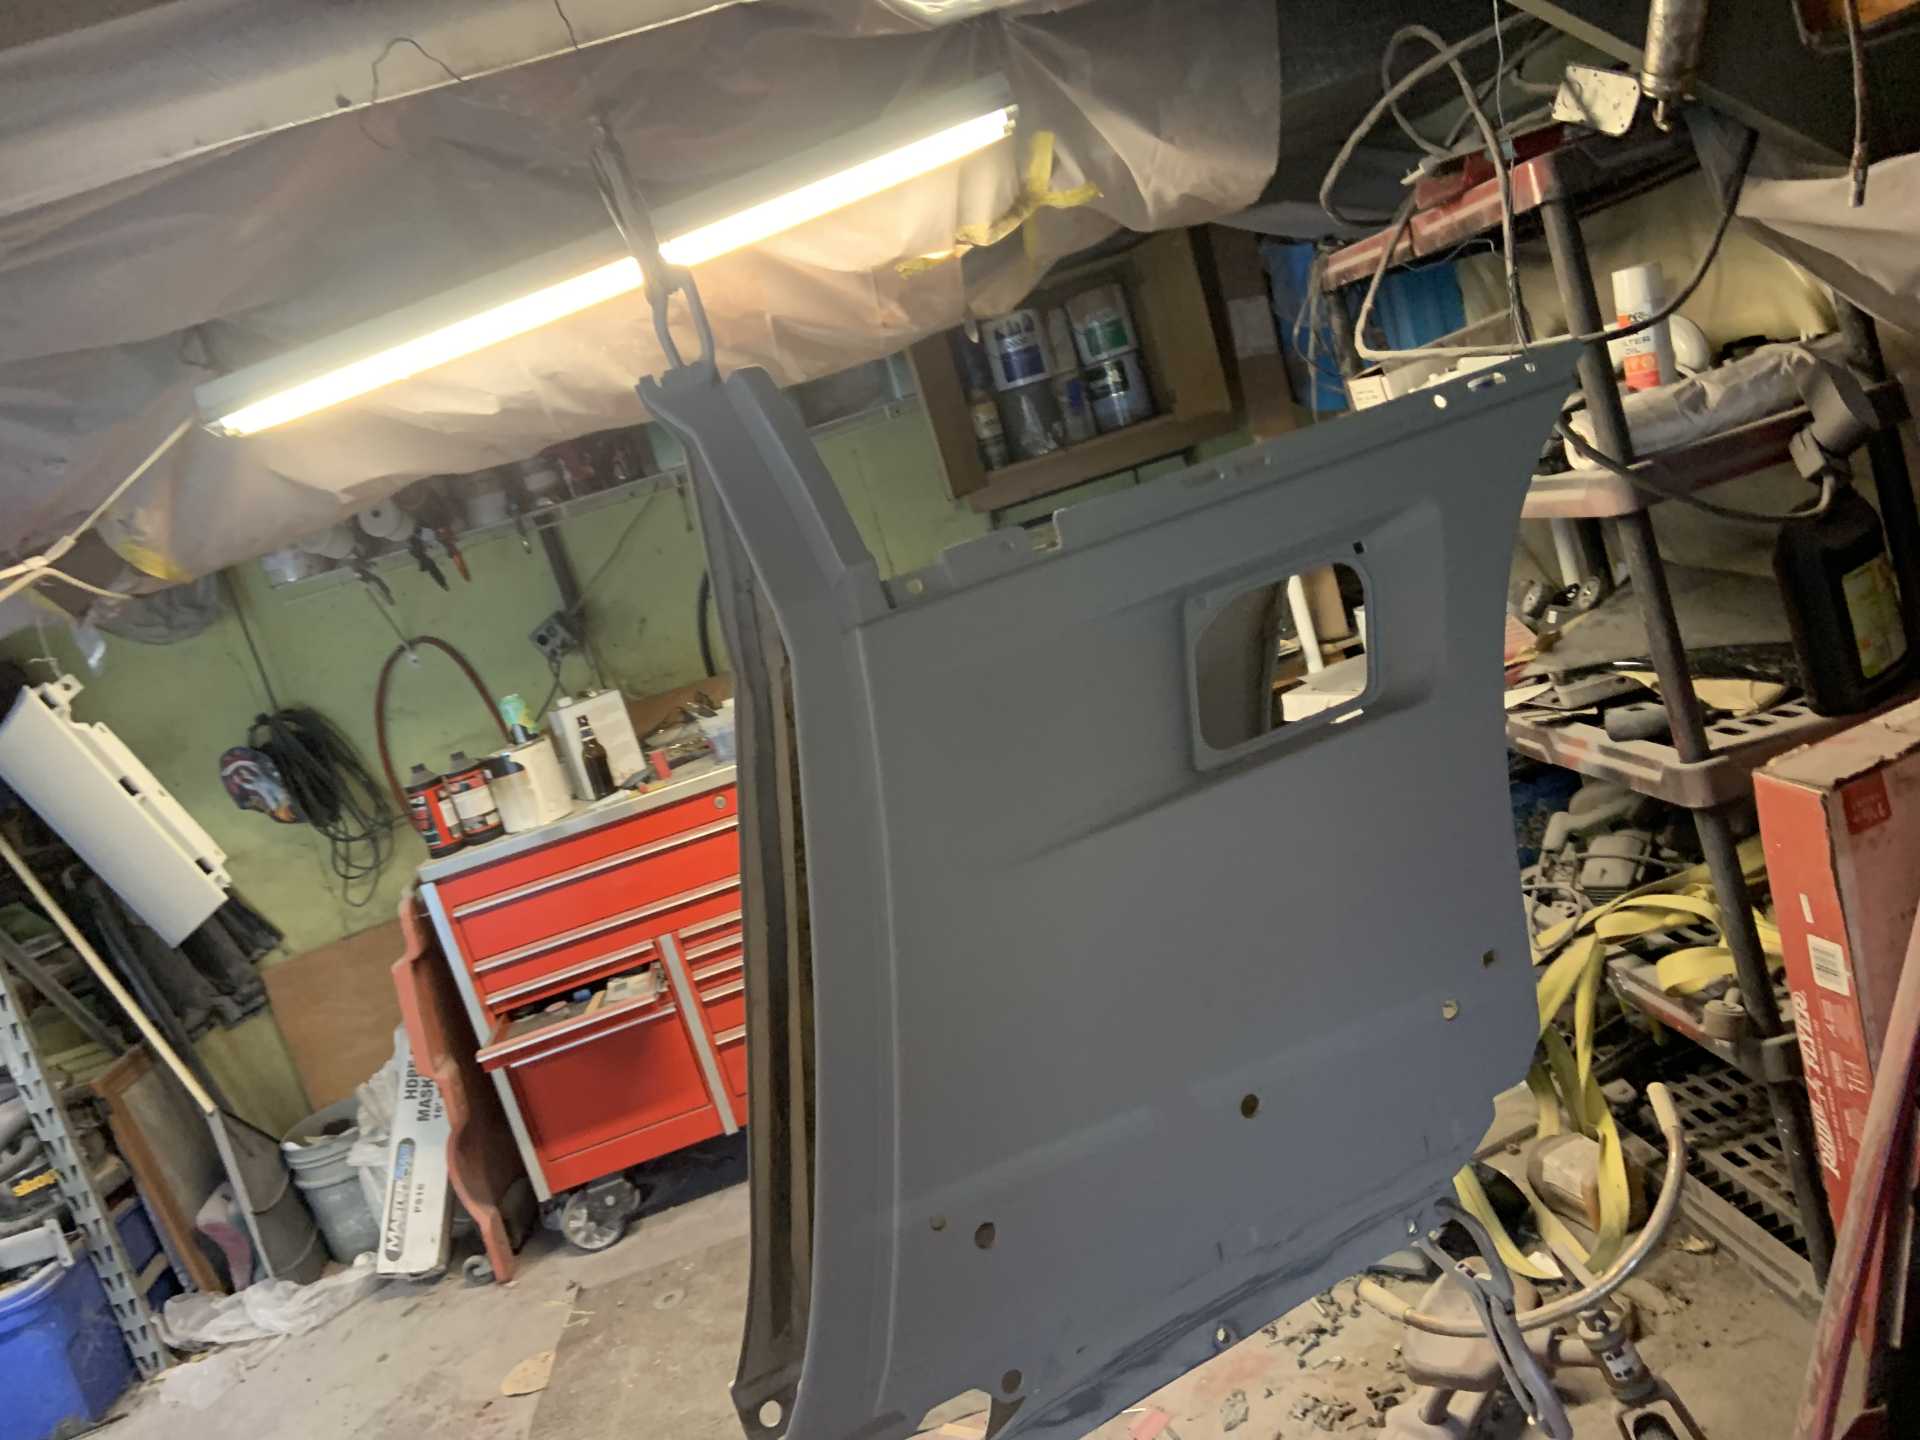
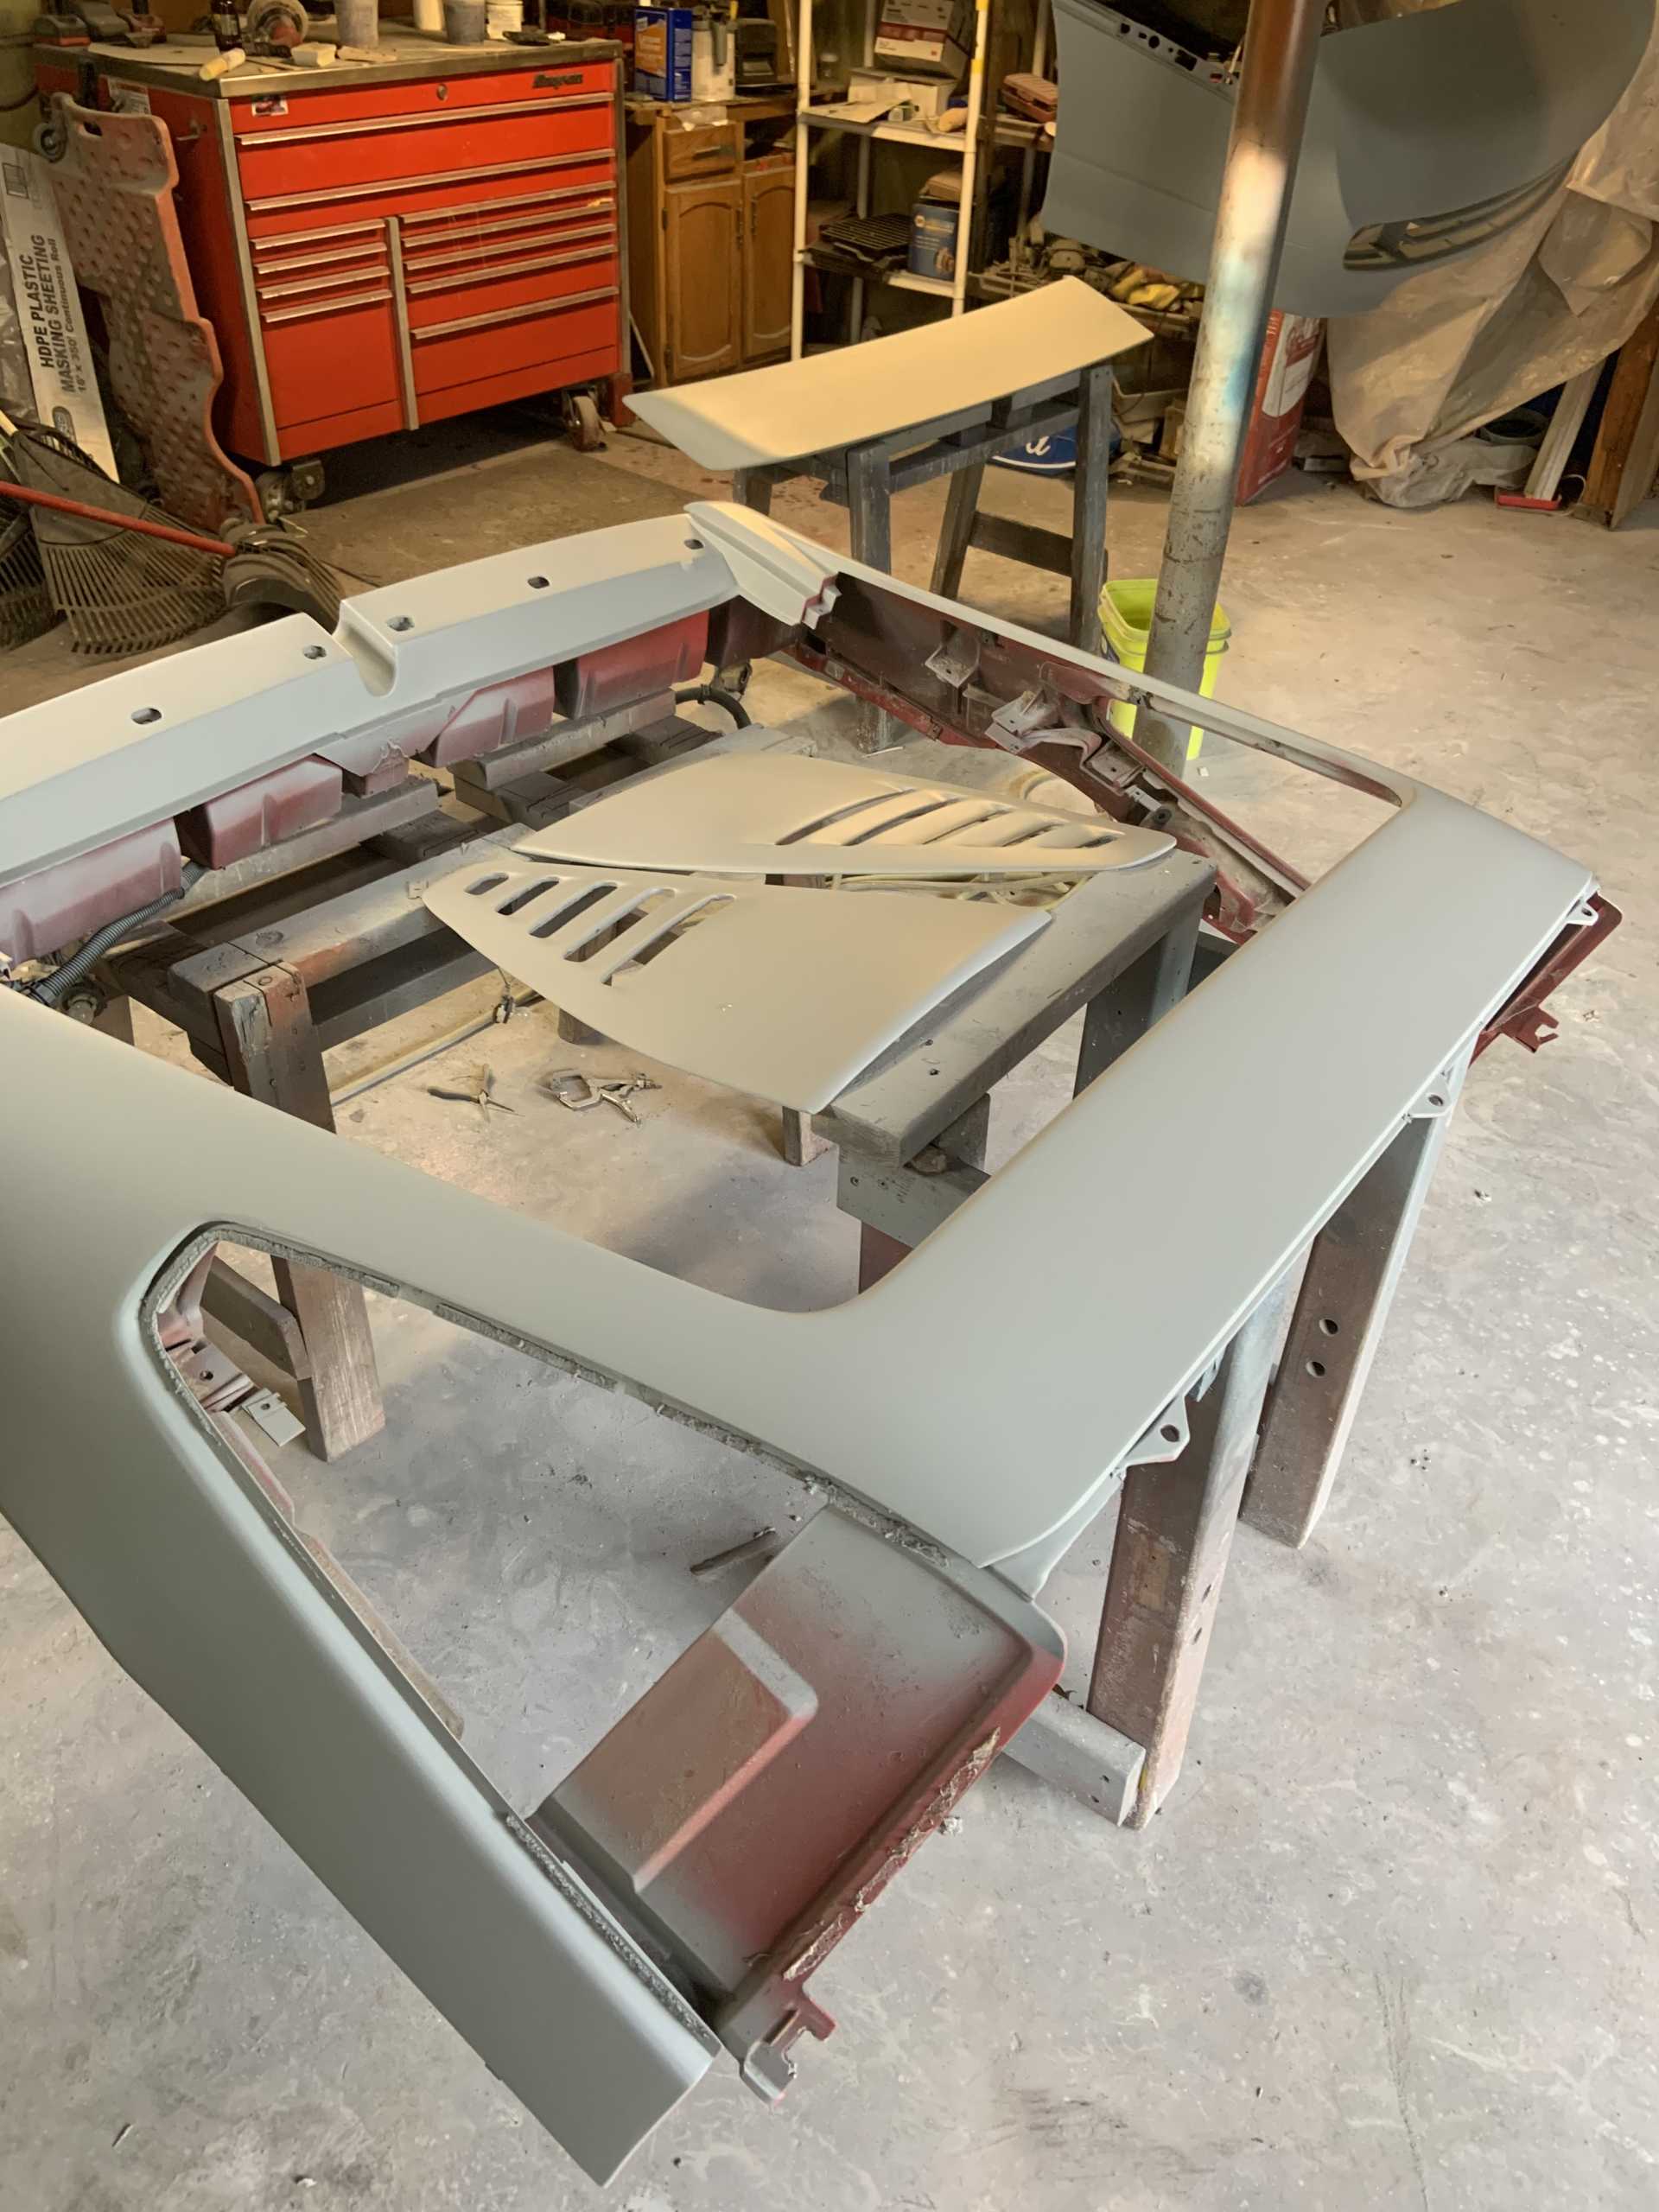
here are some more pictures after primer


|
|
|