| | | quote | Danyel:
The secret to removing the lenses from the assemblies without breaking them is as follows: |
|
The 'Real' Secret to Lower the Risk of Plastic Breakage - Use SUMMER HEAT IMHO: Don't even try in cold weather as decades old plastic can easily break...
My Advice:
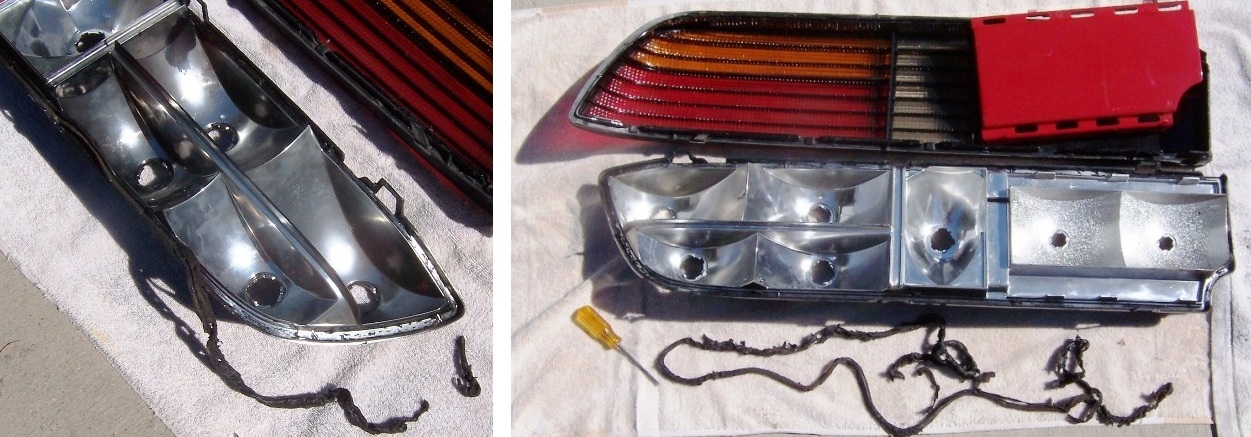
1) Remove the taillight assemblies from the vehicle and then sit them in the summer sun for an hour to warm-up the plastic and soften the butyl seal
2) Use
Danyel's Separate Strategy and the trick is 'slowly' spread the warmed lens from the soften butyl seal in the housing. Starting at one end; cautiously pull apart the housing hooks from the lens tabs one-by-one to open the assemblies.
3) I disagree with
Danyel on this step; to me it is easier to remove the old butyl seal when warm. I removed and cleaned up any butyl seal from the housing using a small screwdriver...
After removing all the butyl seal in the sun, now let the housing cool. When cool, use isopropyl alcohol to remove all traces of the old butyl seal.
Taillight REFLECTOR: Don’t Paint, Light Reflects BRIGHTER on Polished Aluminum Tape ! https://www.fiero.nl/forum/Forum2/HTML/148286.html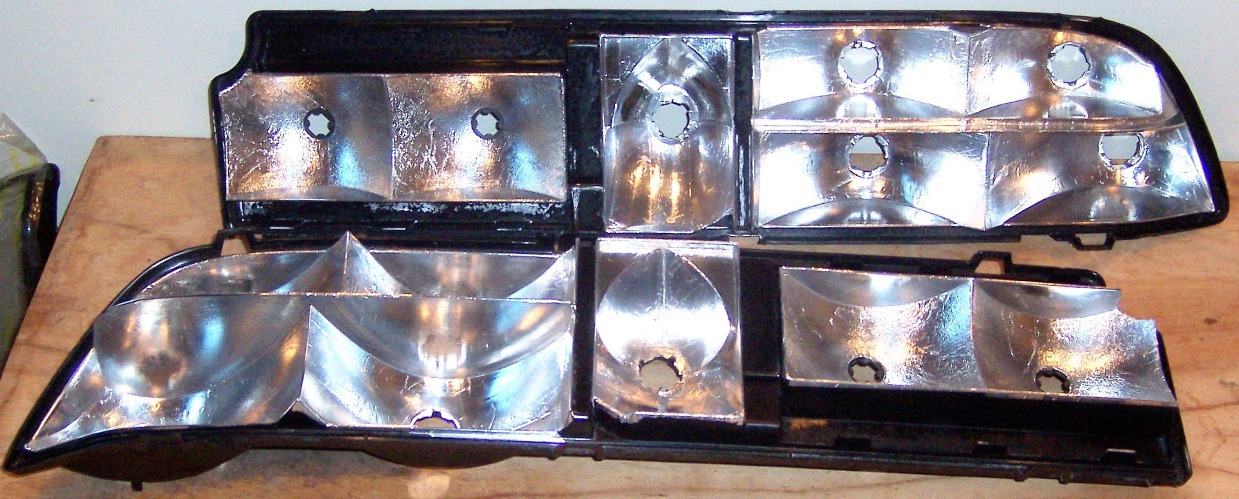
As
Danyel said:
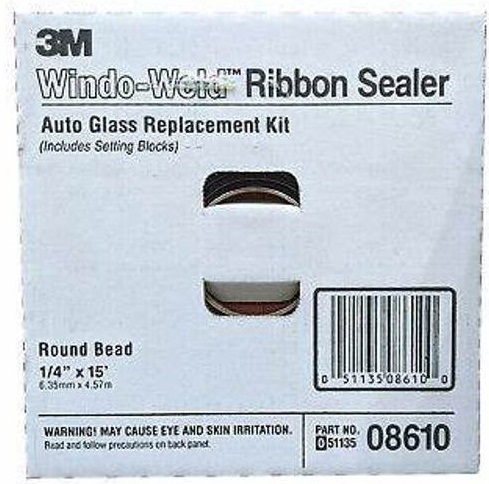
| | | quote | | You can put new sealant butyl that can be bought in any good automotive shop... the strip maybe thicker but you can stretch it thinner to fit in the slot and reseal the lenses..... |
|
I brought 3M Windo-Weld
Reassembly:
*Install the butyl strip to fit into the housing slot/track
*Place the taillight parts in the summer sun for an hour to warm-up the plastic and soften the butyl seal
*Mounted the brake light / turn signal inserts into the lenses and the red "PONTIAC" inserts on the housings
*Align and firmly press the lens into the housing until all the tabs lock into the hooks
*Let the taillight assemblies cool before installing them into the vehicle
------------------
Original Owner of a Silver '88 GT
Under 'Production Refurbishment' @ 136k Miles
[This message has been edited by Vintage-Nut (edited 07-12-2025).]


 And don't forget to leave the doors unlocked before going to bed!


