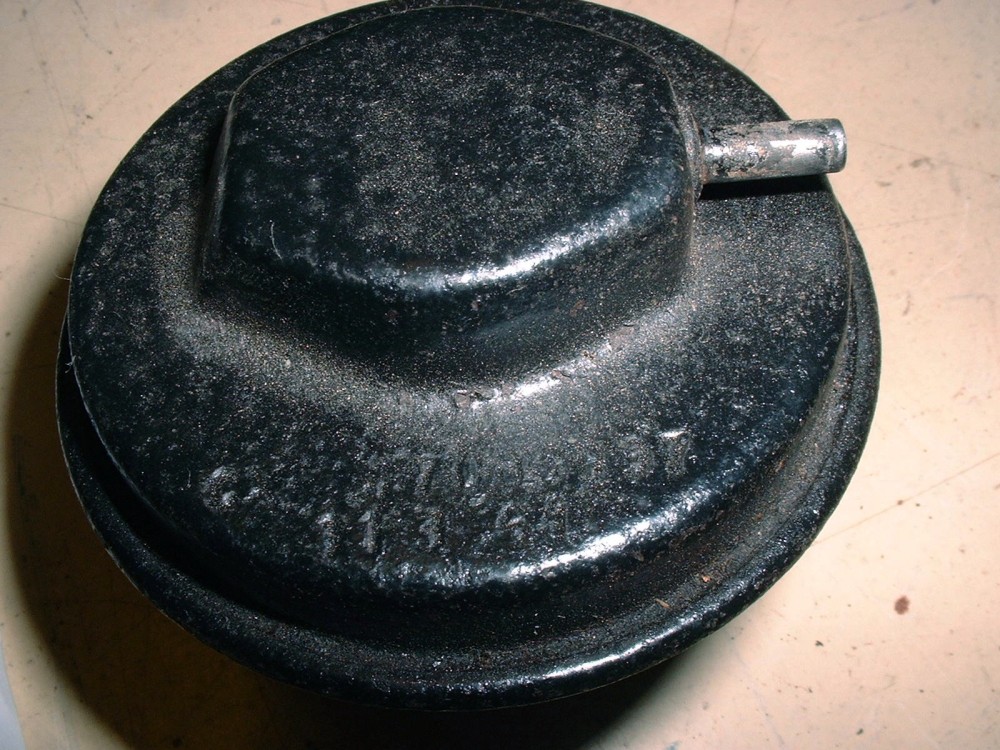
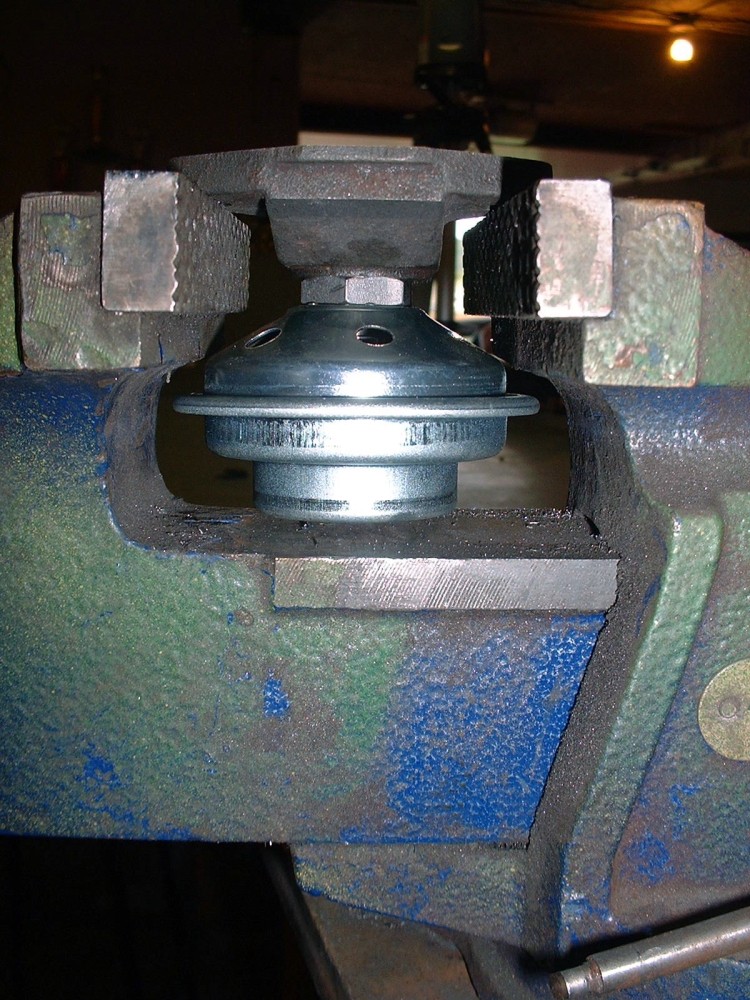
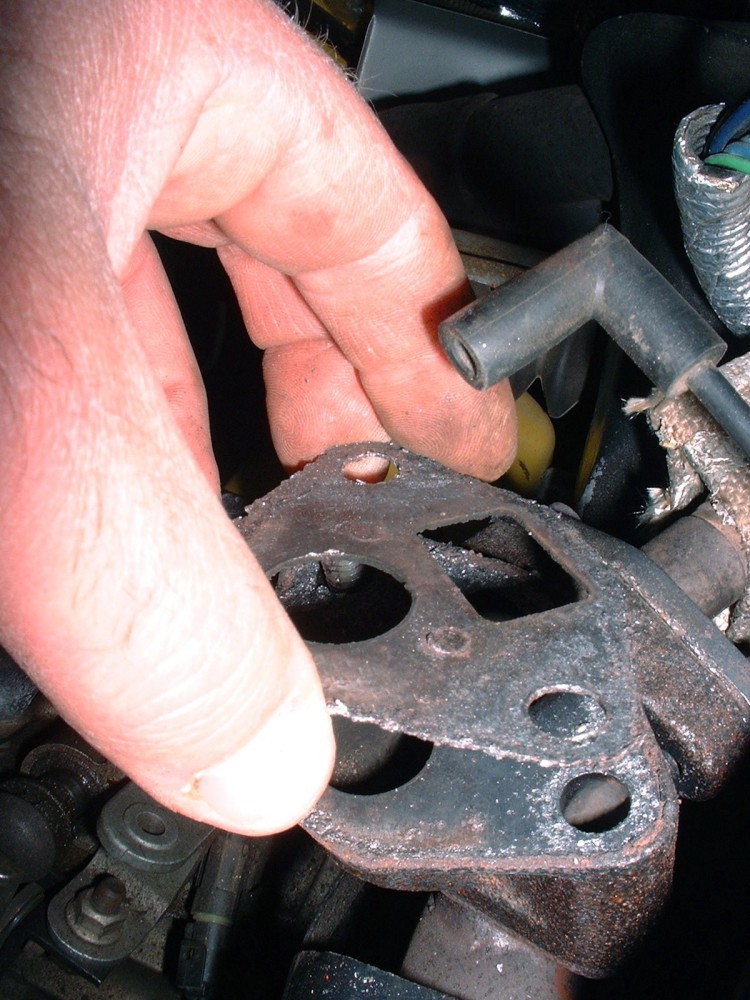
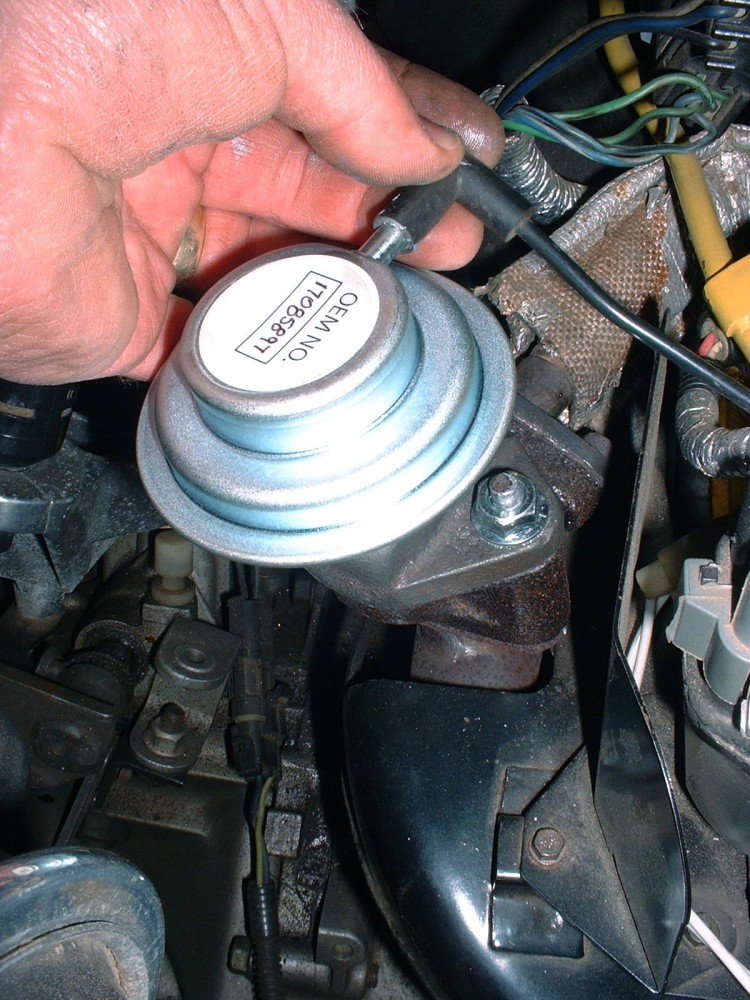
About a week ago I went to take the Fiero out for a drive but found it idled strangely after start-up. The idle was high and when I goosed the gas it would stutter and stumble... definitely not normal. It didn't take very long to find the culprit: a broken EGR valve. Here's the sick patient:
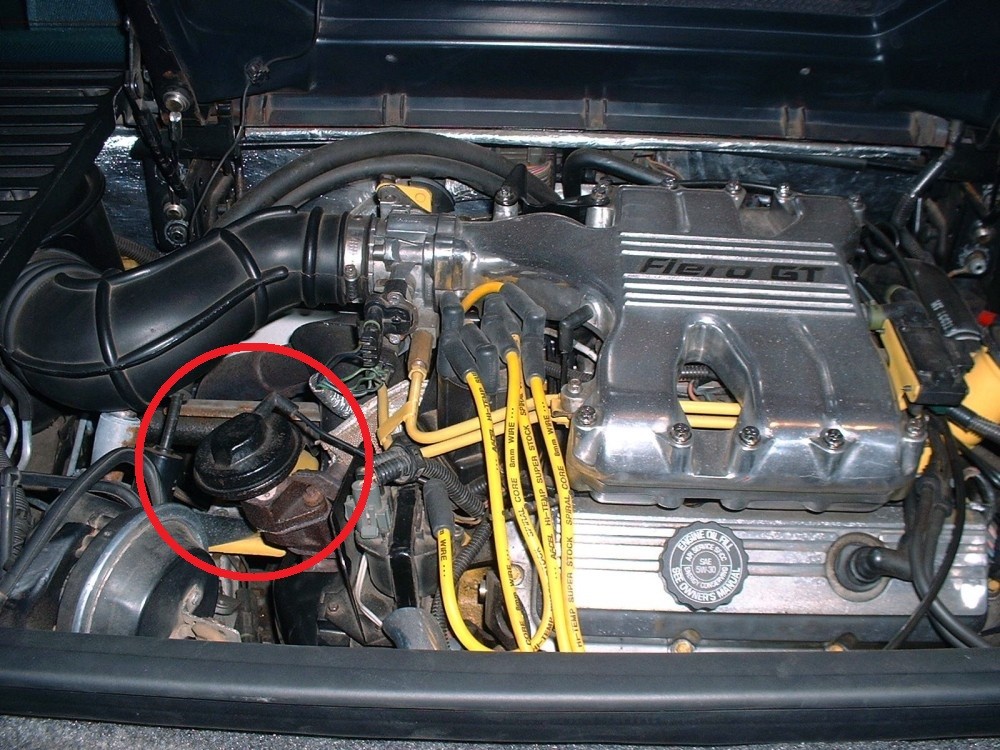
While the engine was idling, I could clearly see the valve vibrating strangely and that it was sticking up way to high. When I pushed it back down and it made a temporary seal against the base, the idle calmed back down and became steady:
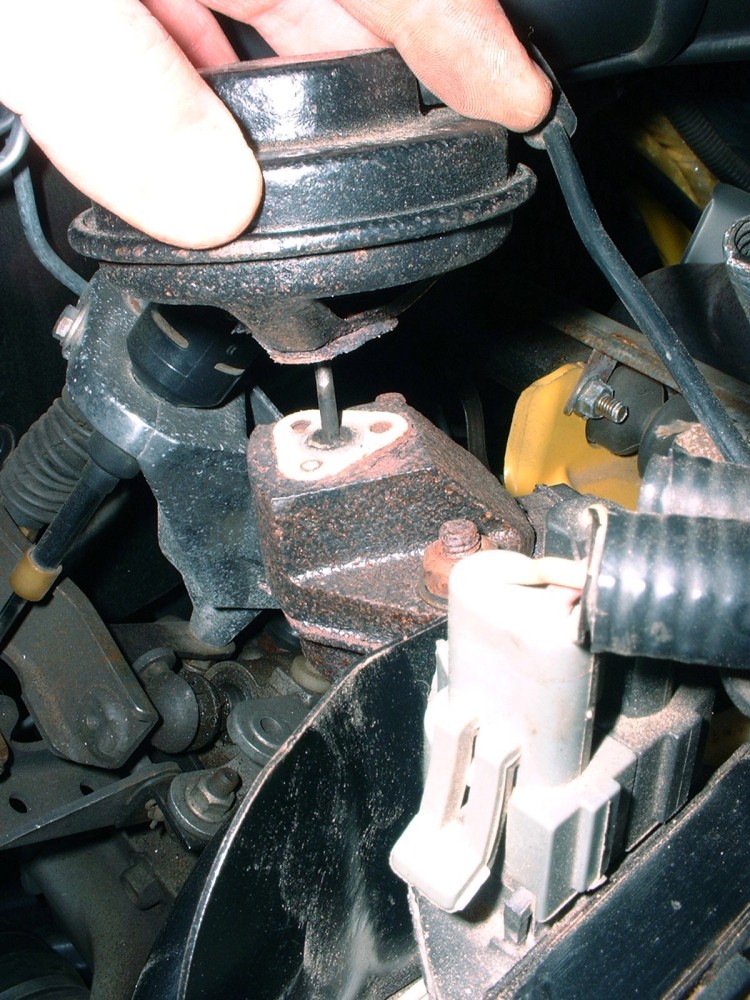
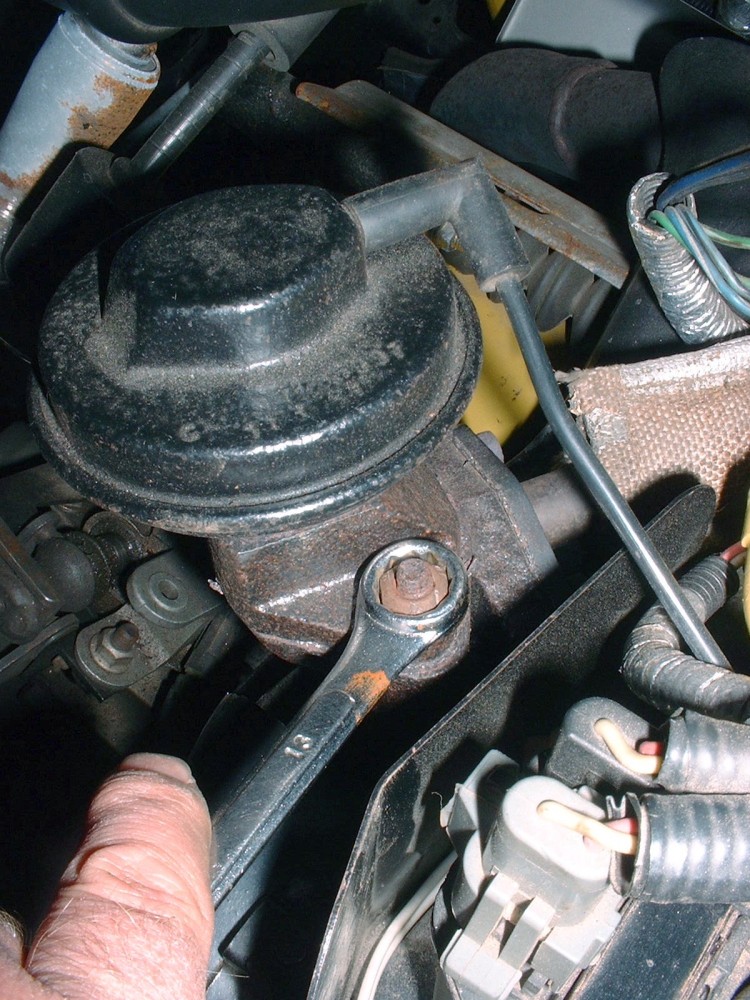
To replace the EGR valve, you don't need many tools. None of my socket wrenches had enough clearance to fit on the two locking nuts holding the EGR valve so I used a 13 mm box wrench to loosen them. On one of them, the nut came off with a little persuasion, but on the other, the entire stud came out instead:
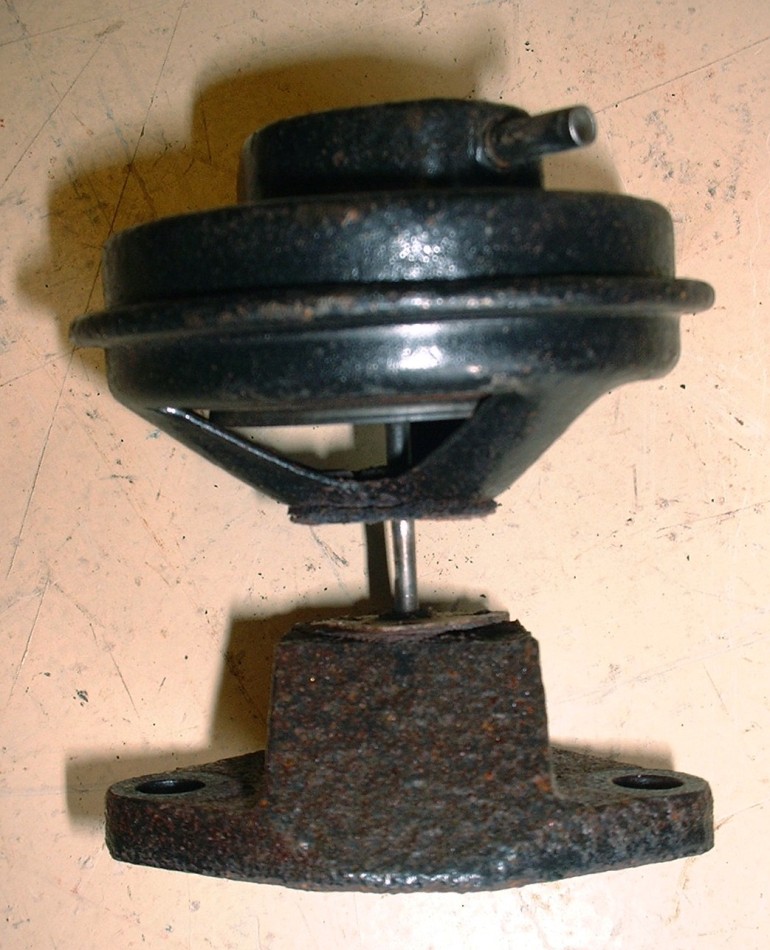
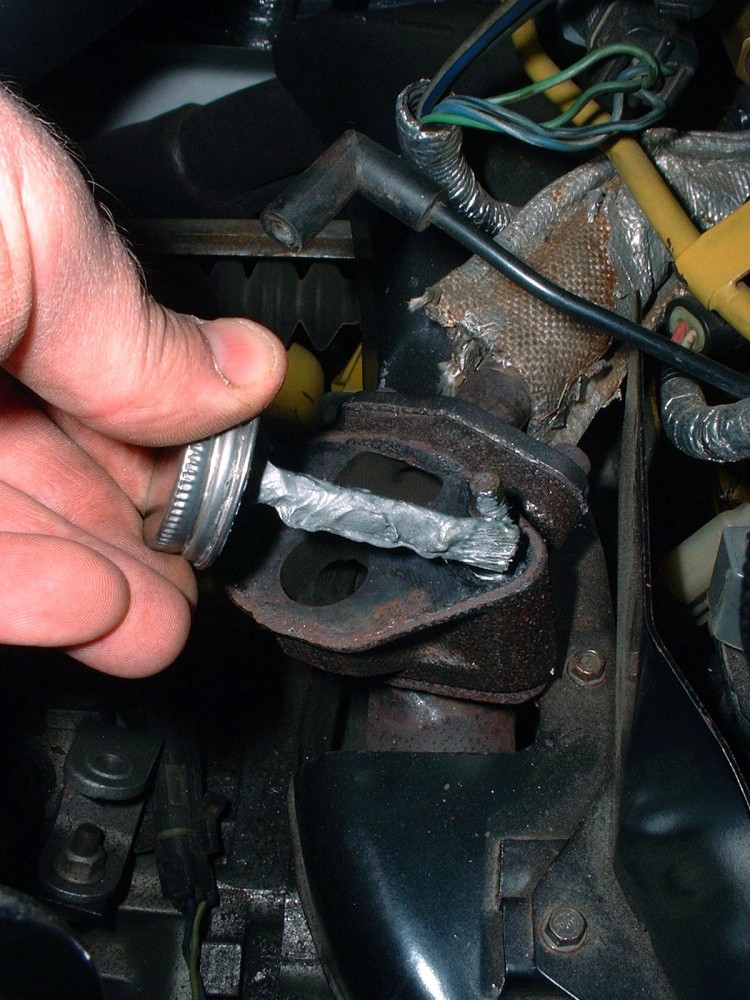
Here's a closer look at the problem. The diaphram was held to the base with three small diameter rivets that eventually broke. There was no way to replace the rivets since they were installed before the top half of the diaphram housing was crimped onto the bottom half. Once the two halves are joined together, there is no way to access the rivets. Don't throw out your old EGR valve at this stage since you may need some info off of it later.
To get an aftermarket replacement valve, you don't need any special information other than the year, make, model, and engine size of the car. I bought a BWD valve for $57 because that's what my local supplier could get. Their part number is 023-0170-0 EGR889B.
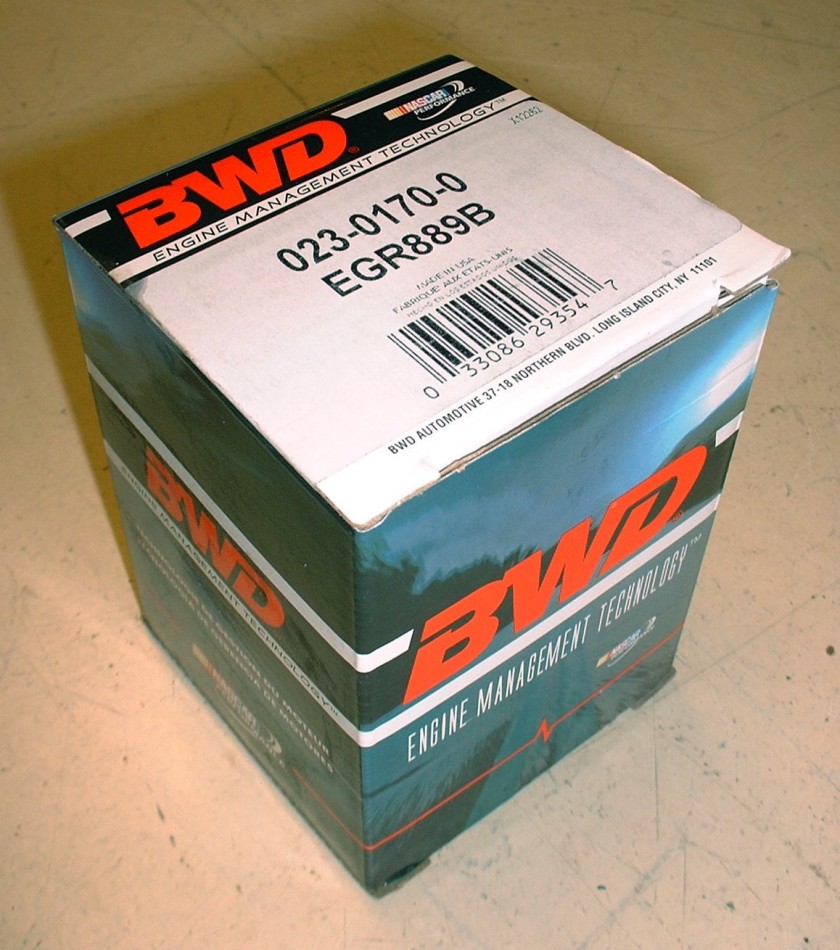
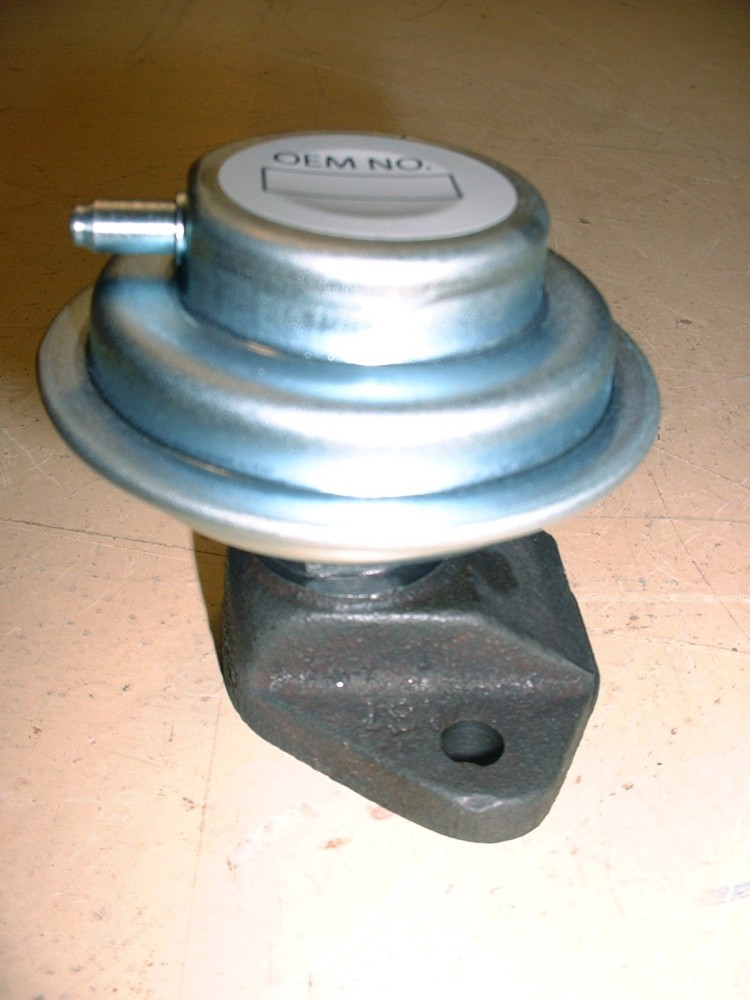
What you get in the box is the new EGR valve:
A bunch of special washers with different sized holes and a new gasket:
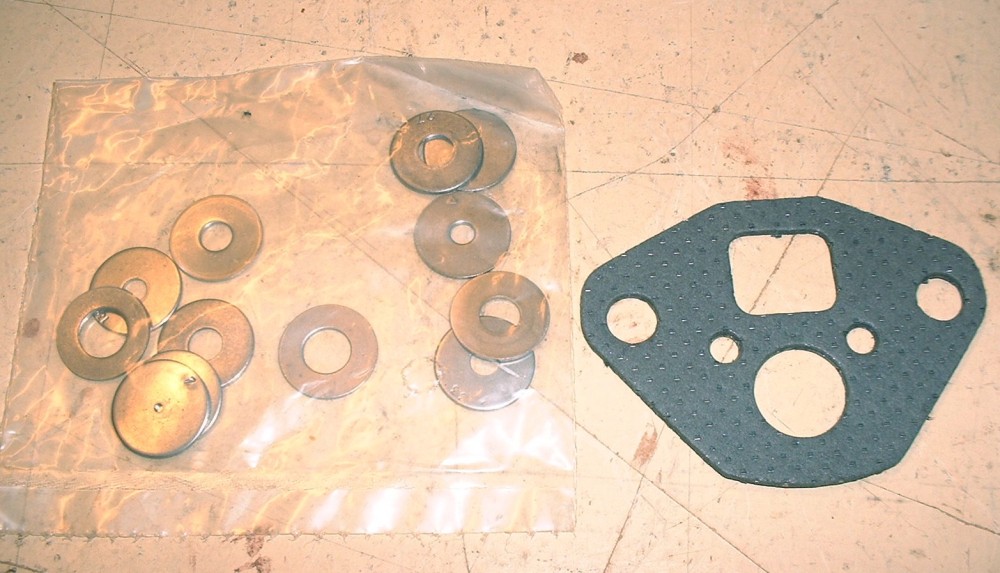
In my package I got 12 different washers each stamped with a different number (the one missing is the one I used.)
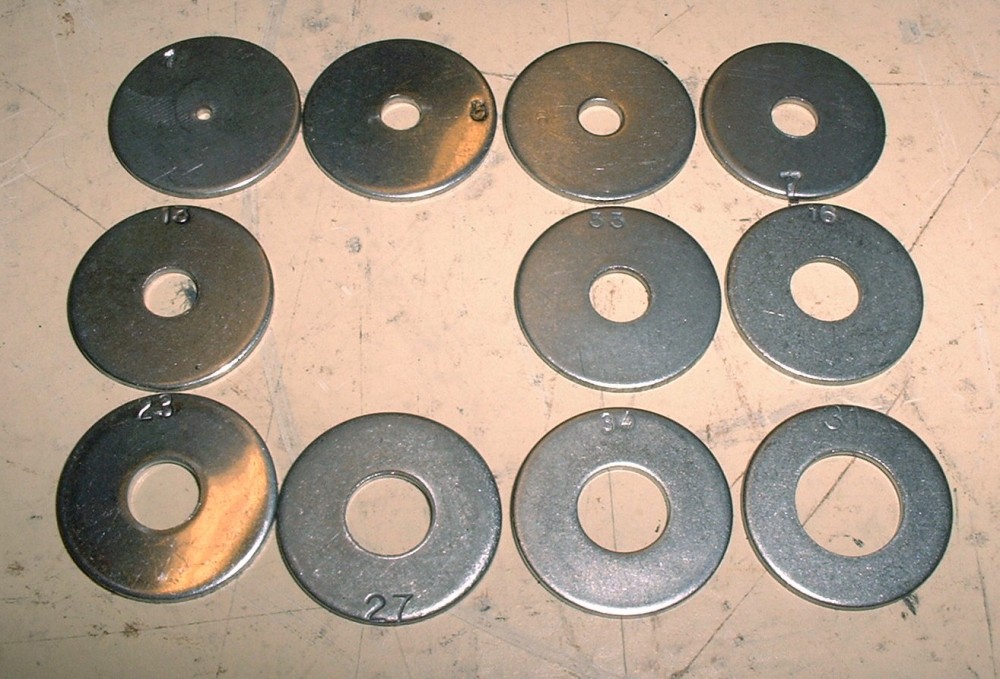
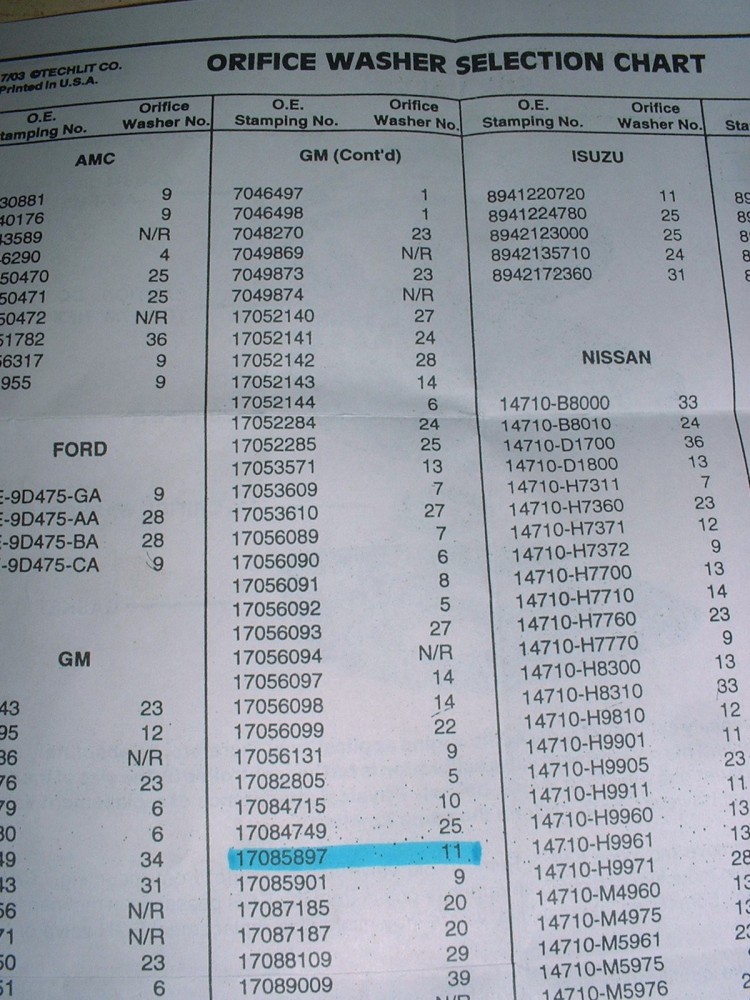
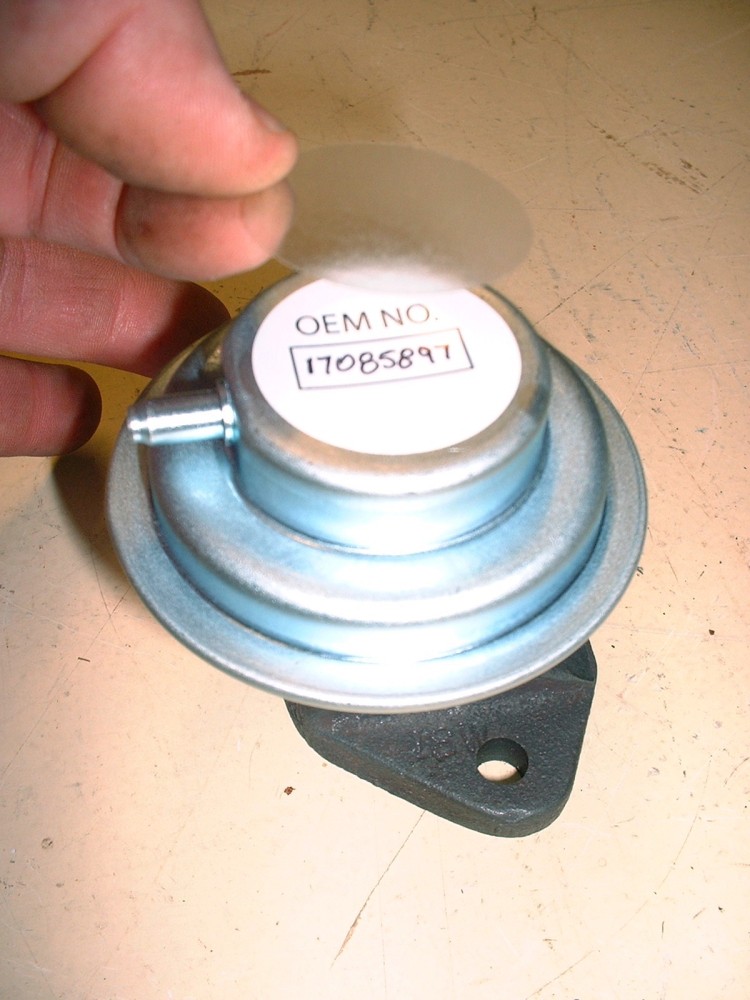
These washers are actually calibrated orifices to control the rate of exhaust gases introduced into the intake. You only use one of them, so to know which one you need, you must be able to cross reference some of the information stamped into your OEM EGR valve. Depending on the manufacturer of your new valve, you may need either a three letter code or the OEM part number which are both found on the upper half of the diaphram housing. Though barely legible in the next photo, the three letter OEM code is CXF and the part number is 17085897.
I've installed new EGR valves on several cars and this is the first time I've needed the part number as opposed to the three letter code. If you can't read yours, then you can substitute the information from mine to determine which orifice you need. A chart in the box with the new valve indicated that I needed to use the washer with the number 11 stamped into it:
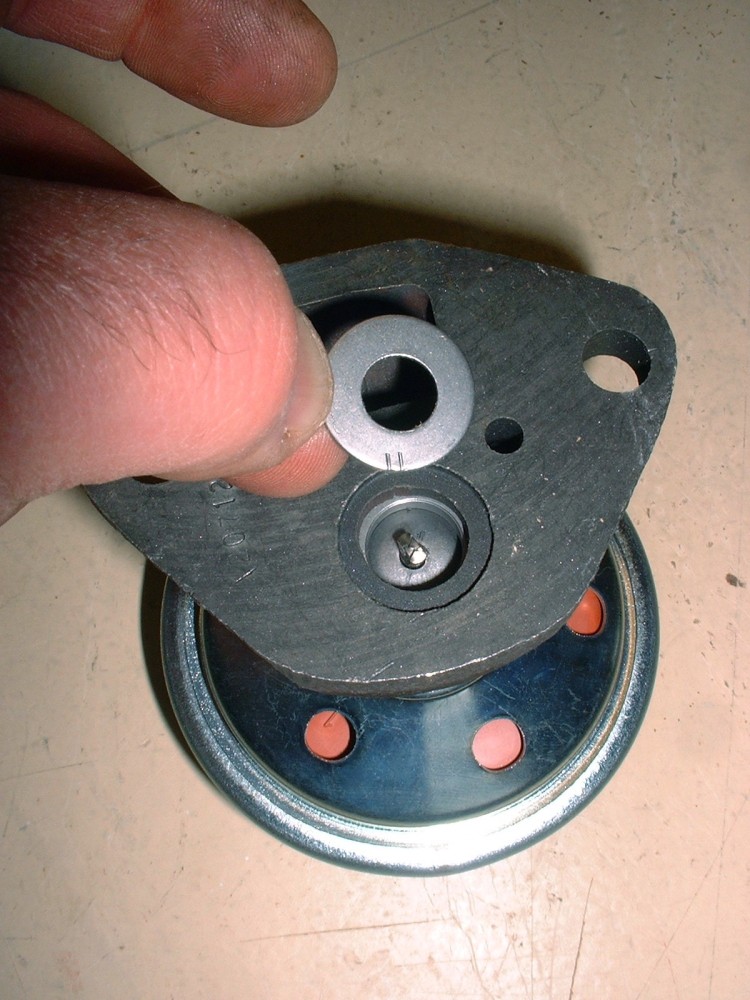
The washer gets installed into the bottom of the valve in a shallow recess:
Then it must be staked into place using a hammer and a center point punch in a couple spots around the recess:
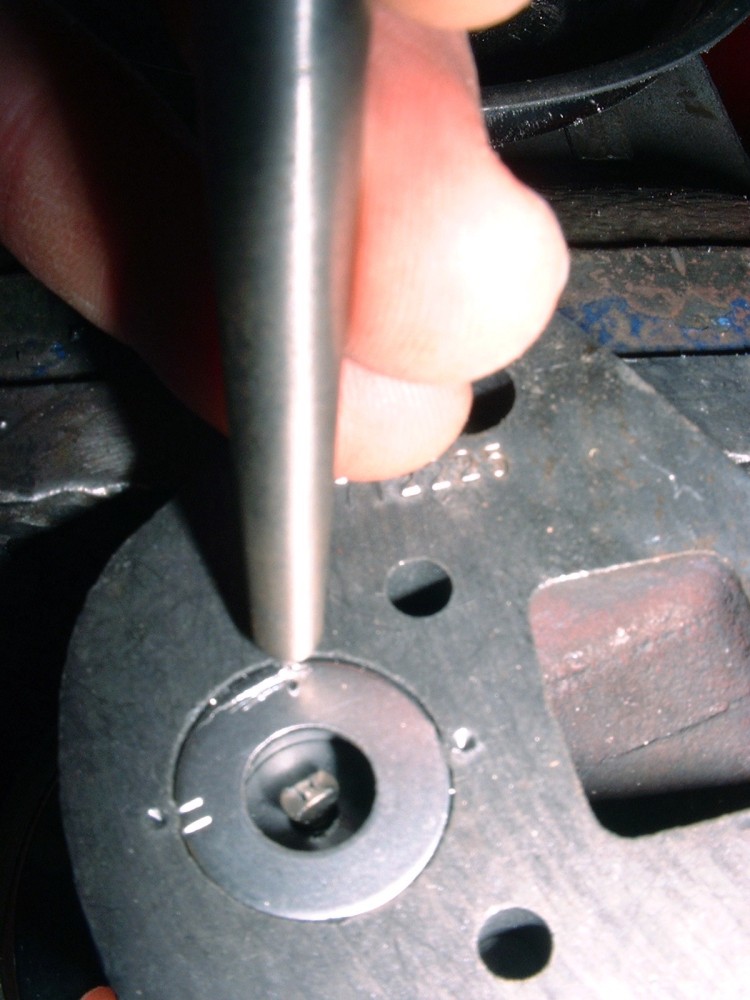
To keep from crushing the diaphram while staking the orifice plate, I turned the valve upside down leaving the mounting flanges resting on the top surface of the jaws in a 5" vice. Although it looks close, the diaphram isn't resting on the vice at all, just the mounting flanges are:
So as not to lose the OEM part number information in the future, the BWD valve comes with a sticker to write it on as well as a chemical resistant clear sealing sticker to apply over top:
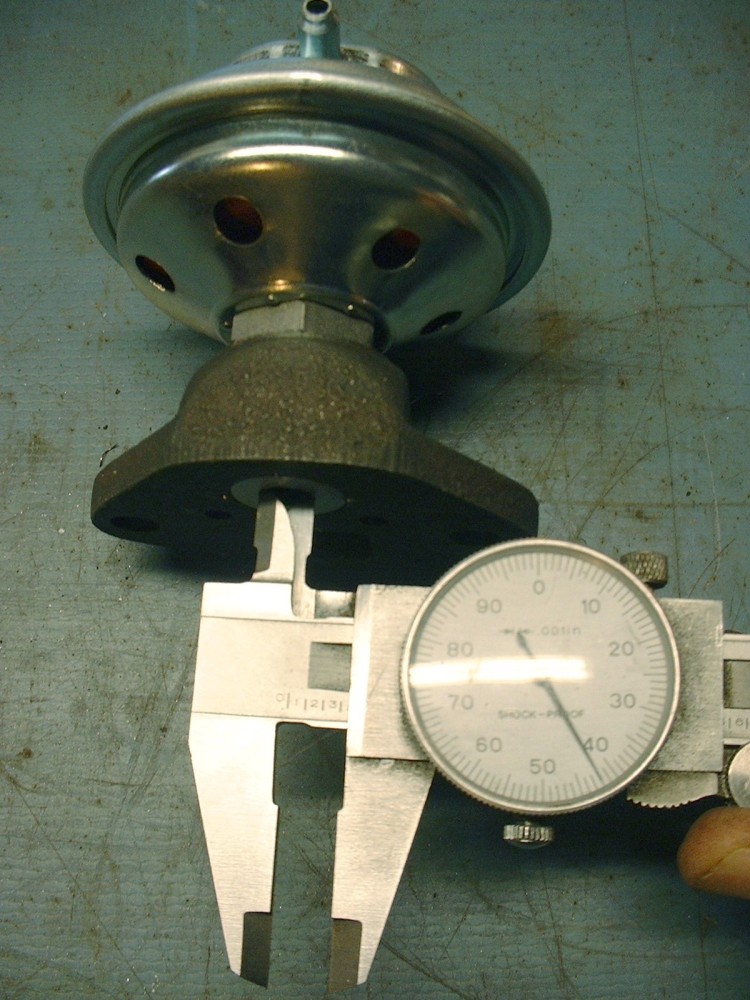
For my own files, I measured and recorded the diameter of the number 11 orifice in case it becomes difficult to cross reference the part number in the future. It measures 0.342".
The next step is to remove the old gasket from the EGR adapter in the engine bay. I found mine was stuck on pretty well until I took a thin scraper and caught the edge of it:
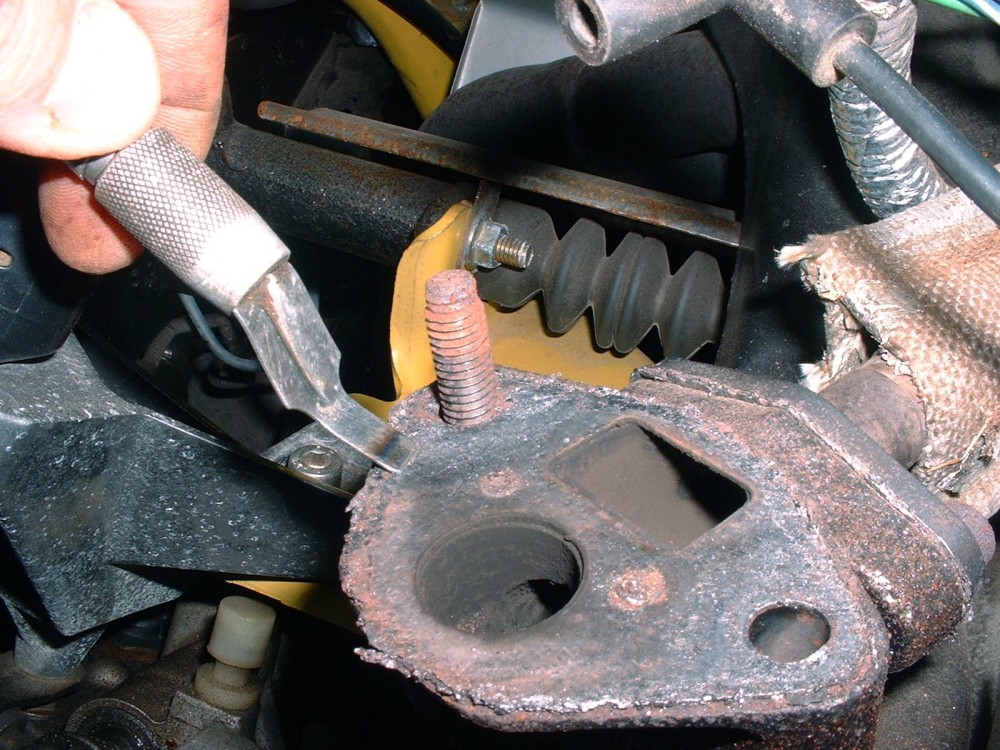
Then it just popped off in one piece, although I had to scrape the mounting surface just a little to get some left-over residue off of it:
The studs holding the valve to the engine get really hot so they tend to rust just like the exhaust manifold studs do. To make the job easier the next time around, I added some anti-seize compound.
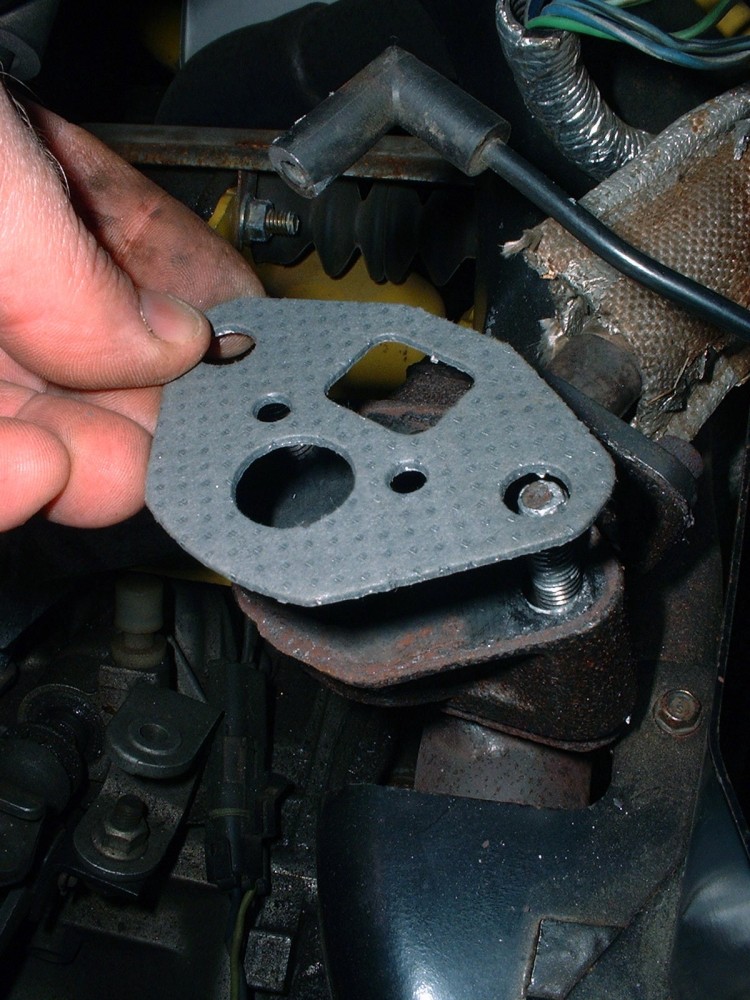
Then slipped the new gasket in place:
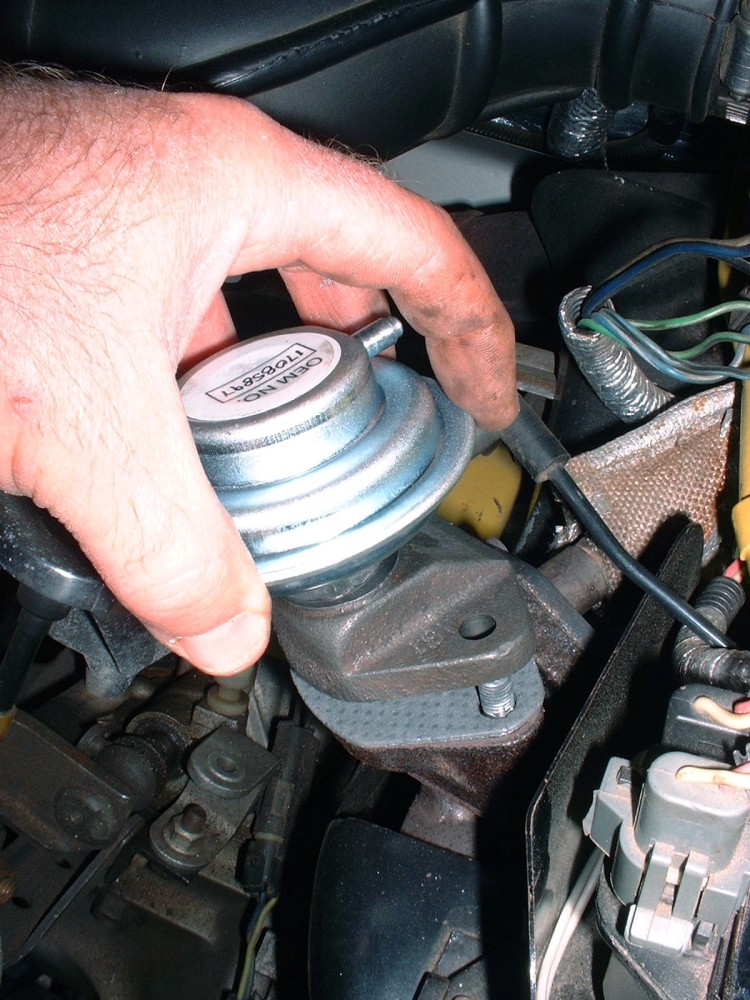
The EGR vavle was next but I found the vacuum port was rotated 180 degrees from the OEM one. After reading the instructions in the BWD box, all I had to do was grasp the diaphram tightly and rotate it clockwise to where ever I needed it. It was tight but do-able by hand:
The old nuts were too rusty to re-use so I found some new ones in my shop supplies. They are M8 X 1.25 for those who want to buy new ones ahead of time. The FSM says they should get torqued to 13 - 18 lbft, though I don't know how anybody could fit a torque wrench in there to do this properly. I just gave them a calibrated "ooomph".

The last thing to do is to connect the vacuum line to the diaphram port:
It's an easy 15 - 30 minute job depending how successful you are at getting the two nuts off in the first place. There's lots of potential for either the studs to break or the nuts to get rounded off in which case you're looking at even more time.


