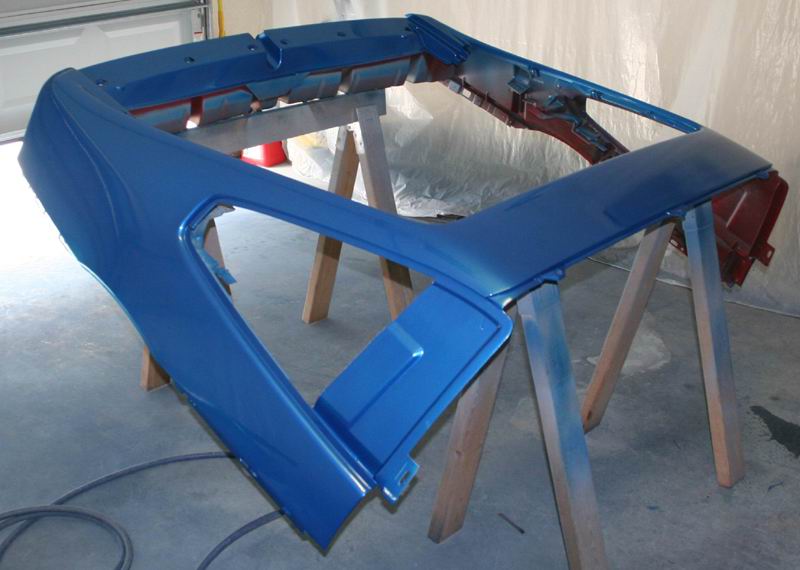
The rear clip and side scoops are now sanded and ready for paint tomorrow. I want to get those parts re-installed on the car Friday night. I have to do sme side work Friday. When I get home from that, I will install them.
Once those parts are back on the car, all that is left is the decklid (top and underside), rear spoiler and rear bumper. I hope to have the car completed in 2 more weeks.
[This message has been edited by JimmyS (edited 07-30-2009).]
Gorgeous!!!! I really like the color. I think it's very complementary to the look and design of a fiero...keep up the nice work...I’m enjoying this thread very much
what brand of paint/clear are you using?
[This message has been edited by labbe001 (edited 07-10-2009).]
I know that I have commented in approval before, but the quality of your work is just phenominal. I watched as you painted your wifes (girlfriend's? sorry, don't remember ) car. I really like the colors that you have chosen for both the Fieros. Can't wait to see the finished finish!
Gorgeous!!!! I really like the color. I think it's very complementary to the look and design of a fiero...keep up the nice work...I’m enjoying this thread very much
what brand of paint/clear are you using?
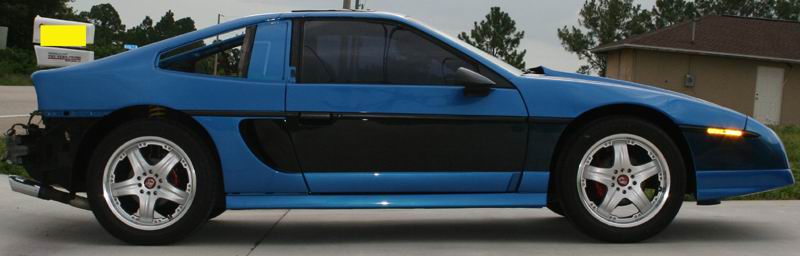
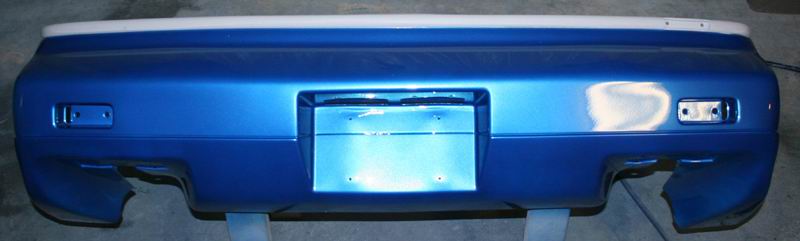
Thank you very much. The pics really don't do this Blue justice. It is absolutely stunning in person.
I am using Du-Pont NASON 2K Urethane Primer and Du-Pont NASON Urethane Ful-Base Basecoat Clearcoat paints and clear.
quote
Originally posted by exoticse:
Nice Job Jimmy !
That looks first rate all the way.
Thanks a lot Tony.
quote
Originally posted by Tony Kania:
I know that I have commented in approval before, but the quality of your work is just phenominal. I watched as you painted your wifes (girlfriend's? sorry, don't remember ) car. I really like the colors that you have chosen for both the Fieros. Can't wait to see the finished finish!
It's comments like these that make my head swell. LOL Thanks so much. These kind of comments keep me motivated. And by the way... It's Girlfriend
quote
Originally posted by Blueiii:
How soon 'till we see the final product Jimmy?
I hope to be done spraying paint and have the car completely back together in 2 weeks. I will still have to do the sanding of the clearcoat and buffing but I can do that at my leisure.
I didn't work on the car at all yesterday. After I got home, I fell assleep on the couch and when I woke up, I just didn't want to do anything.
As of right now, I have the rear clip back on and the whole passenger side re-assembled.
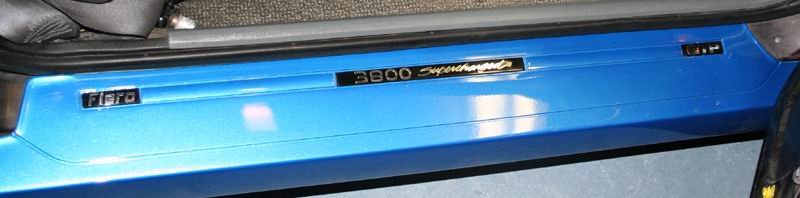
It's all in the details...
Well I'm going back to it and try to get the drivers side re-assembled.
Where did you get your paint from? Did you buy locally or online and if you do not mind me asking much did you buy and how much did it cost you?
THanks, TIm
I bought the paint locally from a place called Finish Masters. 3qts of the Blue. I bought a gallon of the black but it was for 2 cars (mine and my girlfriends). 1qt of Silver. 3 qts of Raspberry (girlfriends car). 1 qt of horizon grey (girlfriends car). I bought a gallon of clear but it was also for both cars. Total for both cars with masking tape, fine line tape, paper, laquer thinner, sand papers ( 2 rolls of 320, 2 rolls of 120, 1 roll of 400, 1 roll of 600) , plastic, respirator, and all the reducers and activators came to right around $1,000.00.
I can only guestimate the cost of materials for just my car but I would say it would be around $350.00 - $400.00.
Damn... I can't believe thats the same car from a month ago. Nice The rear fascia was done before I visited wasn't it, or was that the front one? You still working on something back there?
On another note... my scoops should be home tomorrow That didn't take long
[This message has been edited by carbon (edited 07-19-2009).]
I had bought a new dash to replace my broken/cracked existing dash. When the dash got here, I was so excited and anxious to put it in. I started removing the old dash and before I knew it, one thing led to another and my whole interior was out and being re-done! I got sidetracked, from the outside of the car, in a big way. I actually have not done anything more to the outside other than sand all the old paint off the rear bumper.
I am nearly done with the interior and should be back on track with the exterior late next week.
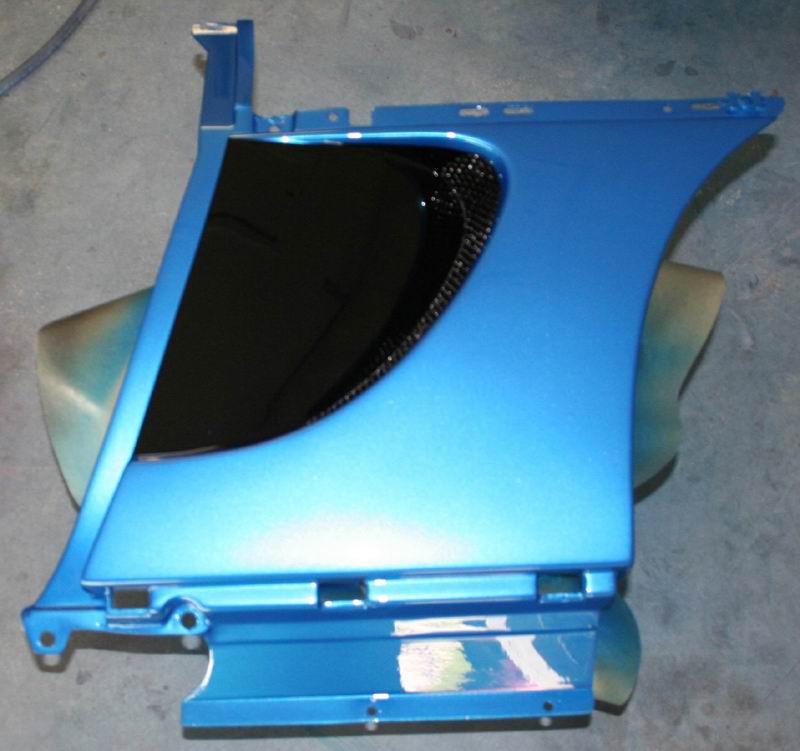
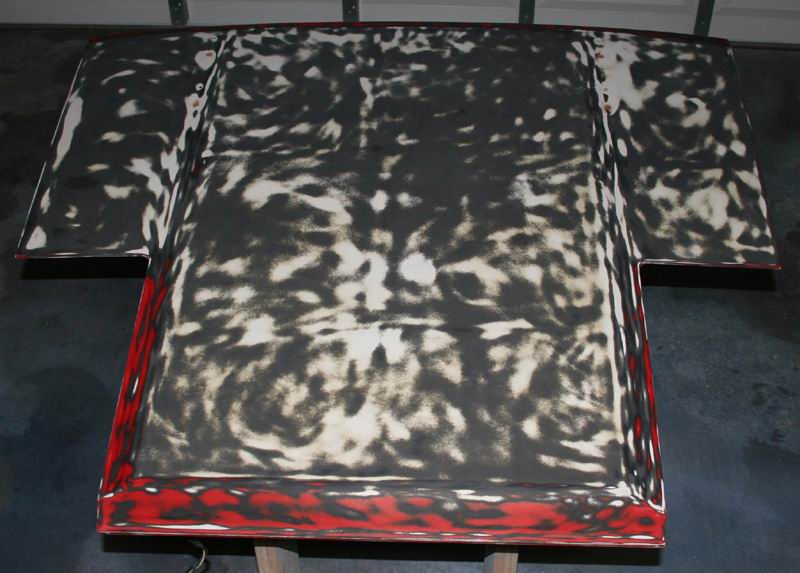
Here is a teaser pic...
If you think it looks good in the pic, you should see it in person!!! This carbon fiber looks AWSOME!
[This message has been edited by JimmyS (edited 07-25-2009).]
Damn... I can't believe thats the same car from a month ago. Nice The rear fascia was done before I visited wasn't it, or was that the front one? You still working on something back there?
On another note... my scoops should be home tomorrow That didn't take long
The front fascia was the one done when you were here.
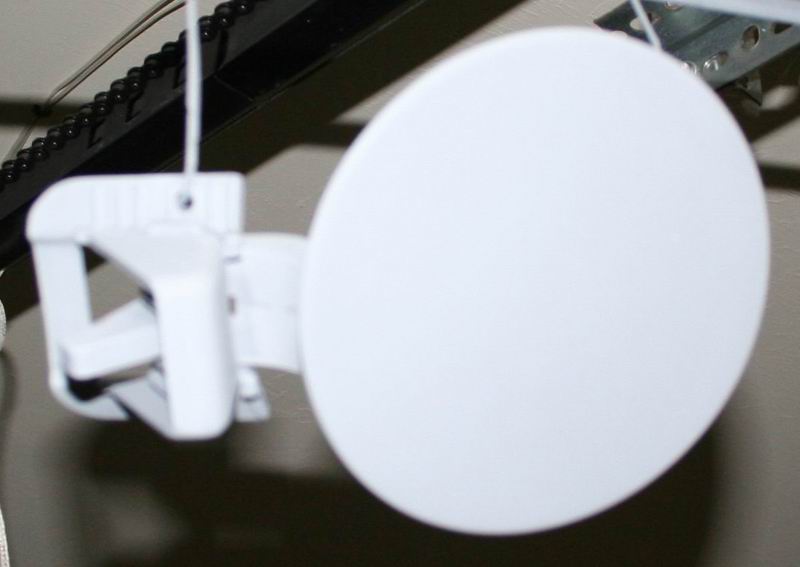
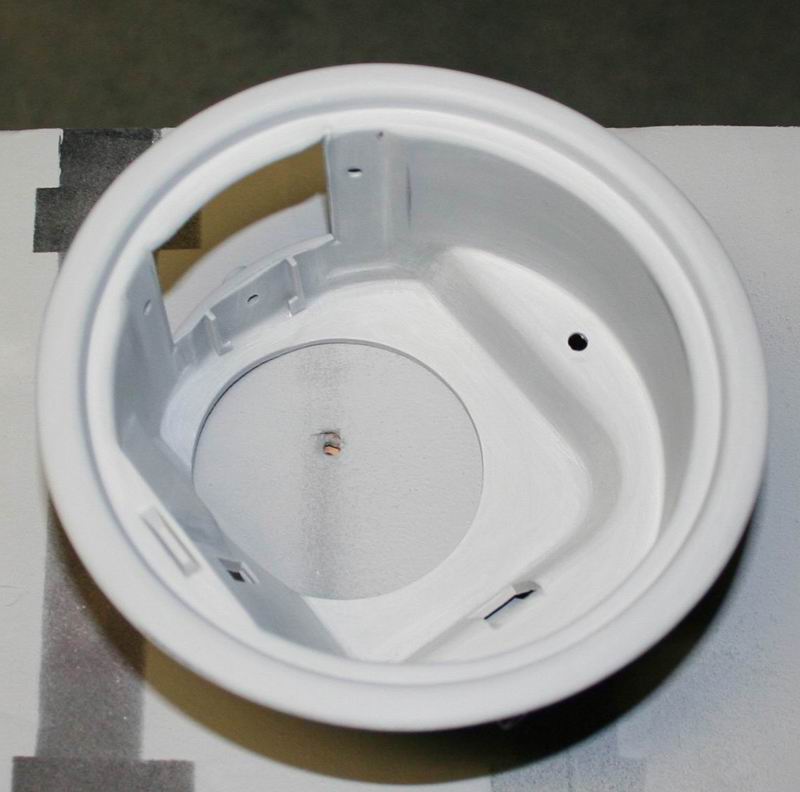
Unfortunately, right after I cleared it, I realized I did not shoot the underside of the headlight buckets. I am getting up early tomorrow and shooting them in the morning. They should be set up well enough to mount them on Friday morning a few min's before I leave for the Daytona Show. Talking about doing things last min.
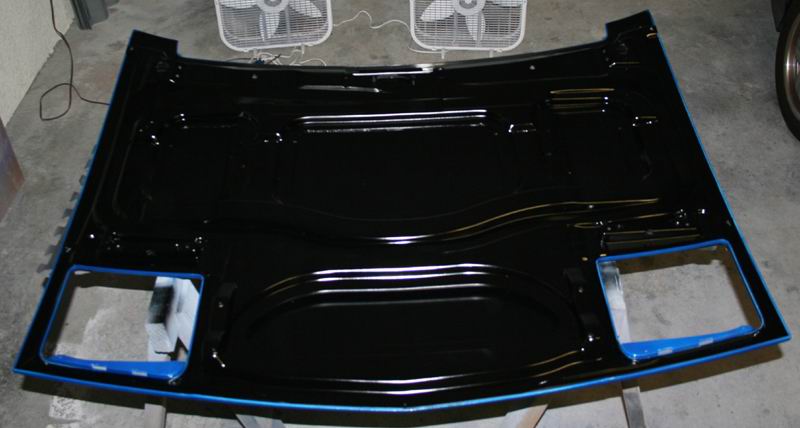
Jimmy, what kind of black paint did you use to do the underside of your hood??
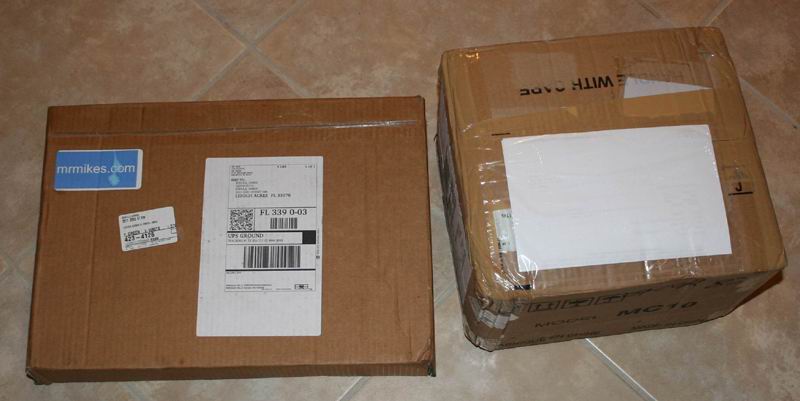
Today was a good day. I was like a kid at Christmas time when the UPS driver showed up today.
The box on the left is from Mr. Mikes and the box on the right is from a seller on ebay.
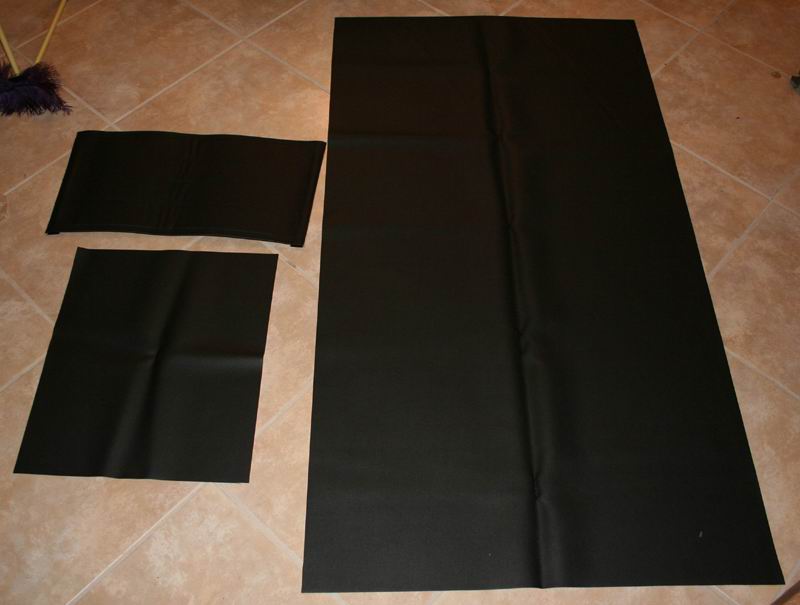
Contents of the box from Mr. Mikes
Top left is a new console saddle. Below that is a 15"X18" piece of black leather-ette to match the console saddle. The big piece is also black leather-ette for the rear firewall cover behind the seats.
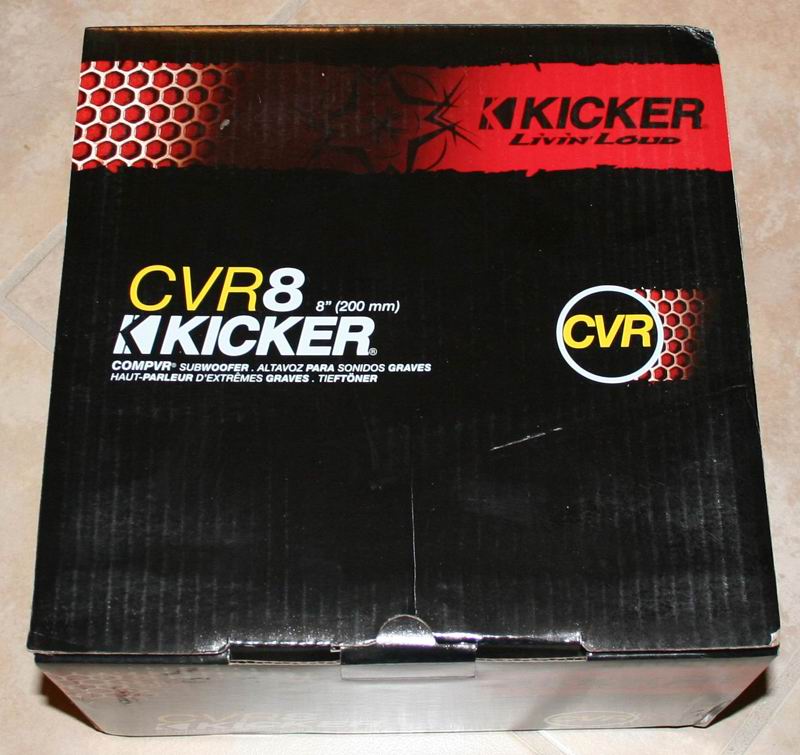
This is what was in the box from the ebay seller
Thats a Kicker Compvr CVR8 sub. I likey!
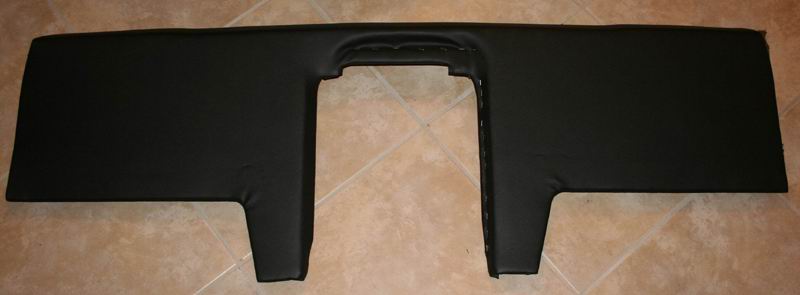
This is what you get after you install these parts
The 15"X18" piece of leather-ette was used to cover the speaker mounting plate.
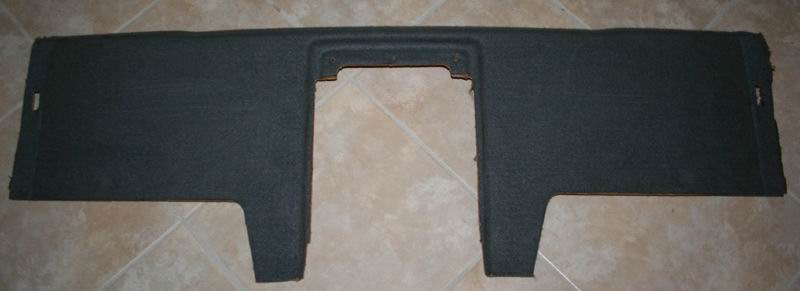
The rear firewall cover before
No more dingy fuzz
Tomorrow I am back to sanding. The rear bumper, top of the decklid, wing stands and fuel door and insert are ready for primer. I need to sand the underside of the decklid and rear wing then all can be primered. I will primer these parts on Saturday and paint them on Monday.
Randye? Wow! I am only able to type after the burning of my eyes subsided. That is a vision that will forever be burned into my memory. What is making that guy smile? No, wait, don't tell me.
Jimmy, the interior is looking as good as the outside. Did you ever get that sub working?
Tony
[This message has been edited by Tony Kania (edited 08-01-2009).]
All remaining parts (Decklid, Rear Bumper, Spoiler, Spoiler stands, Fuel door and fuel insert) are now primered. Everything is also sanded and ready for paint except the bottom side of the decklid. I will get that sanded tomorrow.
The remaining parts will get painted on Wednesday. I will re-install them all on Thursday. Then all that will be left to do is all the cut and buffing.
I had to do the normal job thing today so no paint got sprayed. After I got home, I took the time to pressure wash the garage to reduce as much dust and debris as possible. Paint gets sprayed first thing tomorrow.
Tomorrow I will have to paint the underside of the decklid and the underside of my headlight buckets. I will get the bumper installed tomorrow while the paint on the decklid and headlight buckets is drying. Then I will install them Saturday morning cause it is off to a car show Saturday evening. LOL
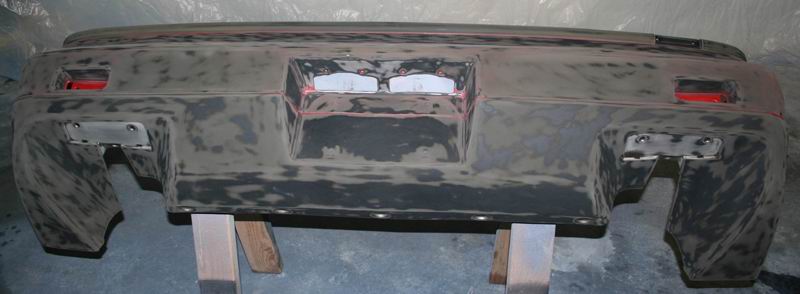
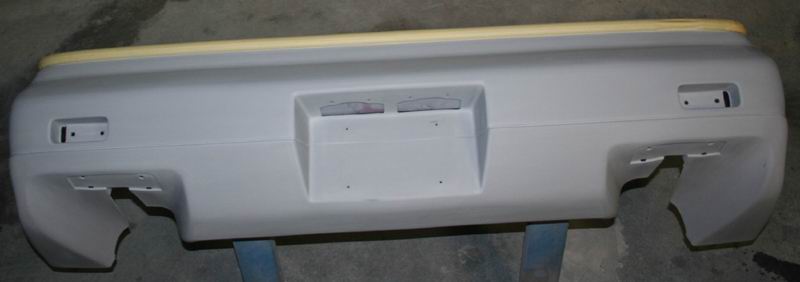
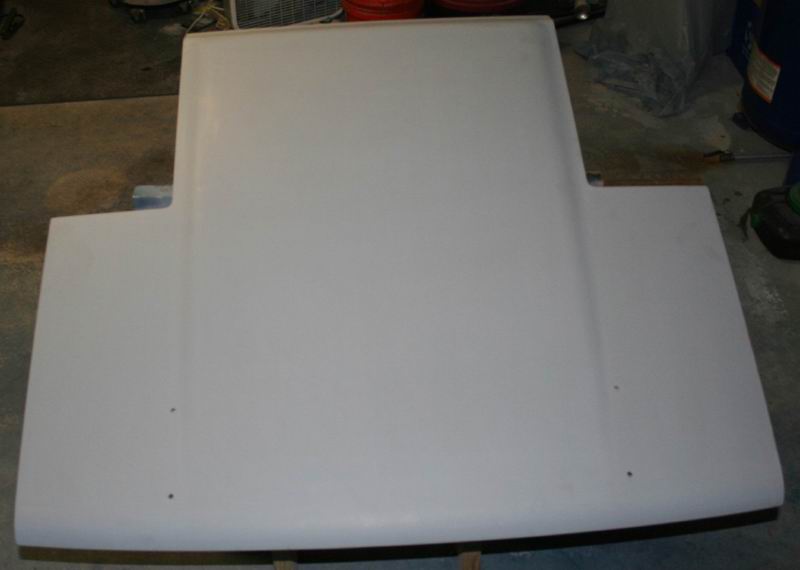
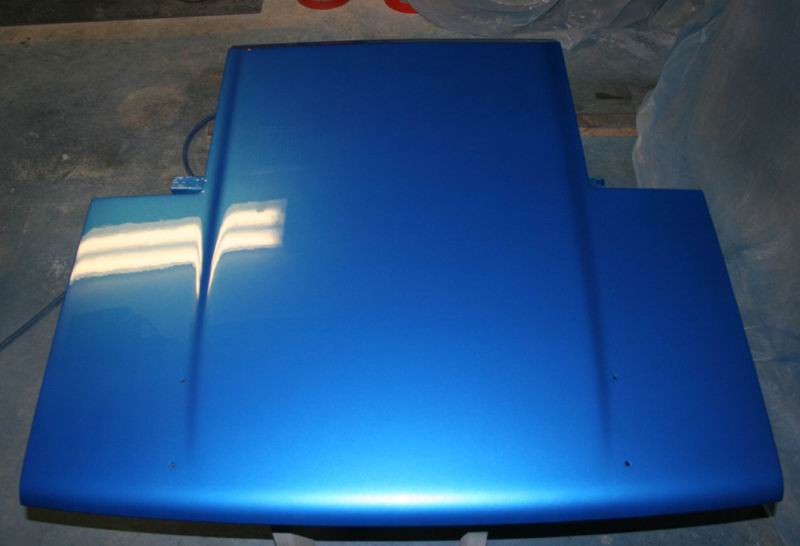
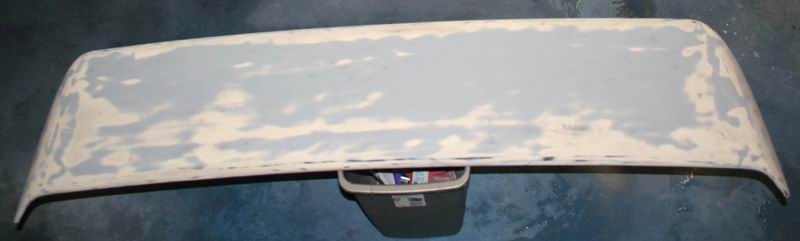
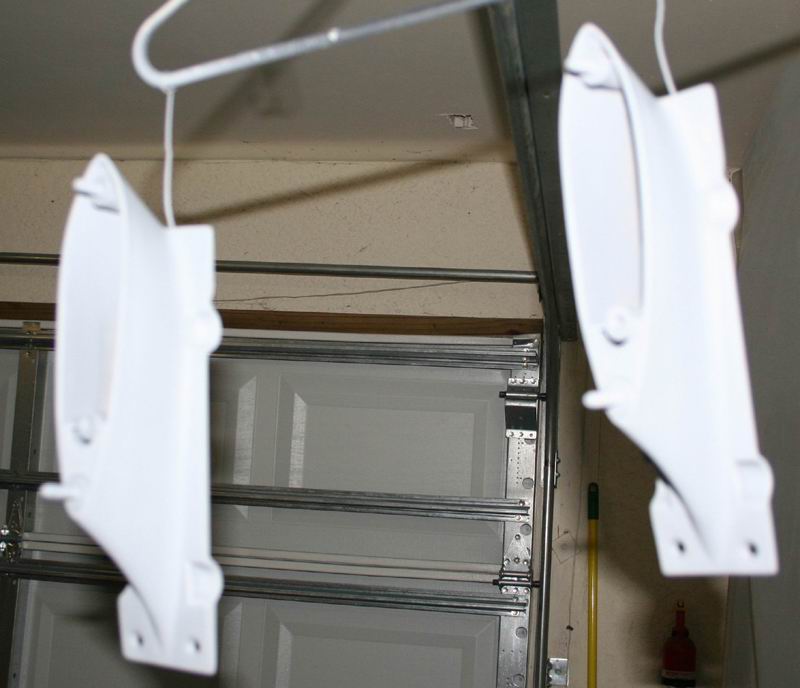
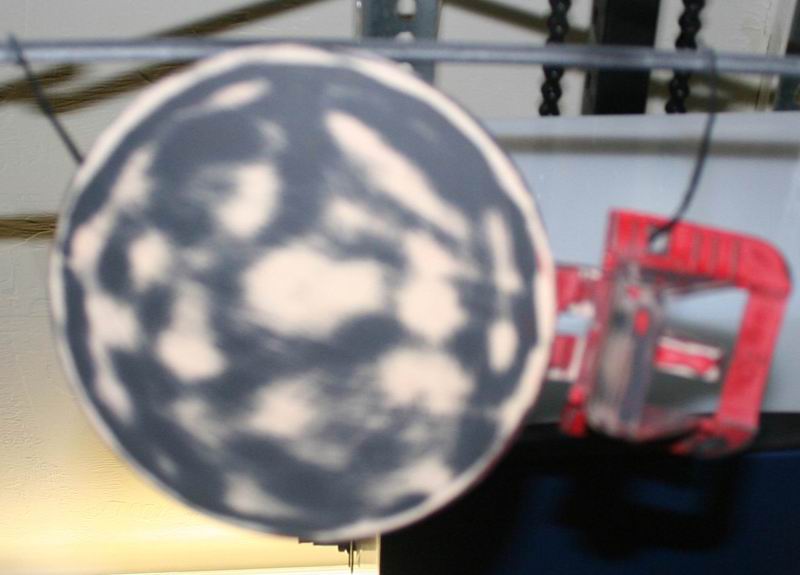
OK. Here we go with the pics. I will post them sanded then primered then painted.
Rear Bumper
Decklid... I moved the rear spoiler back 2 inches so the holes you see are in different locations than stock.
Spoiler
Spoiler Stands
Fuel Door
Fuel Door Insert
I am a little dissapointed in todays events. Everything was going fine untill I sprayed the clear. The only part that did not get runs in the clear was the fuel door insert. It's not really a big deal as they can be sanded out but it makes for some extra work.
Tomorrow, the bottom of the decklid and the headlight buckets will get sprayed black.
I love this build and I love your car. I applaud you for having the guts to make your dream a reality. Lots of people talk but it takes someone with real courage to take it to the next level. The color combo looks awesome!
From one painter to another, you are doing a great job!
-Chris
[This message has been edited by DeLorean00 (edited 08-07-2009).]
Wow!!! increadible work...this thread has been such an inspiration to myself and i'm sure many others....
quick question, the area on the front portion of the rear decklid (the area closest to the back windshield that slopes down...in you photo, it is the area with some red paint still on it) how did you go about sanding that to where it would be straight? also, the "stream lines" on the lid where you cannot get a DA sander, how did you sand those as well? did you use a block and if so, what size? or did you do it by hand? thanks and i can't wait to see the end result of your car
[This message has been edited by labbe001 (edited 08-07-2009).]
First I would like to thank all of you for the words of encouragement but they seem to be falling on deaf ears right now. I am so close to being finished but it's one problem after another. Yesterday I started sanding on some of the runs in the clear. I got seven of them out just fine but when I was finishing that area, I sander thru the clear and the paint on a edge right at the fenderwell. It's only a spot about a 1/4" but it will need fixed none the less. Today I sanded out a run that was on the fuel door and wouldn't you know it, I sanded thru on the door also. GRRRRR. The worst part of this is, the spots I sanded thru on, were not even where the runs were. I got those runs out with no problems in those areas. There are still a bunch of runs to sand but I am getting frustrated fast. I thought I was so close to being done! I fix one problem but create another in the process.
Knowing that I would have some areas to fix, I went and bought this today...
It's not some real expensive air brush but it should do what I need it to do. I have never used one before so I will play around with it a bit before attempting to use it on the car.
quote
Originally posted by labbe001:
Wow!!! increadible work...this thread has been such an inspiration to myself and i'm sure many others....
quick question, the area on the front portion of the rear decklid (the area closest to the back windshield that slopes down...in you photo, it is the area with some red paint still on it) how did you go about sanding that to where it would be straight? also, the "stream lines" on the lid where you cannot get a DA sander, how did you sand those as well? did you use a block and if so, what size? or did you do it by hand? thanks and i can't wait to see the end result of your car
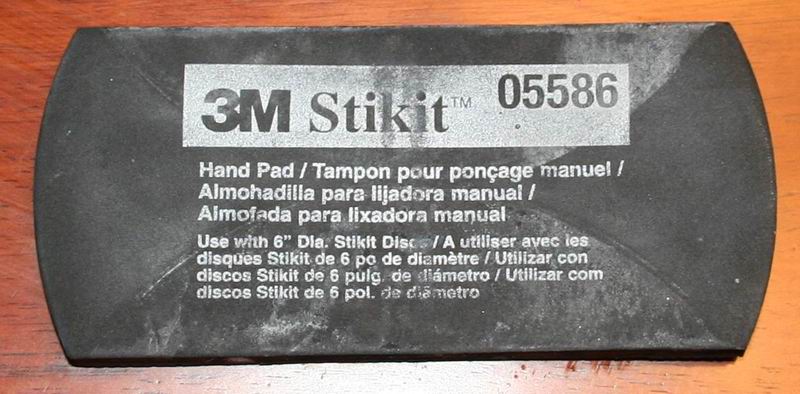
Thanks and to answer your question on those areas, I used this..
It was bought at Finishmasters (same place I bought the paint). It is a very dense type of foam? It worked very well on areas like those where you just can't use the DA Sander. Sanding with just your hand will leave the area uneven as your fingers will create pressure points. This pad alows you to sand ,by hand, without your fingers creating pressure points. It is flexable and contours to those type of areas nicely. It's also nice cause the same sanding disks I used for the DA, fit right onto the pad.
[This message has been edited by JimmyS (edited 08-08-2009).]
Originally posted by JimmyS: I went and bought this today...
It's not some real expensive air brush but it should do what I need it to do. I have never used one before so I will play around with it a bit before attempting to use it on the car.
If this little 4 year old guy, (my grandson), can do it, you *might* be able to also
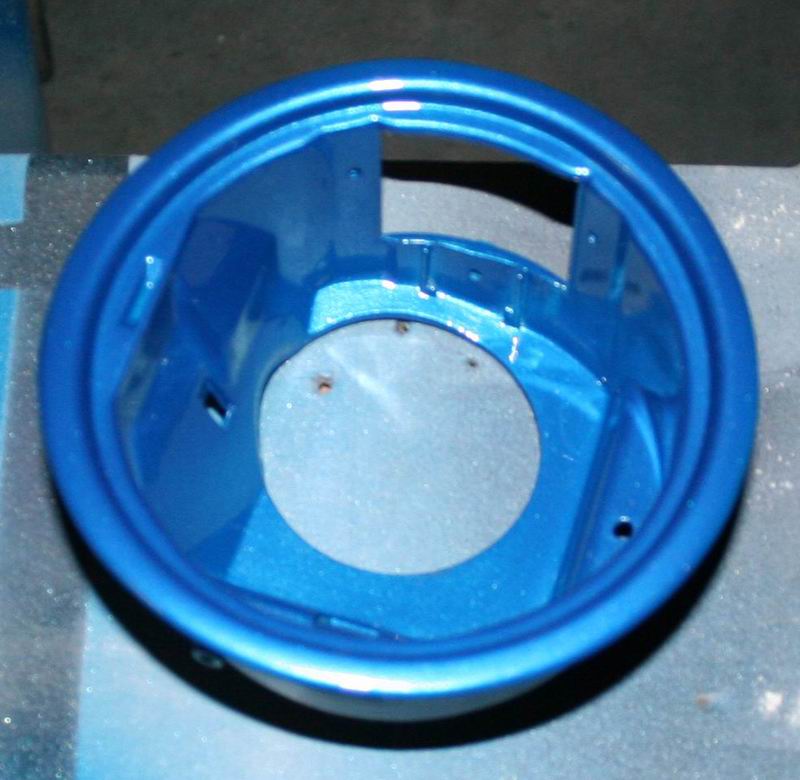
The underside of the decklid and headlight buckets are now painted.
My frustration level is very high and my confidence level is very low right now. Because of this, I have decided to enlist the help of professional Billy Kidd again. I am going up to his shop in Wesley Chapel, FL. tomorrow. Together we are going to finish up the cut and buffing. He will also fix any areas that I burned thru and any more that arise. I fear that if I do it my self, I will only make matters worse and do something stupid like give up completely. I should arrive at his shop tomorrow between 10-11am. We will get as much done as we can tomorrow and I will be spending the night at his place so we can finish up on Wednesday.
If everything goes Ok then the car should be completely done sometime Wednesday.
I am dissapointed in myself right now that I could not see this thru to the end. With my mindset the way it is, I believe getting help from Billy is my best bet.
jimmy, nice work so far. A little word of advice when things start to go wrong, call the junk yard! HA, just kidding, you are doing a great job so far and hopefully i'll remember some of this stuff when i'm ready for paint. Always remember when it's starts to go bad, just step back, take a break and get back to it later or even tomorrow. I know personally that when you get pissed off at what you are doing, it'll go from bad to worse to redo really fast. don't let it get the better of you. those runs will still be there tomorrow... DAMN THEM!
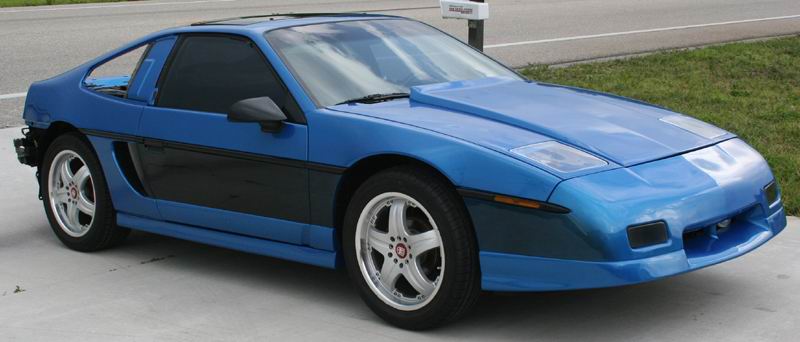
Everything is now cut, buffed and re-assembled. Tomorrow I need to give it a good cleaning as buffing compound gets everywhere. Once I have it cleaned up and waxed, I will take some pics. Pics will be posted tomorrow night.


 I watched as you painted your wifes (girlfriend's? sorry, don't remember
  ) car. I really like the colors that you have chosen for both the Fieros. Can't wait to see the finished finish!


 I am getting up early tomorrow and shooting them in the morning. They should be set up well enough to mount them on Friday morning a few min's before I leave for the Daytona Show. Talking about doing things last min.


 HA, just kidding, you are doing a great job so far and hopefully i'll remember some of this stuff when i'm ready for paint. Always remember when it's starts to go bad, just step back, take a break and get back to it later or even tomorrow. I know personally that when you get pissed off at what you are doing, it'll go from bad to worse to redo really fast. don't let it get the better of you. those runs will still be there tomorrow...
 DAMN THEM!


