I wanted to remove the DoD from the LS4 and figured there's no better way to understand how an engine works, so we decided to do a rebuild. Nothing dramatic, just new rings, bearings, etc.
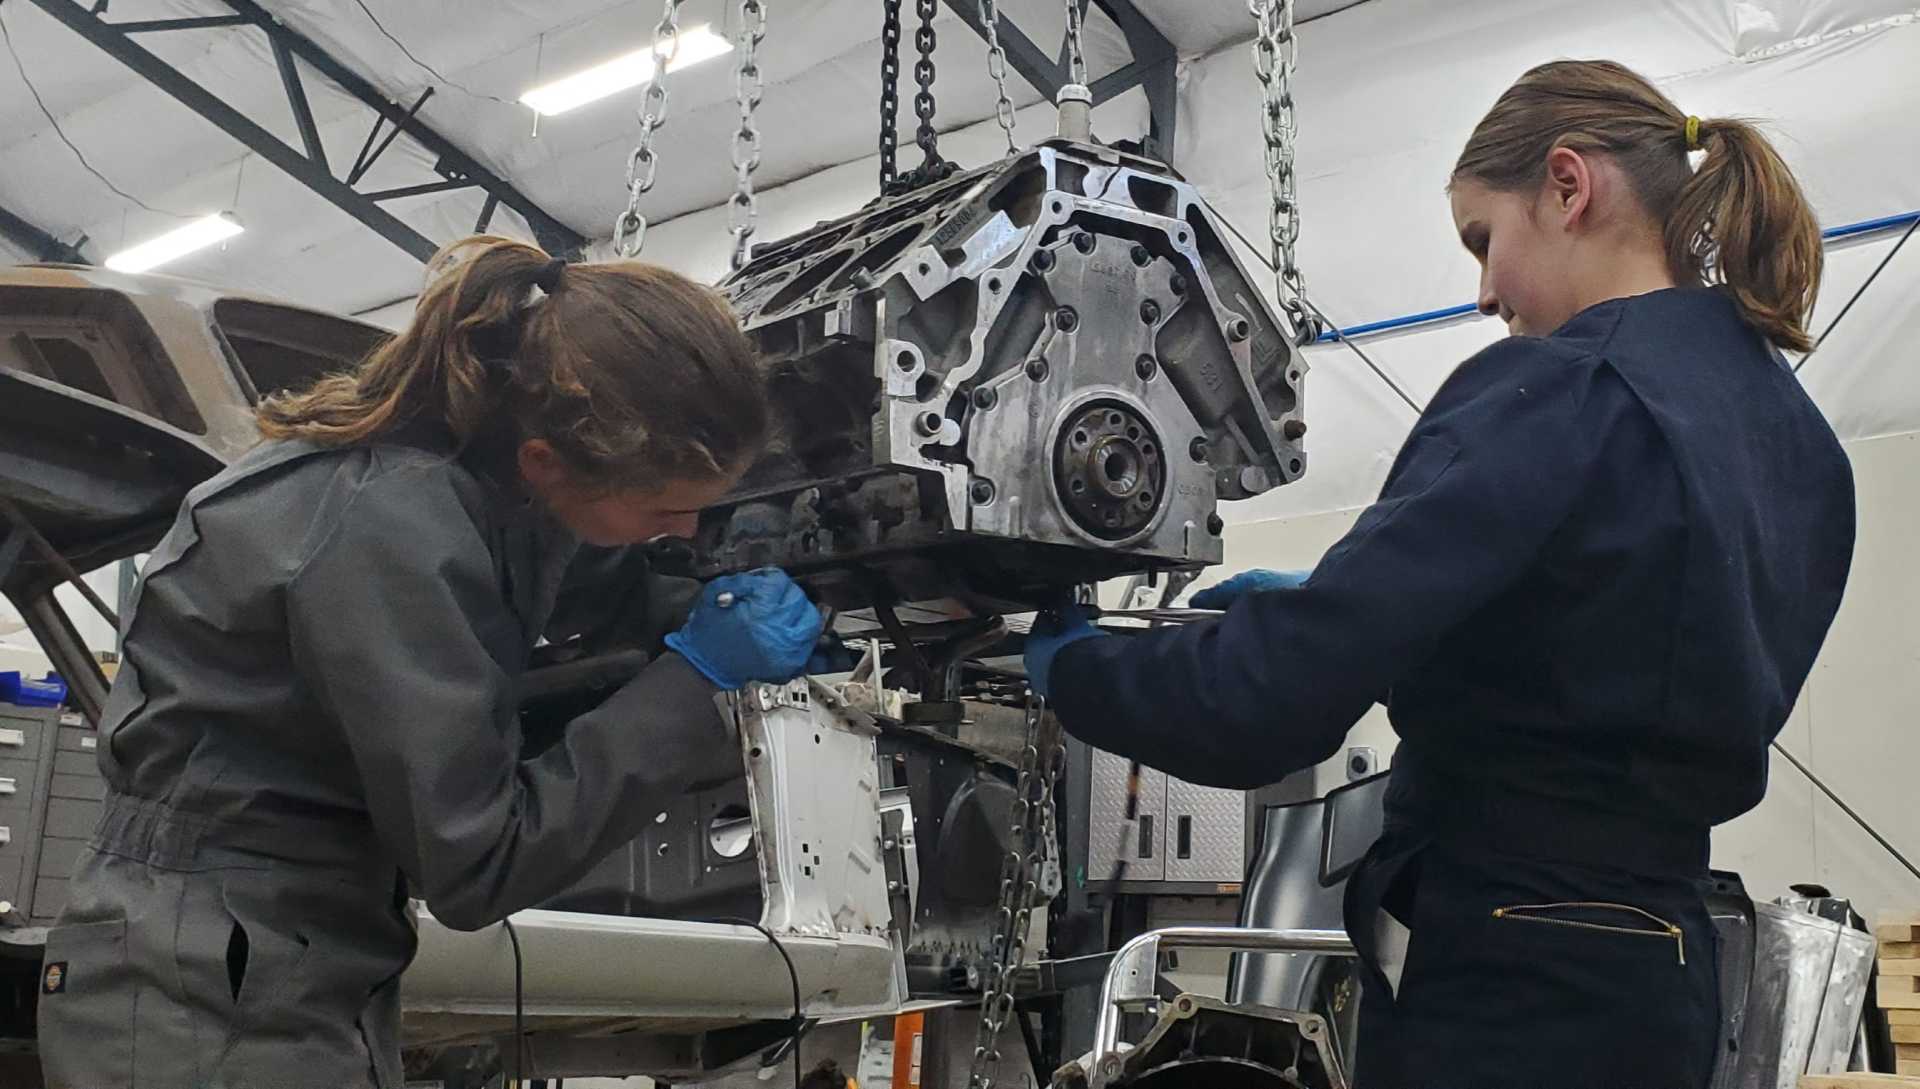
They pulled the motor apart
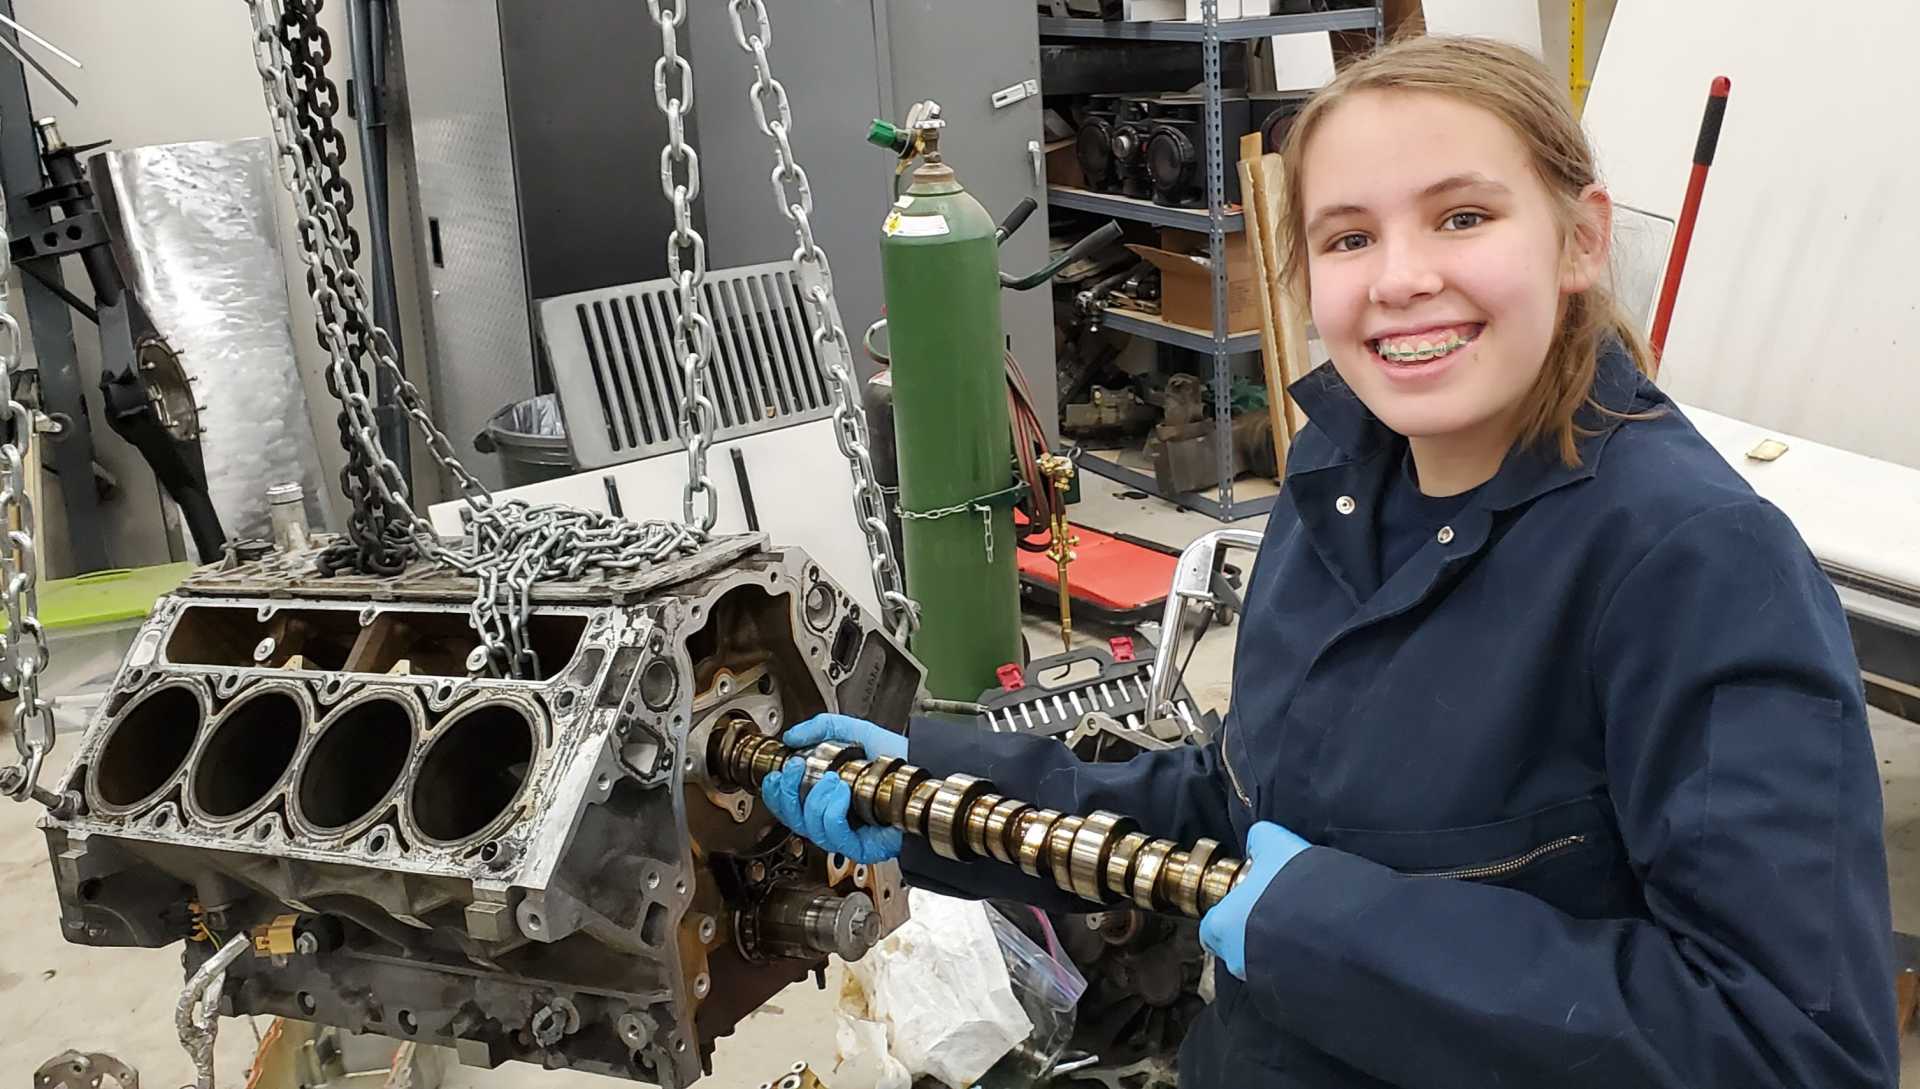
Removed the old DoD camshaft. Anyone know if this looks to be an original DoD camshaft? I thought there was a groove cut in one of the journal bearing supports but this one doesn't have any. I couldn't find any photos of an '06 DoD camshaft to compare to--all the photos online are of the delete camshafts.
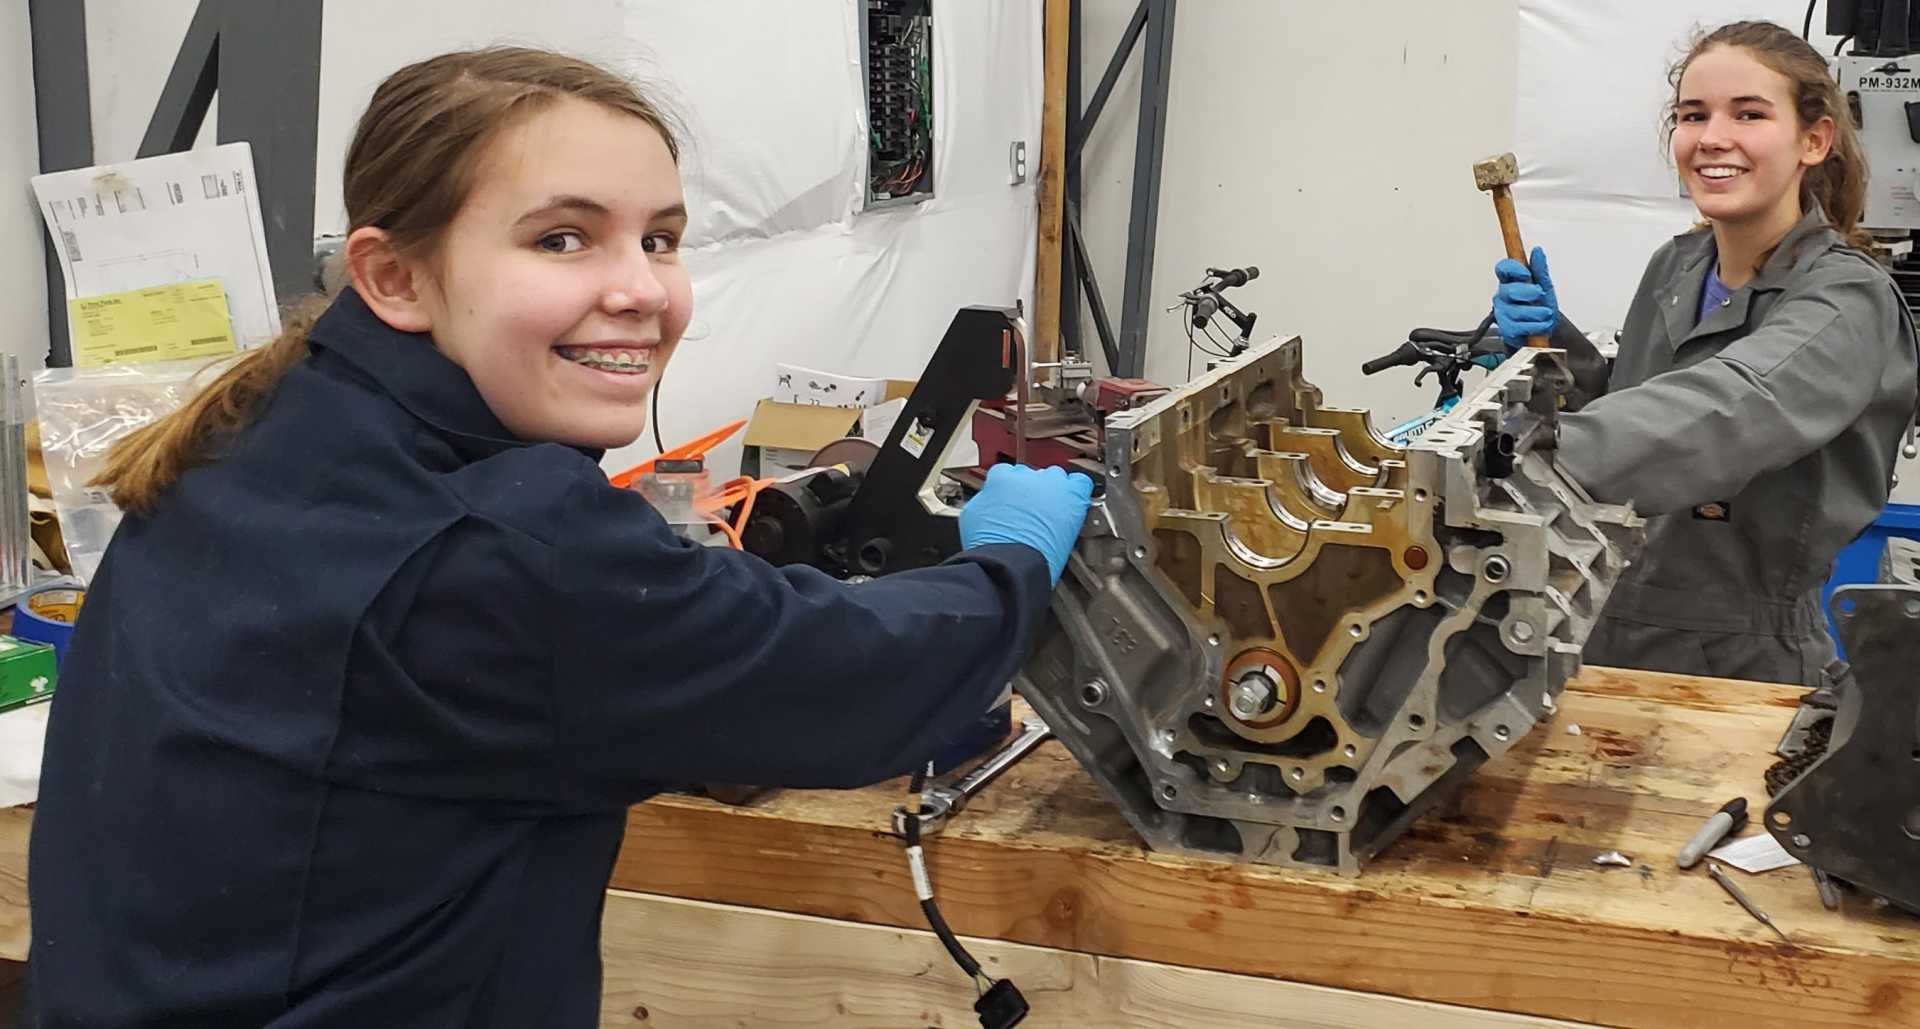
We replaced the main bearings and the camshaft bearings. As a side note, that 'universal bearing driver' kit didn't work well for the LS camshaft bearings. It marred all but one when we drove the bearings out and marred both of the new ones we tried to install. I had to get a second set of camshaft bearings due to that. Luckily they're cheap
We instead 3D printed a driver that fit the bearings much better and seated them all without screwing up the surface. I was worried the printed plastic wouldn't be strong enough, but with 100% infill, we didn't have any issues.
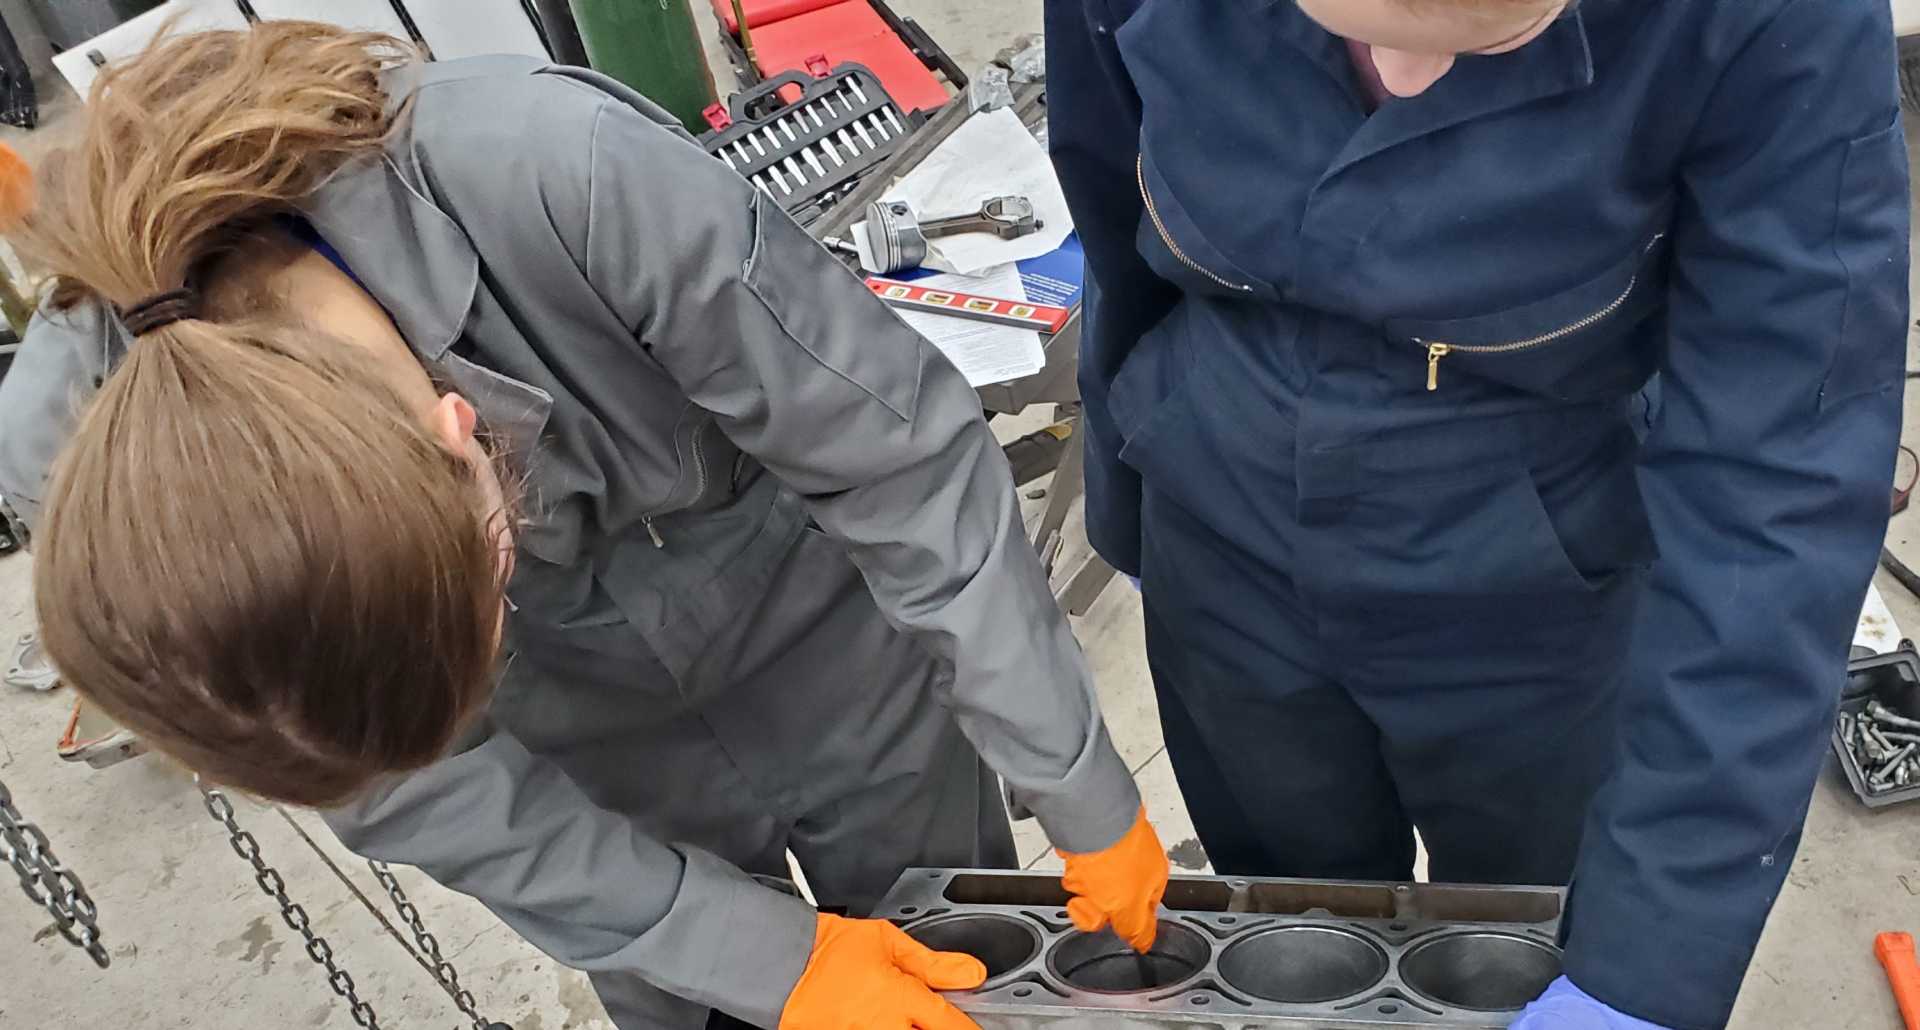
We put the motor back together with a halfhearted attempt at measuring clearances, etc. The kids got tired of making measurements and would wander off. I did the bulk of the measurements hastily when they wandered off. So it's not going to be the best rebuild ever, but good enough for a junkyard motor largely assembled using forced child labor. They did at least learn how to use calipers, micrometers, bore gauges, plastigage, and feeler gauges, etc. And we did grind the rings to make sure they were properly gapped.
So the bottom end of the motor is back together now.
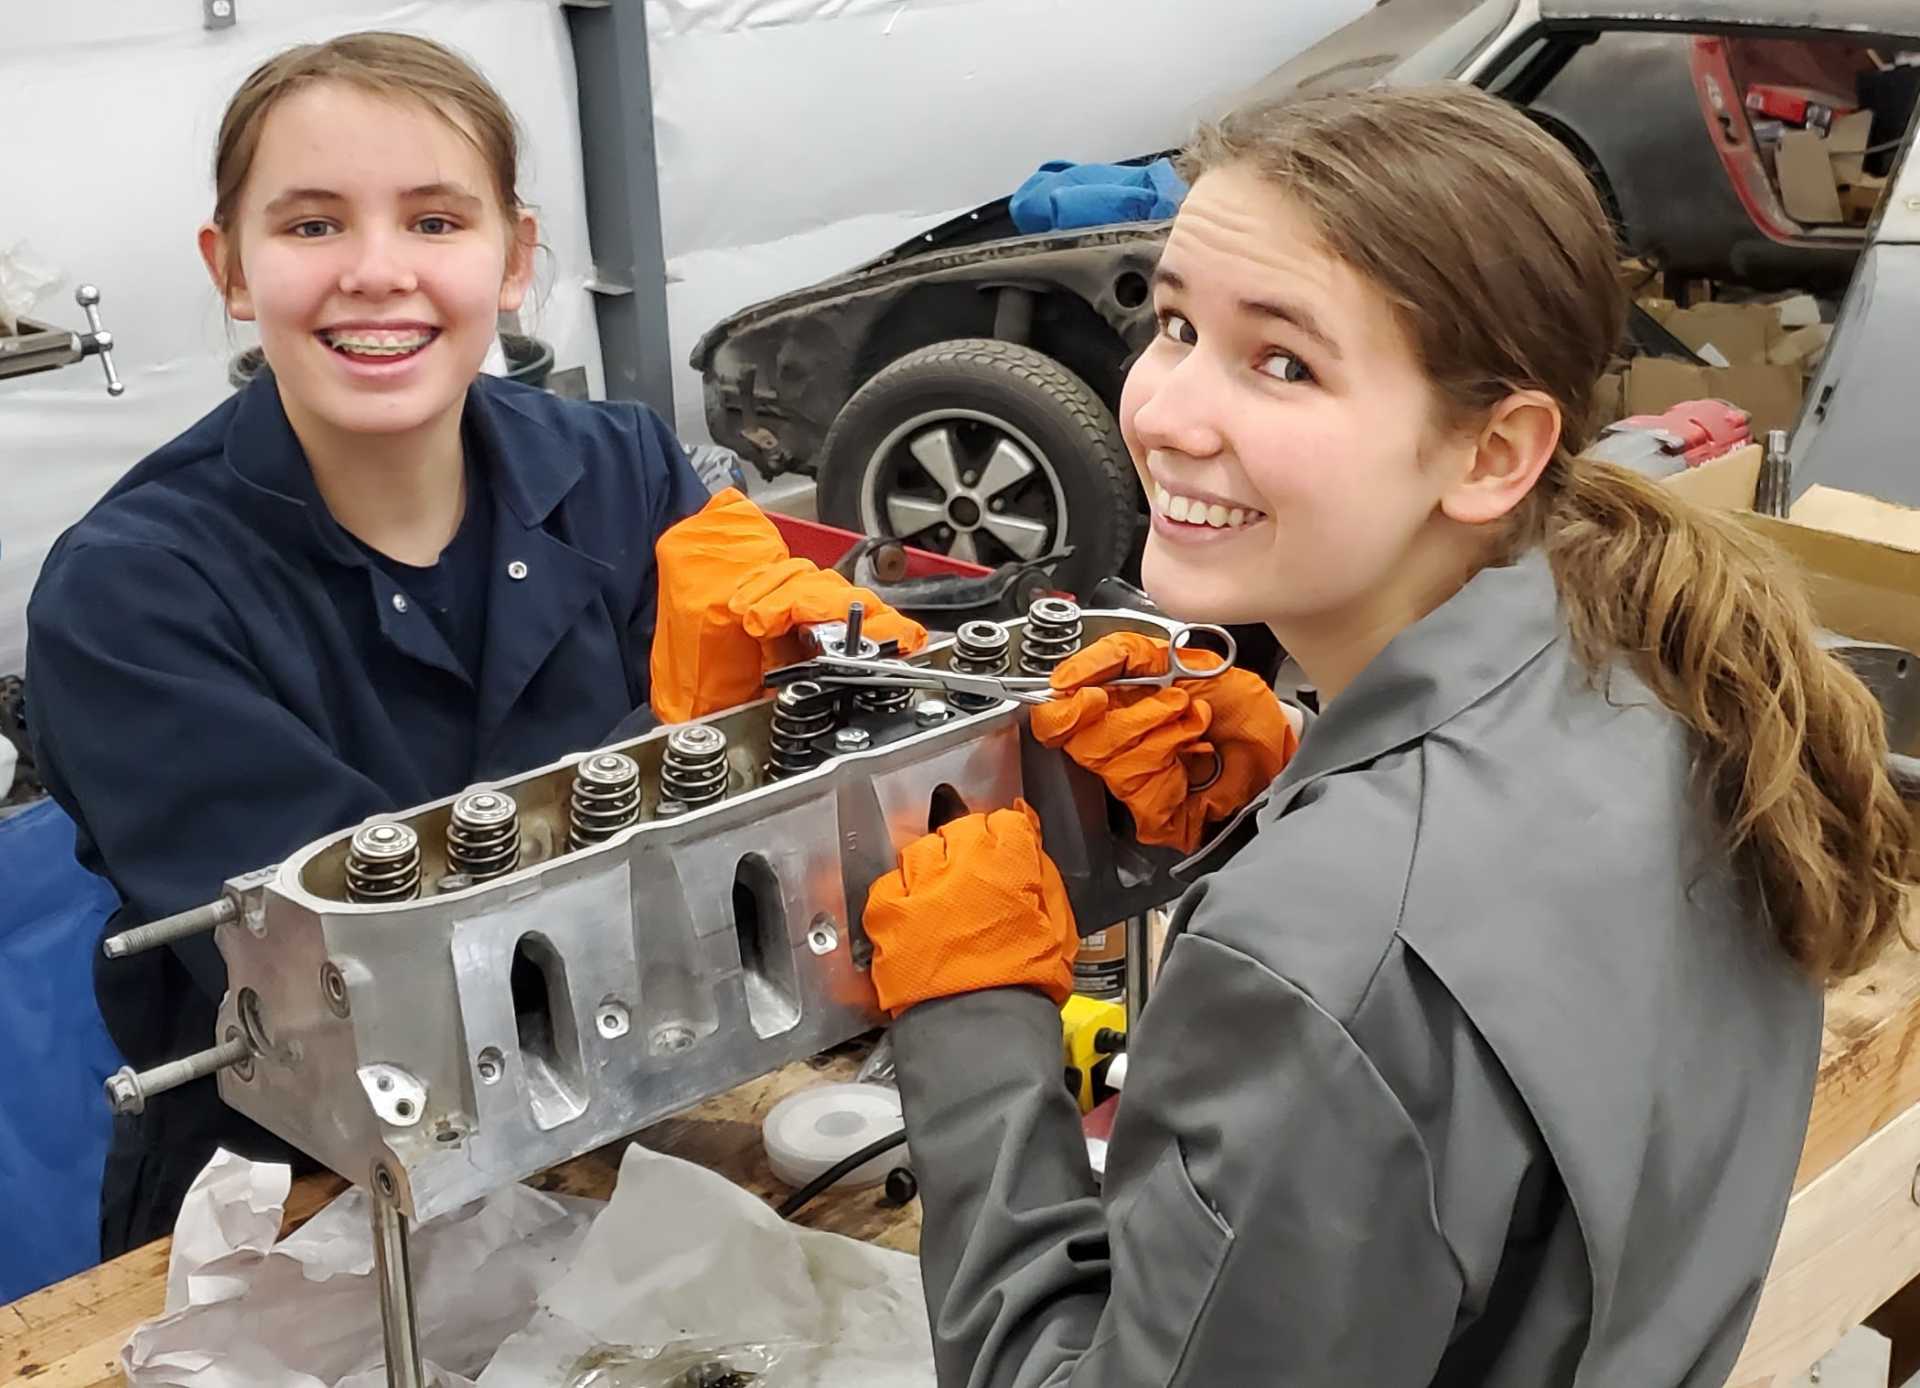
I was hoping not to mess with the heads much...inspect them and if everything looks good, I was just going to put them back on the motor. Well, we ended up dropping one of them onto the floor from about 3' high. So, I decided it best to disassemble them completely to check to make sure we didn't break anything. At least with a straight edge, the mating surfaces still seems flat. Luckily it landed on the sparkplug slide of the head and so it didn't mar any of the sealing surfaces. I probably should send them in to the machine shop to have them checked out and install new seats...but for a junk motor on a budget build...it's just not in the cards right now. I figure I'll put it together and if the head leaks, I'll go find another at the junkyard to swap out. So, crossing my fingers and hoping for good luck with the head gods.
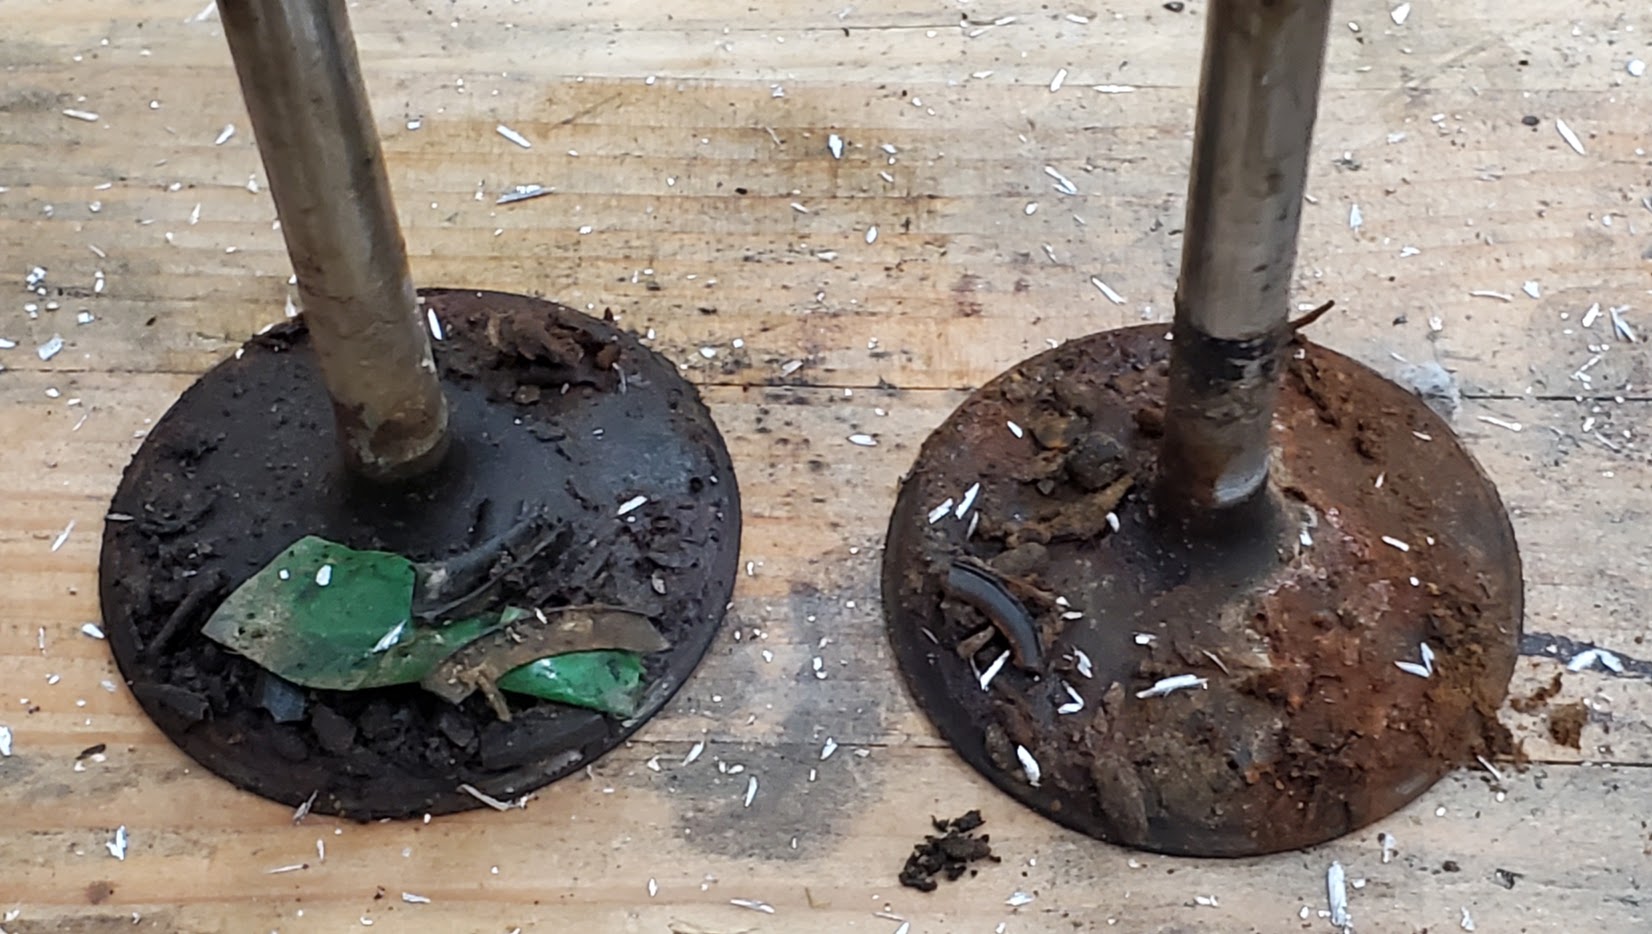
When I pulled a couple of valves to see how it looked under them, this is what I found:
Looks like something upstream broke apart and got sucked through the intake manifold at some point. As long as we were that far, might as well port them a little bit by cleaning up any casting edges. That way when the kids hear someone talking about having heads ported, they'll know what they're talking about. You can see some of the aluminum shaving from the porting operation on the valves in the photo. We did a little bit of a valve lap with one of the suction cup thingymabobs just to clean the seats up a little bit. They were in good shape with no pitting. A little surface rust on a couple. Then we put them back together.
After we finished putting the heads back together, my younger daughter said "Is that all there is to a motor"? I asked her what she meant. "Well, I thought there would be a million parts. But all I remember seeing were crankshaft, pistons, rods, and a camshaft on the motor. The head just has valves, rockers and springs. It's not nearly as complicated as I thought". Maybe we get this car running, maybe we don't. But at least I know my daughters won't be intimidated if they have to take a car to the repair shop. So, I'll call that a victory.
Since its the middle of winter and we're not always able to get out to the shop to do work due to cold/snow/nasty weather, I wanted to come up with a project we could work on indoors. Trying to stick with the spirit of teaching the kids how to make stuff they need and wanting to keep it as simple as possible, we decided to start making replacement bushings for the rear control arms. The current ones are probably original -- they're in really bad shape. So, some DIY polyurethane bushing have to be an upgrade over what's in there.
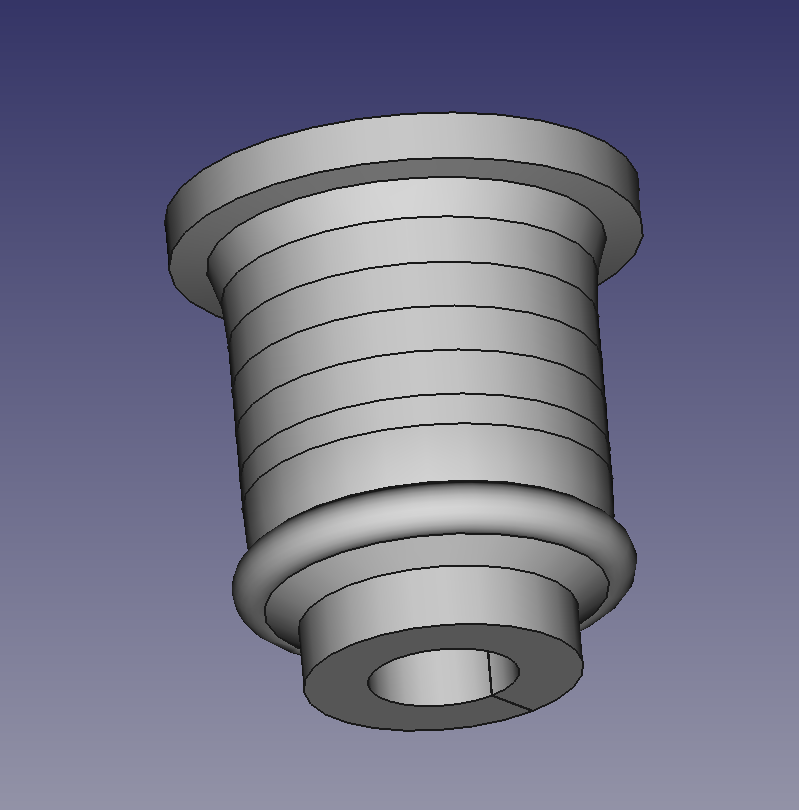
We decided to 3D print a mold to cast the poly in instead of casting the poly using the control arm as the mold. My wife wasn't down with having the control arm in the house, even for educational purposes. So, casting in a thin mold indoors and then hauling the bushing out to the shop was better for us. We pressed one of the rubber bushing out, used calipers to take a bunch of measurements. The rubber was pretty rotten, so I was having to guess at what the original rubber looked like. I *think* there is a bit of a lip on the inside of the control arm that had rotted off. So, I put one on my part...unsure if that is correct, but here's the 3D model of the bushing mold. Note the lip near the bottom:
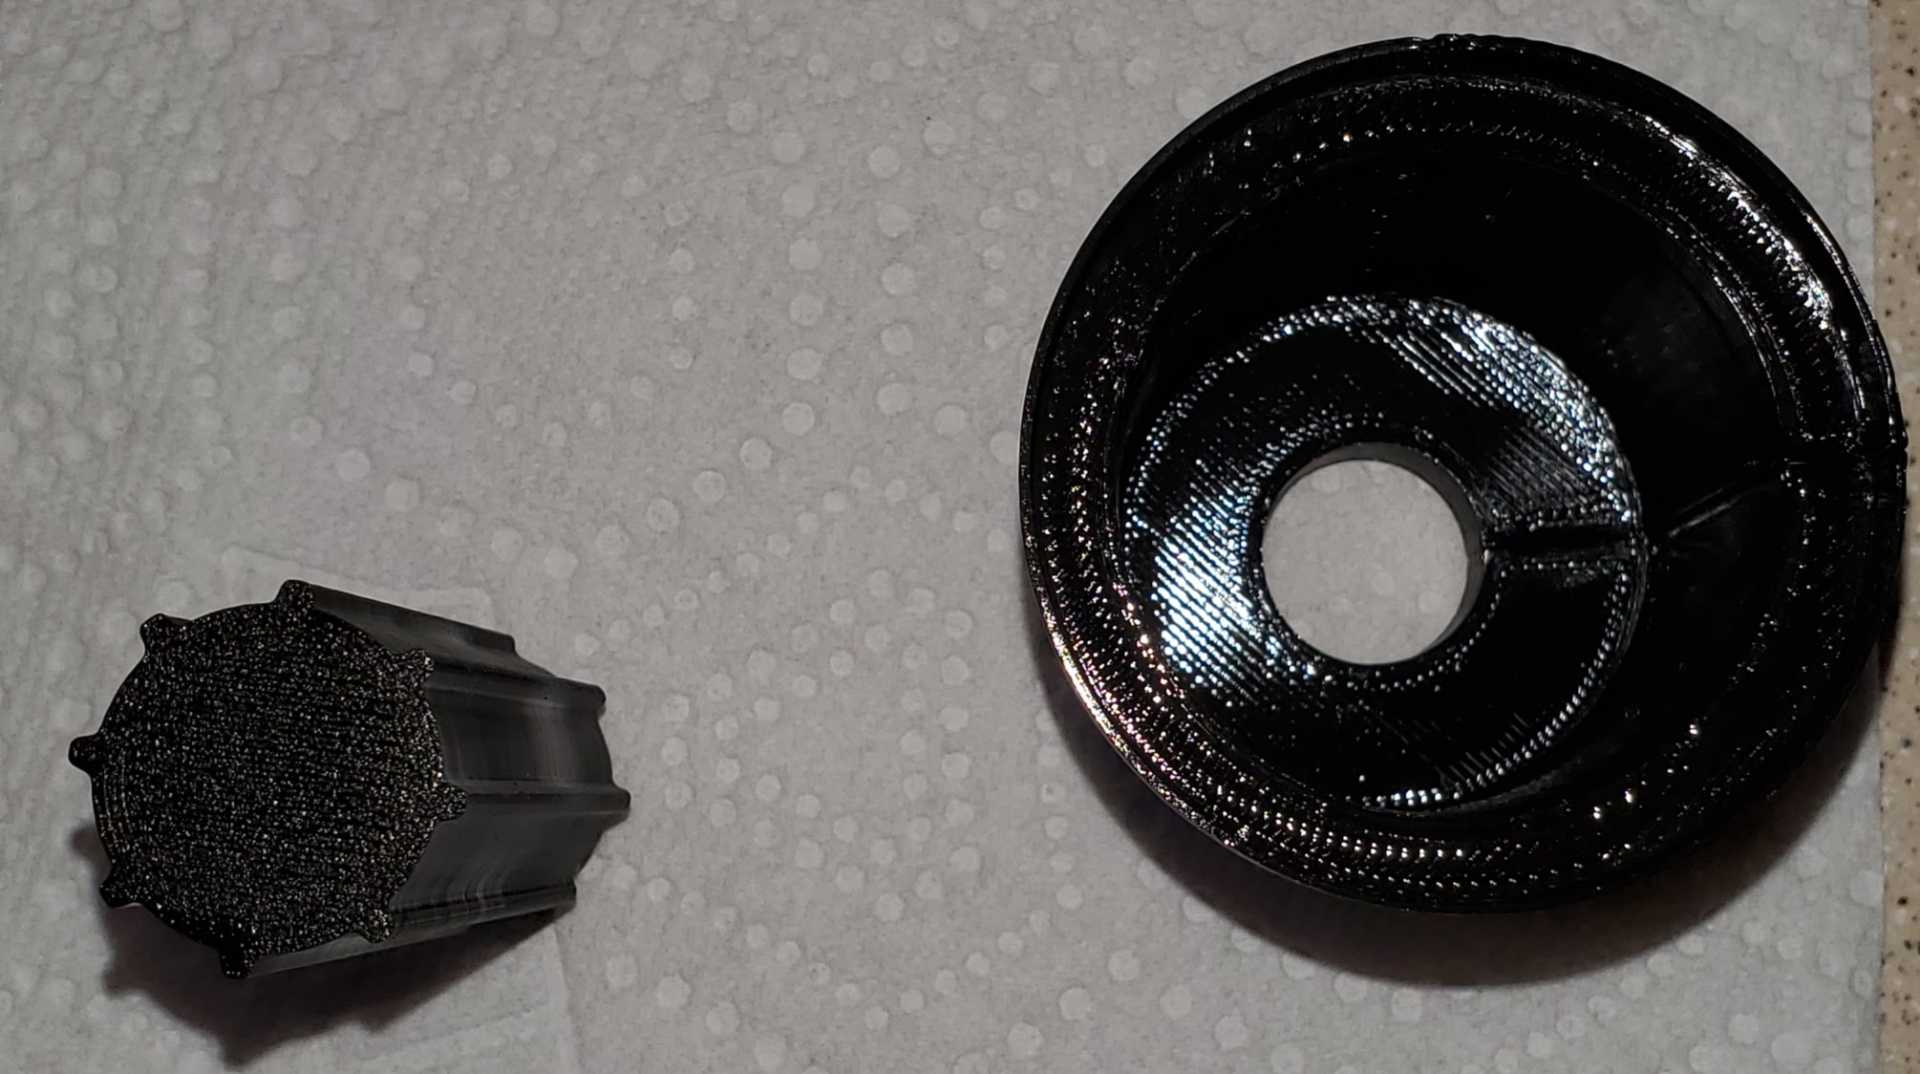
The mold consists of two printed parts. A thin outer cup that forms the outer walls. I've printed a 1cm base on the bottom of it with a ~17mm diameter centering hole. The cup is thin enough that I can break it off the poly after casting. I also only rotated the 3D model 0.5 degrees shy of 365 degrees to create a small seam. The cup still comes out solid when printed but it creates a weak spot to make it easier to break it. The second part is a tined rod that slides into the hole in the bottom of the cup. This creates the pocket for the metal part of the bushing to slide into. I added the tines in order to have pockets for grease to fill. Most of the aftermarket bushings I saw online seemed to have something like that. A photo of the two mold pieces:
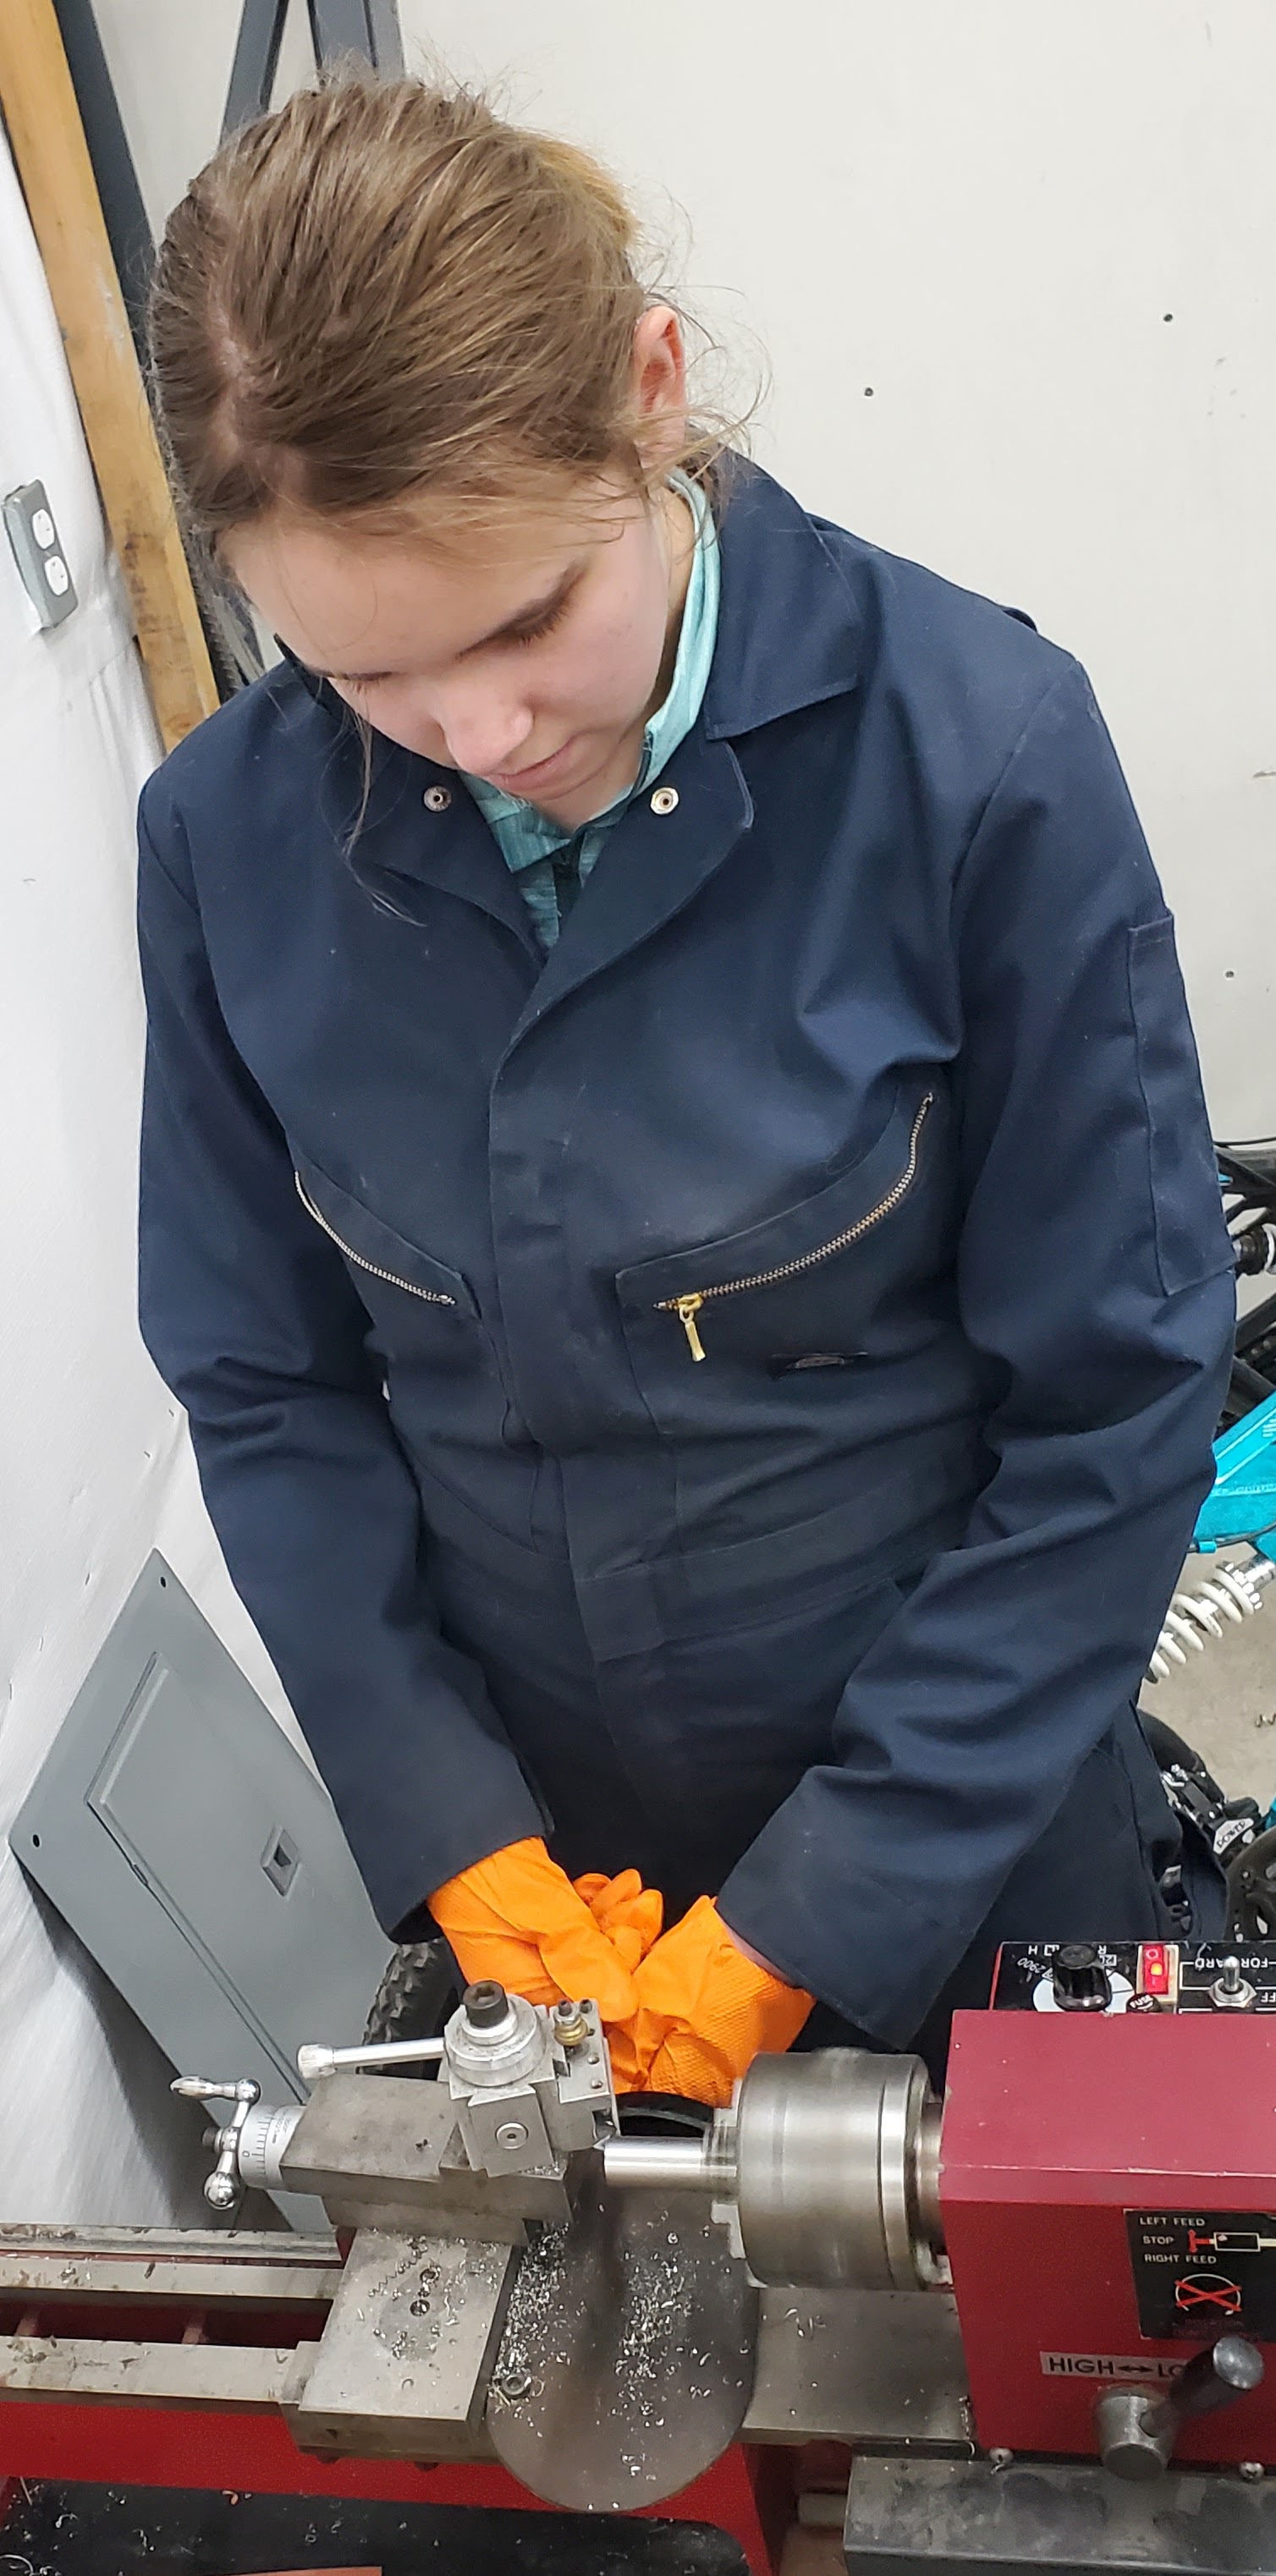
I wasn't really happy with the metal sleeve in the '84 bushings. It's a piece of rolled steel with a seam running down the axis. It's not exactly round. So, I ordered some 3/4" OD x 1/2" stainless tubing from McMaster. Then we cut the tube to length and faced them on the lathe.
We ended up having to make maybe 6 different mold modifications before we got a bushing that fit like I think it should fit. The original rubber part seems to be designed to 'squeeze' to the right shape. It has a larger diameter and is shorter than the control arm hole. When it's pressed into place, its diameter is squeezed down and extrudes out the back of the hole. So, our first poly part was built to match the rubber bushing -- but the polyurethane doesn't compress the same as the rubber. So the poly bushing didn't fit right. We'd modify the mold, cast a new part and then try again. It's been an iterative process. The bushing was either too long or too short. We struggled to get the diameter of the center cavity such that the sleeve would fit without tearing. When the bushing gets pressed into place, it squeezes that center cavity down. The stainless sleeve would often tear chunks out of the center.
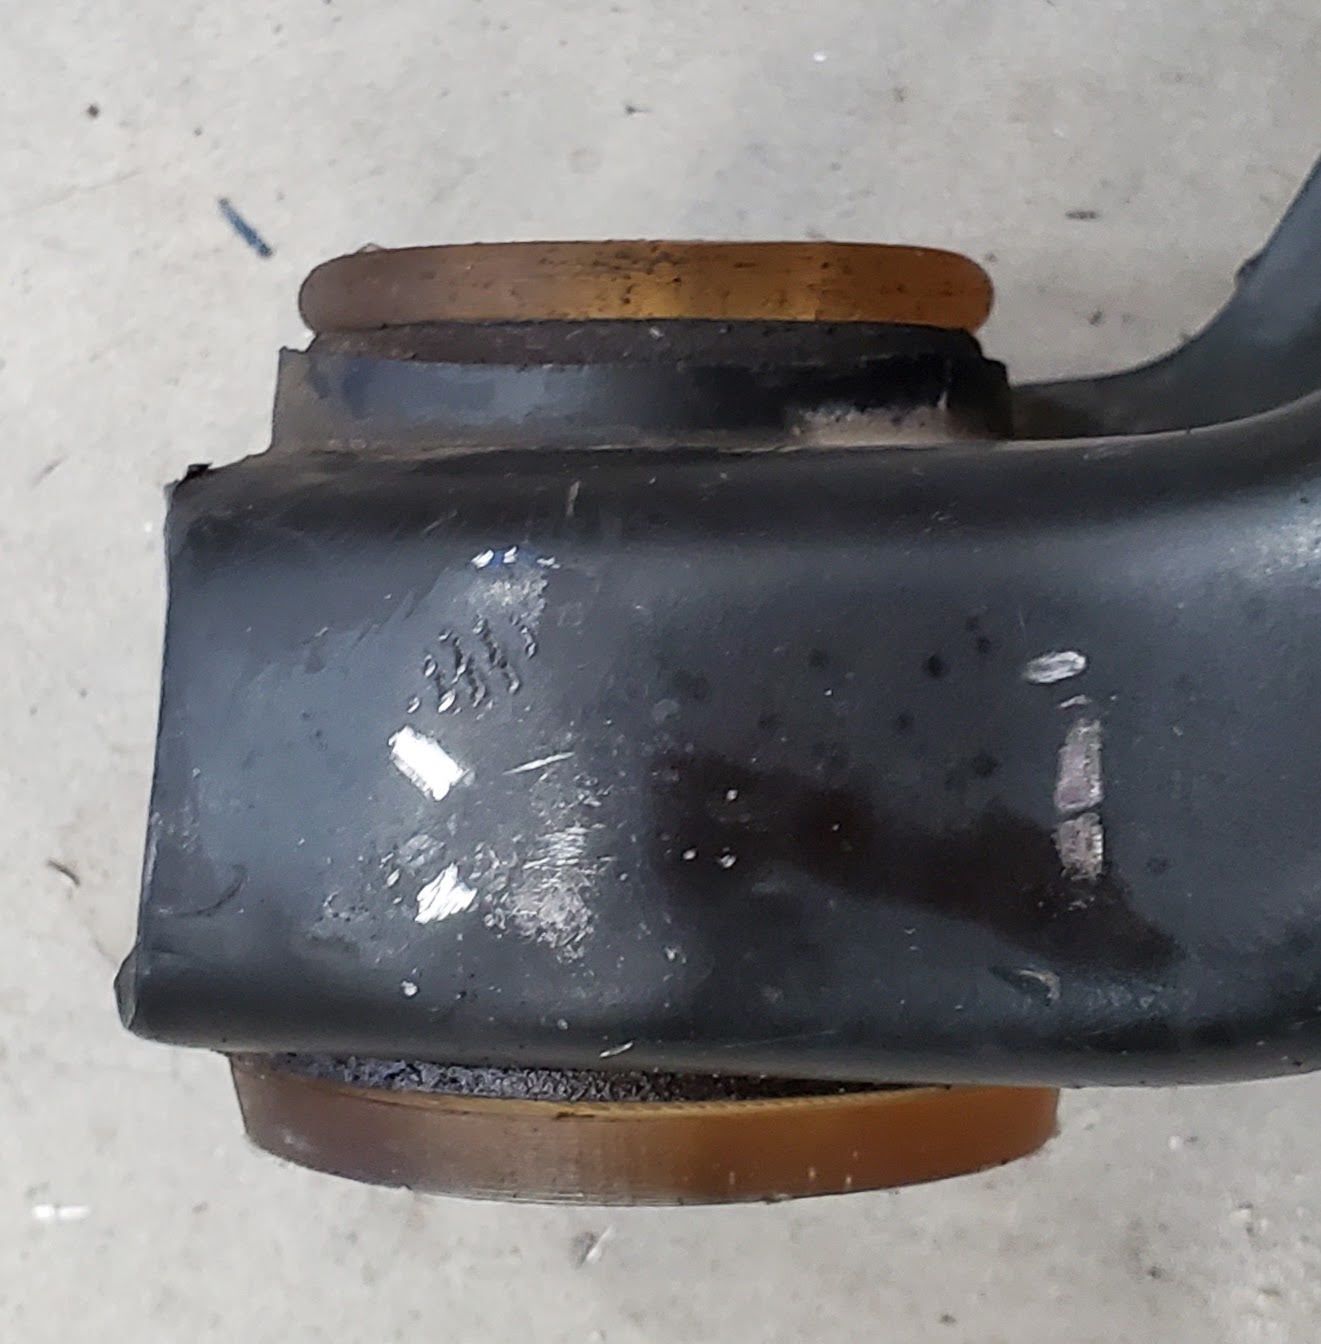
But, I think we managed to finally get something that fits nicely. Here's the cast bushing and sleeve
And here is the fit in the control arm
Now the only thing left to do is to choose a pigment for the next one we cast. I'm going to let the kids choose the color of the bushings. Who knows what we'll end up with -- might be pink bushings.
[This message has been edited by Rotmilky (edited 02-28-2021).]
Nice job, and it's great you're teaching the girls all about cars. Not to mention, the memories they'll have for a lifetime. I still wander down memory lane about the mechanic work my father and I shared.
Having your own mini-machine shop at home doesn't hurt either! Keep on trucking.
After we finished putting the heads back together, my younger daughter said "Is that all there is to a motor"? I asked her what she meant. "Well, I thought there would be a million parts. But all I remember seeing were crankshaft, pistons, rods, and a camshaft on the motor. The head just has valves, rockers and springs. It's not nearly as complicated as I thought". Maybe we get this car running, maybe we don't. But at least I know my daughters won't be intimidated if they have to take a car to the repair shop. So, I'll call that a victory.
Great way to grow up!
quote
Originally posted by Rotmilky: We pressed one of the rubber bushing out, used calipers to take a bunch of measurements. The rubber was pretty rotten, so I was having to guess at what the original rubber looked like.
We ended up having to make maybe 6 different mold modifications before we got a bushing that fit like I think it should fit. The original rubber part seems to be designed to 'squeeze' to the right shape. It has a larger diameter and is shorter than the control arm hole. When it's pressed into place, its diameter is squeezed down and extrudes out the back of the hole.
Soooo... FYI, the original rubber is bonded to the shell that you left in the control arm. I always assumed it was cast and vulcanized in place when the bushing was made. IE, if you order a bushing, what you get is the inner sleeve, outer shell and rubber all in one unit, designed never to come apart. If you were able to press yours out, they really were trashed.
quote
Originally posted by Rotmilky: So, our first poly part was built to match the rubber bushing -- but the polyurethane doesn't compress the same as the rubber. So the poly bushing didn't fit right. We'd modify the mold, cast a new part and then try again. It's been an iterative process. The bushing was either too long or too short. We struggled to get the diameter of the center cavity such that the sleeve would fit without tearing. When the bushing gets pressed into place, it squeezes that center cavity down. The stainless sleeve would often tear chunks out of the center.
Designing squishy parts to tight tolerances sucks. I tried Delrin bushings once, then committed to spherical bearings forevermore because of that experience.
Designing squishy parts to tight tolerances sucks. I tried Delrin bushings once, then committed to spherical bearings forevermore because of that experience.
Yea, I'm coming to that conclusion too. I looked up your thread on the spherical bearings and think that looks like a better approach than m cast poly bushings. If I weren't on a budget build, I'd be hitting you up for a set.
Yea, I'm coming to that conclusion too. I looked up your thread on the spherical bearings and think that looks like a better approach than m cast poly bushings. If I weren't on a budget build, I'd be hitting you up for a set.
If you do decide you have them in the budget, let me know. I'll do a second batch if I can get 5 buyers. I'm at 2 currently.
Sirs,, How will you control the ls4? Since you are missing the intake manifold, Fi TECH does have a fuel injection kit the the ls engines WITHOUT the transmission control, with an sheetmetal intake for $1700.