Pennock's Fiero Forum
  Technical Discussion & Questions
  96 DOHC with 91-93 ECM Wiring Harness

Post New Topic  Post A Reply
Email This Page to Someone! | Printable Version


next newest topic | next oldest topic
96 DOHC with 91-93 ECM Wiring Harness by 355Fiero
Started on: 01-19-2020 09:16 PM
Replies: 9 (364 views)
Last post by: 355Fiero on 04-16-2020 12:46 AM
355Fiero
Member
Posts: 548
From: Victoria, BC Canada
Registered: Dec 2004


Feedback score: (2)
Leave feedback

Rate this member

Report this Post01-19-2020 09:16 PM Click Here to See the Profile for 355FieroSend a Private Message to 355FieroEdit/Delete MessageReply w/QuoteDirect Link to This Post
All;

Those that have been following the adventure as I get closer to being able to start the engine for the first time, I had a massive epiphany this afternoon while tracing wires. My questions here are directed at the 3.4 DOHC wiring harness gurus please.

Way back when I stated a 3.4 DOHC swap, I started with 94/95 engine. I had erik here build me a harness for the 94/95 with a 91/93 ECM. All great but I never ended up going forward with the 94/95 engine. I found a 96 crate engine that I grabbed. 14-15 odd years later, I am actually putting the engine into a Fiero project. Now, I went along my happy way completely forgetting that I had a 94/95 harness for a 96 engine swap. Right up until this afternoon when I realized my injectors were not firing at all. I did the D3 and D9 continuity tests and found that those leads went to completely different plug towards the engine than what the injectors are wired to....

Short story long, I realized/remembered I have a 94/95 engine harness trying to fit on to a 96 engine.

Questions for the gurus:

1. Should I just get FieroFlyer or Phonedawg to build me a new harness for the 96?
2. Should I go through the differences with someone to see if I can update the harness myself?

How much different are the two harnesses? Aside of course for that fact that the 96 has an extra plug in the harness which hosts one of the injector wires. How many other differences are in play for the plugs going onto the engine itself, and even maybe to the other sensors??

Thanks
Don
IP: Logged
PFF
System Bot
fierosound
Member
Posts: 15242
From: Calgary, Canada
Registered: Nov 1999


Feedback score: N/A
Leave feedback


Total ratings: 287
Rate this member

Report this Post01-20-2020 02:50 AM Click Here to See the Profile for fierosoundClick Here to visit fierosound's HomePageSend a Private Message to fierosoundEdit/Delete MessageReply w/QuoteDirect Link to This Post
fieroking (Joe Sokol) did the DOHC swap for Nolan when he had the 88 GT.
https://www.fiero.nl/forum/Forum3/HTML/000127.html

He may be able to help you make the changes needed to the harness you have.
https://sites.google.com/si...ngcustoms/contact-us

Found this... 1997 DOHC ECM pinouts
http://www.mediafire.com/fi...onte3.4VinX.jpg/file

Someone here had same problem in 2017 (maybe you?)
http://www.realfierotech.co...4&hilit=dohc#p156814

------------------
My World of Wheels Winners (Click on links below)

3.4L Supercharged 87 GT and Super Duty 4 Indy #163

IP: Logged
355Fiero
Member
Posts: 548
From: Victoria, BC Canada
Registered: Dec 2004


Feedback score: (2)
Leave feedback

Rate this member

Report this Post02-01-2020 03:48 PM Click Here to See the Profile for 355FieroSend a Private Message to 355FieroEdit/Delete MessageReply w/QuoteDirect Link to This Post
OK. Thanks for the links Fierosound. That was me over on the other site and I refreshed that site as well with latest progress.

For the 3.4 DOHC folks here, I am further along but into another issue now.

My current status of the wiring and troubleshooting. I believe I have everything wired correctly now but I am still not getting the injectors to fire.
I have confirmed the pink wire going to the injectors has 12V in run. I have confirmed that when putting power and ground to the injectors, they will fire. The three I can get to anyway. I just don't seem to have the signal coming from D5/D9 on the 91-93 ECM. That tells me I am looking to the ECM for next steps.

I have ordered an ALDL connector and hopefully it gets here soon. I tried shorting out the A and B terminals on the ALDL with a troubleshooting light but no lights or codes showed. Not saying there are no codes, just didn't come through with the trouble light.

One point I found in the troubleshooting was B10 in the ECM diagrams says power at all times but I don't get power on B10 until I put into Run?

Are there other sensors or triggers inside the 91-93 that I need to check out so I can get power to the injectors? Any other items anyone can think of that will help push me forward and troubleshoot the ECM before I get my ALDL cable? I will be using TunerPro as well to get the settings and codes out as a starting point.

Any help appreciated.
Don
IP: Logged
fierosound
Member
Posts: 15242
From: Calgary, Canada
Registered: Nov 1999


Feedback score: N/A
Leave feedback


Total ratings: 287
Rate this member

Report this Post02-01-2020 08:12 PM Click Here to See the Profile for fierosoundClick Here to visit fierosound's HomePageSend a Private Message to fierosoundEdit/Delete MessageReply w/QuoteDirect Link to This Post
See here:
http://www.gearhead-efi.com...d&highlight=16211539
http://www.gearhead-efi.com...s&highlight=16211539


Looks like ECM 16211539 was used for both the 3800 and 3.4L DOHC
http://www.gmtuners.com/fil...PCM_Fiero_wiring.pdf

[This message has been edited by fierosound (edited 02-01-2020).]

IP: Logged
qwikgta
Member
Posts: 4671
From: Virginia Beach, VA
Registered: Jan 2001


Feedback score:    (21)
Leave feedback


Total ratings: 84
Rate this member

Report this Post02-06-2020 06:08 PM Click Here to See the Profile for qwikgtaSend a Private Message to qwikgtaEdit/Delete MessageReply w/QuoteDirect Link to This Post
Its been a long, long time since I did my 96 DOHC into my 88 coupe using a 91 ECM/Harness. I did this b/c I had the low milage 96 motor and wanted to use a manual trans. I didn't want to go thru the process of figuring out all the A/T wires and "specific auto trans" wiring (yellow/purple wires come to mind). I found a 91 Cutlass w/ manual trans in my local Pick n Pull and grabbed the harness/ECM and the trans too.

So now I had a manual harness and 91 ECM and had to graft it with the 96 harness and the 88 Fiero harness. I created a excel spreadsheet w/ all the specific wiring from --> to with color codes and everything. The most important thing I can pass to you is you have to have the Factory Service Manual w/ wire diagram. 91 diagram is a little different than the 92-93. I found this out the hard way by using a 92 wire diagram and things did not line up. Once I got the 91 diagram it made sense.

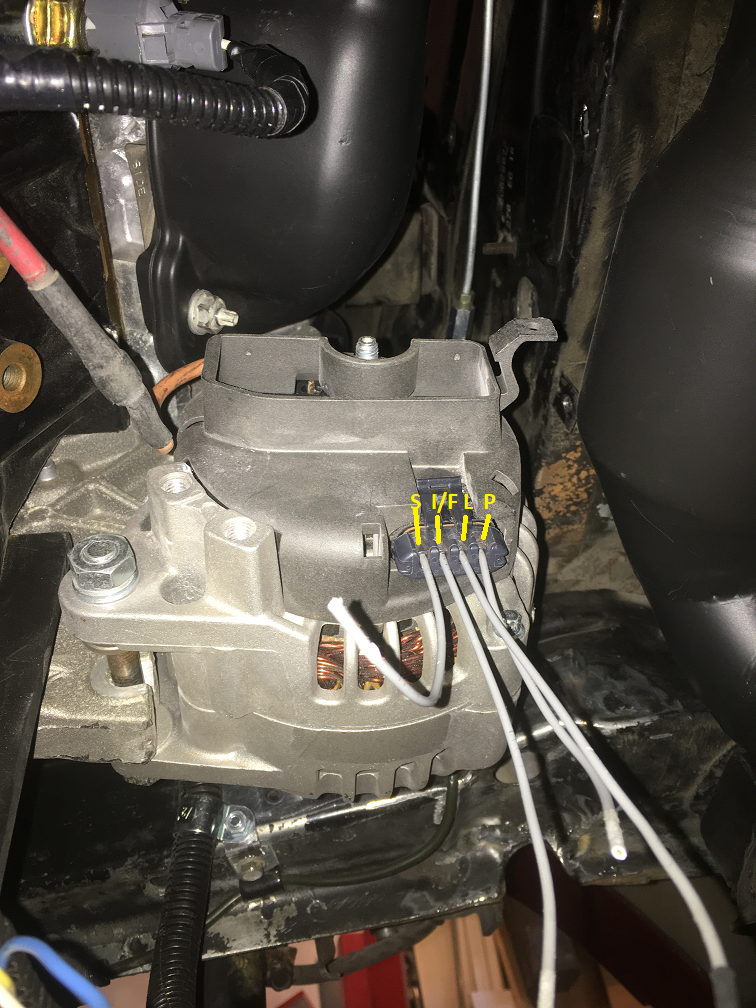
Bottom line, I had to trace each wire (i think there were 51 of them) from the ECM to the connector. Some of the sensor ends were specific for the 96 motor and not the same as on the 91 harness, so those had to be grafted together. The injector wiring is one part I remember, I think its either the injector ends were different or maybe the batch fire vs. sequential thing??

It sounds like a lot, and it is, but its doable and kind of fun. I did it all on the kitchen table and it took about three days of on/off working. I had Ryan reflash the ECM with all the specific data needed and it worked perfect. No codes and ran great.

In the end I had no issues building my 3800 harness, and that one I did on the motor making each wire the correct lenght and all wires hidden as much as possible.

Good luck.

Rob

[This message has been edited by qwikgta (edited 02-06-2020).]

IP: Logged
355Fiero
Member
Posts: 548
From: Victoria, BC Canada
Registered: Dec 2004


Feedback score: (2)
Leave feedback

Rate this member

Report this Post02-09-2020 02:43 AM Click Here to See the Profile for 355FieroSend a Private Message to 355FieroEdit/Delete MessageReply w/QuoteDirect Link to This Post
That Rob;

So, as it turns out, I have had this harness for over 15 years and I reran a pile of the wires making sure I used the 91 diagrams and I was still not getting the injectors to fire. In the end, I figured I would see what codes I am getting so shorted the ALDL and then checked the dash light wire and was completely dead. Oh, great, I have a dead ECM I am thinking. I open up the chip access panel and low and behold, after all these years, I find an empty chip receptacle. So, I never received my flashed chip from the original builder or I received it and put it aside for safe keeping and have since lost it. No idea what it was but in the end, I don't have the chip.

I have contacted Ryan and he has flashed a chip and sent it on Friday and I also found the factory chip from another enthusiast and that is also in transit. I hope to be starting the engine up in about a week or so.

All good in the end as I now know WAY more about the harness swap than I ever thought I would and I know all the wires are correctly run and I also took the time to route the wires a bit better in the end.

Thanks again to everyone for all the help.
Don
IP: Logged
qwikgta
Member
Posts: 4671
From: Virginia Beach, VA
Registered: Jan 2001


Feedback score:    (21)
Leave feedback


Total ratings: 84
Rate this member

Report this Post02-09-2020 07:20 AM Click Here to See the Profile for qwikgtaSend a Private Message to qwikgtaEdit/Delete MessageReply w/QuoteDirect Link to This Post
I felt I knew so much more about the swap after doing my own harness. Nothing wrong with "plug and play" but when you have to know each wire, what its for, how it works, where it goes, I feel you are just more in tune with the swap. Folks toss around the terms they hear or read on the net, but after you run the wires for each sensor and understand how each sensor works with the others you just in a better spot. It also helps with trouble shooting things. You get a better understanding of how the ECM and sensors work together.

Good luck with the new chip when it arrives.

Rob
IP: Logged
355Fiero
Member
Posts: 548
From: Victoria, BC Canada
Registered: Dec 2004


Feedback score: (2)
Leave feedback

Rate this member

Report this Post04-12-2020 02:06 AM Click Here to See the Profile for 355FieroSend a Private Message to 355FieroEdit/Delete MessageReply w/QuoteDirect Link to This Post
Thought I would update this older thread.

I finished the harness and ended up rewiring about 1/4 of it to work for the newer engine into the older ODB1 ecm. After getting it all complete, I started it up and it ran terribly. Really dog rich and backfiring like a son of a gun. Fought with it for about 3 weeks and then remembered Dave's (lilfrari) adventure in his swap so read his site again and saw the crank sensor being wired backward even though it was correct to the manual.

So, nothing to lose, I swapped the wires and it started right up and settled into a nice idle.... I spent a lot less time fighting the hremlin than Dave but it was the end issue. A HUGE shout out to lilfrari for documenting that little feature.....

So, the engine runs and I have been a few other items to confirm but on to other stuff to complete the project.

Thanks to everyone for the help.

Cheers
Don
IP: Logged
jessesmith121
Member
Posts: 477
From: Des Moines, IA
Registered: Apr 2004


Feedback score: N/A
Leave feedback

Rate this member

Report this Post04-15-2020 04:35 PM Click Here to See the Profile for jessesmith121Send a Private Message to jessesmith121Edit/Delete MessageReply w/QuoteDirect Link to This Post
Every time I read one of these I get more and more scared of my swap
IP: Logged
355Fiero
Member
Posts: 548
From: Victoria, BC Canada
Registered: Dec 2004


Feedback score: (2)
Leave feedback

Rate this member

Report this Post04-16-2020 12:46 AM Click Here to See the Profile for 355FieroSend a Private Message to 355FieroEdit/Delete MessageReply w/QuoteDirect Link to This Post
I wouldn't get scared of a swap. Just go in with open eyes and do your homework before you start so you can catch as many issues as you can up front. It si very satisfying to get the engine up and running and know you did it yourself. I have enjoyed my time working on the swap and the whole project to be honest. Driving it will be satisfying but I really have enjoyed the working at getting it rebuilt.

I do believe now though that I have one last issue. And I believe it is my own doing which speaks to the do your homework first part above....

A question for all you wiring guys. I don't seem to have charging working so took a pic of the wiring on the alt and then a pic from the net. I was told by someone that the charge light on the dash comes from L and the switched power on to F (which is also I in some pics). I took a pic of my wiring and labeled the alternator plug the way THINK it is supposed to be. Hard to tell really as I am looking up to the plug on the alt but not sure if the image would translate the way I have labeled it.

Looking at several pics online, I am pretty sure I have the power wired up wrong. I added an image and it says to put the signal power to S not F/I. Does that sound right to everyone that knows more about wiring than me...?

Thanks
Don

My alternator wiring now


CS 130 version of wiring I found on line. typical hookup frmo what I can tell.

[This message has been edited by 355Fiero (edited 04-16-2020).]

IP: Logged

next newest topic | next oldest topic

All times are ET (US)

Post New Topic  Post A Reply
Hop to:

Contact Us | Back To Main Page

Advertizing on PFF | Fiero Parts Vendors
PFF Merchandise | Fiero Gallery
Real-Time Chat | Fiero Related Auctions on eBay


Copyright (c) 1999, C. Pennock