Pennock's Fiero Forum
  Technical Discussion & Questions
  HELP -1988 GT V8 Swap - Oil Pressure, Water Temperature, and Gas Gauges Not Working (Page 2)

Post New Topic  Post A Reply
Email This Page to Someone! | Printable Version

This topic is 2 pages long:  1   2 
Previous Page | Next Page
next newest topic | next oldest topic
HELP -1988 GT V8 Swap - Oil Pressure, Water Temperature, and Gas Gauges Not Working by V8Steve
Started on: 12-28-2019 09:02 PM
Replies: 48 (1628 views)
Last post by: V8Steve on 06-05-2020 09:15 AM
V8Steve
Member
Posts: 294
From: MA
Registered: Jun 2003


Feedback score: N/A
Leave feedback

Rate this member

Report this Post01-25-2020 05:44 PM Click Here to See the Profile for V8SteveClick Here to visit V8Steve's HomePageSend a Private Message to V8SteveEdit/Delete MessageReply w/QuoteDirect Link to This Post
All bulbs from Rodney plus all other bulbs replaced. Correct temperature sensors installed and wired correctly. Will reconnect dash from my kitchen table to the car and then start the car to verify the water temperature works correctly. Thanks to Joe and Jack.

Then I will check all lights, dimmer, etc. to make sure EVERYTHING works before I reinstall the cluster for hopefully the last time. After that comes the new clutch banjo from Rodney to adjust the new F40. Finally will be the handbrake adjustment and the solution to the serpentine walking off.
IP: Logged
olejoedad
Member
Posts: 18007
From: Clarendon Twp., MI
Registered: May 2004


Feedback score: (5)
Leave feedback


Total ratings: 205
Rate this member

Report this Post01-25-2020 06:19 PM Click Here to See the Profile for olejoedadSend a Private Message to olejoedadEdit/Delete MessageReply w/QuoteDirect Link to This Post
Great news, hope it all works as it should!
IP: Logged
V8Steve
Member
Posts: 294
From: MA
Registered: Jun 2003


Feedback score: N/A
Leave feedback

Rate this member

Report this Post01-26-2020 05:13 PM Click Here to See the Profile for V8SteveClick Here to visit V8Steve's HomePageSend a Private Message to V8SteveEdit/Delete MessageReply w/QuoteDirect Link to This Post
Today I reconnected the cluster and started the car. The temperature gauge was showing around 230/240 and the fan was running. I connected a laptop to the Holley multiport and it said the coolant temperature was around 190. The Holley controls the fan and it's set to turn on at 195F and off at 185F. I could watch the rpm, manifold air temperature, and coolant temperature while the car was running.

I tend to believe what the laptop is telling me more than the old Fiero dash gauge. Both the Holley and the Fiero sending units are new and both are placed nearby in the V8 intake manifold. The chassis dyno shop told me the car never ran over 190 during their testing so, again, I believe that more than the dash gauge.

So, is it possible or worthwhile to recalibrate the dash gauge?

All other bulbs, directional, etc. seem to be working. Headlights work but struggle to lift and then give up and flop down. Another thing to learn and fix.
IP: Logged
Gall757
Member
Posts: 10938
From: Holland, MI
Registered: Jun 2010


Feedback score: N/A
Leave feedback


Total ratings: 90
Rate this member

Report this Post01-26-2020 05:29 PM Click Here to See the Profile for Gall757Send a Private Message to Gall757Edit/Delete MessageReply w/QuoteDirect Link to This Post
not sure how the sensors work on your V8, but you can just re-set the needle on the gauge. Sometimes it slips.

[This message has been edited by Gall757 (edited 01-26-2020).]

IP: Logged
V8Steve
Member
Posts: 294
From: MA
Registered: Jun 2003


Feedback score: N/A
Leave feedback

Rate this member

Report this Post01-28-2020 08:36 PM Click Here to See the Profile for V8SteveClick Here to visit V8Steve's HomePageSend a Private Message to V8SteveEdit/Delete MessageReply w/QuoteDirect Link to This Post
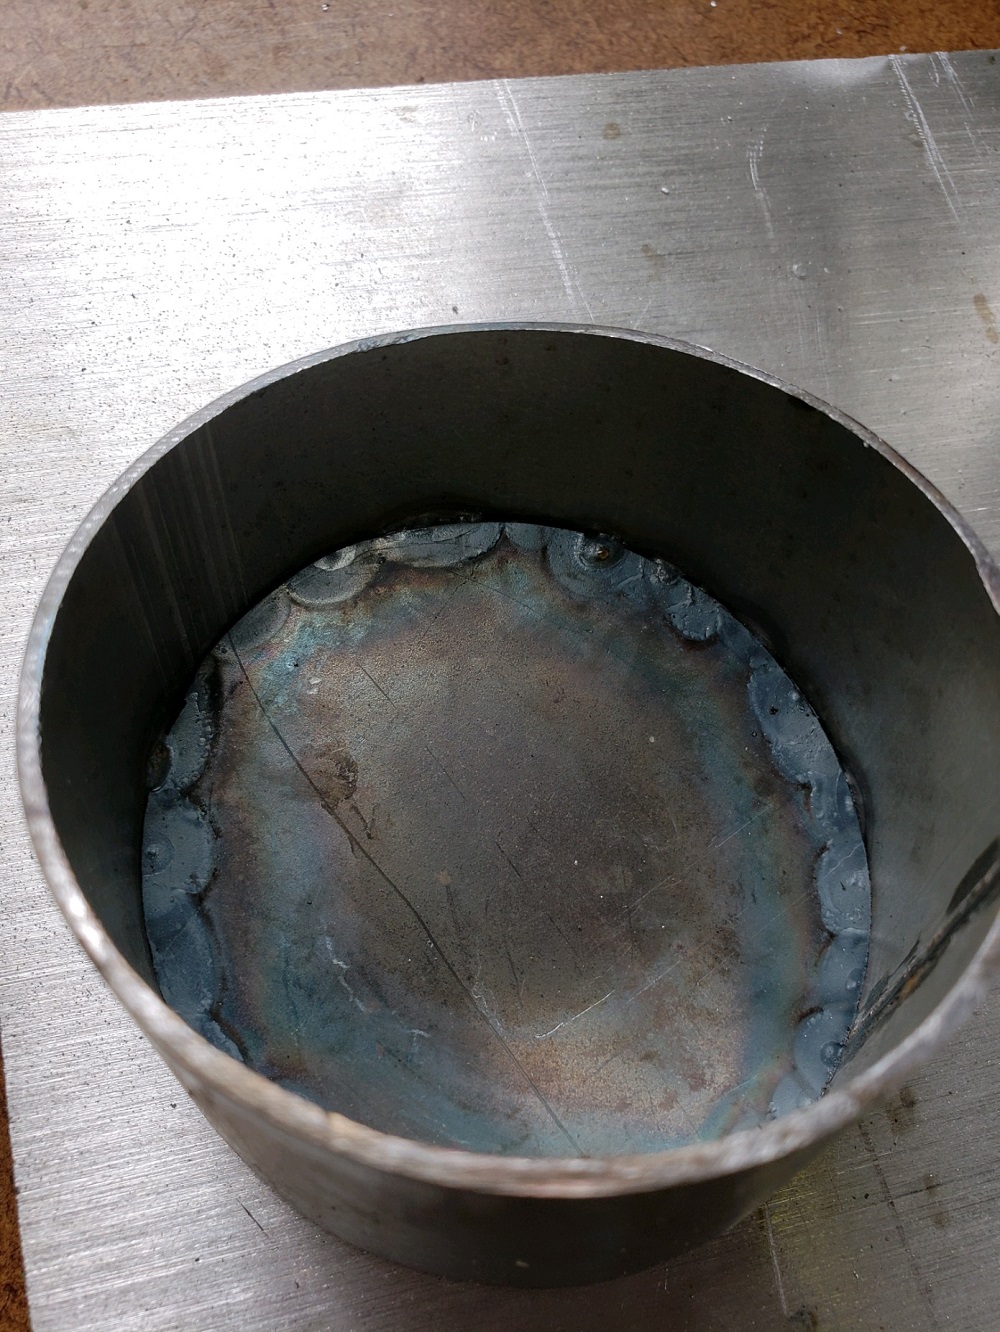
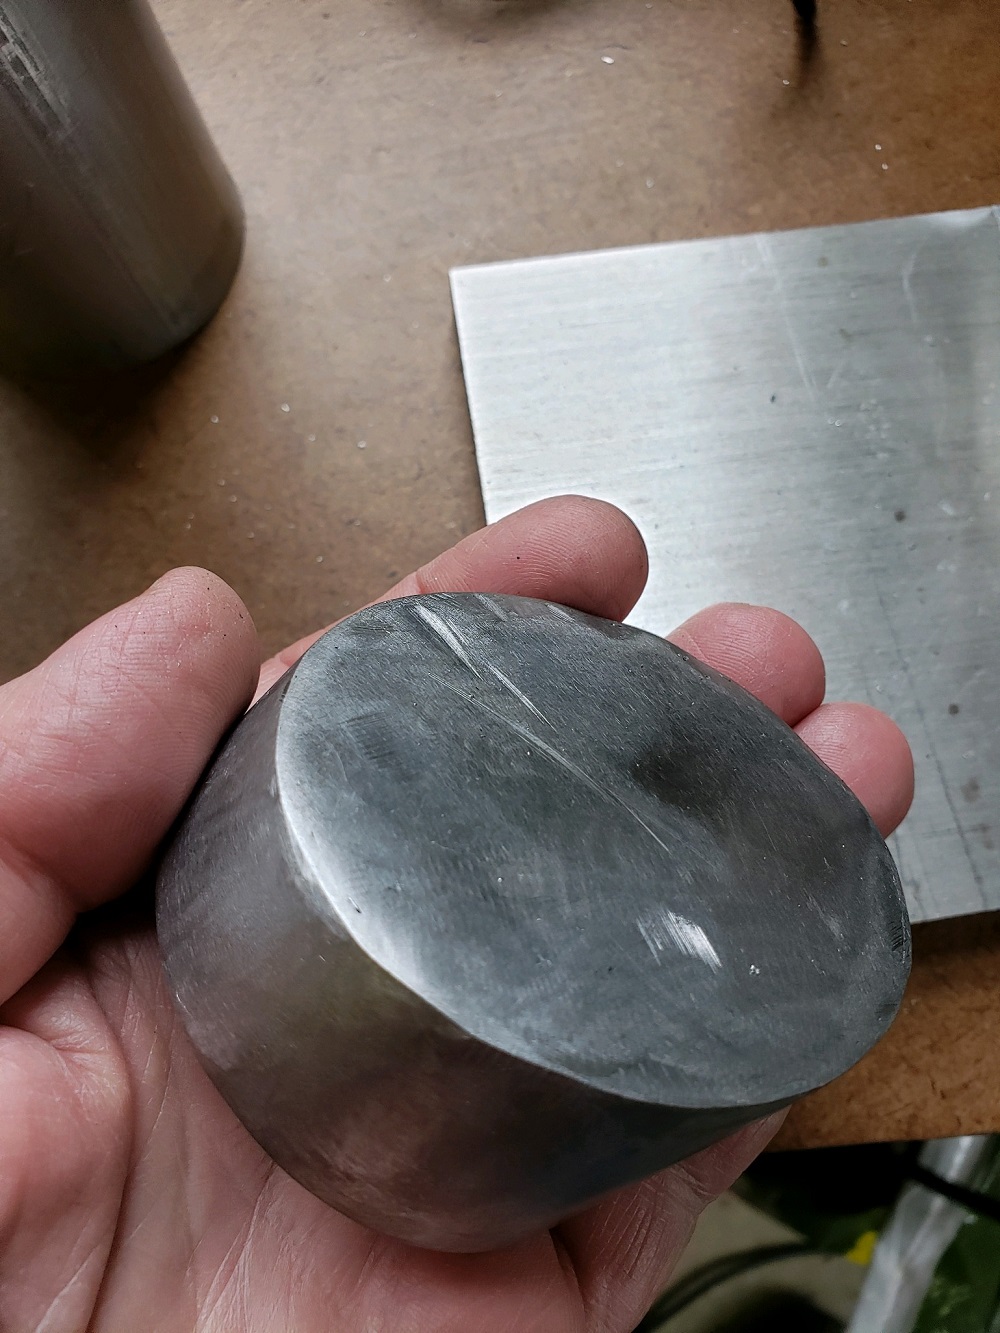
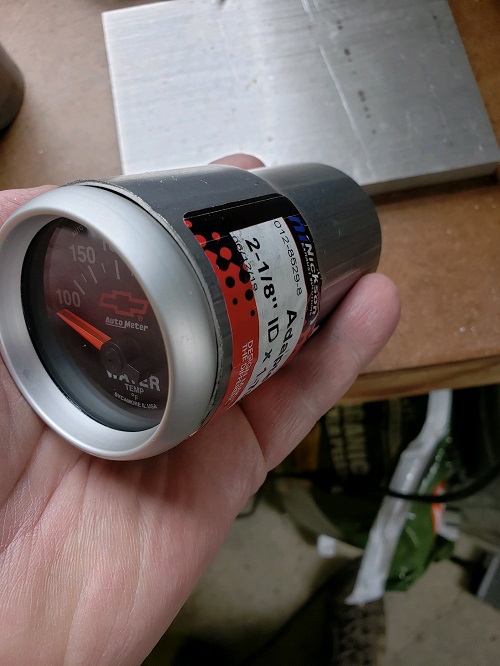
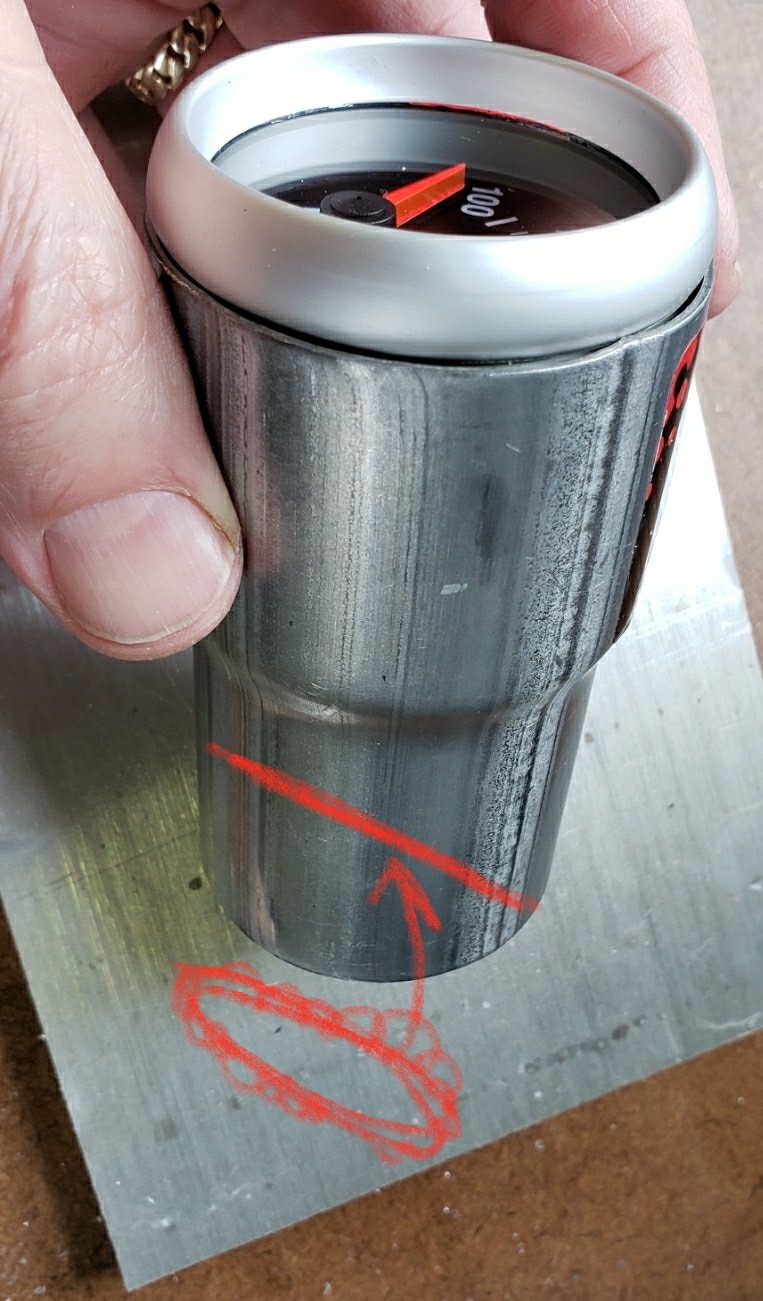
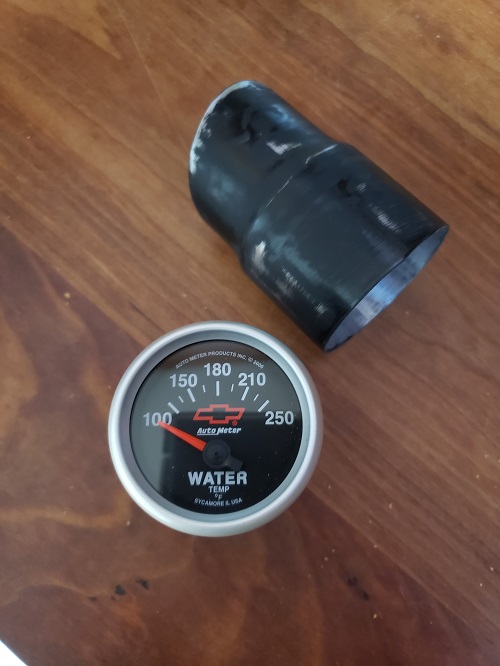
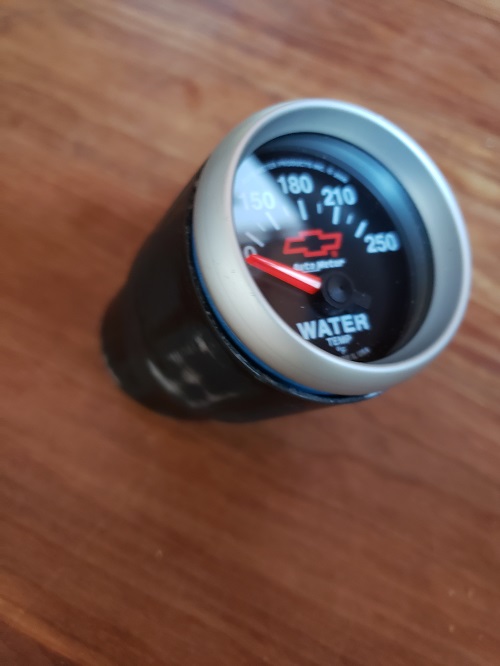
Today I removed the cluster AGAIN and removed the temperature and fuel gage unit to send out to another PFF member for checking and calibration. It's not easy to remove the cluster in a cold shop when your breath clouds up the windshield!

New dash cluster bulbs arrived from Rodney and made huge difference. Night time display was perfect. Six speed sticker arrived from Rodney, too.

Meanwhile this thread seems to contain unrelated but maybe helpful topics like this: In another thread during the initial powering up of the resurrection of this project, the heater blower resistor ignited a fire and I thought the whole barn and car would go up in smoke due to mouse nests. So now I need source a new blower motor and wheel as well as disassemble/clean that front hood panel.

Calipers are all rebuilt along with new e-brake cables but I have trouble adjusting the e-brake. I bought a cheap door spring compressor tool and for under $10 and it's a real time saver. Next step is to check and re-clock the actuator screws.

F40 - The master cylinder is extended out with spacers to the limit but chassis dyno shop thinks maybe over extended TOB in F40. Am not sure, so I ordered an adjustable clutch banjo rod from Rodney and take of that issue too. I think the chassis dyno shop was overly cautious but when you consider the labor to remove the drive train again to replace the TOB, now is the time to pay attention.

One headlight motor cannot sustain the erect position or reach it without flopping around. Ordered two kits from Rodney.

Once all the lights and gauges work along with e-brake, I'll be ready to register the car and drive it, BUT....in MA we need a front plate. I will weld/fabricate a mounting device that will extend from under the car to the nose, possibly offset like my daily driver/company car. Maybe a new thread for the front plate mount.

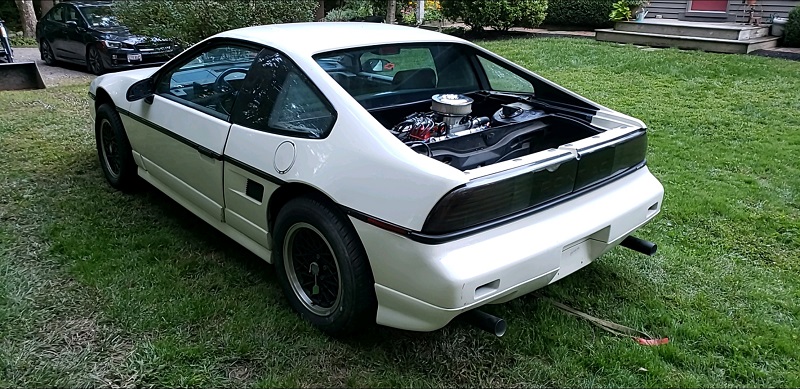
The good news is that the 355 with Holley multiport runs great, 320WHP, starts at 20F, smooth idle, etc. The custom motor was delivered roughly 2 years before the December startup. During that time the cylinders were injected with extra oil for protection and the motor was manually turned over during the course of the build on the bench. It's got some blow by coming from the valve cover vents and both the motor builder and the chassis dyno shop are confident the ring seating will resolve itself with more hours on the motor. They both have experience with blow by after storage. No smoke from pipes. The car is really awesome and will have no decals of any kind. I tried to mate the OEM twin tip outlets to the 2.5" diameter exhaust but a simple area calculation shows there's not enough flow area. So for now, it's just one simple pipe on each side.

Here's the car:

[This message has been edited by V8Steve (edited 01-28-2020).]

IP: Logged
V8Steve
Member
Posts: 294
From: MA
Registered: Jun 2003


Feedback score: N/A
Leave feedback

Rate this member

Report this Post05-10-2020 12:07 PM Click Here to See the Profile for V8SteveClick Here to visit V8Steve's HomePageSend a Private Message to V8SteveEdit/Delete MessageReply w/QuoteDirect Link to This Post
Still making progress with warmer weather and shelter in place. I finally gave up on the factory gage even after a lot of help from another member. We just cannot get this gage to read correctly. I don't want to take the cluster apart again, pop off the needle and move it. So I bought an Autometer gage and added their sensor on the side of the cylinder head. Then I wanted to mount it someplace where it would look good and not just hang under the dash. I was afraid of adding a pod alongside the windshield because for sure I would crack that plastic thing.

I found an exhaust adaptor at the parts store and came up with this idea below.

First I made a test piece to see if I could actually cut off scrap exhaust at an angle and successfully weld in a cap on the end.

It's finally roughed out. A scrap of 1/4" round stock will be used to mount via two welded washers on the two screws that hold the cluster in place. Then the rod will come out, do a 90 degree and come up vertically near the windshield pillar. Once I tack weld the rod to the DIY gage pod, it's a simple matter to adjust the position and finish the weld. The wires will exit the pod right behind the 1/4" rod and the while thing will be covered up with wire covering. I made a test piece and it looks like the DIY pod is actually sitting on top of wires alone. More pictures will follow as I complete this setup.


[This message has been edited by V8Steve (edited 05-10-2020).]

IP: Logged
V8Steve
Member
Posts: 294
From: MA
Registered: Jun 2003


Feedback score: N/A
Leave feedback

Rate this member

Report this Post05-25-2020 11:59 AM Click Here to See the Profile for V8SteveClick Here to visit V8Steve's HomePageSend a Private Message to V8SteveEdit/Delete MessageReply w/QuoteDirect Link to This Post
Gas Gauge:
I finally pulled the tank and removed the entire sending unit. It has a new sending unit assembly from the Fiero Store. This is the one with the stainless steel tubes, float assembly, locking ring, rubber seal, etc.

I checked the ohms while moving the float up and down on the bench and all was OK. I noticed the pressed on retainer on the float shaft was pushed on too tight, not allowing the oblong shaped float to rotate freely. So, I thought I was all set. Put it back together and had a really difficult time with the rubber seal. It refuses to stay on center. Anyway, I did the best I could and then turned the tank upside down and gas was running right out. So, I started over again, recleaned the sealing surface with 220 grit until it was totally clean, tried to be sure the wandering rubber seal would stay in place, etc. The ohms were OK when upright with around a 1/2" of gas in the bottom. This time I put a pan under it and flipped over to watch it leak again. But ohms were still showing empty.

After researching this forum I became aware of 88 sender binding and note in box from FS, but I installed this in 2016 only got the car running a few months ago. All this time, the tank top was surely not sealed. After all, how many bother to turn the tank upside down to check for leaks?

I found a tip on the forum to tie fishing line to the float arm and install with no rubber seal. Yep, the float was binding so I bent the arm back little by little and kept reinstalling with no seal until it moved up and down freely and the ohms all checked out. Then I removed the fishing line and put the wandering rubber seal back in. It still leaks and the float is still hanging up. Even when I'd shake the upside down tank, no change in ohms, and no arm movement.

After more research, I discovered the correct rubber seal has three alignment tabs to keep it centered. FS store and others sell them. The correct seal is coming tomorrow. Am not sure why the correct seal was not included in the entire kit.

Meanwhile, maybe someone can help me figure out how far to bend the arm and figure out what's wrong here? I have a spare 88 tank and had both of them on the bench and they are both the same inside.

[This message has been edited by V8Steve (edited 06-02-2020).]

IP: Logged
V8Steve
Member
Posts: 294
From: MA
Registered: Jun 2003


Feedback score: N/A
Leave feedback

Rate this member

Report this Post06-02-2020 09:53 AM Click Here to See the Profile for V8SteveClick Here to visit V8Steve's HomePageSend a Private Message to V8SteveEdit/Delete MessageReply w/QuoteDirect Link to This Post
Here's the fix for the fuel gauge problem //www.fiero.nl/forum/Forum2/HTML/143901.html
IP: Logged
V8Steve
Member
Posts: 294
From: MA
Registered: Jun 2003


Feedback score: N/A
Leave feedback

Rate this member

Report this Post06-05-2020 09:15 AM Click Here to See the Profile for V8SteveClick Here to visit V8Steve's HomePageSend a Private Message to V8SteveEdit/Delete MessageReply w/QuoteDirect Link to This Post
This project is now closed out. All gauges are working. Thanks to everyone for helping me out. The final outcome of the factory temperature gauge was to take the face off the cluster, bring the car up to a stable operating temperature, and then put the needle on the corresponding temperature. I shut the car off, cooled it down, and checked again later.....all OK. Everything is now buttoned up.
IP: Logged
Previous Page | Next Page

This topic is 2 pages long:  1   2 
next newest topic | next oldest topic

All times are ET (US)

Post New Topic  Post A Reply
Hop to:

Contact Us | Back To Main Page

Advertizing on PFF | Fiero Parts Vendors
PFF Merchandise | Fiero Gallery | Ogre's Cave
Real-Time Chat | Fiero Related Auctions on eBay


Copyright (c) 1999, C. Pennock