Pennock's Fiero Forum
  Technical Discussion & Questions
  Bushing for decklid vent

Post New Topic  Post A Reply
Email This Page to Someone! | Printable Version


next newest topic | next oldest topic
Bushing for decklid vent by pmbrunelle
Started on: 02-26-2018 12:49 PM
Replies: 9 (387 views)
Last post by: pmbrunelle on 03-03-2018 08:19 PM
pmbrunelle
Member
Posts: 4376
From: Grand-Mère, Québec
Registered: Sep 2008


Feedback score: N/A
Leave feedback


Total ratings: 62
Rate this member

Report this Post02-26-2018 12:49 PM Click Here to See the Profile for pmbrunelleSend a Private Message to pmbrunelleEdit/Delete MessageReply w/QuoteDirect Link to This Post
Since I am rebuilding my decklid hinges, I noticed that the plastic bushing on the end of the hinge pin has deteriorated and needs replacement.

This is the plastic bushing that supports the forward inner corner of each decklid vent.

10 mm OD x 8 mm ID x 24 mm length

What is the standard replacement parts source for this?

I could order some nylon rod, then turn it on the lathe, but there has to be a more straightforward way.
IP: Logged
PFF
System Bot
Blacktree
Member
Posts: 20770
From: Central Florida
Registered: Dec 2001


Feedback score:    (12)
Leave feedback


Total ratings: 350
Rate this member

Report this Post02-26-2018 02:44 PM Click Here to See the Profile for BlacktreeClick Here to visit Blacktree's HomePageSend a Private Message to BlacktreeEdit/Delete MessageReply w/QuoteDirect Link to This Post
I used heat-shrink tubing. I had to build up 2-3 layers to get the right diameter.

[This message has been edited by Blacktree (edited 02-26-2018).]

IP: Logged
pmbrunelle
Member
Posts: 4376
From: Grand-Mère, Québec
Registered: Sep 2008


Feedback score: N/A
Leave feedback


Total ratings: 62
Rate this member

Report this Post02-26-2018 07:10 PM Click Here to See the Profile for pmbrunelleSend a Private Message to pmbrunelleEdit/Delete MessageReply w/QuoteDirect Link to This Post
That's a very good idea.

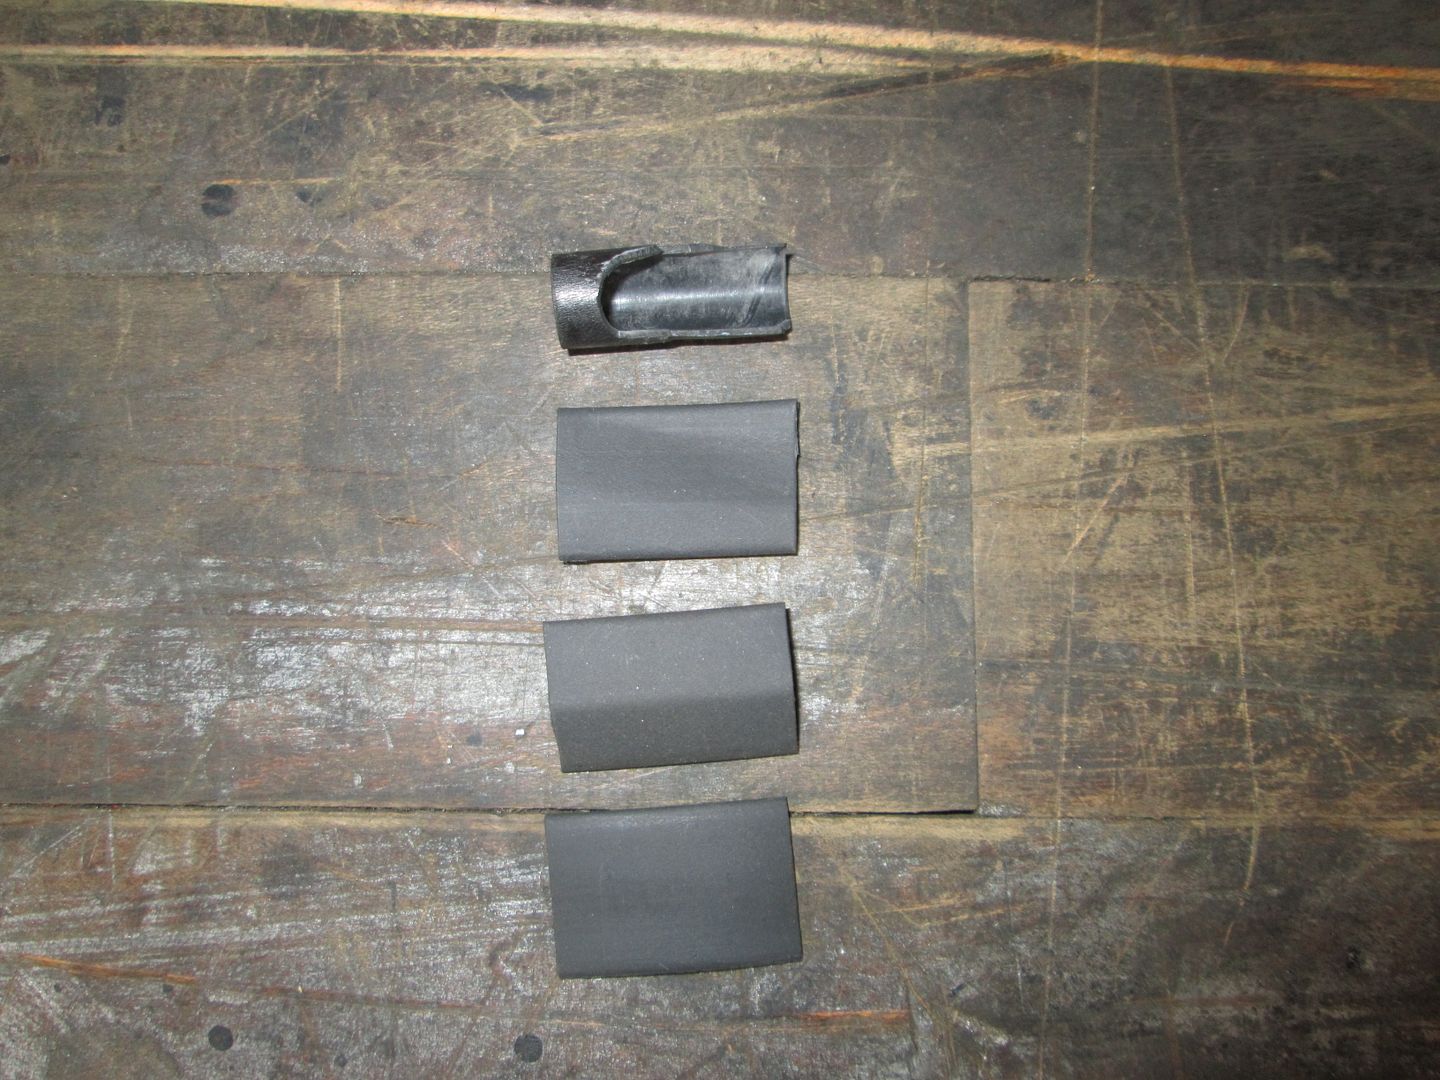
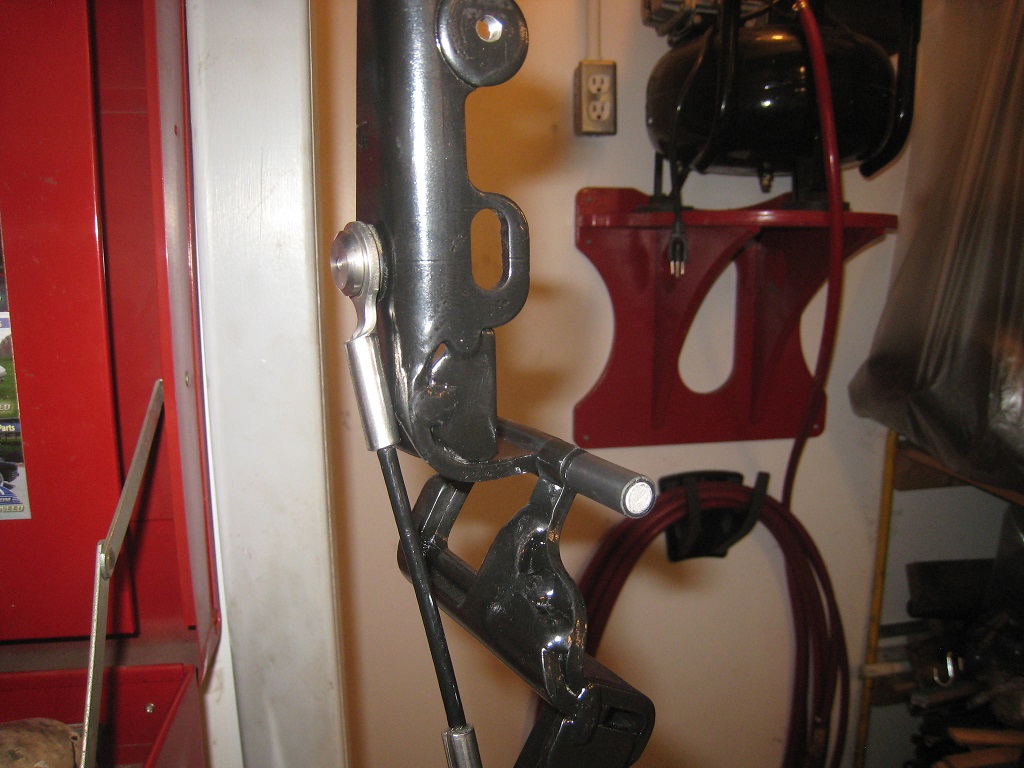
I will be sure to use adhesive-lined heat shrink tubing, so it sticks onto the pin and does not slide off. Since I sandblasted my decklid hinges (including the pin), the adhesive should have a good "tooth" to bite onto the surface of the metal.

I just measured some 3/8" heat shrink tubing (from the package, not shrunk), and it had a wall thickness of around 0.6 mm, so two layers ought to be about right.

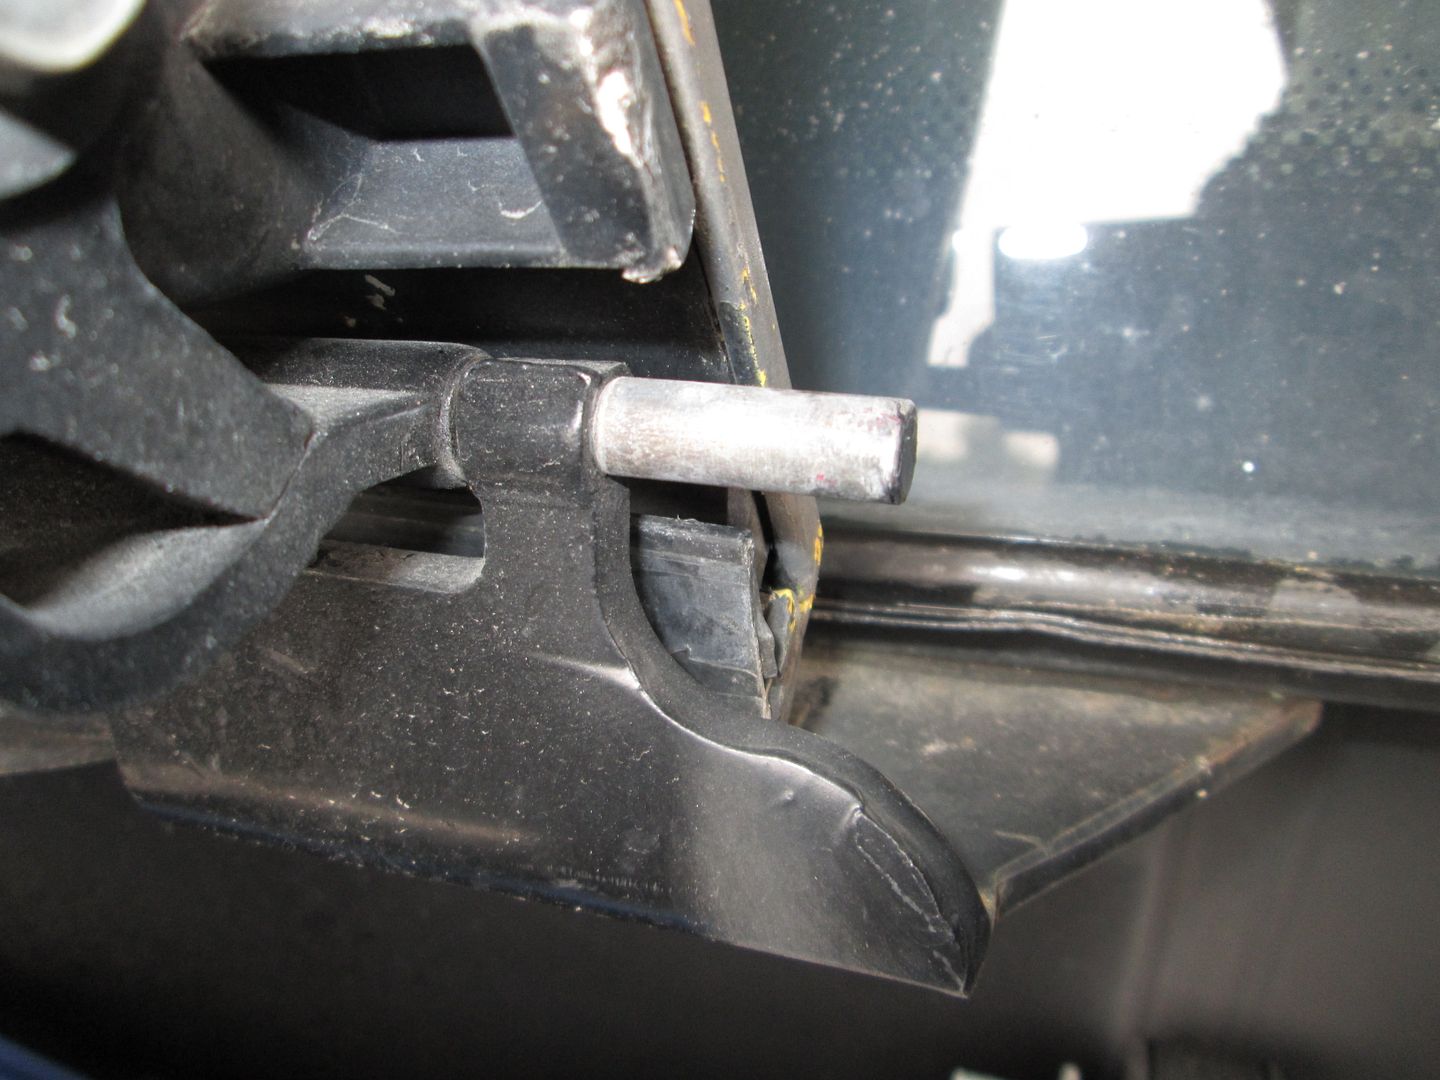
Other things I like about this idea:
Heat shrink can handle engine bay temps
Is an economical solution
Fast to implement
It has the right amount of squishiness to support the decklid vent slot firmly, but not too rigidly.
IP: Logged
cvxjet
Member
Posts: 3656
From: ca, usa
Registered: May 2010


Feedback score: (1)
Leave feedback

Rate this member

Report this Post02-26-2018 08:08 PM Click Here to See the Profile for cvxjetSend a Private Message to cvxjetEdit/Delete MessageReply w/QuoteDirect Link to This Post
I have a slightly different situation; I have a 1985 SE V6 (Notchy) and converted to 86-88 GT rear quarters.....When I installed the vents they rattled a bit, so I ended up using some rubber vacuum hose, forcing it over the "Hinge pin" ends....No rattles anymore.....(Obviously, this is not a stock look!)
IP: Logged
pmbrunelle
Member
Posts: 4376
From: Grand-Mère, Québec
Registered: Sep 2008


Feedback score: N/A
Leave feedback


Total ratings: 62
Rate this member

Report this Post02-26-2018 08:50 PM Click Here to See the Profile for pmbrunelleSend a Private Message to pmbrunelleEdit/Delete MessageReply w/QuoteDirect Link to This Post
I think that there was the original design of decklid hinge, and then a redesign due to durability issues with the first.

Fastback/notchback had nothing to do with it.

If you had rattles, it's probably because the slots in the vents were worn (from rubbing, vibration) larger than they were originally.
IP: Logged
Kevin87FieroGT
Member
Posts: 1202
From: Michigan
Registered: Nov 2010


Feedback score: (2)
Leave feedback

Rate this member

Report this Post02-27-2018 08:53 AM Click Here to See the Profile for Kevin87FieroGTSend a Private Message to Kevin87FieroGTEdit/Delete MessageReply w/QuoteDirect Link to This Post
Rubber vac hose here. When installing use just a bit of super glue inside tube to keep it in place as the tube will get loose at times.
IP: Logged
fieroguru
Member
Posts: 12129
From: Champaign, IL
Registered: Aug 2003


Feedback score:    (45)
Leave feedback


Total ratings: 258
Rate this member

Report this Post02-27-2018 10:12 AM Click Here to See the Profile for fieroguruSend a Private Message to fieroguruEdit/Delete MessageReply w/QuoteDirect Link to This Post
 
quote
Originally posted by Blacktree:

I used heat-shrink tubing. I had to build up 2-3 layers to get the right diameter.


X2

Bare stud:


Broken sleeve with the layers of heat shrink


Installing the heat shrink tube:


Stud with 3 layers of heat shrink tubing:

[This message has been edited by fieroguru (edited 03-03-2018).]

IP: Logged
JMTUT
Member
Posts: 371
From: Ogden, UT USA
Registered: Oct 2017


Feedback score: N/A
Leave feedback

Rate this member

Report this Post02-27-2018 10:36 AM Click Here to See the Profile for JMTUTSend a Private Message to JMTUTEdit/Delete MessageReply w/QuoteDirect Link to This Post
On my 85 SE I wrapped it in electrical tape. No more rattles from there. I like the heat shrink idea as it would be cleaner.
Now if I can just find the rattle at 2800 rpms that is on the left side next to my head...

IP: Logged
theogre
Member
Posts: 32255
From: USA
Registered: Mar 99


Feedback score: N/A
Leave feedback


Total ratings: 568
Rate this member

Report this Post02-27-2018 11:53 AM Click Here to See the Profile for theogreClick Here to visit theogre's HomePageSend a Private Message to theogreEdit/Delete MessageReply w/QuoteDirect Link to This Post
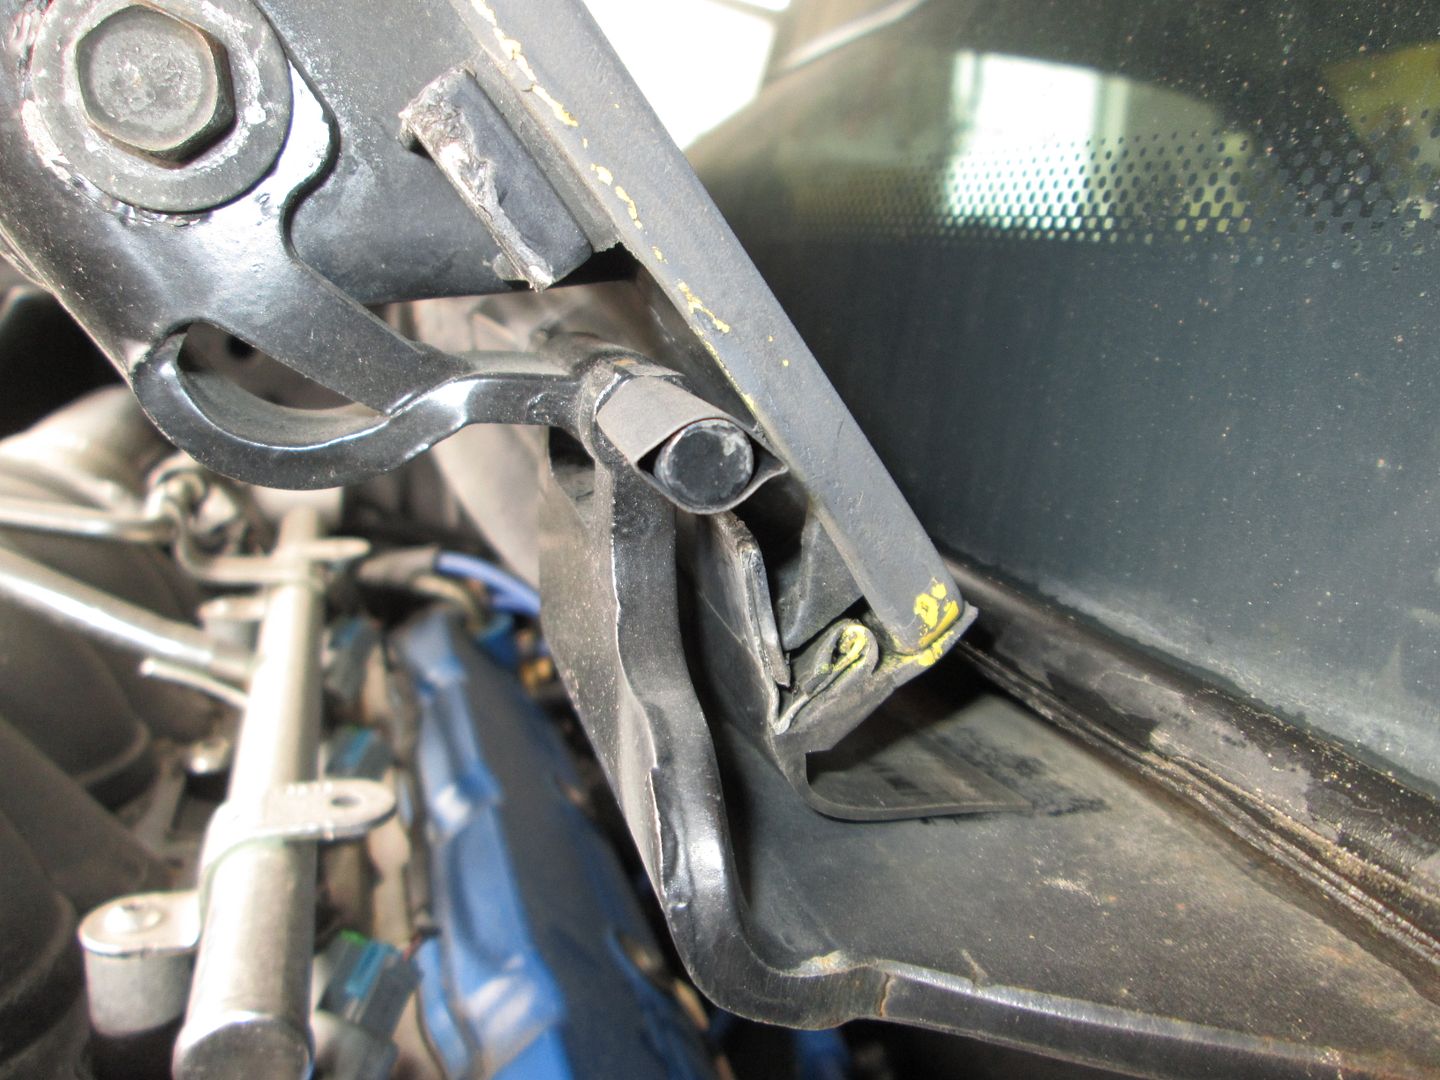
Even w/ OE plastic on the "pins" use Heat Shrink helps them.
My Plastic was crack years age and I added HS over that and shrink them and been there ~20 years now.

OE ones crack up and finally fall out over time if you don't over wrap them. Both of mine started cracking before I found the problem.

------------------
Dr. Ian Malcolm: Yeah, but your scientists were so preoccupied with whether or not they could, they didn't stop to think if they should.
(Jurassic Park)


The Ogre's Fiero Cave

IP: Logged
pmbrunelle
Member
Posts: 4376
From: Grand-Mère, Québec
Registered: Sep 2008


Feedback score: N/A
Leave feedback


Total ratings: 62
Rate this member

Report this Post03-03-2018 08:19 PM Click Here to See the Profile for pmbrunelleSend a Private Message to pmbrunelleEdit/Delete MessageReply w/QuoteDirect Link to This Post
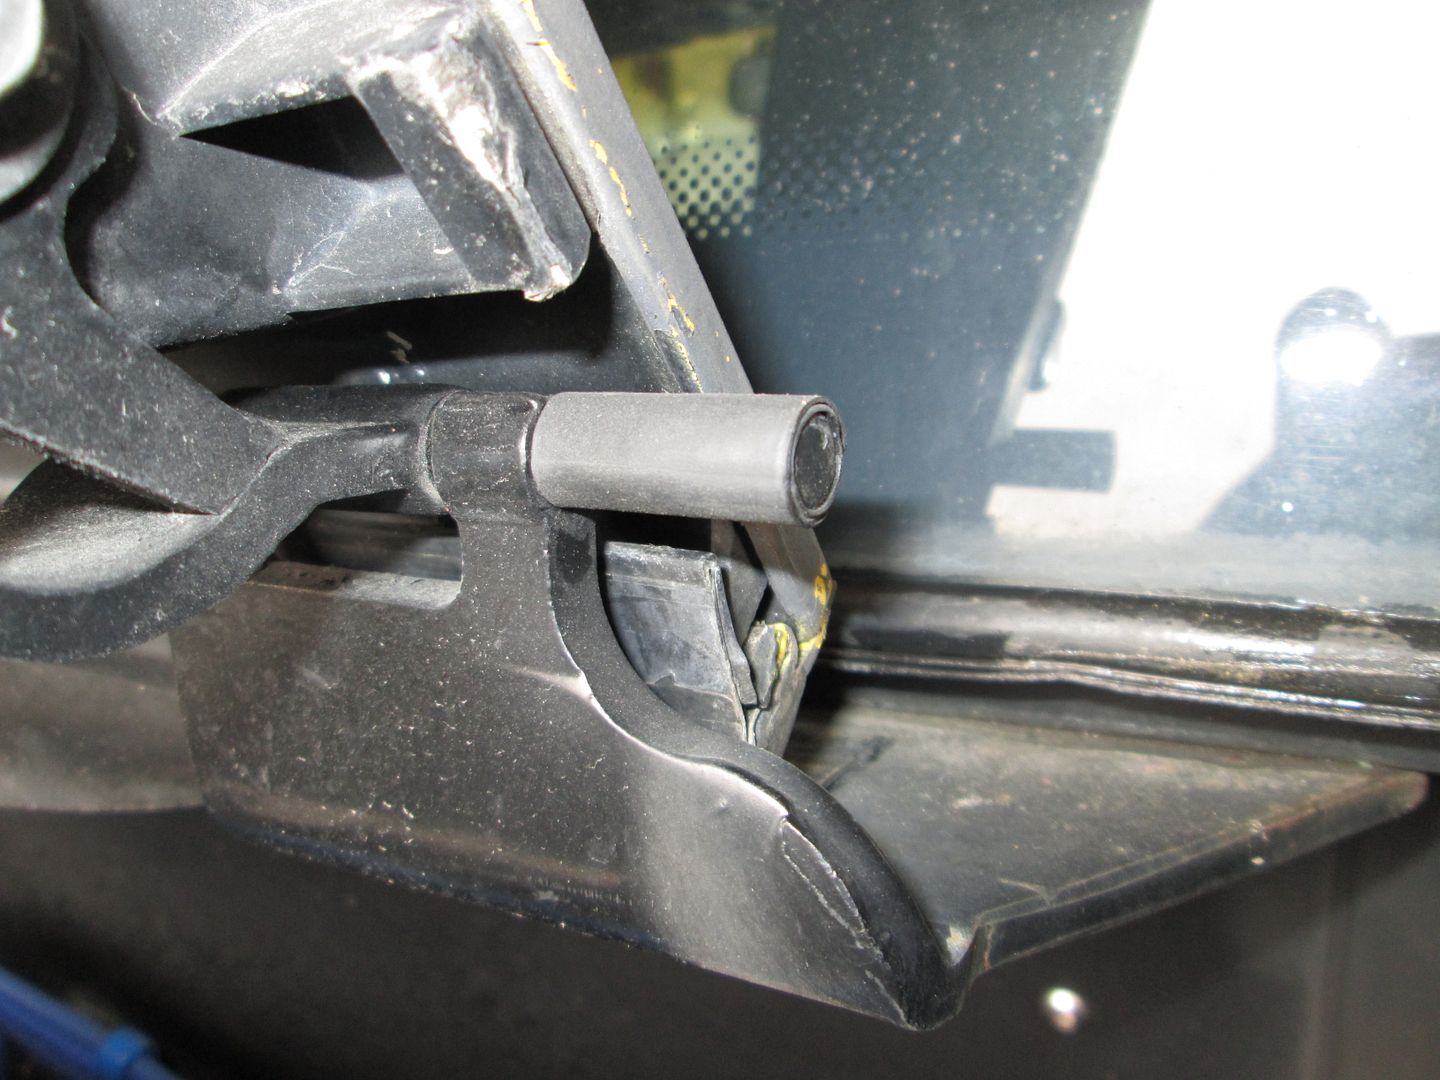
Two layers of 3/8" heatshrink seems to have worked for me.

I made the heatshrink about 1/4" longer than necessary, and then trimmed the excess with a knife. I trimmed the excess each time I added a layer; I did not wait until the end to do all the trimming.

Final diameter is around 10.9 mm, without squishing the heatshrink sleeves.

Thanks guys.

IP: Logged

next newest topic | next oldest topic

All times are ET (US)

Post New Topic  Post A Reply
Hop to:

Contact Us | Back To Main Page

Advertizing on PFF | Fiero Parts Vendors
PFF Merchandise | Fiero Gallery | Ogre's Cave
Real-Time Chat | Fiero Related Auctions on eBay


Copyright (c) 1999, C. Pennock