Ok, as the title says, I am not sure what can be done with the coil pack mounting bracket. I have researched and looked at tons of pictures, but have found nothing addressing what they did with their bracket. It is a combination coil mount, Engine mount, idler pulley and finally a tension pulley tossed onto the mix.
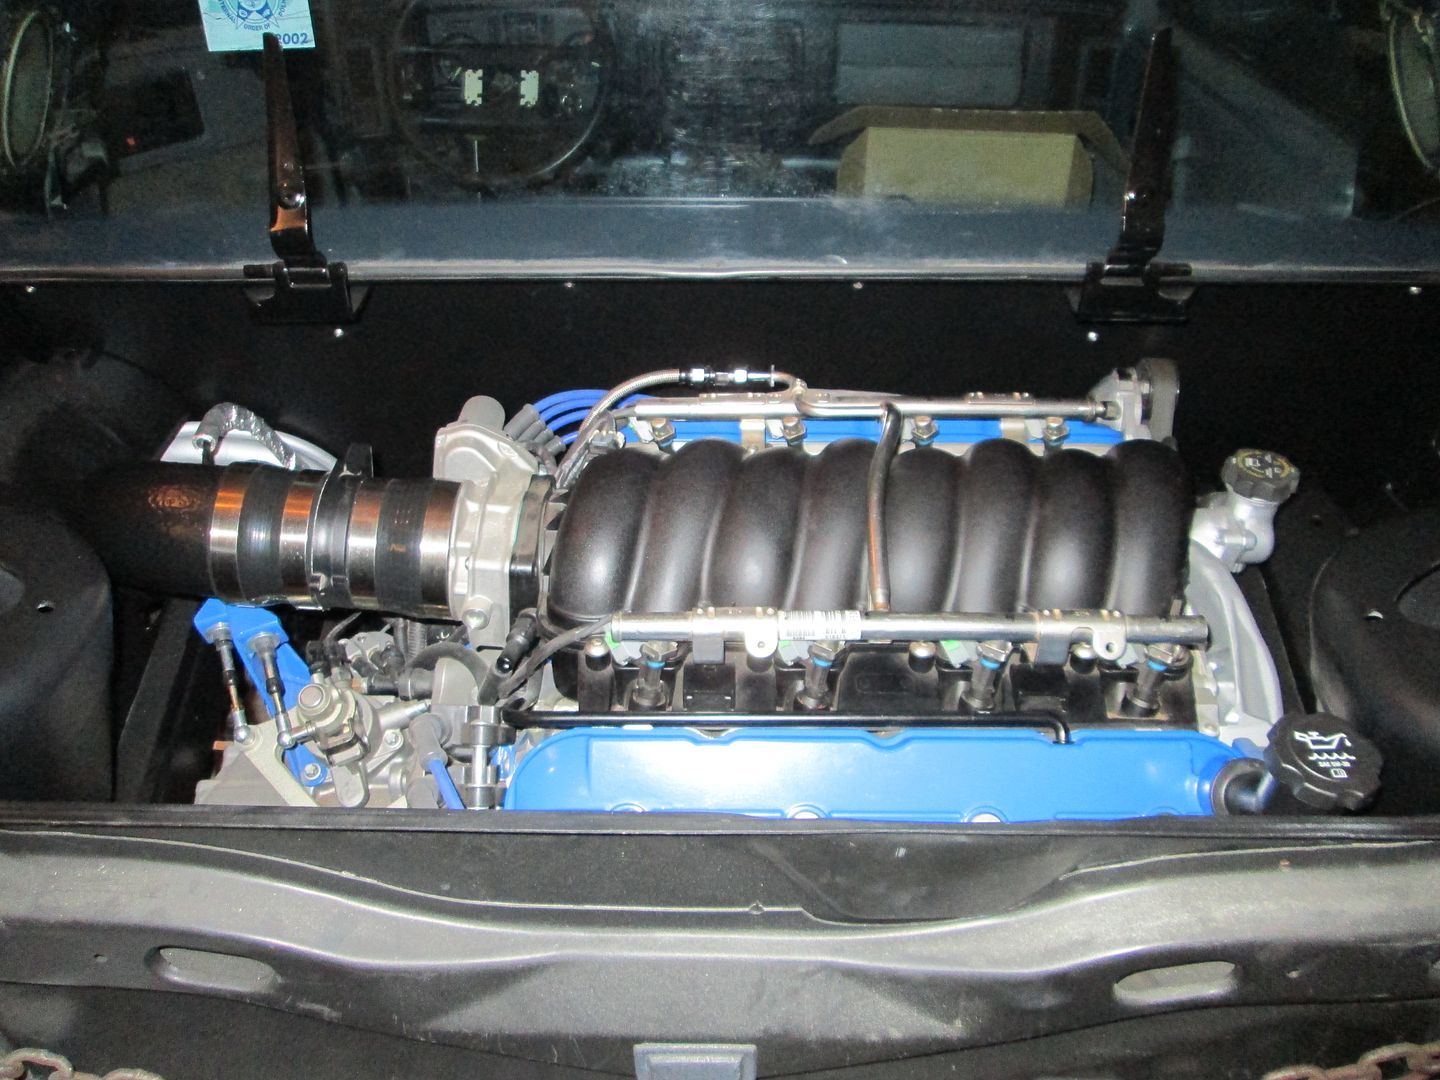
Here it is on my engine:
Is it best to: a) remove the bracket, as well as the pulleys, and use a different size belt b) just leave the bracket, and relocate the coil packs.
My intent is to make a bracket to mount the coil packs onto the 3800 close to where the 2.8's coil/distributor is located. This give a nice clean look from some of the photo's I have seen. I do want as clean of an engine compartment as I can accomplish with this swap.
1. Relocate the coil pack and cut the engine bracket off or it won't clear the decklid hinge. Also, it needs to be the Grand Prix or Regal supercharger tensioner. The other ones will need to have the decklid hinge box trimmed. 2. It is possible to remove the decklid hinge box and make a low profile hinge like I did. This was based on fieroguru's design. I ran it on my car for 2 years with no issue. It allowed me to keep the coil pack in the stock location, but still had to cut the bracket off.
I usually relocate the coil packs/ICM to the trunk wall and just cut off as much of that stock bracket as I can without interfering with either of the 2 pulleys. You're going to need both of those to run your supercharger belt.
+1, remove the giant, heavy bracket and relocate the coil pack somewhere convenient. Also, remove the belt driven compressor and replace it with an exhaust driven one, so you can make some real boost
1. Relocate the coil pack and cut the engine bracket off or it won't clear the decklid hinge. Also, it needs to be the Grand Prix or Regal supercharger tensioner. The other ones will need to have the decklid hinge box trimmed. 2. It is possible to remove the decklid hinge box and make a low profile hinge like I did. This was based on fieroguru's design. I ran it on my car for 2 years with no issue. It allowed me to keep the coil pack in the stock location, but still had to cut the bracket off.
Not looking to modify the decklid hinge if not absolutely necessary. I would rather make the engine fit the car, than the other way around. Not being sarcastic, just that I have the engine out, and am happy to do what needs done to it, verses modifying the engine AND the car.
I forgot to mention, yes this is a Series III out of a 2004 GTP. That being the case, I do not have to trim the hinge box?
+1, remove the giant, heavy bracket and relocate the coil pack somewhere convenient. Also, remove the belt driven compressor and replace it with an exhaust driven one, so you can make some real boost
Nah, I never have been one to have to wait around a couple of seconds when I want to go somewhere
[This message has been edited by JohnWPB (edited 02-19-2016).]
I have another issues, that I am not sure what it is. I took all the plugs out of the engine, and engauged the starter to turn the engine over. It is making a rubbing noise, and I can not determine where it is coming from. It is not the flywheel, as there is nothing remotely close to it when it is spinning.
Is this just because the engine has been sitting for some time, and some sort of surface rust somewhere that will quickly wear off, or something I need to dig further to figure out.
Hope you have oil in the engine. That sounds horrible. With all plugs out I'd expect it to sound more like burping an air impact gun. Battery may be weak or motor may be tight from sitting. That motors not spinning very fast in my opinion. Try shooting oil into the cylinders to see if it sounds any better?
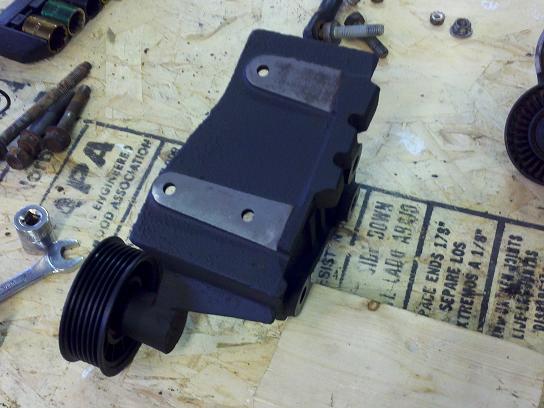
Edit to add / coil pack. Borrowed pics. / Bracket can be cut.
Spoon
------------------ "Kilgore Trout once wrote a short story which was a dialogue between two pieces of yeast. They were discussing the possible purposes of life as they ate sugar and suffocated in their own excrement. Because of their limited intelligence, they never came close to guessing that they were making champagne." - Kurt Vonnegut
[This message has been edited by Spoon (edited 02-21-2016).]
Thank you for the info on the coil bracket! I saved the pictures, and will take to to a machine shop to cut it. I have nothing even remotely big ot touch enough to cut through that thing!
As for the engine noise, I do not think it is the cylinders, as I think the sound would change as they went up and down. This sound is "circular" and constant. Almost like a dust shield hitting a rotor. I will dig deeper and try to determine what it is.
I cut the coil pack mounting plate off that bracket and mount the coils either on the right strut tower or in place of the stock alternator mounting location. That way no modification at all is required to the right side deck lid hinge.
I DO NOT recommend mounting the coil pack on the trunk wall. It will get bathed in heat from the exhaust back there and the trunk wall isn't thick enough to dissipate enough heat from the ignition module with the added exhaust heat.
------------------ More is more. Less is not enough. Custom GM OBD1 & OBD2 Tuning | Engine Conversions & more | www.gmtuners.com
[This message has been edited by Darth Fiero (edited 02-22-2016).]
Originally posted by Darth Fiero: I cut the coil pack mounting plate off that bracket and mount the coils either on the right strut tower or in place of the stock alternator mounting location.
I did not have to cut mine off, there were just 3 tiny bolts holding my coil pack mounting plate to the engine mount.
quote
Originally posted by Darth Fiero: I DO NOT recommend mounting the coil pack on the trunk wall. It will get bathed in heat from the exhaust back there and the trunk wall isn't thick enough to dissipate enough heat from the ignition module with the added exhaust heat.
In all my research, I totally agree. I will probably fashion a mounting bracket to go in place of the alternator, before relocating it to the Power Steering location.
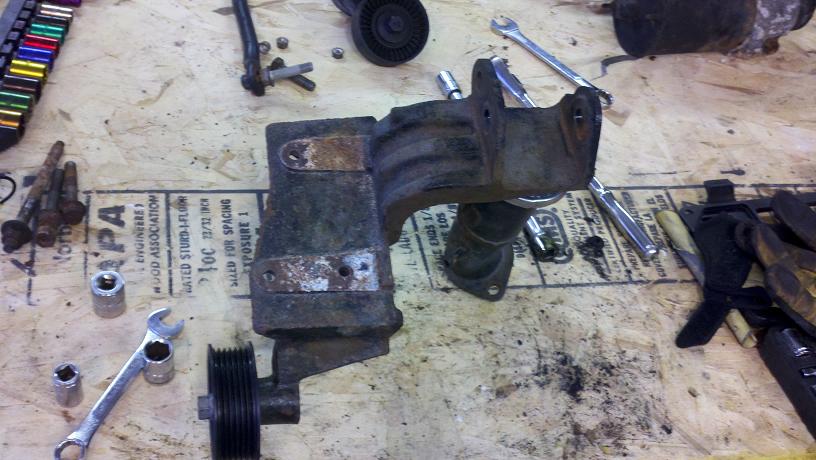
I took the engine mount / pulley assembly off:
I then went to 2 different machine shops. Neither said they had the equipment to cut it. The one shop has been in business since 1982 and has a long waiting list of months to get some stuff done there. Kinda crazy they can not cut a cast iron motor mount. Any suggestions on how to get this done?
Also the bearing in the pulley is SHOT, so it's good to dissemble everything and check it all out before putting it all back together.
[This message has been edited by JohnWPB (edited 02-22-2016).]
I cut mine with a sawzall using a bench vice to hold it. Fresh blade took all but 5 minutes.
Spoon
------------------ "Kilgore Trout once wrote a short story which was a dialogue between two pieces of yeast. They were discussing the possible purposes of life as they ate sugar and suffocated in their own excrement. Because of their limited intelligence, they never came close to guessing that they were making champagne." - Kurt Vonnegut
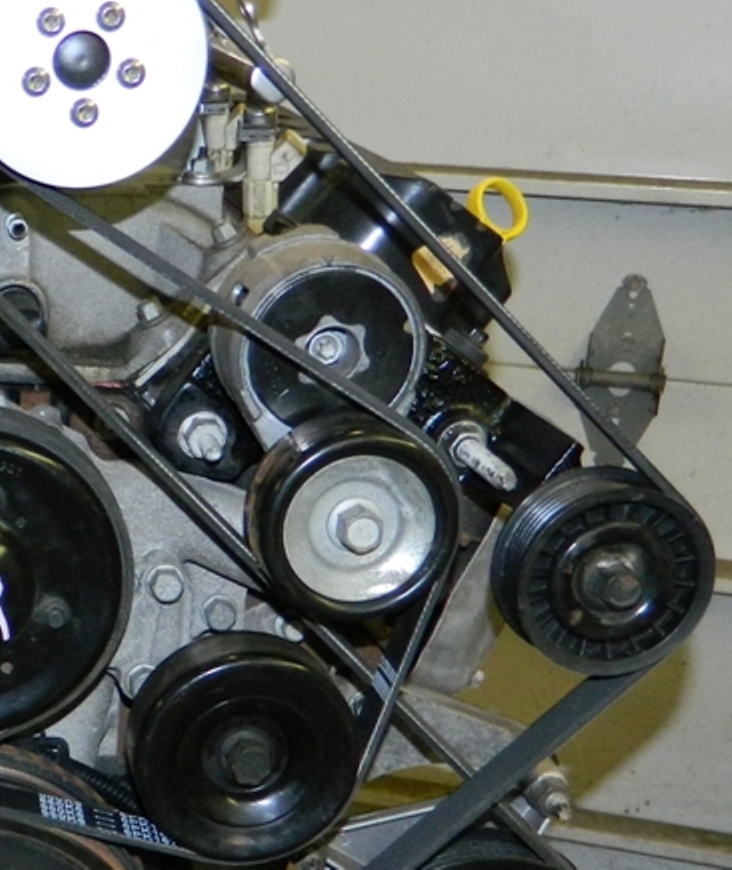
This is the bracket on my 84 3.8 SC. PO built it or had it built. I always have thought that it was well done. Seems like he told me the tensioner was off a Subaru. I'd have to research that . As you can see, it sits over the rear cylinder bank. Does not seem to get overly warm, but the header below is wrapped in that area.
Originally posted by Spoon: I cut mine with a sawzall using a bench vice to hold it. Fresh blade took all but 5 minutes. Spoon
Thanks you! I called around today, and found one place that would do it. He explained how, being cast iron, he would go through quite a bit of material / blades, and the time involved, would be around $150 ! ! ! ! I stopped by Home Depot on the way home, and picked up a 5 pack of Milwaukee blades for metal for $10.
It took all of about 10 minutes, and only a single blade to do the trick!
Originally posted by JohnWPB: Not looking to modify the decklid hinge if not absolutely necessary.
I didn't take it as a negative, I completely understand. My logic for doing it was: 1). I got to use stock spark plug wires because it was in the stock location. If I needed replacement parts, stock parts and part numbers. That is always plus to me. 2). I liked the cleaner look of not having the hinge box in there. Mine wasn't nearly as awesome as Paul's (fieroguru), so I will boost his picture...
I didn't take it as a negative, I completely understand. My logic for doing it was: 1). I got to use stock spark plug wires because it was in the stock location. If I needed replacement parts, stock parts and part numbers. That is always plus to me. 2). I liked the cleaner look of not having the hinge box in there. Mine wasn't nearly as awesome as Paul's (fieroguru), so I will boost his picture...
That does look nice without the hinge boxes there, I have to admit! More than I want to tackle right now, but maybe down the road.
I am not concerned about the stock location and wiring lengths. I will purchase the kit to make my wires, as I will be routing them differently, and cut them to the exact lengths I need. I did this with my 2.8, and it really looked nice and clean.