My wife has been (jokingly) complaining about my car not have power windows and locks (base 88). Since she went away for a girls long weekend camping trip, I decided to surprise her for when she gets back. This was more of a joke than a serious project, since next year I'll be pulling everything apart for a new body kit. The doors will get replaced at that time. In the mean time...I decided to see if I could install power windows and locks for a minimal cost. However...the problem is that there are no Fieros in junkyards locally.

(and I was definitely not going to get new parts)...so....I decided to see what I could do using easily obtainable parts from the local Pick-N-Pull. For a grand total of about $35 and 3 days, this is what I came up with...
(This thread concentrates on the power windows install, but will show the power lock conversion too...)
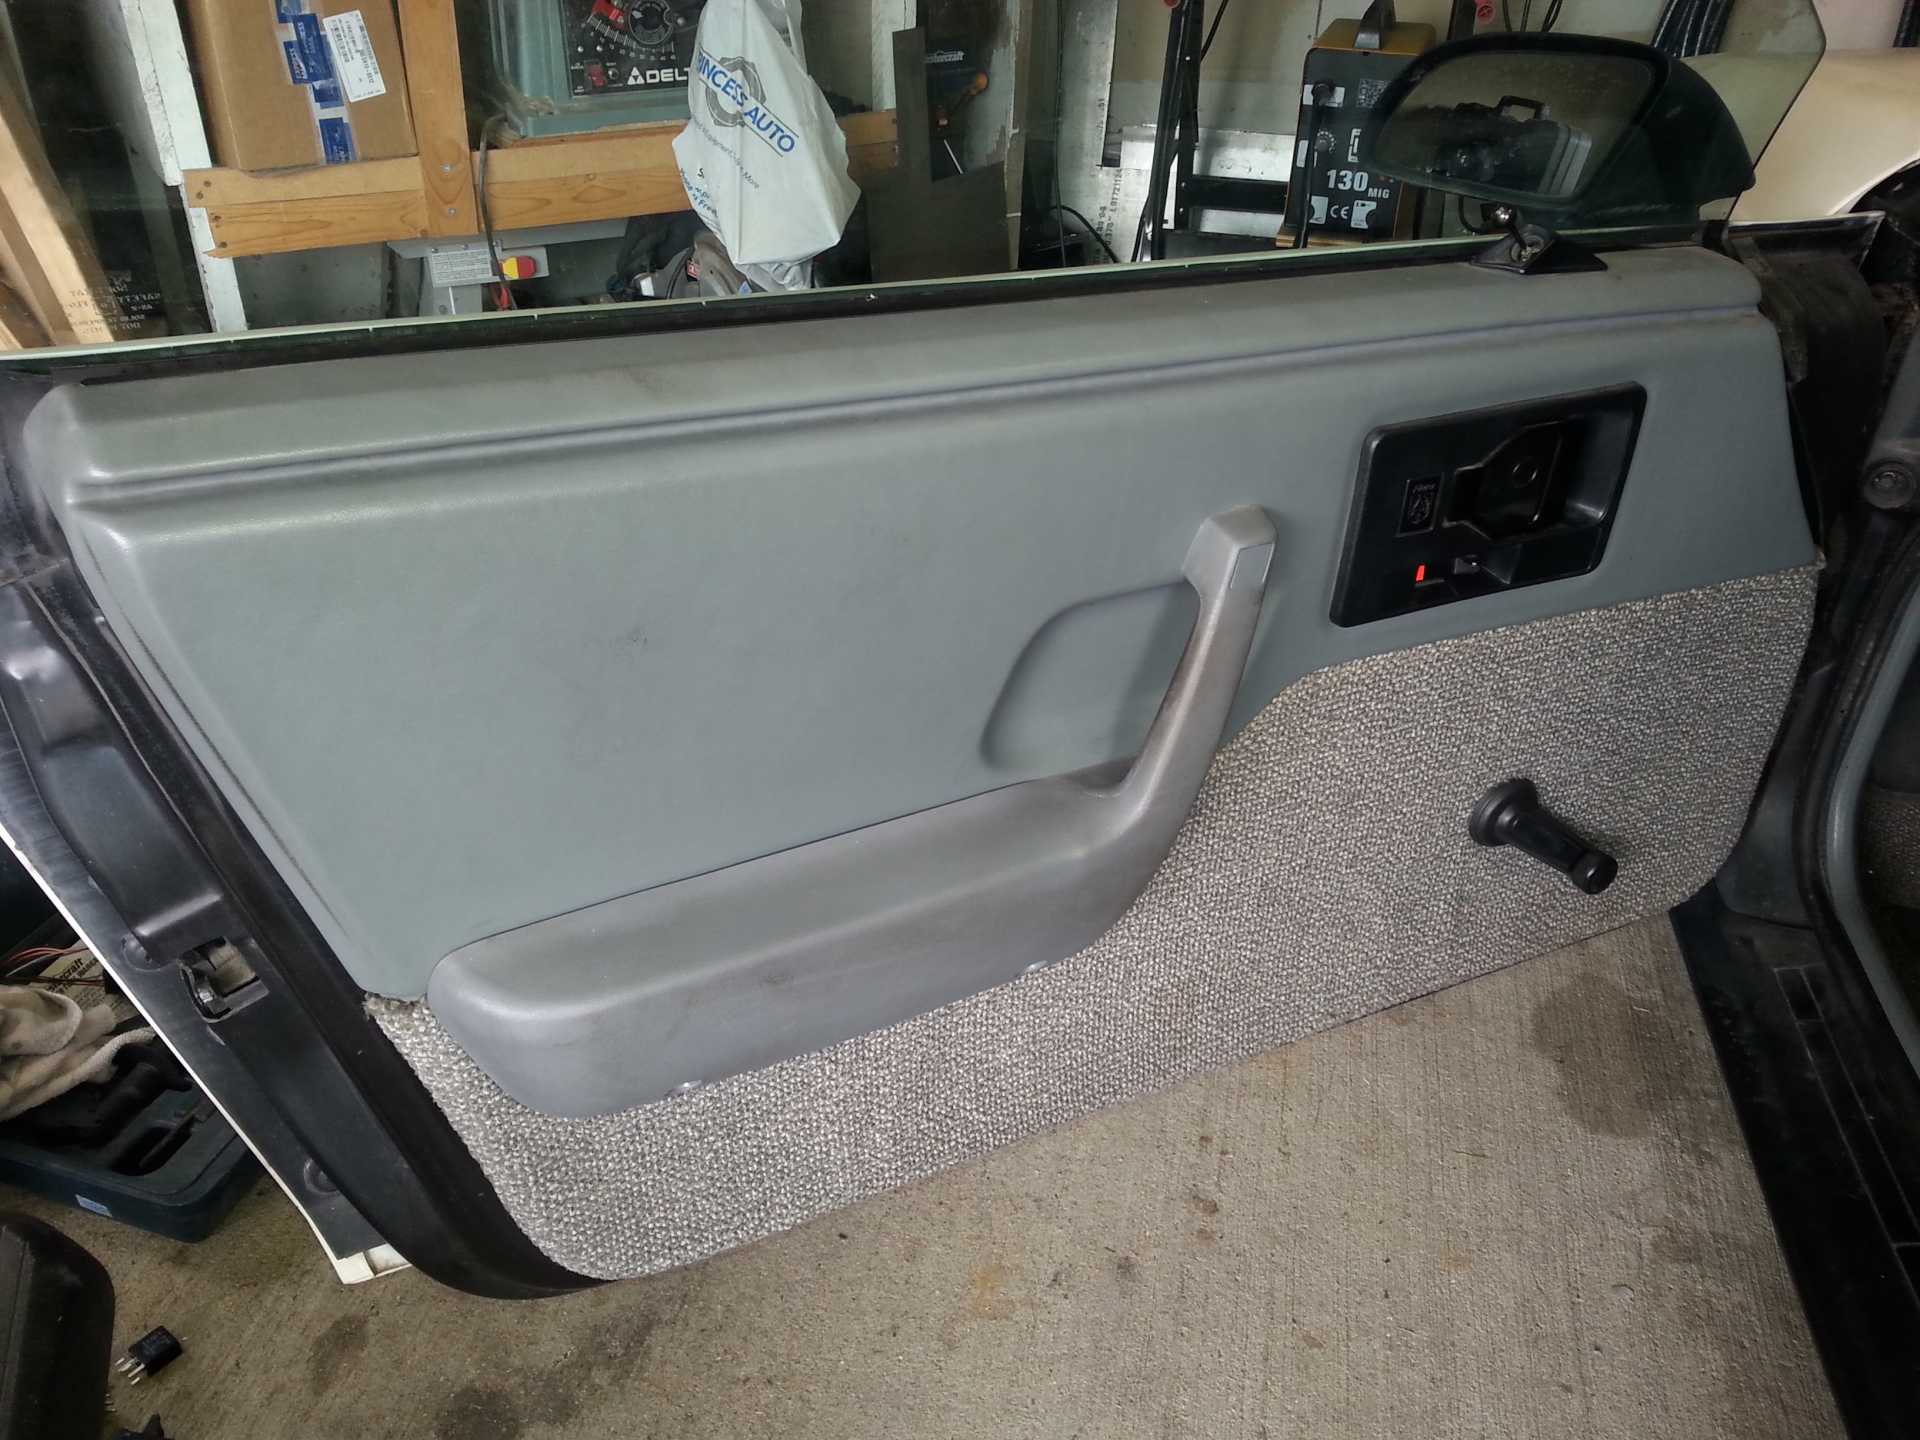
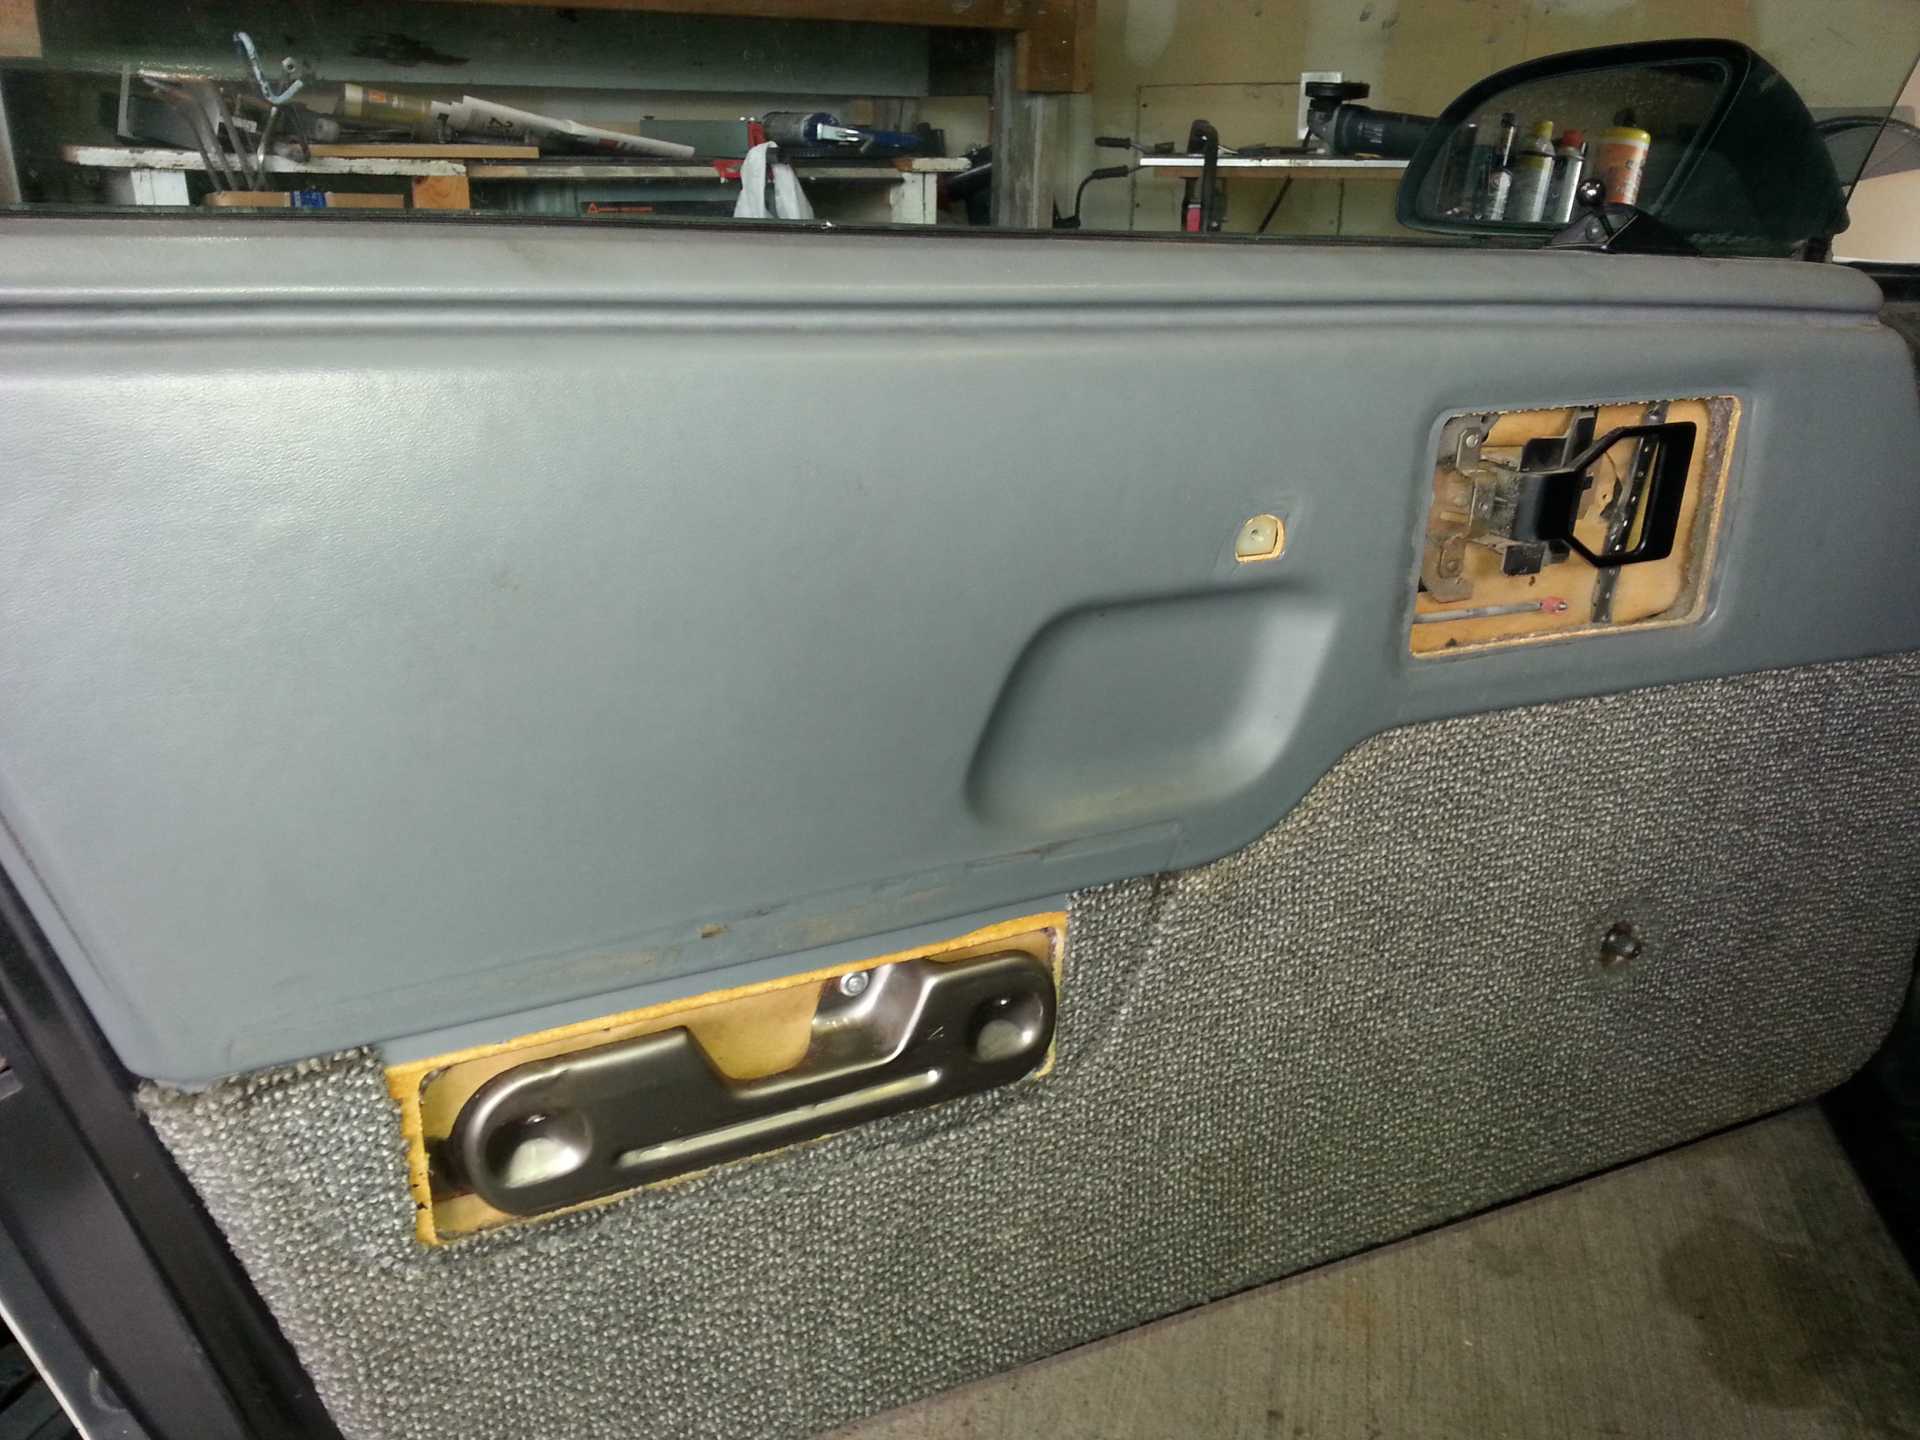
First step is to take apart the door. The arrows below point to screws that need to be removed. Take note of the tiny set screw on the outside of the mirror adjustment lever.
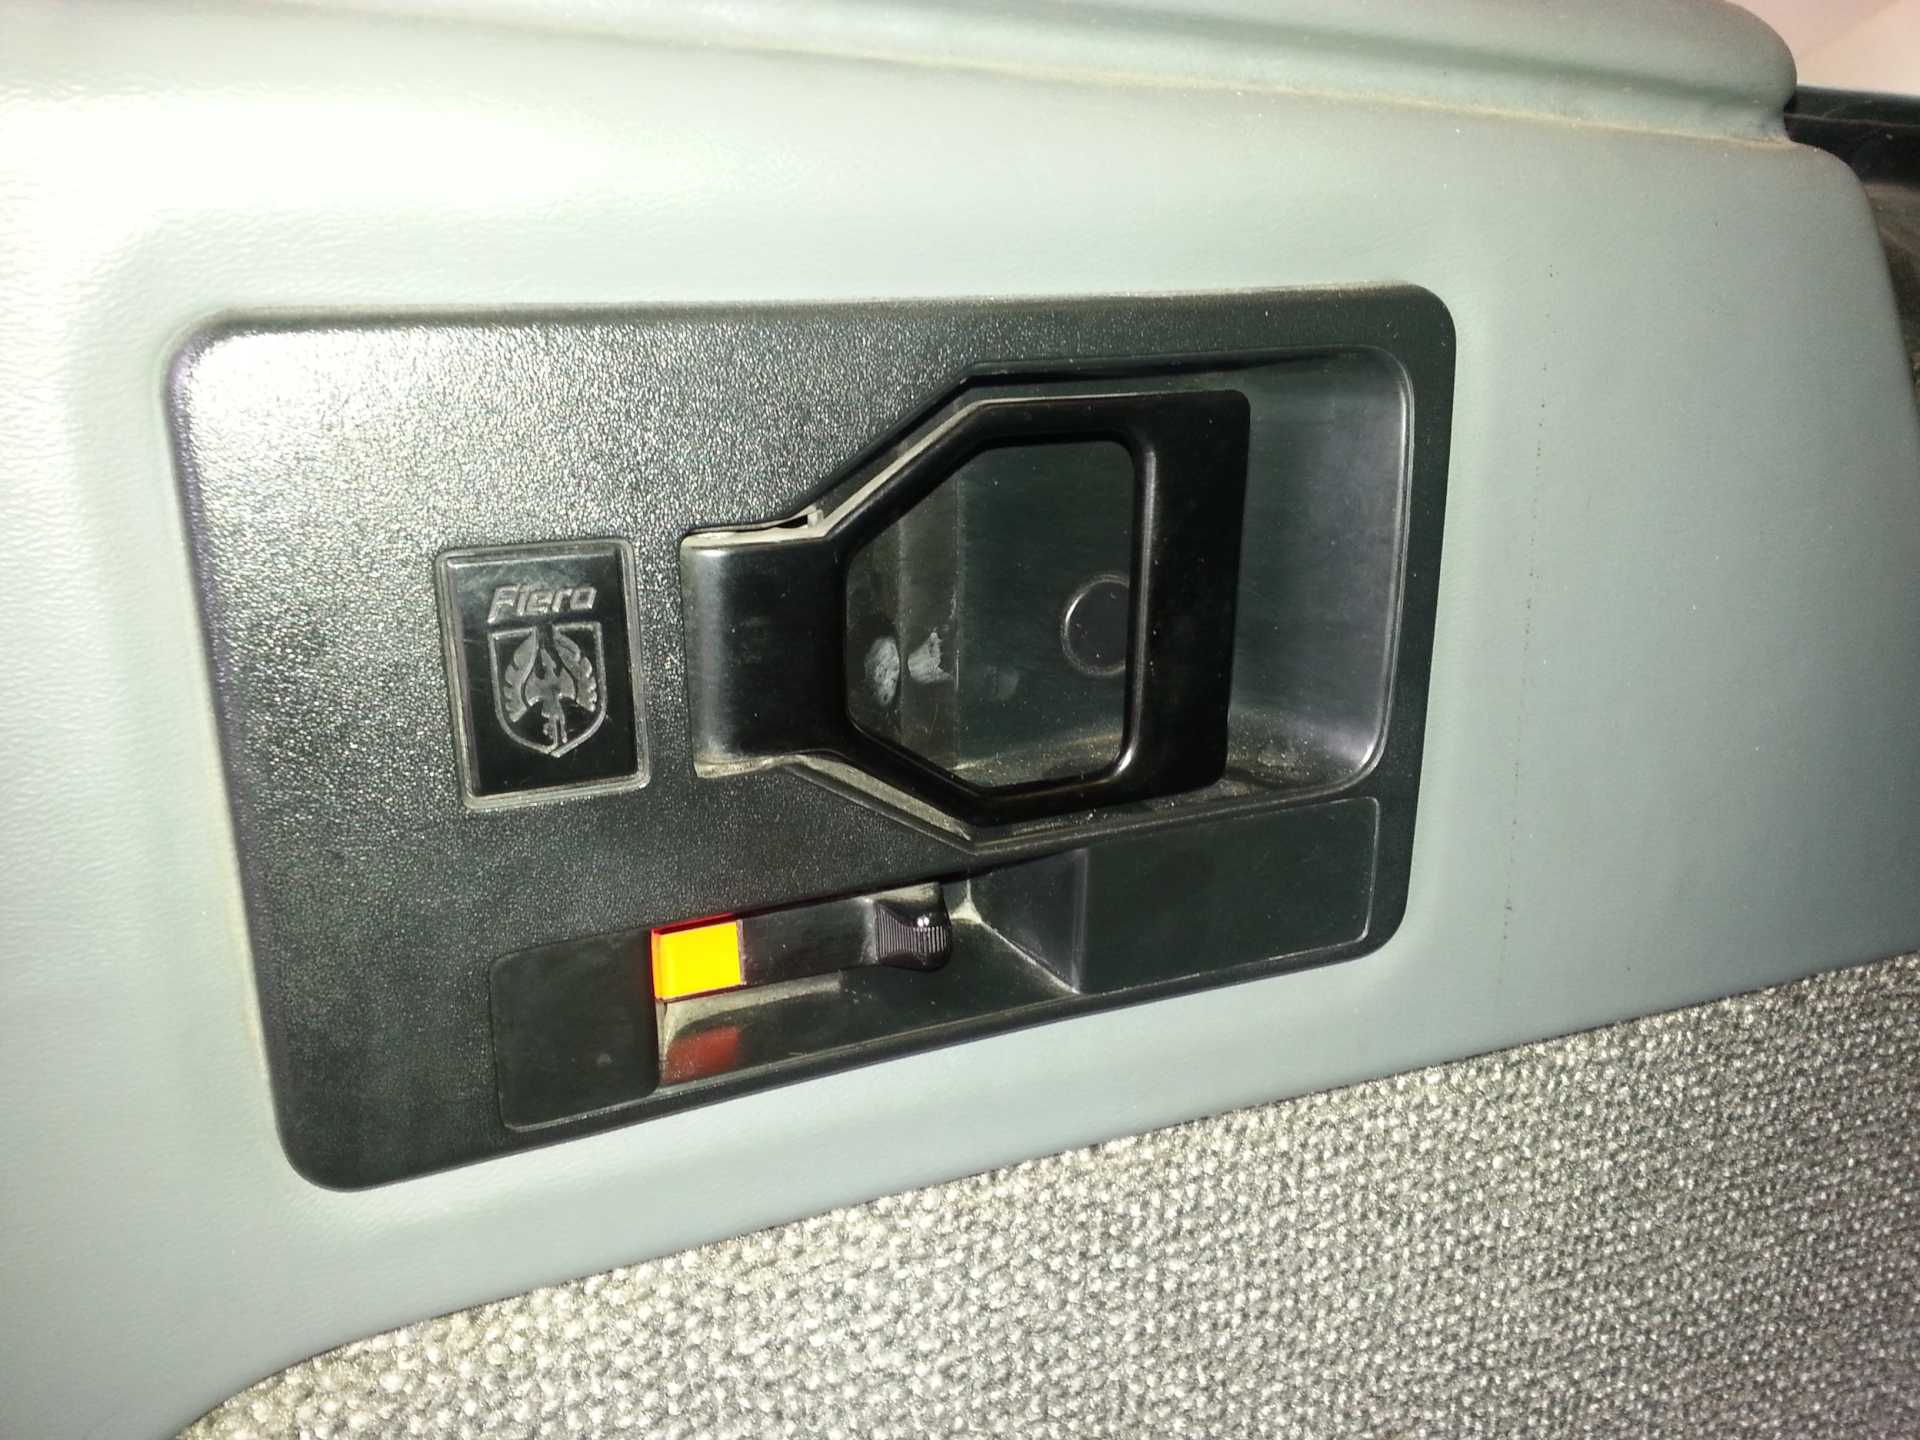
Use a small flathead screwdriver and pry off the two covers to reveal two screws. Once the screws are removed, you can pull the door release cover plate back and reveal the rod to the lock. Unclip the plastic retainer from the rod, then the rod will pop off the lock lever. Once the rod is disconnected, you can remove the door release cover plate.
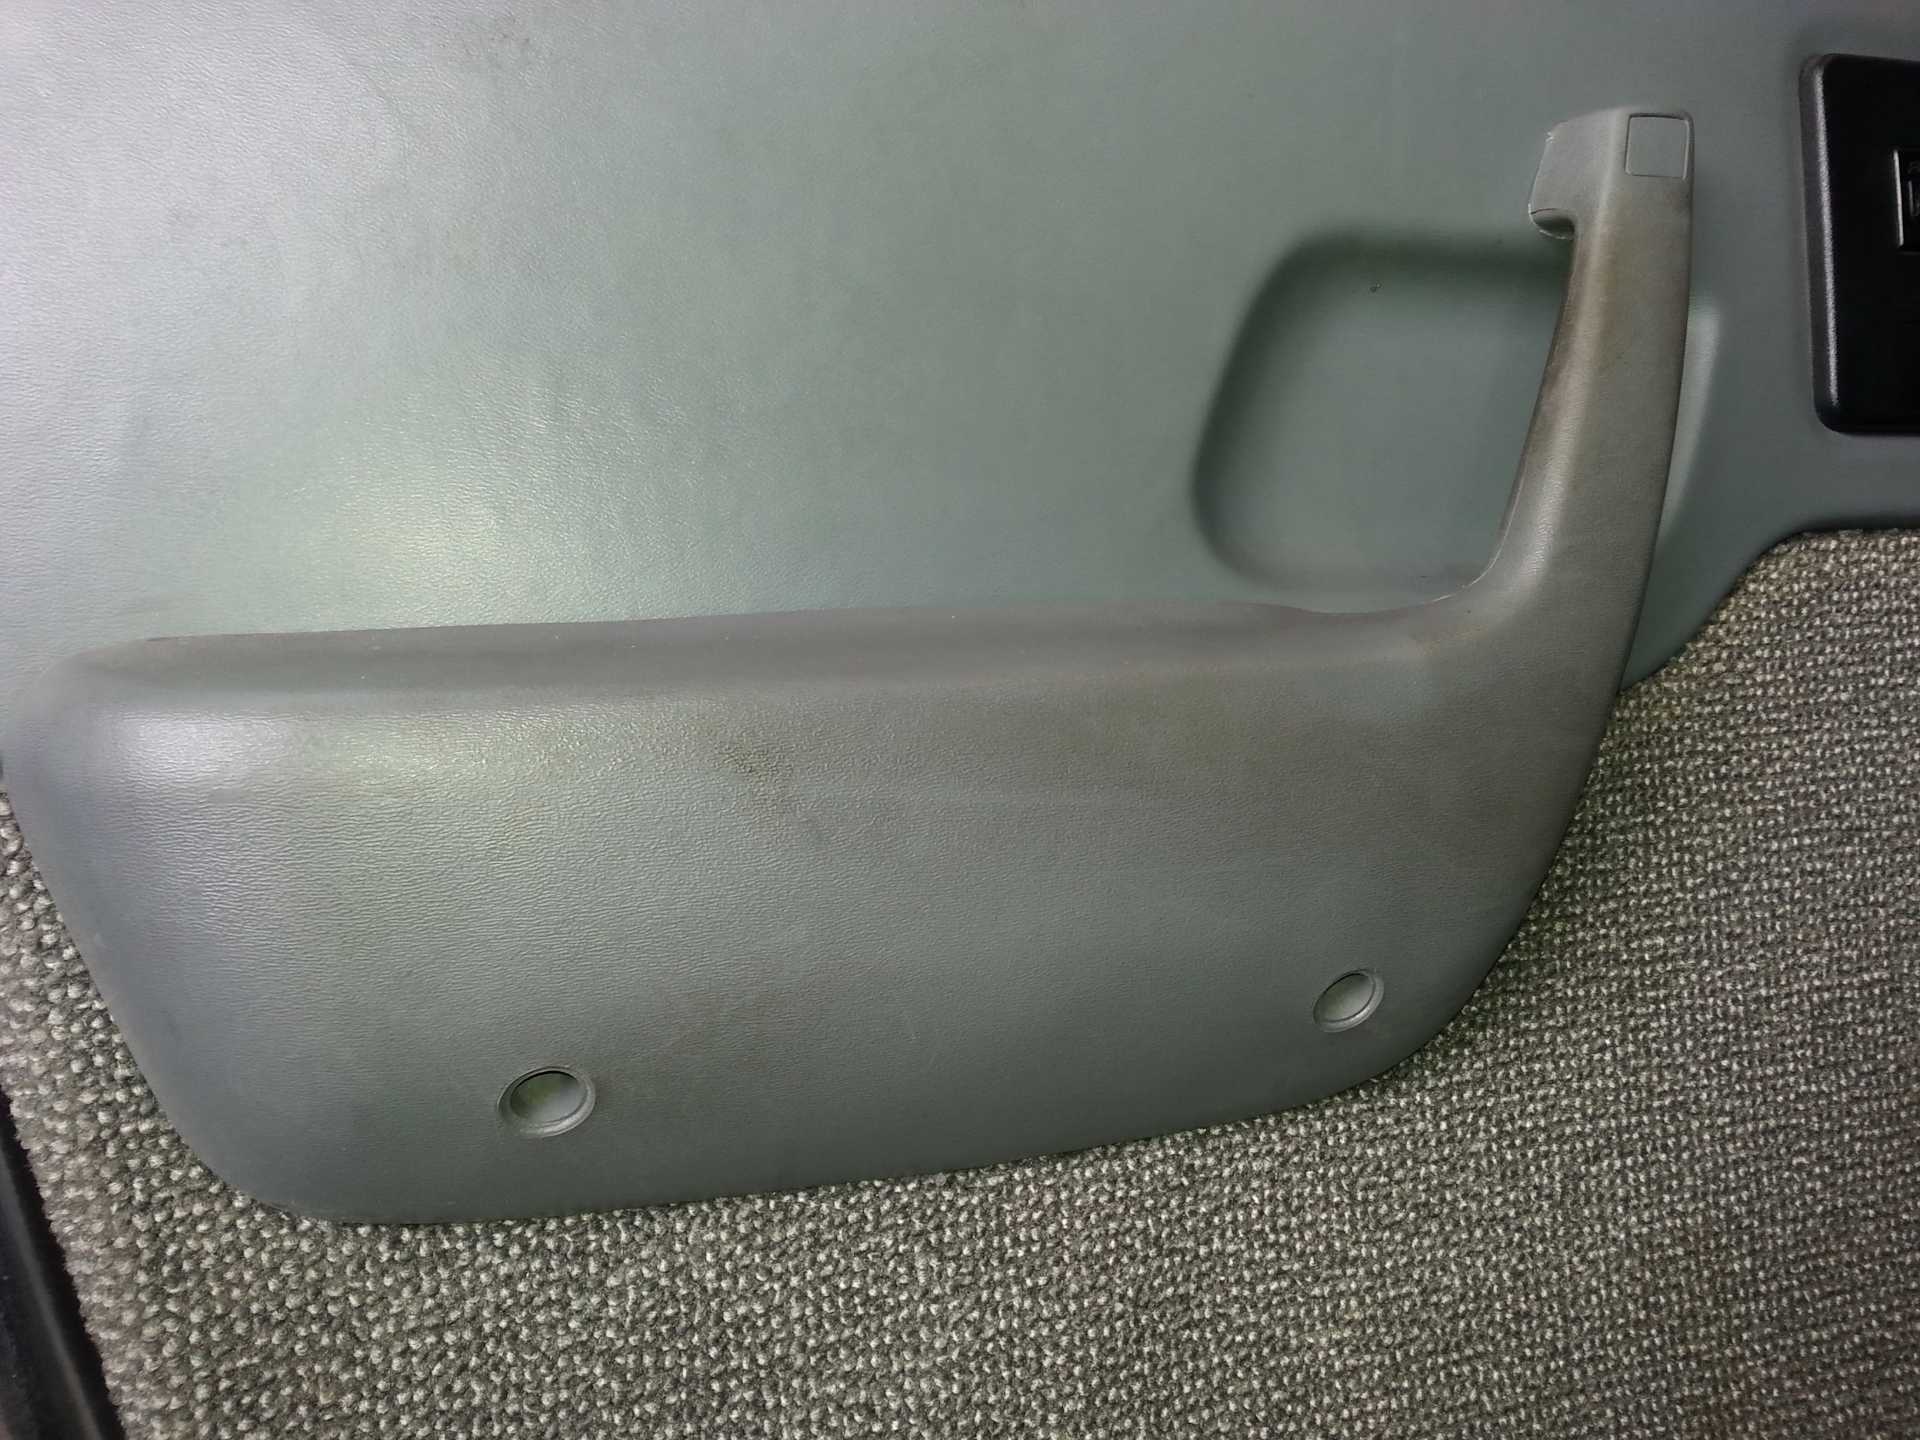
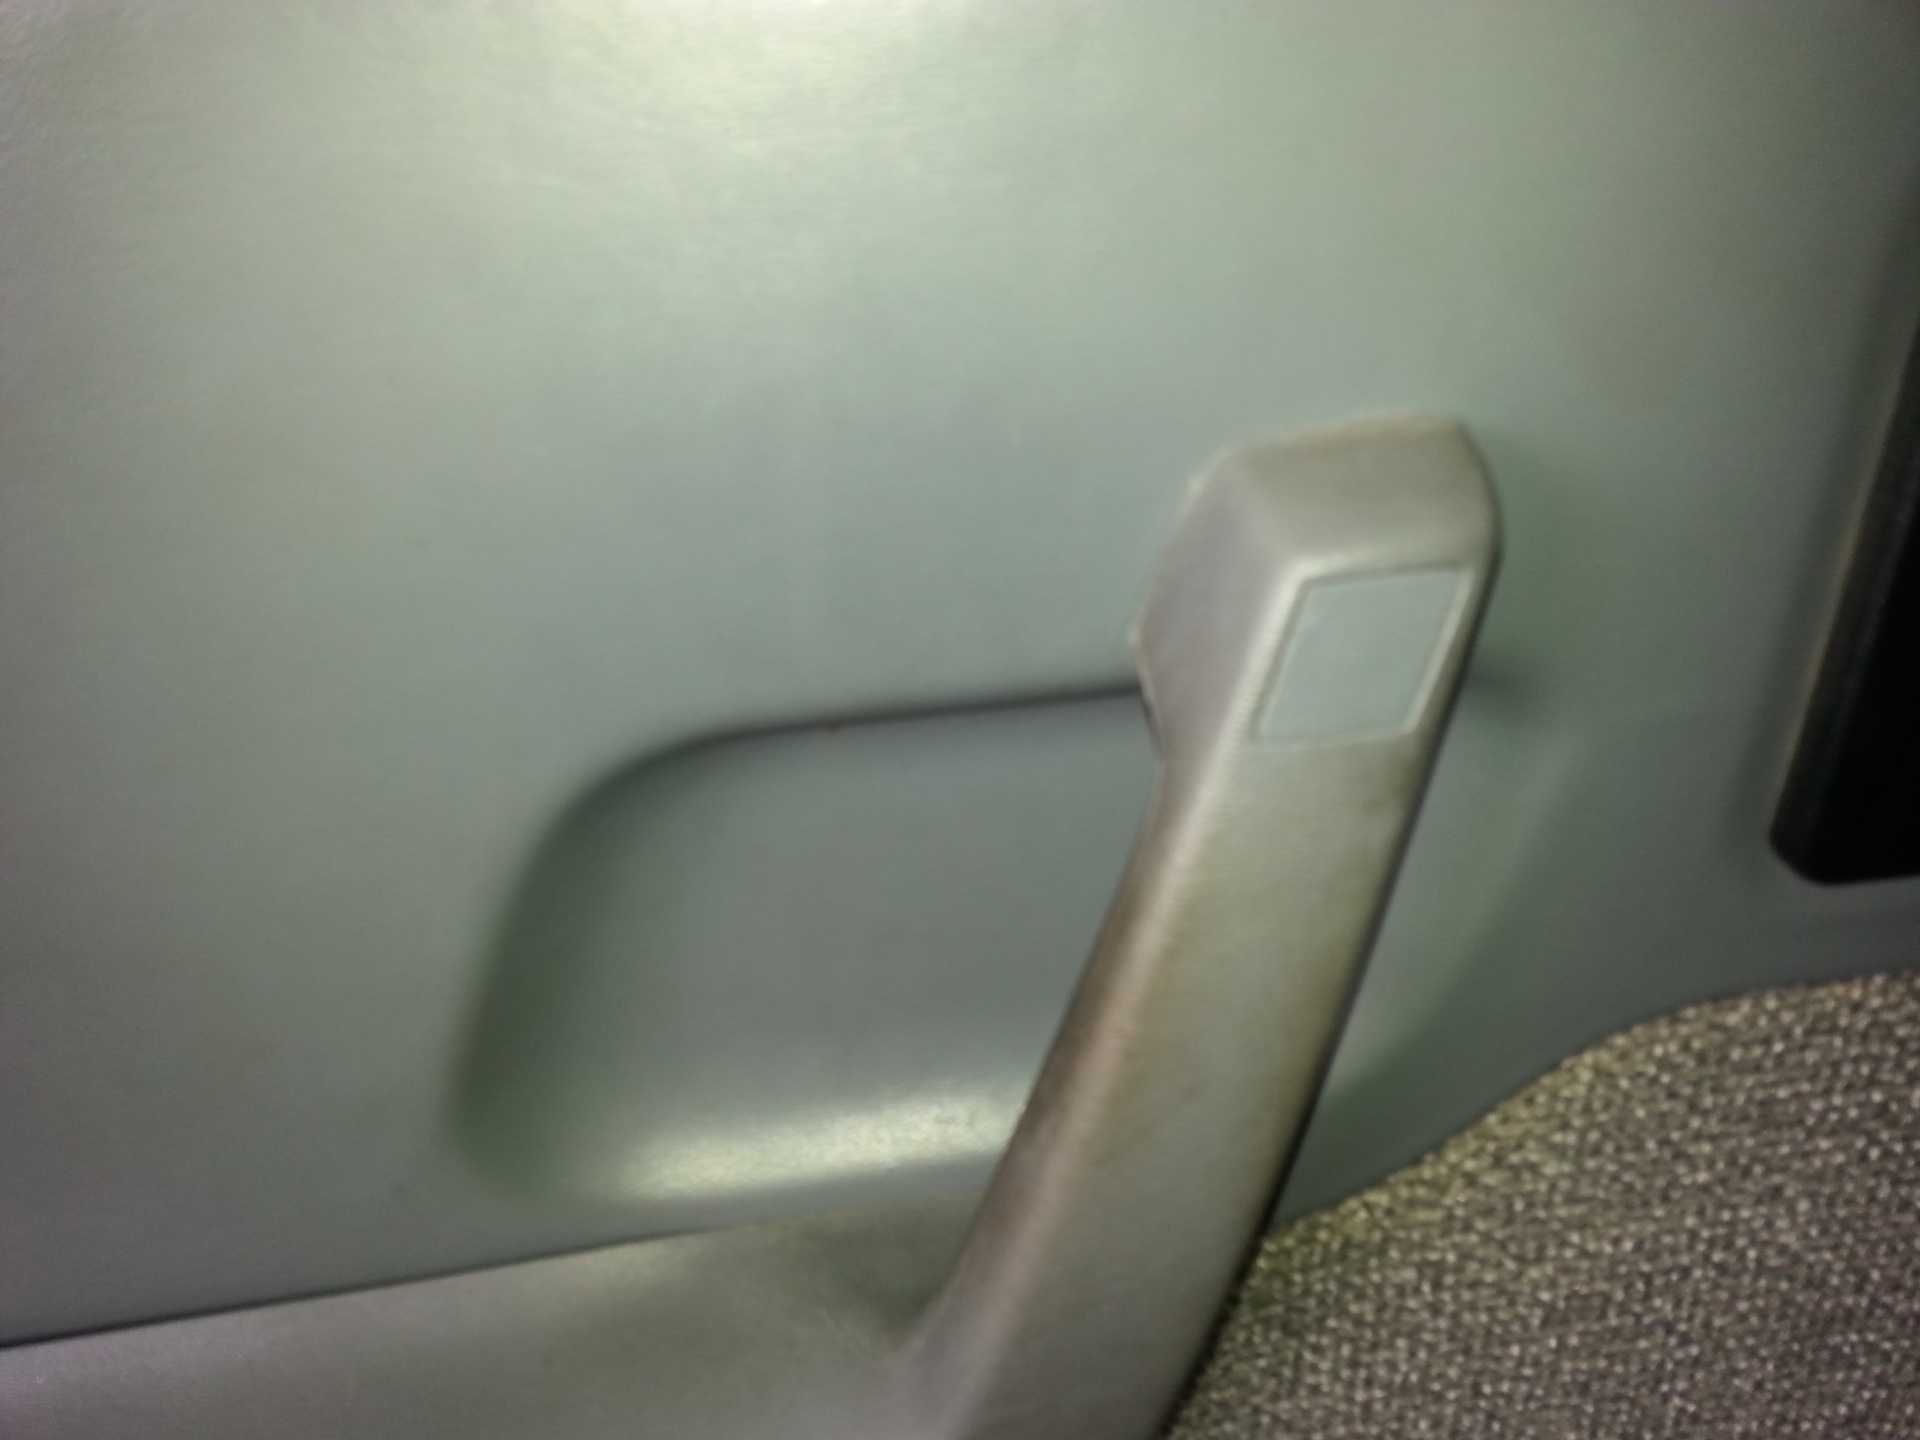
The handle has two large screws on the bottom side, and one small cover that needs to be pried off for the third large screw.
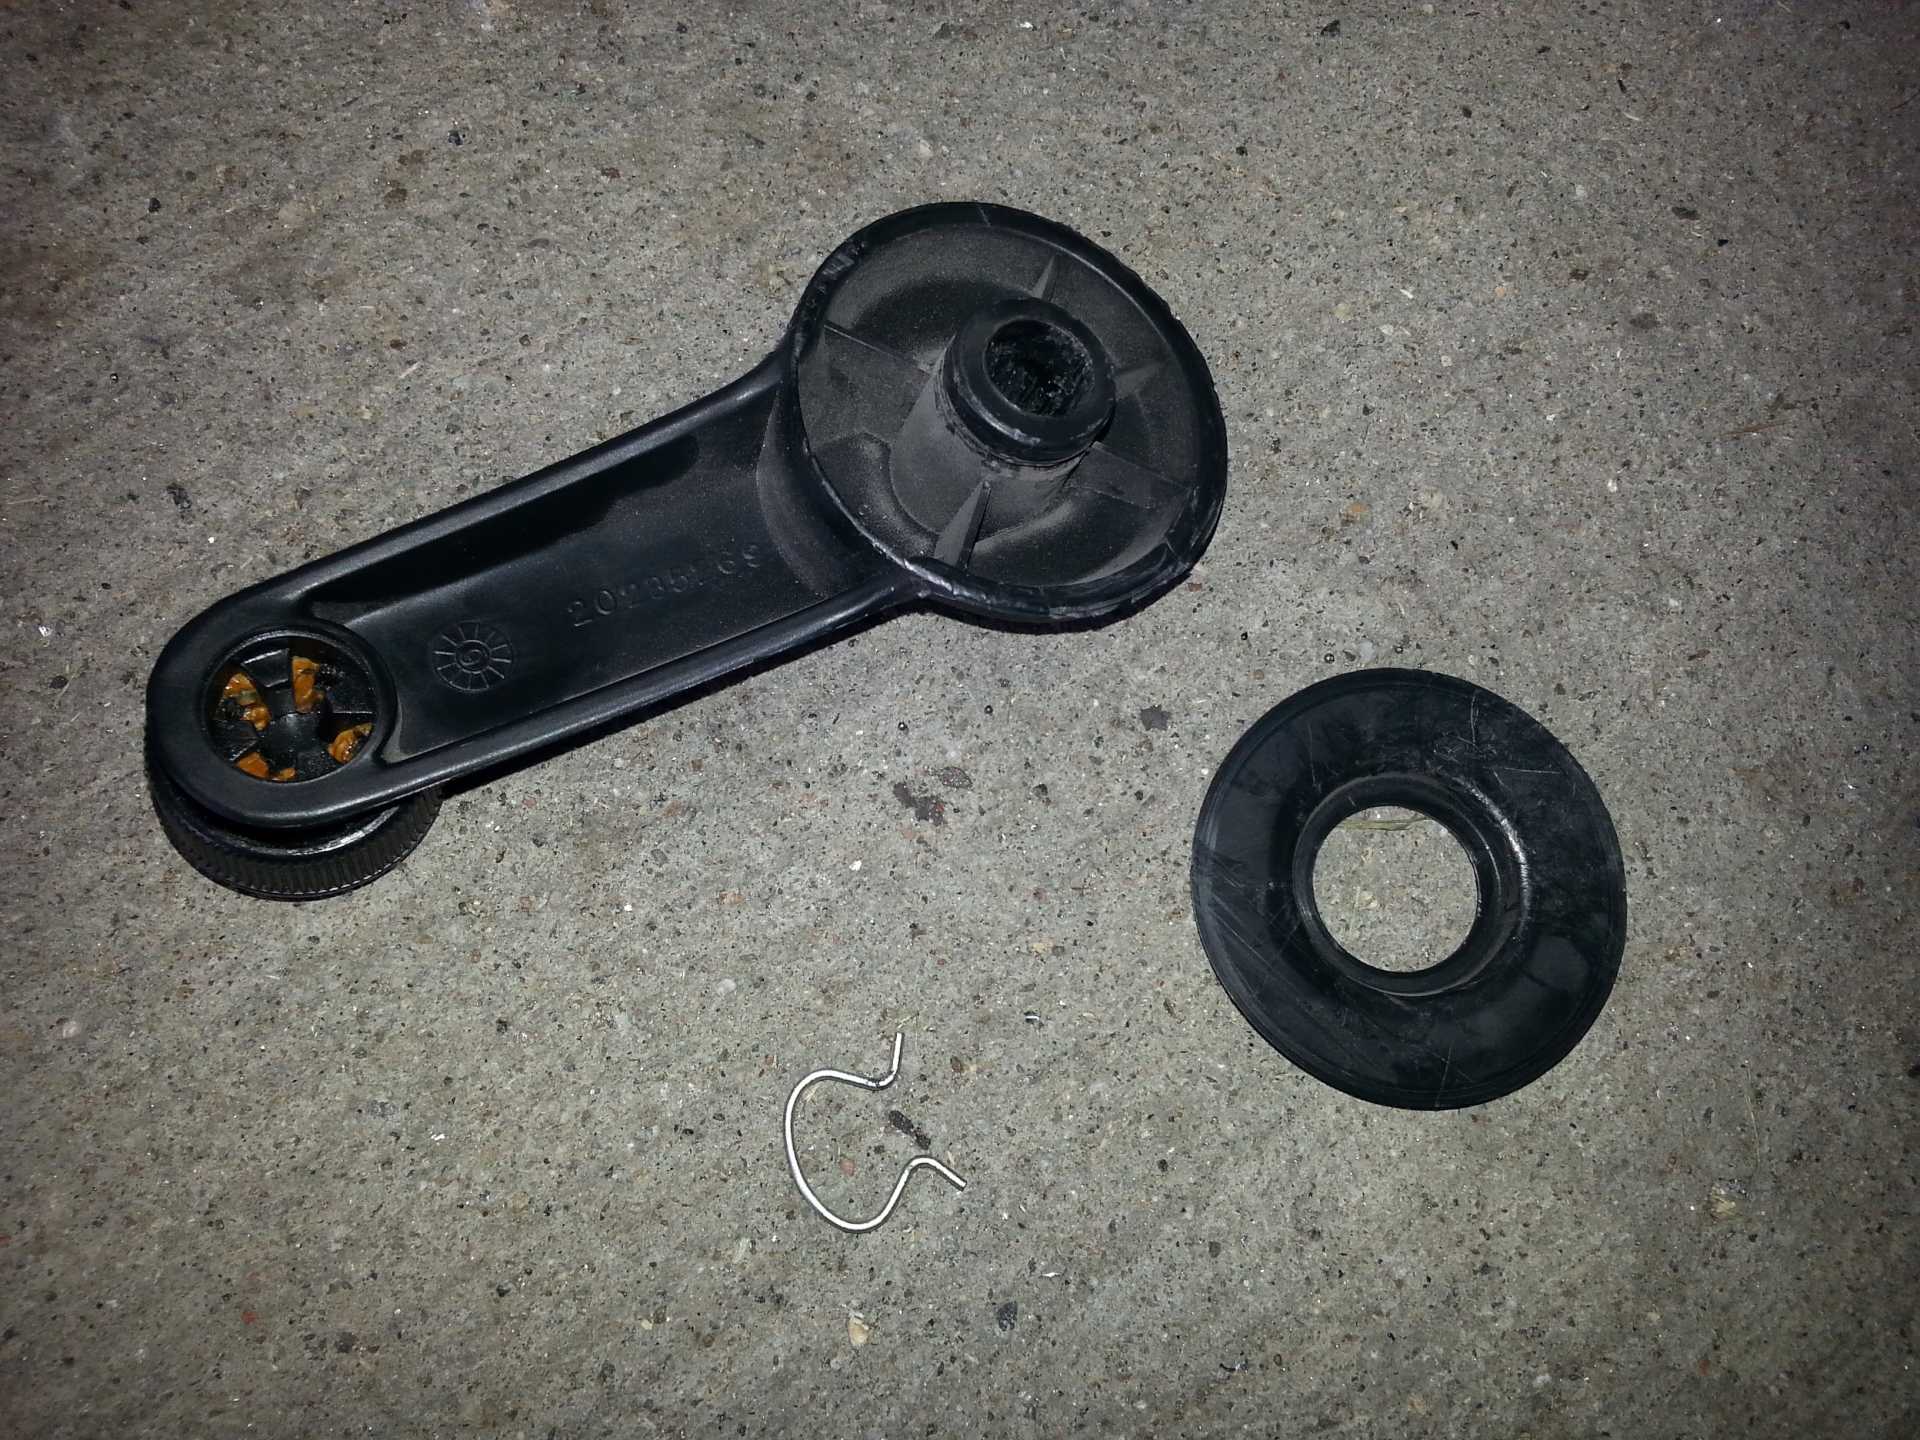
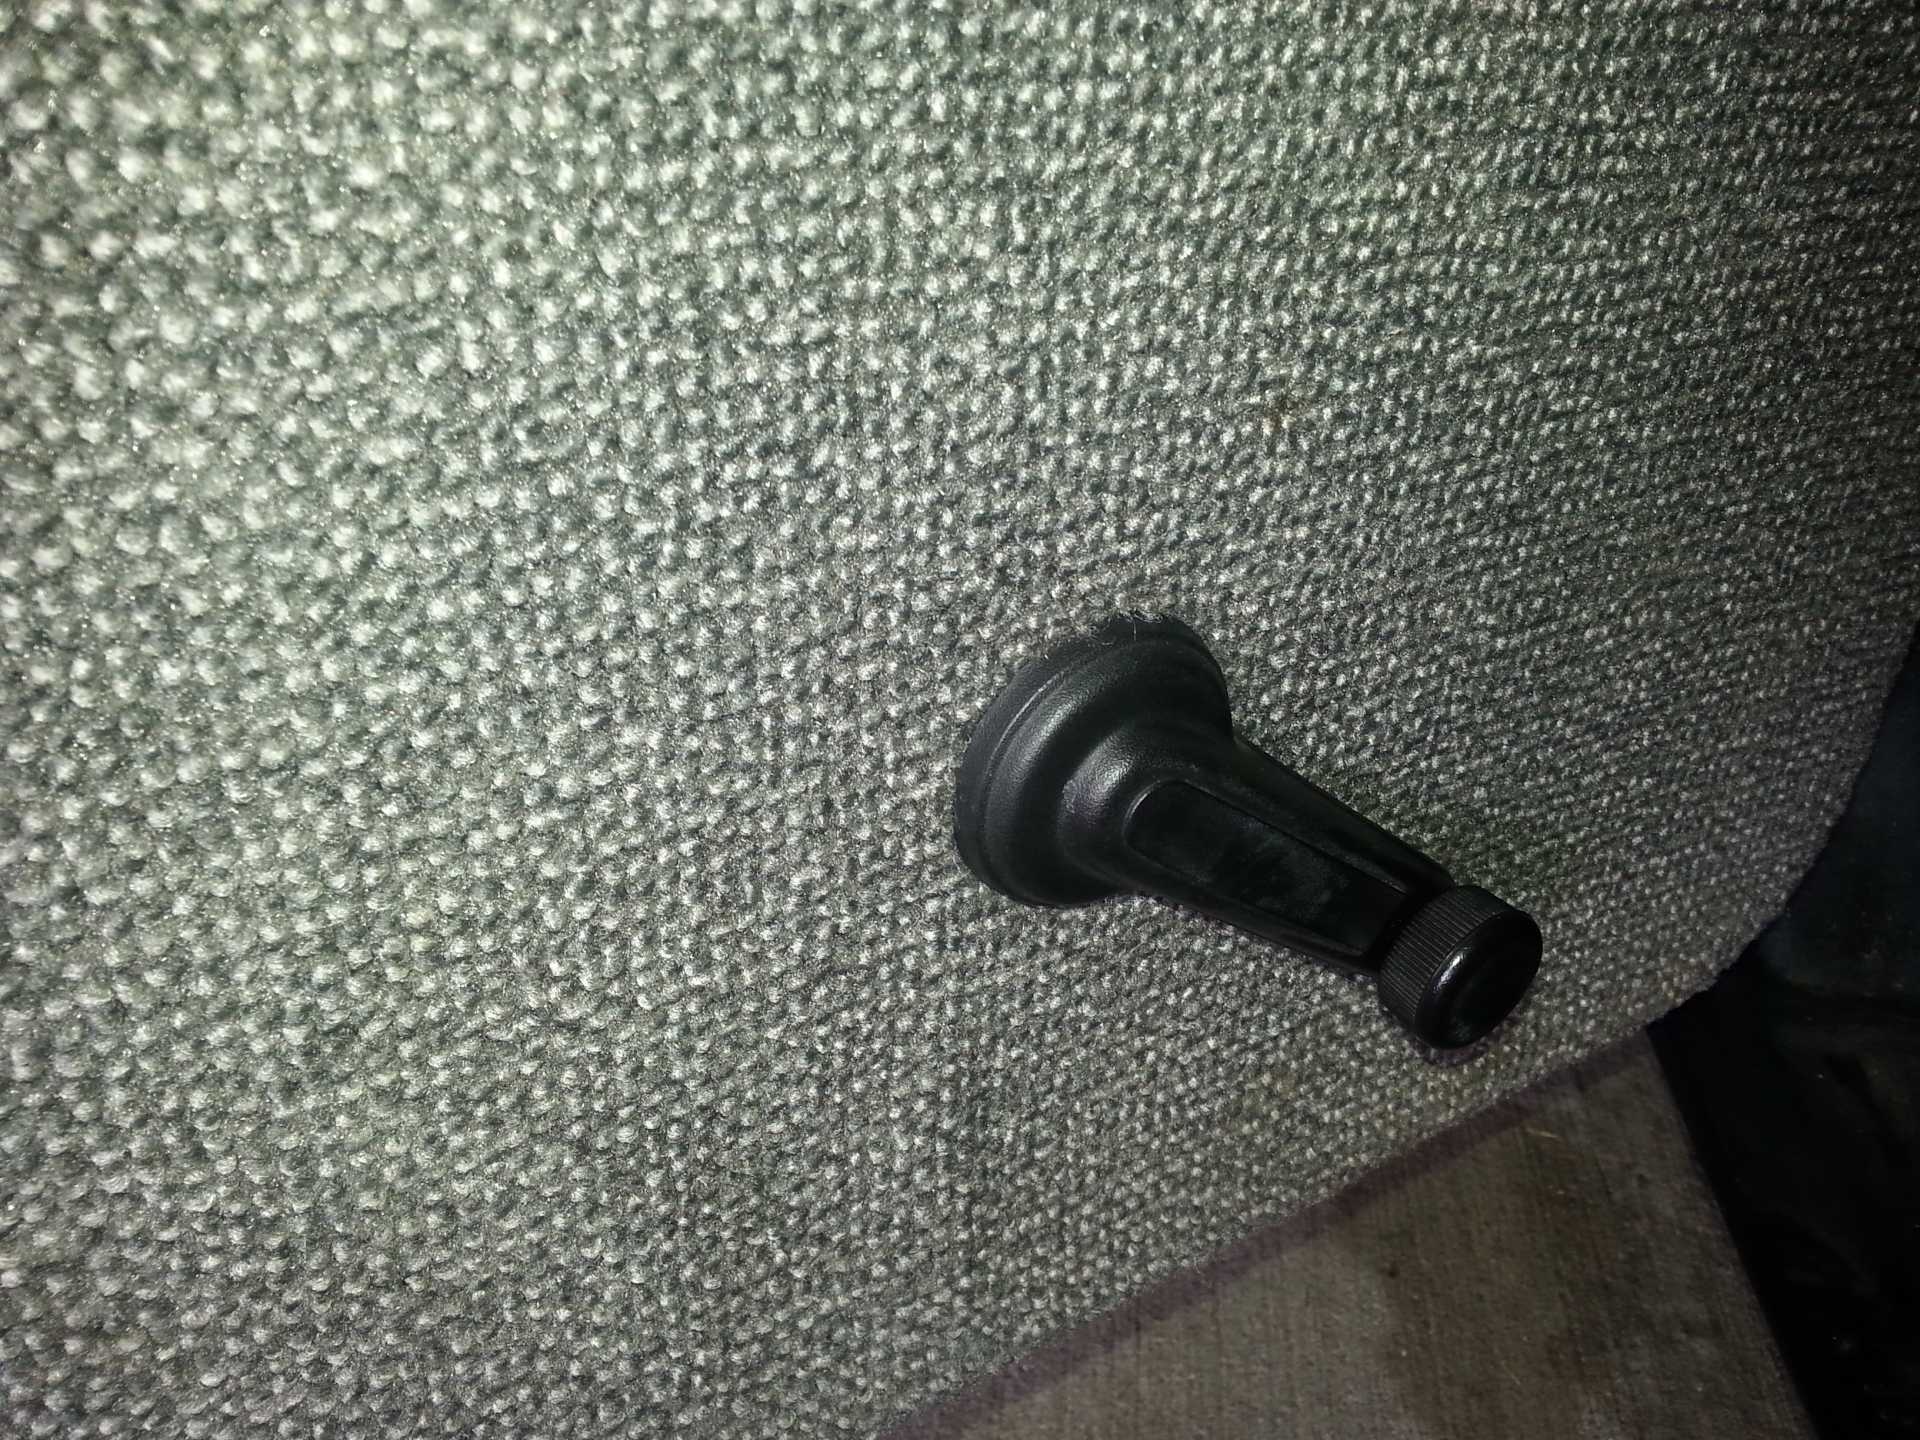
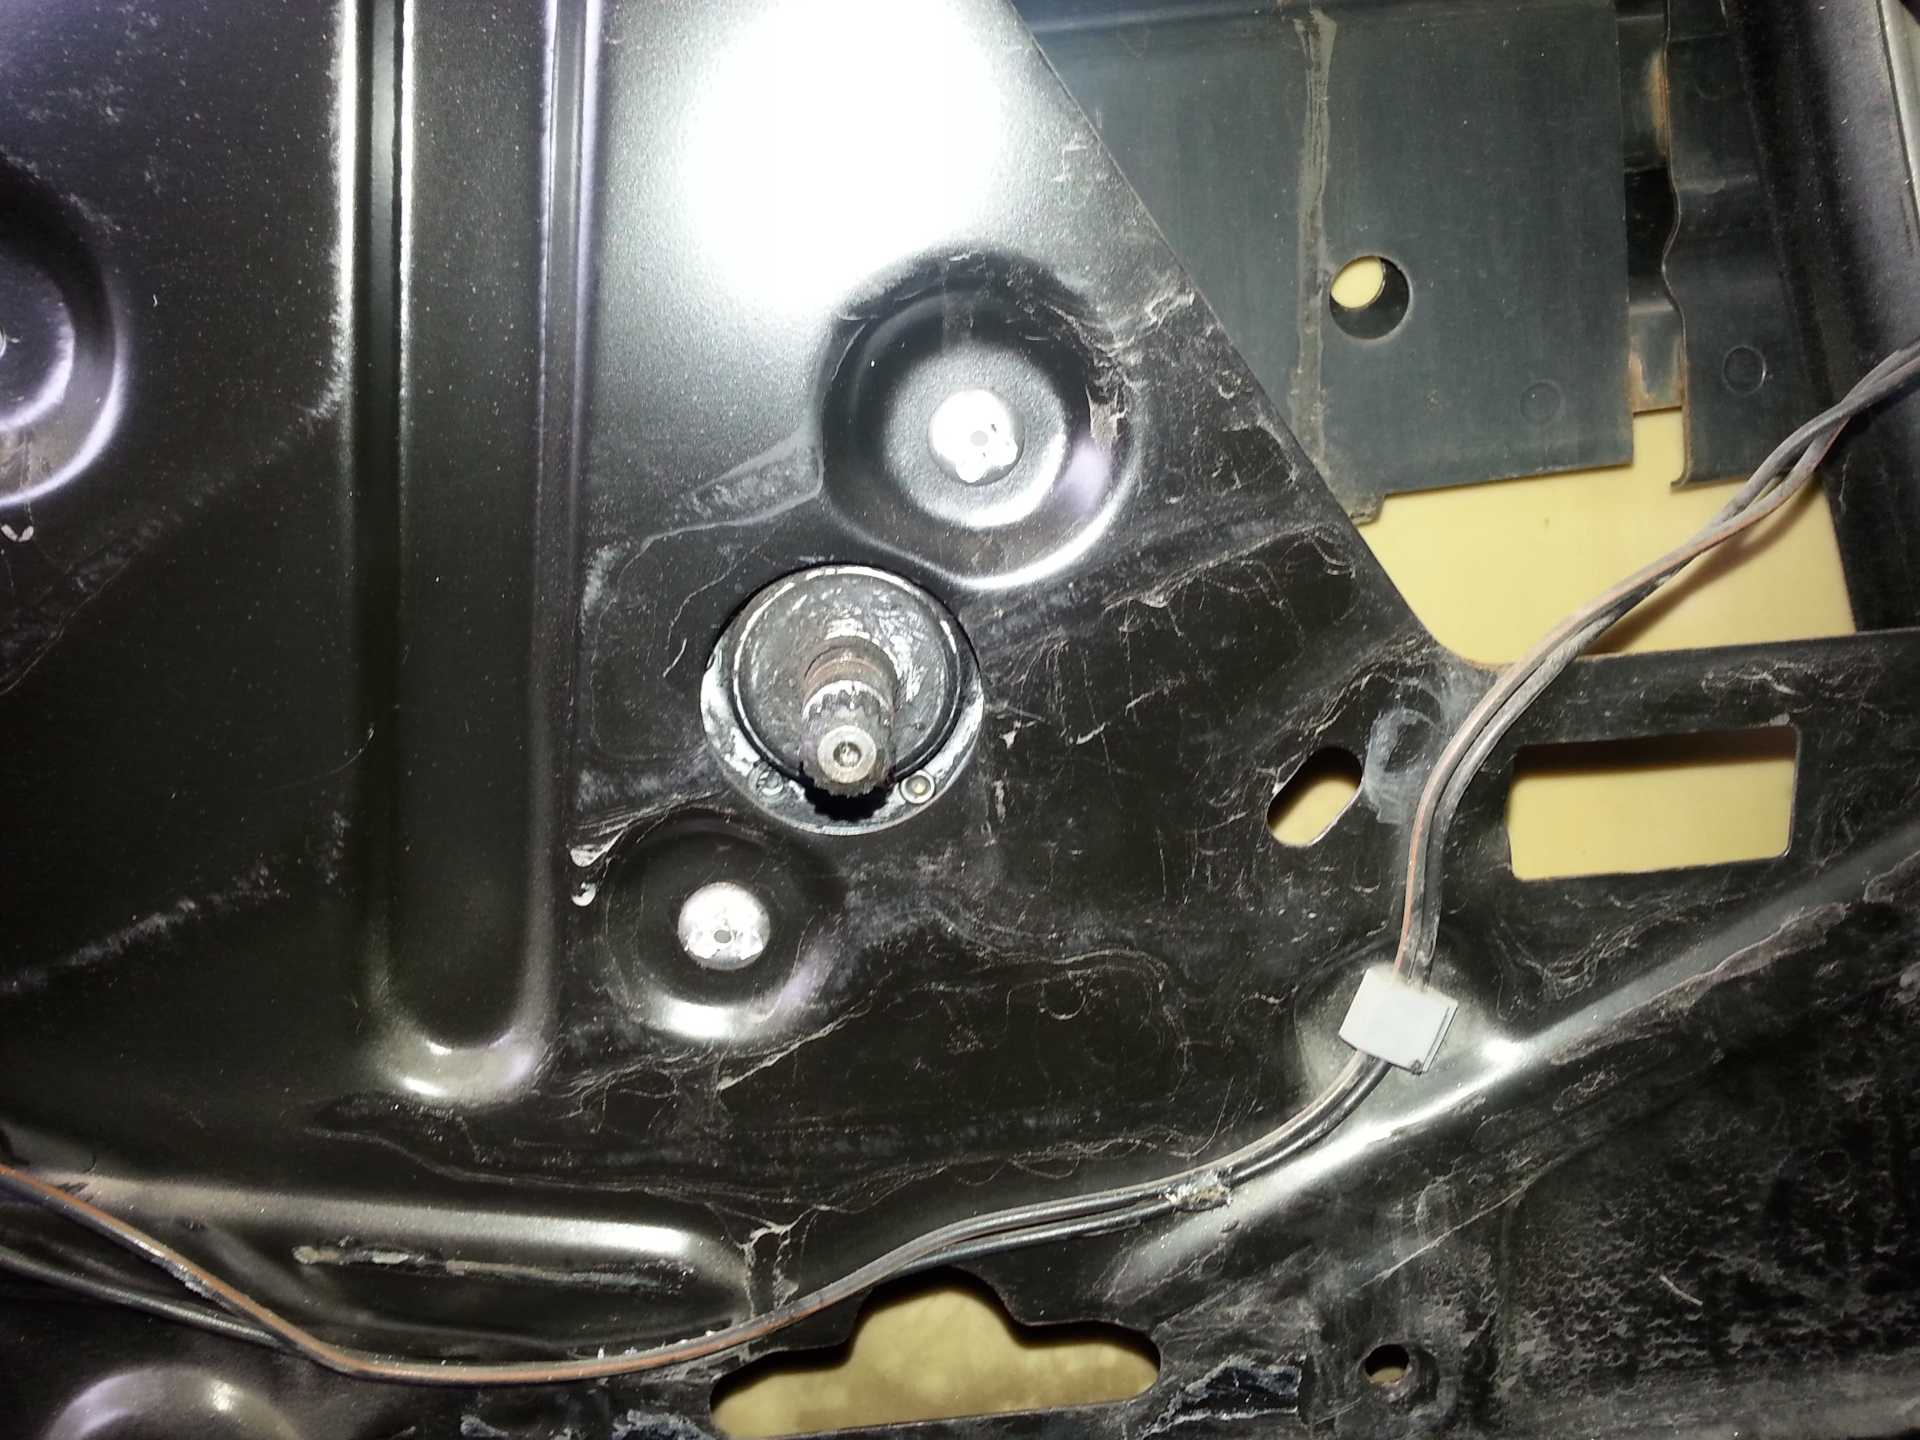
Hardest part of the whole conversion...getting the window crank off

There is a tool for it, but of course I don't own it.

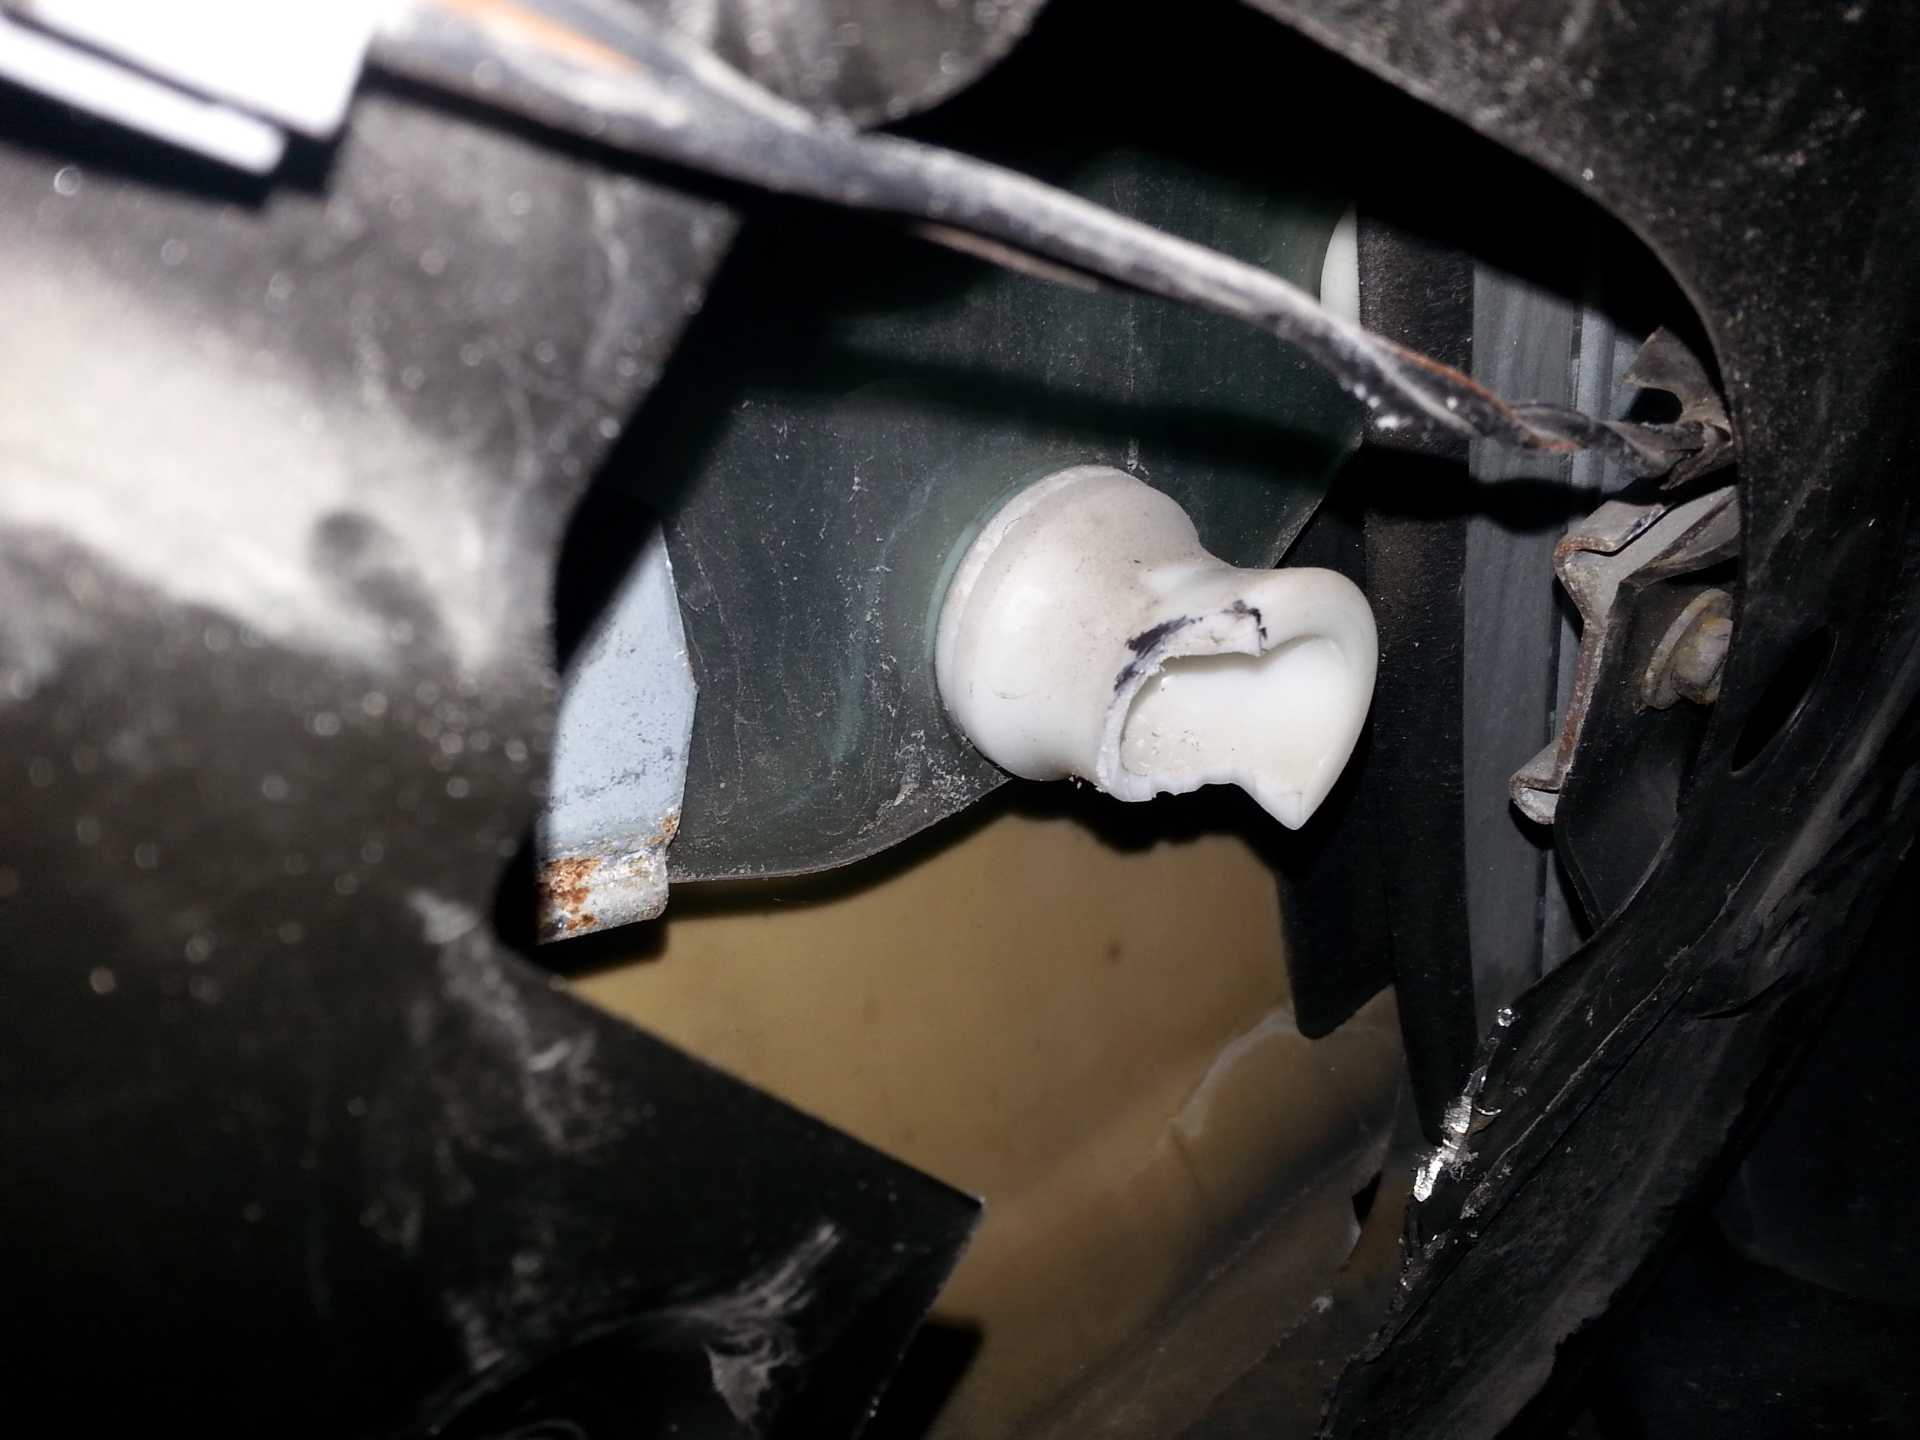
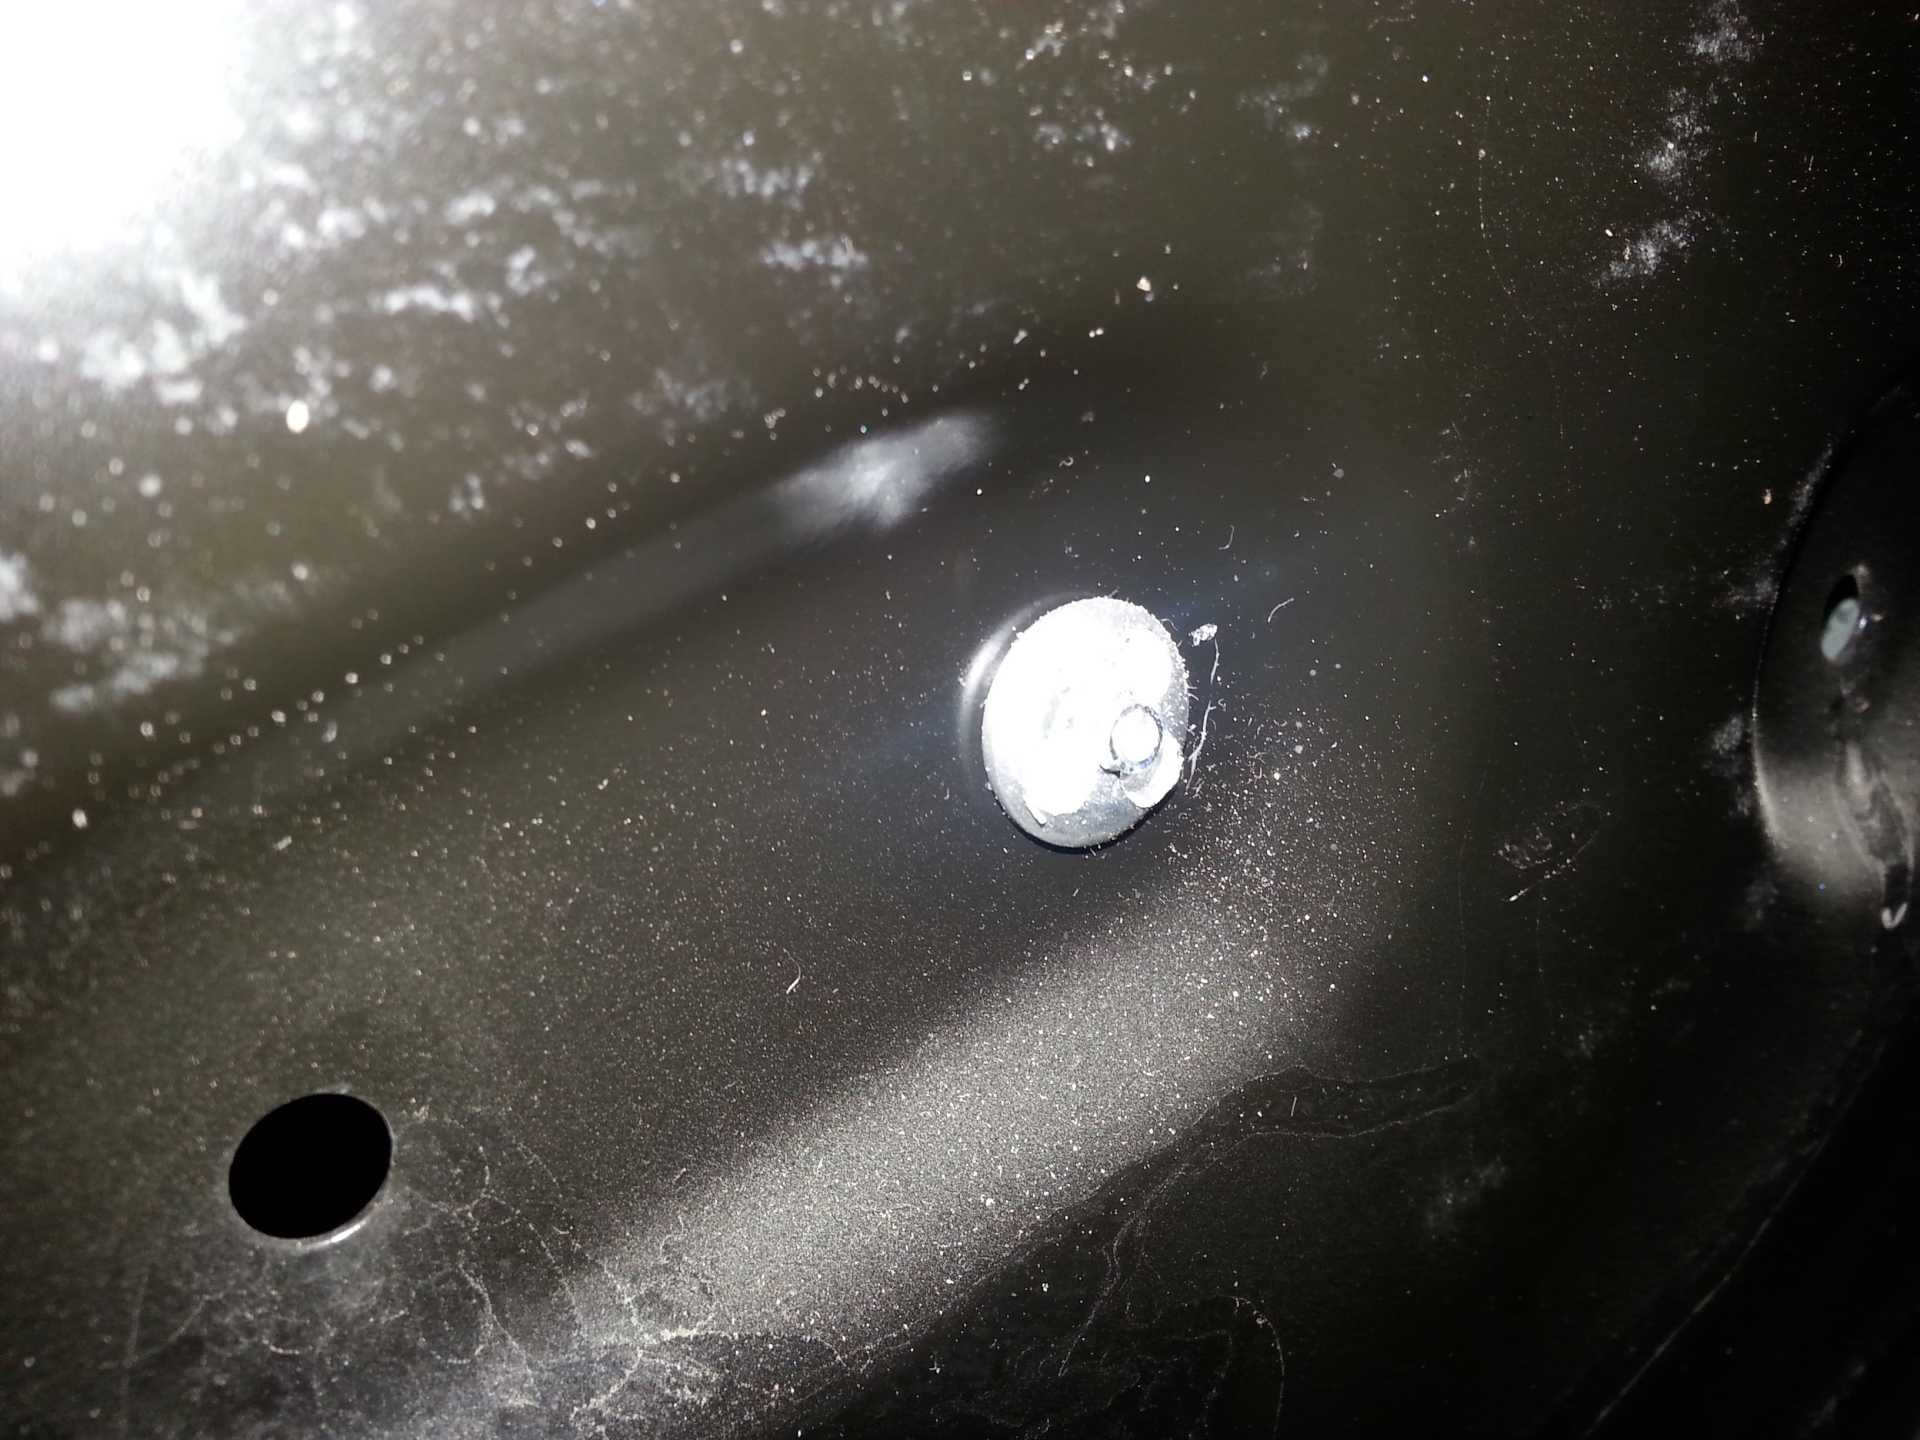
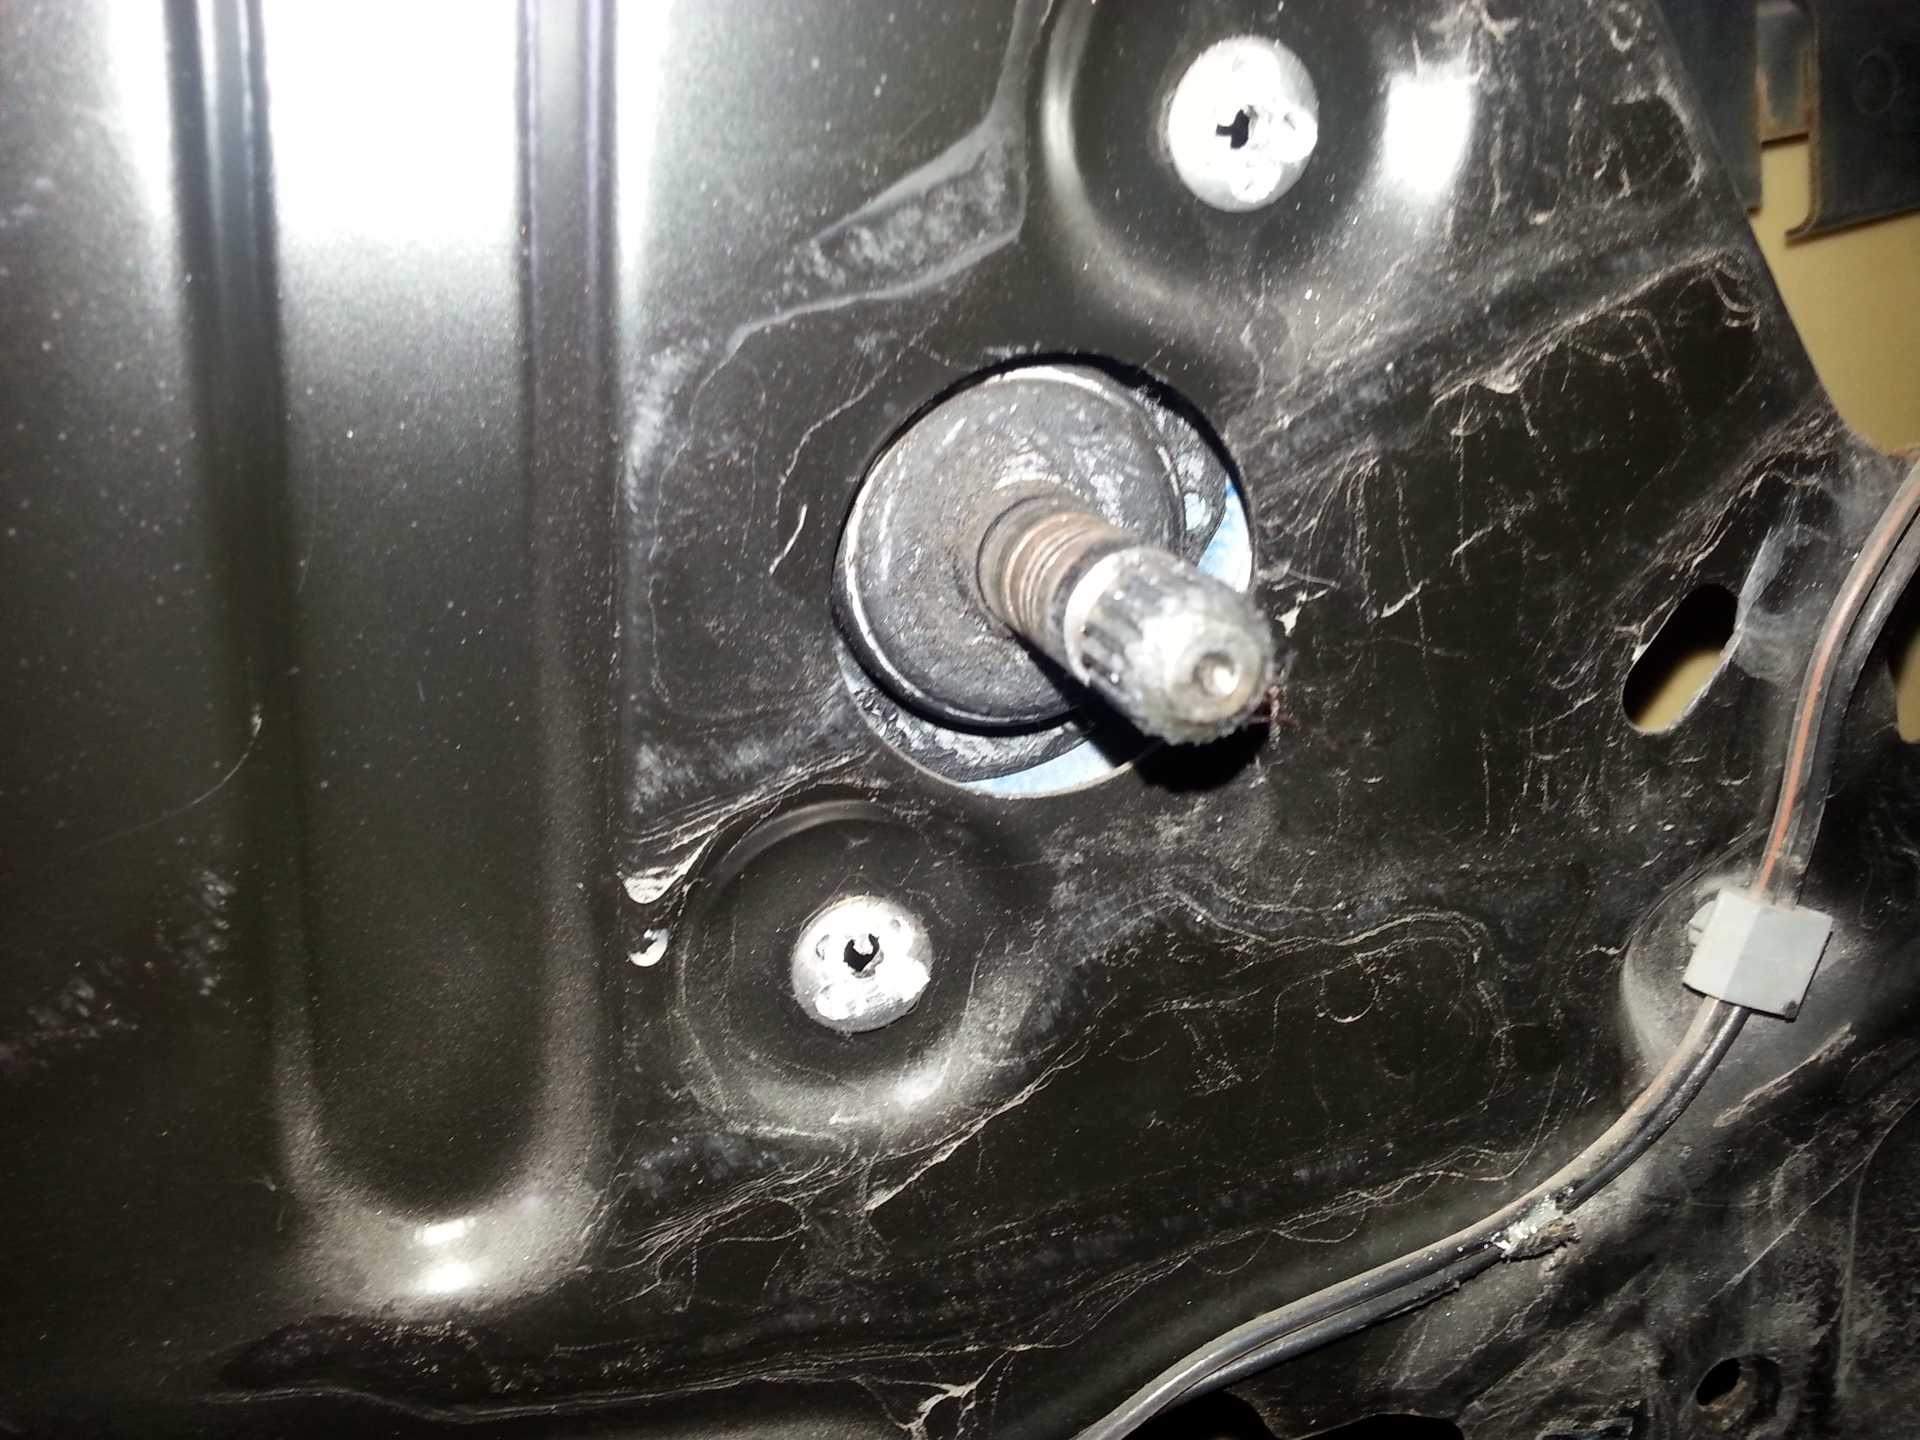
The clip is pictured below....just need to pop it off. You can try to use a couple of screwdrivers, but tough to get them in there. I found a piece of metal that slid in there flush to the door, just had to put it in position and tap it with a hammer. 10 minutes later....
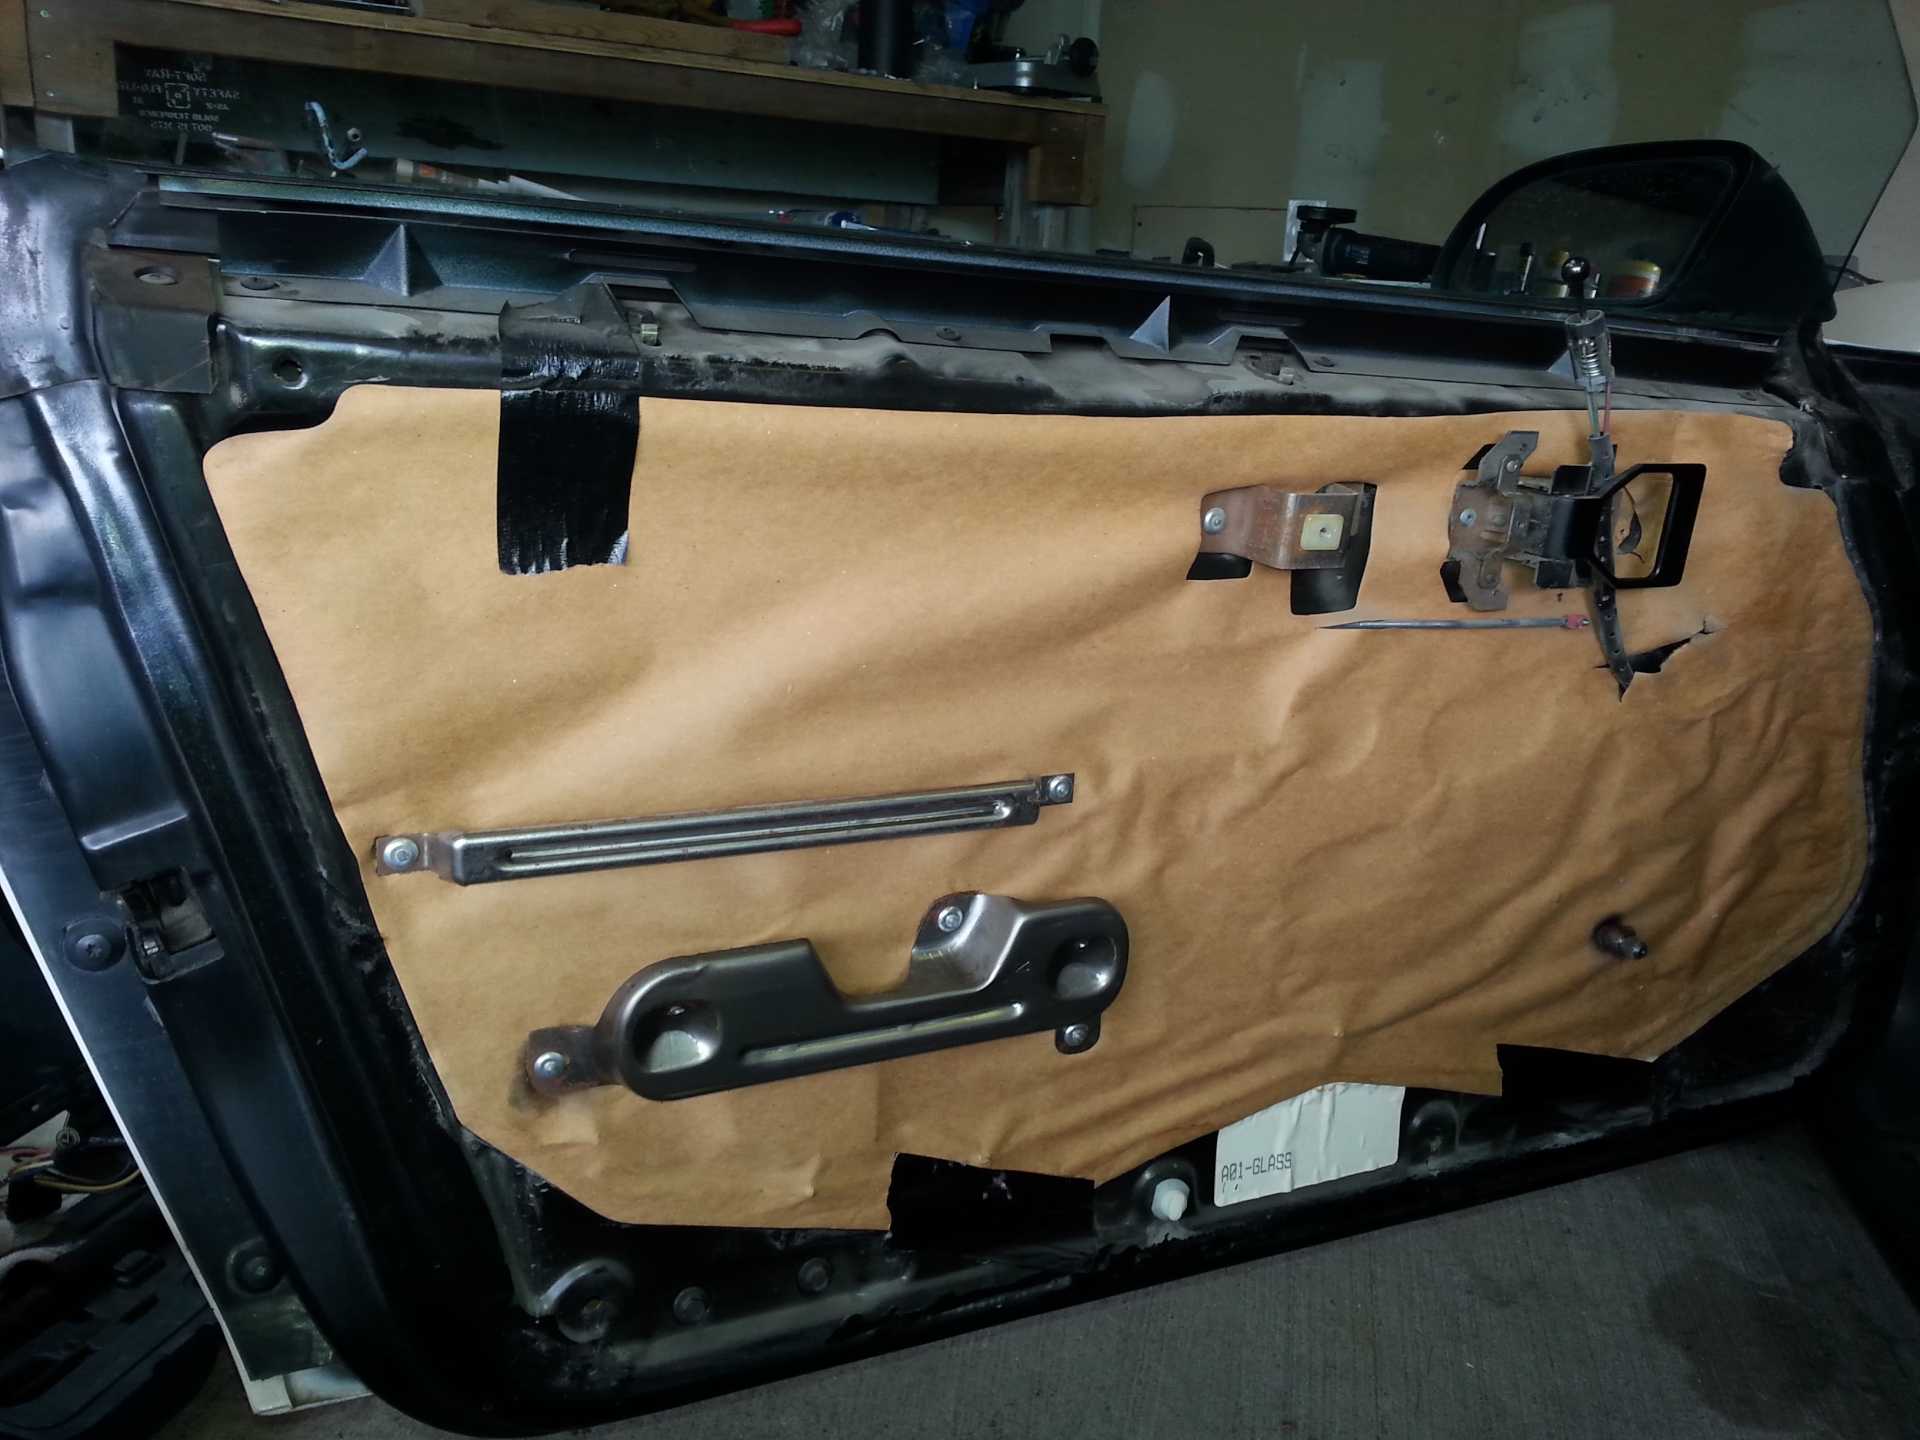
The handle, door release cover plate and window crank are all removed. Now take a large flathead screwdriver and slowly work your way around the door (not the top). Gently pry all the plastic retaining clips from the door. Hopefully they all release with the door panel....but don't panic if they stay with the door when they separate. They can be removed after with some needle nose pliers and reclipped back onto the door panel. You need to be extra careful with the clip at each upper corner of the panel. These two are slightly different, they have a small metal spacer that is secured to the door panel. If (when) they break off, you can hot glue them back in place later before you reassemble the door.
If you are careful, you can probably remove the paper and reuse it. I'm leaving it off, but if I were worried about it, I would secure a piece of plastic back in place. A little extra work...but worth it. In my case, I pulled the paper off and threw it away.
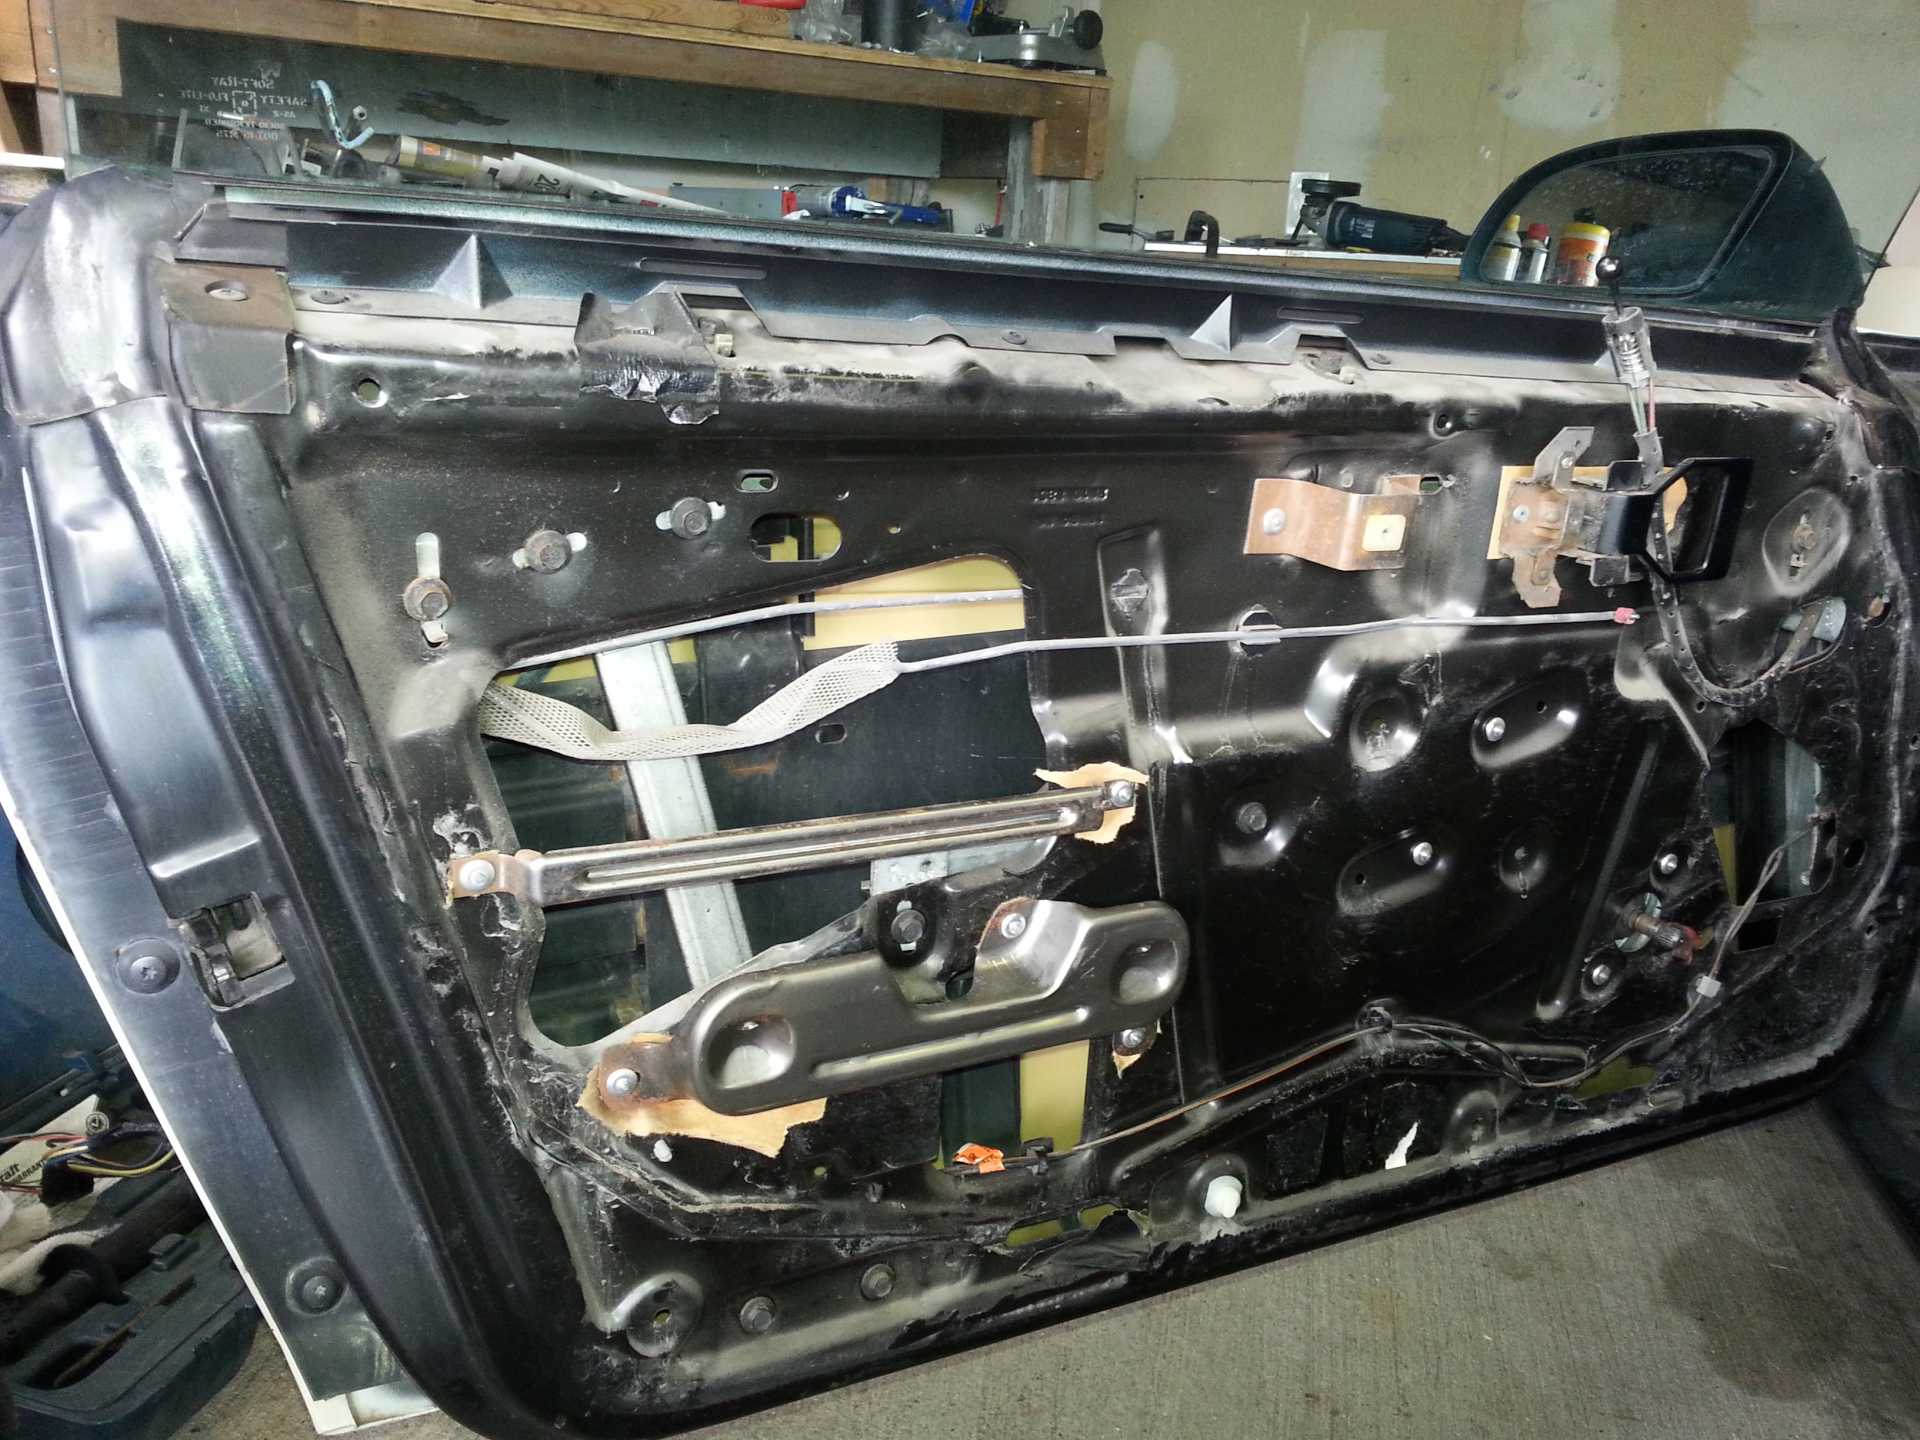
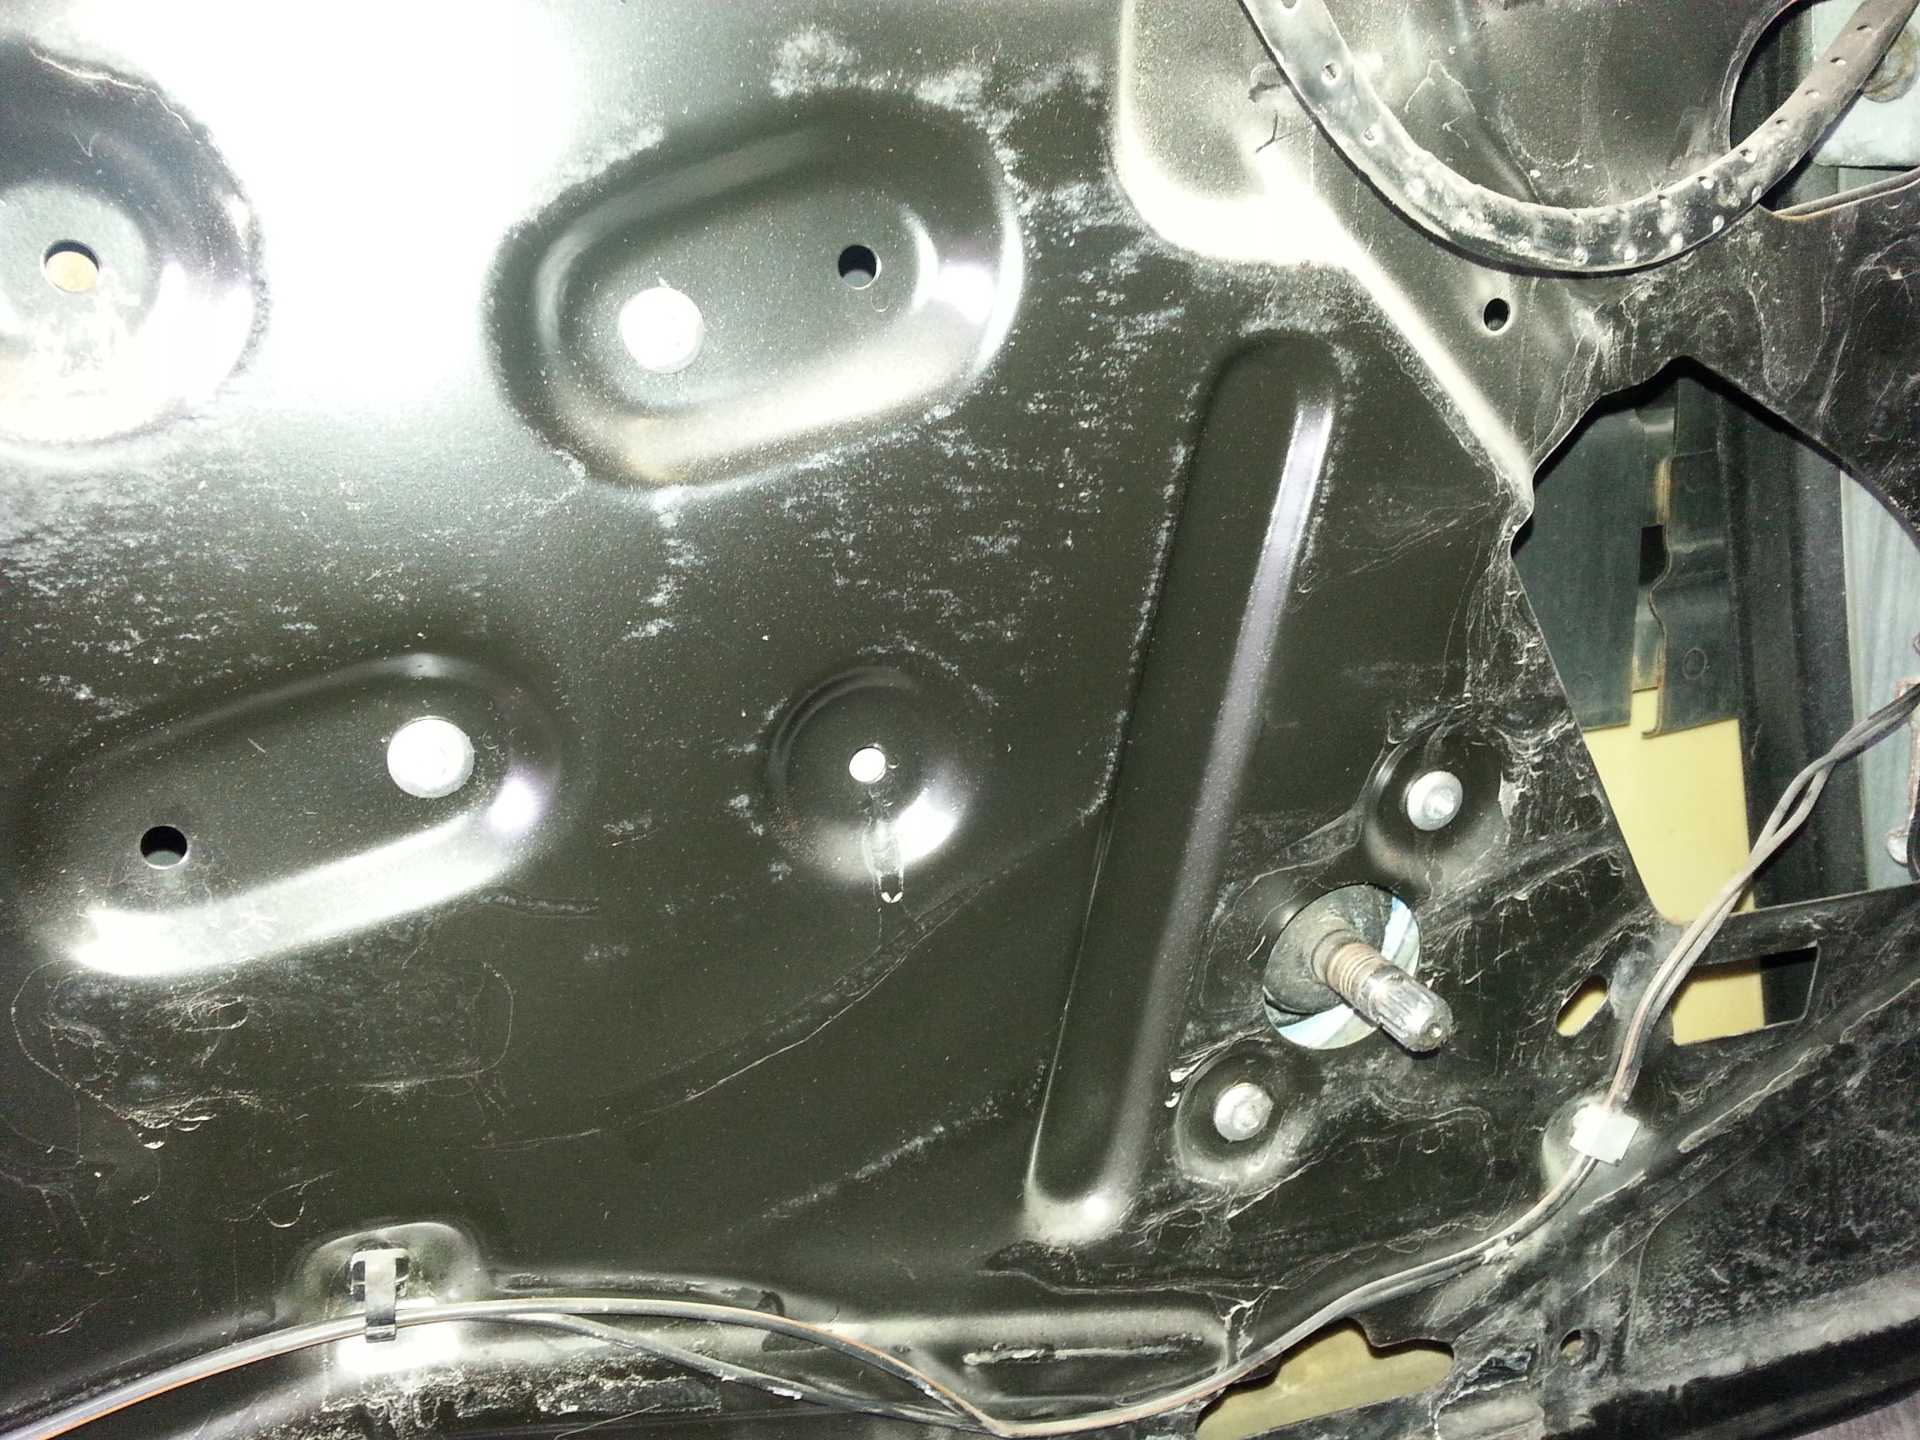
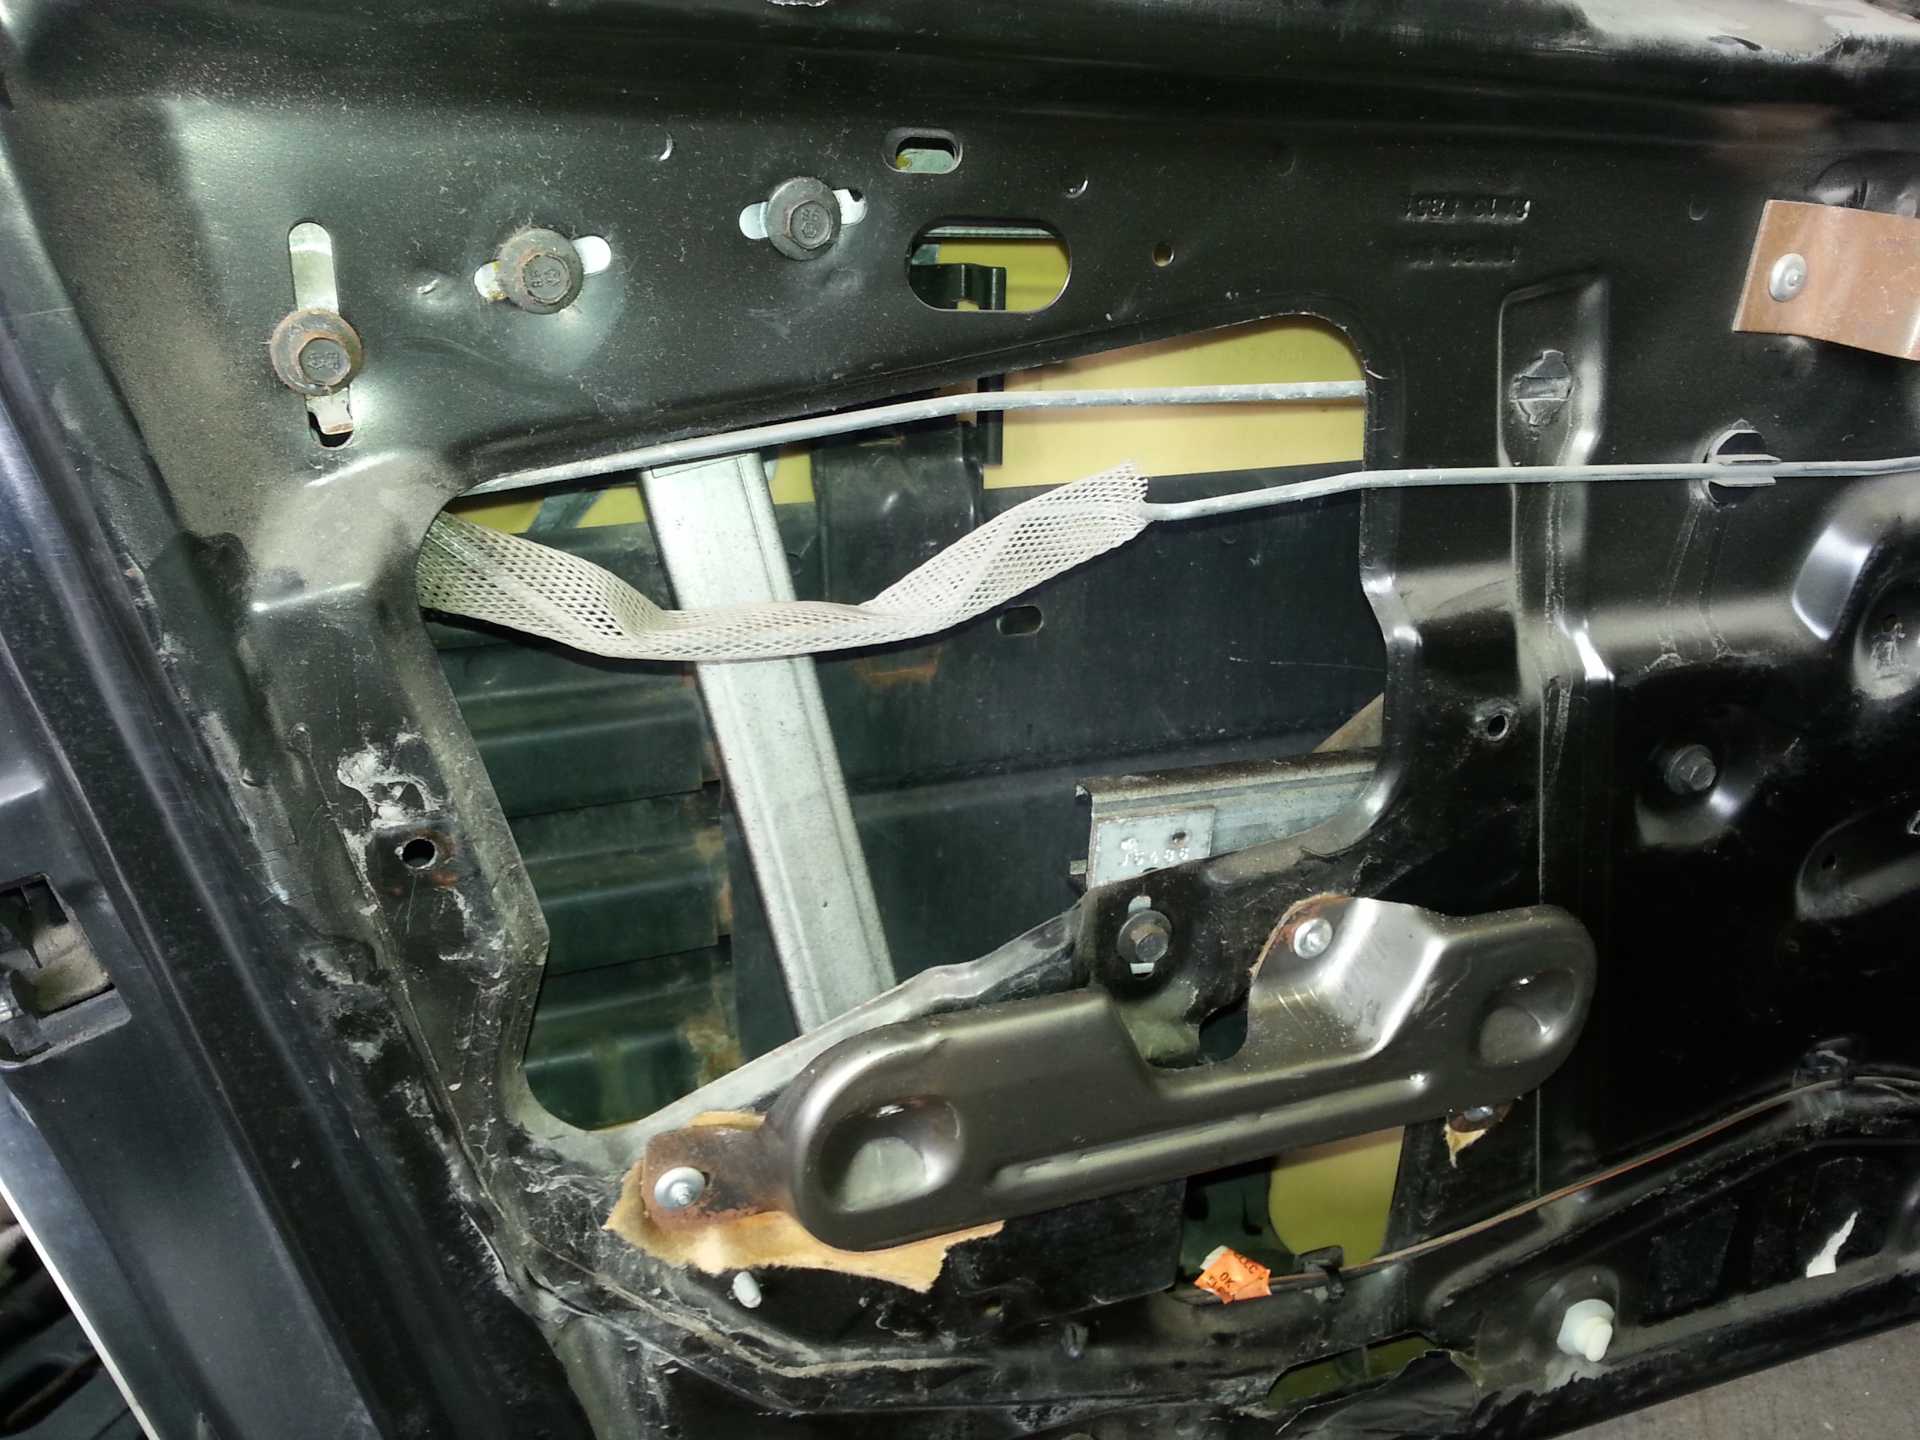
Clean door ready to go.
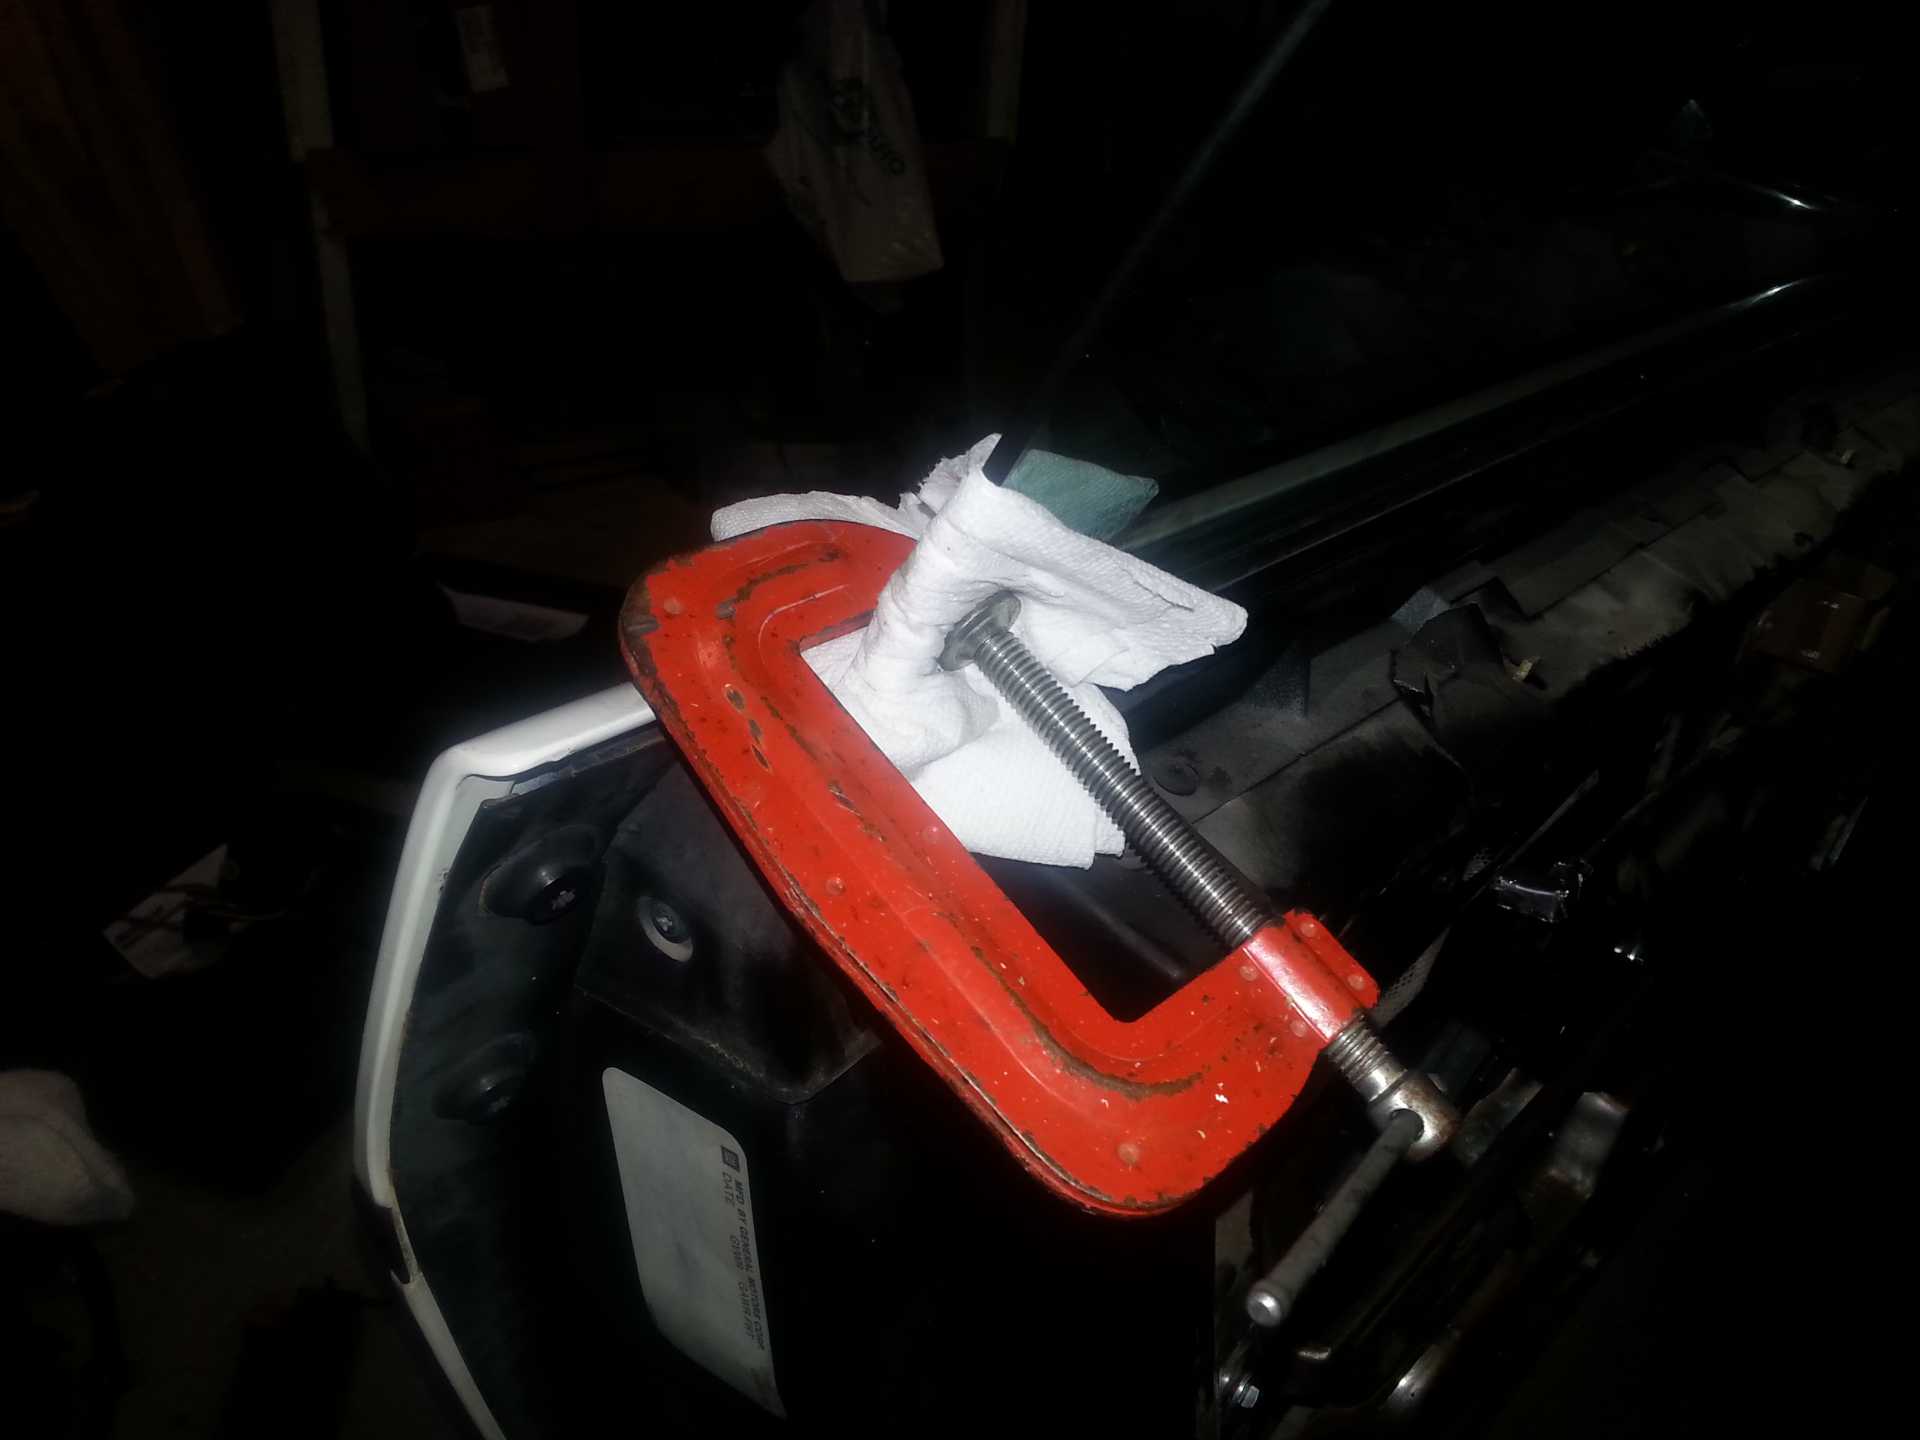
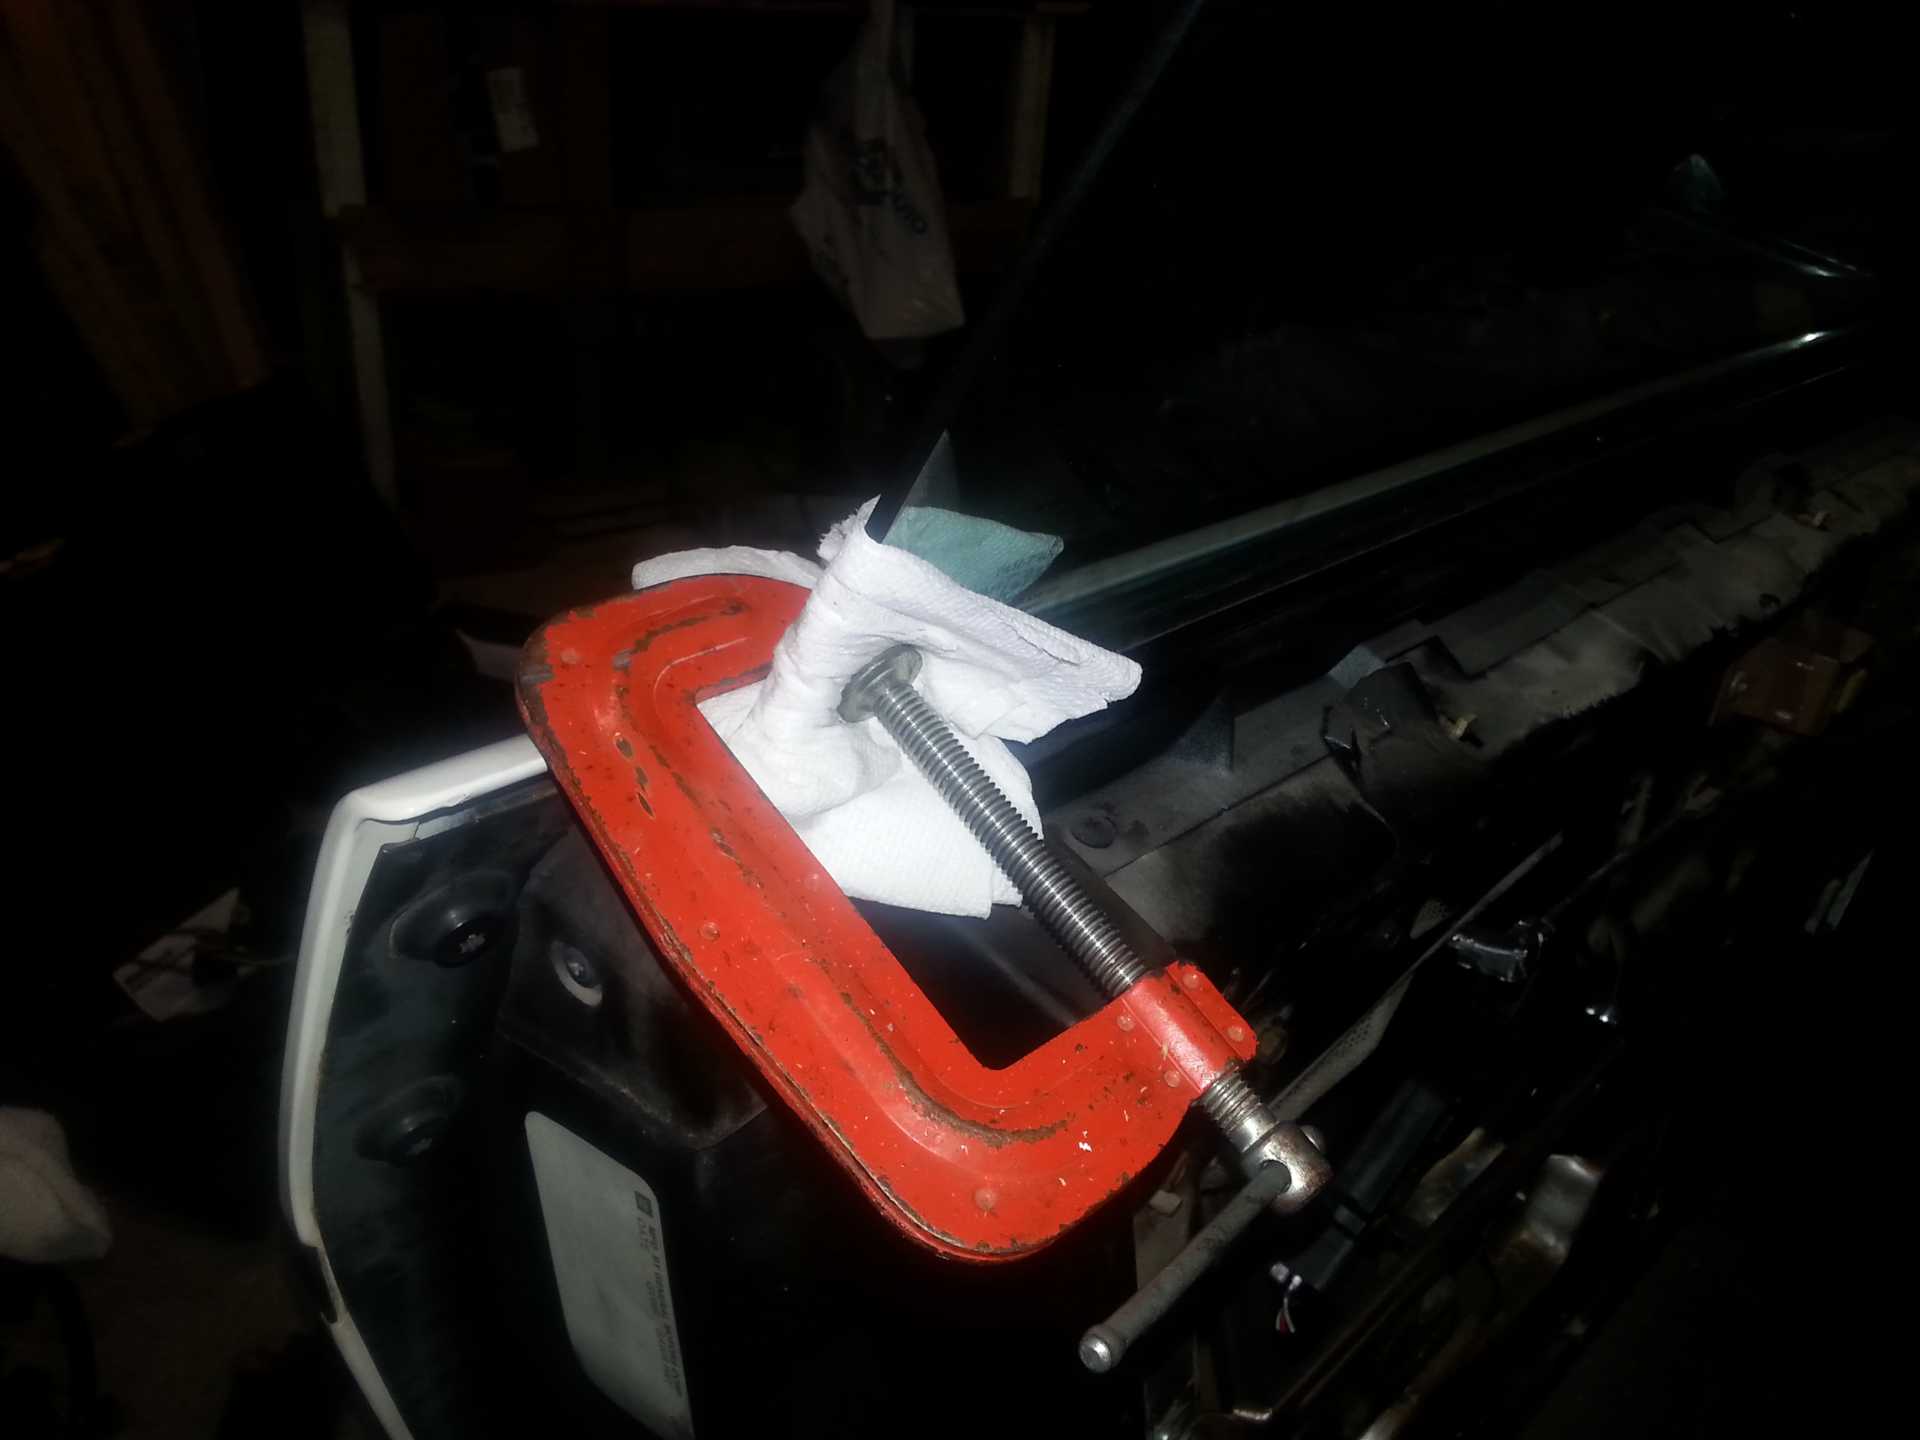
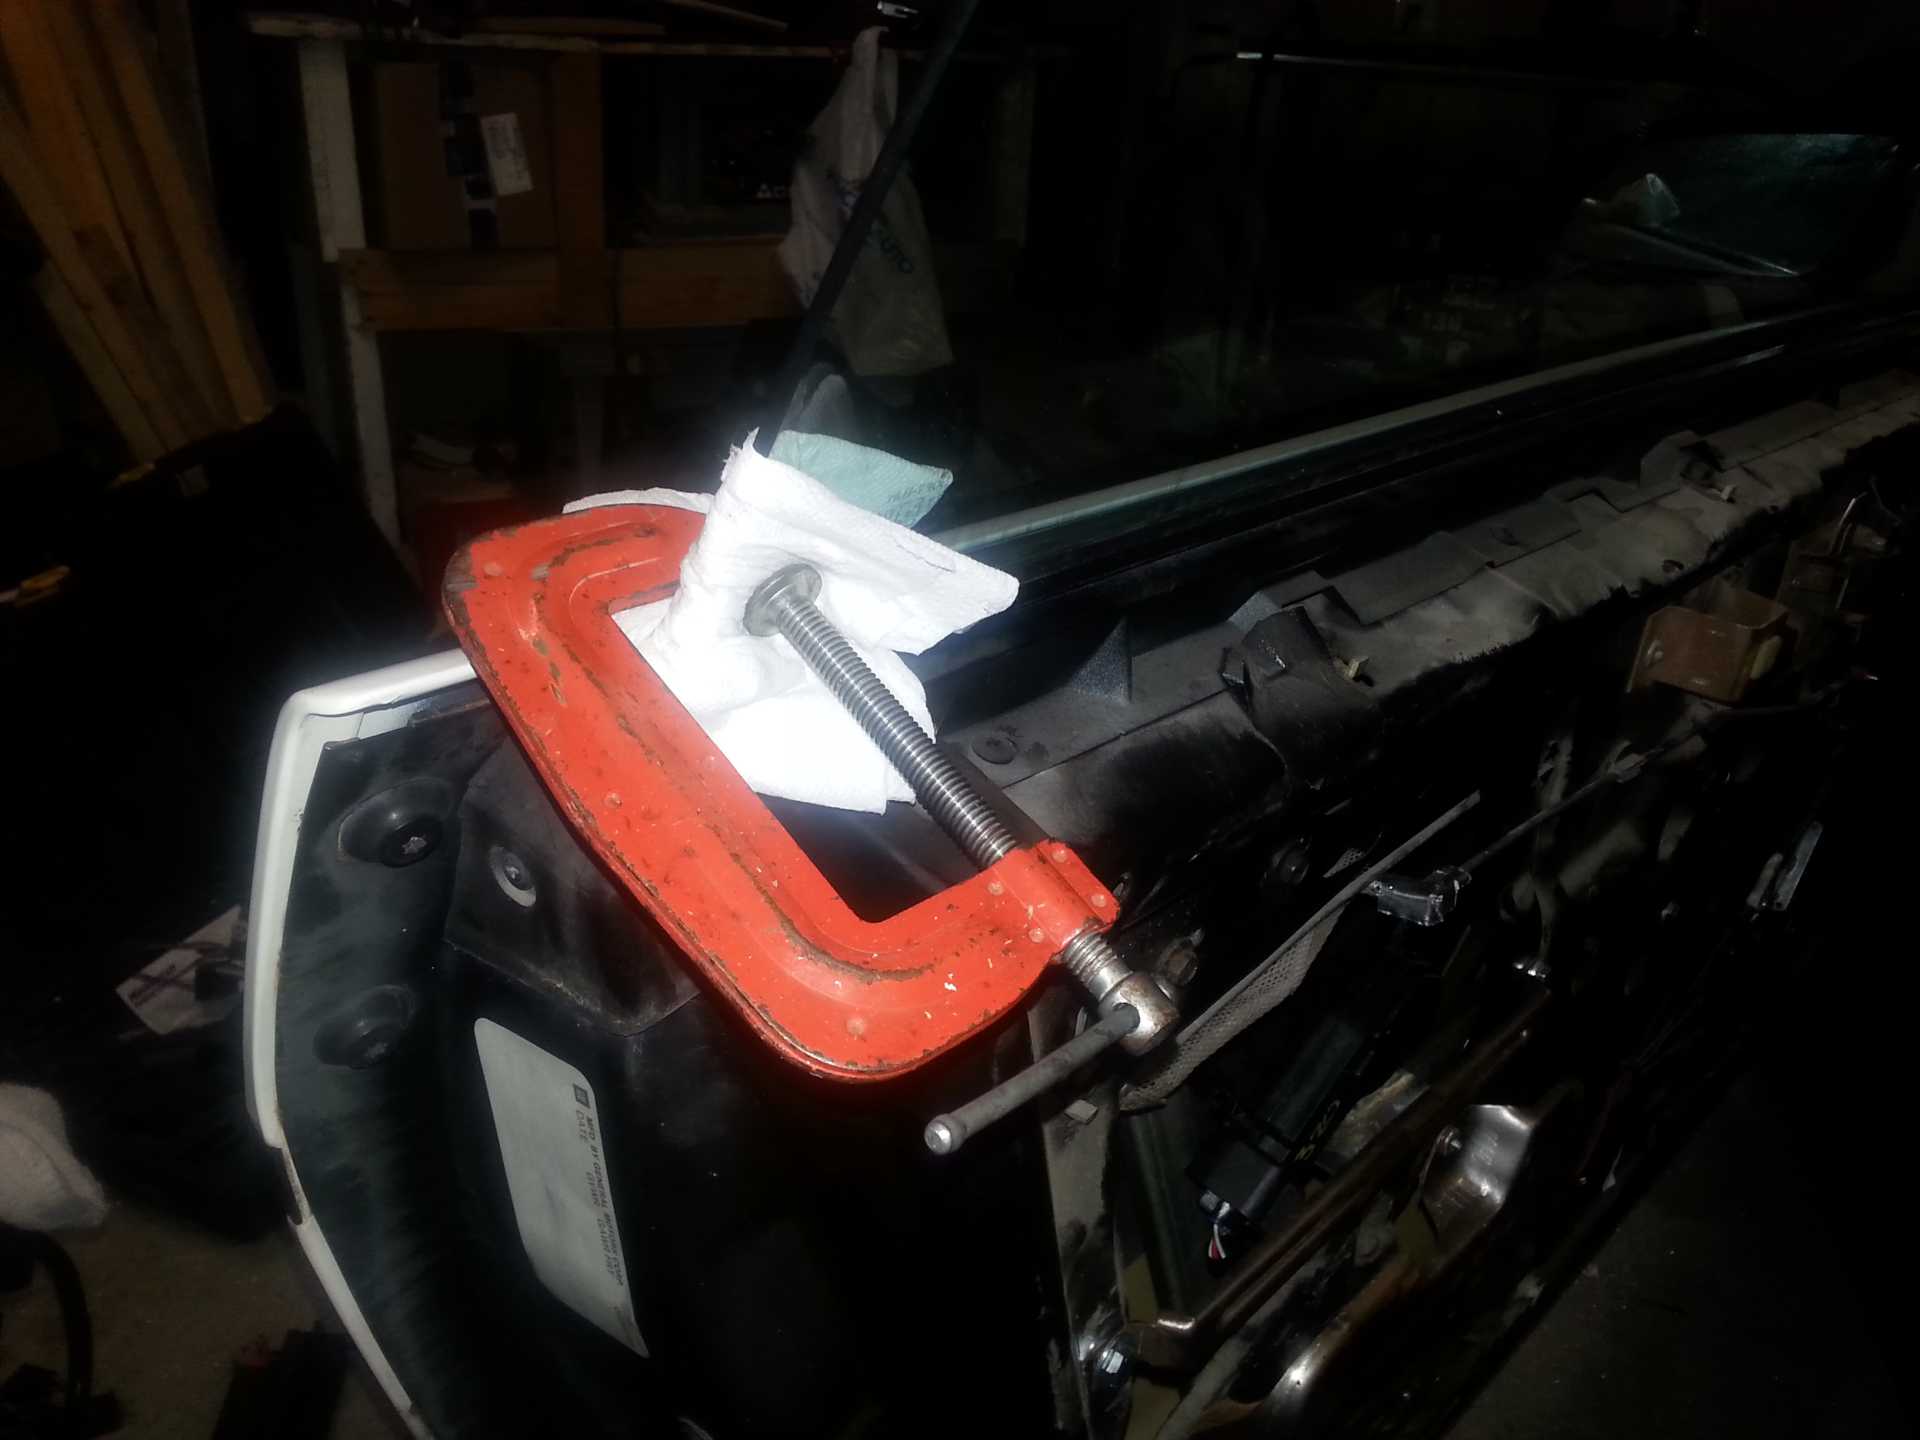
Secure the glass using two c-clamps (one forward, one back) and some paper towel. ***DO NOT OVER TIGHTEN! LIGHTLY SNUG THE CLAMP ONLY!!!*** The glass isn't too heavy, and you can adjust the clamps easily if you need to during the conversion. Just be aware that you can't shut the door while the clamps are in place. You may want to disconnect the battery, or put it on a trickle charger...otherwise your battery will end up dead from the lights being left on.
There are 6 rivets that need to be removed. This bar (2 rivets) needs to be removed to give enough room for the window regulator to come through. This is the largest opening on the inside of the door. (I'll show how to remove the rivets in a moment)
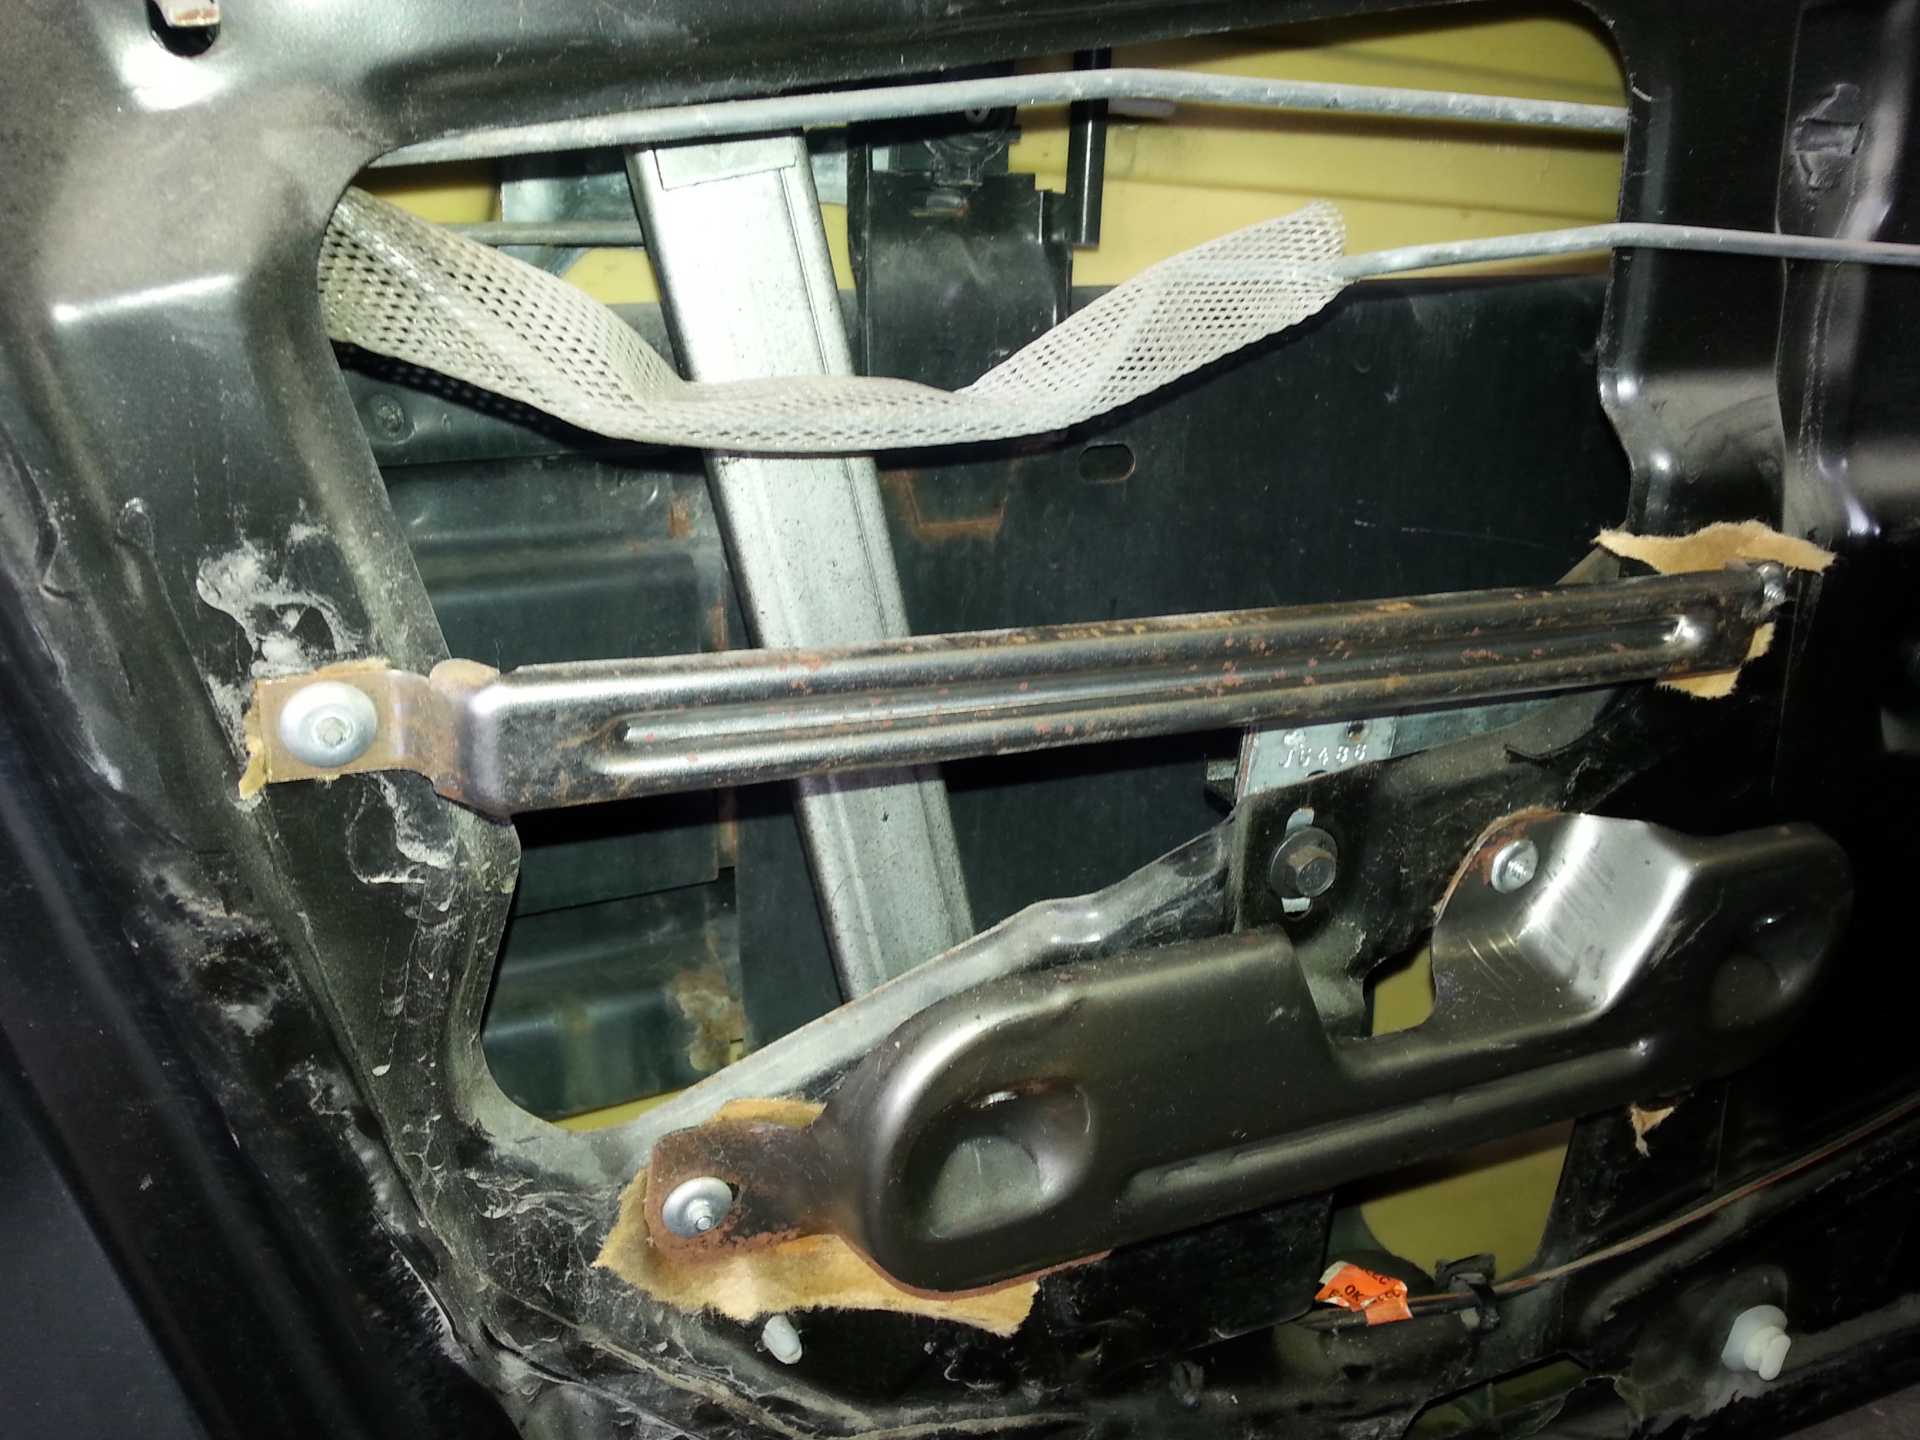
The window regulator itself has 4 rivets.
The best way to drill them out is to drill 3 or 4 small holes around the perimeter of the rivet. Careful only to drill through the aluminum rivet, not the steel sheet metal underneath. (I tried my best, but made a few "extra" holes
)
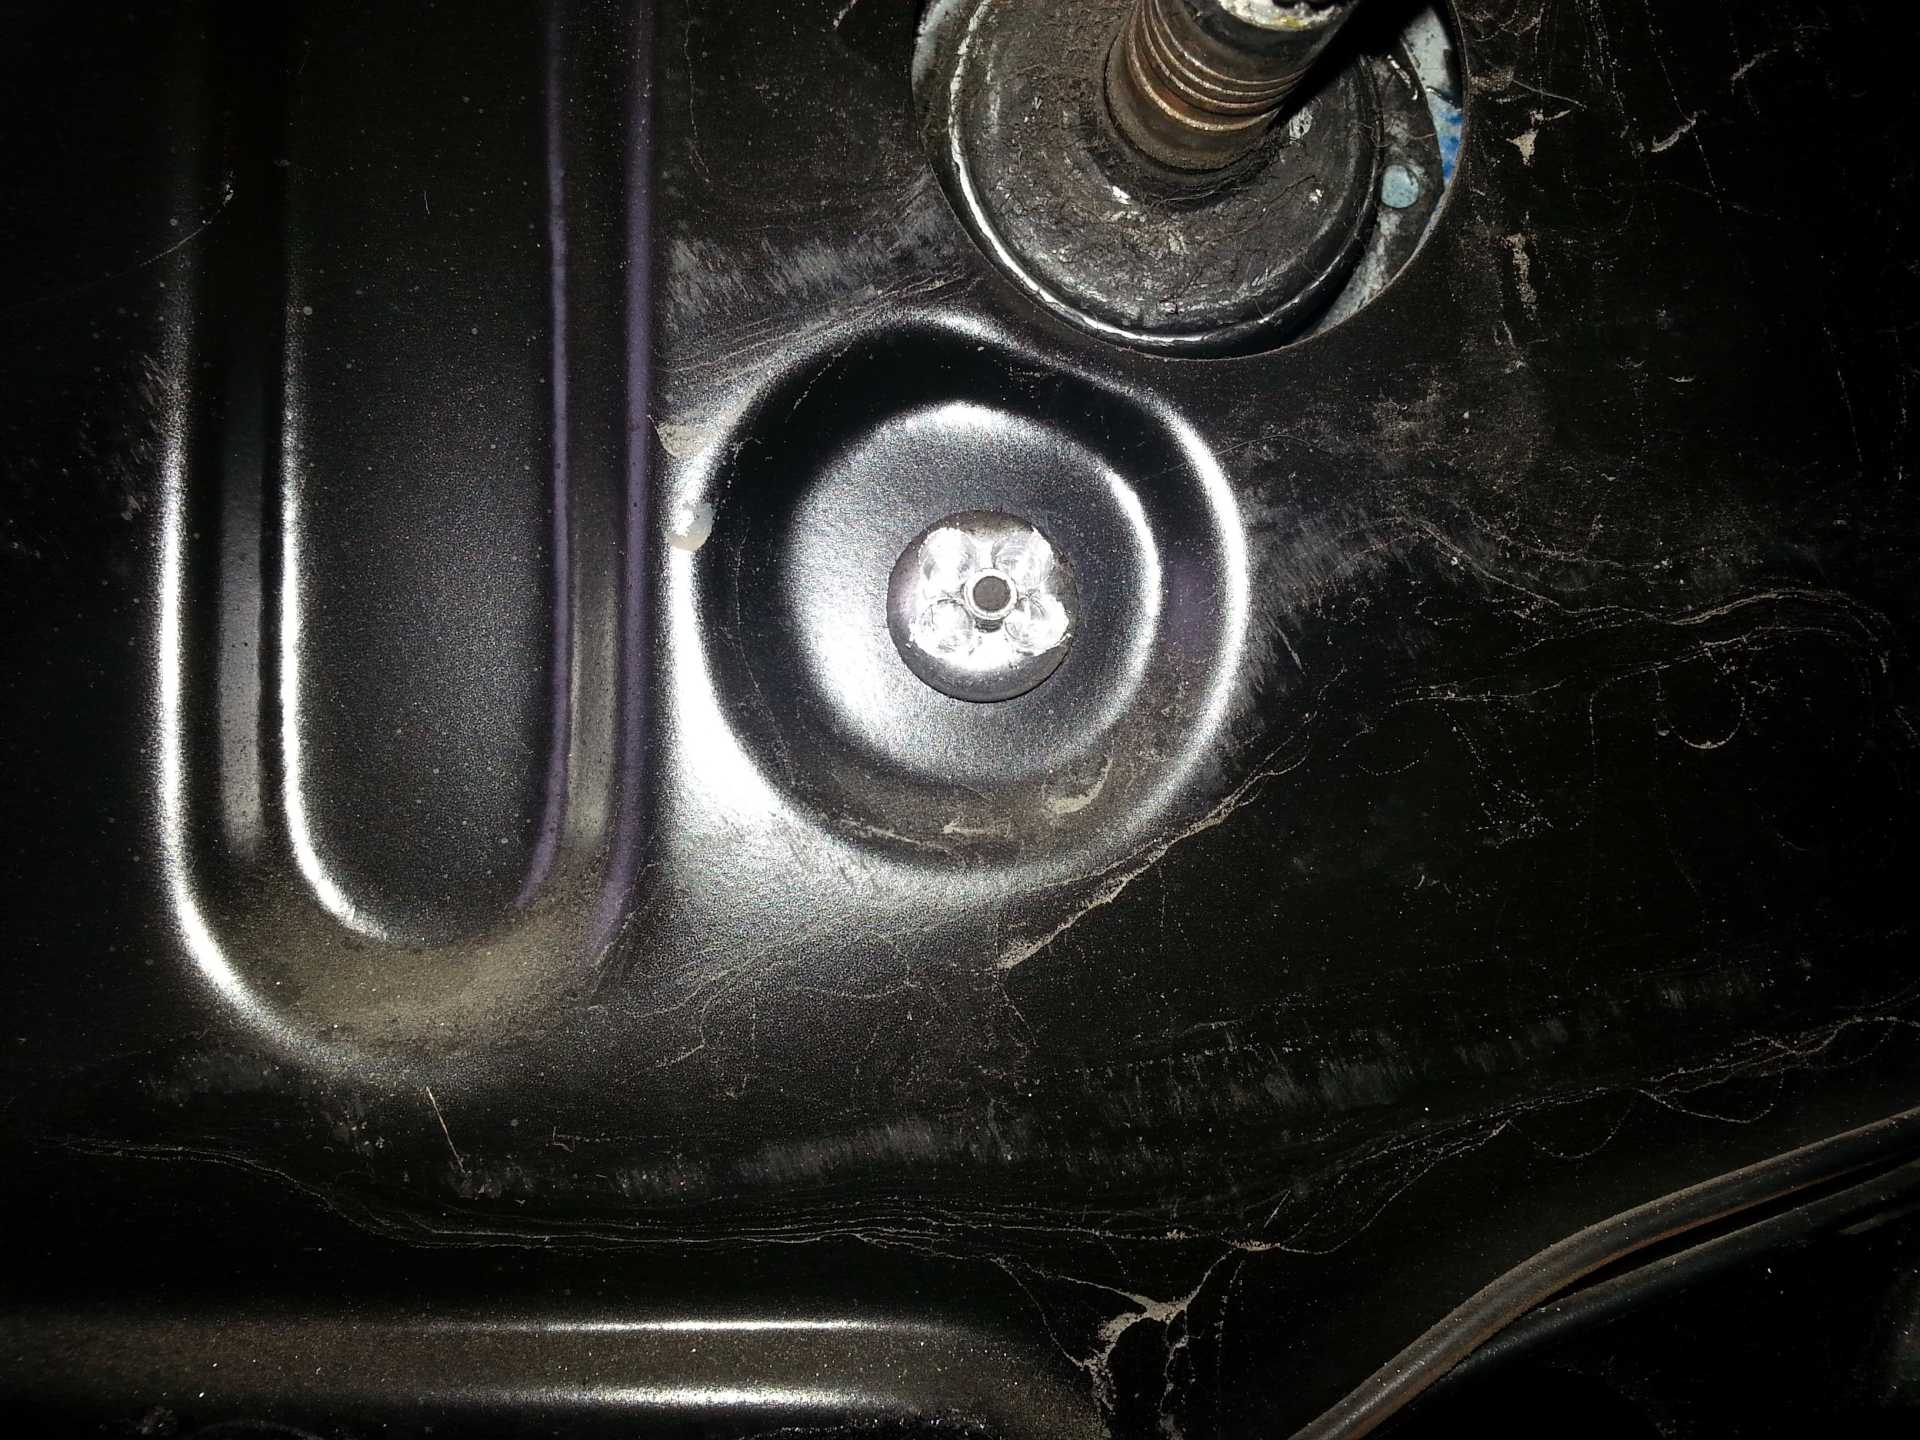
Use a pair of needlenose pliers, and put them into the holes that you drilled. Give the rivet a little turn to loosen it up, then you can smack the center out with a screwdriver and a hammer (light tap).
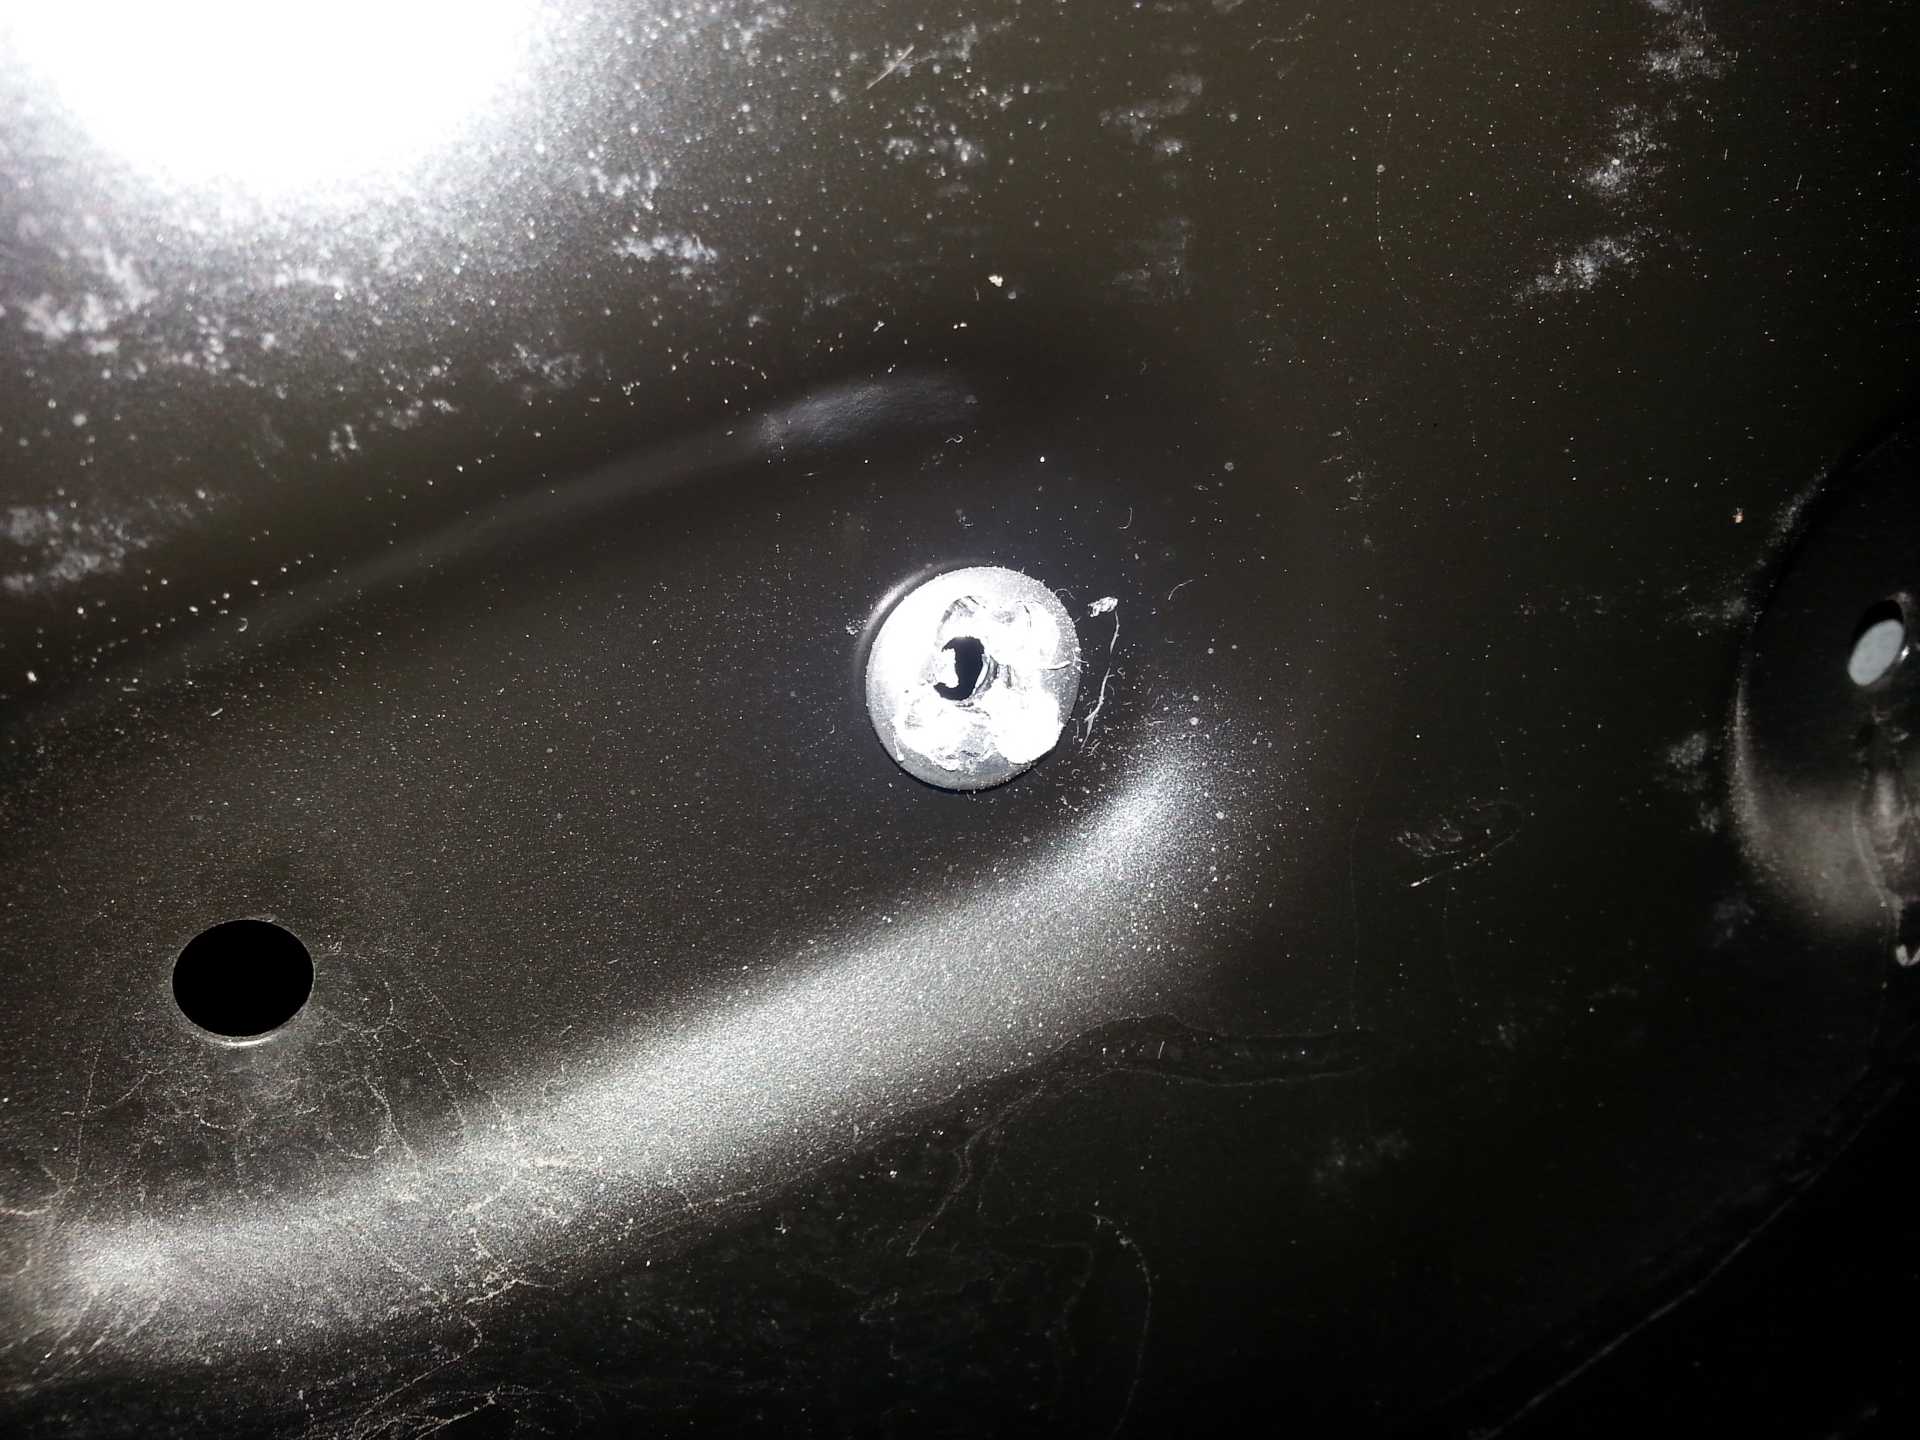
Now you can drill the center of the rivet out and then pry the remnants of the rivet off with a flathead screwdriver and a hammer.
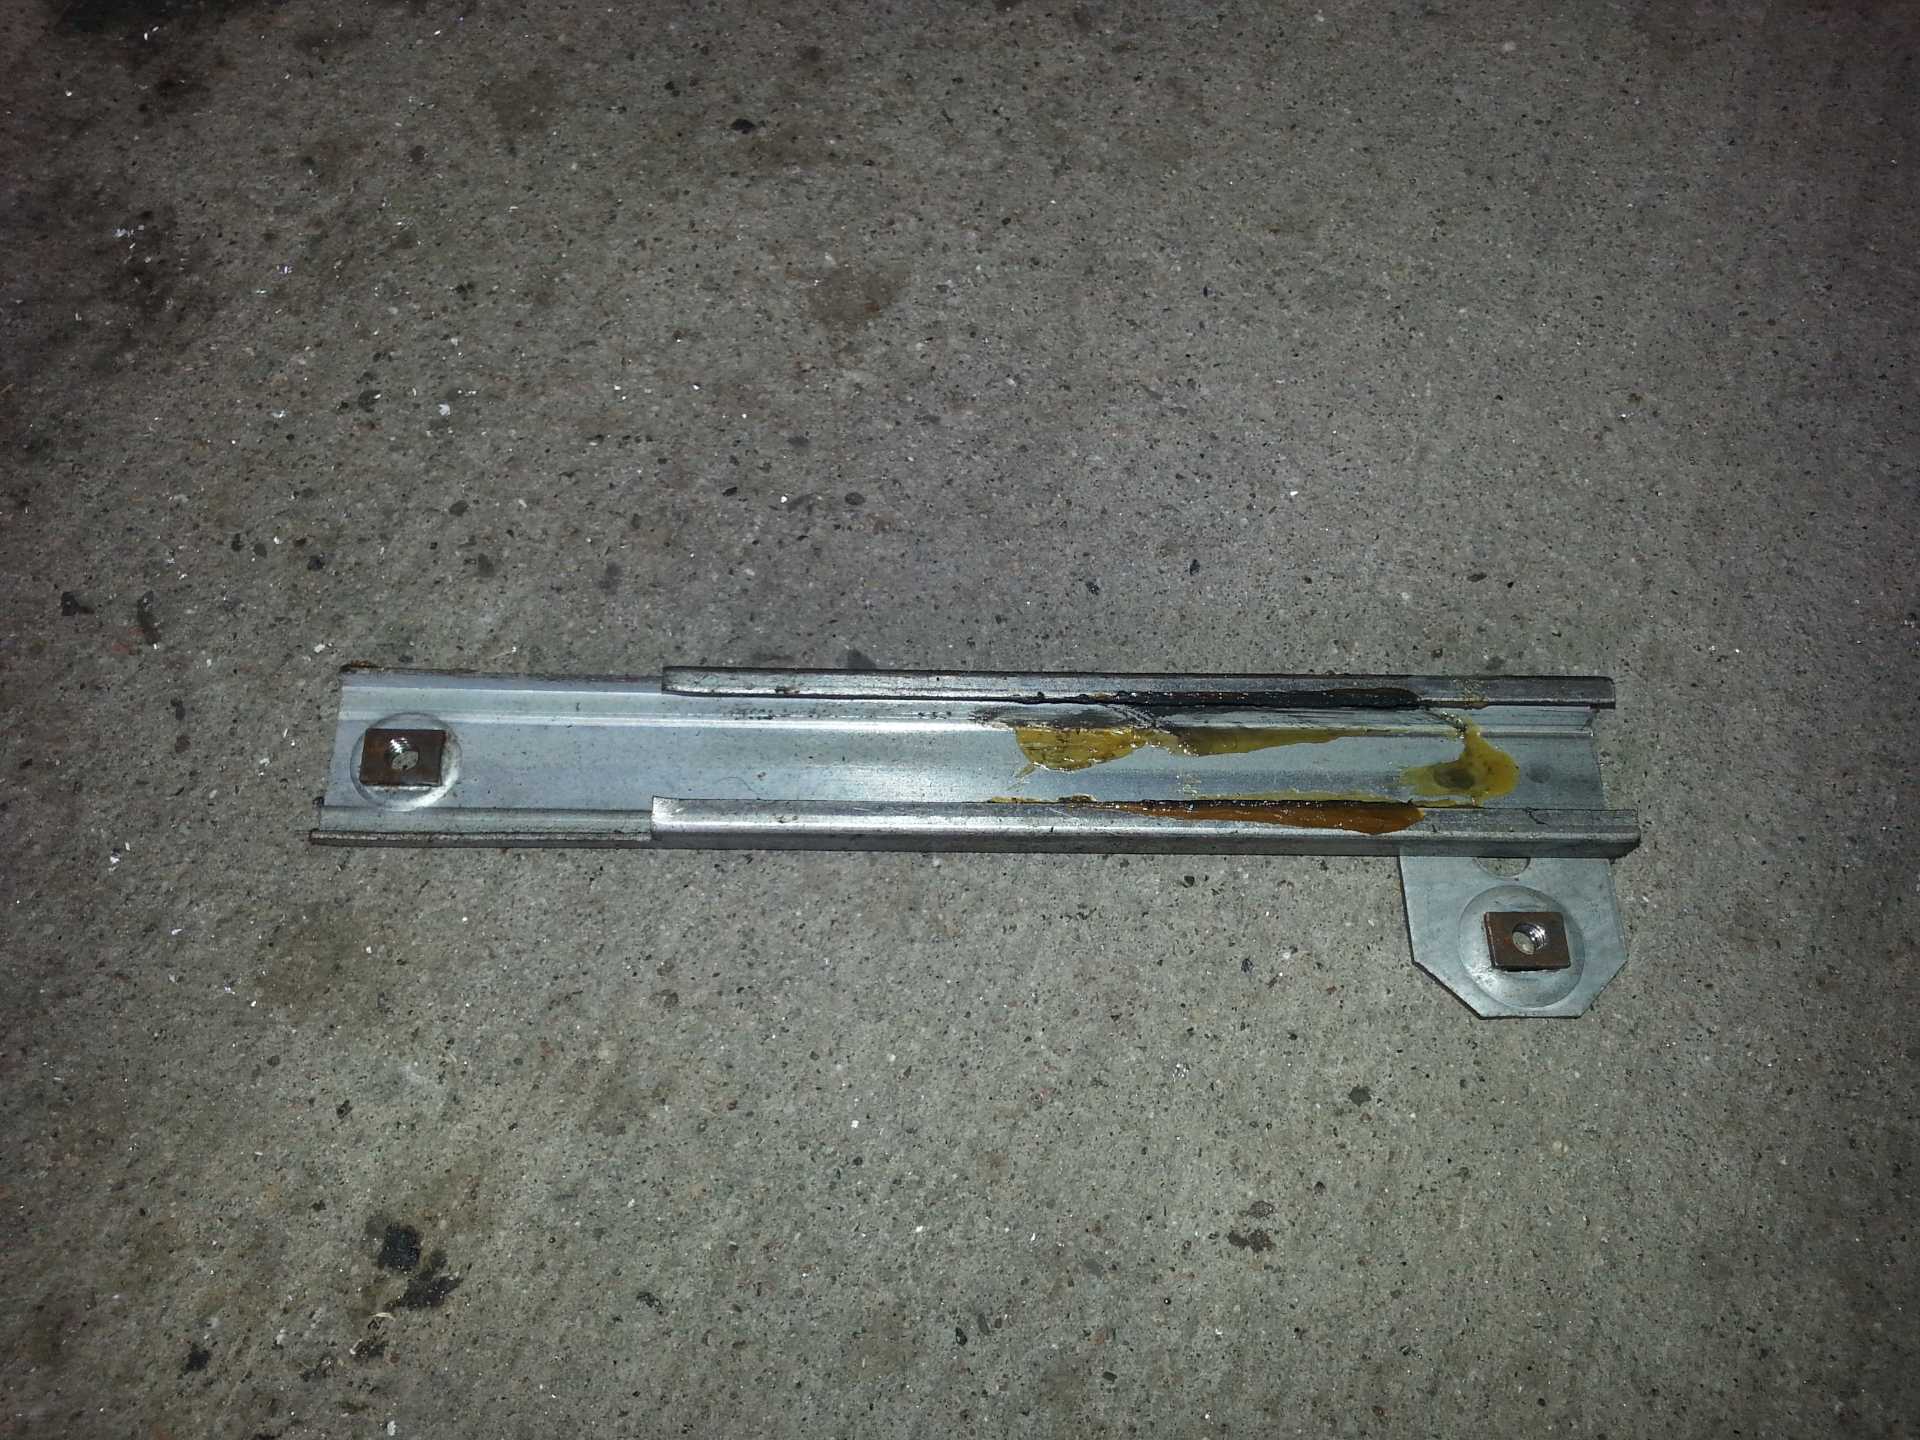
Next remove the two bolts securing the lower window guide rail. The guide rail pulls out easily at this point.
The lower guide rail....
You can now pull the window regulator out of the opening in the door. This takes some fiddling, but it does fit. You'll need to slide the wheels off the upper guide rails. It's easiest to slide one wheel off the forward end and the other wheel off the back end of the rail. Just be slow and methodical and it will come out.
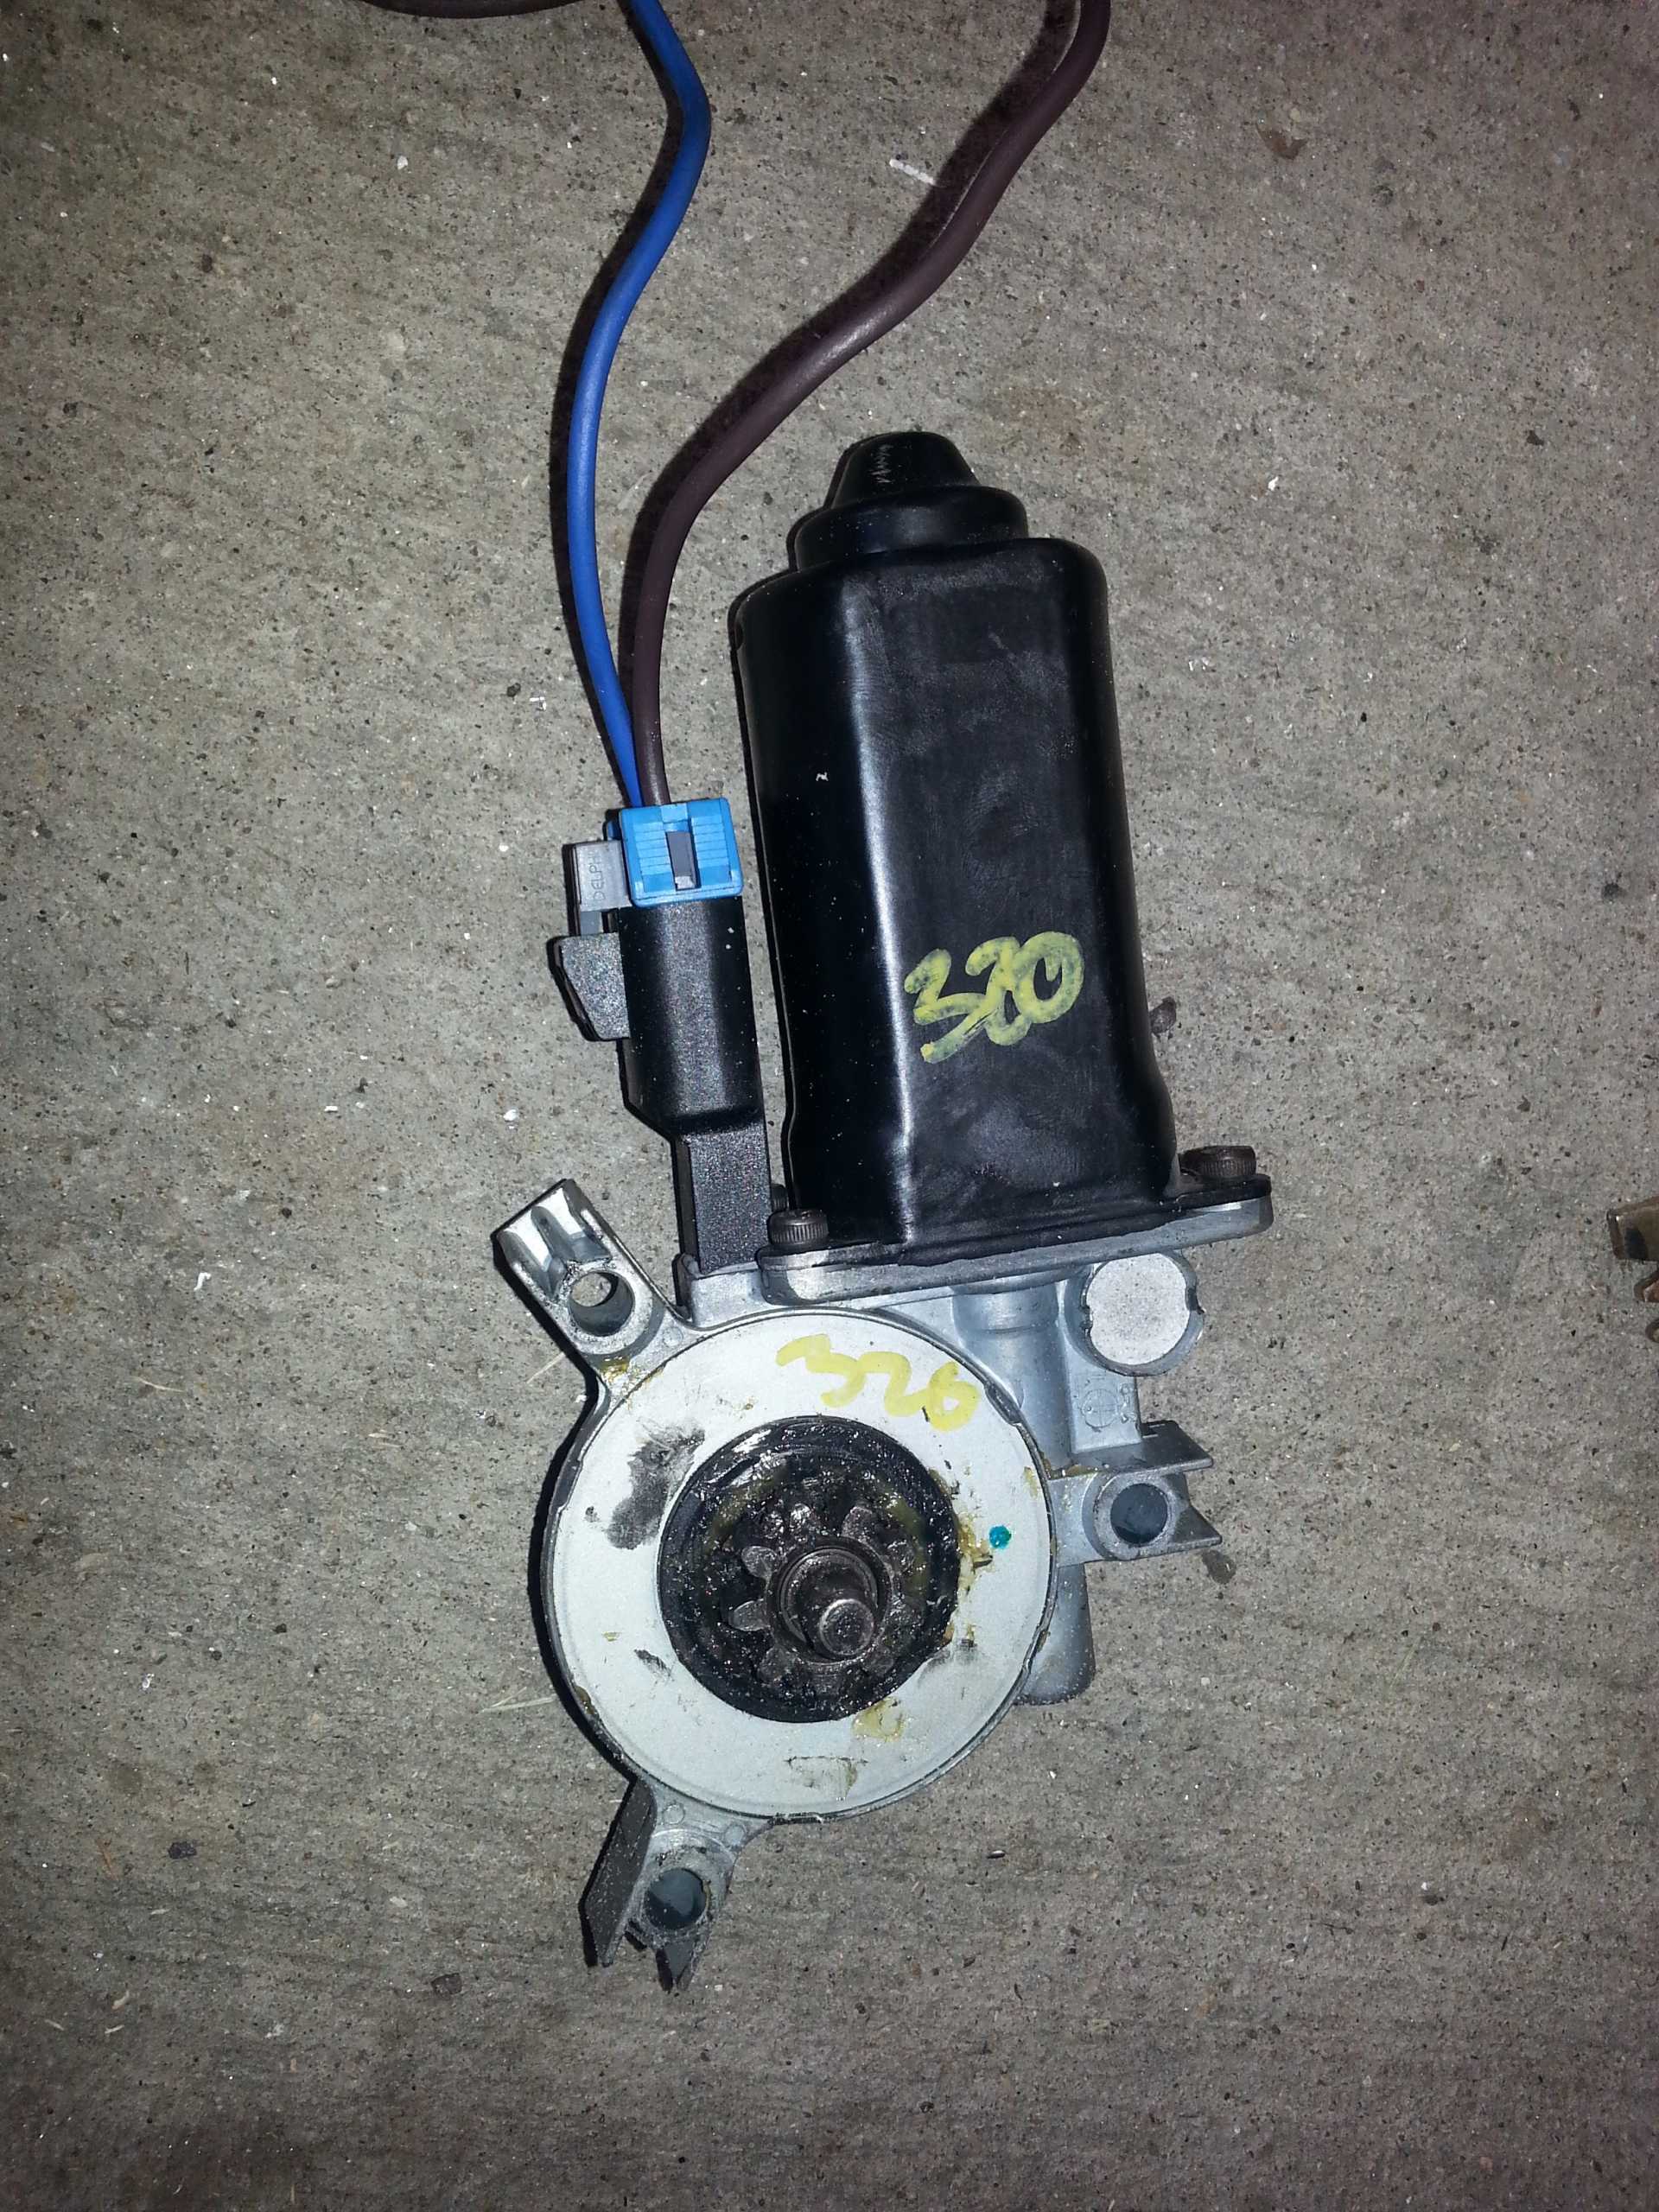
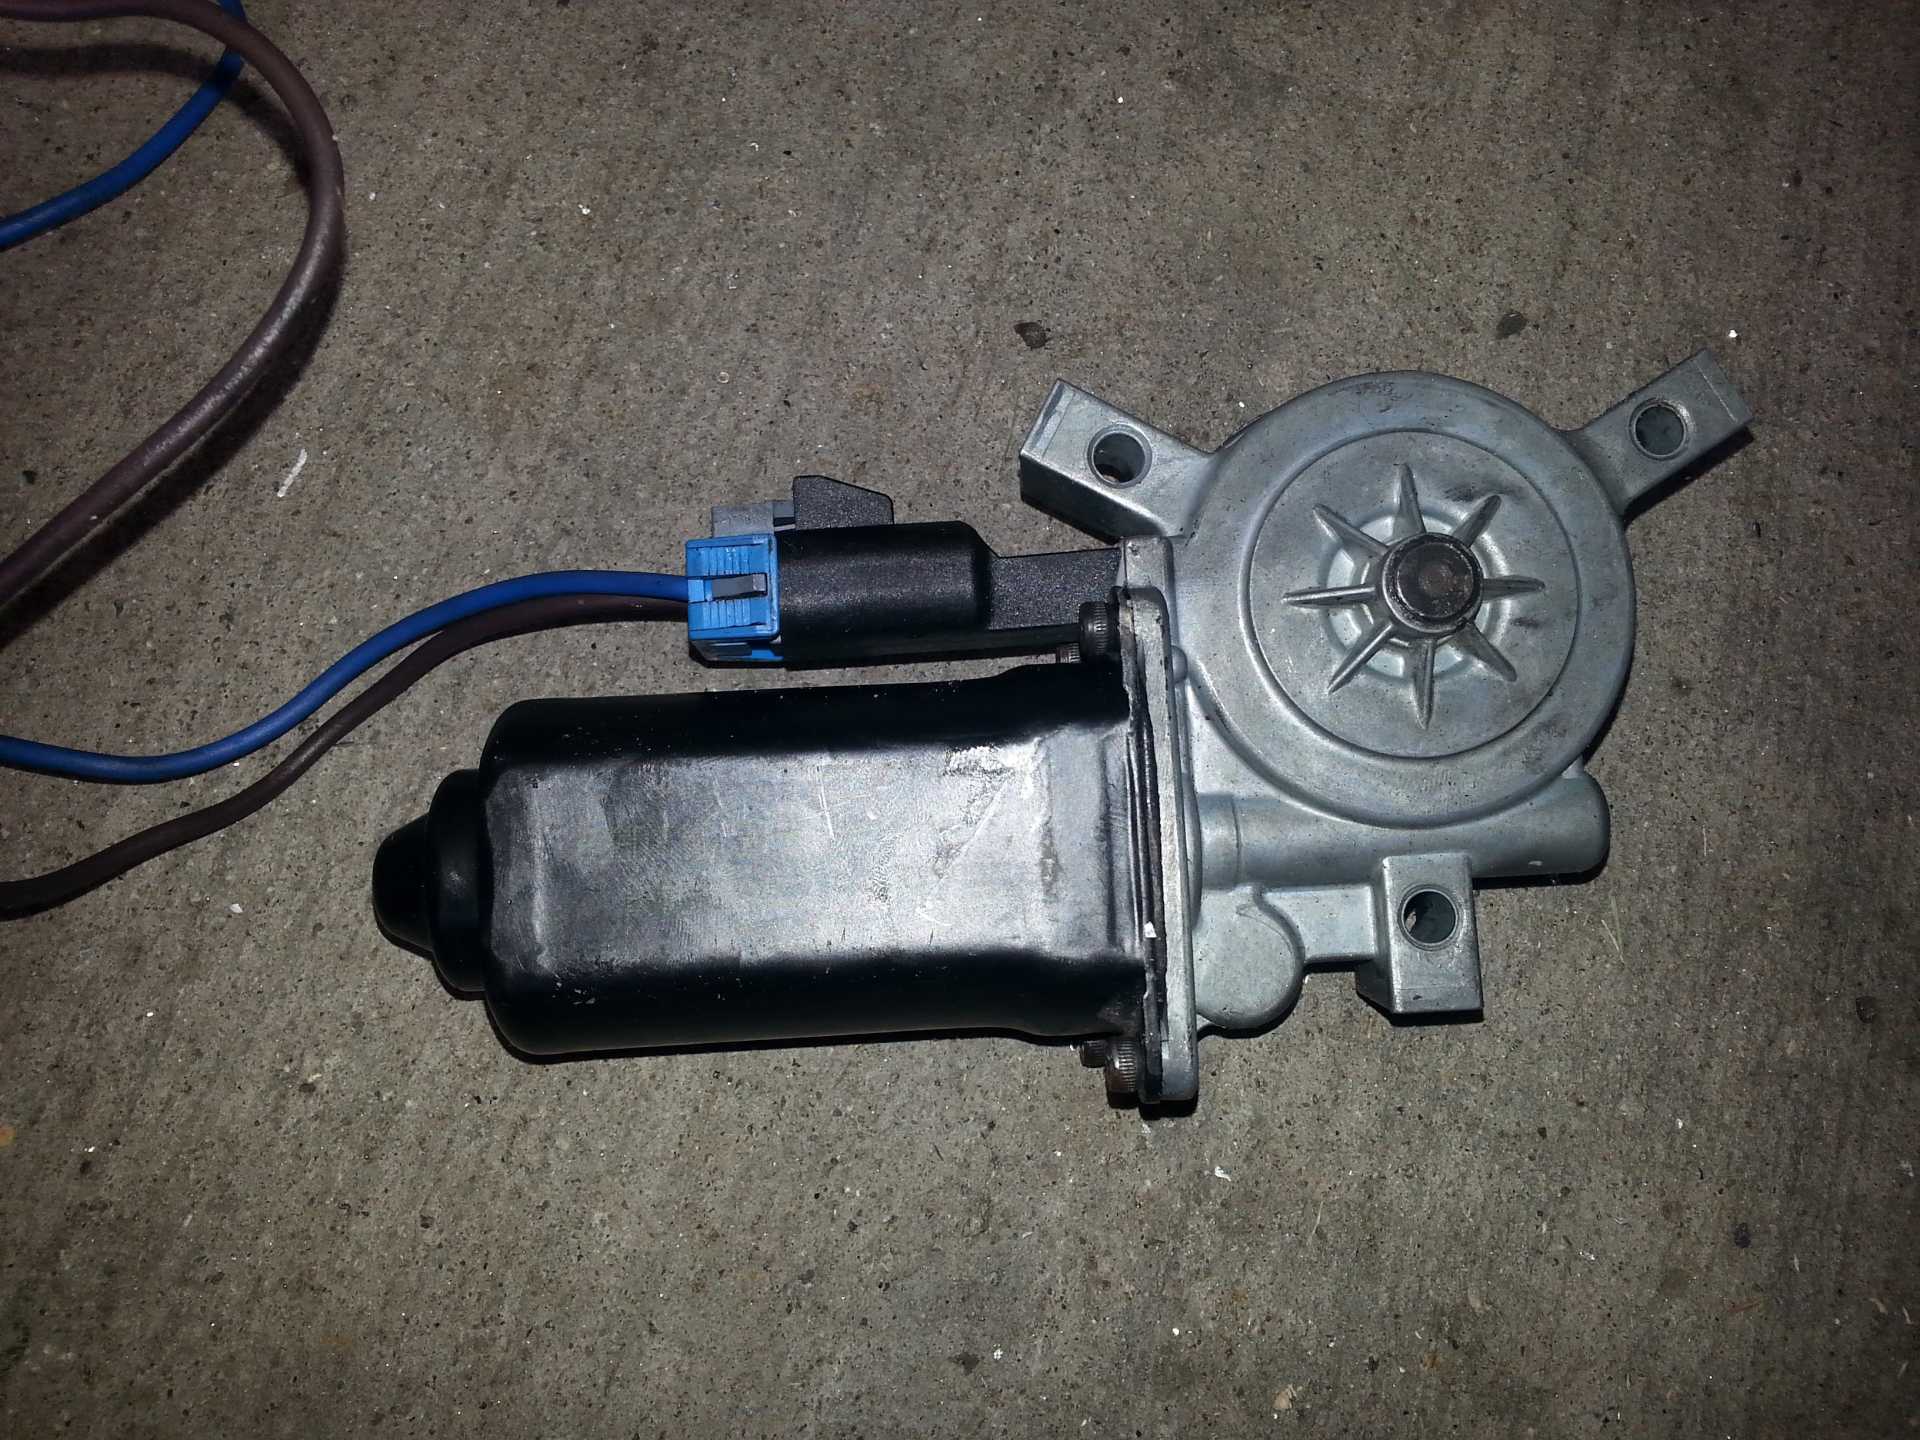
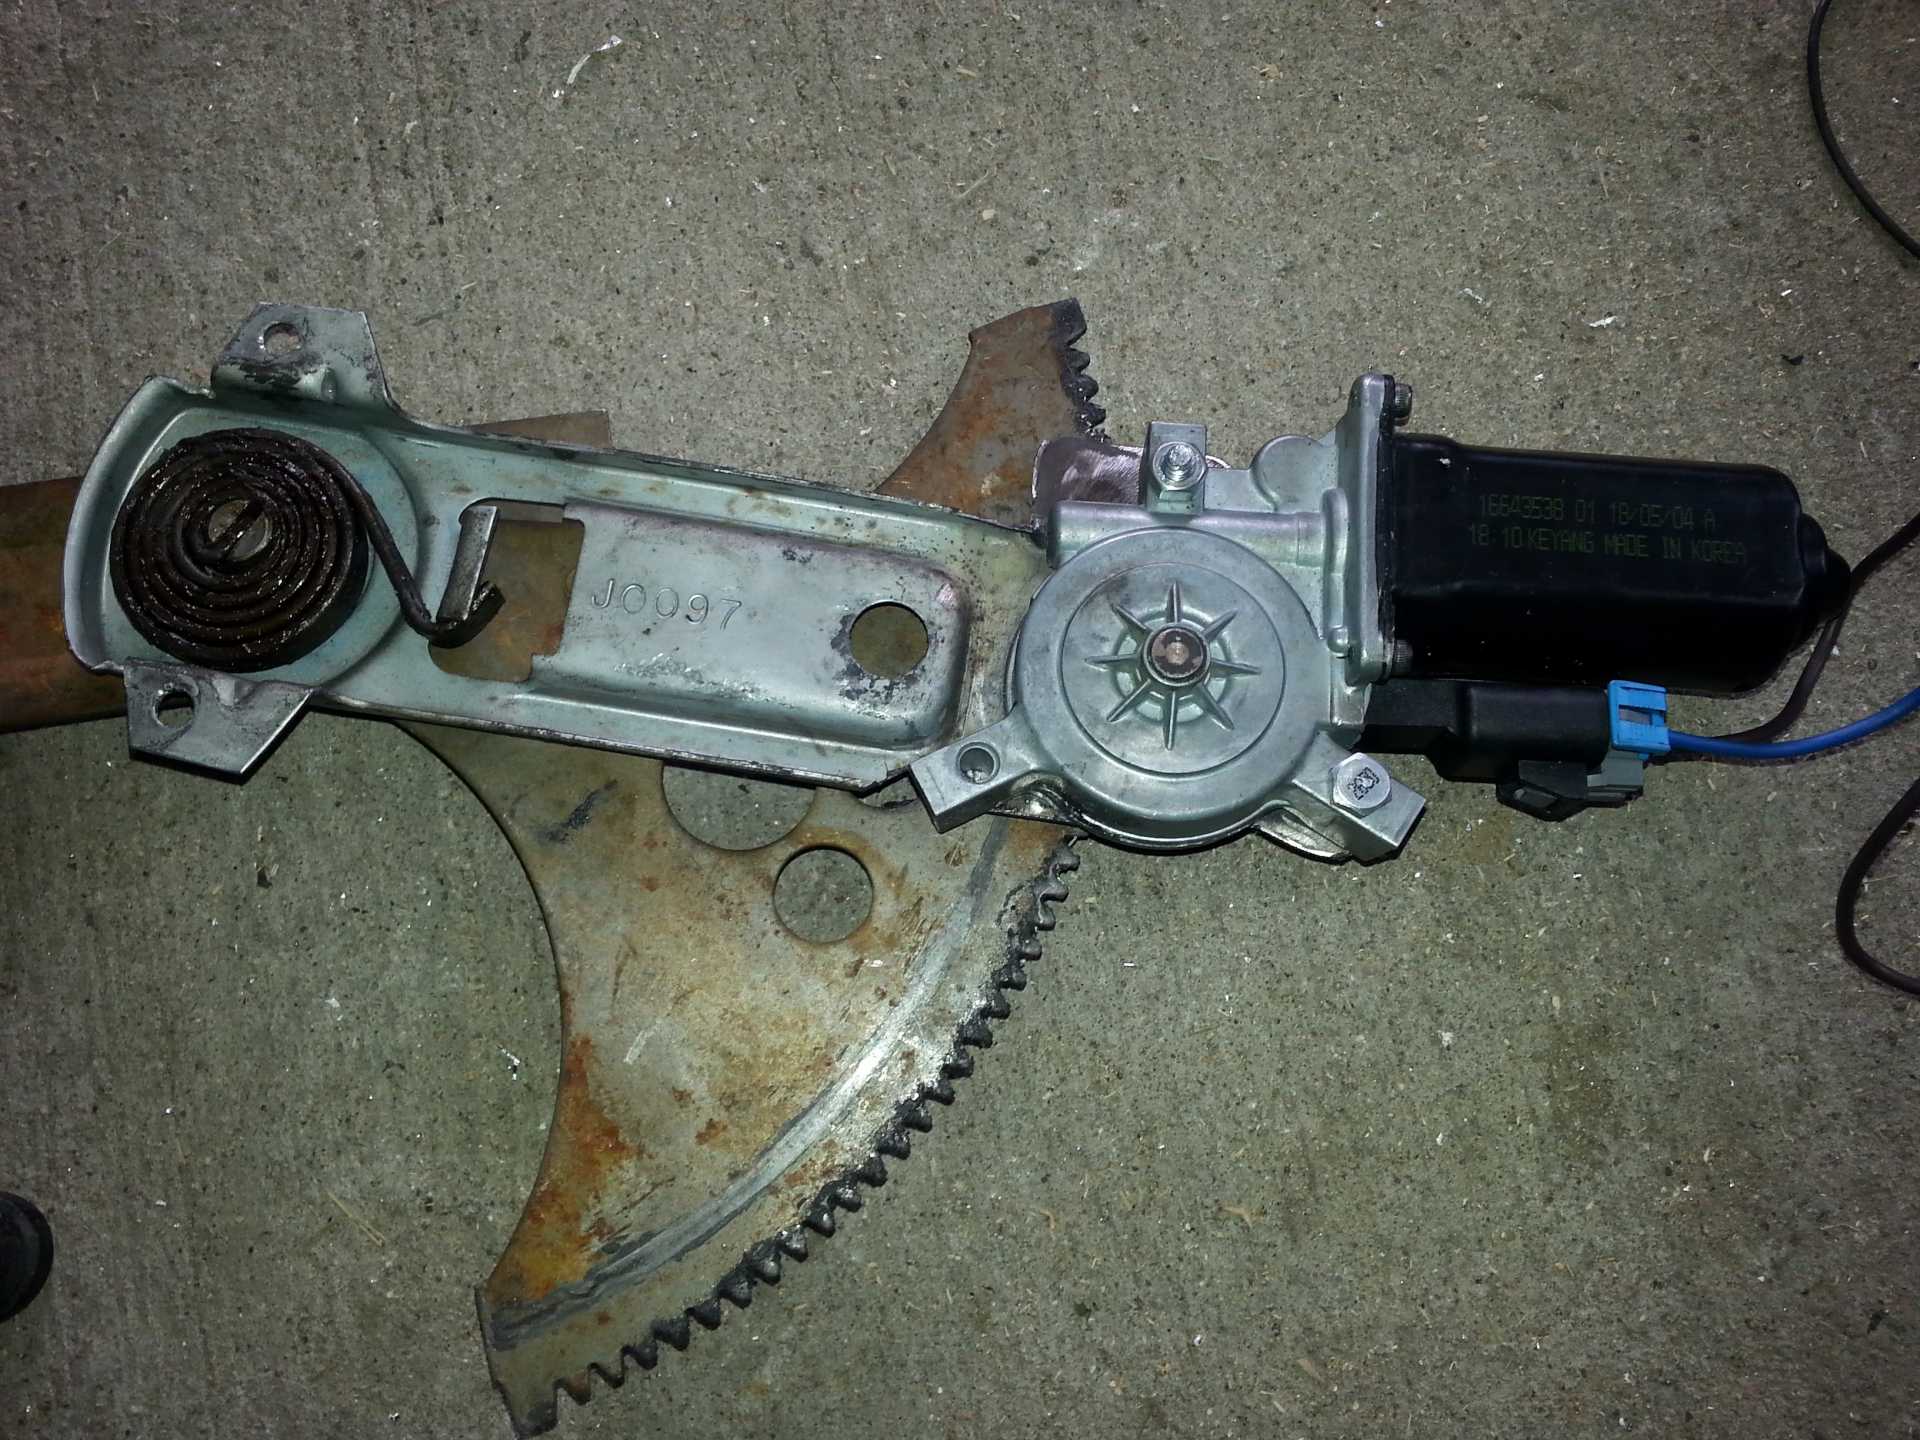
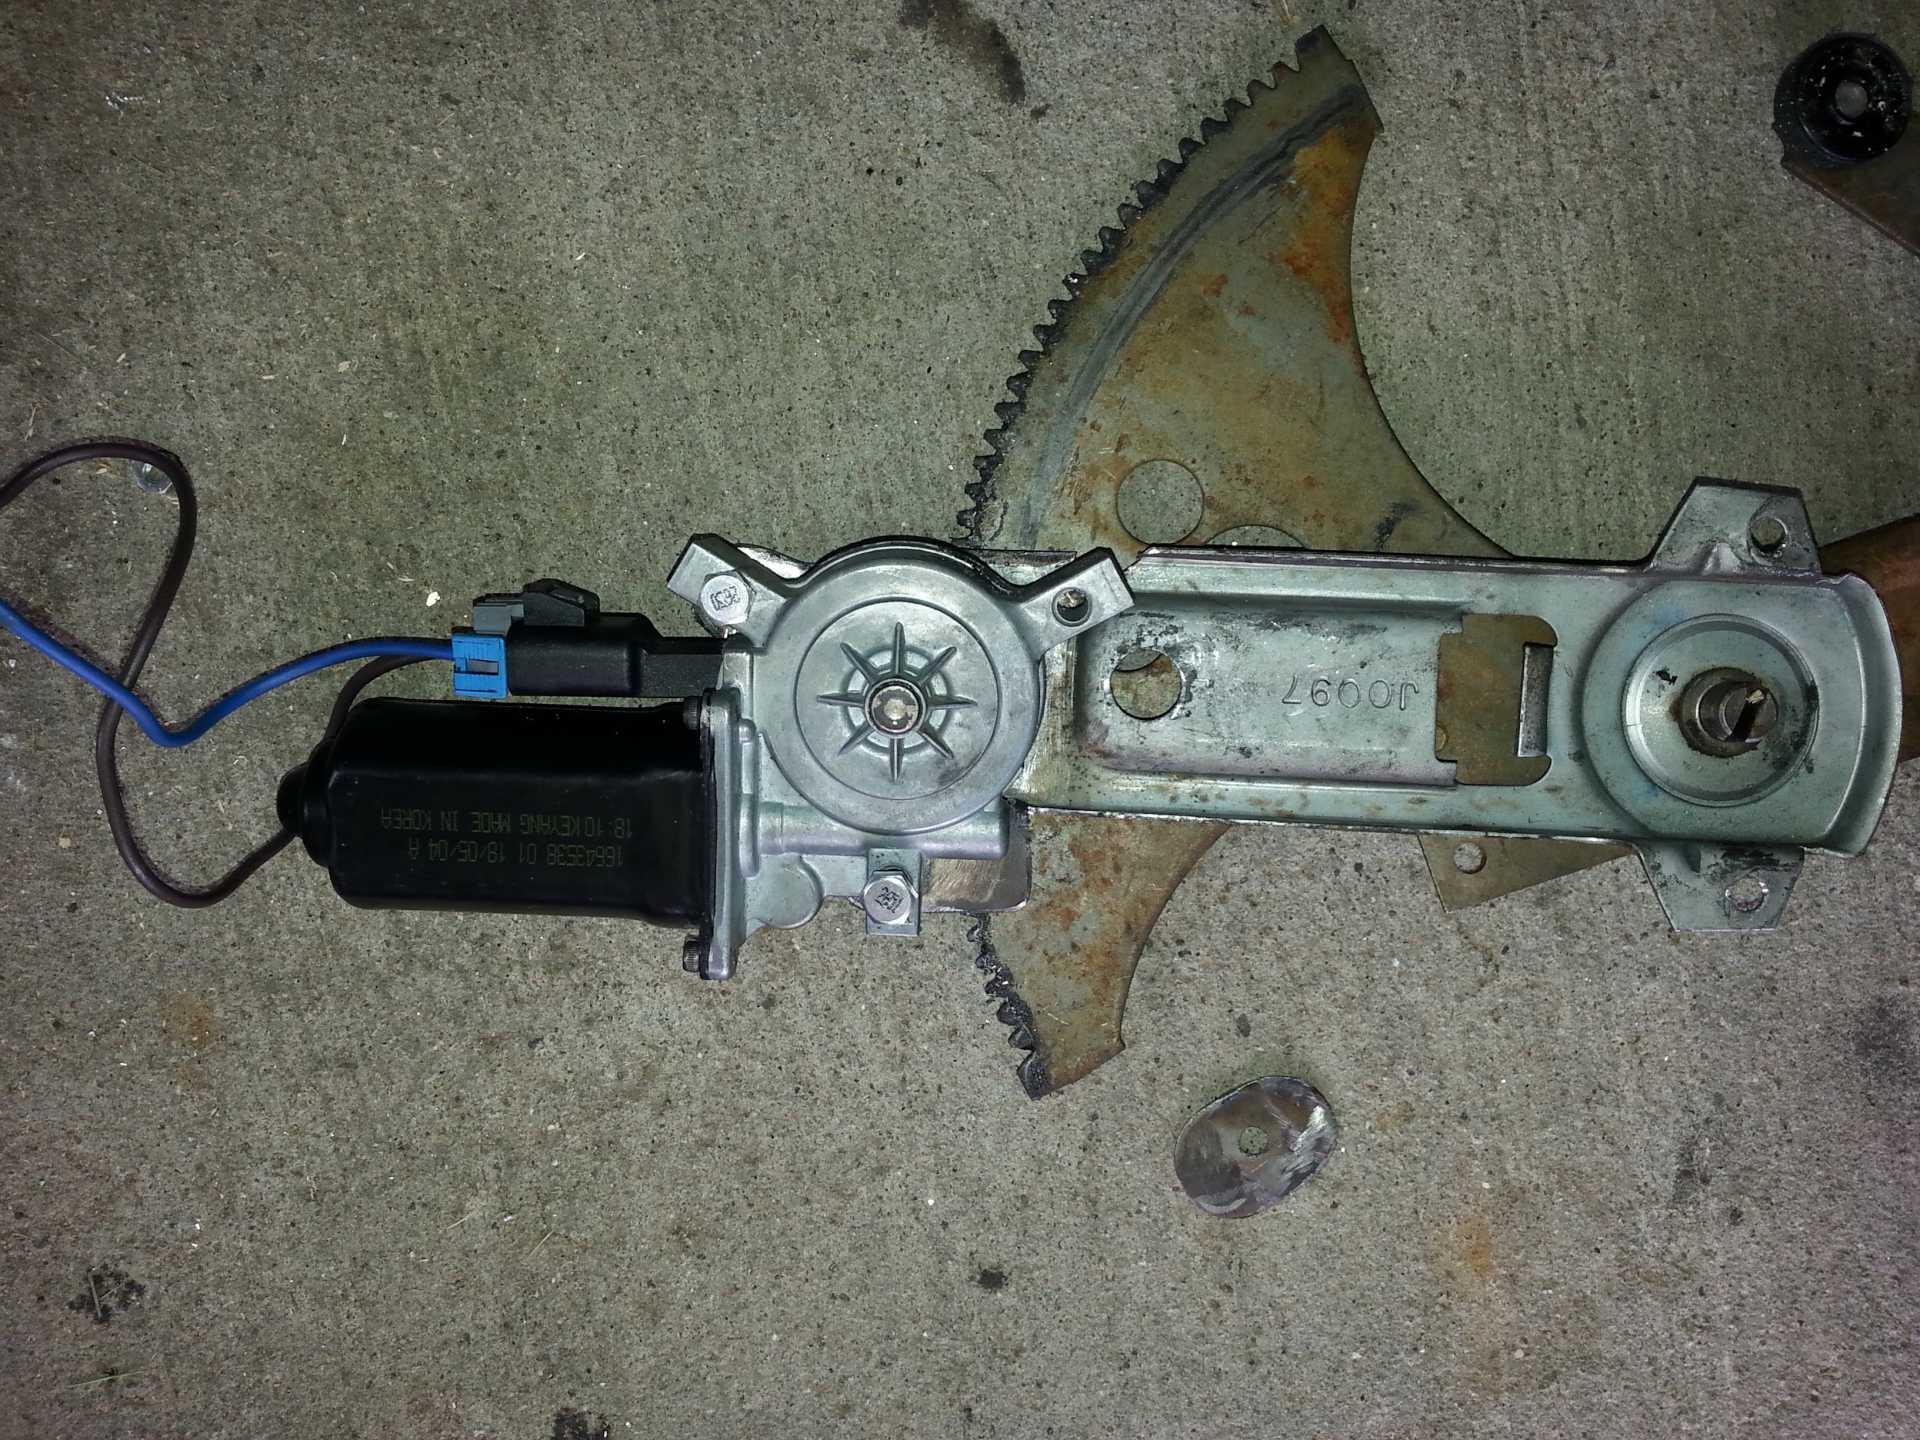
This is the standard GM window motor. You need ones that don't use the "guide wires". I took everything from a Chevy Montana (year ??). It's a pretty standard motor, and the gear has the same pitch as the Fiero regulator. Cost me $20 for two motors. I also grabbed the window and power lock switches from the drivers door ($5). I liked the look more than most other cars (I'll show a pic later).
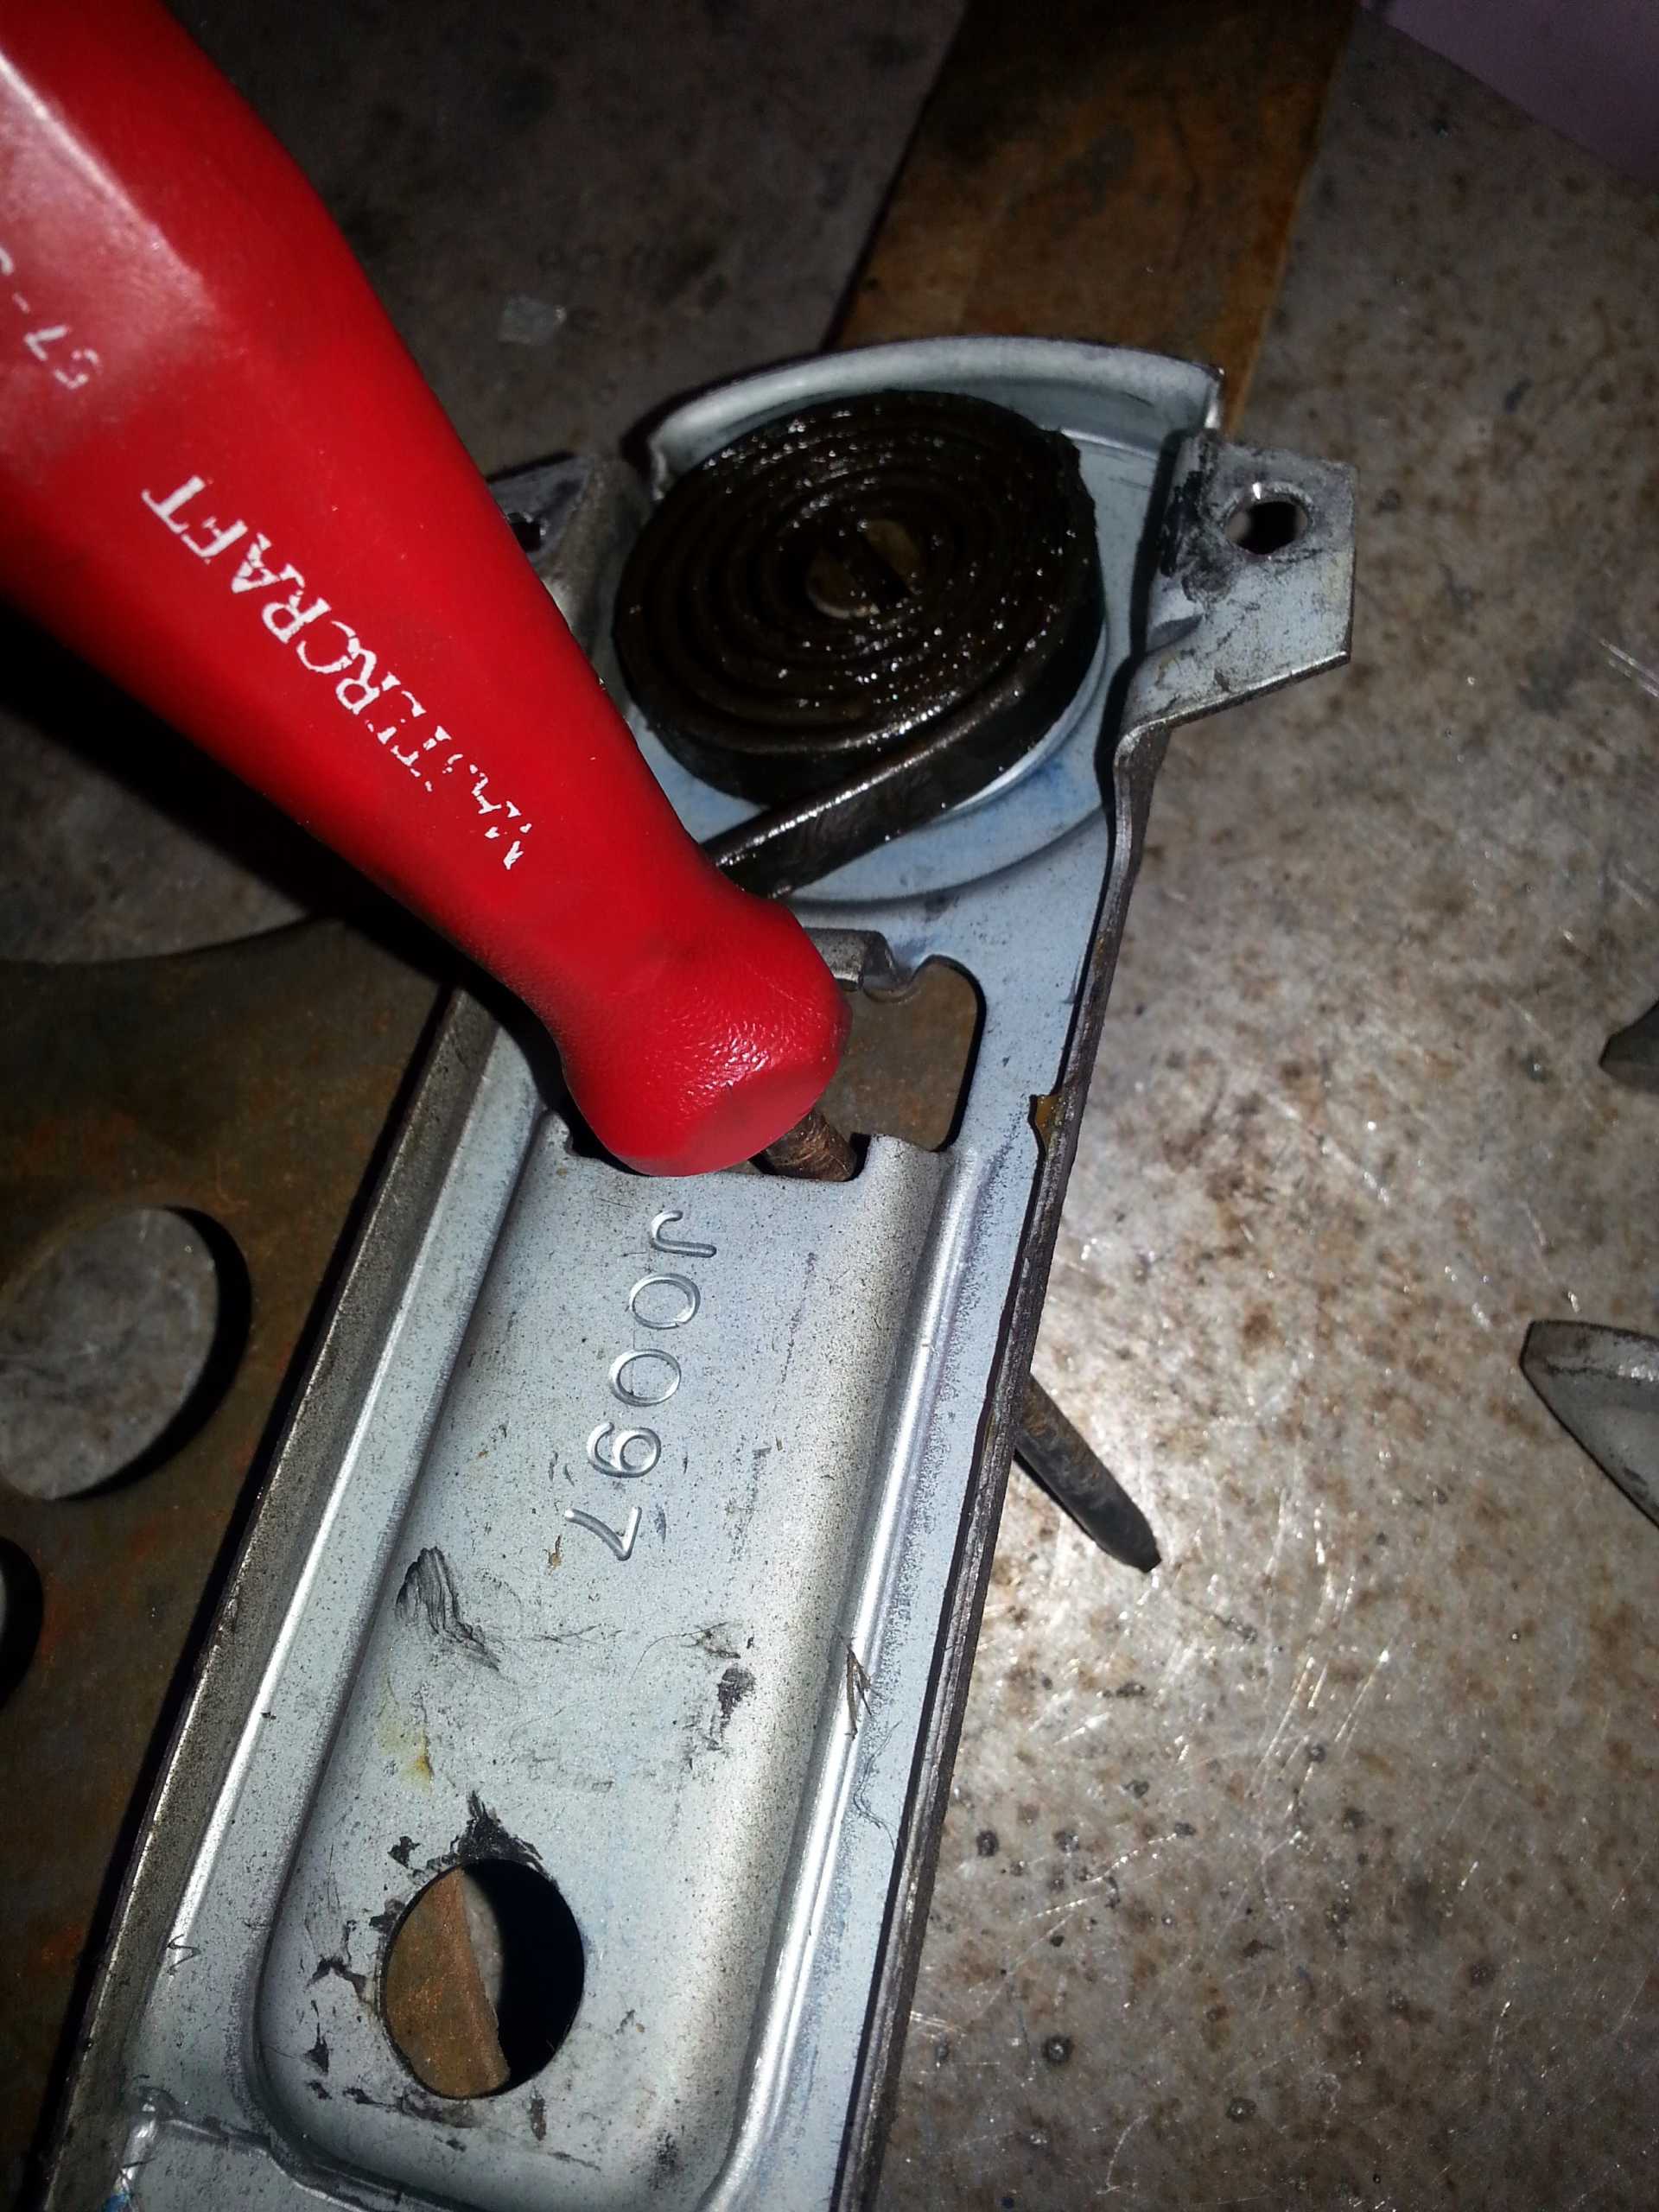
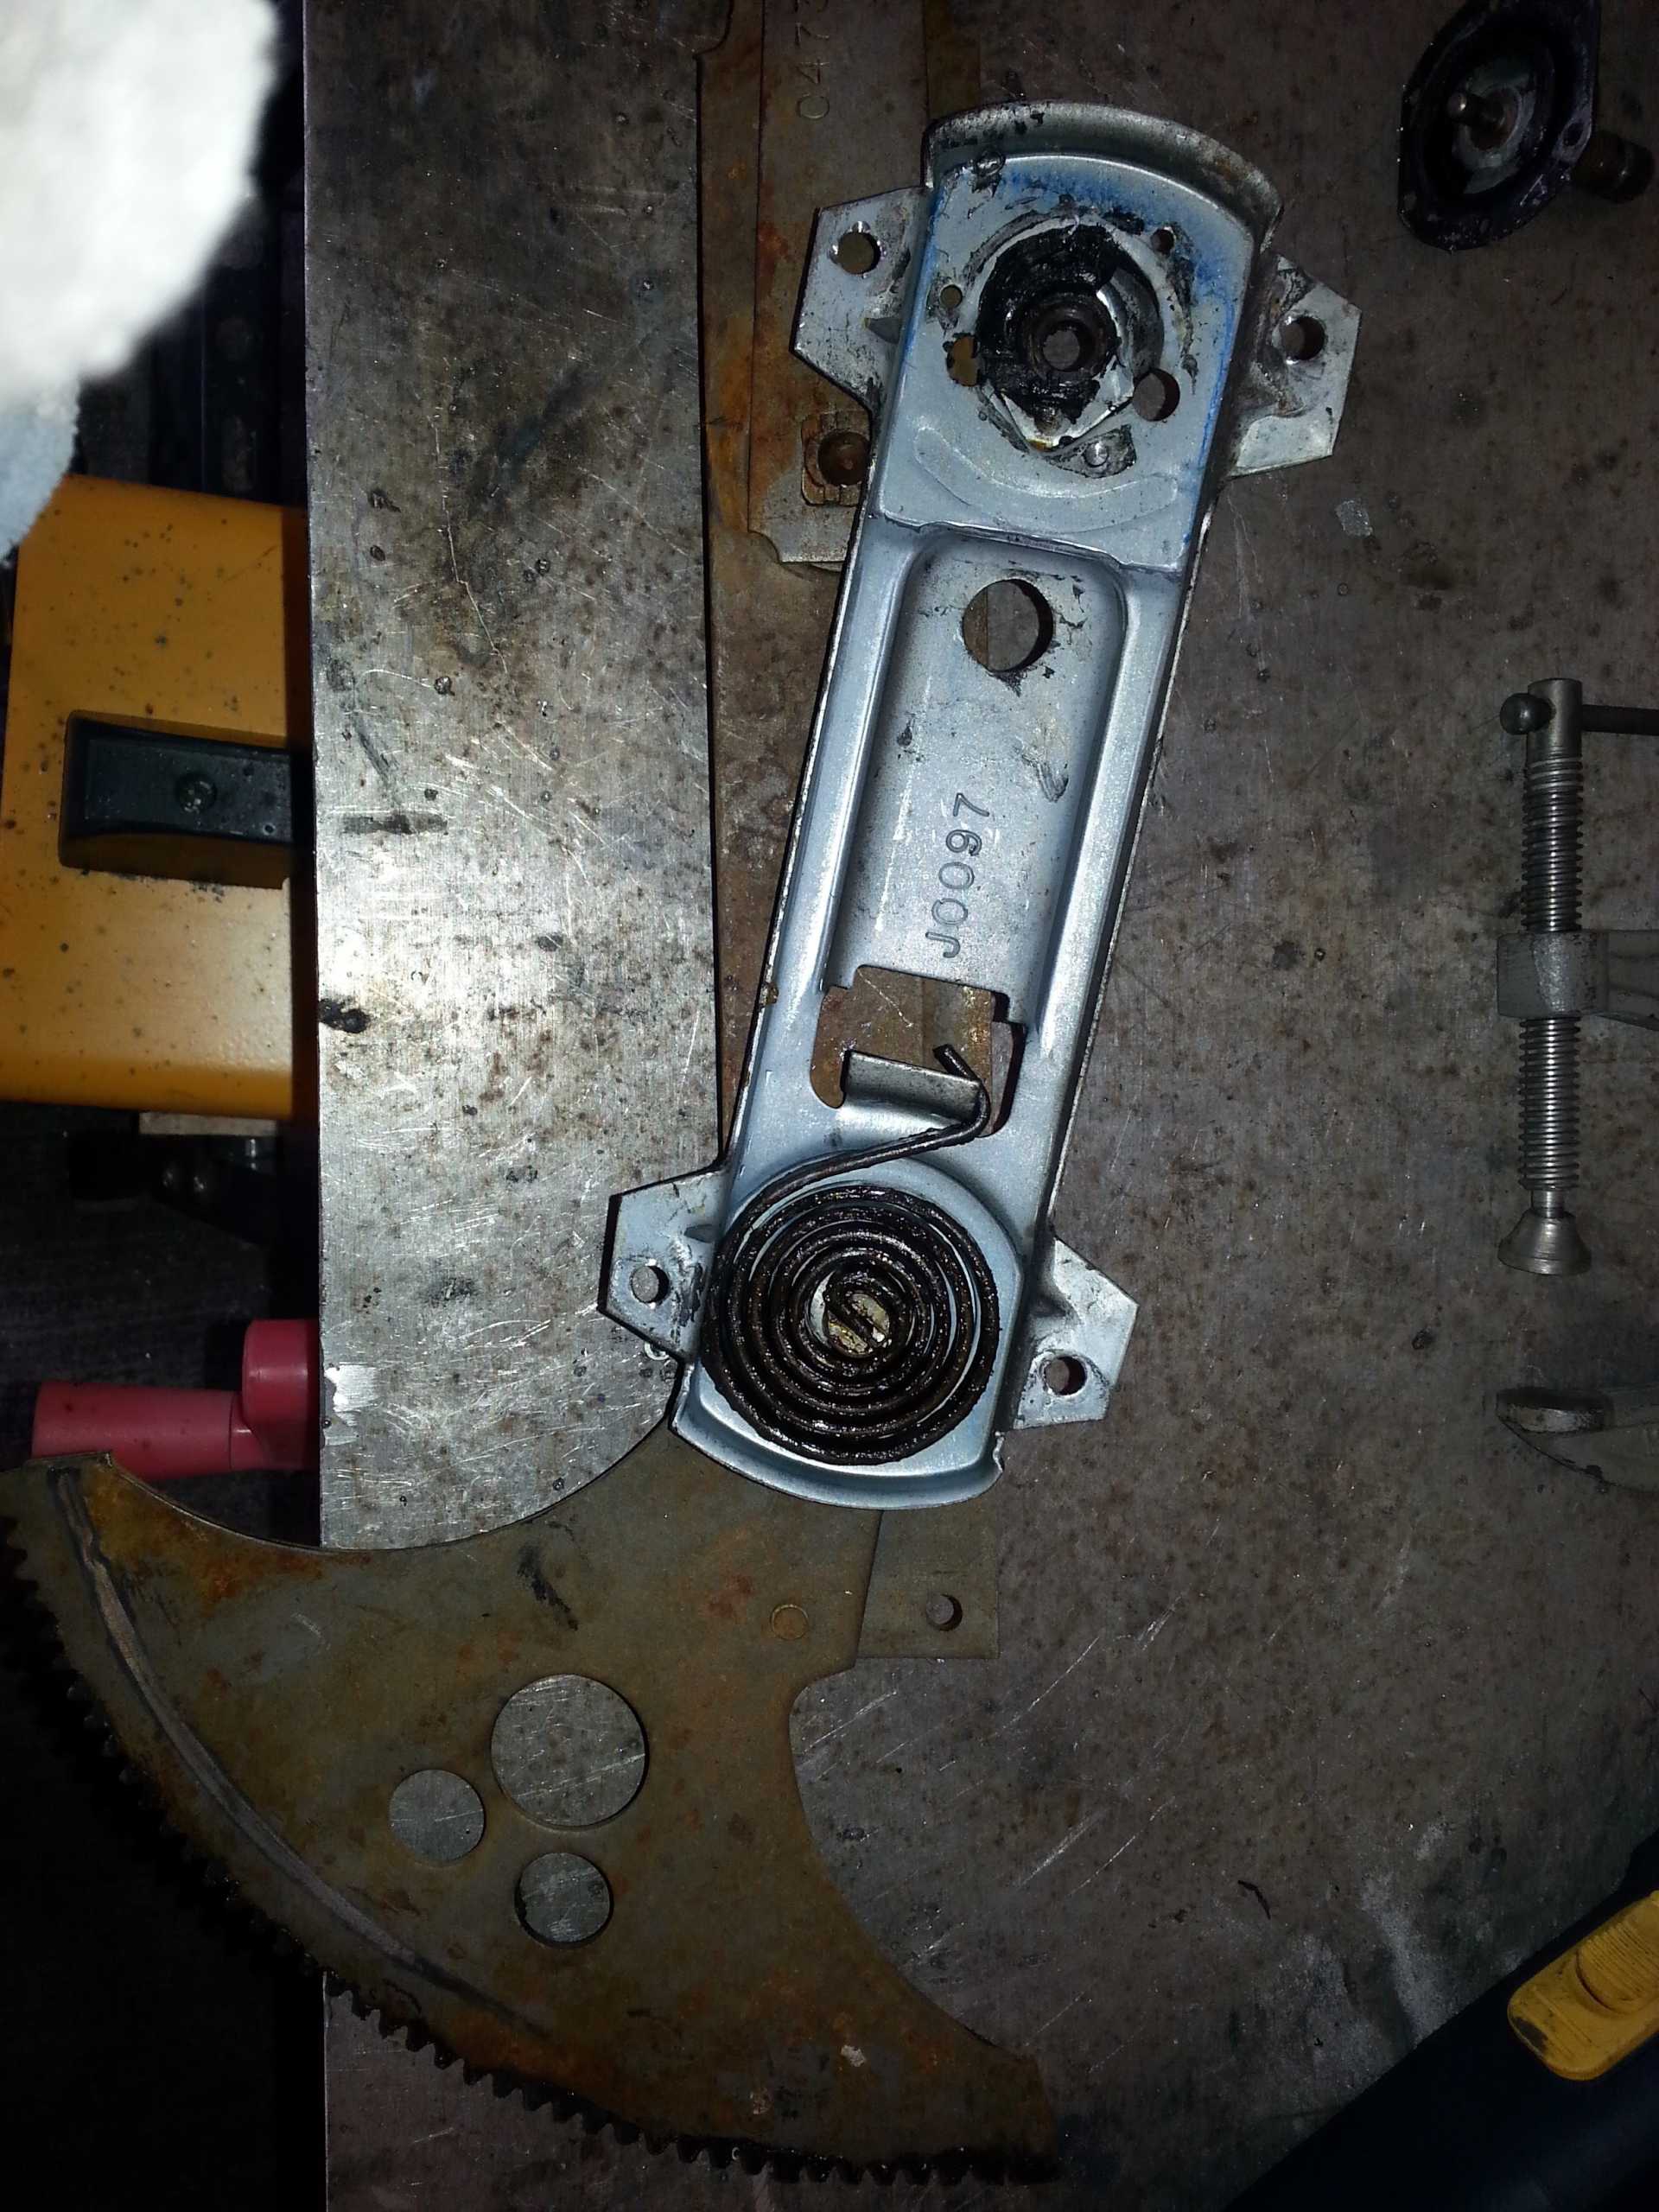
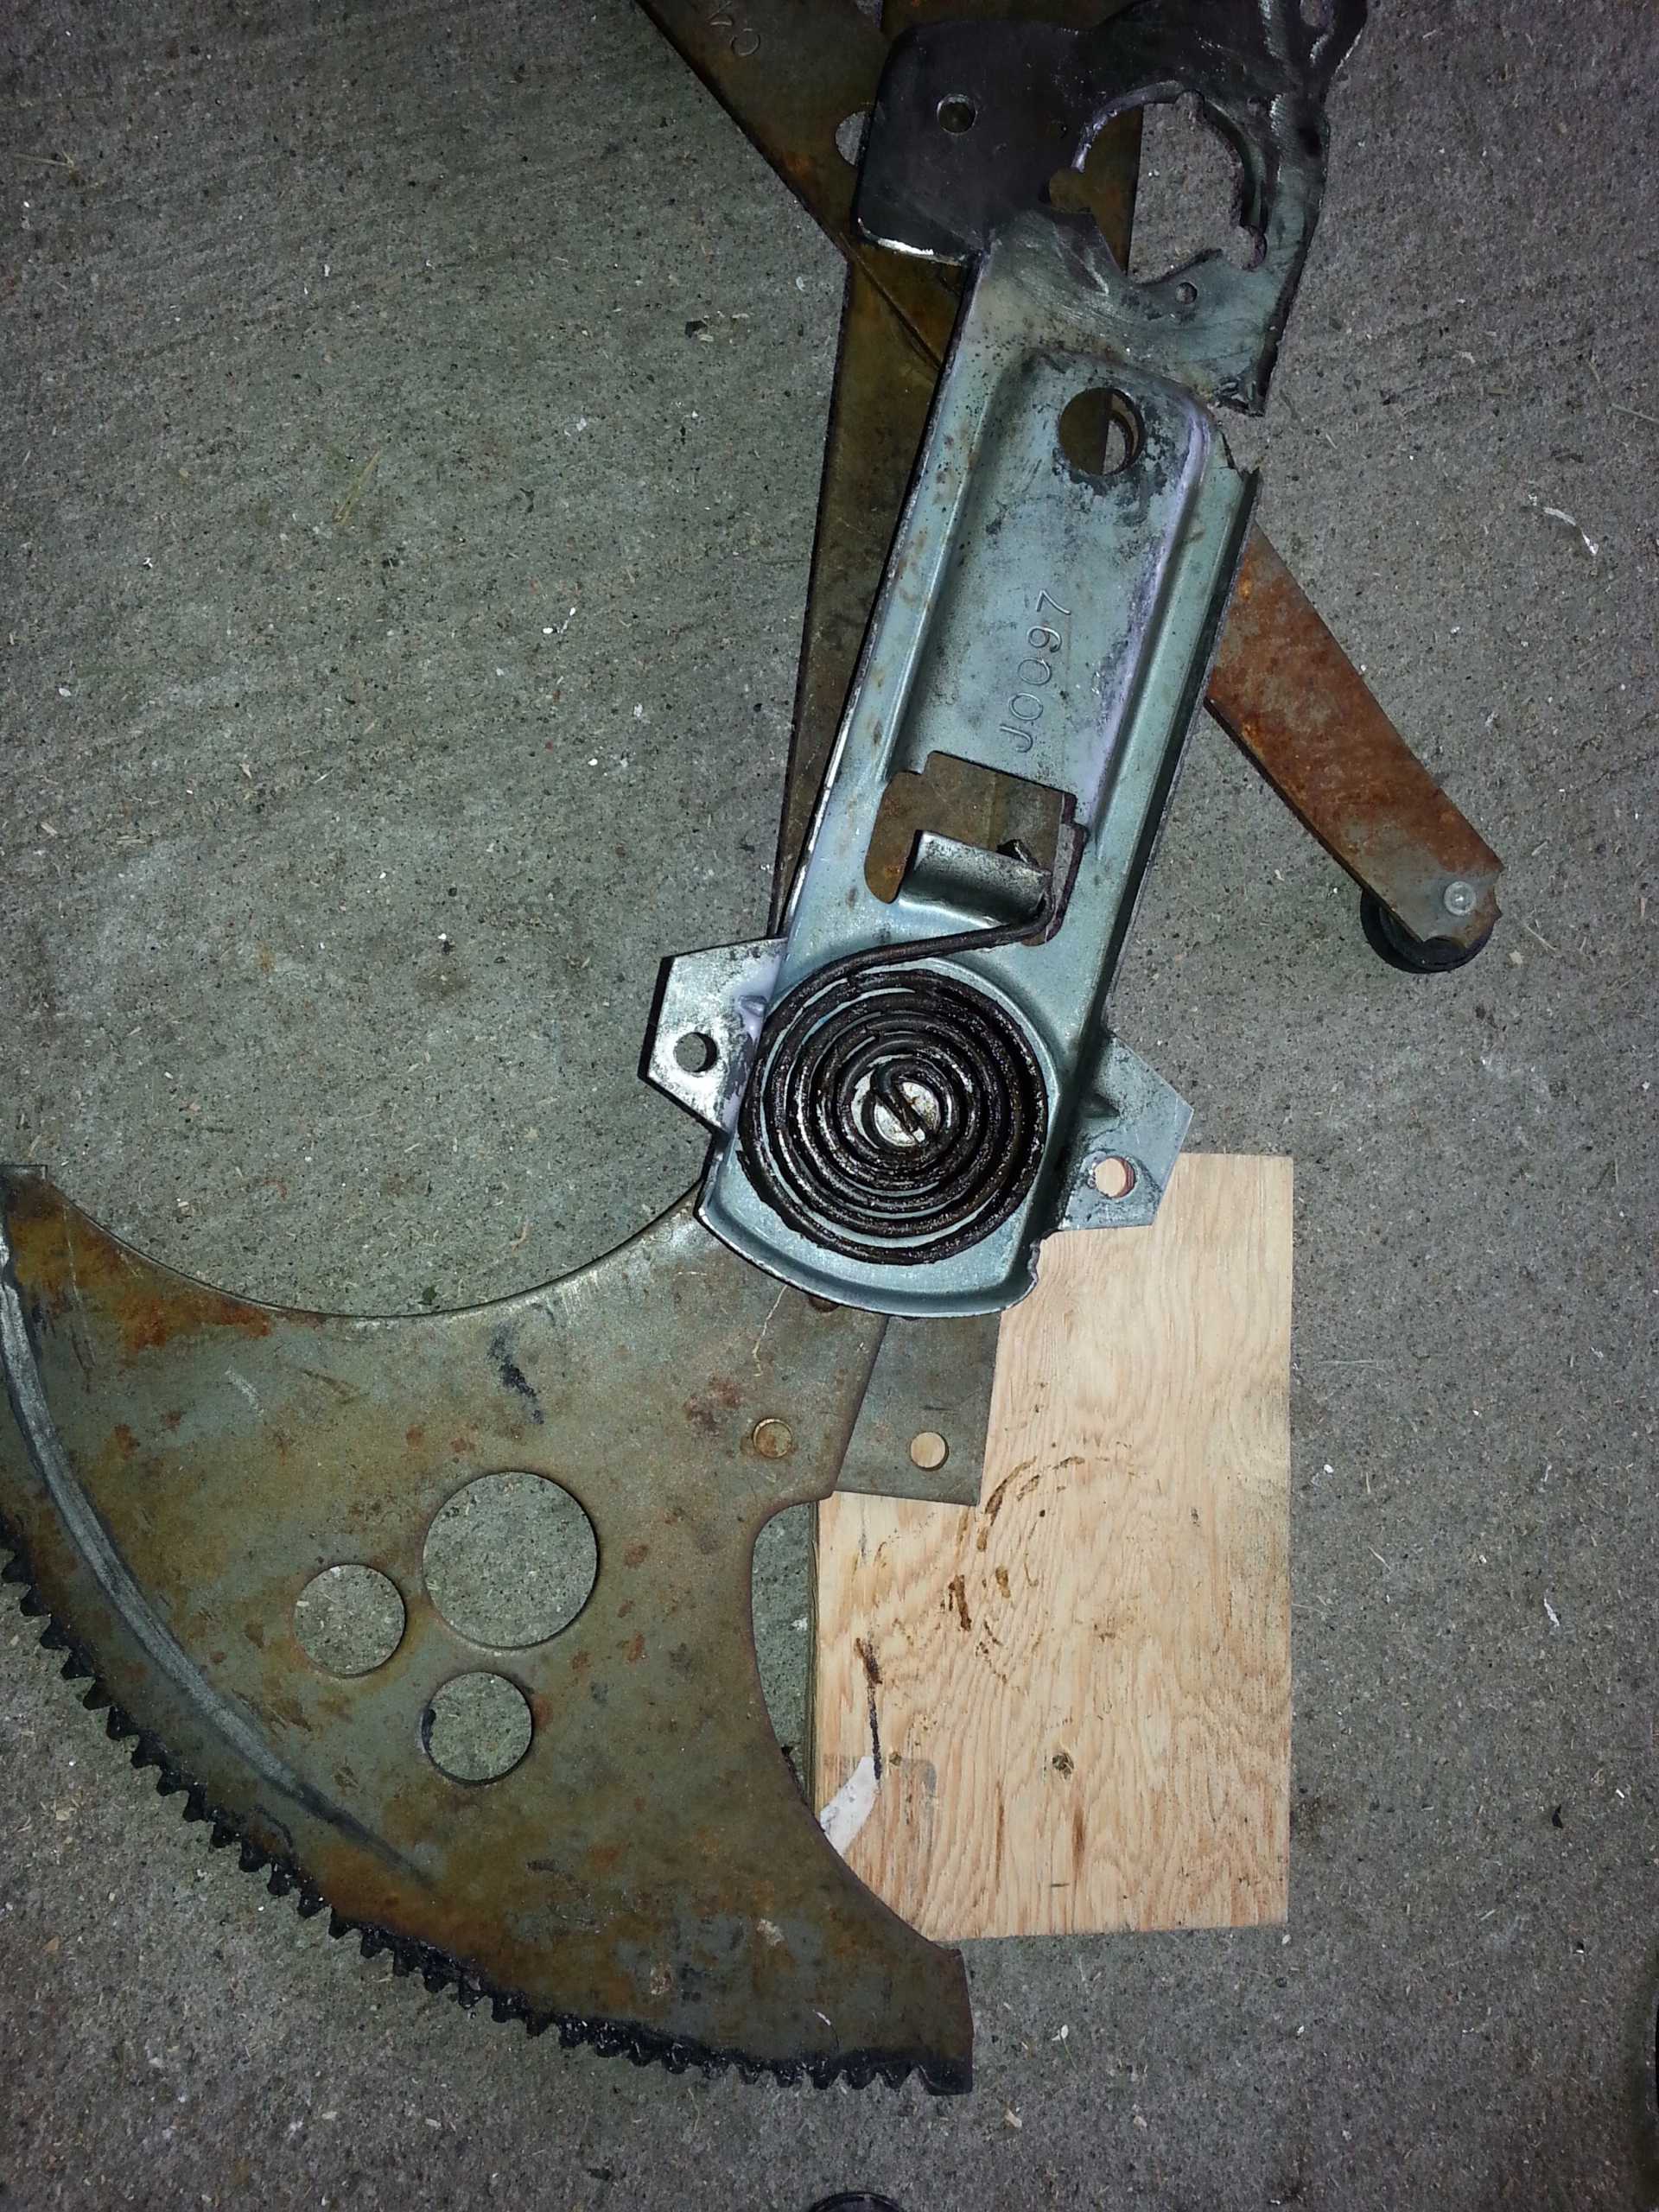
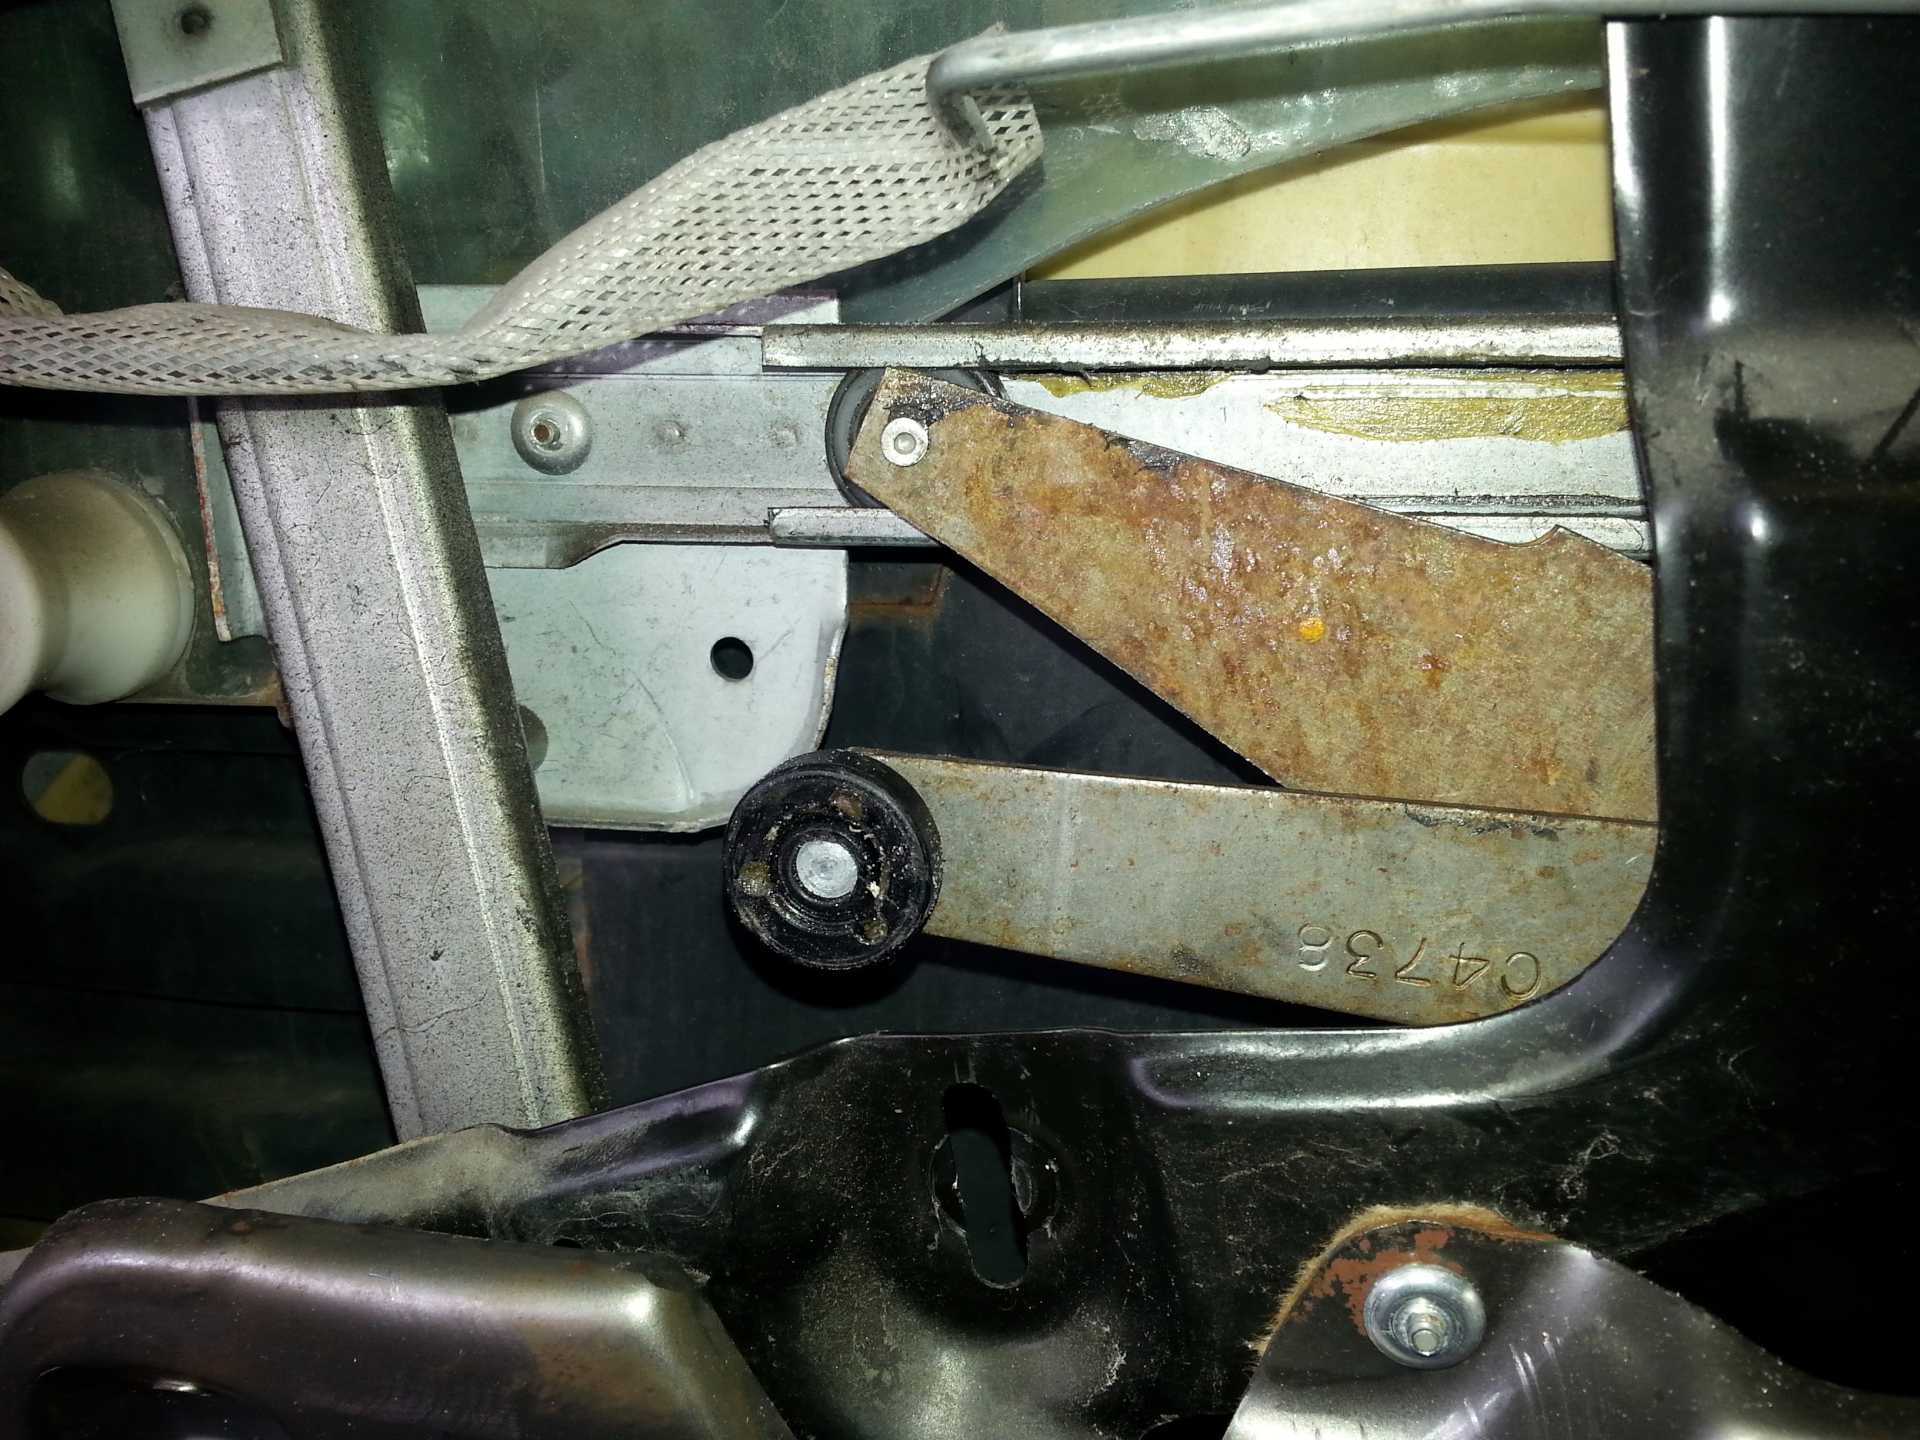
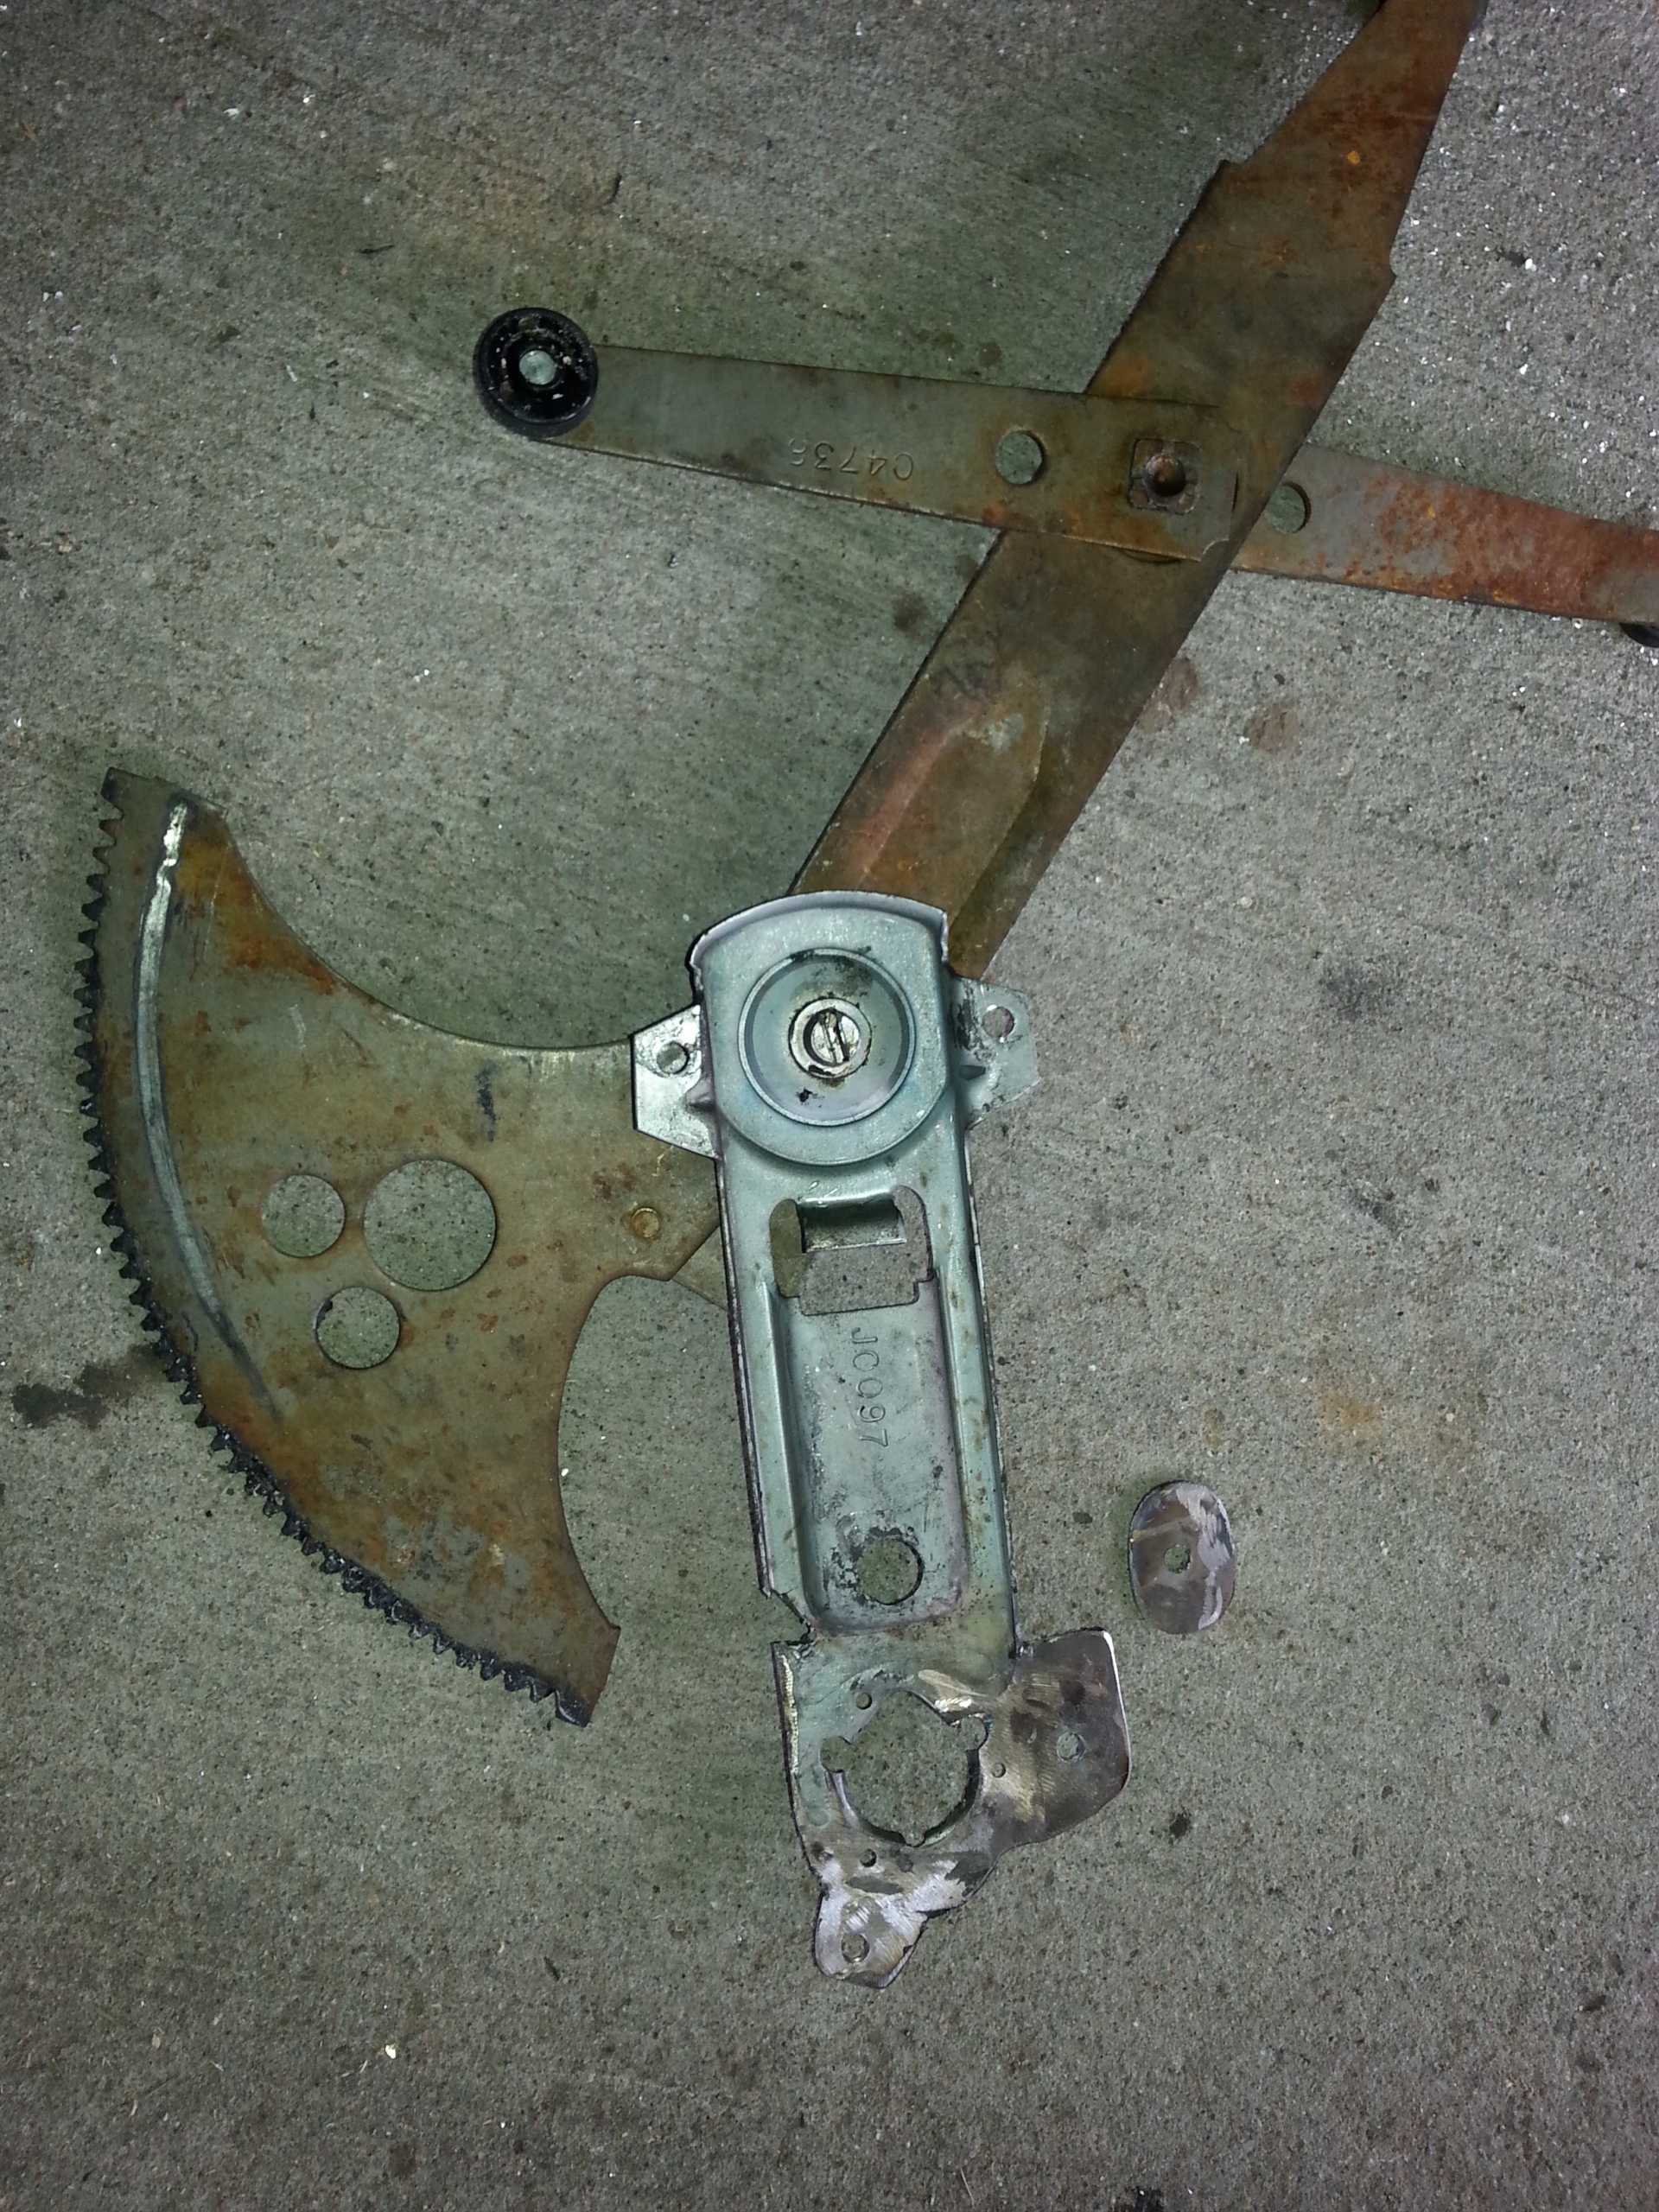
This is the (manual) window regulator. Note that there is a torsion spring. It isn't under an immense strain...but enough to hurt you if you don't pay attention to it. Proceed cautiously and use some common sense as you go through the next steps.

I put a screwdriver into a hole just to make sure I could work on this without it springing apart under the strain.
Drill out the three rivets securing the manual crank mechanism.

Remove the screwdriver (carefully while holding pressure on the regulator) and slowly remove the strain on the torsion spring. It will turn about 180 degrees.
The torsion spring can then be removed for now.

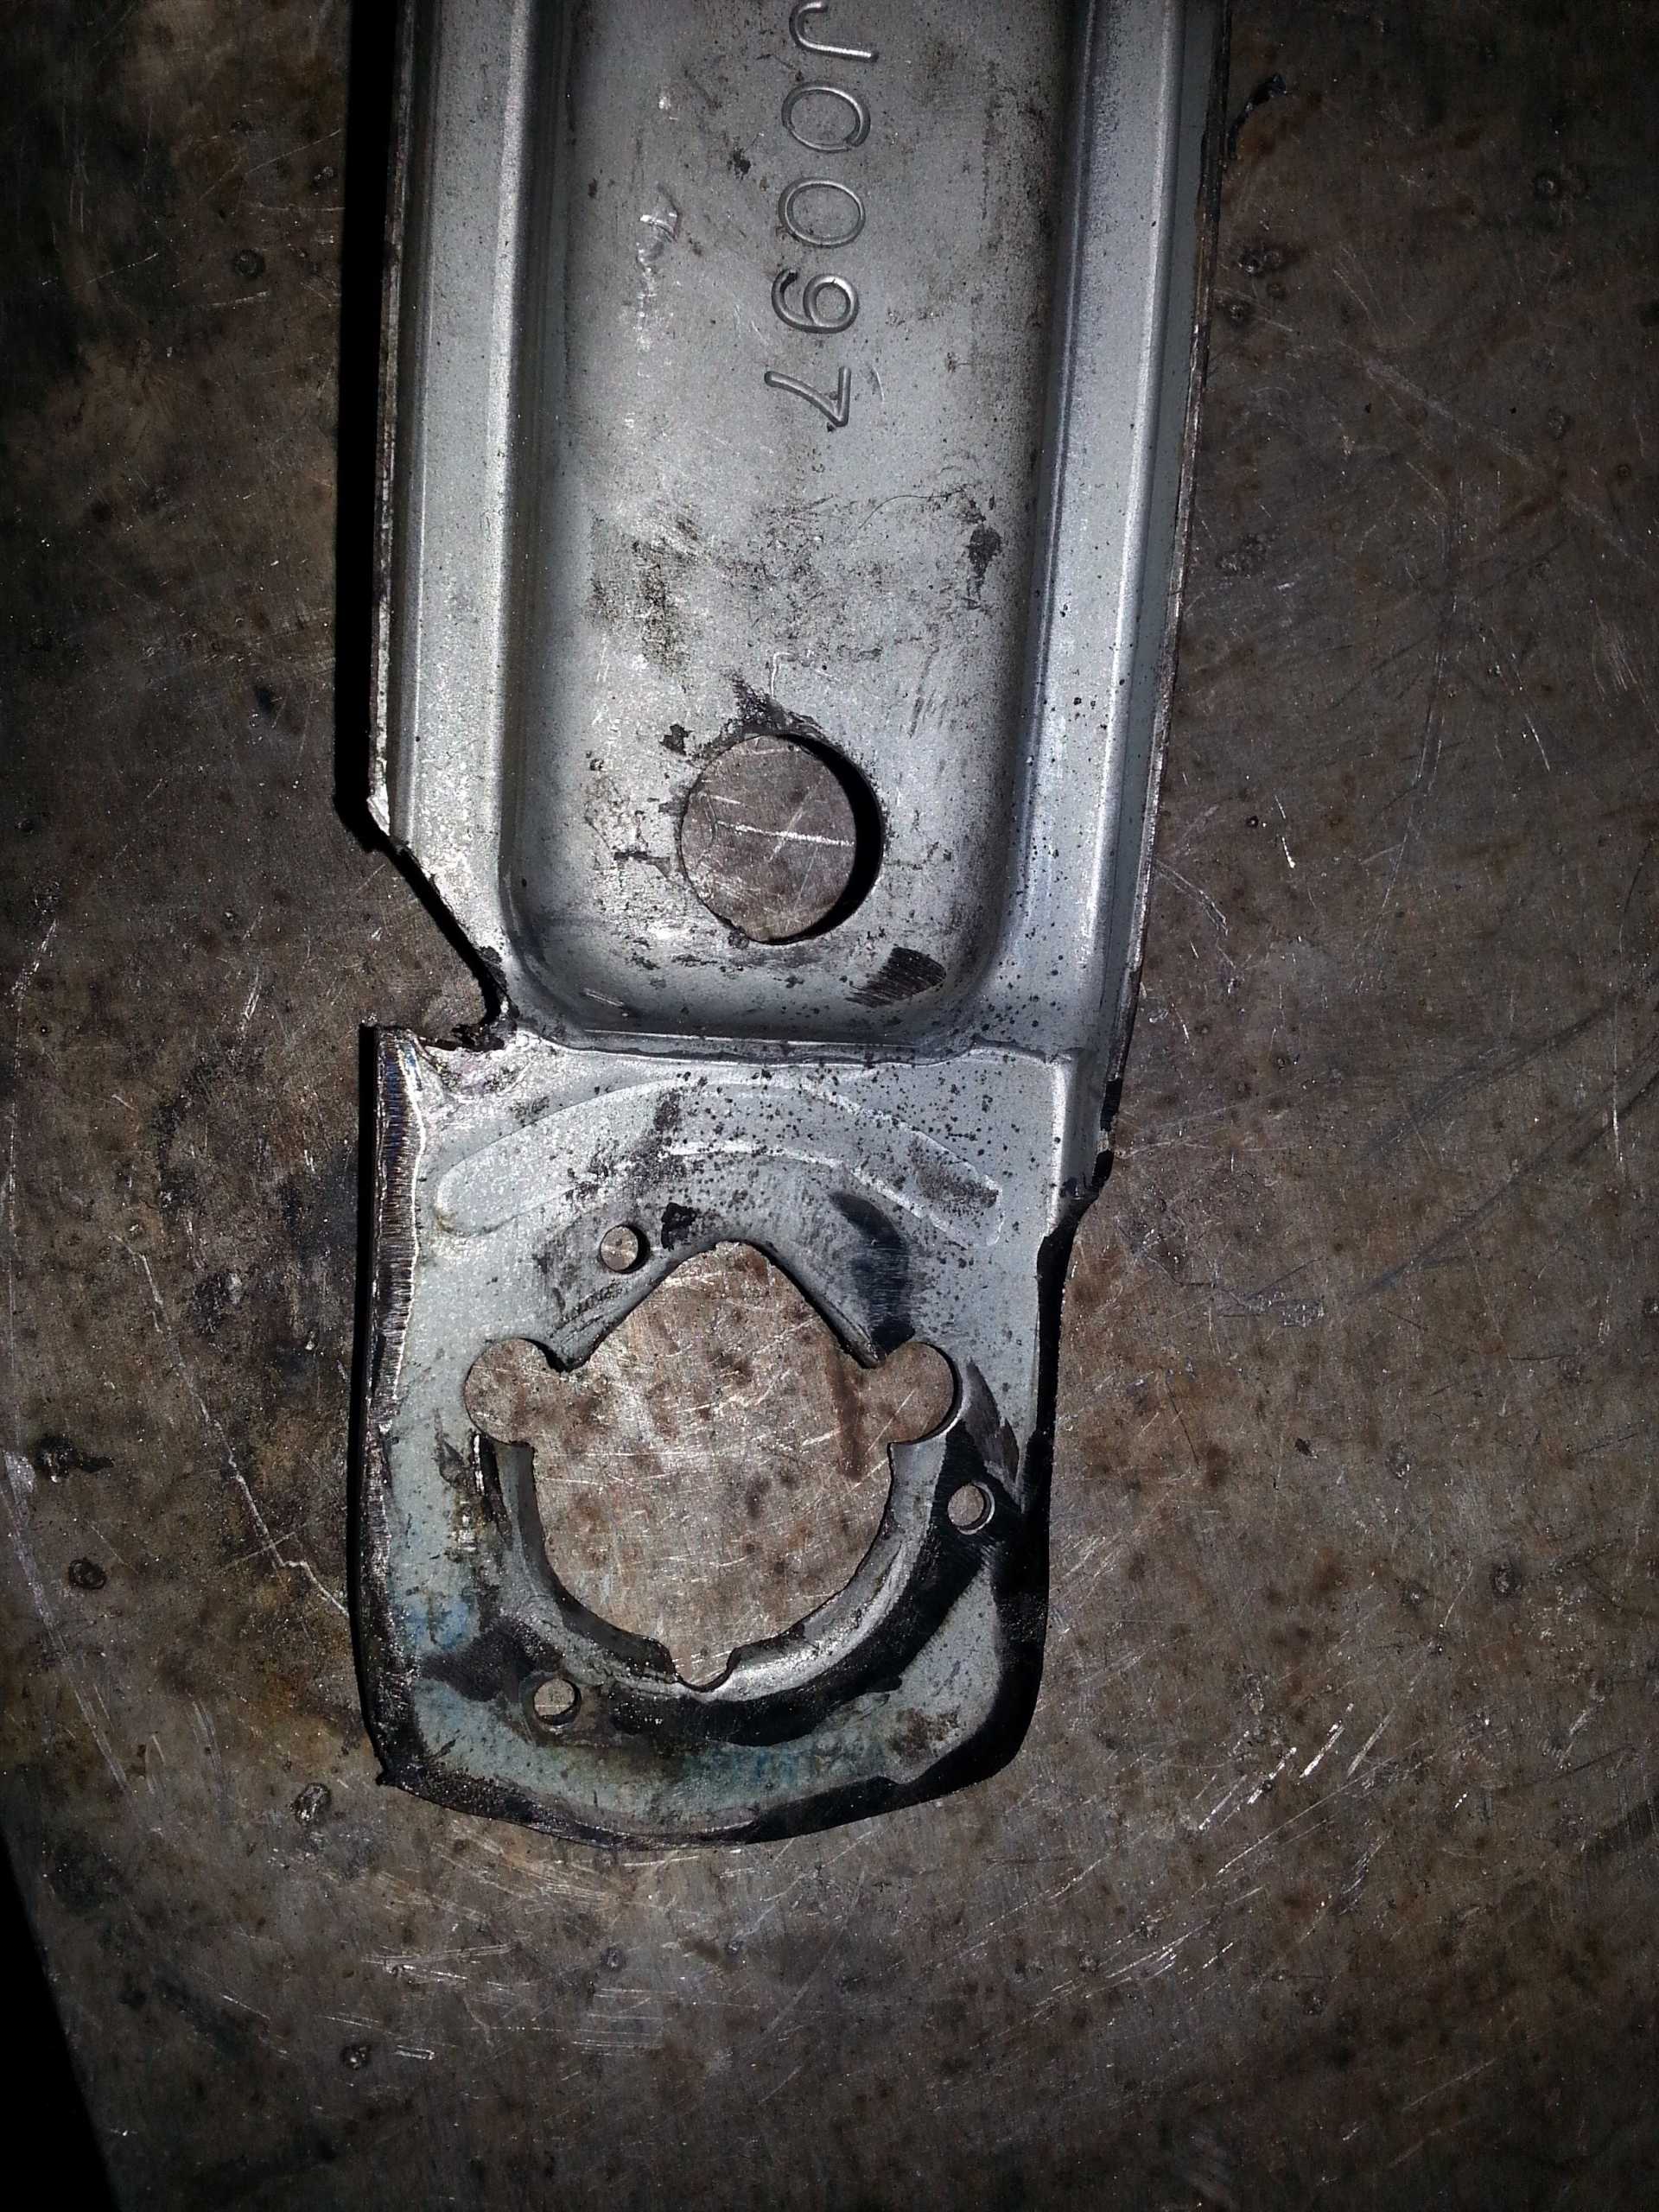
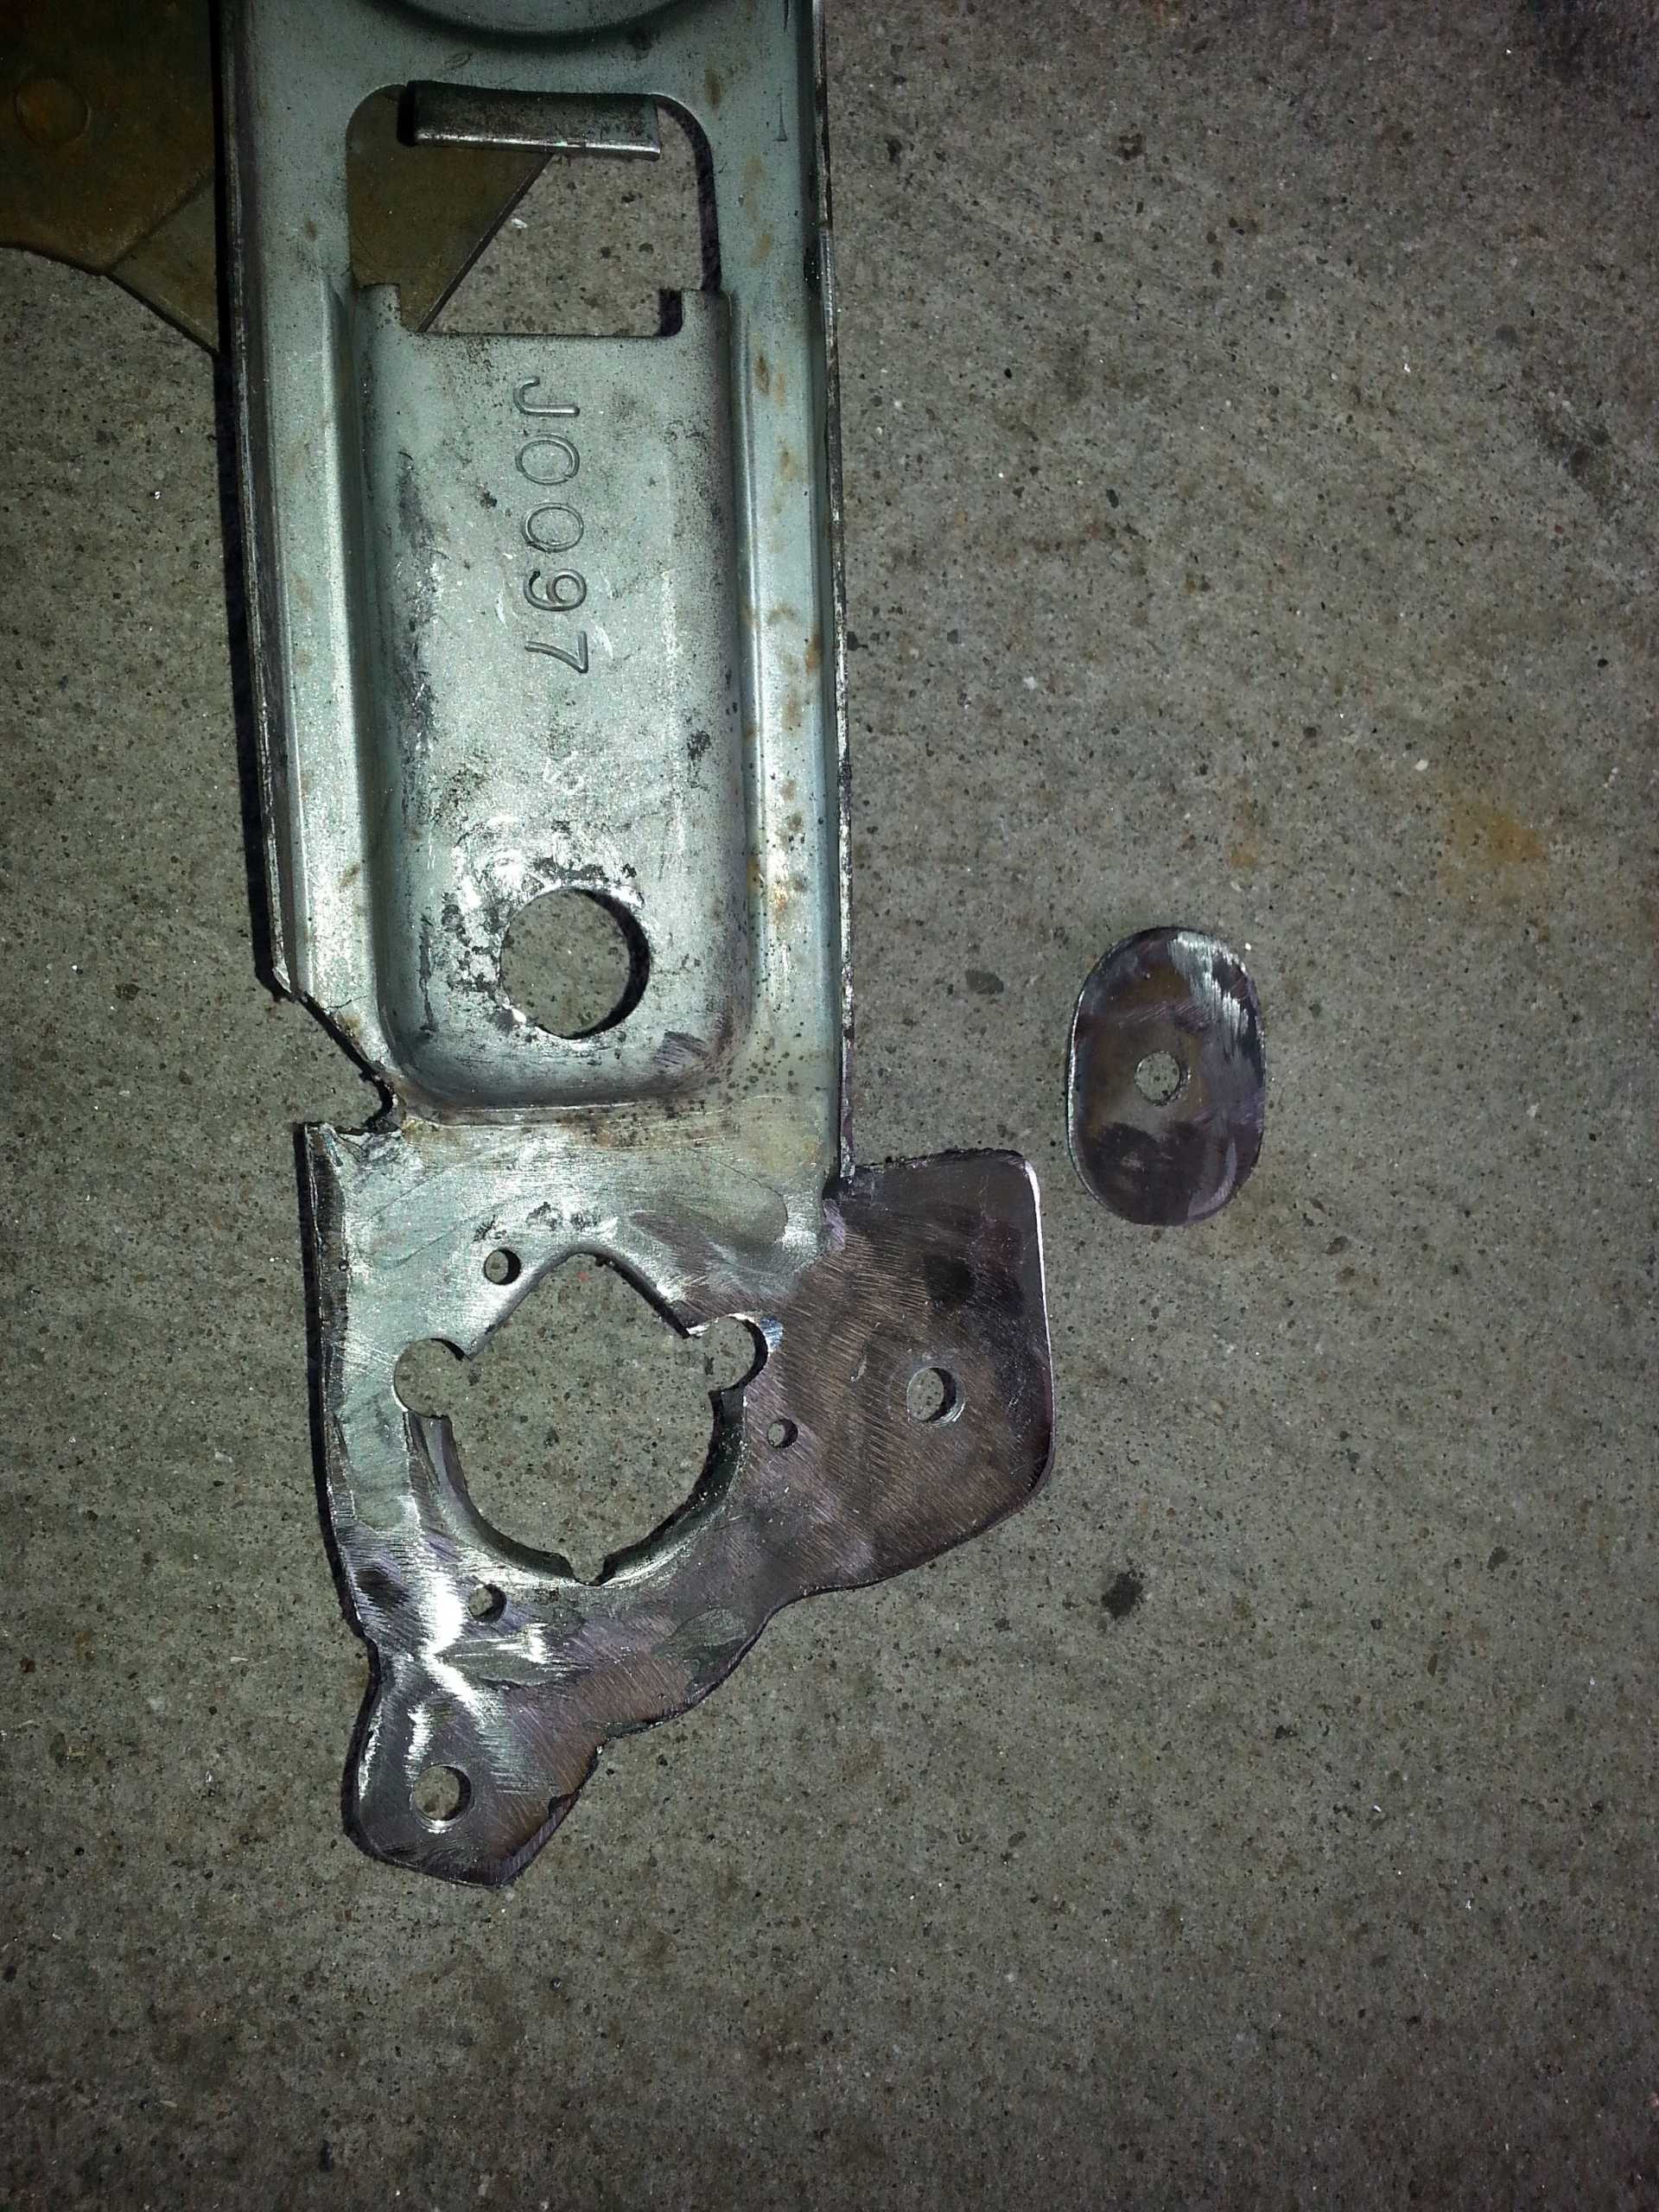
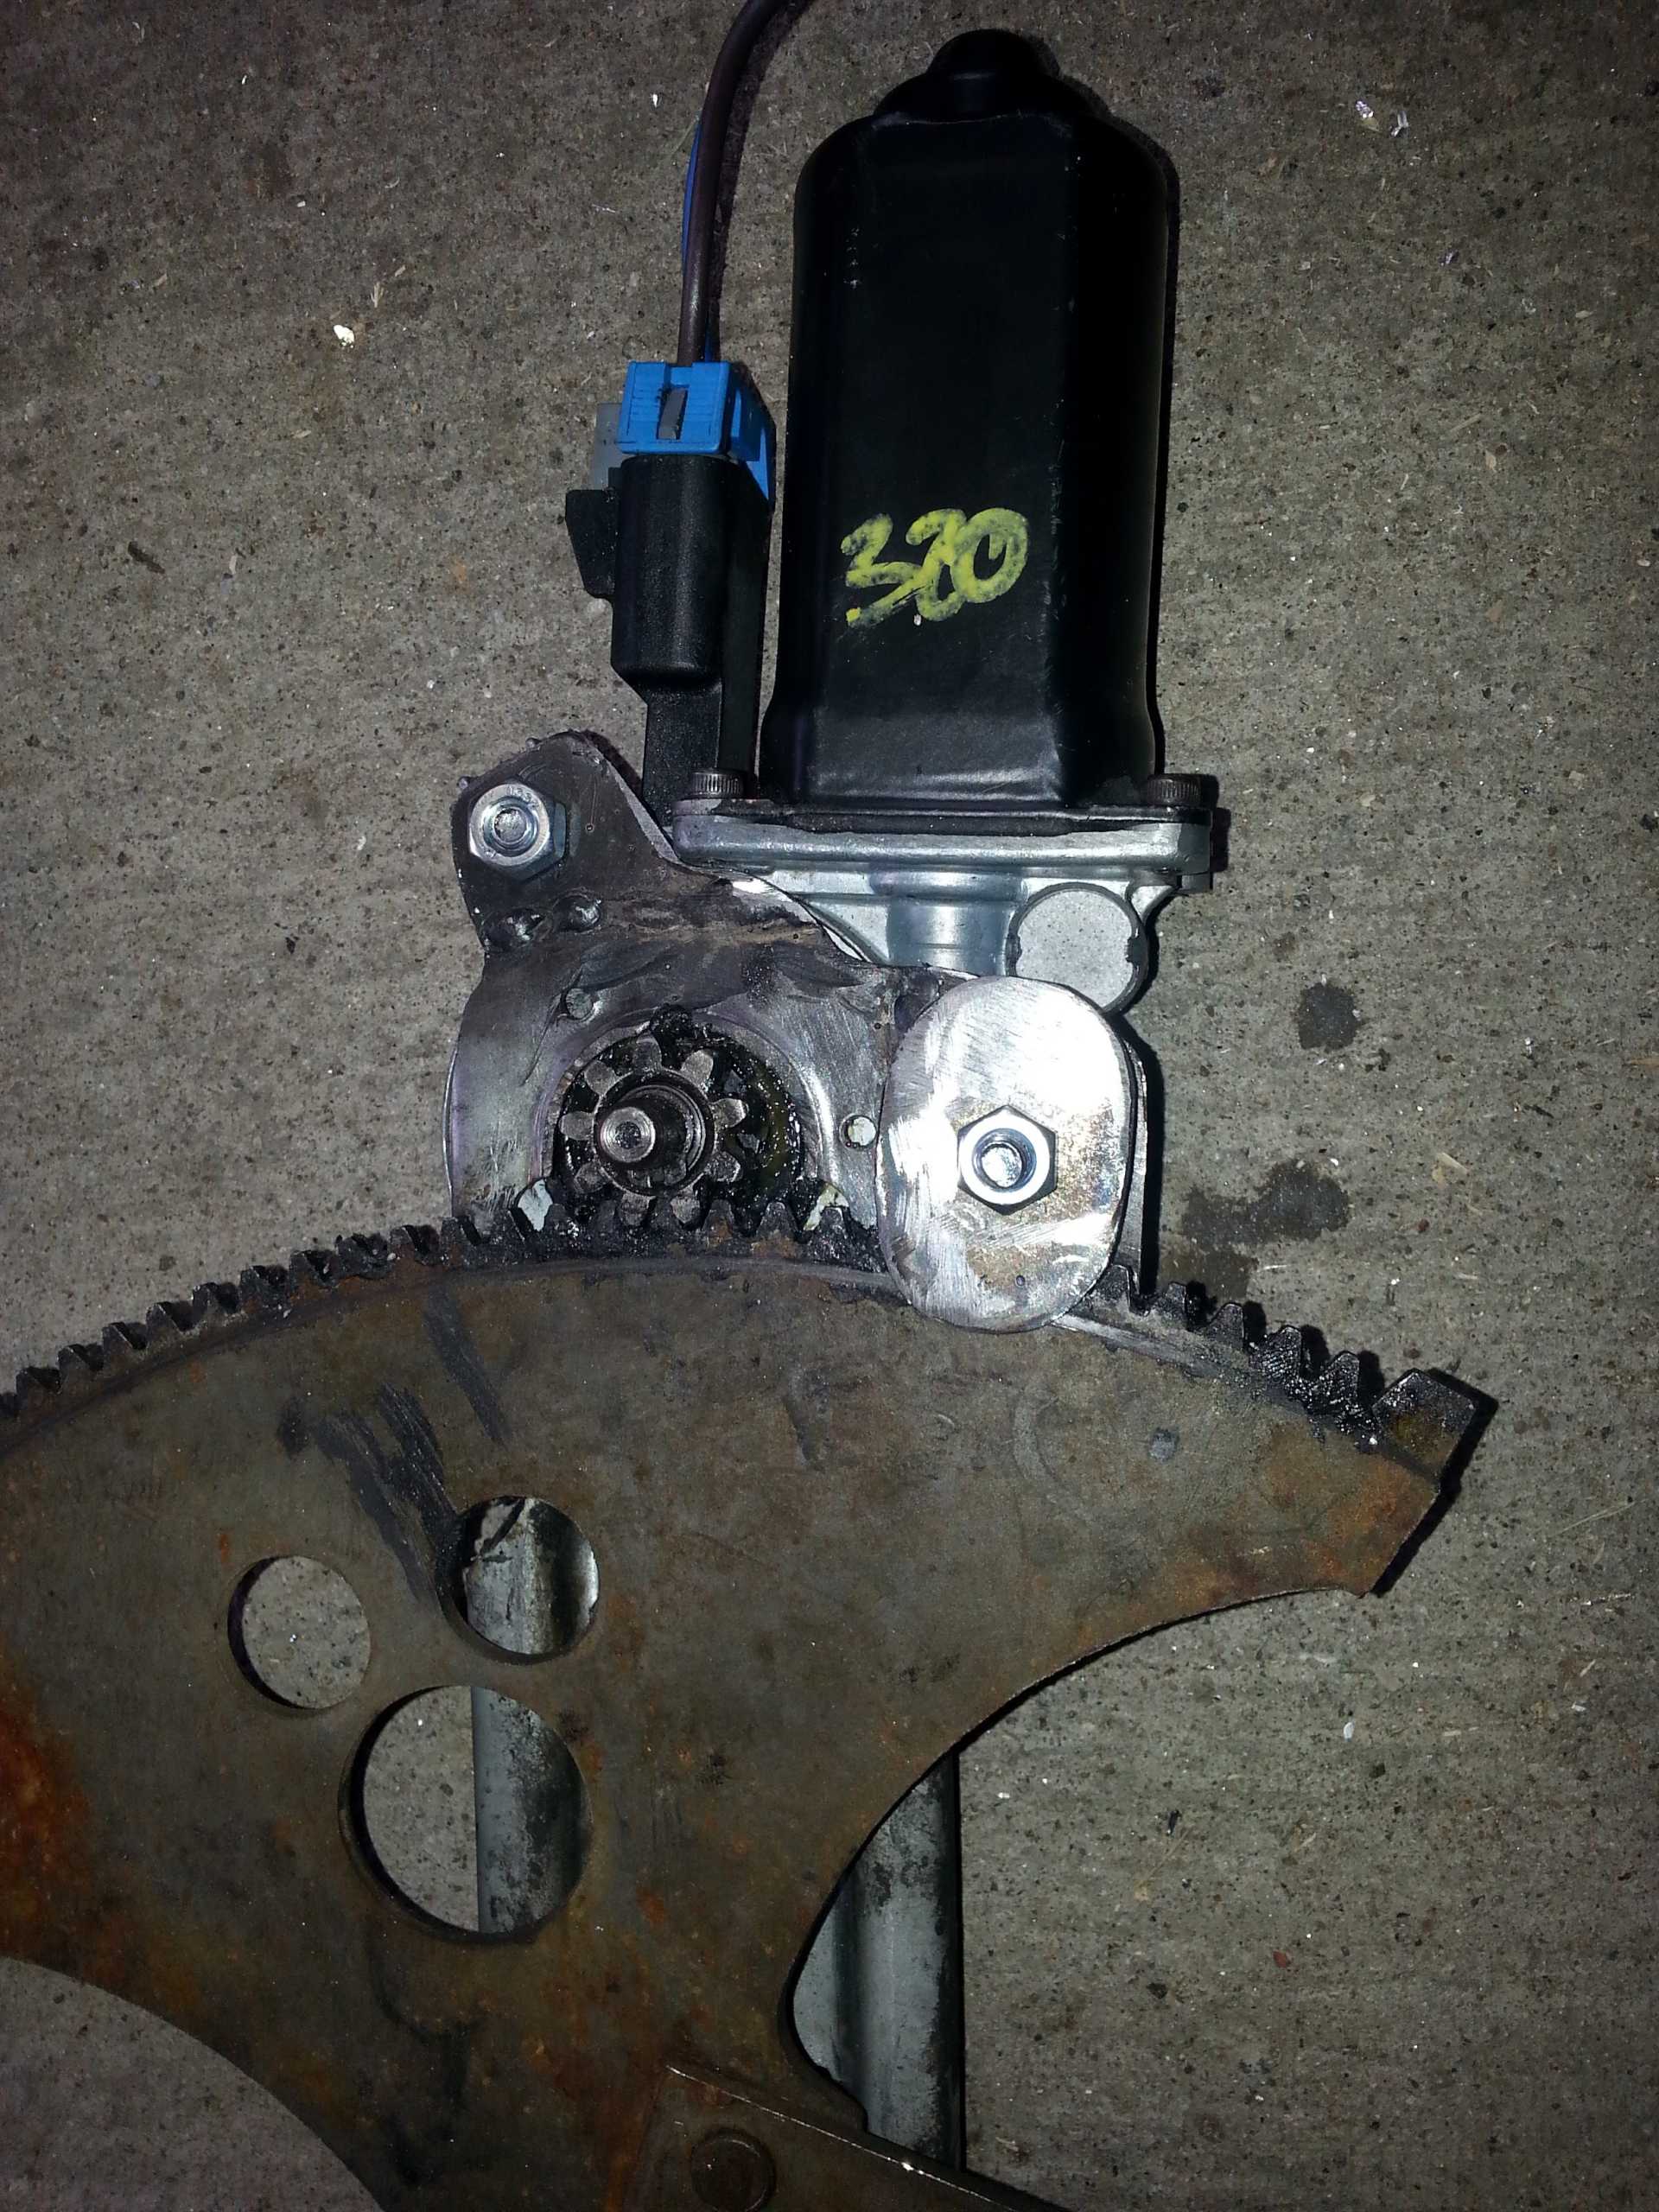
Cut off the bushing plate, and grind both sides flat. You can test fit the motor until you get it to fit flush.
Weld on two plates (14 gauge steel) for motor mounting points.

Grind and dress the plates, and then drill two holes to mount the motor. You'll also need to make a small retaining plate. This will be used to provide a guide so that the gear stays meshed with the regulator. Without it, there is the risk of the regulator (under strain from the torsion spring) popping over the gear and springing open.

Insert the torsion spring. It will be under no load. (make sure you put it in the correct way around...everything on the driver side is mirror image to the passenger side).
Preload the torsion spring by turning it 180 degrees. Put a screwdriver back in place to hold steady for now. The exact position isn't critical for now.
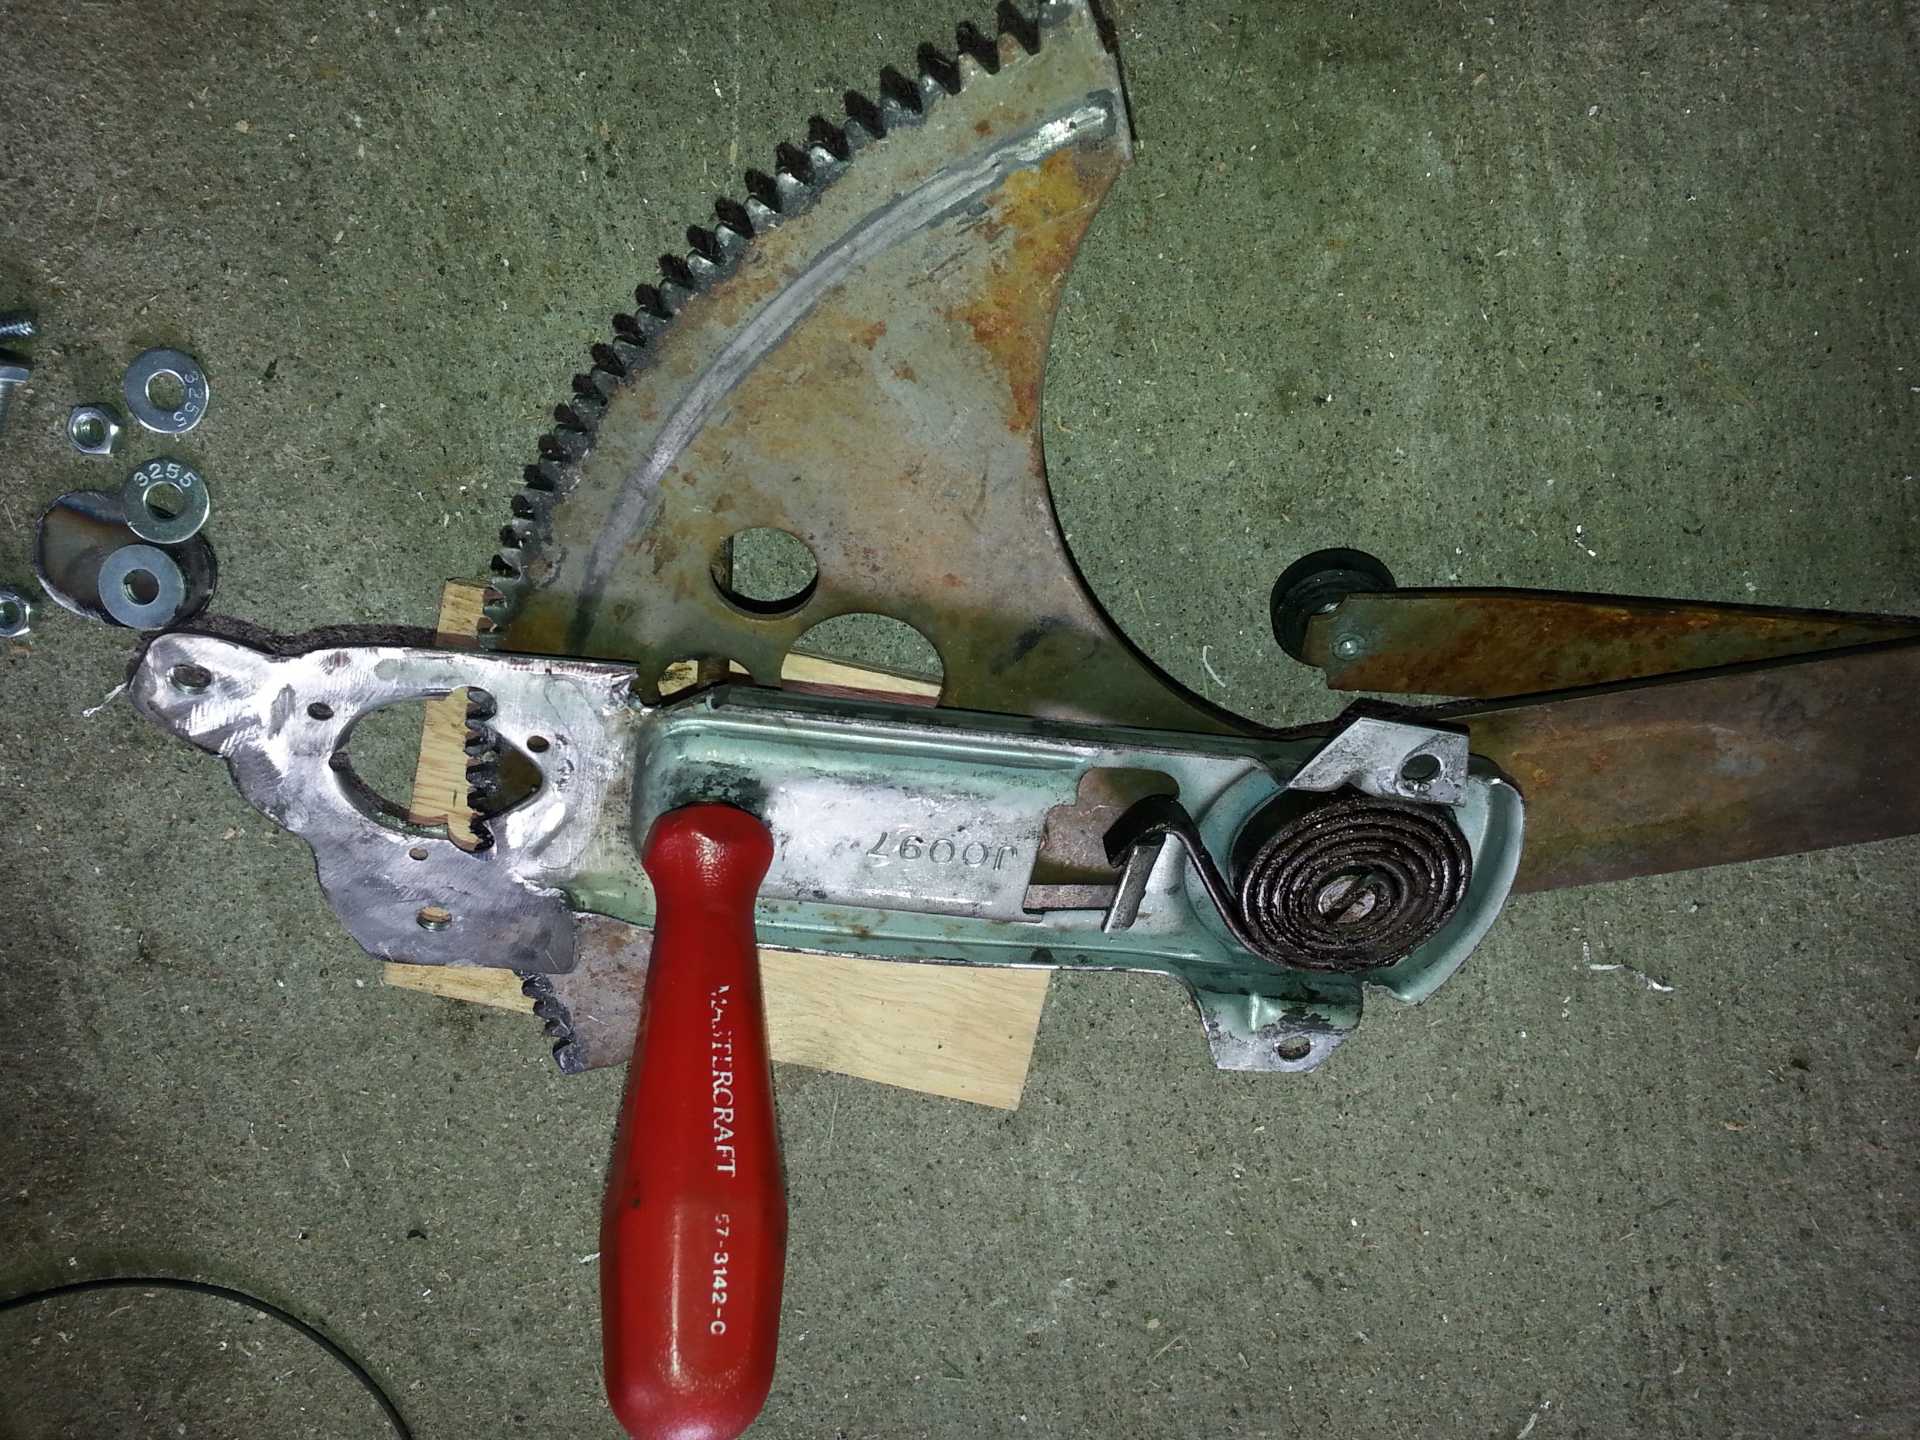
Position the motor in place and put both bolts through (I used 1/4" x 1 1/2" bolts). ***Note: In the next two pics, the bolts aren't all correctly shown. It will be easiest to have the nuts on the outside of the door. You'll want the nuts in place for now (so you can put the regulator into the door), and then as you are positioning the regulator , you can remove the nuts and slide the bolts through the door panel sheetmetal, and then tighten the nuts on the outside.
The guide plate is critical to ensure the regulator doesn't pop over the gears and swing around under strain. Use 3 or 4 washers to provide a spacer for the guide plate. As mentioned before , the nuts are shown up, but the bolts should be reversed so the bolt heads are visible from this view.

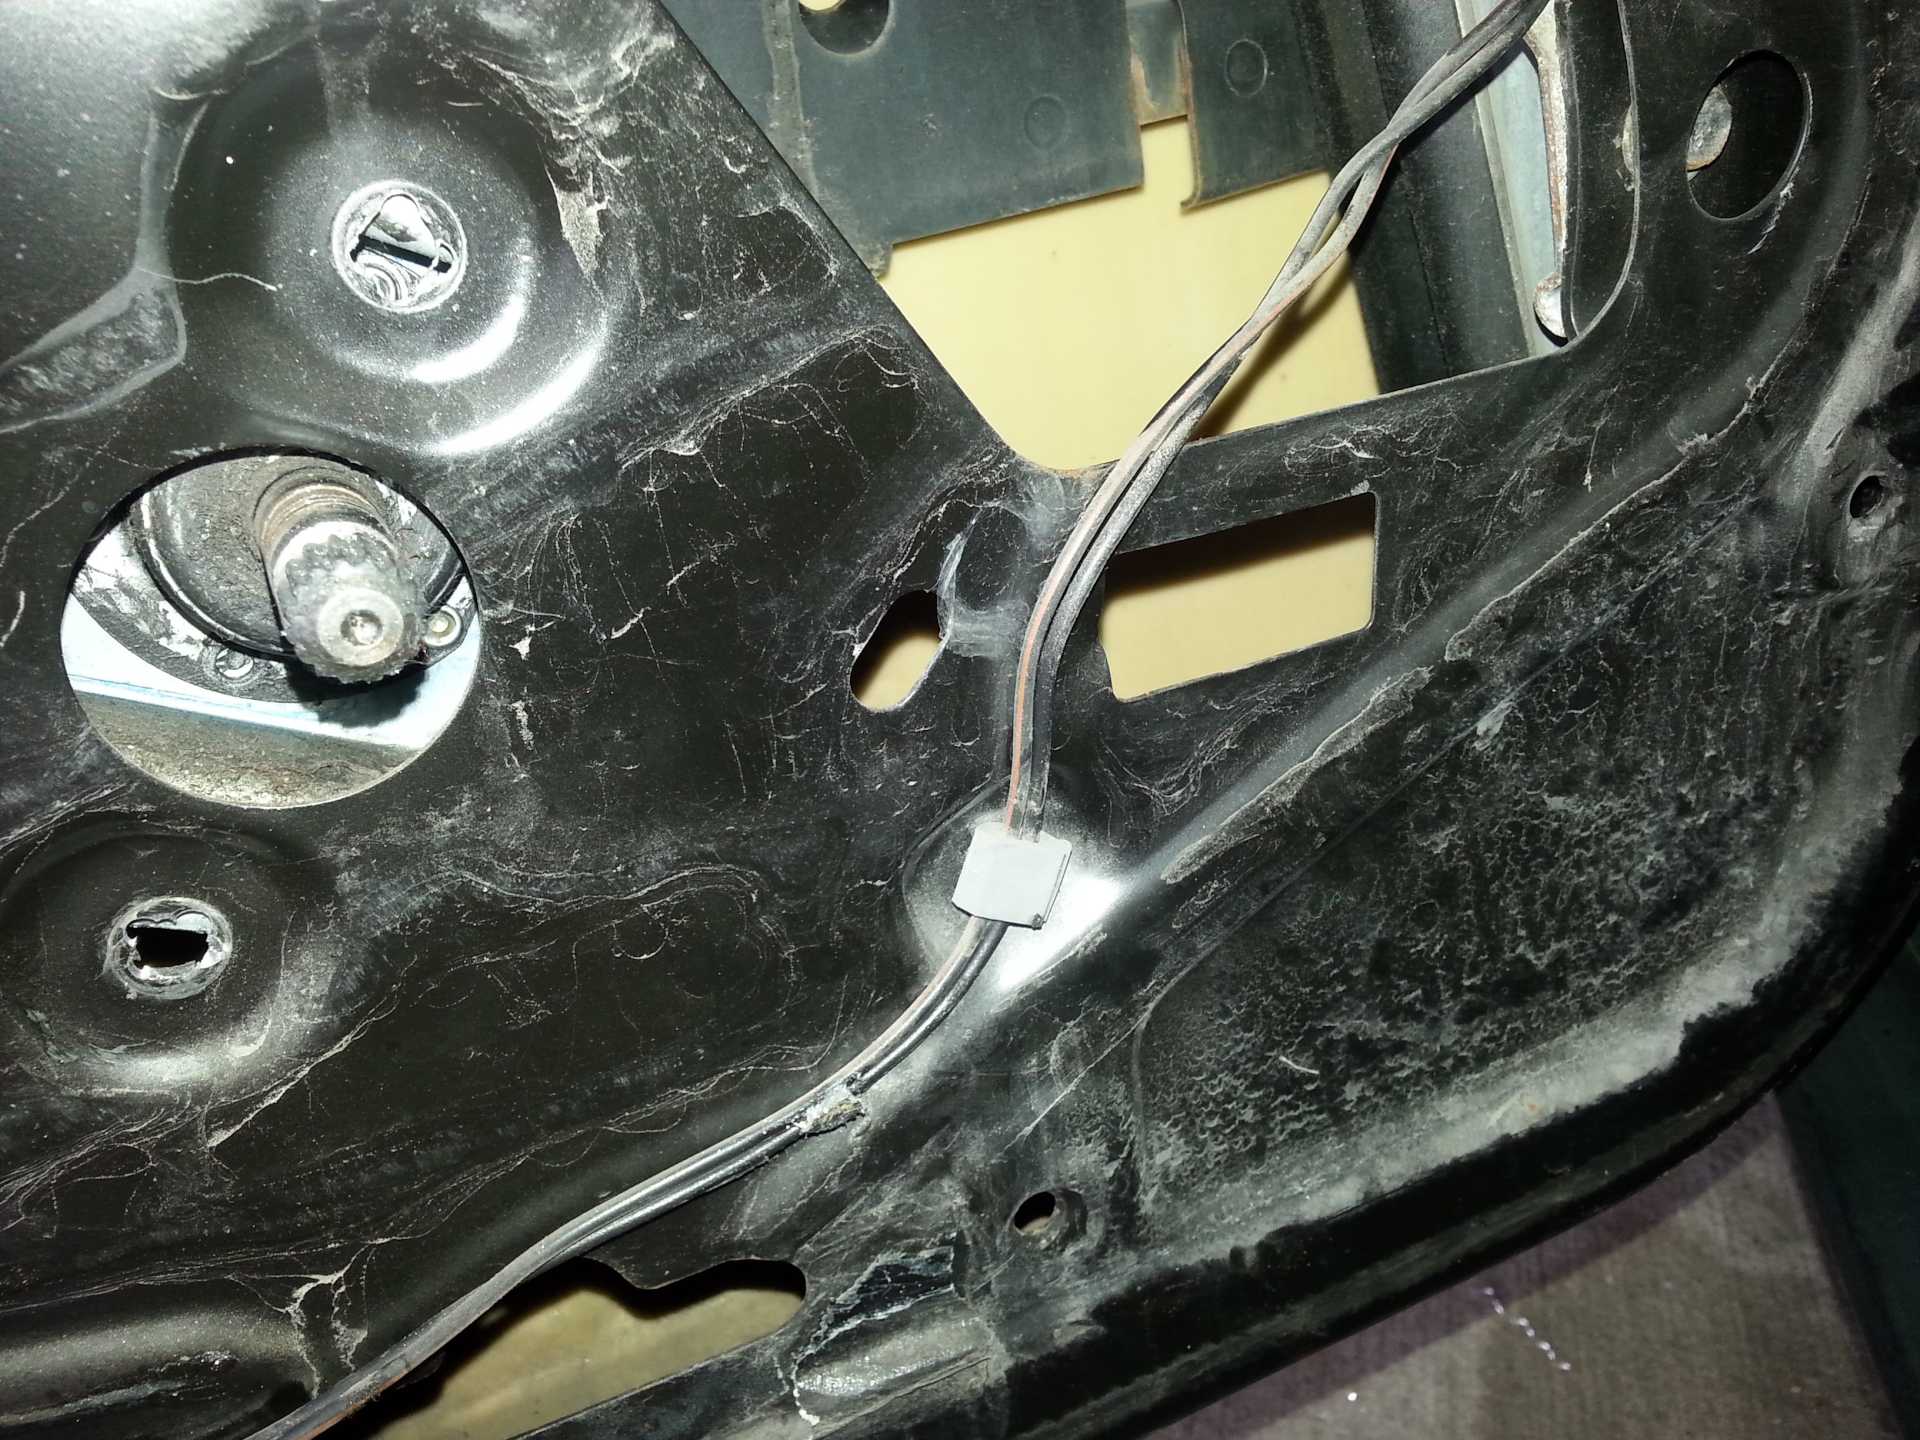
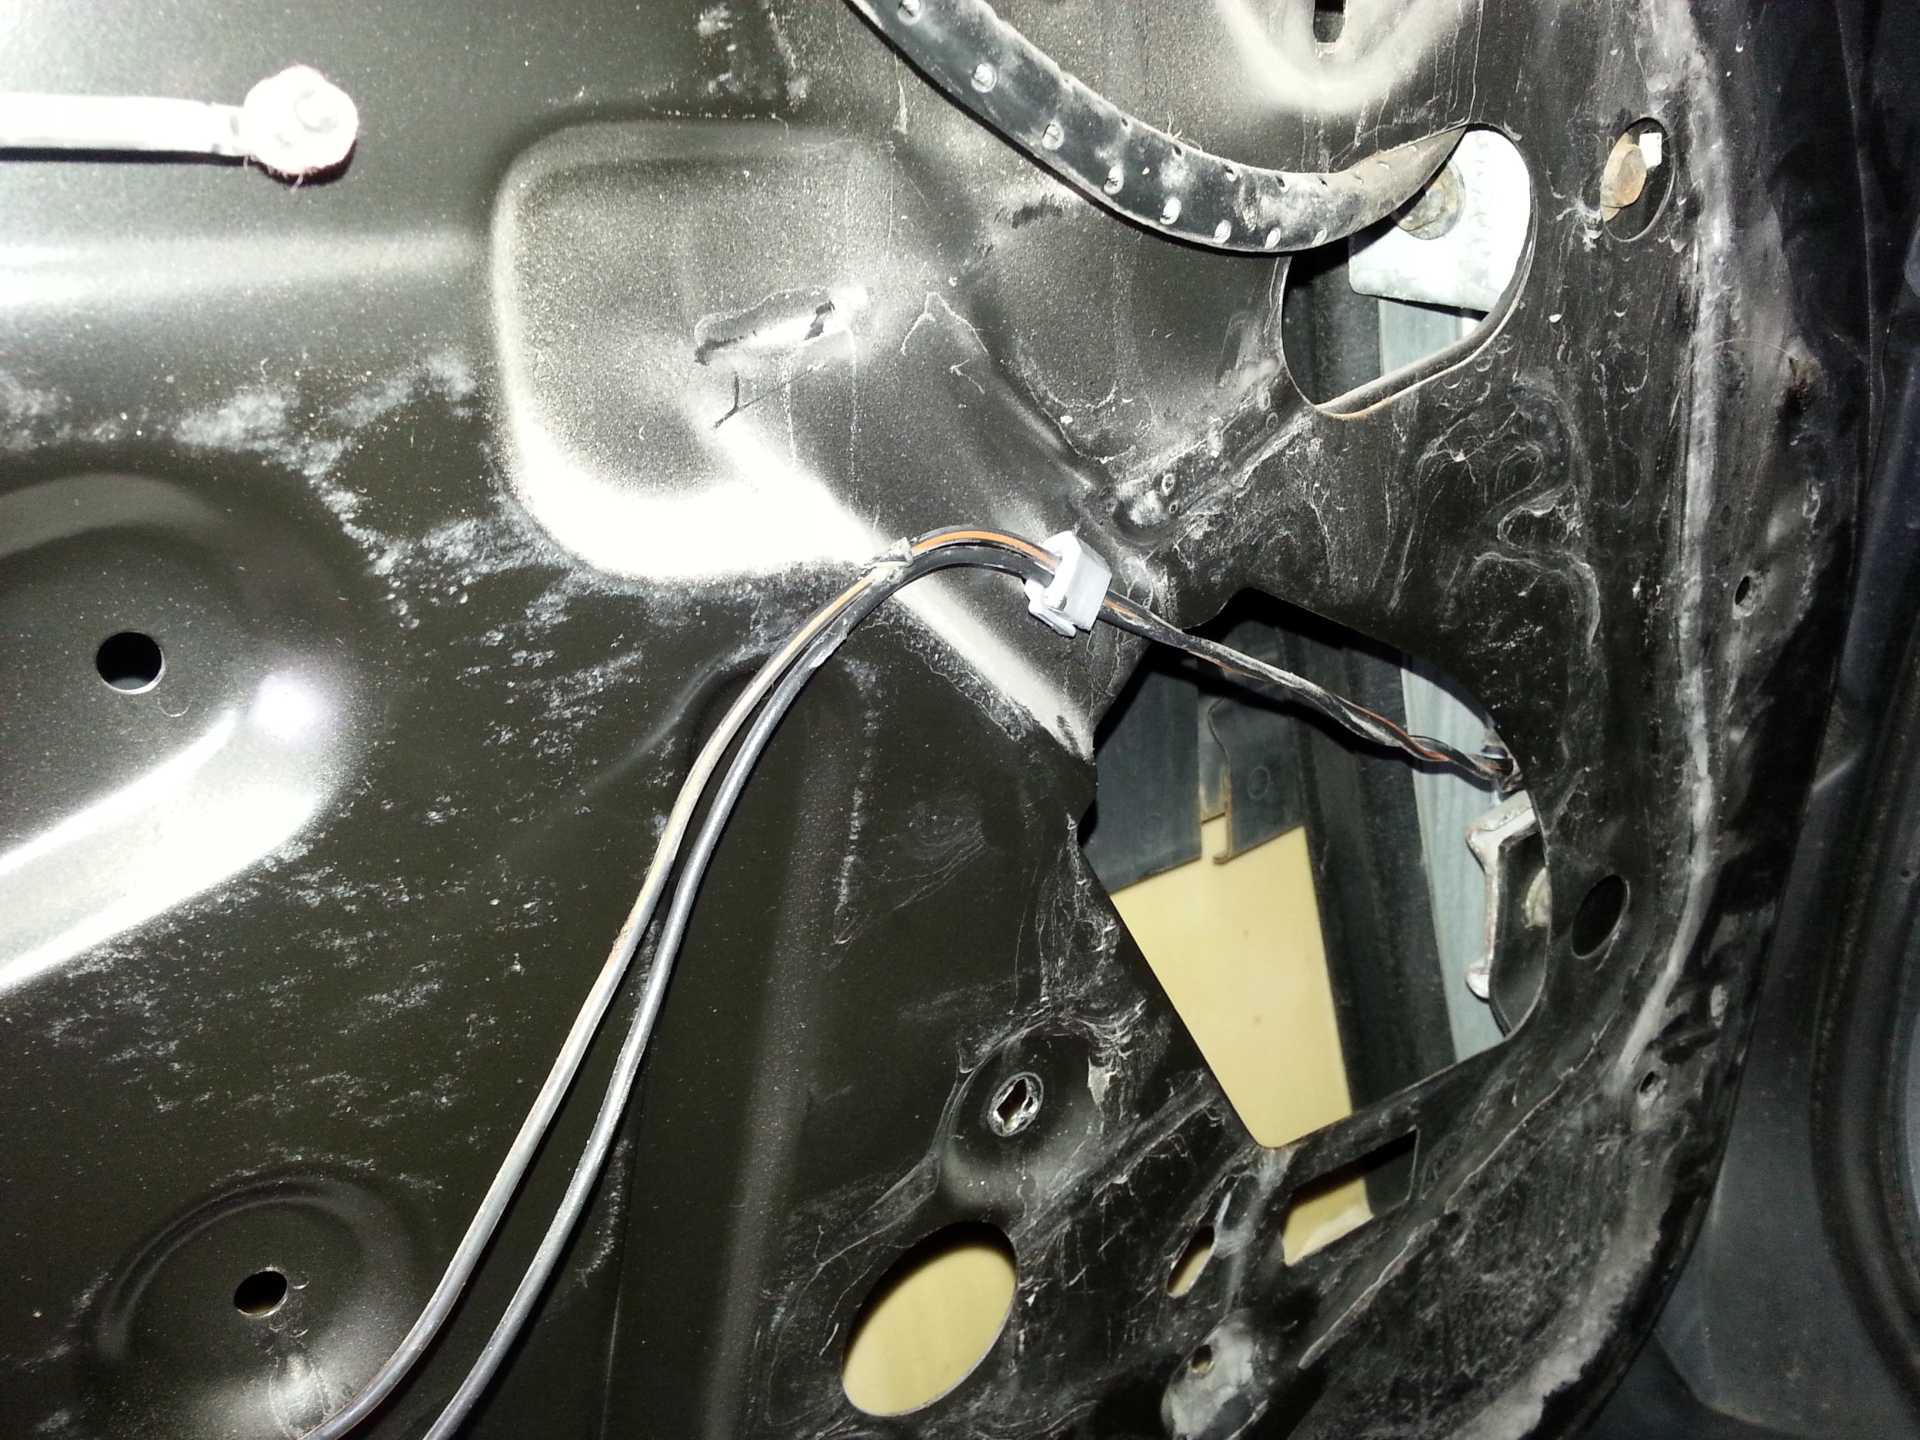
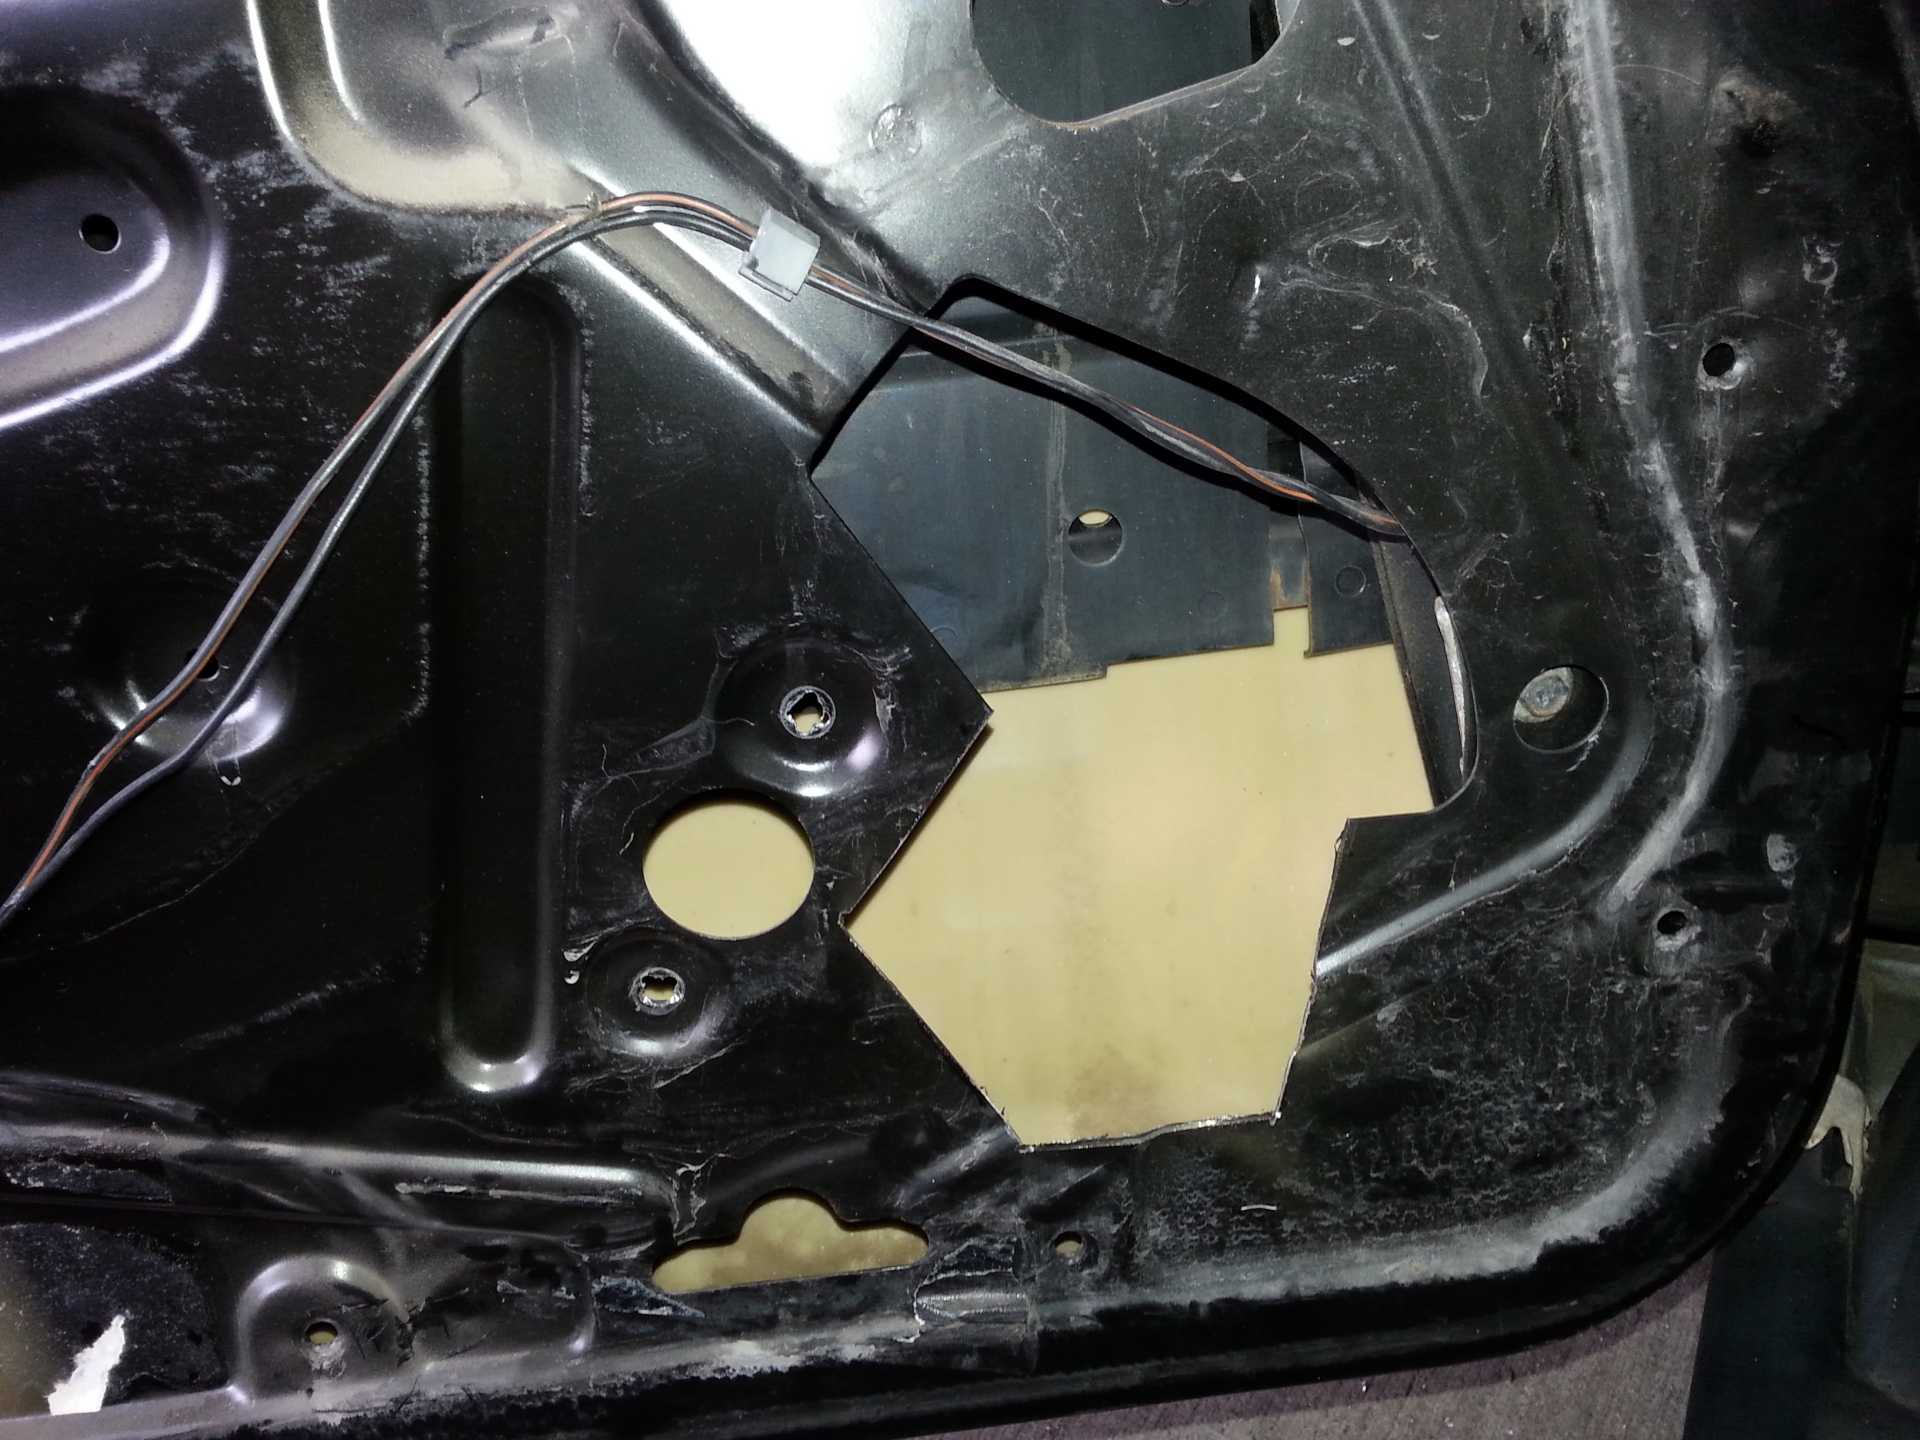
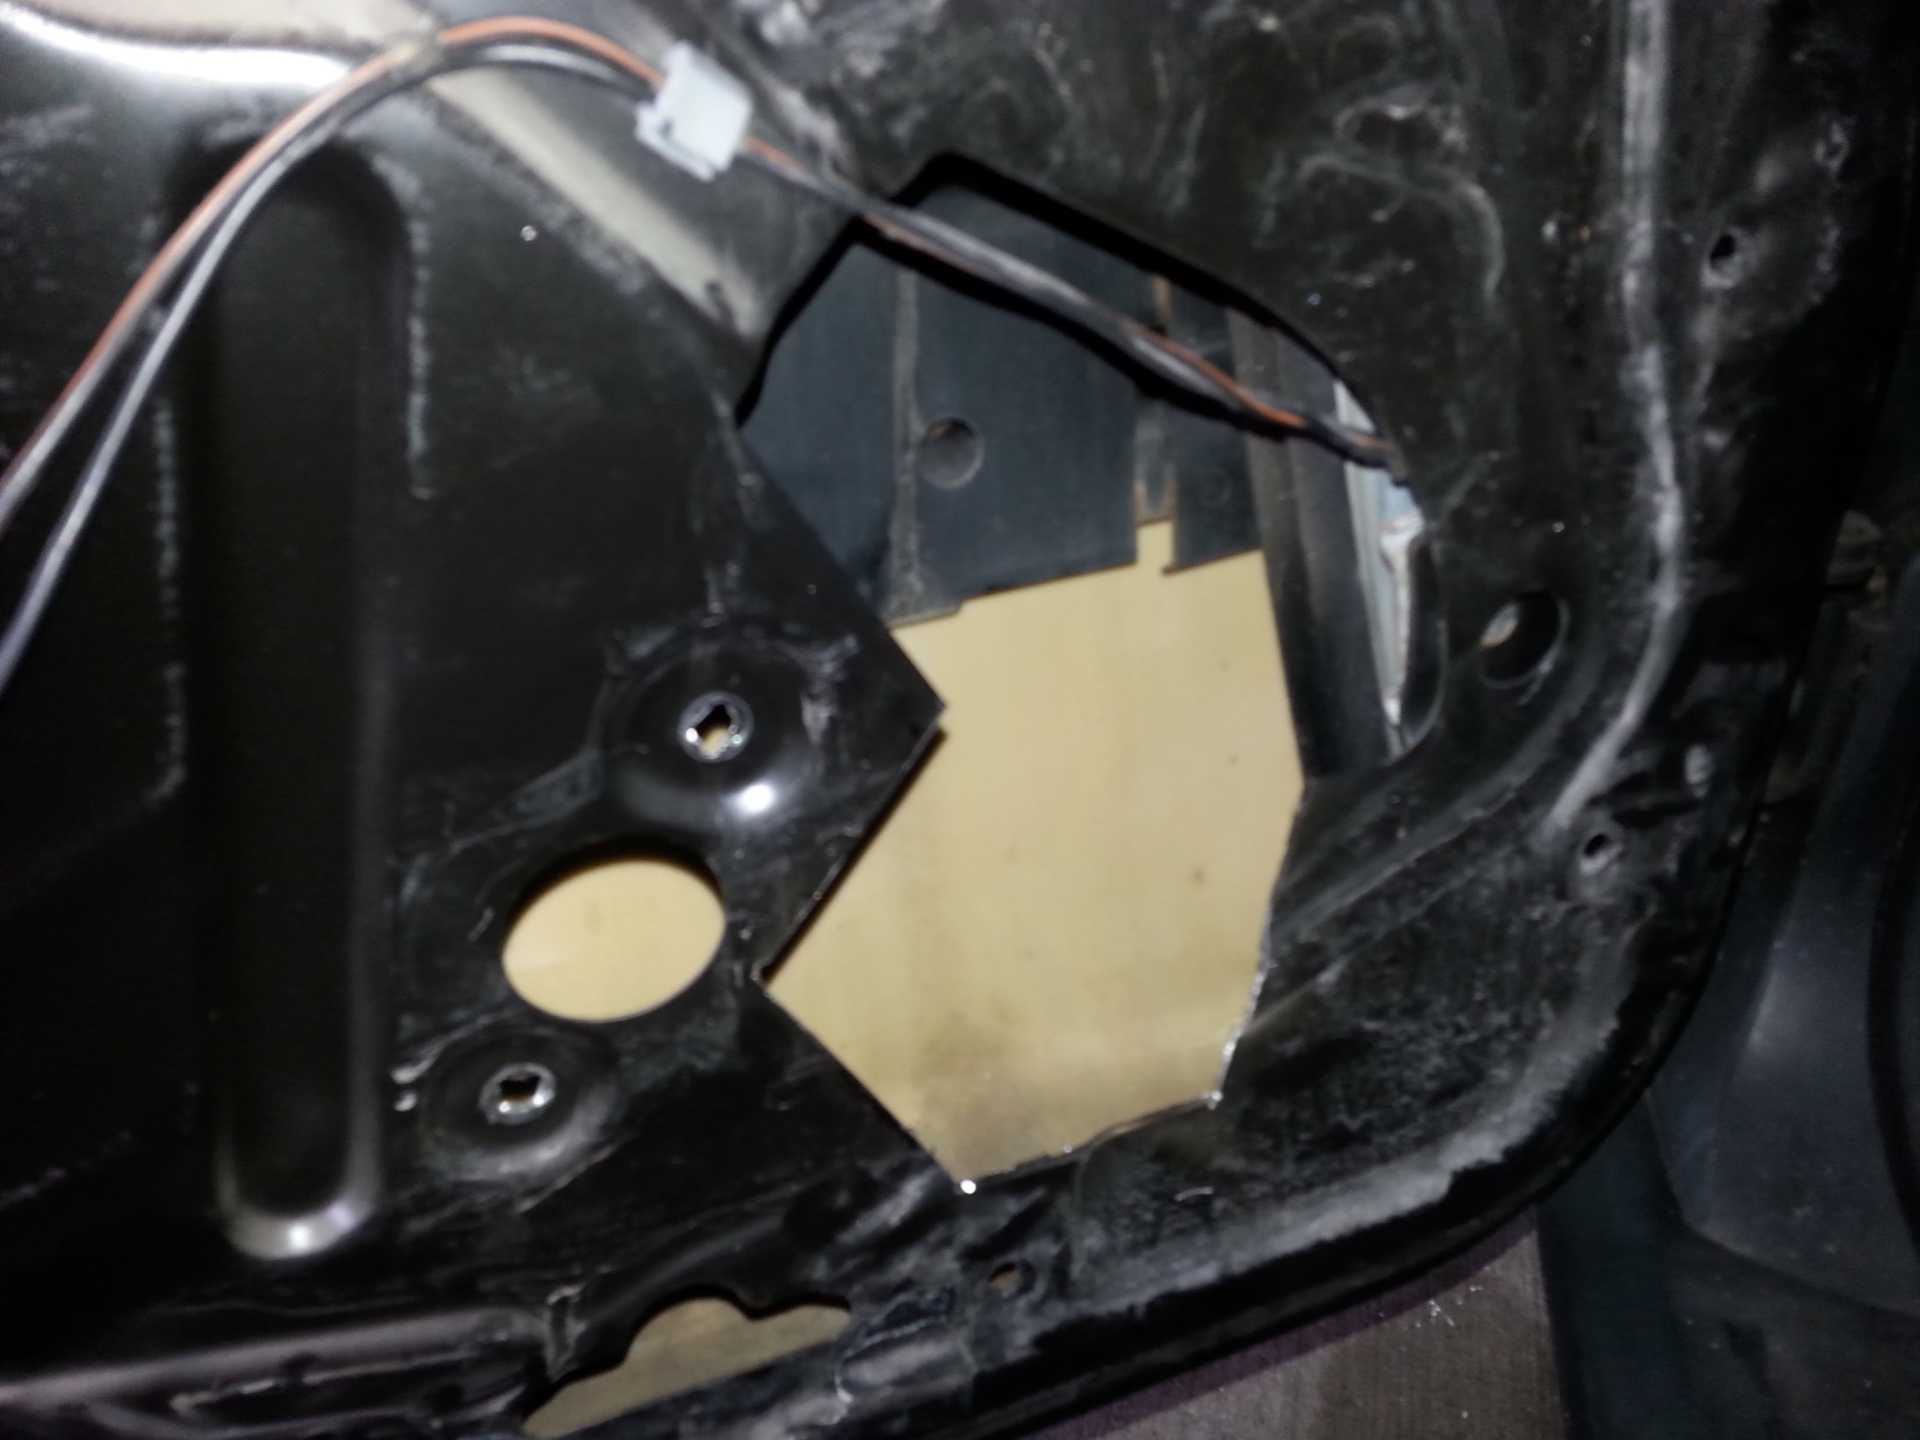
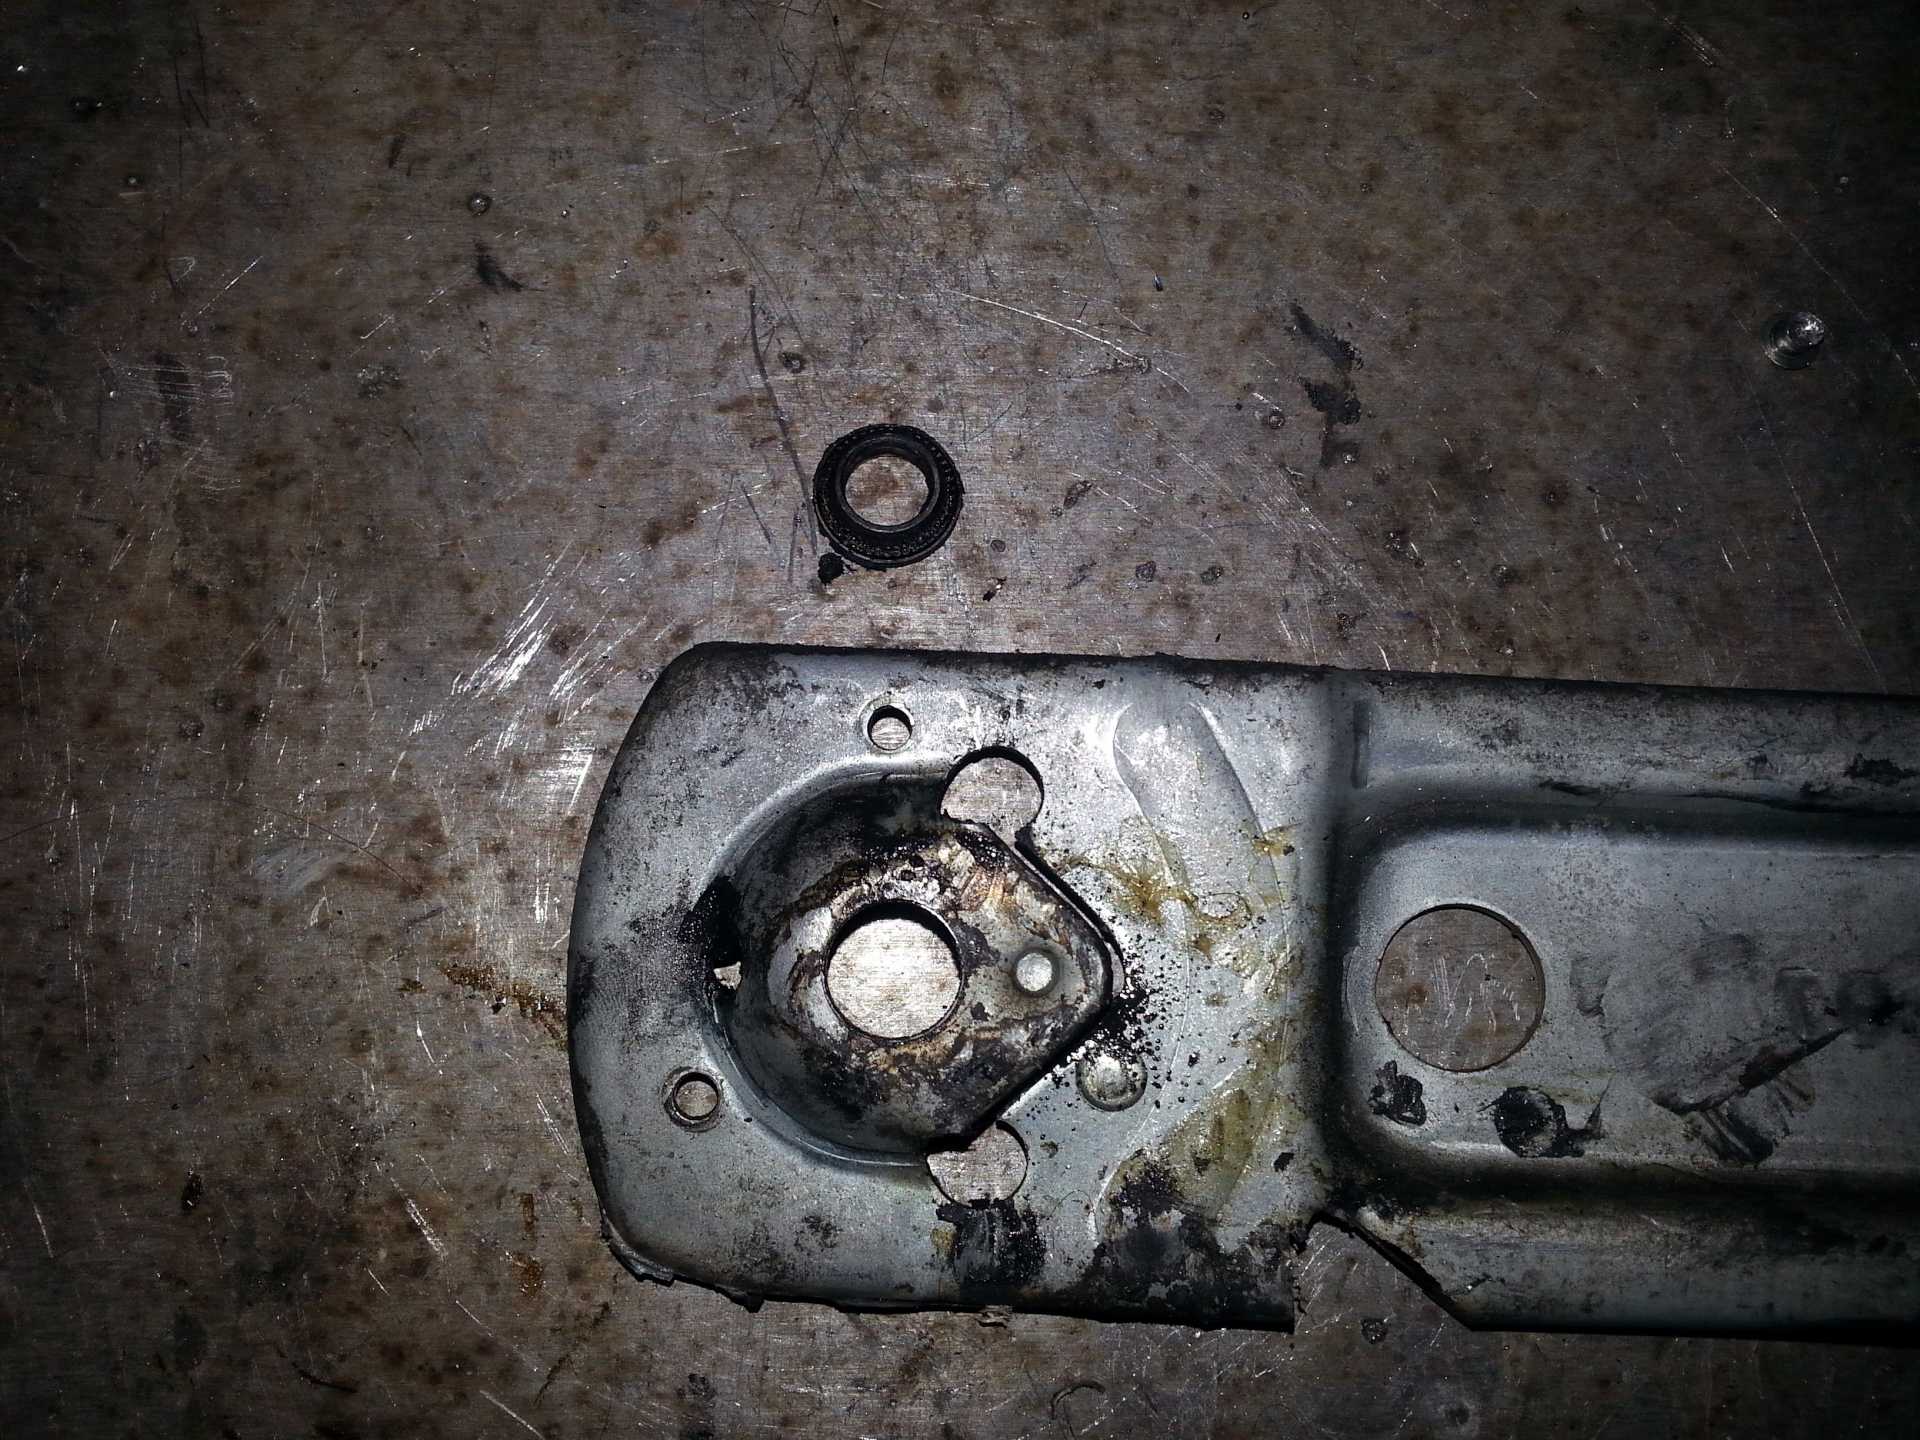
The wires need to be moved from the lower securing hole to an upper hole. Conveniently there is a hole directly above the hole where the wires are currently secured.
You will need to use a grinder with a cutting disk to cut out the hole as shown in the picture below. This is to make room for the motor, which doesn't sit completely flush with the door panel. You will also need to drill one hole for the lower motor retaining bolt. (I actually did it once the regulator was in place since it was easier to measure exactly where the hole had to go).
You may also need to cut a small corner off the glass stop, as it may bump into the motor. (Mine did on the passenger side, but not the drivers side....I cut the same notch on both anyway.)
The window regulator can now be reinstalled back through the hole. Once it is inside the door, start by installing the wheels onto the upper guide rails. You may want to lower the glass about 4-5 inches to make it easier to get the wheels into the rail. Once the wheel are on the upper rail, you can install the lower rail (two bolts). It may be necessary to slide the regulator back and forth the get the lower rail in place.
Once the wheels are in the upper rail, and the lower rail is installed, the regulator can be positioned. You will need to remove the c-clamps and shift the glass up or down to get the regulator bolts to line up. Use 1/4" x 1/2" bolts with a washer. The will fit into the rivet holes without modification. The two lower holes already have bolts holding the motor to the regulator....just carefully slip off the nut and slide the bolts into the holes. Make sure the regulator doesn't pop over the gear while you're getting things lined up.
Once you are happy, you can install the stiffener bar (the one that had two rivets that were removed). Use 1/4" x 1/2" bolts with a washer.
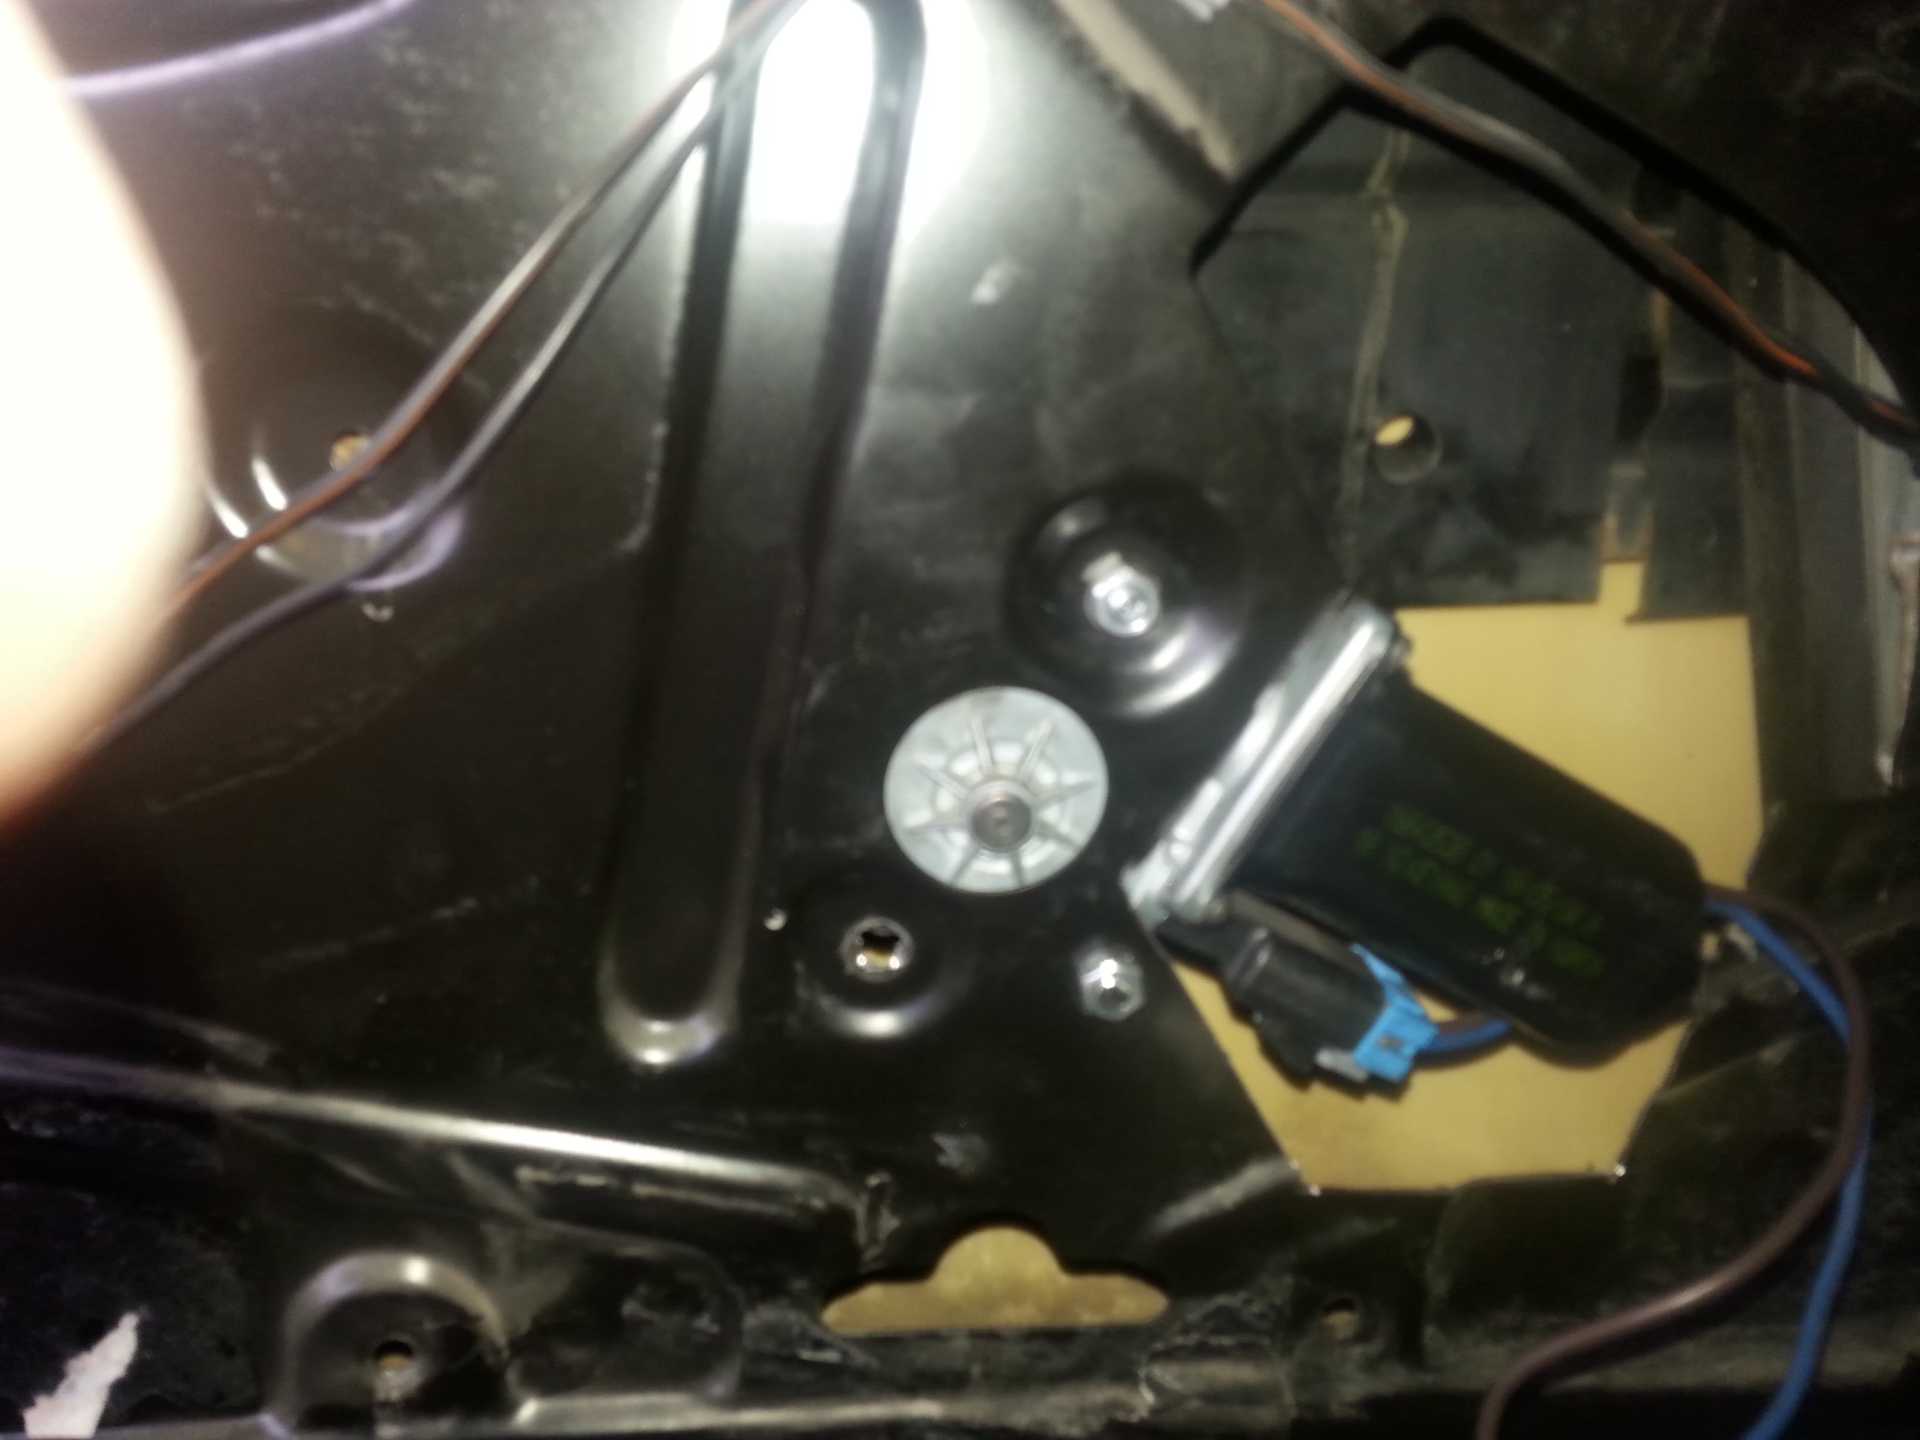
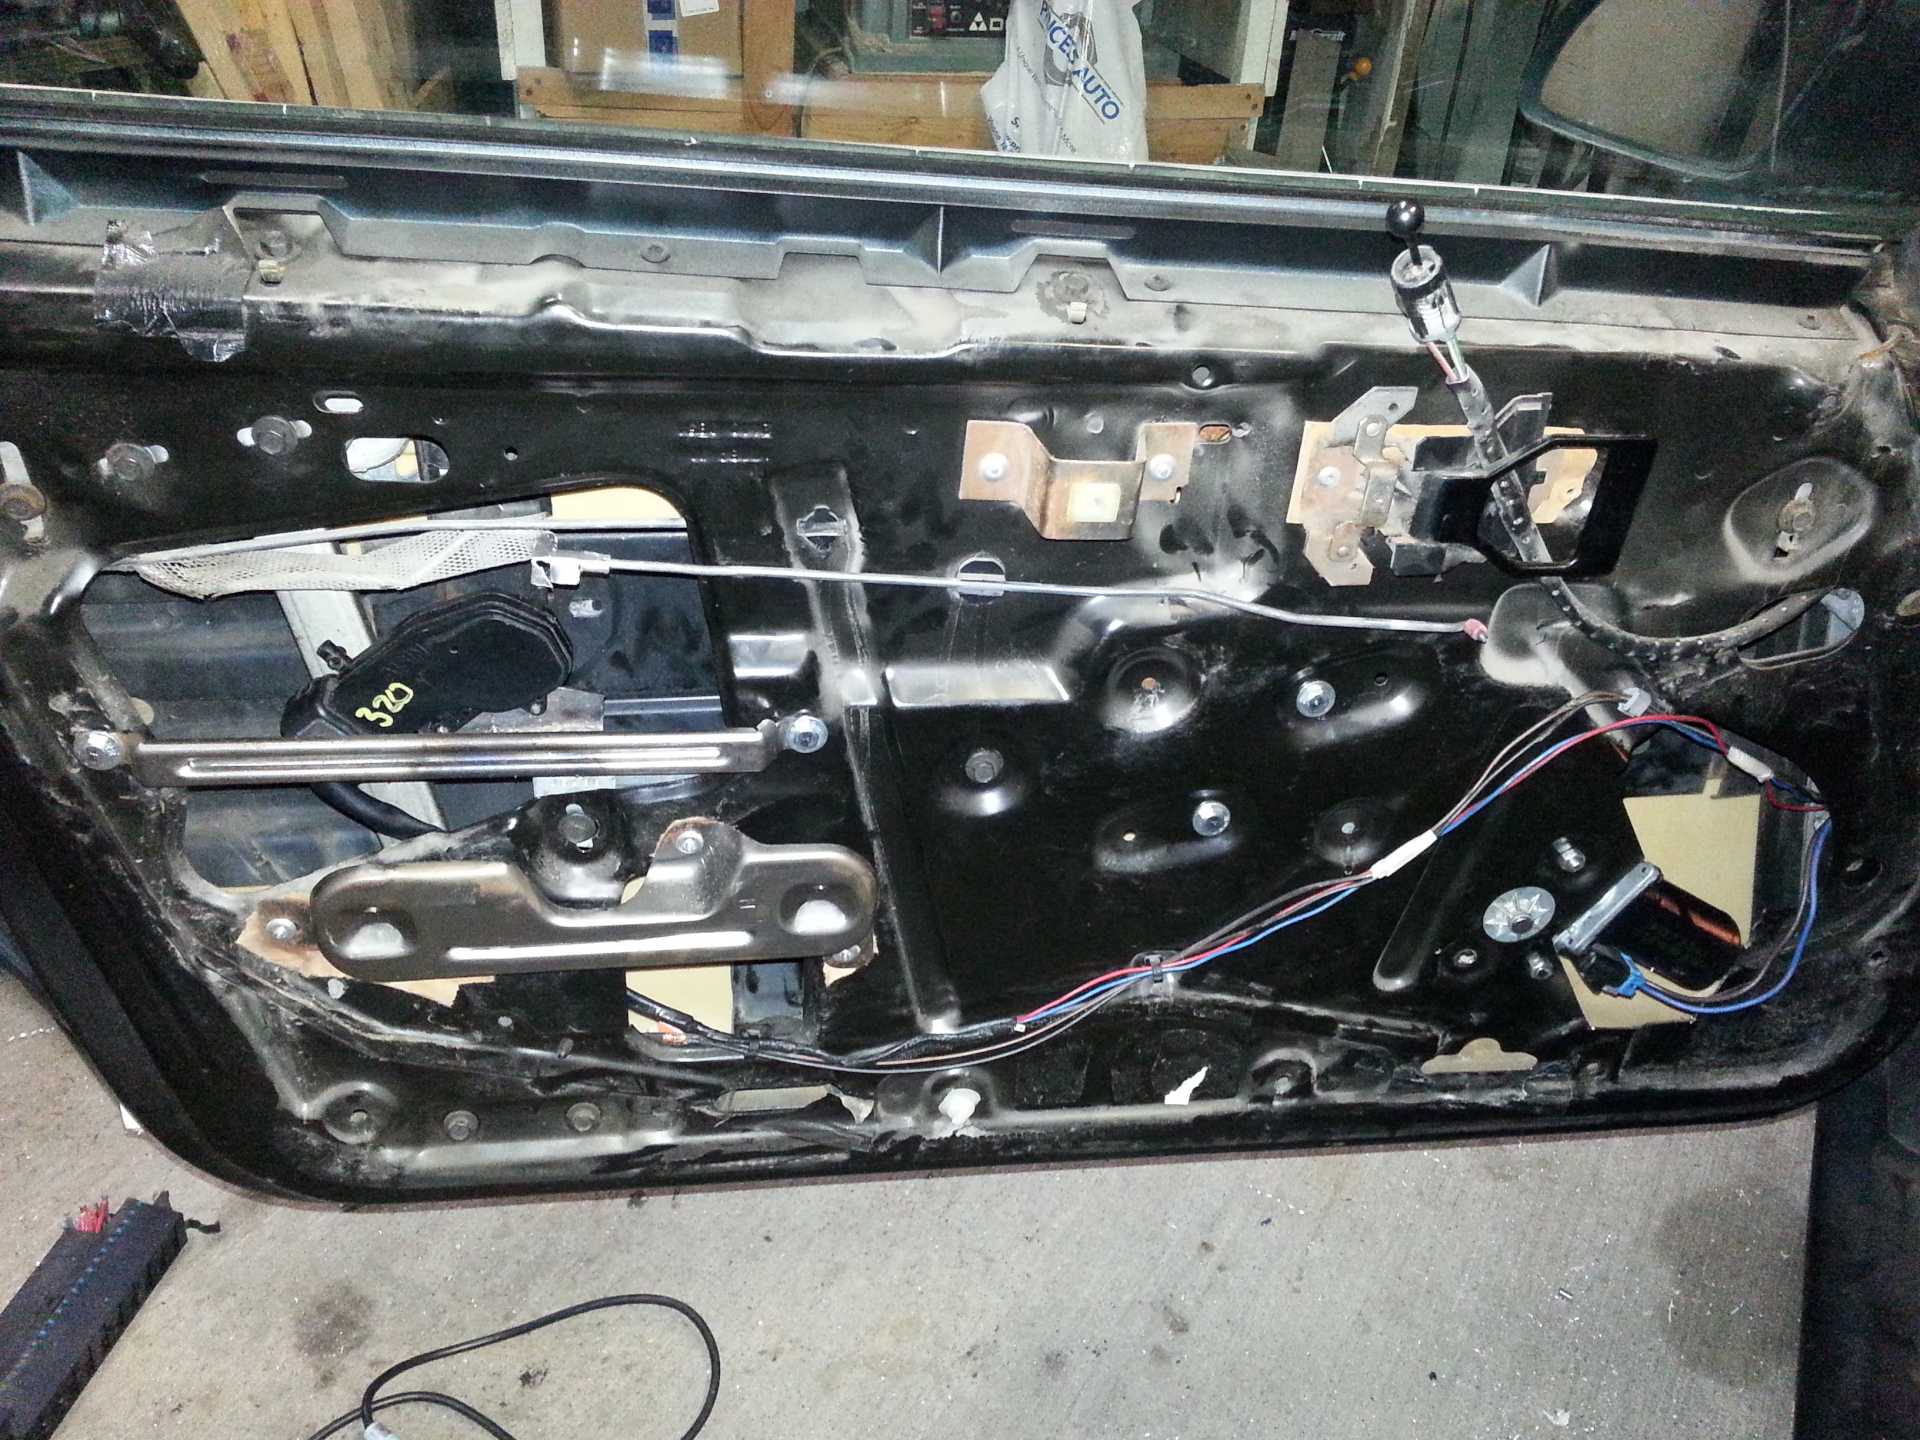
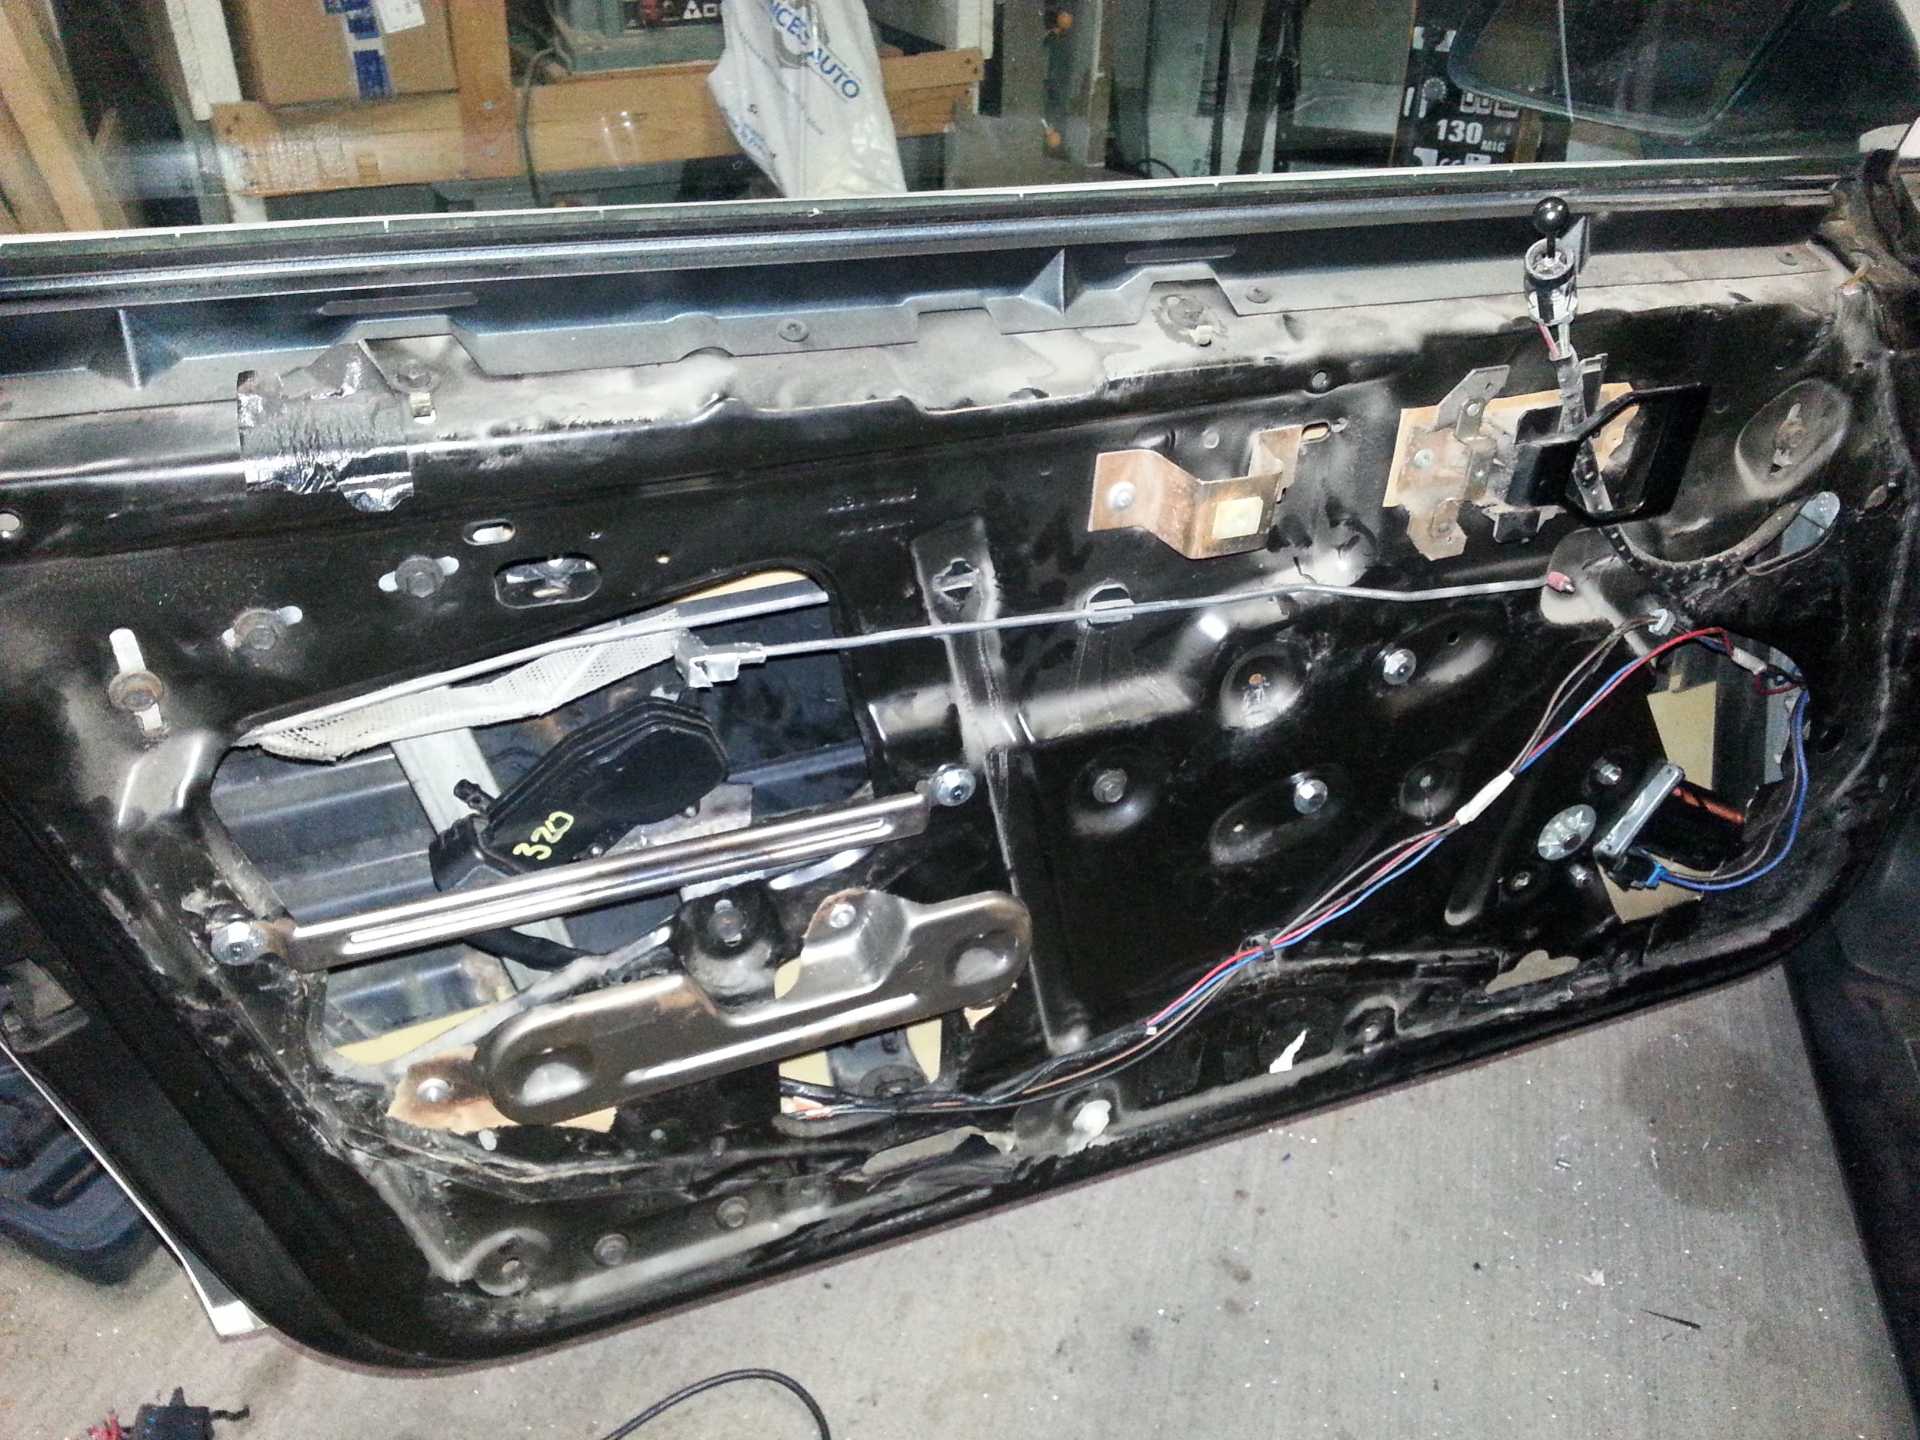
Everything ready to go. The wires have been run through the door jamb. All connections are soldered with heat shrink tubing.
Also note a door lock actuator has been installed. A support was welded to the stiffener bar and a linkage was created to connect the actuator to the door lock rod.
The window and door actuators have been tested directly to power. Everything works great!!

The door lock actuators are surprisingly quiet, and the windows open and close quite quickly. The next step is to finish running the electrical to the fuse block, through the switches and appropriate relays. I'll finish this up tomorrow and post the results.
Note...October 5th, 2023...I have attempted to recover the lost pictures (Result of a server change). I have most, but a few were missing. I'll leave the dead links just in case Cliff is able to upload from backups.
Extra pictures from my archive folder... some may be similar to the missing pics:
[img]https://images.fiero.nl/userimag es/Neils88/20140831_131130.jpg[/img]
[ img]https://images.fiero.nl/userimages/Neils88/20140831_160415.jpg[/img]

[img]https://images.fiero.nl/userimag es/Neils88/20140831_125210.jpg[/img]
[This message has been edited by Neils88 (edited 10-05-2023).]


