Supposedly the tranny is out of a 01 cavalier Dan. I wouldn't worry about the mounts. They fit perfectly other than this silly piece of aluminum that can be gotten rid of easily It does not bother me at all. Things like that should be expected as far as i'm concerned considering the # of vehicles that used the tranny.
Supposedly the tranny is out of a 01 cavalier Dan. I wouldn't worry about the mounts. They fit perfectly other than this silly piece of aluminum that can be gotten rid of easily It does not bother me at all. Things like that should be expected as far as i'm concerned considering the # of vehicles that used the tranny.
mine was a 01 sunfire and had the little tab there.
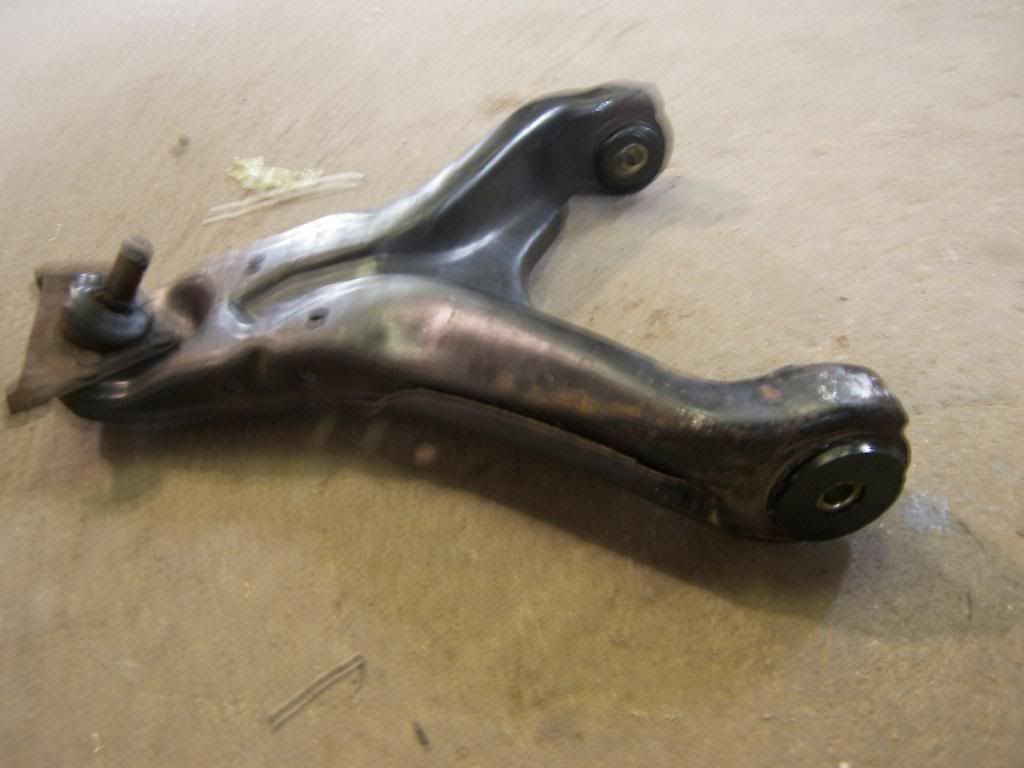
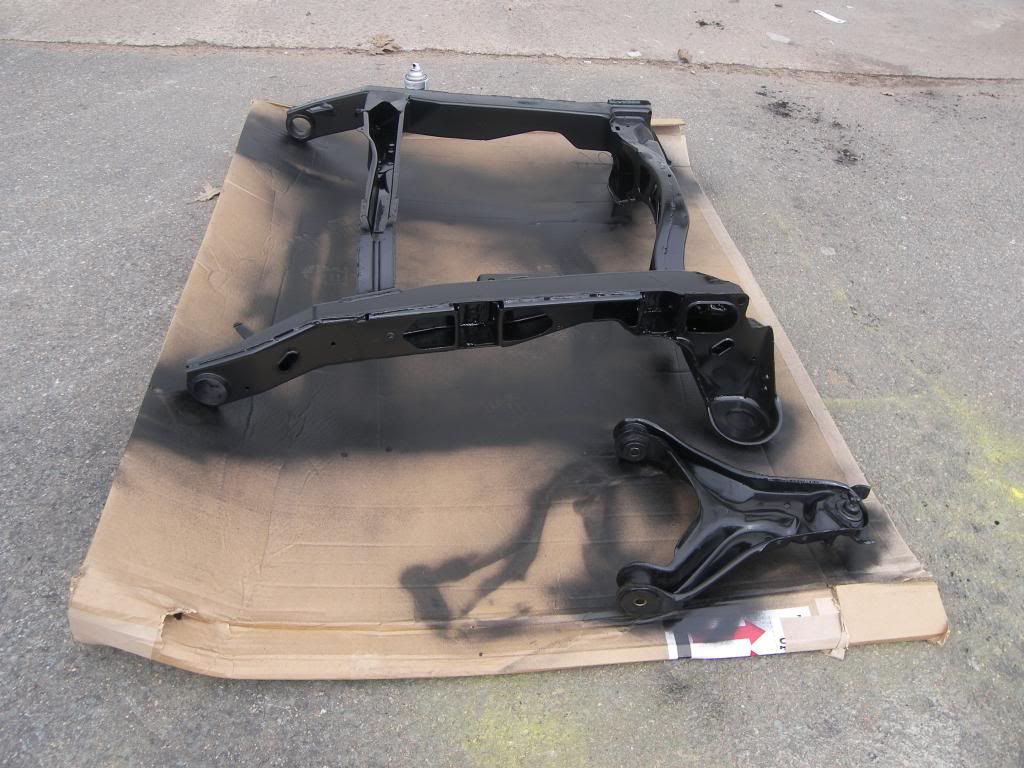
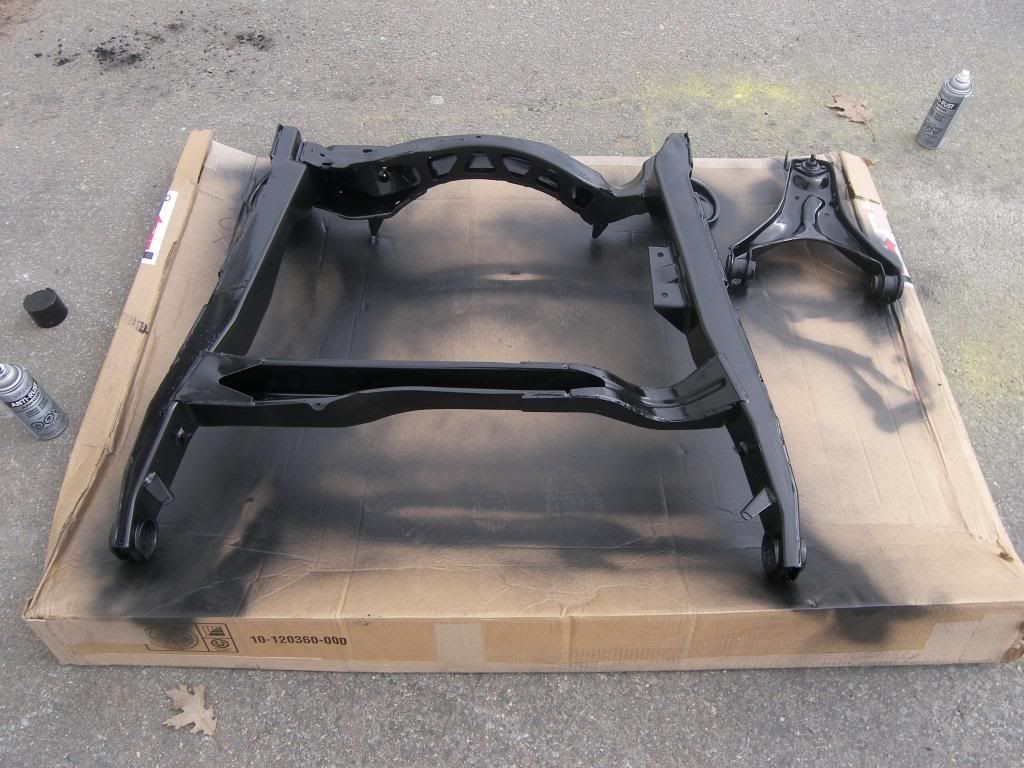
got the bushings burnt out of the cradle and one of my rear a arms today. I was amazed at how easy they came out. Then i got one set of poly bushings installed in the a arm.
I heard from the owner of T.K. cylinder heads.. My new clutch and rollmaster timing set is in. His rep is getting me a new Victor right side head gasket, the right Victor intake gasket set, and a new head bolt set. They should be here on tuesday so i finally can get this engine put together!!! Still need a flywheel for the engine yet though. I am planning to get a used one from the local salvage yard. There seems to be some different opinions on whether the flywheel should be machined to .840" or .820". Can anyone clarify which it should be?
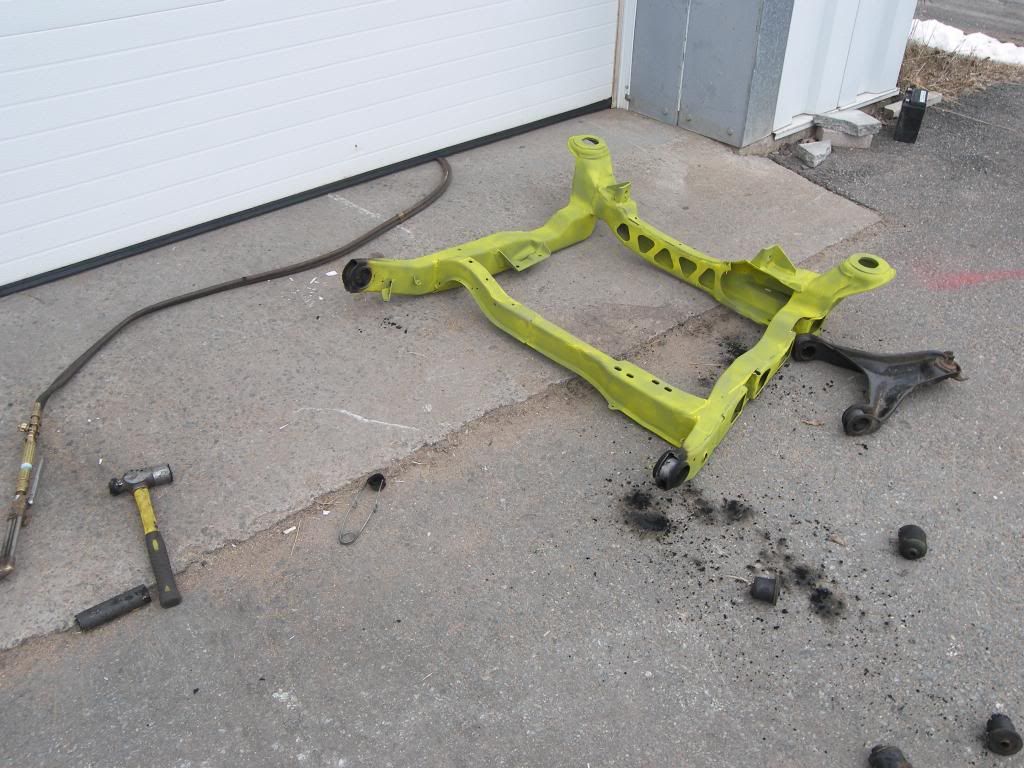
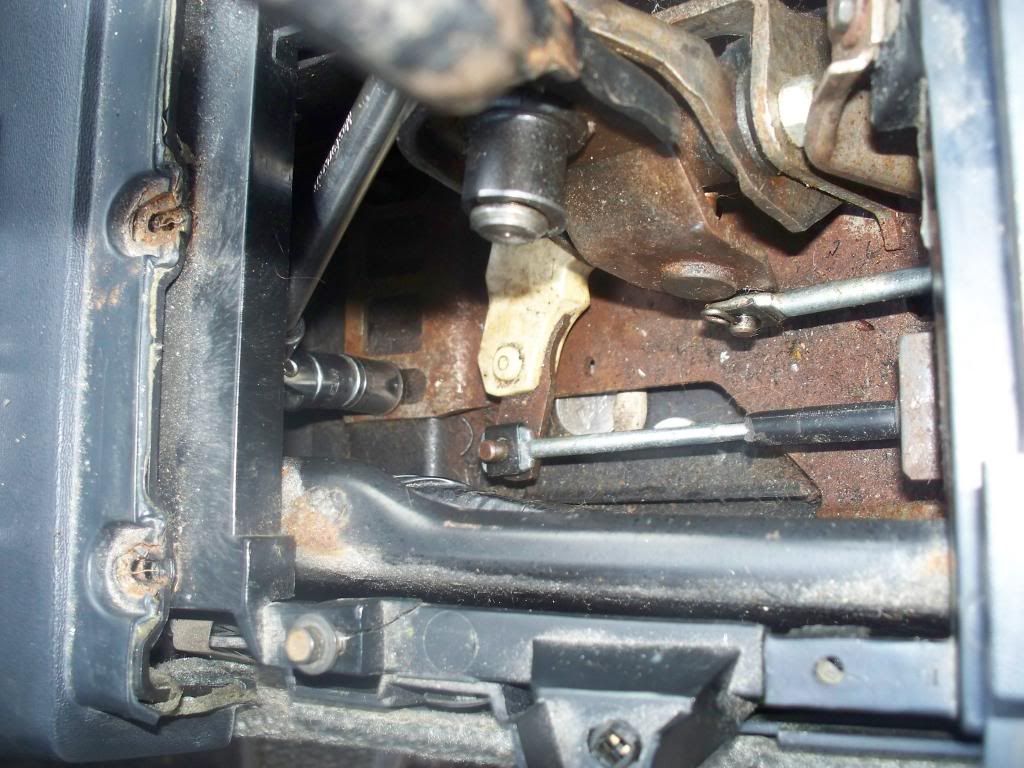
worked a little more at getting the engine out of the car today. Everything unhooked now and ready to drop out. I was checking out the rear cradle bolts to see if they were going to be a problem or not, and of course you know the answer to that...won't move. I also noticed this right in front of the rear left cradle mounting spot. ewww. good thing everything is coming apart so it can be fixed right.
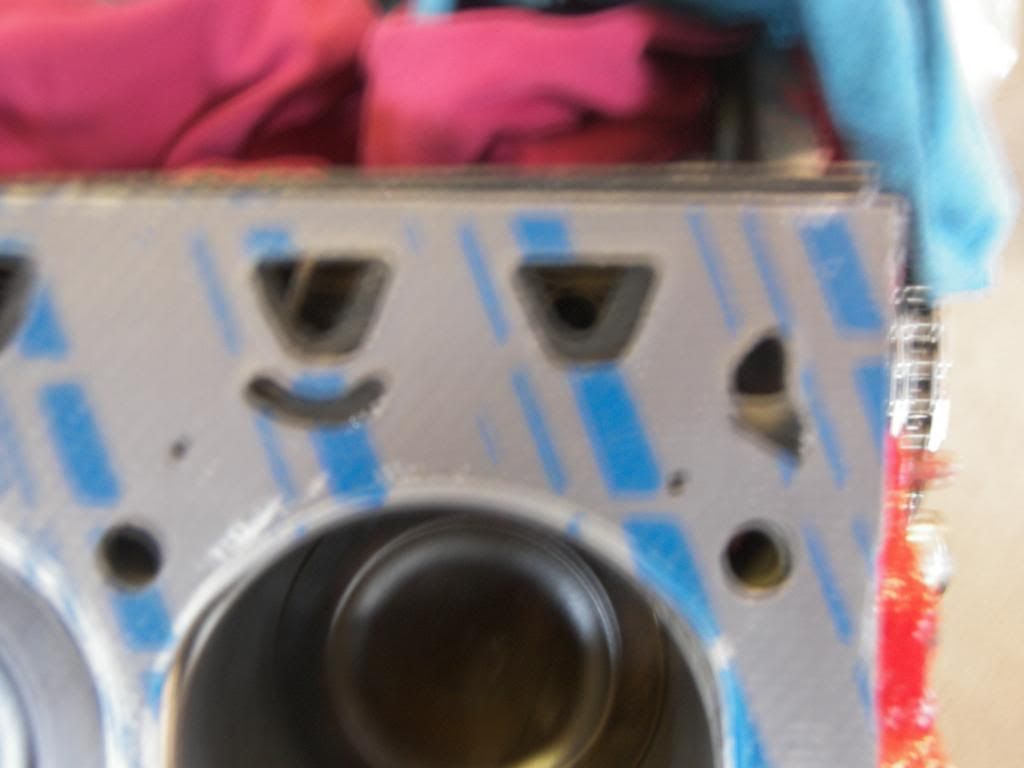
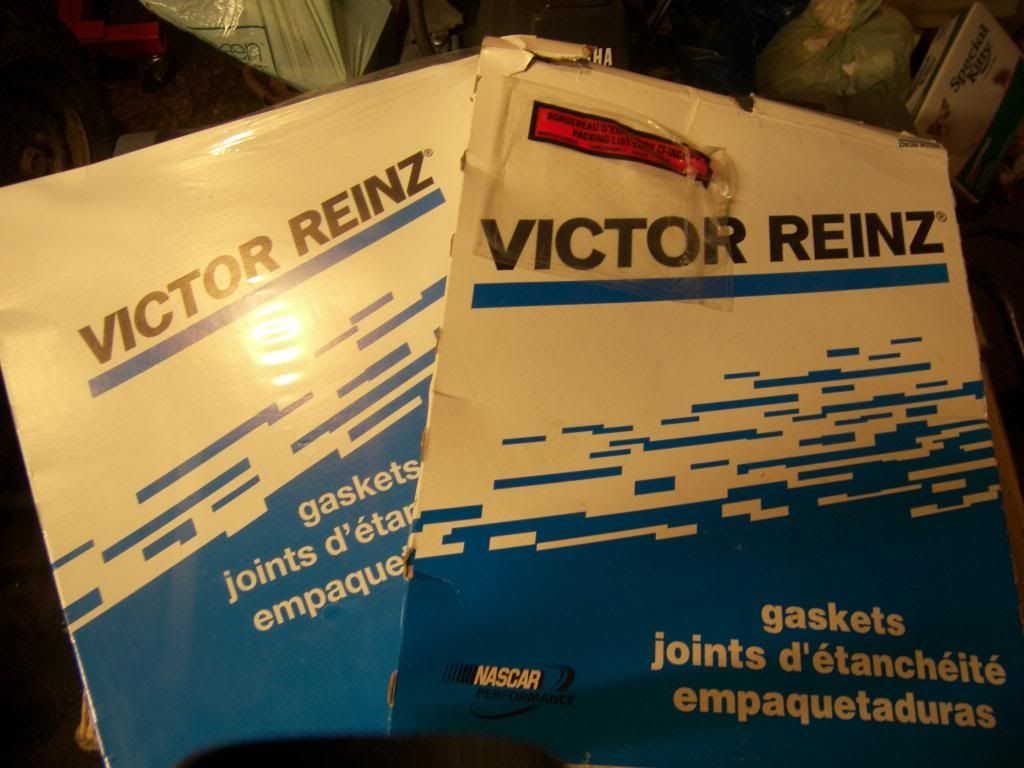
I got my replacement gaskets for the intake and the right side head gasket that was wrong. It's a crappy pic, but if you look close you can see the difference in them. I set one on top of the other to show the difference. The black one underneath is the right Victor gasket
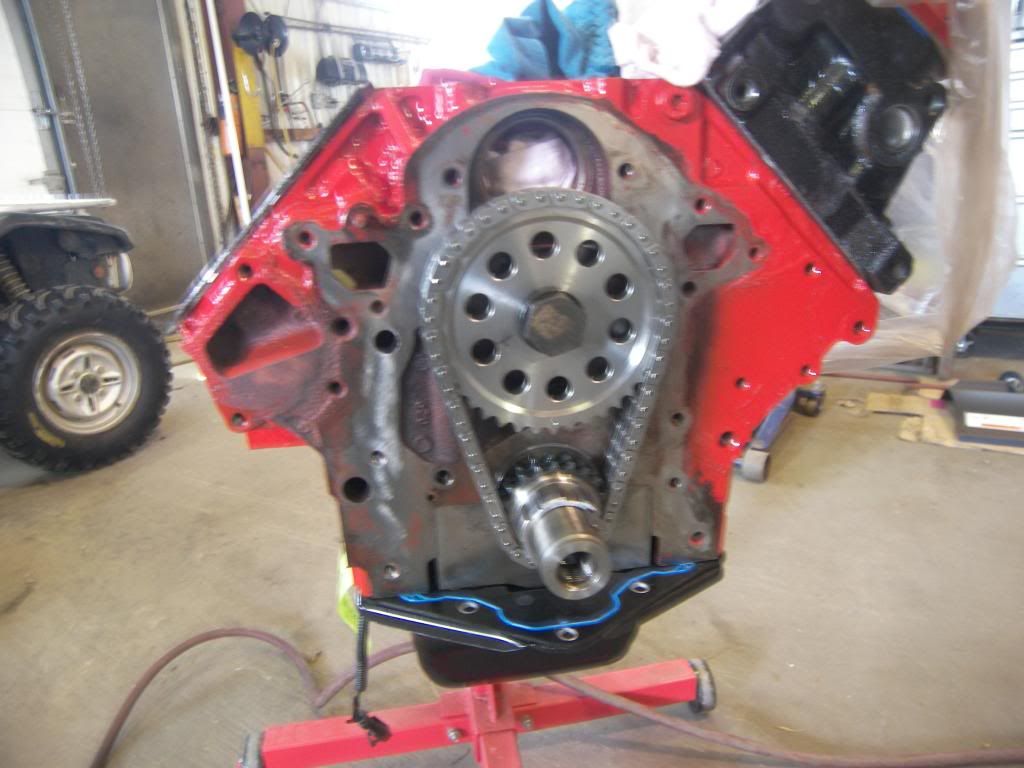
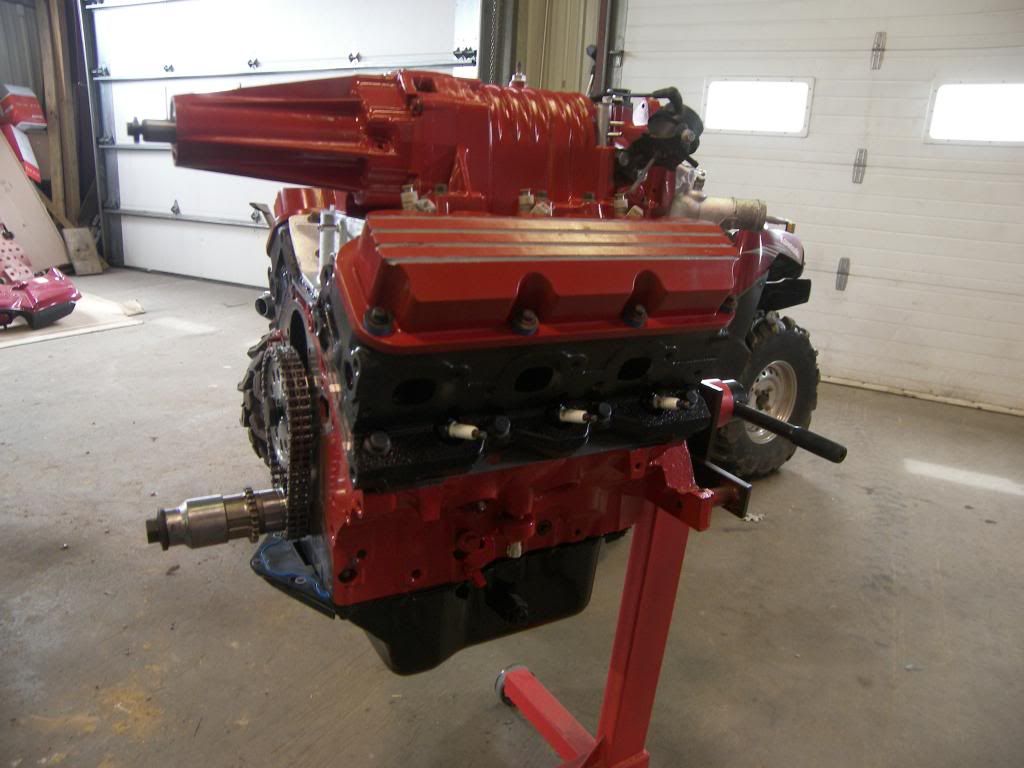
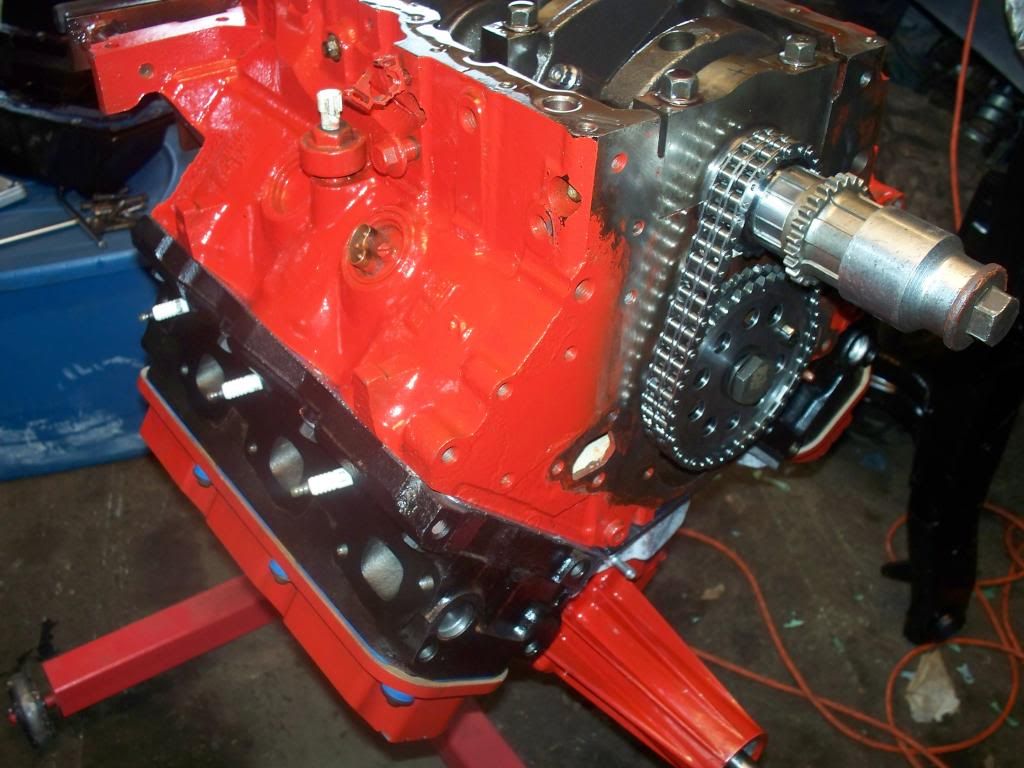
here is a pic of the rollmaster timing set installed before the head was re-installed with the new gasket.
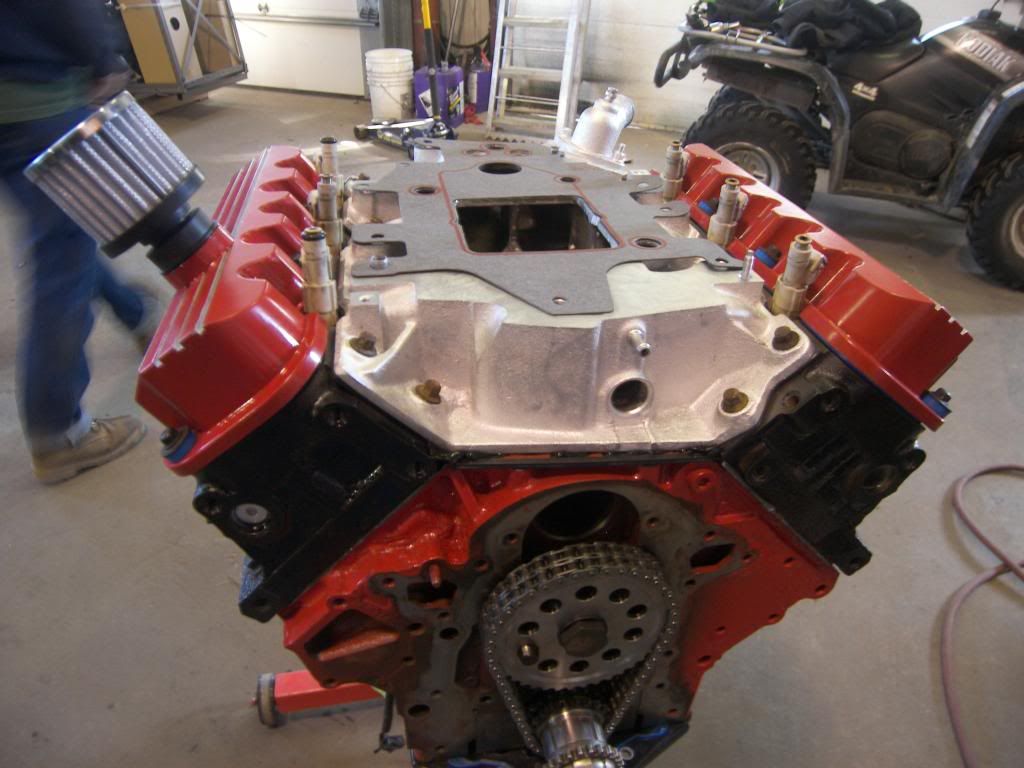
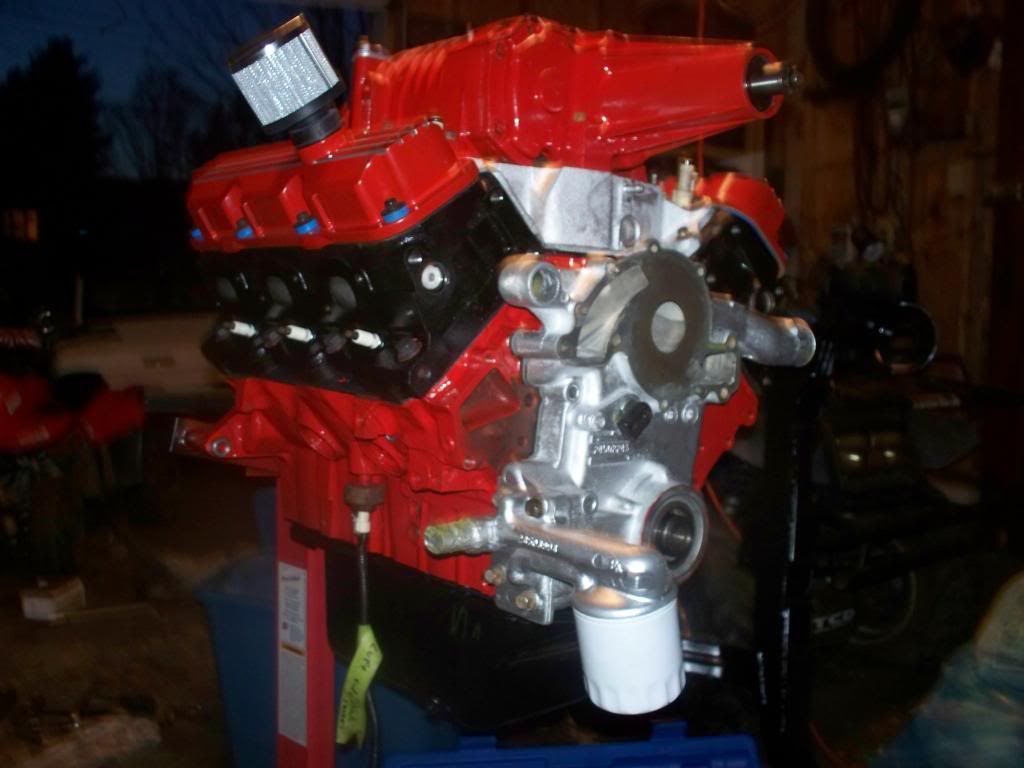
Finally intake installed and ready for supercharger. The "extra" timing sprocket is being temporarily used as a spacer so that i was able to install the bolt and roll over the engine. lol
[This message has been edited by fieroaddicted (edited 04-04-2013).]
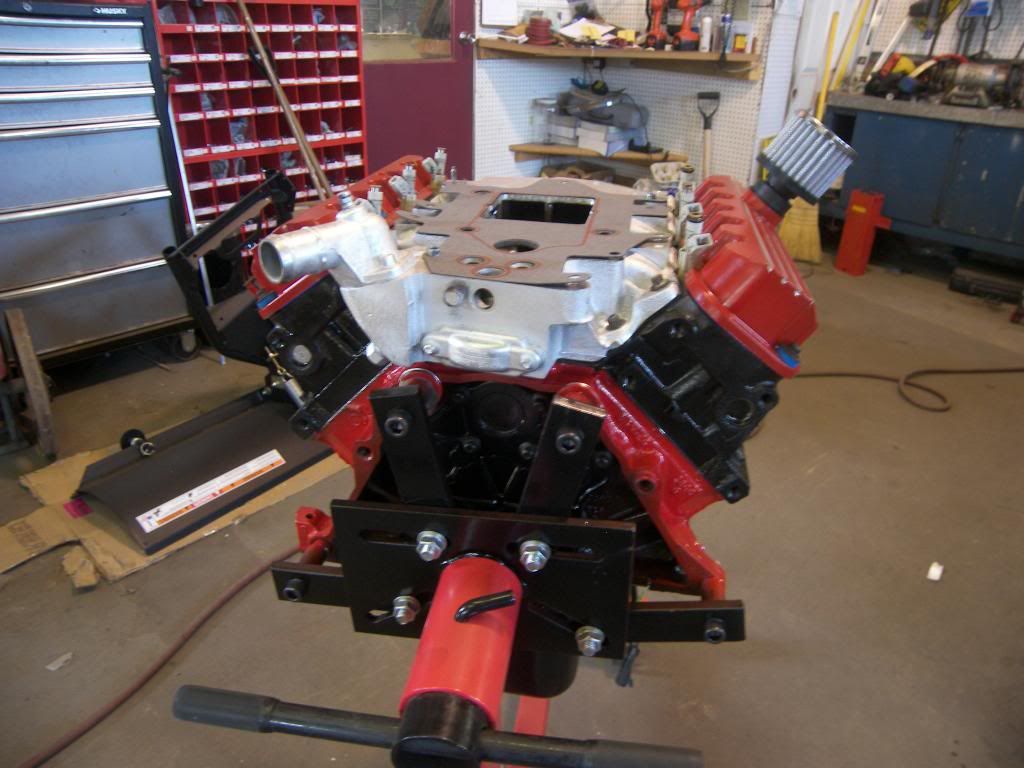
got the supercharger mounted up today. I got a new snout seal for it from zzp, but the inside diameter was too small. So I had to tap the old one back in to keep the dirt out till i get a new one. have to wait till then to fill with new s/c oil as well. this pic shows the extra gear and socket i have on the crank that i am using as a spacer so i can roll the engine over.
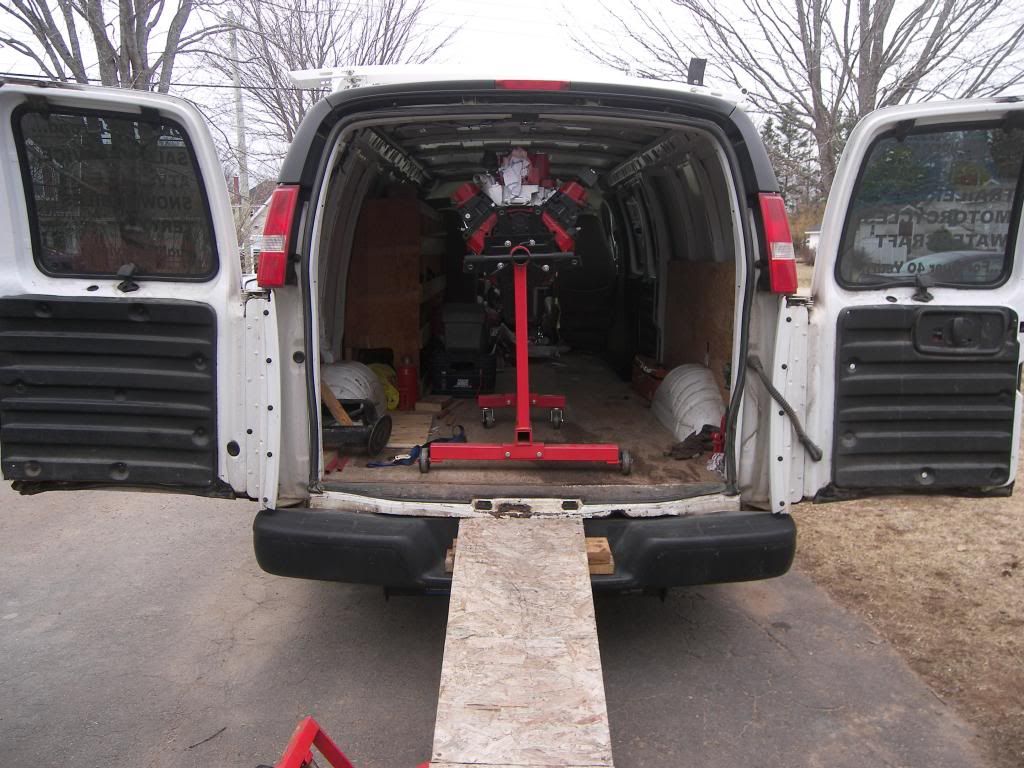
So I loaded the engine in the van and brought it home from work this weekend. It took being a bit creative (and stupid) to get it on to the ground. Don't try this at home kids! lol
yes, i am running no tensioner with the double timing set. I was informed that it is a good idea to run 2 timing cover gaskets. I have a metal timing gasket now, but i need to get another one. Does it really have to be another metal one, or can it be paper?
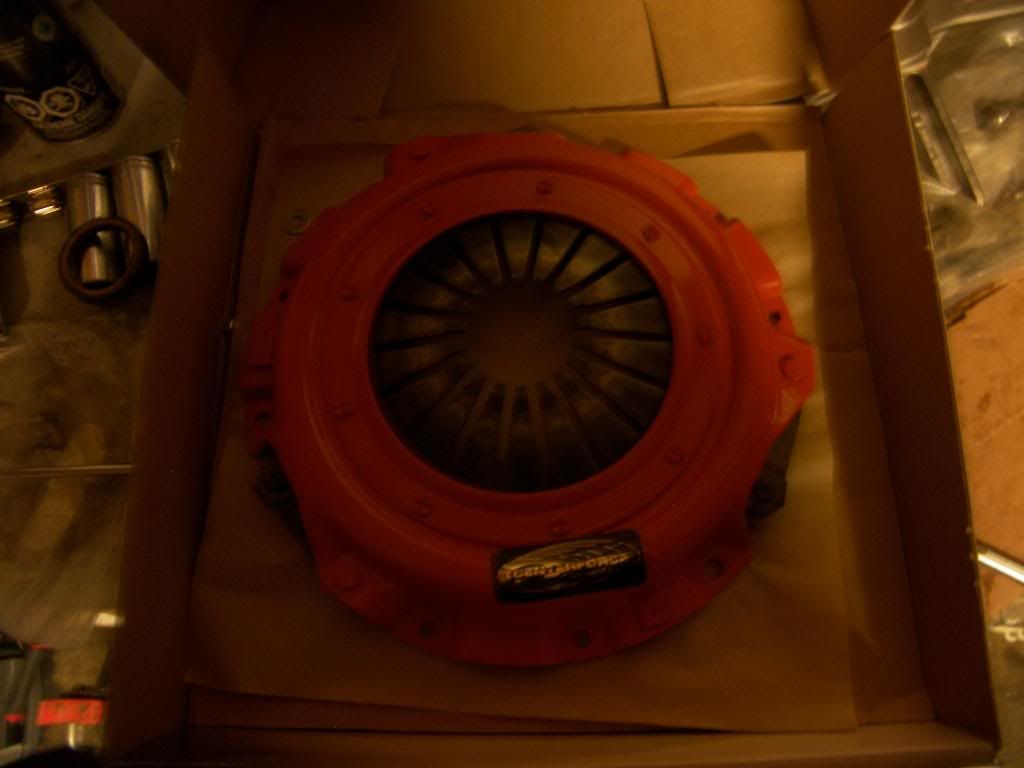
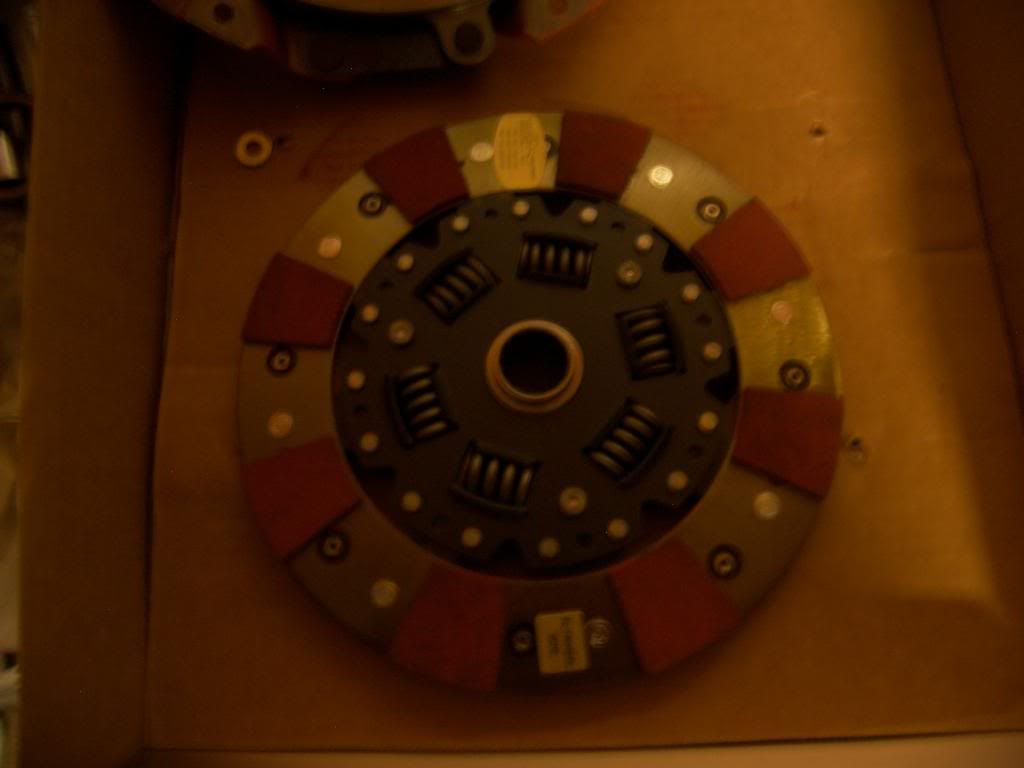
Got my victor timing cover sets today. I needed 2 paper gaskets, so i had to order 2 timing sets since i couln't just buy the cover gasket. Not a big deal, since they were only 24$ a set. Also got my new clutch today!
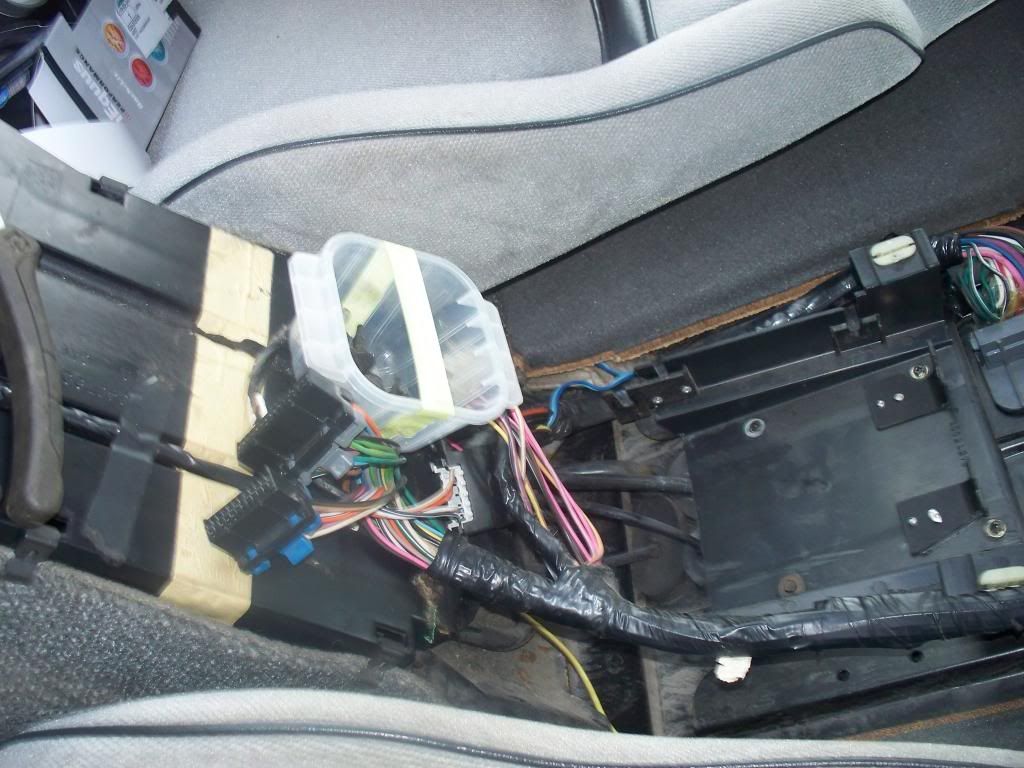
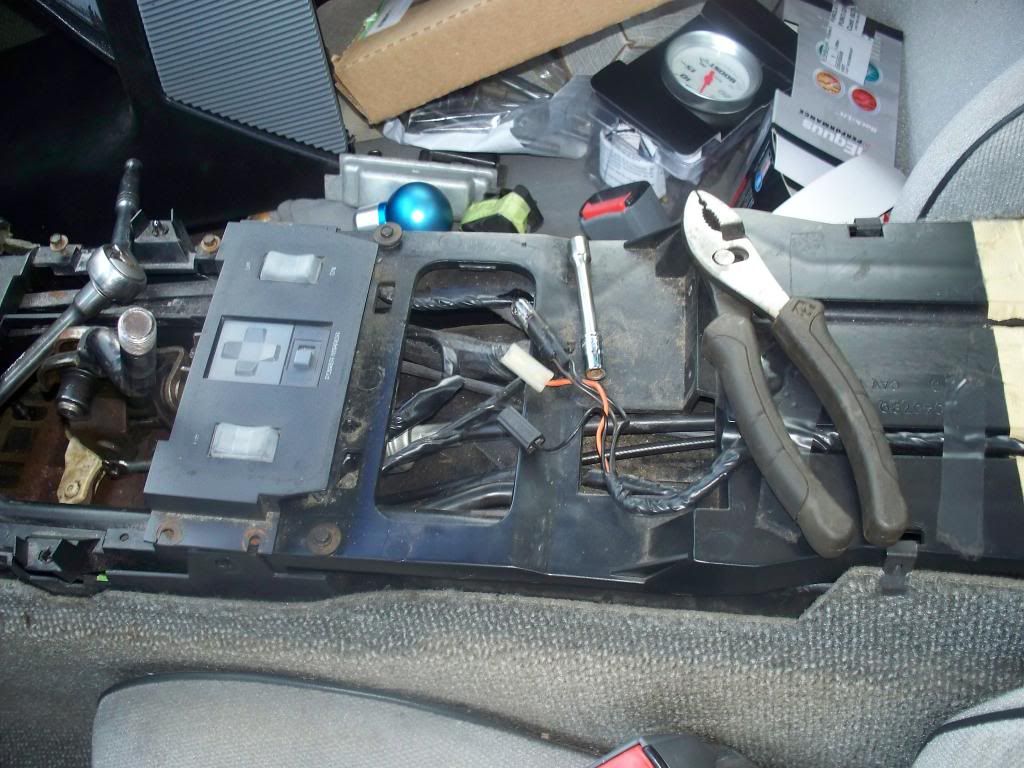
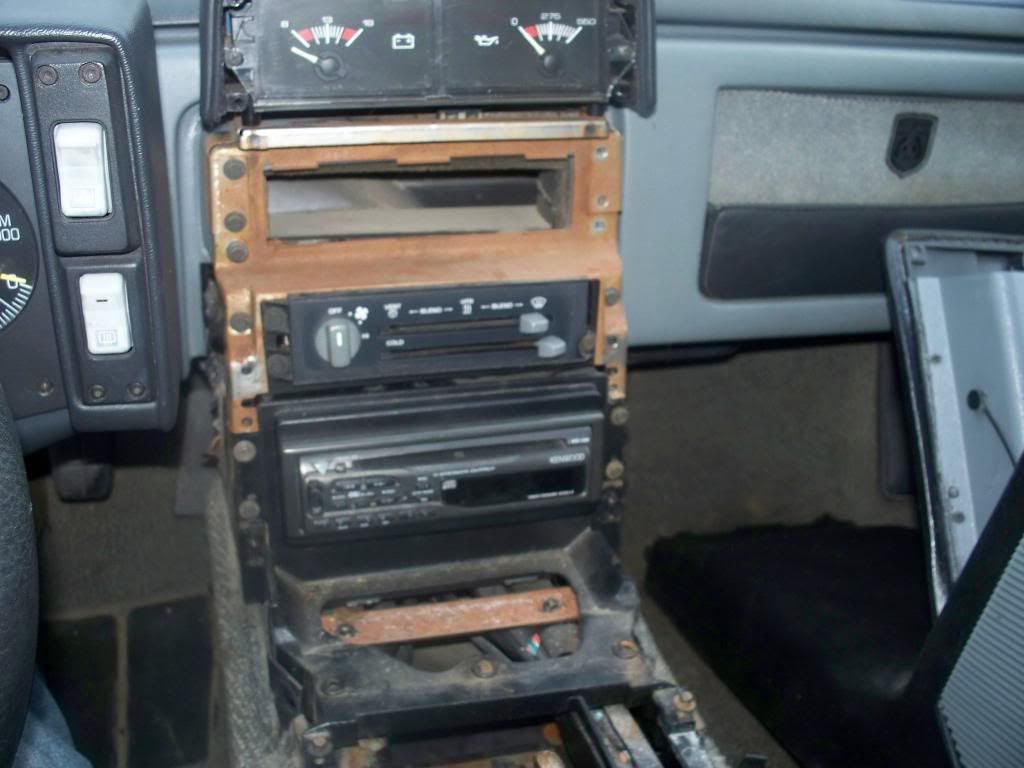
so tonight i did some work on the car. I went out with intentions of removing the shifter so i can send it to fieroflyer to make an F23 bracket setup. I already had the rear portion of the console removed. i got the shifter knob, boot, and surround off front two bolts were hard to get at. I had just enough room to use a 3/8 universal to get it out. I ended up having to remove more of the console than i was planning on. lol but not a huge deal. Finally success! I had to remove the shift lever from the assembly by removing the e clip so i could slide the base out from under the console. Even found enough change for a couple coffee's.
[This message has been edited by fieroaddicted (edited 04-16-2013).]
I got my ARP rod bolts the other day, and i decided to put them in this evening. So for the meantime while i was waiting for them to come, i torqued the used bolts back on to factory specs. I have been hearing that the ARP bolts were supposed to be a set at a higher torque than the factory ones. The ARP pkg said to use a stretch gauge, or, if there was not one available, to torque to 55 ft lbs. So for kicks and giggles, I set the torque wrench for 55 ft lbs and tried to tighten the used ones that were tightened according to factory spec. I was not surprised to find that the torque wrench clicked off before the bolts moved...which suggests to me that they are actually set at a higher torque than the ARP ones! I thought that it must be close but was not sure due to the torque method of the stock ones. You never know what it ends up being when you are done unless you check it. Anyways, rambling aside, I got them installed tonight.
some people say no, and some people say they can be used a couple times. Mine are the stock ones right now still. I am going to change them out for peace of mind.
I got my ARP rod bolts the other day, and i decided to put them in this evening. So for the meantime while i was waiting for them to come, i torqued the used bolts back on to factory specs. I have been hearing that the ARP bolts were supposed to be a set at a higher torque than the factory ones. The ARP pkg said to use a stretch gauge, or, if there was not one available, to torque to 55 ft lbs. So for kicks and giggles, I set the torque wrench for 55 ft lbs and tried to tighten the used ones that were tightened according to factory spec. I was not surprised to find that the torque wrench clicked off before the bolts moved...which suggests to me that they are actually set at a higher torque than the ARP ones! I thought that it must be close but was not sure due to the torque method of the stock ones. You never know what it ends up being when you are done unless you check it. Anyways, rambling aside, I got them installed tonight.
Not to open up a can of worms - but - I believe you are supposed to get your rods re-sized after you swap out to ARP bolts. Tons of disscussion on the LS1 forums about this topic. I would probably just see how the rod, new bearings and lube feel with both the old and new bolts as I spin it on the crank and then plasti-gauge it as well just to make sure the new rod bolts do not get the bearings too tight. Just something I thought you might want to consider before you button her up.
------------------ 84 NB, 3800SC, E-25 Fuel, VS Cam, 3.2 Pulley, 4T65E-HD, HP Tuners, AEM Wideband, Regal GS Gauges, S-10 Brake Booster. 12.53 at 106.5 1/4 mile
I believe you are supposed to get your rods re-sized after you swap out to ARP bolts.
I think this was to do with the extra torque they require. Supposedly, you COULD run into an issue where the caps could get distorted. But from what i found, it seems they are torqued no more than the stock bolts are.
quote
I would probably just see how the rod, new bearings and lube feel with both the old and new bolts as I spin it on the crank and then plasti-gauge it as well just to make sure the new rod bolts do not get the bearings too tight. Just something I thought you might want to consider before you button her up.
Yes thanks for the input. I did plastigauge it twice...Before and after the new bearings were installed. It is bang on and right where it should be clearance wise and engine rolls over good.
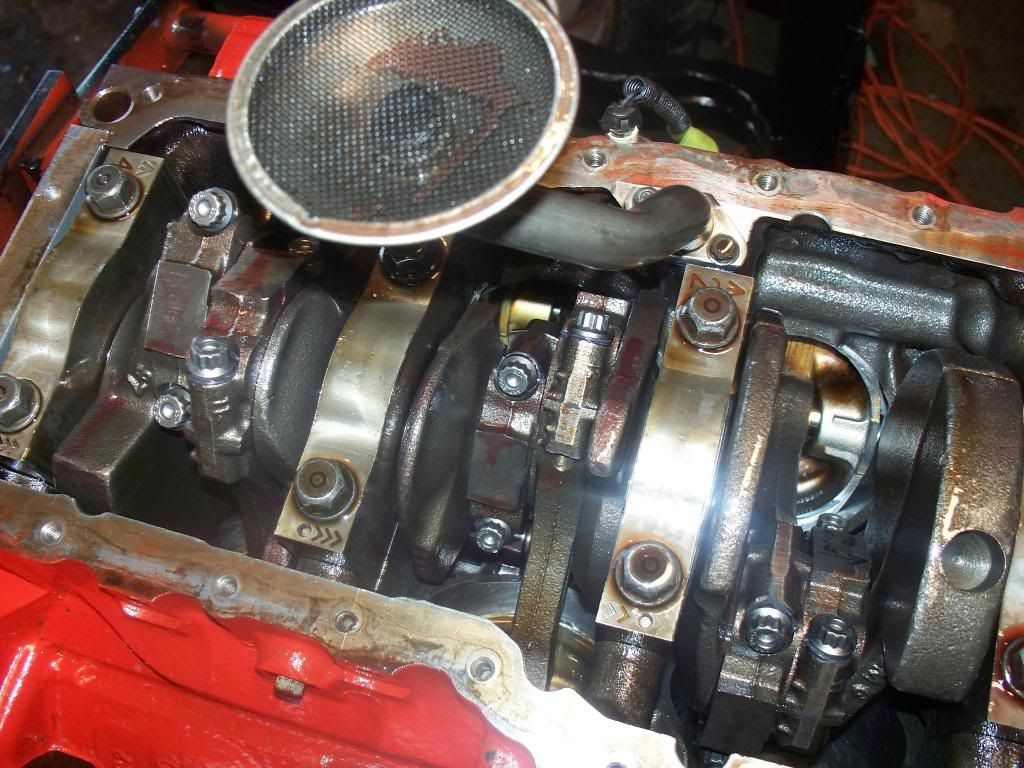
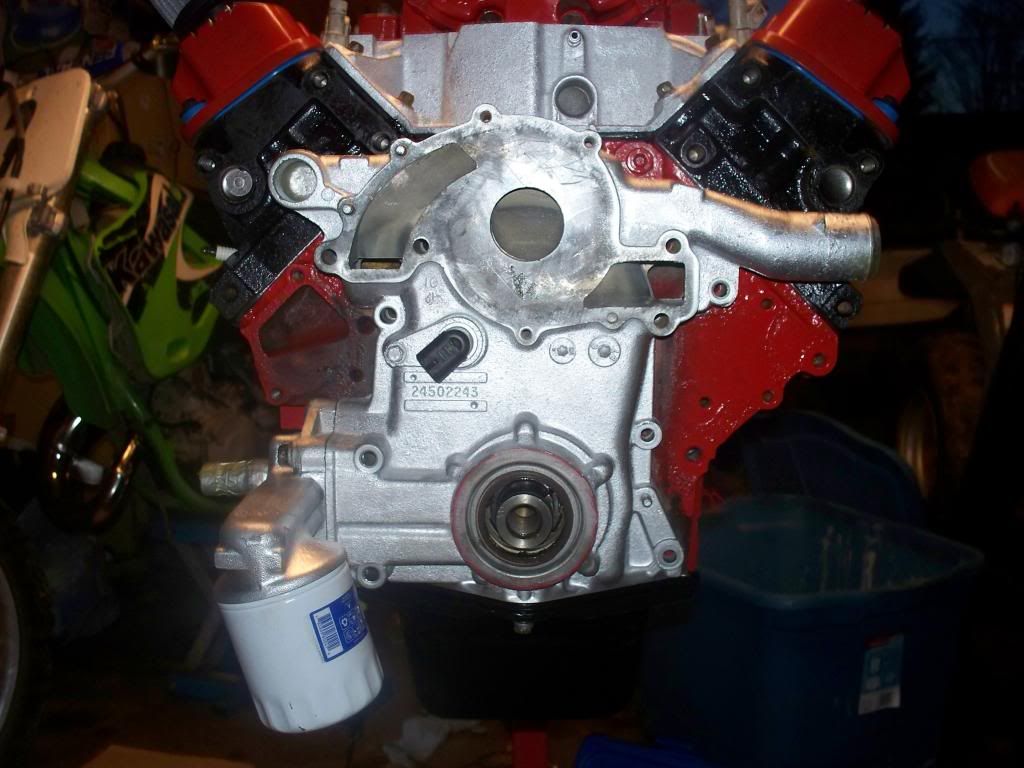
So I finally got my oil pump cover machined down .045" so it will clear the double roller chain, and installed 2 front cover gaskets. Got my front cover finally in place and ready to bolt up.
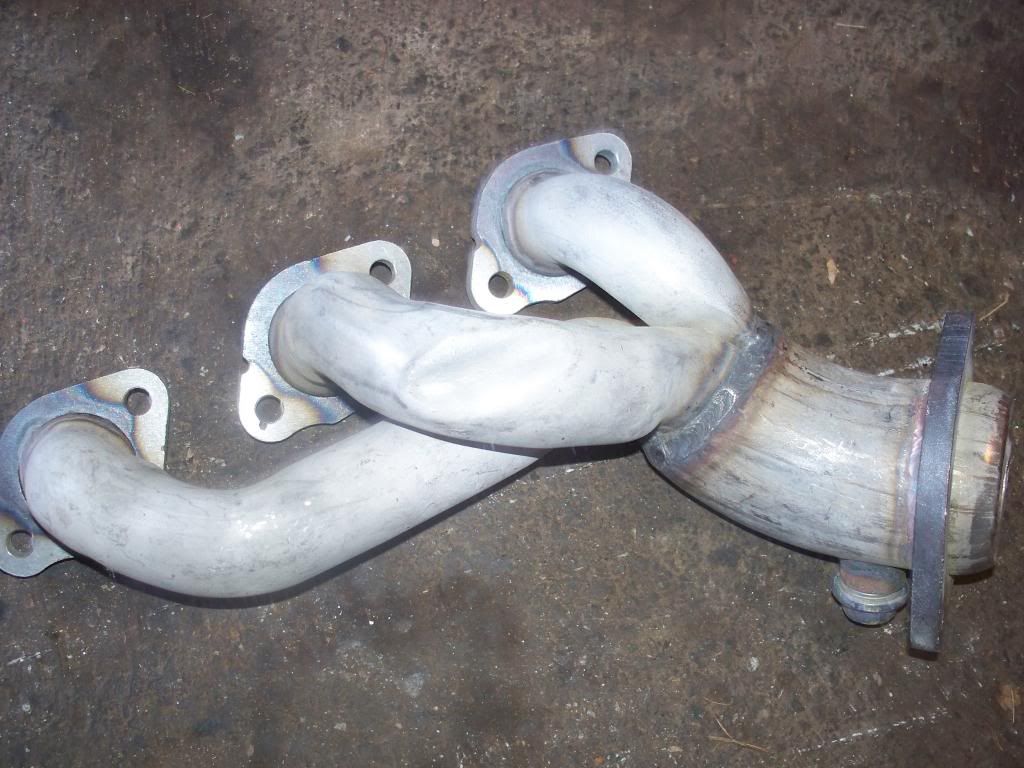
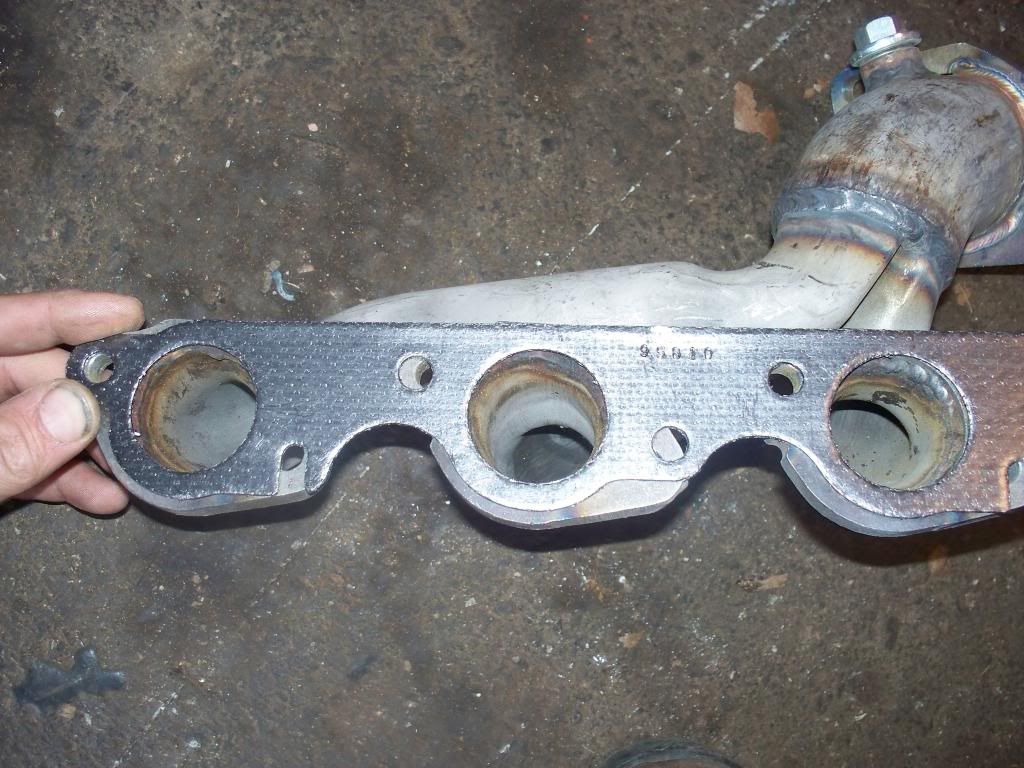
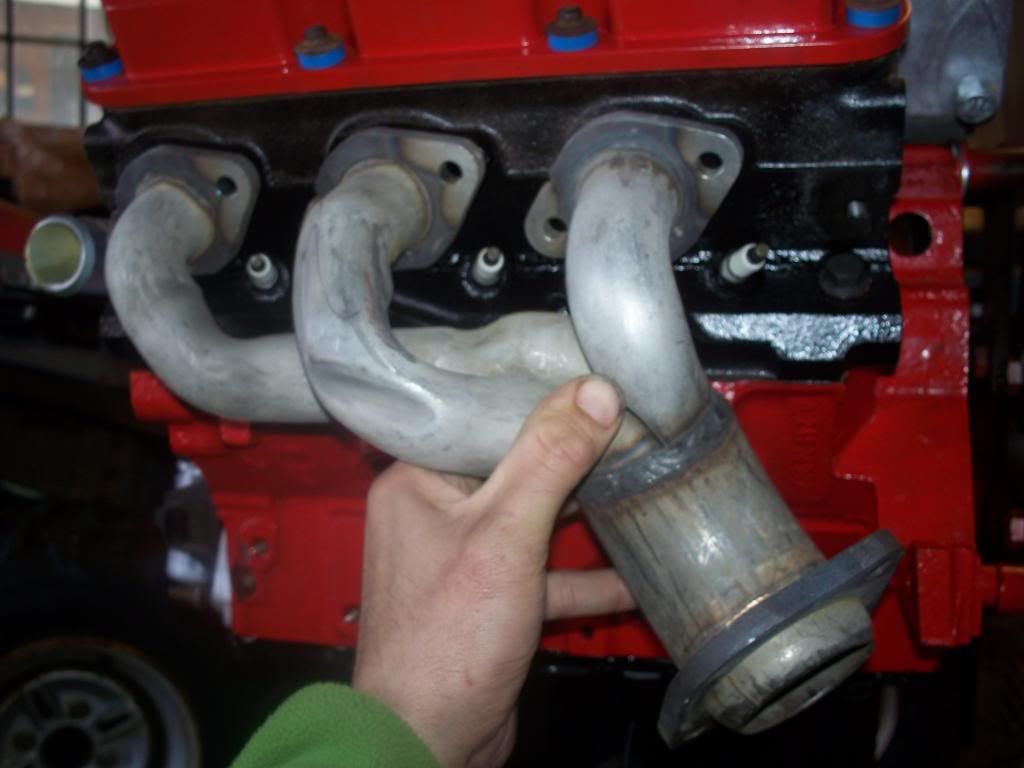
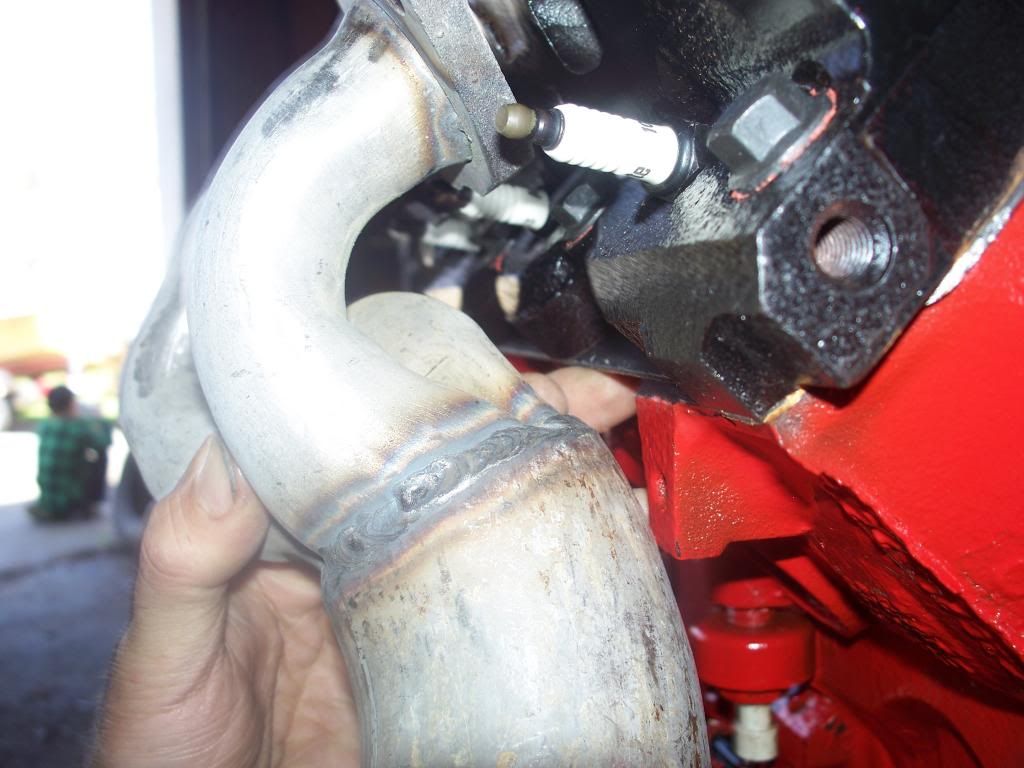
got my left mustang header today laying the stock 3800 manifold gasket in place on the new manifold, you can see that there is some elongating of hole to be done to make it work. here we get an idea of how it will look mounted to the head. There is an interference issue at the rear left of the block at the tab shown in the following pic. I wonder if it would be ok to grind this tab off the block? I believe it may fit clearance wise if it is gone. Anyone running this manifold who have had this issue?
[This message has been edited by fieroaddicted (edited 05-04-2013).]
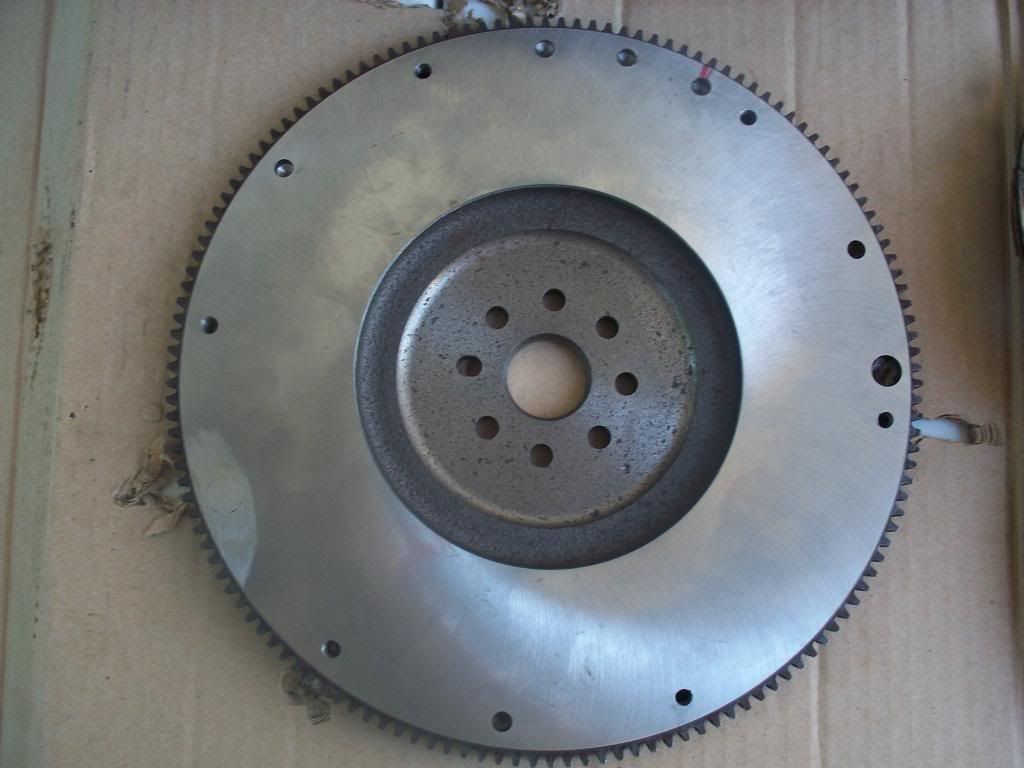
picked up my 3800 camaro flywheel today, and took it to the machine shop to have it turned to .840" and balanced to match my flex plate. While I was explaining what i wanted done, i was looking at the back side of the flywheel, and it appears to already be balance matched to my plate??? At least that is how it looked...I was under the impression that it was neutrally balanced since it is made for a N/A 3800, although it is clearly "balanced". Machinist is going to check it for curiousity sake to see if it is before he starts the work on it. Either way, it would have to be tweaked some anyways once it is machined i would think.
picked up some mounts today. The front mount may not work..suggestions? [/URL] not sure which set of holes to use to mount the bracket to it, but i assume it will be clear when the time comes. [/URL] [/URL] front trans mount fits in place [/URL] rear trans mount in place [/URL] front tranny bracket [/URL] [/URL] rear tranny bracket needs work to make fit. [/URL] you can see here that some grinding needs to be done to the top side of the bracket so it will fit down in place properly. [/URL] trans sitting on cradle with front mount somewhat mocked up [/URL] [/URL] [/URL]
got the engine bolted to the trans and lowered it down on the cradle. I then bolted up the front trans mount. [/URL] is the engine/trans too far to the left, or does it look relatively close??? [/URL] [/URL] from the following pic, it looks like it could stand to go to the right side (of the car) a little more.. [/URL] not sure what i am going to do with this rear tranny mount...I think it is going to need to be heavily modded to make it work, if possible [/URL] [/URL] i had to remove the rear trans mount in order to allow the front trans mount to drop into place and bolt up. I am wondering if it doens't have to go towards the front of the vehicle a little bit. [/URL] [/URL] [/URL]
Does anyone have a few measurements to let me know if i am even in the ball park with this????
[This message has been edited by fieroaddicted (edited 06-09-2013).]
So i started at trying to get the engine out of the car tonight. We'll just say it didn't go like i had hoped. I ran out of daylight tonight, but managed to get the front left cradle mount bolt out, and i got the nut off the front right cradle bolt. The bolt is partially seized in and is going to take some persuasion to come out. The two rear ones are being a total bugger, and i can't see any way around just cutting the heads off with the mini grinder and dealing with it after the cradle is out. I got the car raised up a ways and cut up some 4 x 4's in 12" lengths and played jenga with them. [/URL] [/URL] [/URL] a pic of the battery tray [/URL] right side wheel well... [/URL] [/URL] hope to get more done tomorrow evening.
That was an 88 rubber front engine mount. I did the same thing when I swapped in a v6. Except I cut the old mount off the cradle and made a new one. It was a pain to get everything lined up right
yeah i have to get the right front mount from rock auto. It's the only place i can find it unfortunately. I have worse issues right now...stupid front right cradle bushing bolt is seized in the bushing and i am scratching my head a bit as to how i am gonna get it out.
so i had enough screwing around and i cut a window in the side of the frame to allow me to put some heat on the weird cylindrical nut in the frame. Luckily, the nut held in place till i was able to get the bolt freed up and half way out. Hopefully all i will have to do is repeat for the other side. [/URL] [/URL]
I welded some long steel plates to those to stop them from spinning. I took my rear bumper off to get at them though and the crash bar. I thought I would have to go back and do something about retaining them since I jack the car way up to pull the engine out and I thought they would slide forward... It has been like 2 years and 4 engine pulls later and they are always in place when I need them to be.
I welded some long steel plates to those to stop them from spinning. I took my rear bumper off to get at them though and the crash bar. I thought I would have to go back and do something about retaining them since I jack the car way up to pull the engine out and I thought they would slide forward... It has been like 2 years and 4 engine pulls later and they are always in place when I need them to be.
Nice! Ya i am going to weld mine in place when i am ready to put it back together. I got the other rear cradle bolt out the same way tonight, but there was a lot less metal there on that corner. and I will have to rebuild the frame in that area in order for it to stand the weight, etc of the cradle when it goes back together. I would bet that one good ride down a bumpy road, and the cradle mount would have been up through the frame.
When you put back together anything on the bottom use a lock washer and "never seize" or something like it ( when I did mine I just coated the nut & bolt inside the hole with grease before sealing it up) same for the front cradle bolts. Seems to be the cradle always has to come out again for "something".


 They should be here on tuesday so i finally can get this engine put together!!! Still need a flywheel for the engine yet though. I am planning to get a used one from the local salvage yard. There seems to be some different opinions on whether the flywheel should be machined to .840" or .820". Can anyone clarify which it should be?


 So I had to tap the old one back in to keep the dirt out till i get a new one. have to wait till then to fill with new s/c oil as well.
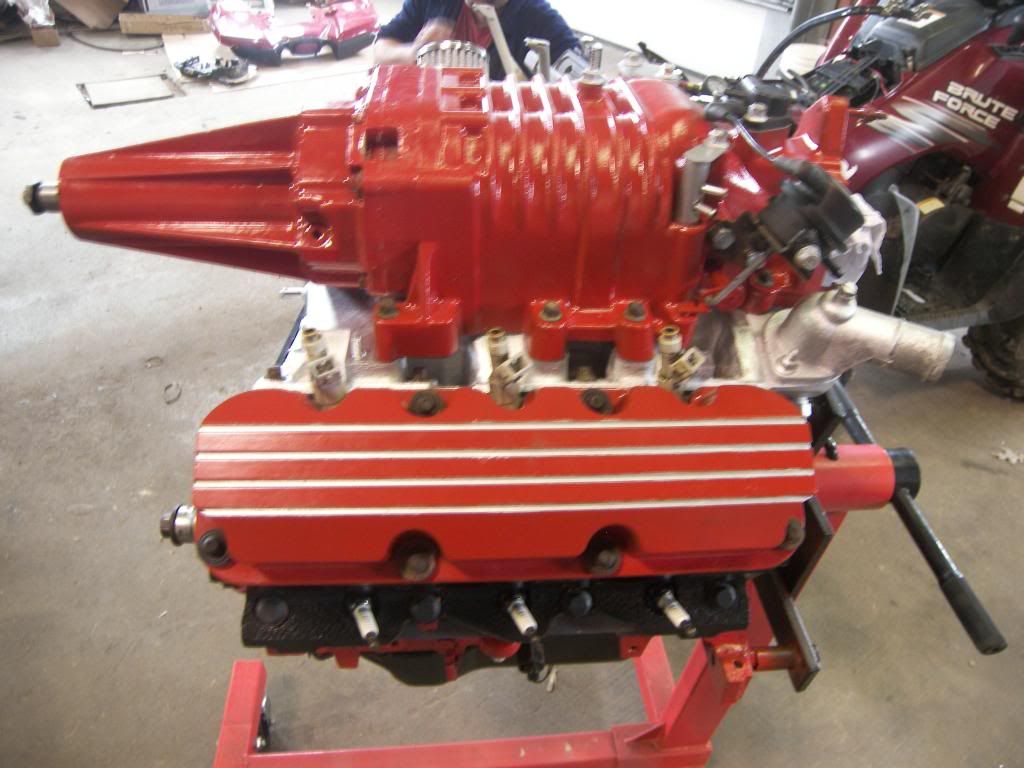


 [/URL]
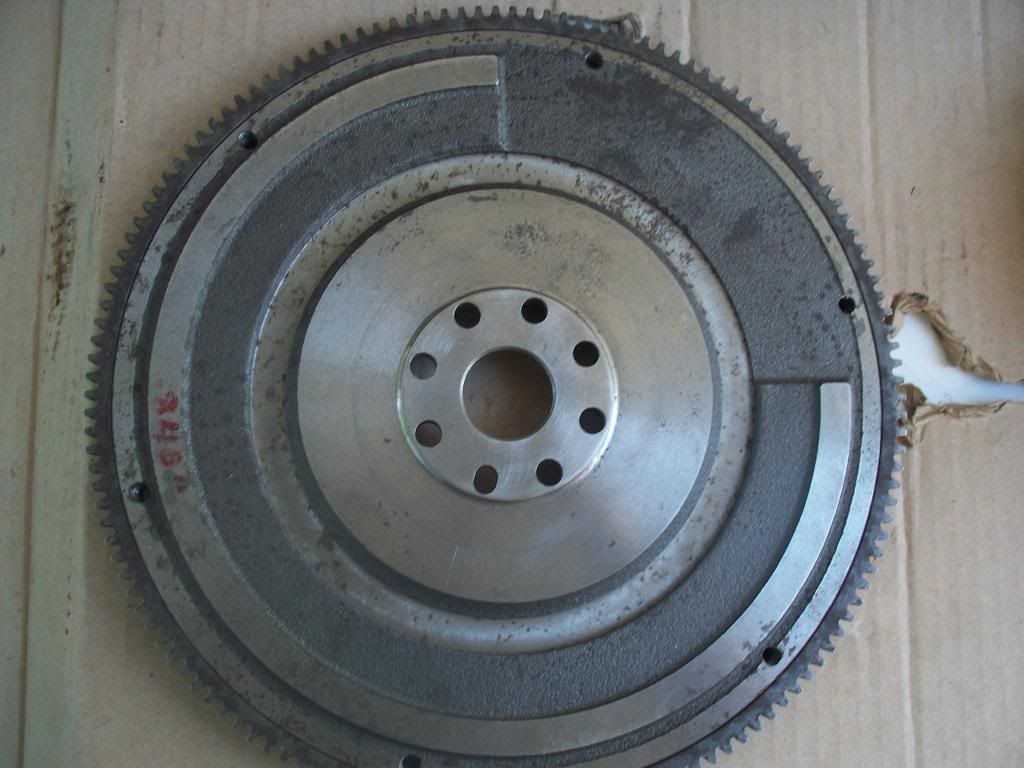 [/URL]
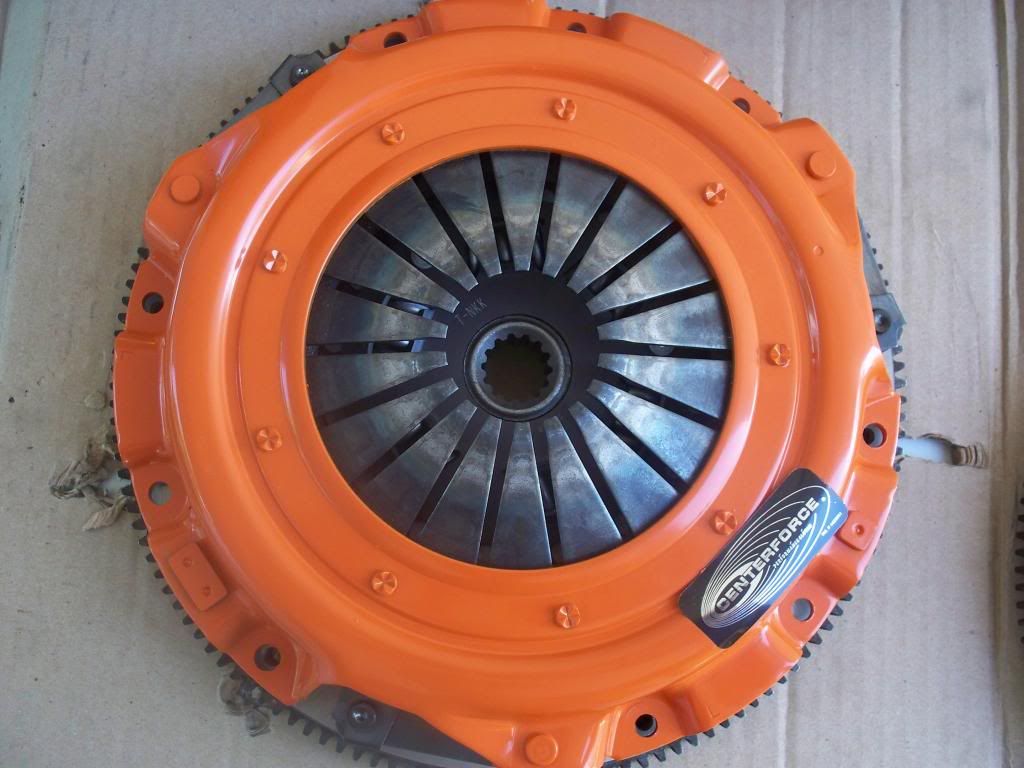 [/URL]
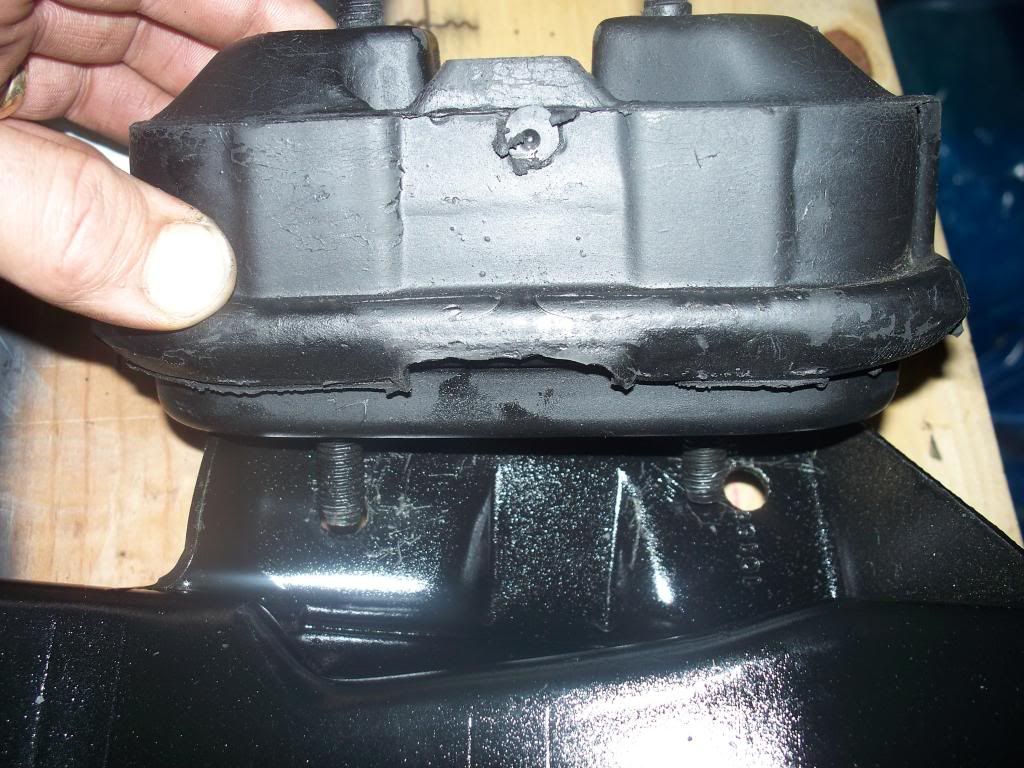 [/URL]
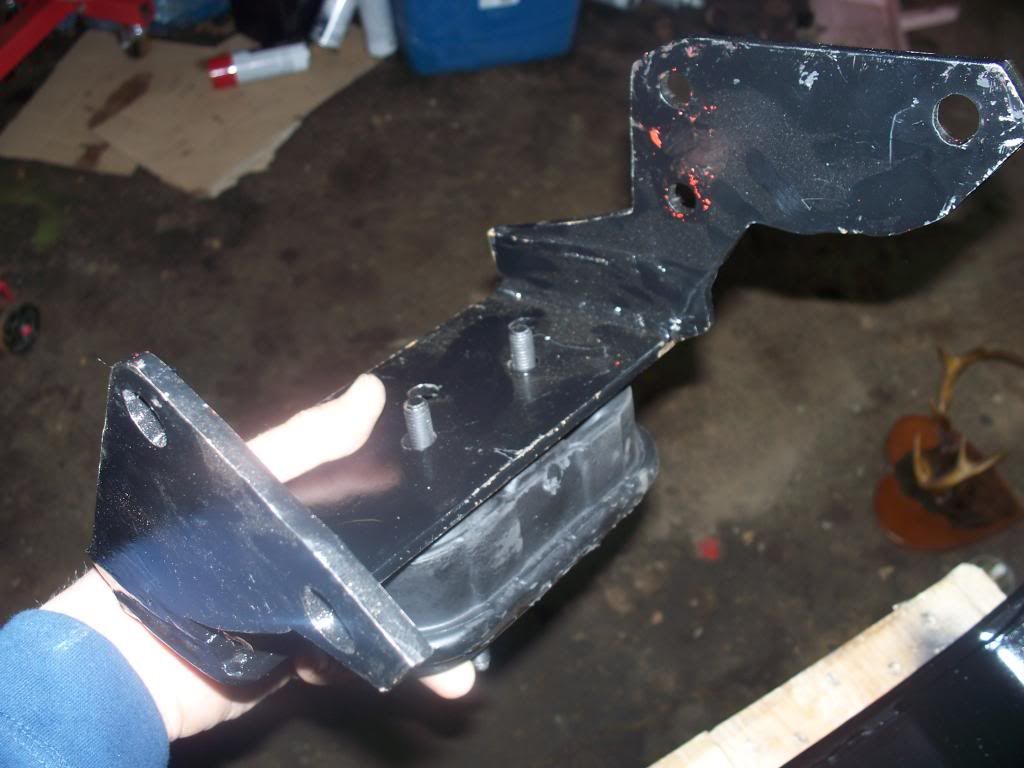 [/URL]
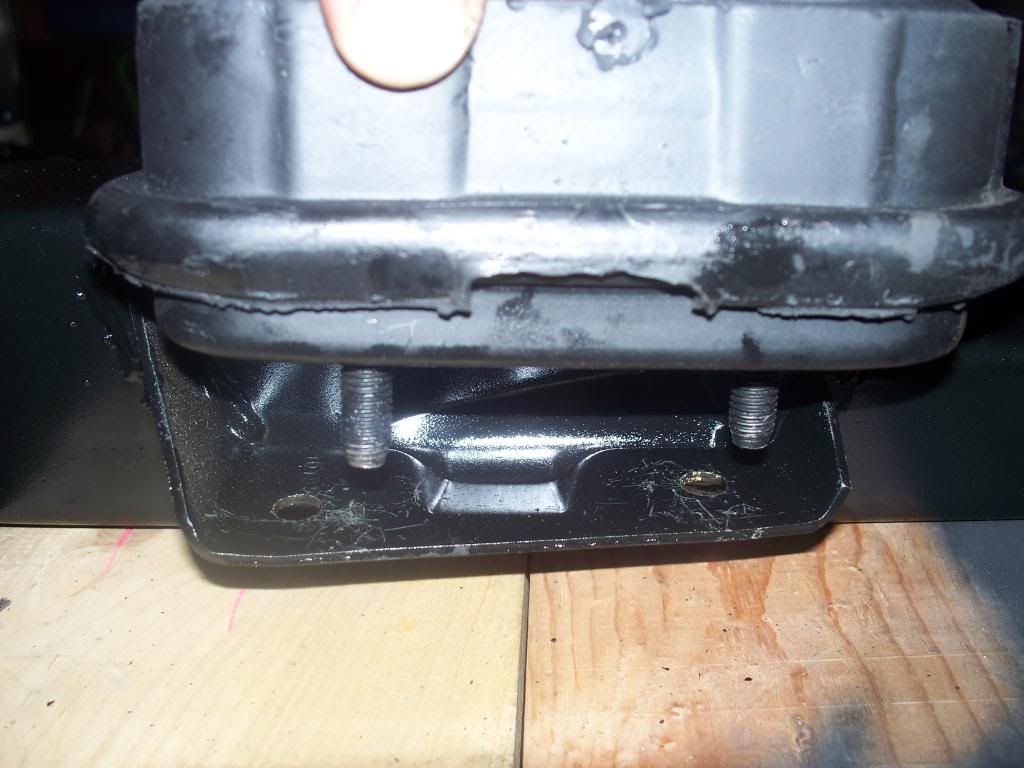 [/URL]
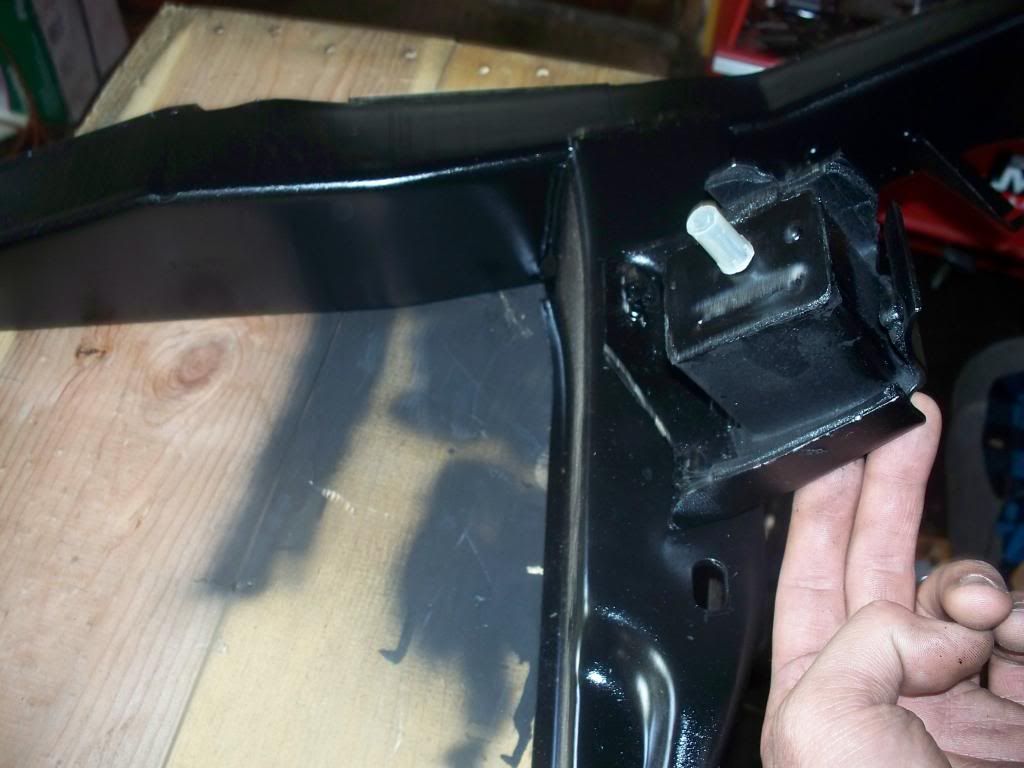 [/URL]
 [/URL]
 [/URL]
 [/URL]
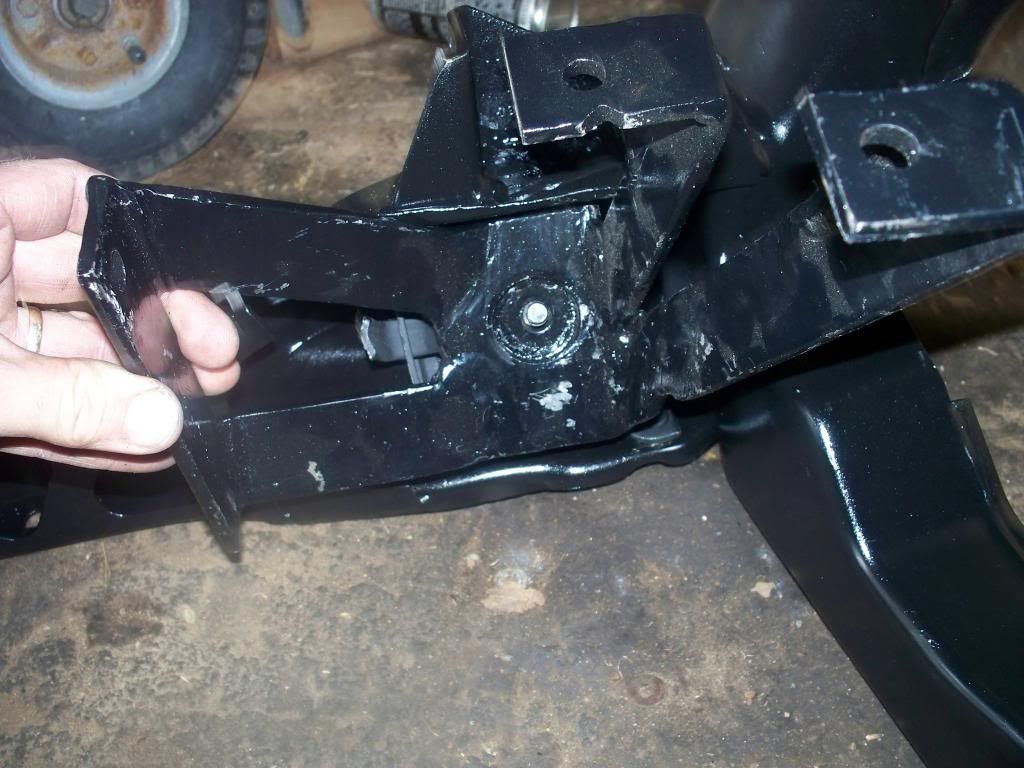 [/URL]
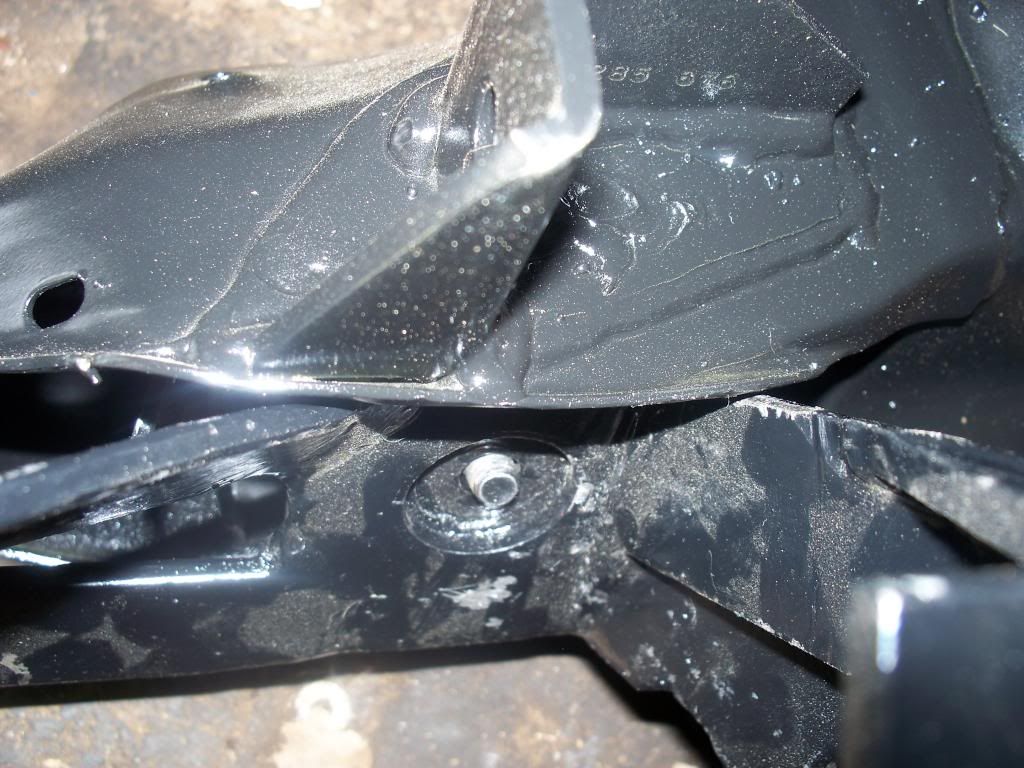 [/URL]
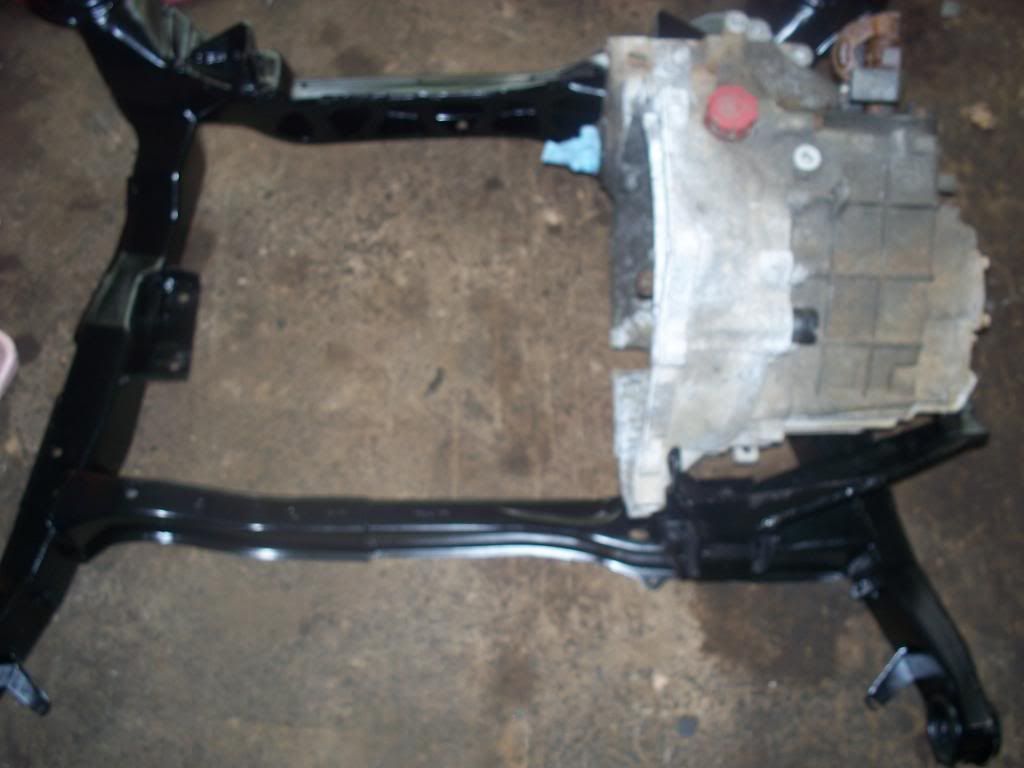 [/URL]
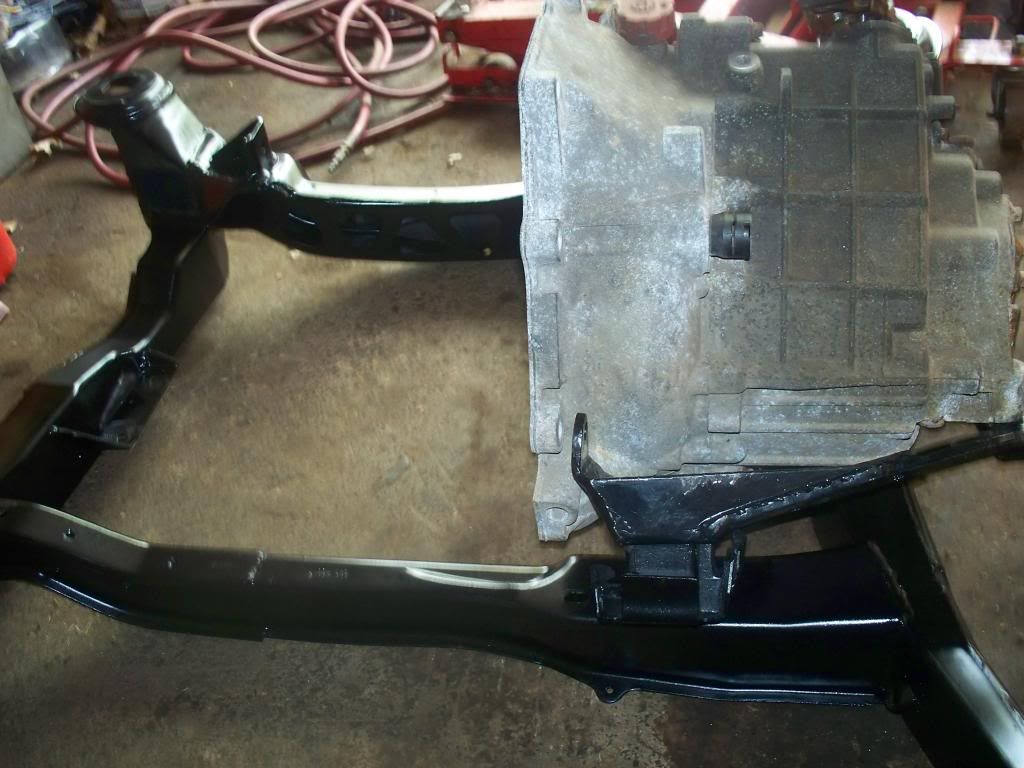 [/URL]
 [/URL]
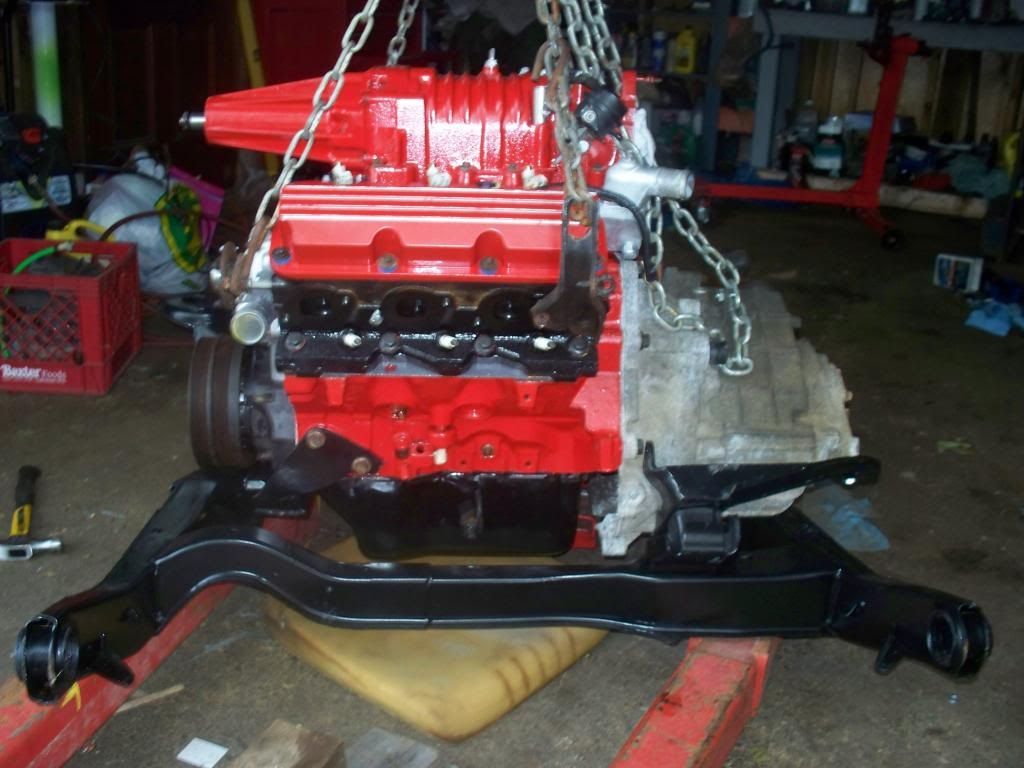 [/URL]
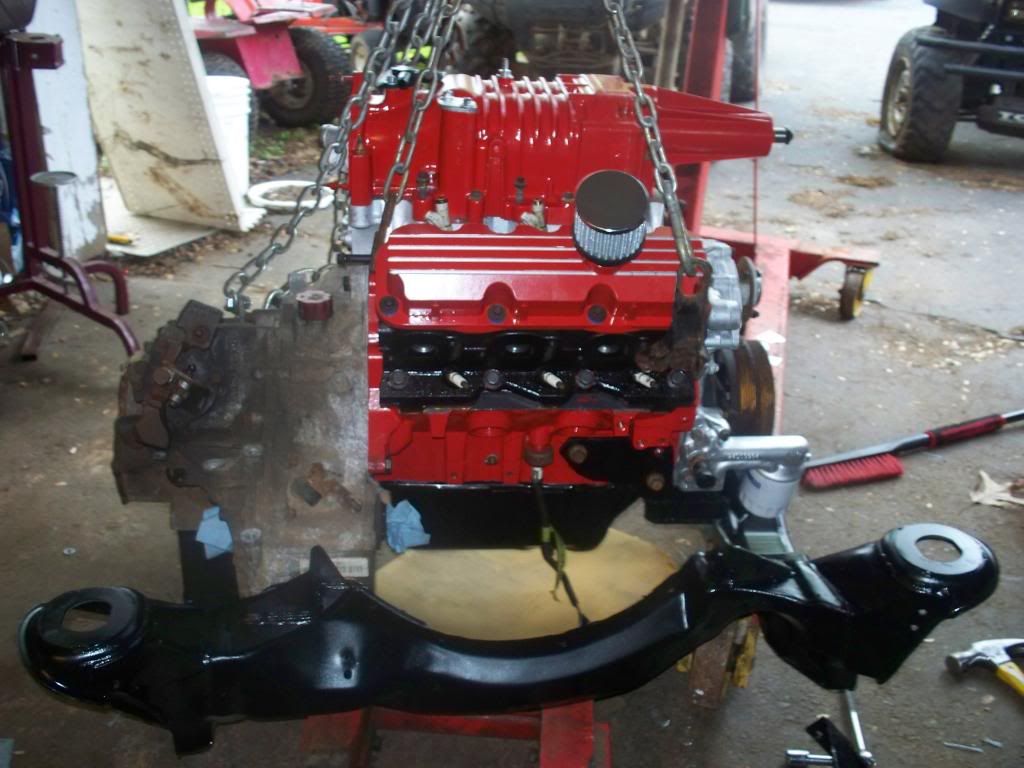 [/URL]
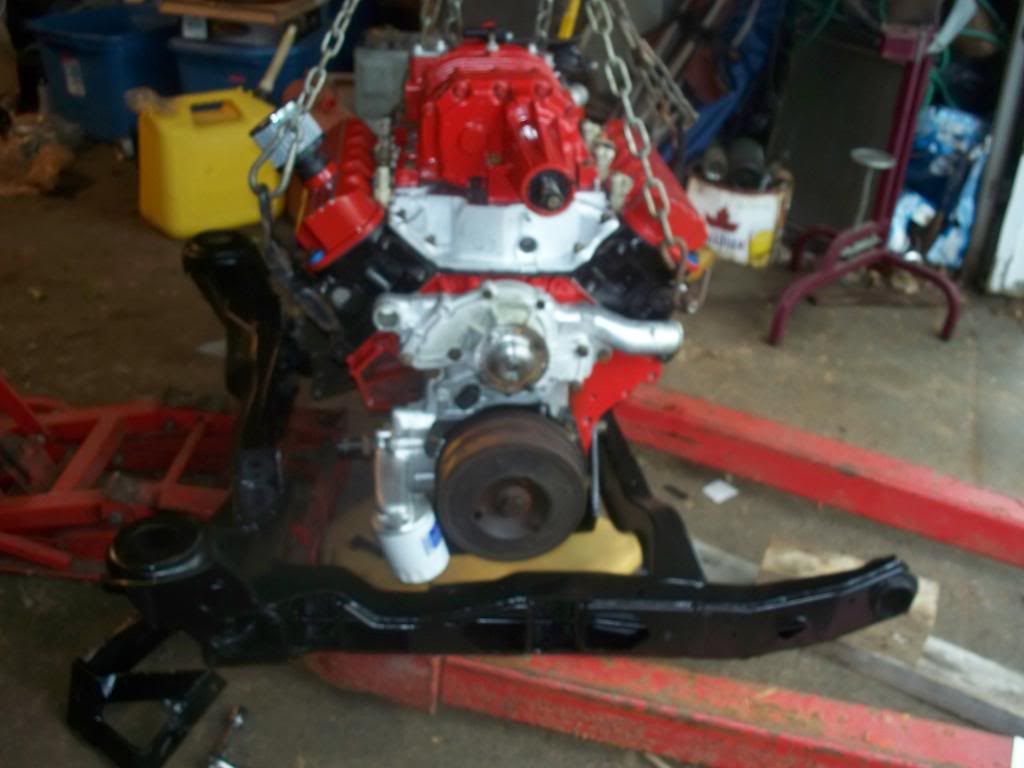 [/URL]
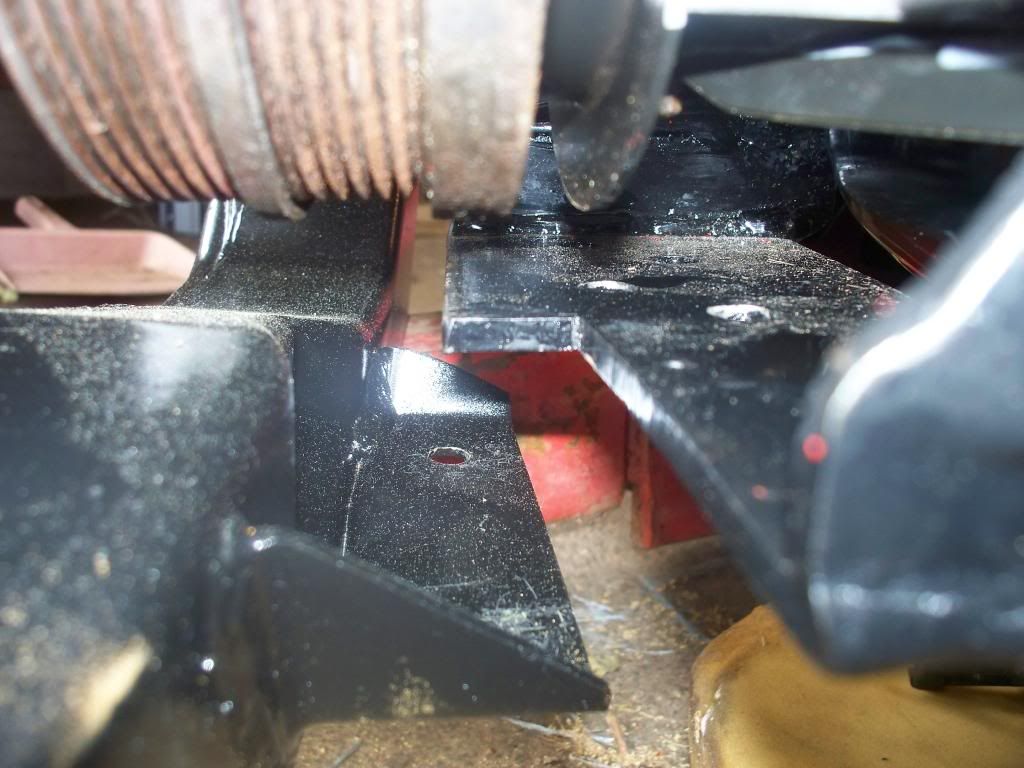 [/URL]
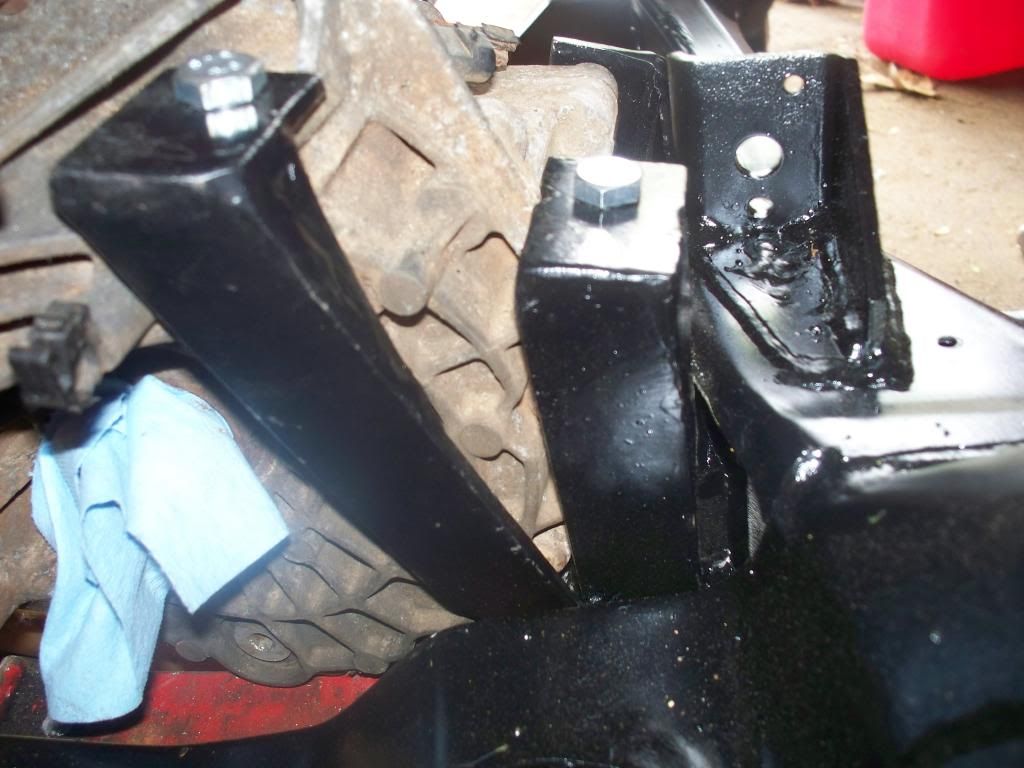 [/URL]
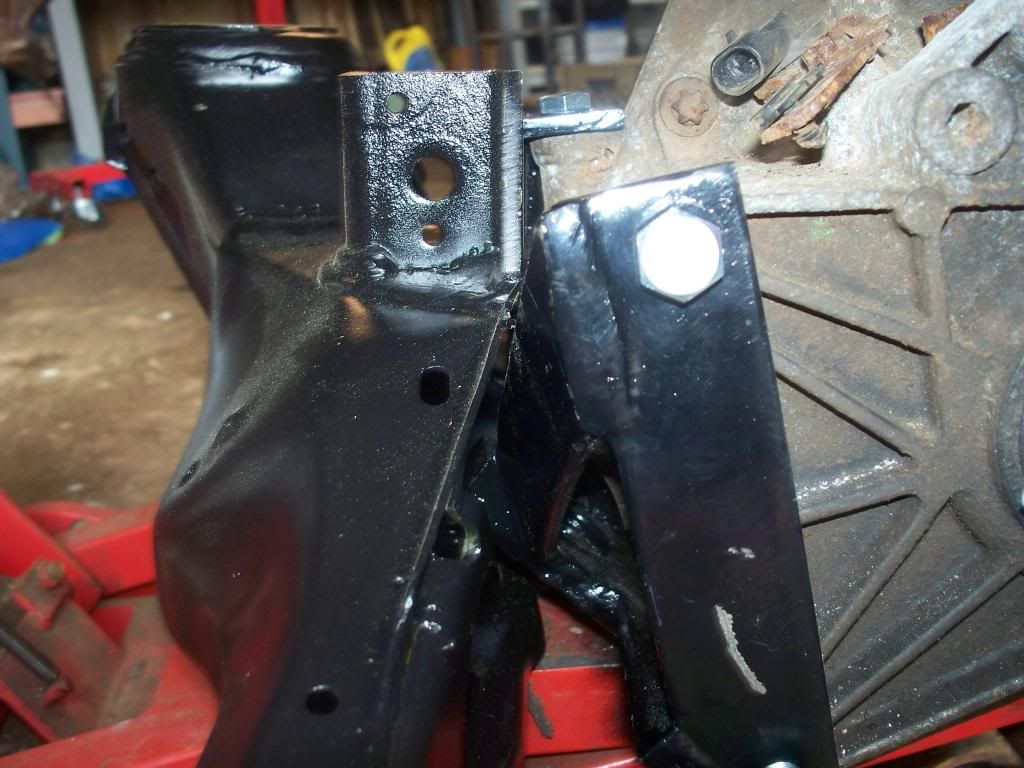 [/URL]
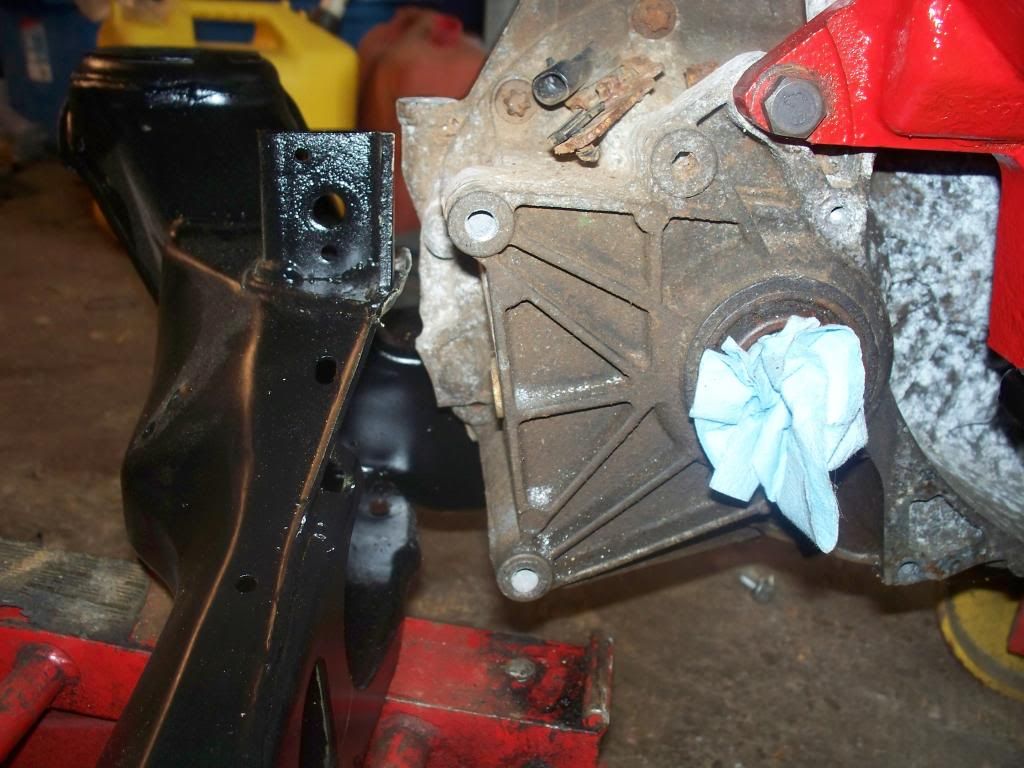 [/URL]
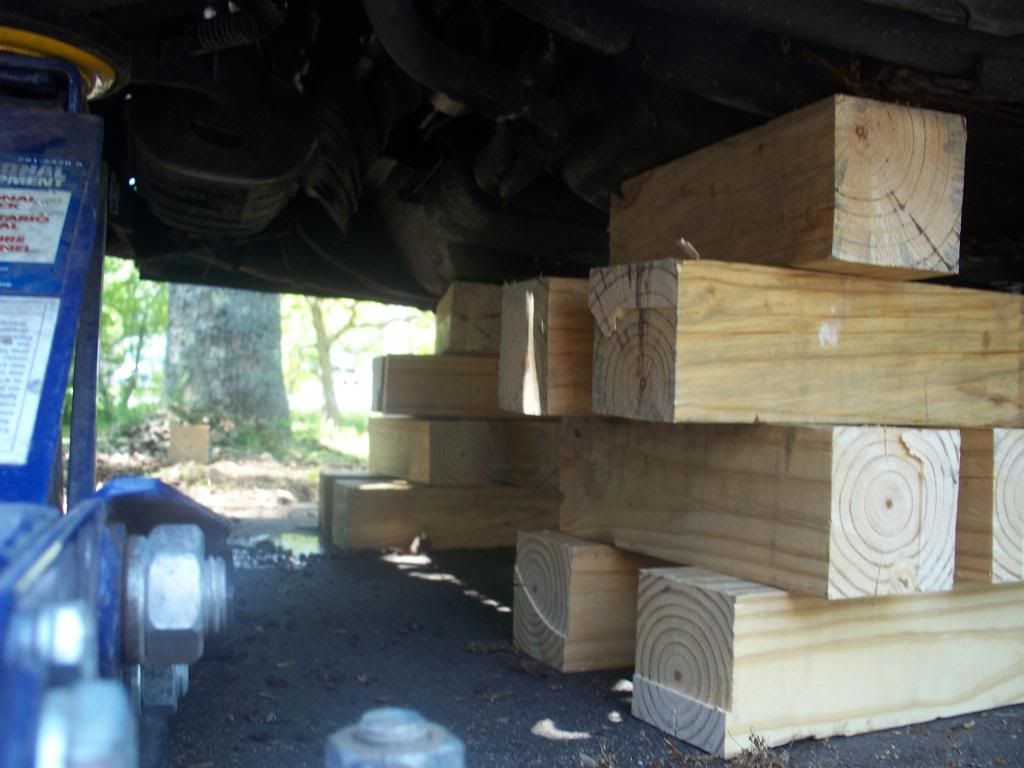 [/URL]
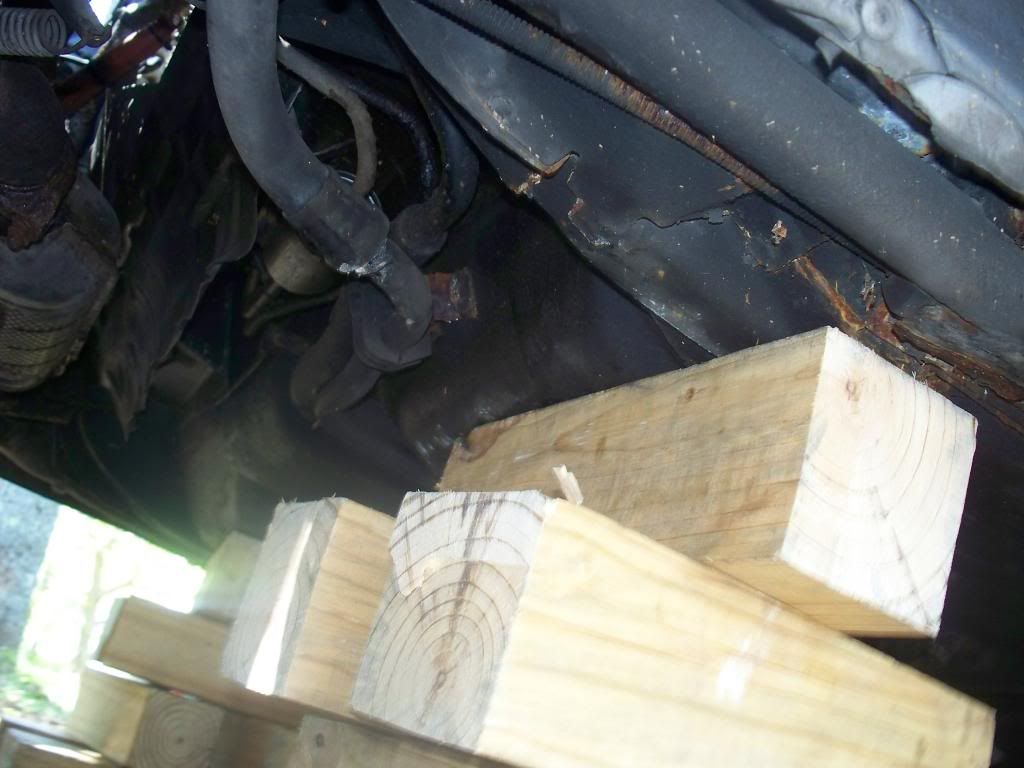 [/URL]
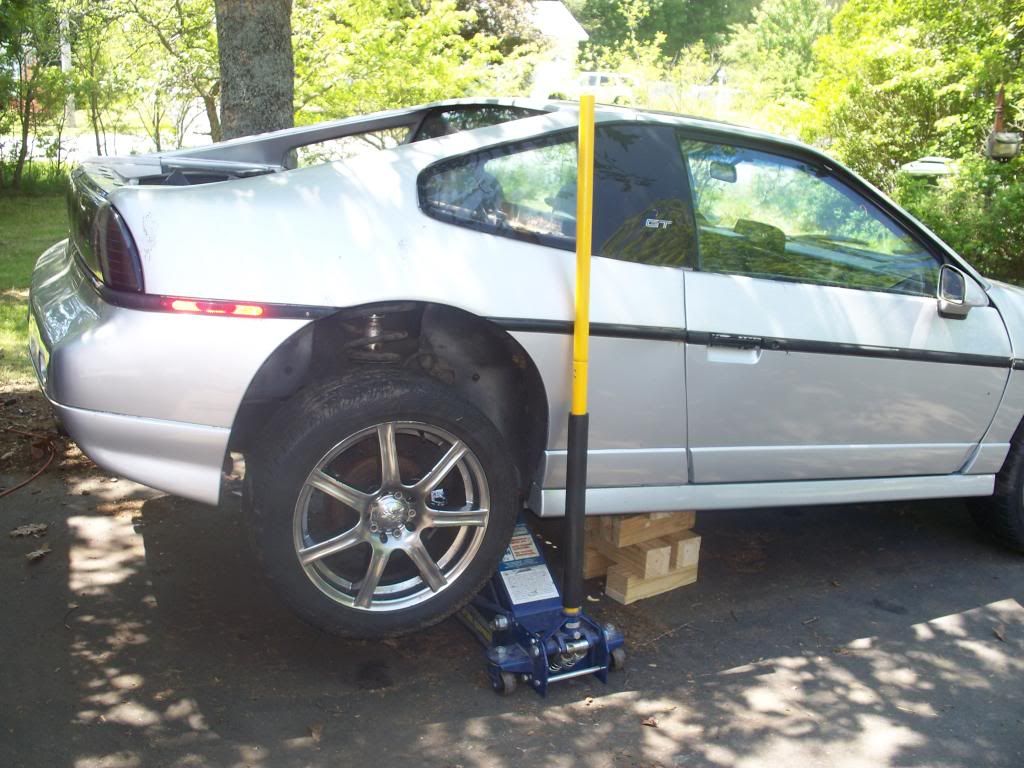 [/URL]
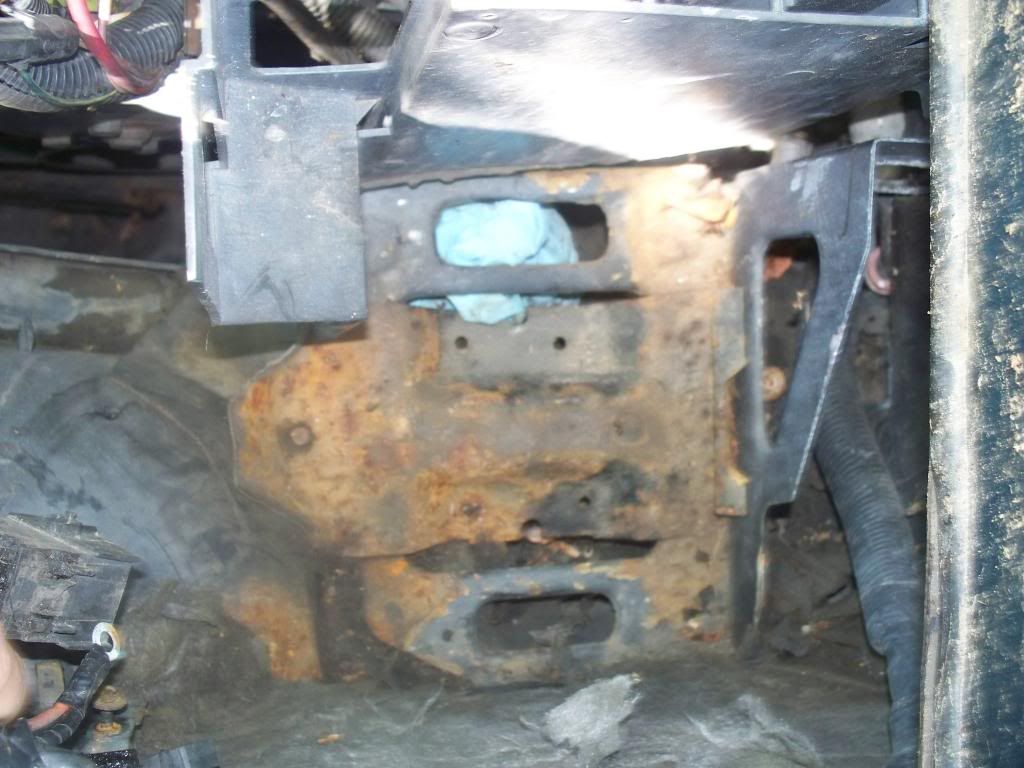 [/URL]
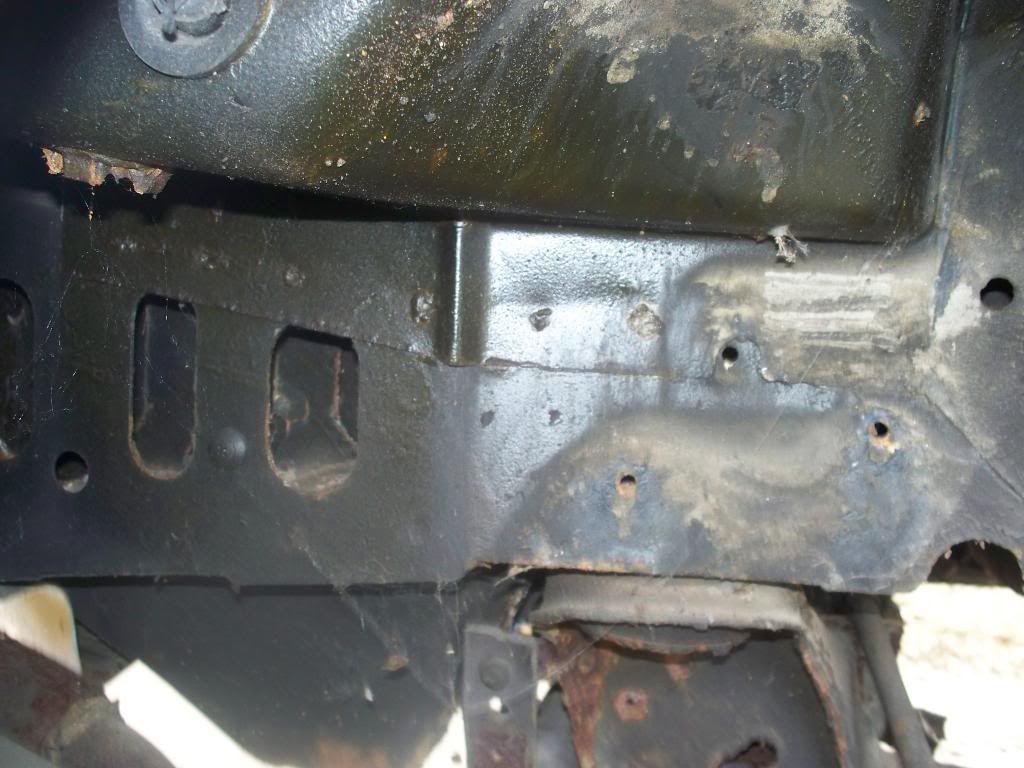 [/URL]
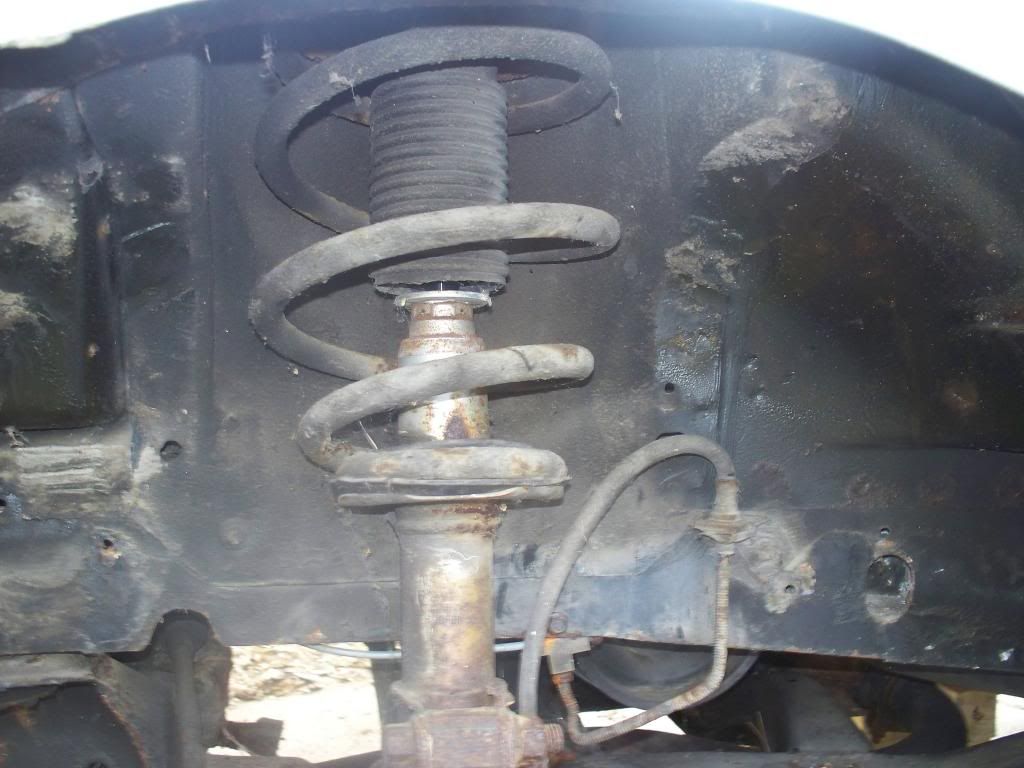 [/URL]
 Hopefully all i will have to do is repeat for the other side.
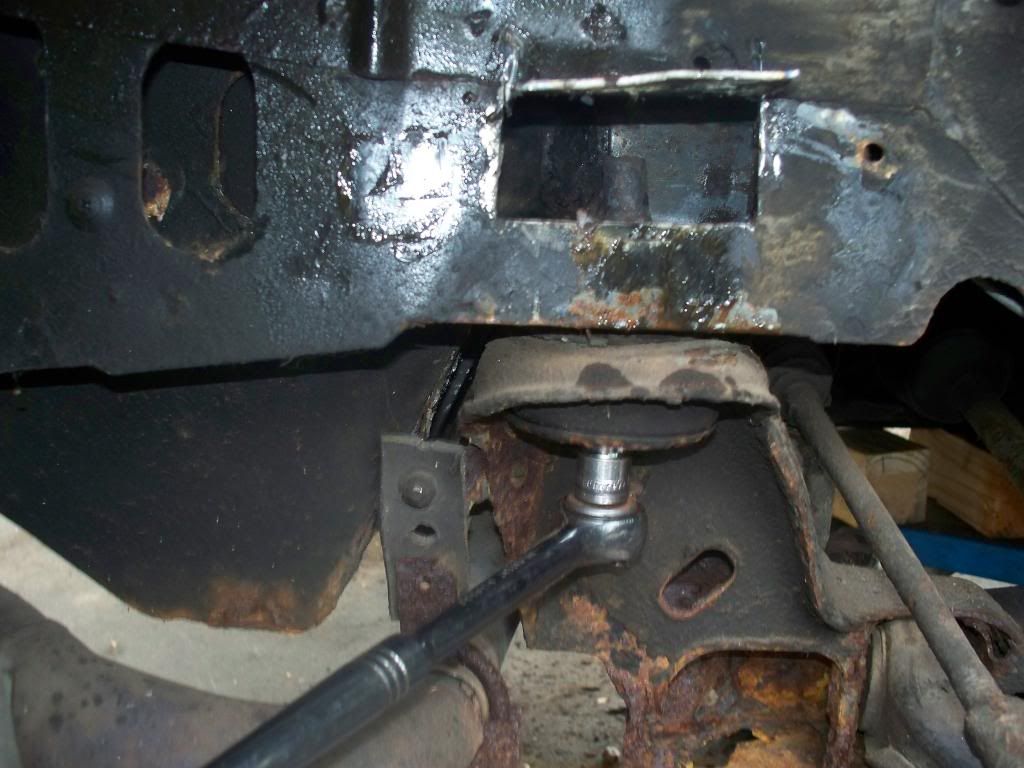 [/URL]
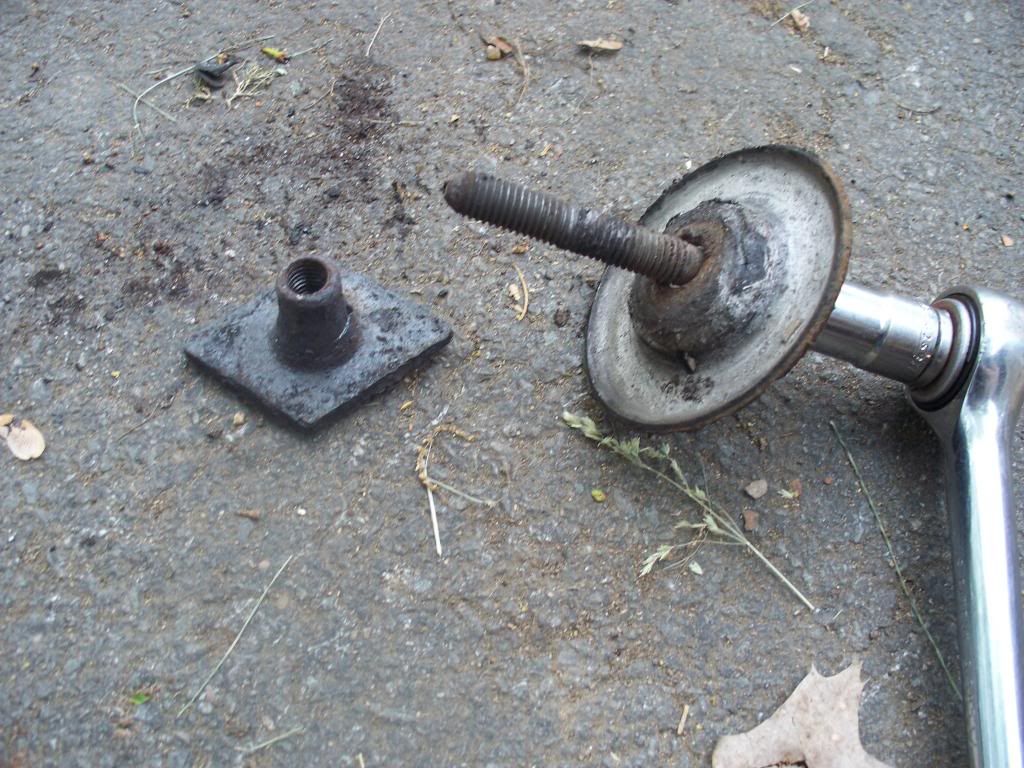 [/URL]
 and I will have to rebuild the frame in that area in order for it to stand the weight, etc of the cradle when it goes back together. I would bet that one good ride down a bumpy road, and the cradle mount would have been up through the frame.


