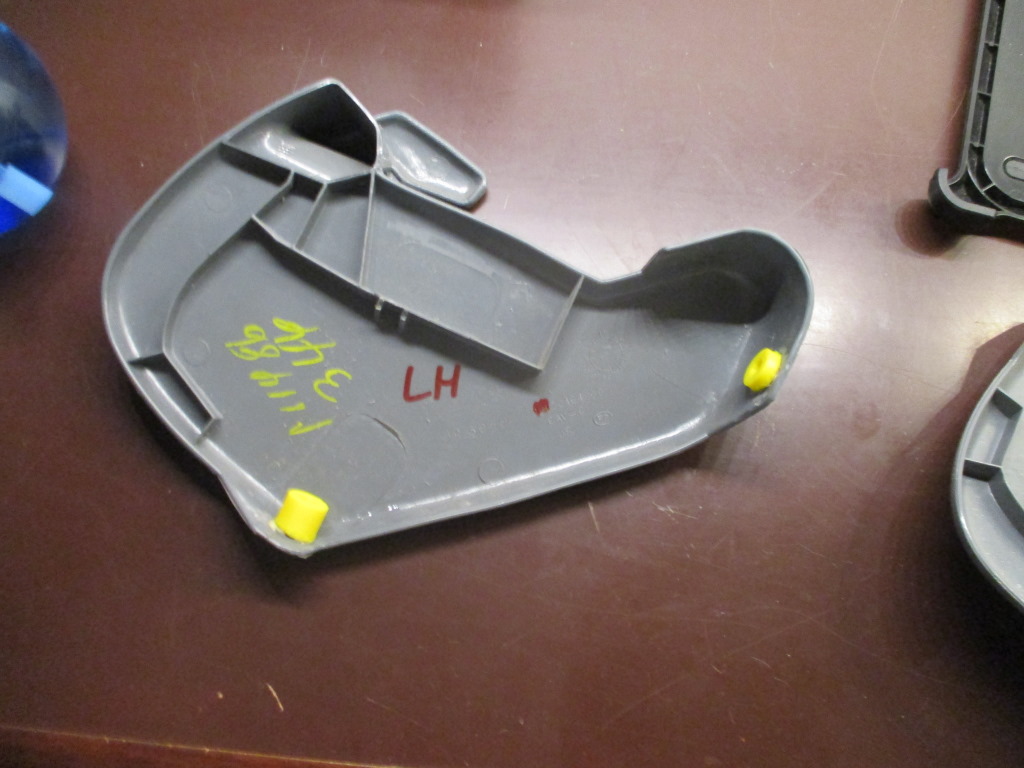
Does anyone have a 3D printing schematic for the driver's side plastic recline cover? The one on Dad's original Mr. Mike's seats is broken in three places (center tab, and both screw holes are broken). I'm hoping someone might have some .stl files read to go...otherwise I guess I'm taking a trip to the junkyard...
Does anyone have a 3D printing schematic for the driver's side plastic recline cover? The one on Dad's original Mr. Mike's seats is broken in three places (center tab, and both screw holes are broken). I'm hoping someone might have some .stl files read to go...otherwise I guess I'm taking a trip to the junkyard...
Thanks, D
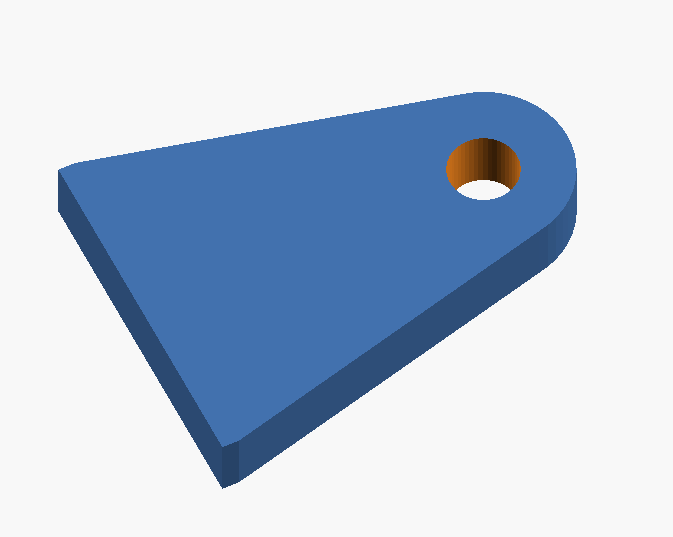
If I'm thinking of the right thing, the screw holes are easy, they're just cylinders with a hole down the middle.
You can get OpenSCAD from openscad.org, load the text above and hit F6 to render, then F7 to export to STL (assuming Windows, Mac might be different.) You can then modify-scale-whatever as you see fit, so I figure it's better than just giving you my STL's which worked for me but might not for you. Open source Fiero parts, right?
And, as pointed out, if that's too much or yours are too far gone to patch or you can't find 'em the PickNPull, TFS can get you nice ones too.
-- A
[This message has been edited by dremu (edited 06-09-2020).]
I'd like to make a suggestion (And hopefully take my own advice...Jeez)...Make a list of the small items on your car that may need replacement in the future- especially the really small stuff that fits in your pocket.....Then, when you at at the JY grab those items...I have some spare stuff- including seat mech covers.
Just recently I have realized I should have grabbed a bunch of stuff- 2nd gen headlight harness and module, door handles, side marker light covers (I have all of both styles except the one (Right rear ribbed) that I need) Trunk switch, etc....
I would Like to ask the same for fixing a broken tab in a coolant reservoir tank... I don’t know if JB weld or epoxy would be the best.
Is it actually 'in' the tank? Or a mounting tab externally?
Plastic welding with a piece of mesh pressed in while the plastic is hot would be best. You can bevel the edge of the broken seam on each part then fill the area with HDPE plastic rod, or milk jug plastic works perfectly and is also HDPE grade plastic. I did this on a number of reservoirs over the years when I flipped cars/restorations for supplementary income.
[This message has been edited by Steel (edited 06-22-2020).]
I'm a big proponent of the printer when it makes sense ... if you need a whole new (whatever), because the tab / tube / mount is broken, or if it's a complicated or totally unavailable part, then you print it:
But yeah, if you're just patching an existing piece that's cracked, then you get scrap and glue the snot out of it. Quicker and simpler than reinventing the wheel. If you've not used a printer, you don't realize how excrutiatngly slow a process it can be to design a thing, print it, discover that it needs adjustment here and there, change the design slightly, print again ... it's a very iterative process.
For instance, I'm cleaning up the T-top end caps. They're not quite bad enough that I need to replace them outright, but there's cracks and chips and broken tubes. The tubes I'll print the tubes, as above, but the cracks and chips will get fabbed by hand. I figure hit them with the Dremel and the cyanoacrylate gel, and after prodigious filing and sanding and paint, plastic gods willing, nobody will notice the patchwork.
-- A
[This message has been edited by dremu (edited 06-22-2020).]
Which melts a smidge like a plastic weld into acrylic, ABS, and IIRC does well with PLA. too.
You can also use CA glue ("superglue"), though I find the regular stuff is too brittle and cracks if you look at it funny, so prefer the gel.
If you wanna go nuclear, can also do like a Gorilla glue (water activated) or a two-part epoxy, but I think either of those are overkill.
In either case, though it's prolly obvious, clean both side REALLY well. File the bottom of your newly printed parts to get off any tape or Elmer's glue or whatever from your printing, and clean the living snot out of the trim piece 'cuz it's 30 years old. Mine I hit with the Dremel and one of those little dentist-style diamond burrs to flatten and scuff the bonding surface. Do love me the Dremel =))